 BERNINA Corporate Blog -
Hello friends,
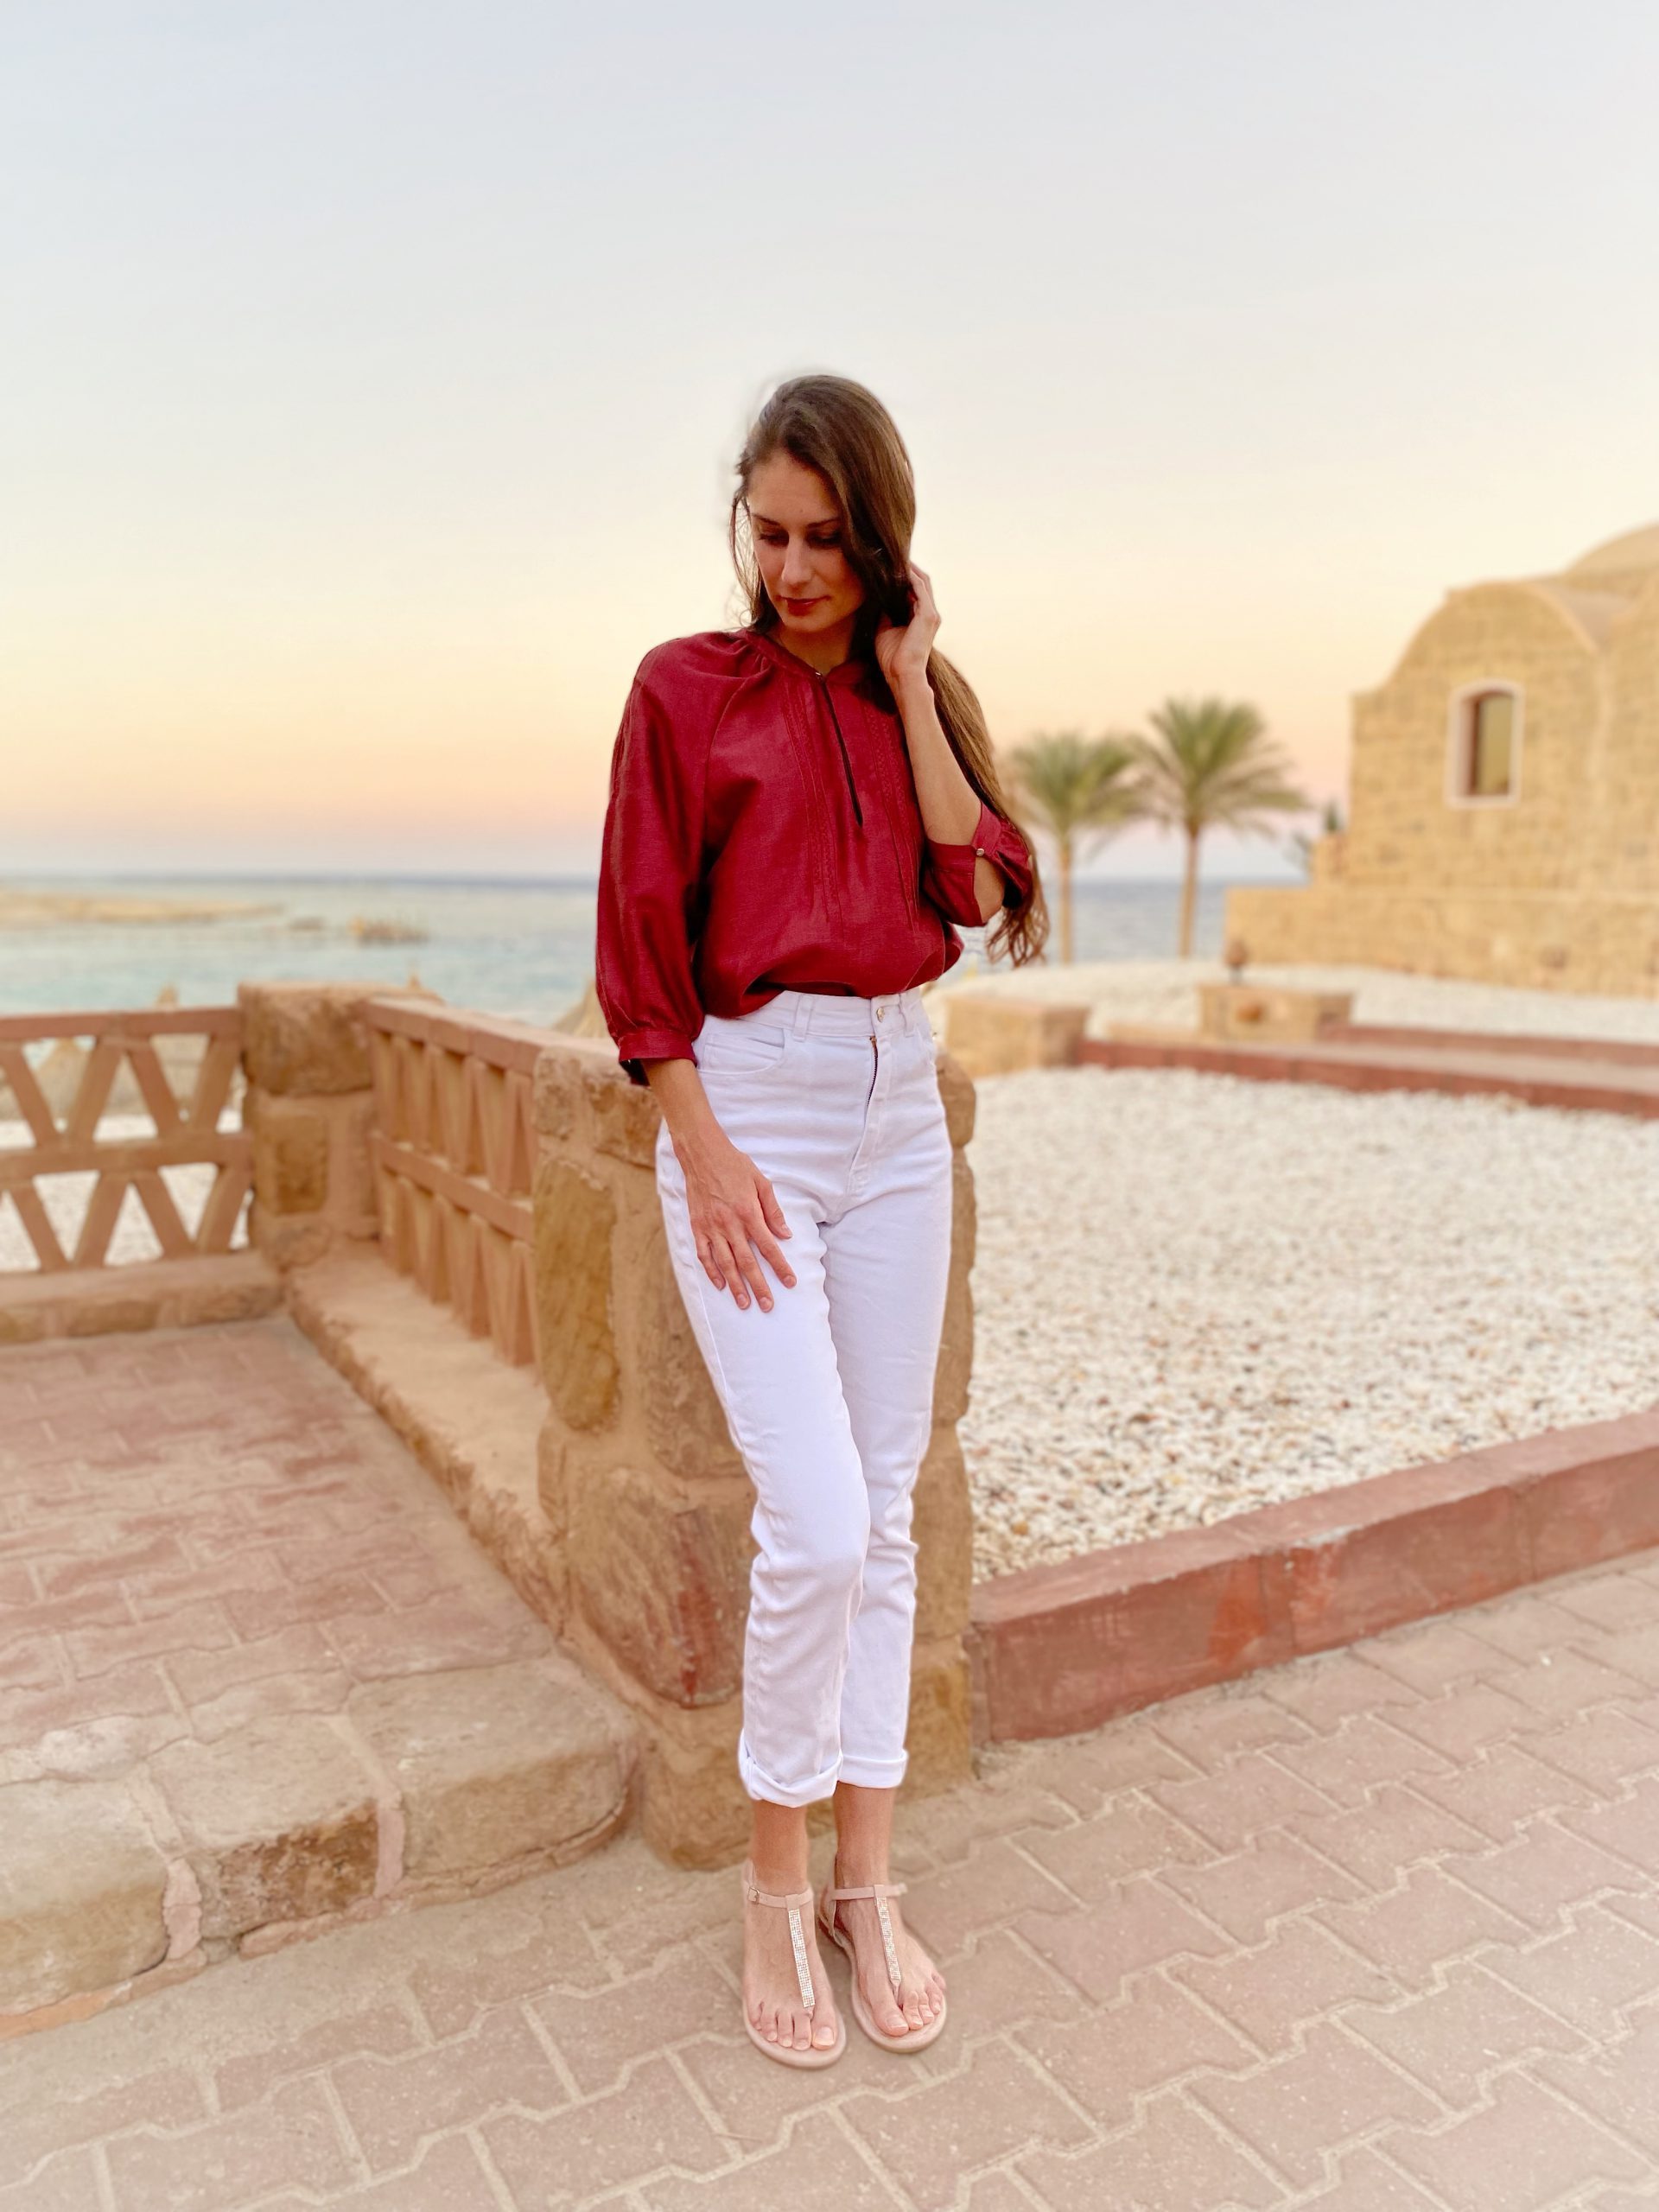
By now I’m sure you’ll have seen a few pieces from Bernina’s Fashion Looks series, designed in collaboration with Swiss designer Irène Münger. Today I’m going to show you the next installment in the series: the Magnolia blouse. This blouse has a lovely feminine fit with decorative details that look great on simple fabrics.
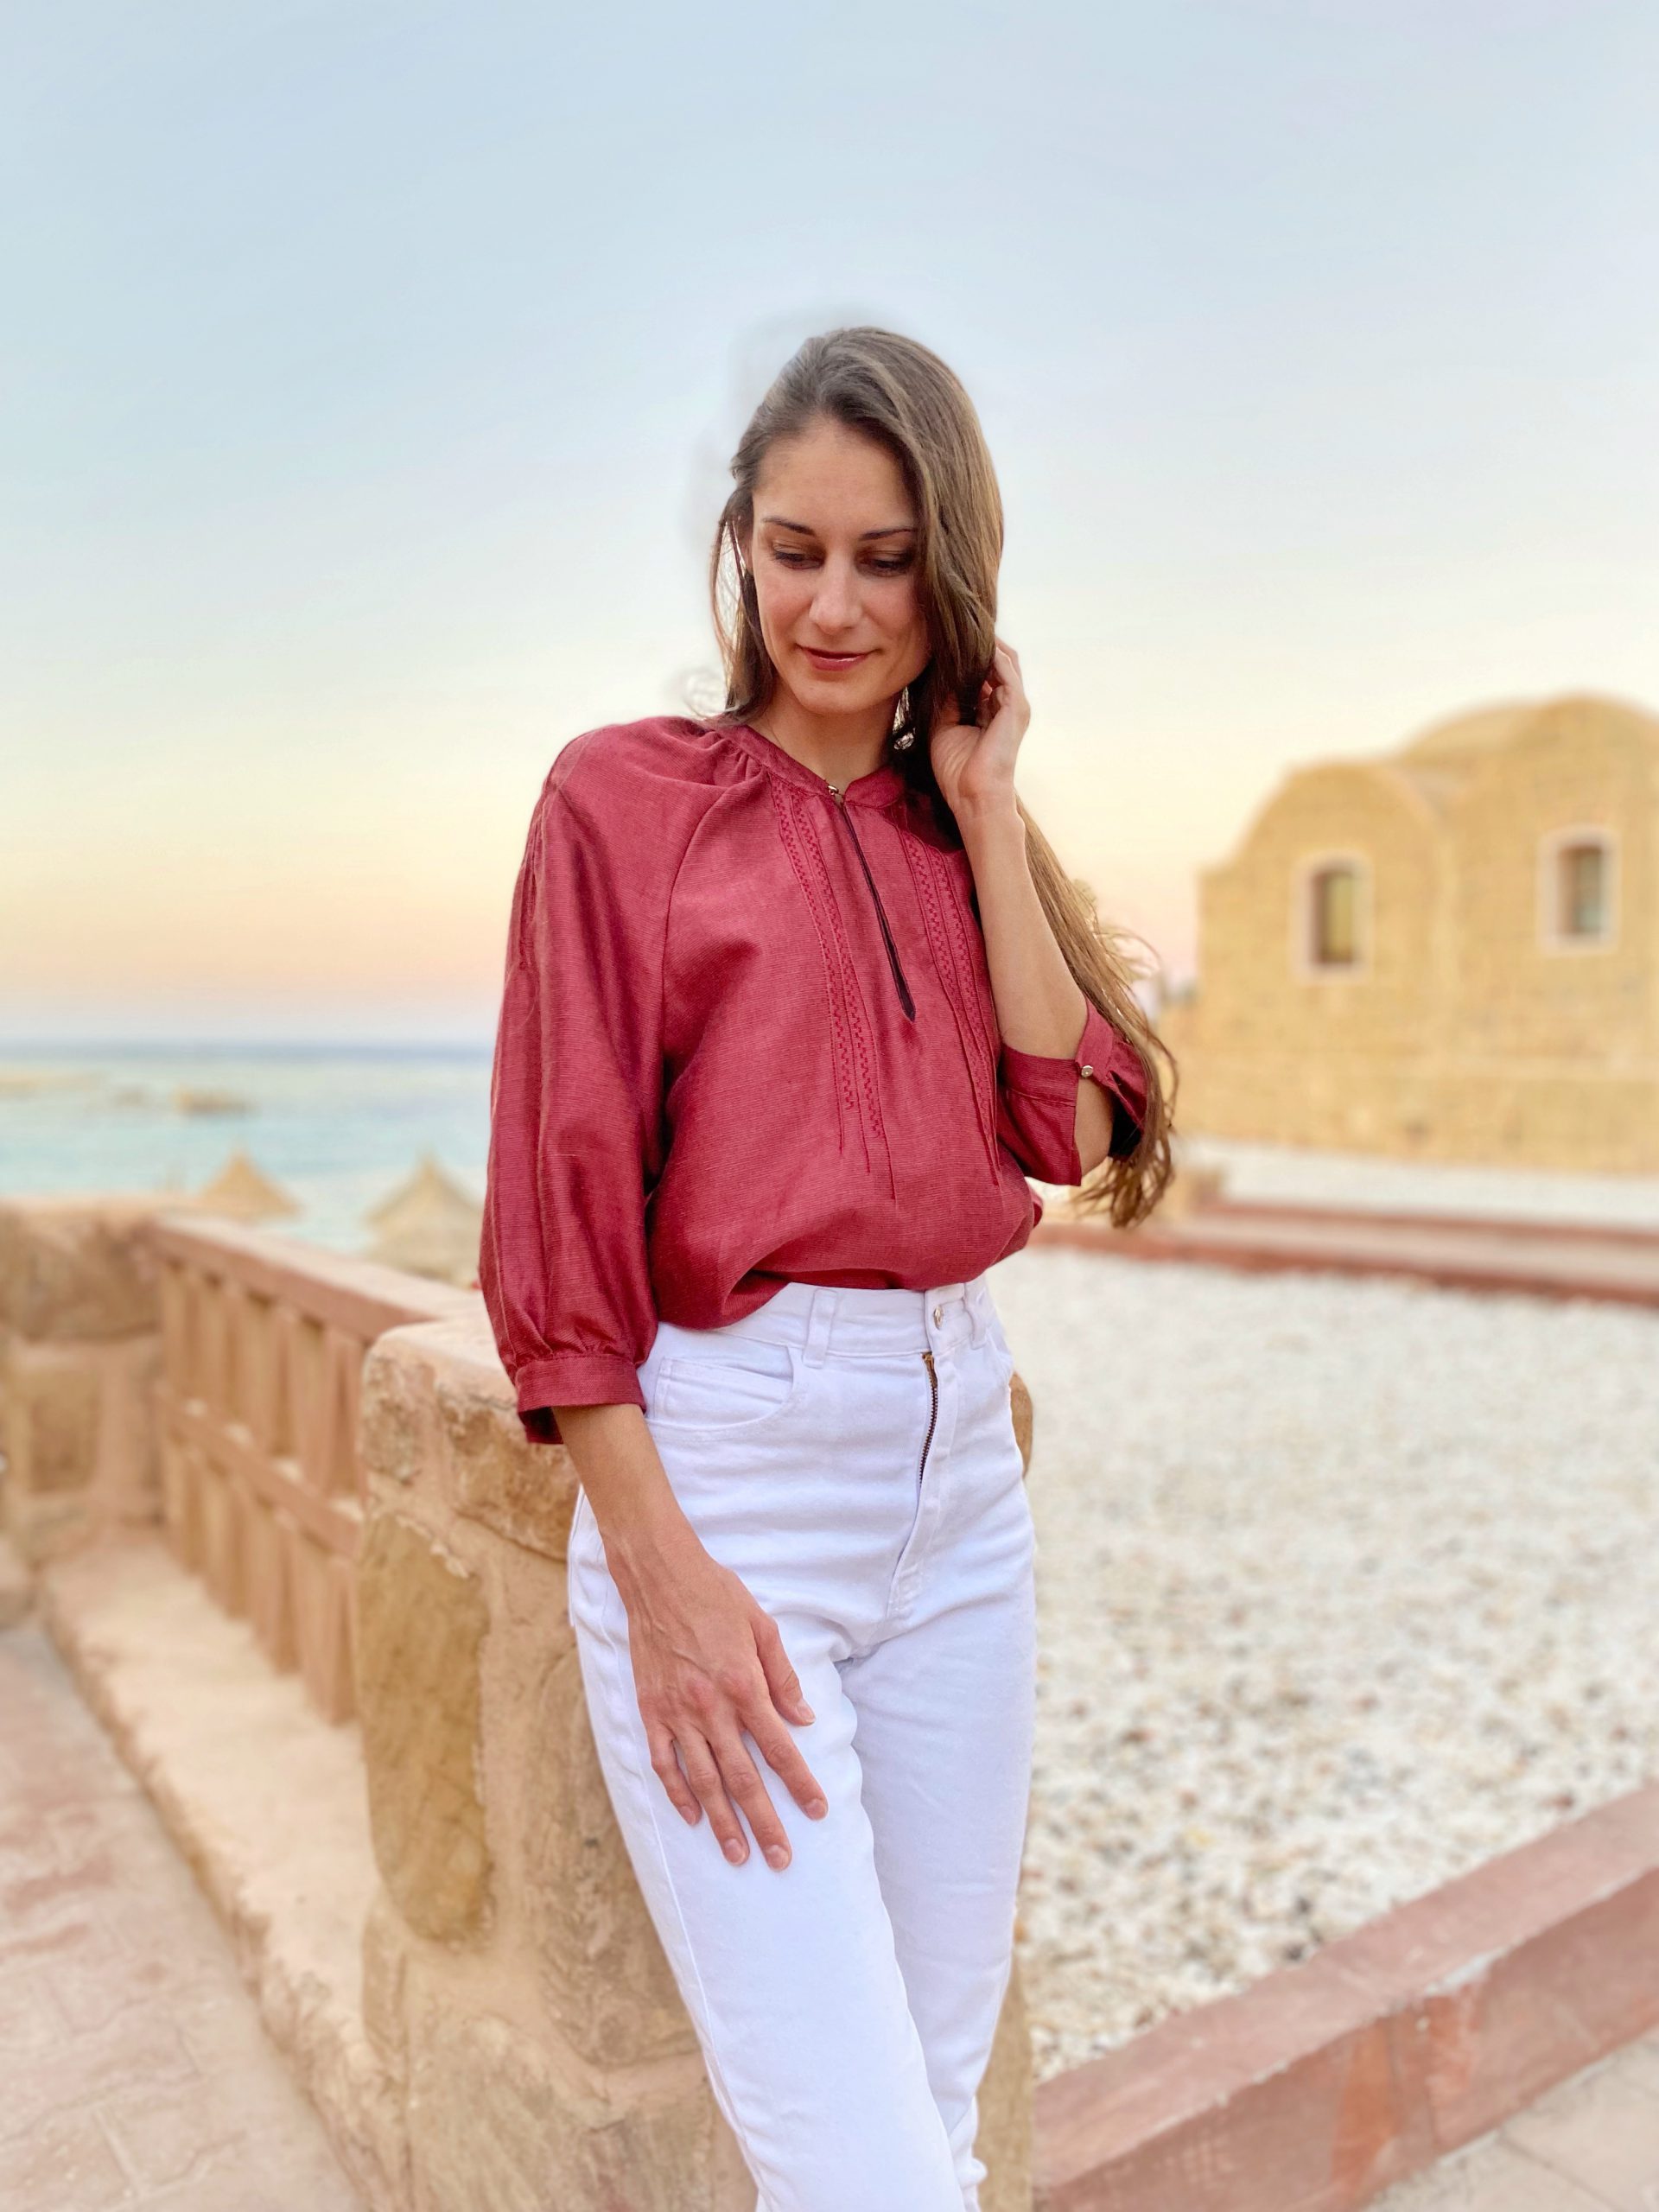
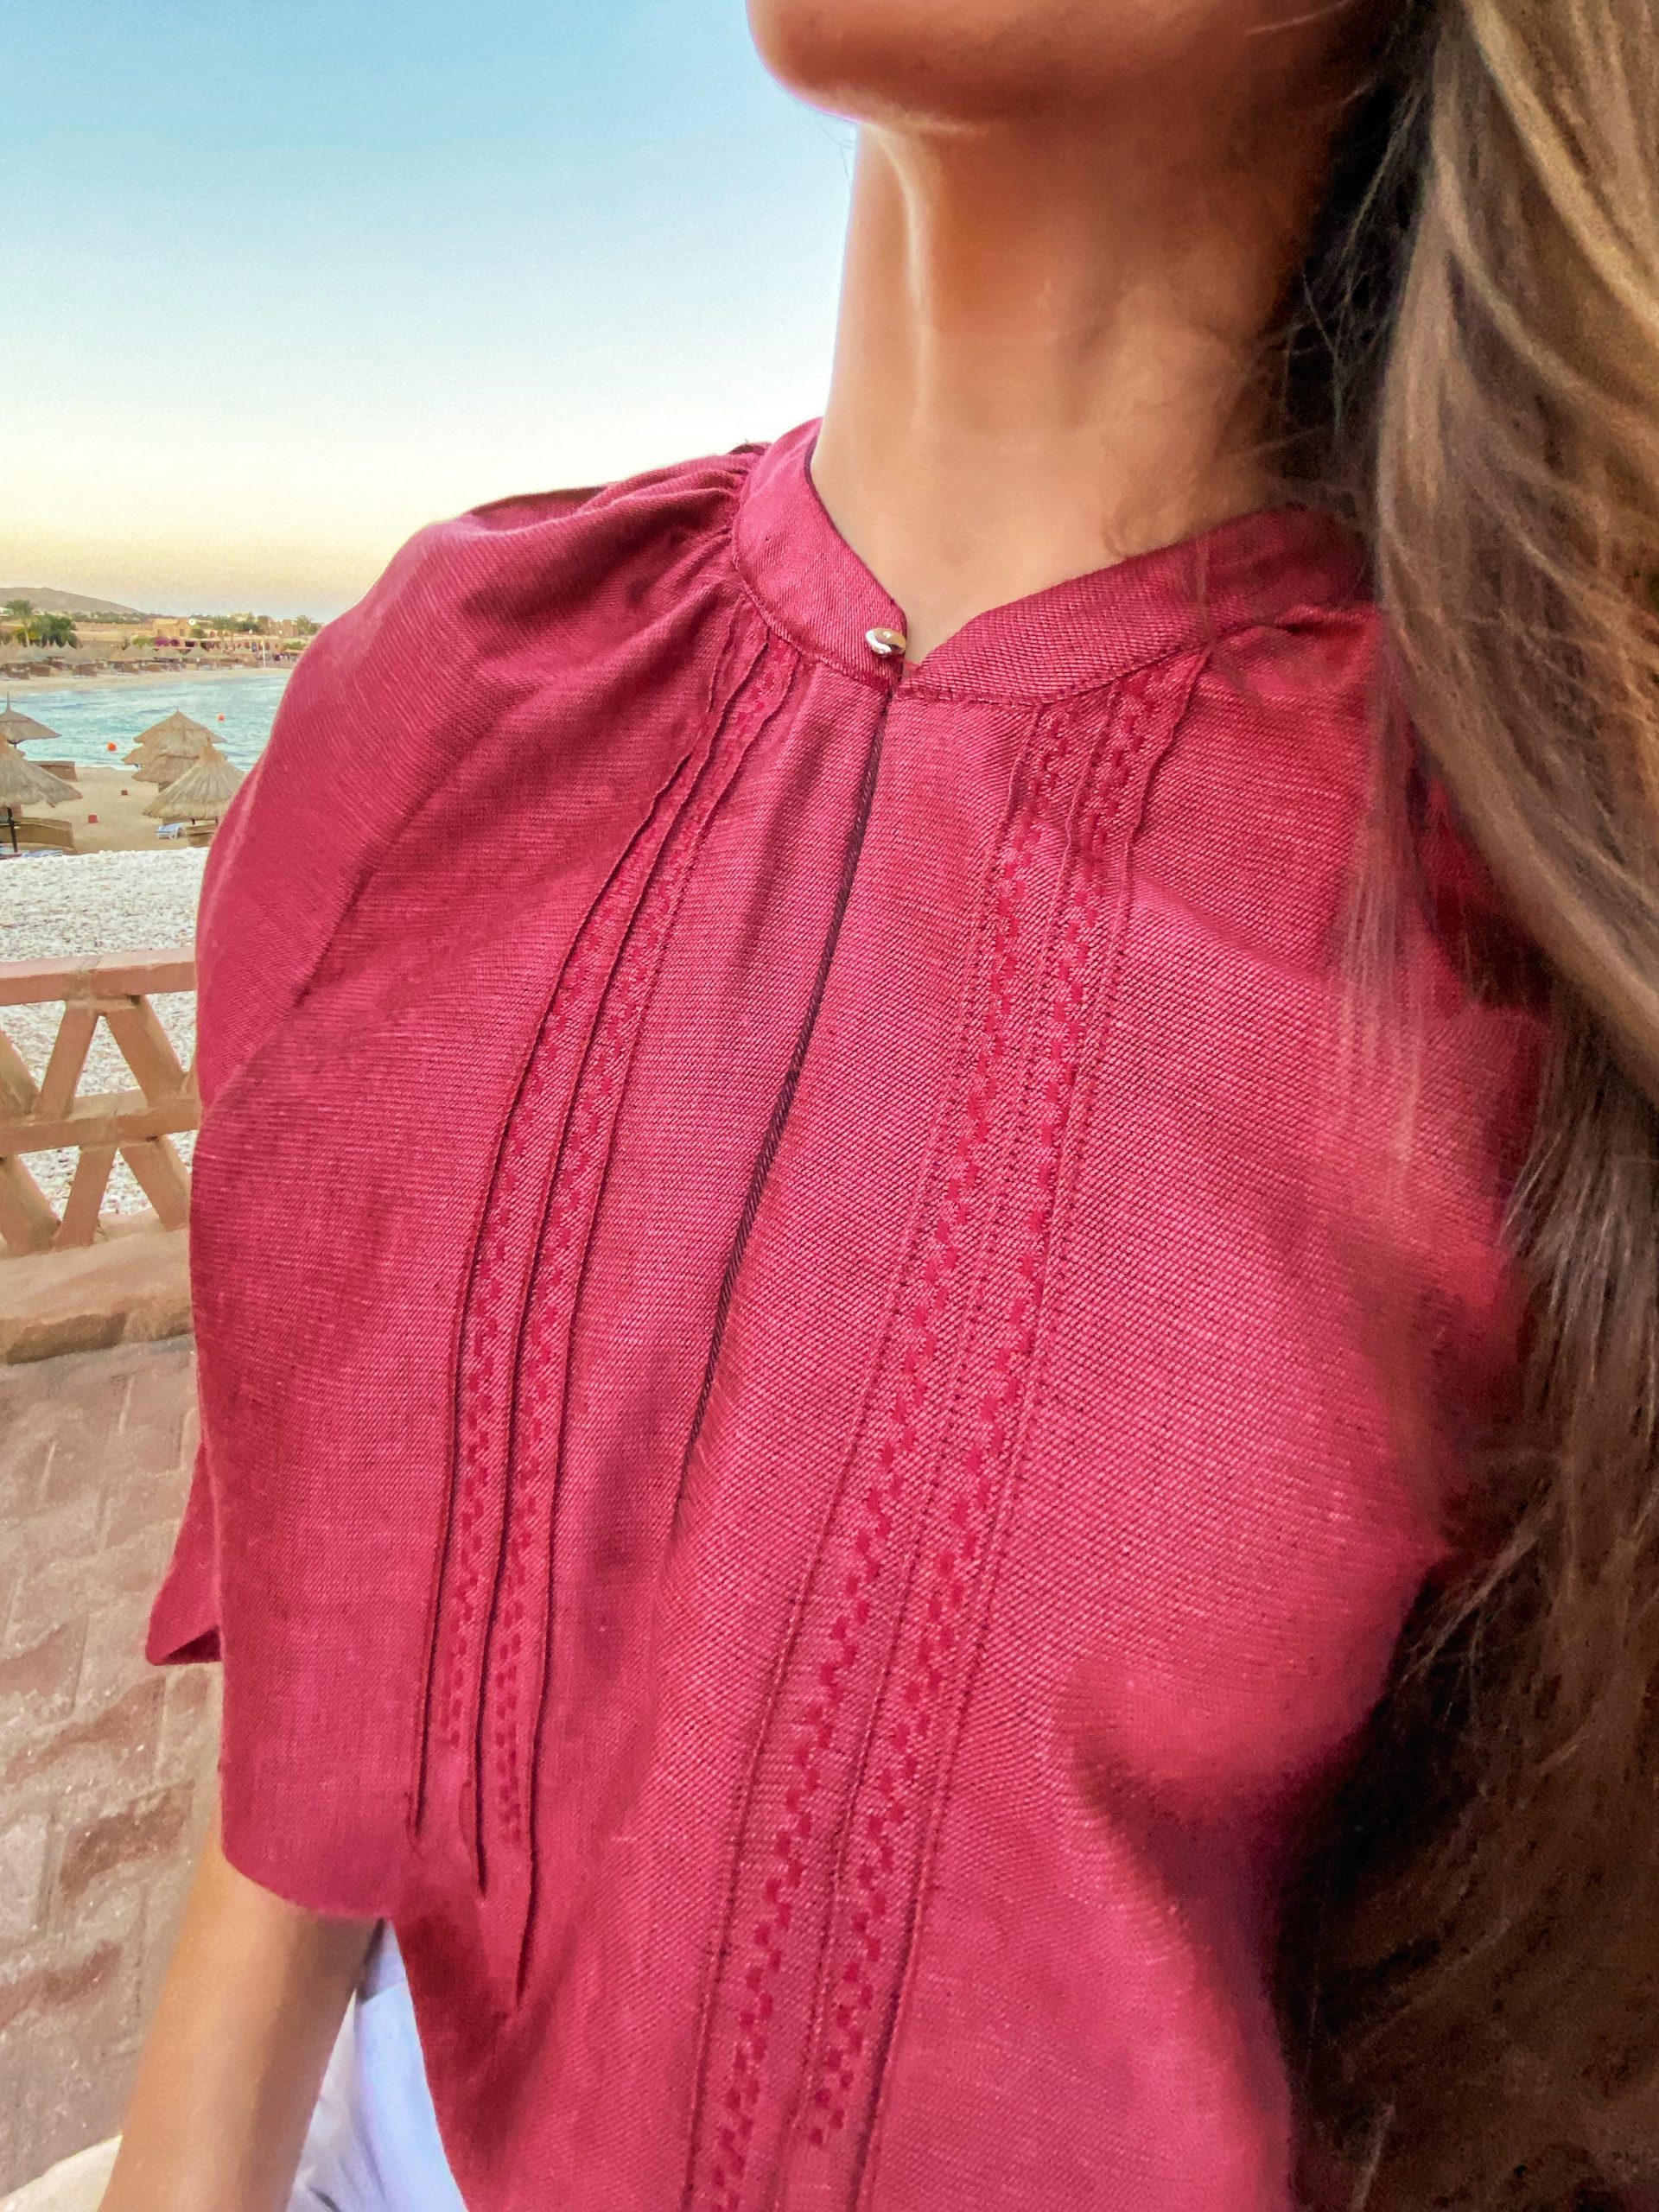
Pintucks and a decorative stitch embellish the sleeves and the front panel of the Magnolia blouse. How the blouse does up is very elegant with a small button at the collar and the cuffs.
I used the new BERNINA 475 QE Kaffe Edition to sew the Magnolia blouse, as it allows you to sew with precision and you can add delicate decorative stitches to your clothes quickly and easily.
To neaten the inside of the blouse, I used the BERNINA L 860 overlocker.
Magnolia blouse – what you’ll need
Before you get started, you’ll need the pattern. Like all of the Bernina Fashion Looks patterns, you can find this on the Bernina inspiration magazine website. The blouse pattern is available via this link: Magnolia blouse
You’ll also need some fabric. Any kind of linen blouse material will work, for this example I chose a fine lyocell linen blend fabric from Zuleeg; it has the same properties as linen but has a nicer fit and is beautifully soft.
You will also need:
- 3 small buttons
- 50cm Vlieseline G710 woven interlining
- a small amount of stitch-n-tear embroidery backing
- matching sewing thread, plus thread for the decorative stitching in either matching or contrasting colors
- Pintuck and Decorative Stitch Foot with Clear Sole #46C
- sewing machine
- overlocker
Sewing the Magnolia blouse – let’s get started
Step 1: Cutting
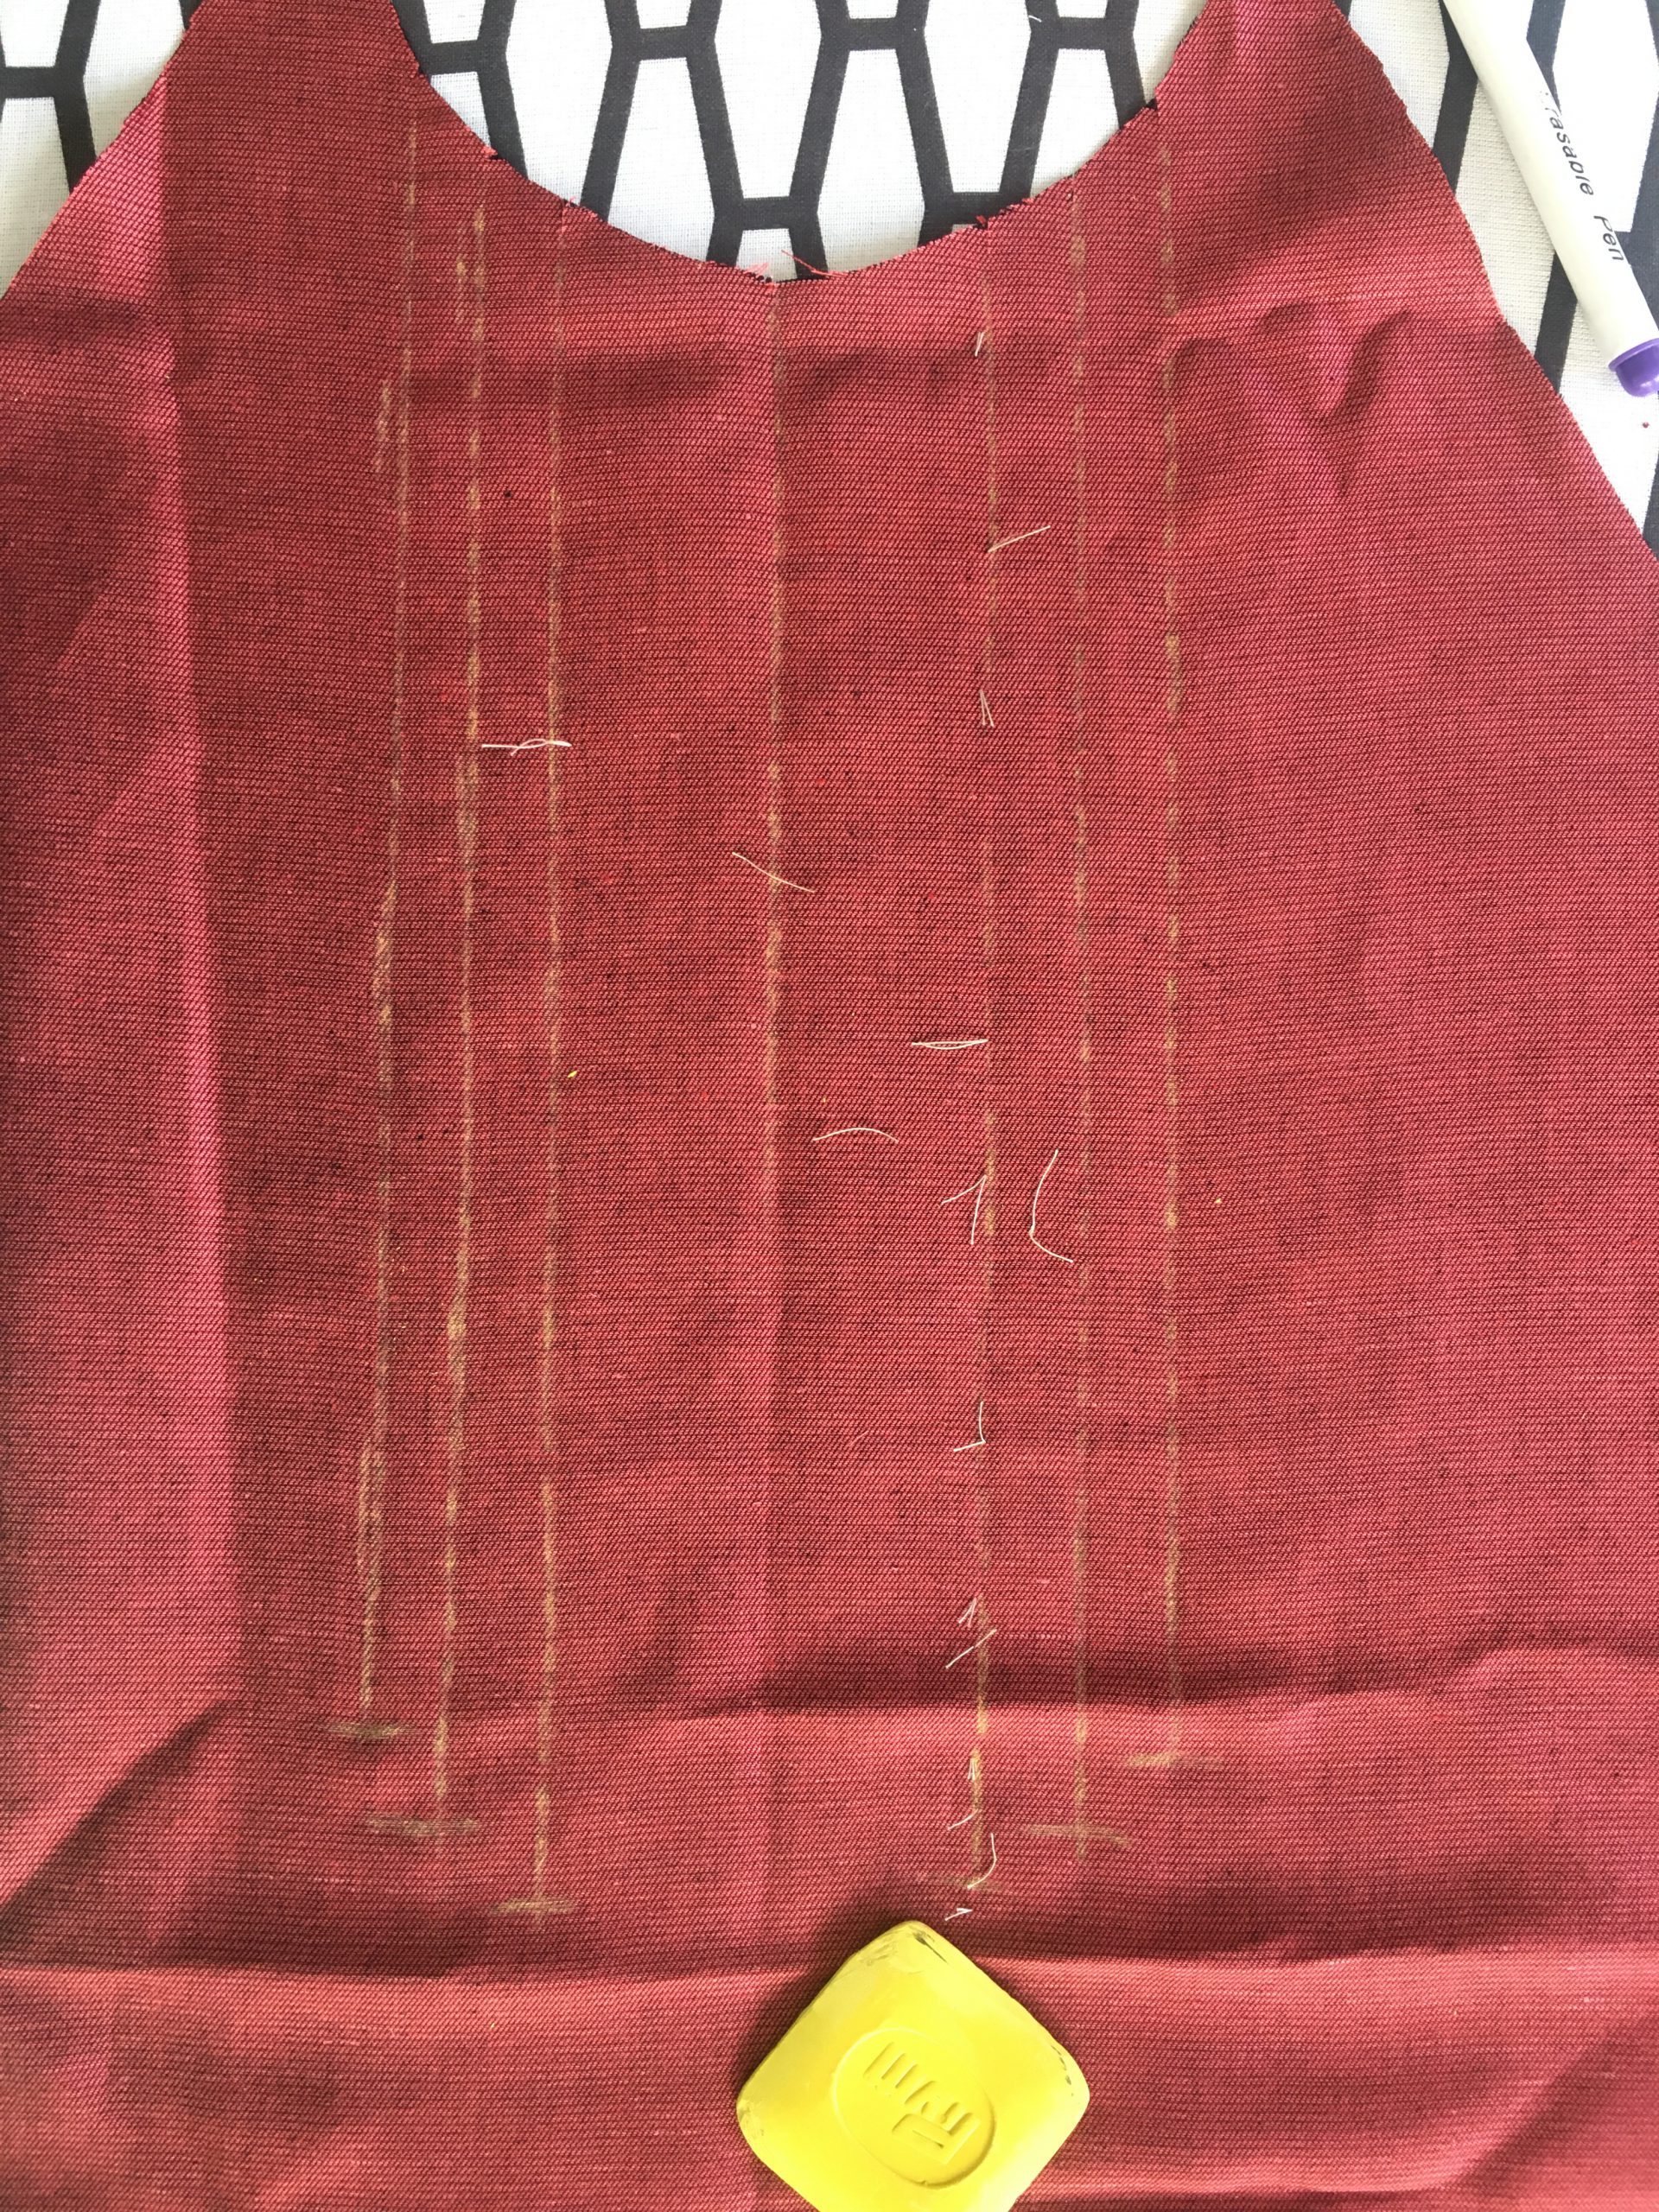
Cut out all pieces as described in the instructions. Make sure that these include all seam allowances (outer lines). You don’t need to cut out piece 3c; this is just a template for adjusting the width of the gathered sleeves. Use chalk to transfer the following markings onto the fabric pieces you’ve cut:
- neckline slit on front piece
- pintucks on front piece
- pintucks on sleeves
You can cut the slits in the sleeves at this stage. Also cut two strips that are 2.5cm wide and at least twice as long as the slits in the sleeves.
Step 2: Creating the neckline
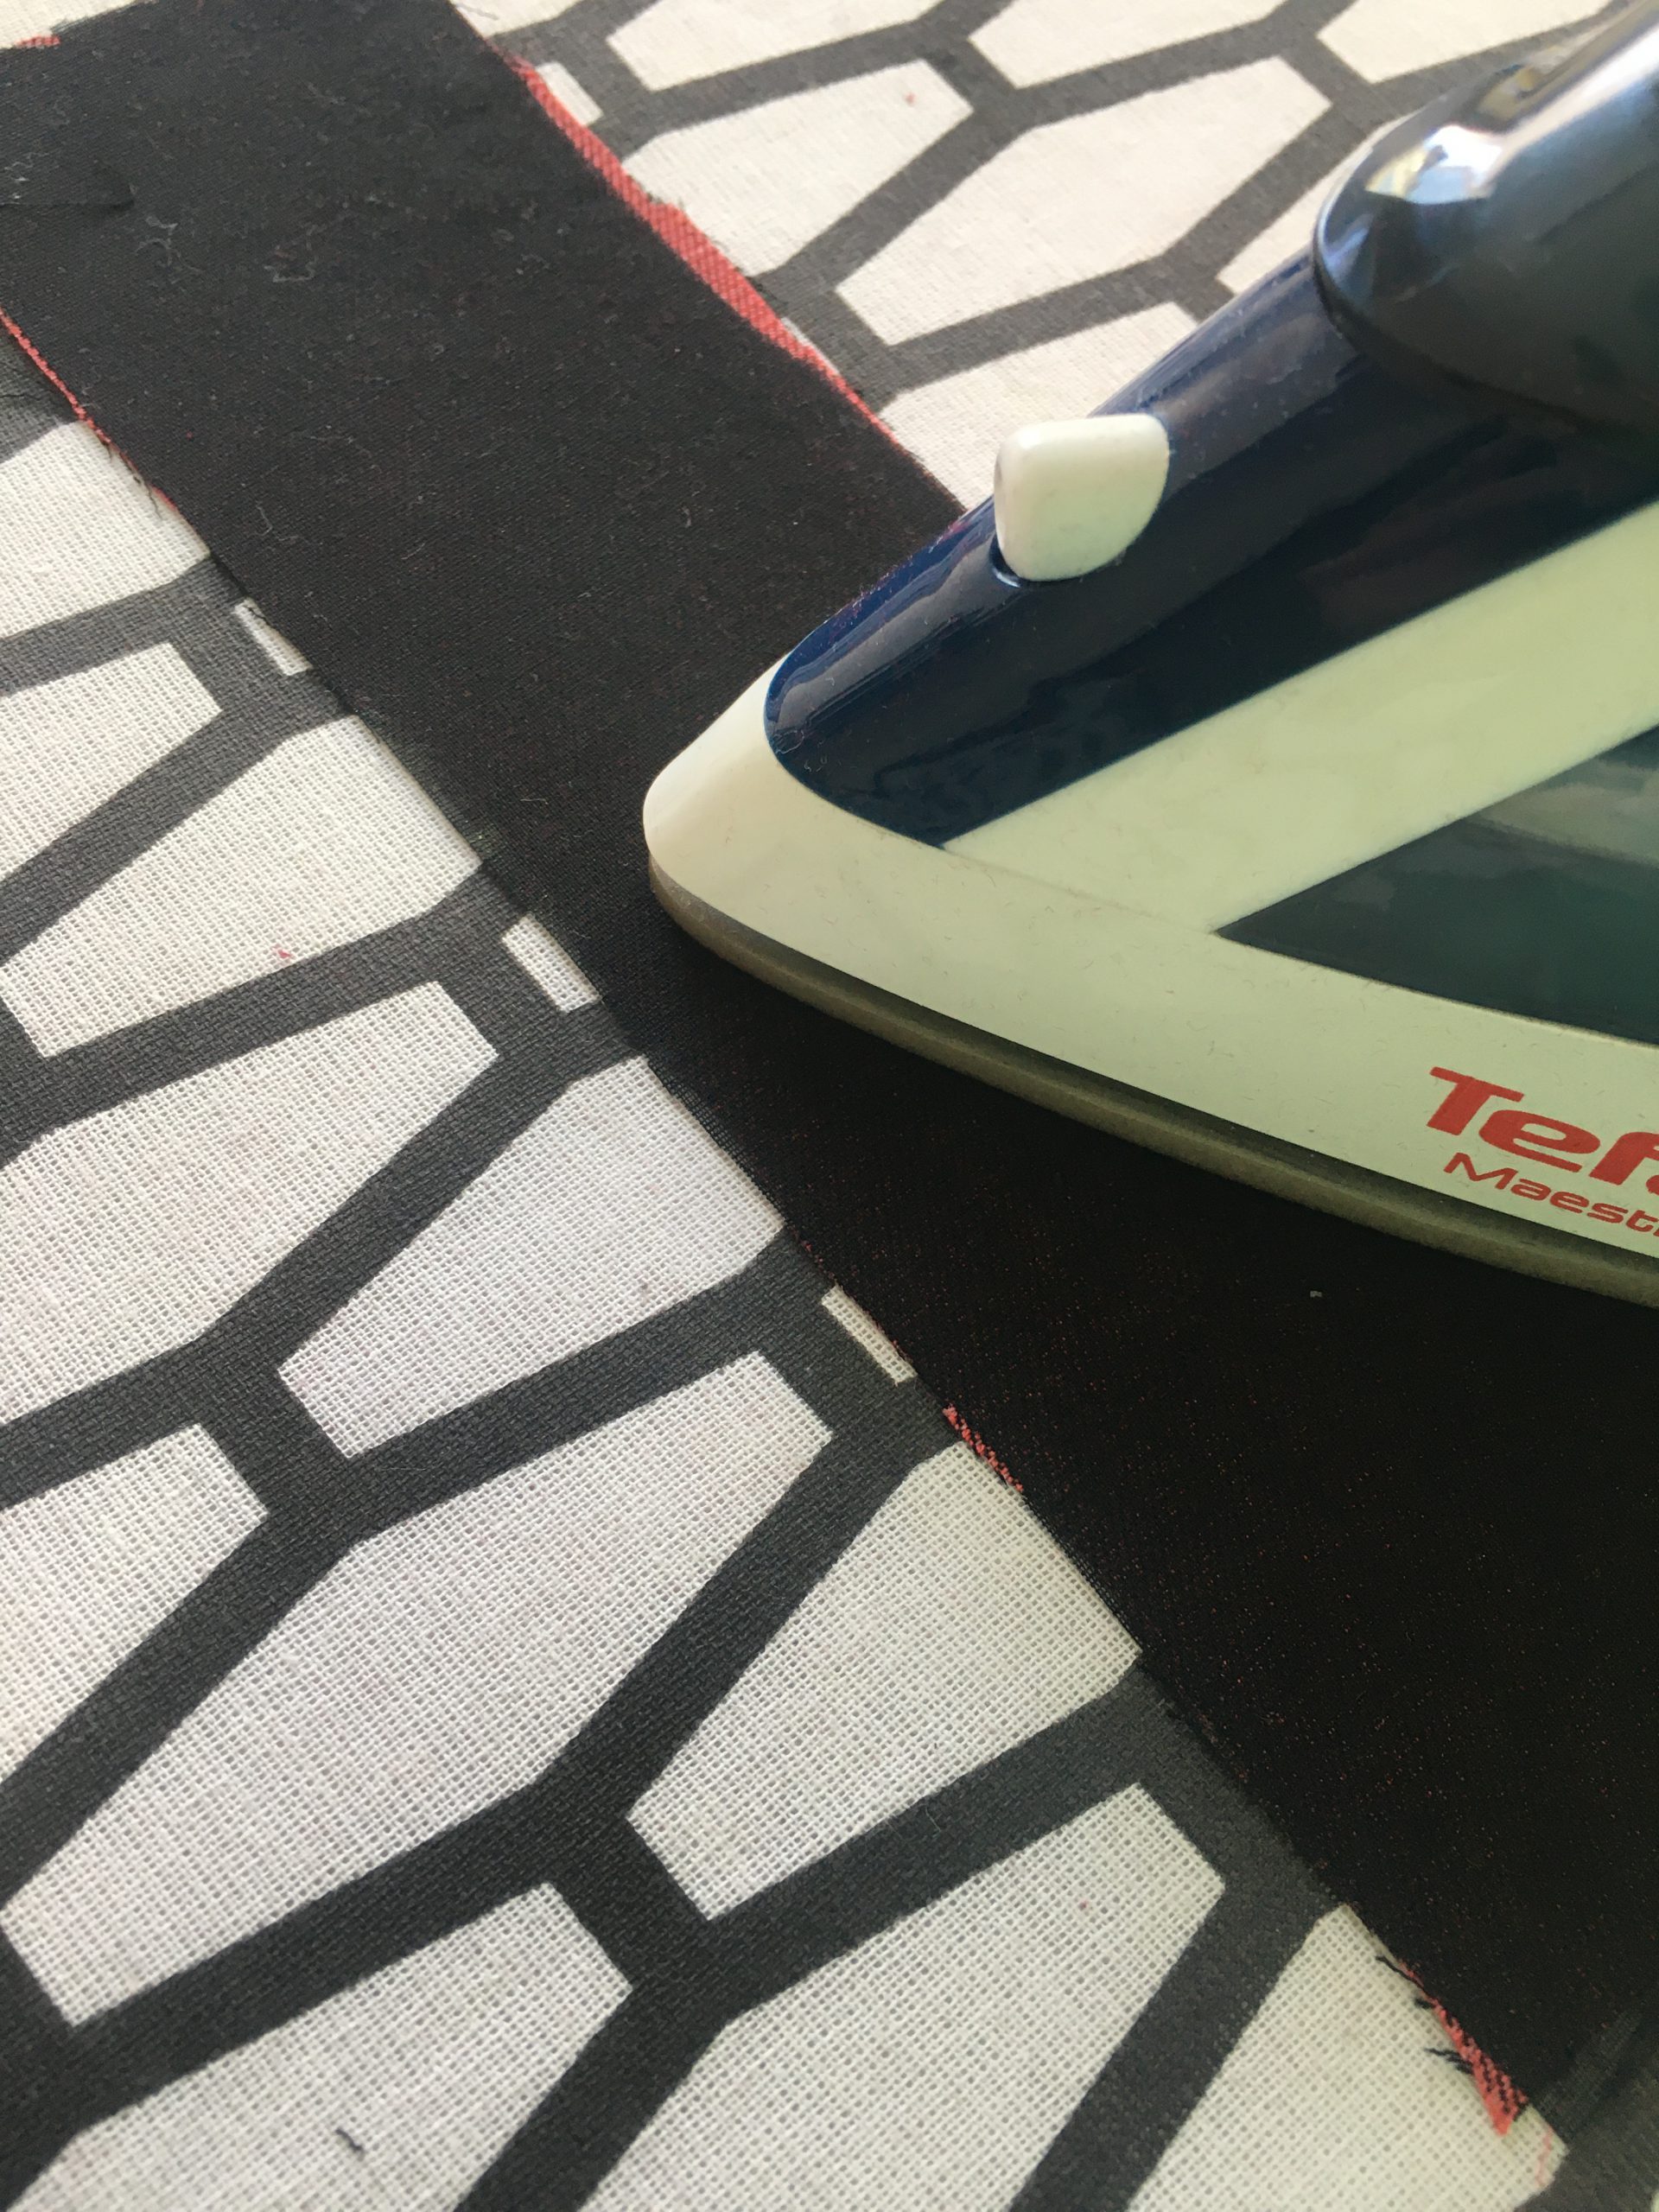
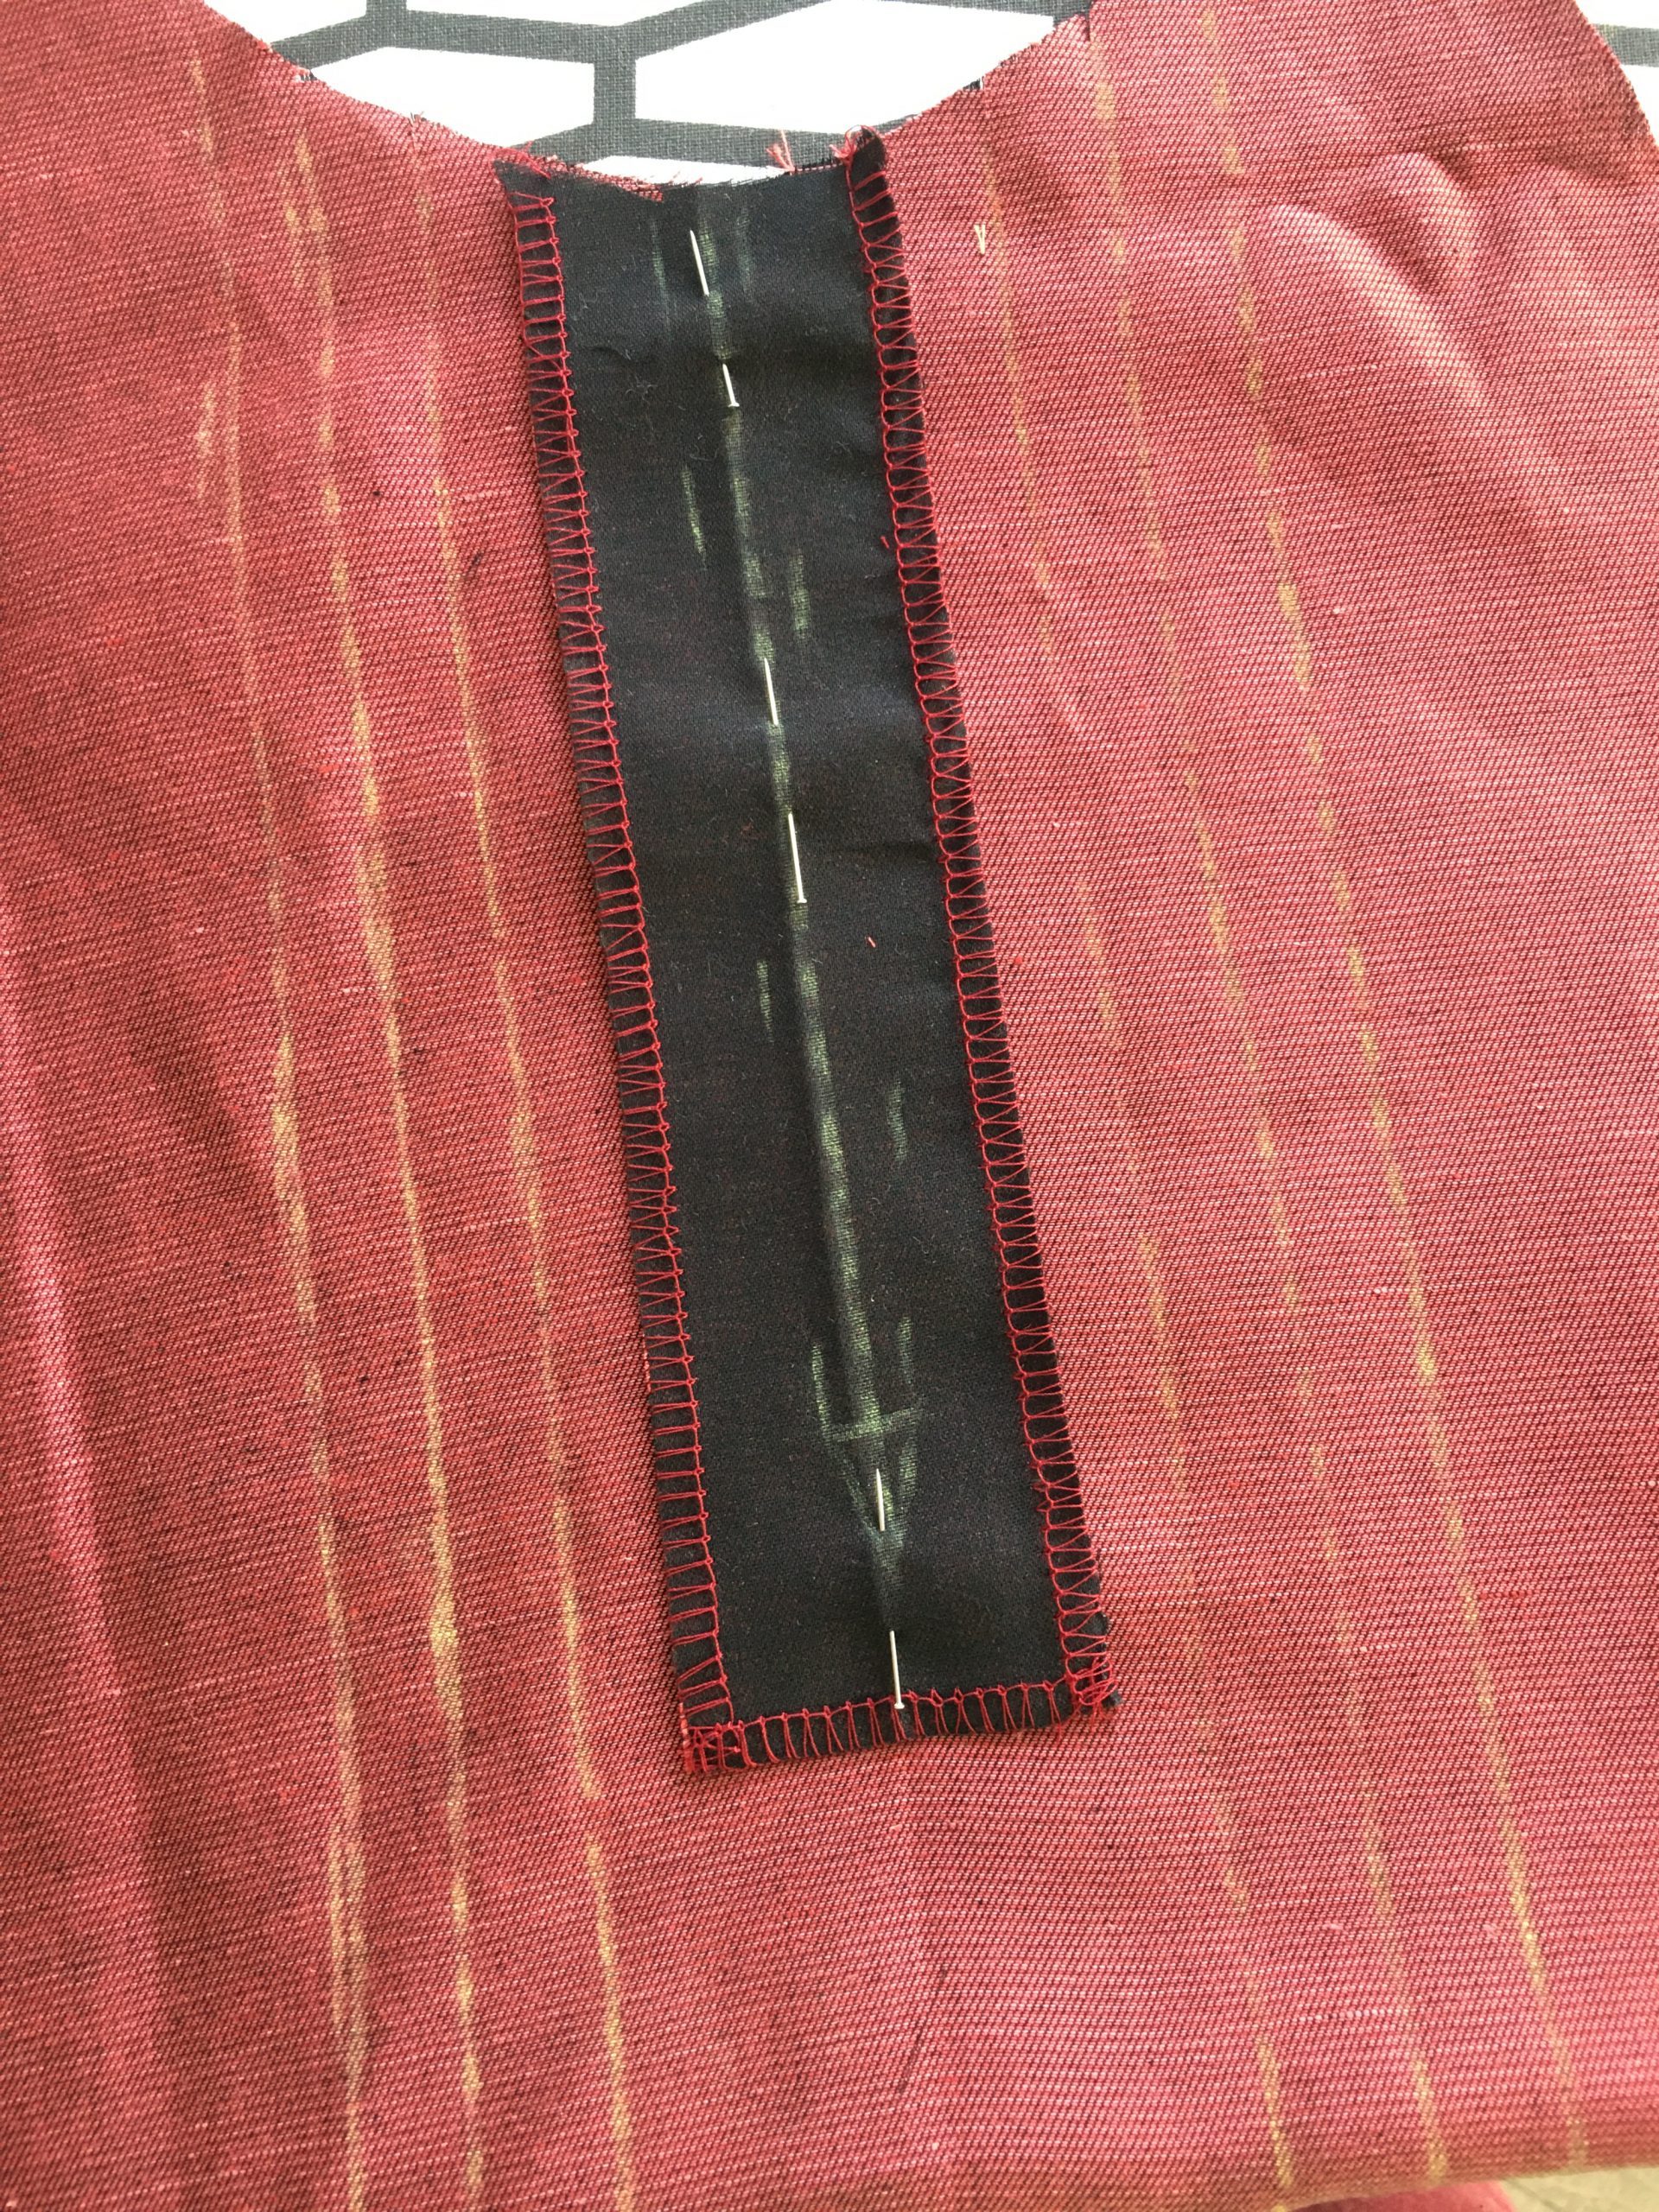
Iron the G710 Vlieseline interlining onto the wrong side of your neckline facing (piece 1b). Then neaten the edges using your overlocker.
Next, draw the markings from pattern piece 1b onto the side using the interlining.

Pin the facing right sides together onto the front piece. The center marking should match up with the center marking of the front piece. Then sew along the markings either side of the center line, including the V at the bottom, using straight stitch. For the V, I reduced the stitch length to 2mm so that it won’t fray later on.
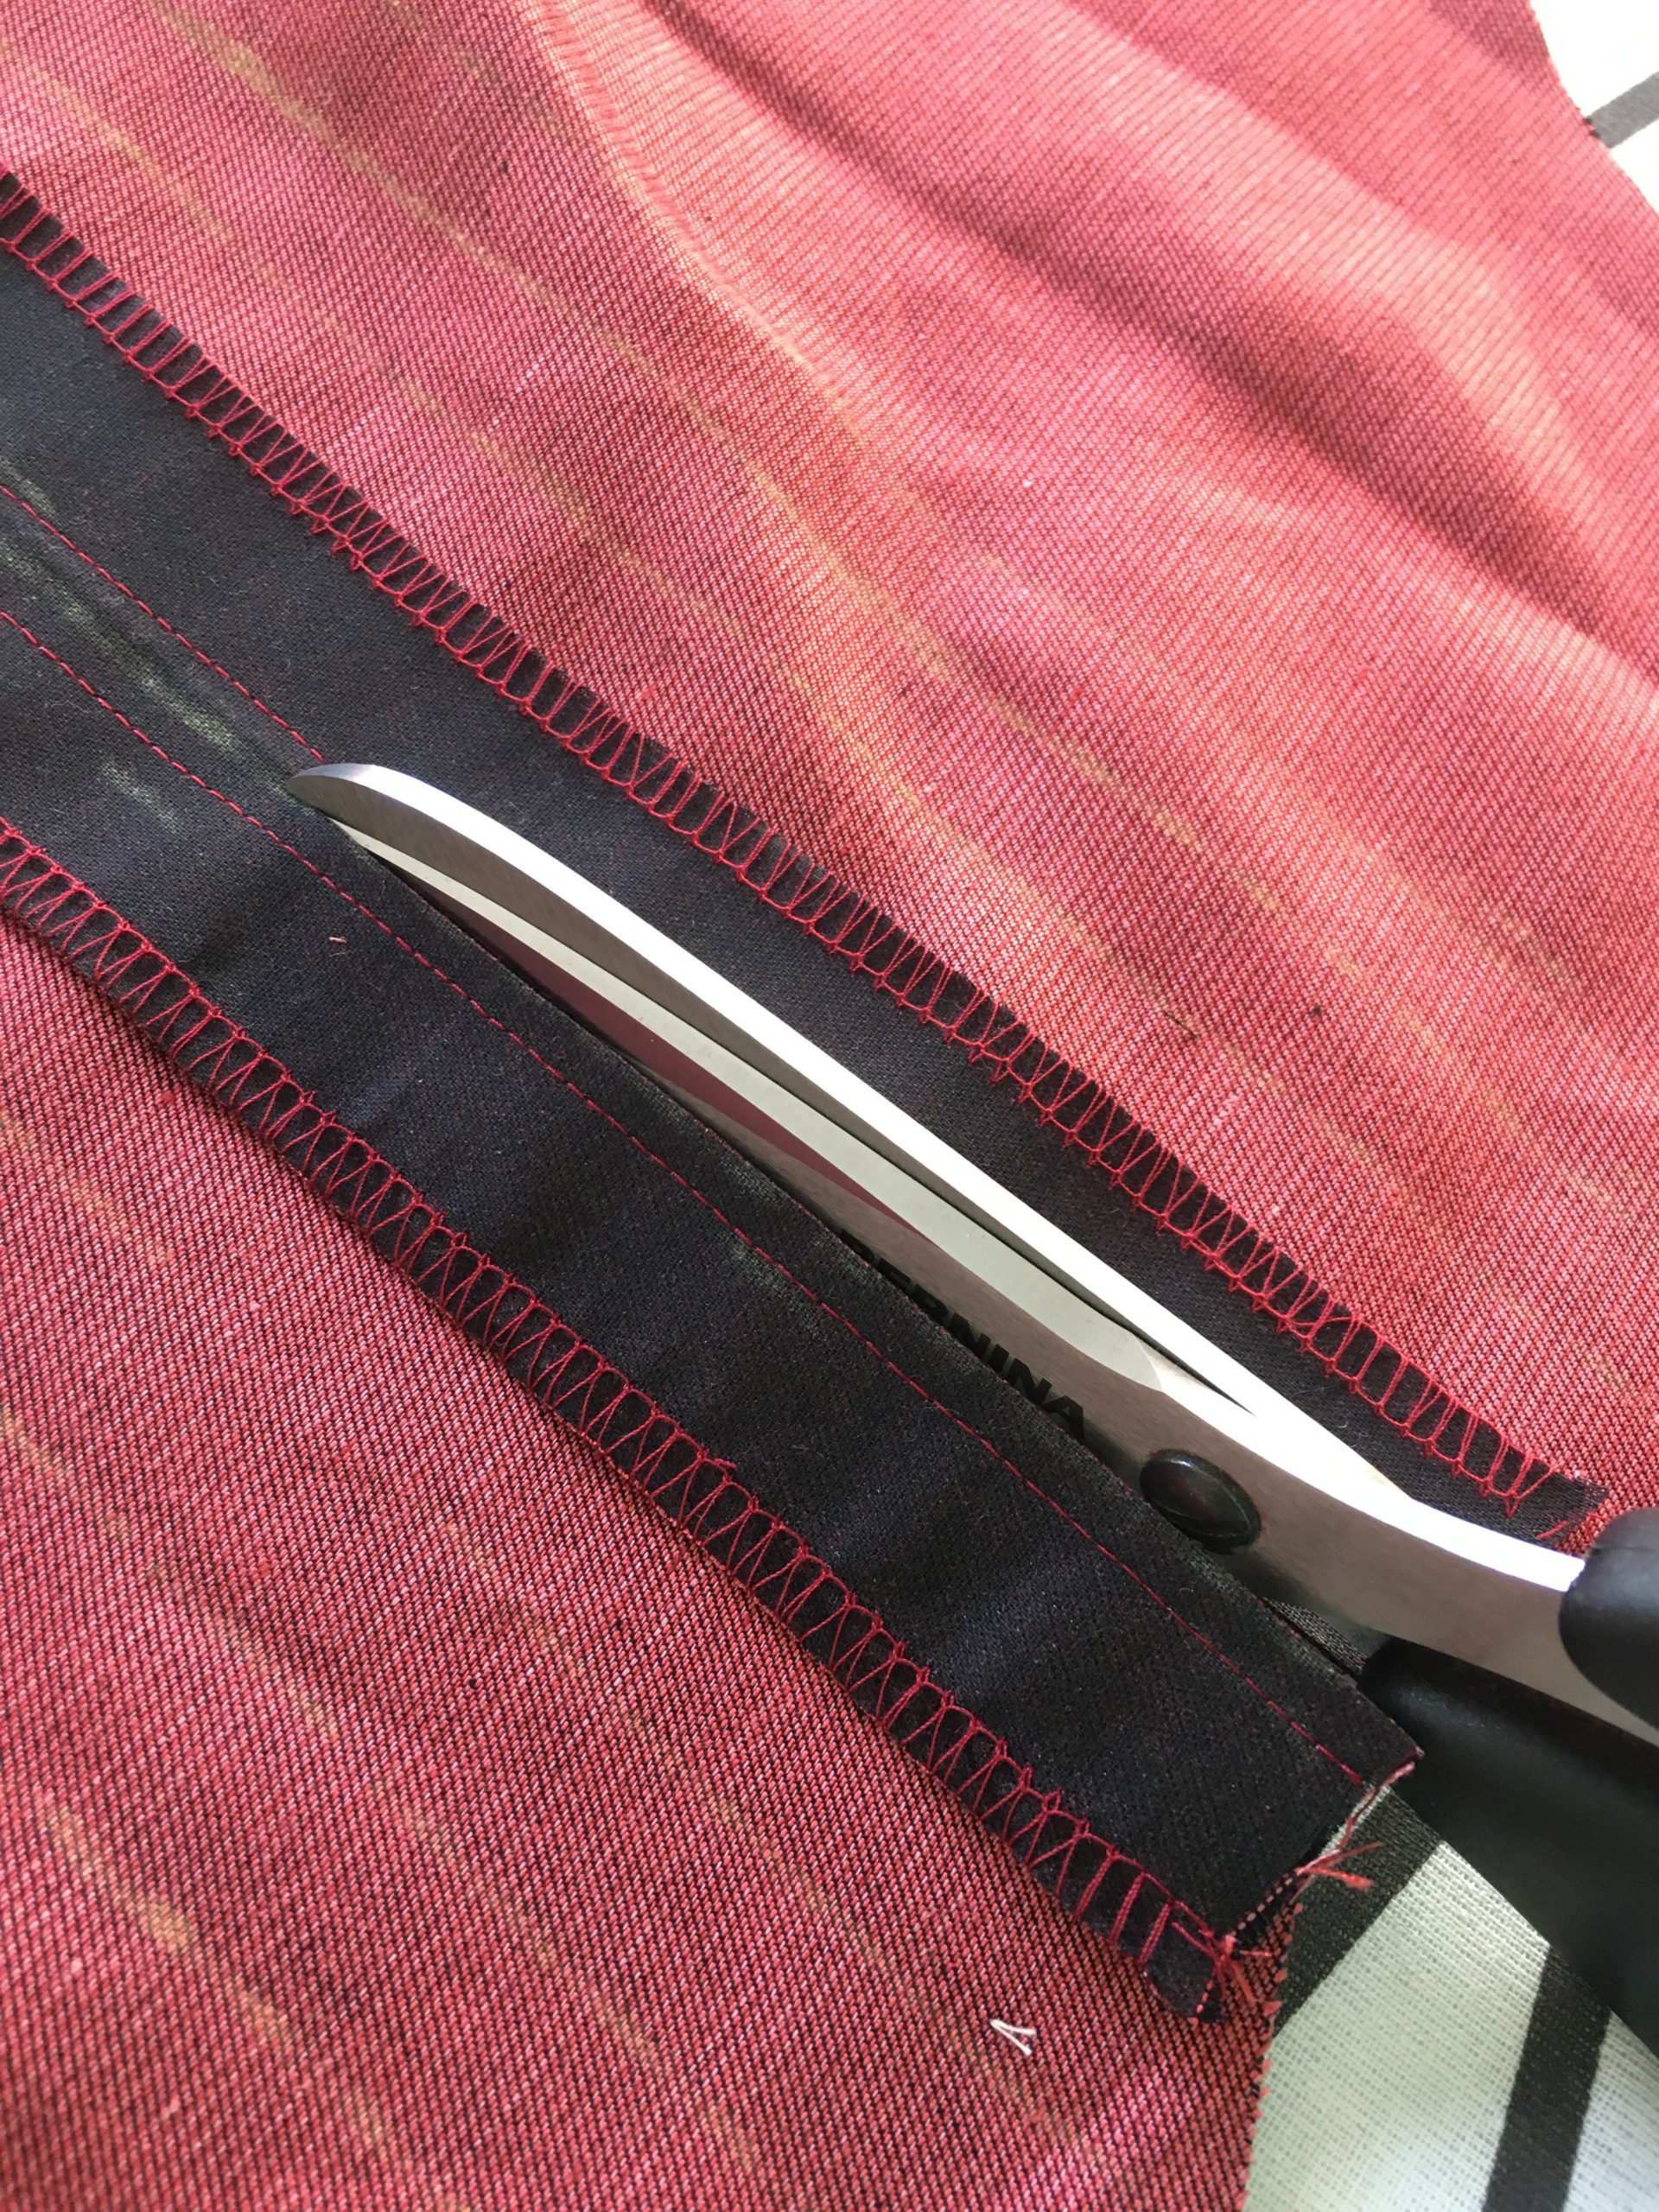
Cut along the center line to the point of the V, making sure that you cut right up to the seam but don’t cut into the seam itself.
Then flip the front piece over and iron everything well. I intentionally left 1mm of the facing visible, to show a hint of the darker wrong side of the fabric as a small decorative feature.
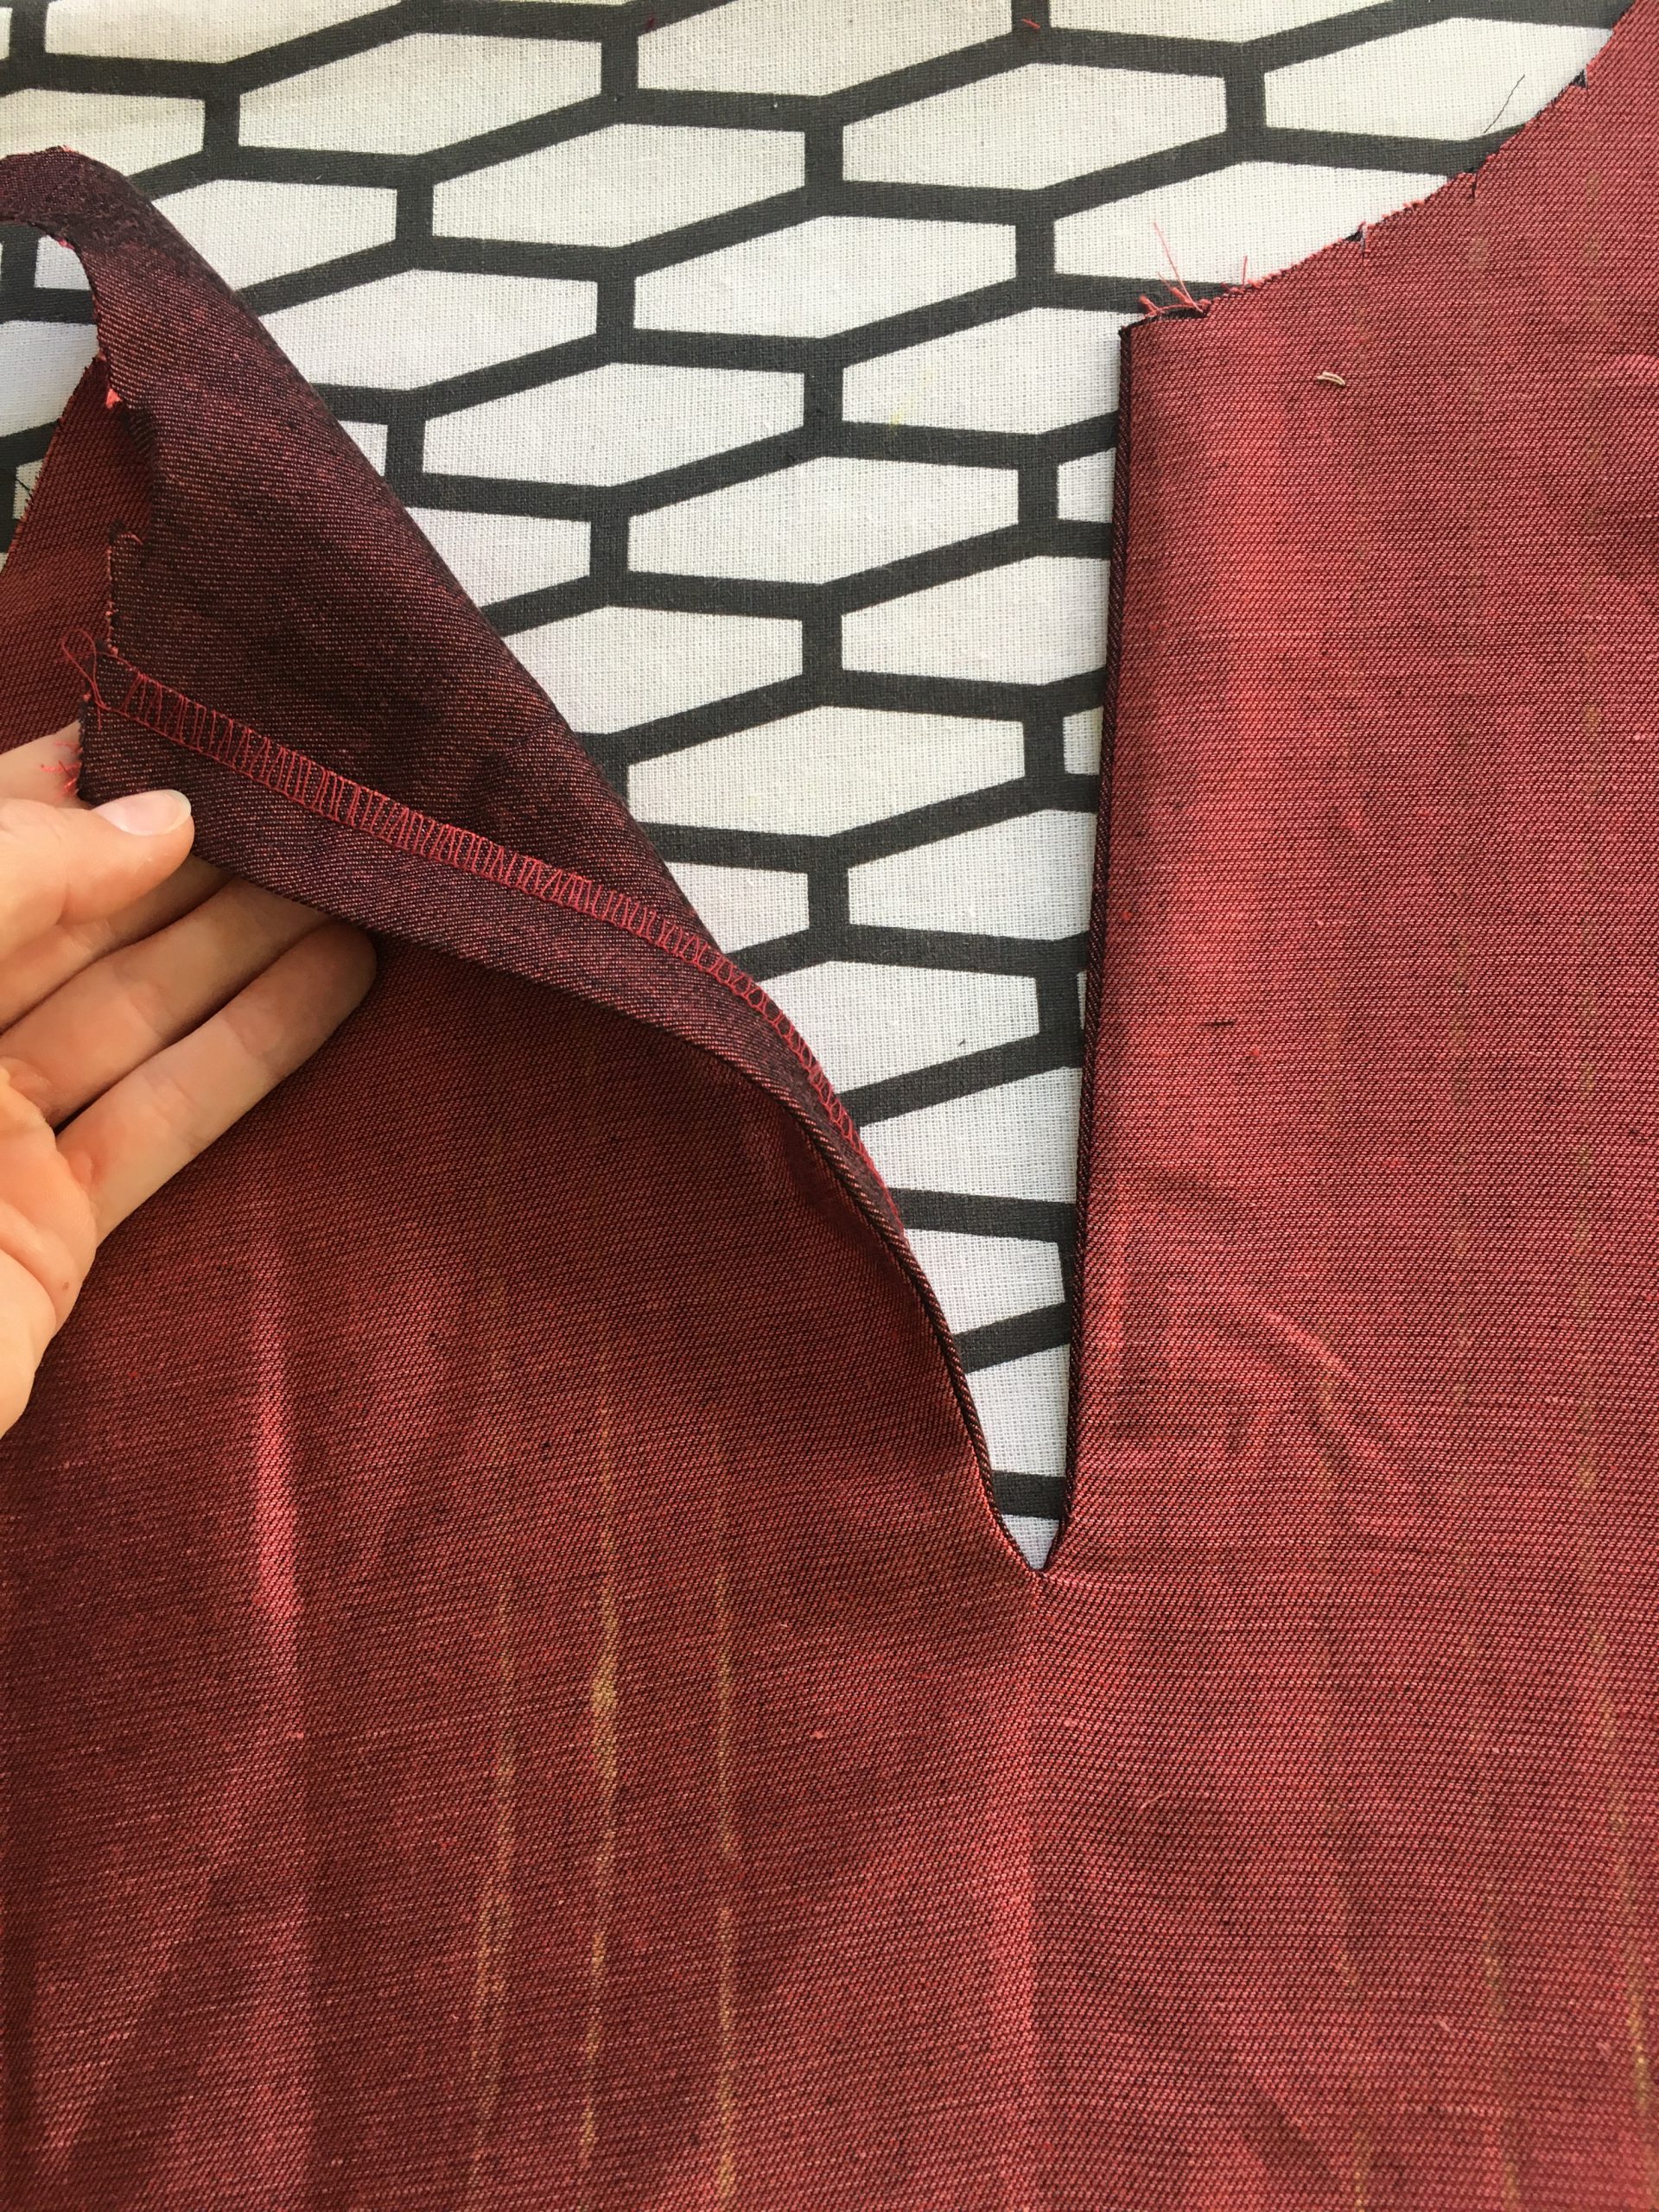
Topstitch the neckline to finish this step.
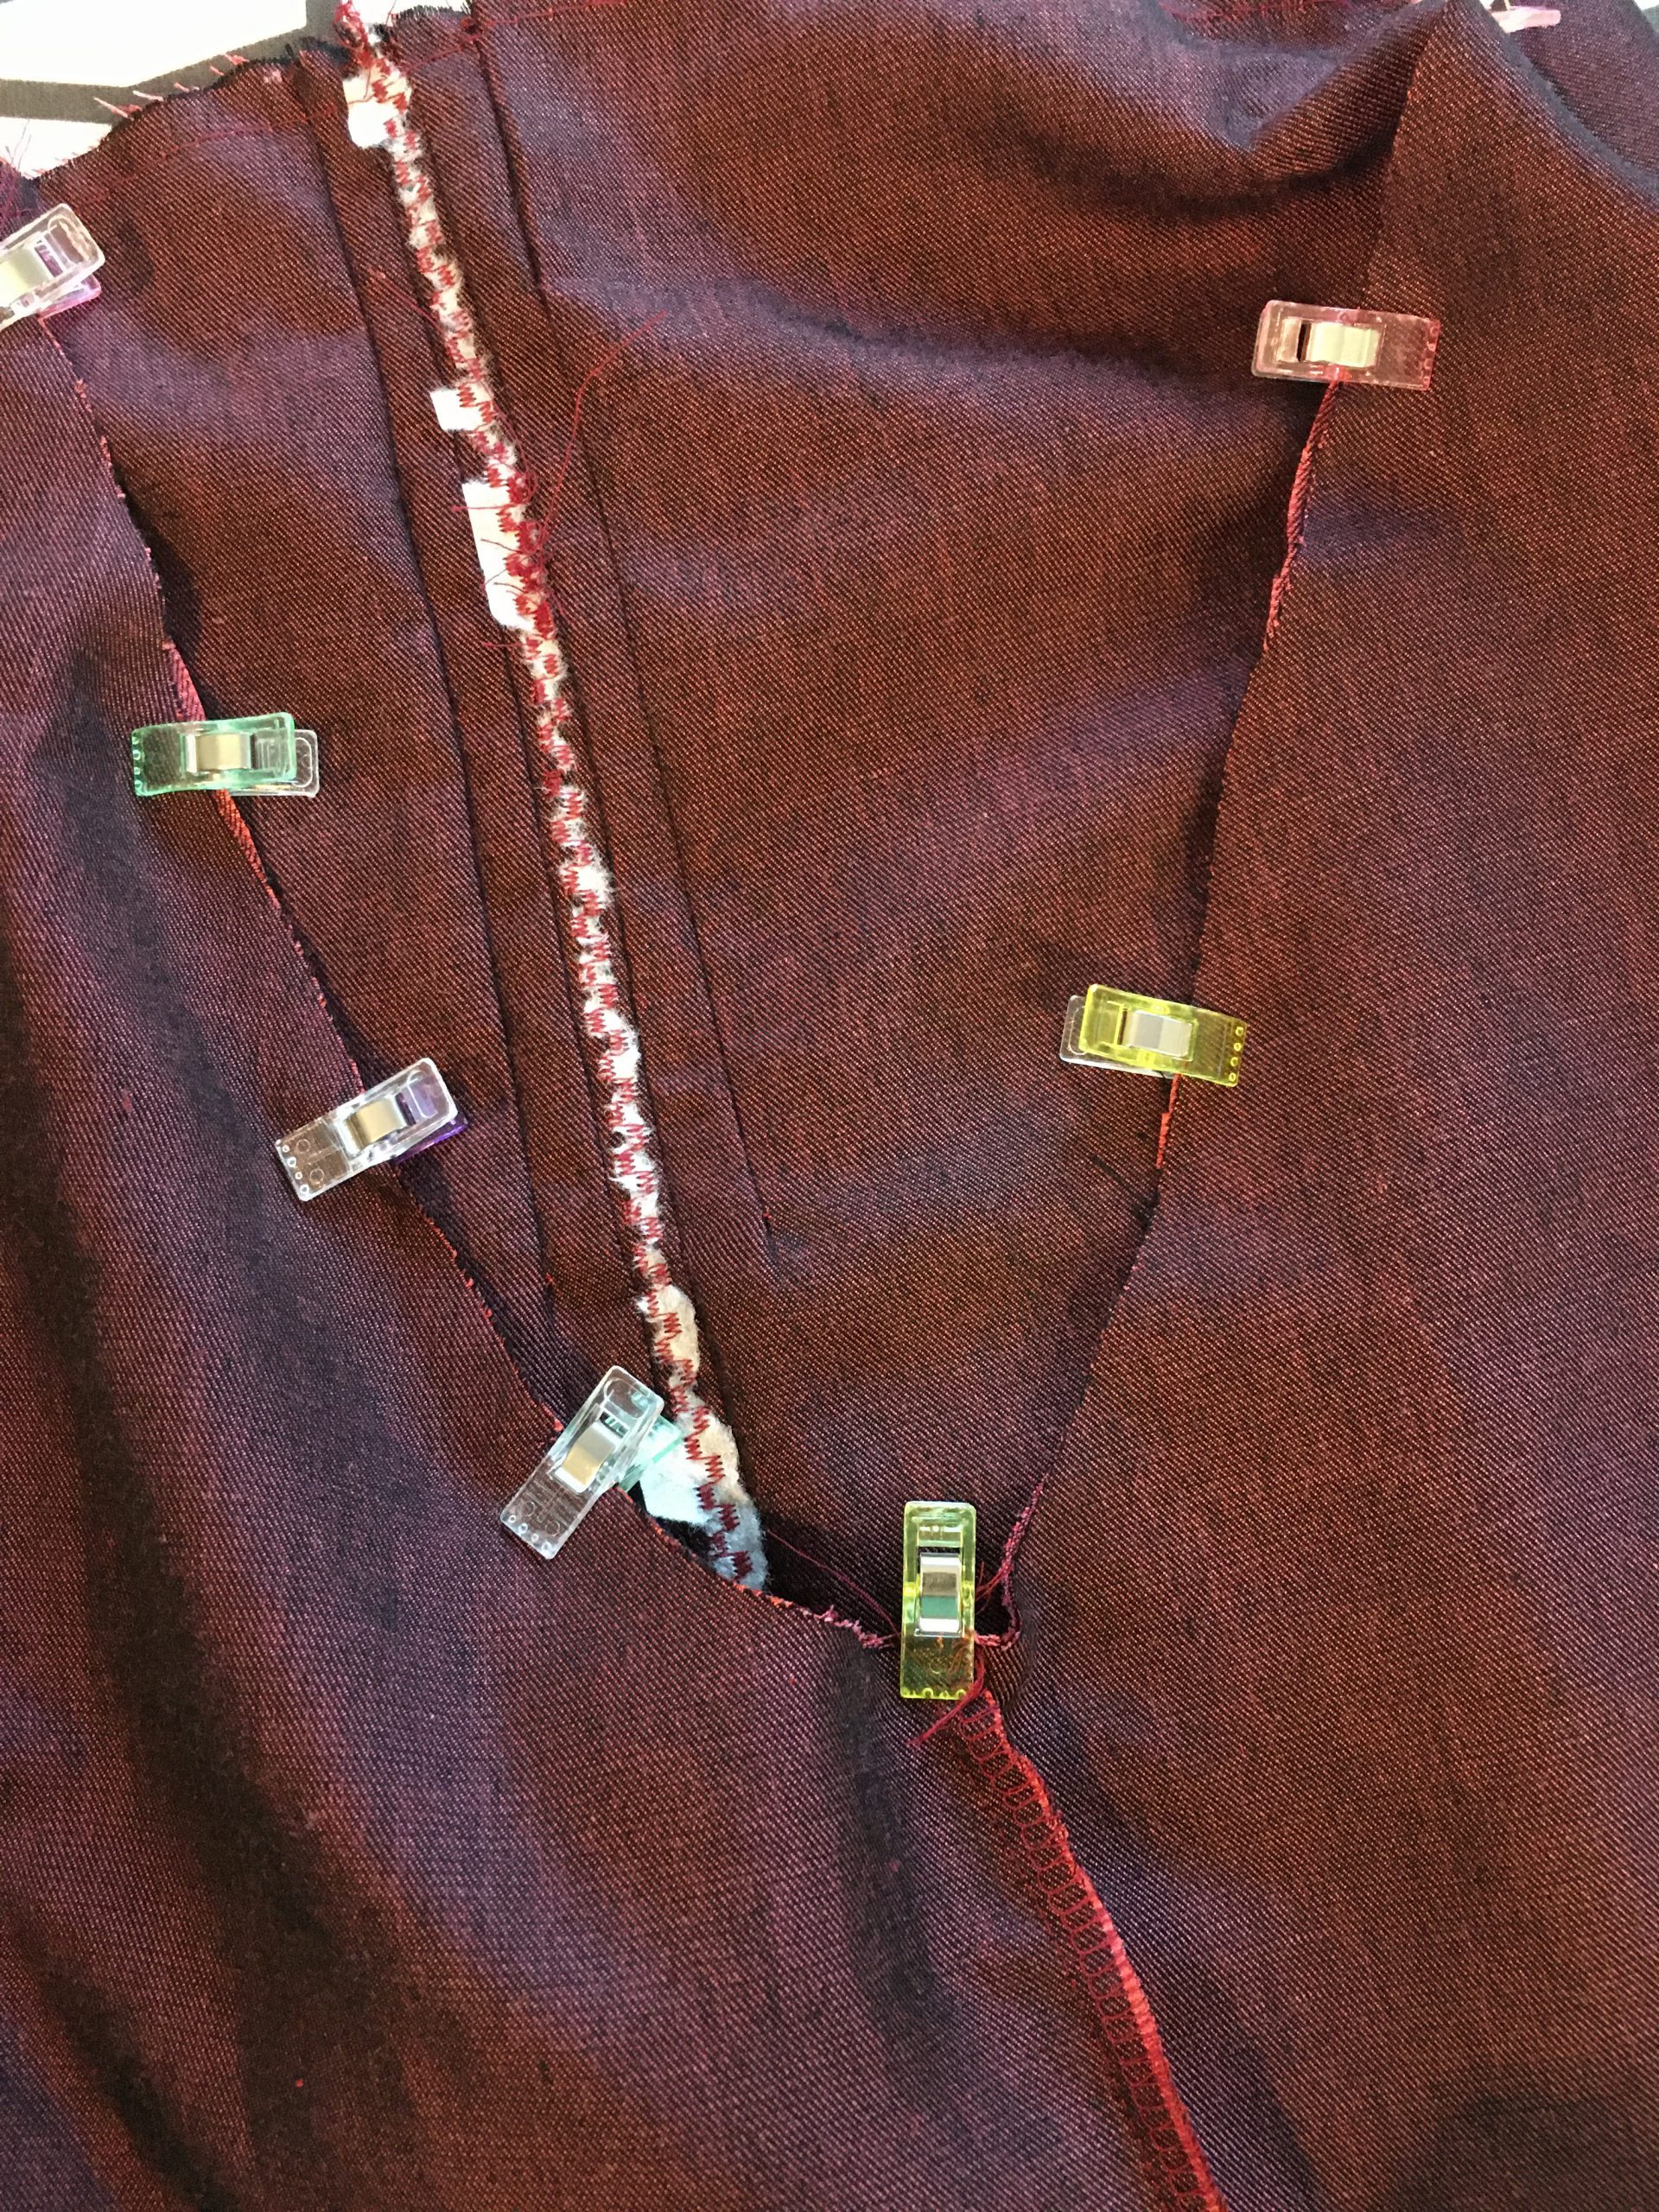
Step 3: Sewing the pintucks and decorative stitching
Now we’re going to add the pintucks to our blouse. Use the pintuck foot or sew the pintucks by hand by folding along your markings and topstitching with a very narrow 2mm fold to the end of the chalked line. When using the pintuck foot, use a twin needle and sew straight onto the flat fabric. The pintuck foot will create the pintuck automatically.
Once you’ve sewn all the pintucks on the front piece and the sleeves, it’s time to add the decorative stitching between the pintucks. Use chalk here to mark where each decorative stitch should finish, so that they all end up the same length. It’s also a good idea to place stitch-n-tear backing on the wrong side of the blouse where you’re adding the decorative stitching, as it makes the seams neater and stops the fabric getting damaged by the narrow stitches.
Select decorative stitch 405 and then sew along the center line between the pintucks.

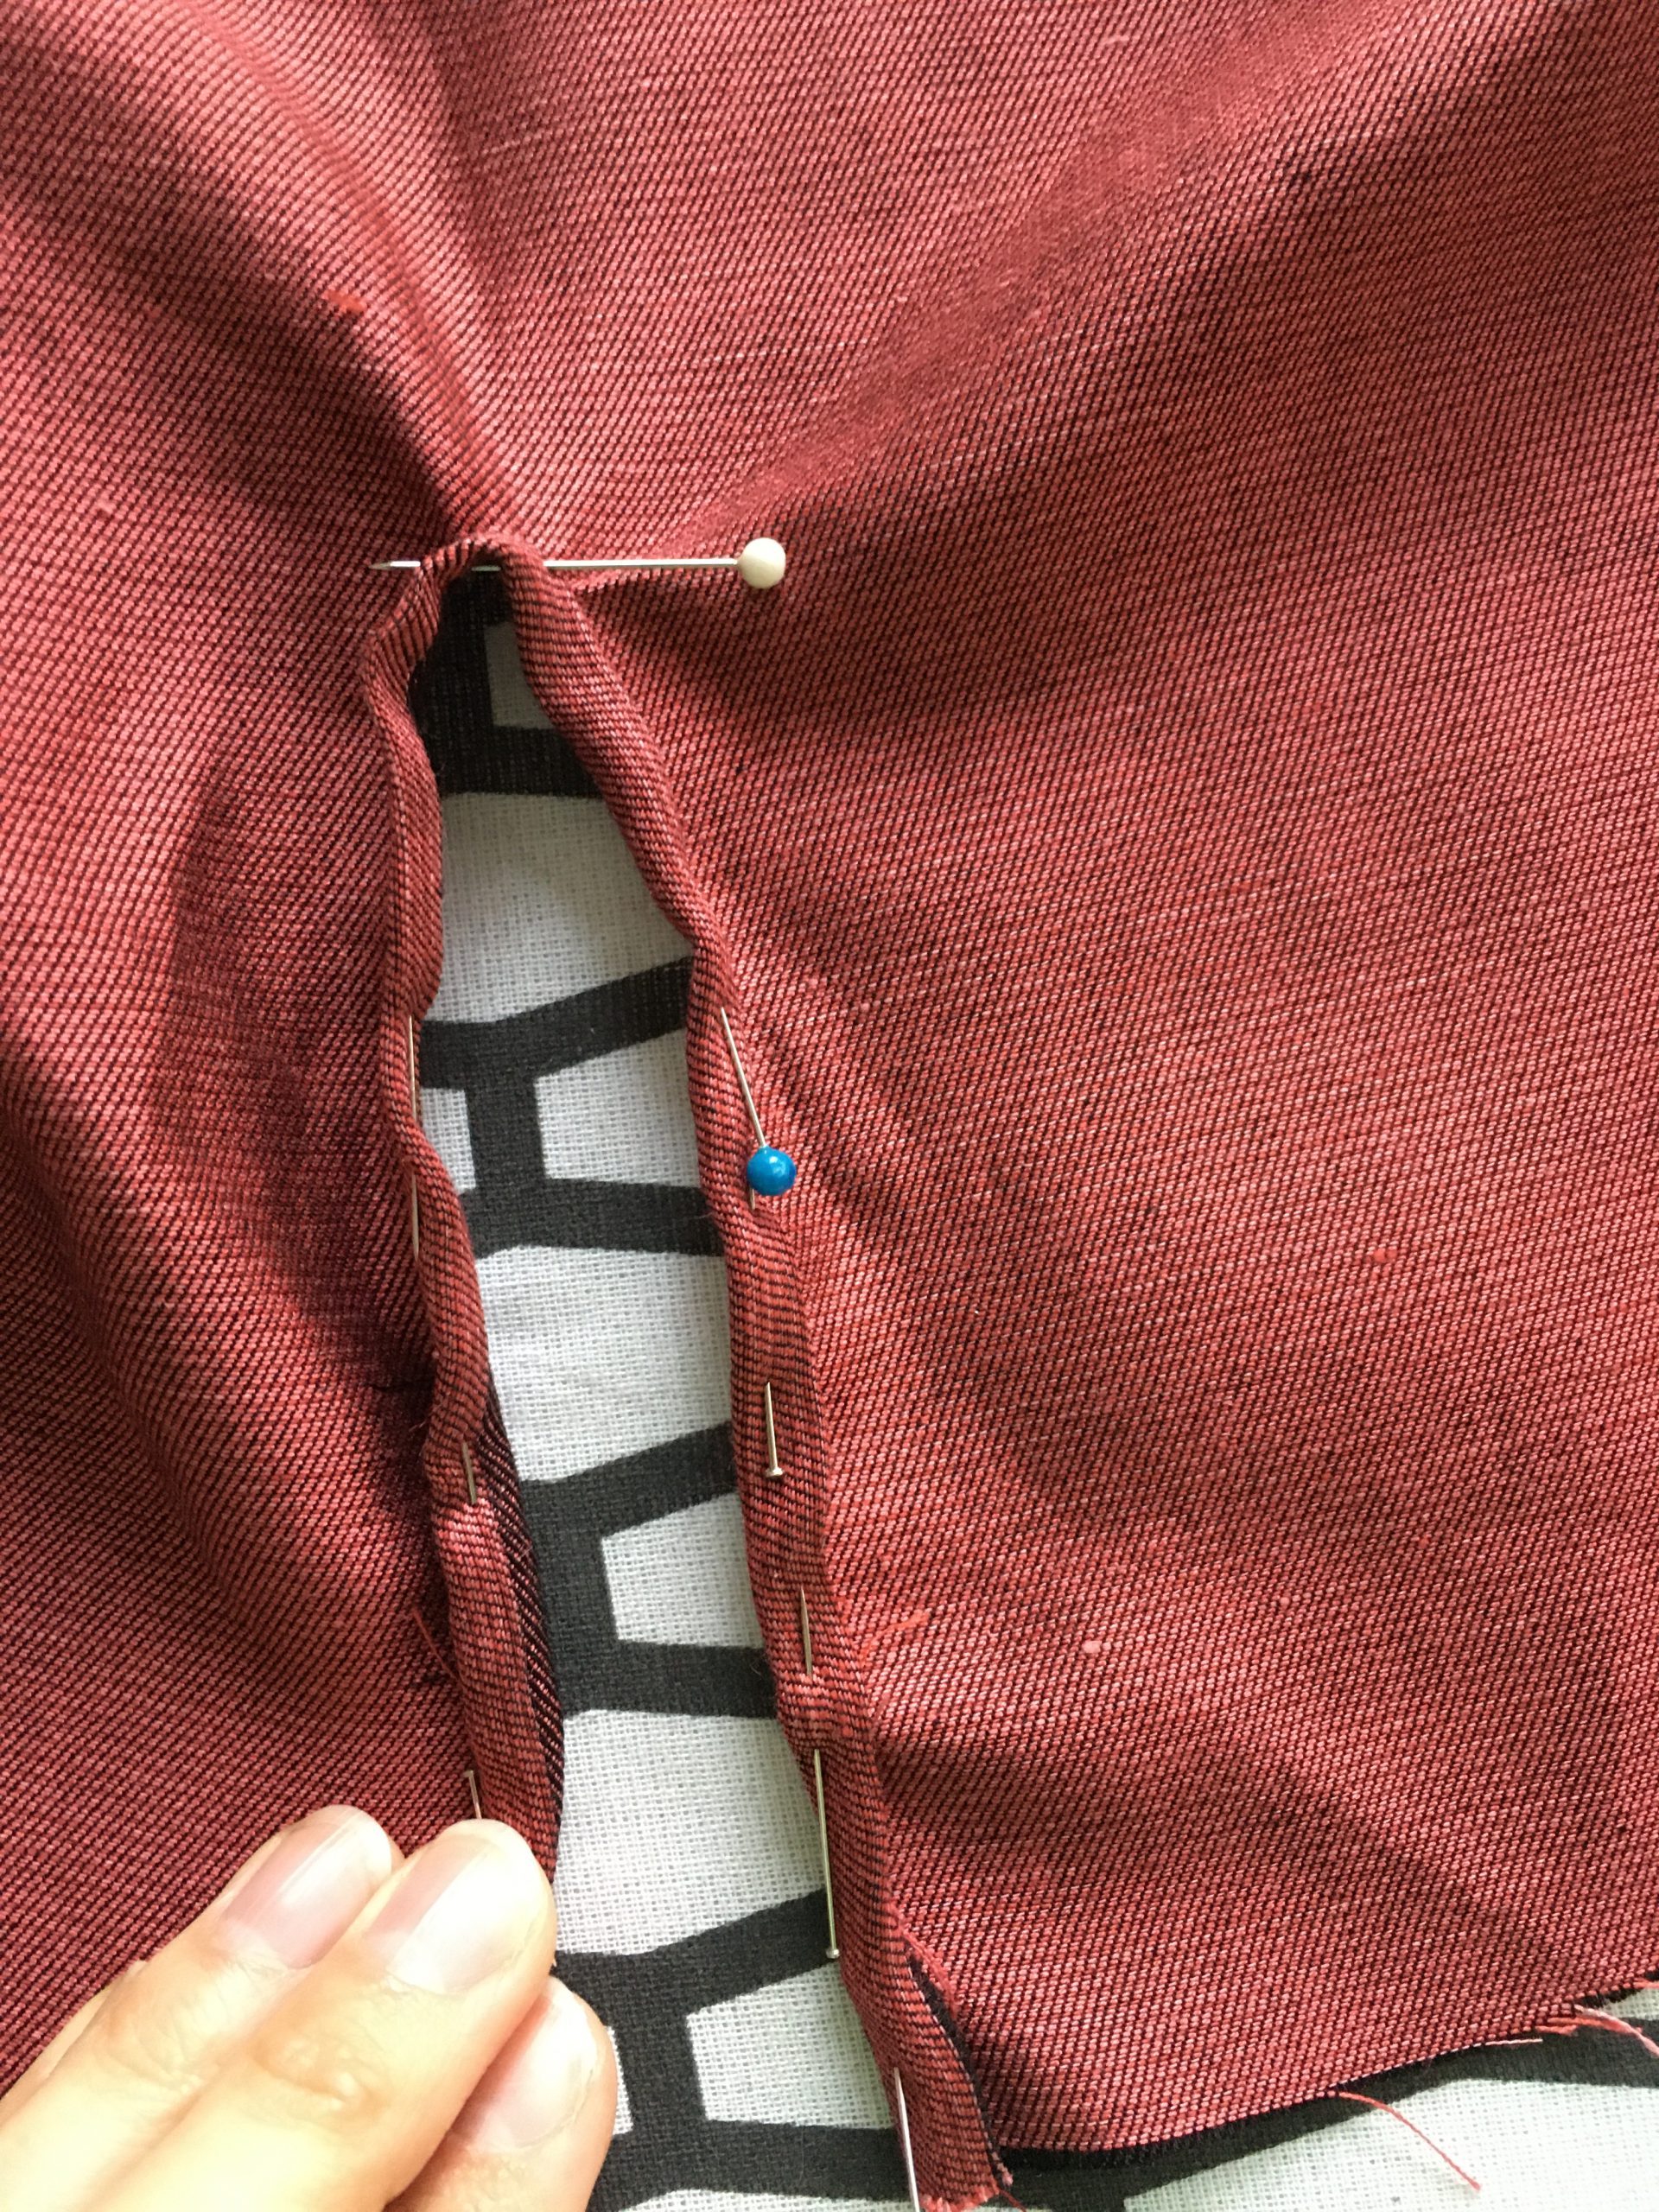
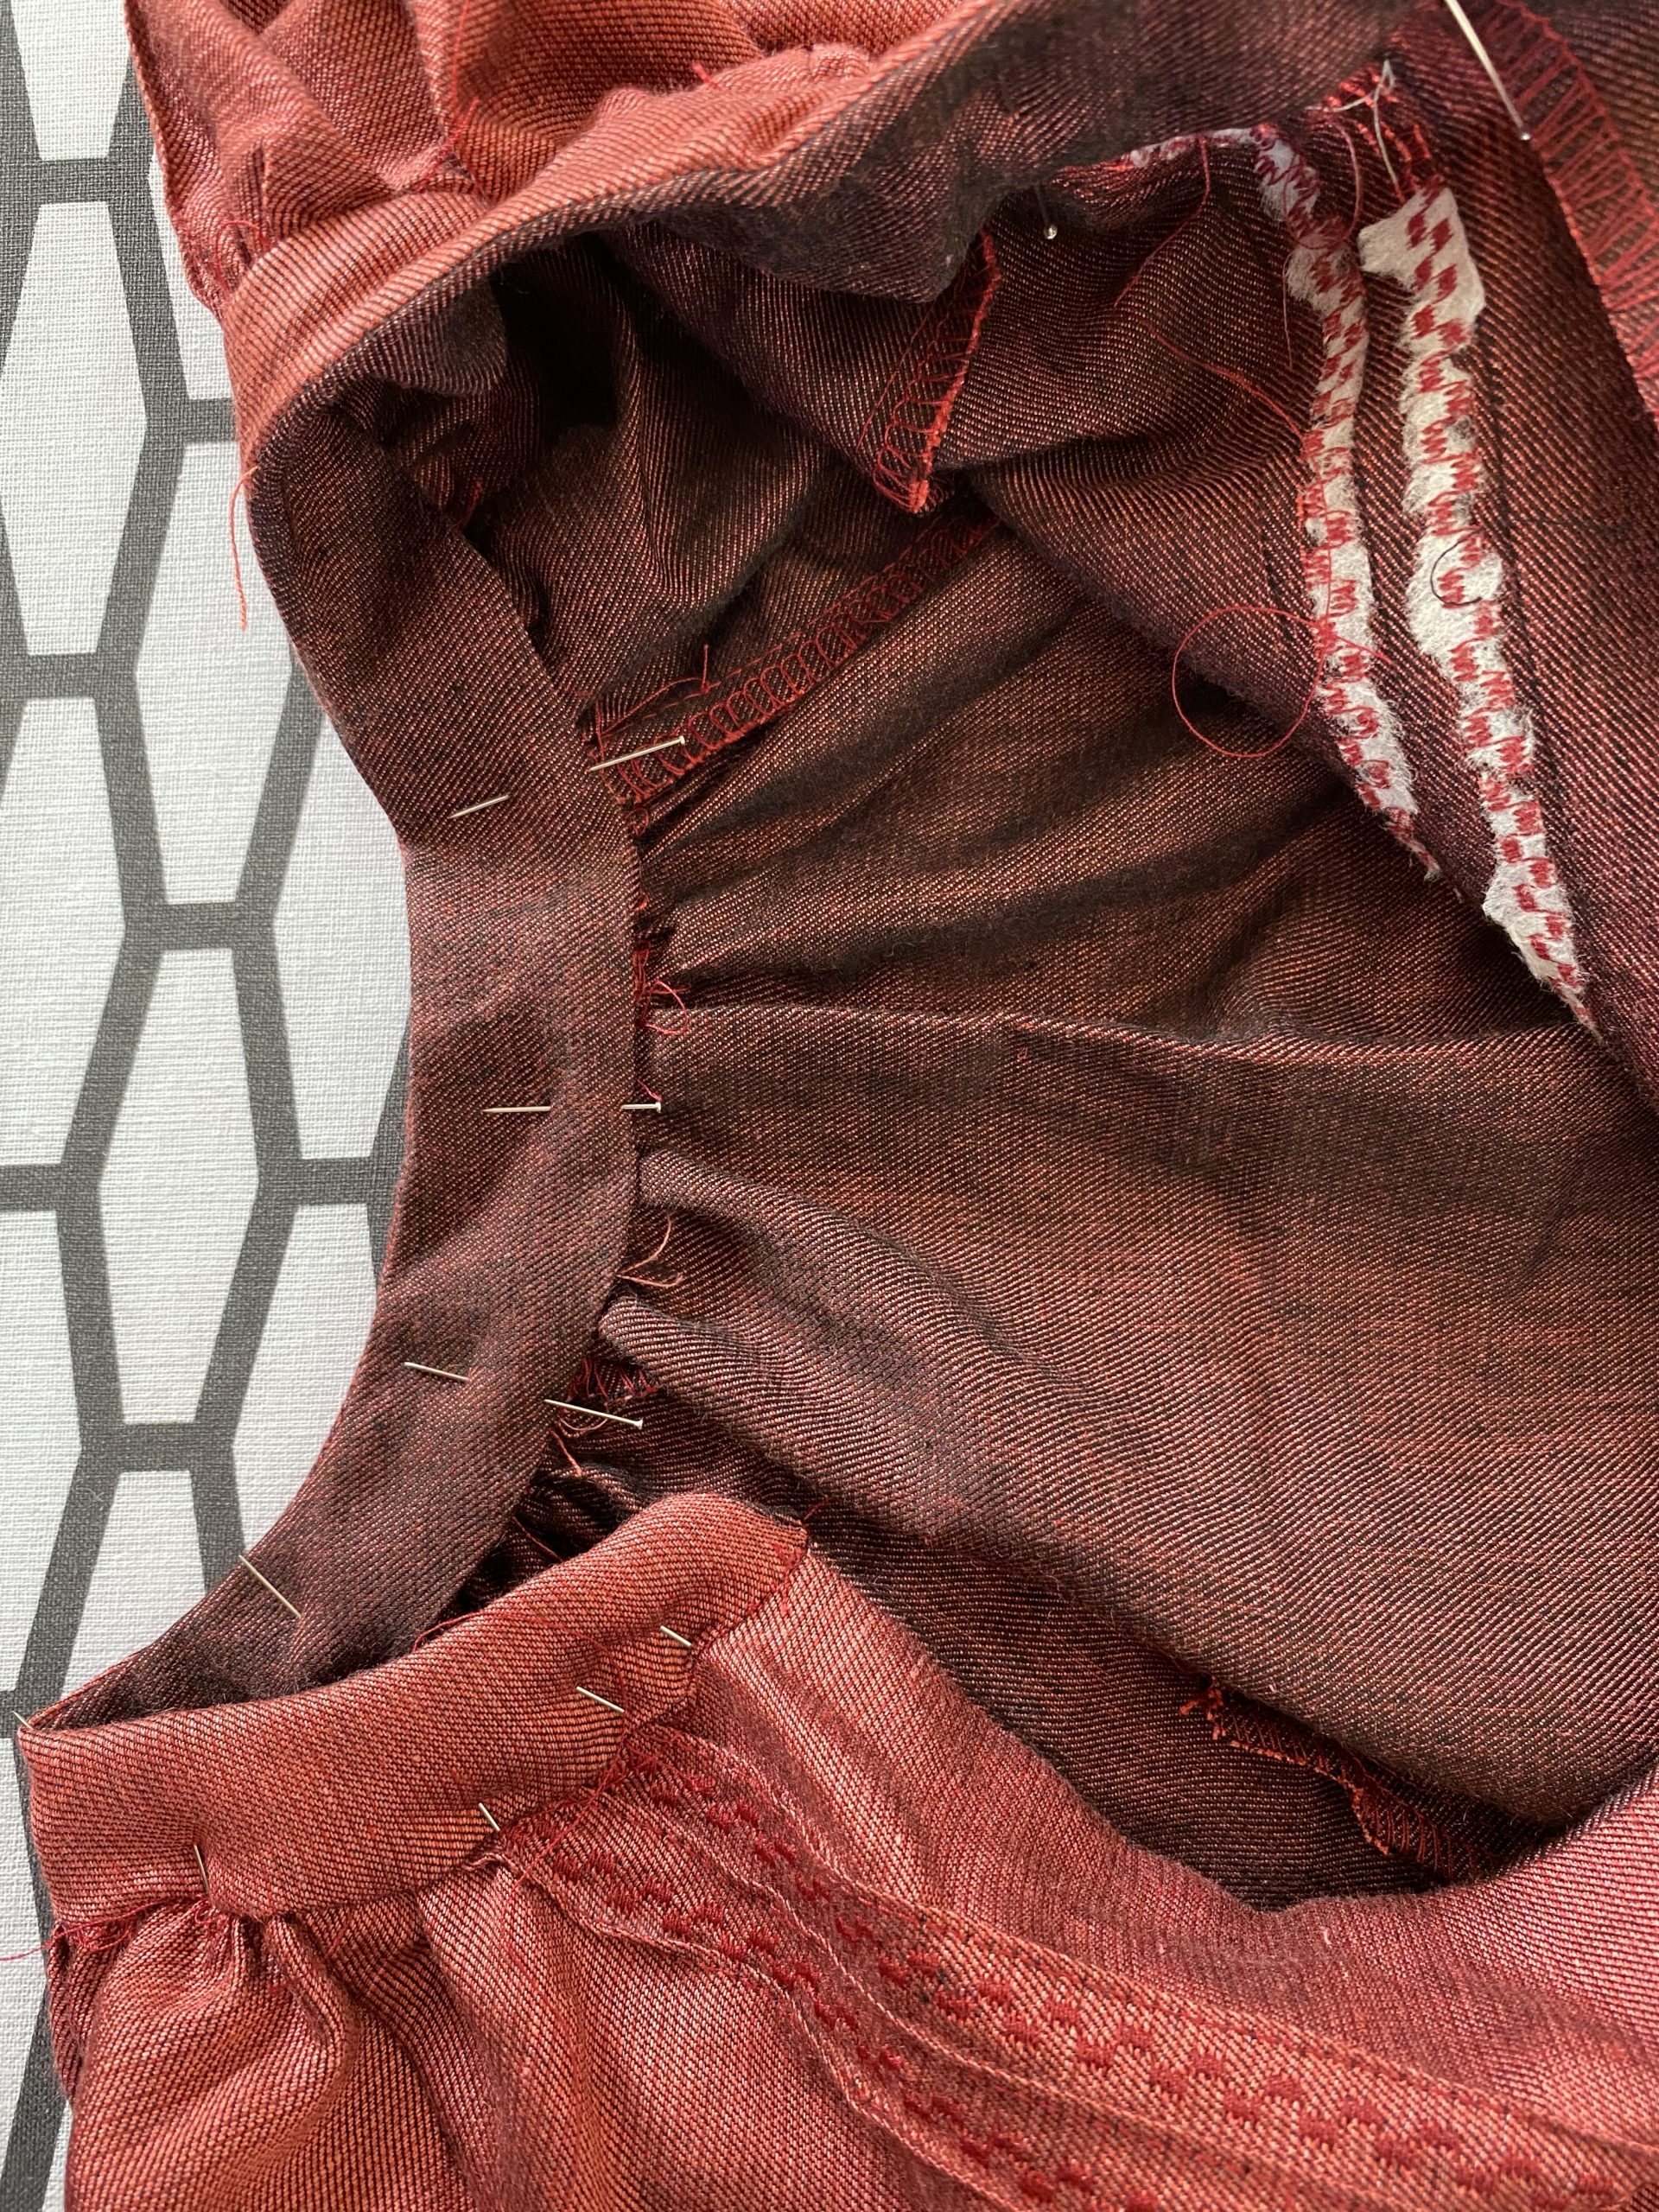
Step 4: Working the slits in the sleeves
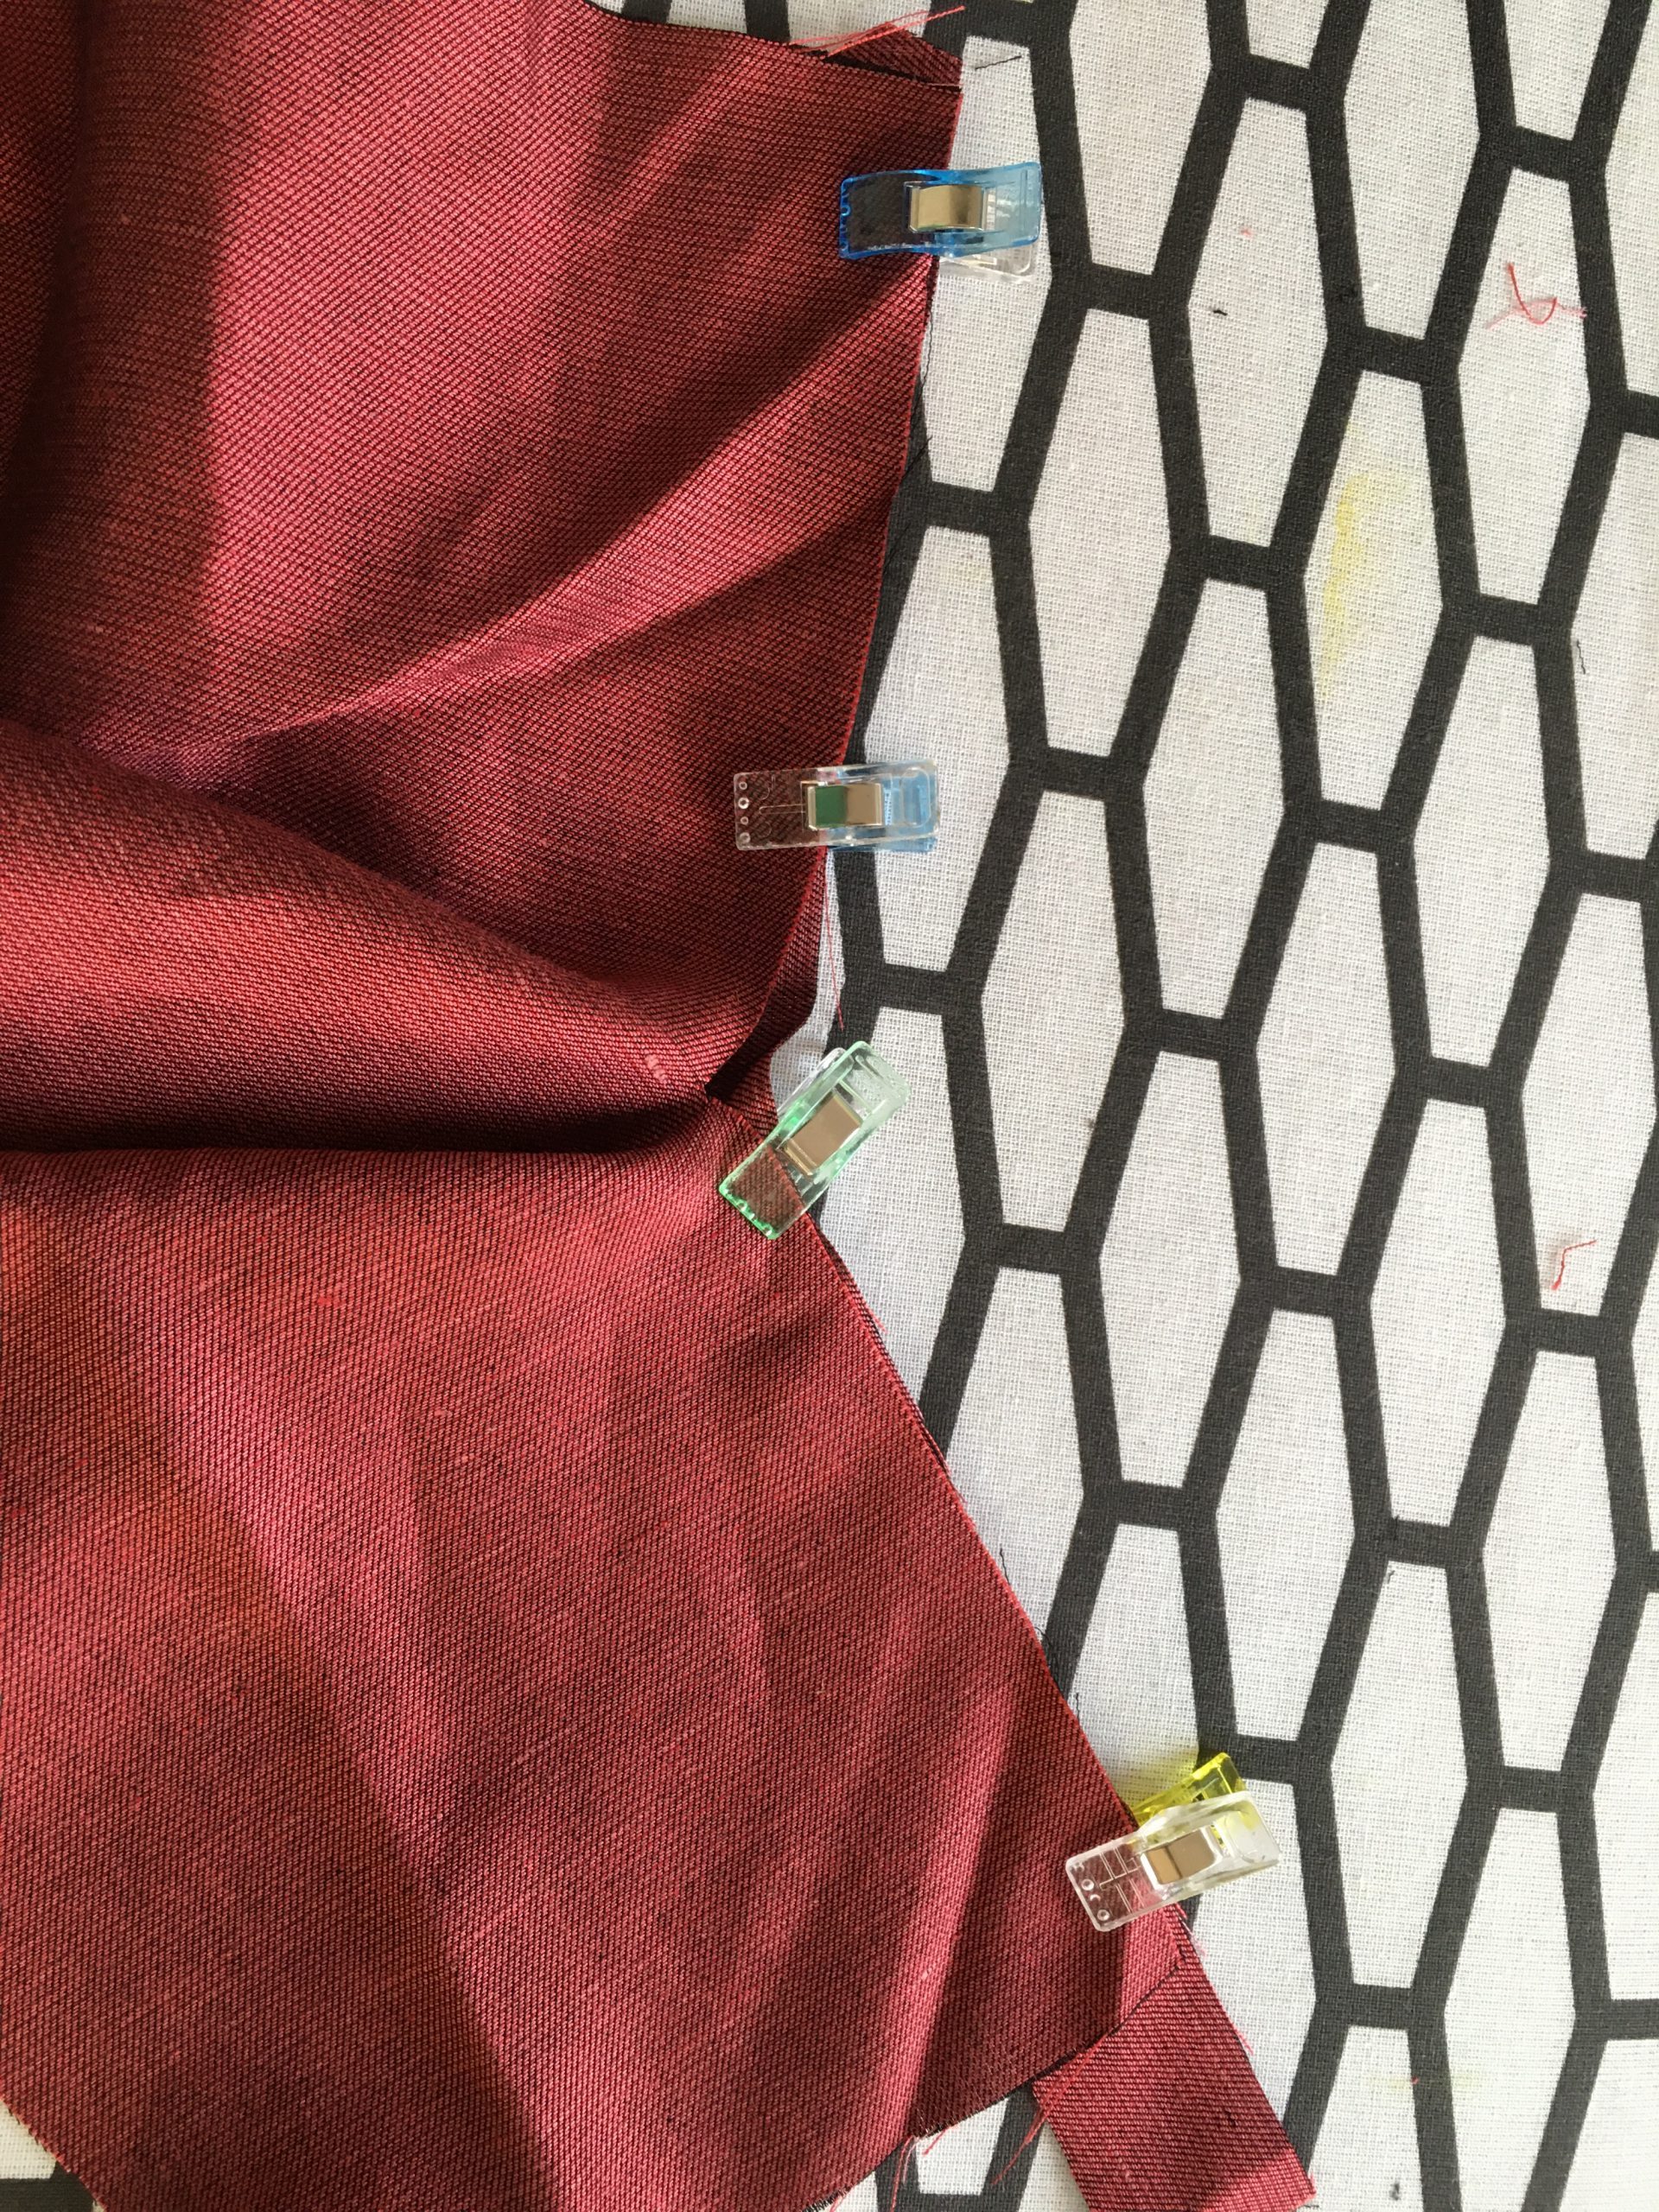
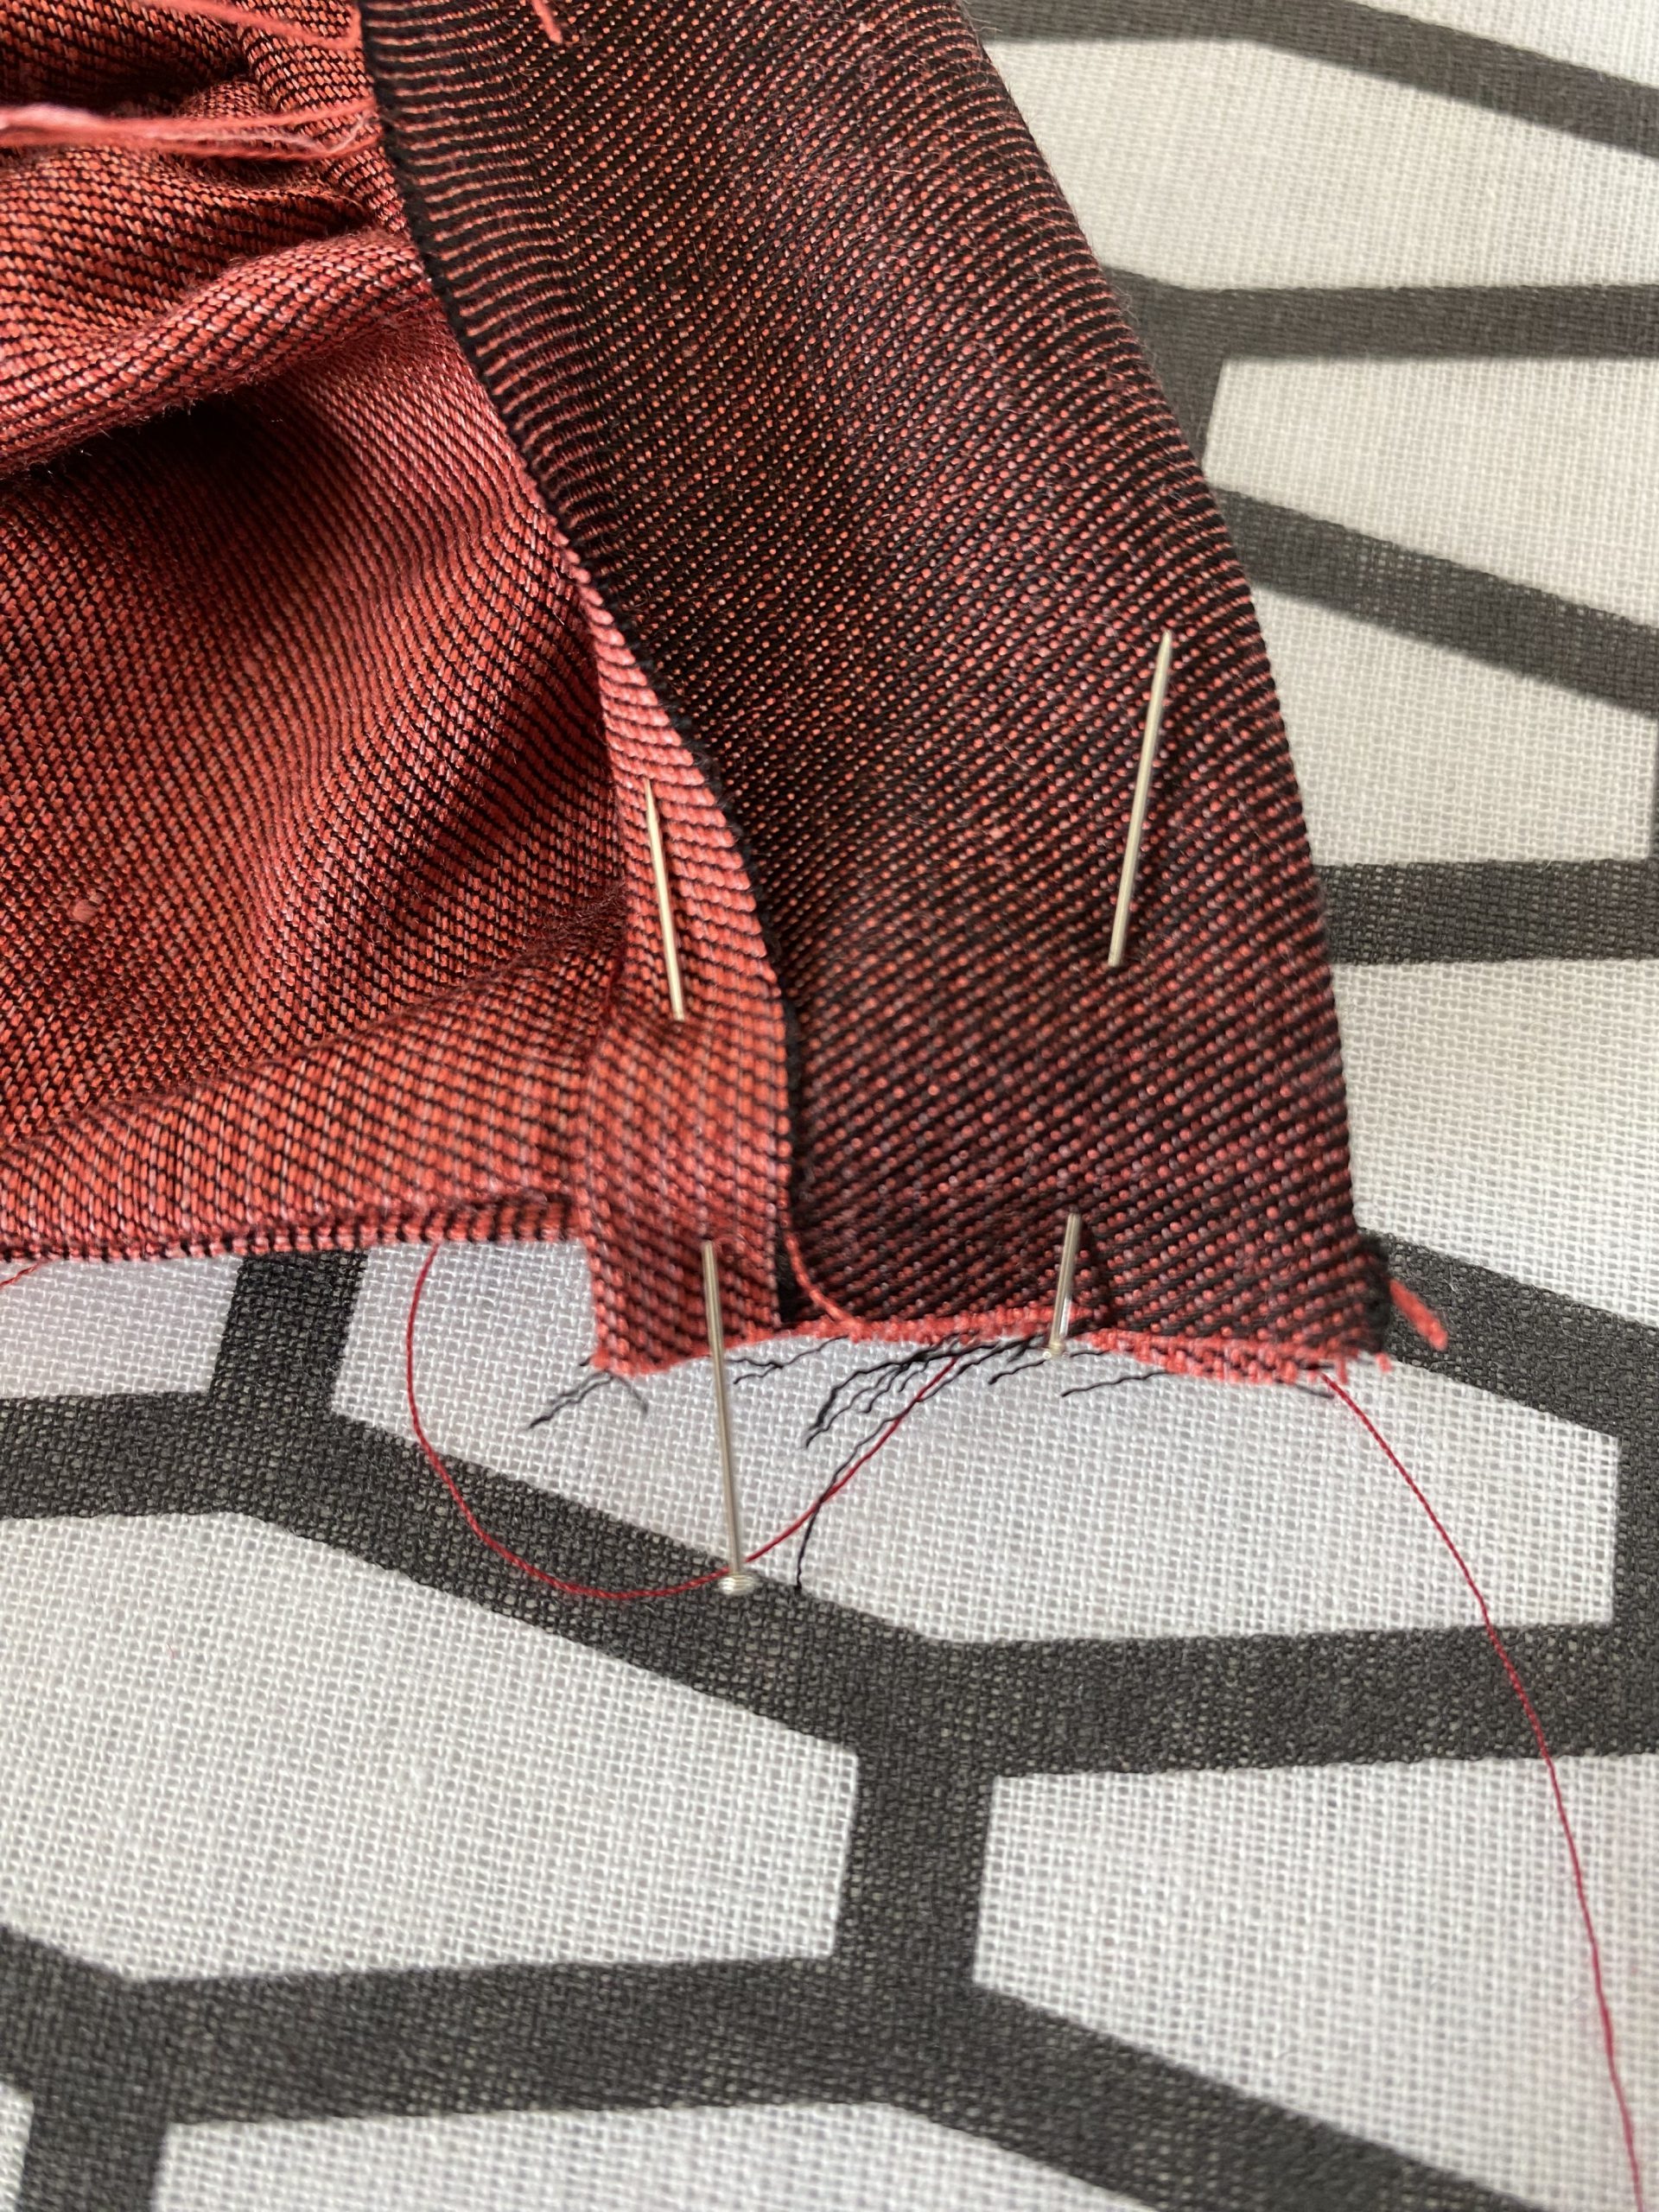
Now you’re ready to complete the slits in the sleeves of the Magnolia blouse. First, clip the long fabric strip you cut earlier onto the sleeve slit, right sides facing wrong sides. Then fold this back and sew with a 7mm seam allowance, catching the fabric at the top of the slit so that it lines up as smoothly as possible with both sides of the slit.
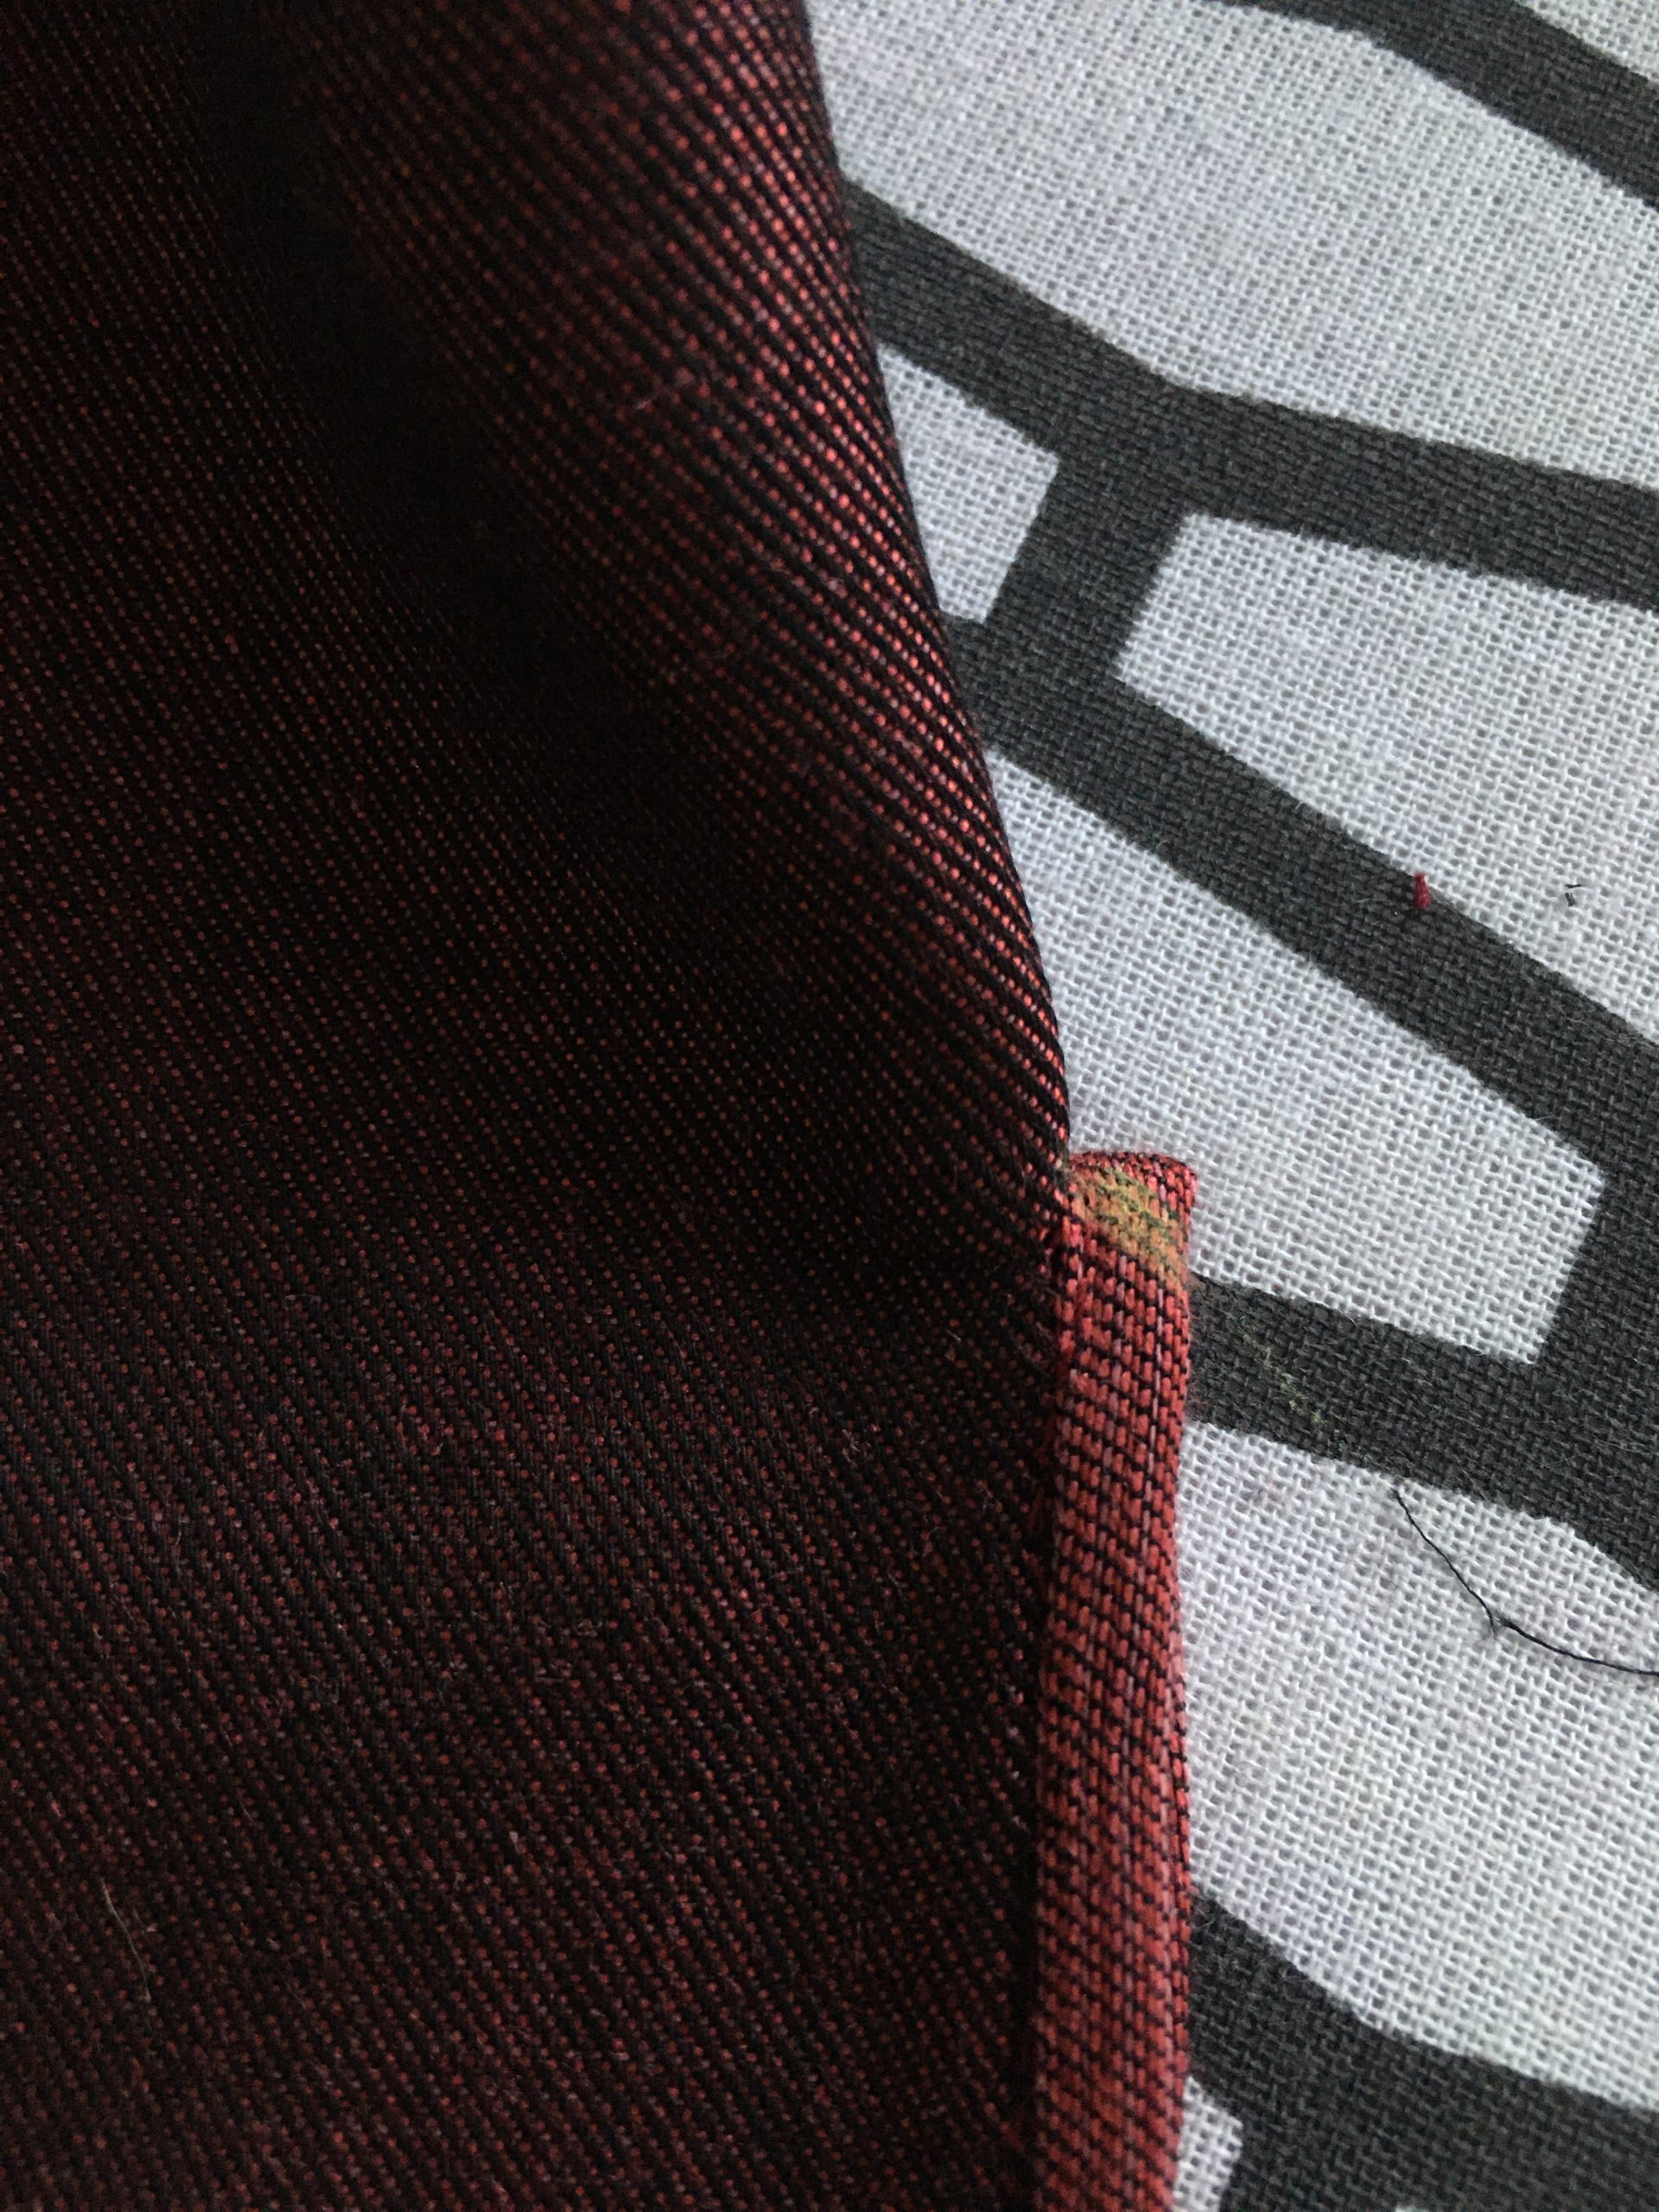
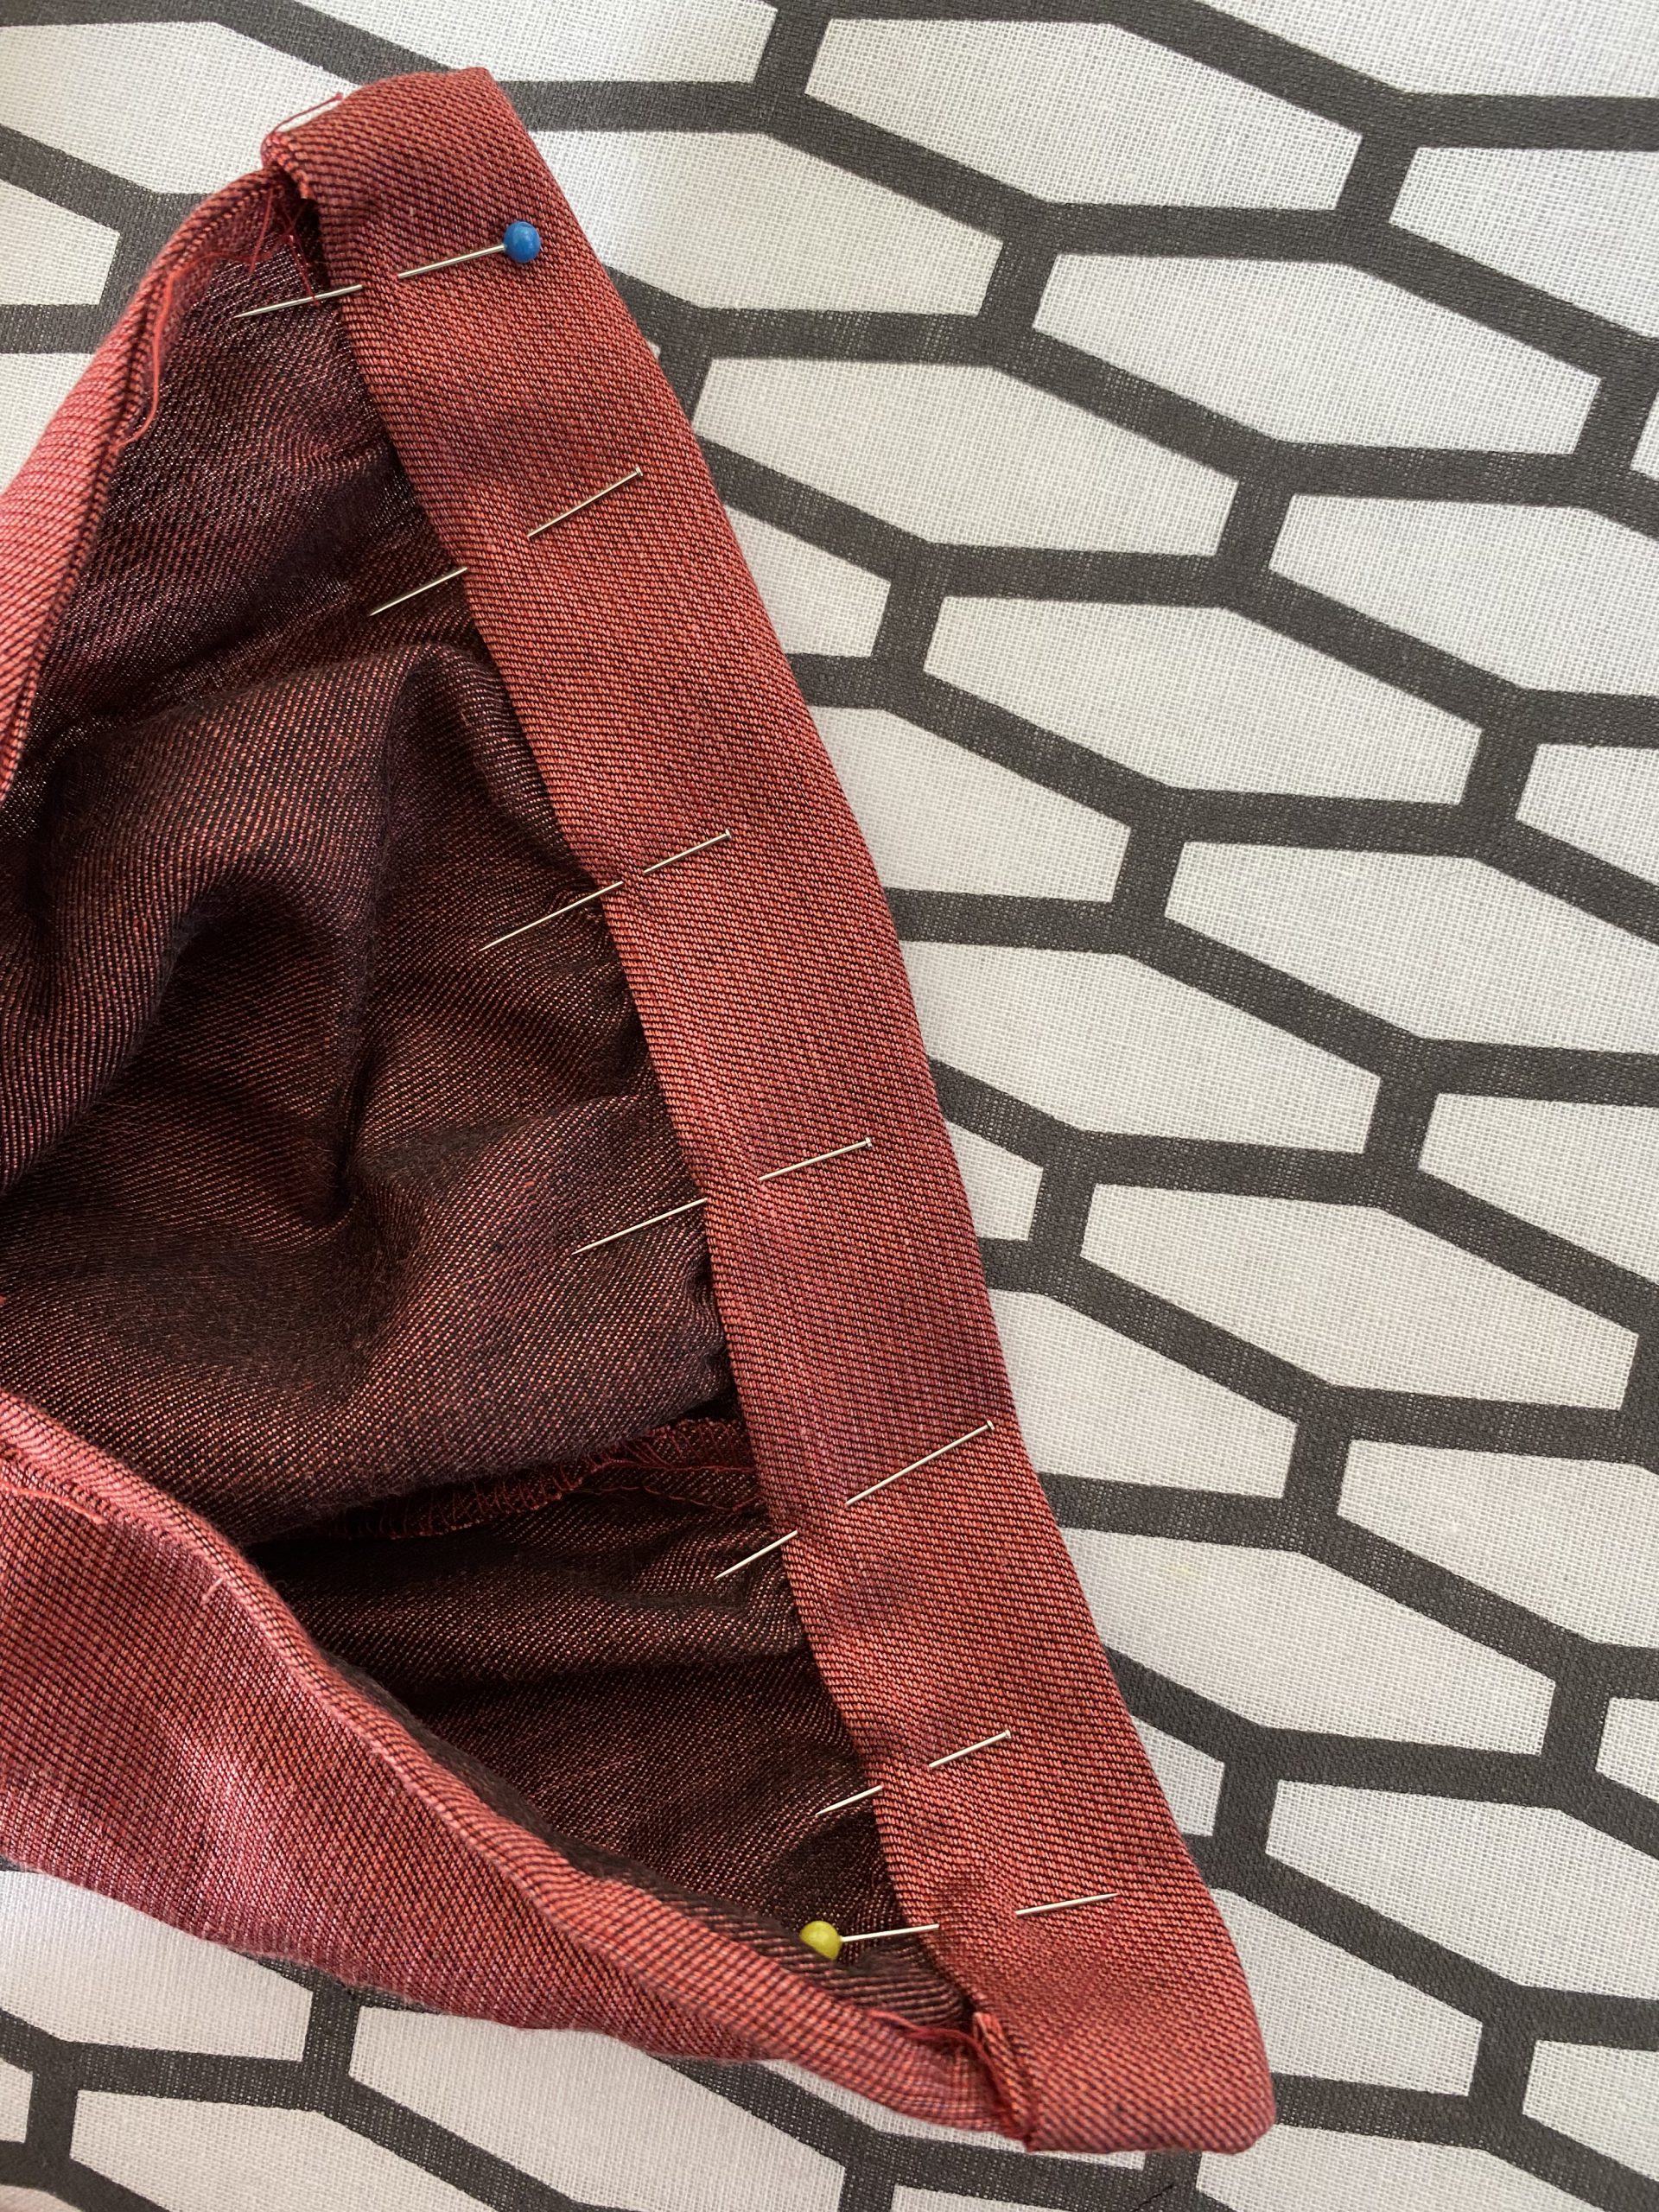
Now iron the open edge of the strip 7mm inwards and fold the facing over the seam you have just sewn. Pin everything together firmly and topstitch all the way around, close to the edges.
Turn the sleeves so the wrong side is facing you and lay each of the slit sides exactly on top of each other. Then mark the upper corner at a 45° angle and sew along this short line.
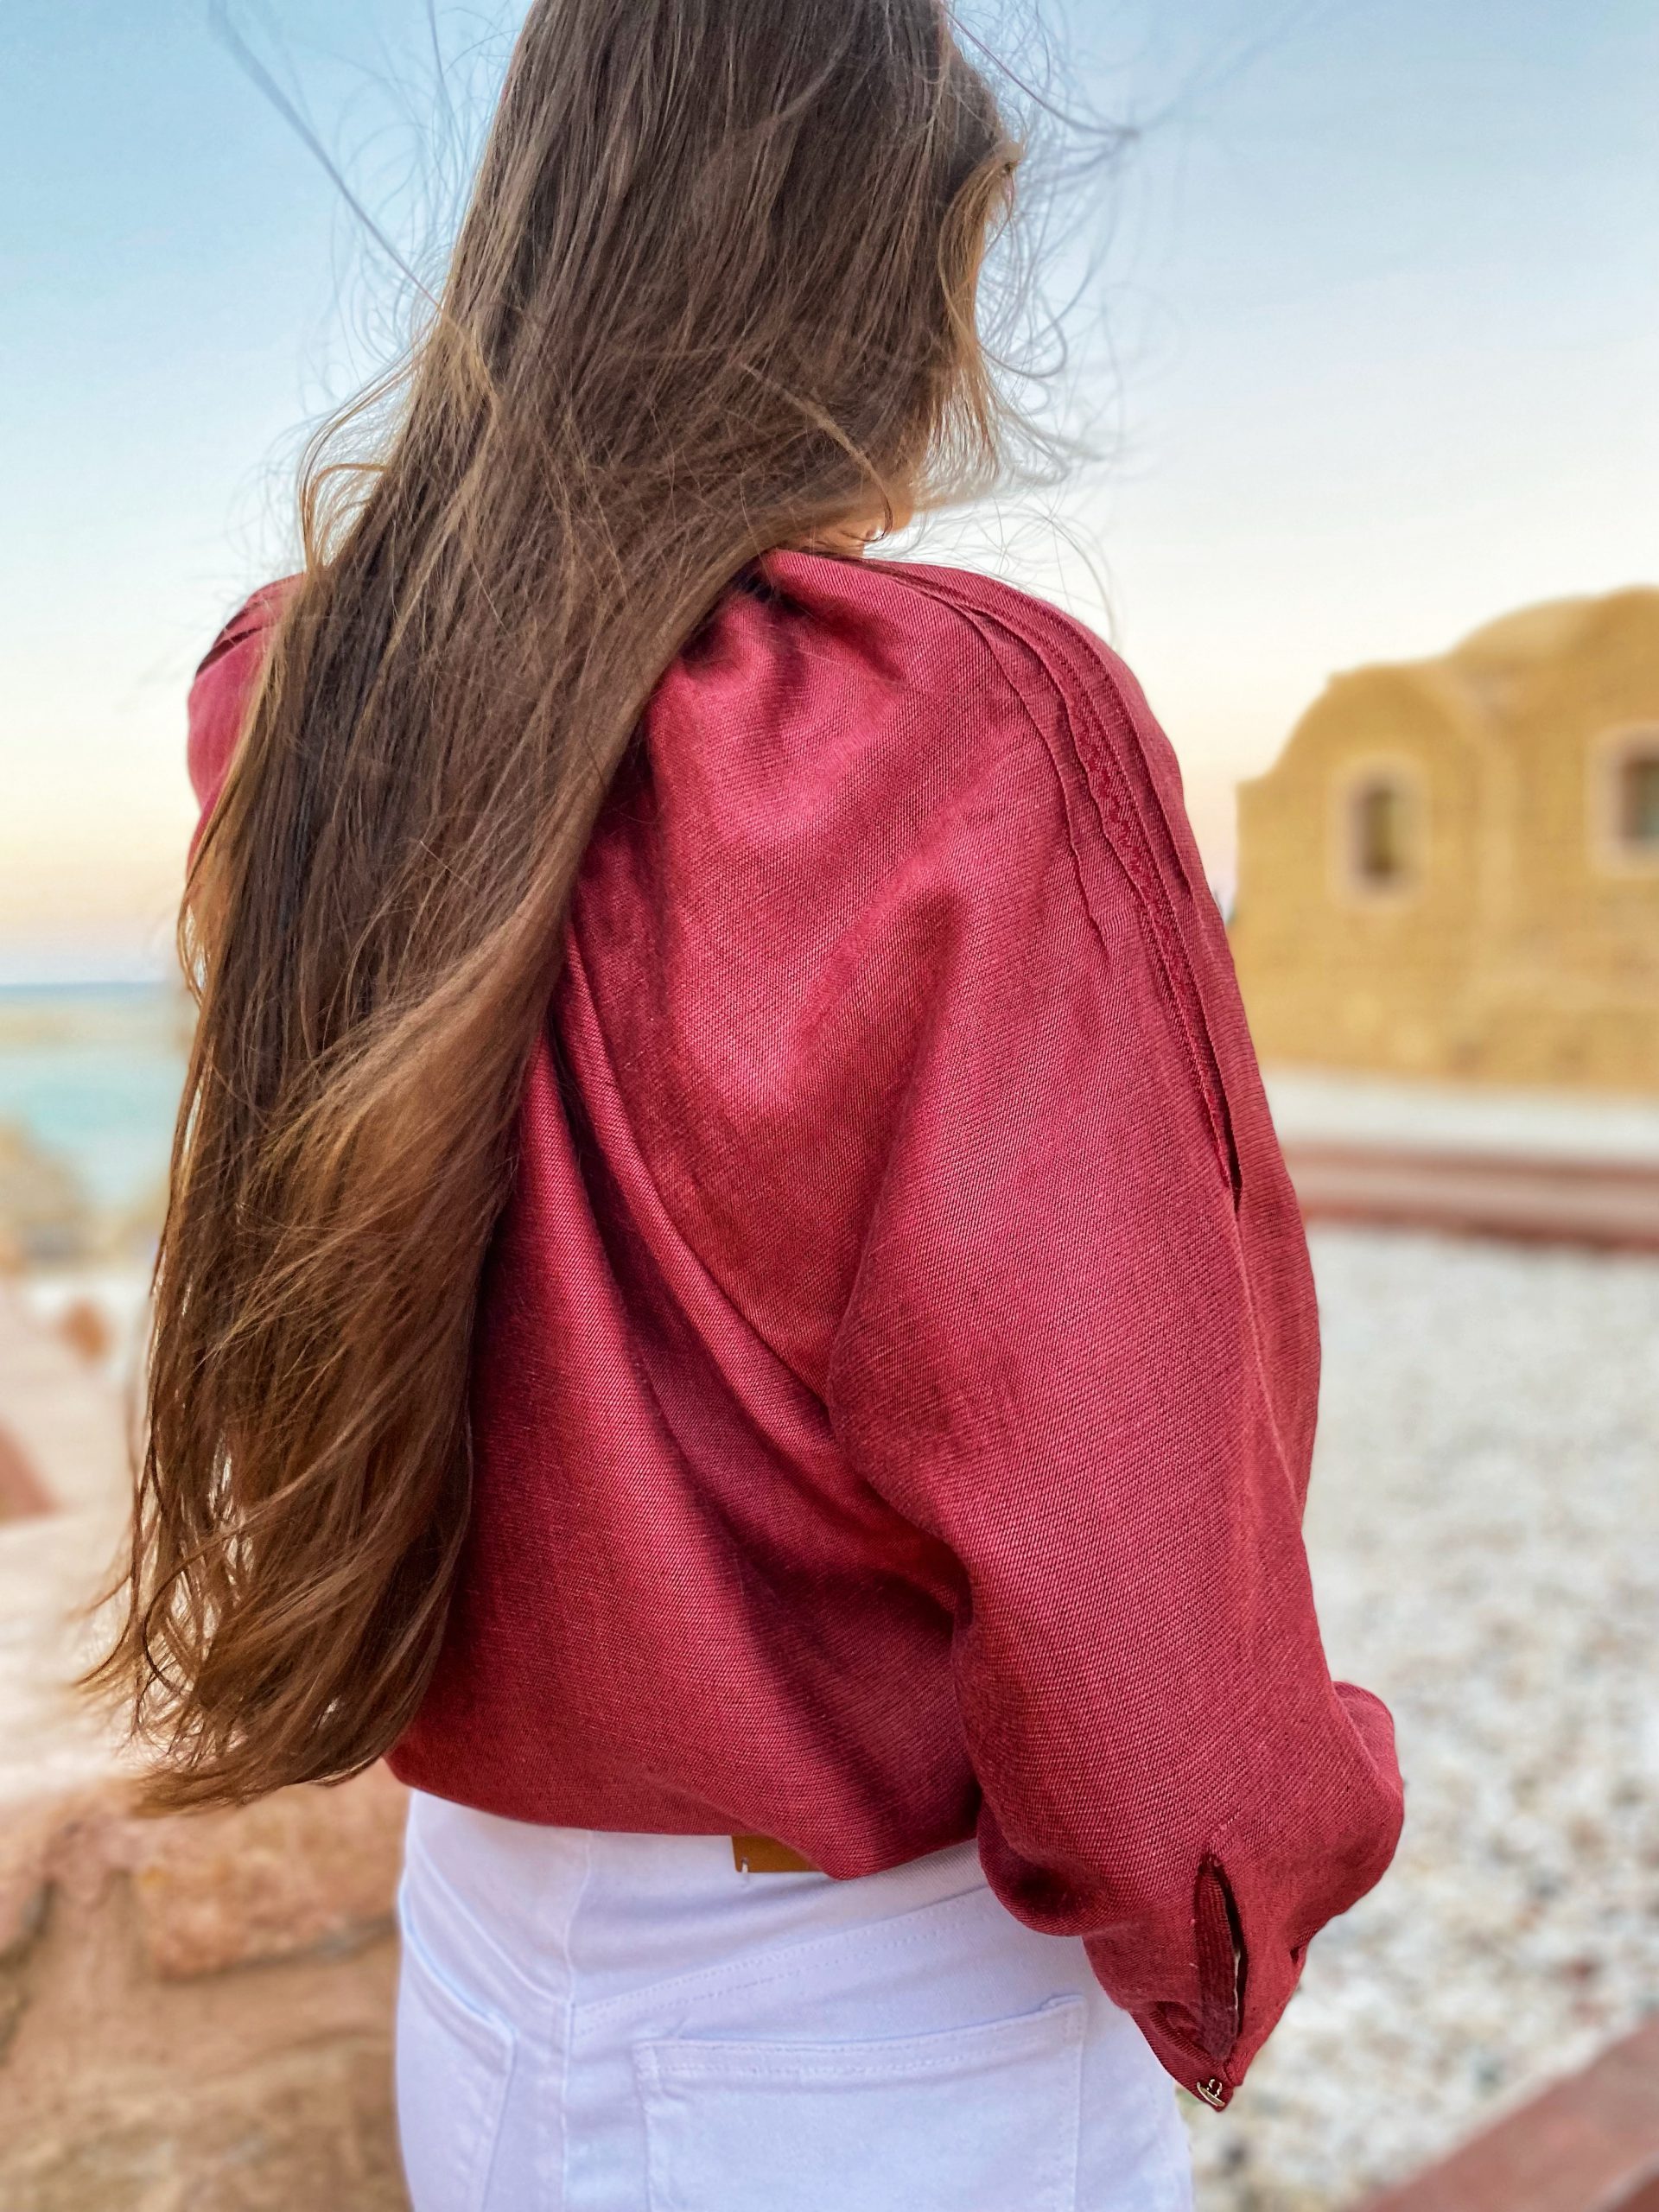
Step 5: Finishing the sleeves
Iron the interlining onto the cuffs and fold them down the middle. Sew the cuffs onto the sleeves at the bottom, as normal. Then add a small loop to one side and the button to the other side. To make the loop as subtle as possible, I created it from knotted thread.

Now gather the top edge of the sleeves by sewing two parallel seams with a long stitch length and then pulling on the lower thread. Then adjust the width of the sleeves using the template.
Step 6: Sewing the front and back pieces
Sew together the front and back pieces of the Magnolia blouse up to the marking from the pattern. Then neaten the seam up to this point using the overlocker.
Now turn over the ends below the markings twice and sew in place. 
You can then sew the seams at the bottom. Turn over again twice and sew in place using straight stitch.
Gather the upper edge of the back piece using two parallel rows as well.
Step 7: Attaching the sleeves and sewing the collar
Now attach the sleeves, sew everything in place and neaten using the overlocker.
Iron the interlining onto the collar and mark the seam allowances with chalk.
Then clip the collar piece to the blouse, right sides together. Start at the seam allowance marking and make sure to also finish at this point on the other side. After sewing on this collar piece, clip the inner collar piece to the one you’ve just sewn, right sides together. At the start and end, fold the seam allowance under towards the inside and sew this in place all the way around.

Then fold the seam allowance of the inner collar piece under and clip this down. From the right side, stitch down the seam allowance in the ditch.
Sew on a small loop here as well and add the button on the other side.
Now your Magnolia blouse is ready to wear. Happy sewing!


0 Responses