 BERNINA Corporate Blog -
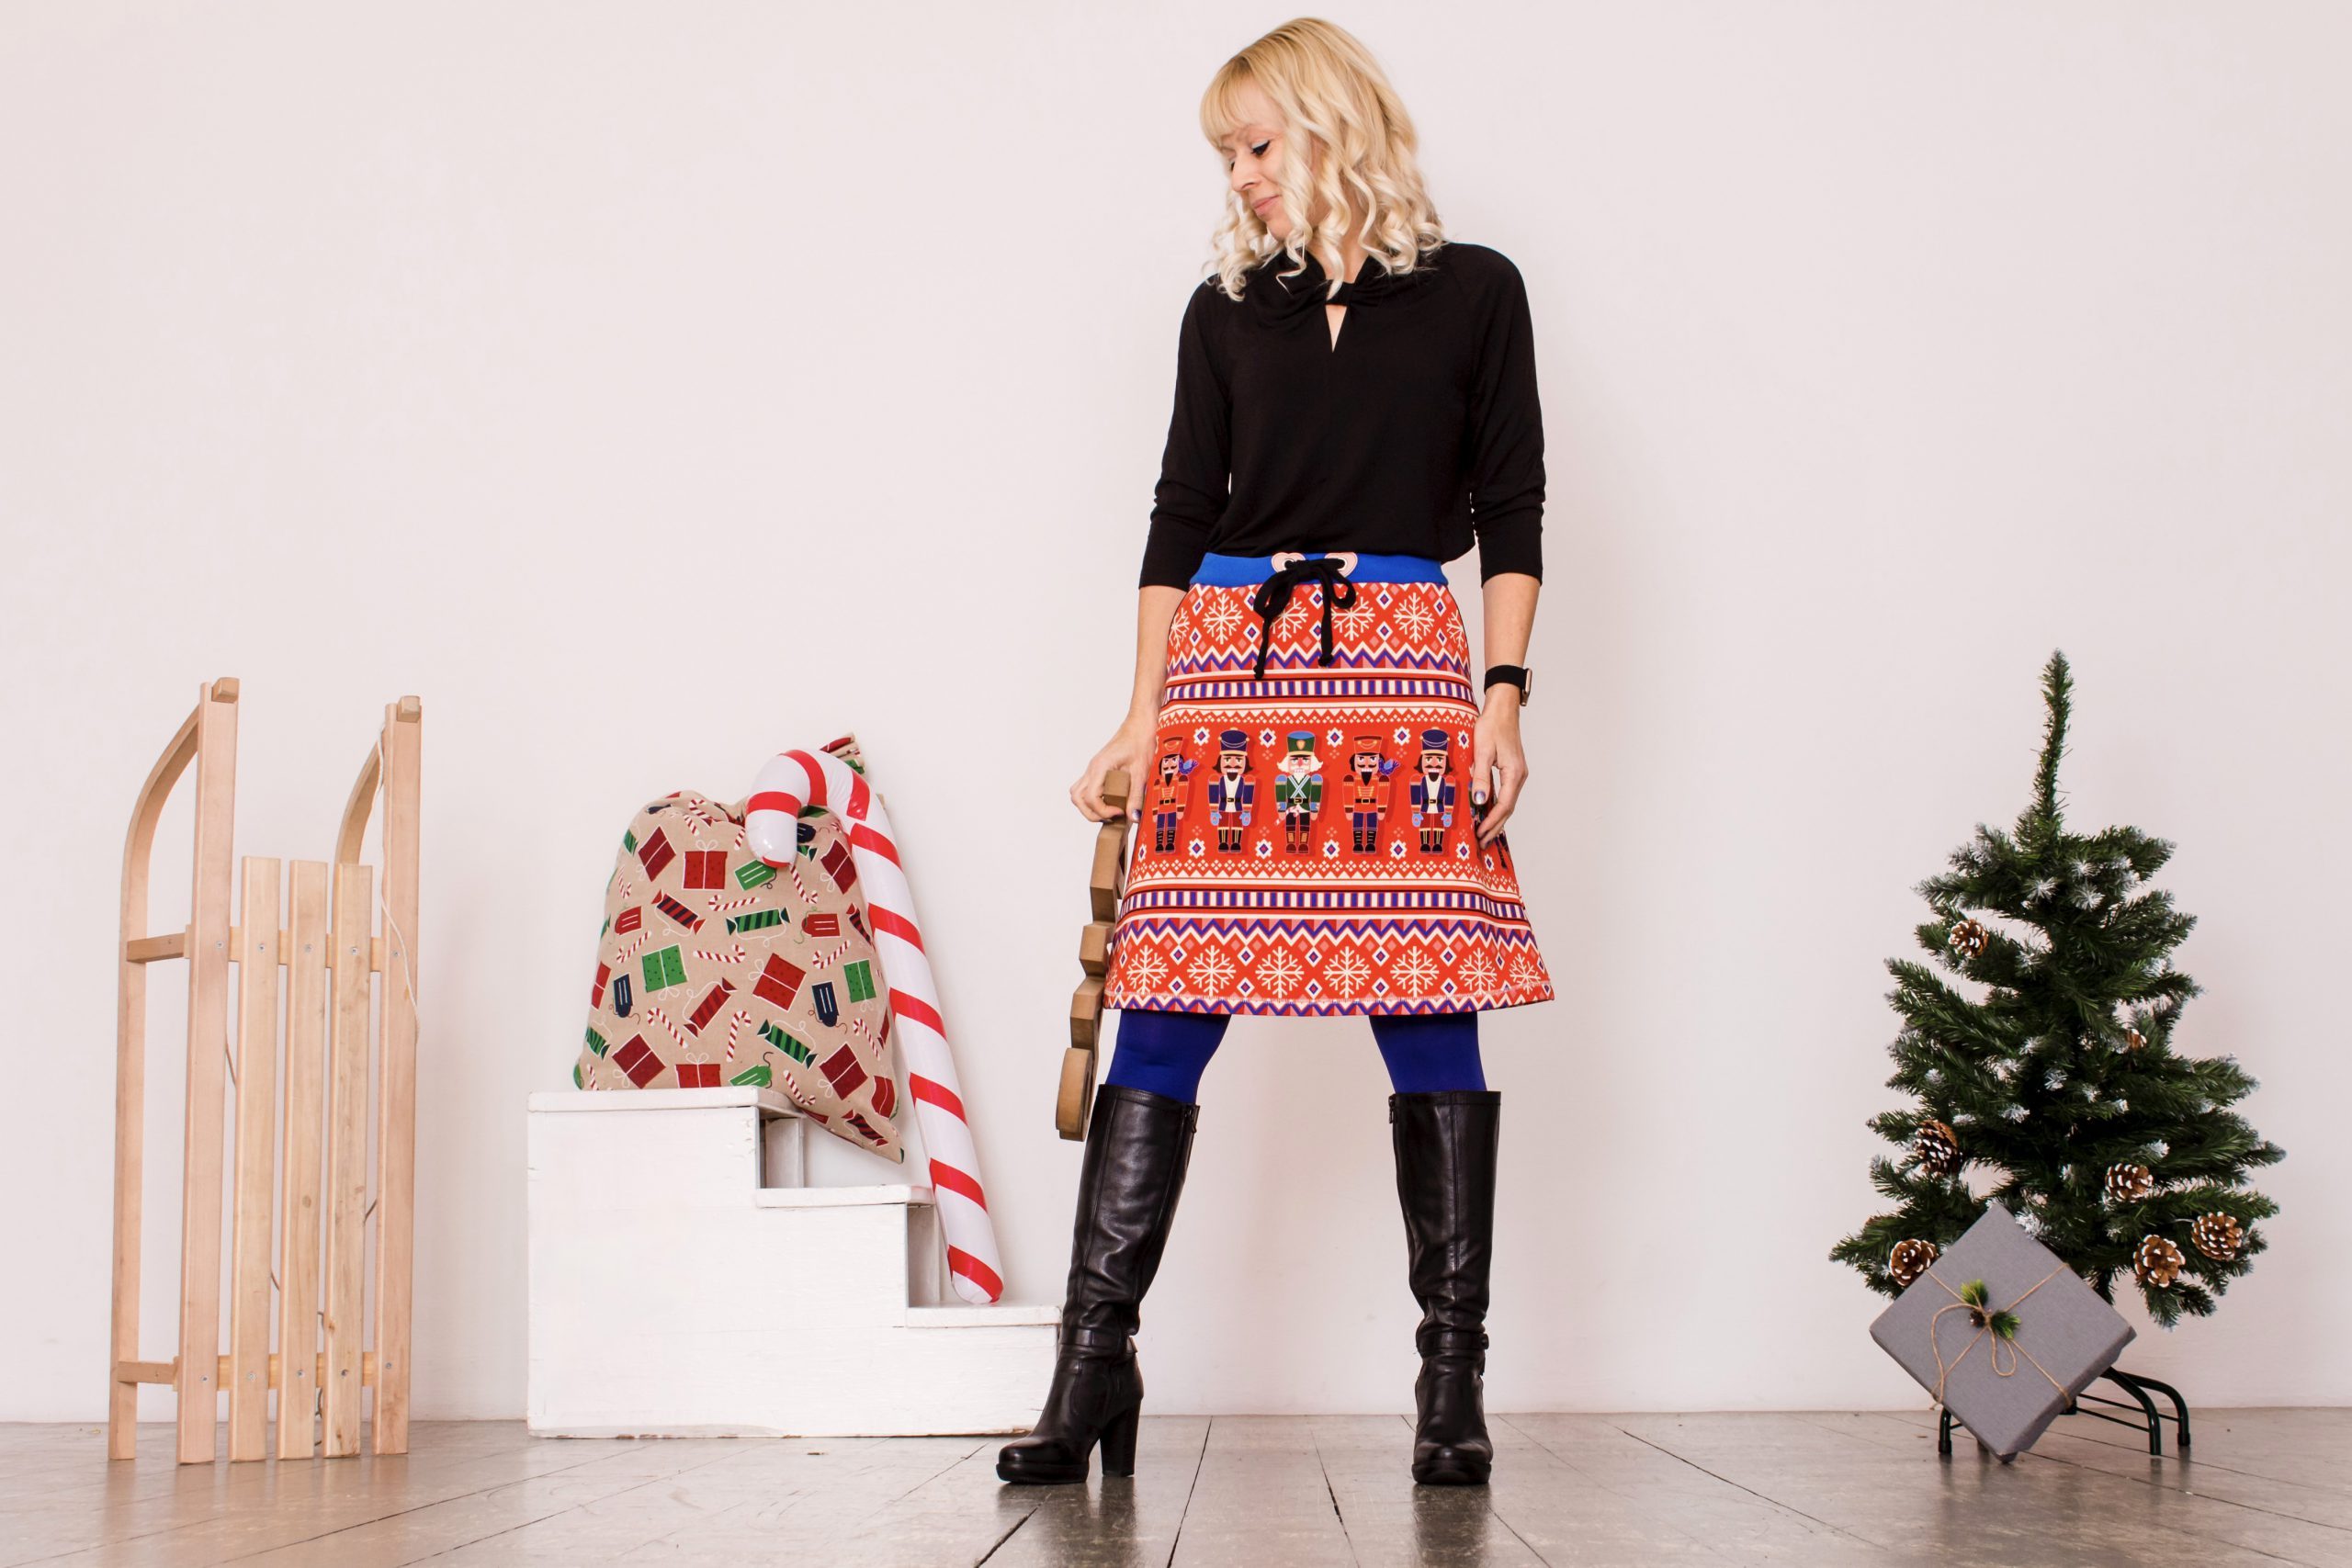
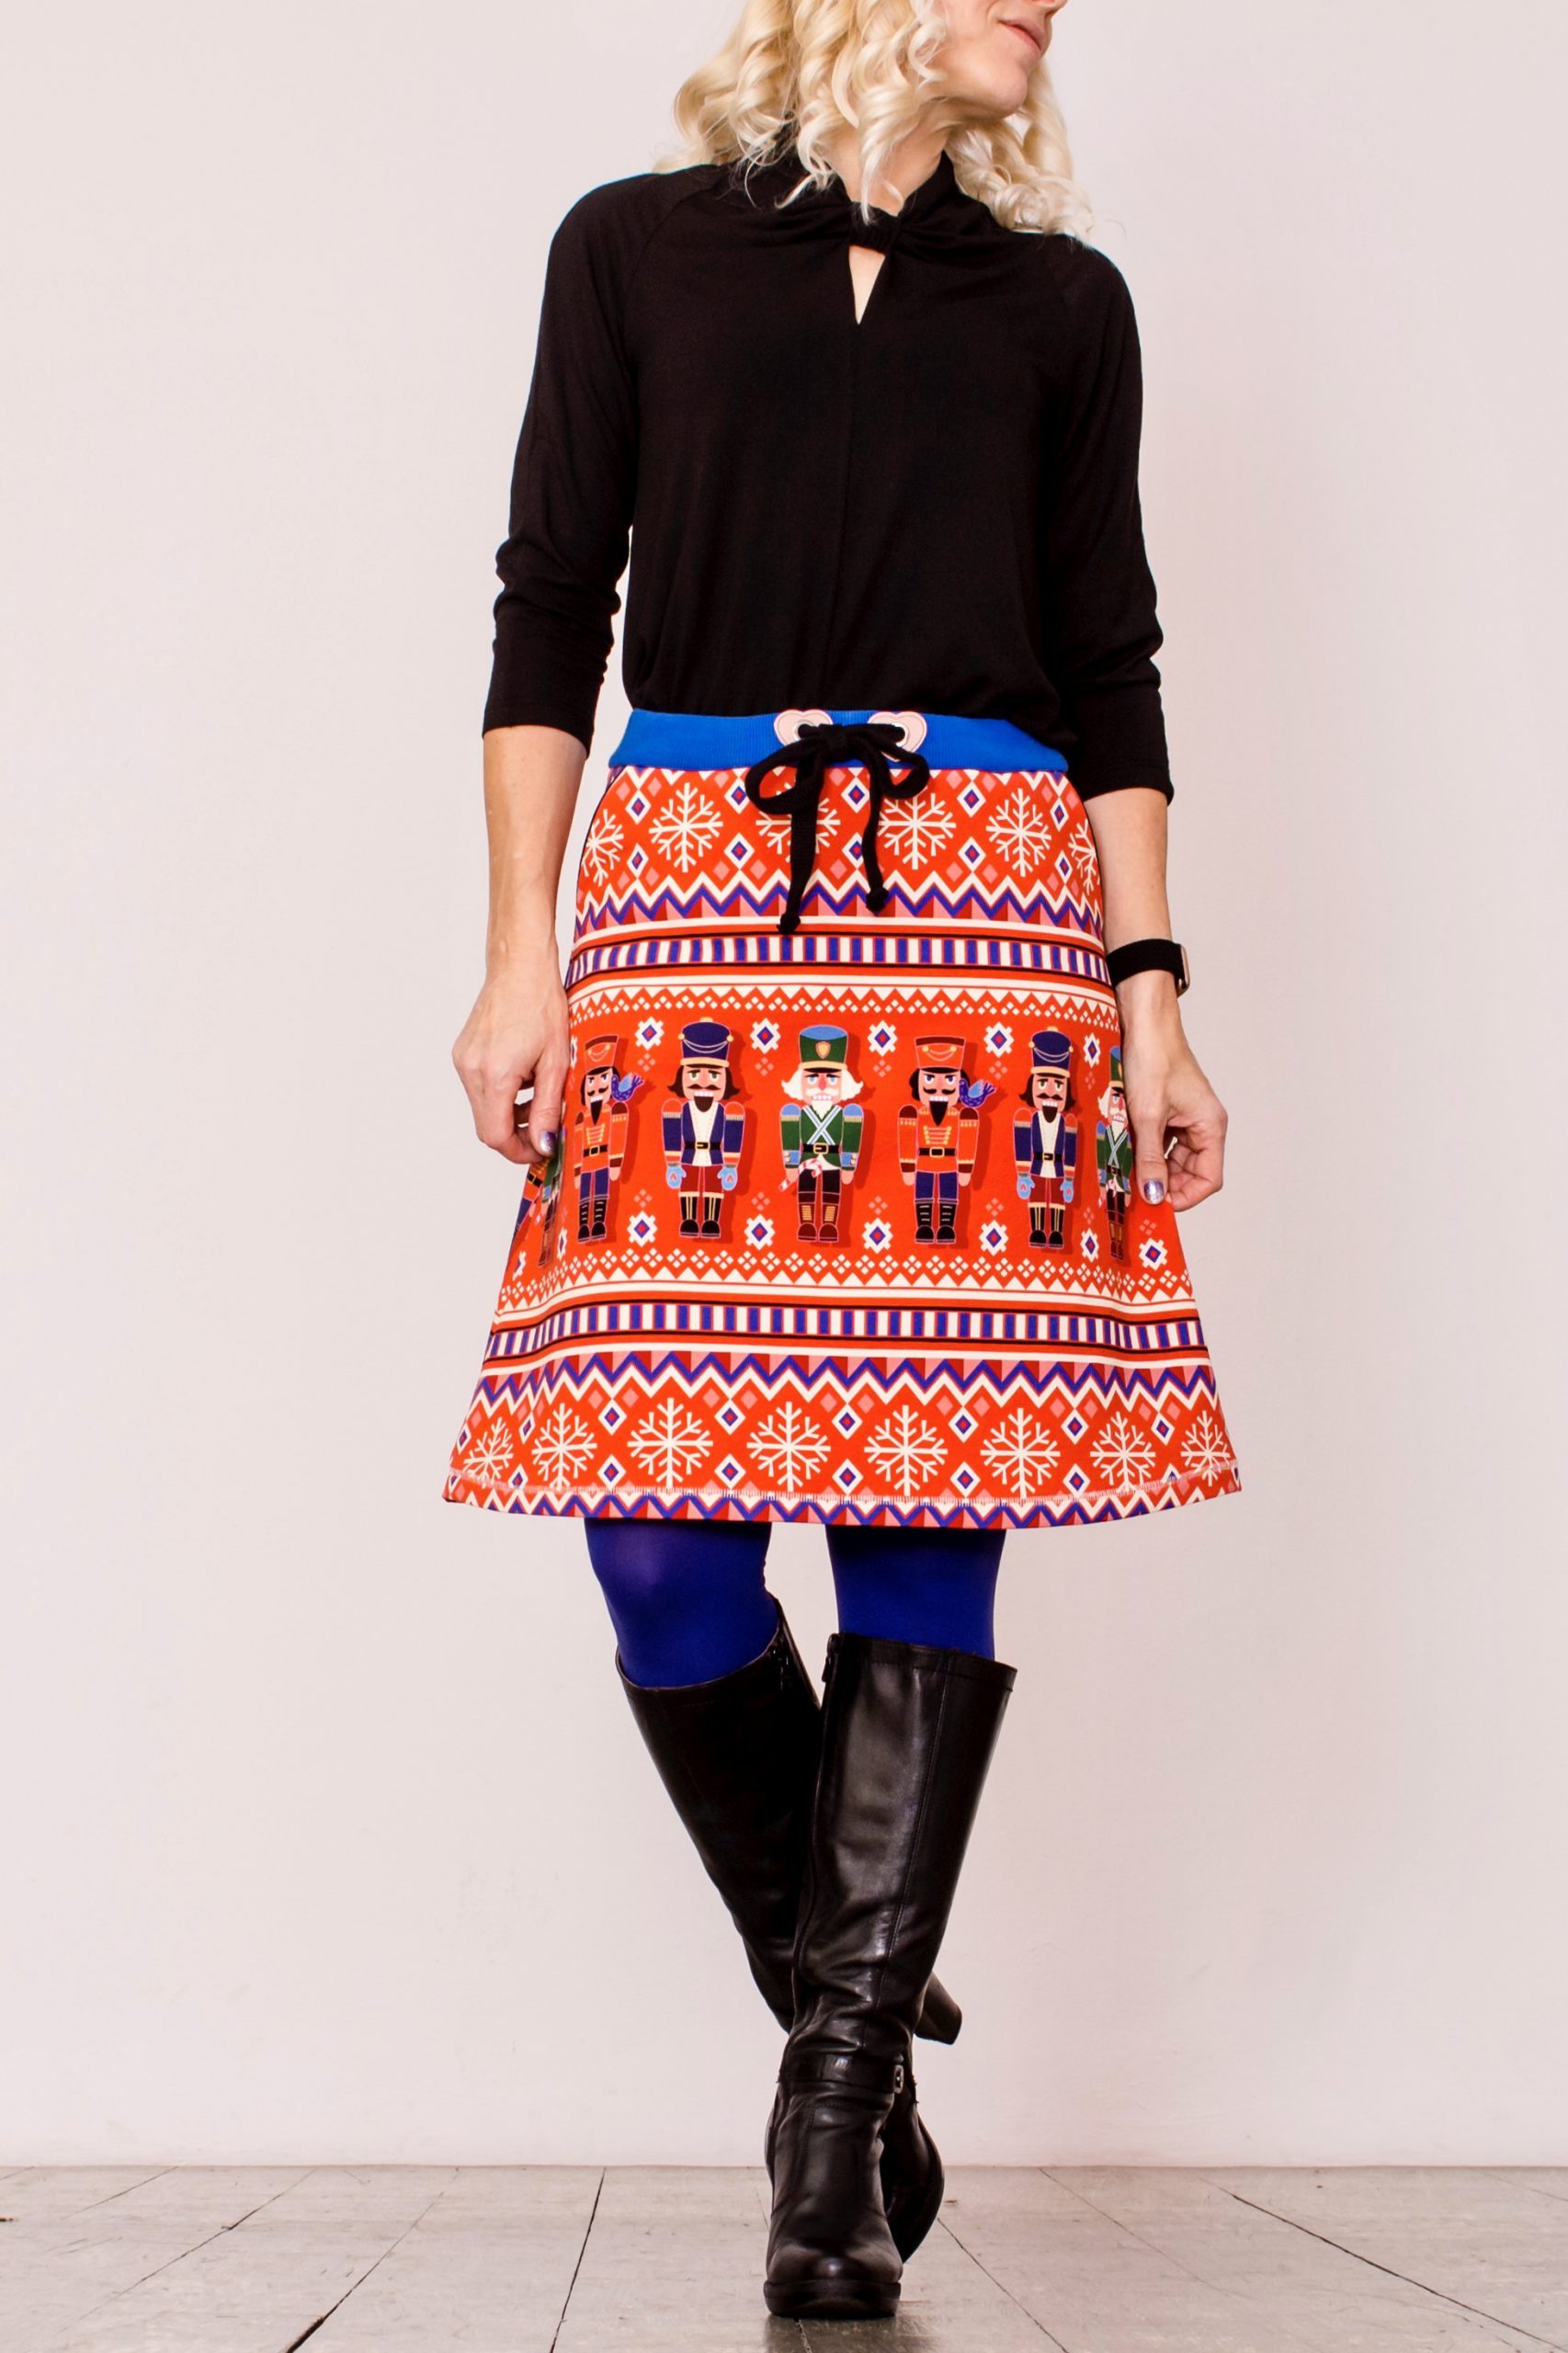
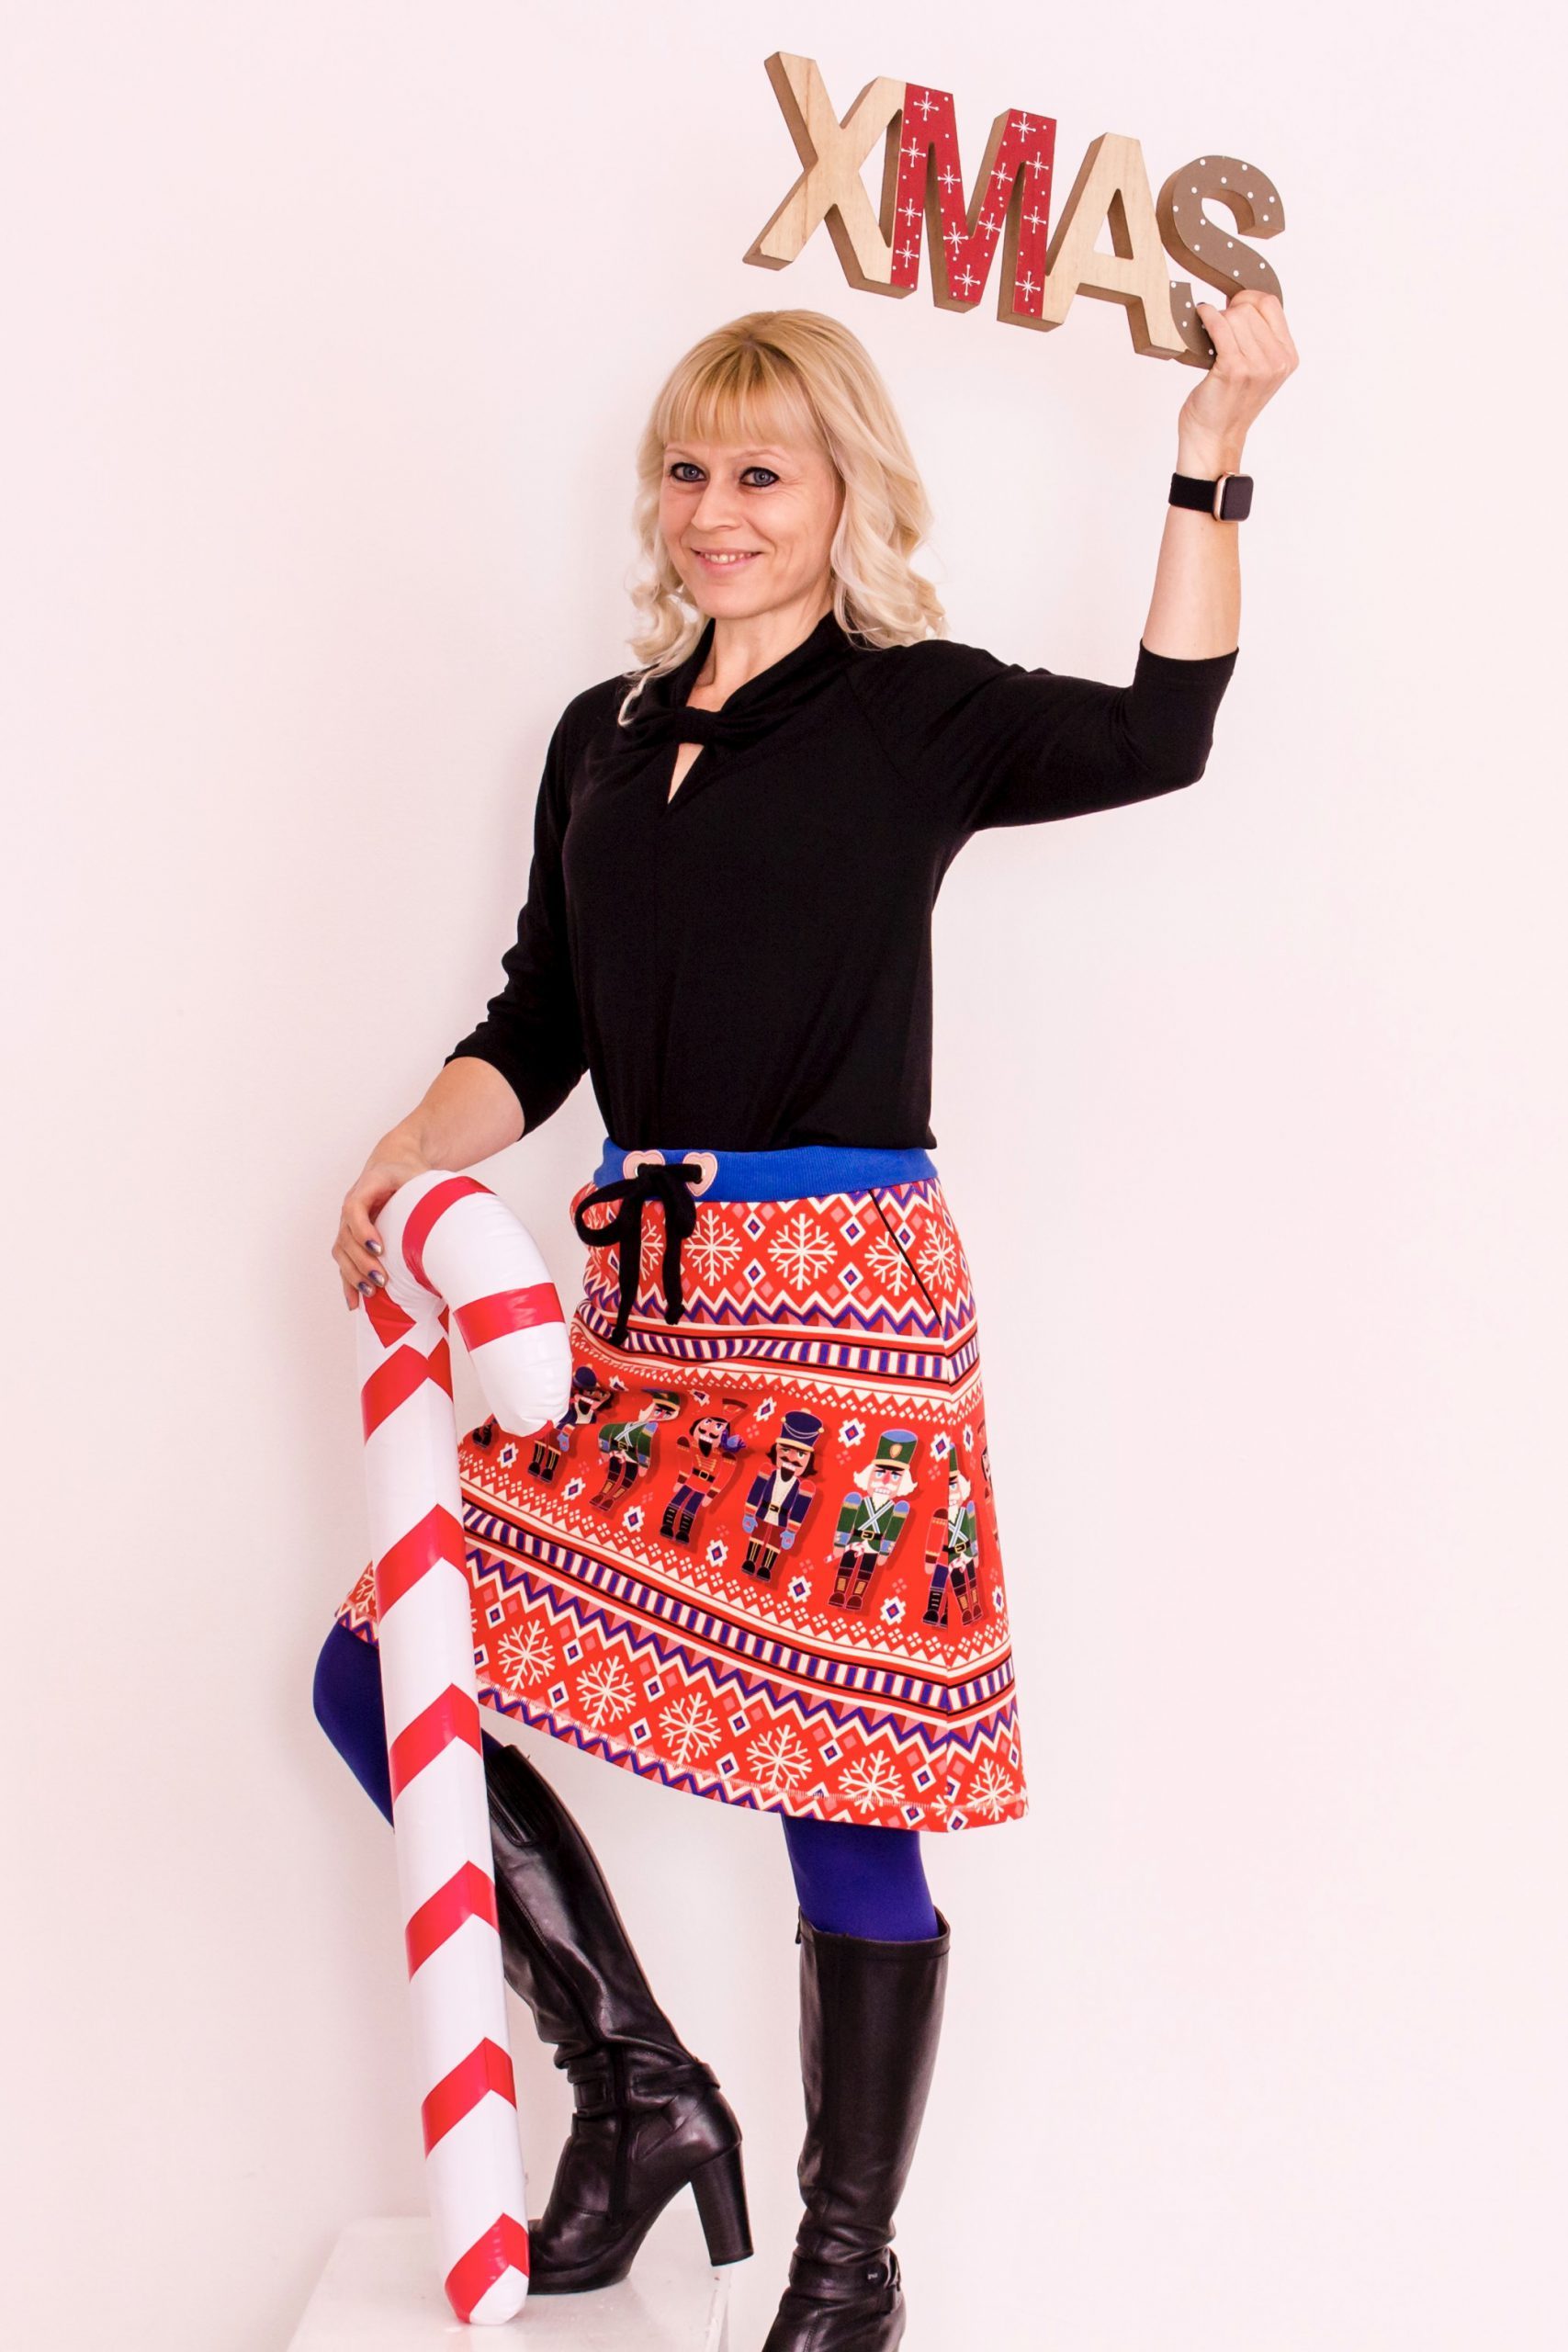
Sewing instructions for a colorful Christmas skirt
And what is hidden behind the 22nd window of the Blog Advent Calendar 2022? Sewing instructions for a colorful Christmas skirt that not only has definite potential as a last-minute outfit, but is also ideal as a last-minute gift for your daughter, sister, mother, niece, etc. It doesn’t always have to be a funny “ugly Xmas sweater”. I will provide you with the pattern for the skirt as a free PDF download.
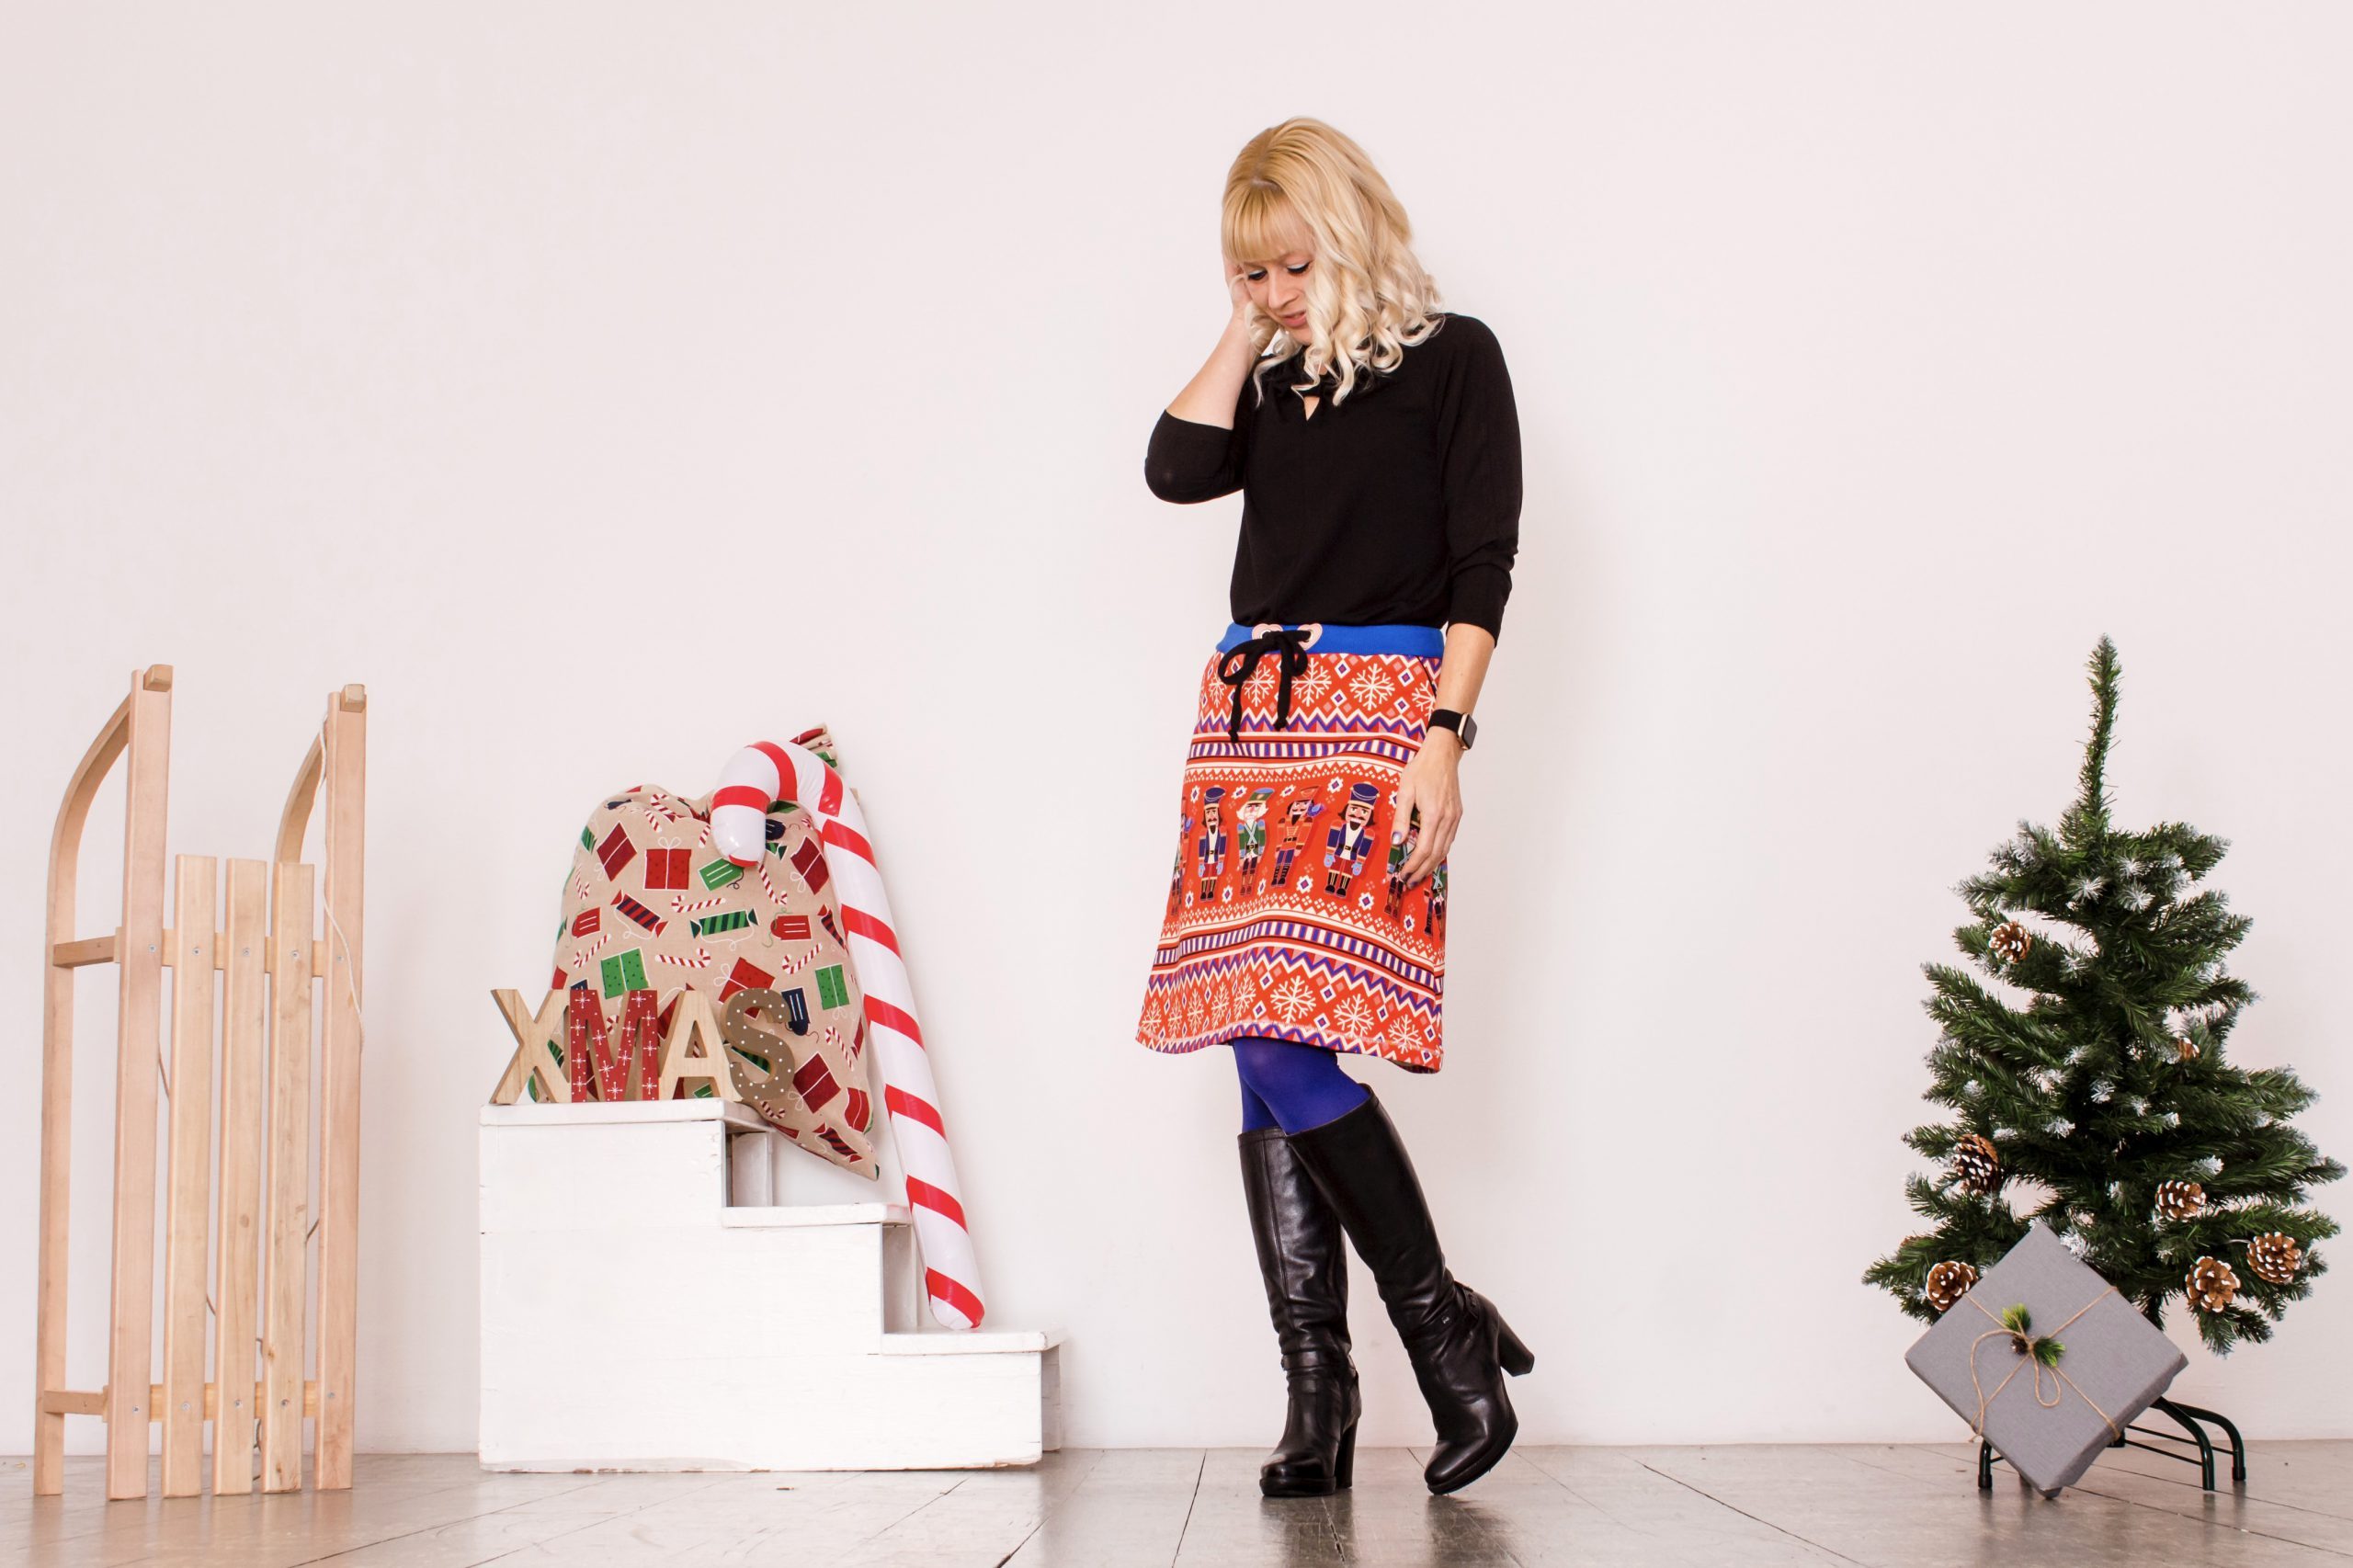
Of course, even without the elegant glitter, this is sure to be a stand-out Christmas outfit. I associate it with wonderful childhood memories, because everything was always colorful at our house at Christmas.
Our Christmas tree ornaments included a wide range of colors and shapes. This was simply because we hung up all the Christmas tree ornaments associated with beautiful memories. Whether it was a lovely gift from the neighbor, a purchase from the Advent market, or something we made ourselves. And even if none of the colors were coordinated, as a child I always admired the colorful variety. This is actually something that has remained unchanged to this day.
But let’s get started with our sewing instructions for a colorful Christmas skirt, which you can sew with either an elastic stitch on your sewing machine or with the Overlock machine. Read the instructions carefully before you start sewing.
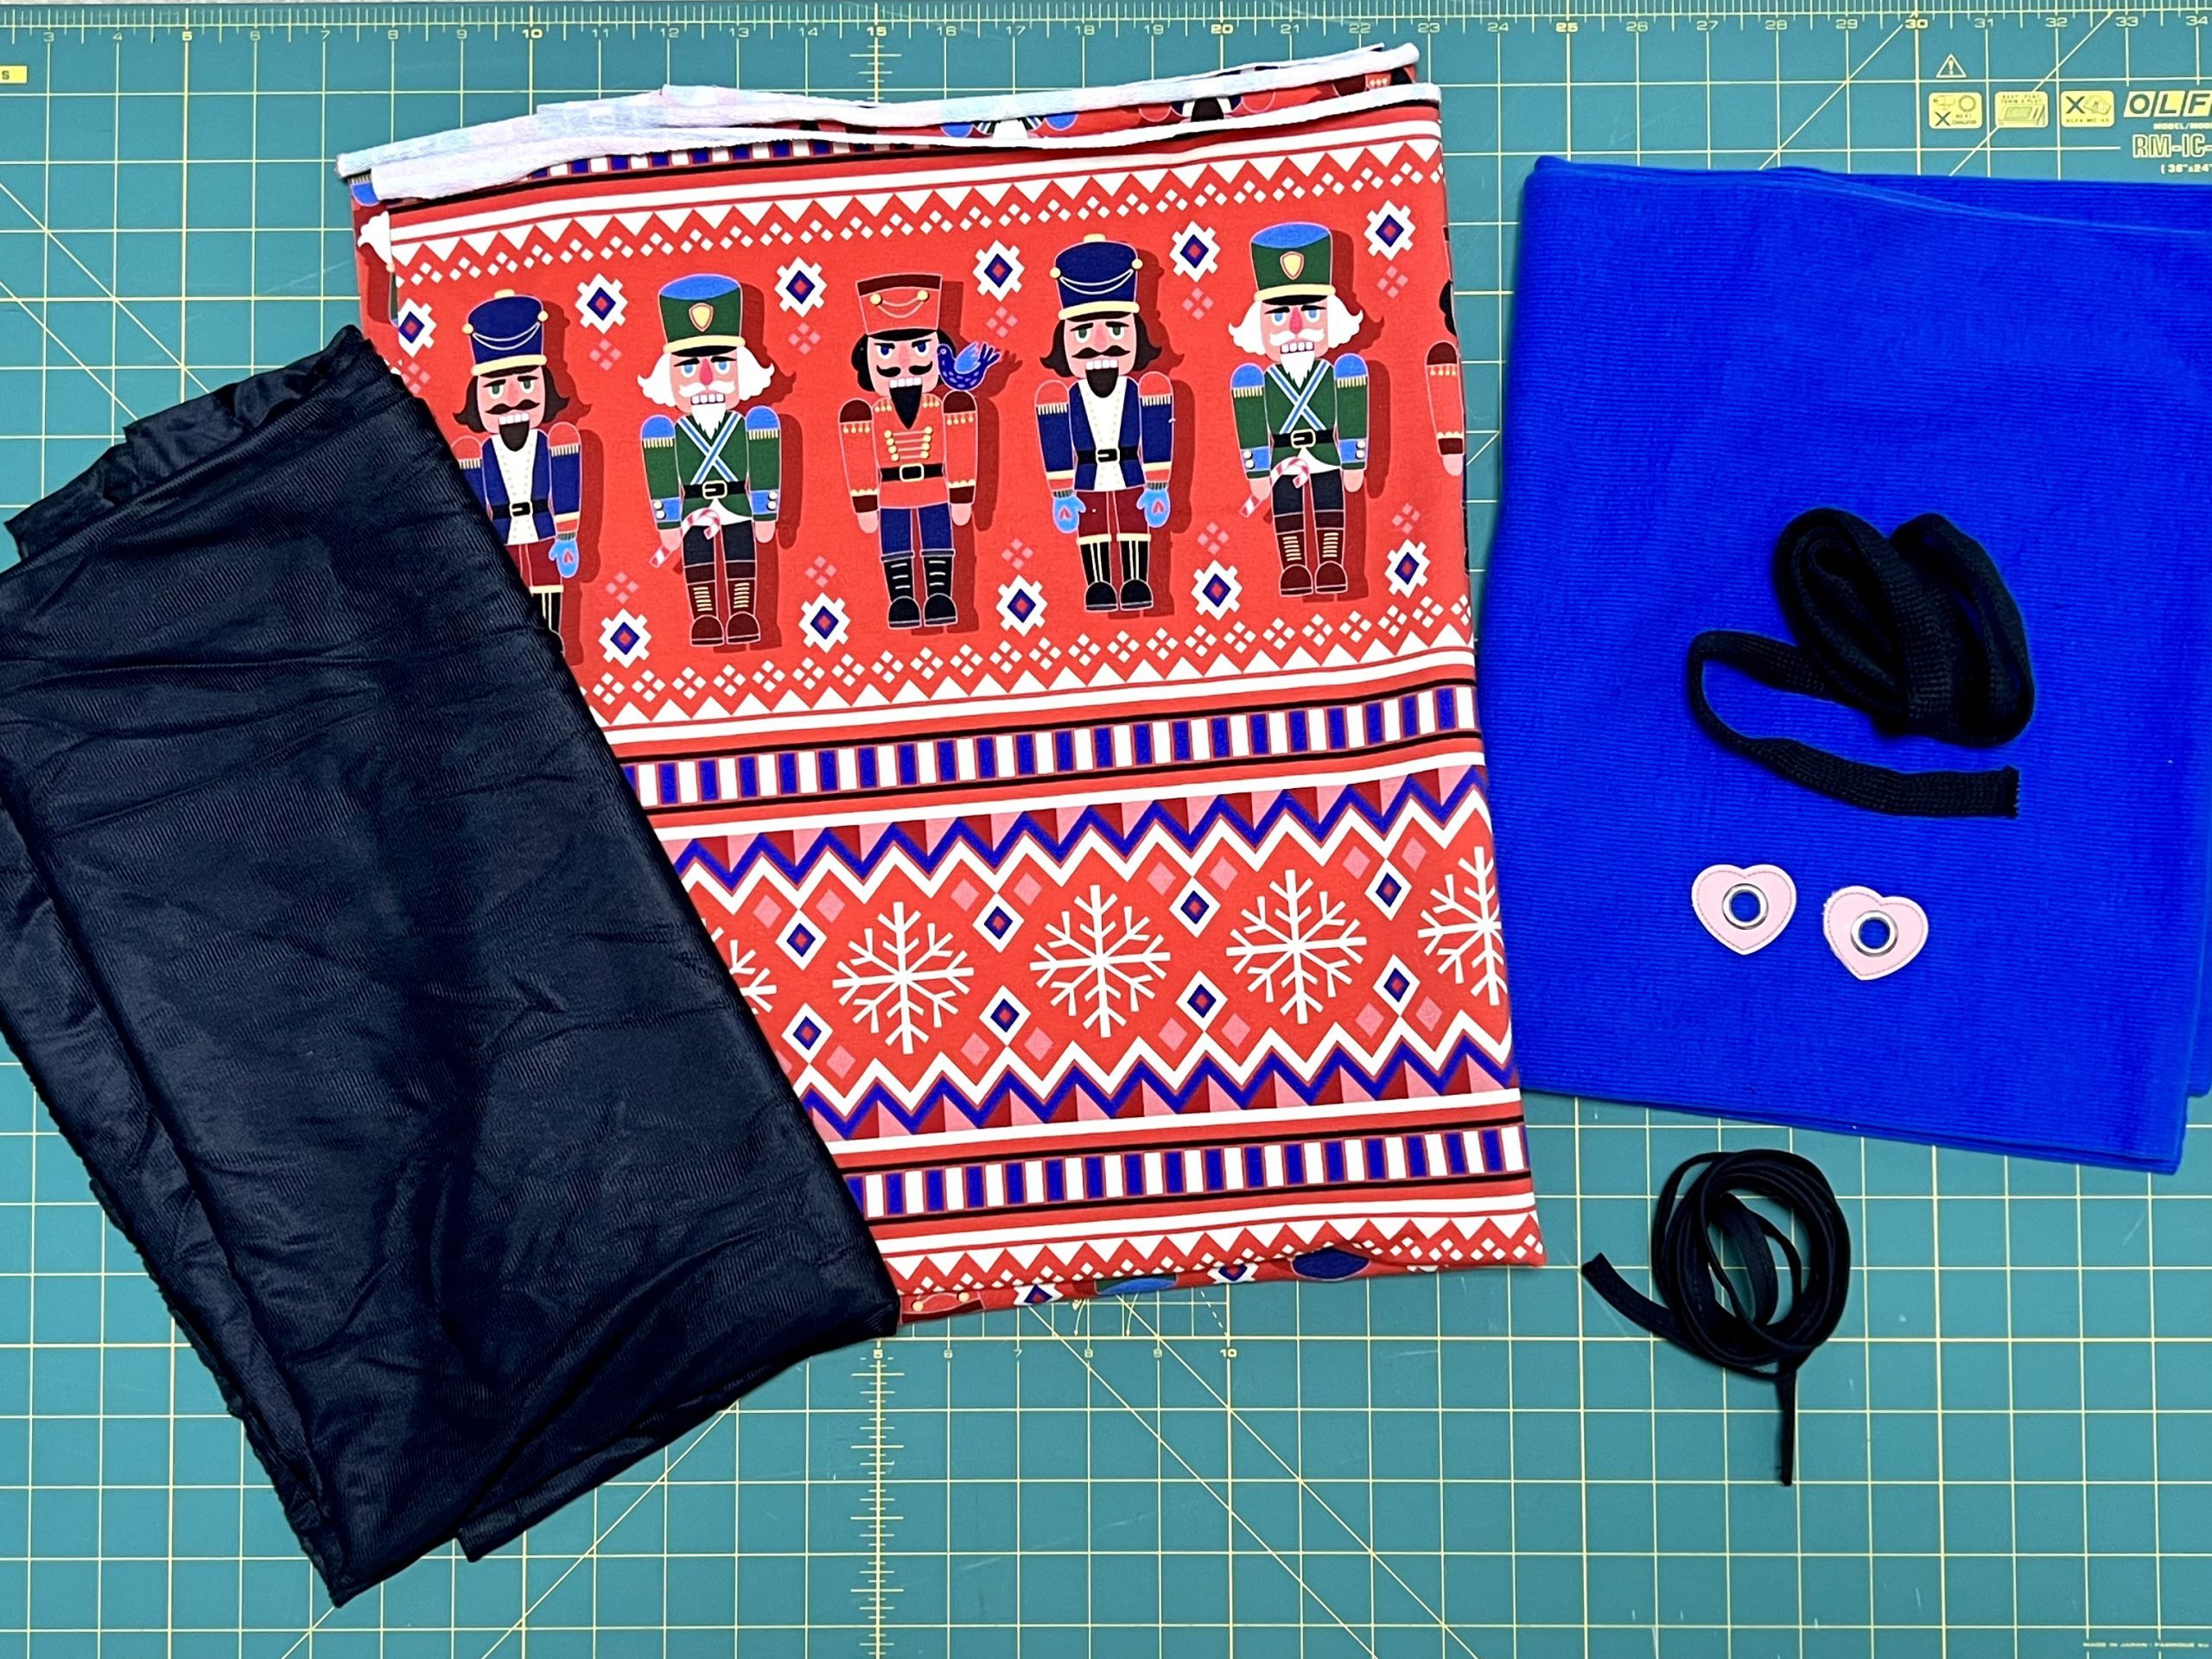
Materials and accessories
- 1 – 1.5 m summer sweat material in an “ugly Christmas style”
- 50 – 60 cm stretch lining
- Approx. 20 cm matching cuff
- 1.5 m cord tape (e.g. flat cord)
- Approx. 50 cm matching piping tape
- Leather eyelets
- Double sided adhesive tape (e.g. Stylefix)
- Fabric scissors or rotary cutter with cutting mat
- Pins and/or fabric clips
- Tailor’s chalk or similar
- Small hand-sewing needle
- Sewing thread in a matching color
Free sewing pattern for the Christmas skirt
You can download the Christmas skirt pattern for free as a PDF:
Download the pattern for my skirt in A4
When printing, make sure that you set the size to 100%. With the A4 file, the pages are attached together end to end. This is very quick, as no cutting is required. However, there are not many printers that can print without edges. Therefore, the lines are missing between the individual pages, but they tend to be continuous. Here you can see how the A4 pages are attached together:
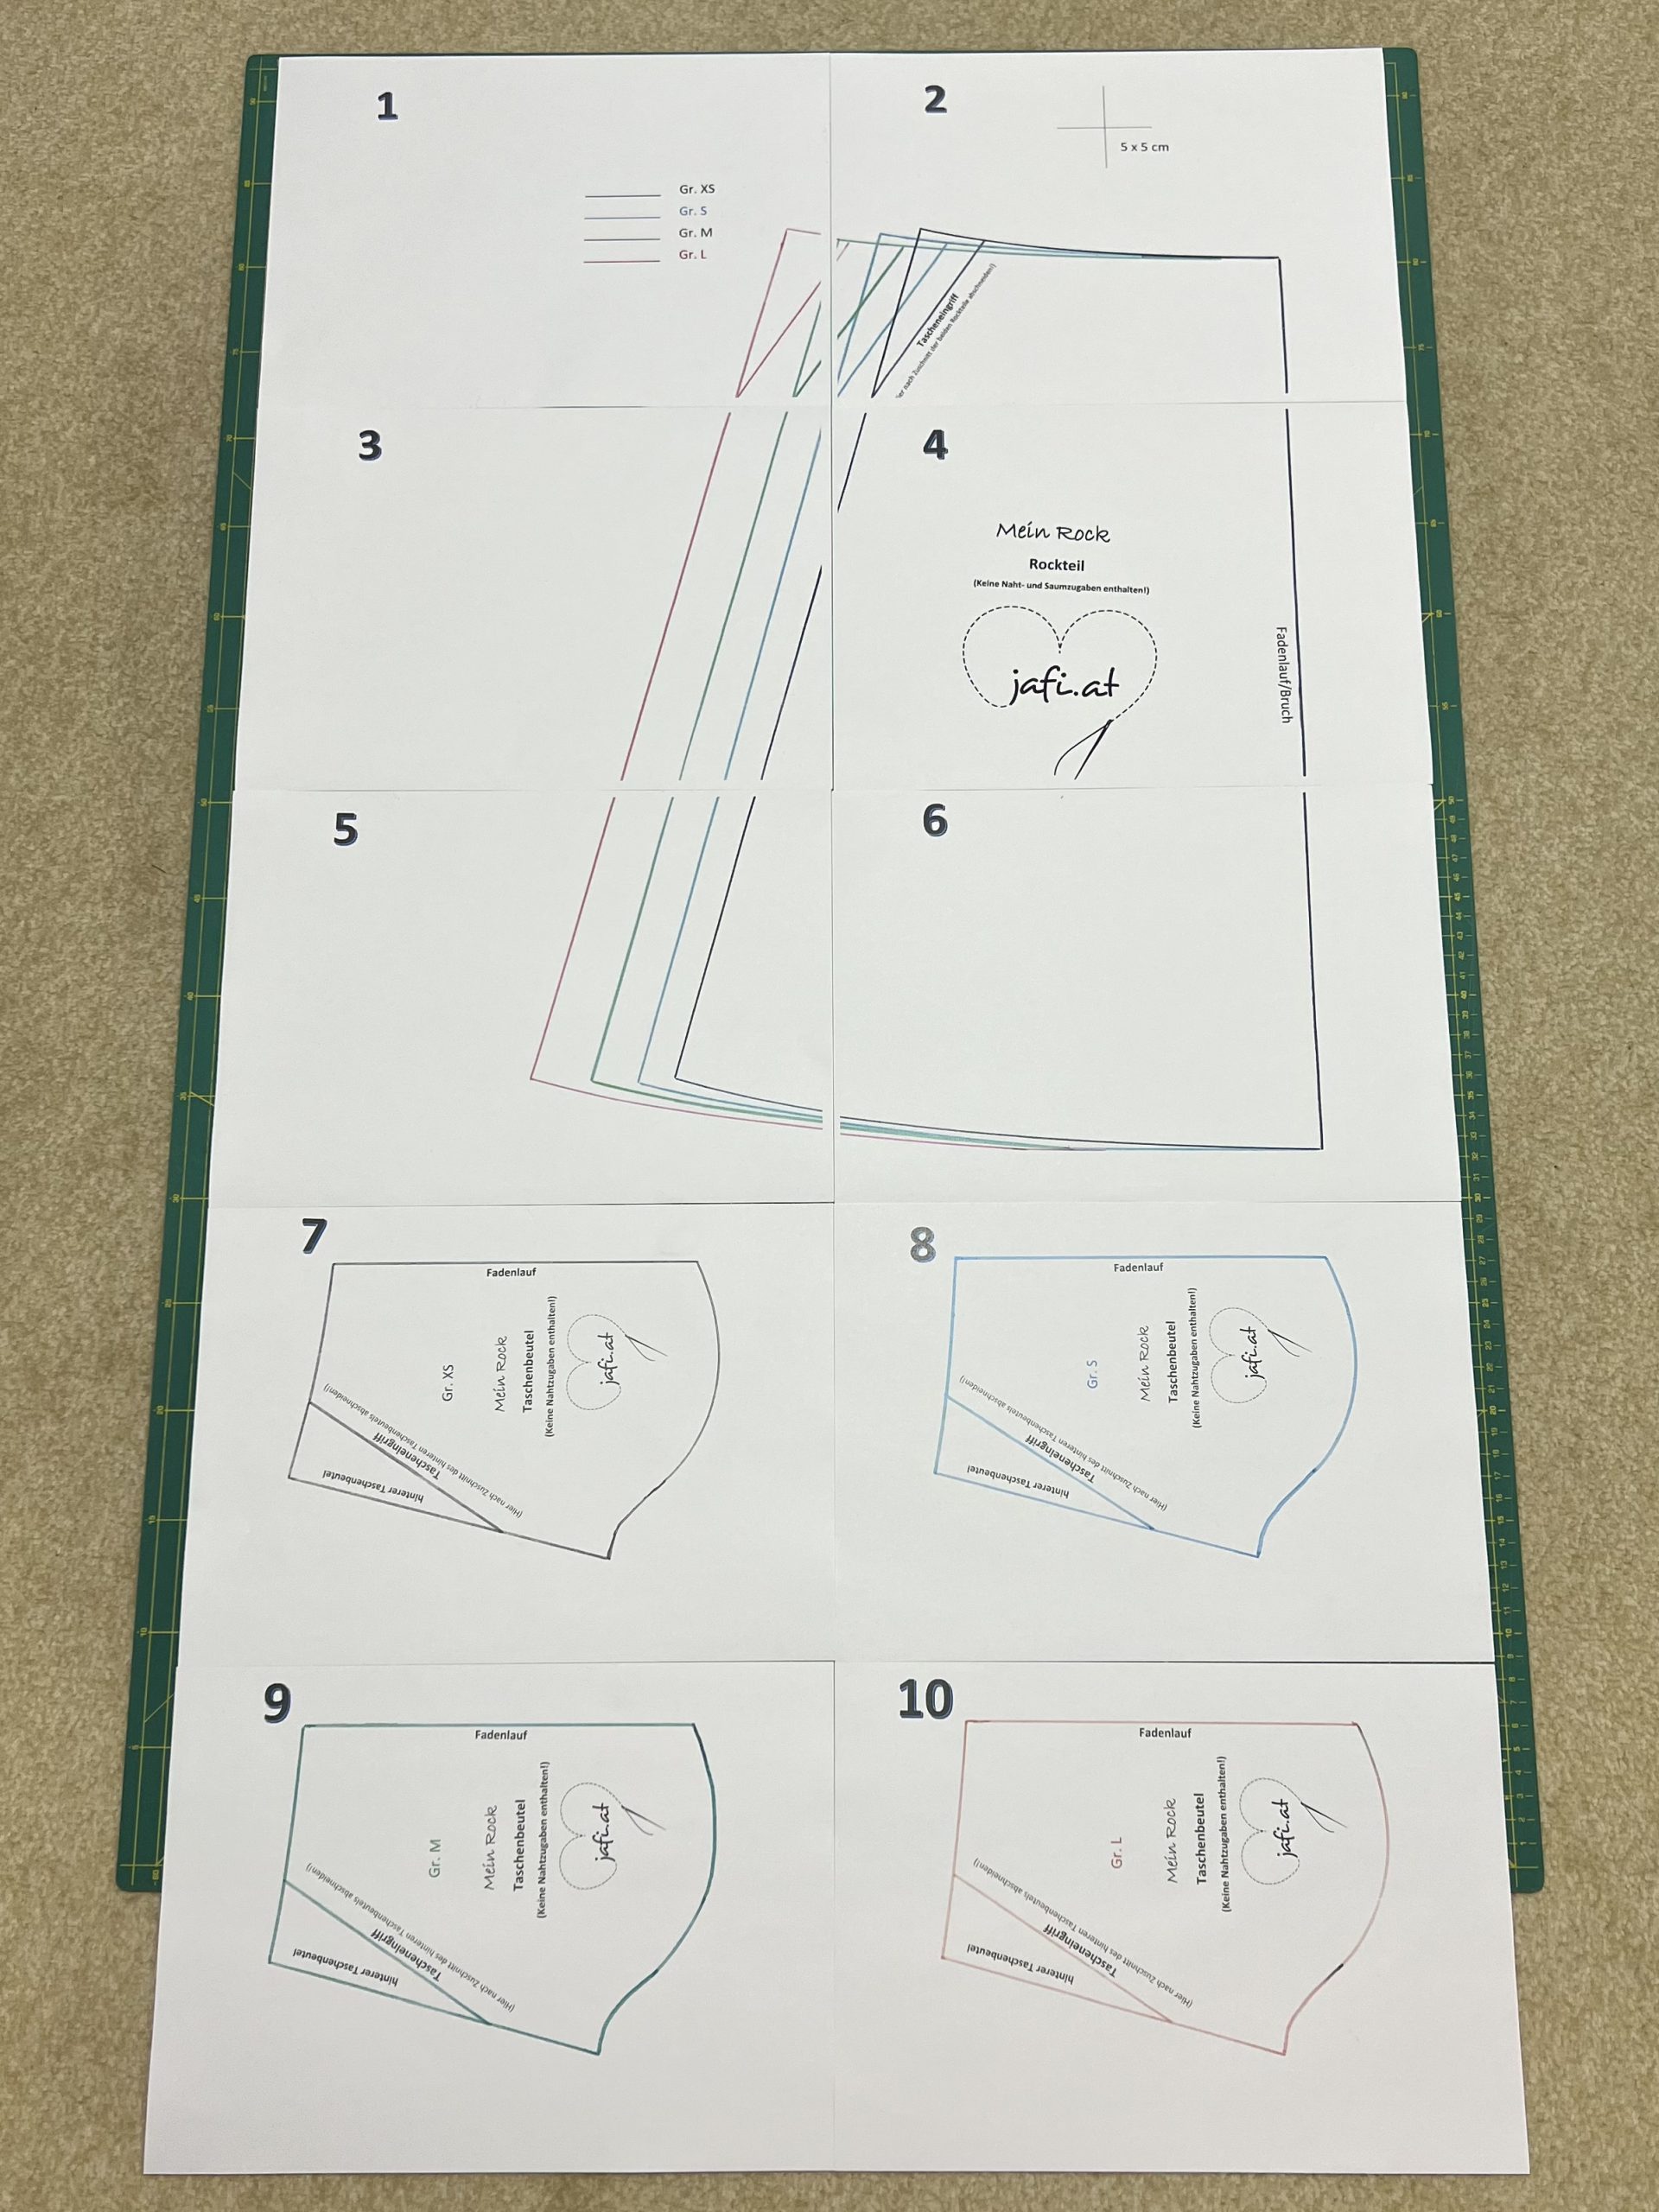
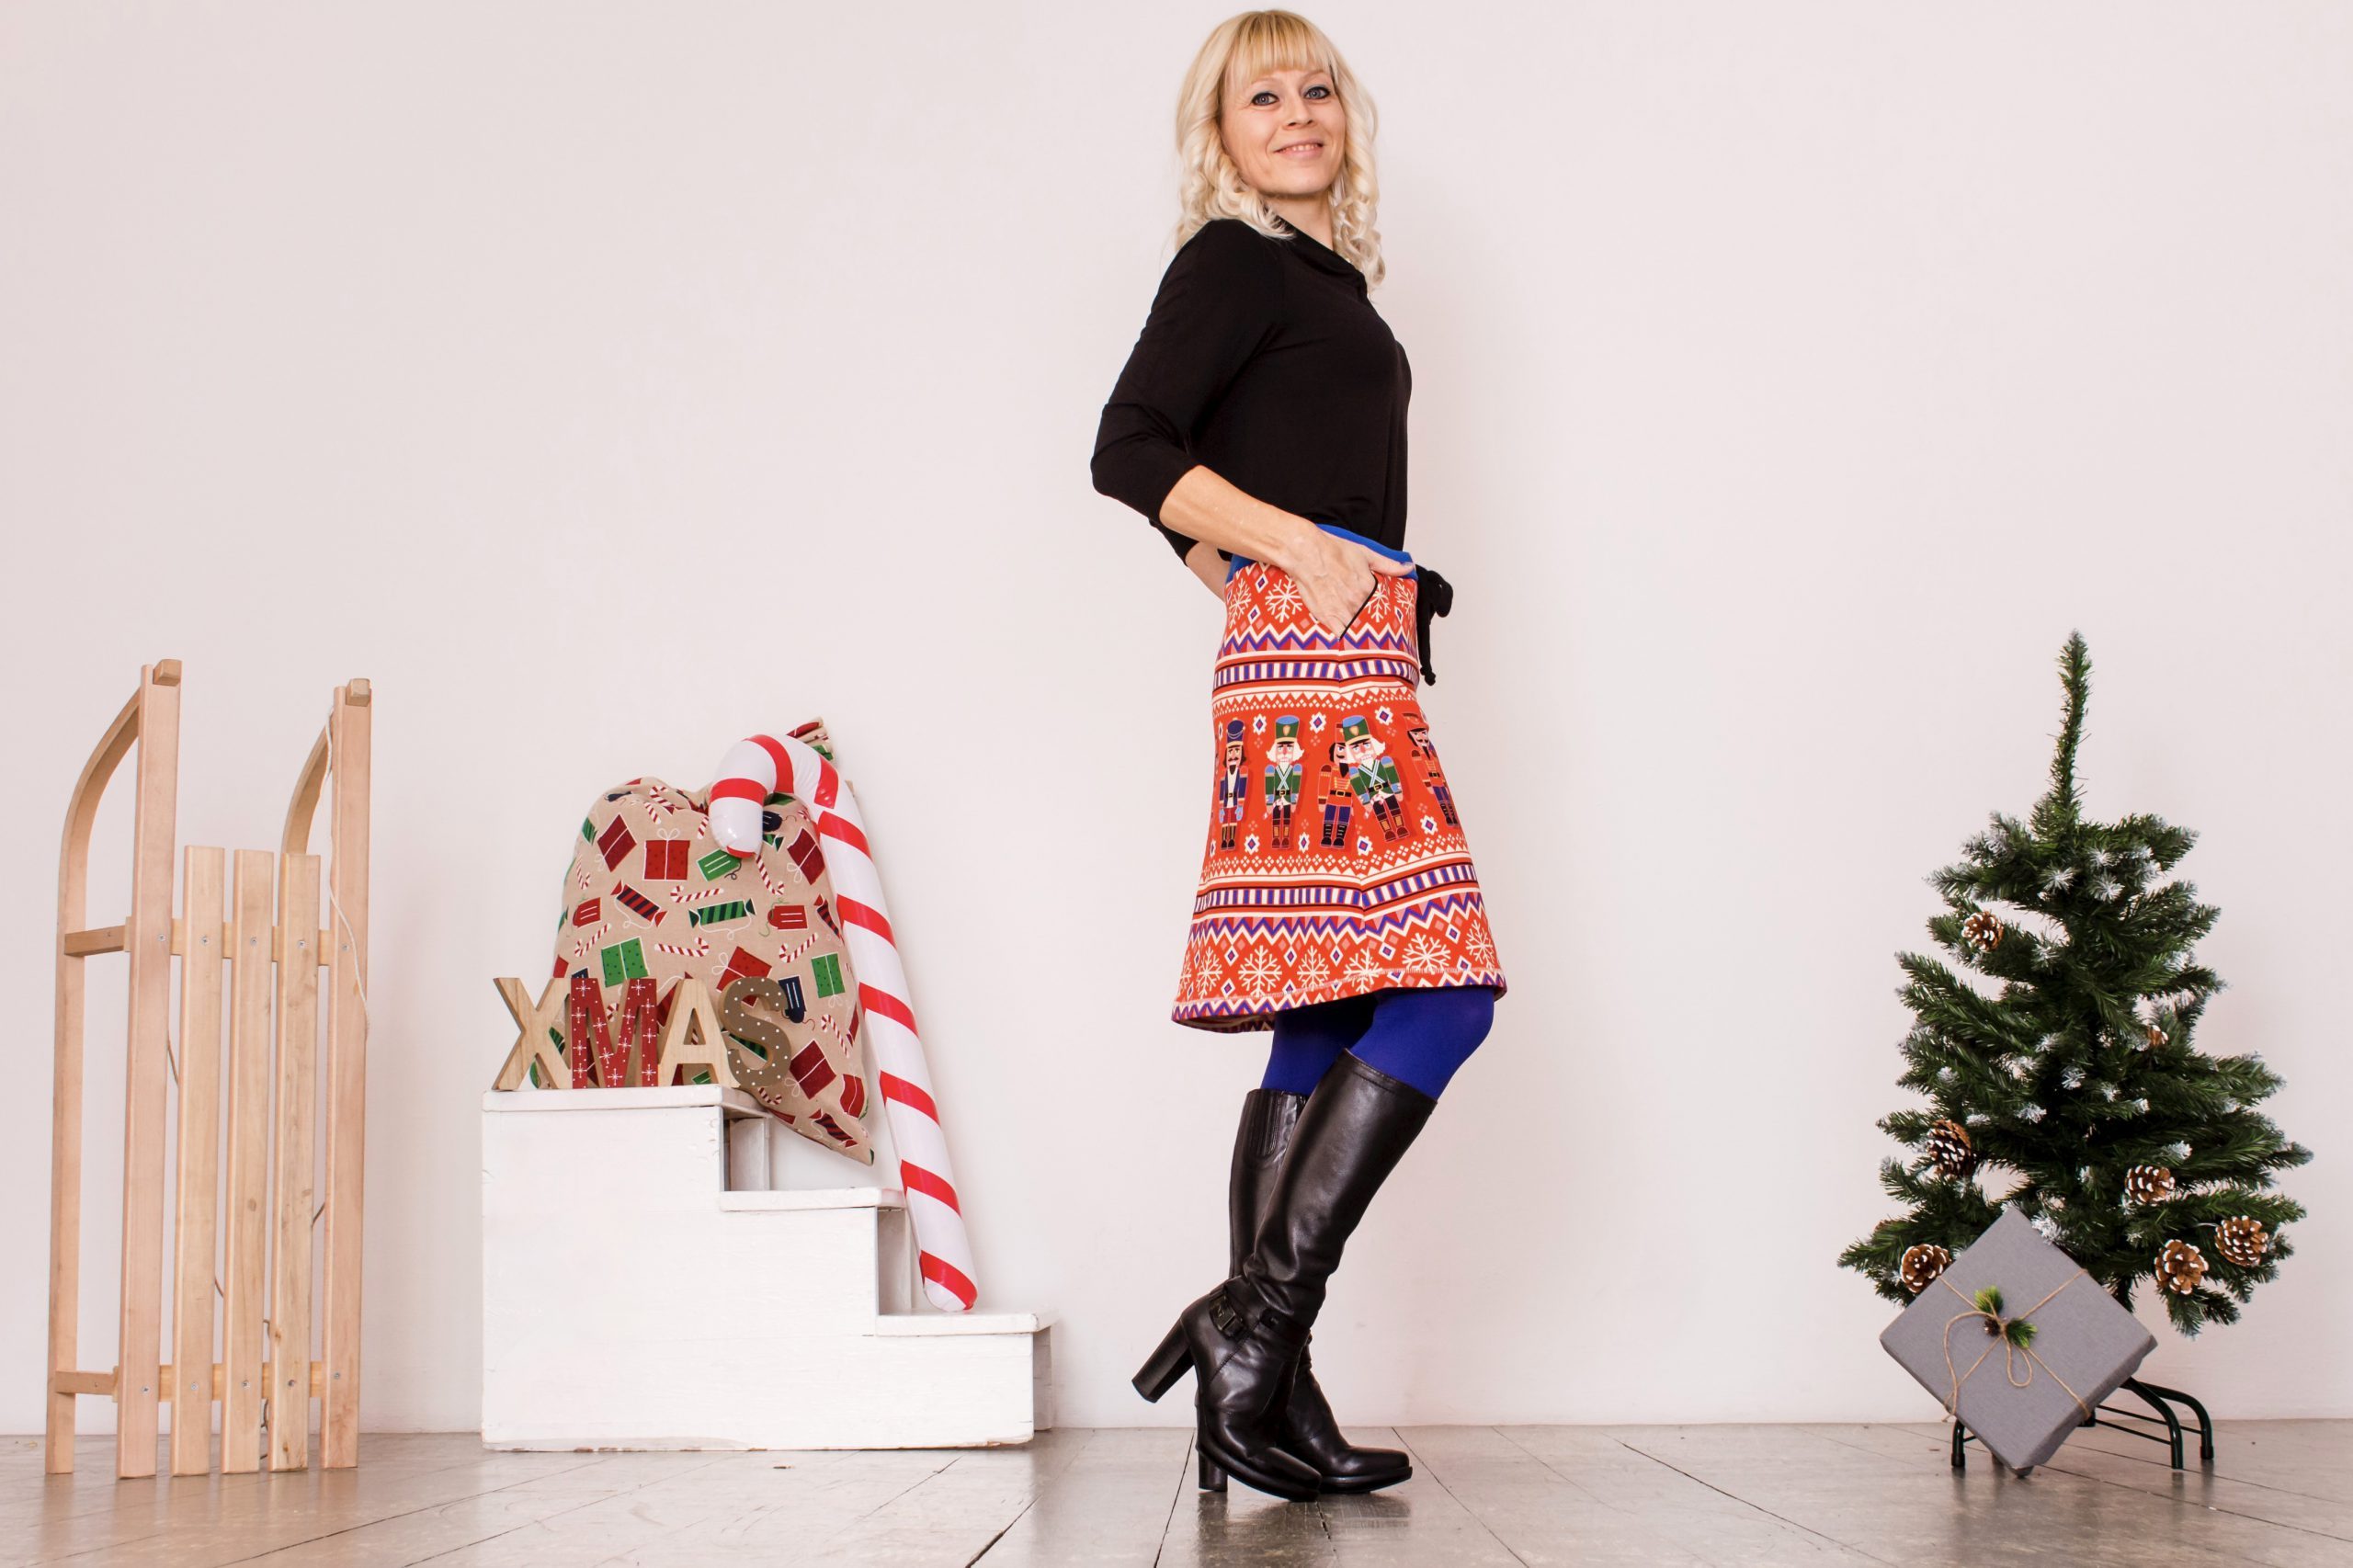
You don’t have to print out all the pocket pieces, only the page with your size. The pattern covers the sizes XS, S, M and L, which corresponds to sizes/double sizes 32, 34/36, 38/40, 42/44. The skirt has a slight A-line and sits on the hips.
The pattern is geared towards a standard height of 168 cm.If you are unsure what size you will need, then compare your waist circumference and length with the measurements of the skirt section.
Cutting
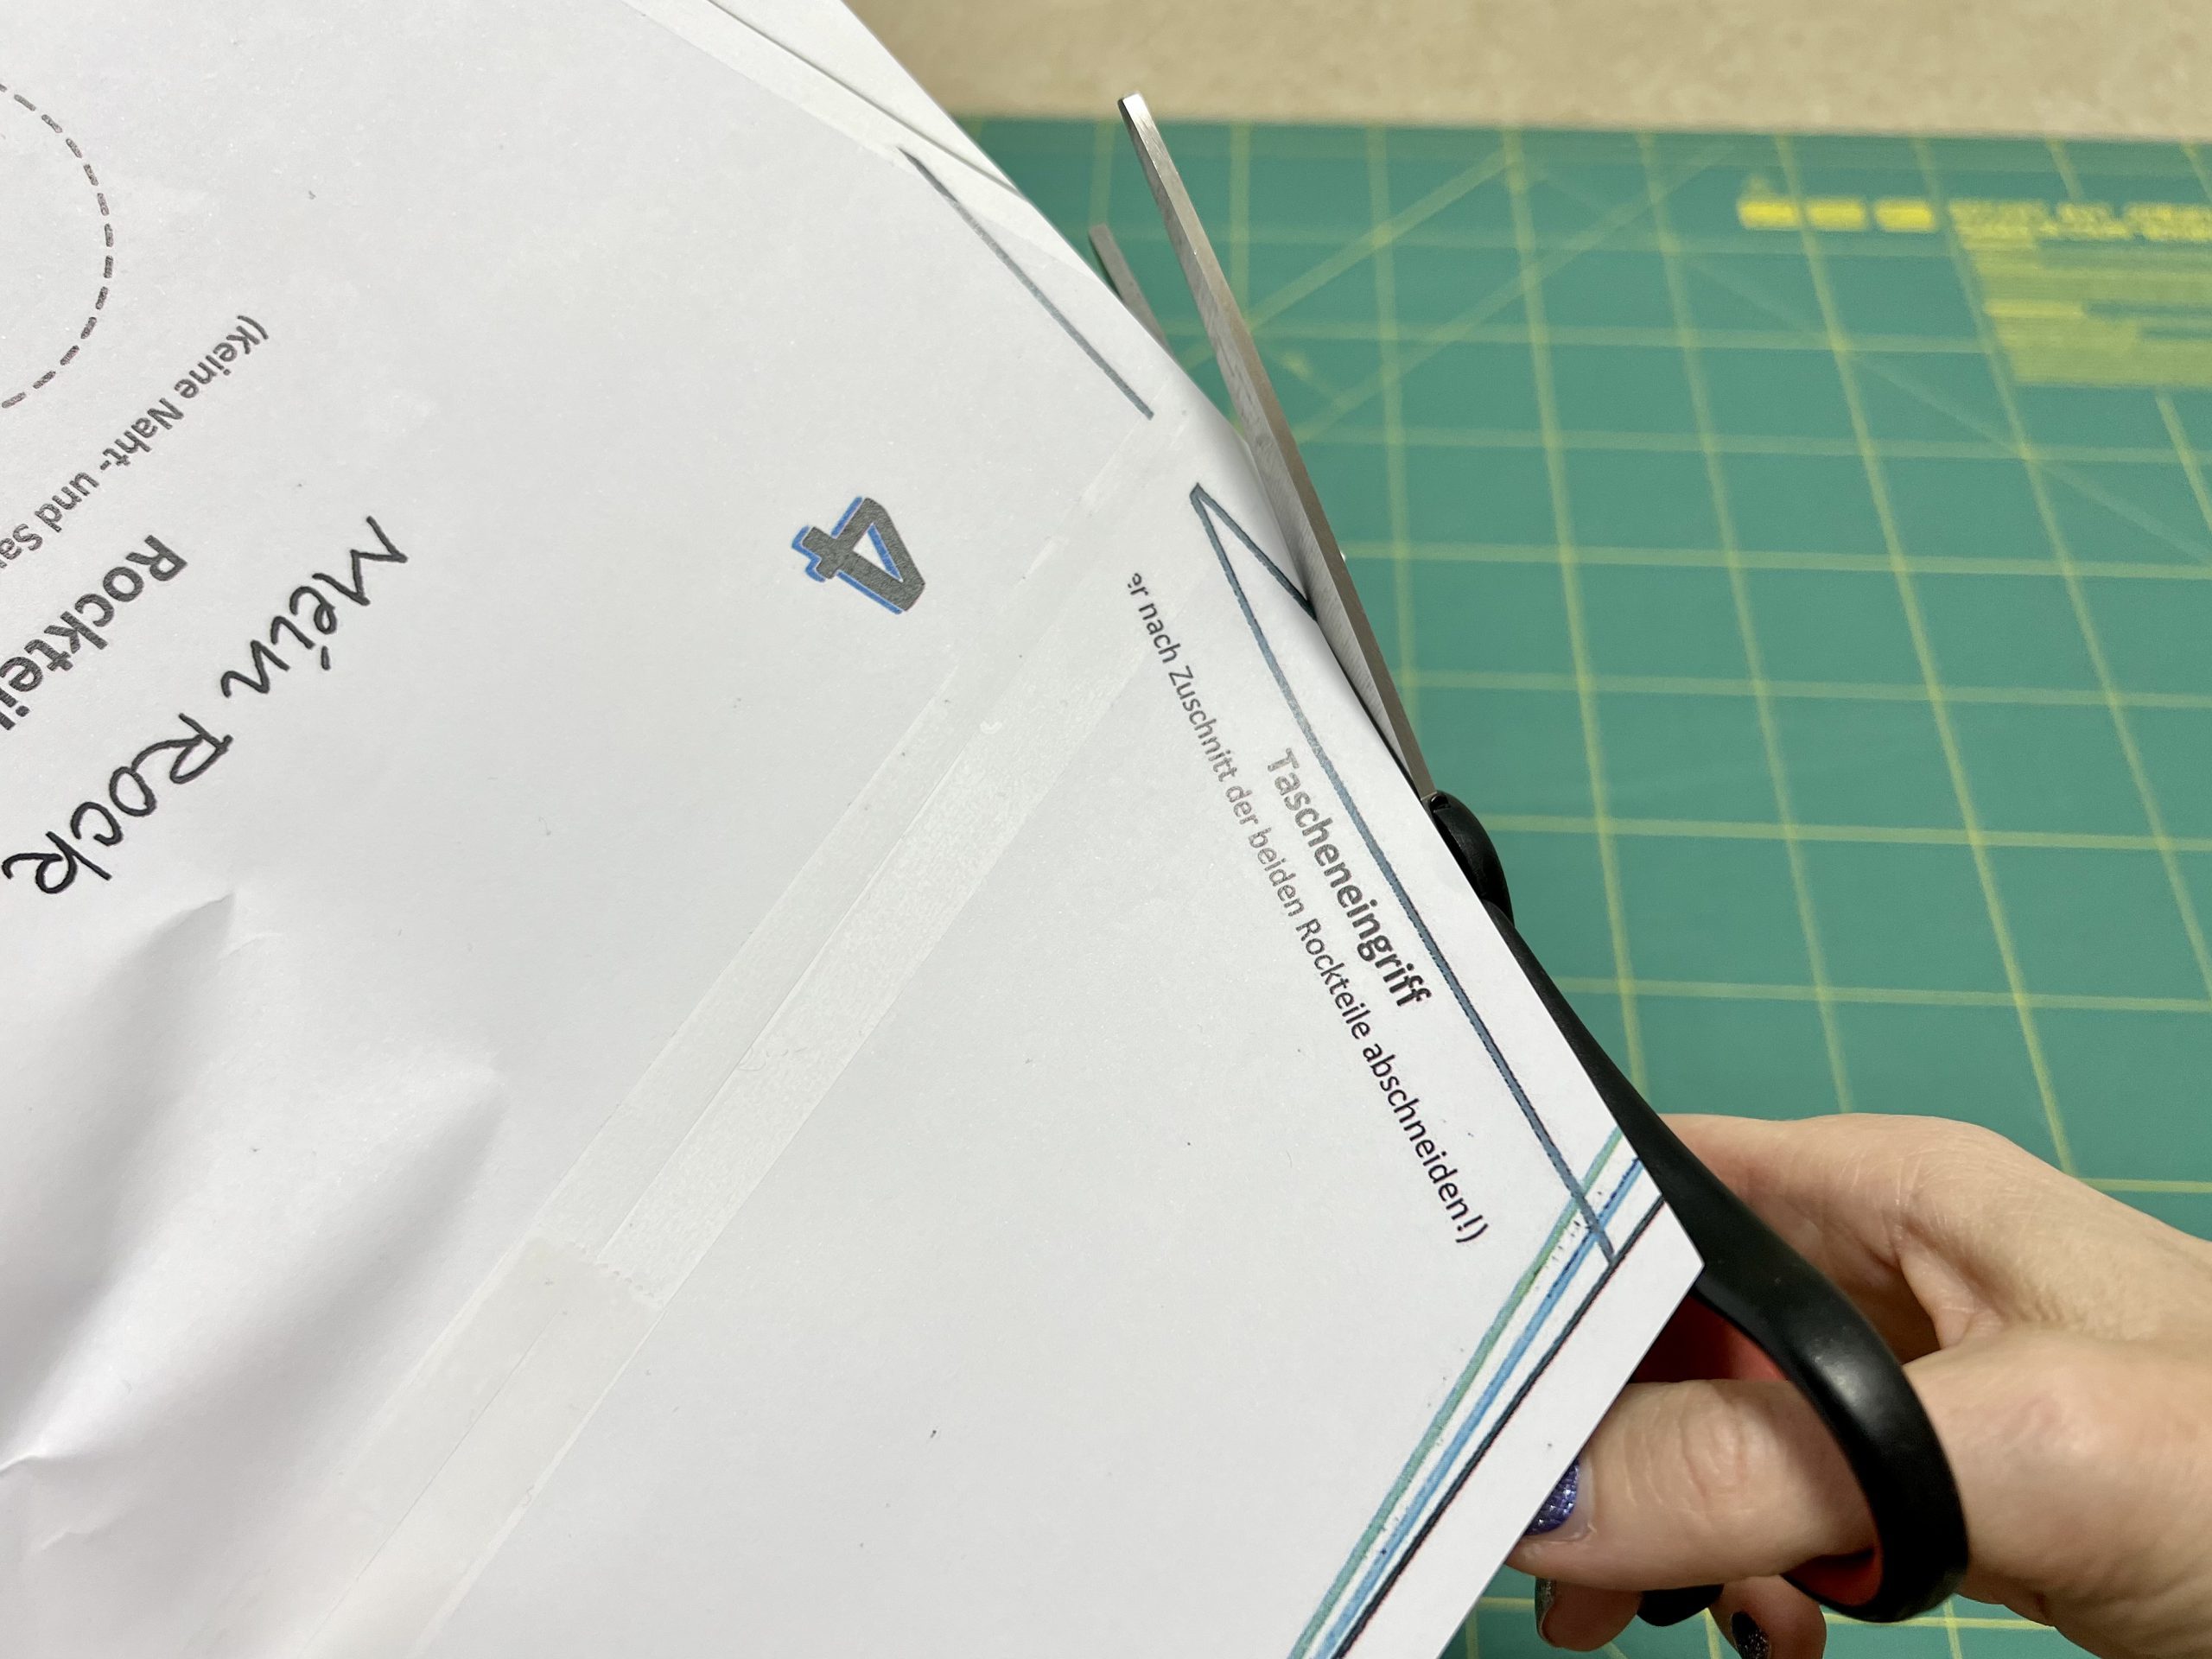
The pattern pieces do not include seam or hem allowances. Therefore, you still have to add these to the pattern pieces. Essentially, the front and back sections of the skirt are cut out twice in a split. If you want to sew the skirt with pockets, cut out a skirt piece for the back piece. Then, in the pattern, separate the part for the pocket opening, including the seam allowance. Then cut out the front skirt piece.
Do the same for the pocket pieces. First cut out the back pocket pieces. Then cut off the piece for the pocket opening, including the seam allowance. Then cut the front pocket piece.
When using Norwegian patterns or other similar patterns, make sure that the pattern process is the same, not only for the skirt pieces, but also for the back pocket pieces.
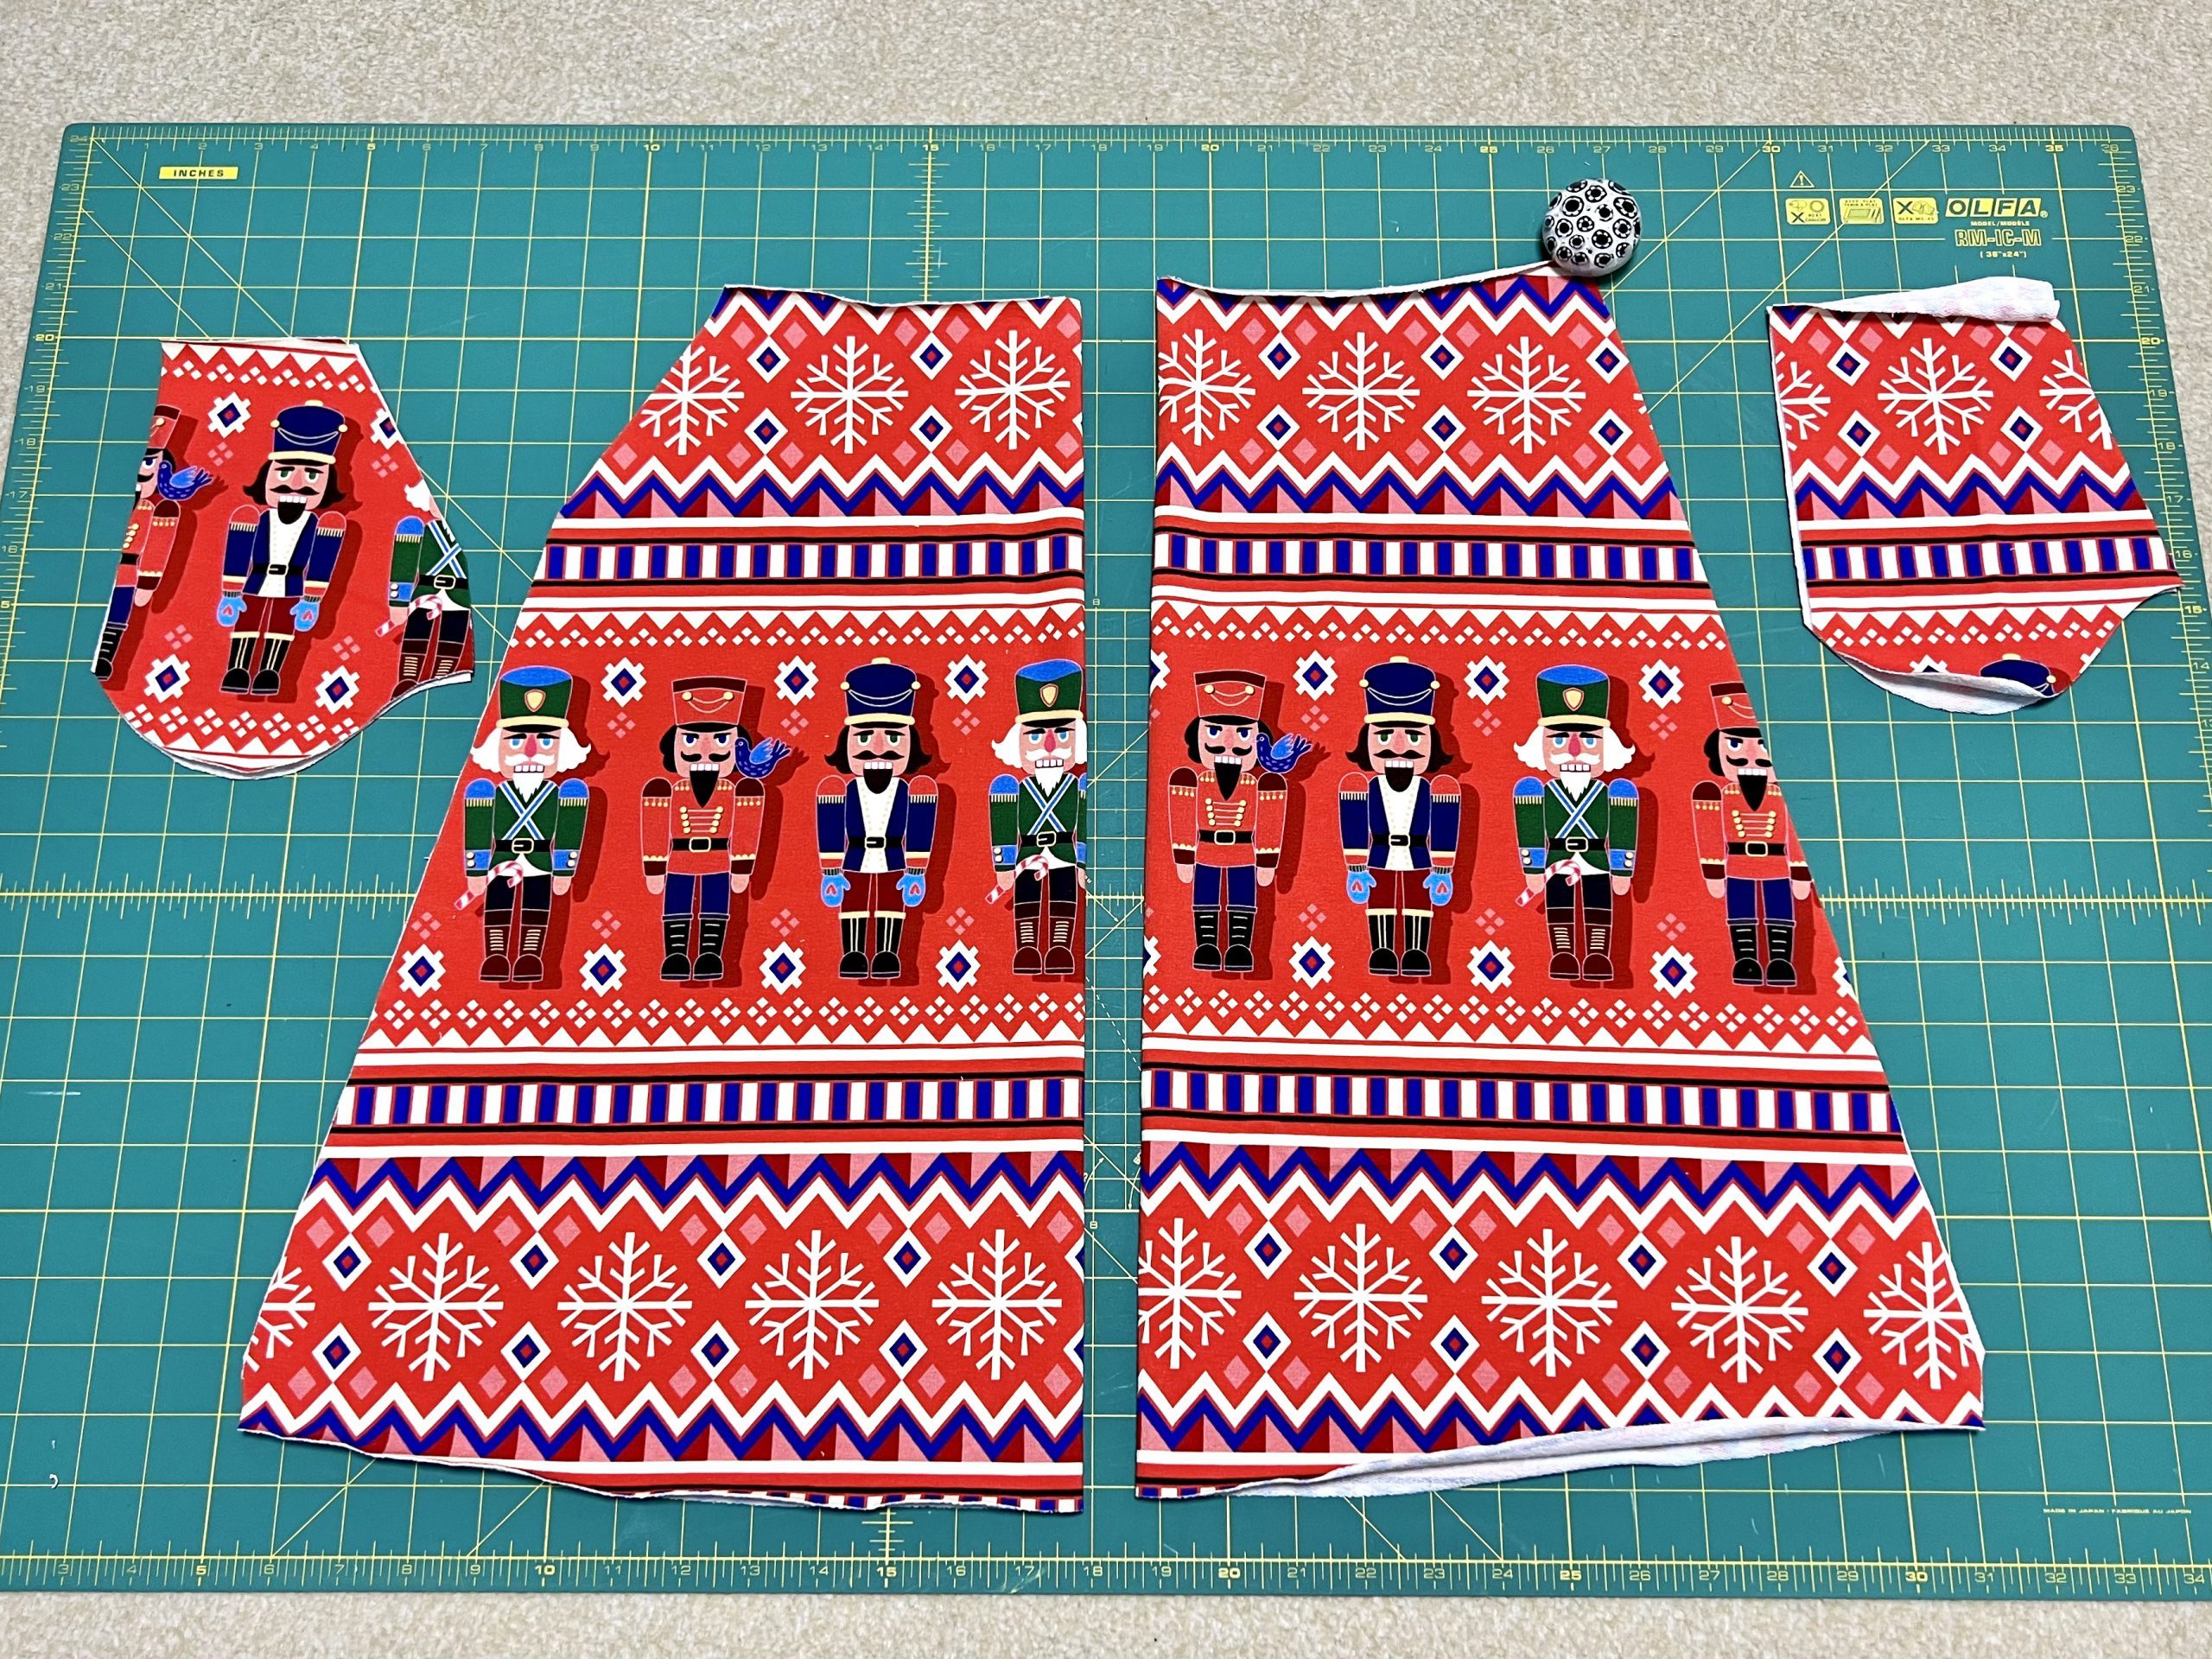
Then cut the skirt pieces from the elastic lining fabric, whereby you can cut the lining skirt approx. 4 cm shorter than the main skirt.
I explain how to cut out the cuff later in these instructions.
Sewing the pockets
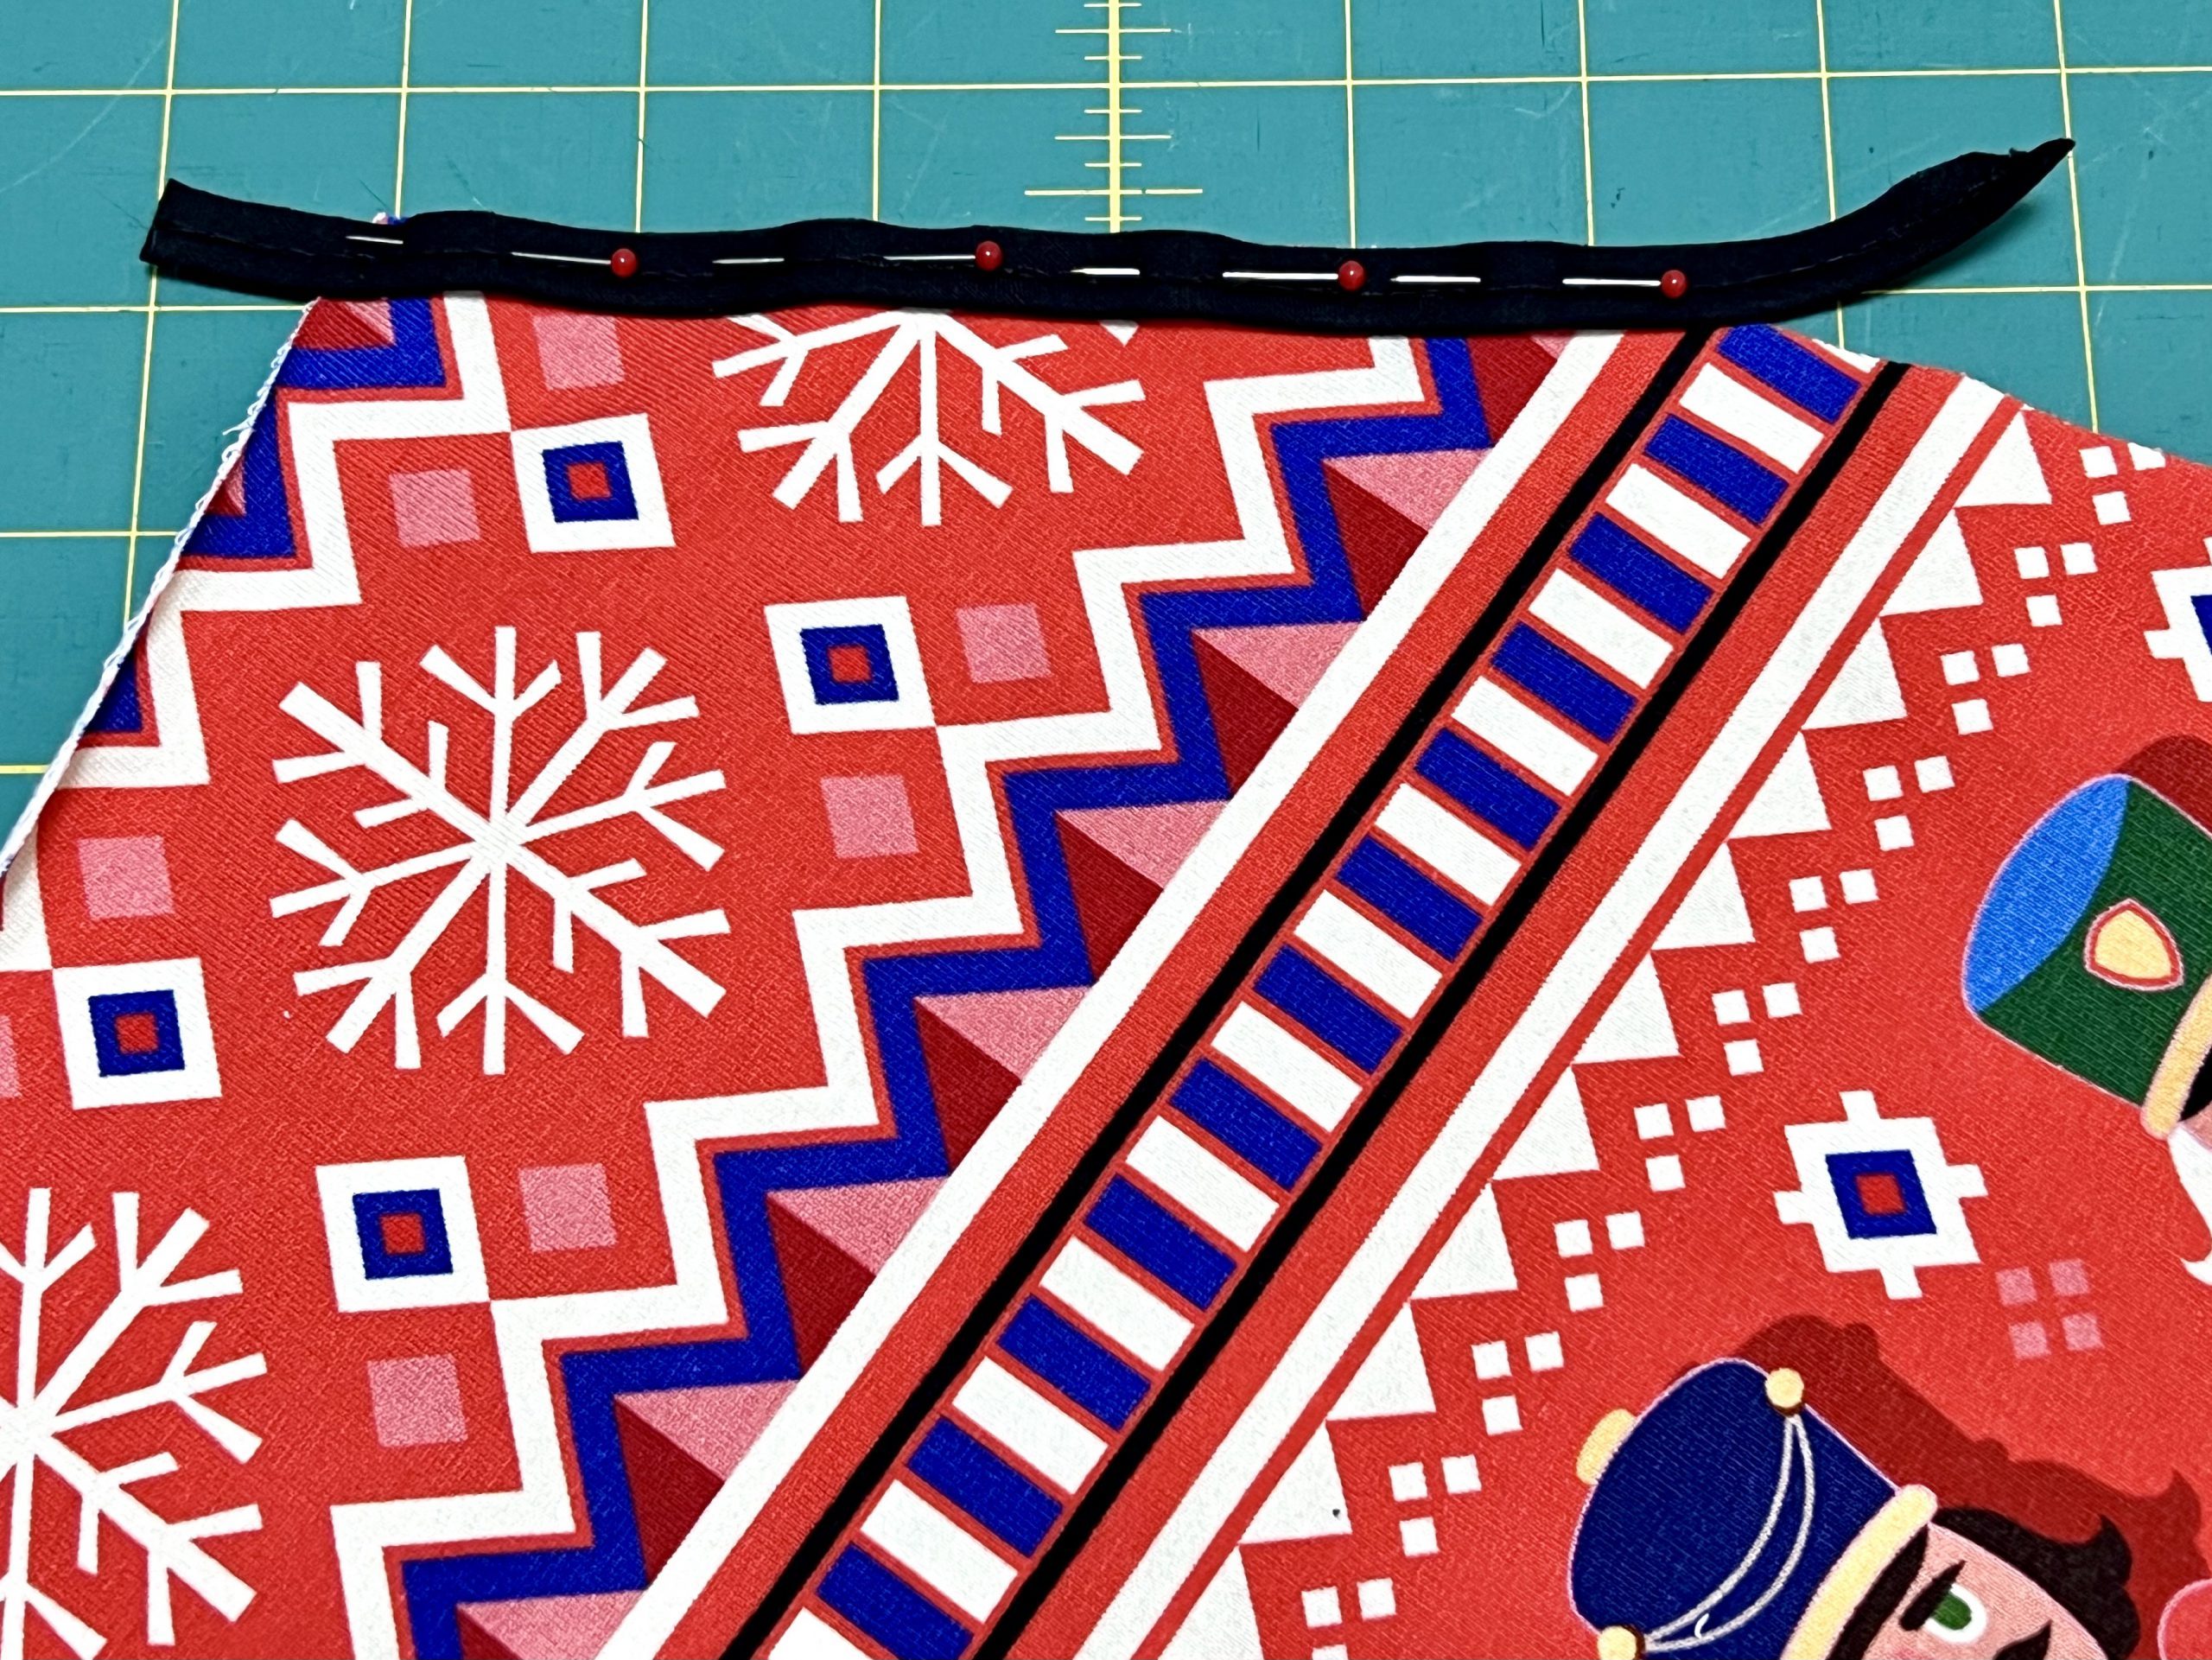
Take the front skirt piece and cut the piping tape to the length of the pocket opening with a seam allowance of approx. 2-3 cm on each side. Pin it to the front pocket opening.
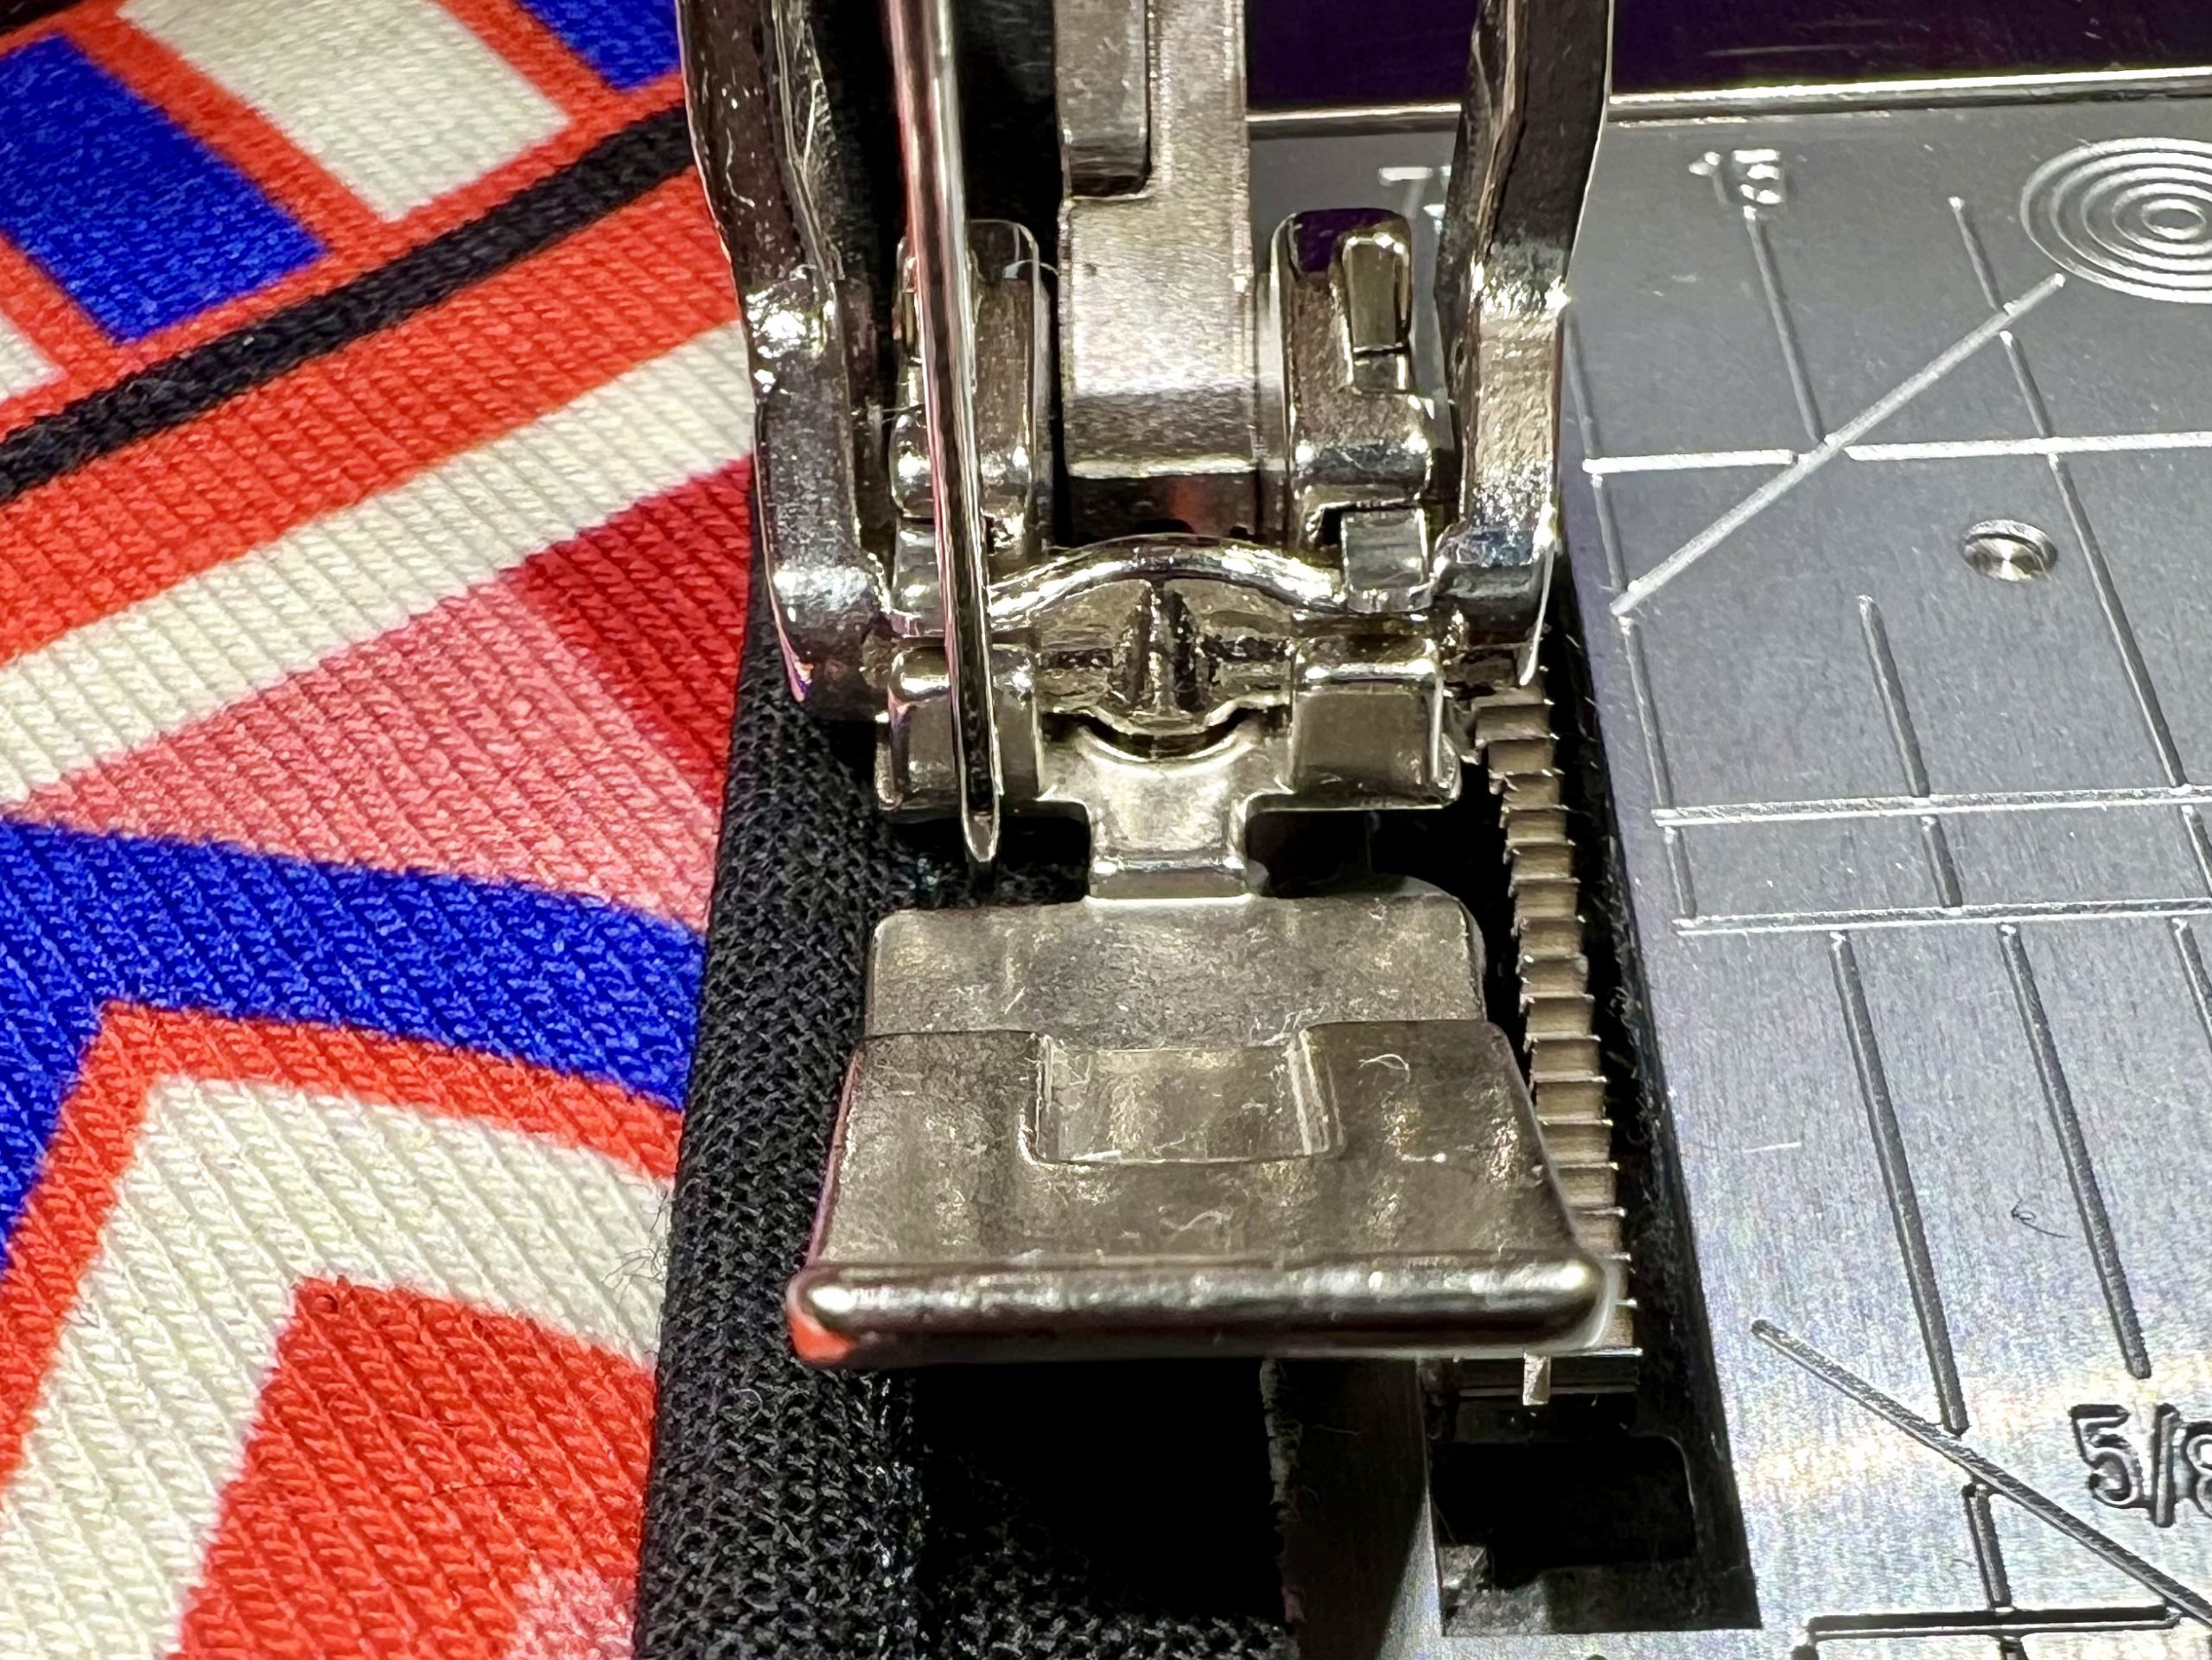
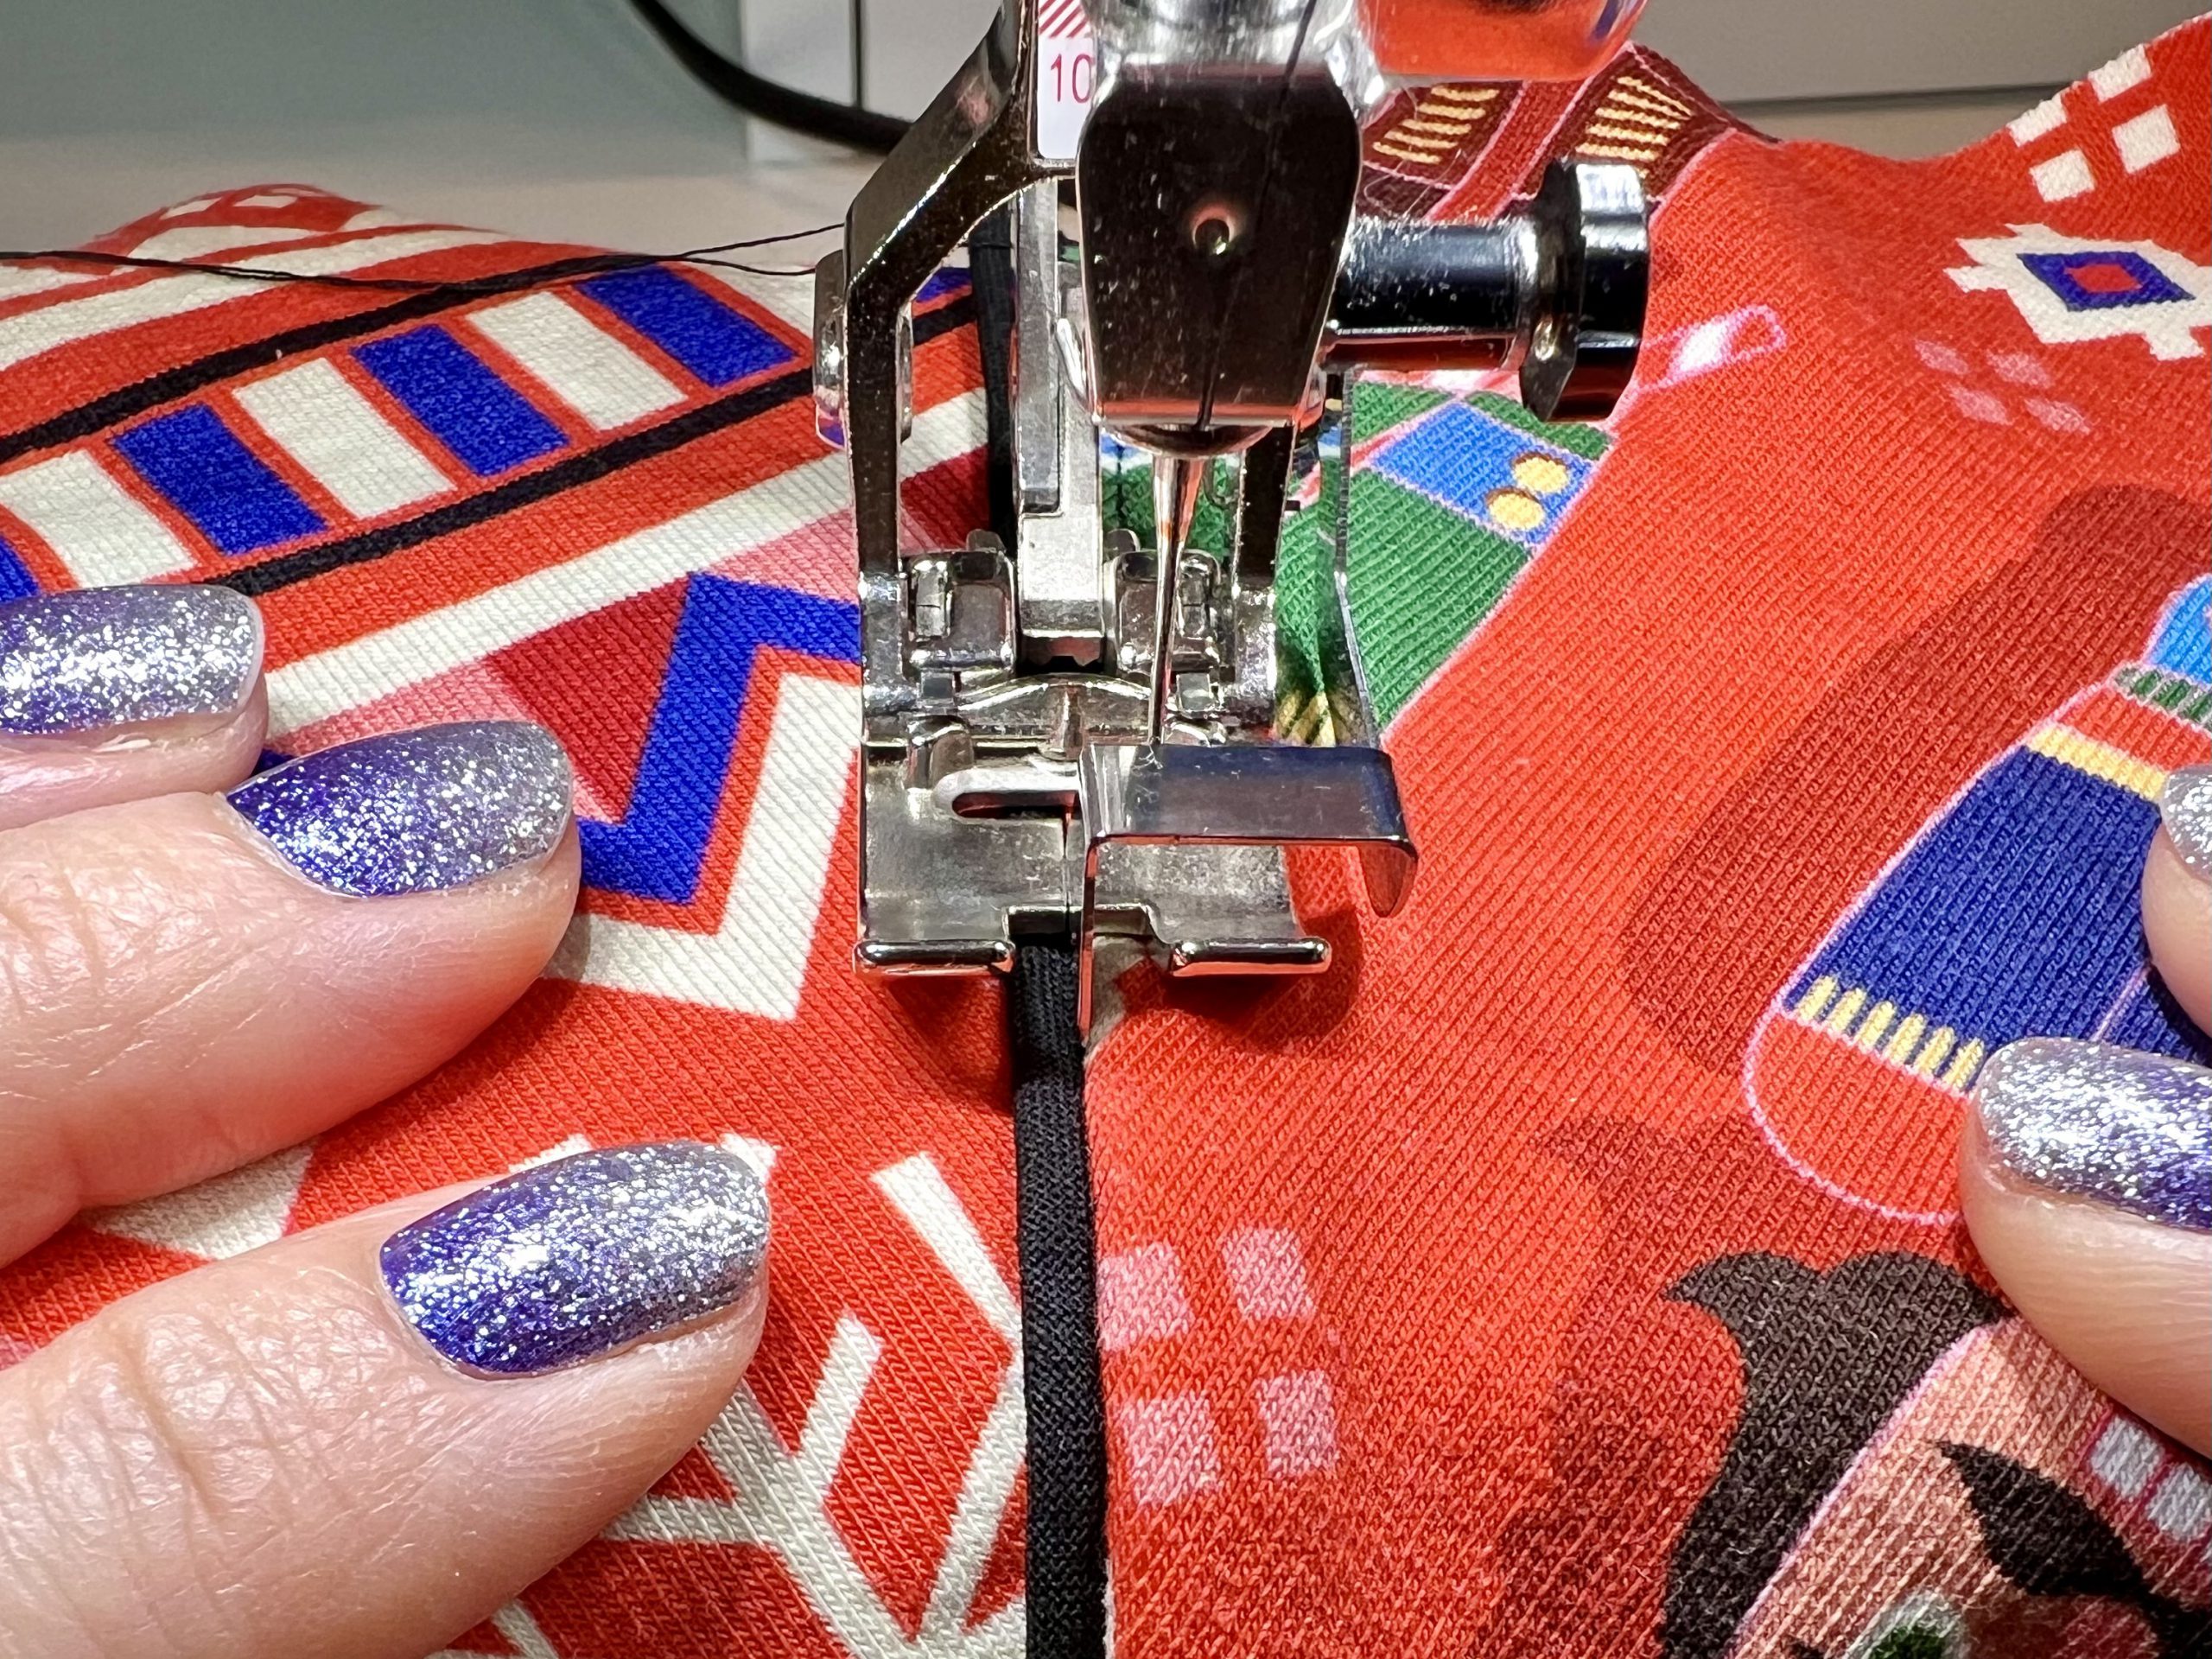
Using the straight stitch on your sewing machine, sew the piping tape as close as possible to the seam of the piping tape at the pocket opening. I find it is best to do this with the Zipper Foot #4.
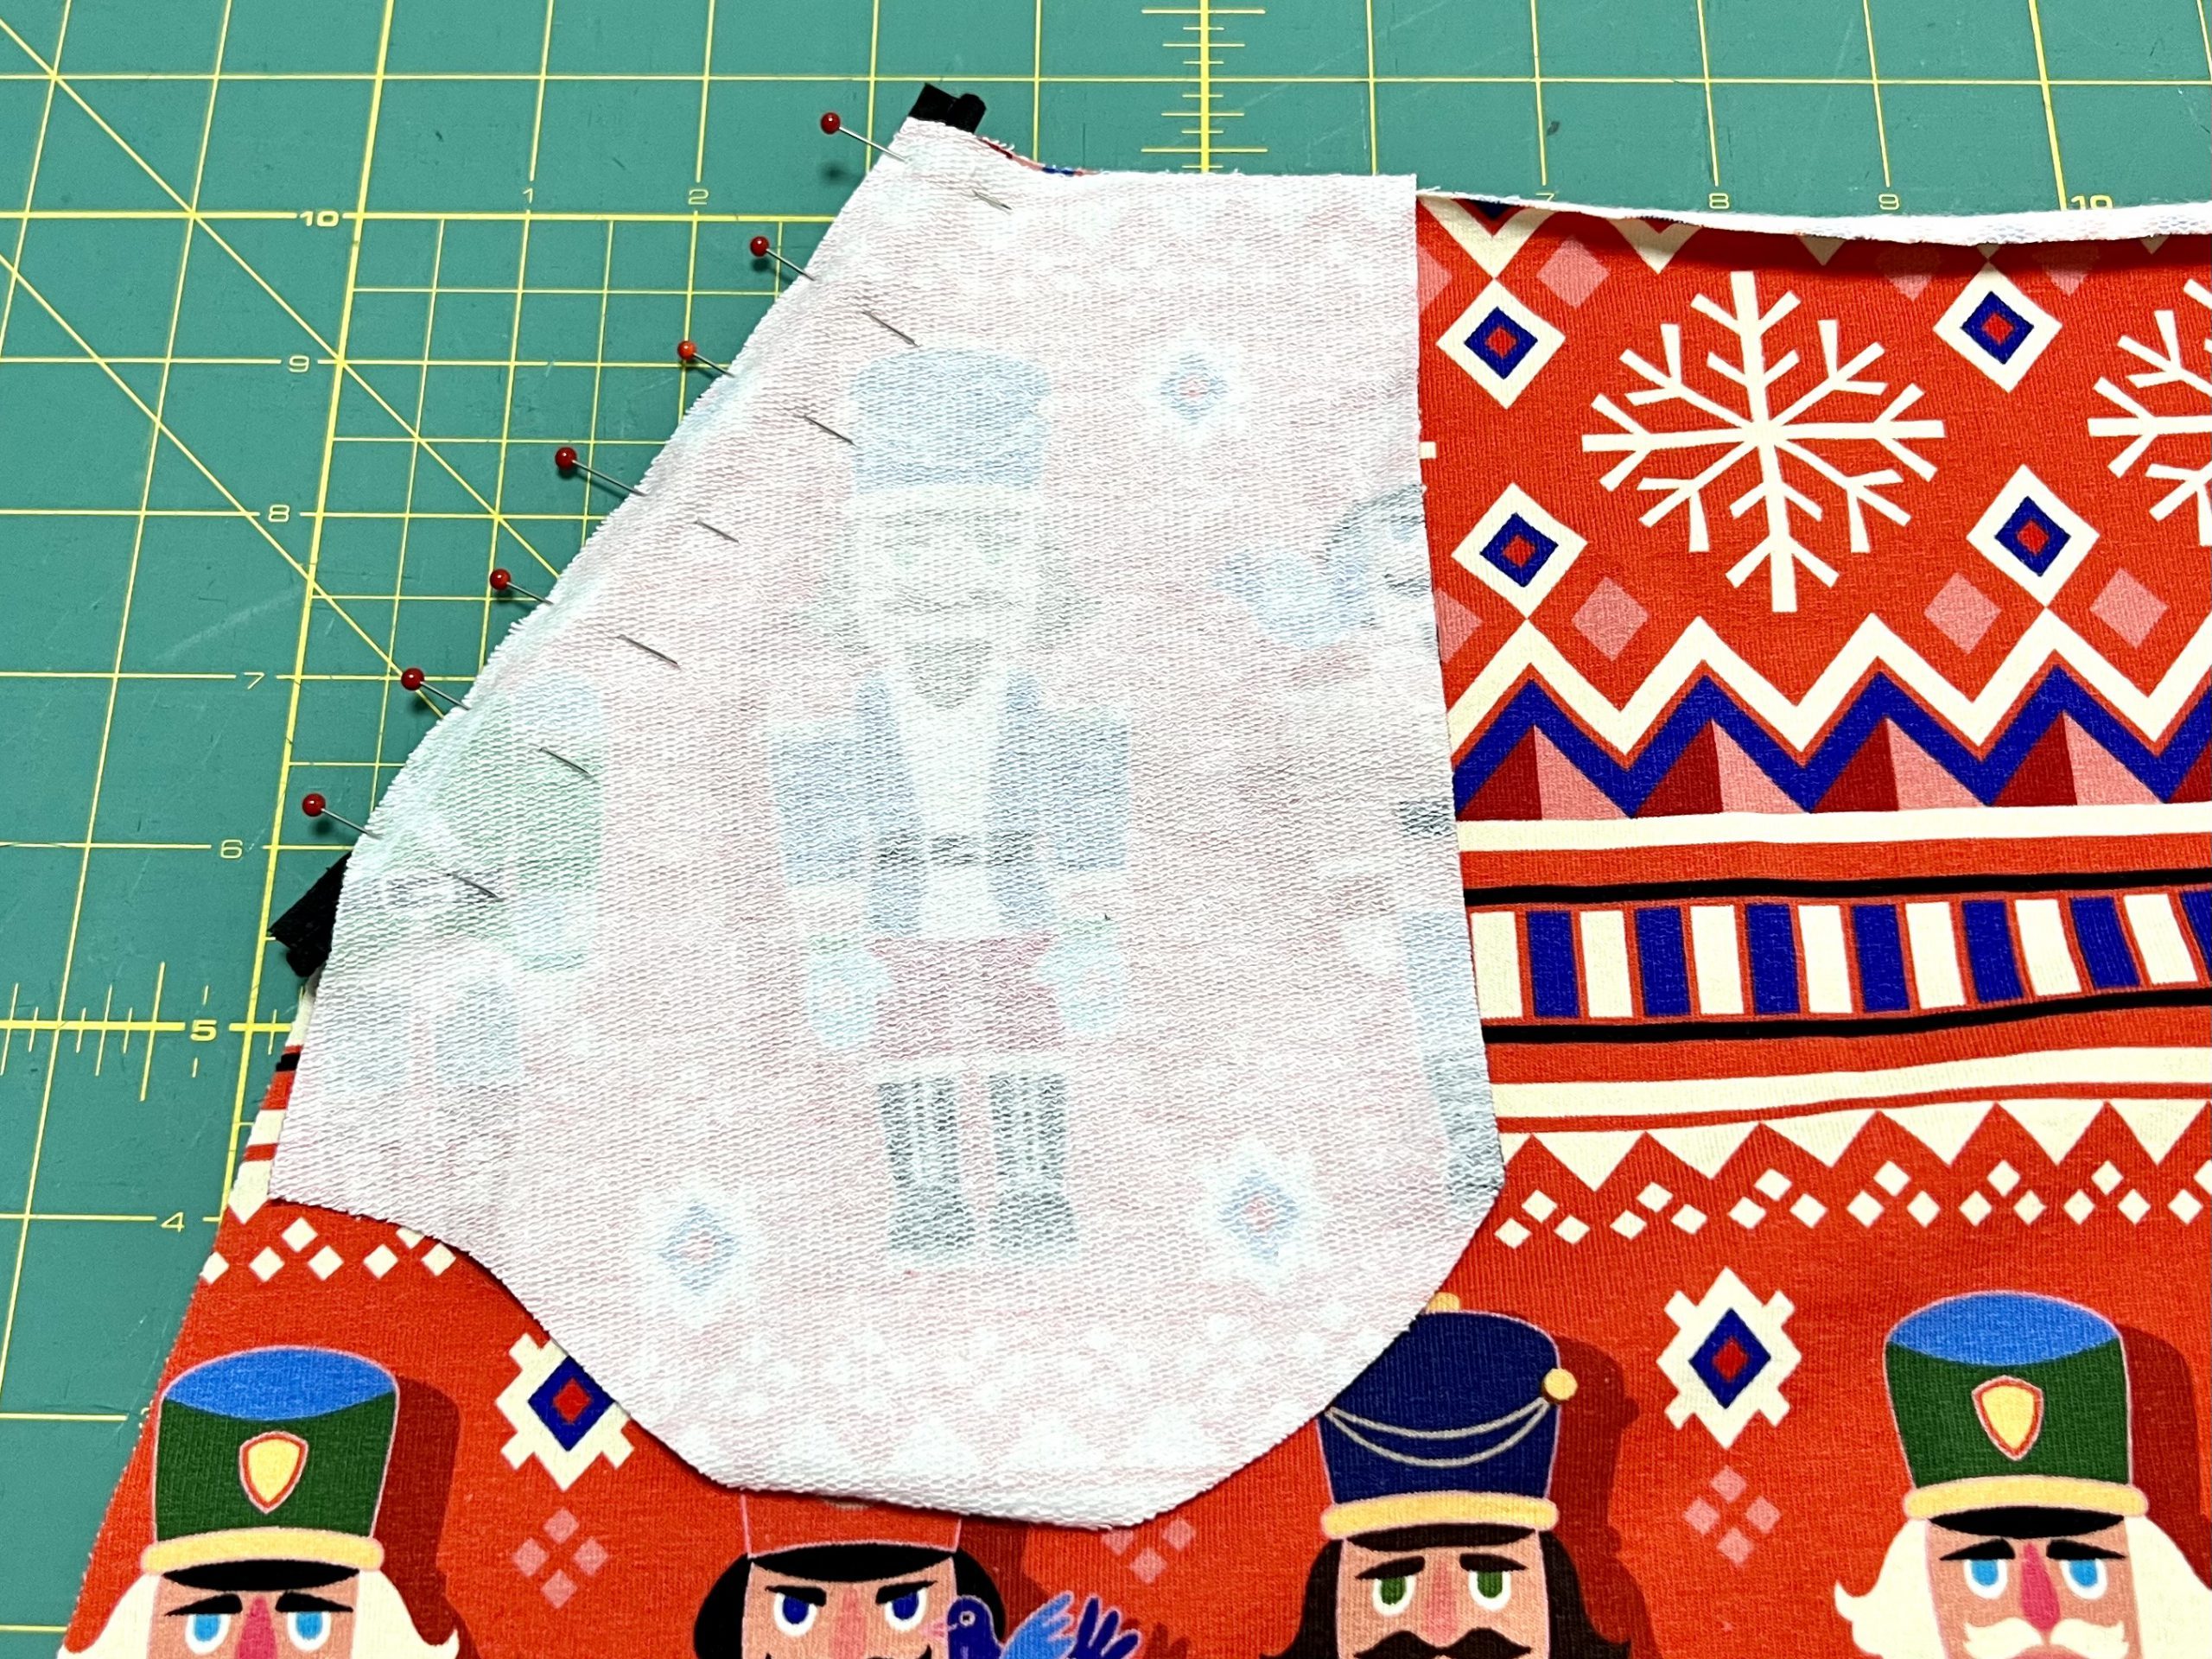
Then pin the front pocket pouch to the pocket opening, right side to right side, as shown in the picture. The piping tape is exactly in the middle.
Turn your skirt piece so that you can clearly see the previously sewn seam from the piping tape.
Now sew the front pocket piece to the left of the first seam, at a distance of approx. 1-2 mm from the pocket opening. This means that this seam now runs much closer to the piping cord.
Then iron the seam allowance towards the pocket pouch. Stitch the seam allowance onto the pocket pouch, close to the edge. For edge stitching, I prefer to use Edgestitch Foot #10.

Pin the back pocket pouch onto the front pocket pouch, with the right sides together so as precisely aligned. Now sew the back pocket pouch onto the front. Repeat all the steps for the other pocket opening.

Fold the pocket pouches back and iron them out neatly. Using a larger straight stitch (stitch length approx. 3.5-4) , attach the pocket pouches on the top and sides (see yellow marking) to your skirt piece, within the seam allowance.

Sewing the skirt piece and the lining for the Christmas skirt
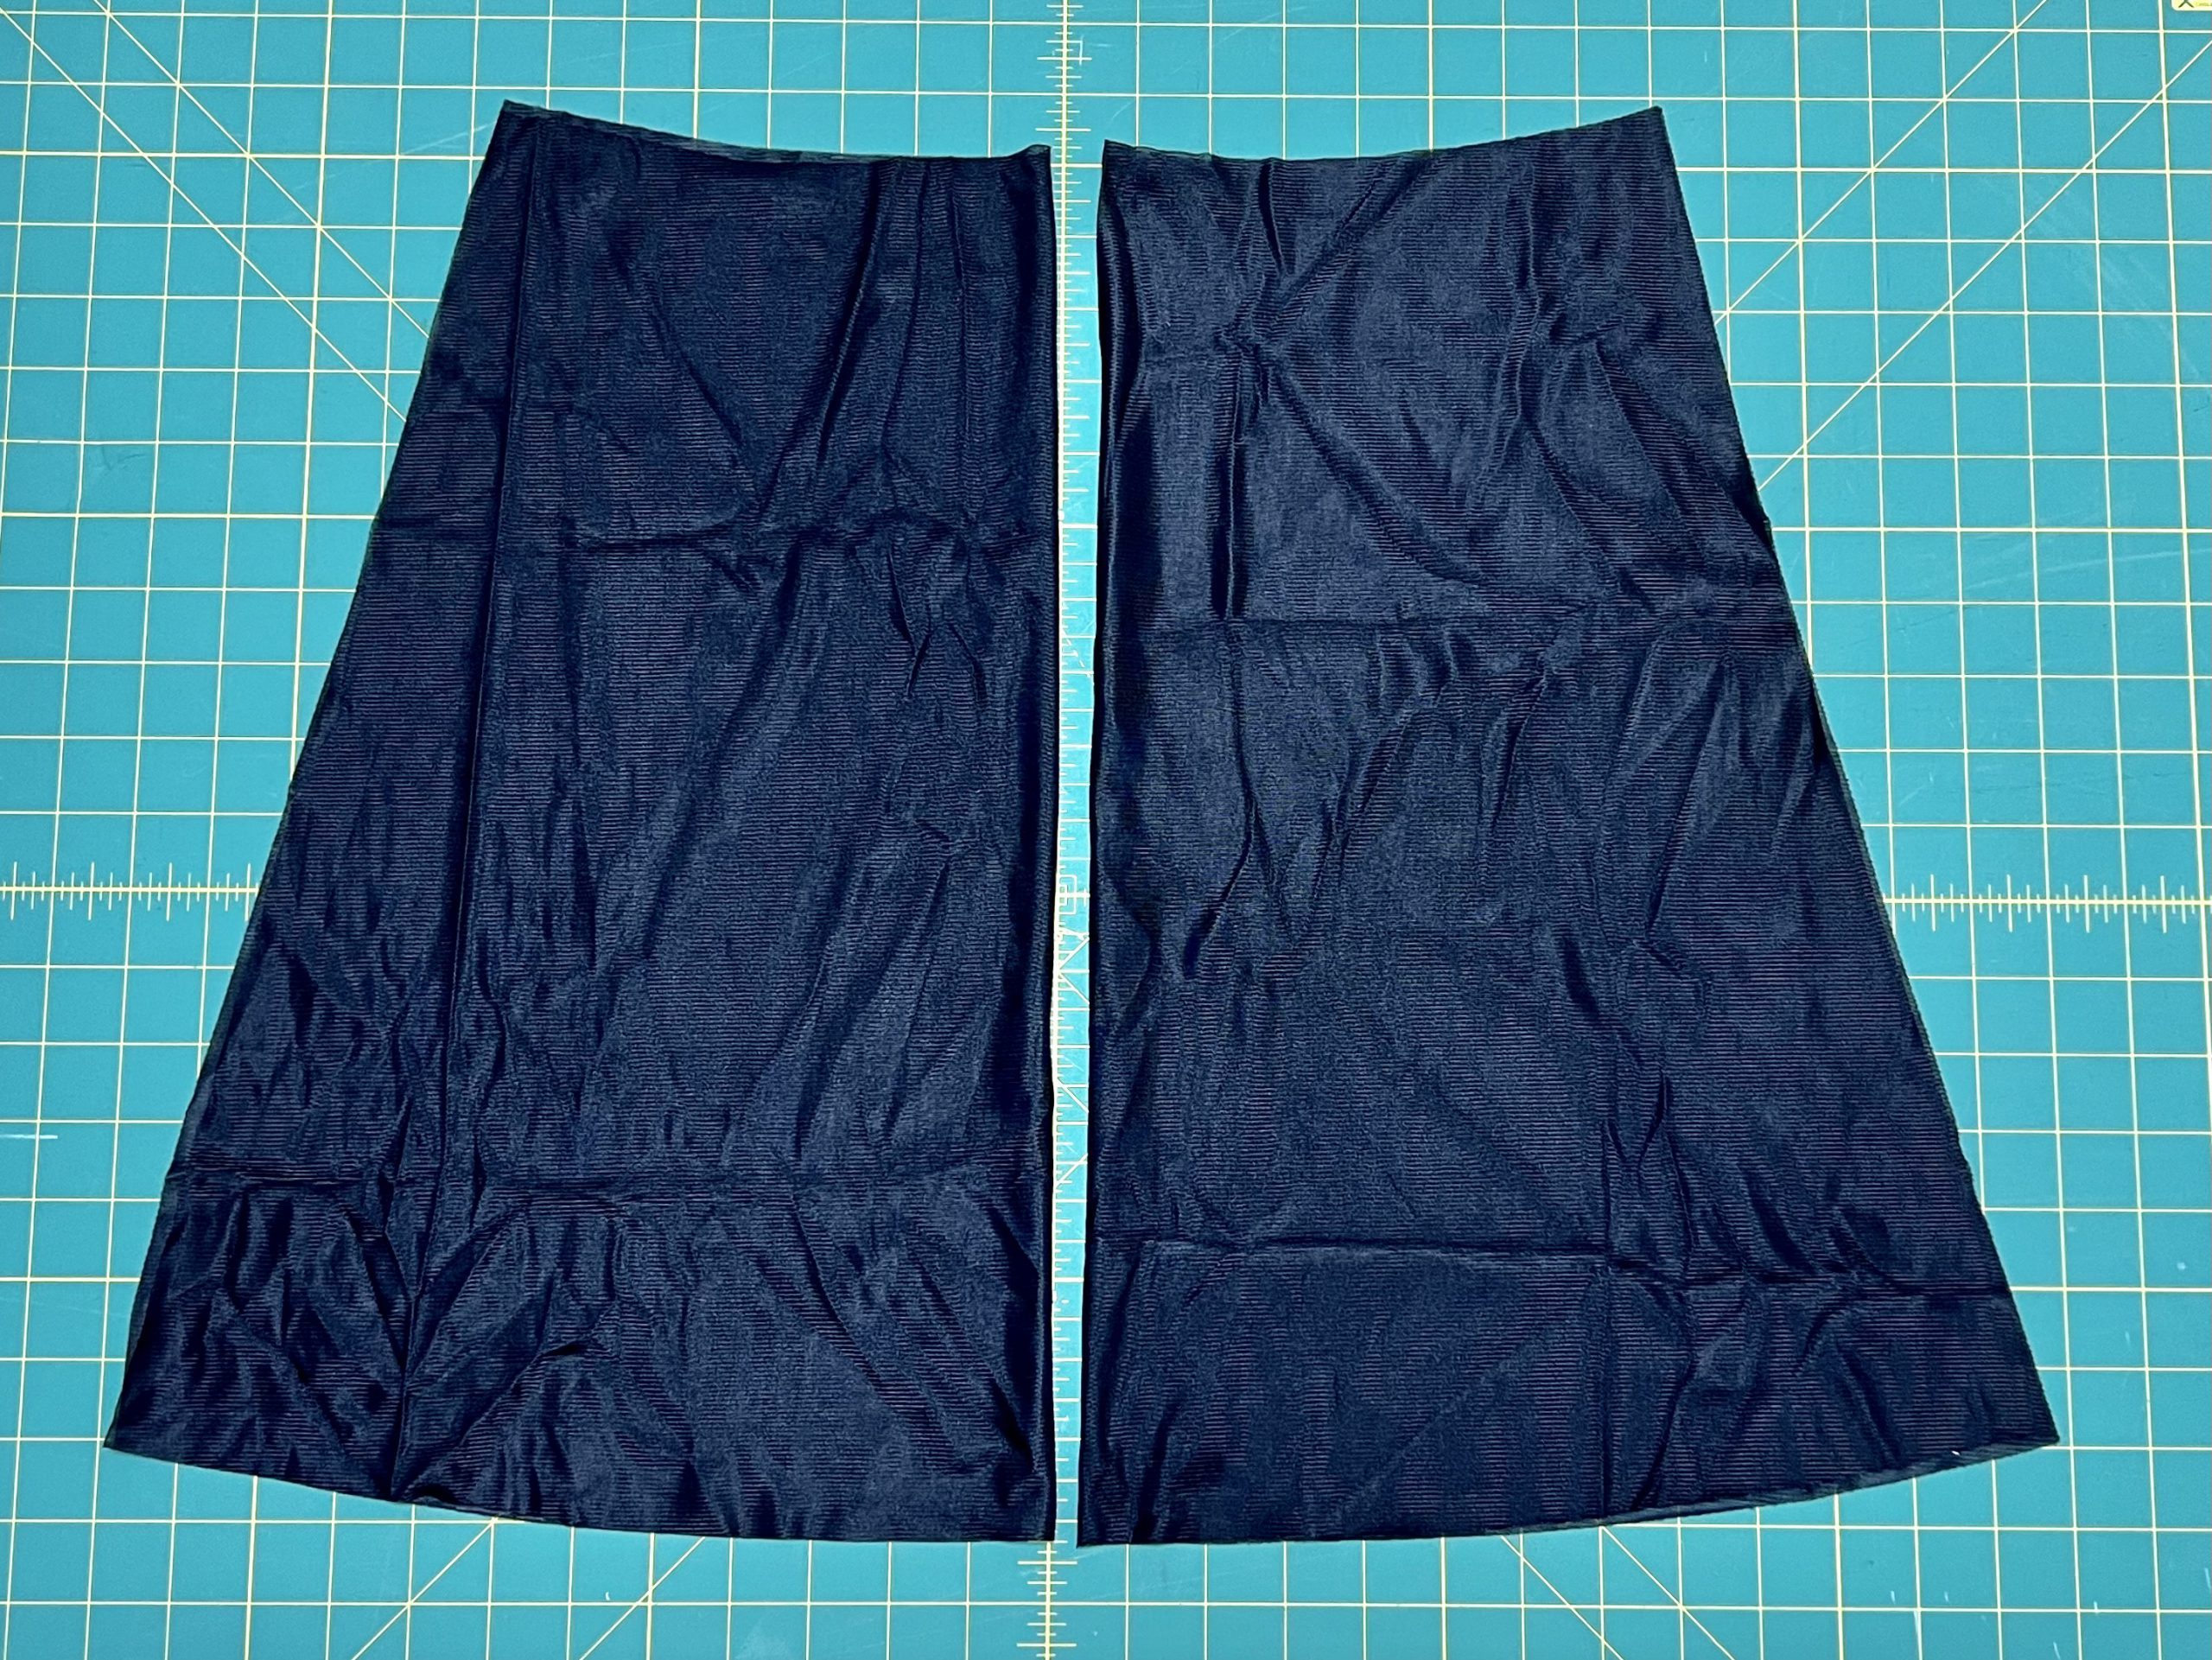
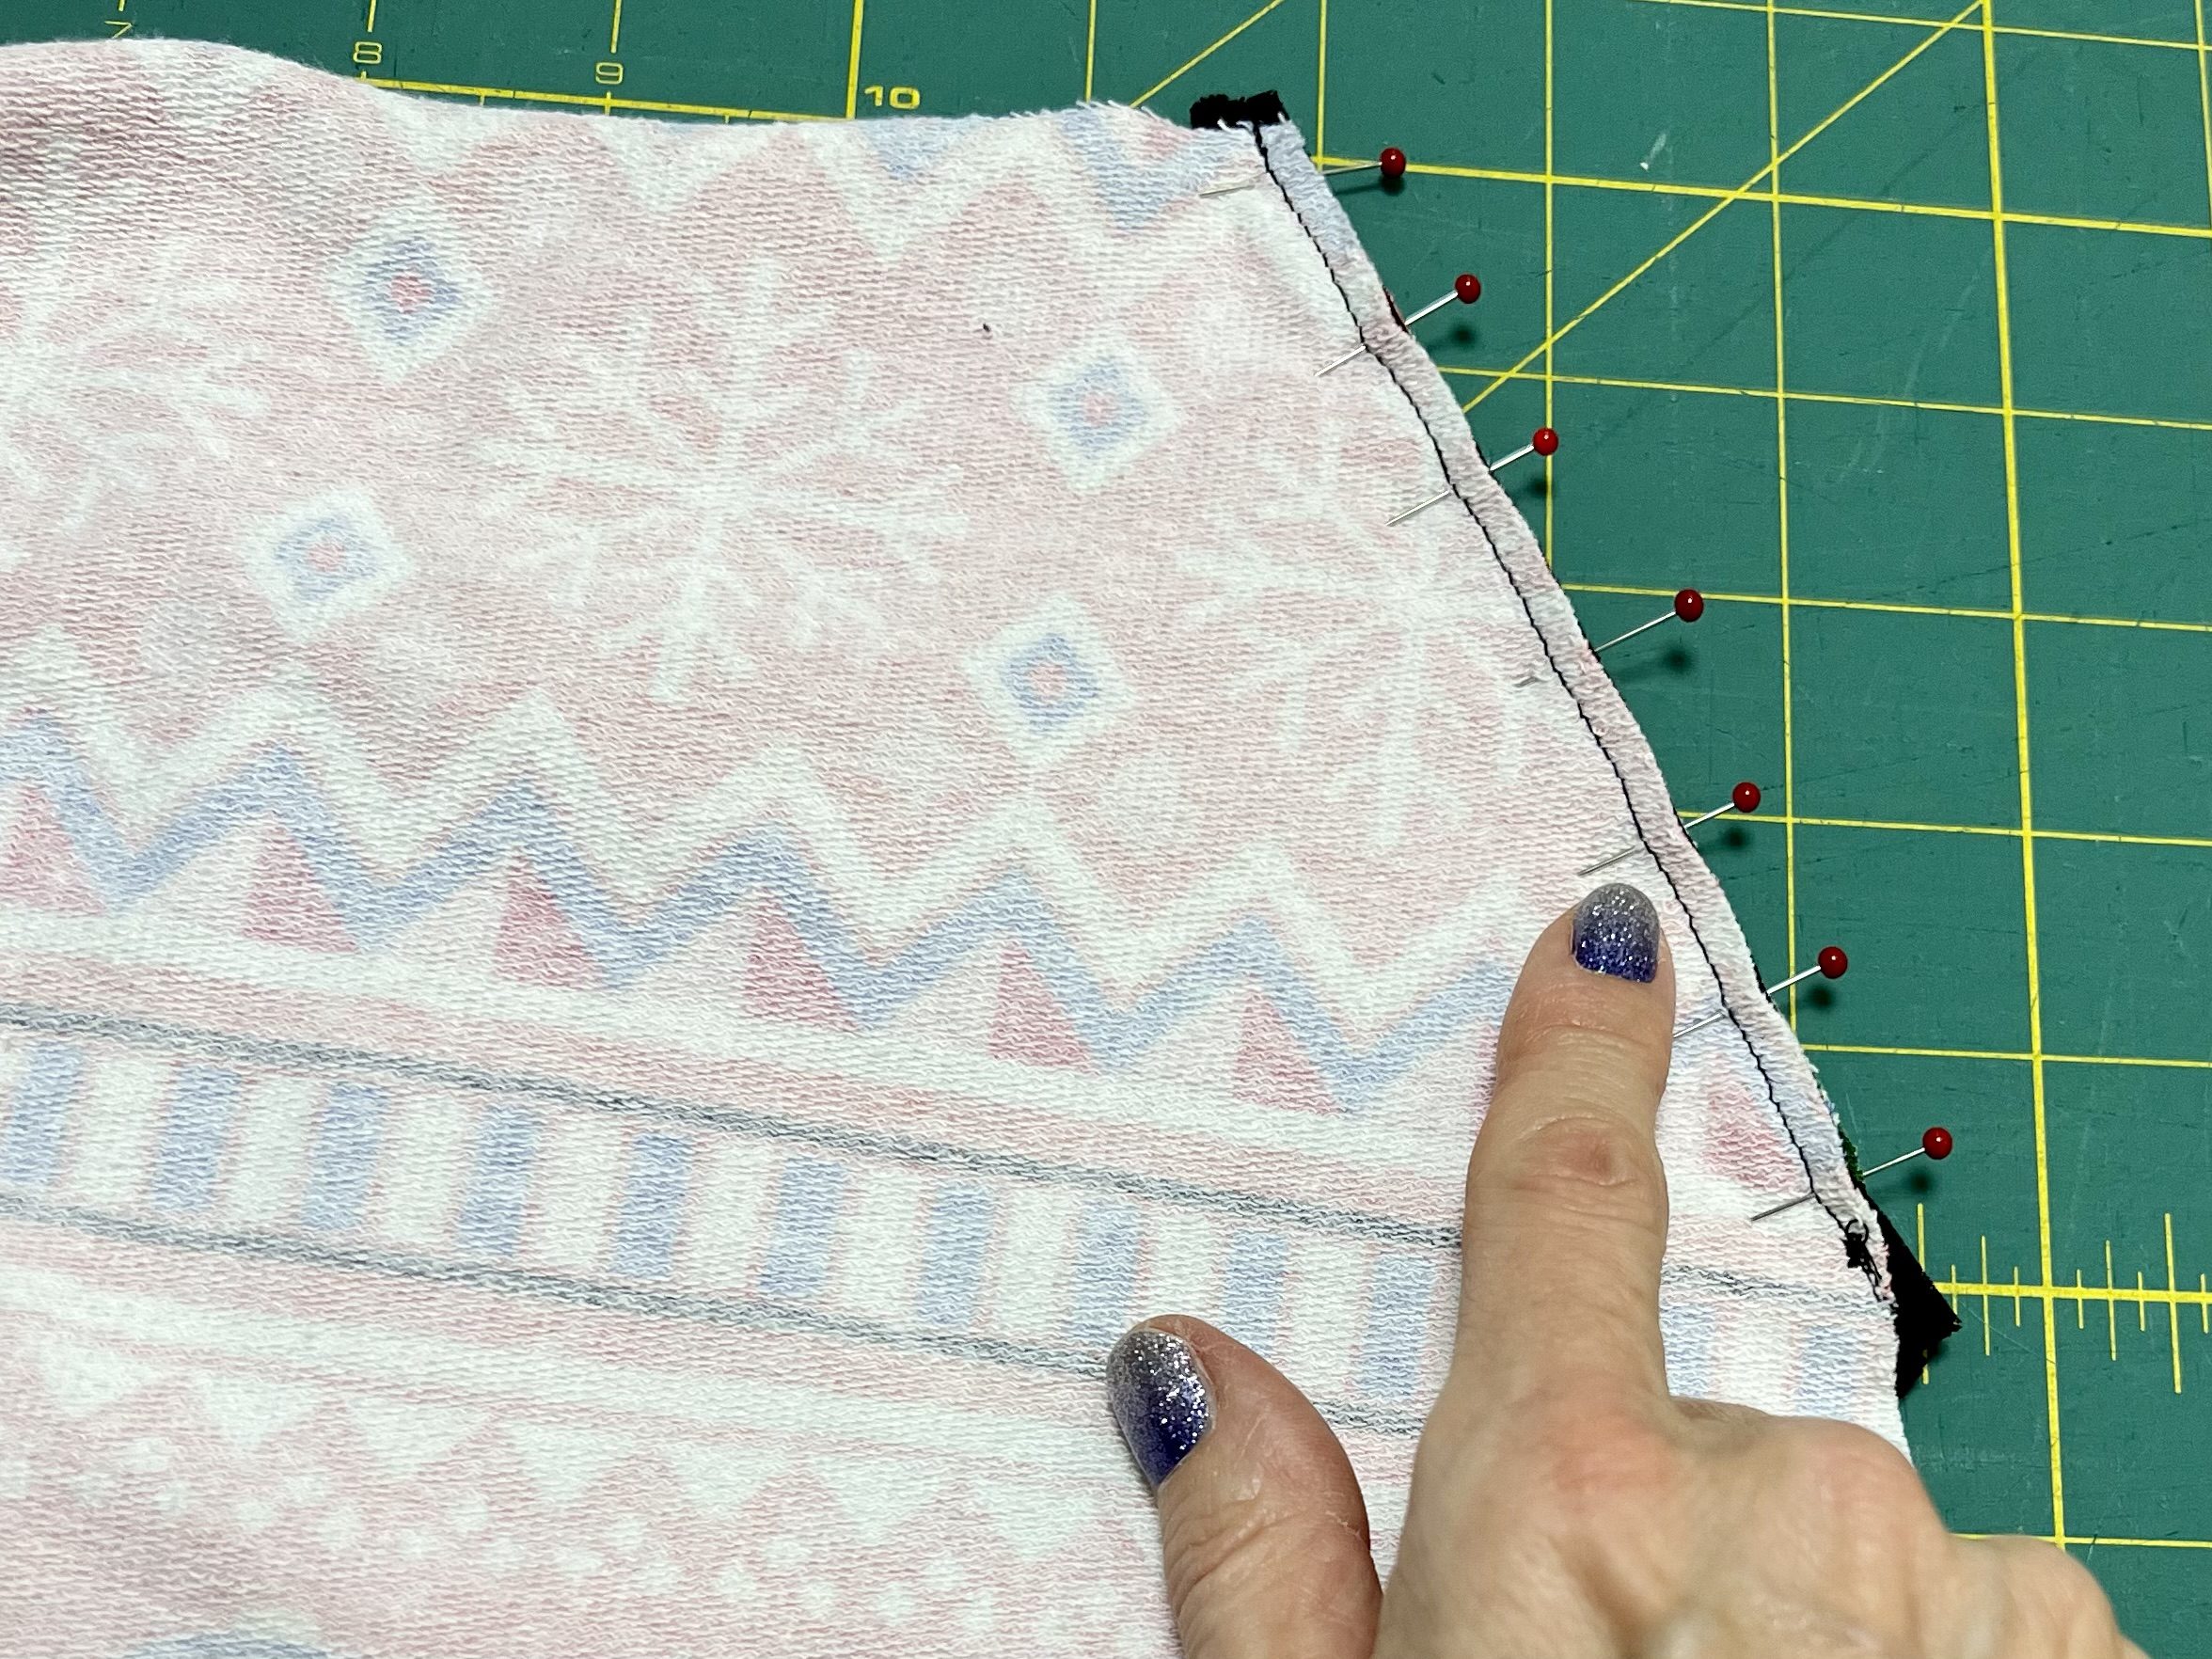
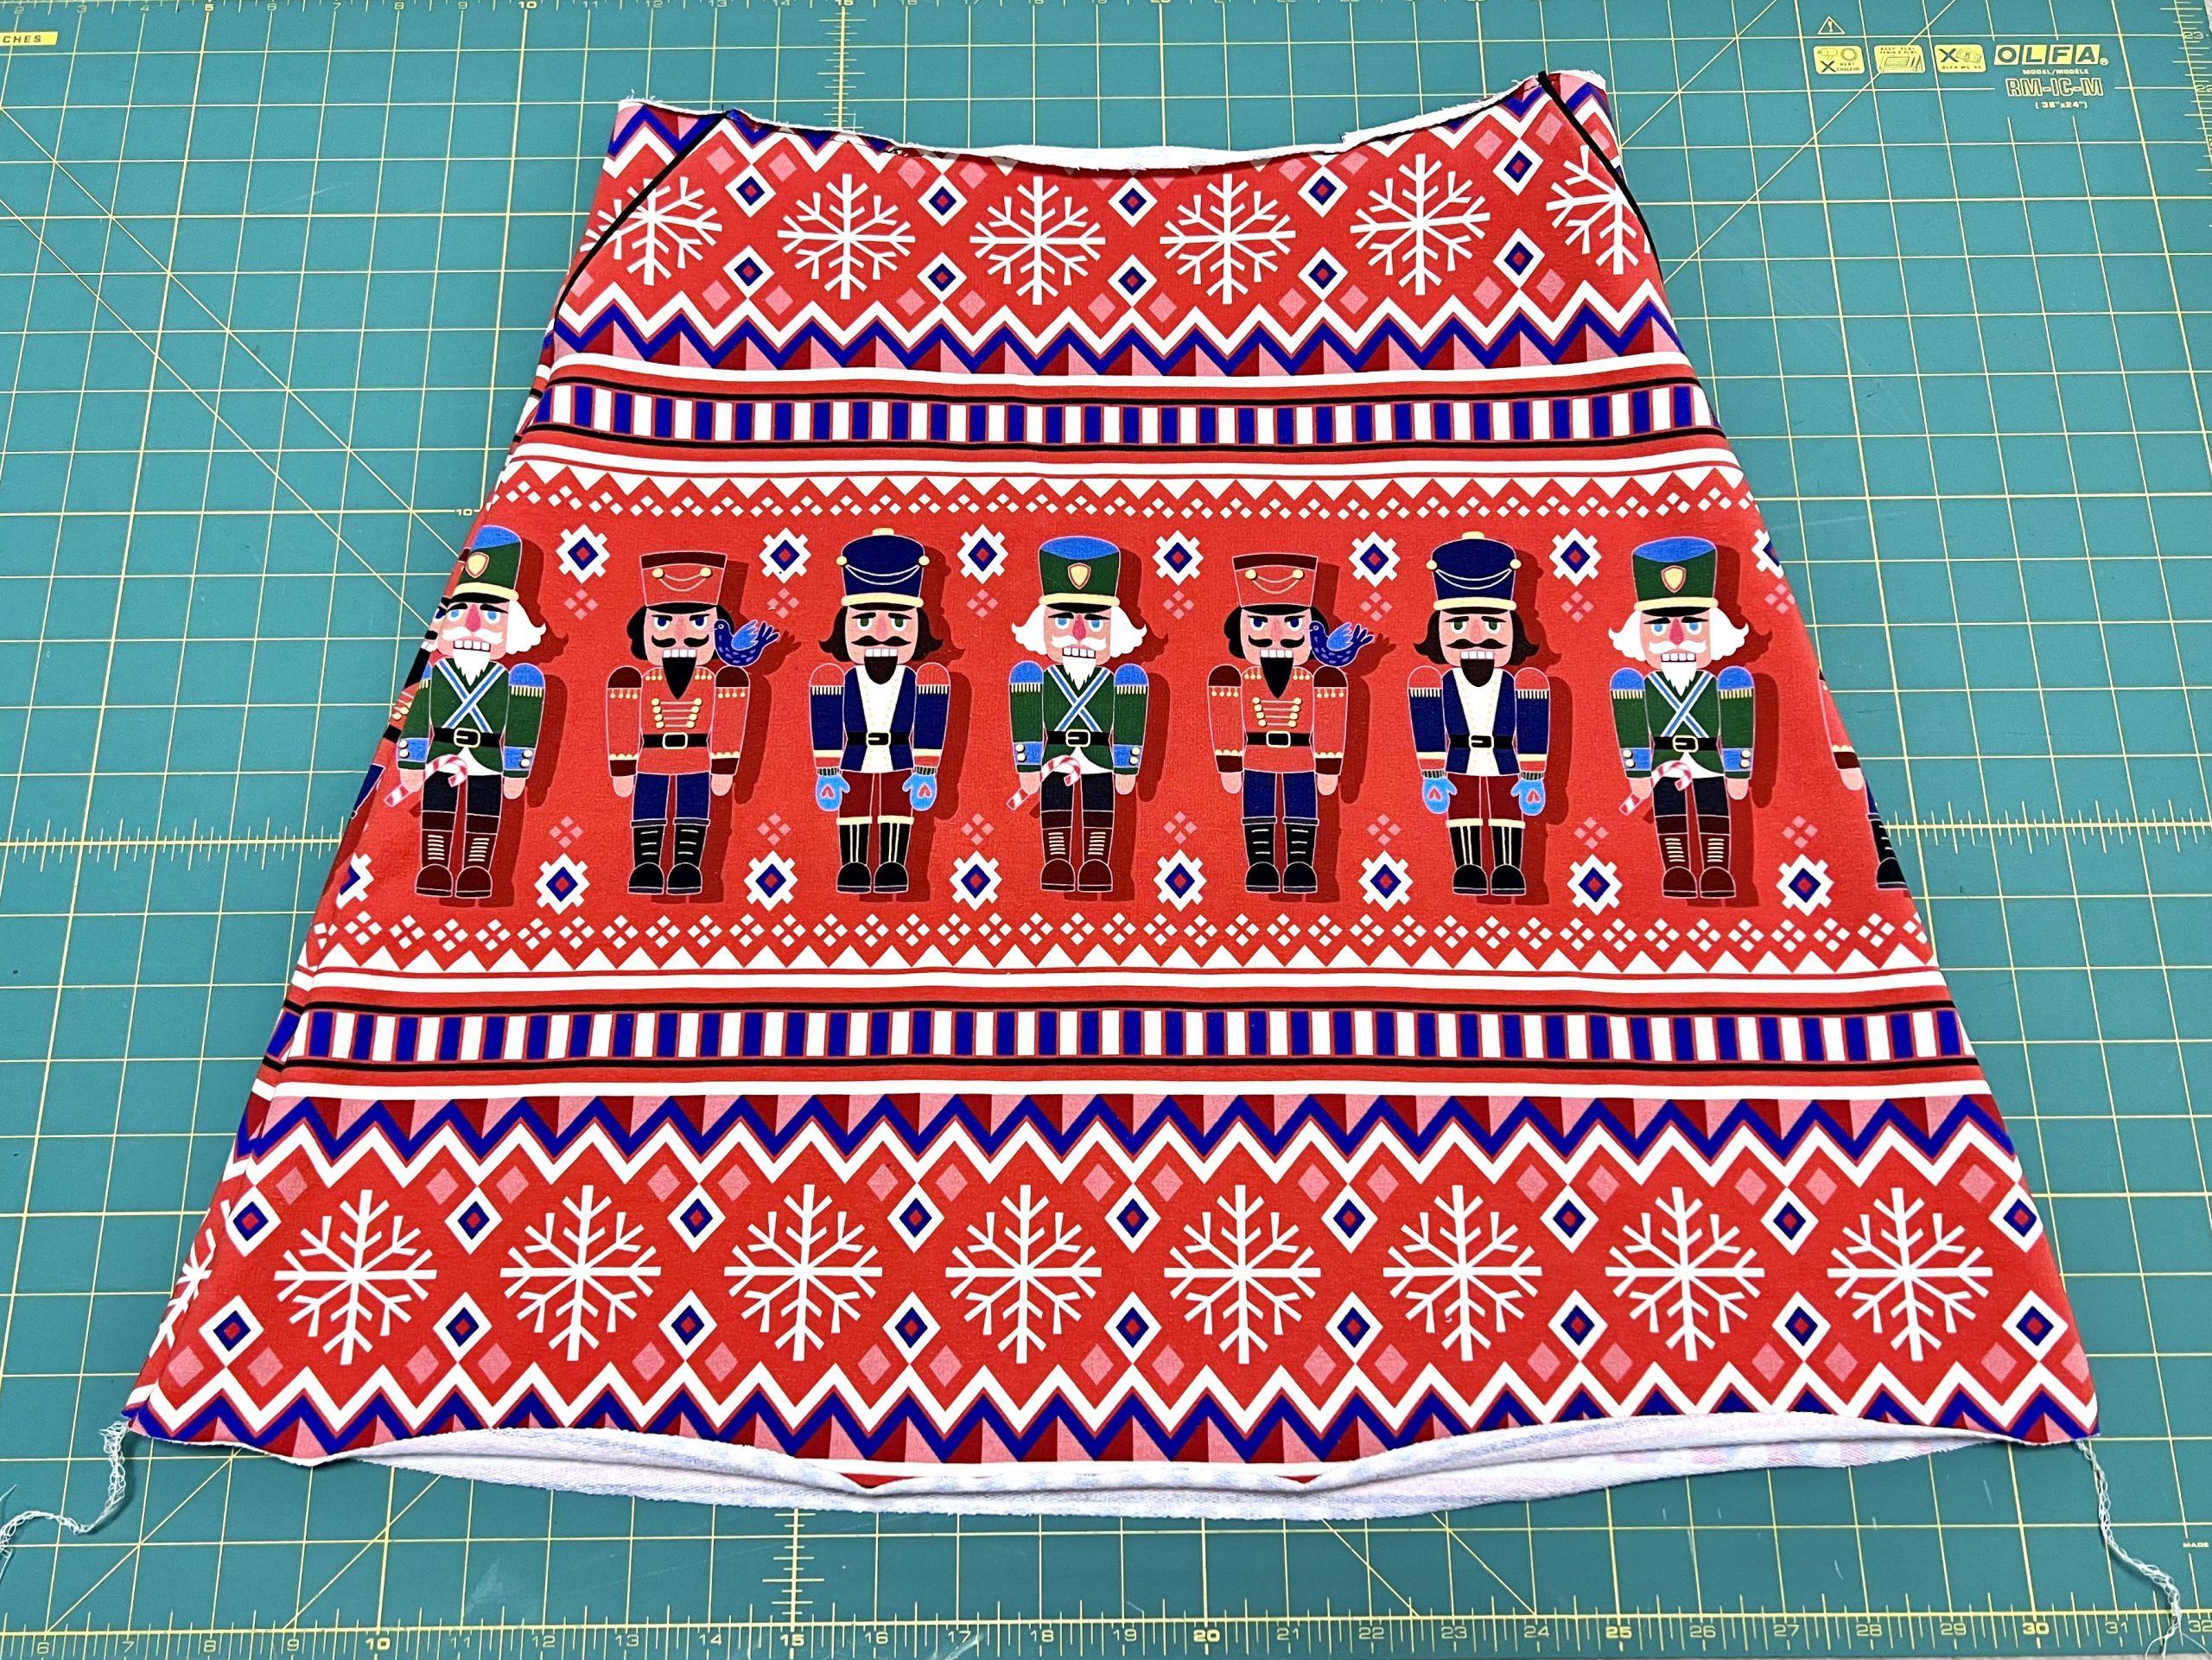
Now place the back piece onto your previously sewn front piece, with the right sides together.
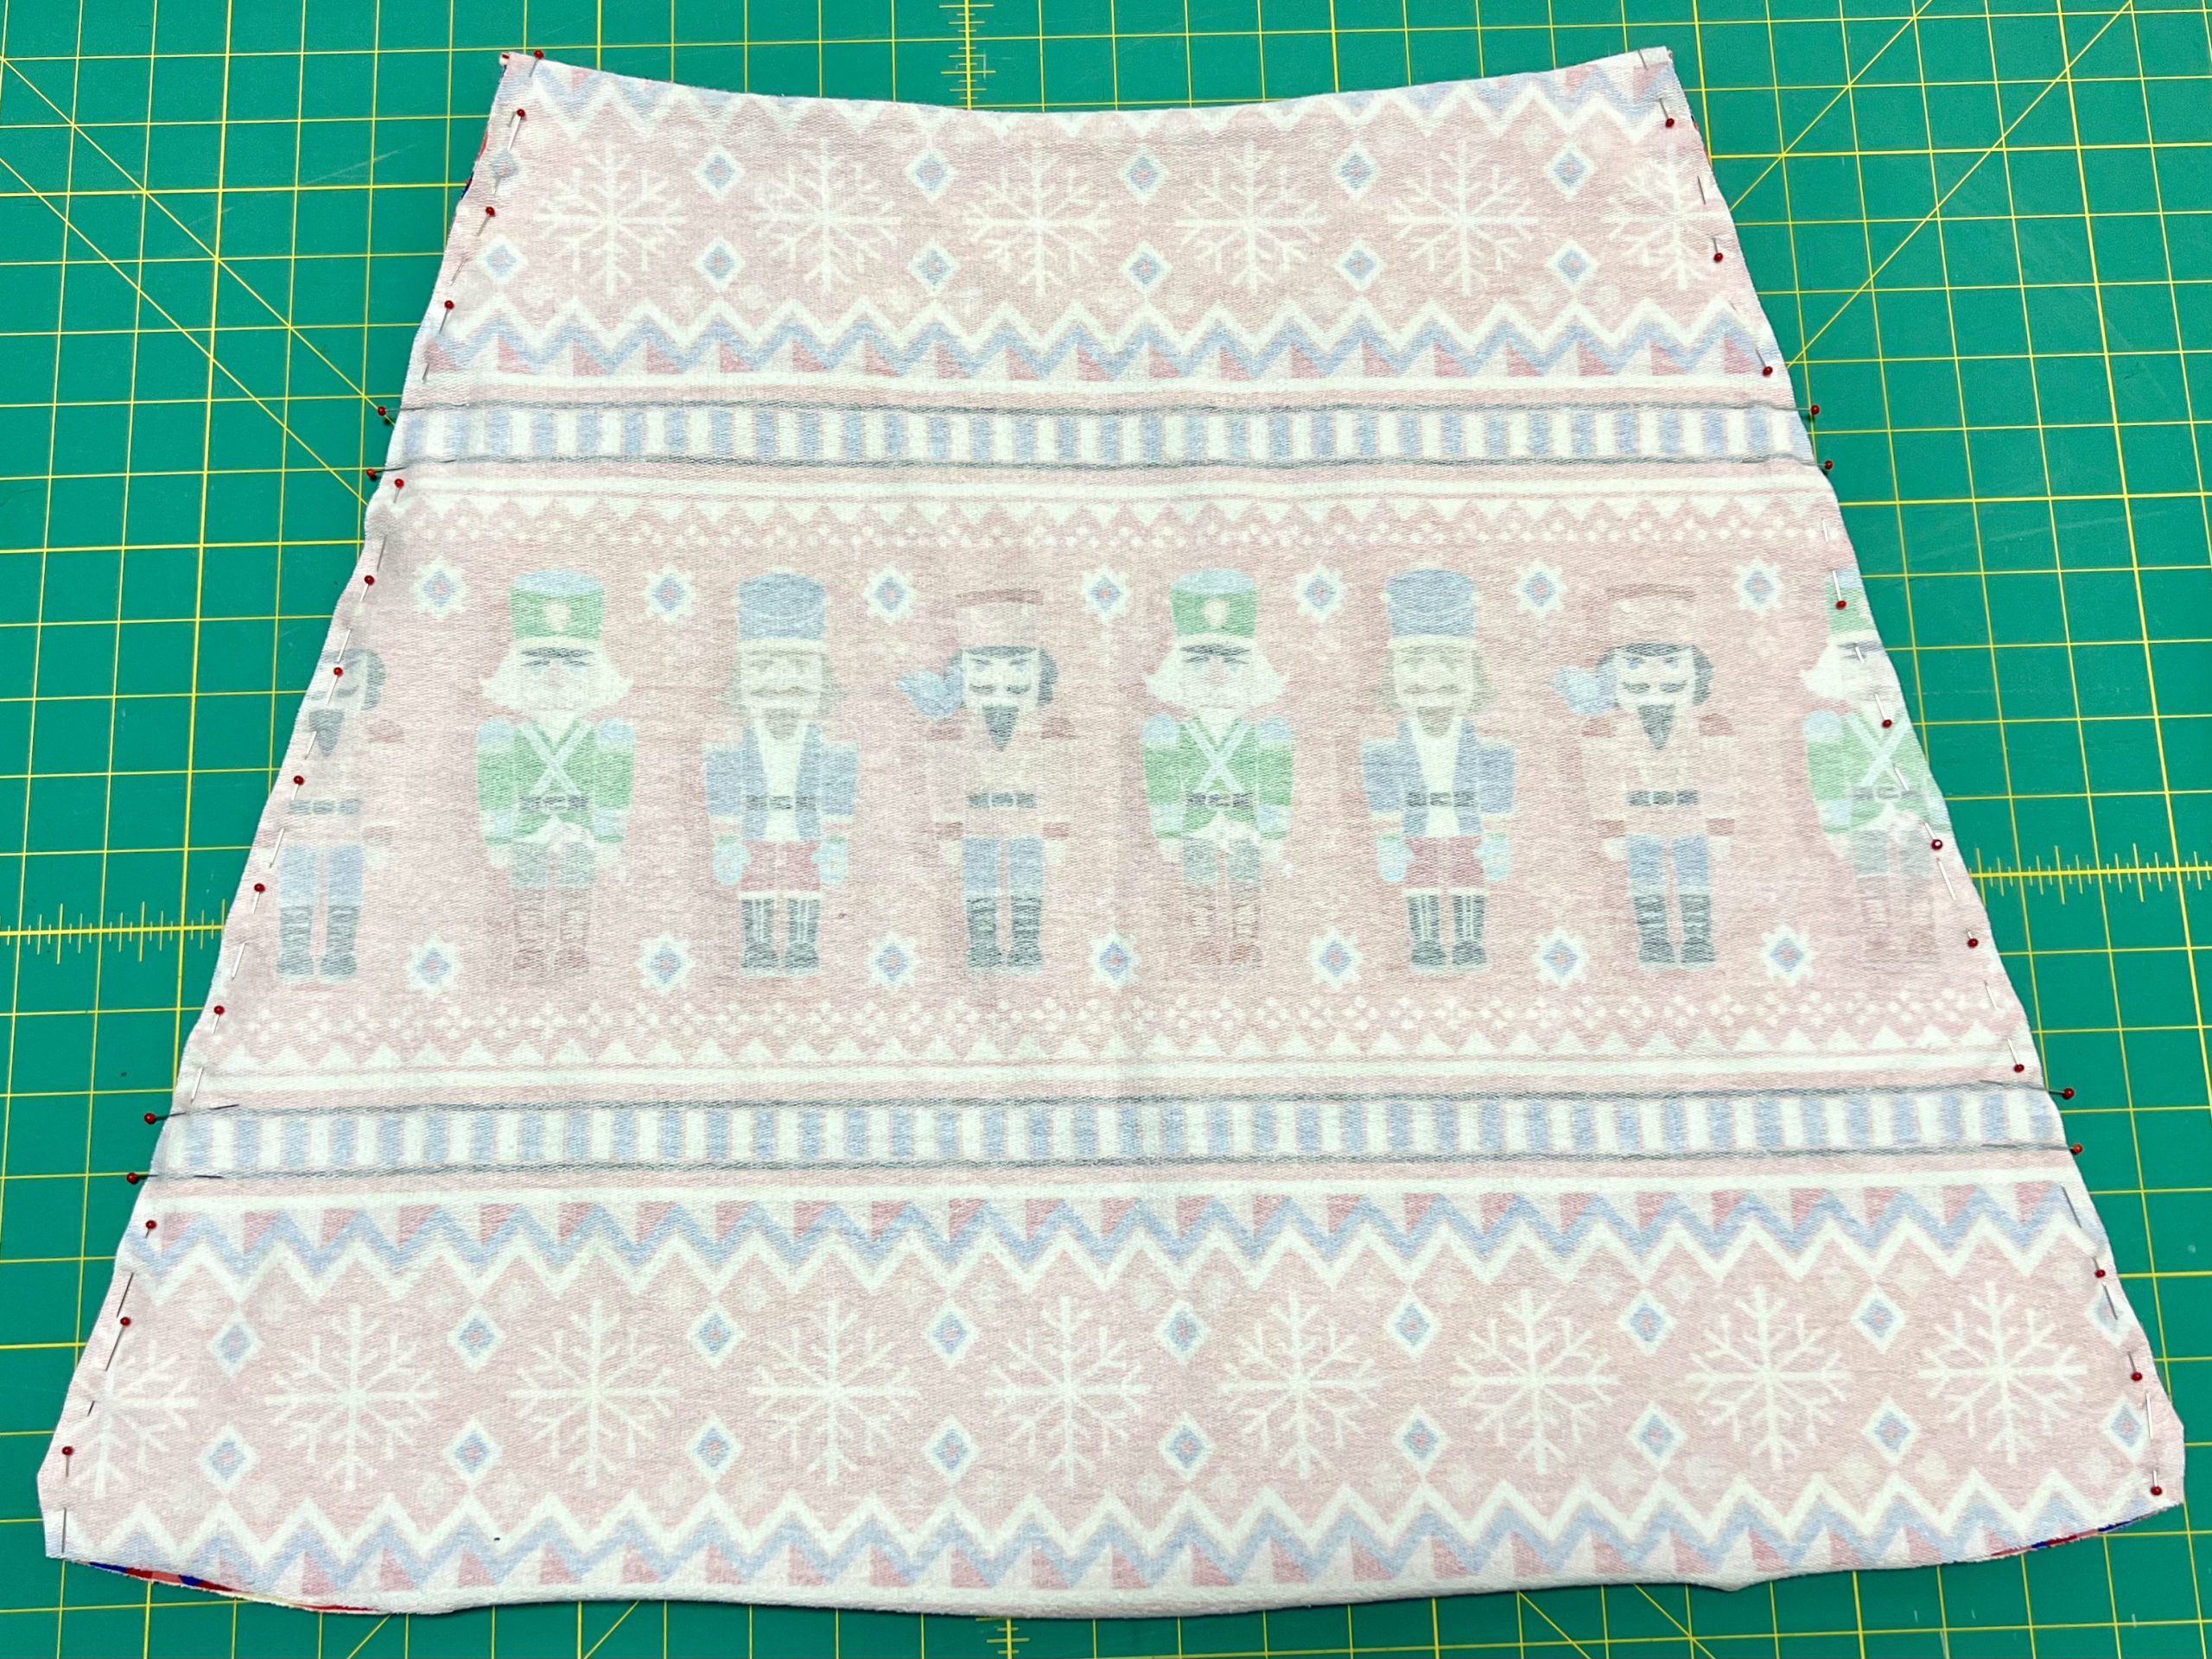
If you want to sew your skirt out of bordered or striped fabric, when pinning it, make sure that the stripes of the two skirt pieces meet as precisely as possible. It is easiest to do this by using pins to pin together the relevant stripes or borders before sewing. Now sew the front and back pieces together along the side seams.

Turn your skirt out.
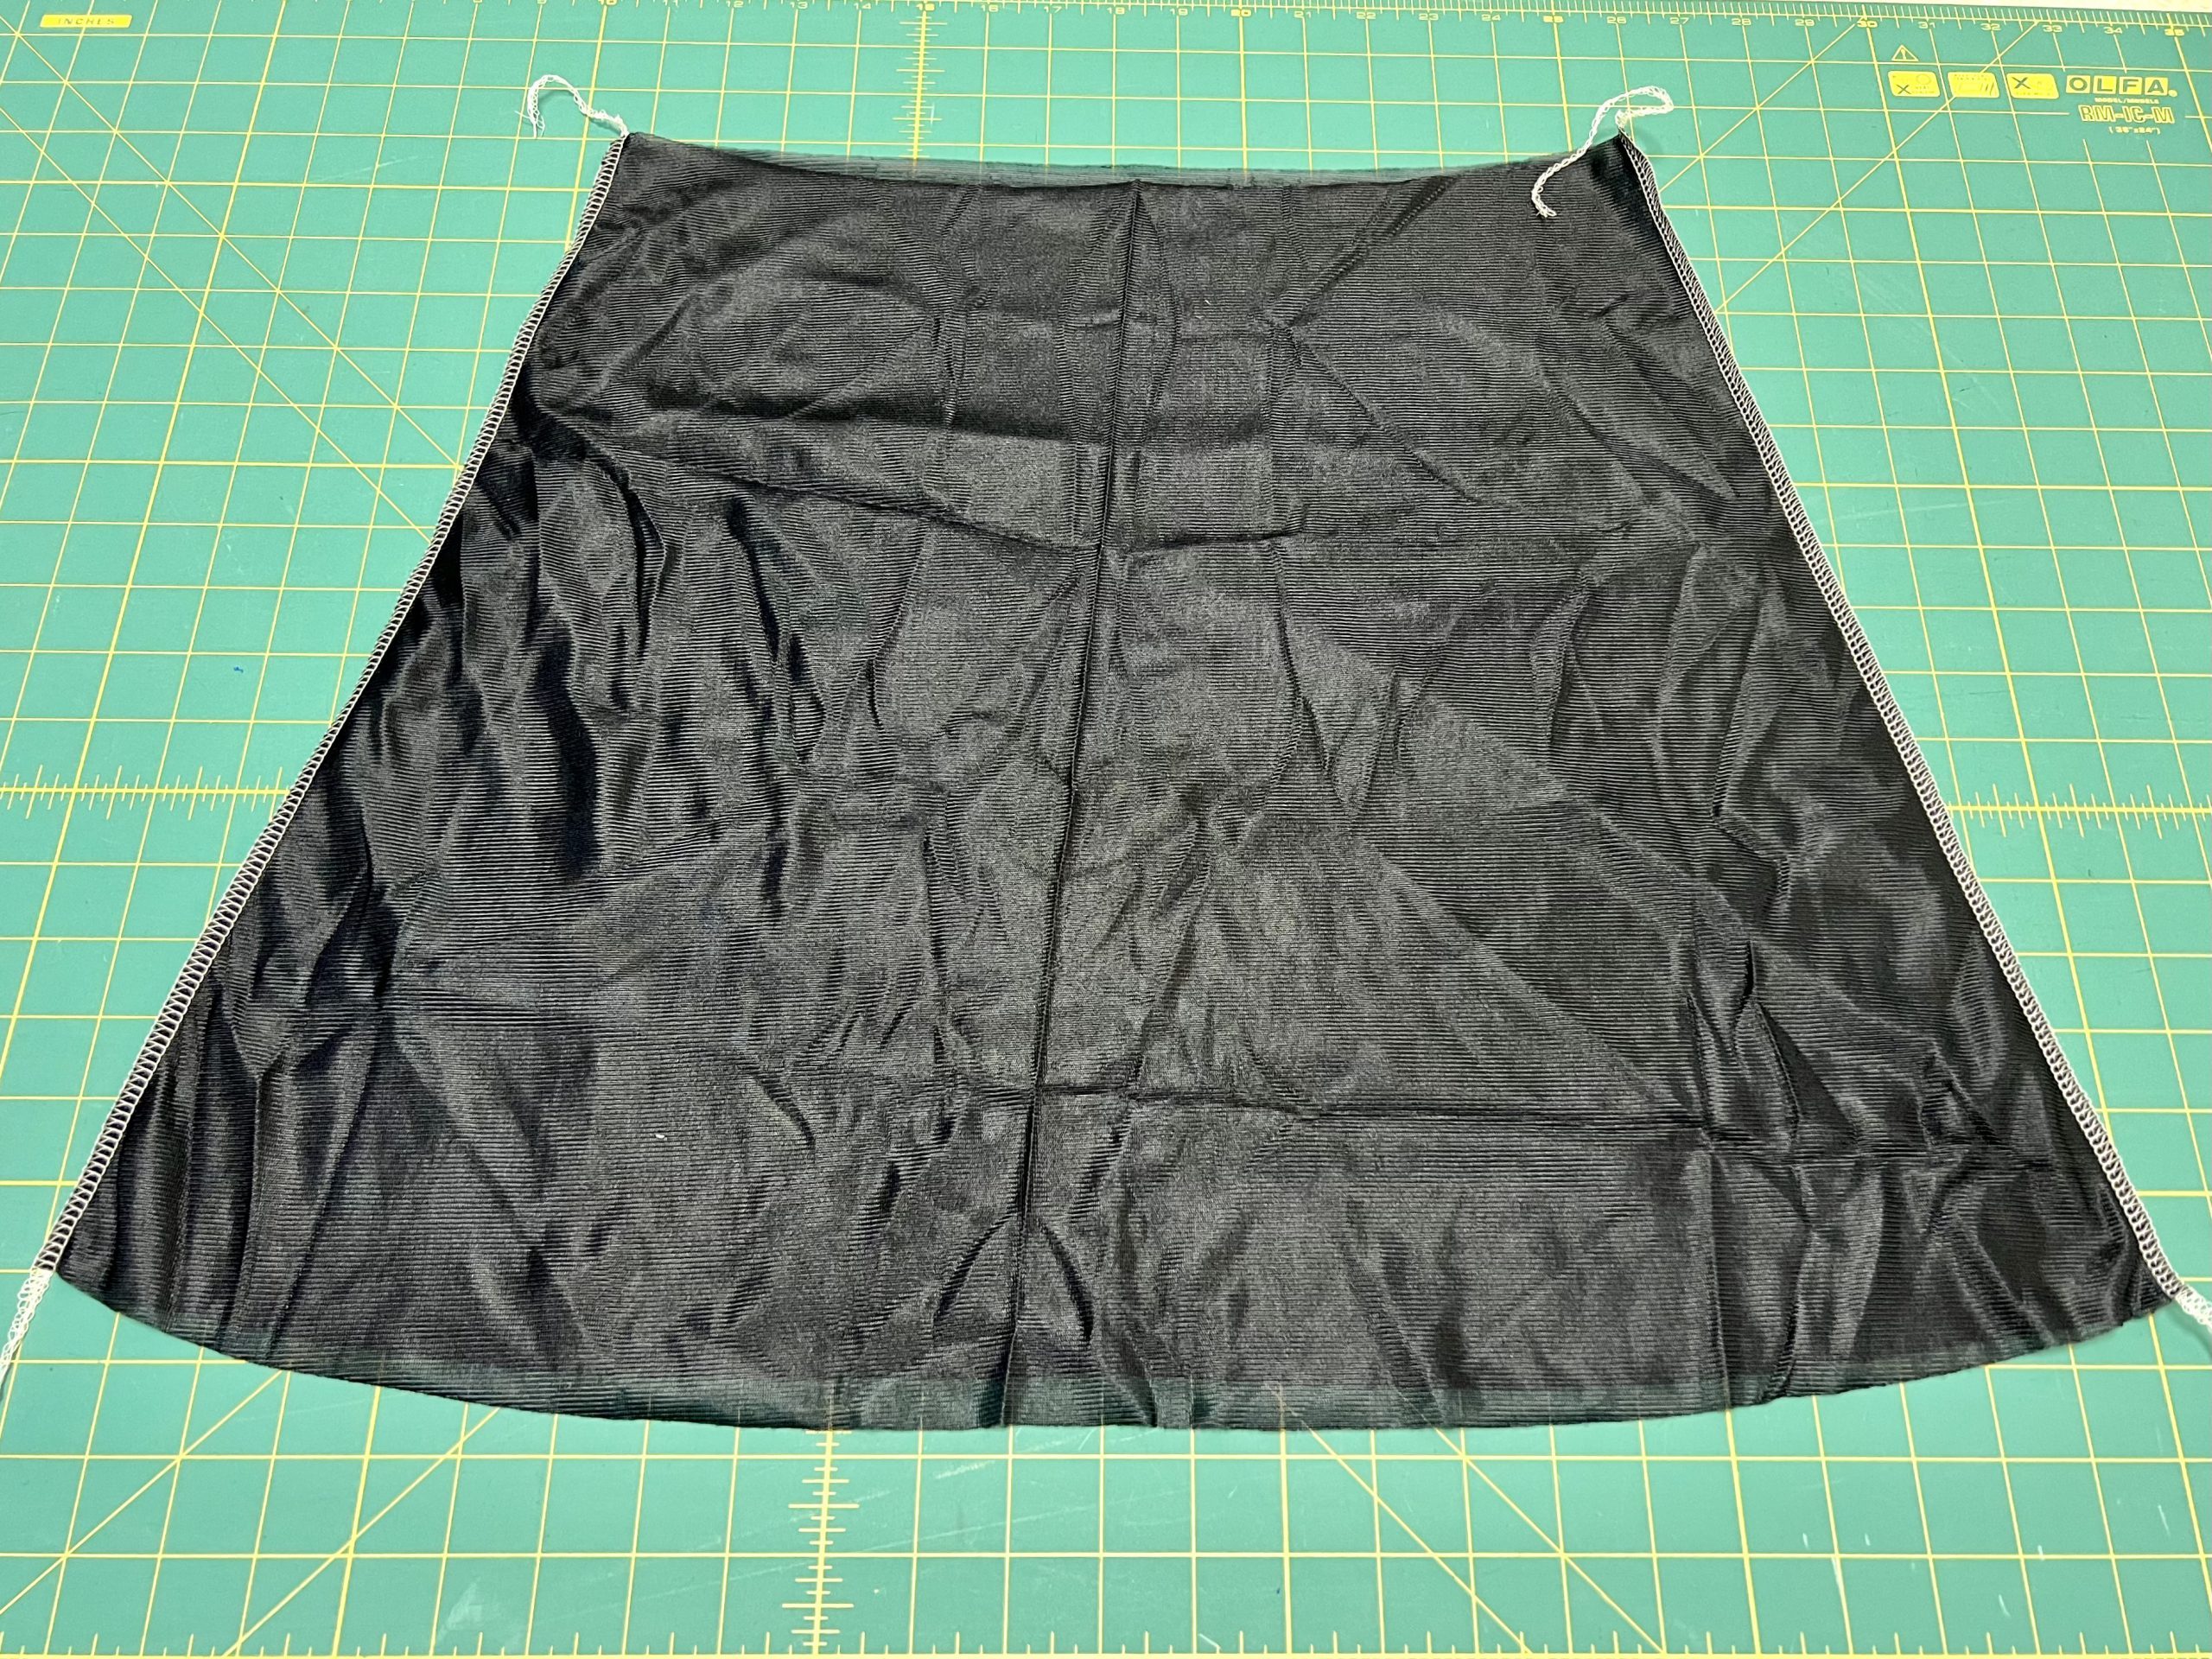
Place the two parts of the skirt lining with the right sides together and also close the side seams at this point.
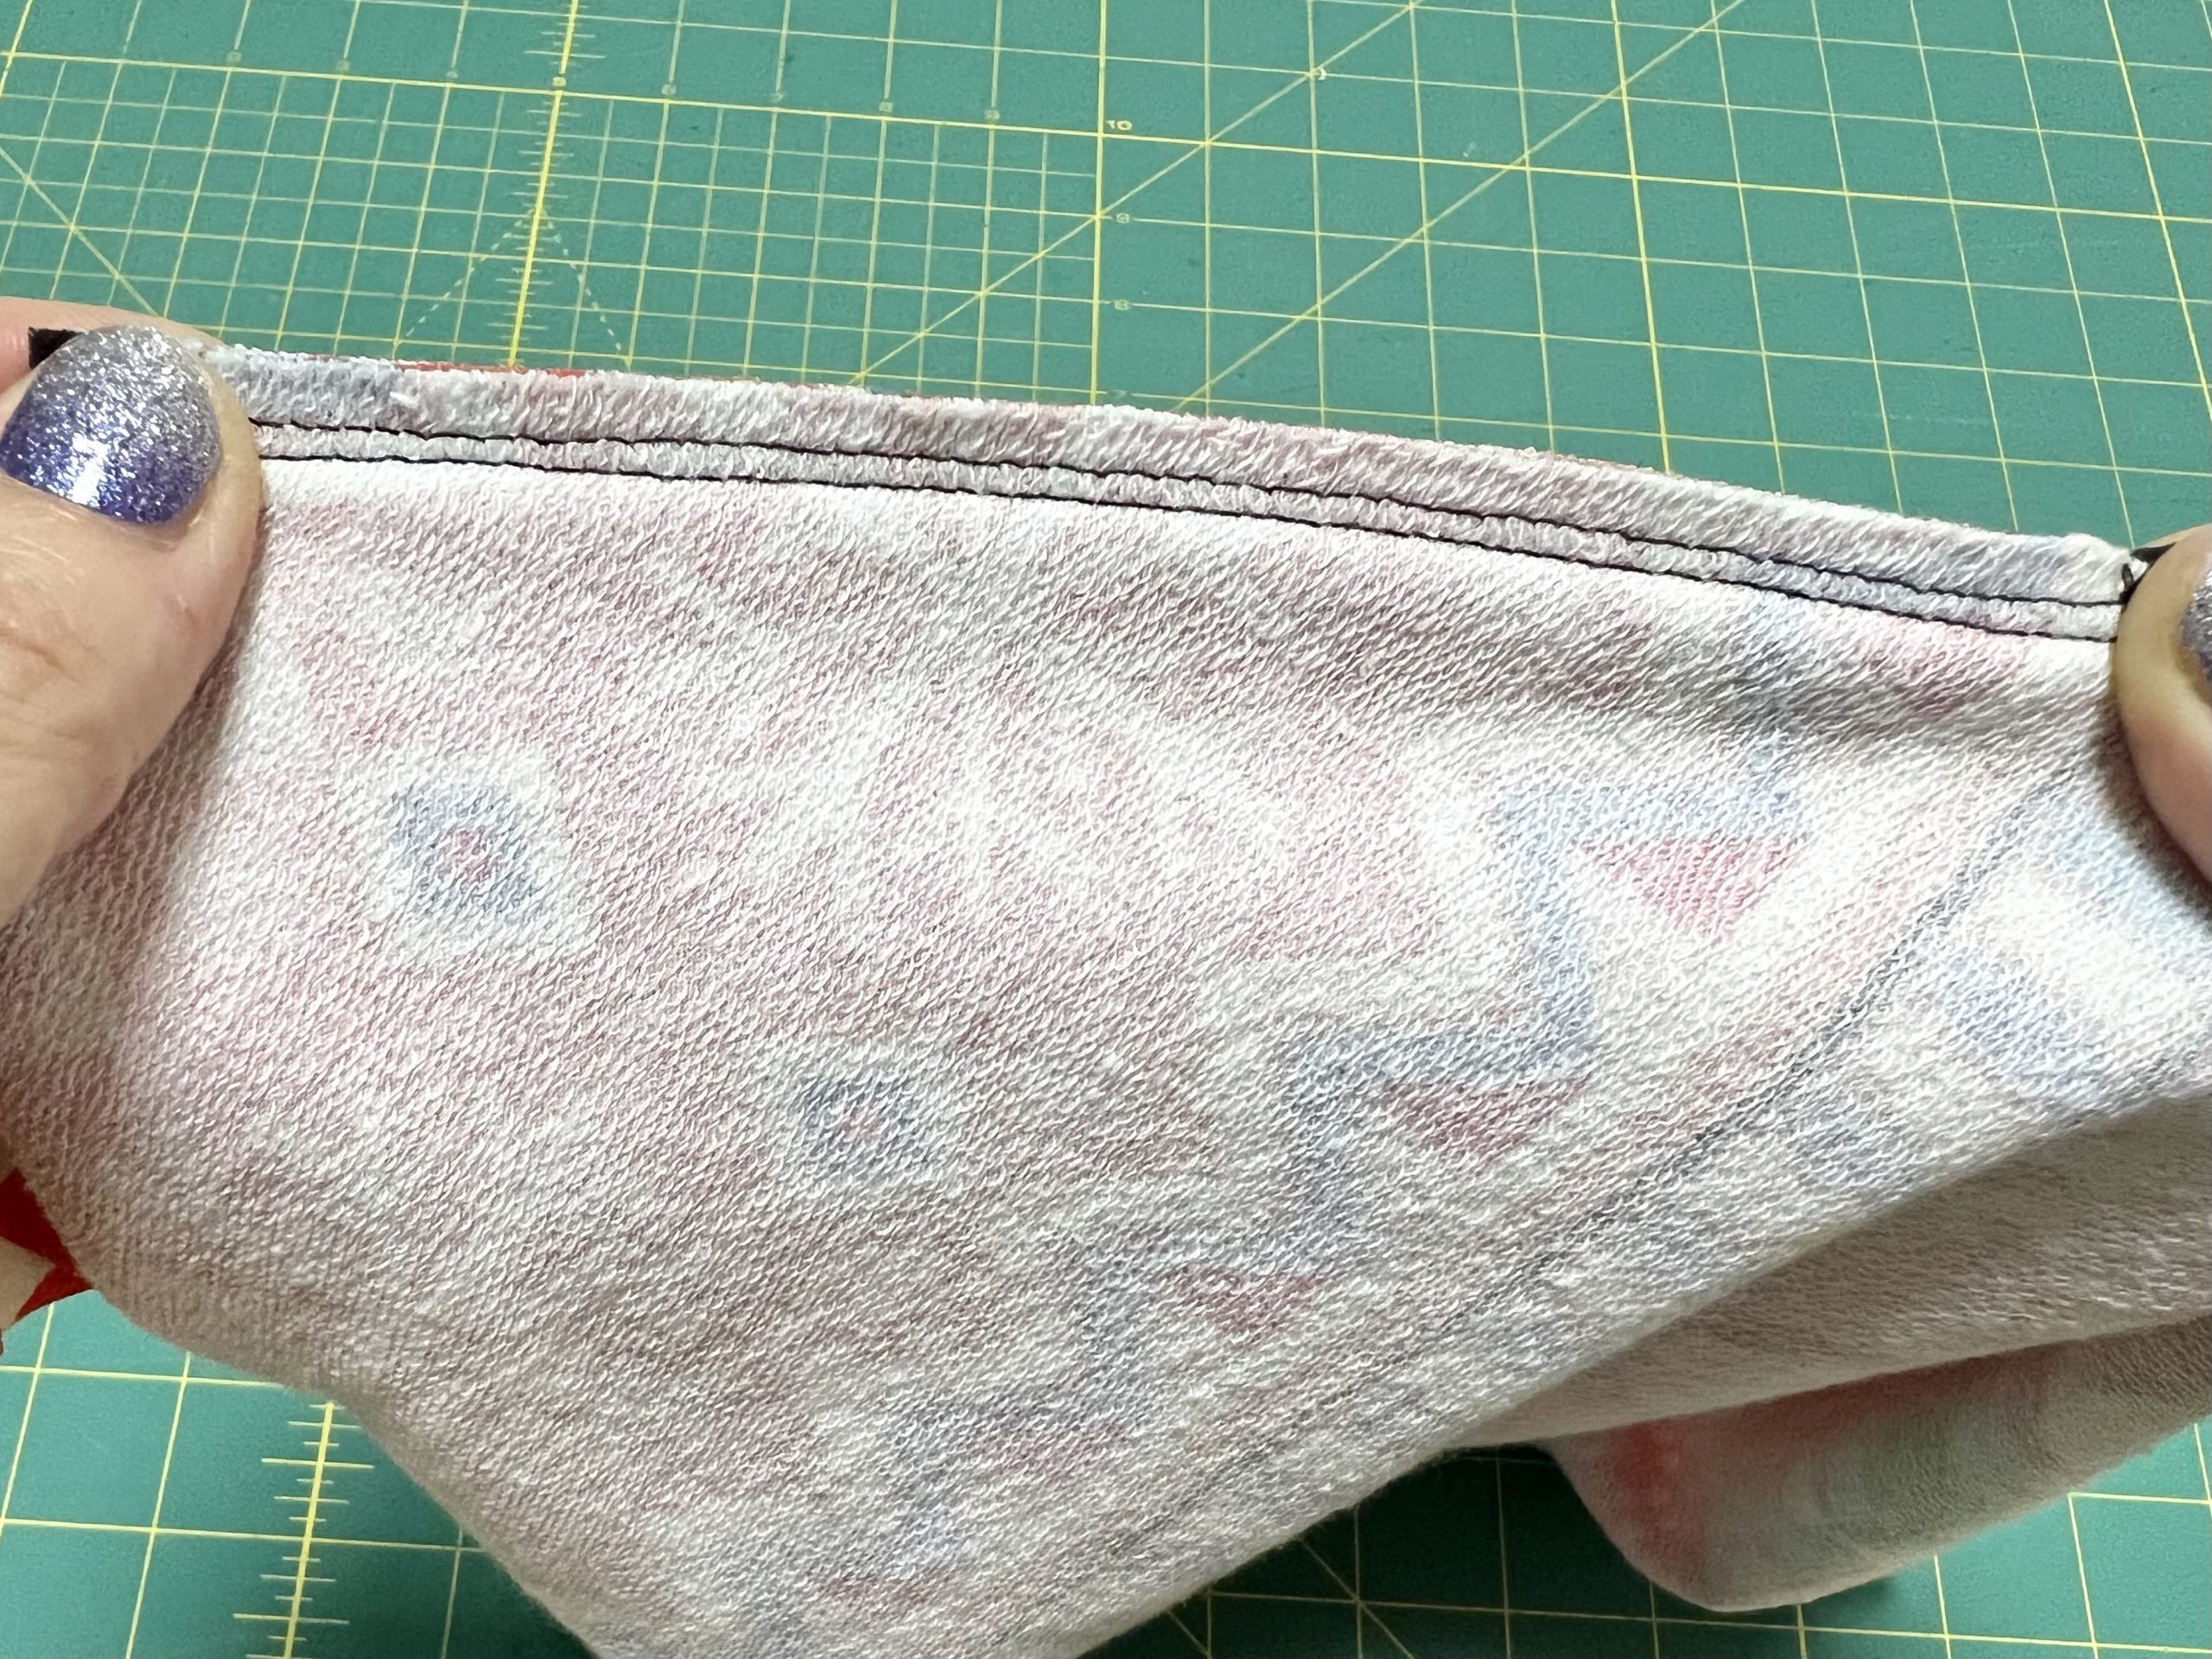
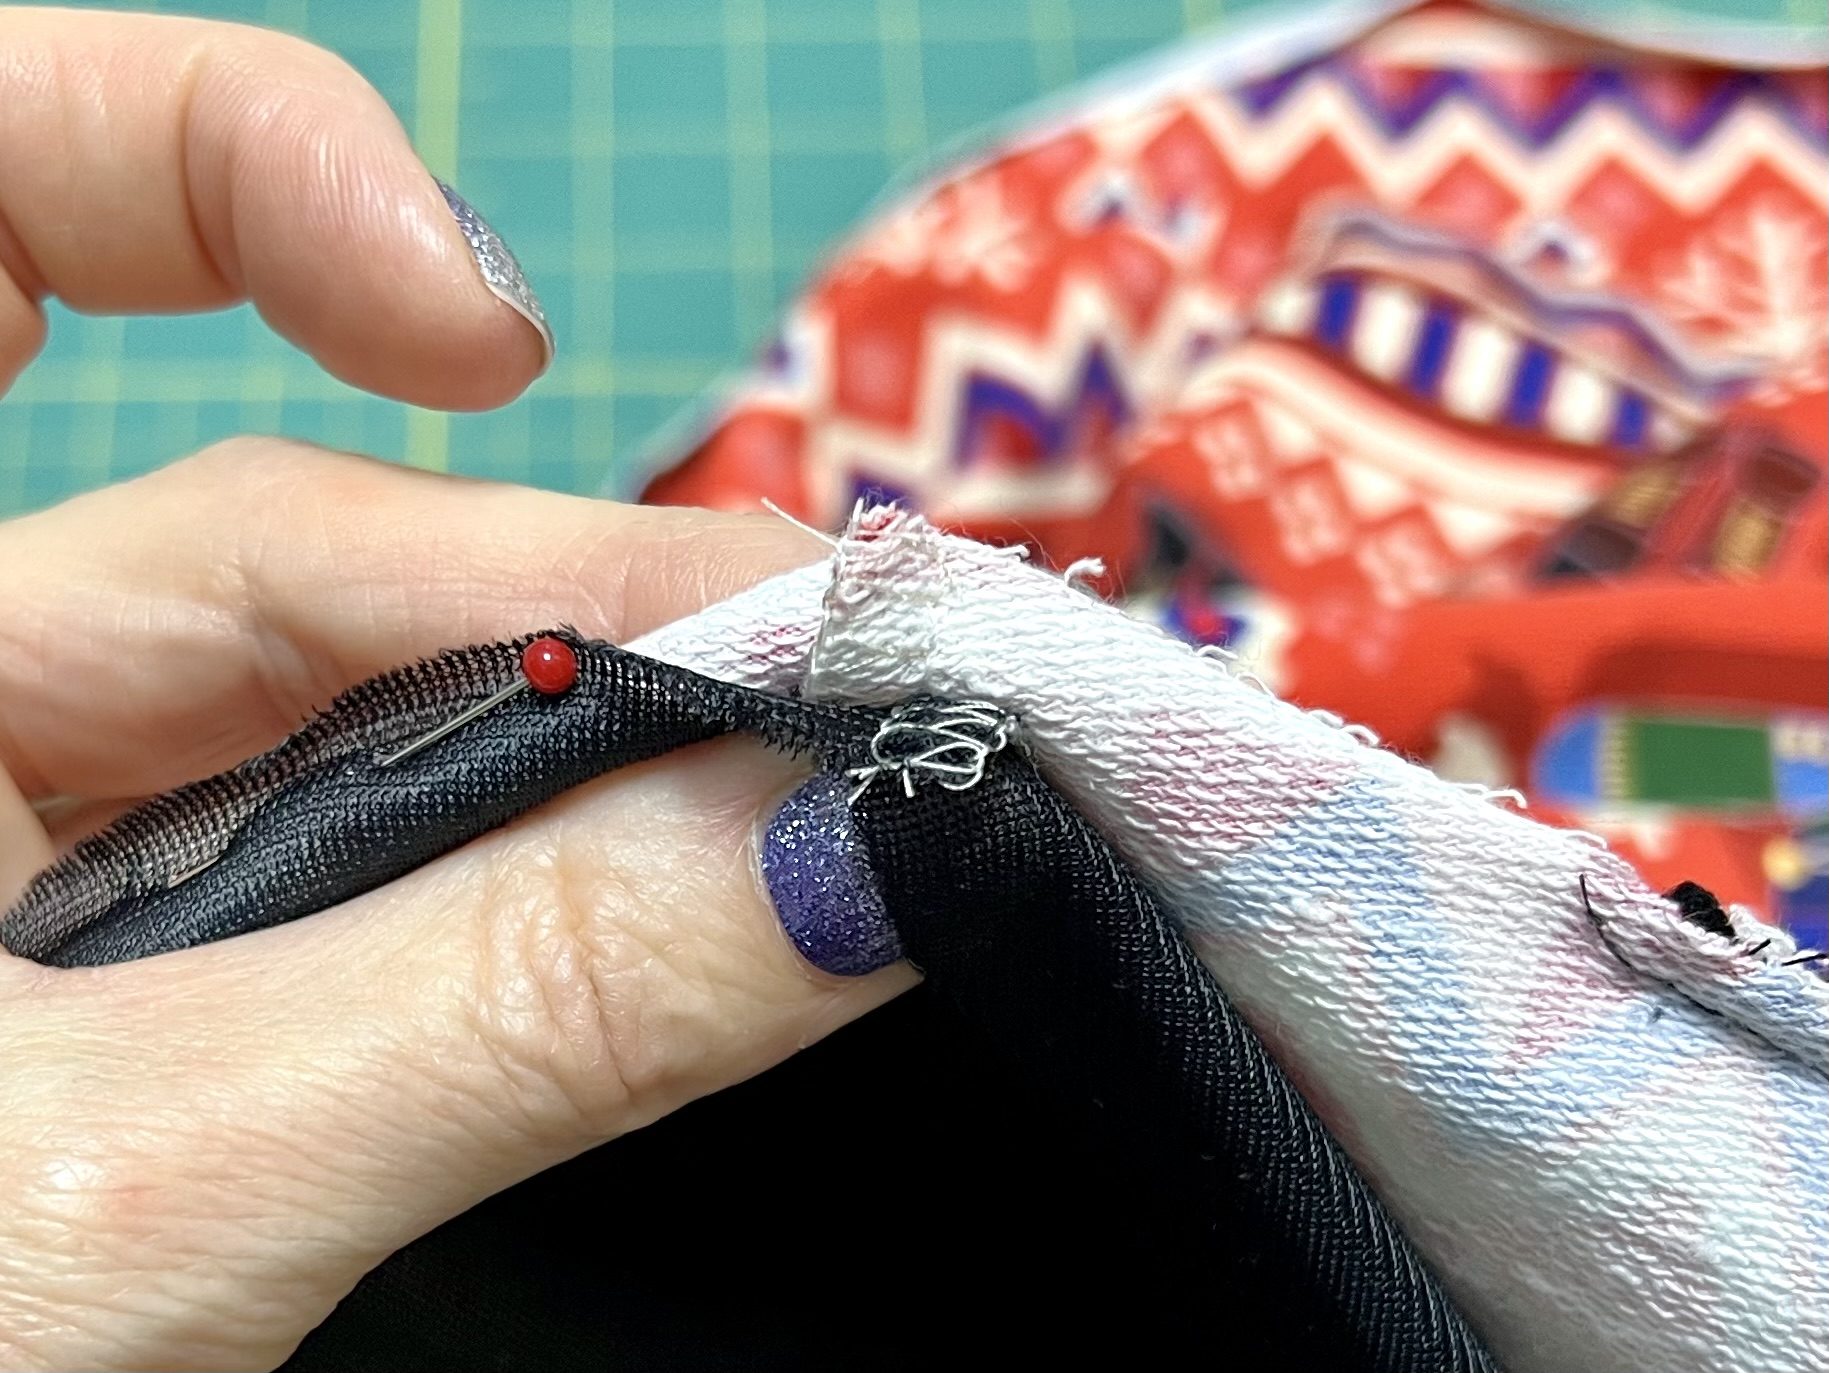
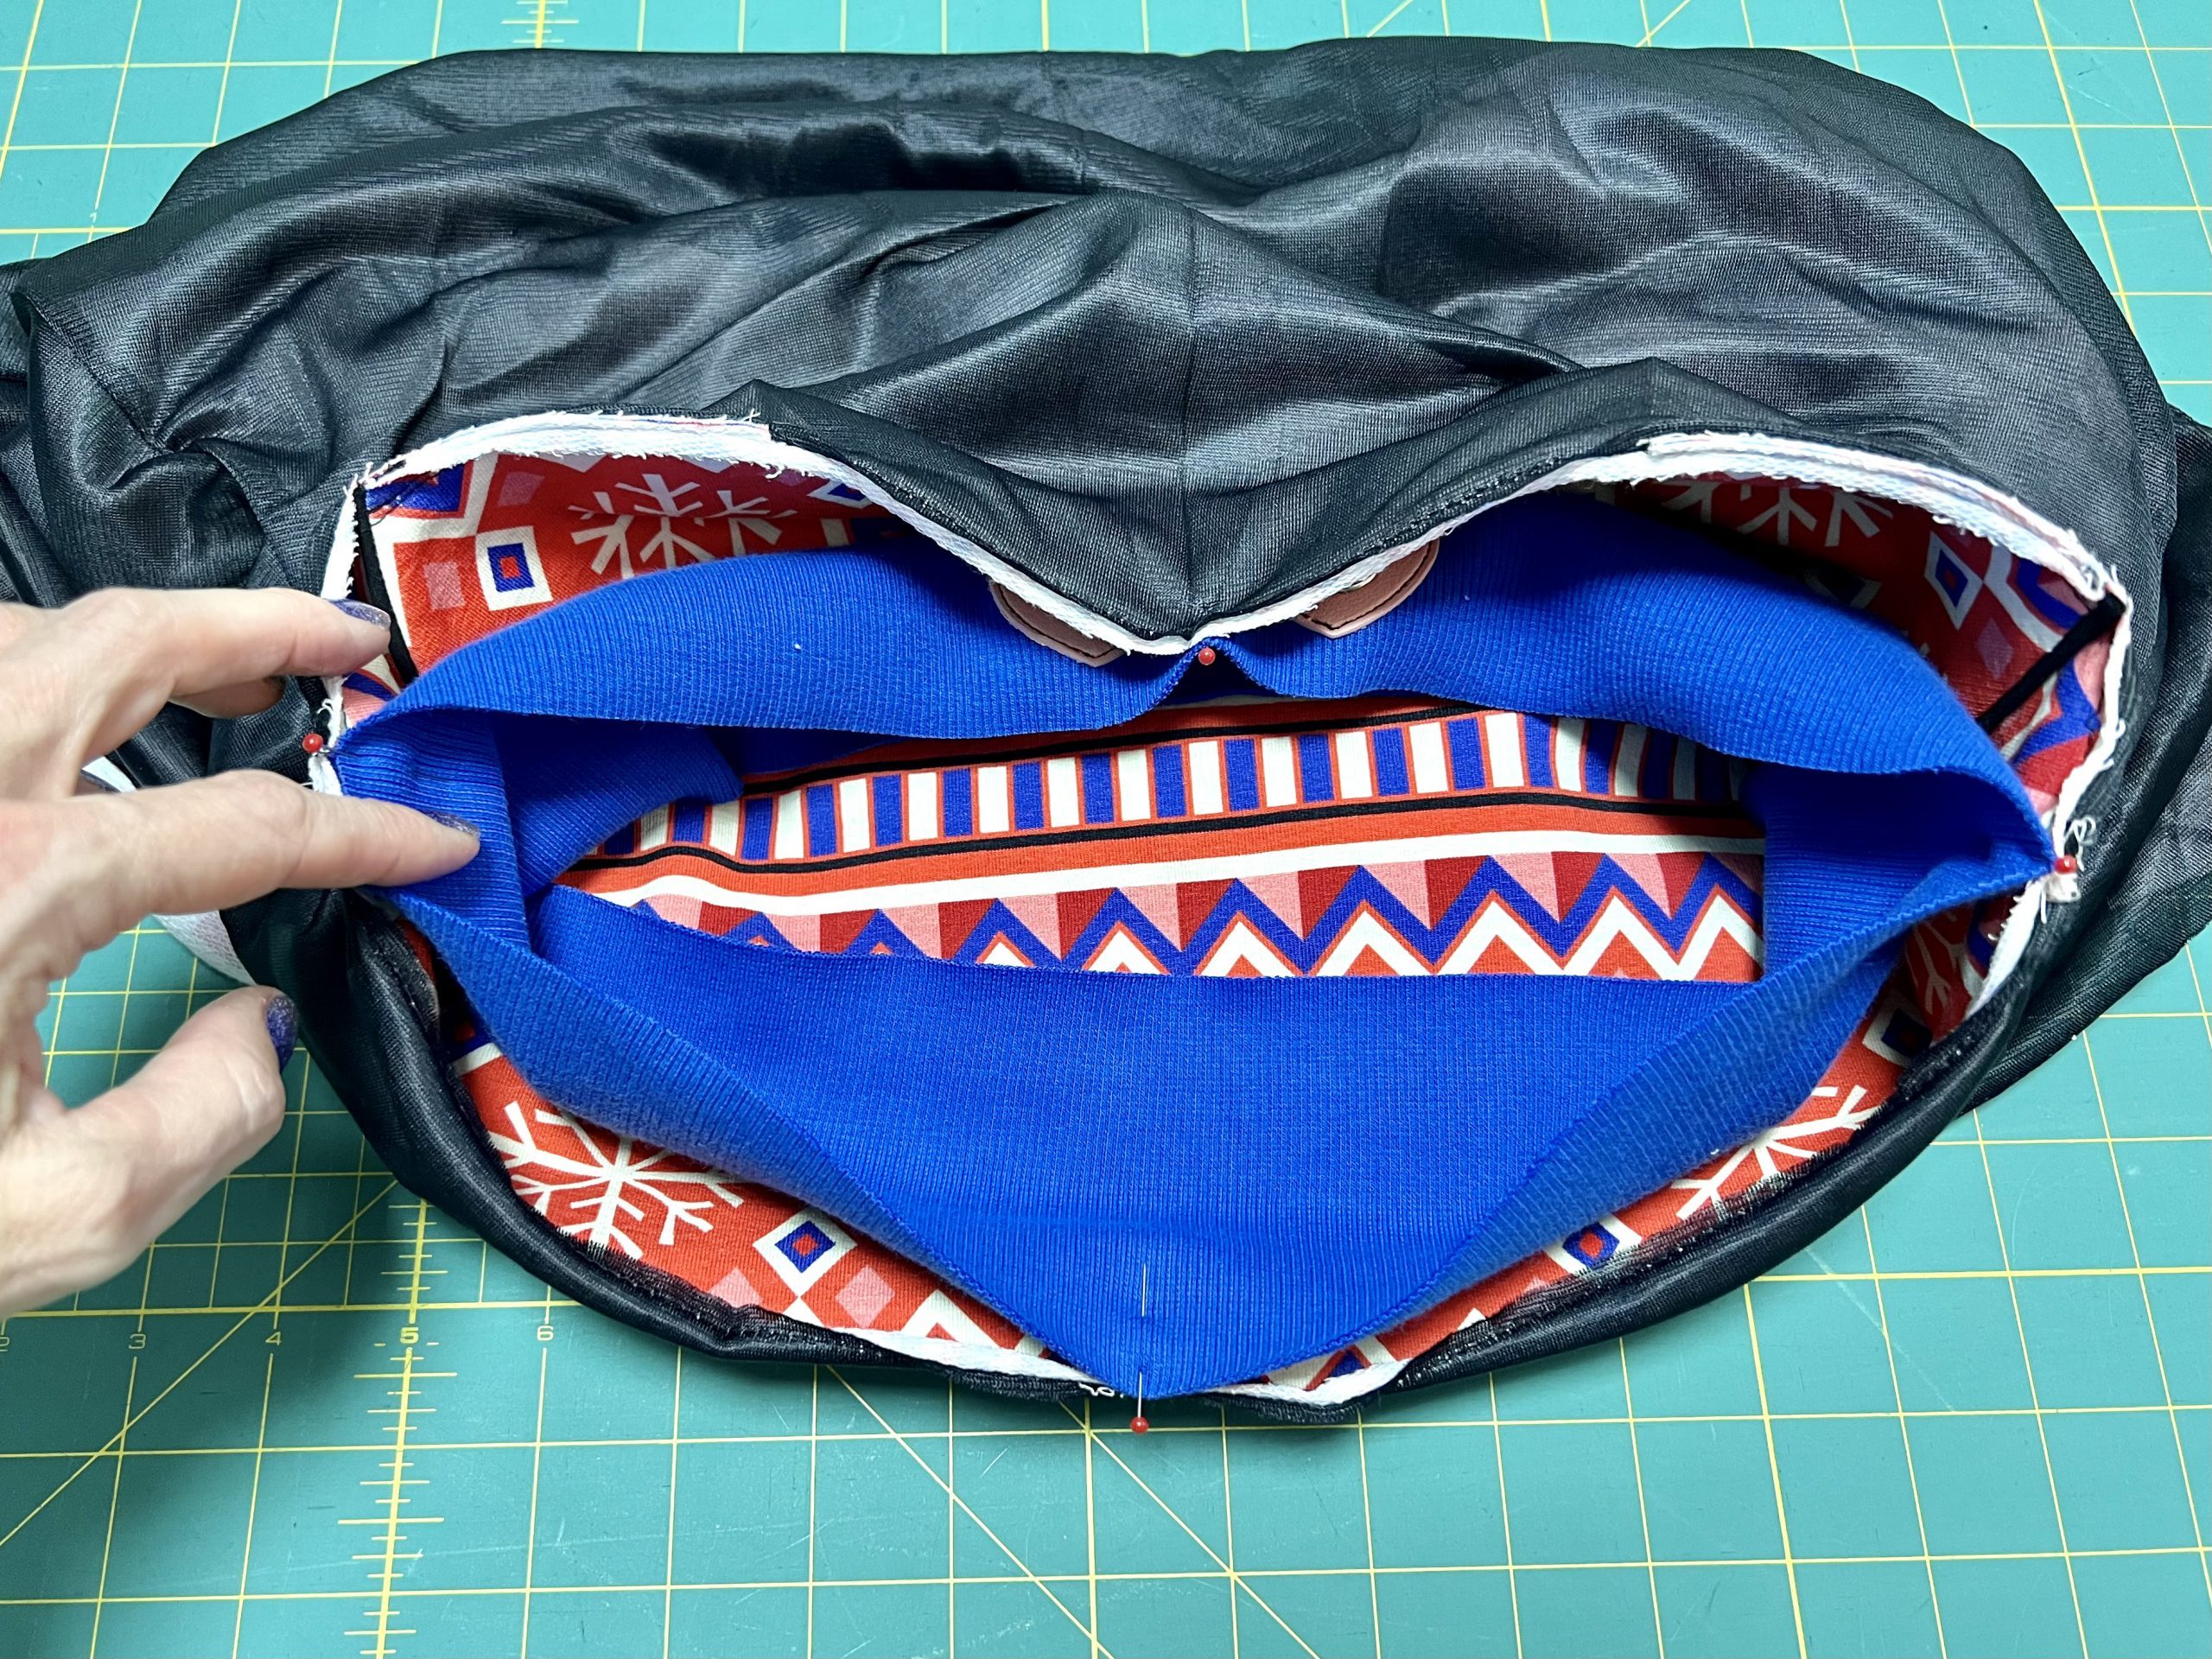
Then join the lining skirt with the main skirt at the top edge. To do this, place the lining skirt into the main skirt so that the side seams meet.Pay attention to the front and back pieces.
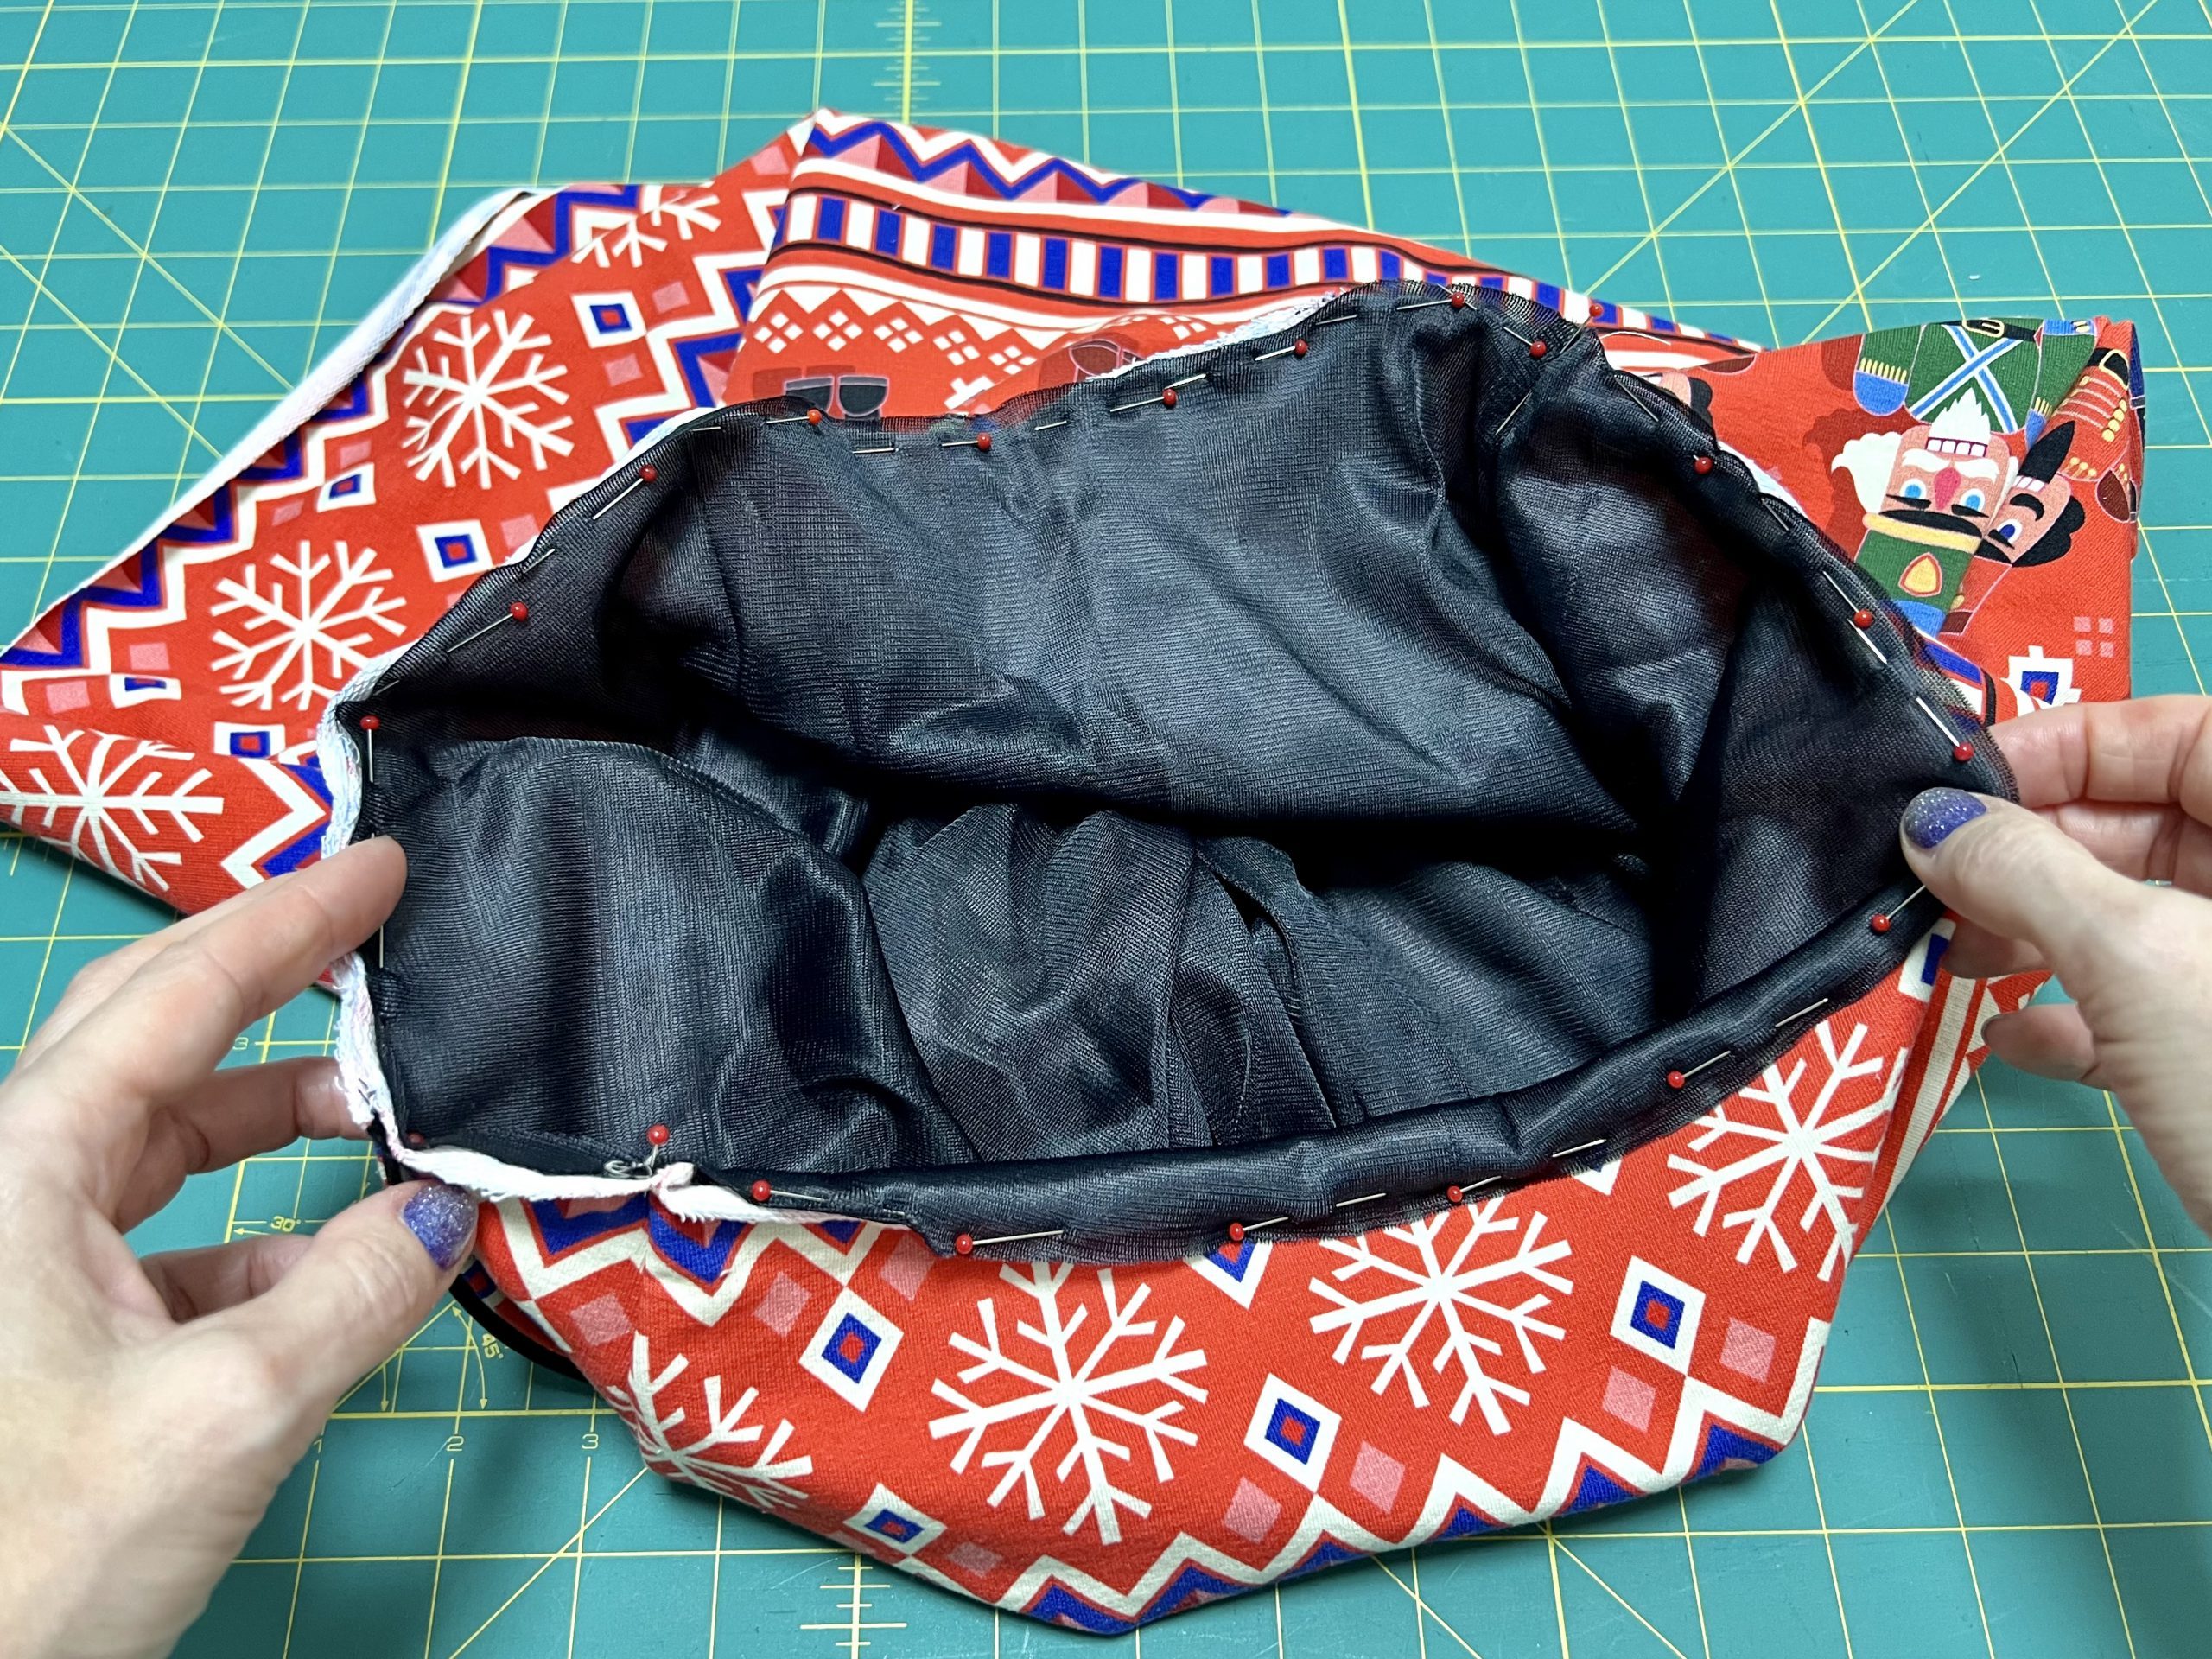
The seam allowances should face each other so that no seam gets in the way when wearing the skirt. They should also be placed in different directions.
Now use your sewing machine to sew the skirt lining onto the top edge of the main skirt with a large straight stitch (approx. 3.5-4), staying within the seam allowance.
Sewing the cuffs for the Christmas skirt
First measure the circumference of your Christmas skirt at the top edge and multiply this value by 0.8.
Example: circumference 80 cm x 0.8 = 64 cm
Now cut out your cuff with a width of 9 cm and to the length determined above plus the seam allowance. Align the width with your leather eyelets before cutting out.
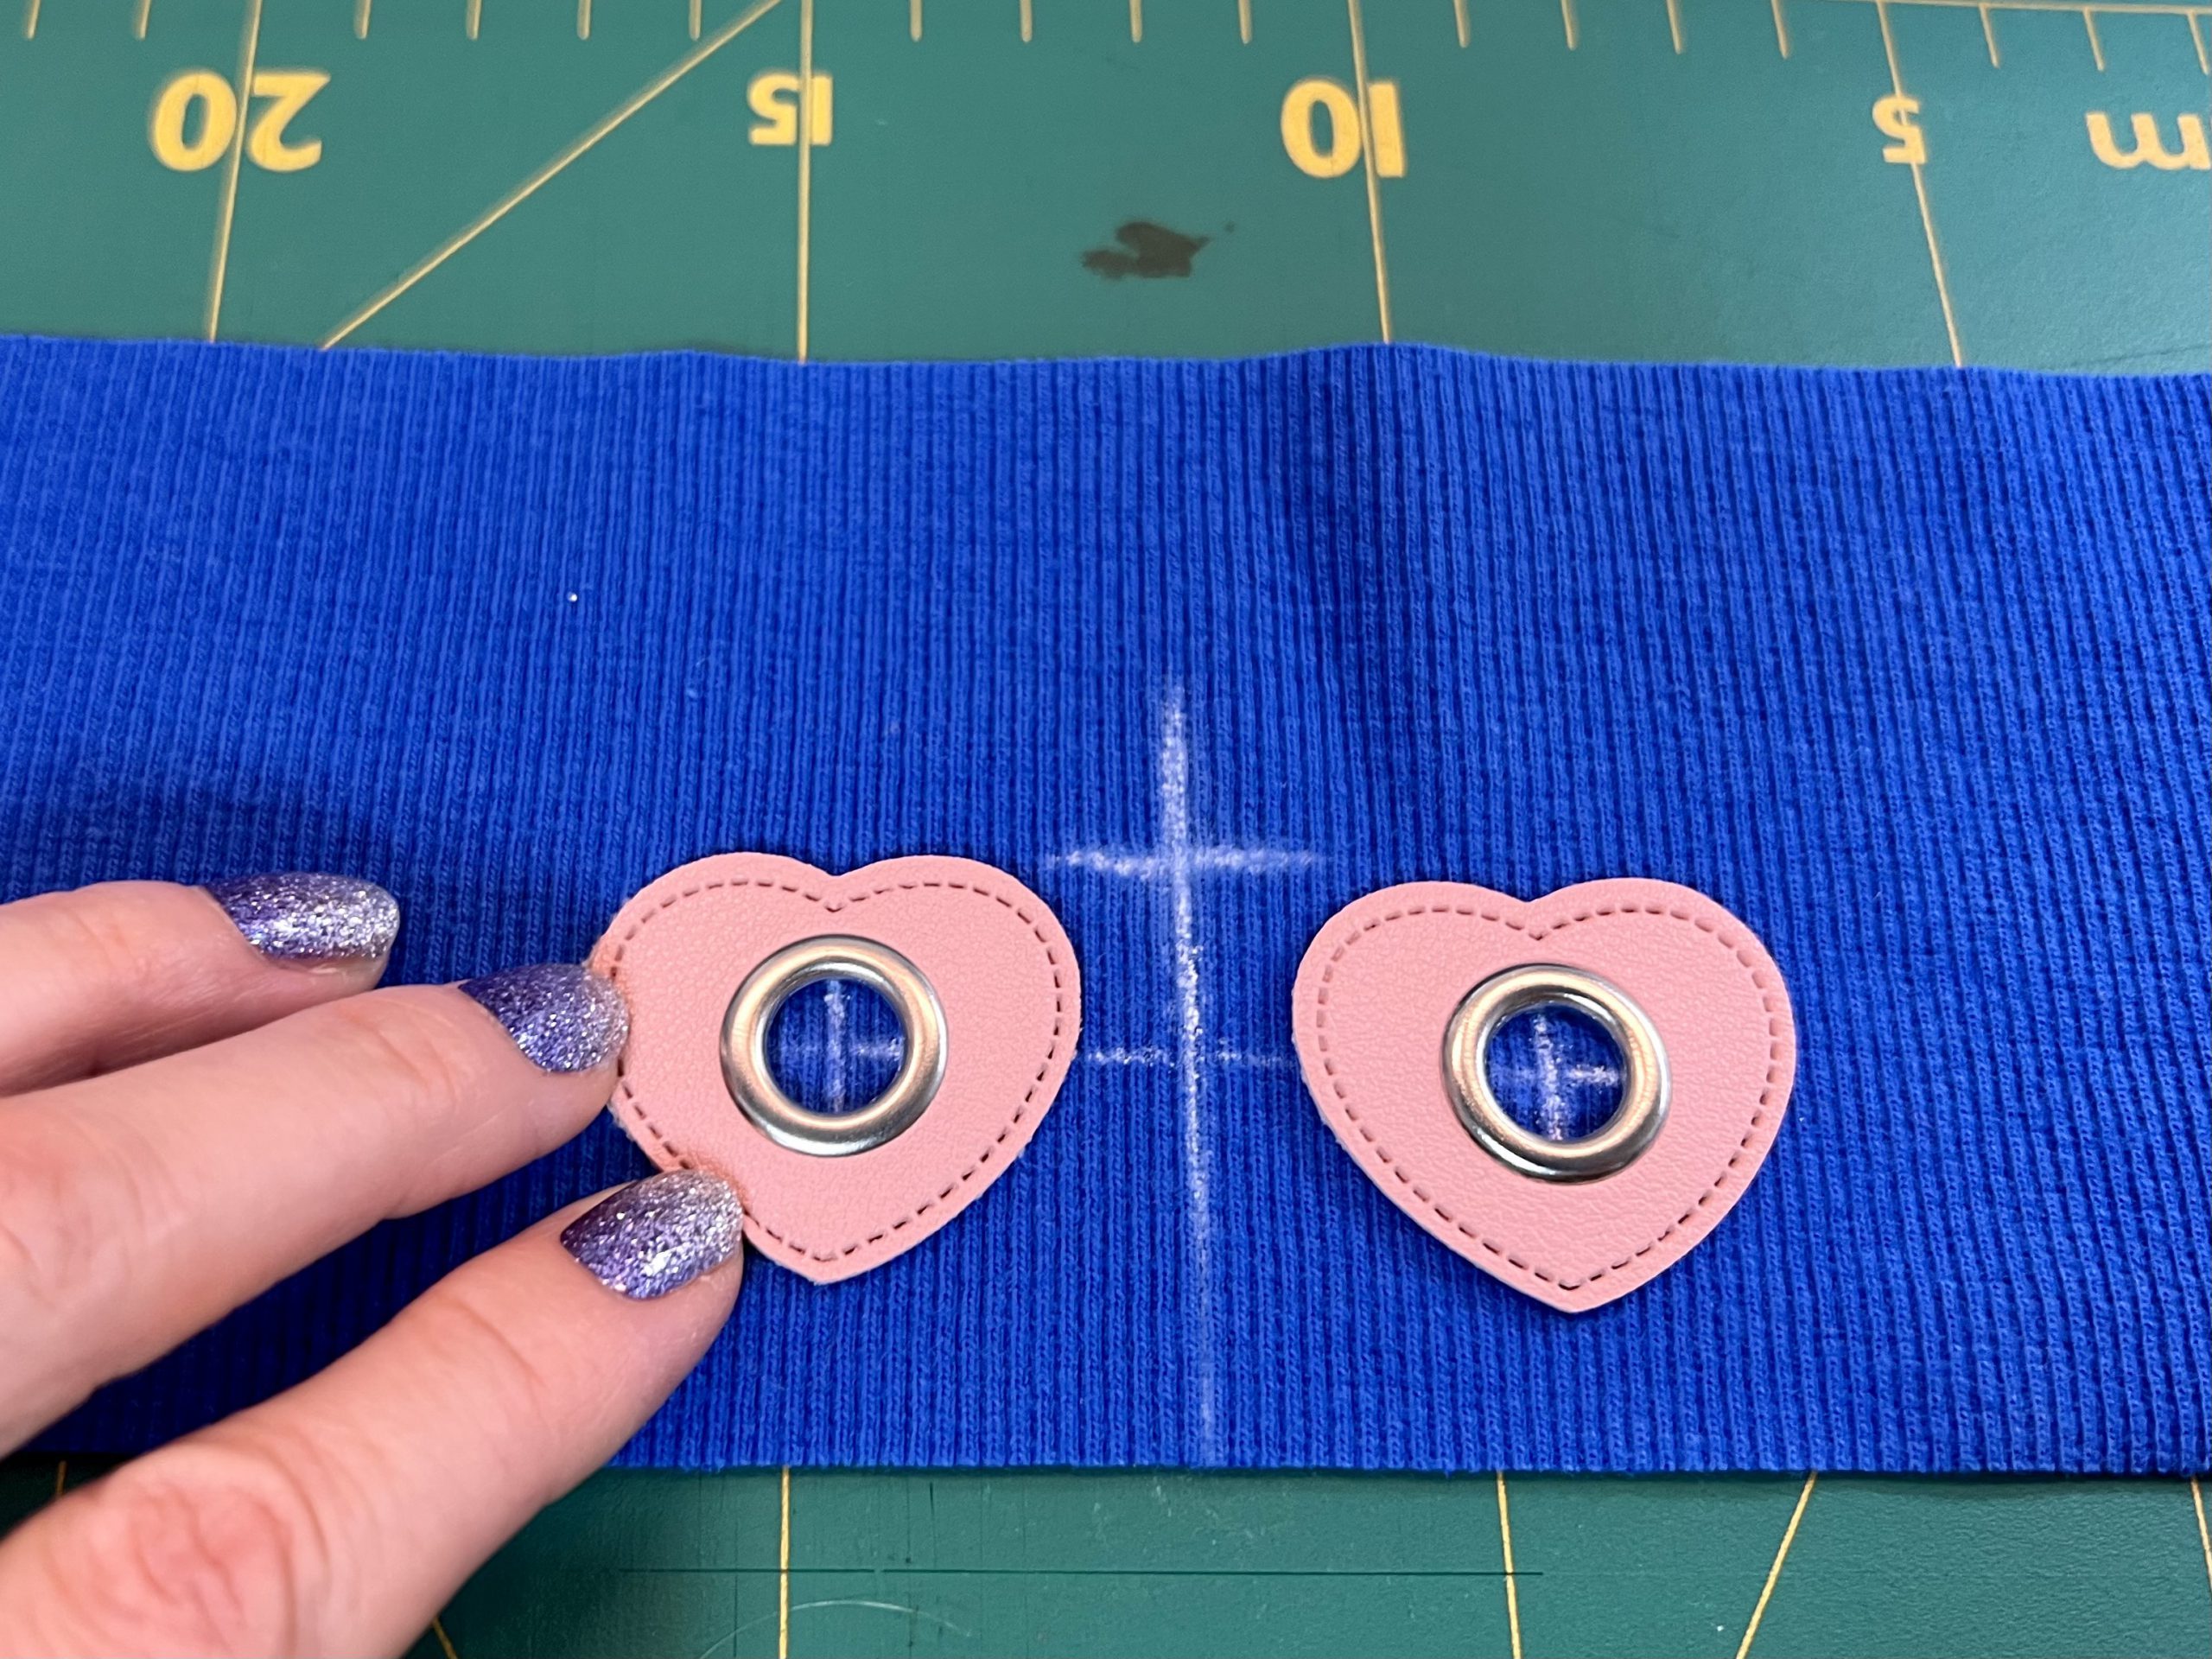
Then, as shown in this picture, mark the front center horizontally and vertically using tailor’s chalk. The distance between the center of the eyelet holes is 3 cm from the vertical line. This results in a total distance of 6 cm.

You must align the height with your leather eyelets. These should also be in the center, minus the lower seam allowance. Try placing your leather eyelets on the cuff. It should now look like this picture.
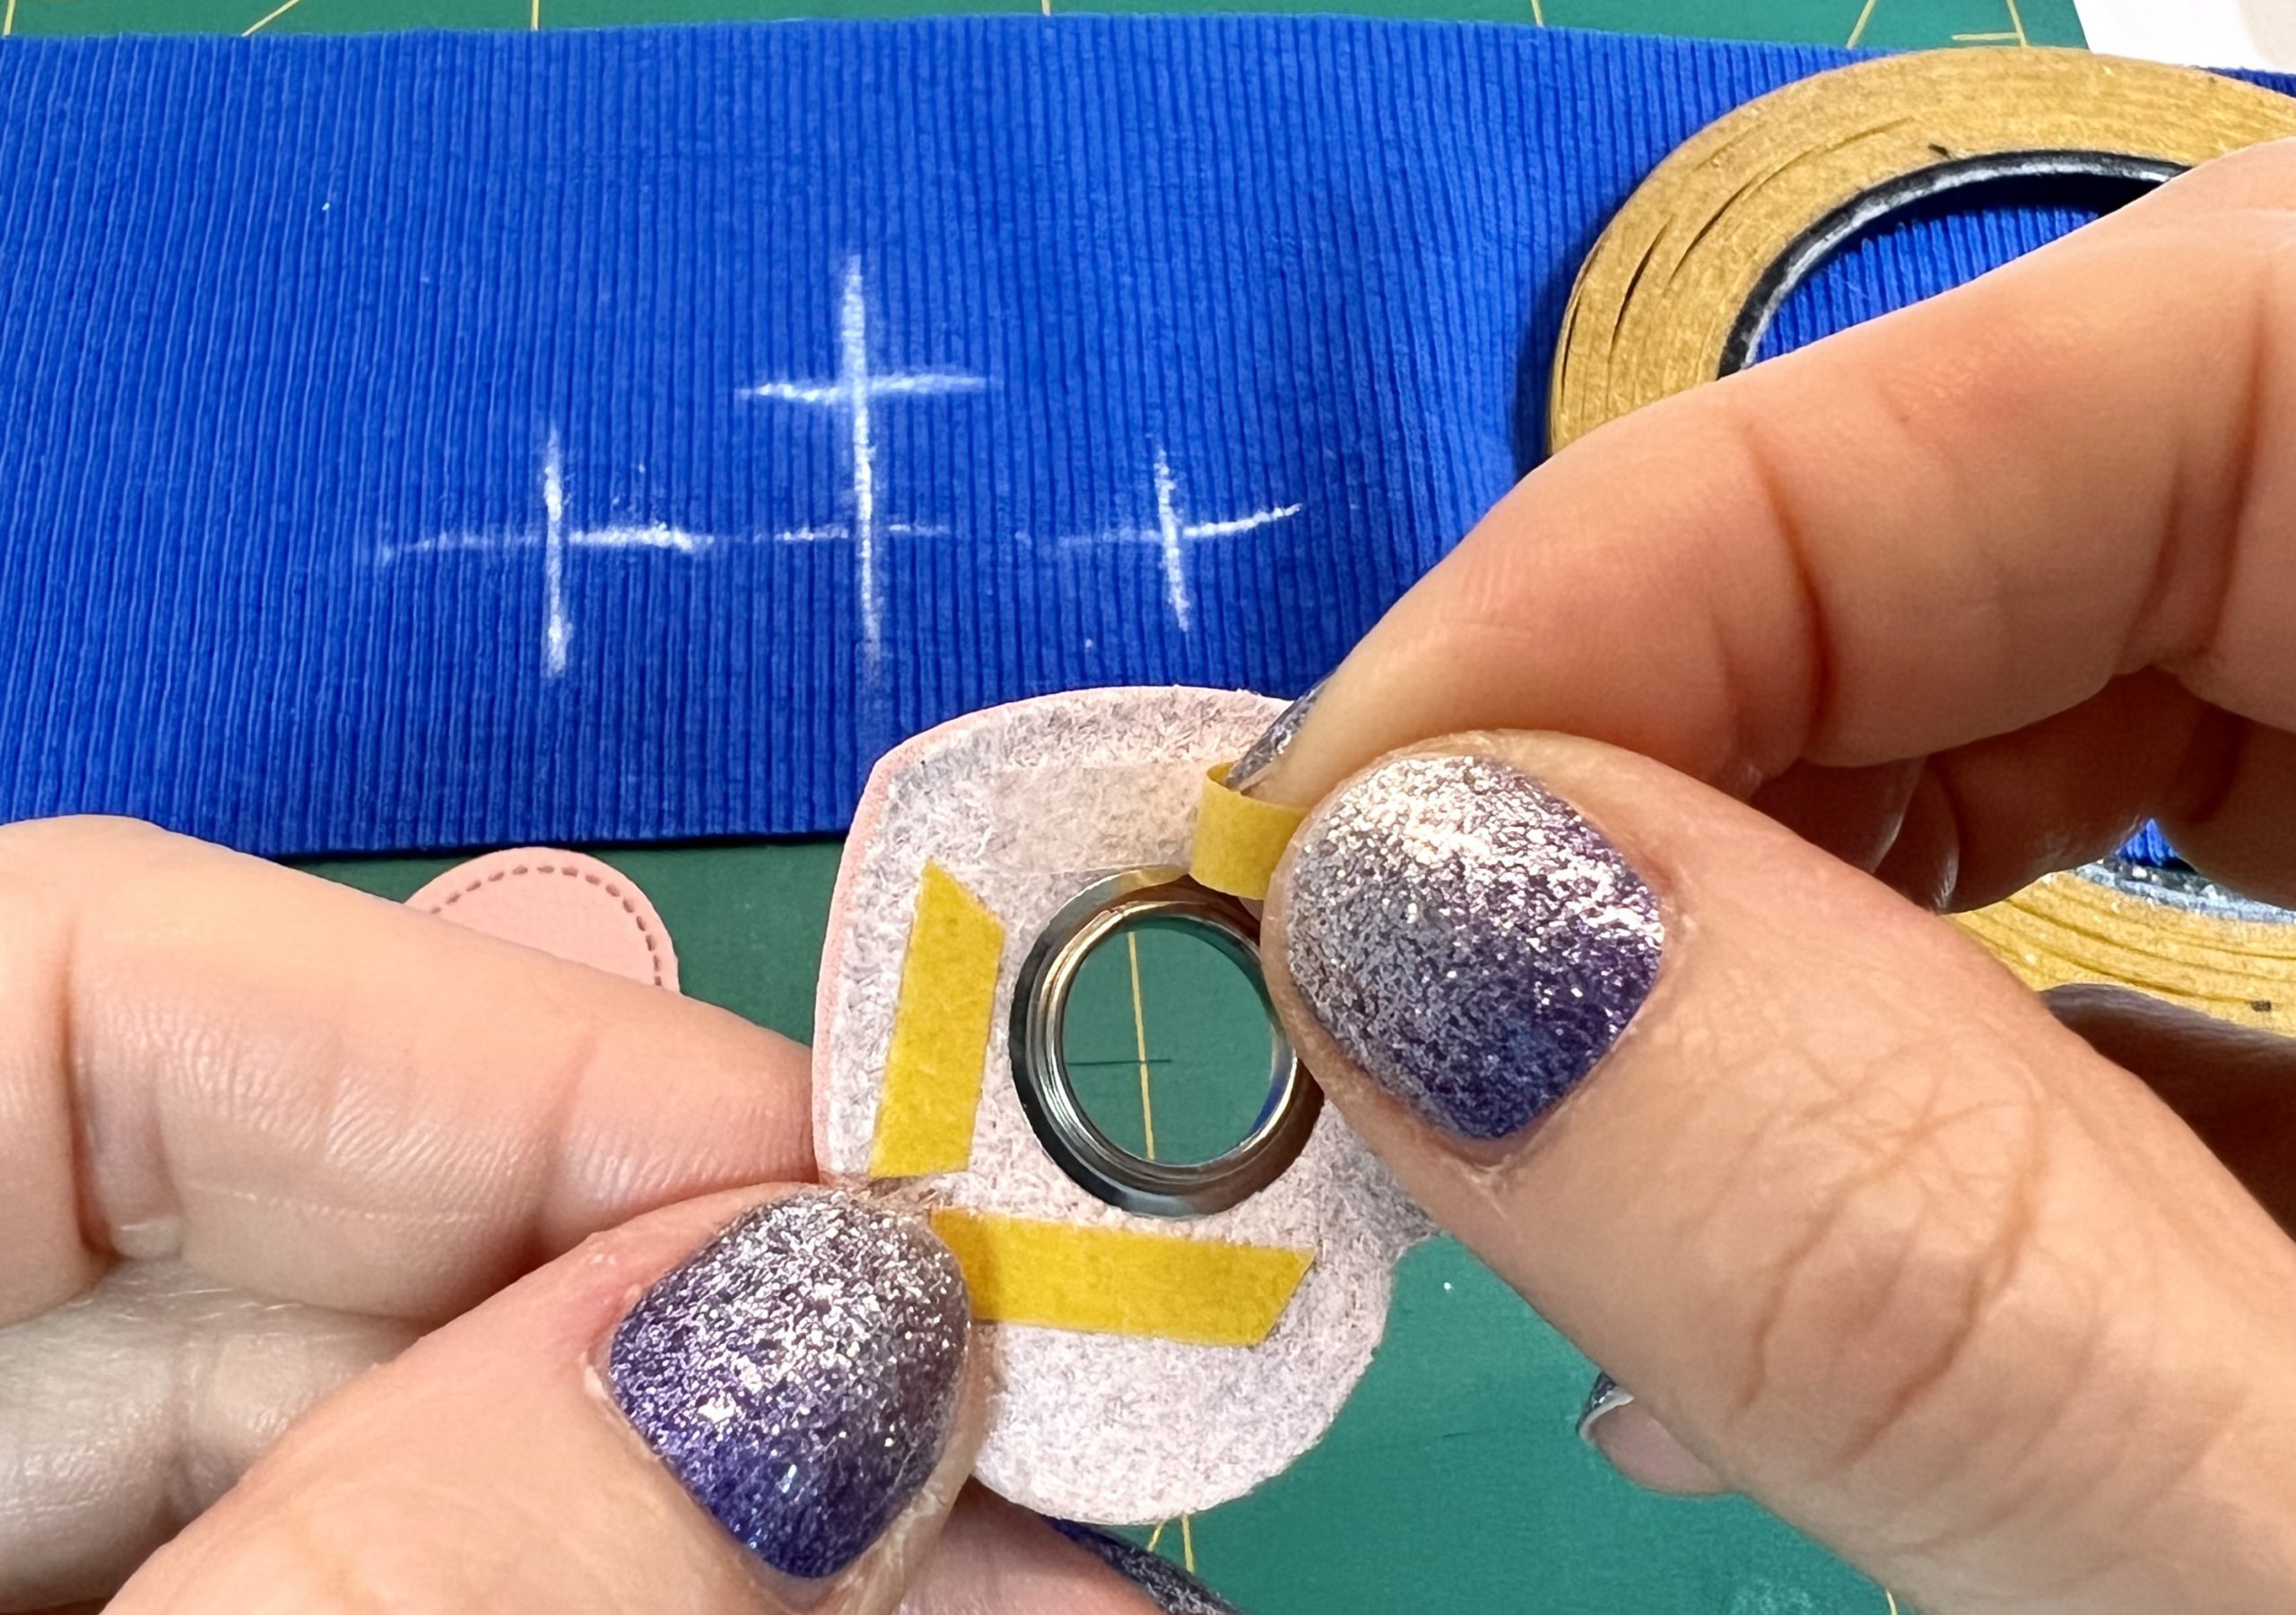
Next, stick the leather eyelets onto your cuff with Stylefix.
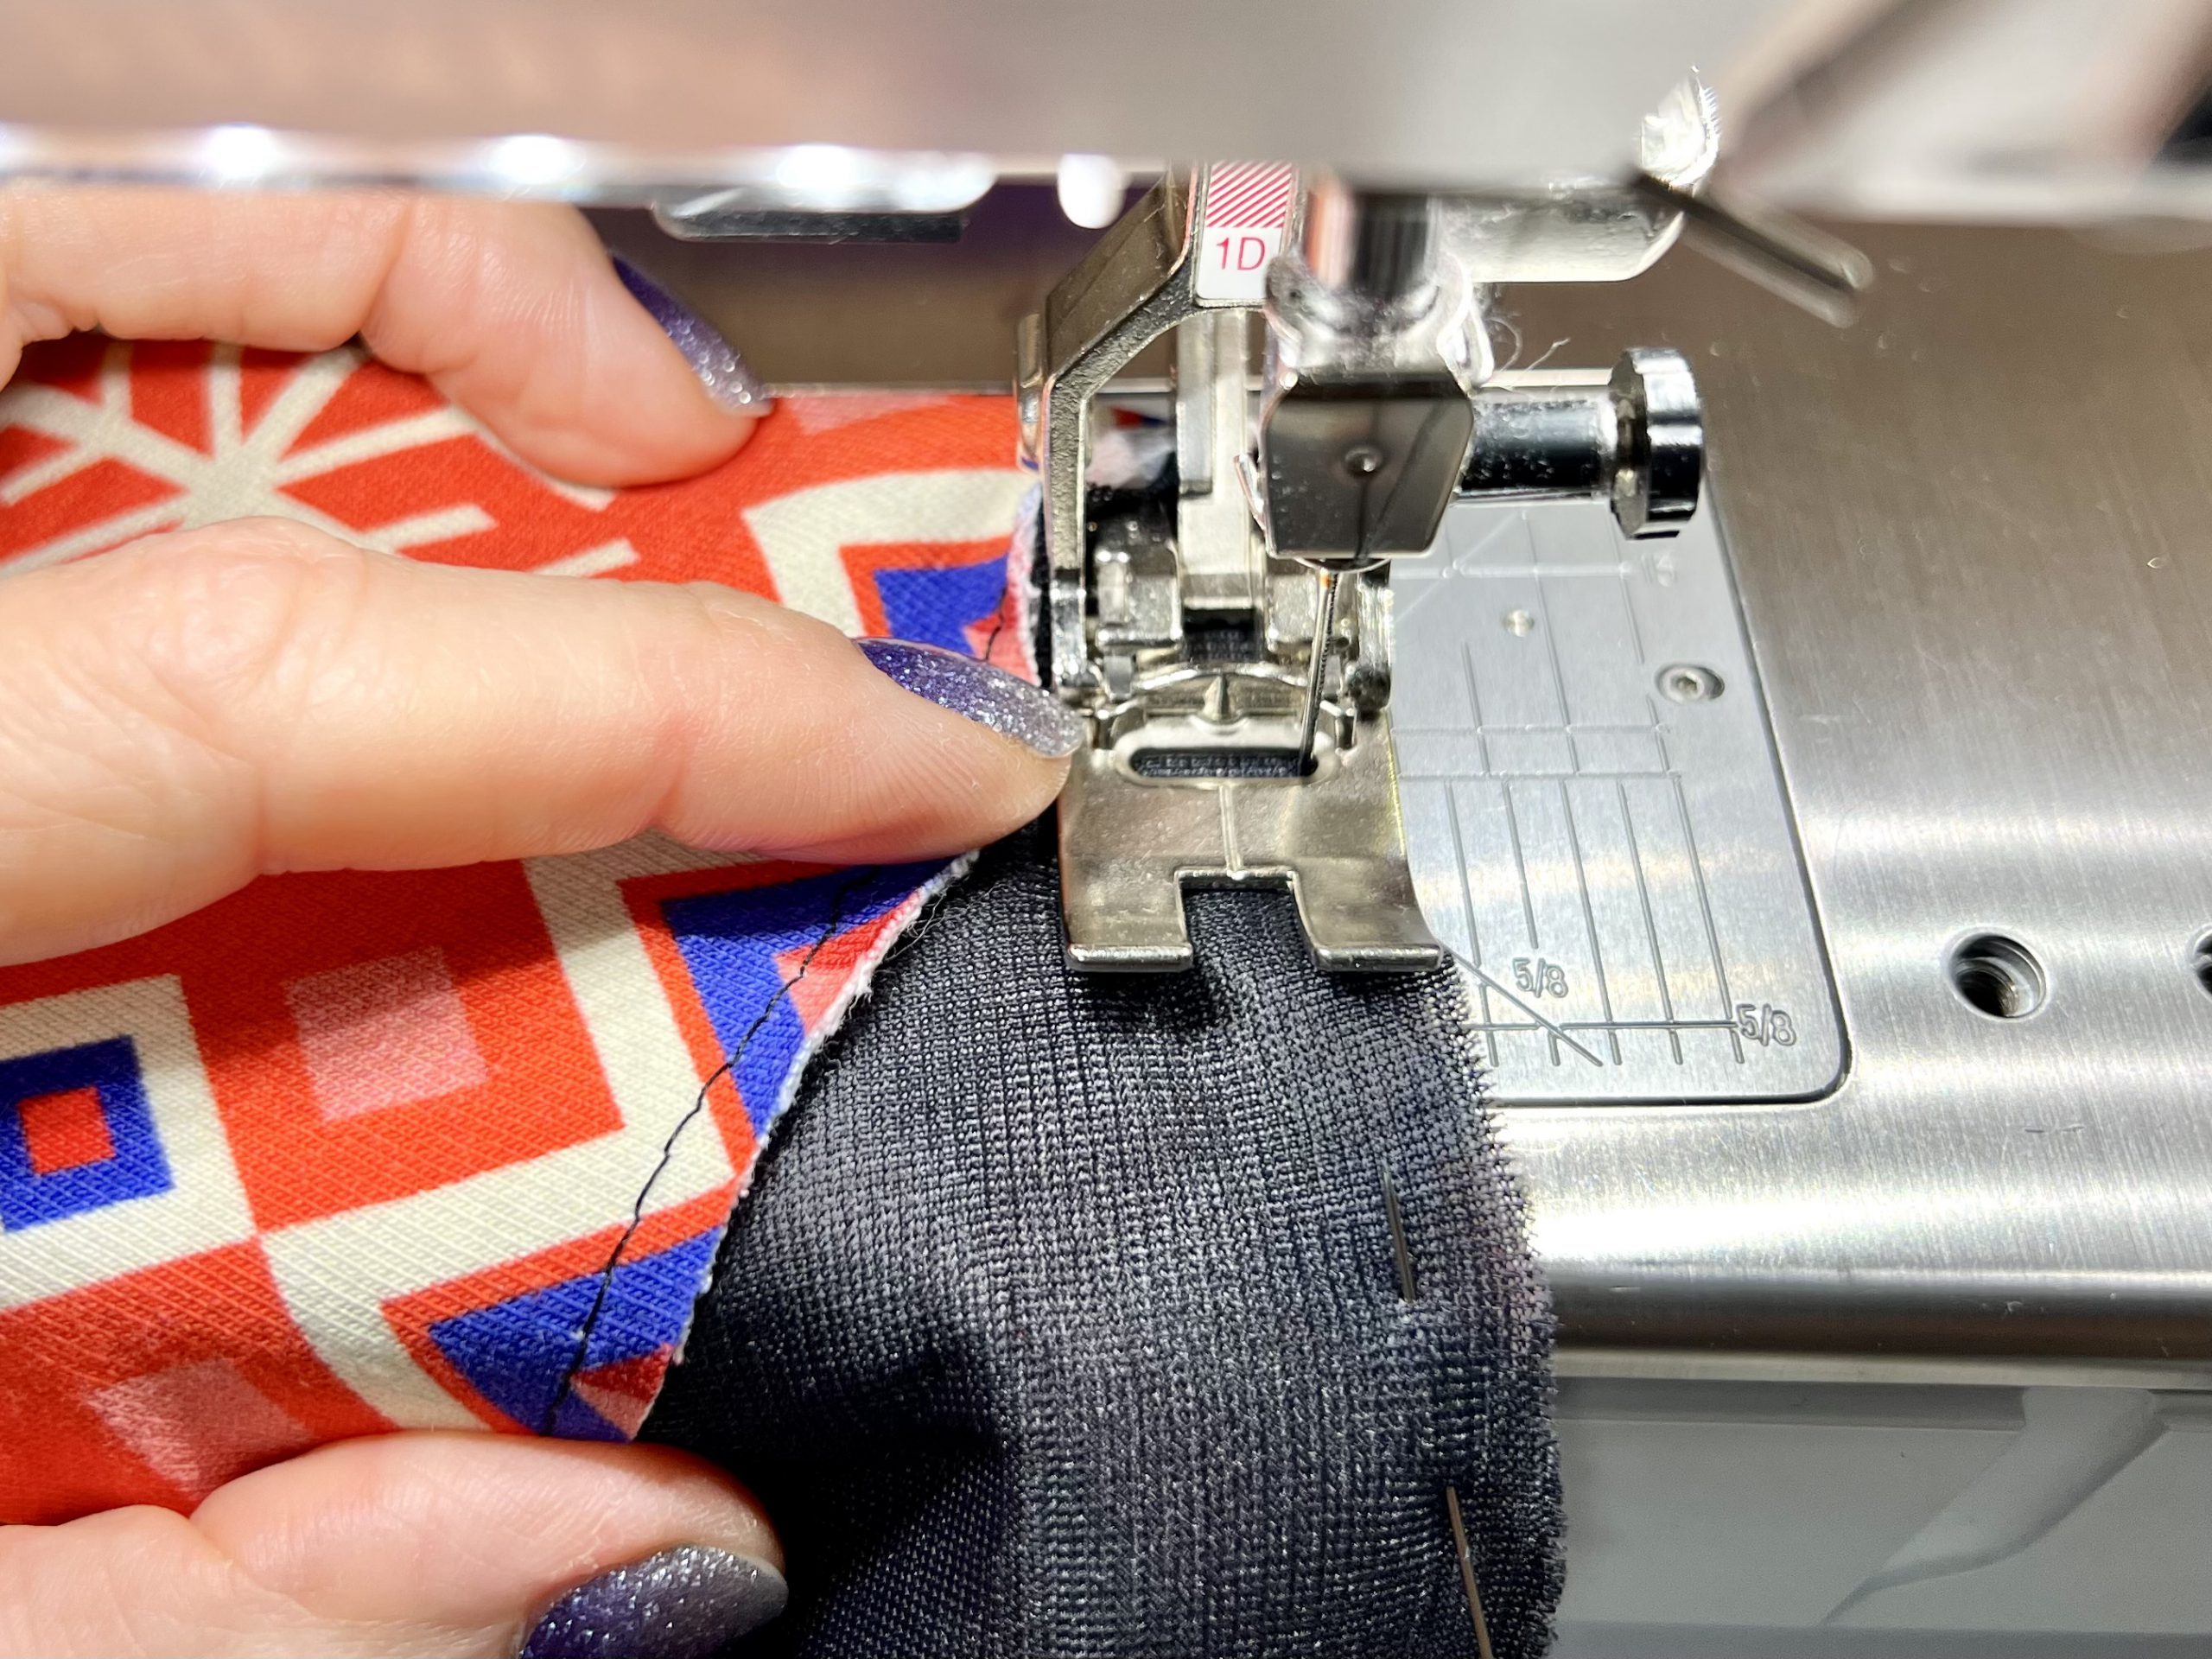
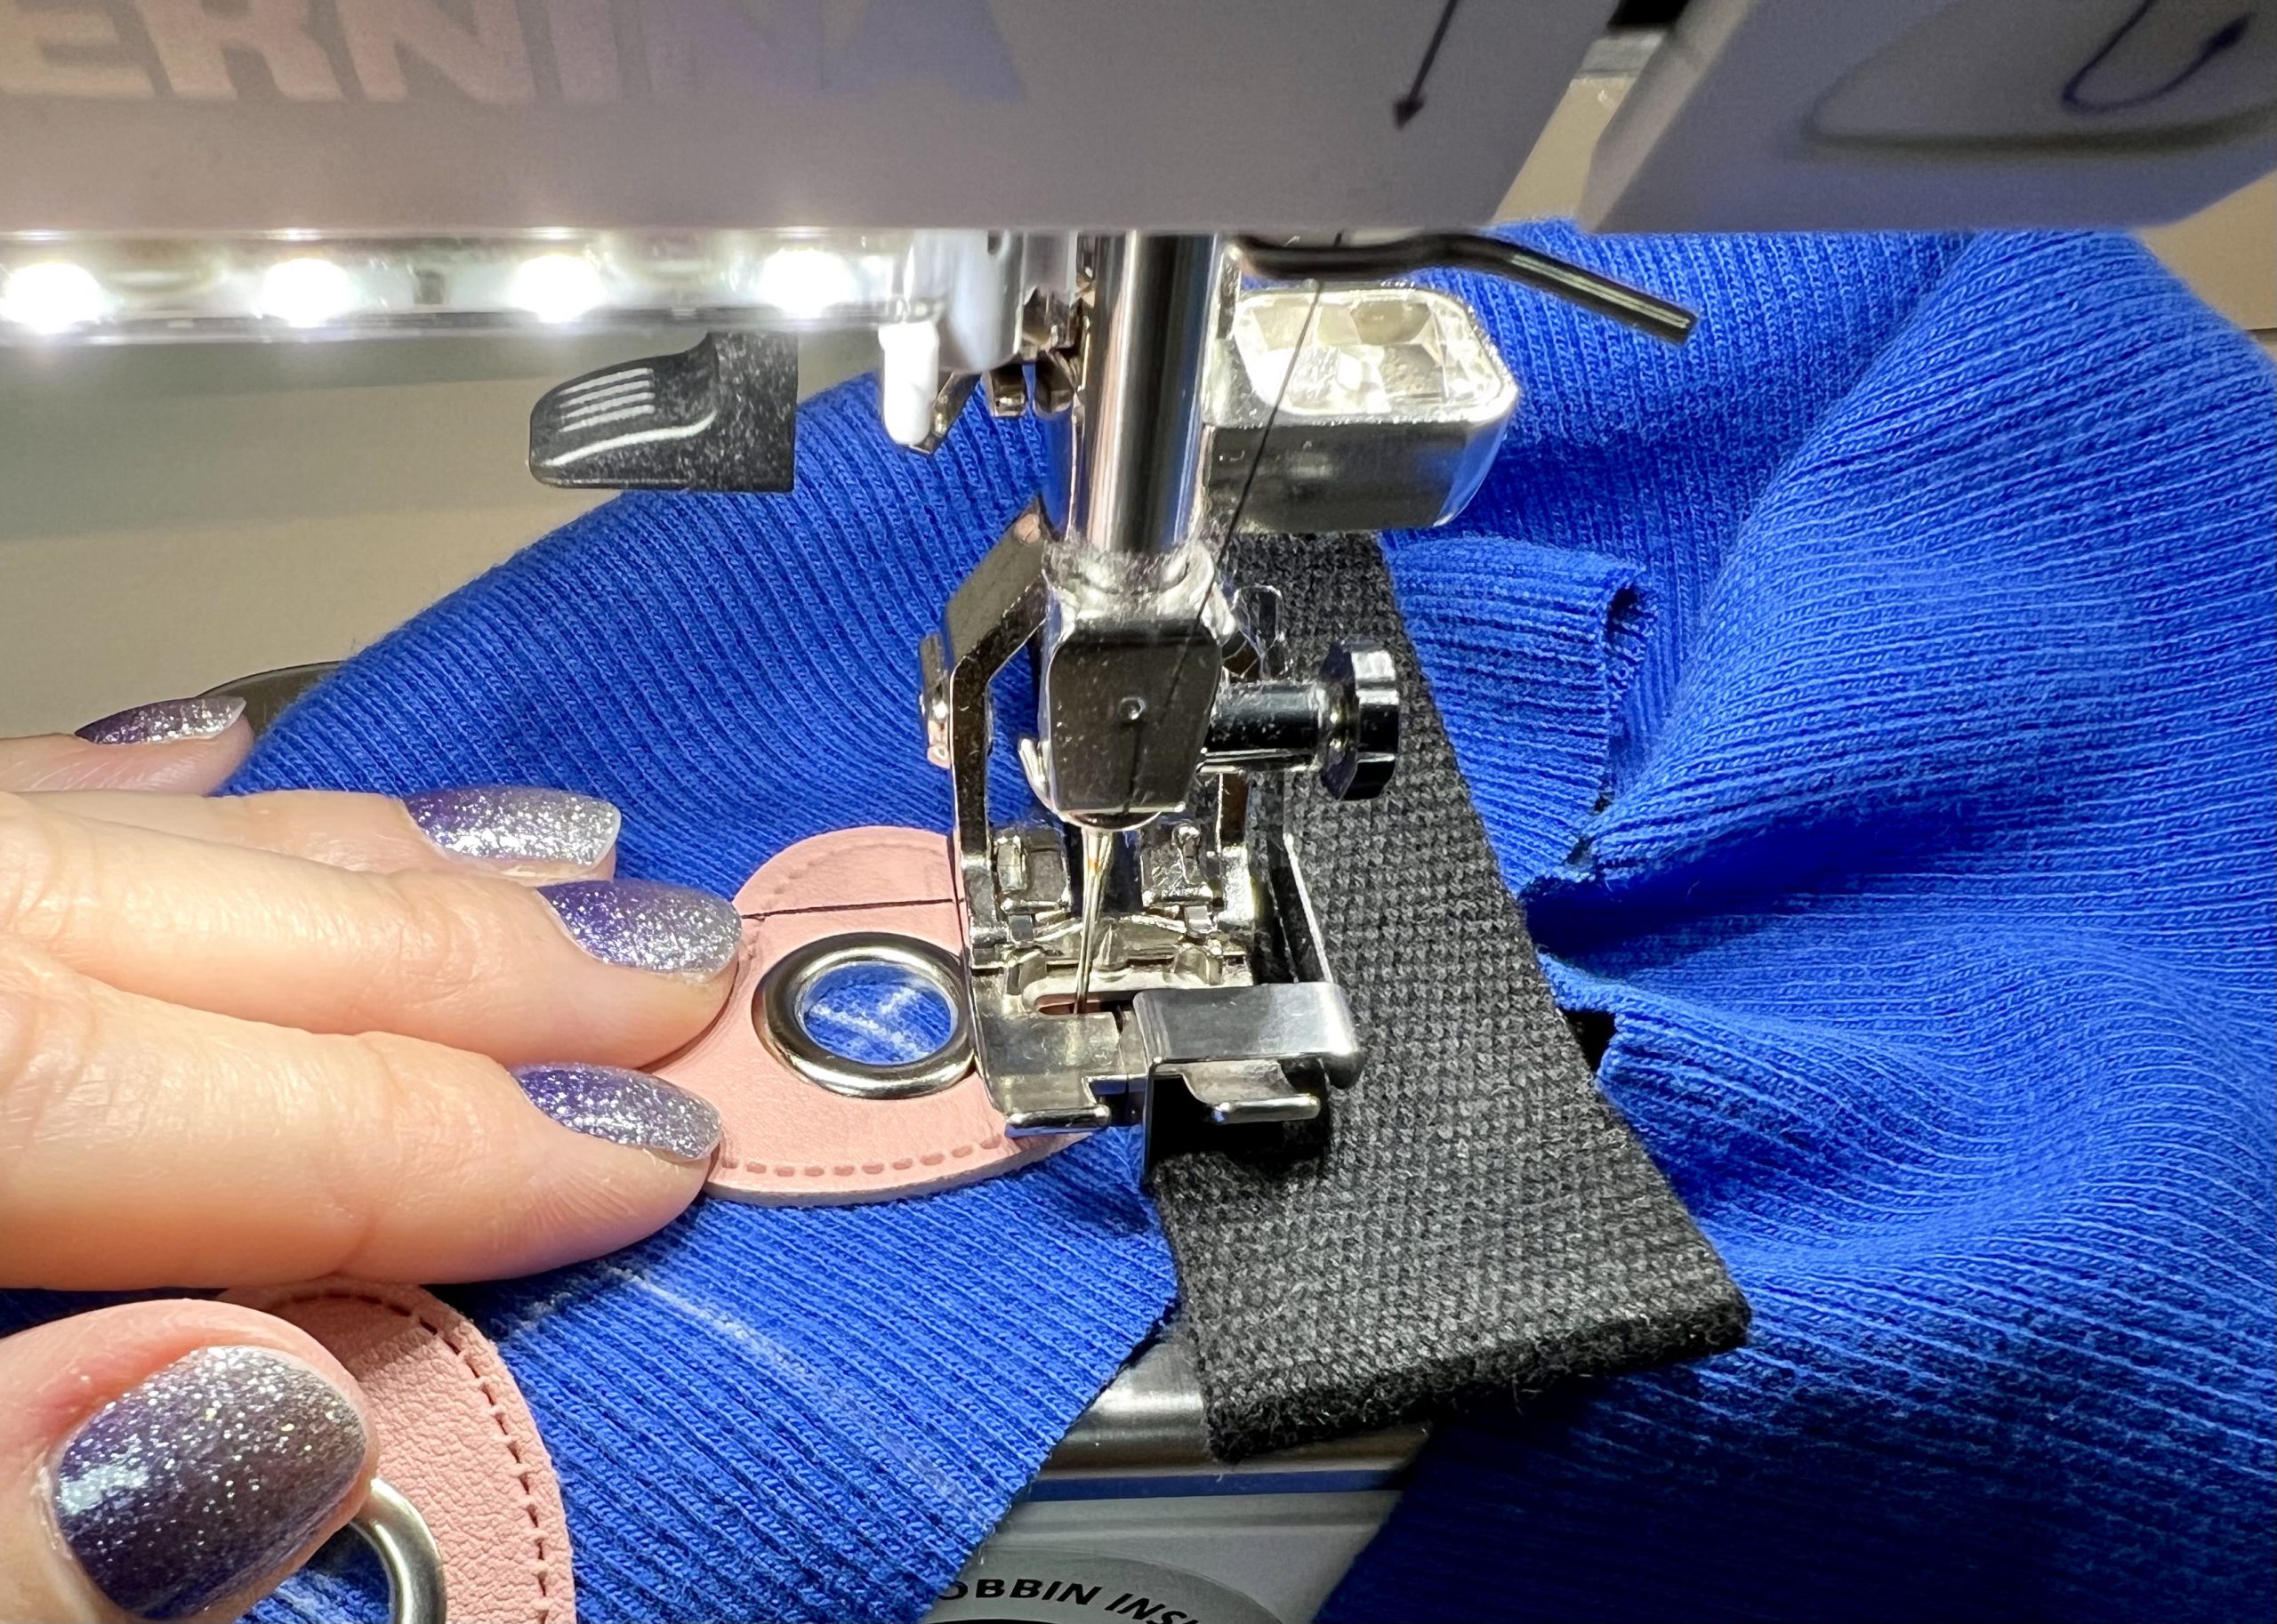
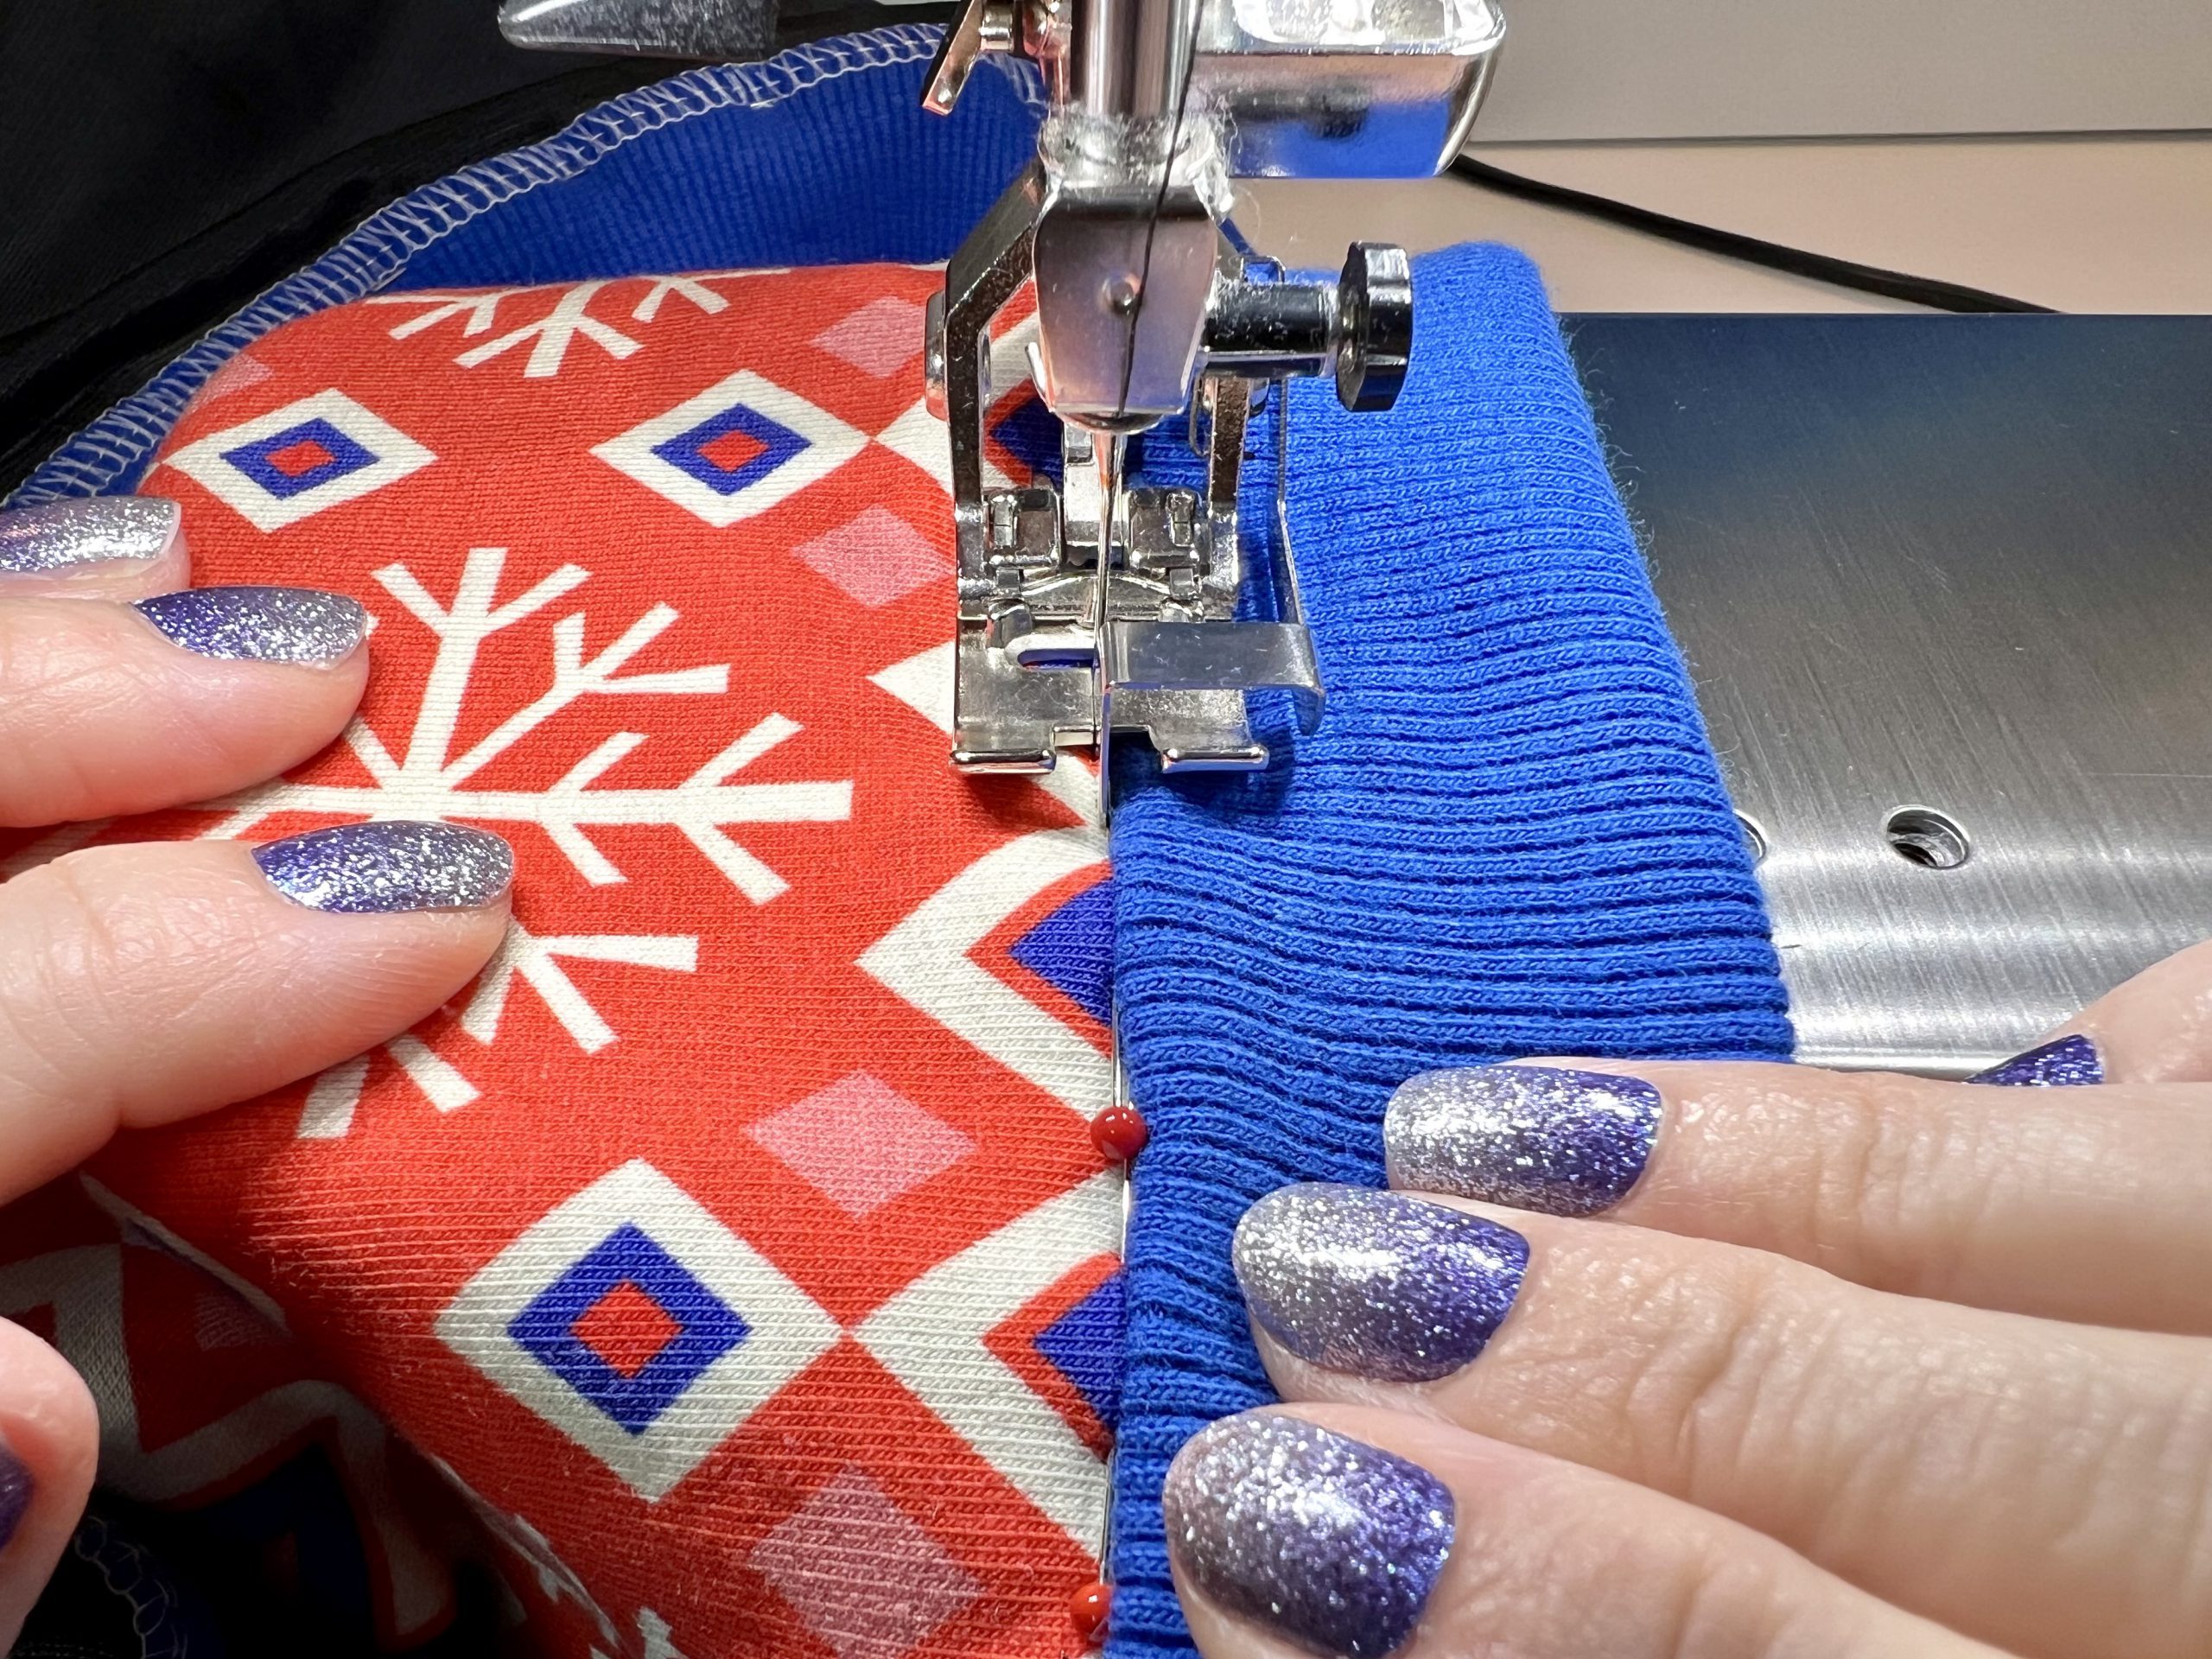
Now sew on the leather eyelets within the pre-stamped markings. For this, I used the Edgestitch foot again. As the left side of the foot is sometimes slightly wider than the leather eyelet, I laid a webbing strap right next to the leather eyelet as a height compensating device. I set the needle position to the far left. To ensure a successful stitch-by-stitch process, you should only sew the leather eyelets on with the hand wheel, if possible. Only secure the start and end with a forward and backstitch.
After sewing on, use a thin hand-sewing needle to pull the top threads onto the wrong side of your cuff. Then knot them with the lower threads and cut them off above the knot.

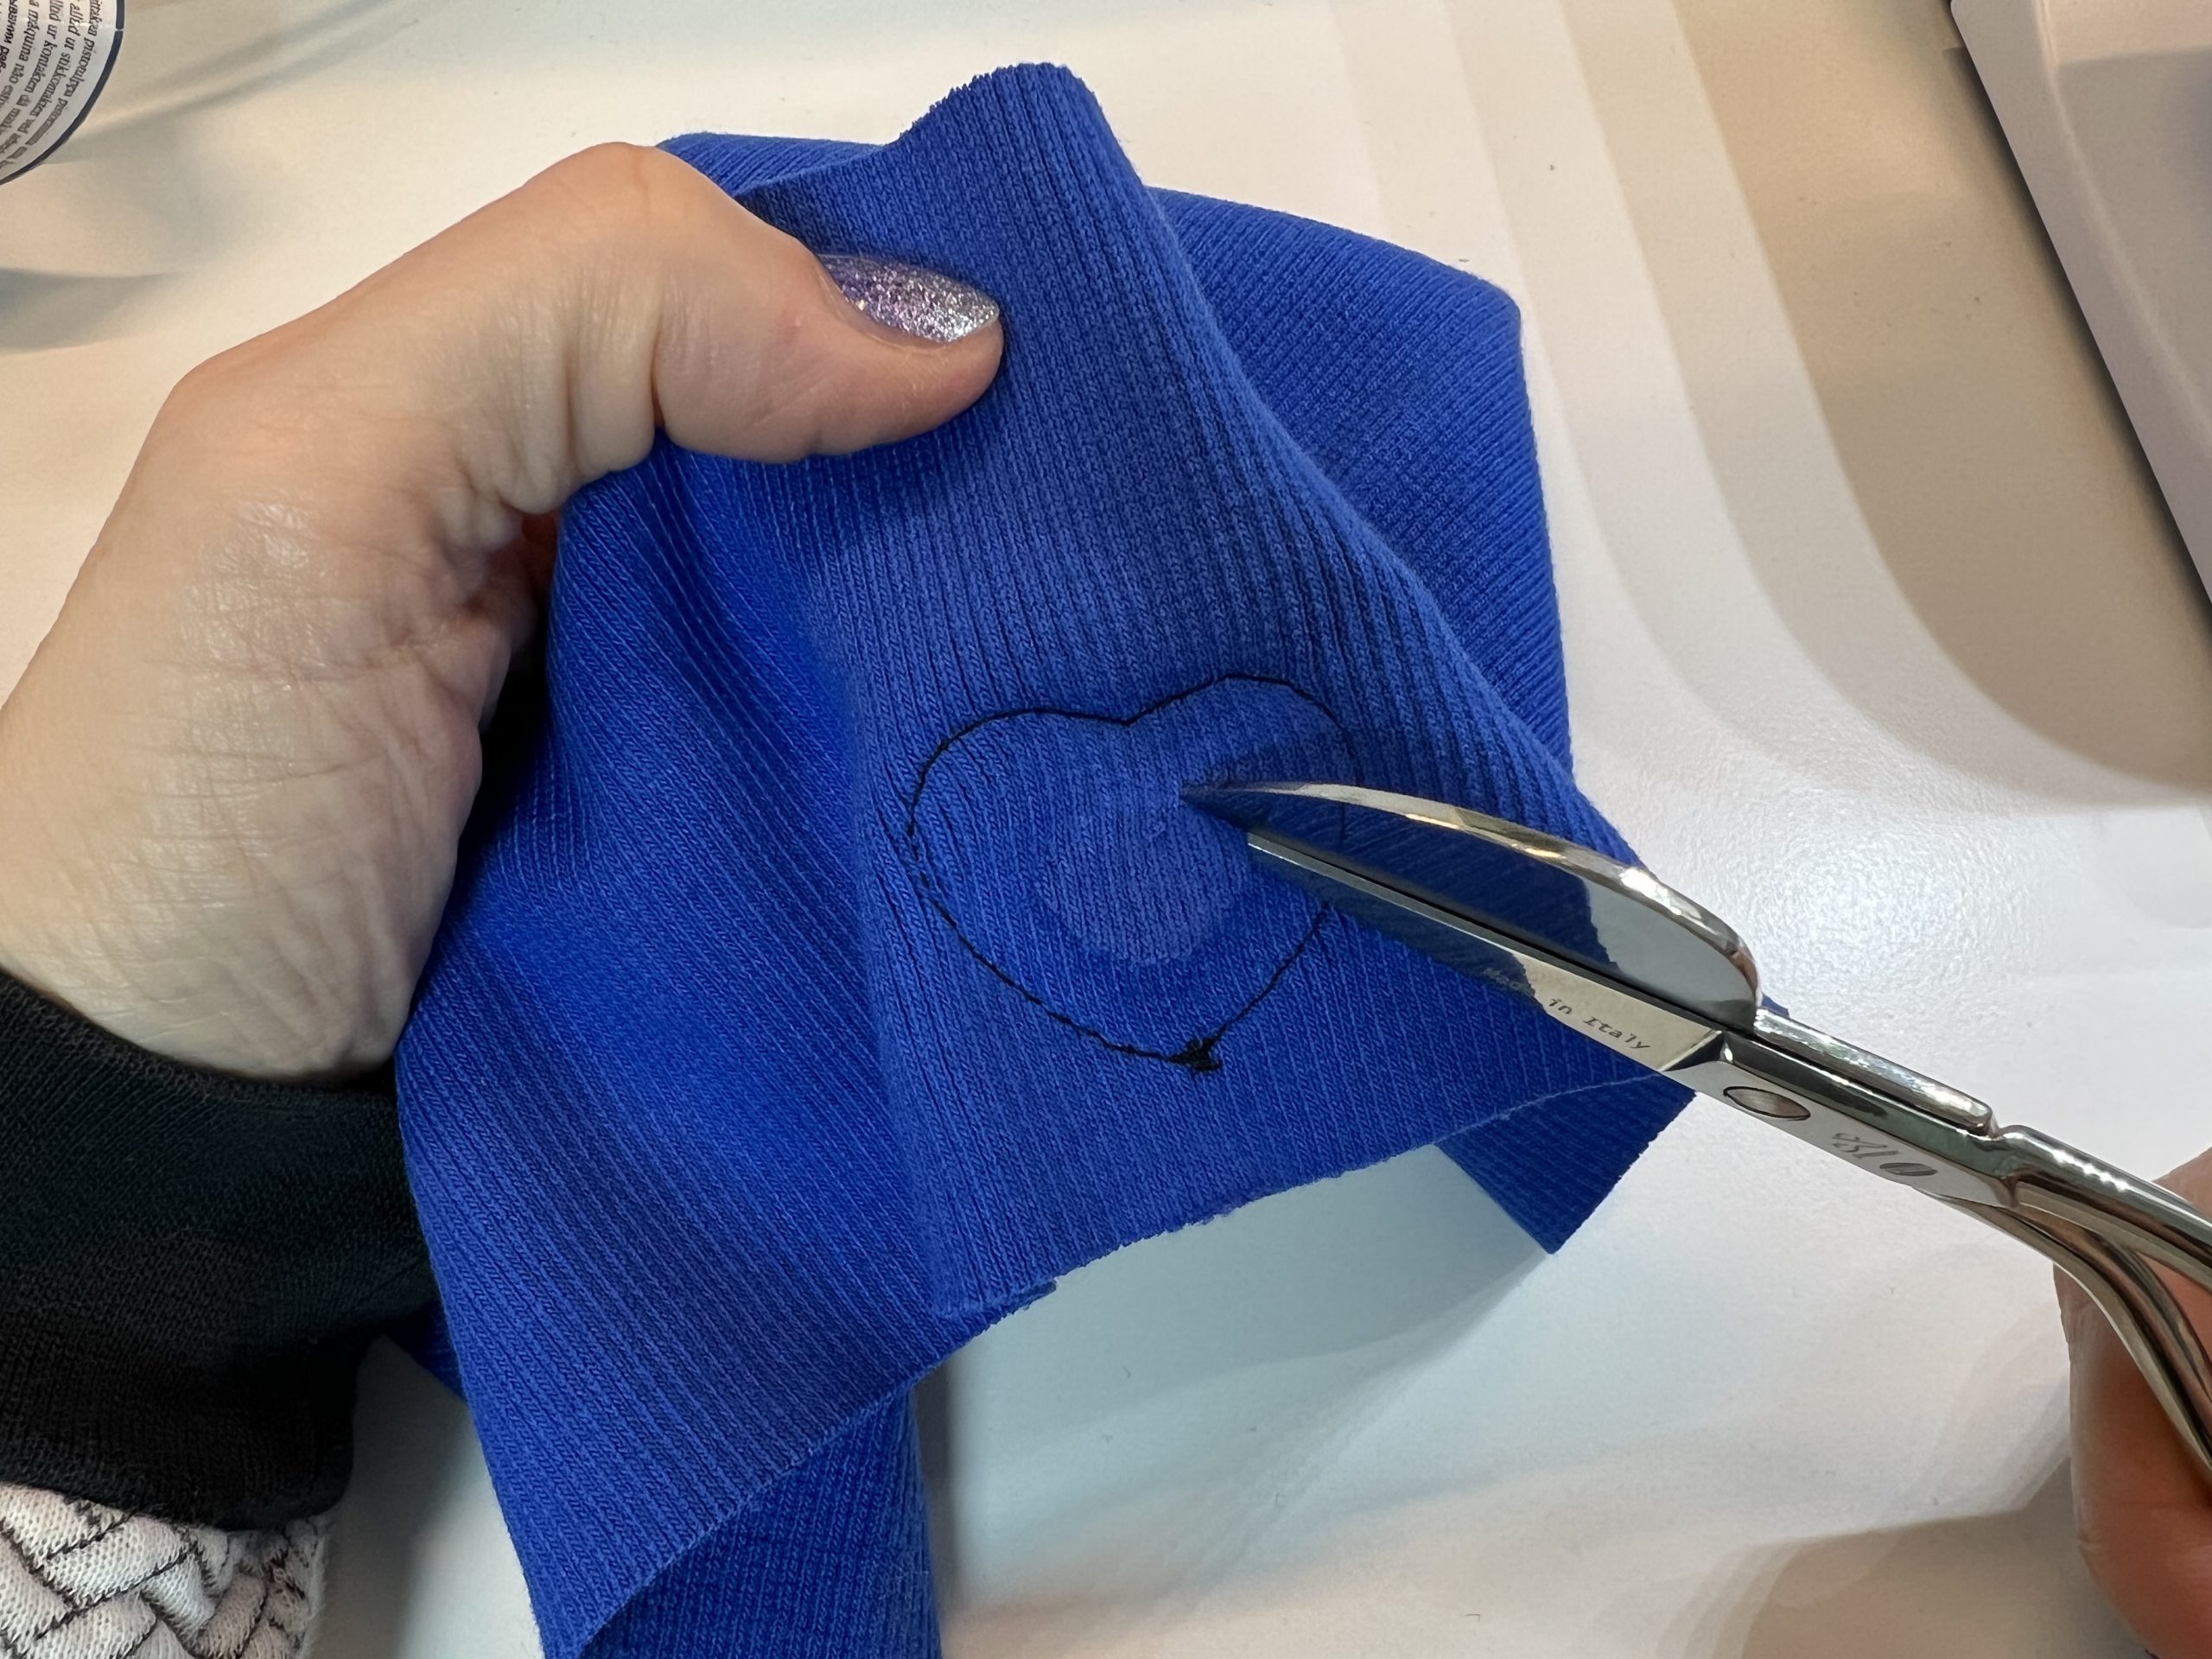
Press the leather eyelet slightly into the fabric from the right side. This allows you to easily identify the ring of the eyelet. Next use scissors to cut out the area for the eyelets, outside the ring.
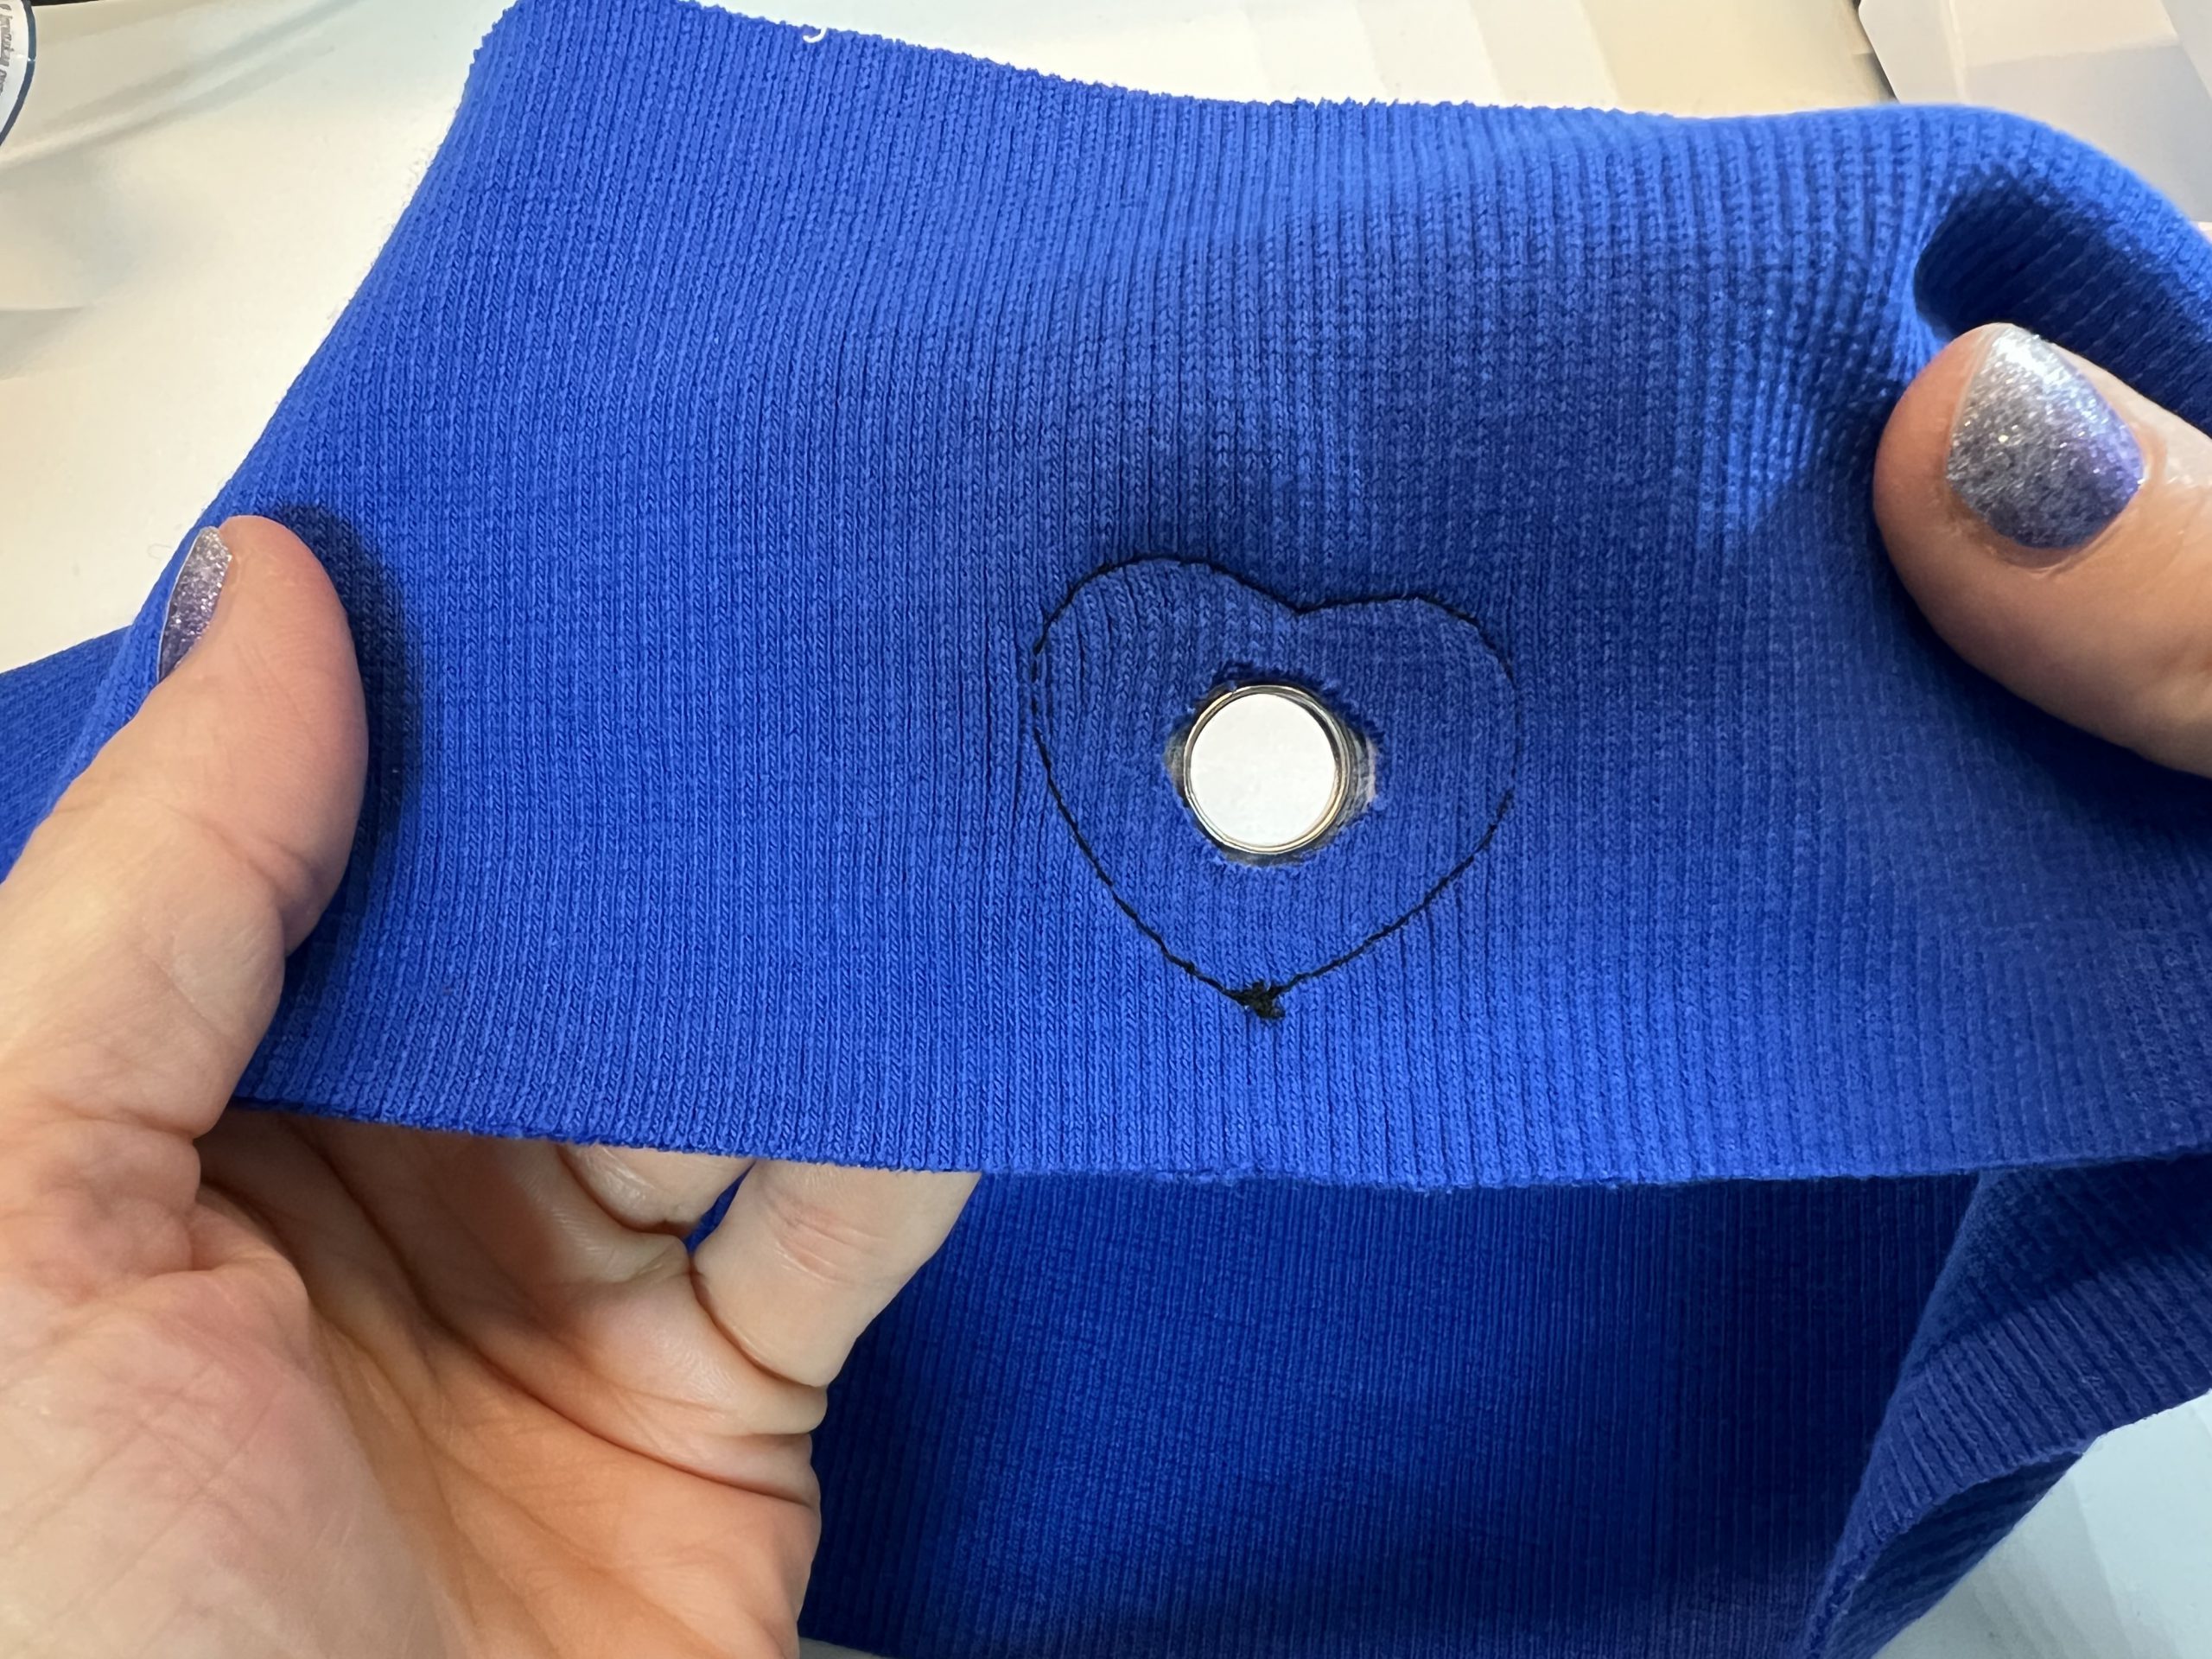
The uncut eyelet area should now look like this.
Then remove the remnants of the chalk markings by simply wiping them off.

Attach your cuff to a ring. Turn your skirt inside out. Mark the center at the front and back, along with the side seams on the upper edge of the skirt and on the lower edge of the cuff with the leather eyelets. Then place this edge of the cuff onto the top edge of the skirt with the right sides together. Here, the front center of the cuff meets the center of the top edge of the skirt exactly. Now sew this side of the cuff onto the top edge of your skirt. Extend the quarters of the cuff to the length of the quarters of the top edge of the skirt.
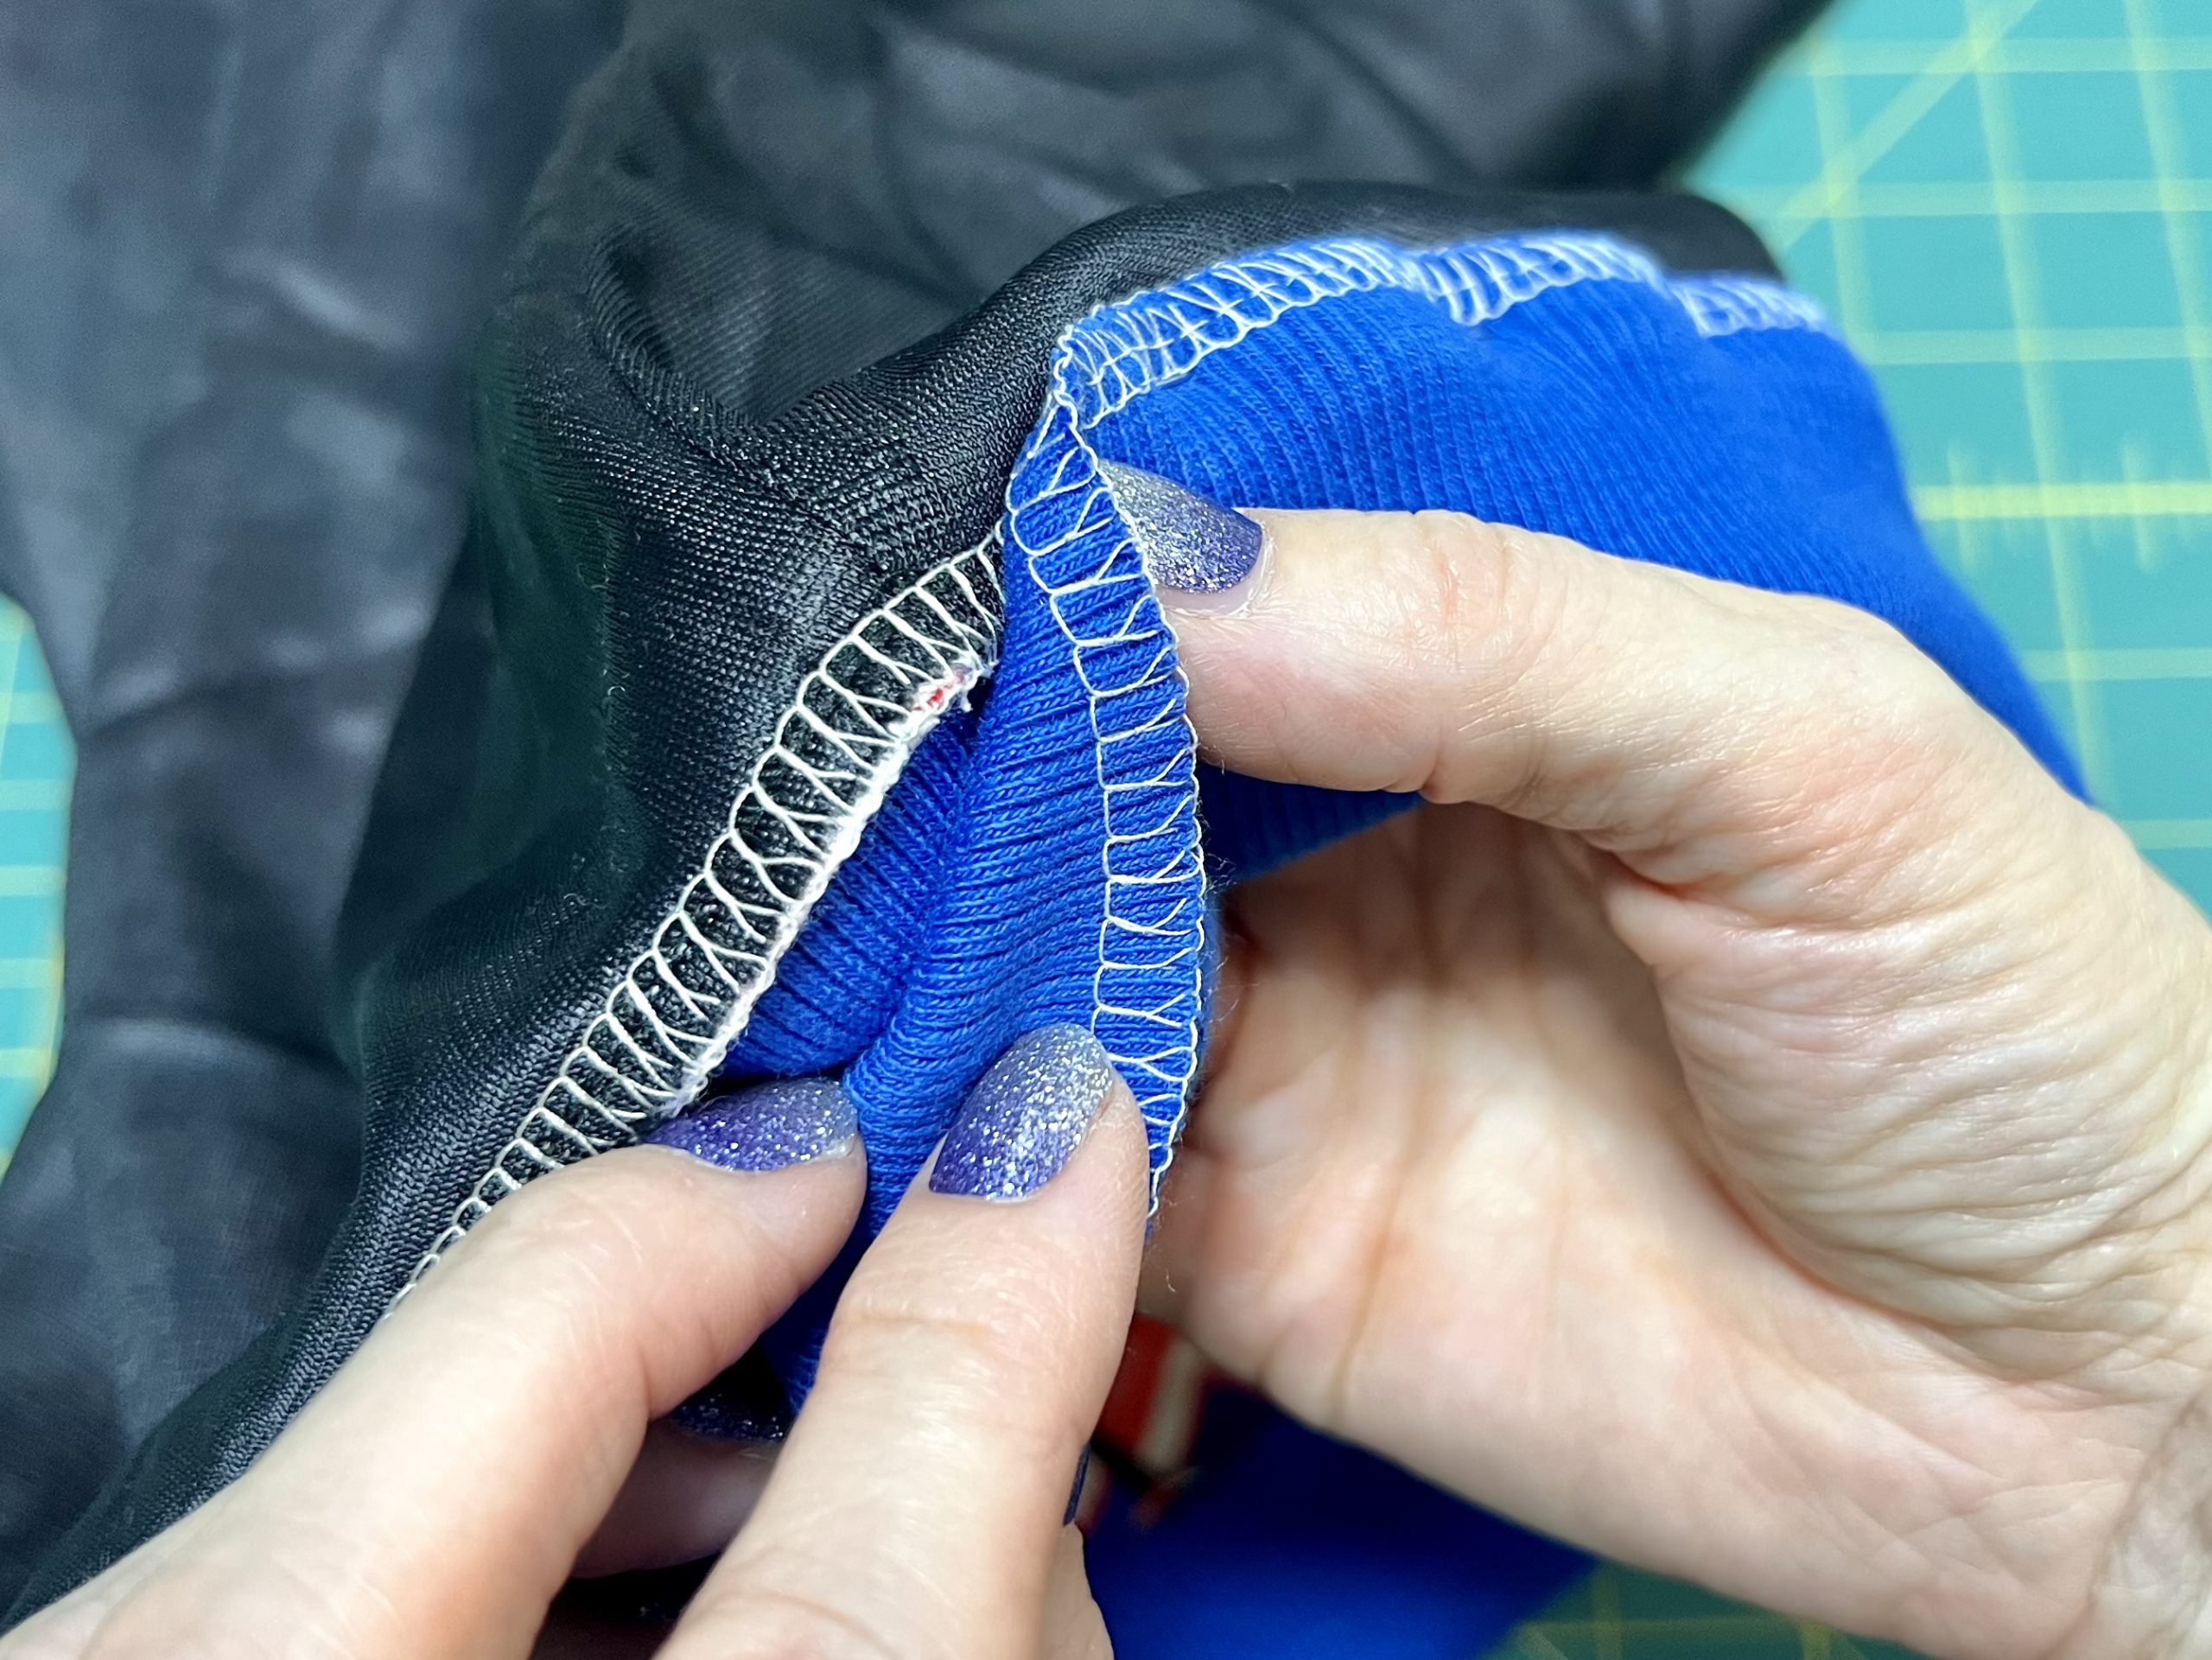
Then overcast the still-open edge of your cuff with an overlock stitch. You can also serge this edge with an elastic overlock stitch on your sewing machine. Next mark the center front and center back, as well as the sides on this cuff edge. Then fold this cuff edge around the upward facing seam allowance of the top edge of the skirt. Lay the seams edge to edge so that the overlock seam of the still-open cuff edge protrudes over the overlock seam of the top edge of the skirt.
Then, with a pin, attach the still-open edge of the cuff from the right side exactly in the ditch between cuff and skirt. Repeat this process all the way around. Once again, stretch the quarters of the cuff to the quarters of the top edge of the skirt.

This is what the sewn cuff should look like from the inside.

Sew your cuff onto the right side precisely in the ditch using a straight stitch. Once again, the Edgestitch foot is perfect for this.
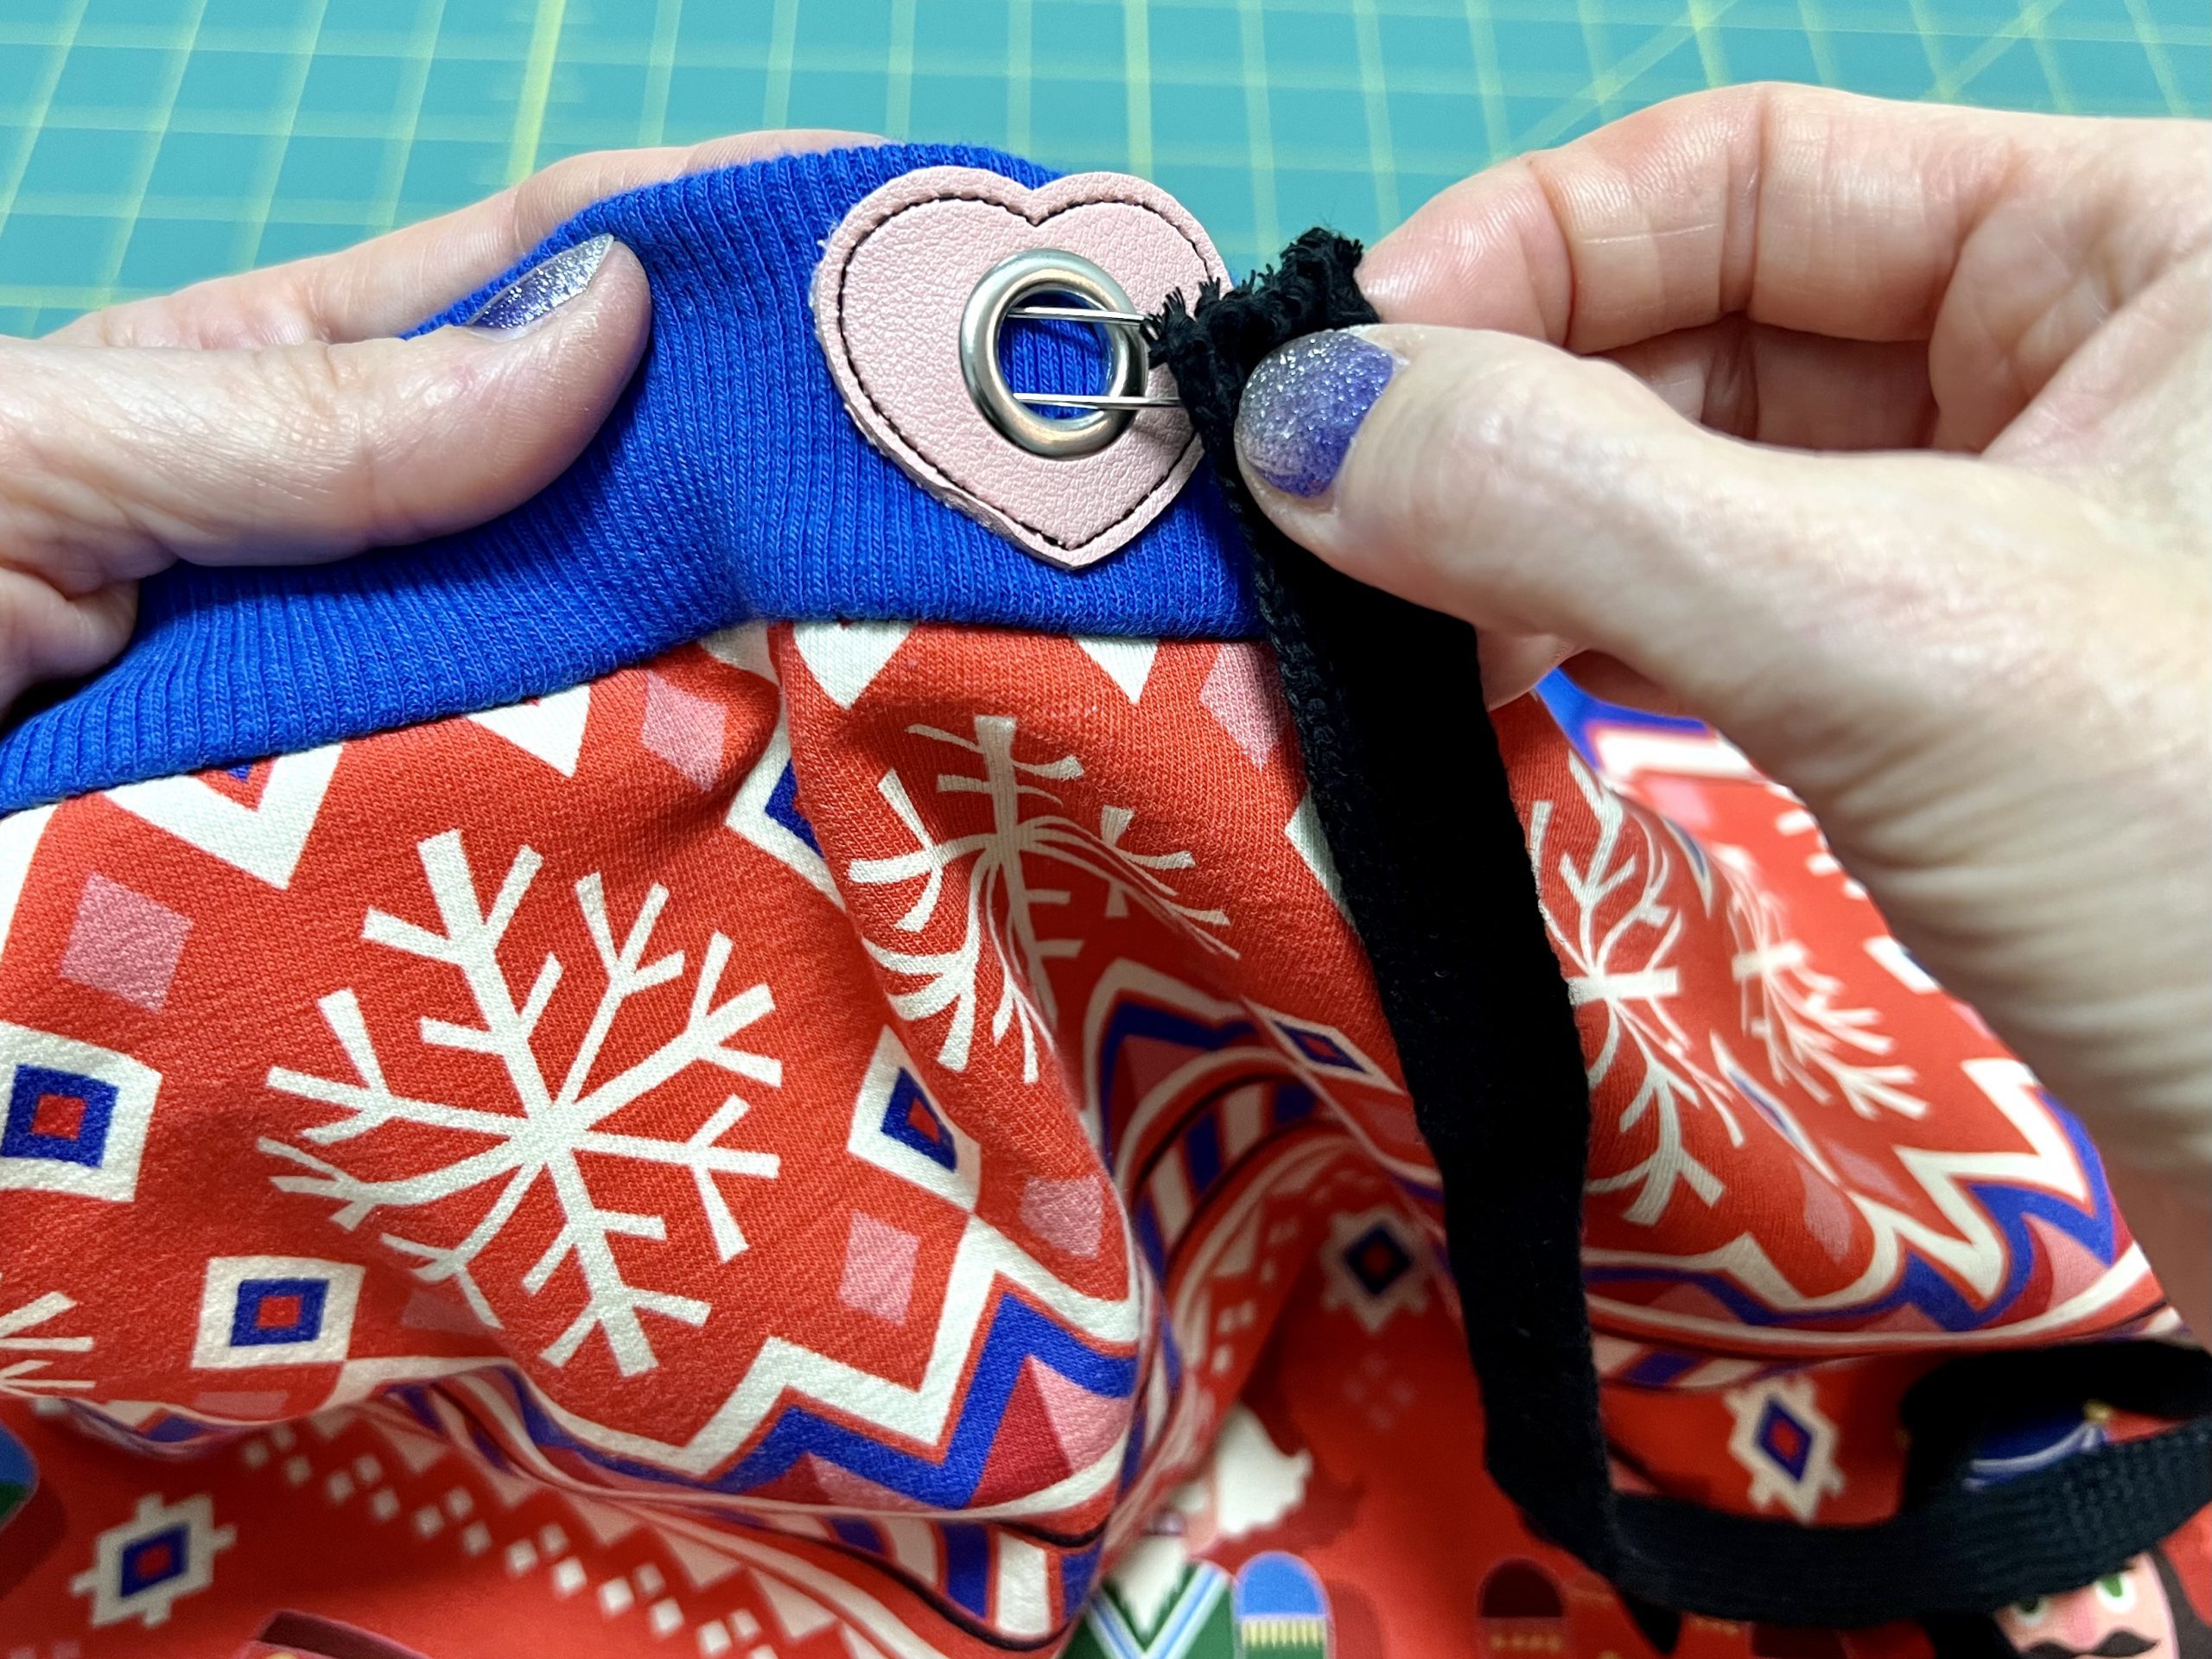
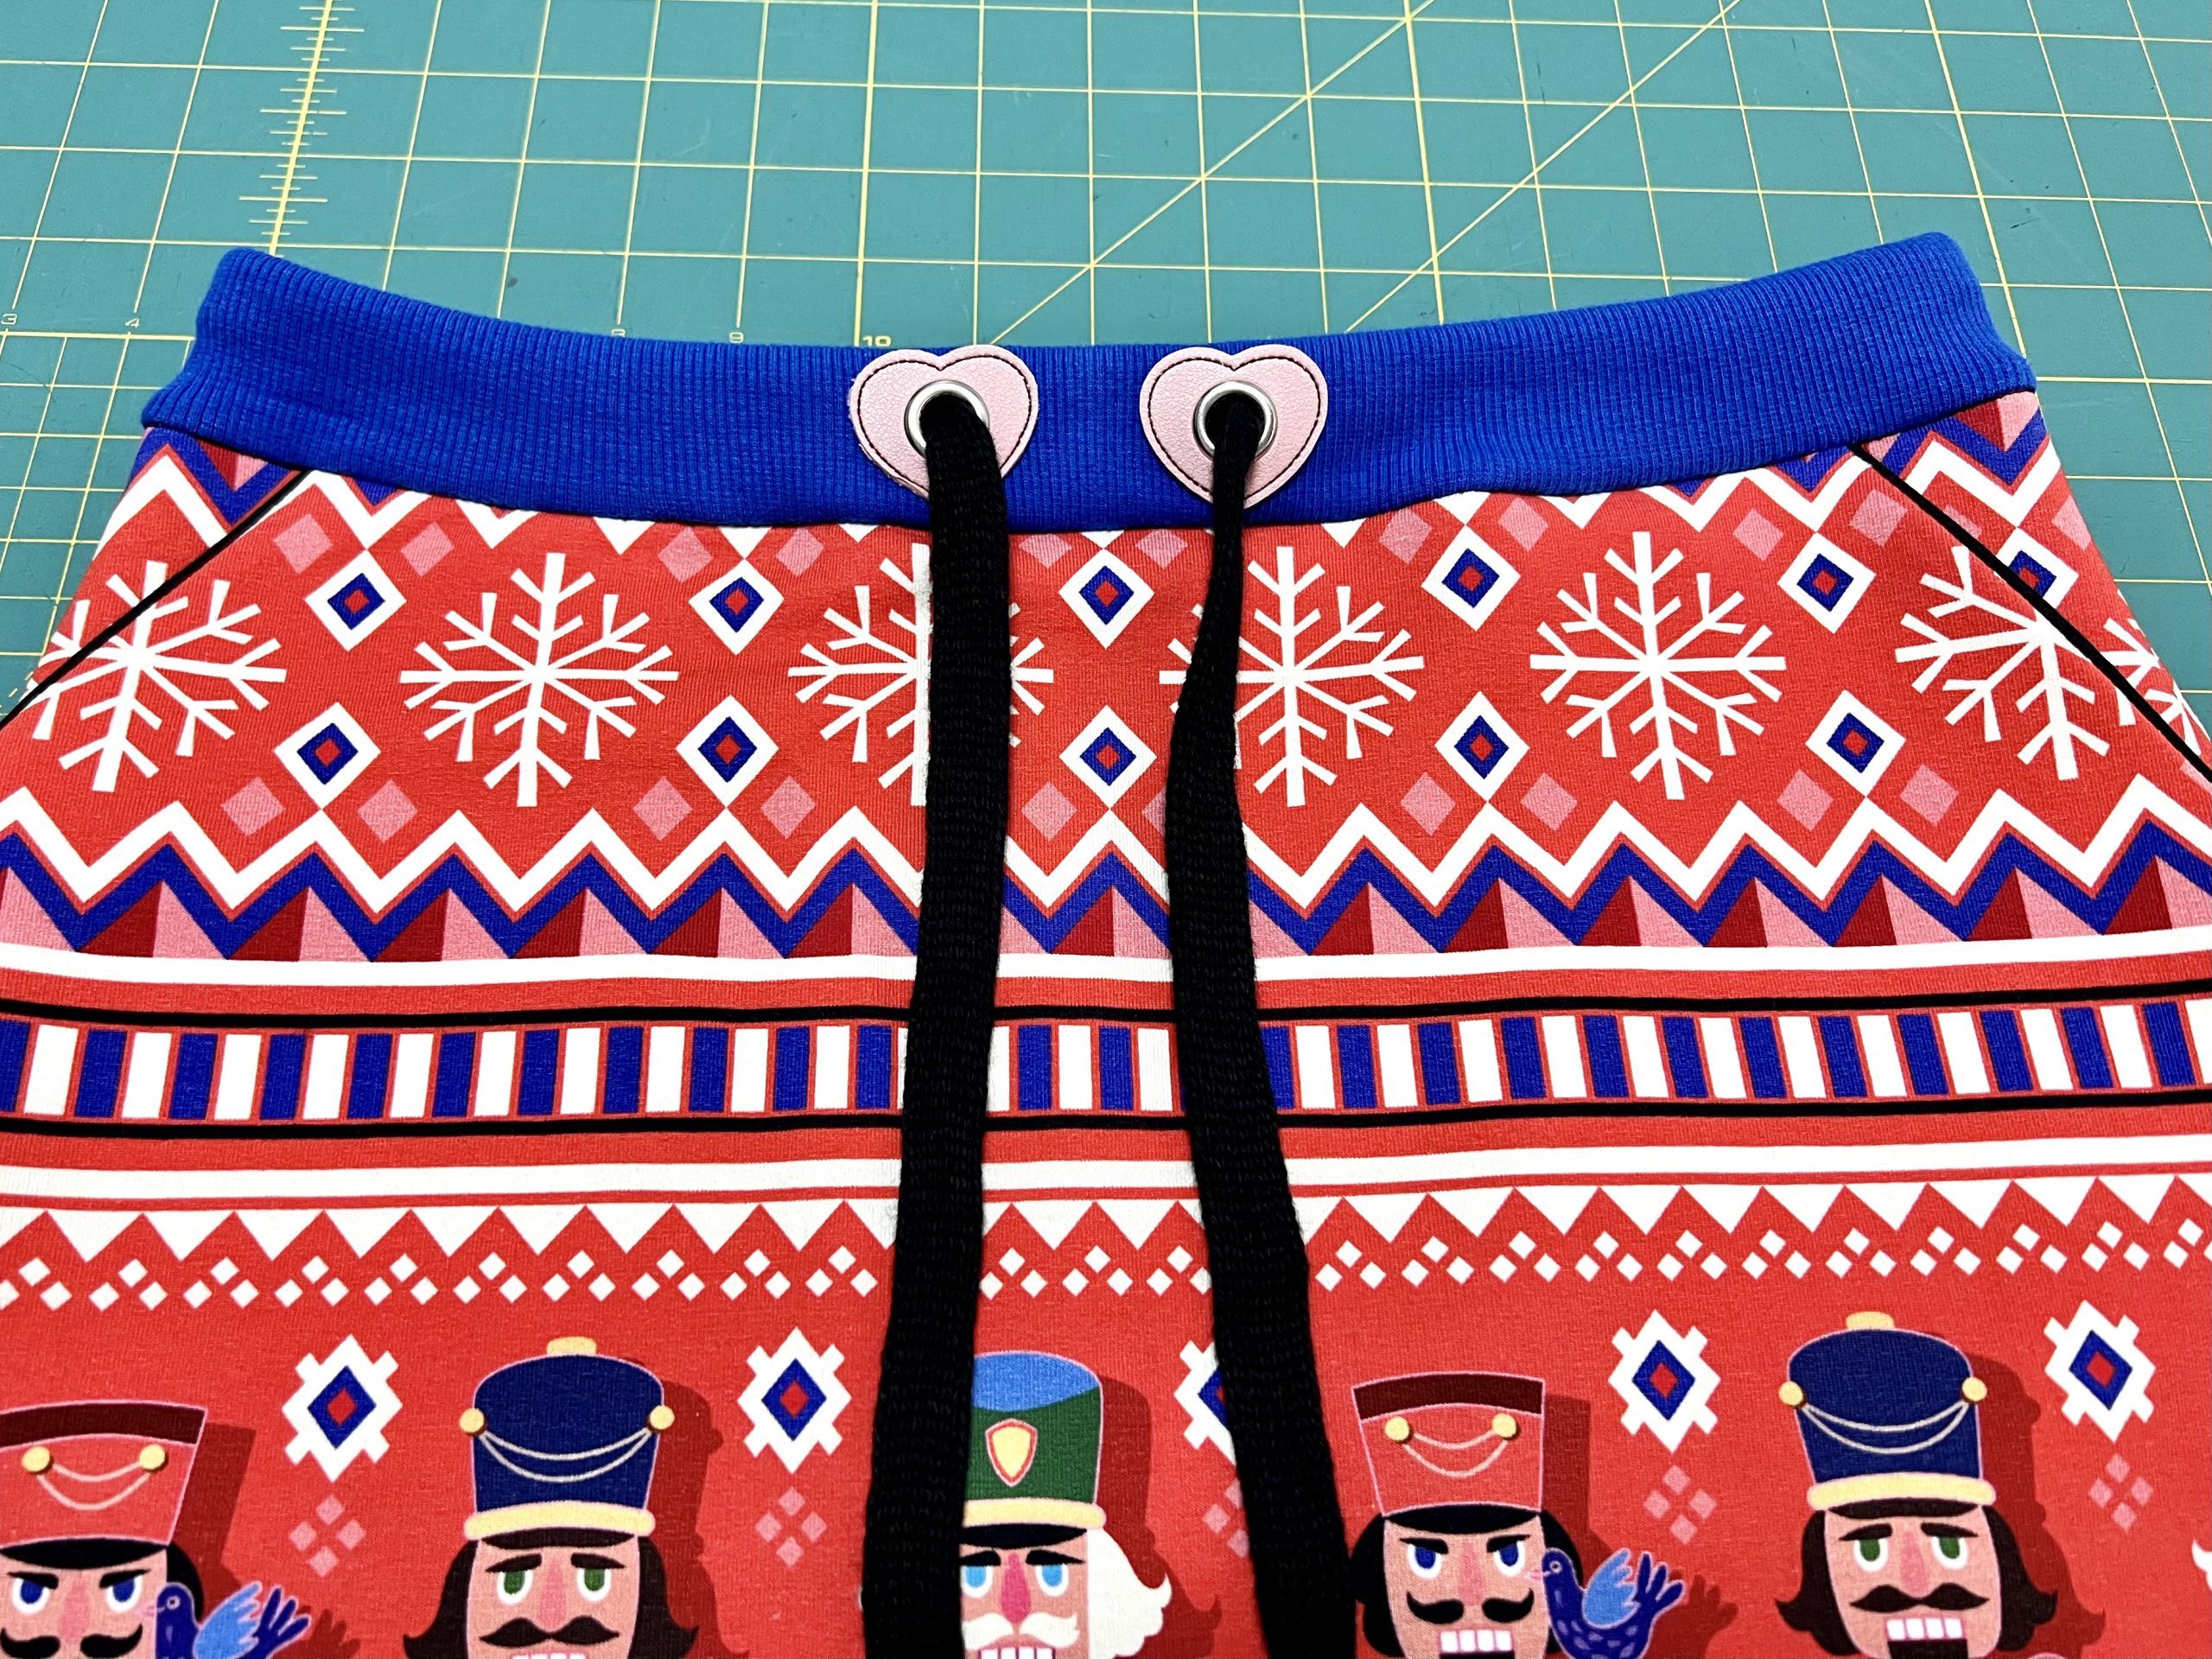
Now thread your cord tape through the eyelets.
Your cuff is finished. With this type of sewing, your hem stays nice and flat and doesn’t curl.
Completion
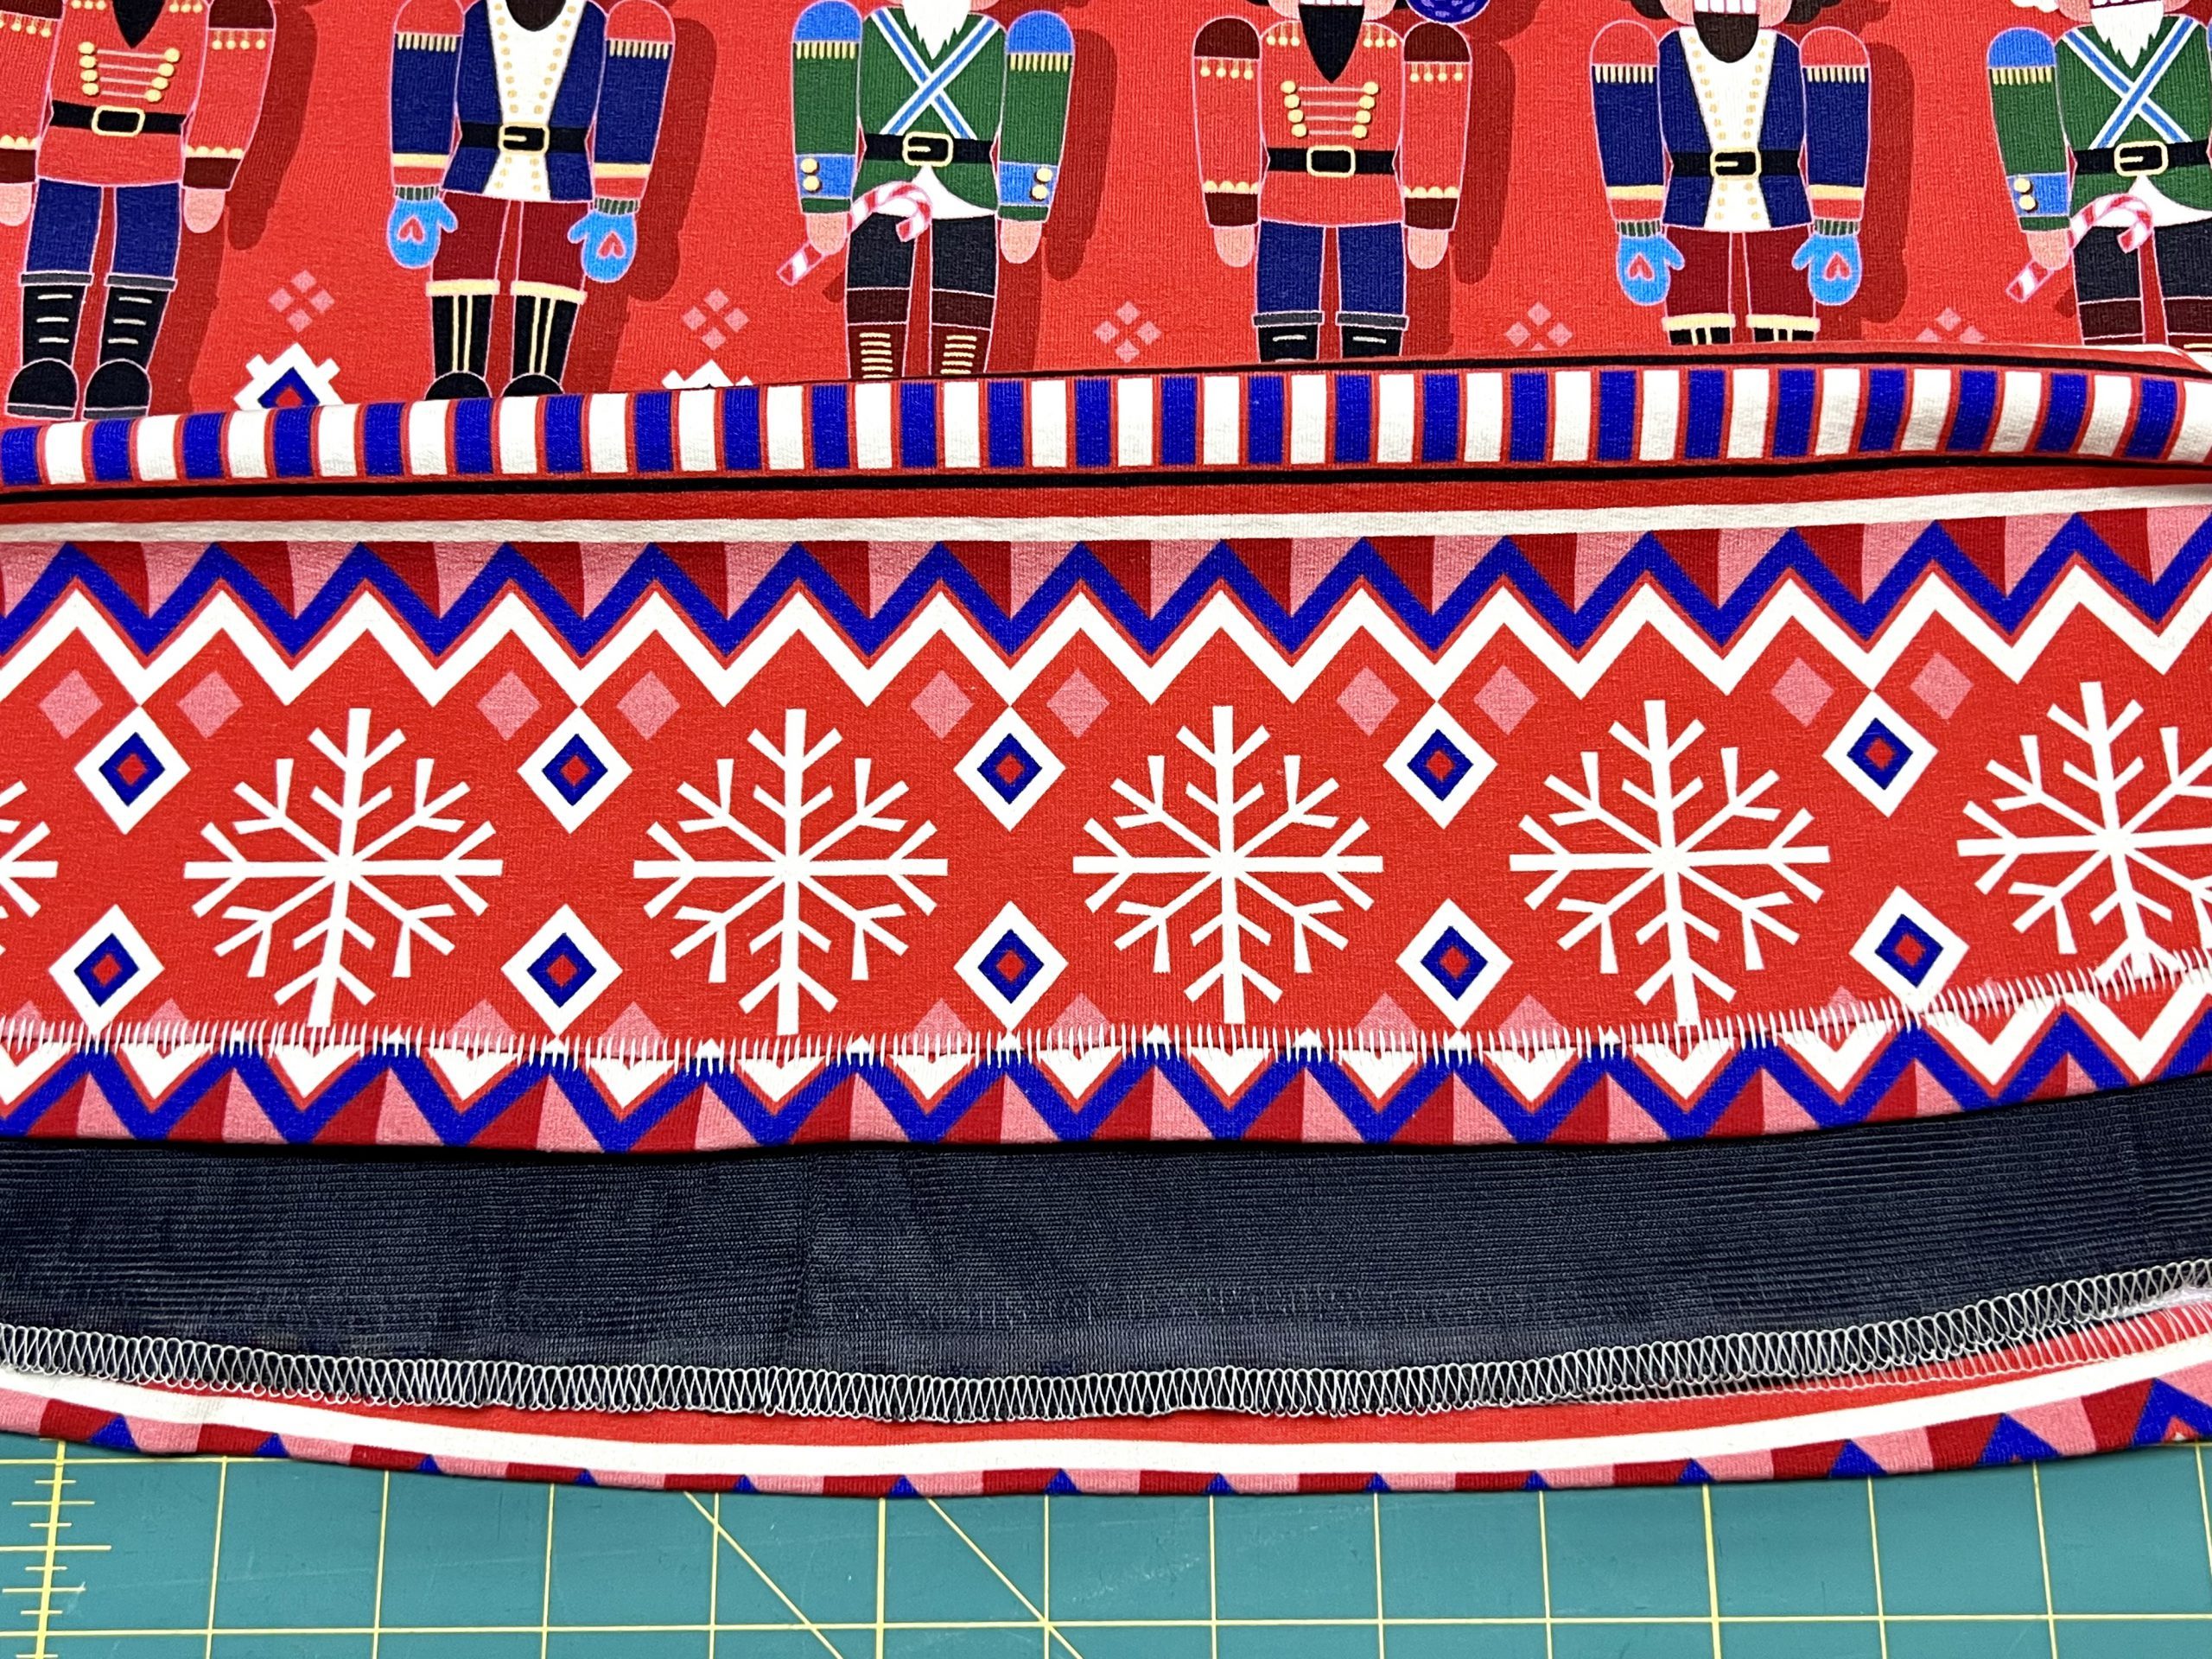
Finally, all you have to do is hem your Christmas skirt. I usually only hem lined skirts with an overlock seam. This keeps the lining at the hem flat and unobtrusive. For the hem of my upper skirt, I chose the ladder stitch of the flatlock stitch on my overlock. This is very decorative and is quick to sew.
With these instructions and the free sewing pattern, I hope you have lots of fun sewing the Christmas skirt, especially since the pattern can certainly be used outside of the Christmas holidays as well.
Have a wonderful holiday season surrounded by your loved ones.

Warmest regards, Janine.


0 Responses