 BERNINA Corporate Blog -
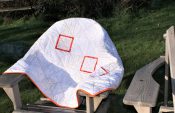
Make a mitered corner in a patchwork border with foot 97D to finish your work. I think it will make a nice finish for my remembrance quilt.
How do you make such a beautiful corner? Let’s take a look at the steps in this tutorial. Read the former blogpost ‘Start to patchwork with foot 97D‘. Read it first and find the instructions to start. Next blogpost is ‘quilt and sew binder on patchwork top‘.
This video can help you a lot too!
What happened first?
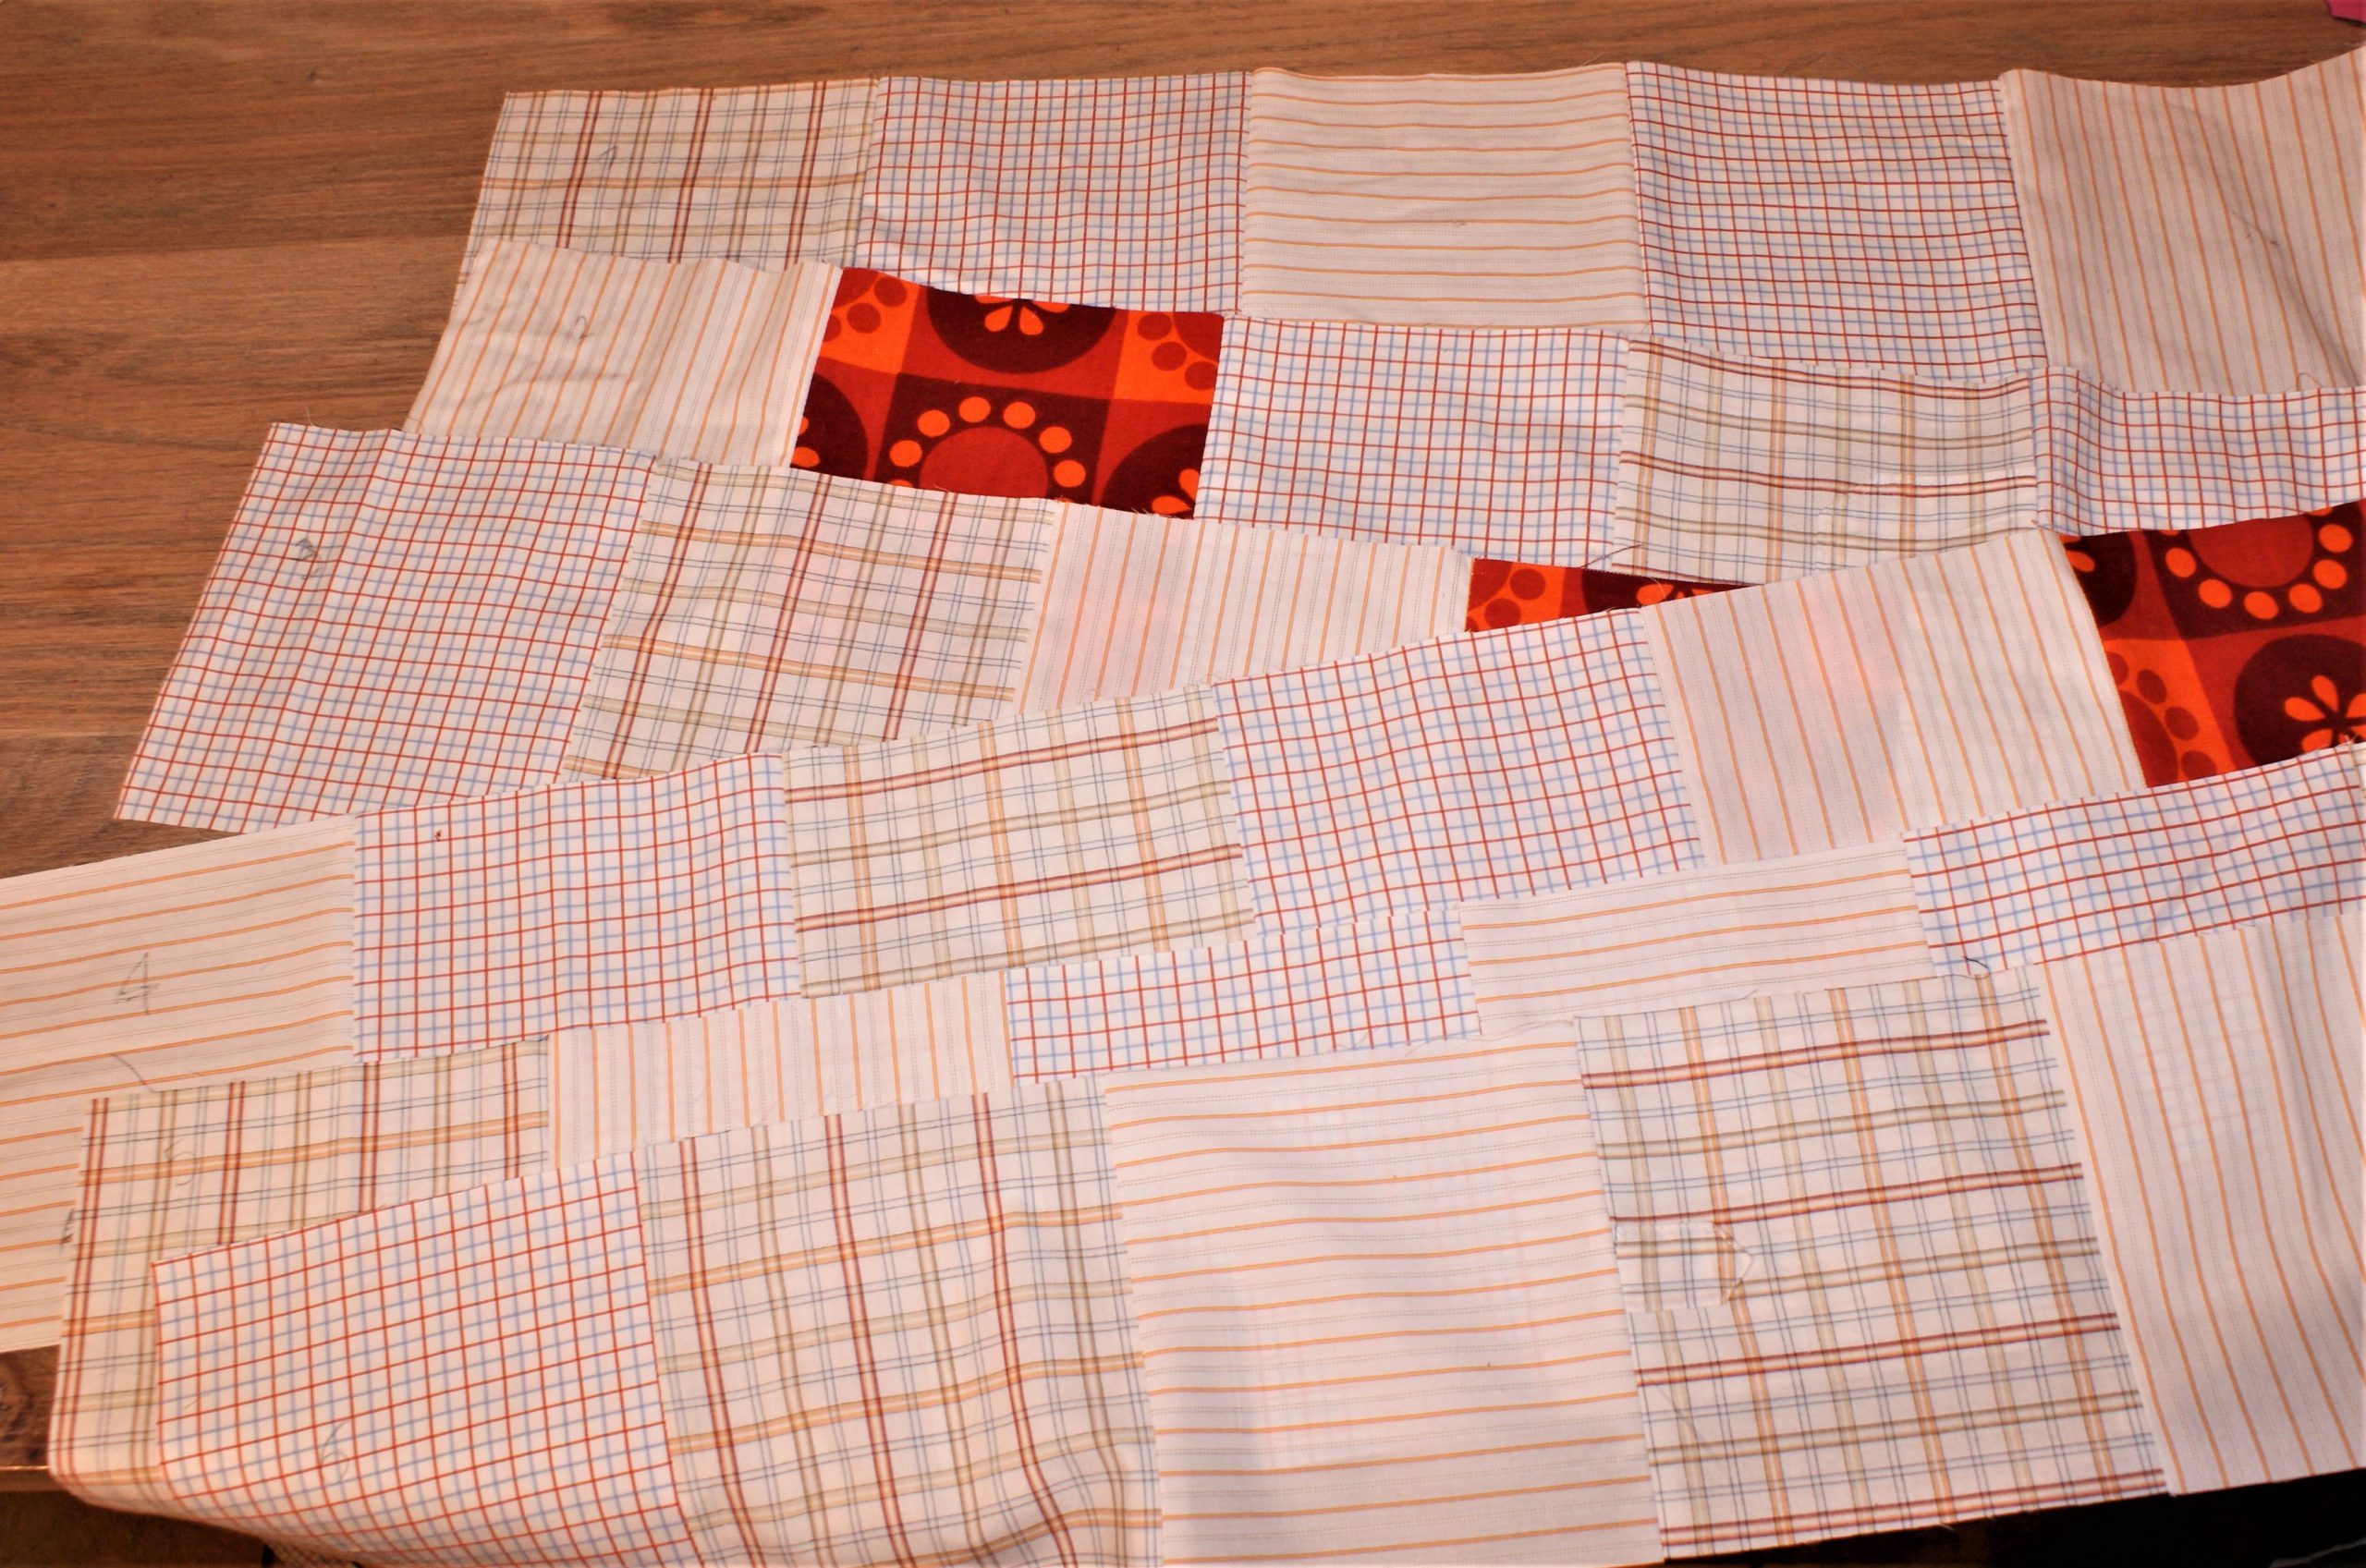
In the former blogpost, we cut the squares and stitched them into rows of 9. To write the numbers on the rows helps me to find the correct order.
All seams are ironed.
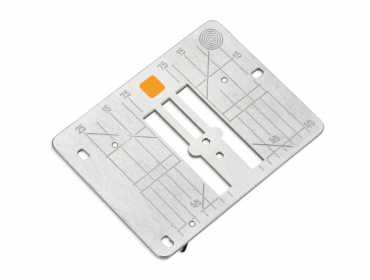
We continue to sew the rows all 6 together with Mettler Seralon sewing thread. Pin the rows right sides together with extra attention for the seams to match. The Straight- and CutWork Stitch Plate is a great help.
Sew with the same seam allowance as the squares.

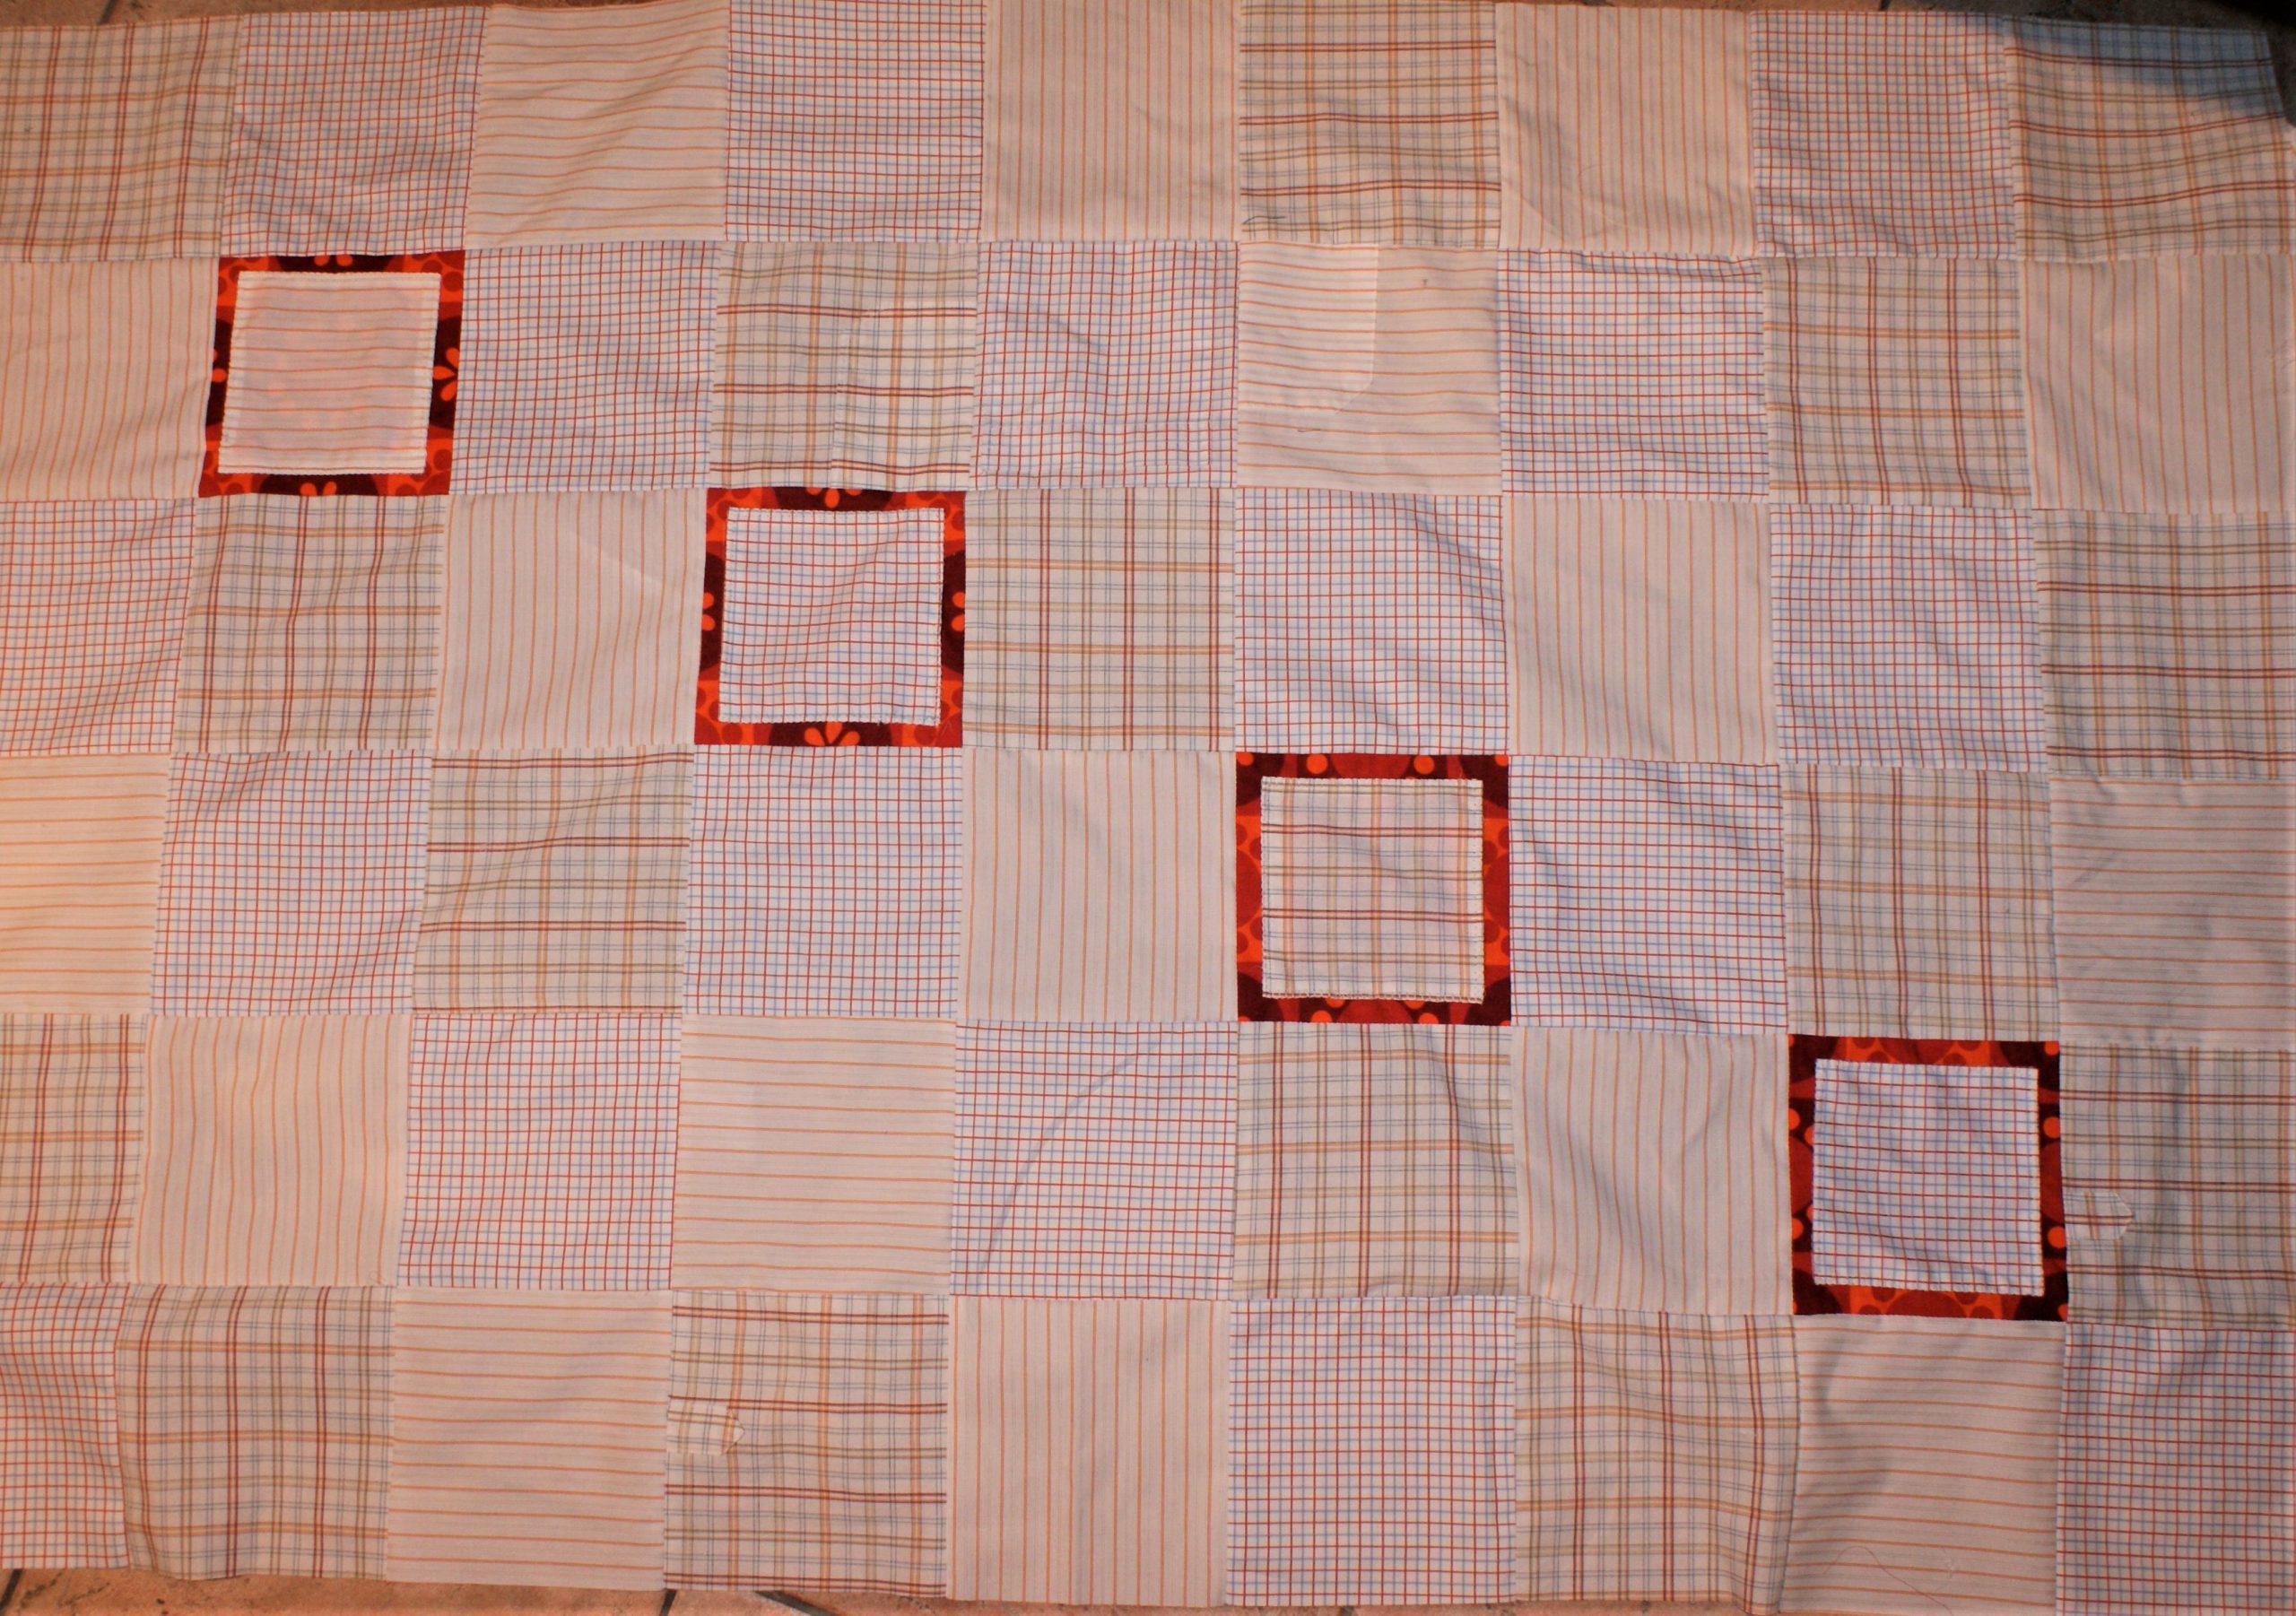
Check if seams match neatly, if not you will have to unpick and redo… no mercy!
I added an extra square to the bright orange squares. When sewn I thought the colour didn’t match…
The border:
To finish with a border, I need stripes of 6,5 cm wide. I wanted to continue with matching seams and I had to measure and count… If this is your first project with a border, you could choose for a plain fabric, or sew stripes of the shirts together in random sizes. Both will be a bit easier. Every part of the border I cut needs a 1,4 cm seam allowance. For the corners I take a 10 cm extra, because the outer outline of the project is longer than the inner seam line of the border.

Marking the size is handy…
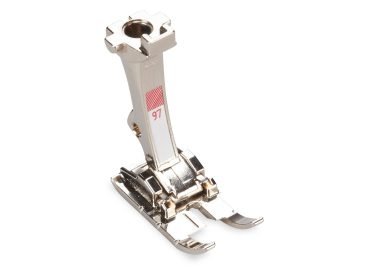
The seam allowance is the same as the previous ones with Patchwork Foot #97. Every seam is secured. I add the next one without cutting.
I cut when finishing one side of the work.
Add the border to the patchwork project:
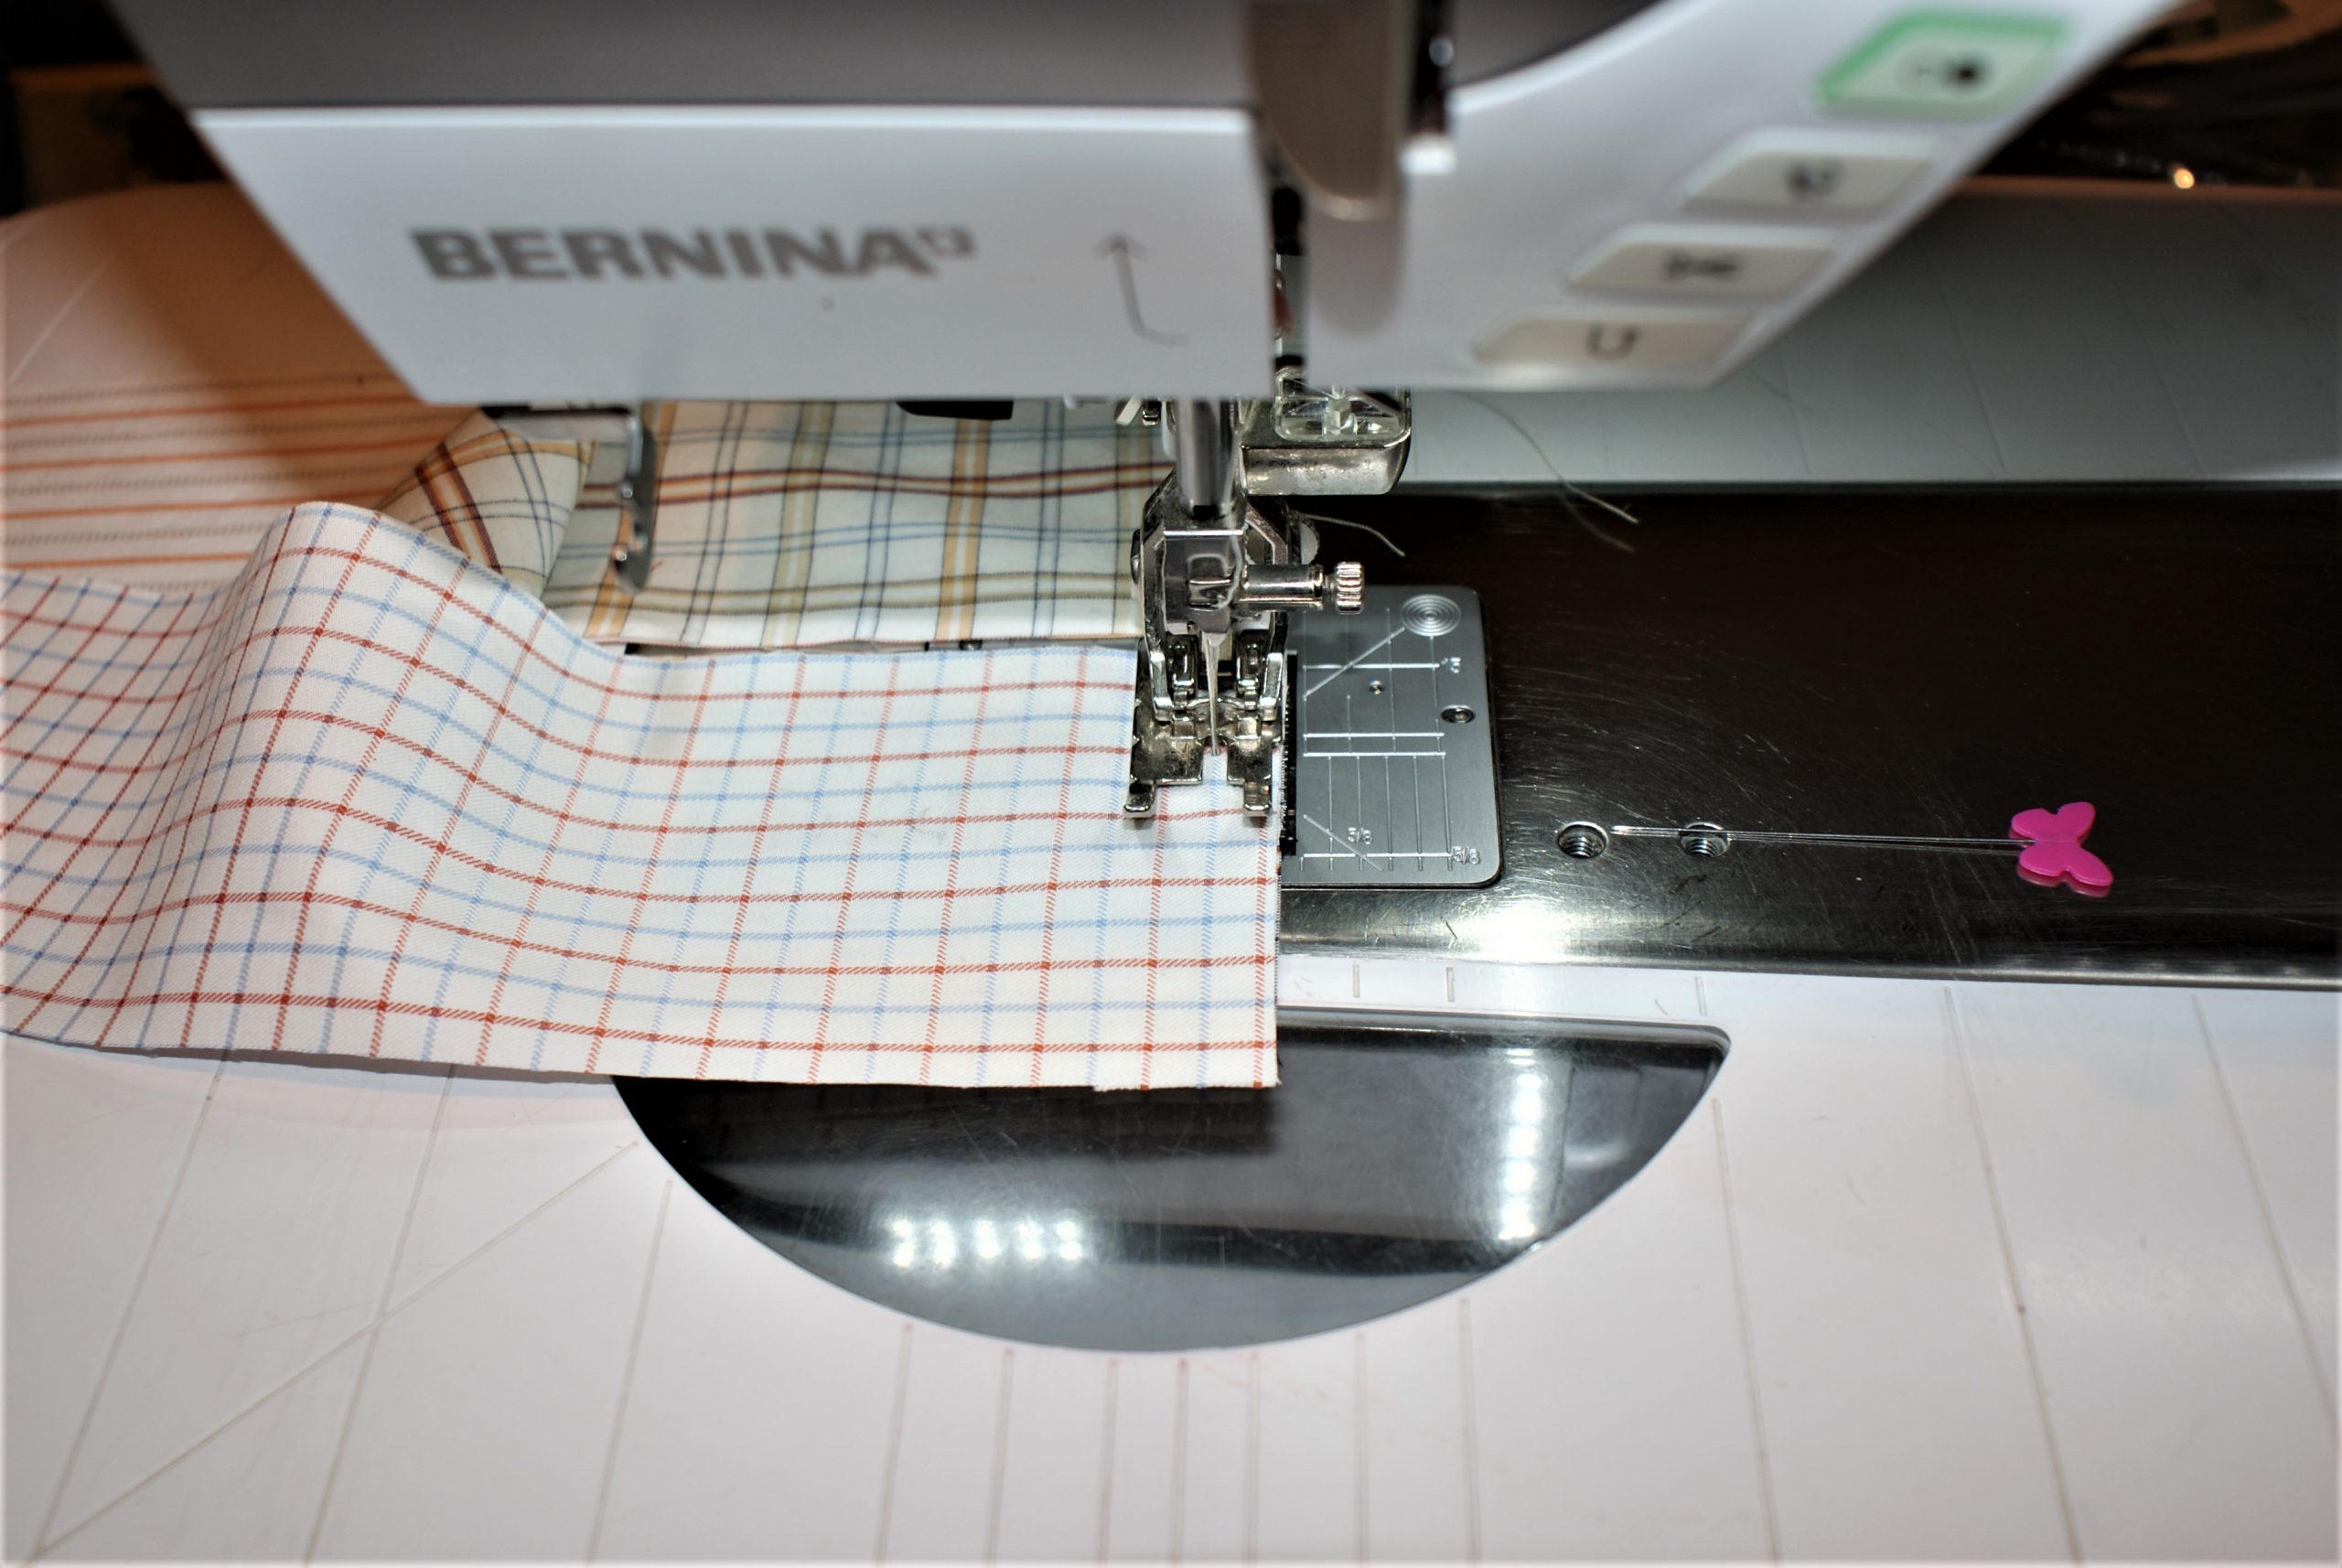
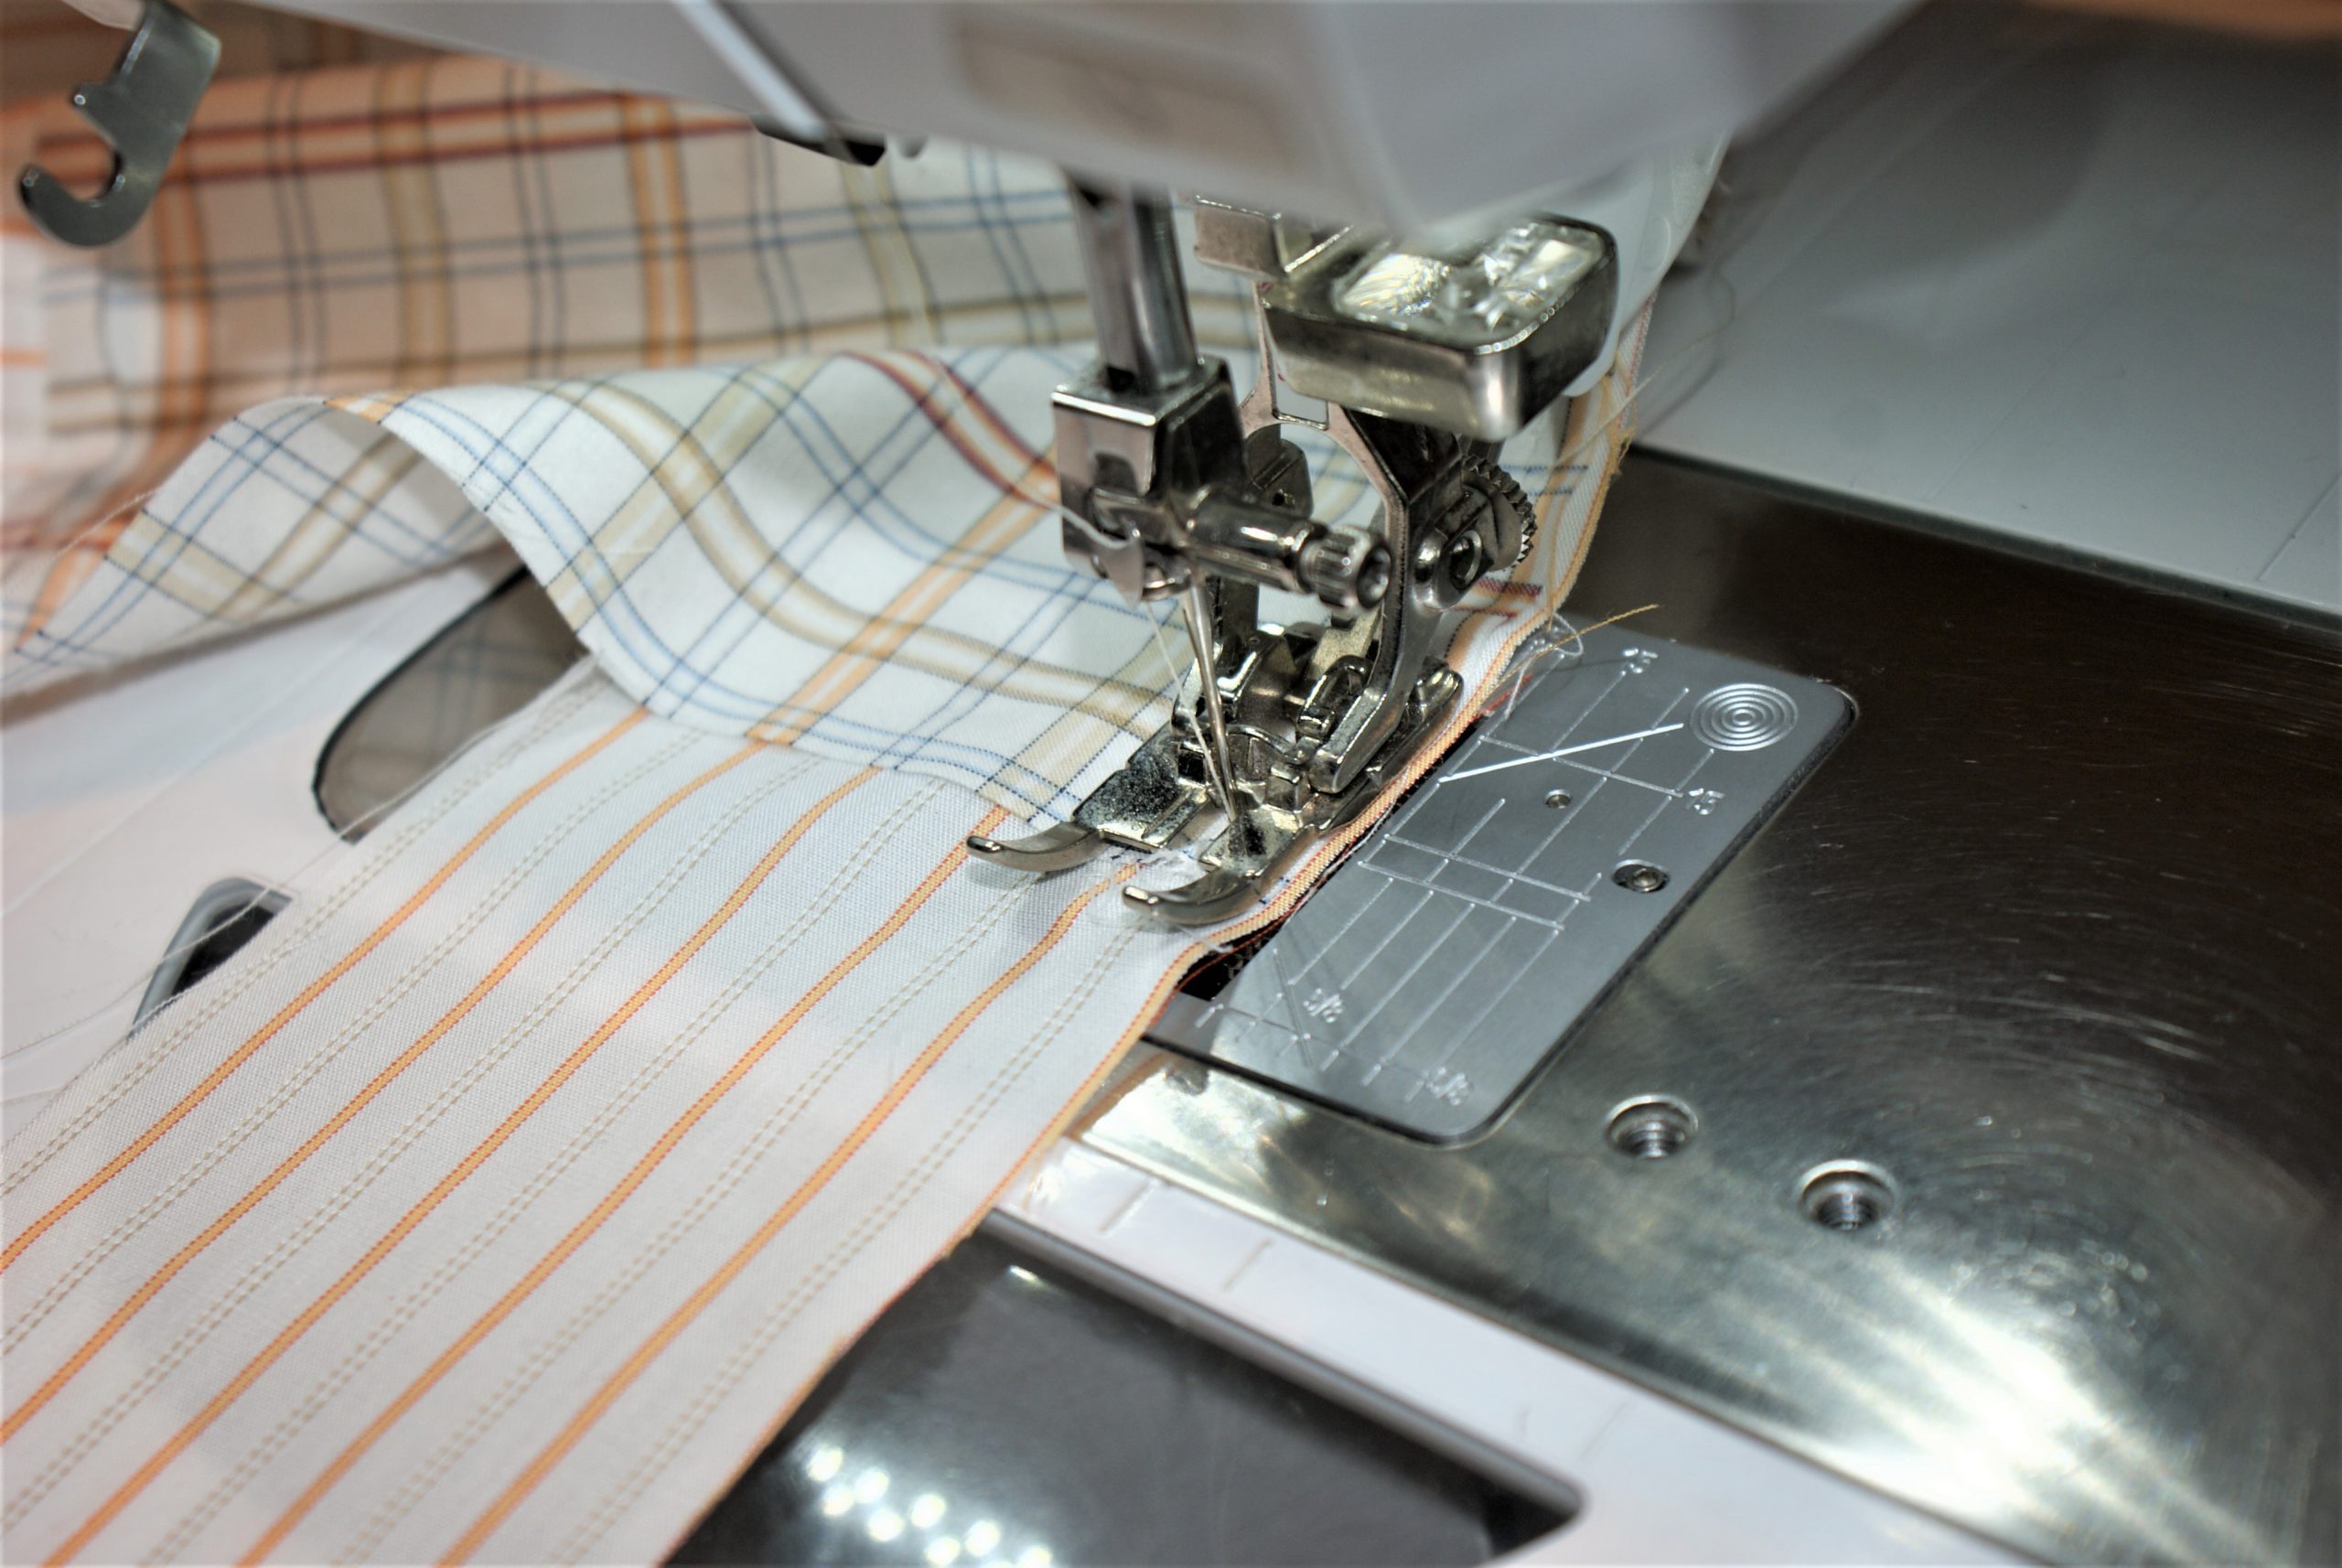
I start to sew at a 0,7 cm distance from the edge. It’s the same size as the seam allowance I will use. I have to stop at 0,7 cm from the end as well. It’s easy to follow the notches on the side of the presser foot when the stripes are on the bottom for sewing.
This is how I finish the border on the 4 sides:
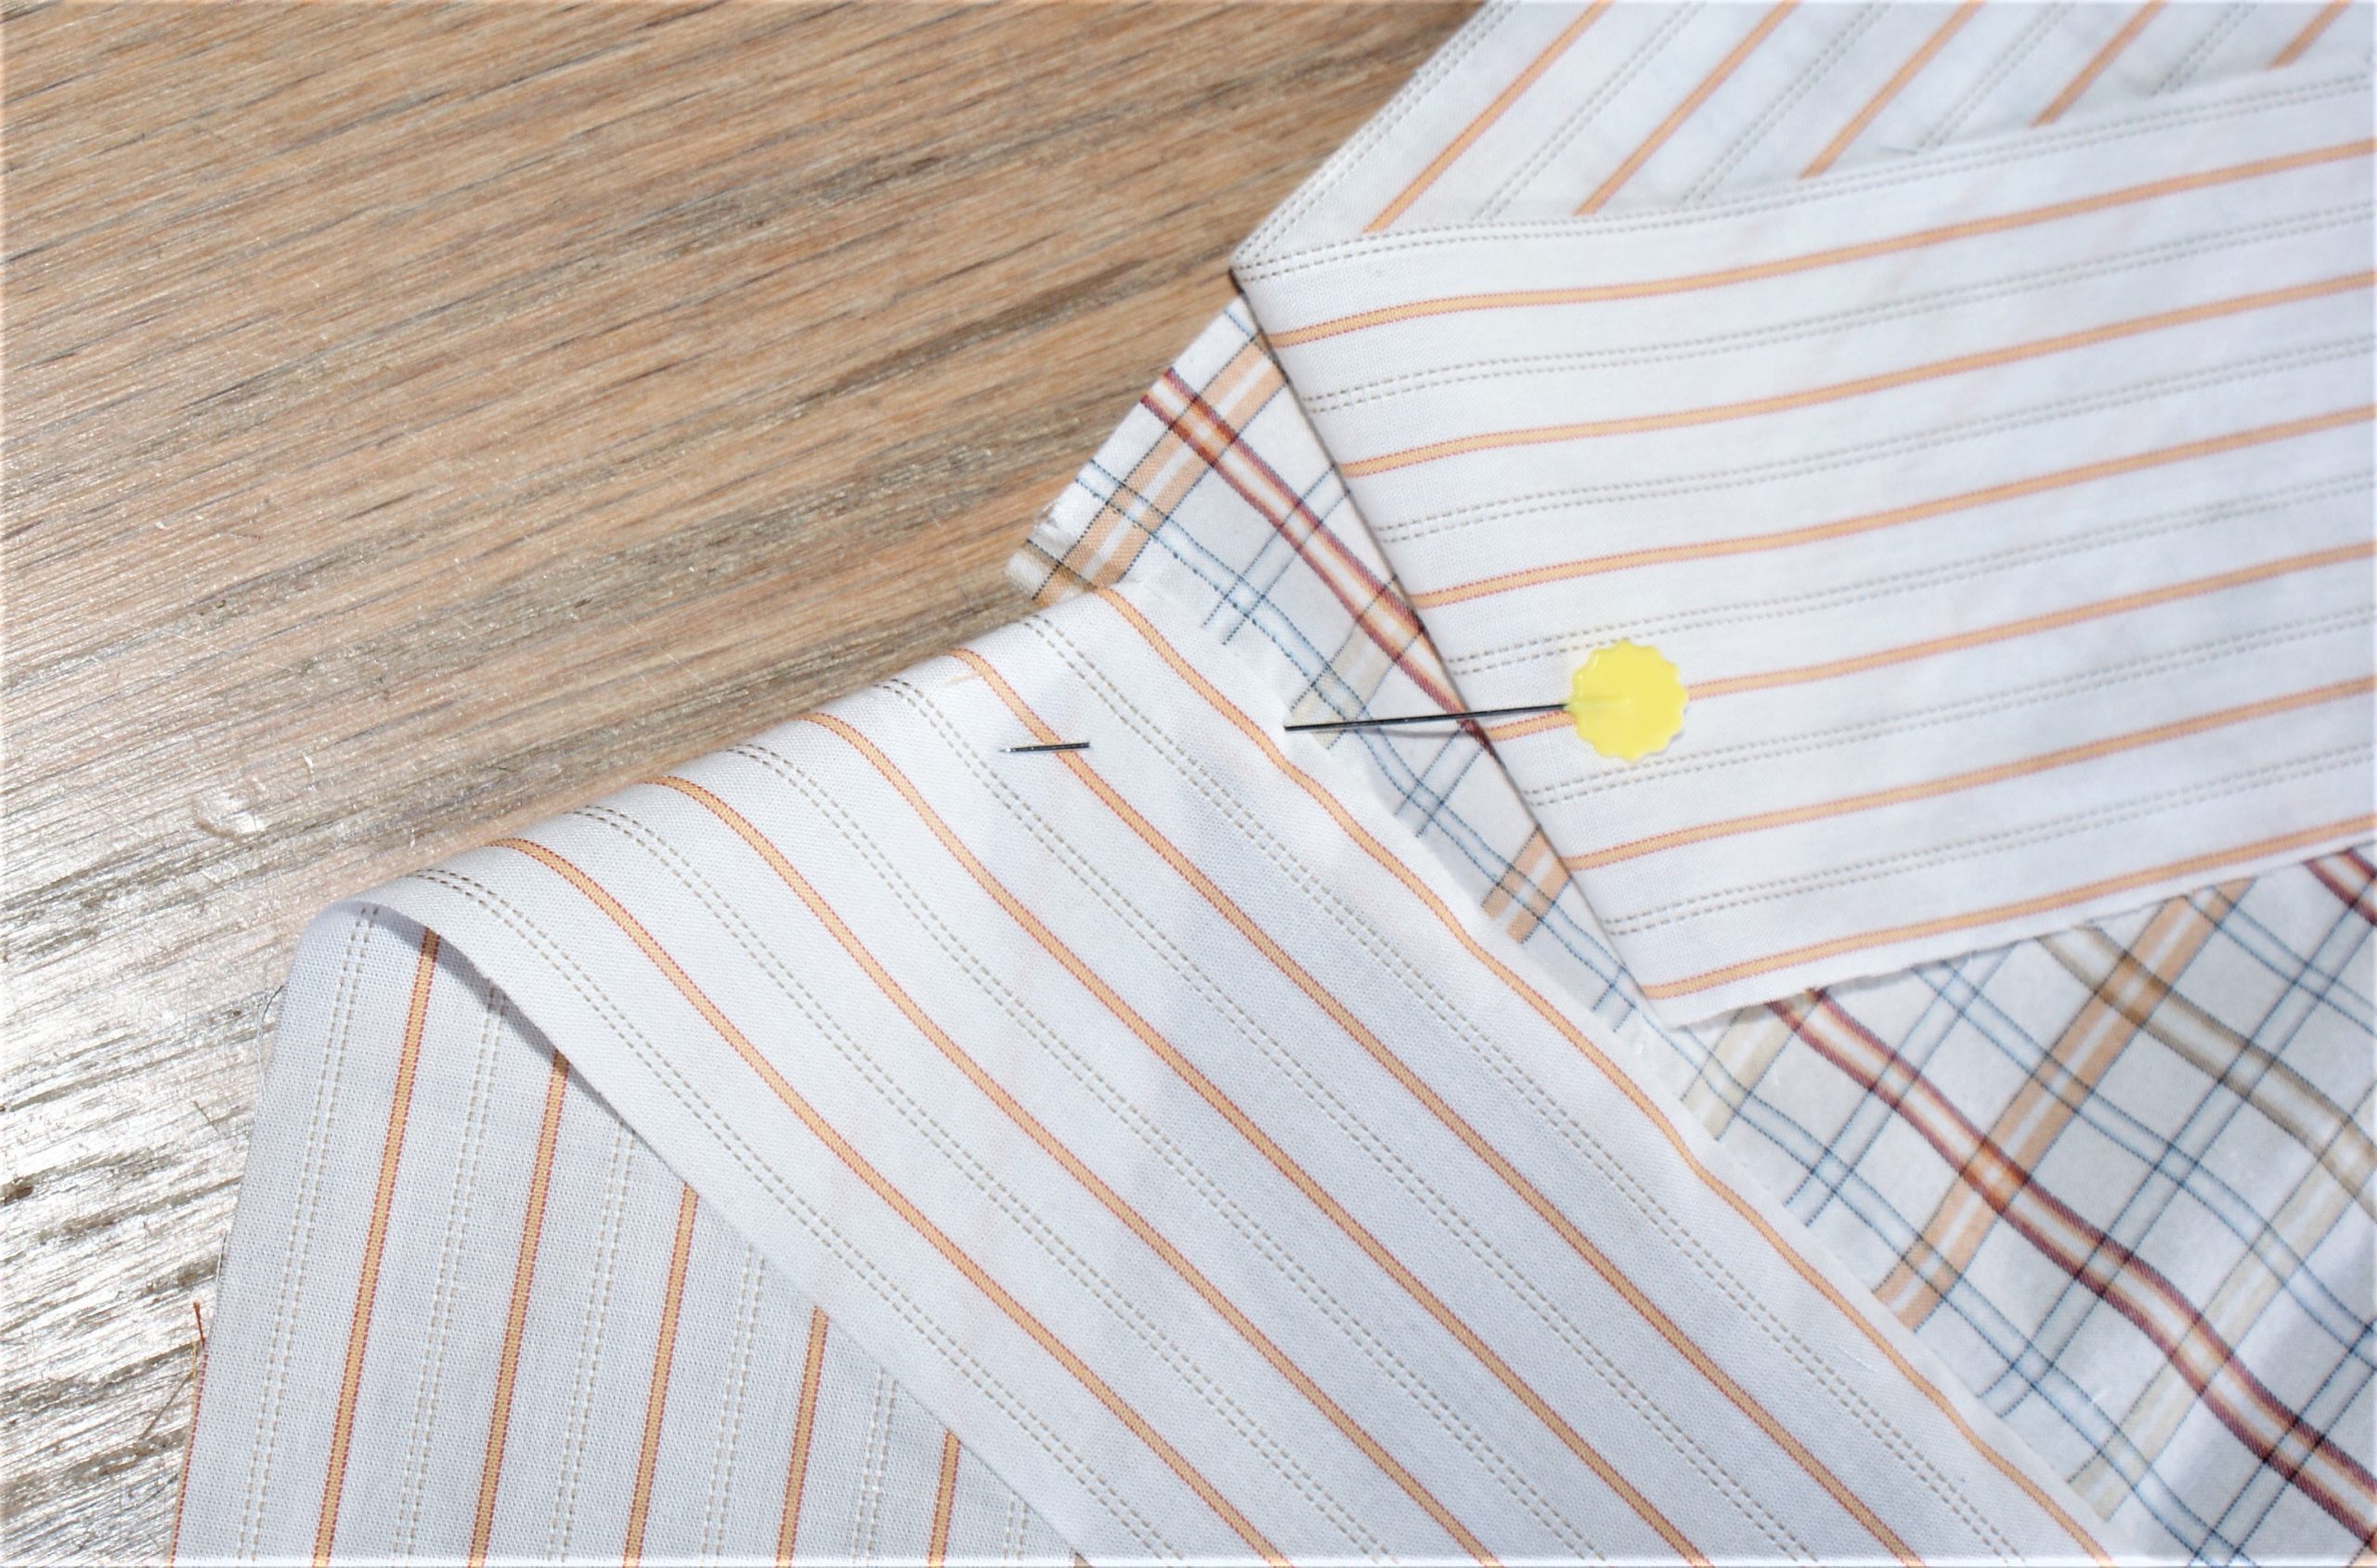
At the end of the fourth stripe, I need to pin the first one away. Pins help a lot. Then I sew it the same way as I did the others, finishing in the exact stitch that was sewn at first.
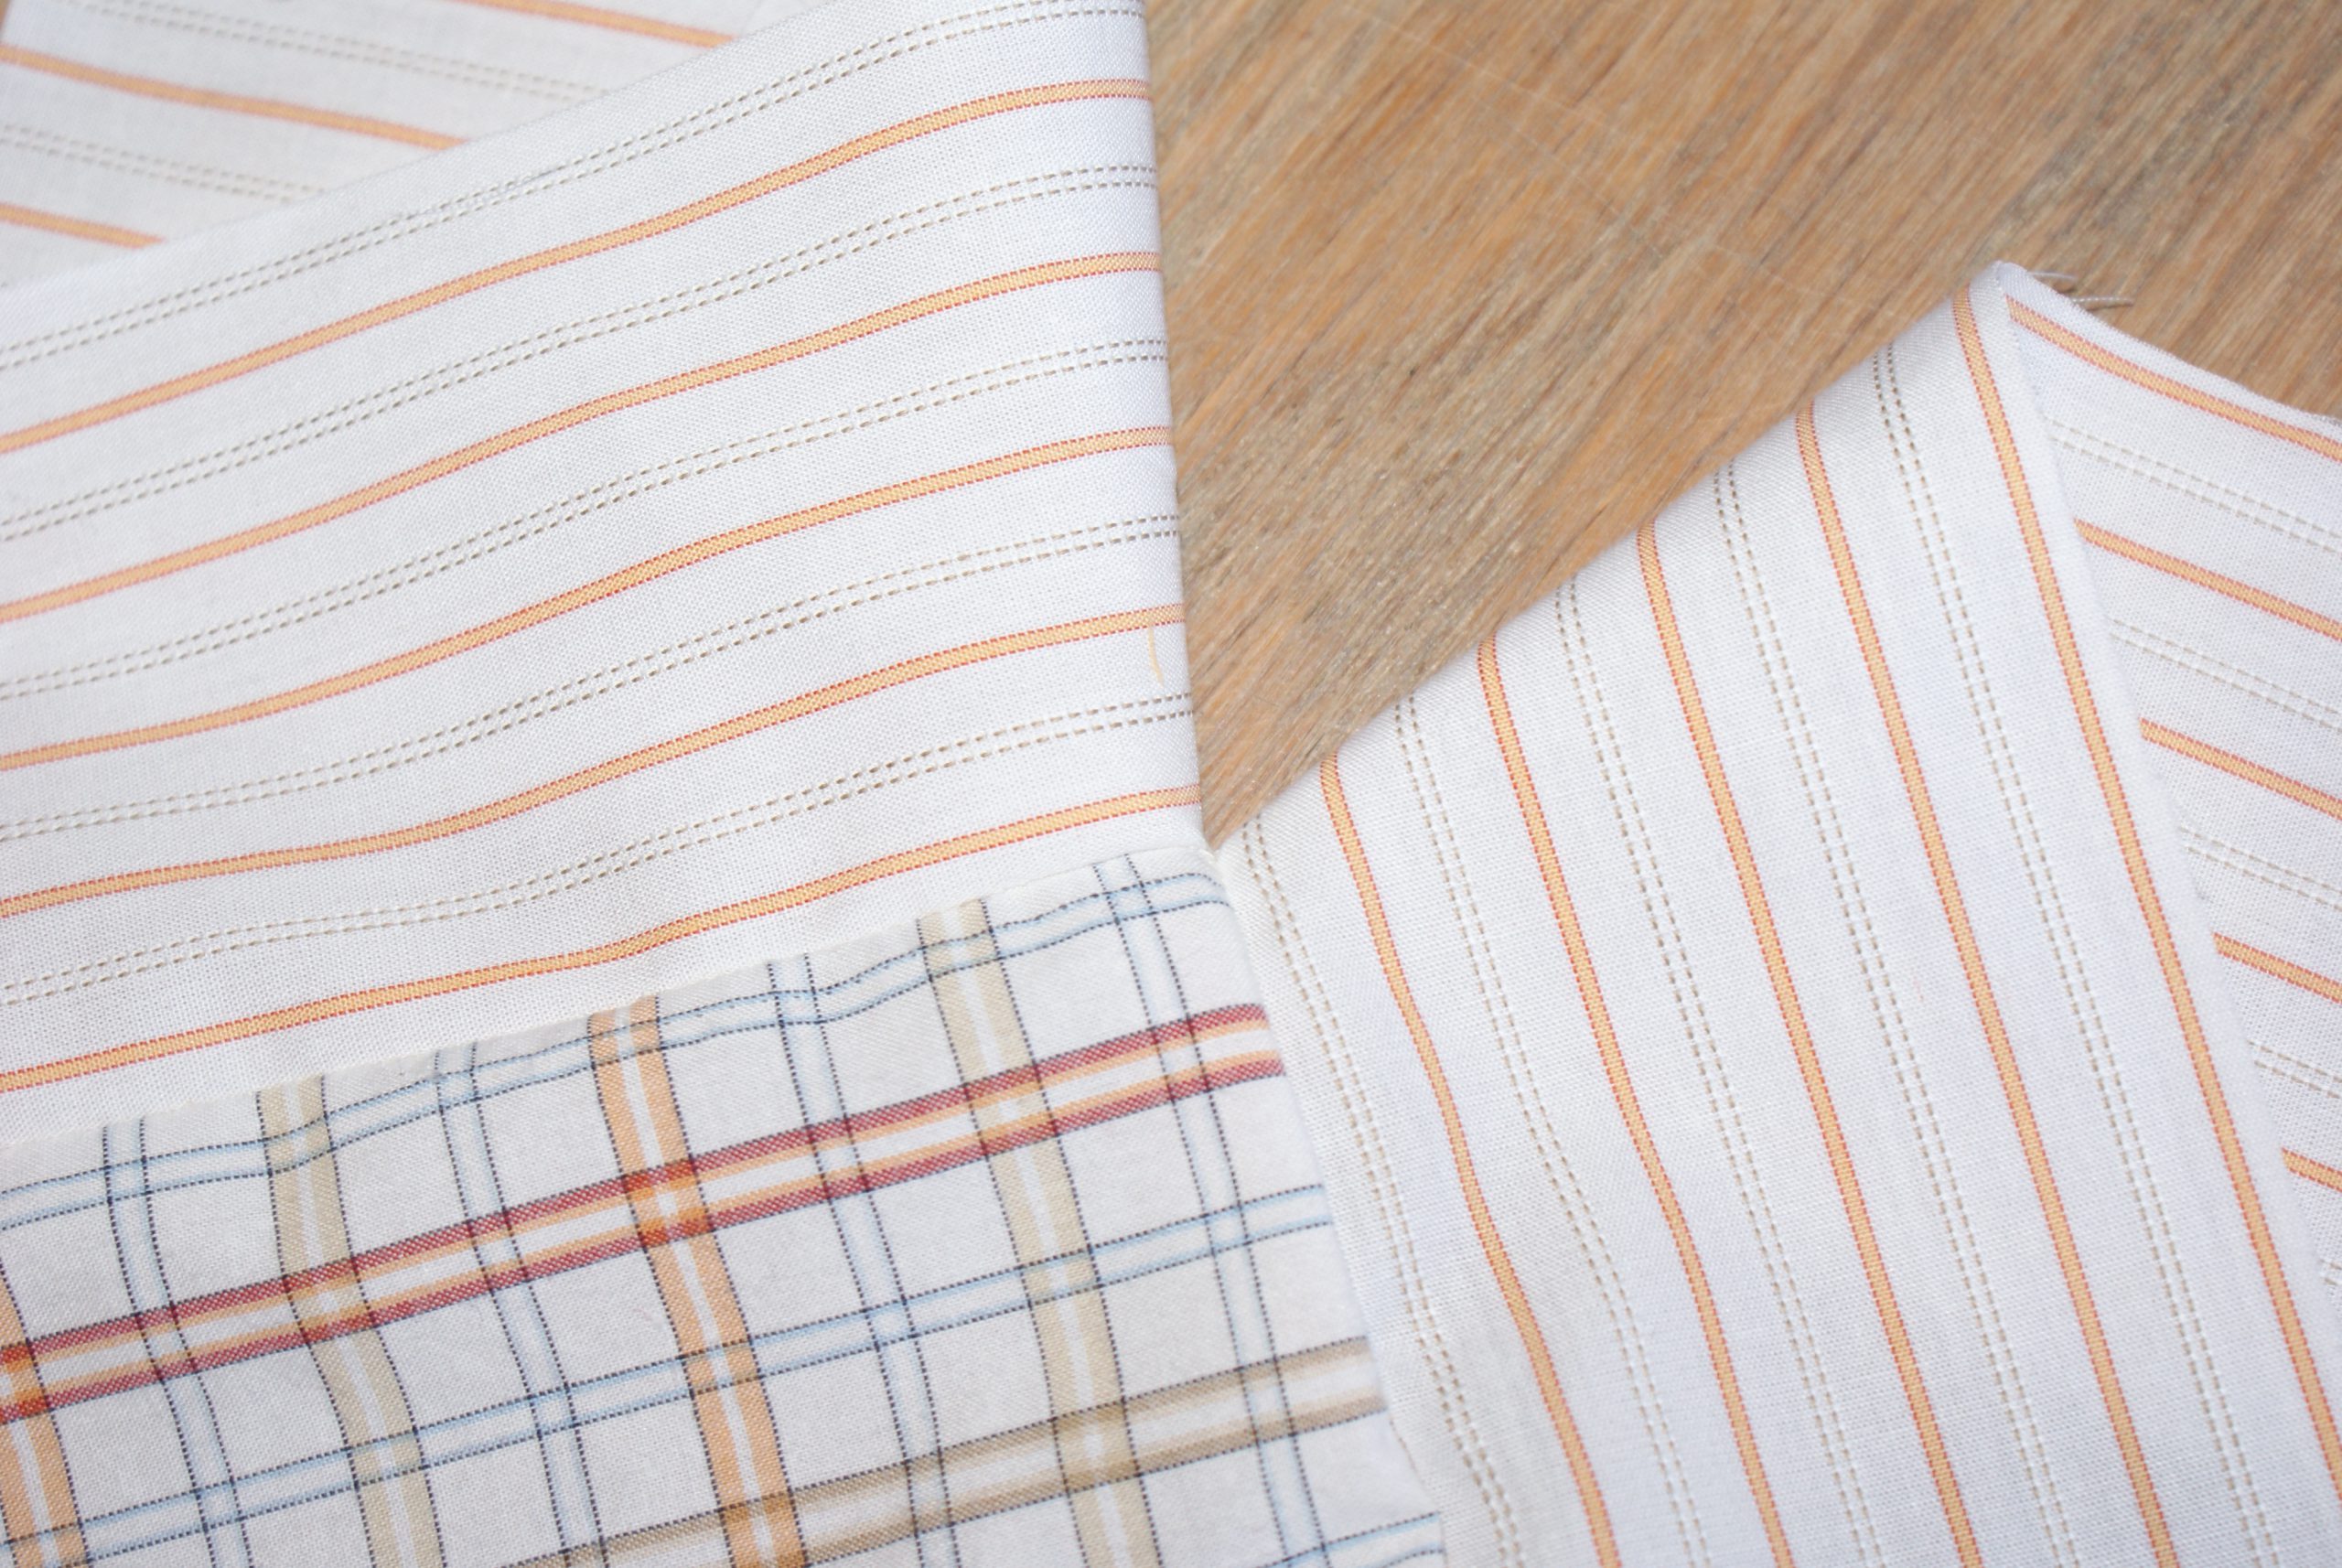
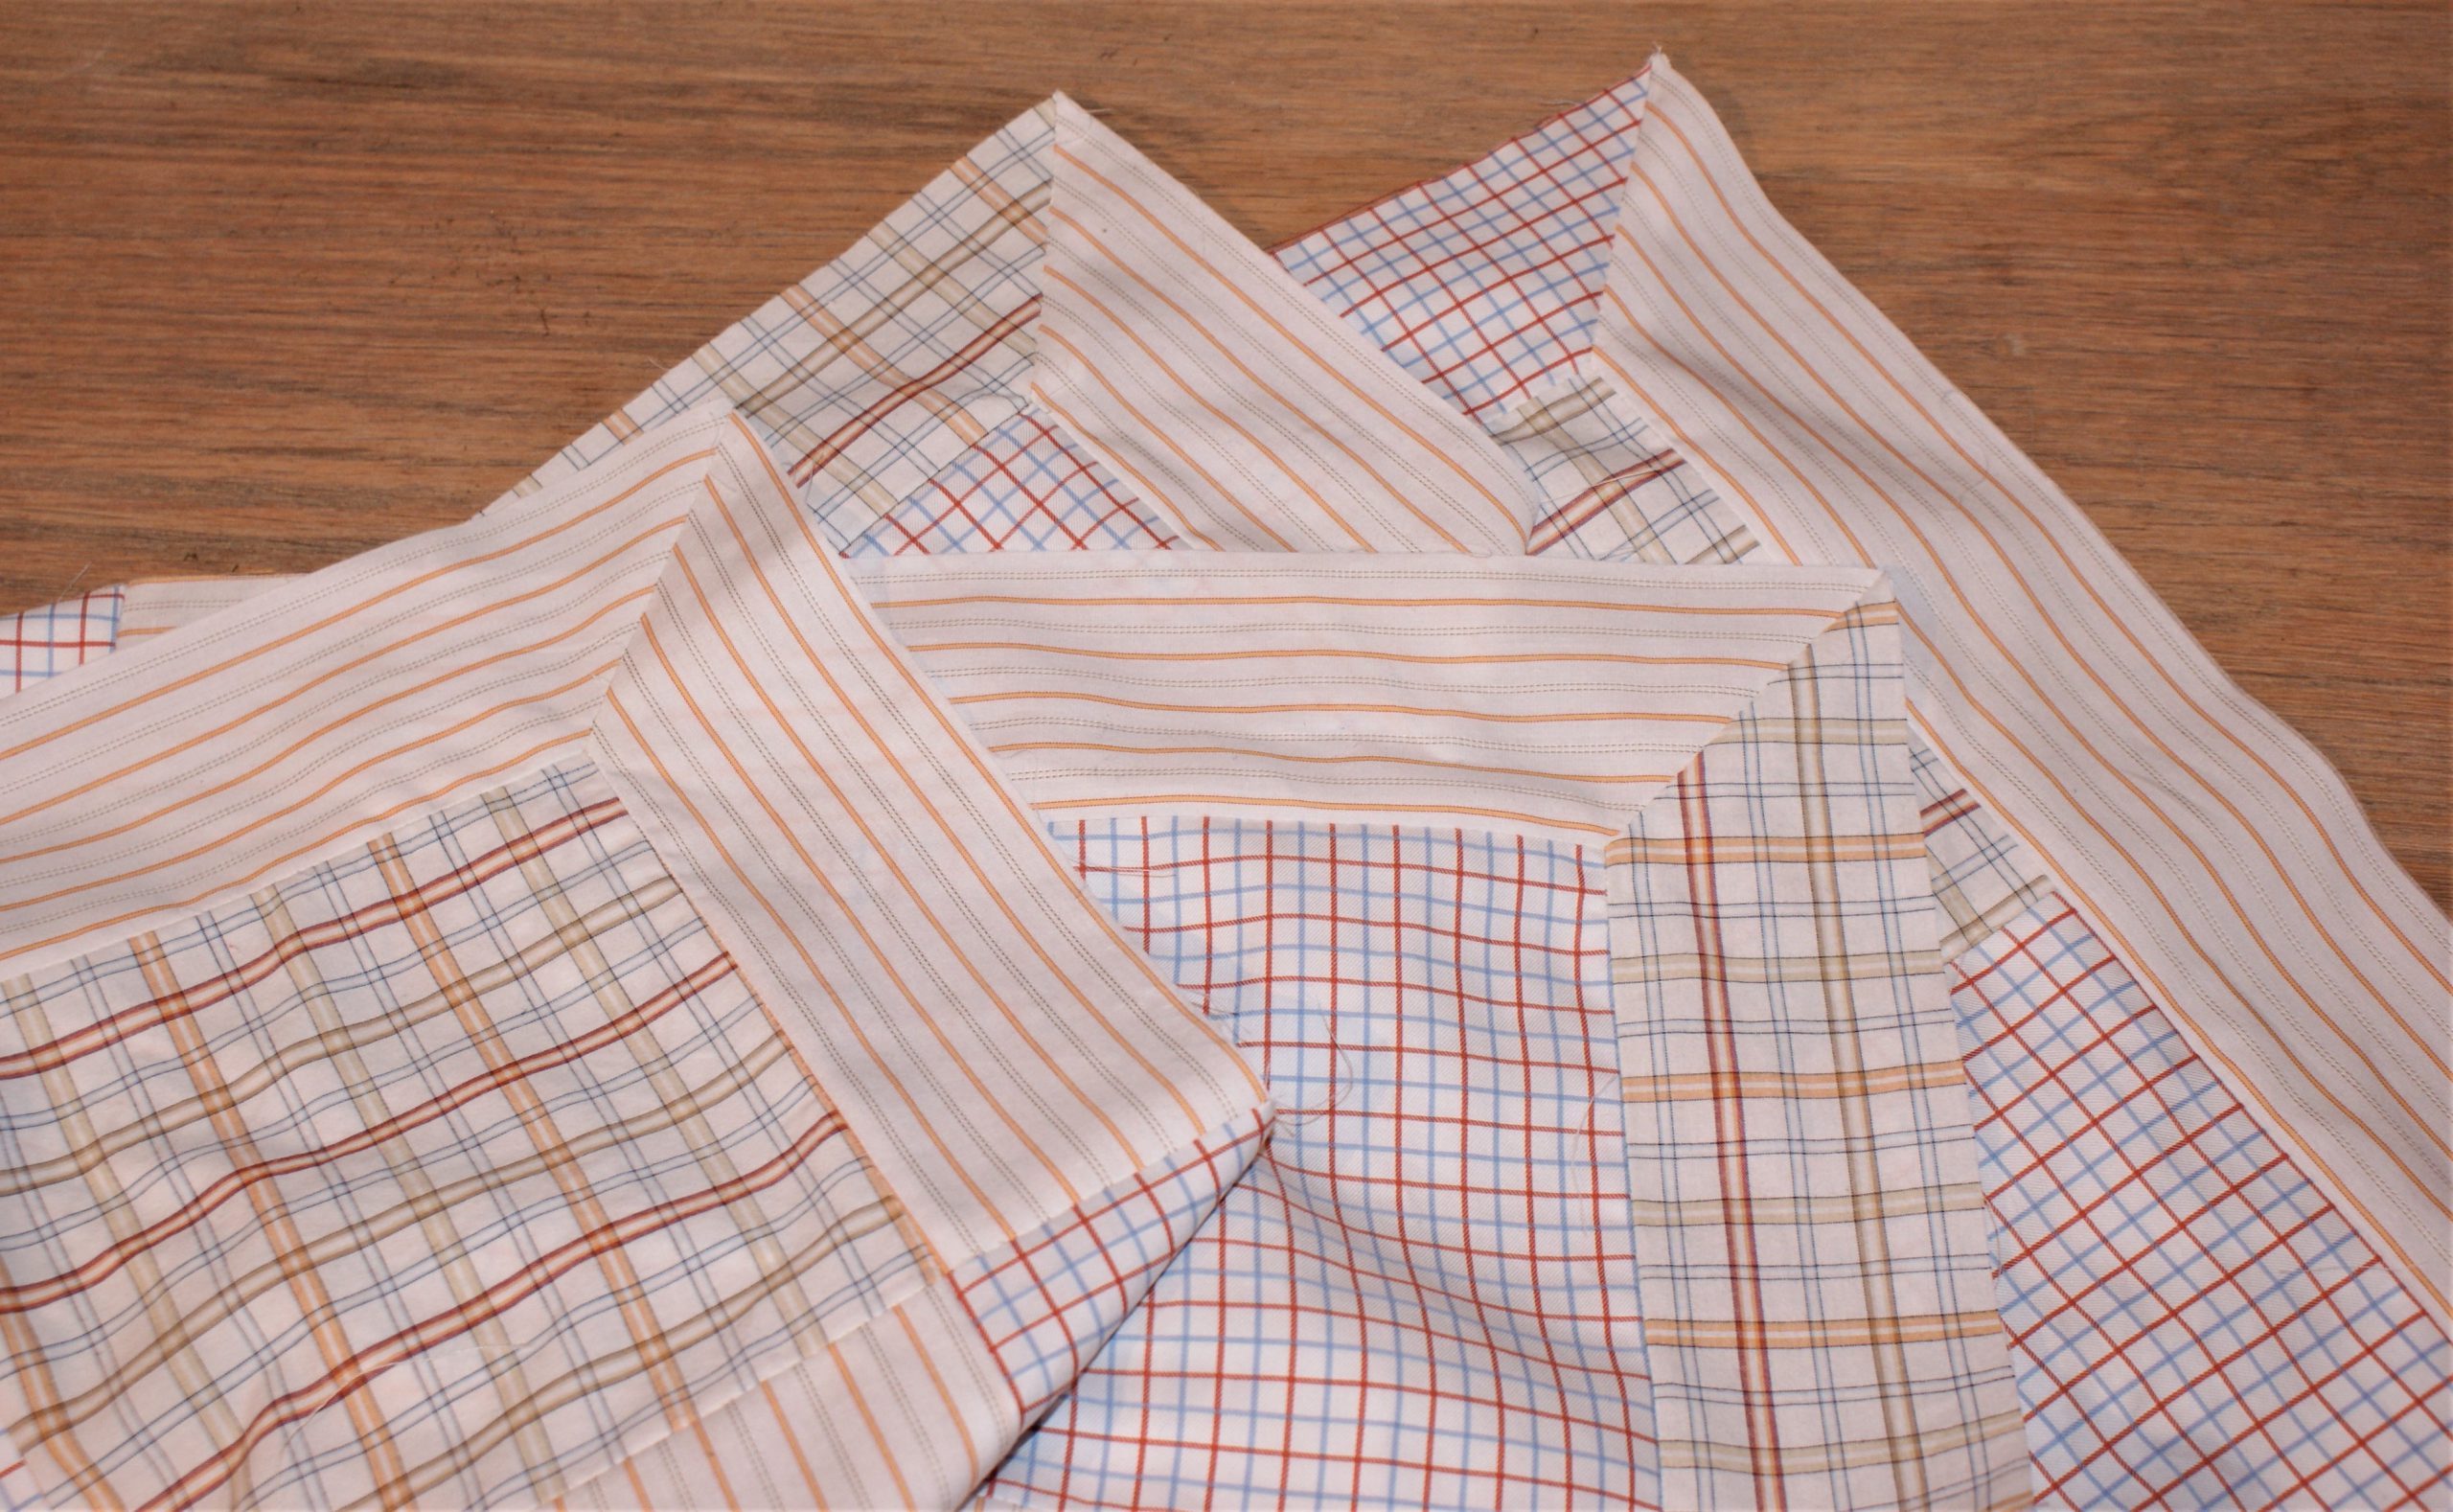
This is what the corners look like now: all borders are sewn and the corners need to be finished.
Sew the corners.
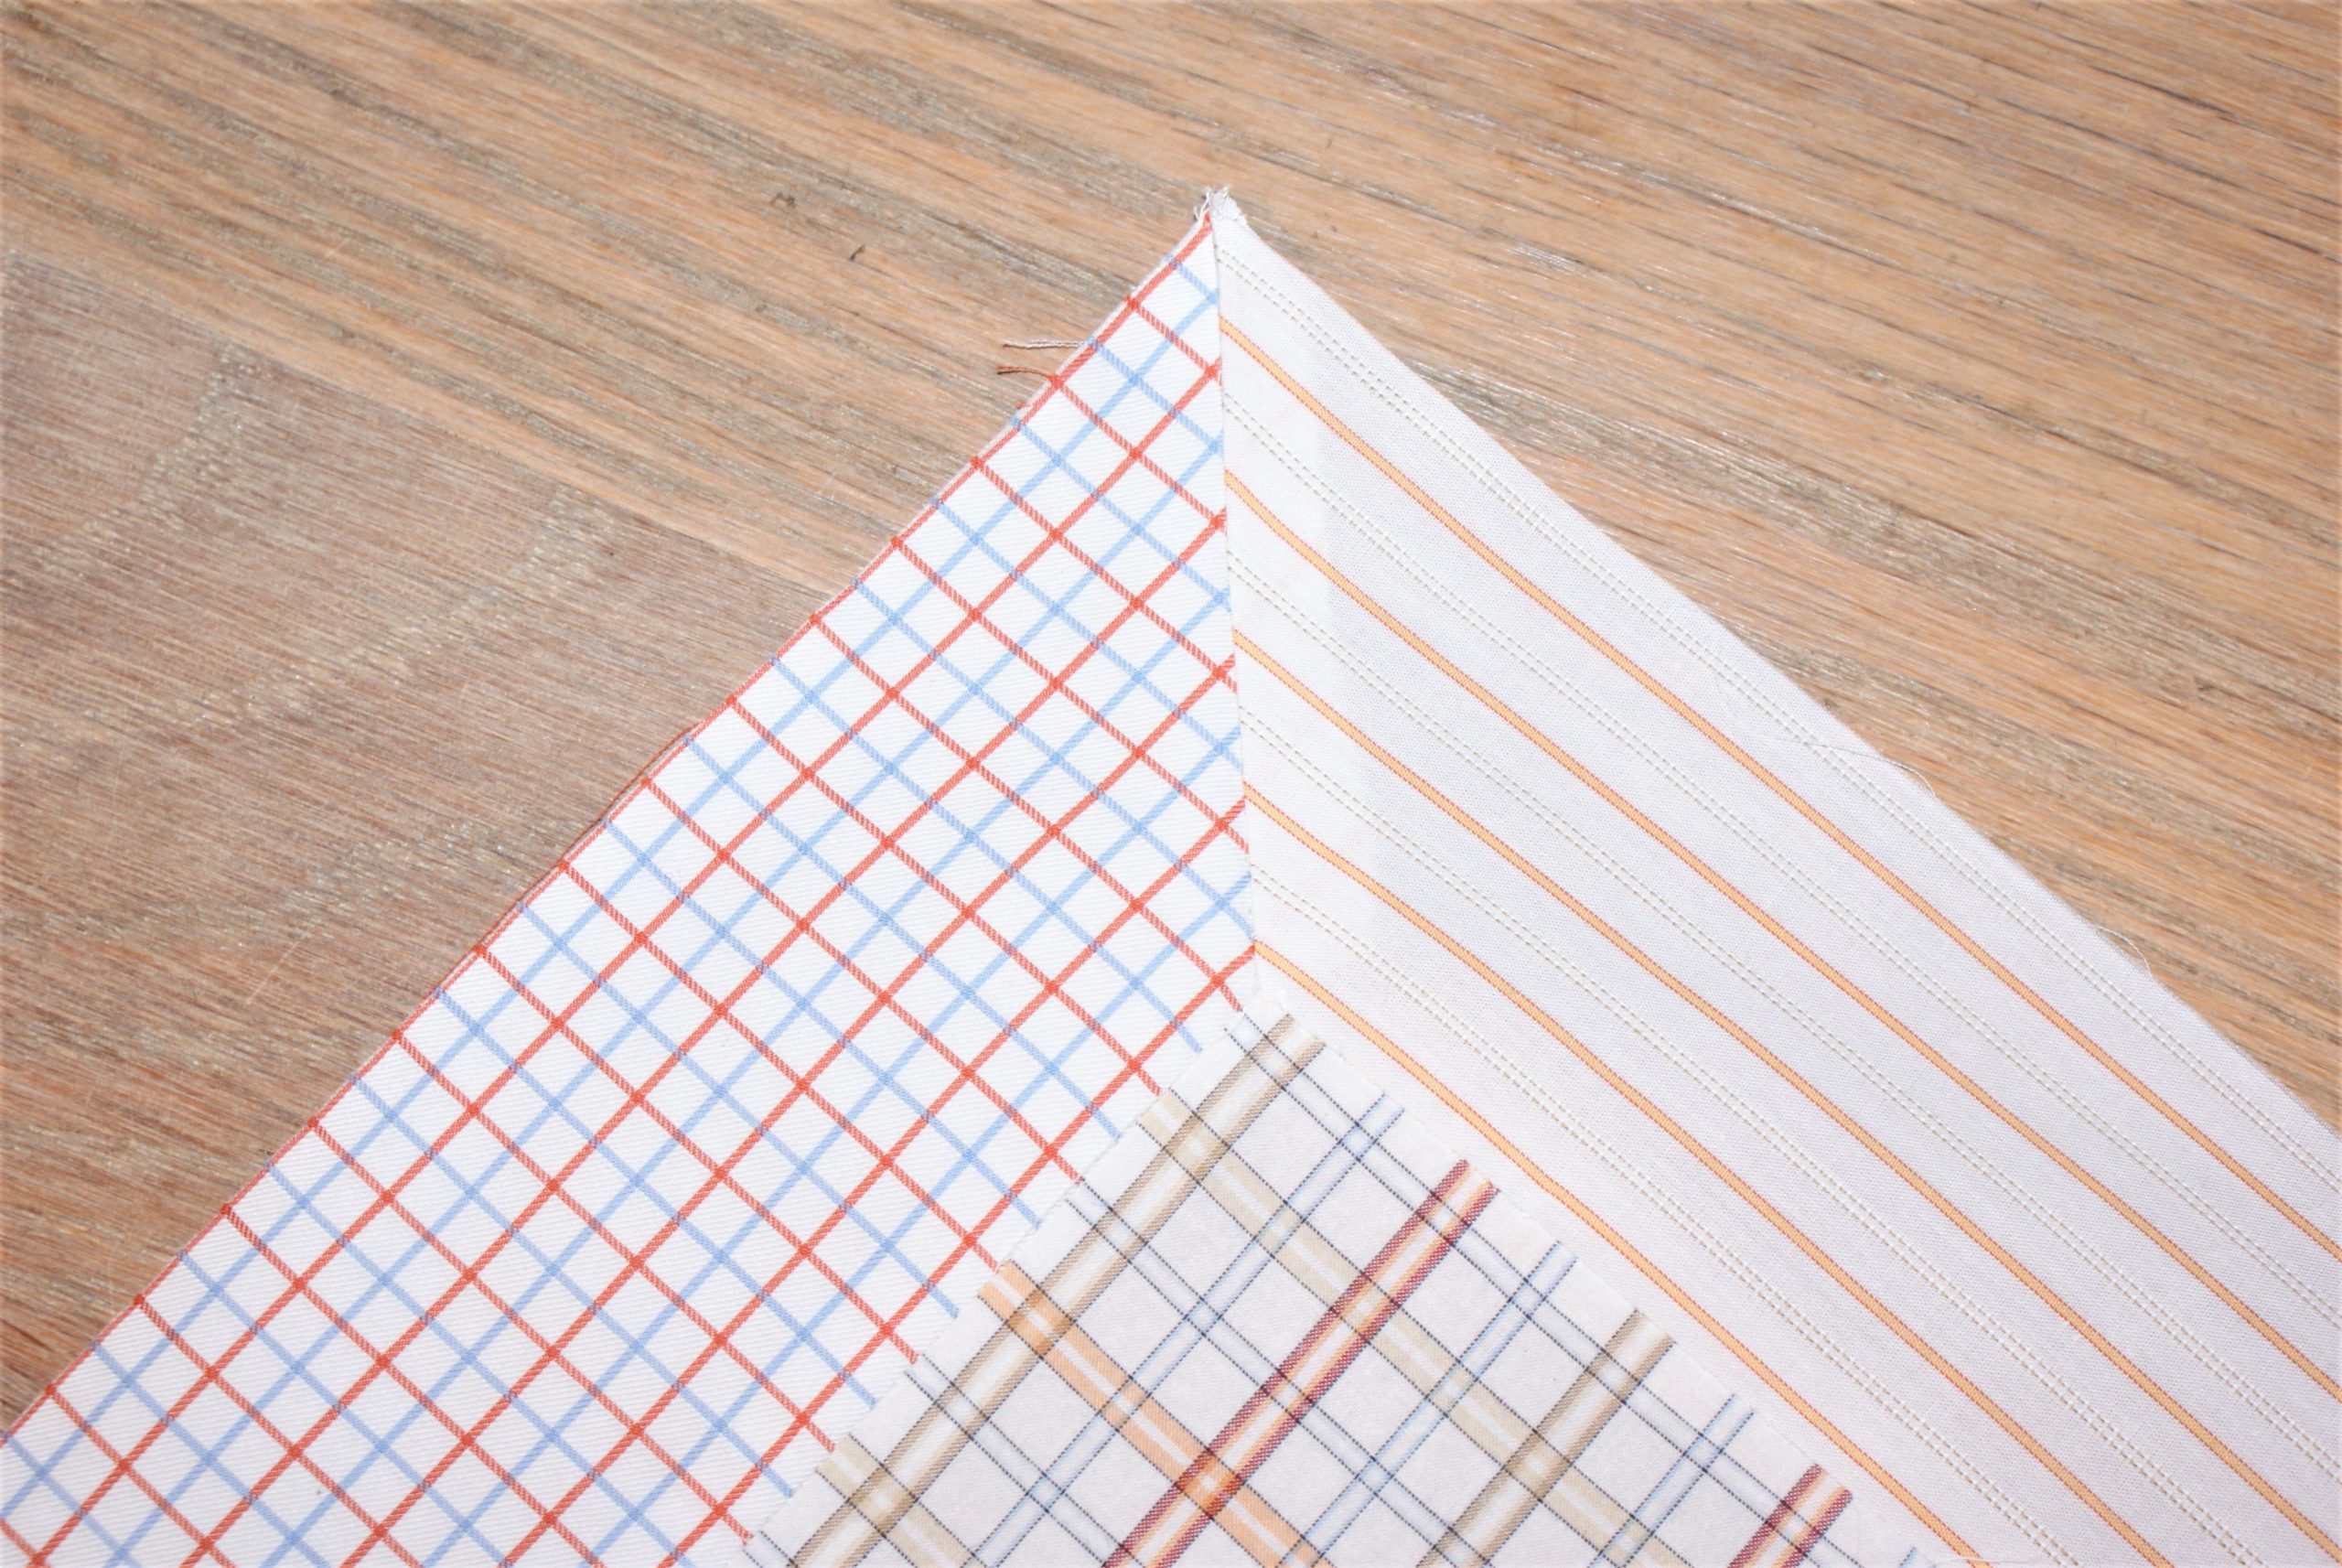
Fold the corner of the patchwork project in two and put the stripes together. Draw a 45° line, finishing in the stitches on the fabric.

Sew the line exactly, finishing in the stitches. Iron open and trim seam allowances.
Continue with the other corners.
It’s neat, isn’t it?
Next time we’ll quilt and finish the border with biastape.
This is how I make a mitered corner in a patchwork border with foot 97D.


Thanks for this post ‘a corner in a patchwork border with foot 97D’.
We’re glad you like this blogpost!