 BERNINA Corporate Blog -
Hello Bernina lovers,
Winter is right here, have you noticed?
What a better thing than to be ready for the cold days I thought. And what is needed during cold days? A good pair of gloves or mittens, don’t you think?
A few years ago I designed a mittens pattern that is suuuuuper easy to make and perfect to use any fabric scraps you may have laying around. Of course, I recommend using a warm fabric for this kind of project.
A surprise for you!
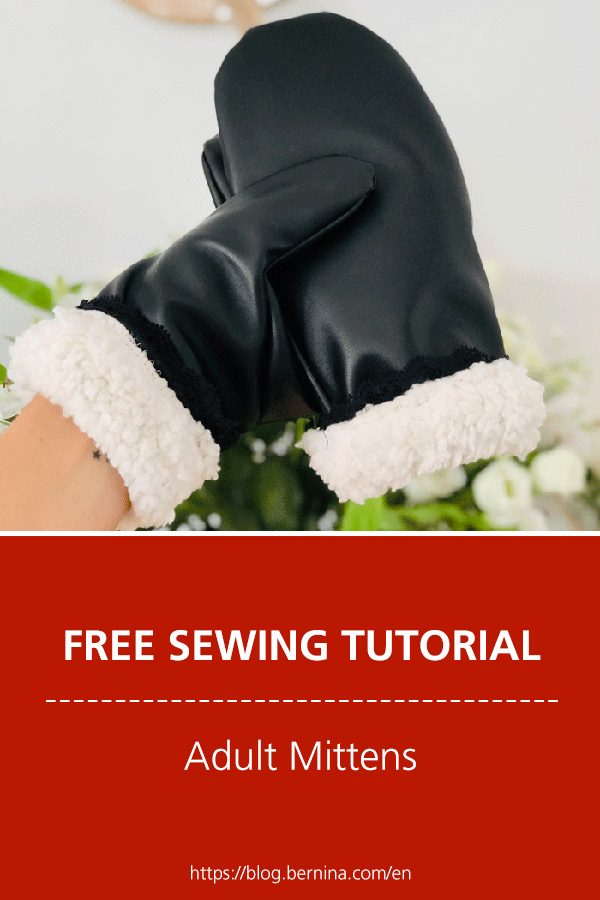
I am sure you like freebies, so today I decided to be a nice lady an offer you my YMMD Mittens pattern for a short period of time. Good Karma come to me! 🙂
So from today and till Friday January 20th 2023 at 23:59 Central European time, you’ll be able to download my Adult Mittens Pattern for free by using the code BerninaYouMadeMyDay on my website here.
Once you have downloaded the Mittens pattern you just have to follow these quick steps where I will explain you how to make your mittens in no time.
Please note that here I will explain the easiest version of it which is the one made with fabric that doesn’t need to be lined, like a two-sided faux leather / faux mouton fabric. The step by step shows a one-sided fabric, but you’ll see the doubled sided fabric in the final pictures.
If you really want to make a lined pair of mittens, no worries, if you download the pattern, the version to line the mittens will be also sent to you 😉
Materials needed…
Fabric: 50 cm X 50 cm
Recommended fabrics: faux fur, faux leather, fleece.
If you are using this kind of fabric I suggest using the dual feed foot (it is not absolutely necessary but your seams will look nicer if you do have and use it).
And of course, you’ll need thread and your sewing machine.
Seam allowances are already included in the pattern (1 cm all around).
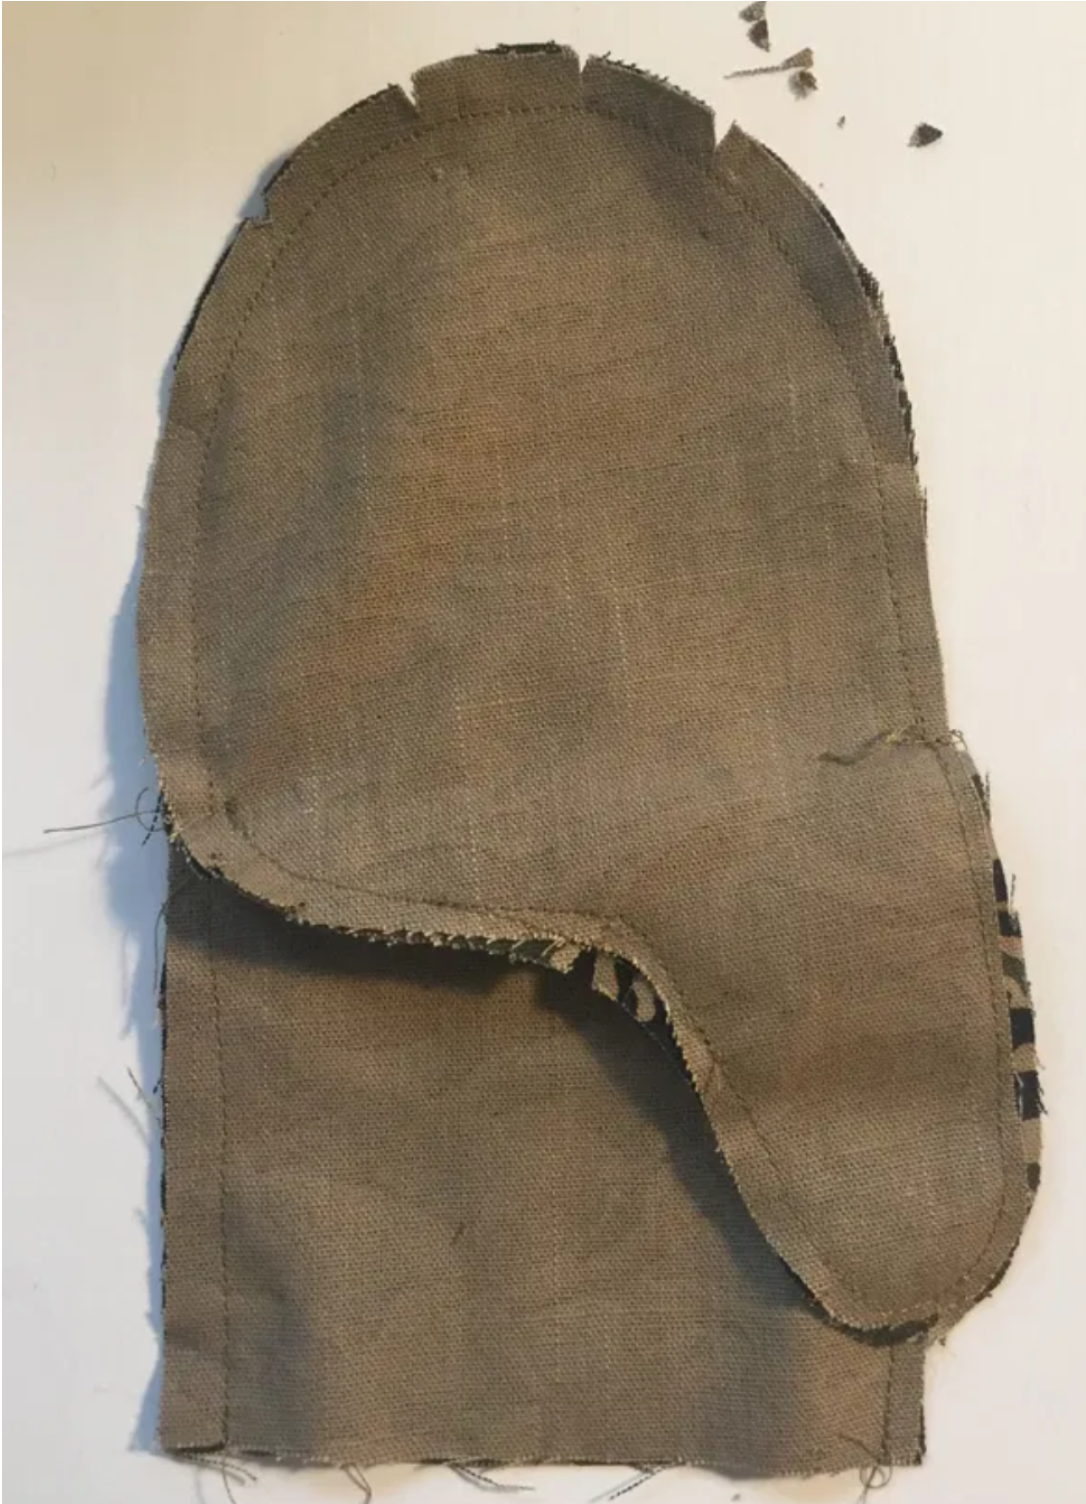
Cutting the fabric
Cut 2 times the mittens in the fabric. You’ll obtain 6 pieces in total.
Now, heading to the sewing machine…
Take one of the pieces number 2 and one of the pieces number 3 and sew them together, right sides facing, from the left side notch to the right side notch.
Do the same thing with the other number 2 and number 3 pieces to obtain the other mitten (as we usually have 2 hands! 😉 )

Take the piece number 1 and place it right side against right side with the 2 pieces you just sewn together, by opening/separating these last 2. The curves on the outside piece and the inside piece should match.
Sew all the way around, from the bottom left to the bottom right. You can stop and backstitch at the crossroads of the seam you just made and start again on the other seam.
Repeat this step with the other mitten.

Notch the curves on both mittens to give ease when turning the right side out.
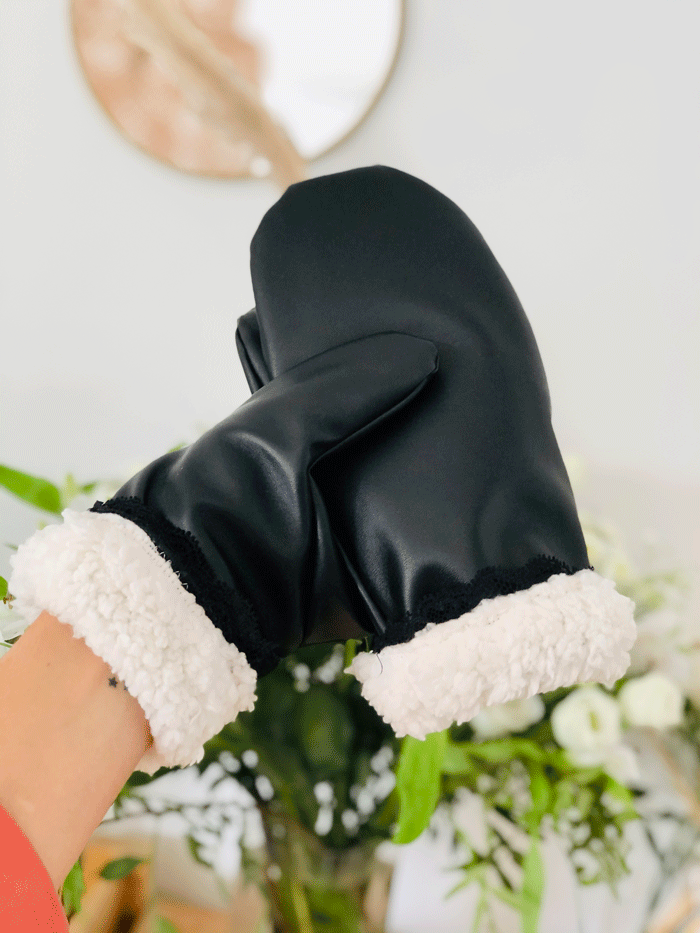
And at this point, you’ve already finished your pair of mittens! wasn’t that super easy?
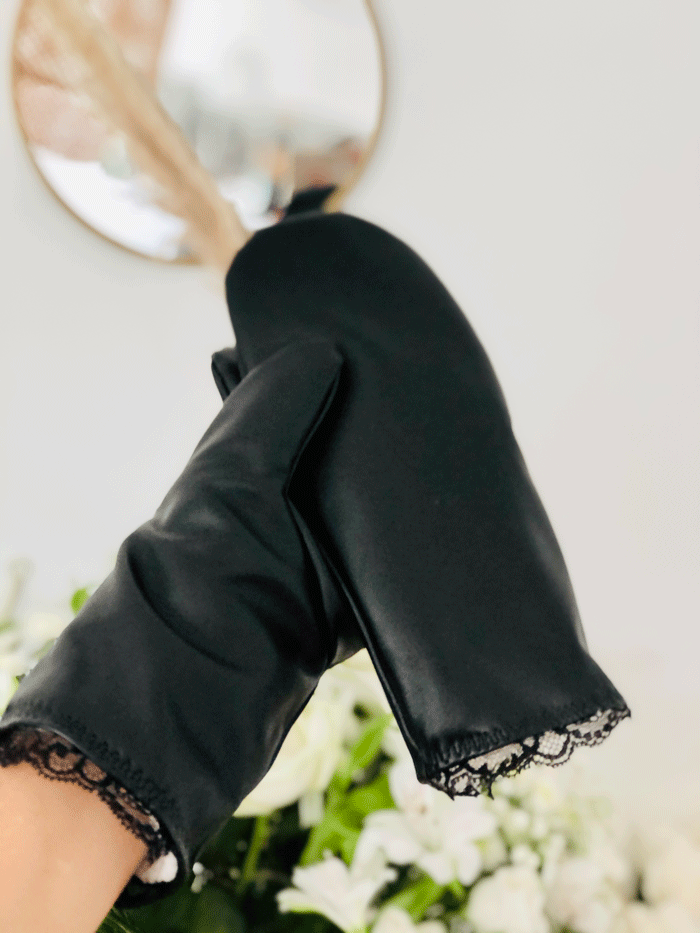
You can turn the wrist edges to show the other side of the fabric or you can leave them without turning them.
And here are some examples that I really love! In the black one I added a little lace ribbon on the wrist edge to give it a nice look!
What do you think?

If you make them, give me a hands up so I can see them! I’ll be glad!
why can i not get this free download??