If you asked my husband, he’d say that I was addicted to two things:
- Dark chocolate and,
- Throw pillows.
Listen, I don’t know why I am the way I am, but something about pillows just makes me happy. They come in all sorts of shapes, sizes, textures. The combinations are endless.
Sewing a pillow cover is also an economical way to update your sofa, or interior design. I’ve made lots of custom pillow covers as a way to change up colors or even the general vibe of a room.
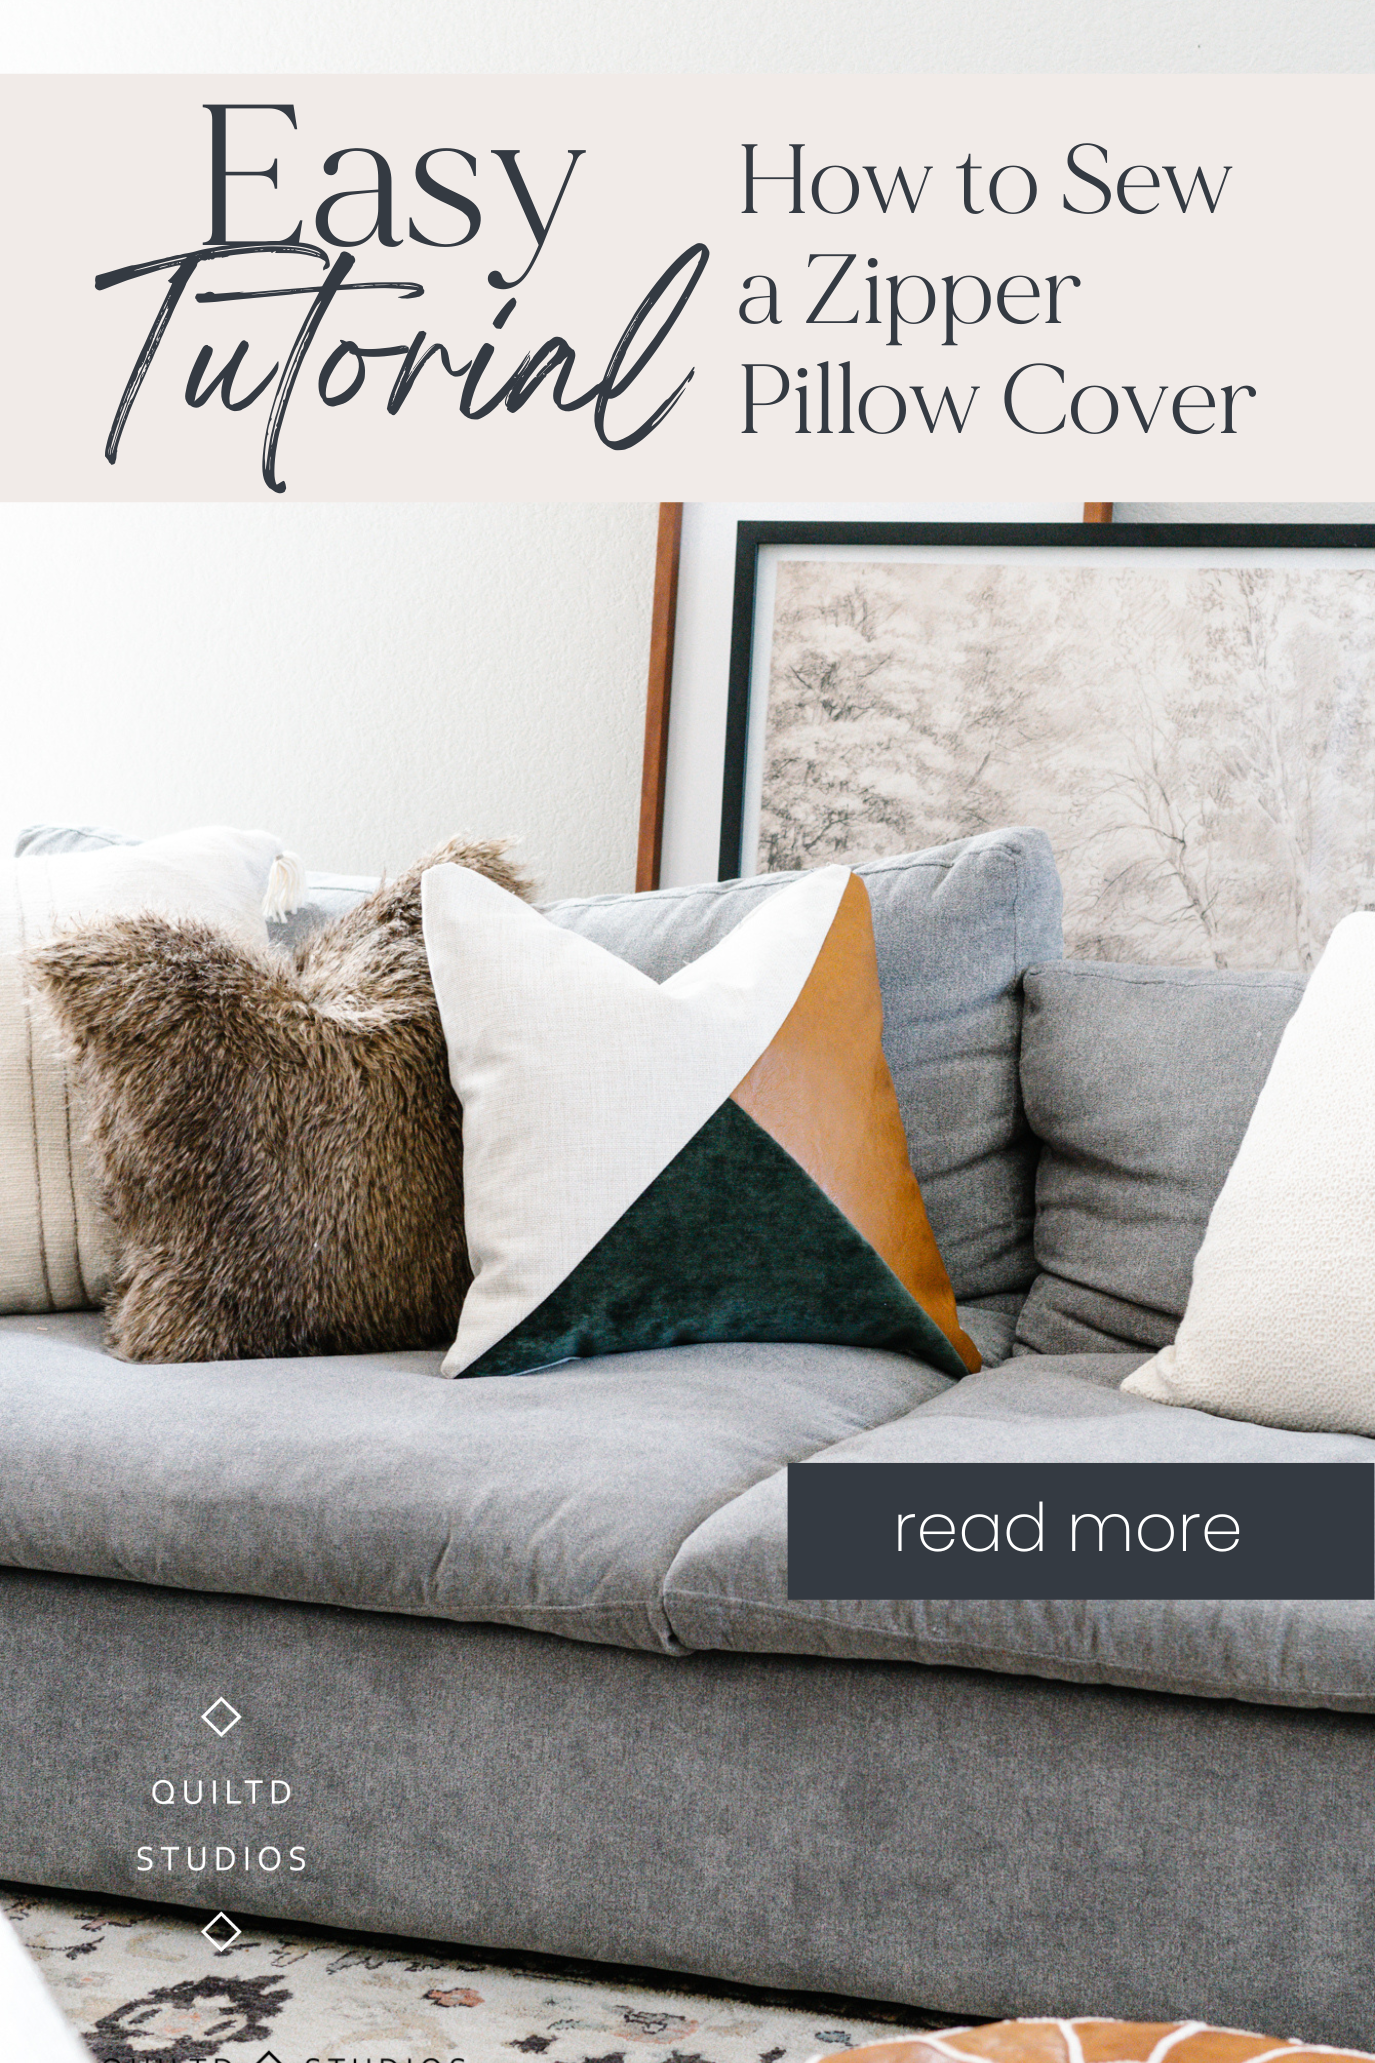
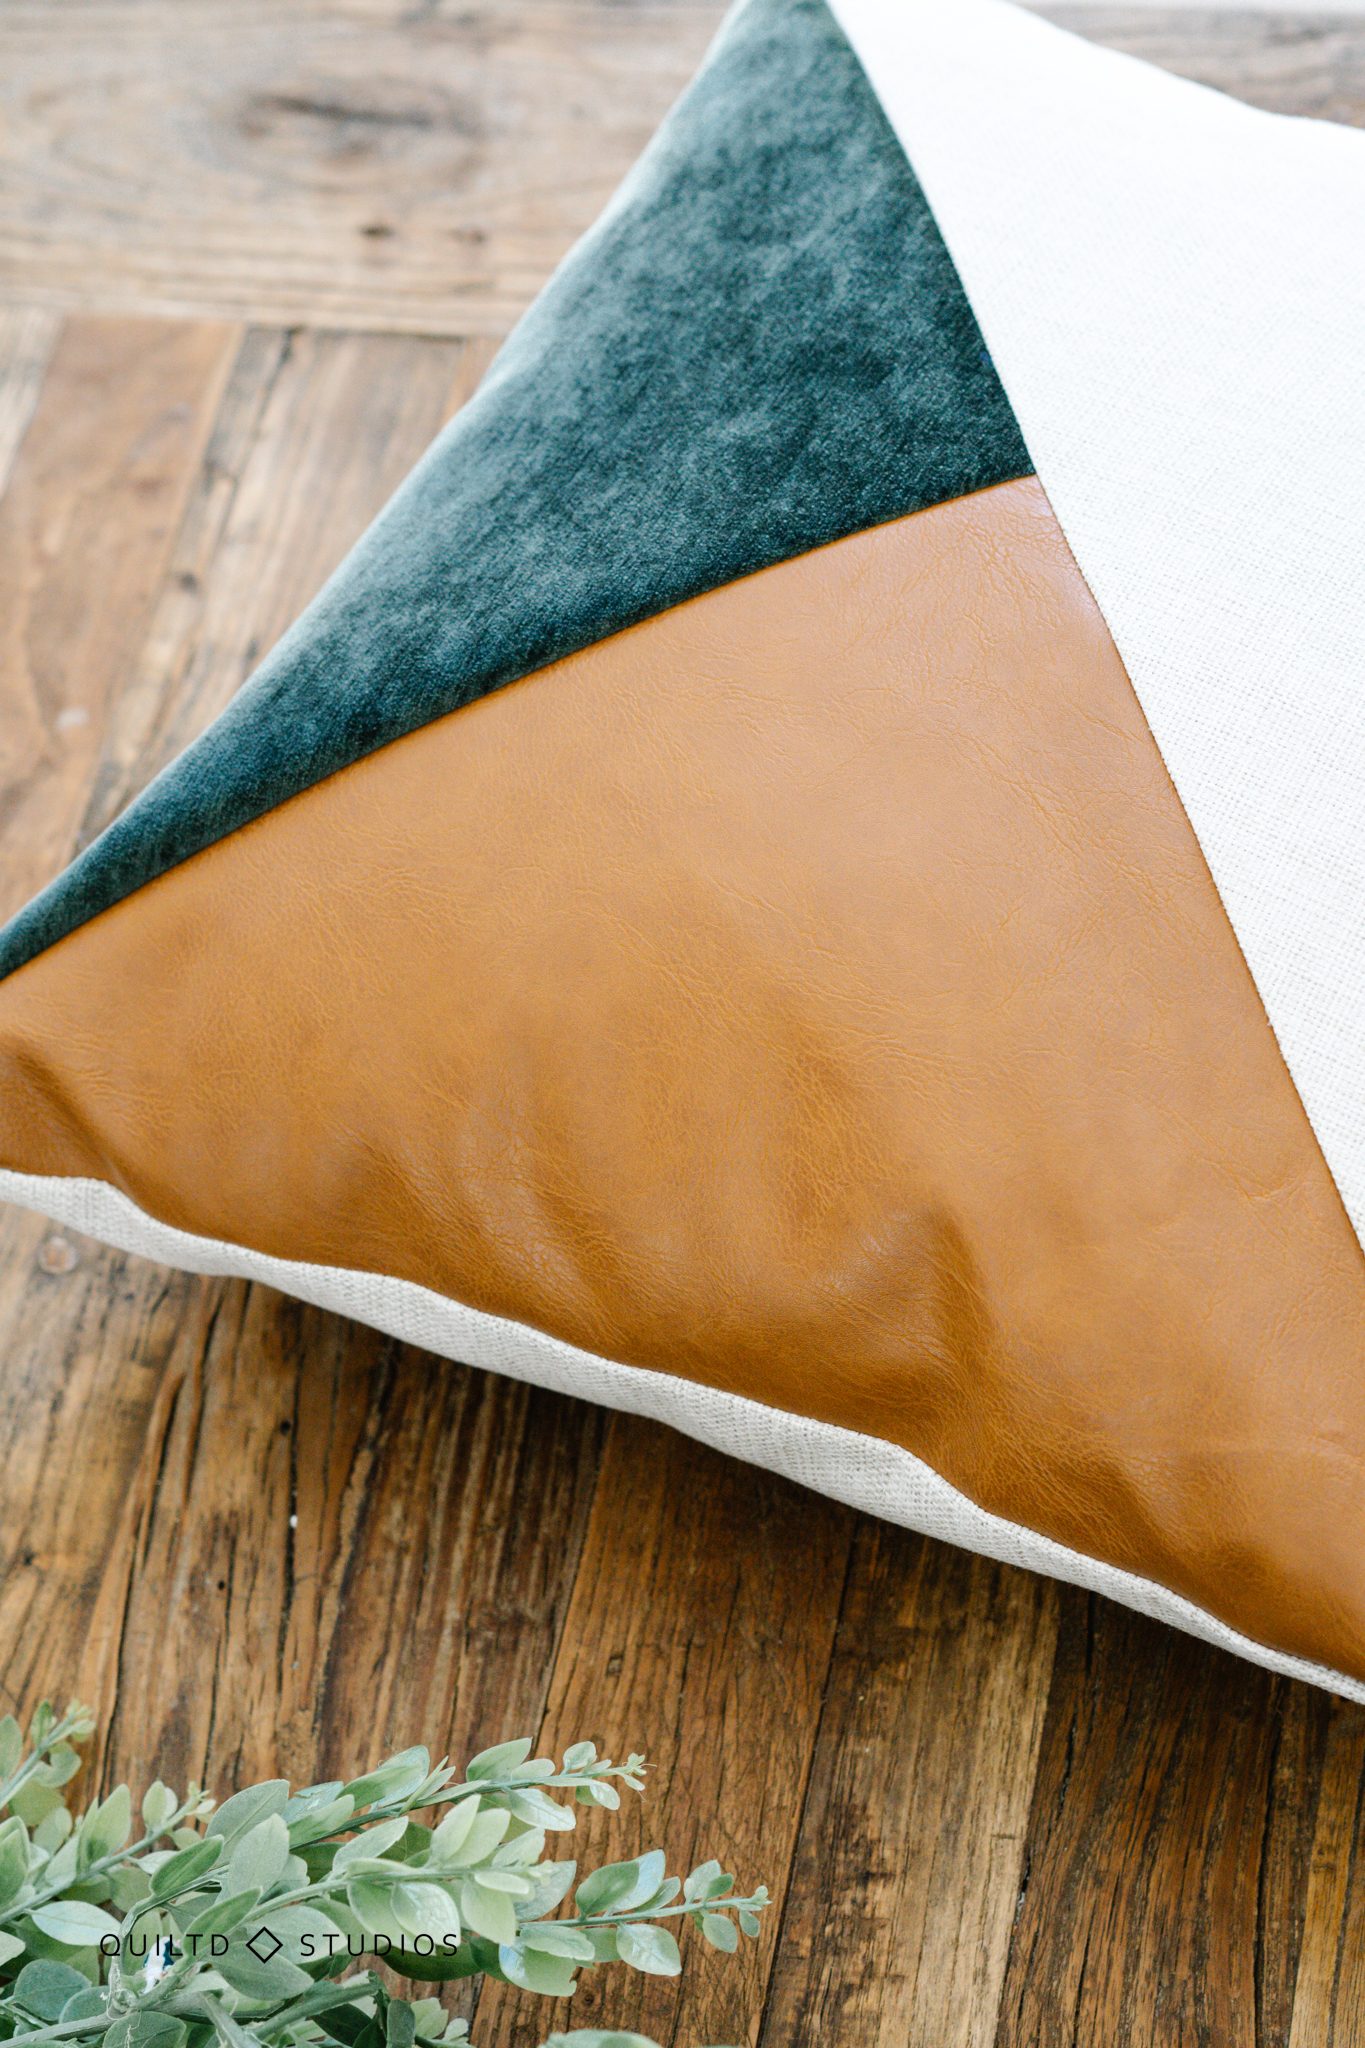
This specific design was a great way to use some velvety fabric that I picked up recently. It’s so soft and has a sheen that makes you want to touch it.
I paired it with some vegan leather (leftovers from a failed quilt tag fiasco) and some woven upholstery fabric. I encourage you to visit a local upholstery shop for some smaller cuts of fabrics that are great for pillows.
Feel free to use any colors that you’d like, however the jewel tone (green), leather, and lighter sand colors are even dreamier in person. This specific pattern is for a 20” square throw pillow, however you can use the same directions for ANY size pillow.
Zipper pillow covers are WAY easier than you think, I know, zipper and easy in the same sentence has some people shaking their heads, but I promise this is just about the easiest zipper you’ll ever install.
For these 20” throw pillows you’ll need to gather some supplies. If you’d rather make your own design skip ahead to the zipper section. This will make two throw pillows that match, feel free to make just one.
Supplies Needed:
- 1 1/4 Yard Light Woven Fabric
- 2/3 Yard Velvet or Chenille Fabric
- 2/3 Yard Vegan Leather
- 16″-18” zipper (I use zipper by the yard and cut about 17″)
- BERNINA Zipper Foot #14D
- 20” Square Pillow insert (or an old pillow you want to cover!)
Suggested Supplies:
- Microtex 90/10 needles
- BERNINA Straight-stitch Foot with Non-stick Sole #53
Cutting Directions
The light fabric will be the back of the pillows and the large right triangle.
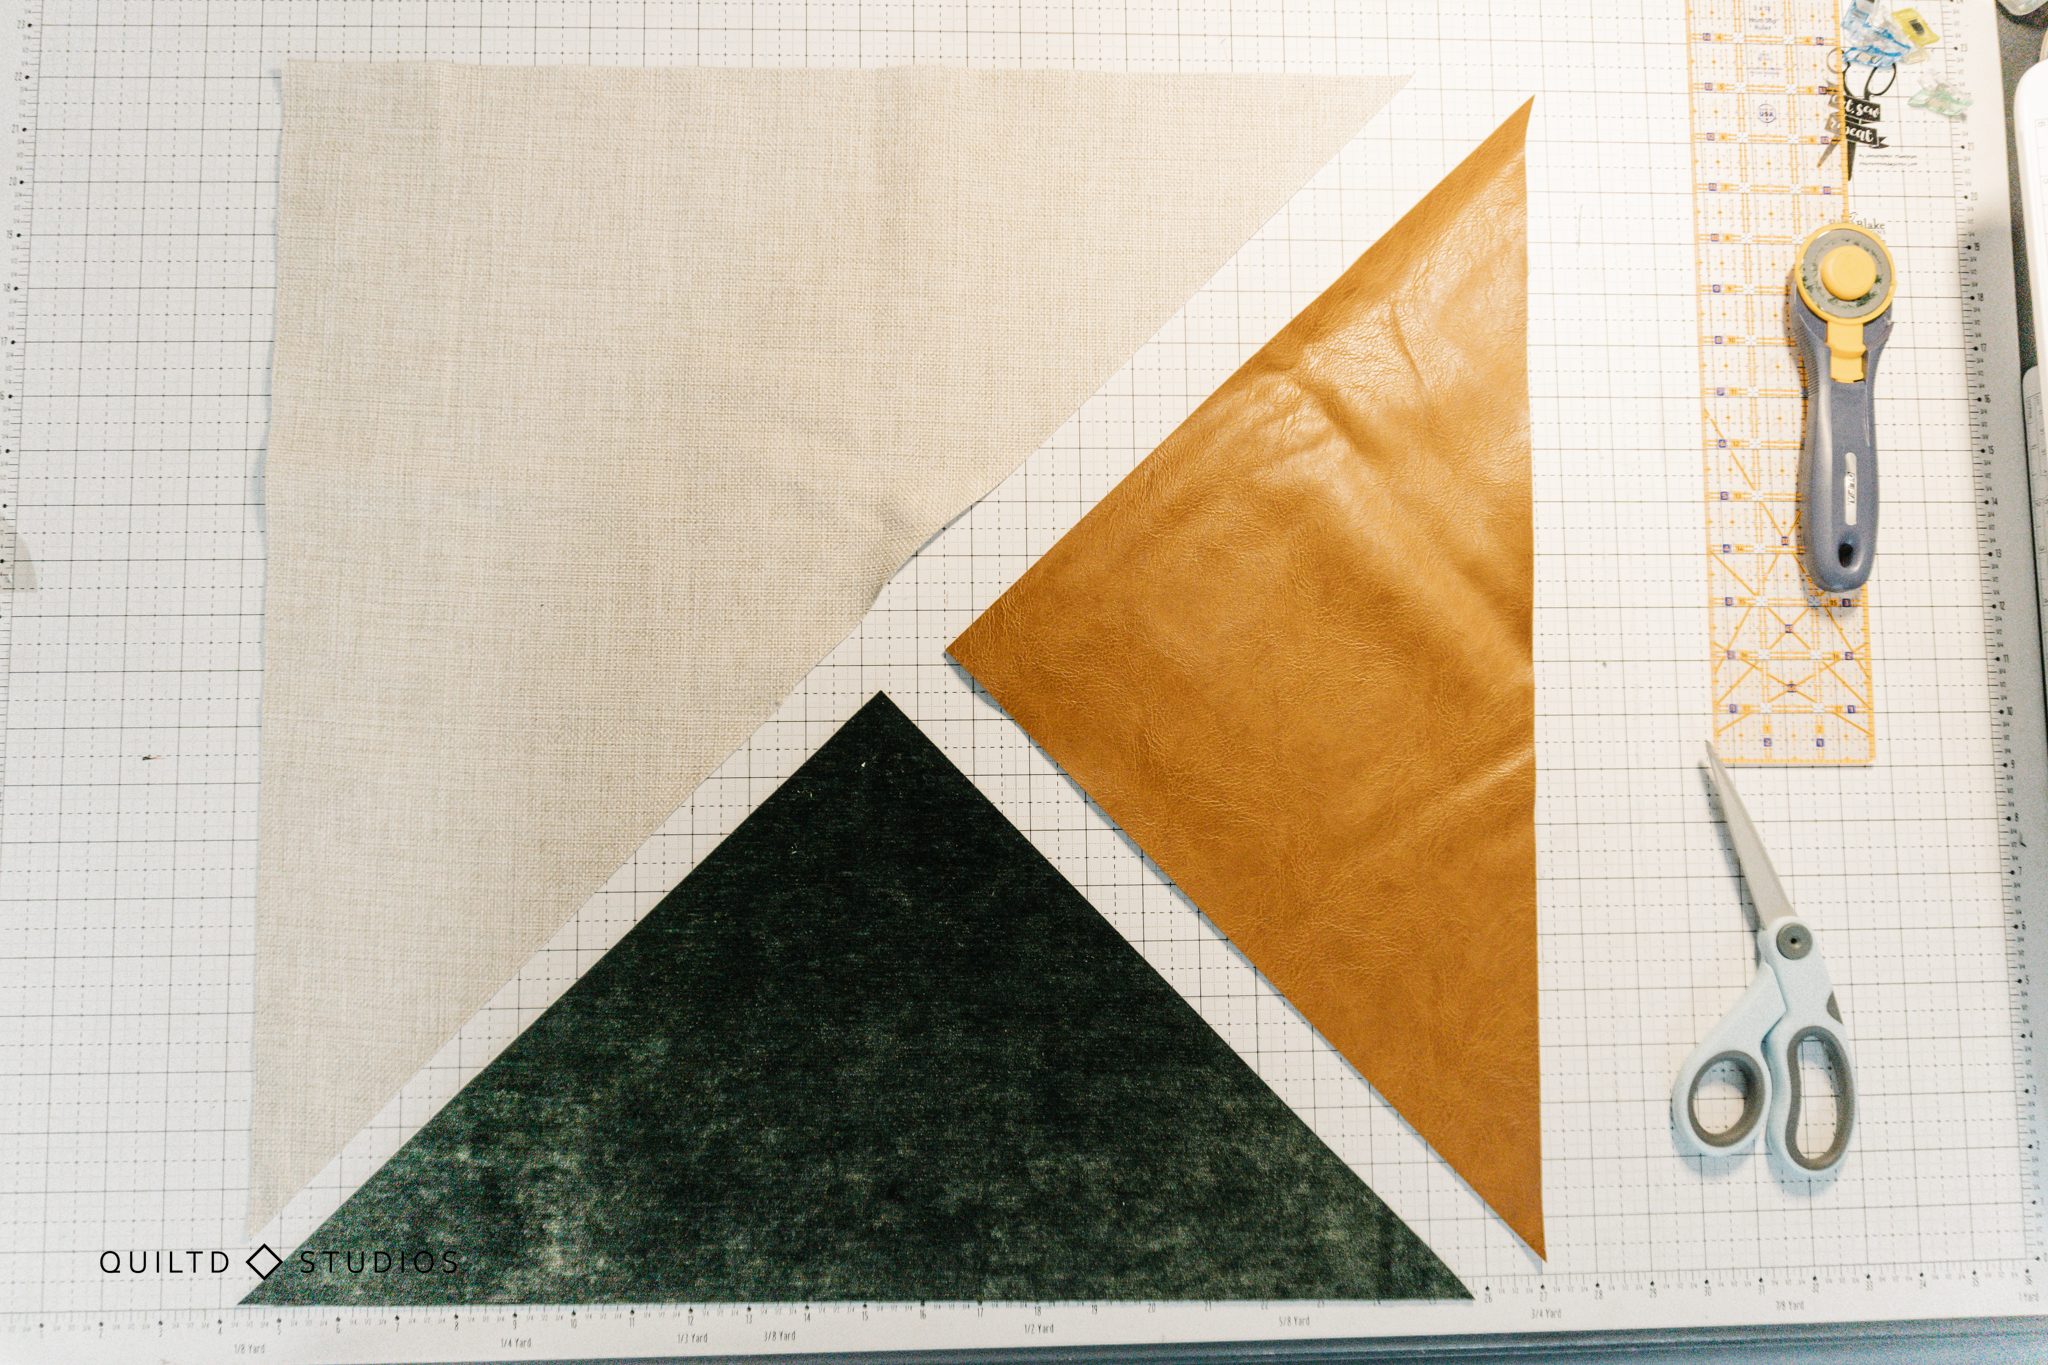
Cut (1) 21” x 21” square, subcut diagonally from top right corner to bottom left into two triangles, and (2) 20”x20” squares (the backing of the pillows).
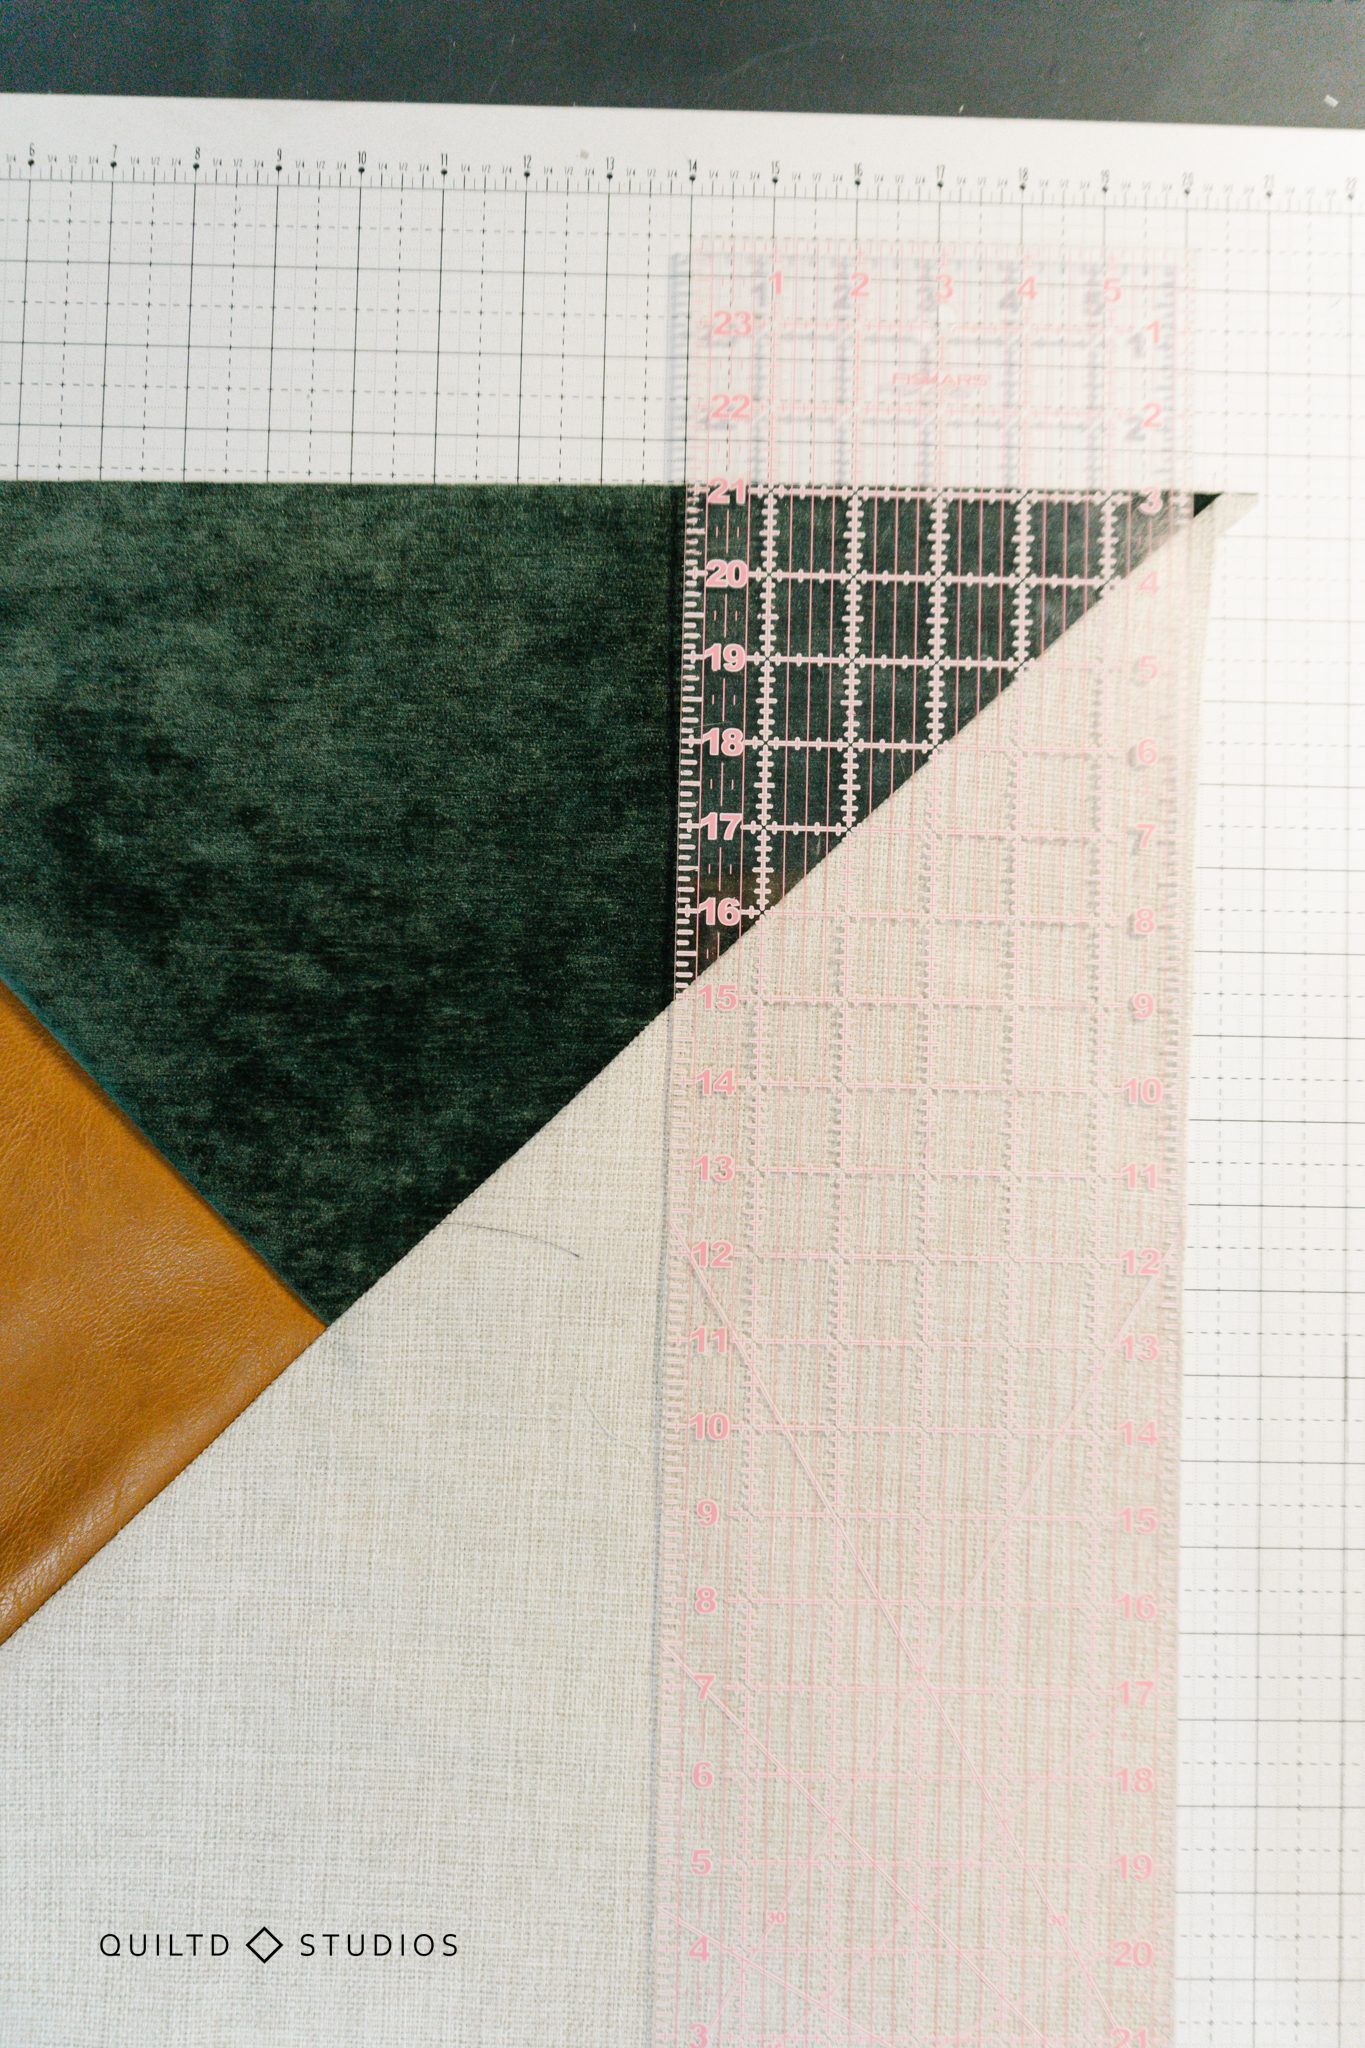
Cut (1) 21” x 21” square of velvet or chenille fabric. Cut diagonally corner to corner, repeat on the opposite corner to create 4 right triangles. (Note: This creates 2 extra triangles but it’s the easiest way to get the right size triangles).
Use one of the small velvet triangles as a guide to cut 2 of the same size triangles in vegan leather.
Pillow Top Assembly
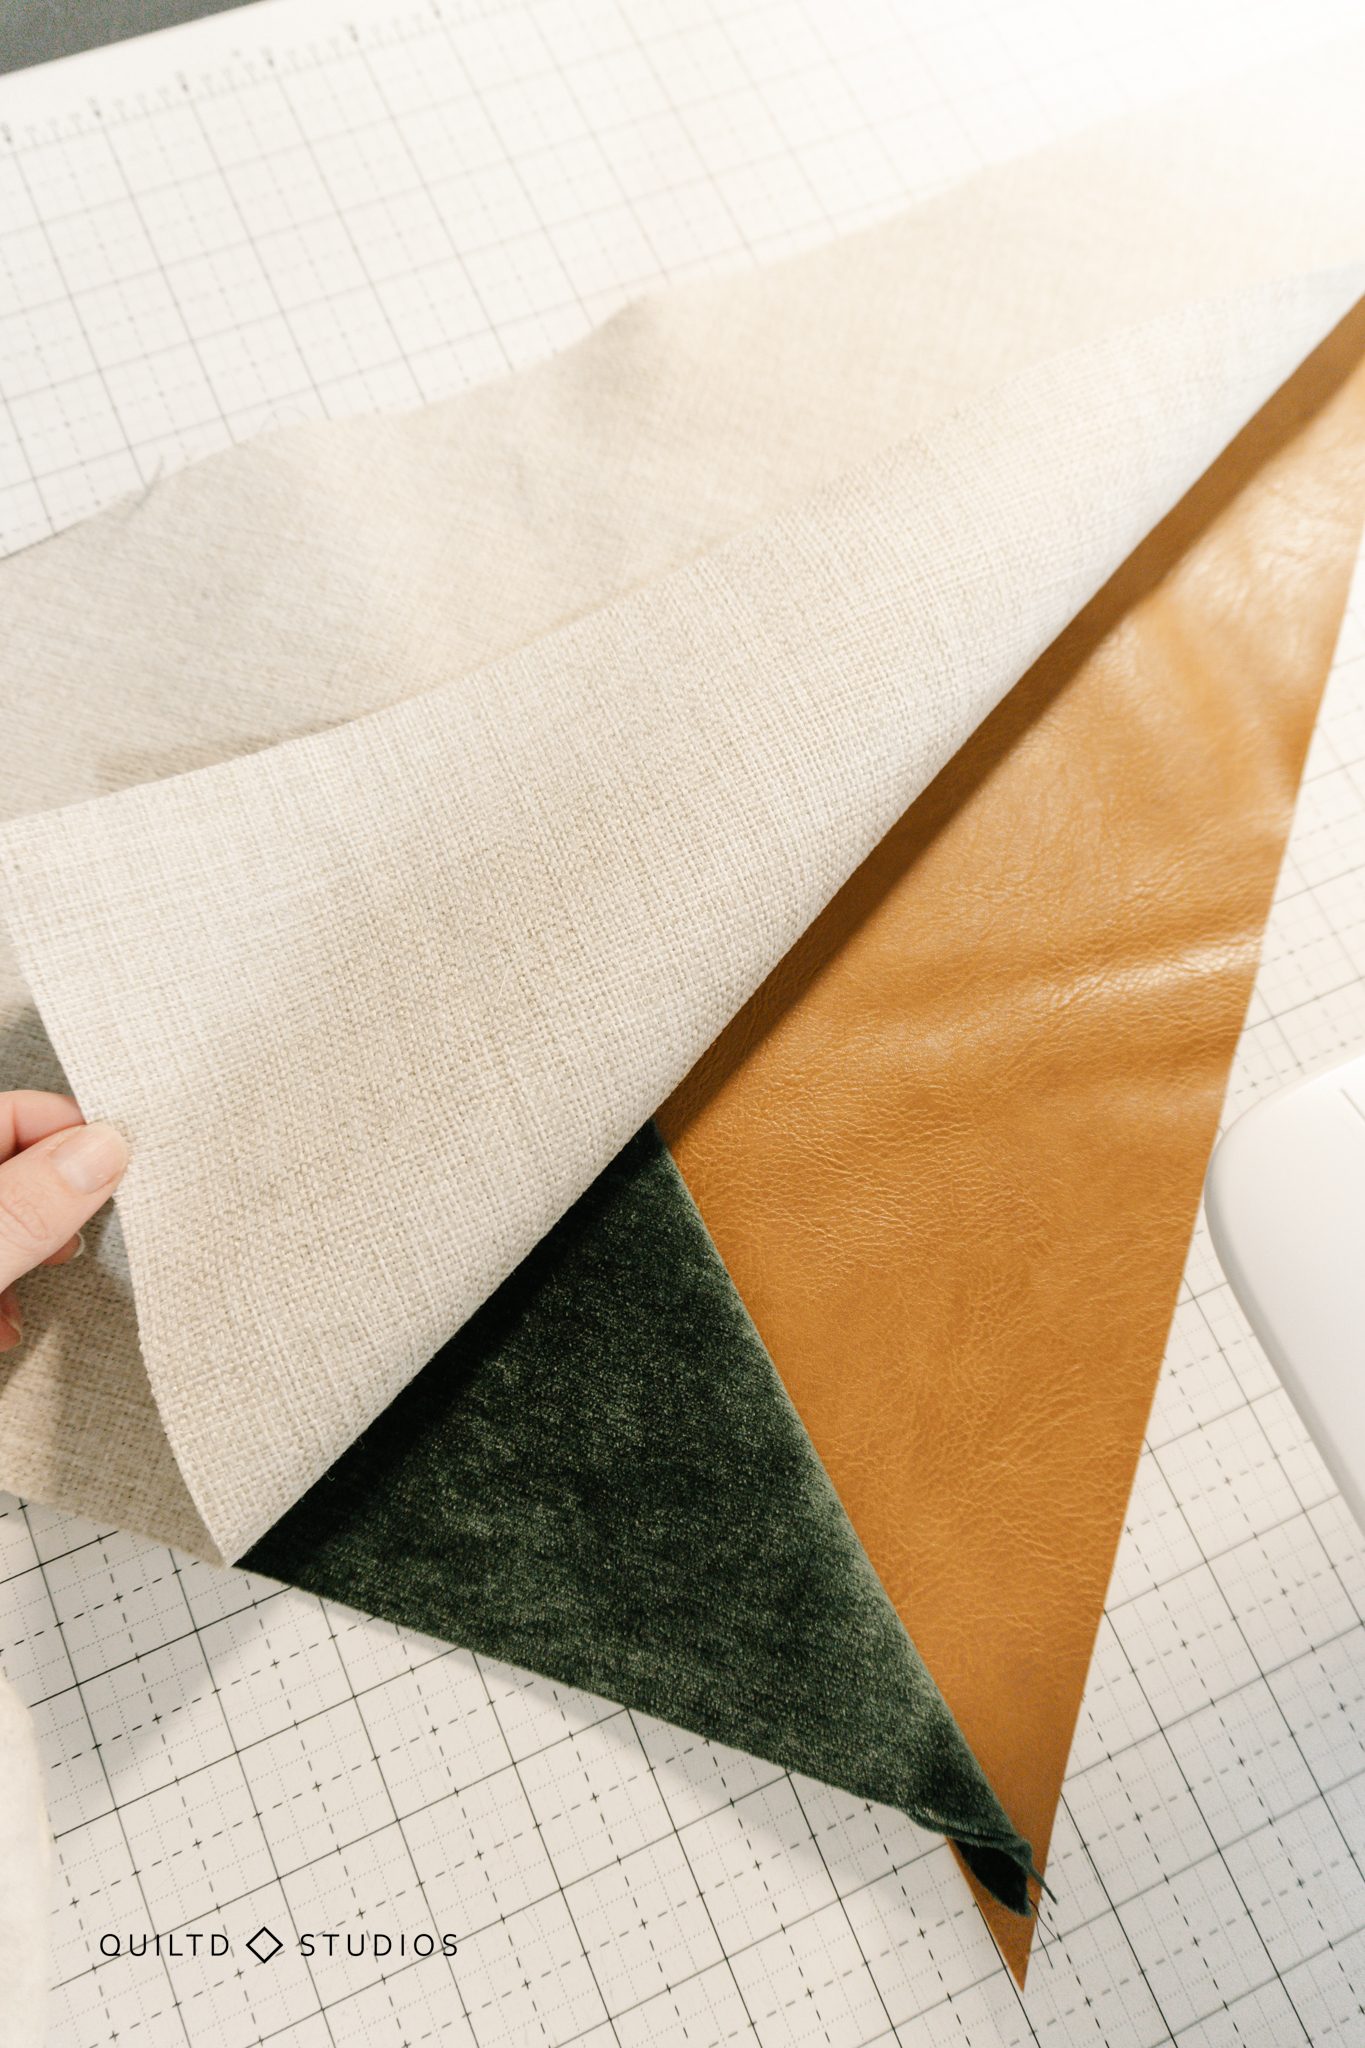
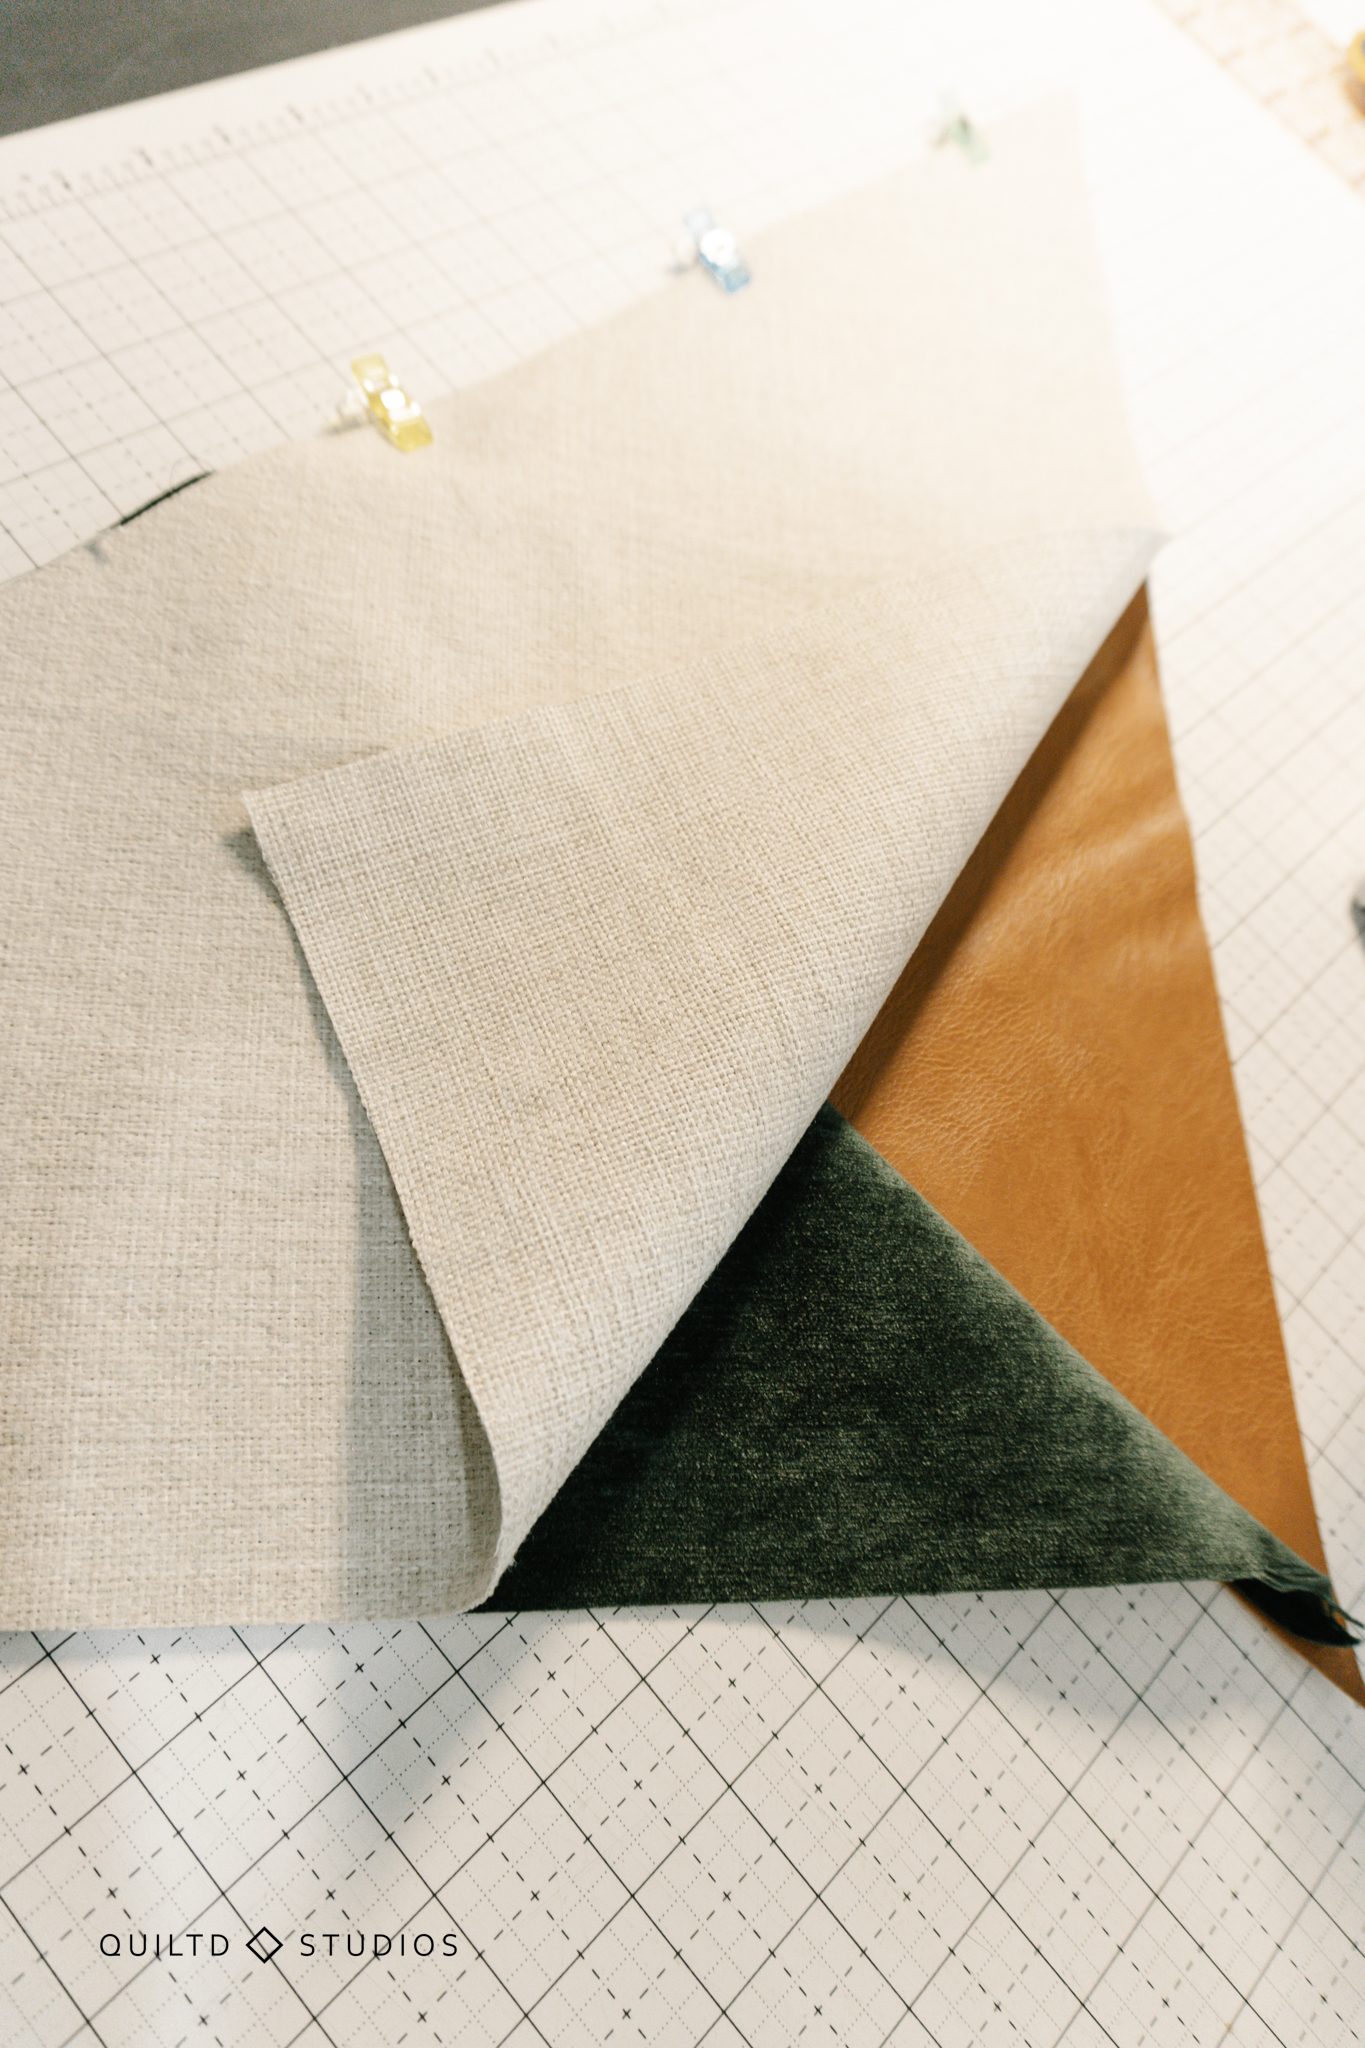
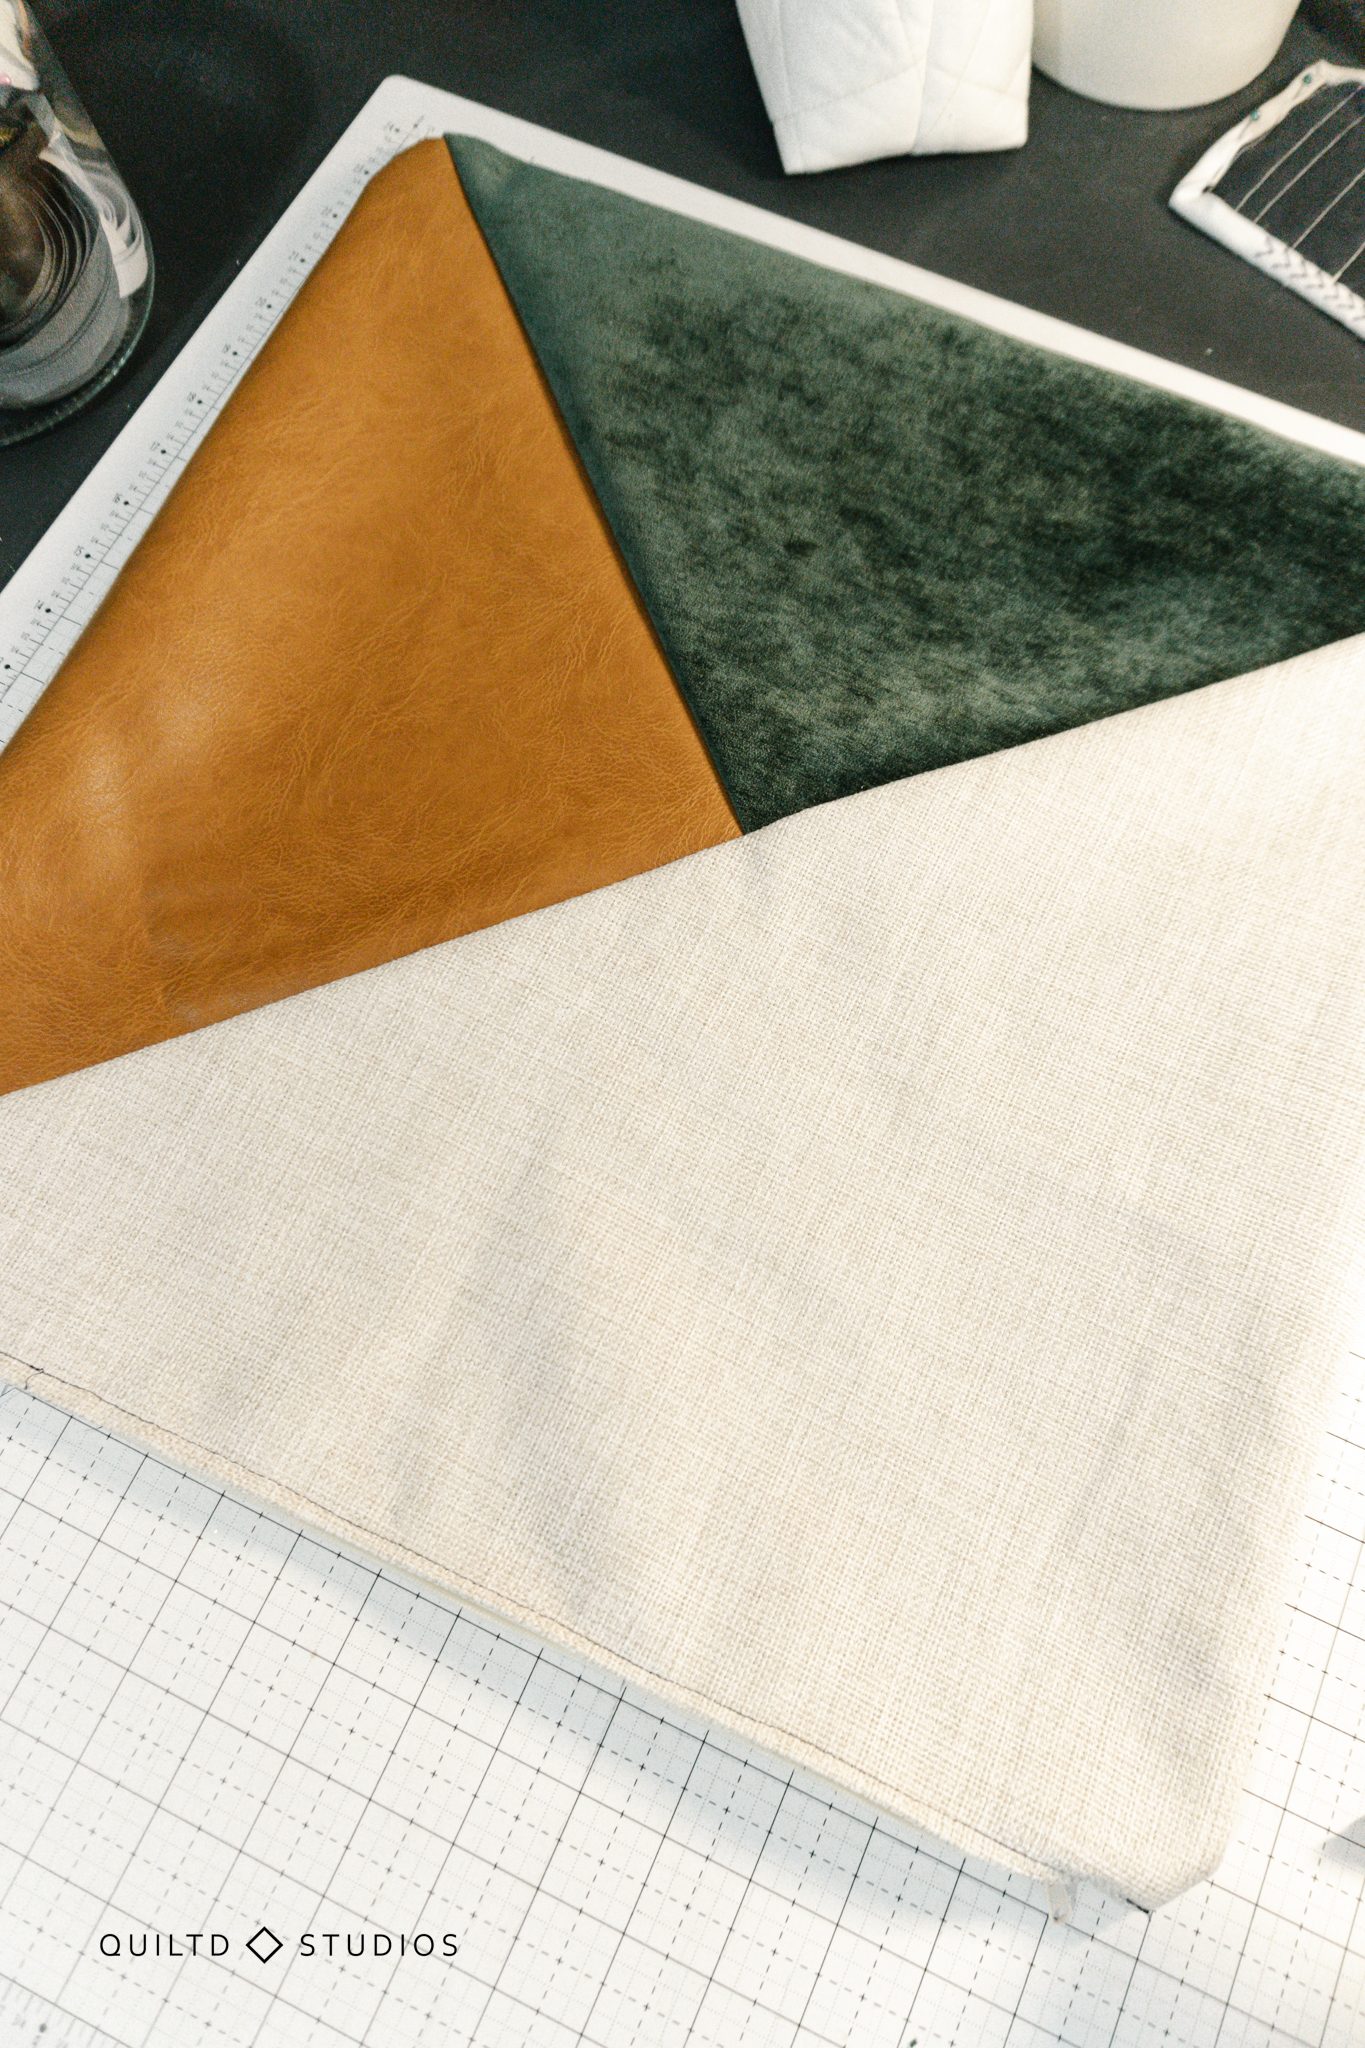
The top is made of 2 small right triangles (velvet and vegan leather), and one large triangle (light fabric).
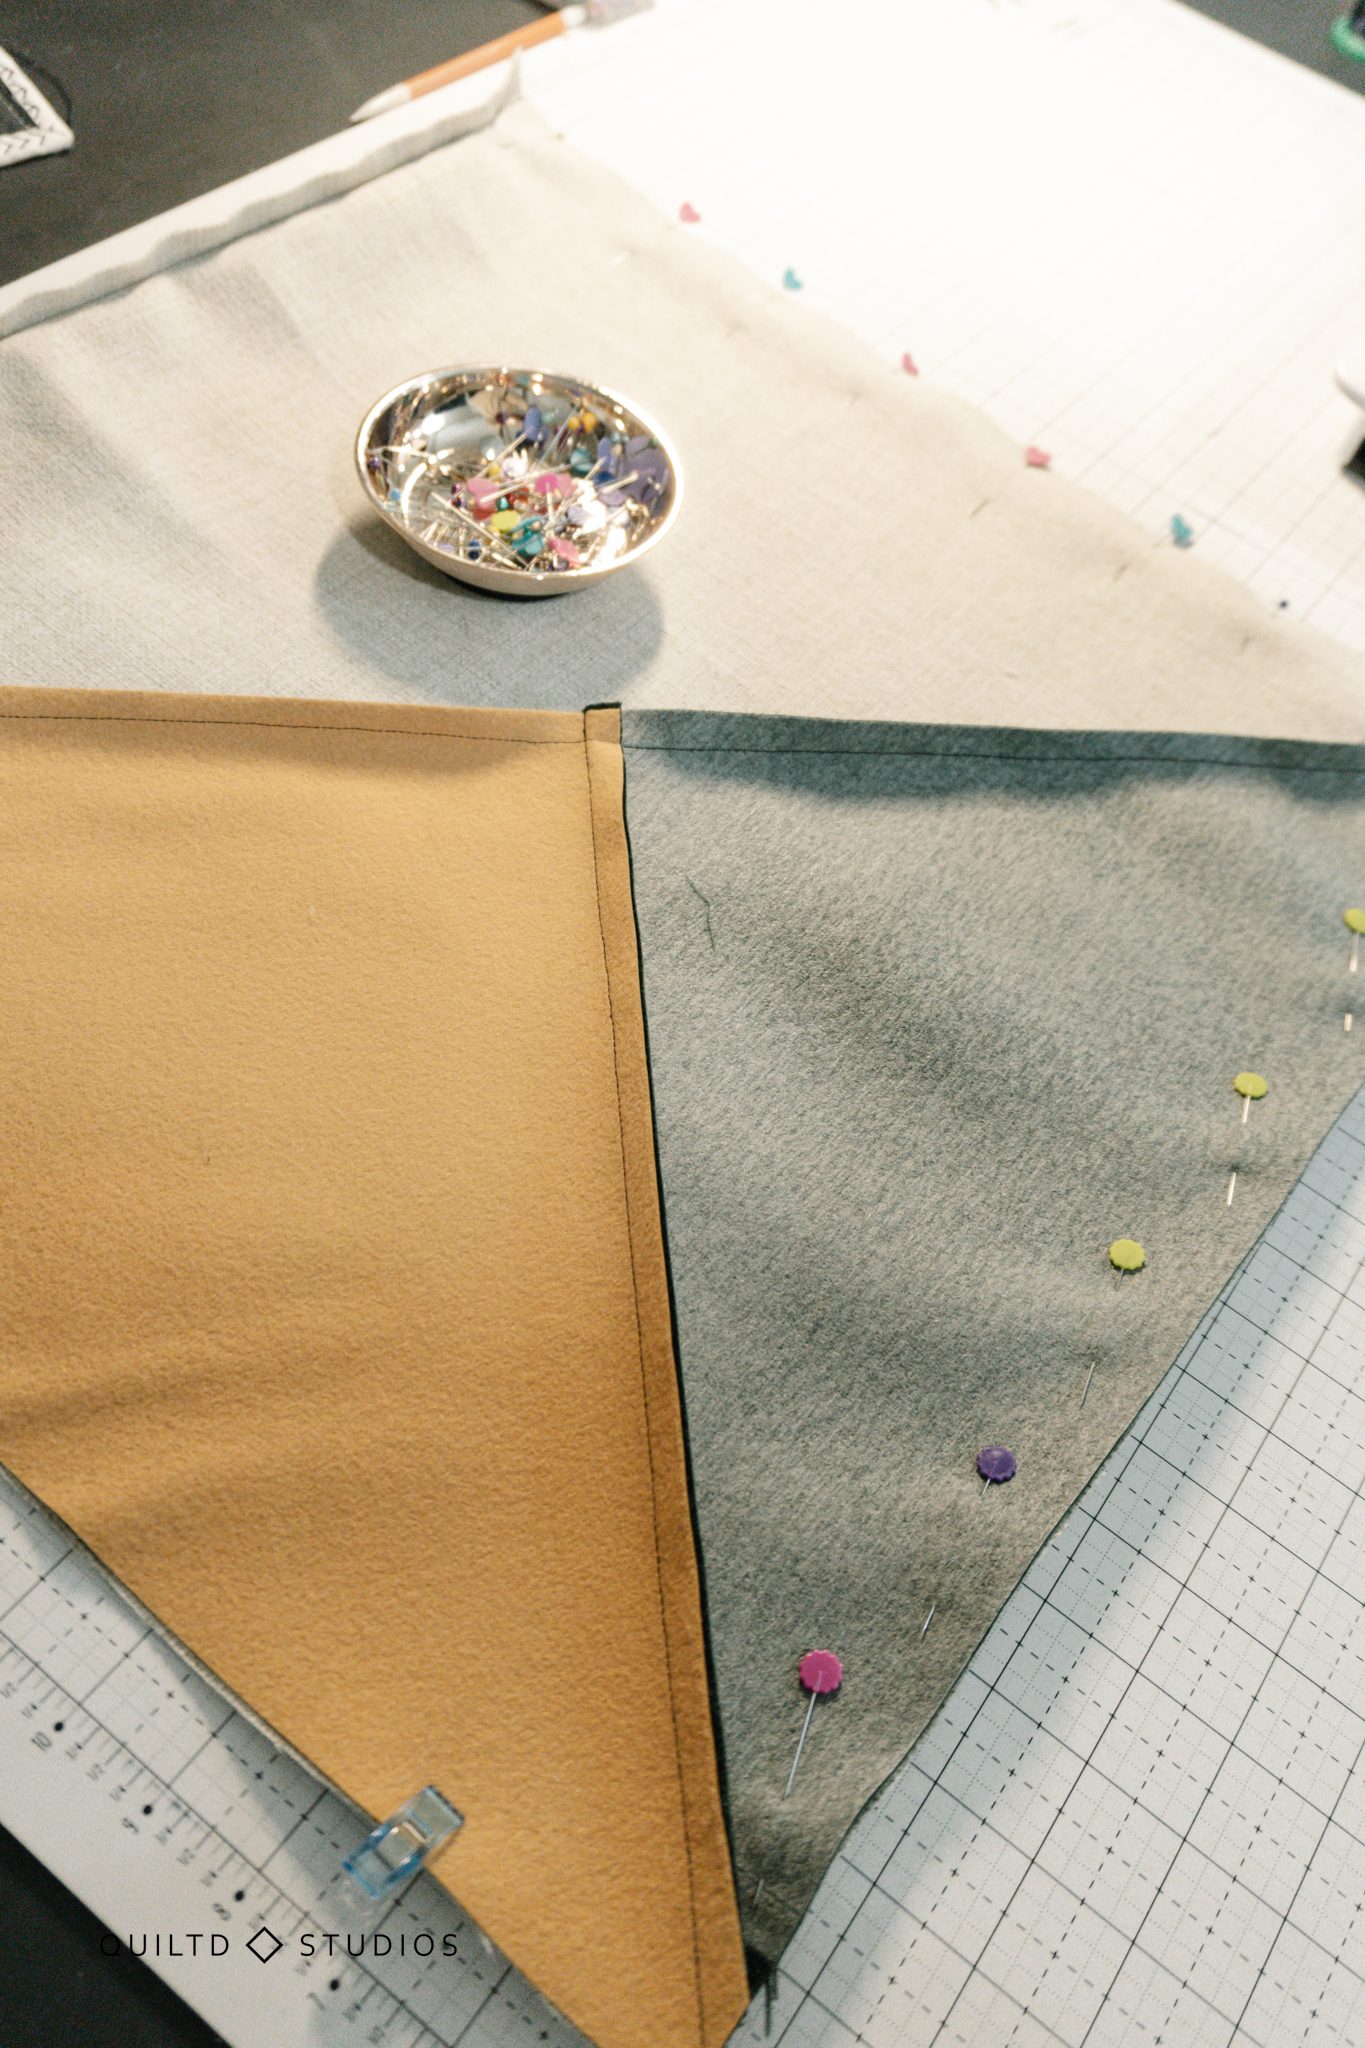
To start, sew right sides together the small vegan leather triangle and the small velvet small right triangles, using clips to secure the fabrics together. Using the #53 Non Stick foot is super helpful for piecing fabrics like vegan leather and chenille (mine had a stickyish backing).
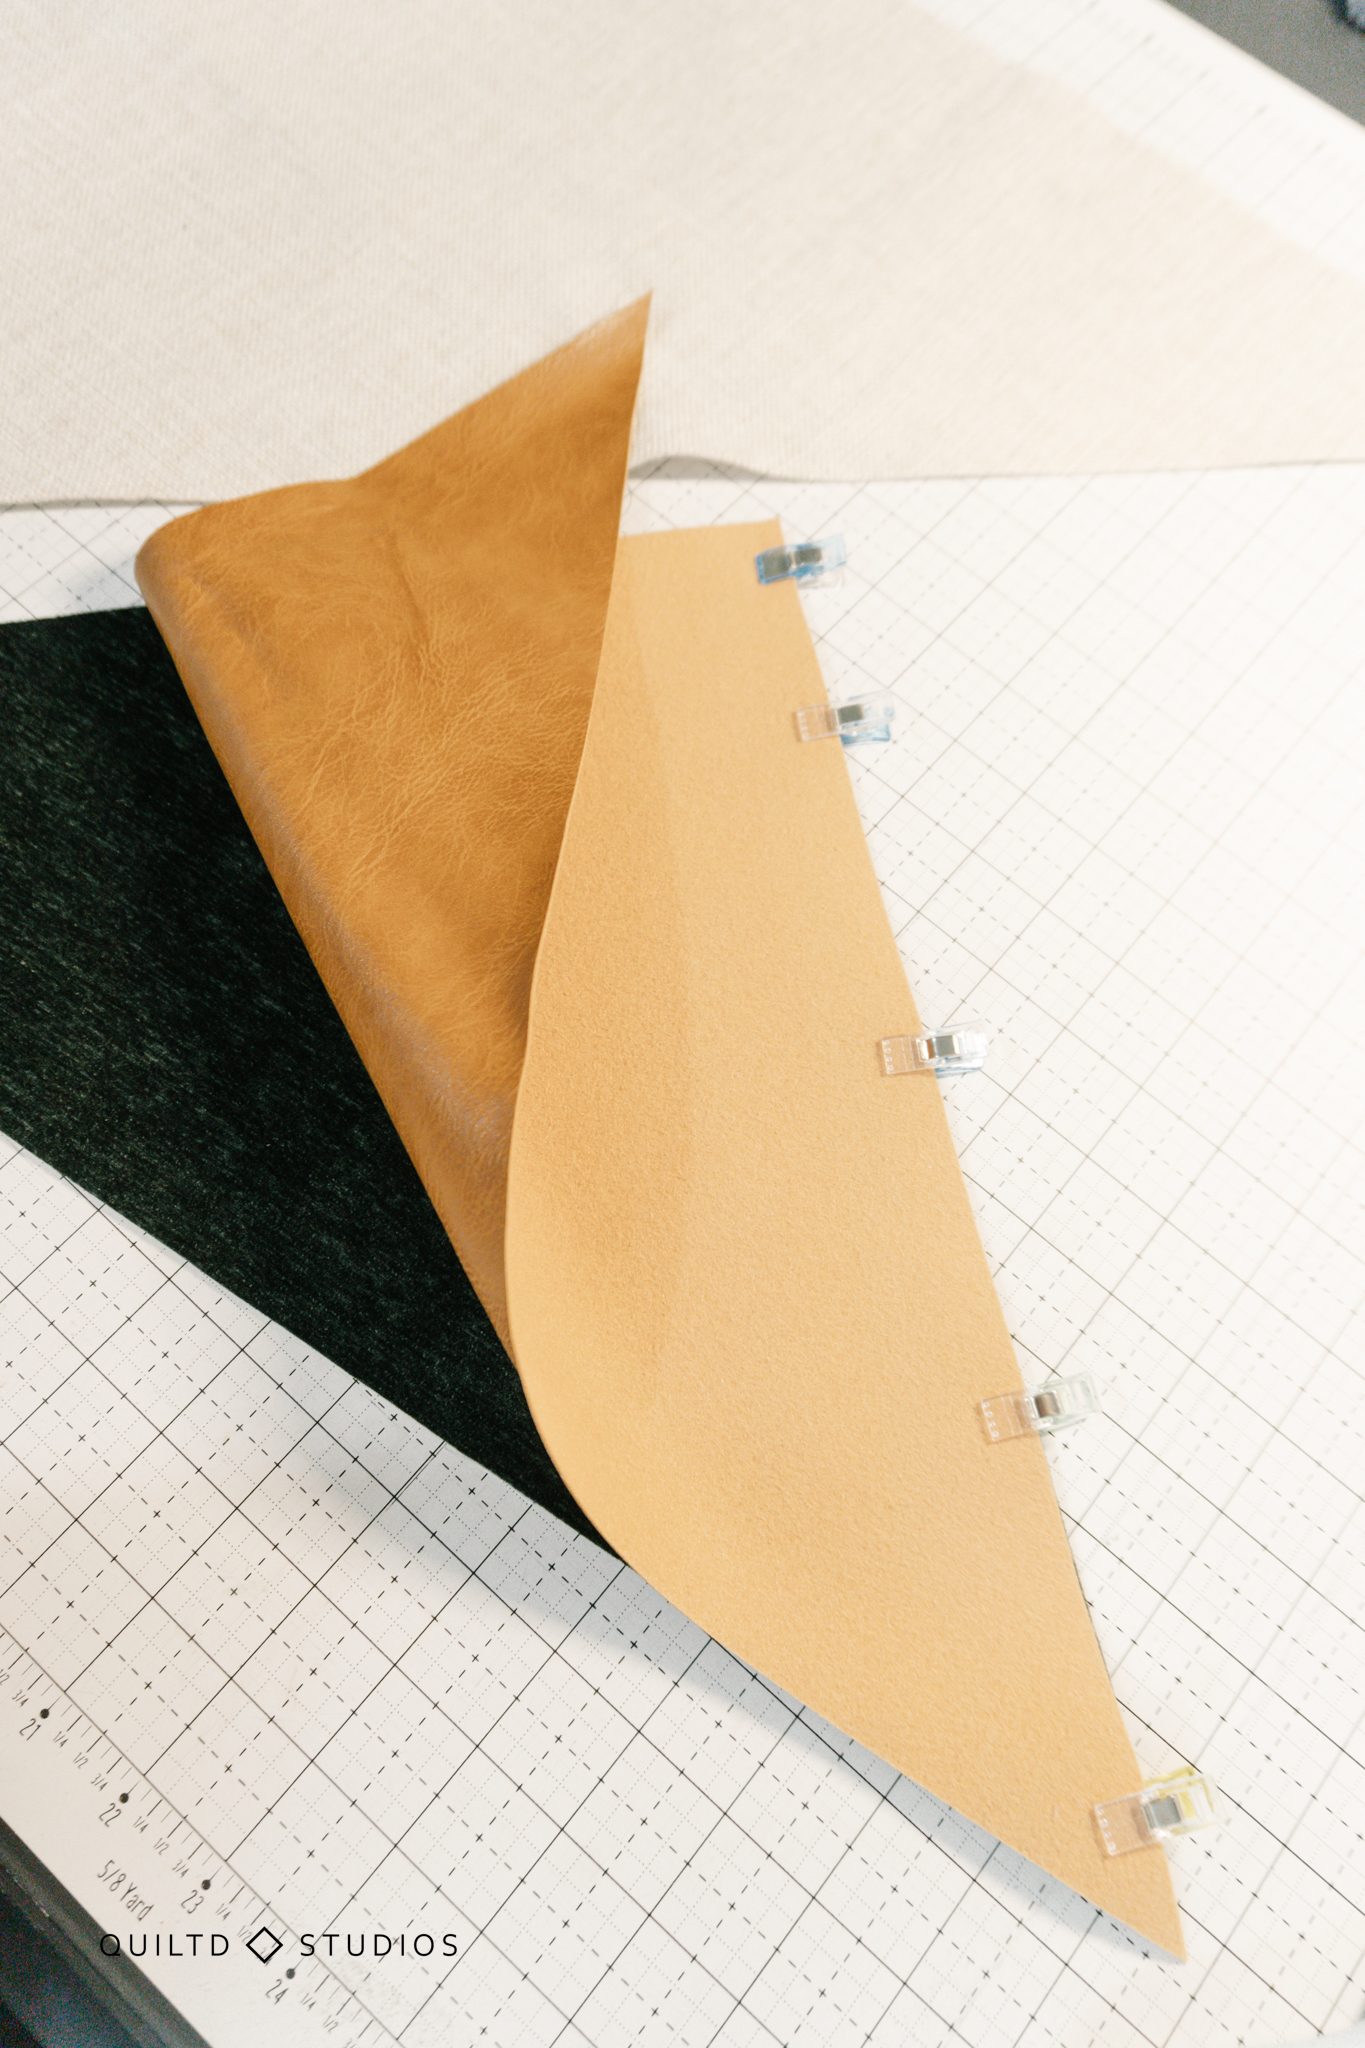 Finger press the seam open. It’s okay if it’s not laying perfectly flat just do your best to hand press it down.
Sew right sides together the velvet/leather unit with the larger right triangle, lining up both of the longest sides of the triangles.
You should have a square of fabric. Smooth out the fabric with your hands or mist lightly with water to help flatten it.
Trim the square to be exactly 20”x20”. Repeat all of these steps to create a second pillow top.
How to Sew A Zipper Into the Pillow Cover
Okay I know that maybe you’ve had a zipper mishap in the past, but I promise this is remarkably easy. Mostly because the zipper is installed face down so it makes it extra easy.
Let’s create a guide for where our zipper will sit.
First measure 1/2″ (for thicker fabrics use 5/8″) from the bottom of the pillow backing. Mark with fabric safe pen (I use a disappearing ink pen).
Next lay your zipper down and center it between the two marks. Mark ½” in past the edges of the zipper. 
Remove the zipper and using a ruler mark a line 5/8” for thick fabrics, 1/2″ for thin fabrics down from the top, side to side.
Lay the pillow top and the backing right sides together and pin the top together.
We are going to do a standard straight stitch from the side mark to the zipper mark (the mark will goes past the zipper), on both sides of the square backing.
 Using your marks as a guide, sew a straight stitch (back stitching a few times) from the edge to the zipper mark using a 1/2″ (5/8″ for thicker fabrics, I used just under 5/8″) seam allowance.
As you hit the zipper mark, change your stitch length to 4-5mm to create a basting stitch across the line you drew.
Sew the basting stitch until you hit the other side zipper mark. Change back to standard straight stitching and stitch to the other side of the pillow.
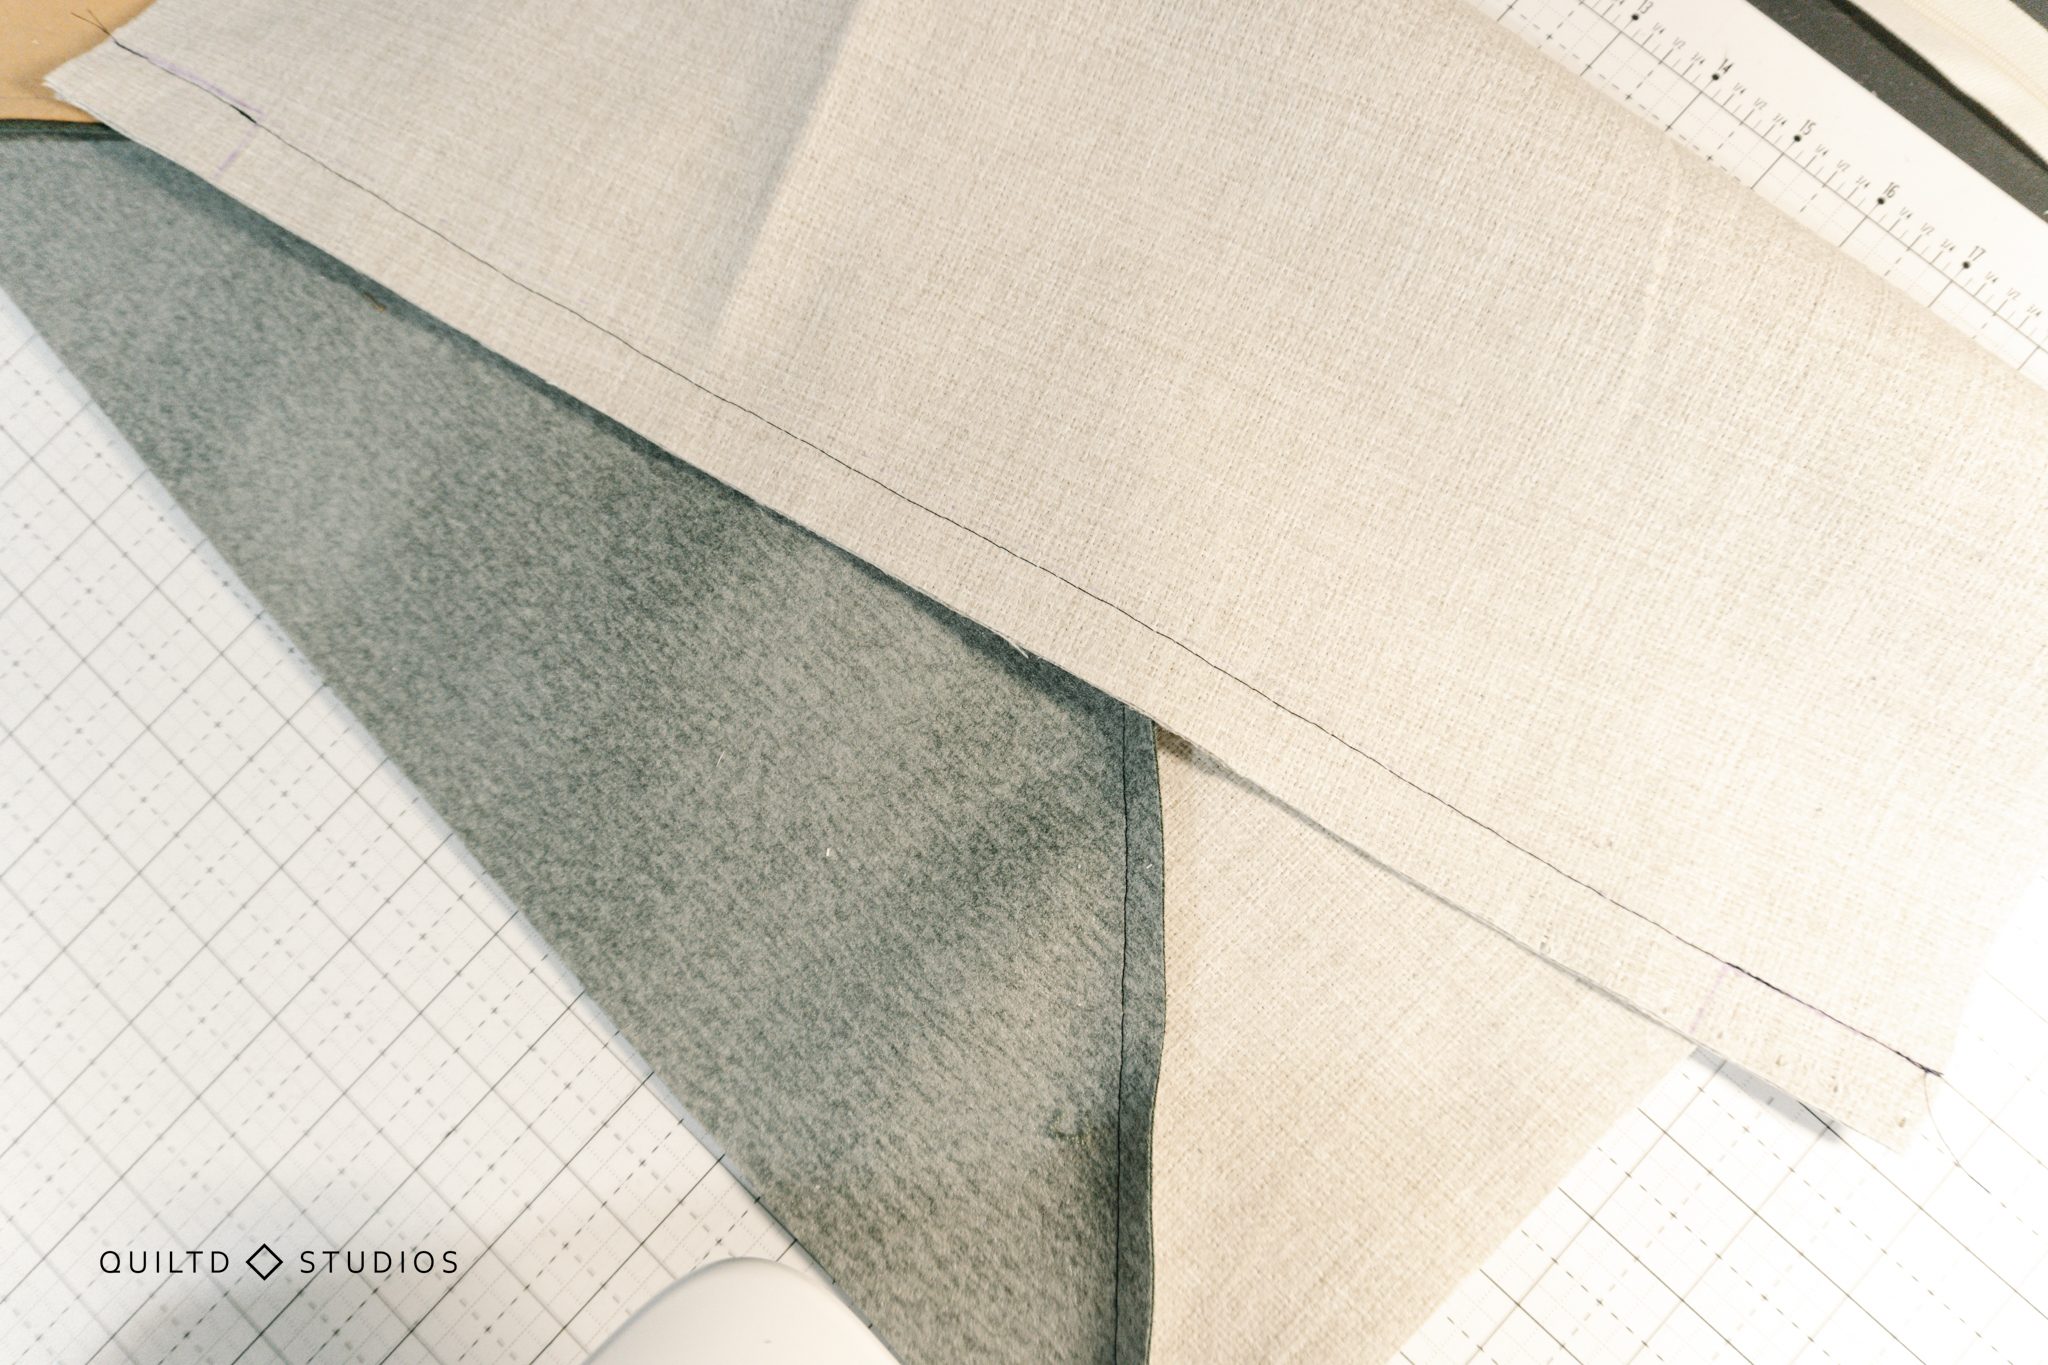 Once you’ve sewn the seam, flip it open and finger press that seam open, this is where our zipper will lay face down. For my fabrics which were thicker, I pinned the seams down to make the next steps easier.
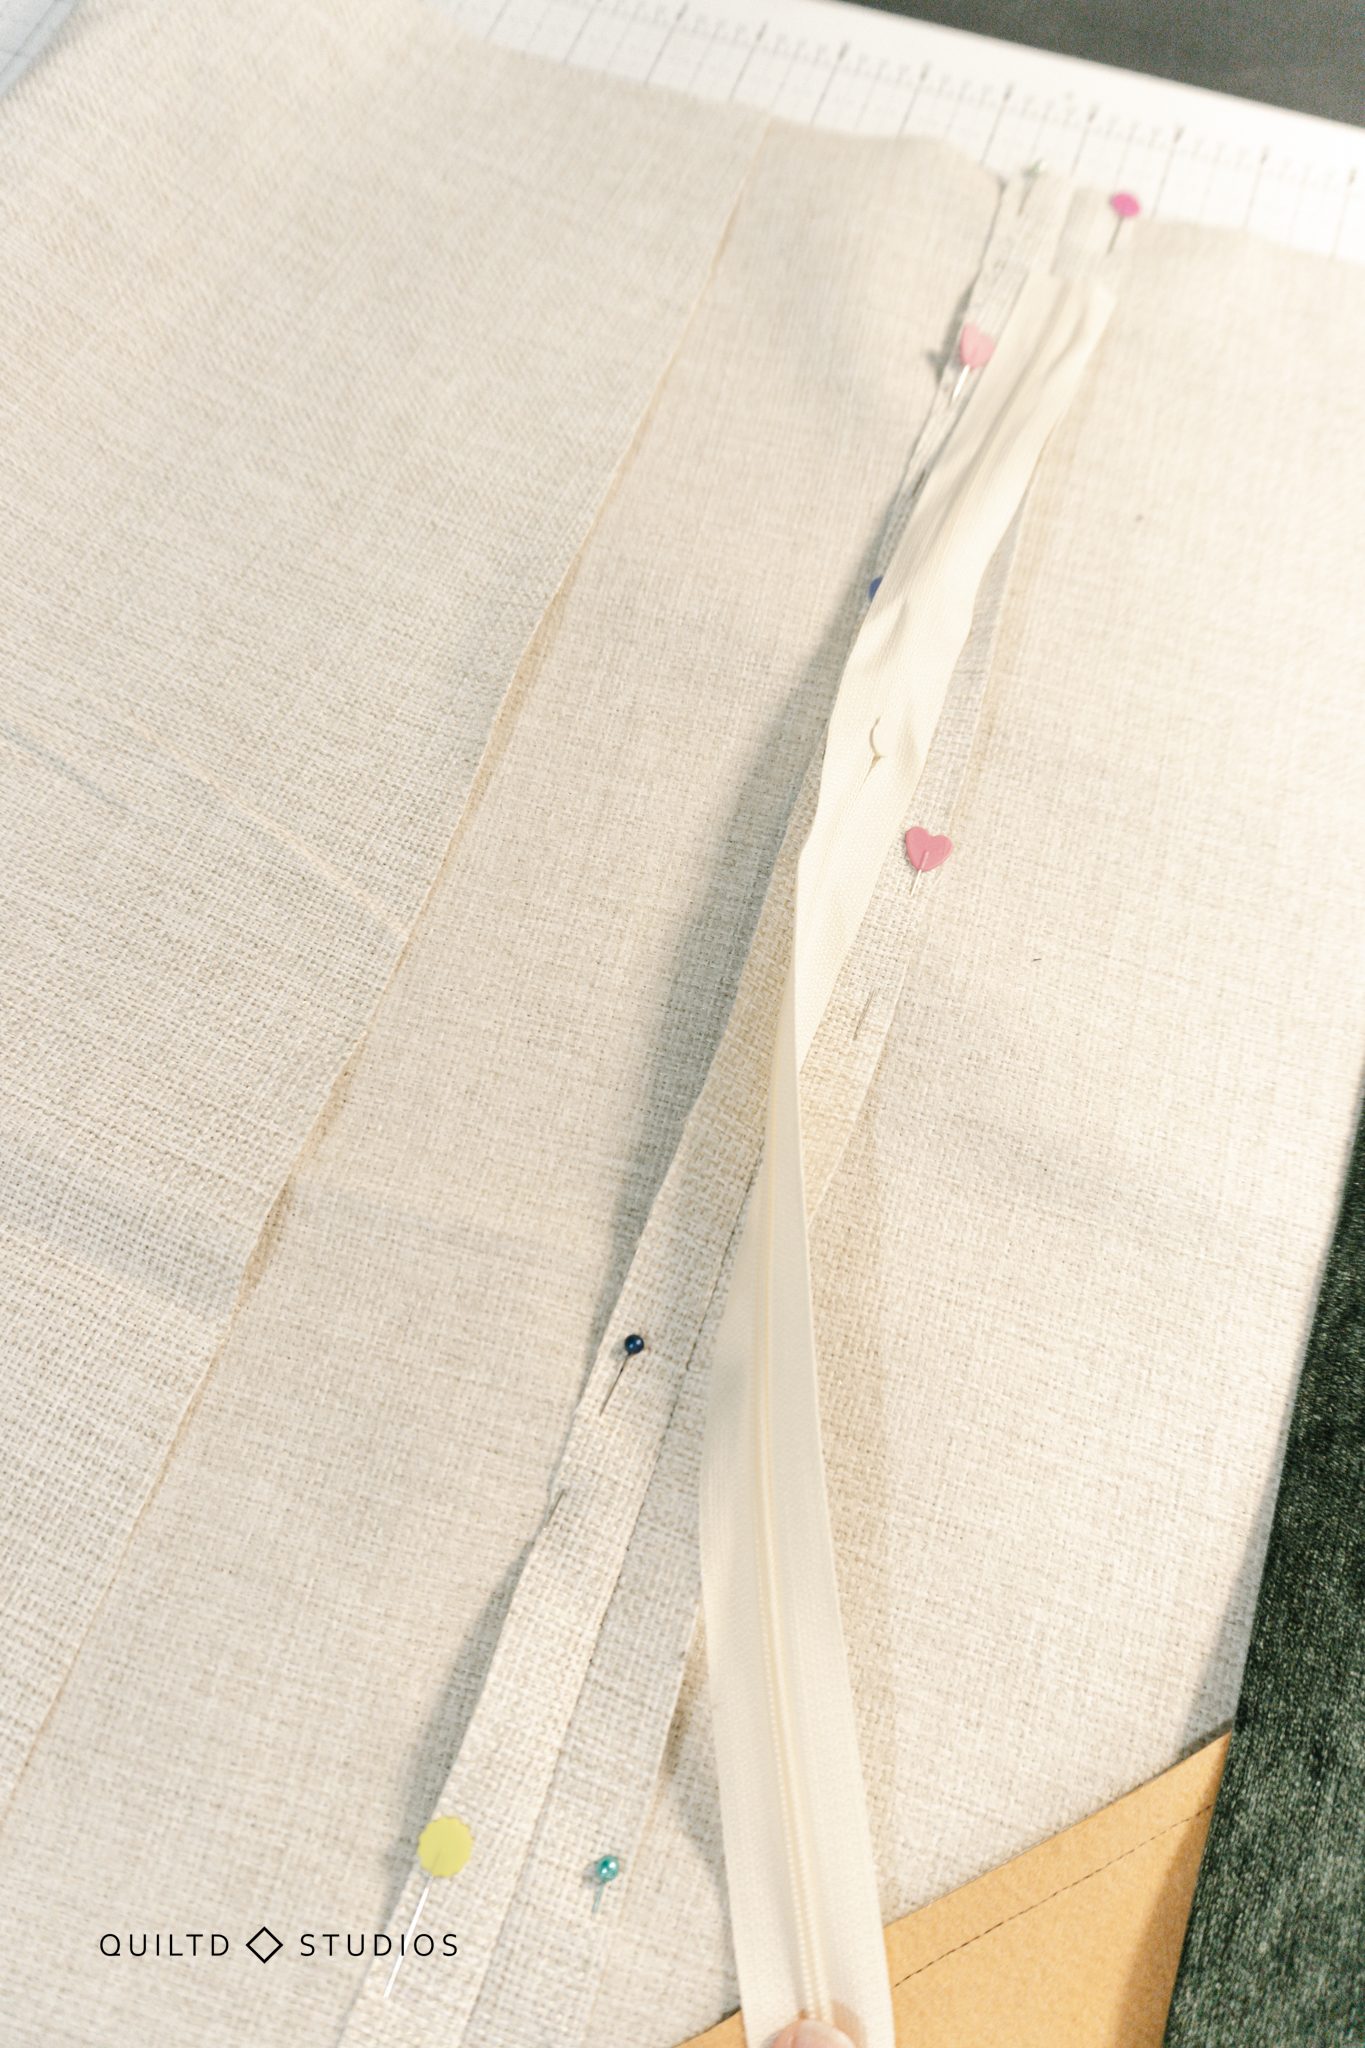
Lay the zipper face down centered over the seam allowance. The zipper should rest directly above the basting stitches (about ½” of straight stitching will be under the edges of the zipper).
 Pin the Zipper Down and Install your Zipper Foot.
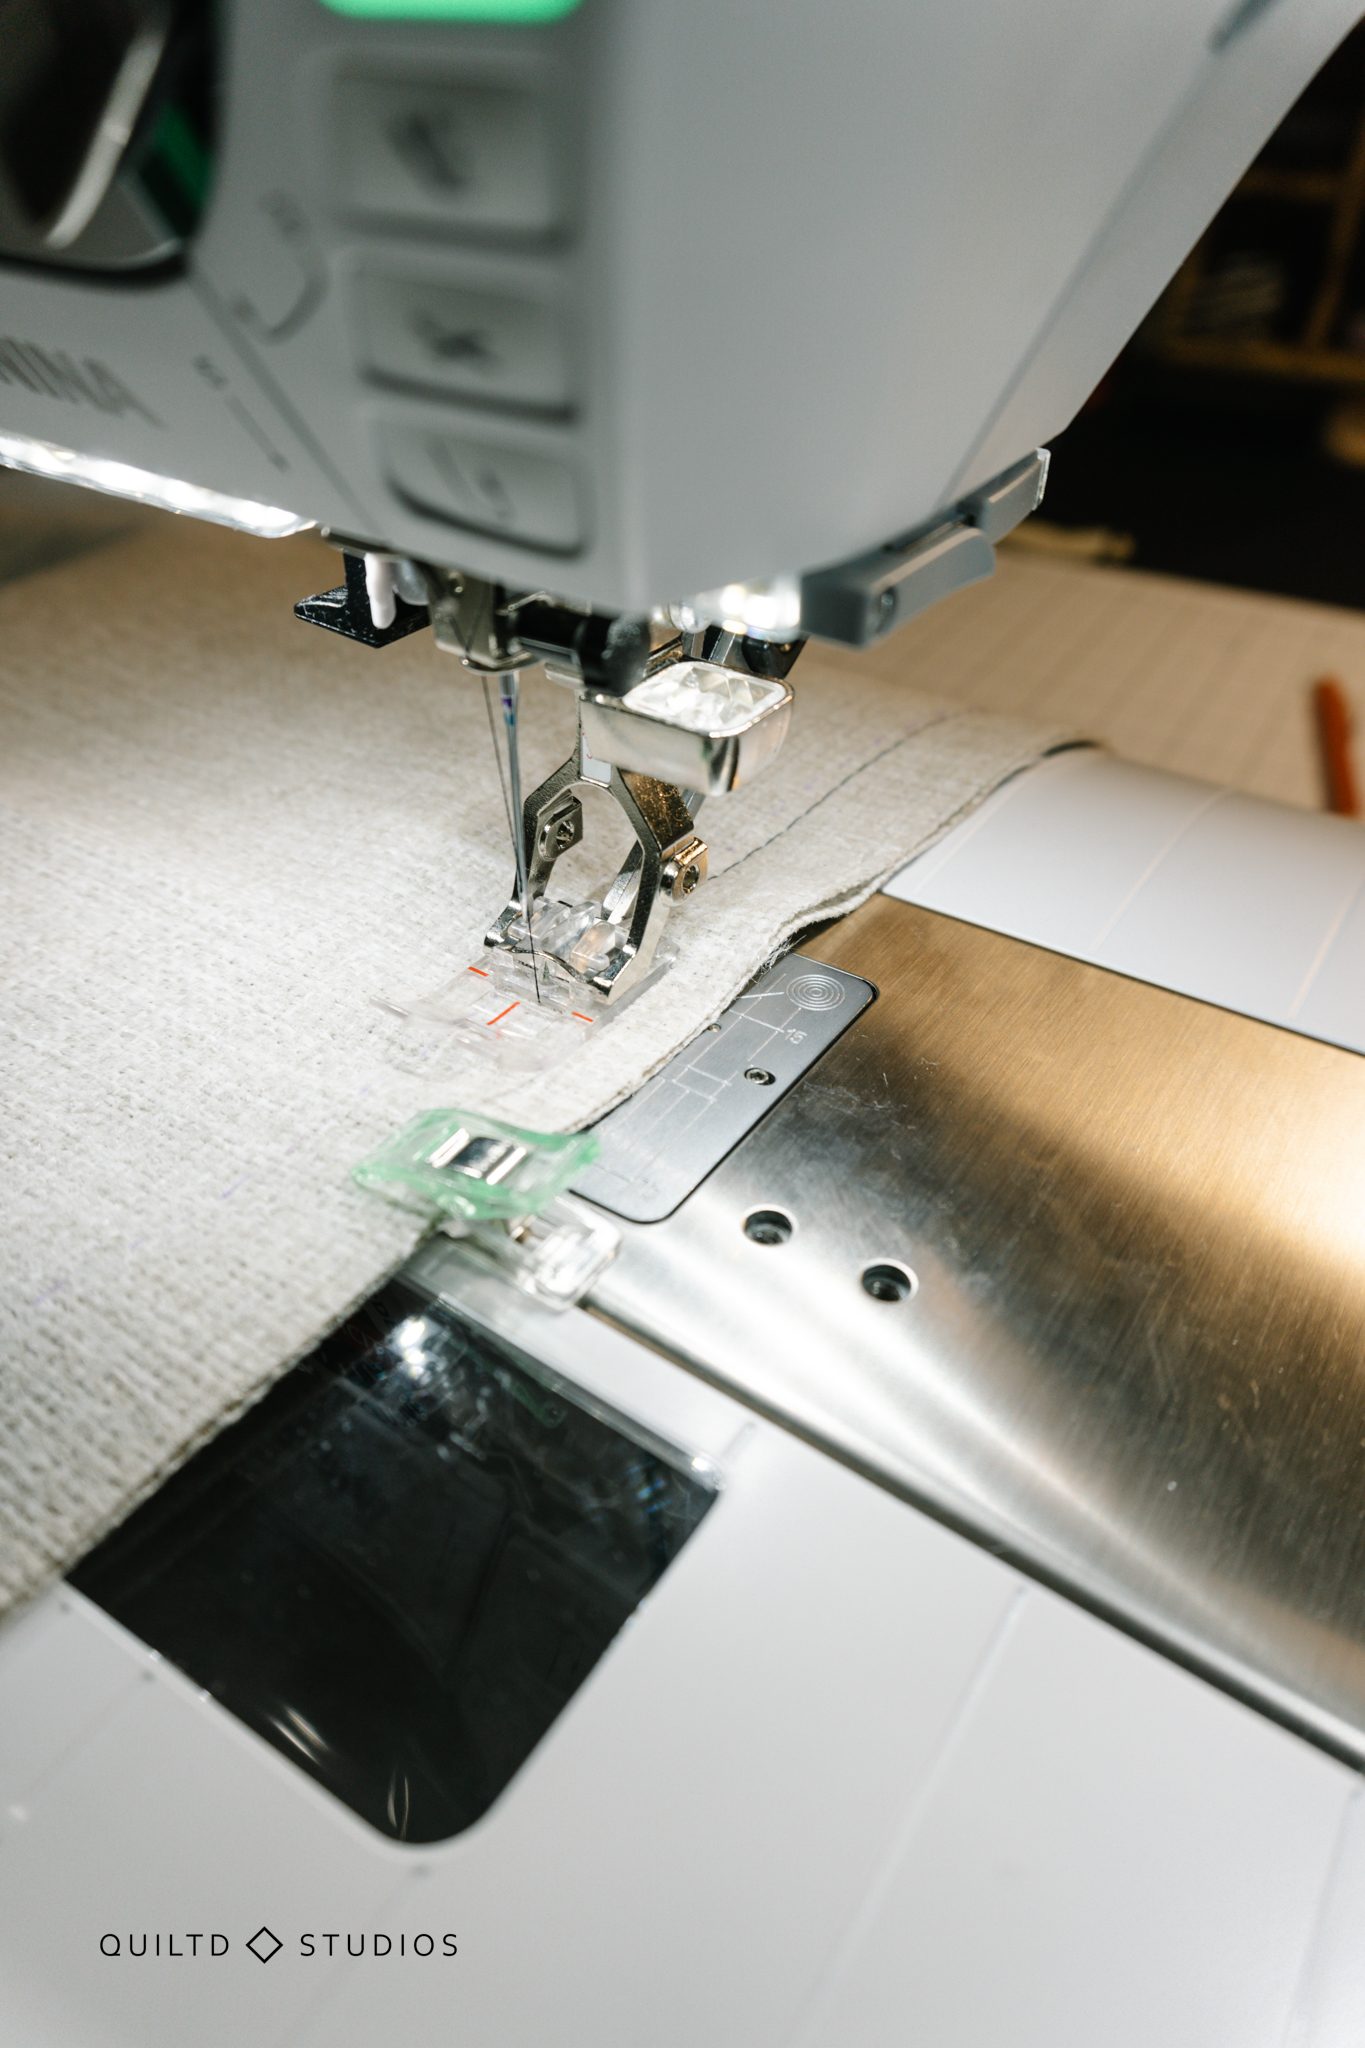
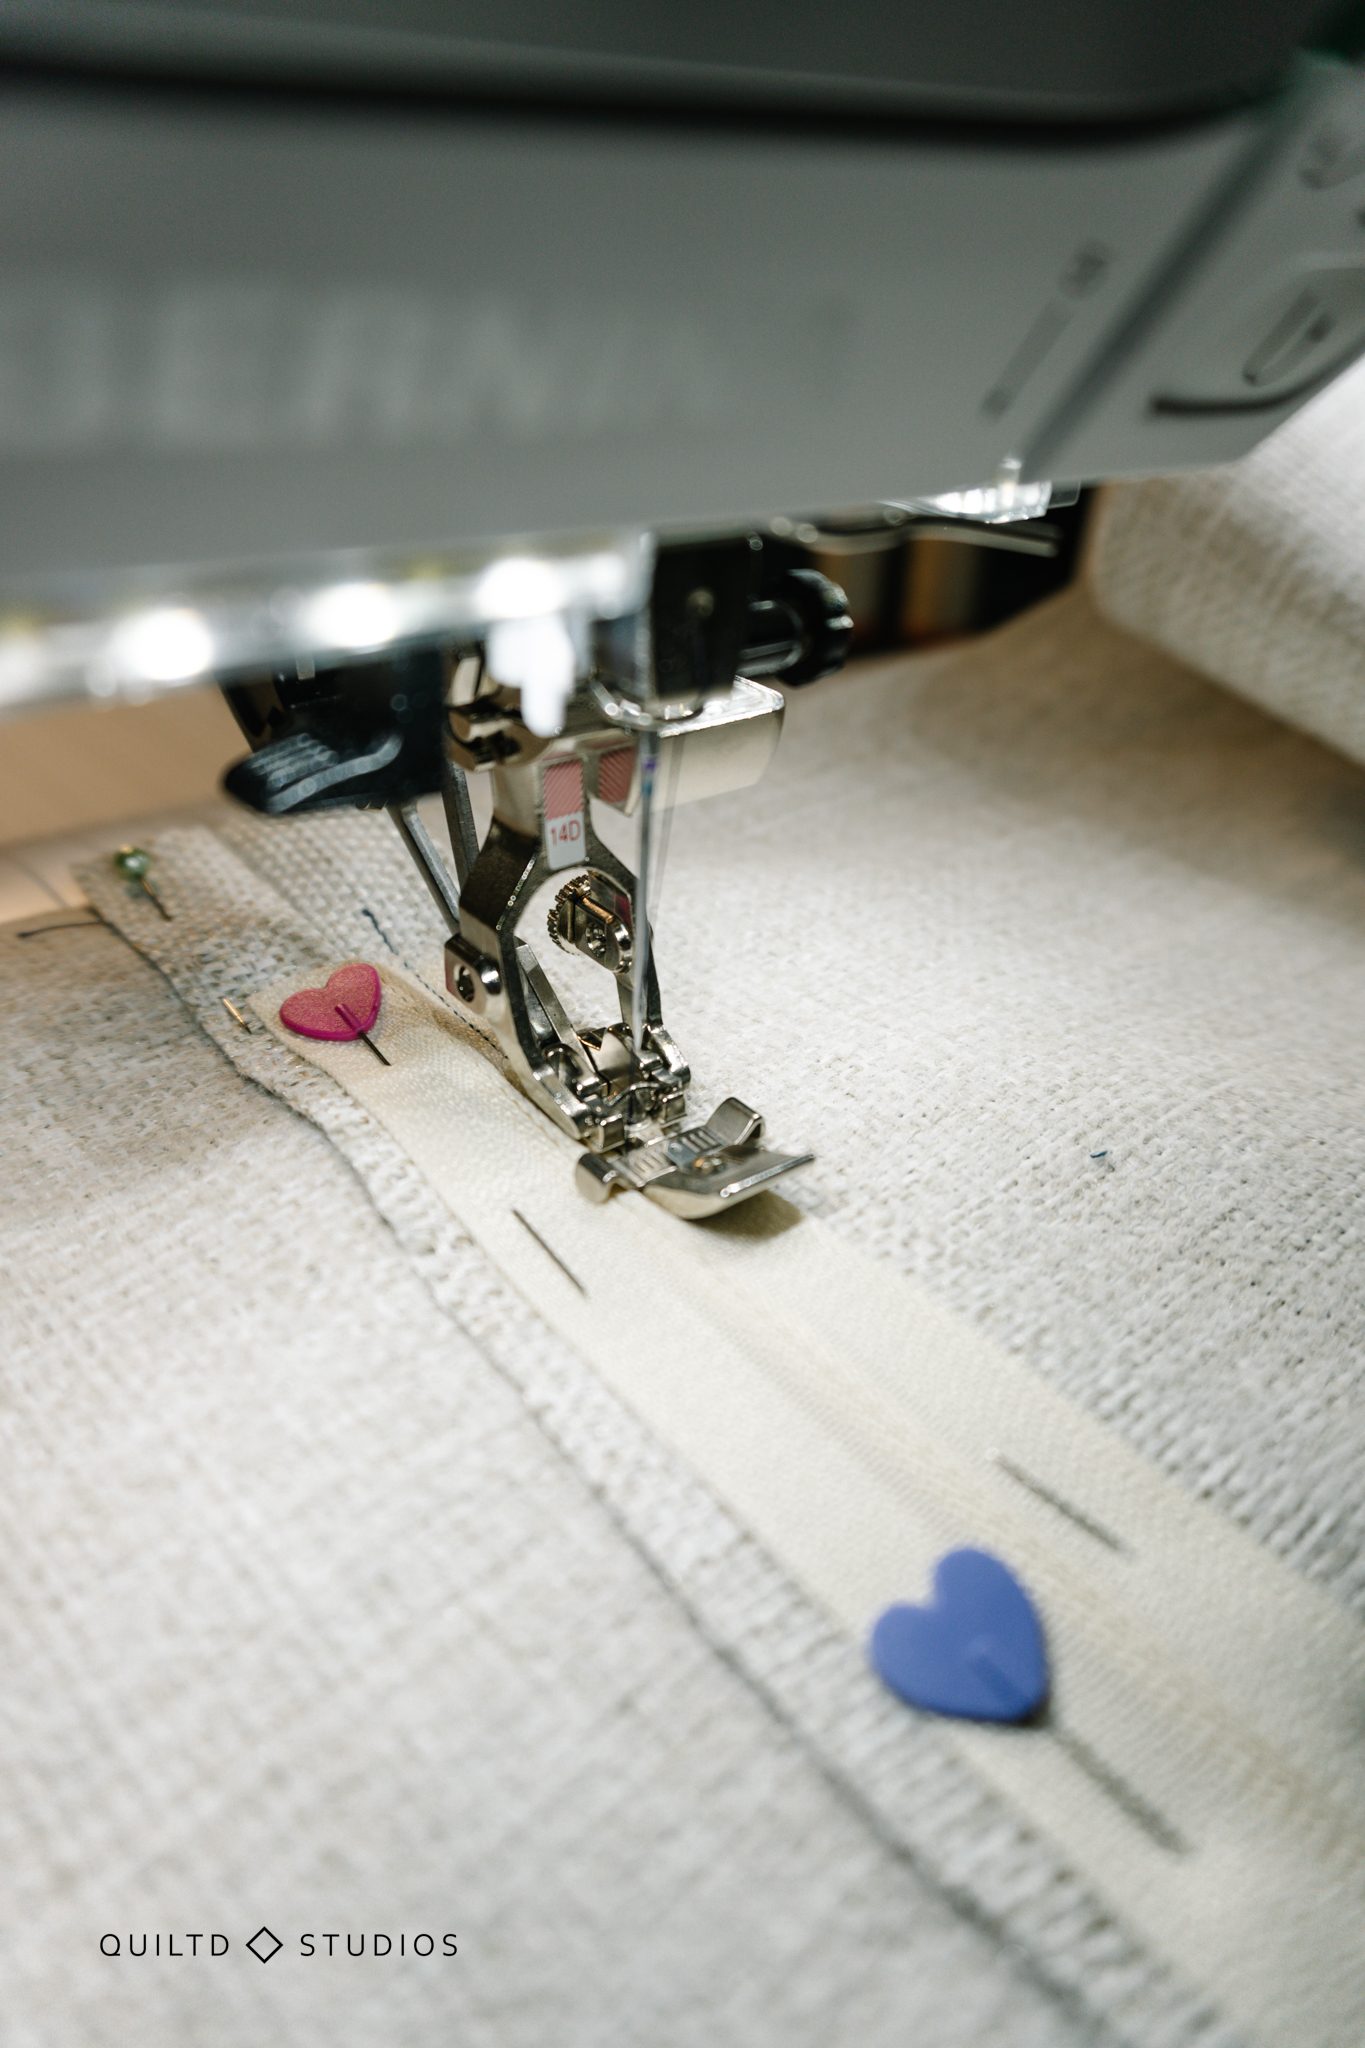
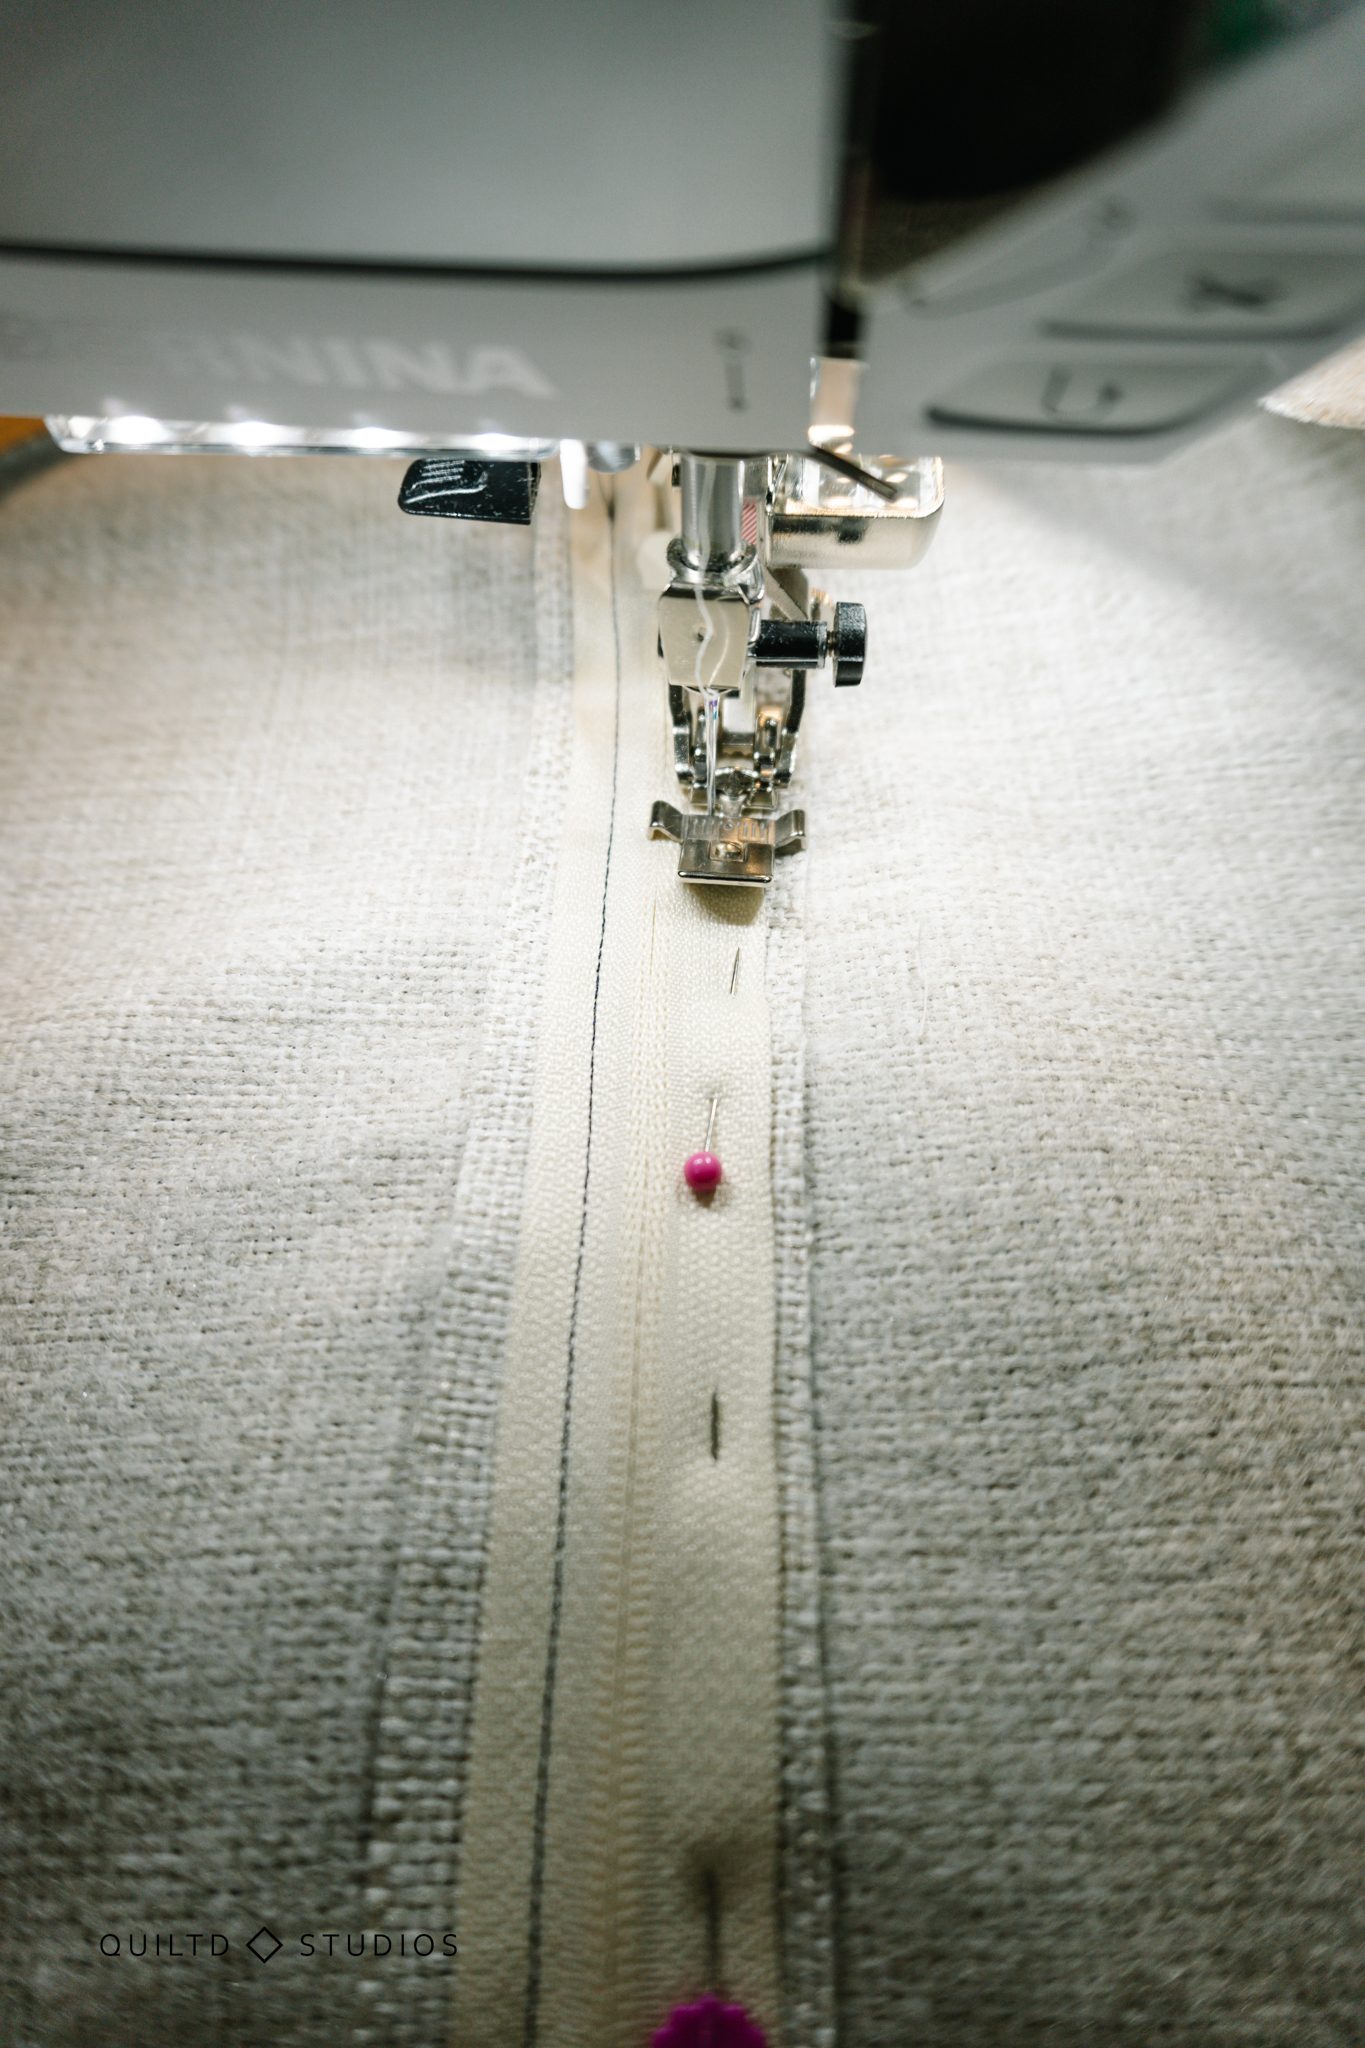
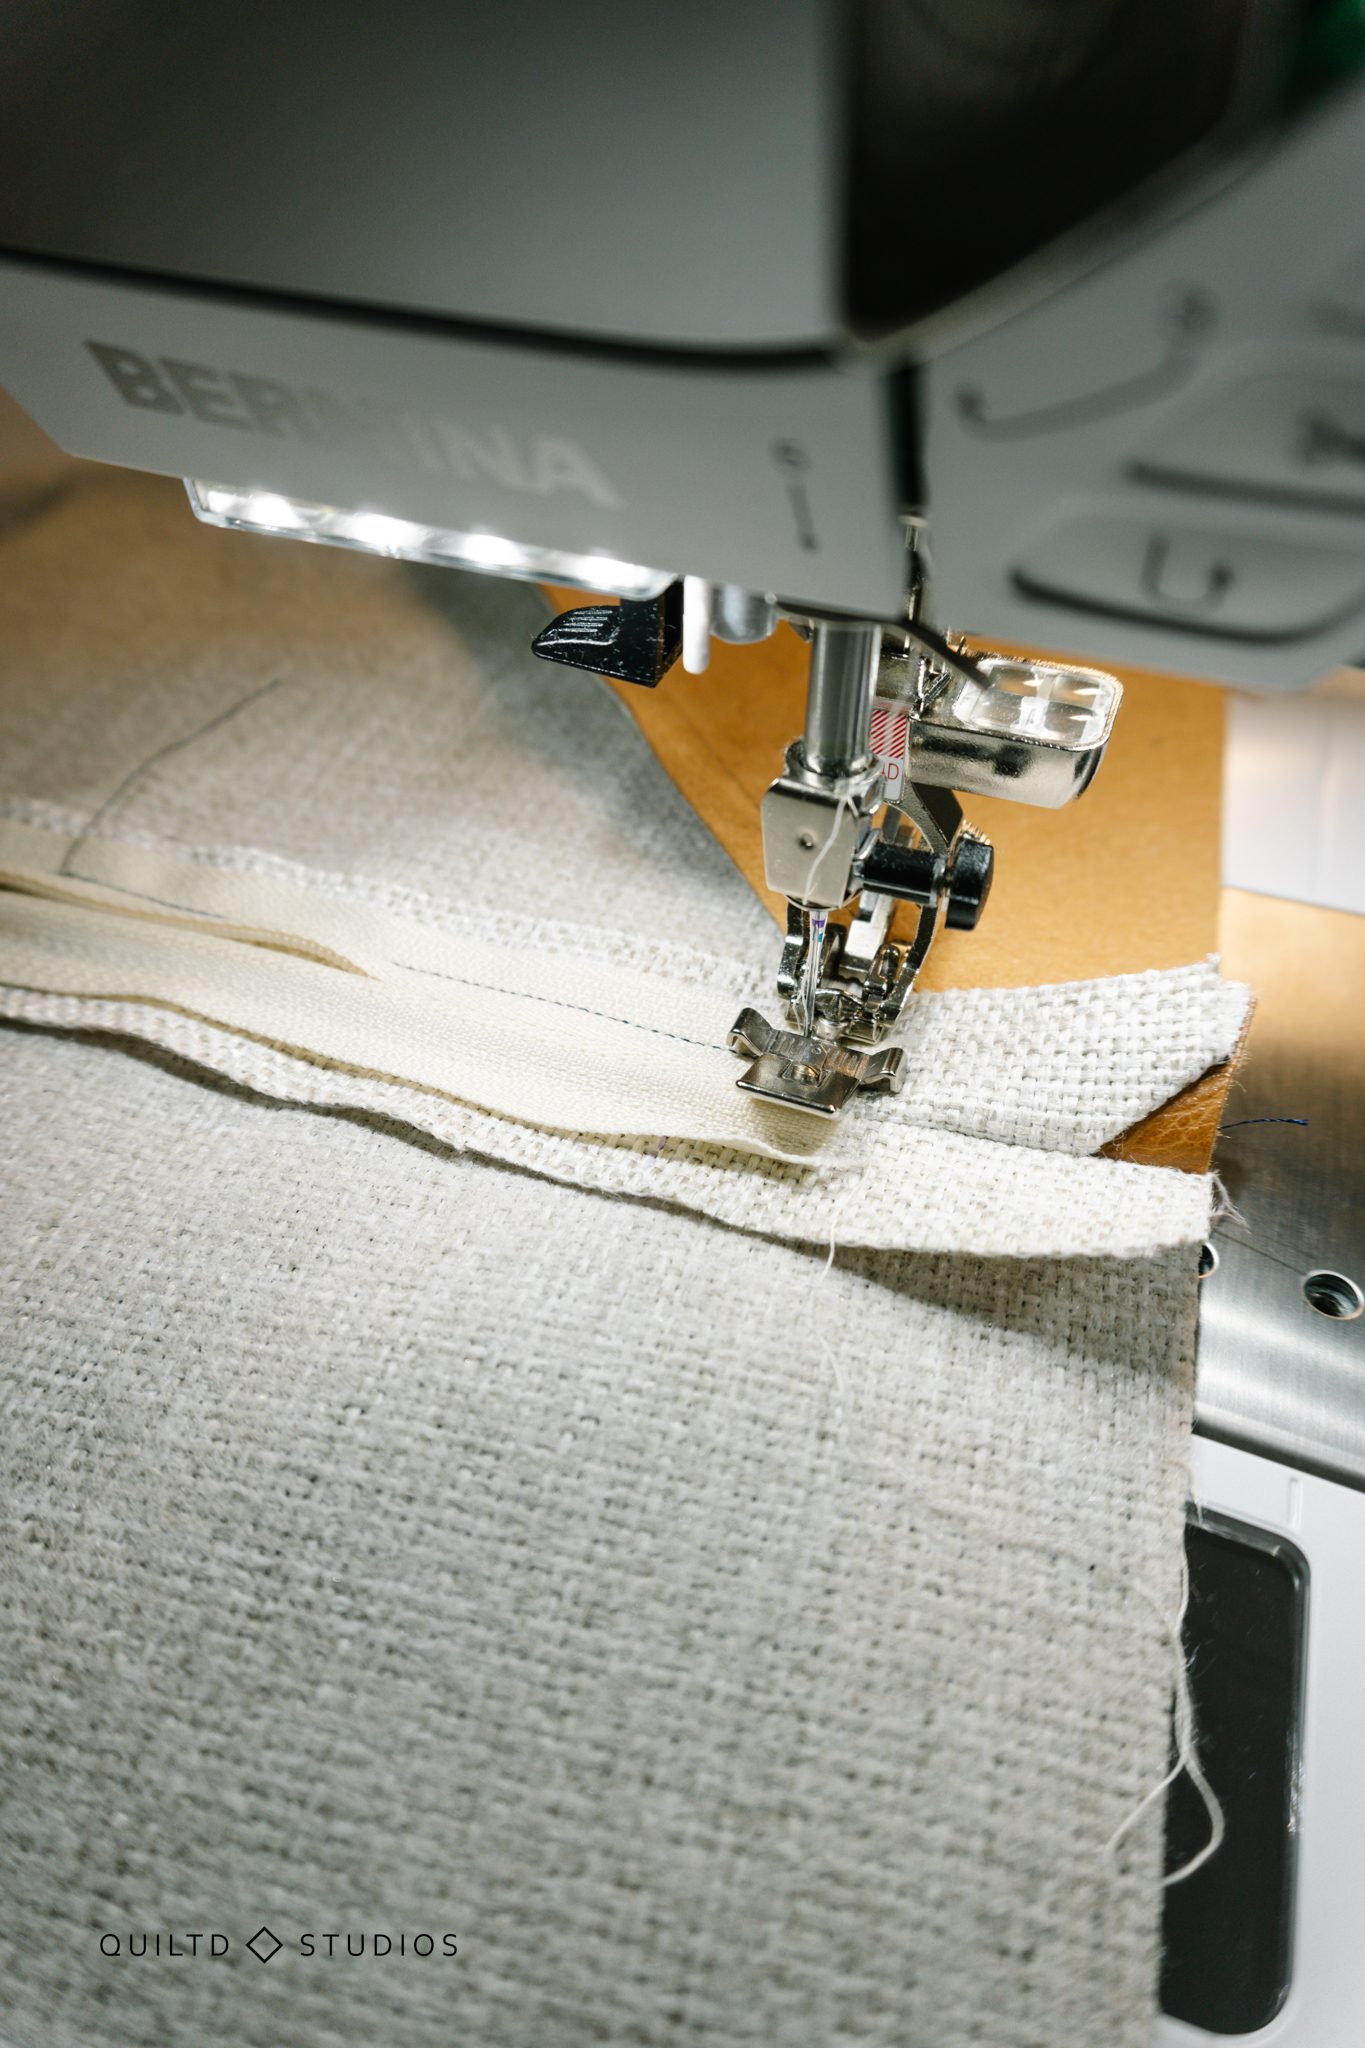
Now let’s move onto the zipper! Because the zipper is facing down, it is SO MUCH easier to install, you’ll sew about ¼” from the zipper teeth. I lined up my zipper foot edge with the edge of the zipper tape, moved my needle to the left 1 or 2 positions.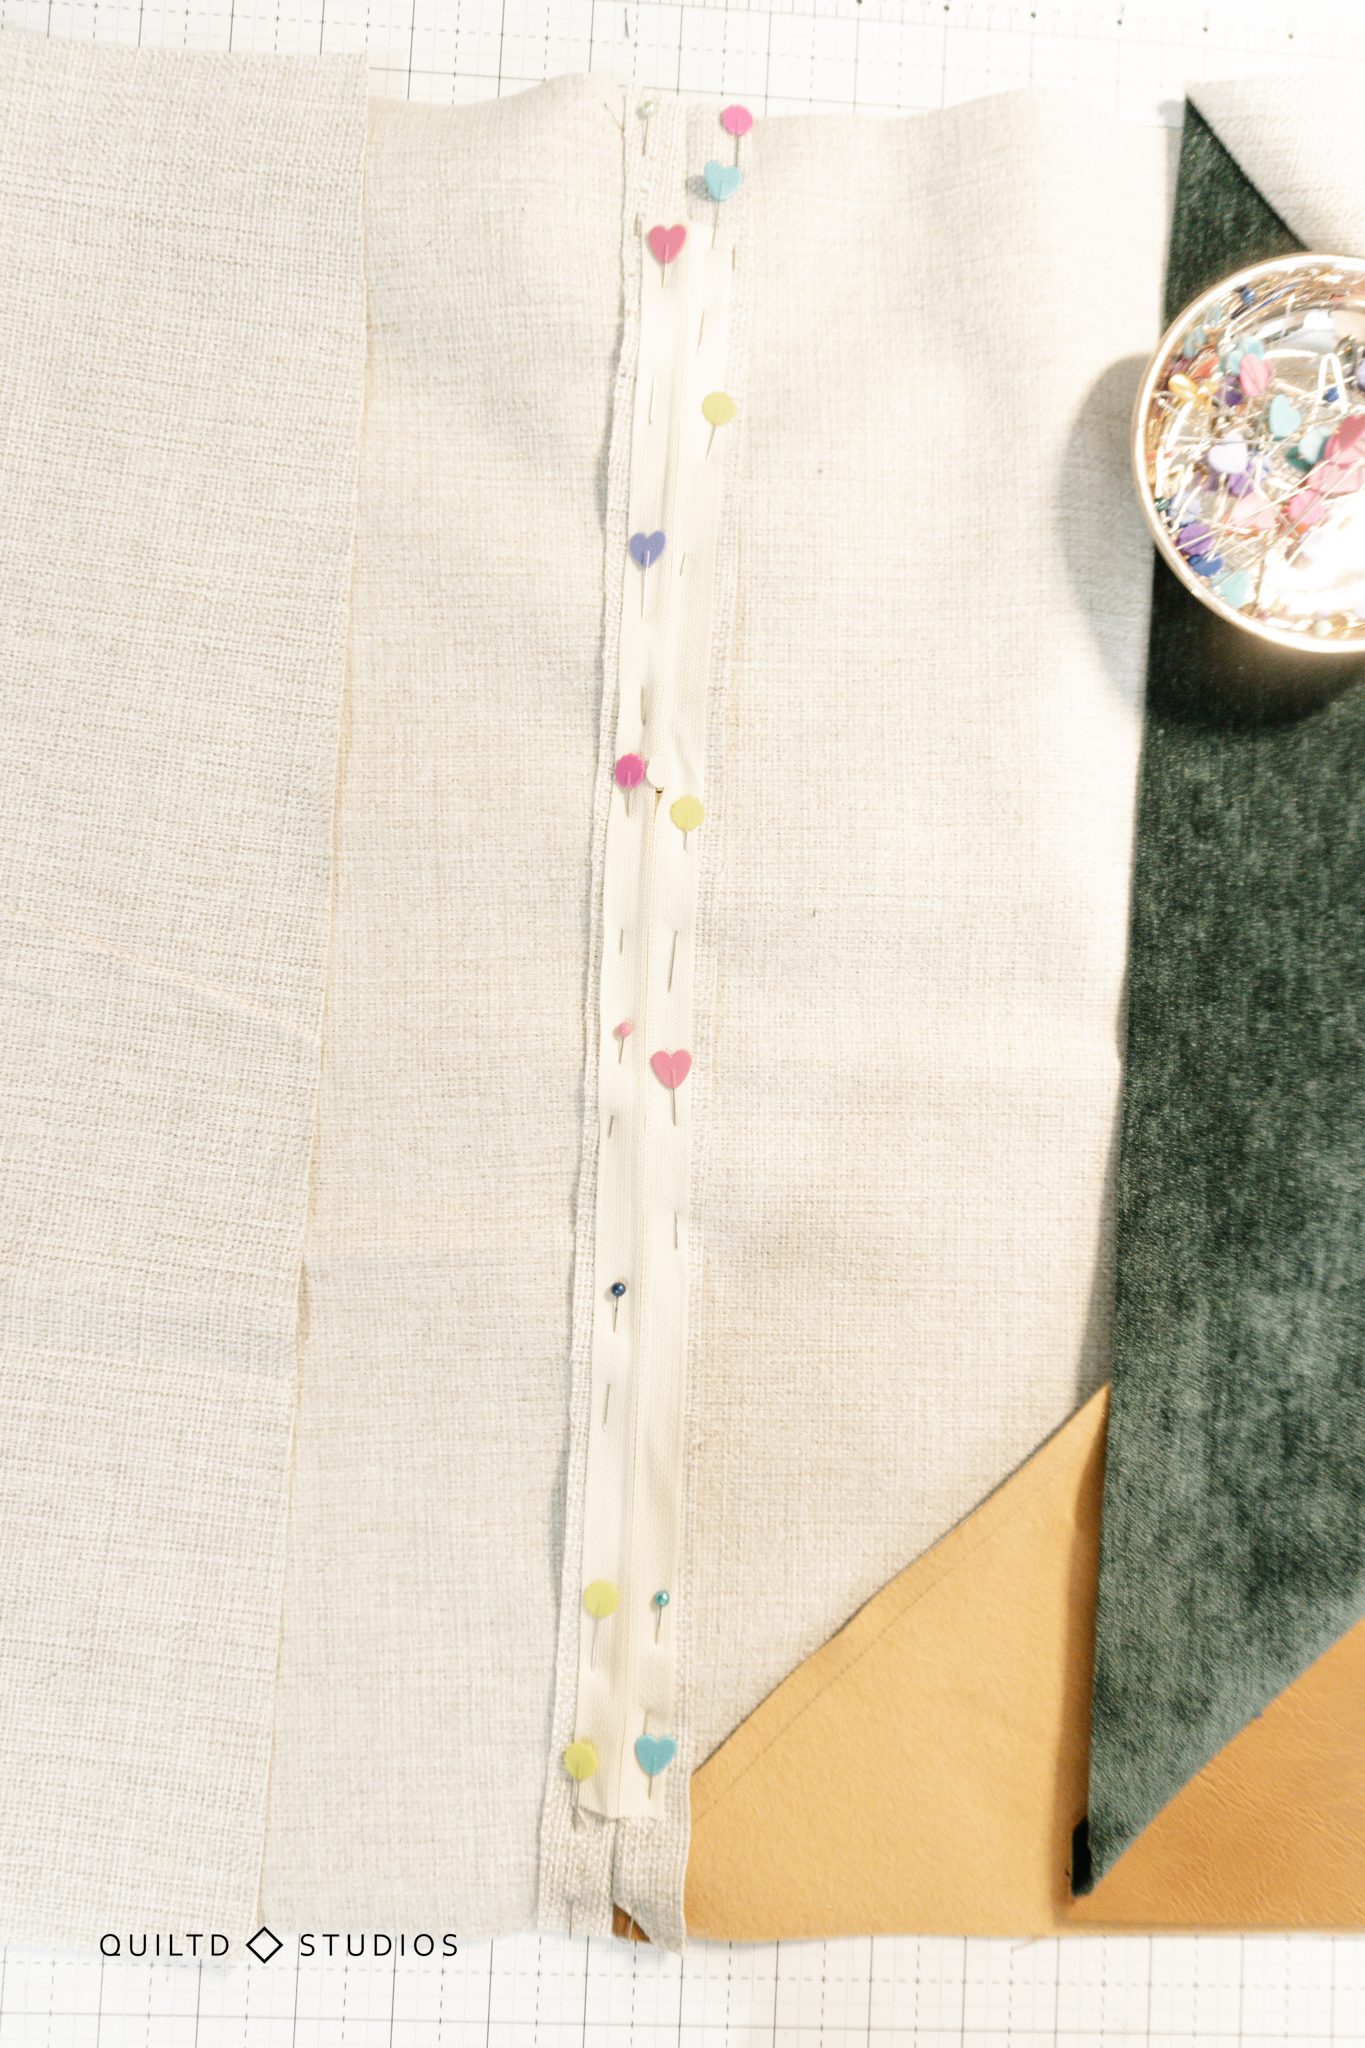
Start stitching across one side of the zipper tape (I started about ½” from the zipper).
When you reach the zipper pull, needle down, foot up, slide the zipper back so you can pass it easily).
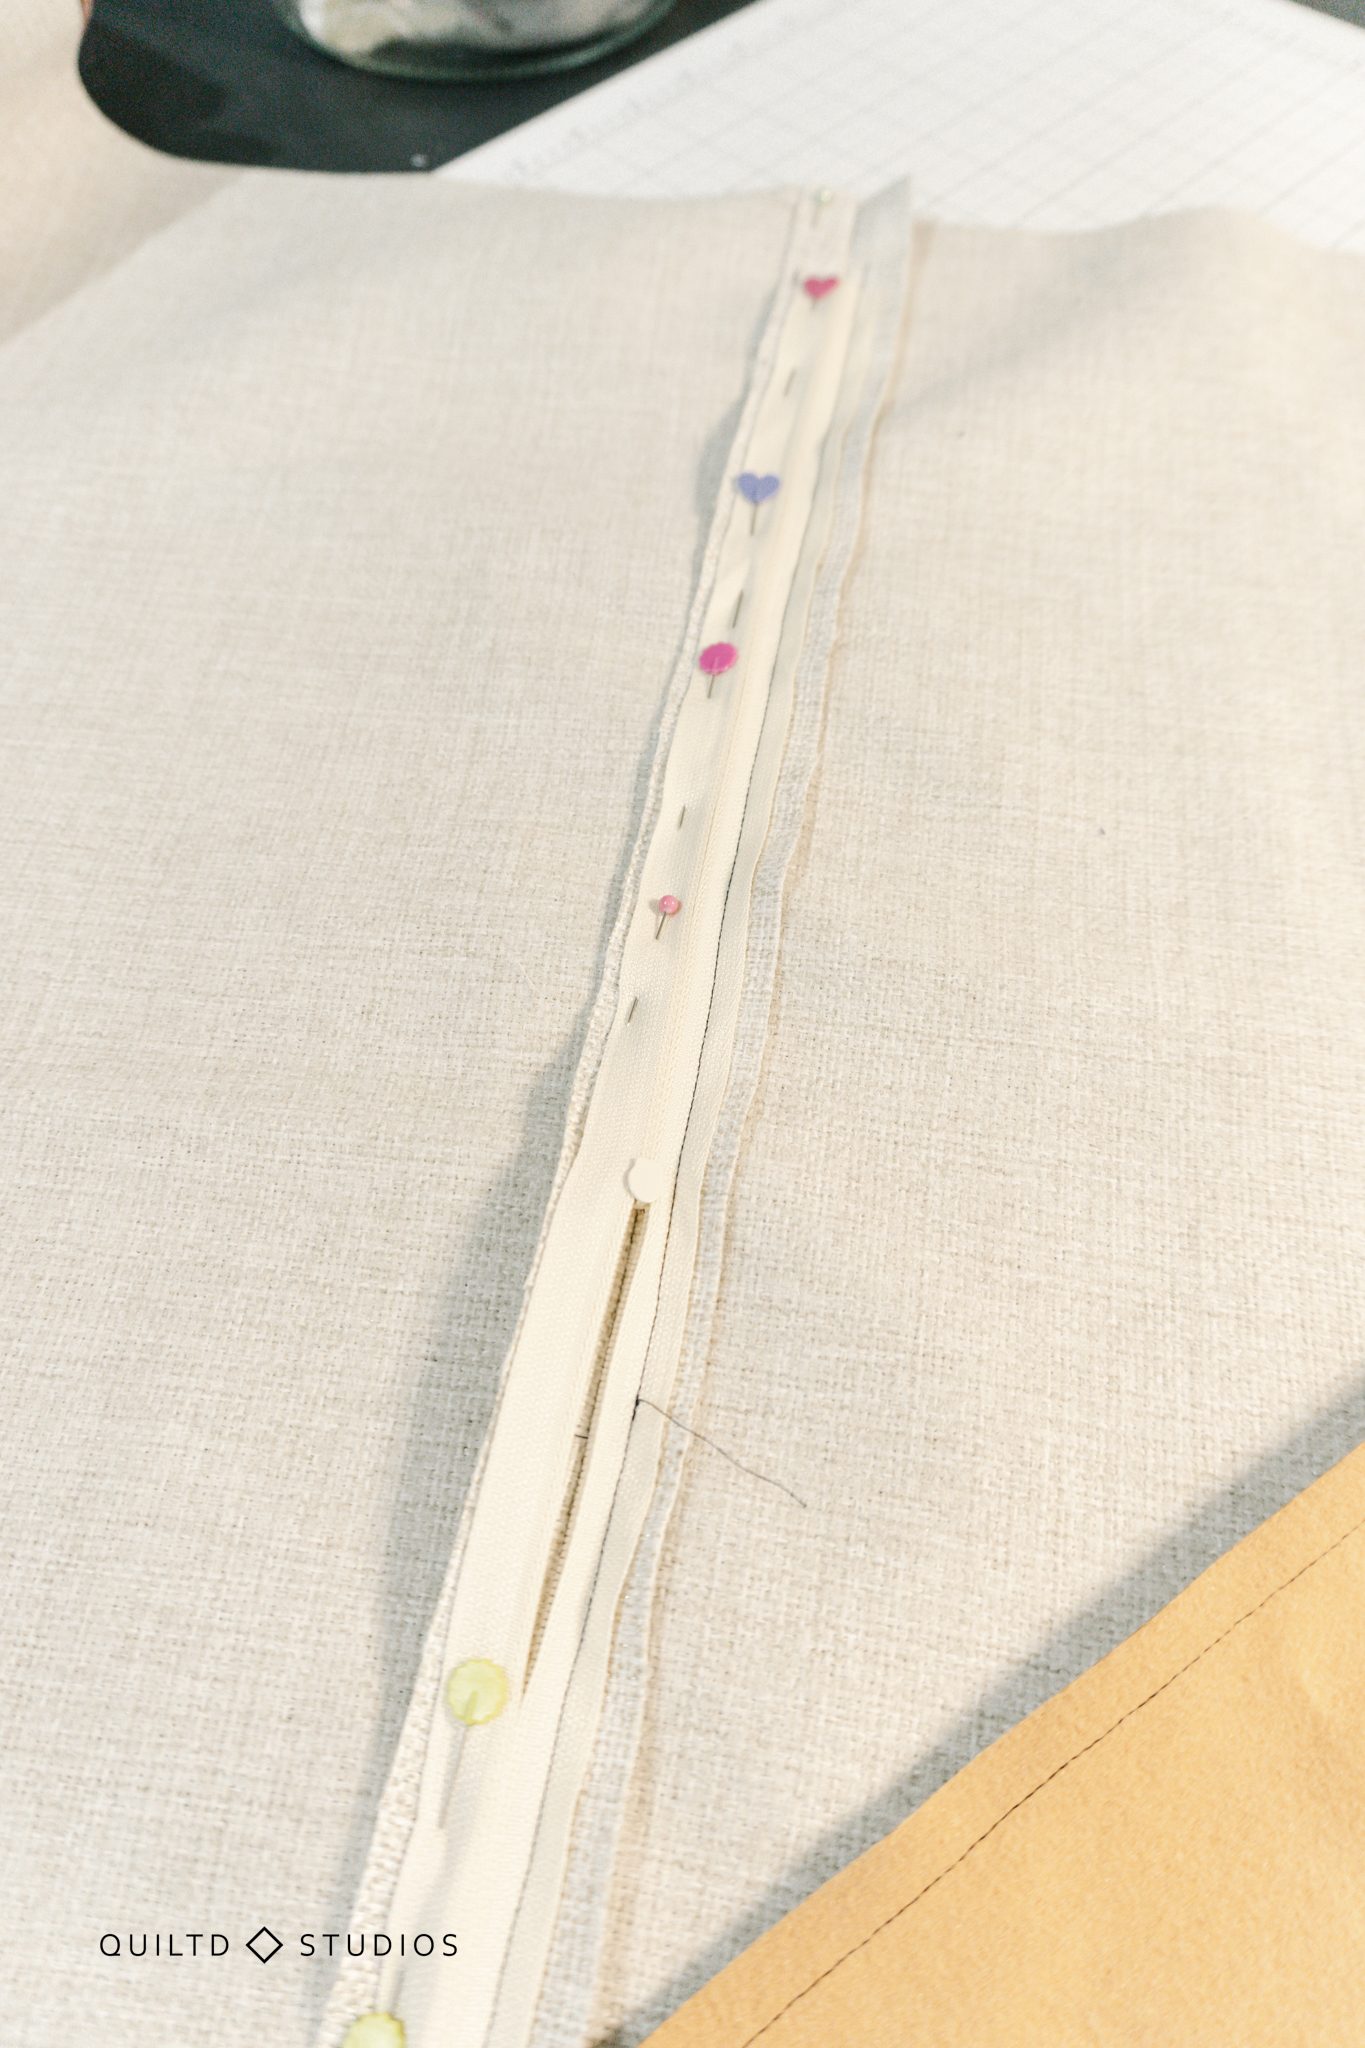
Keep stitching until you reach the opposite side. Repeat on the opposite side of the zipper tape, securing it to your pillow.
Now stitch perpendicular to the zipper over the top and bottom of the zipper to prevent it from coming off. If you prefer not to use your sewing machine over the zipper teeth feel free to hand stitch.
That’s it!! You did it! The zipper is in and you are about to see magic.
Turn the pillow over and carefully unpick the basting stitches. This should reveal your hidden zipper! I used a dark thread so you could see the stitching, but I would choose a color that coordinates with your lighter fabric color.
Finishing the Pillow Cover with Zipper
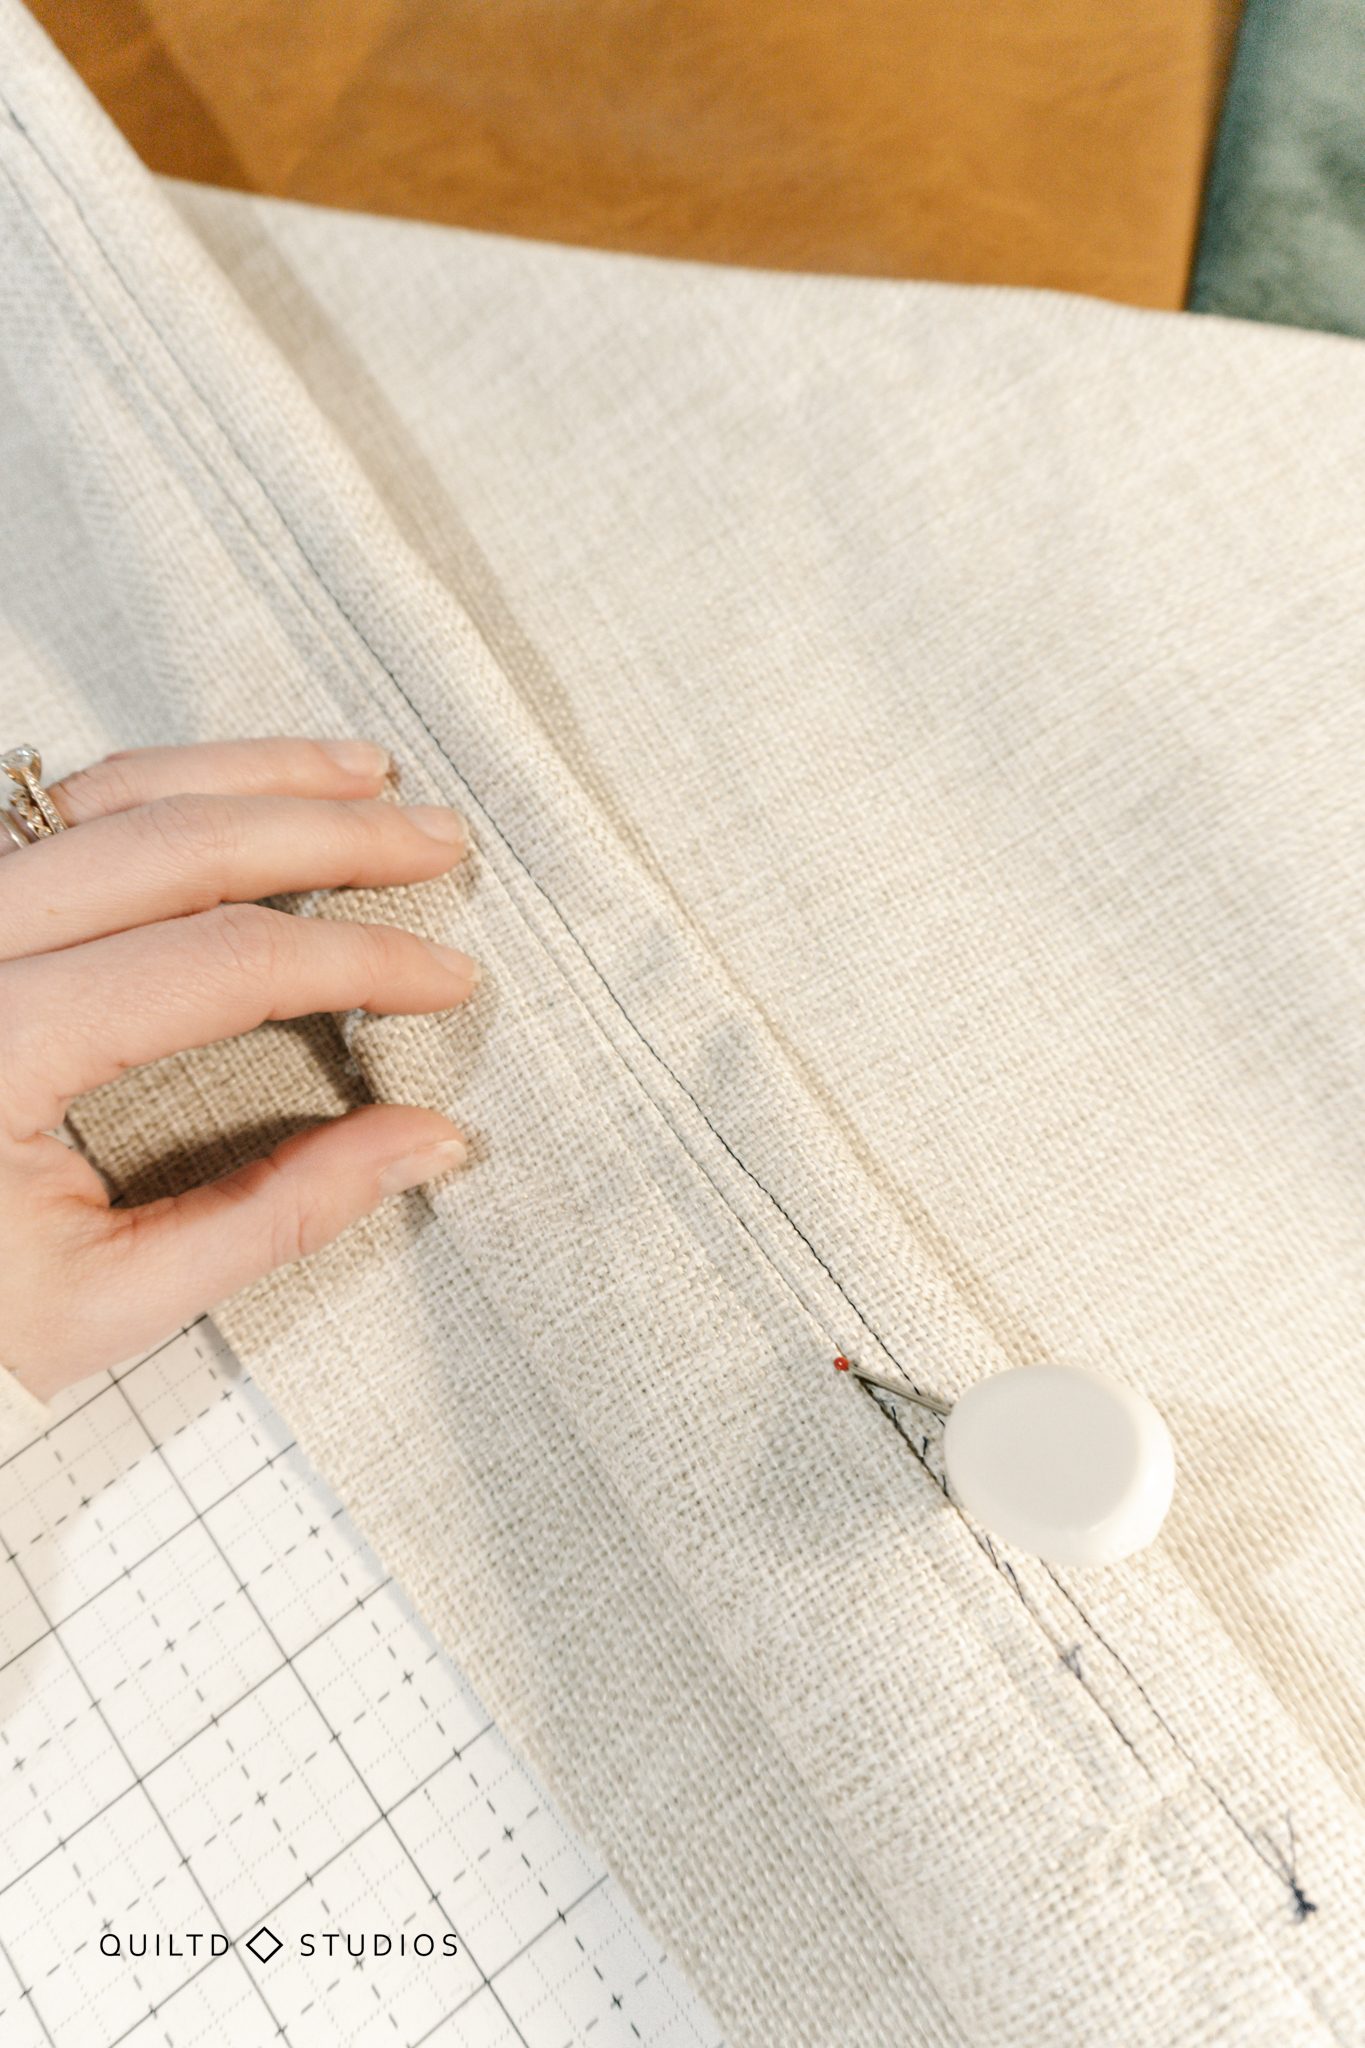
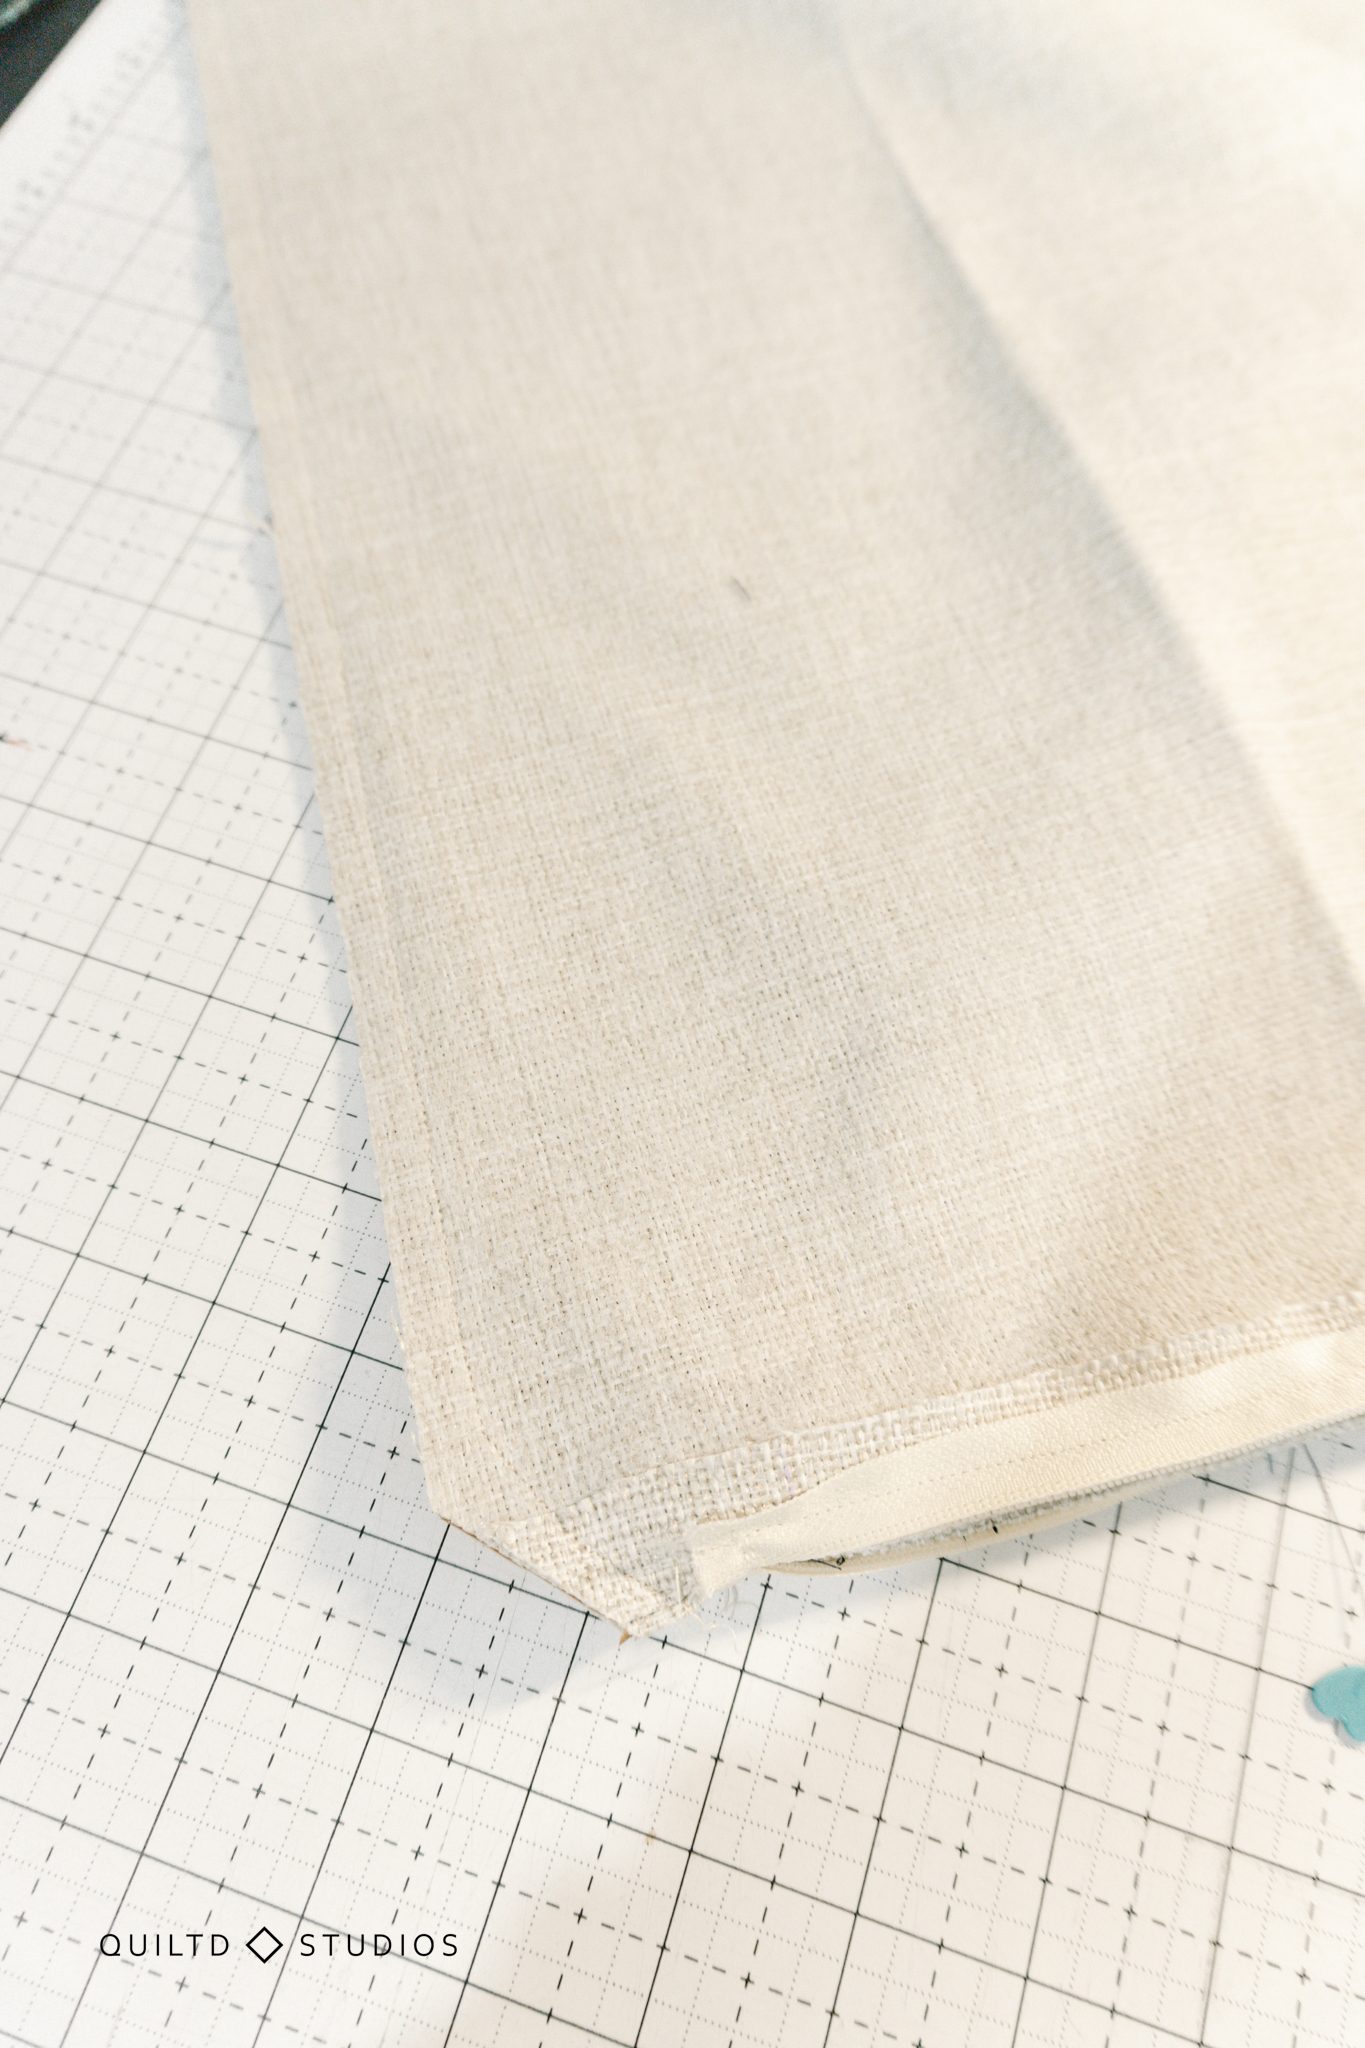
Open your zipper halfway and fold the pillow right sides together. Now let’s stitch around the perimeter to make your pillow!
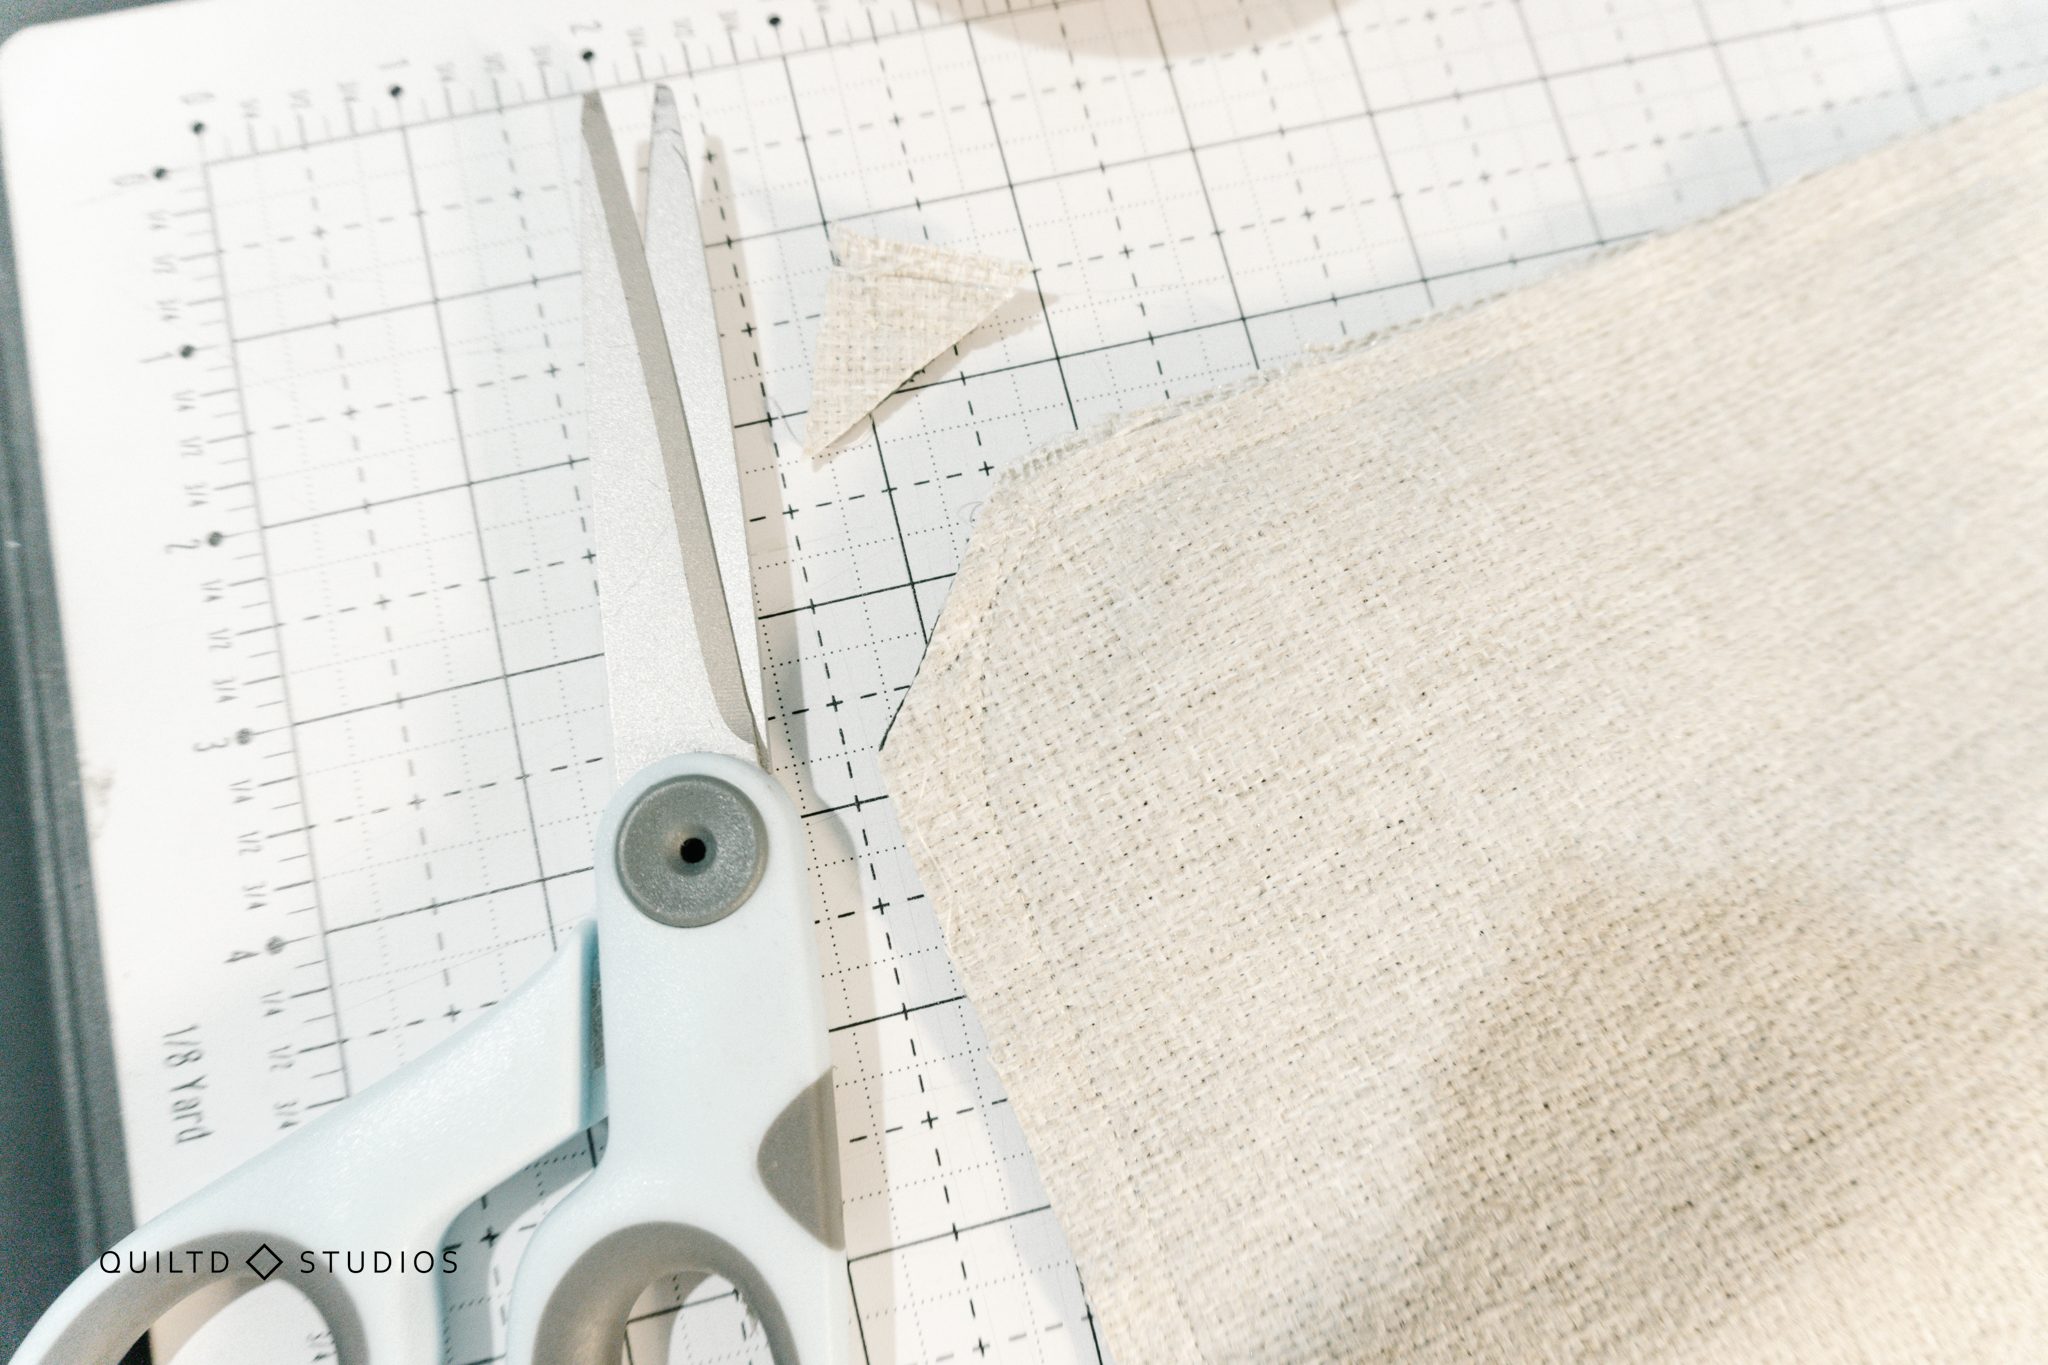
When you reach a corner, cut across diagonally ½”-1” to create a nice pillow shape.
For the top near the zipper, stitch diagonally to match the bottom corners. You may want to backstitch a few times to secure.
Trim the corners to reduce bulk.
Turn your pillow right side out and unzip it, push out all the corners. Insert your pillow, zip, and behold the beauty of your new pillow!
There’s a reason I’m addicted to them, throw pillow covers are so easy to make and can make a big difference in décor!
I can’t wait to see your pillow covers with zippers, share them on social media by tagging @quiltdstudios

 BERNINA Corporate Blog -











Thank you for sharing, useful information keep on sharing.
I like designs