 BERNINA Corporate Blog -
Patchwork vest using Patchwork Foot #97.
Today I would like to show you how to sew a patchwork vest, starting from any pattern.
I started from the Junna vest pattern by Bel’Etoile, of course ;-).
I chose to sew one for my youngest daughter of (almost) 7.
Supplies
-sewing machine
-Junna vest pattern or an alternative one
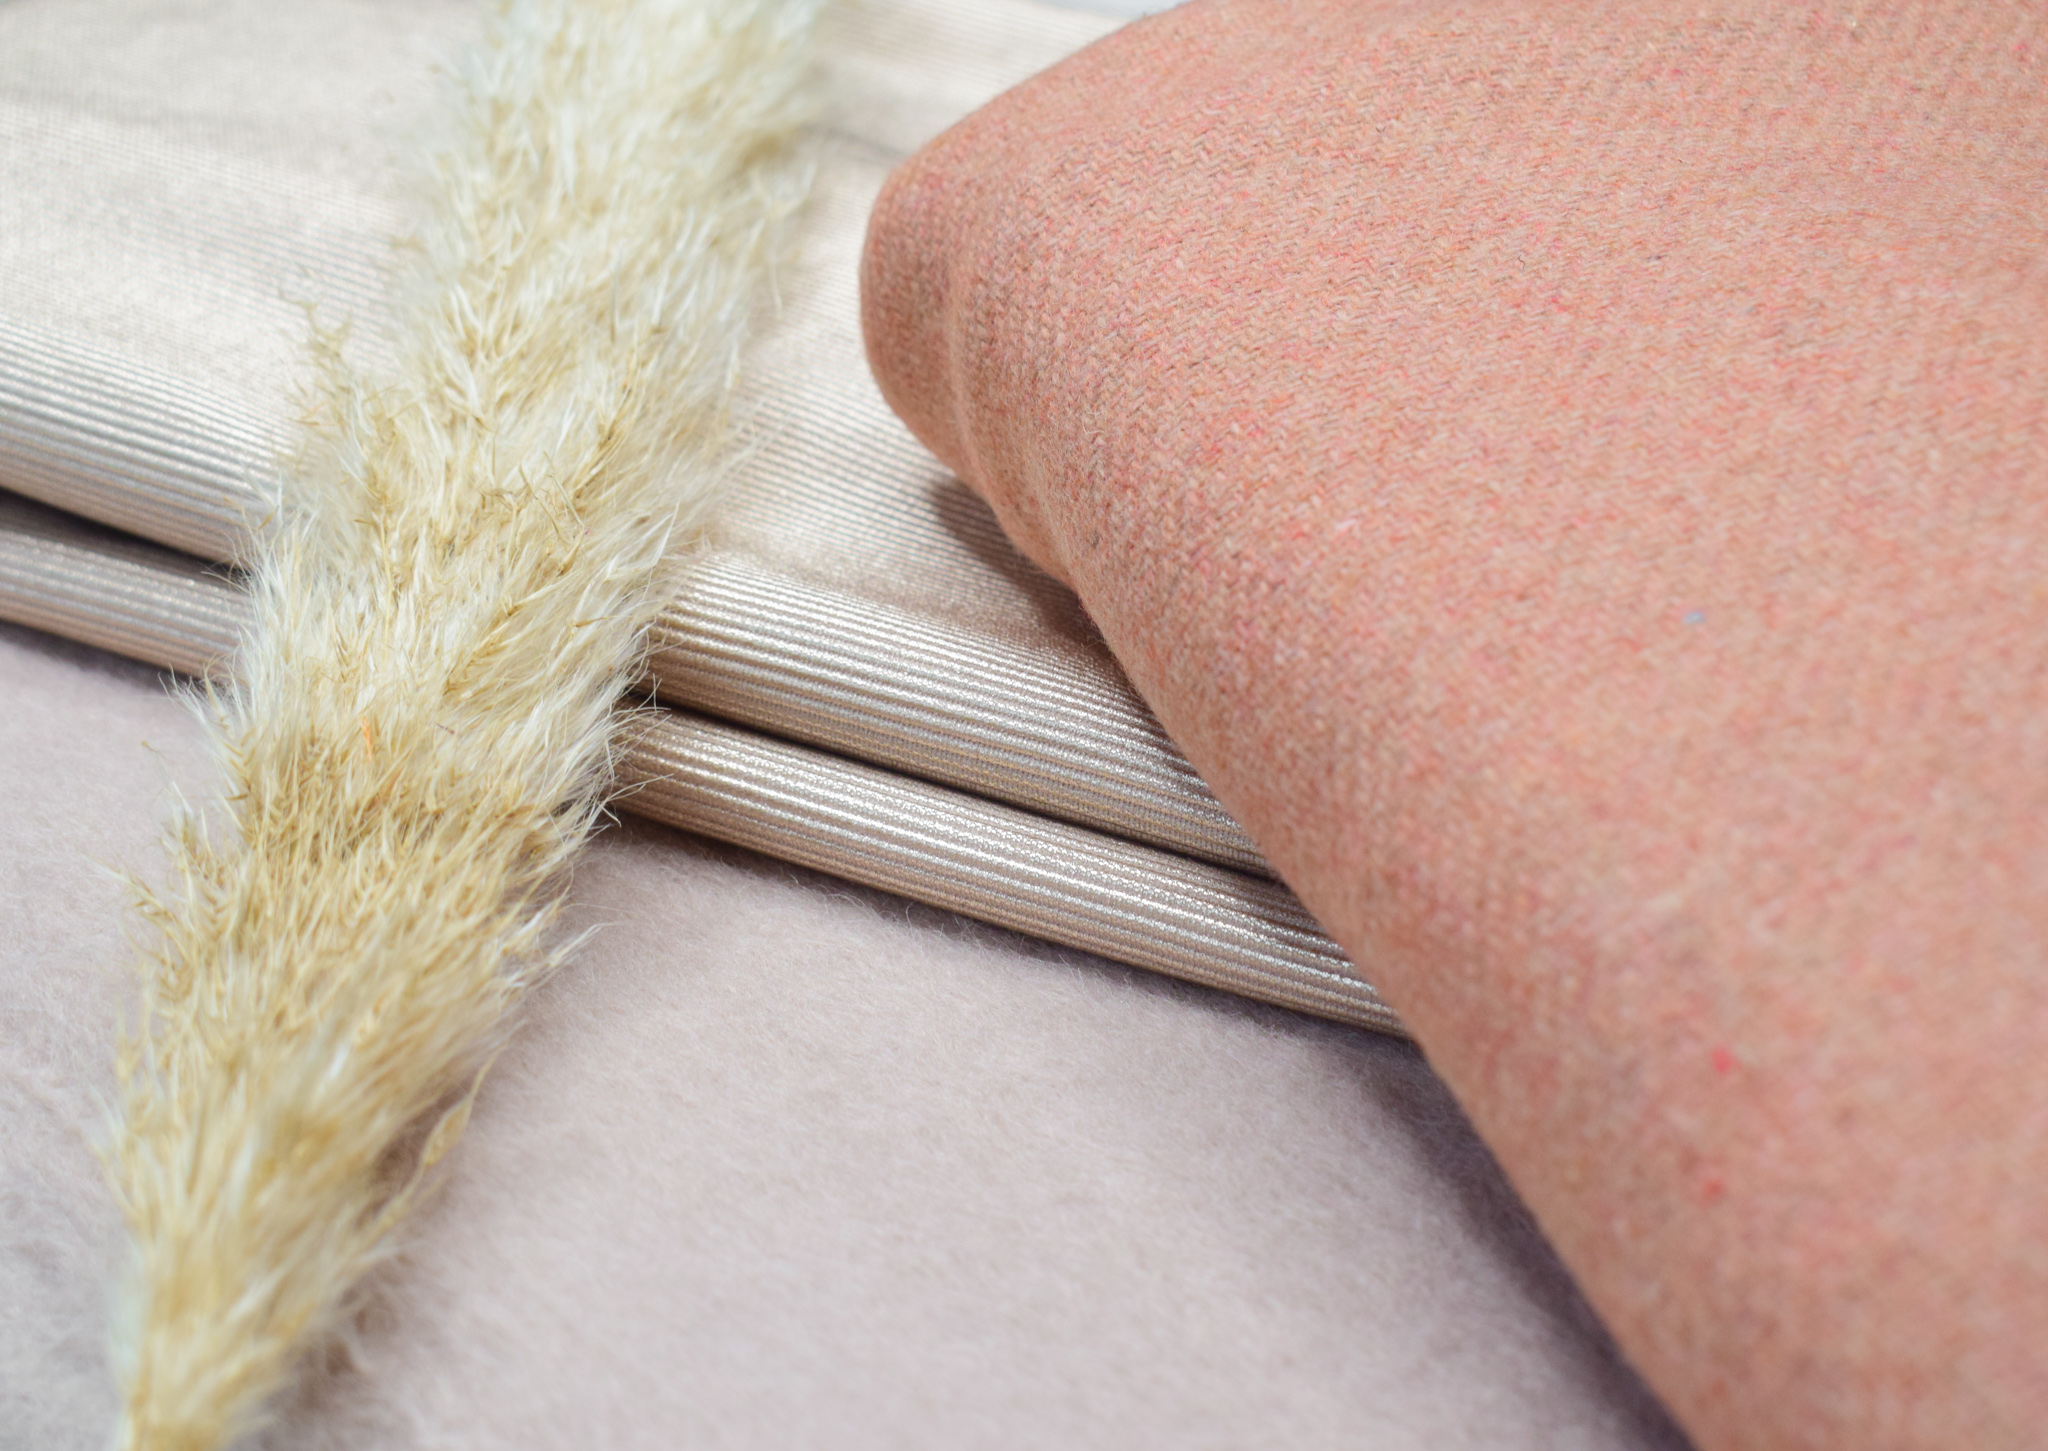
-different main fabrics and optional lining (see pattern for fabric requirements)
-optional bias tape (see pattern)
-matching thread
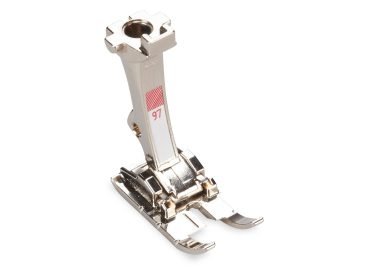
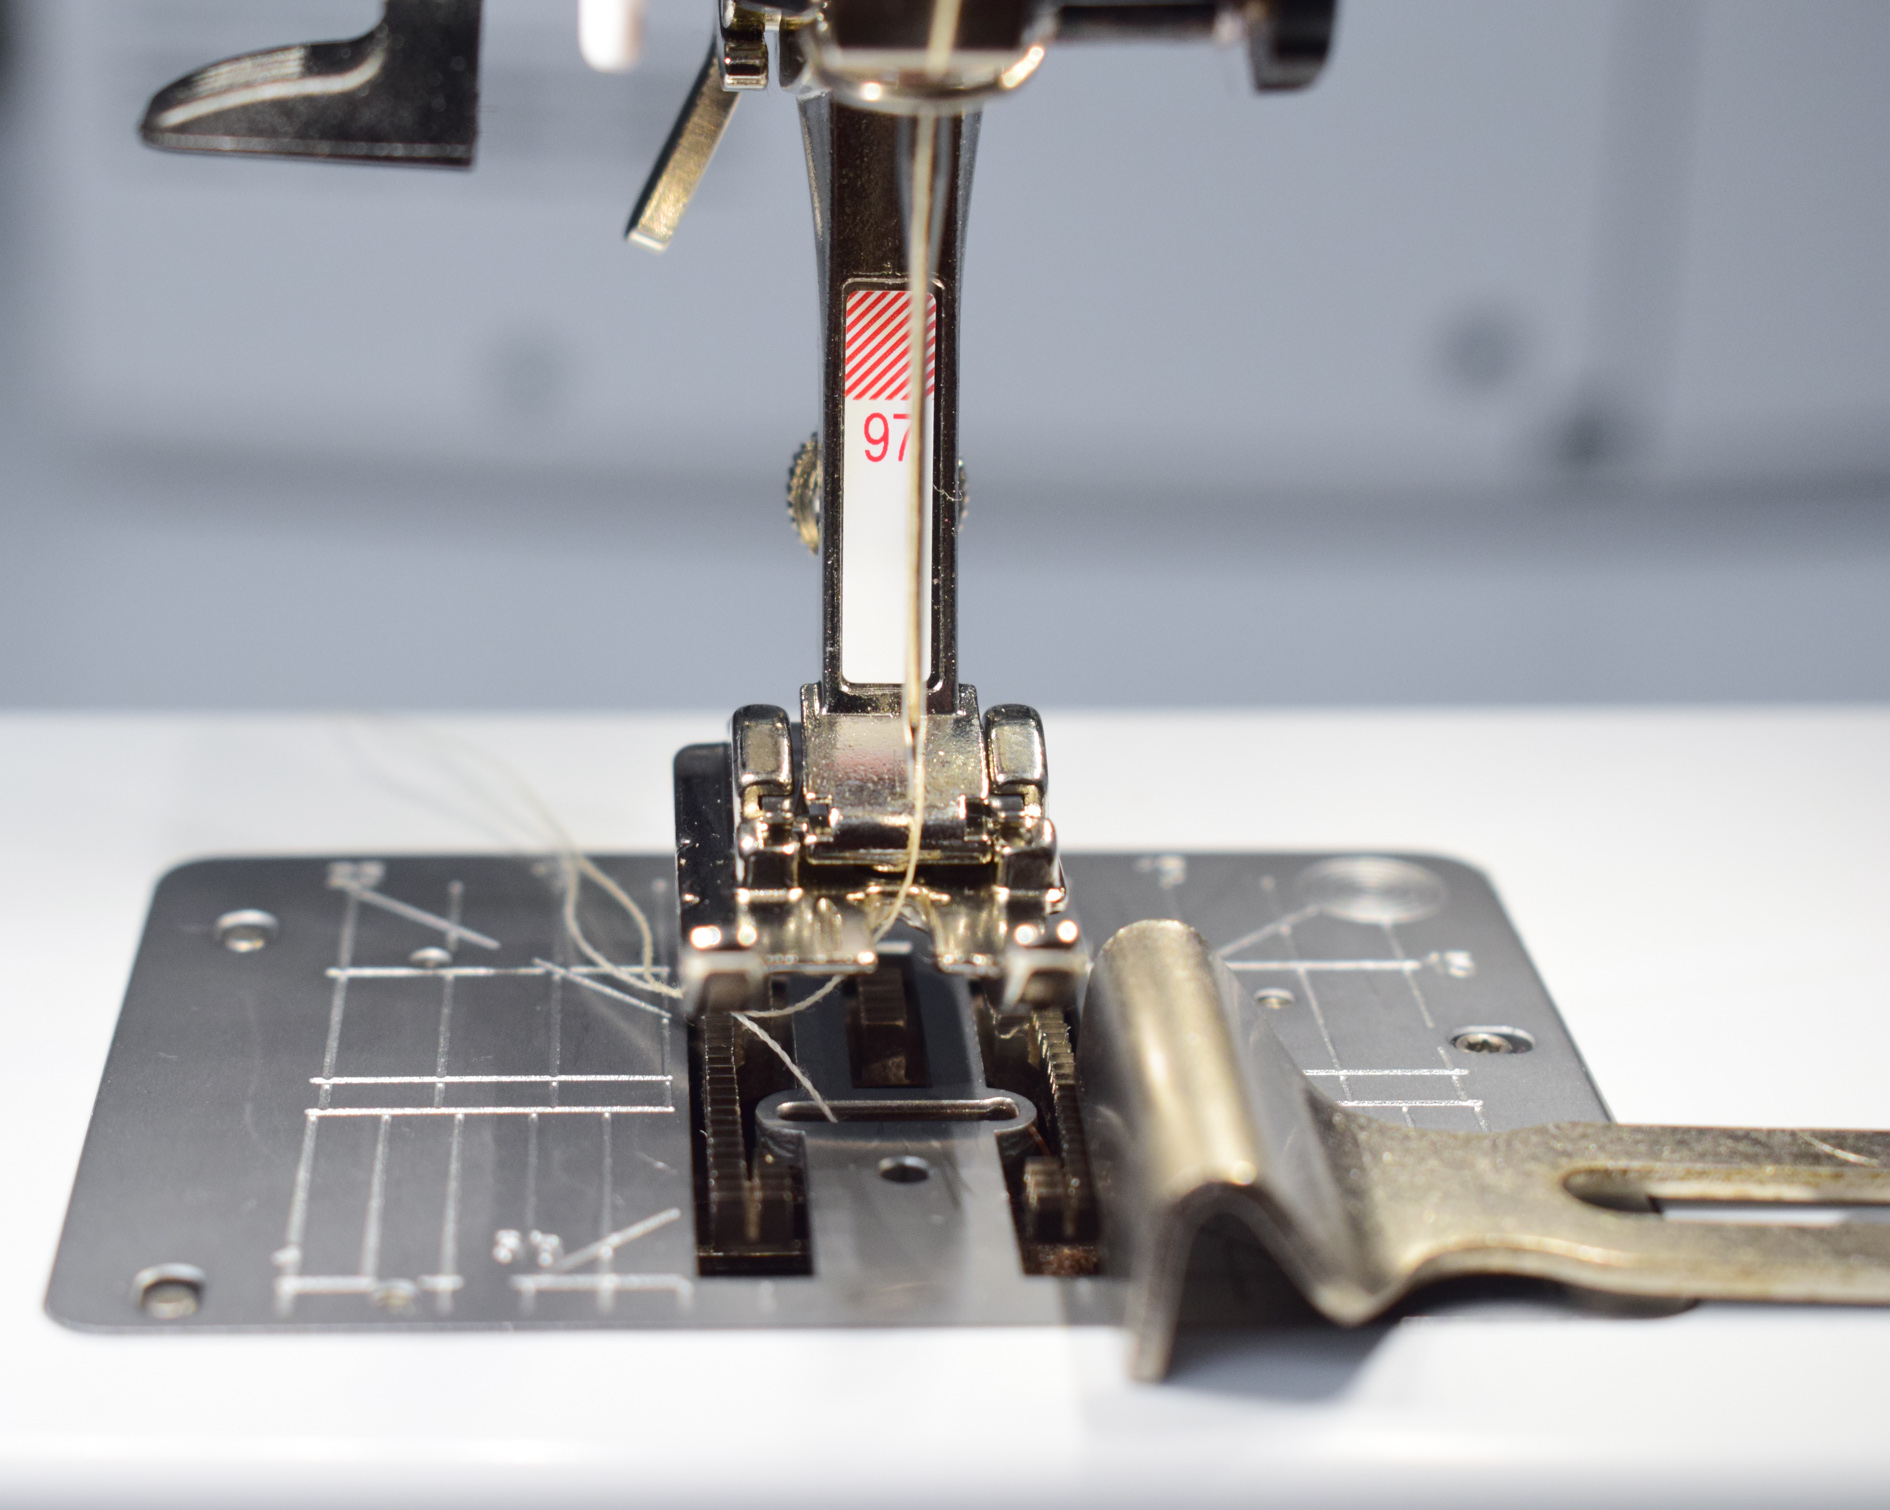
I work with my BERNINA 480 and also used the Patchwork Foot #97.

Tutorials
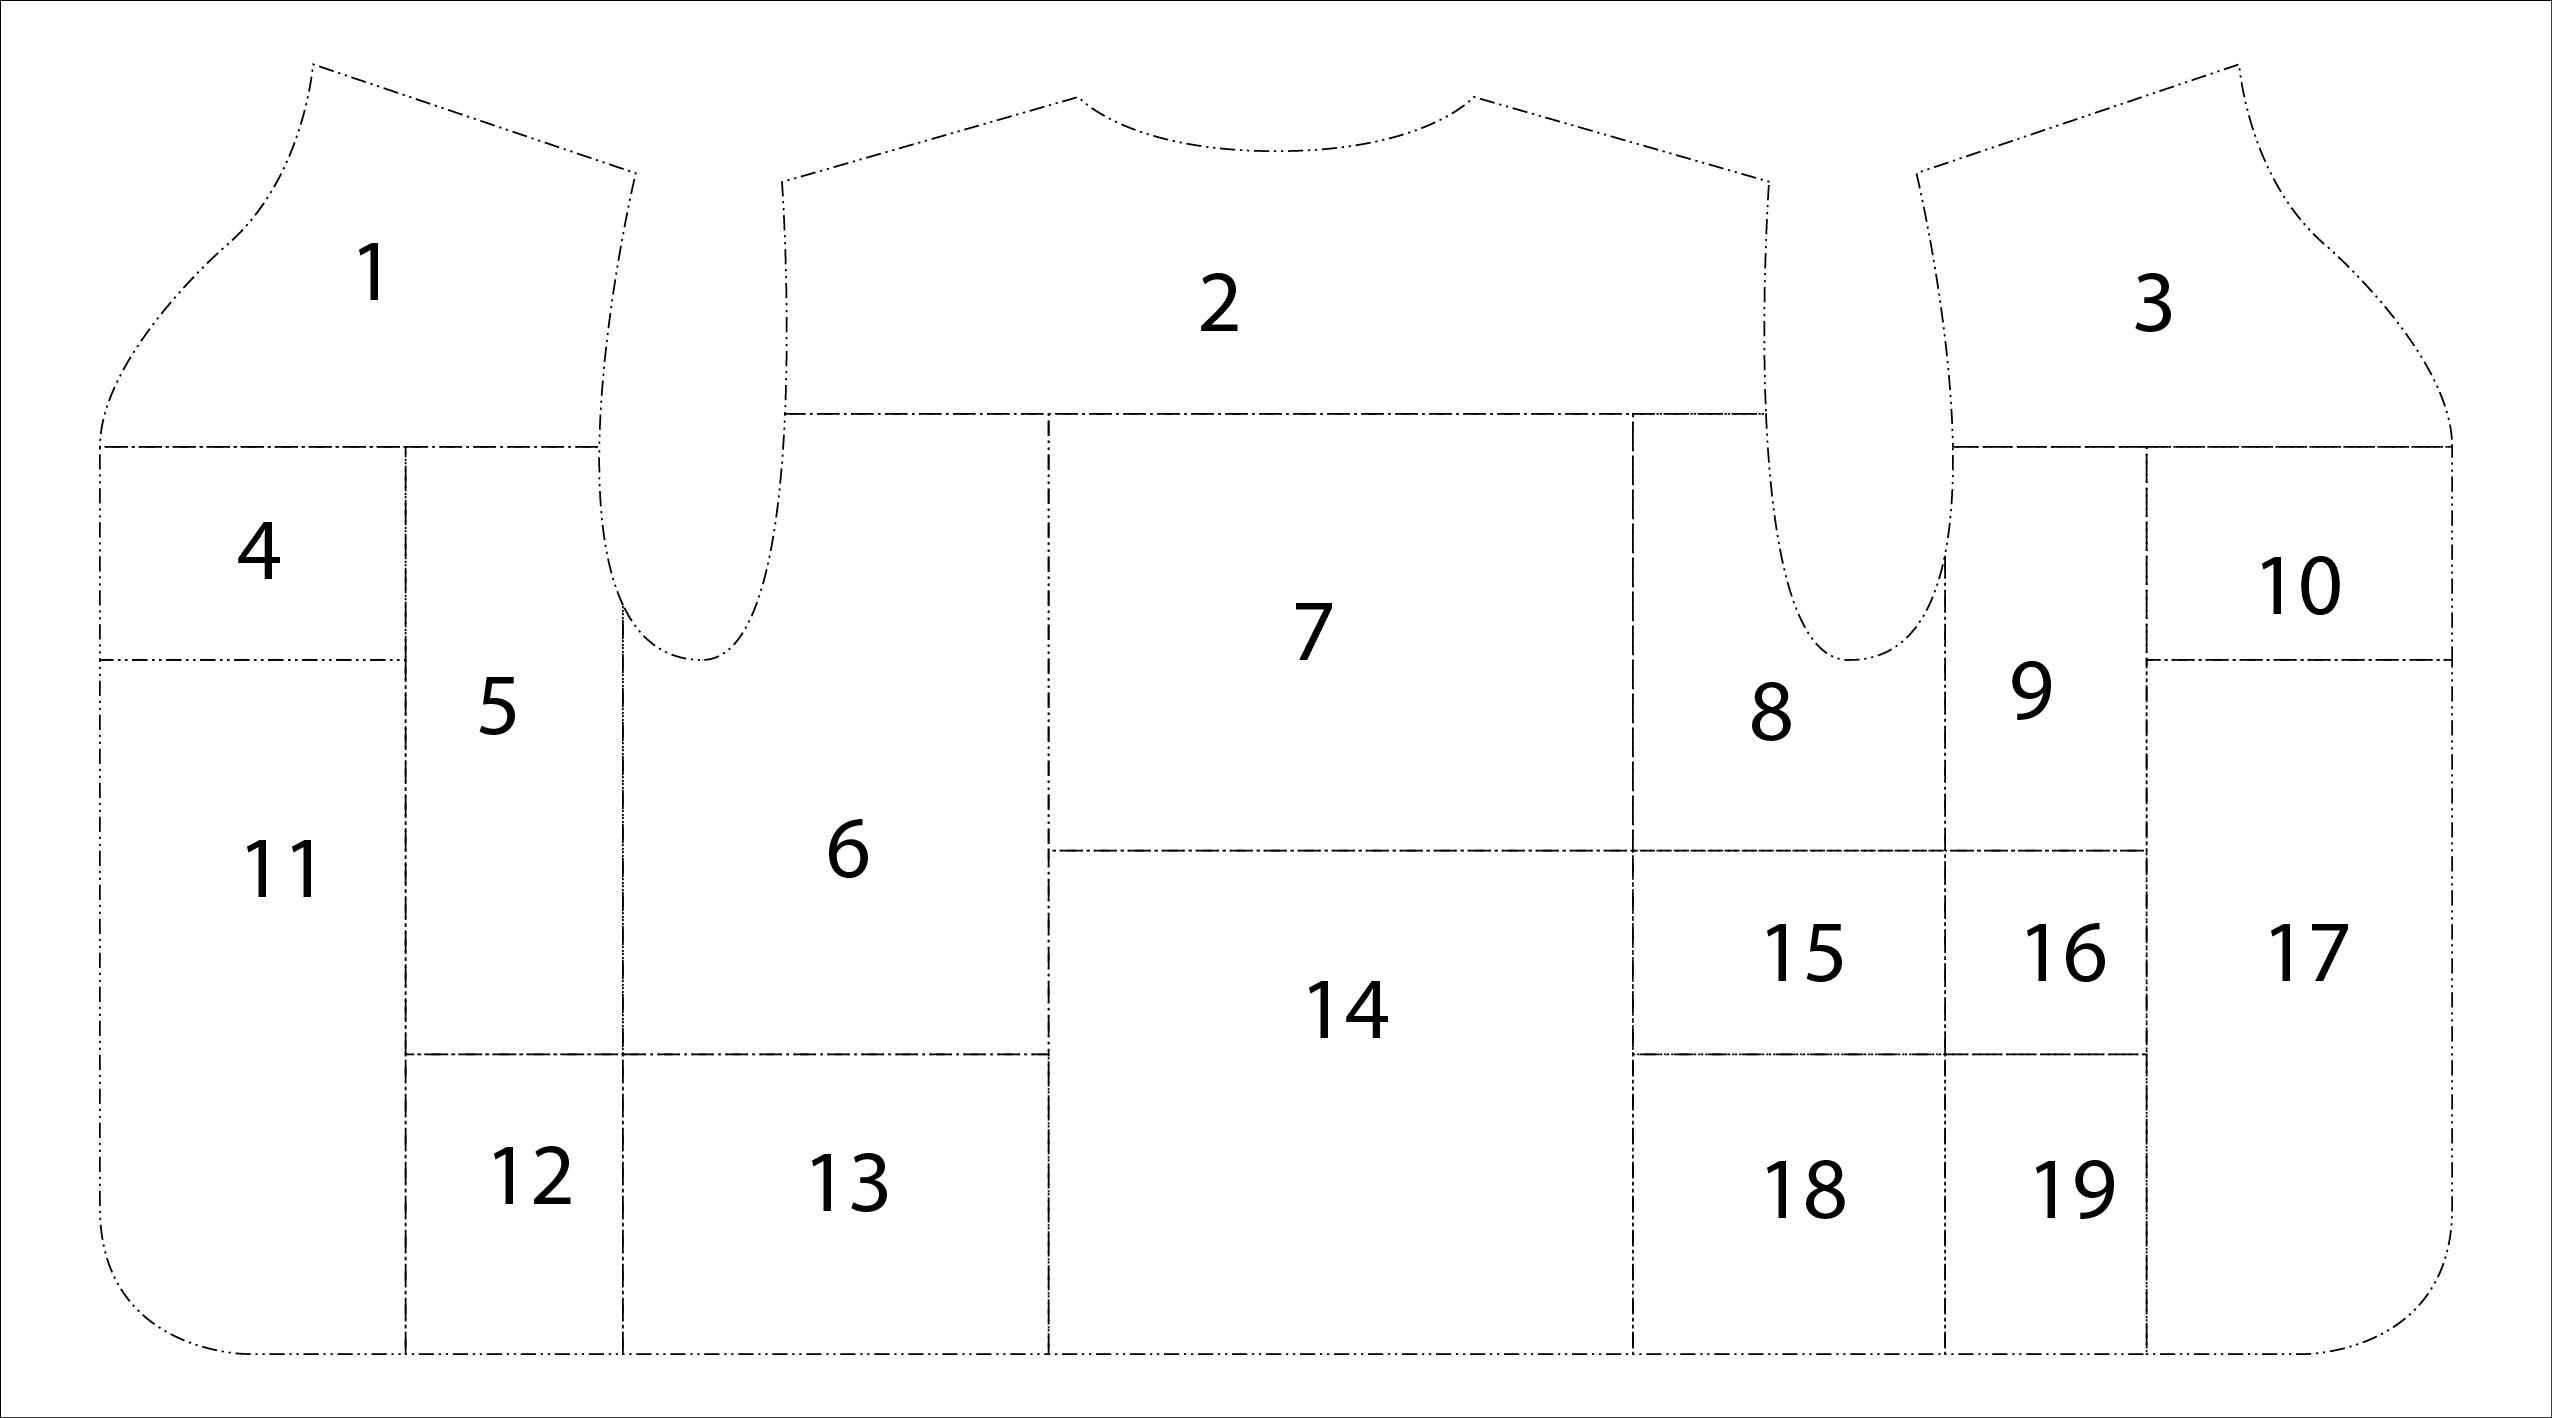
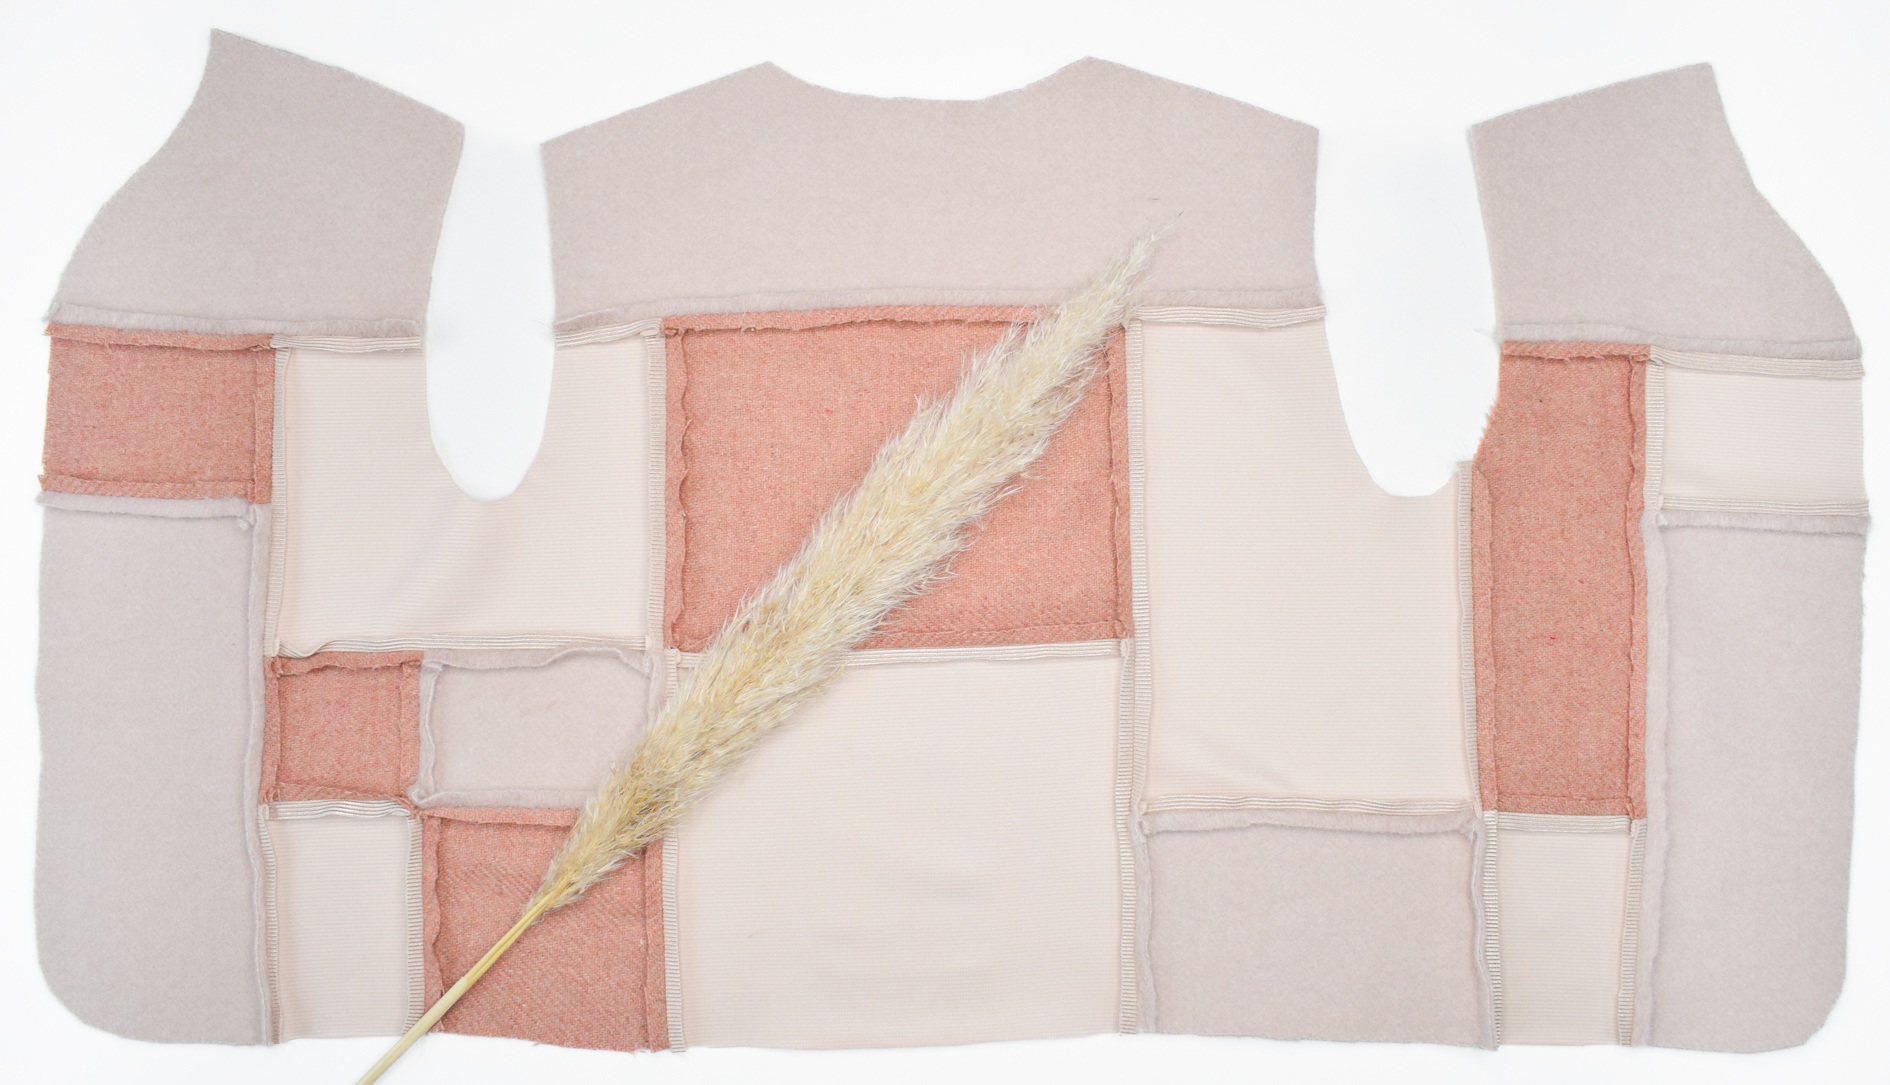
1.Preparing the pattern
I played around with it a bit by drawing boxes of different sizes.
I did this on the computer, but it is perfectly possible to do so on your pattern paper.
Numbering your boxes in advance can be helpful.
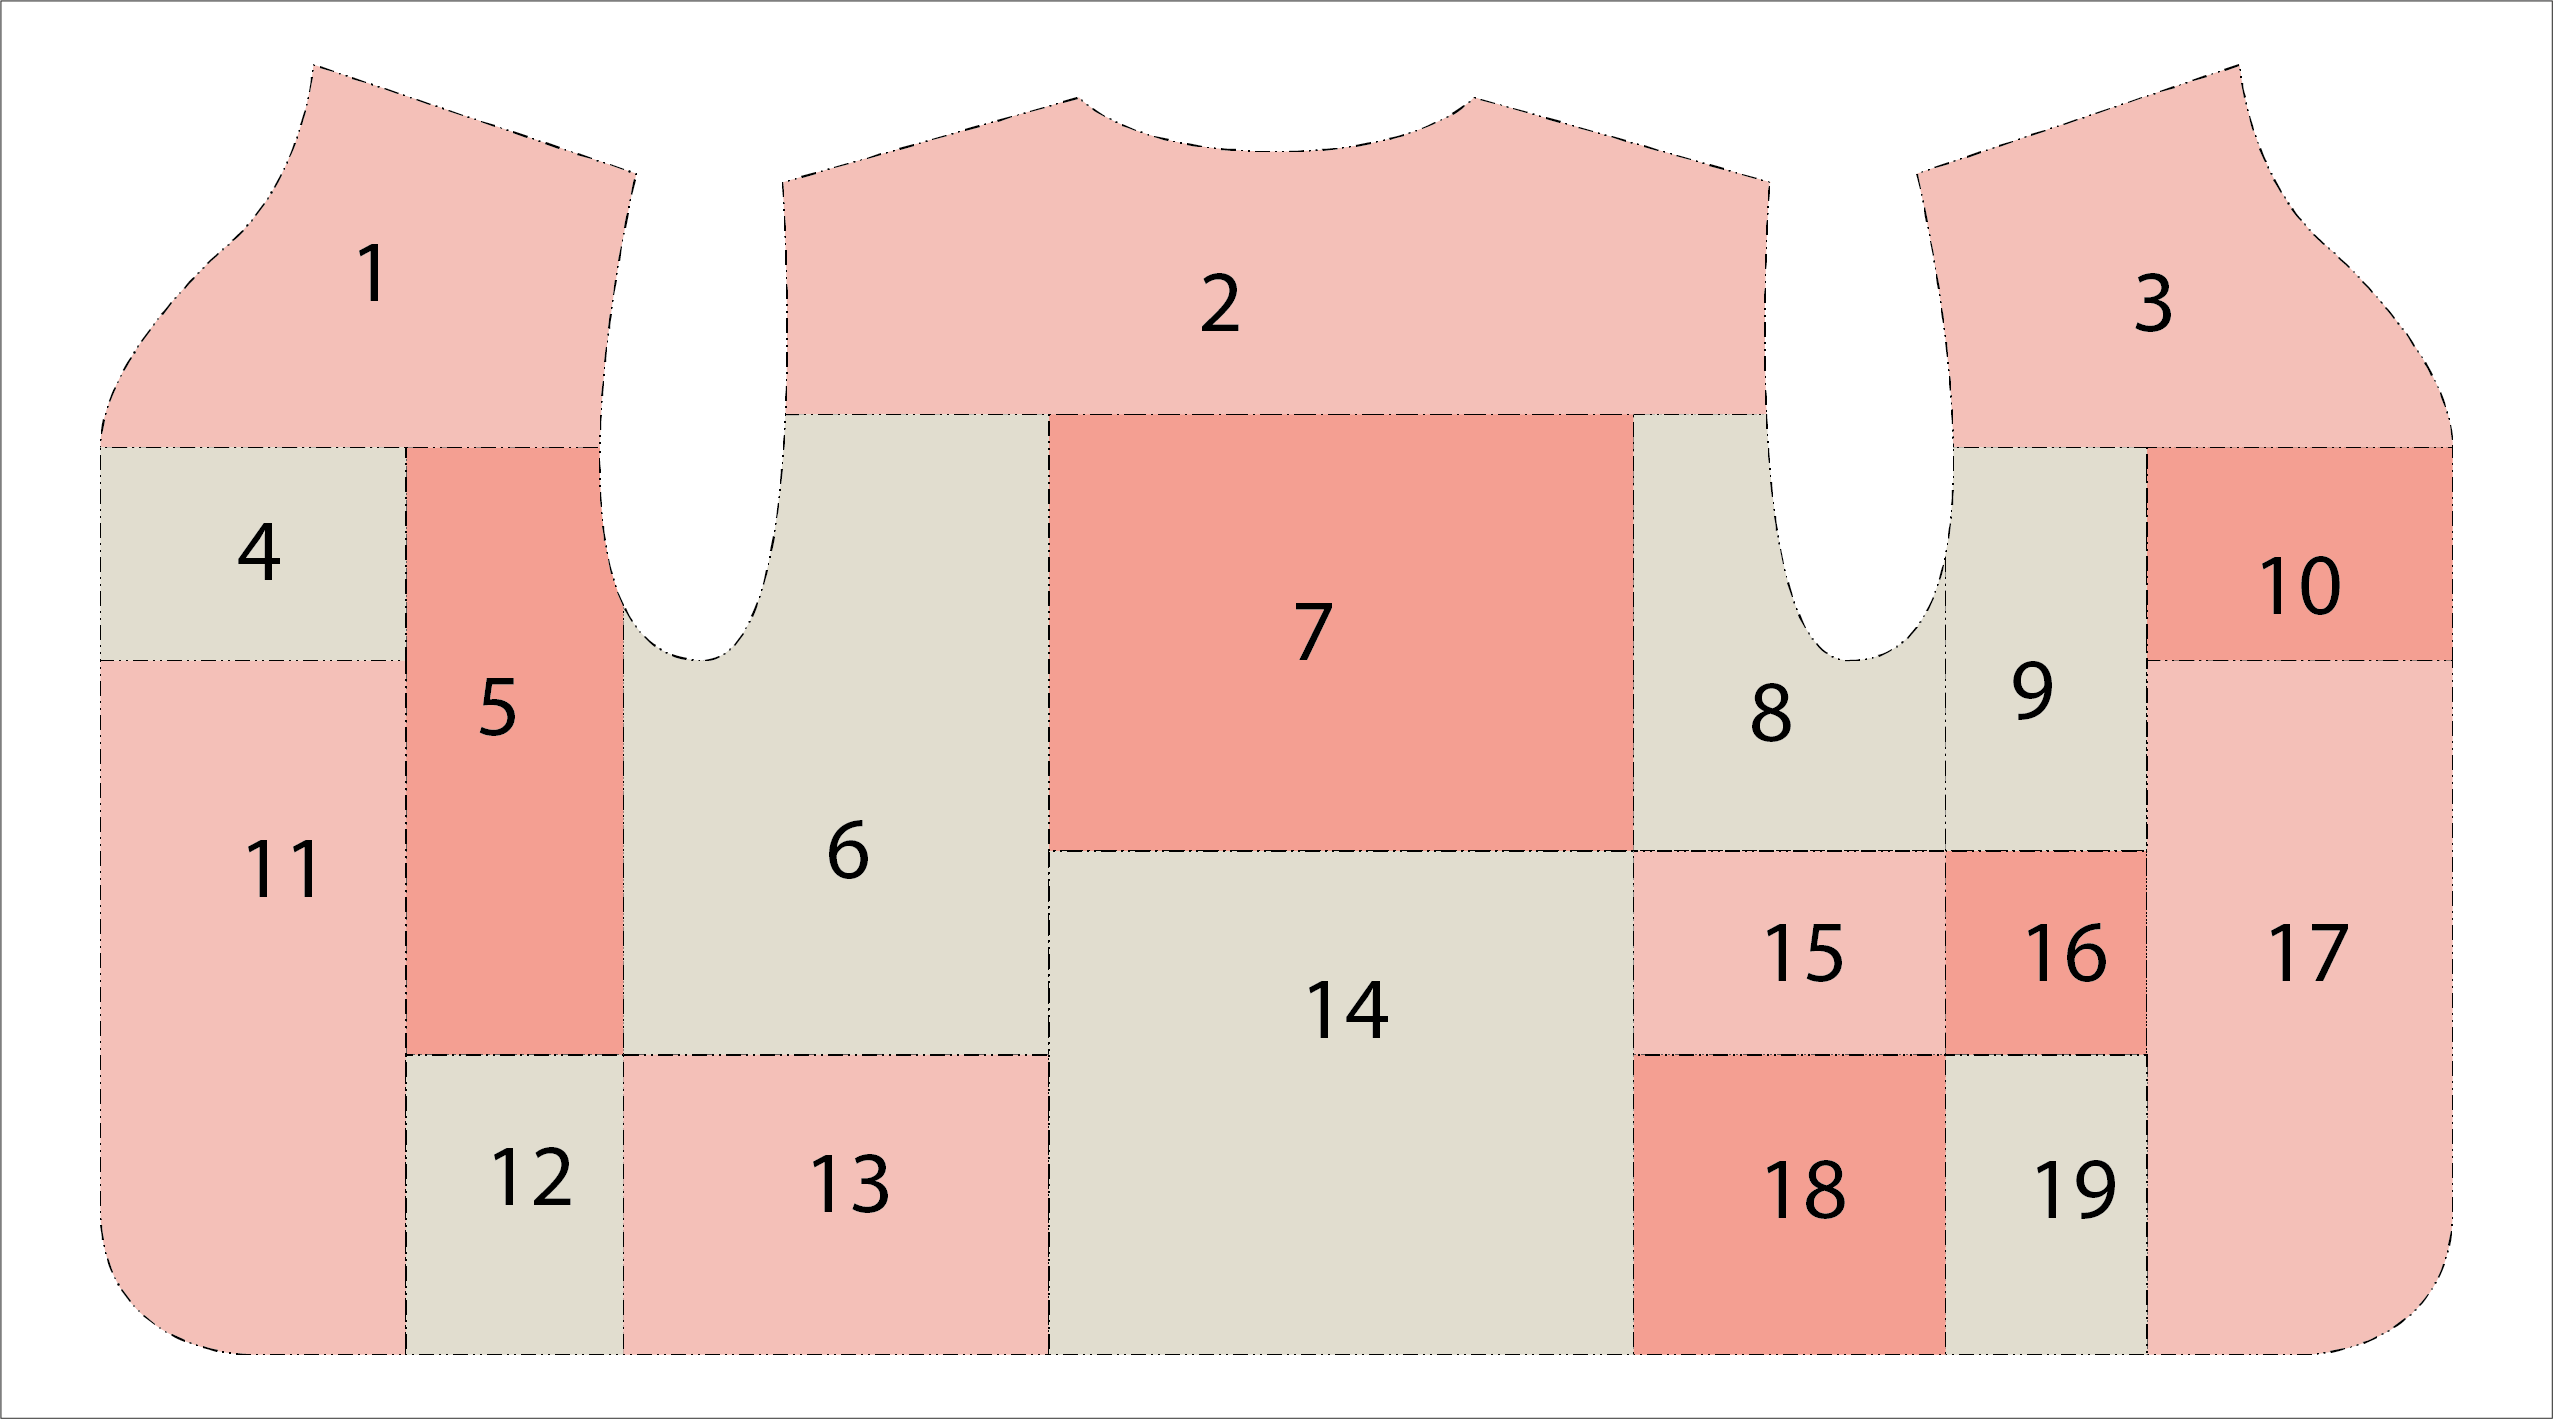
I went on by picking out my fabrics (I went for 3 of them) and I filled the boxes with a similar color per fabric.
That way you’ll already get a nice overview of what it will look like.
Time to cut your pattern into sections.
Be sure to add seam allowance to your sections before cutting your fabric.
My pattern has added seam allowance, so I don’t need to add anything on the outer sides of my pieces.
I added 7,5mm to all other sides of each piece.
Of course you’re free to add more or less seam allowance
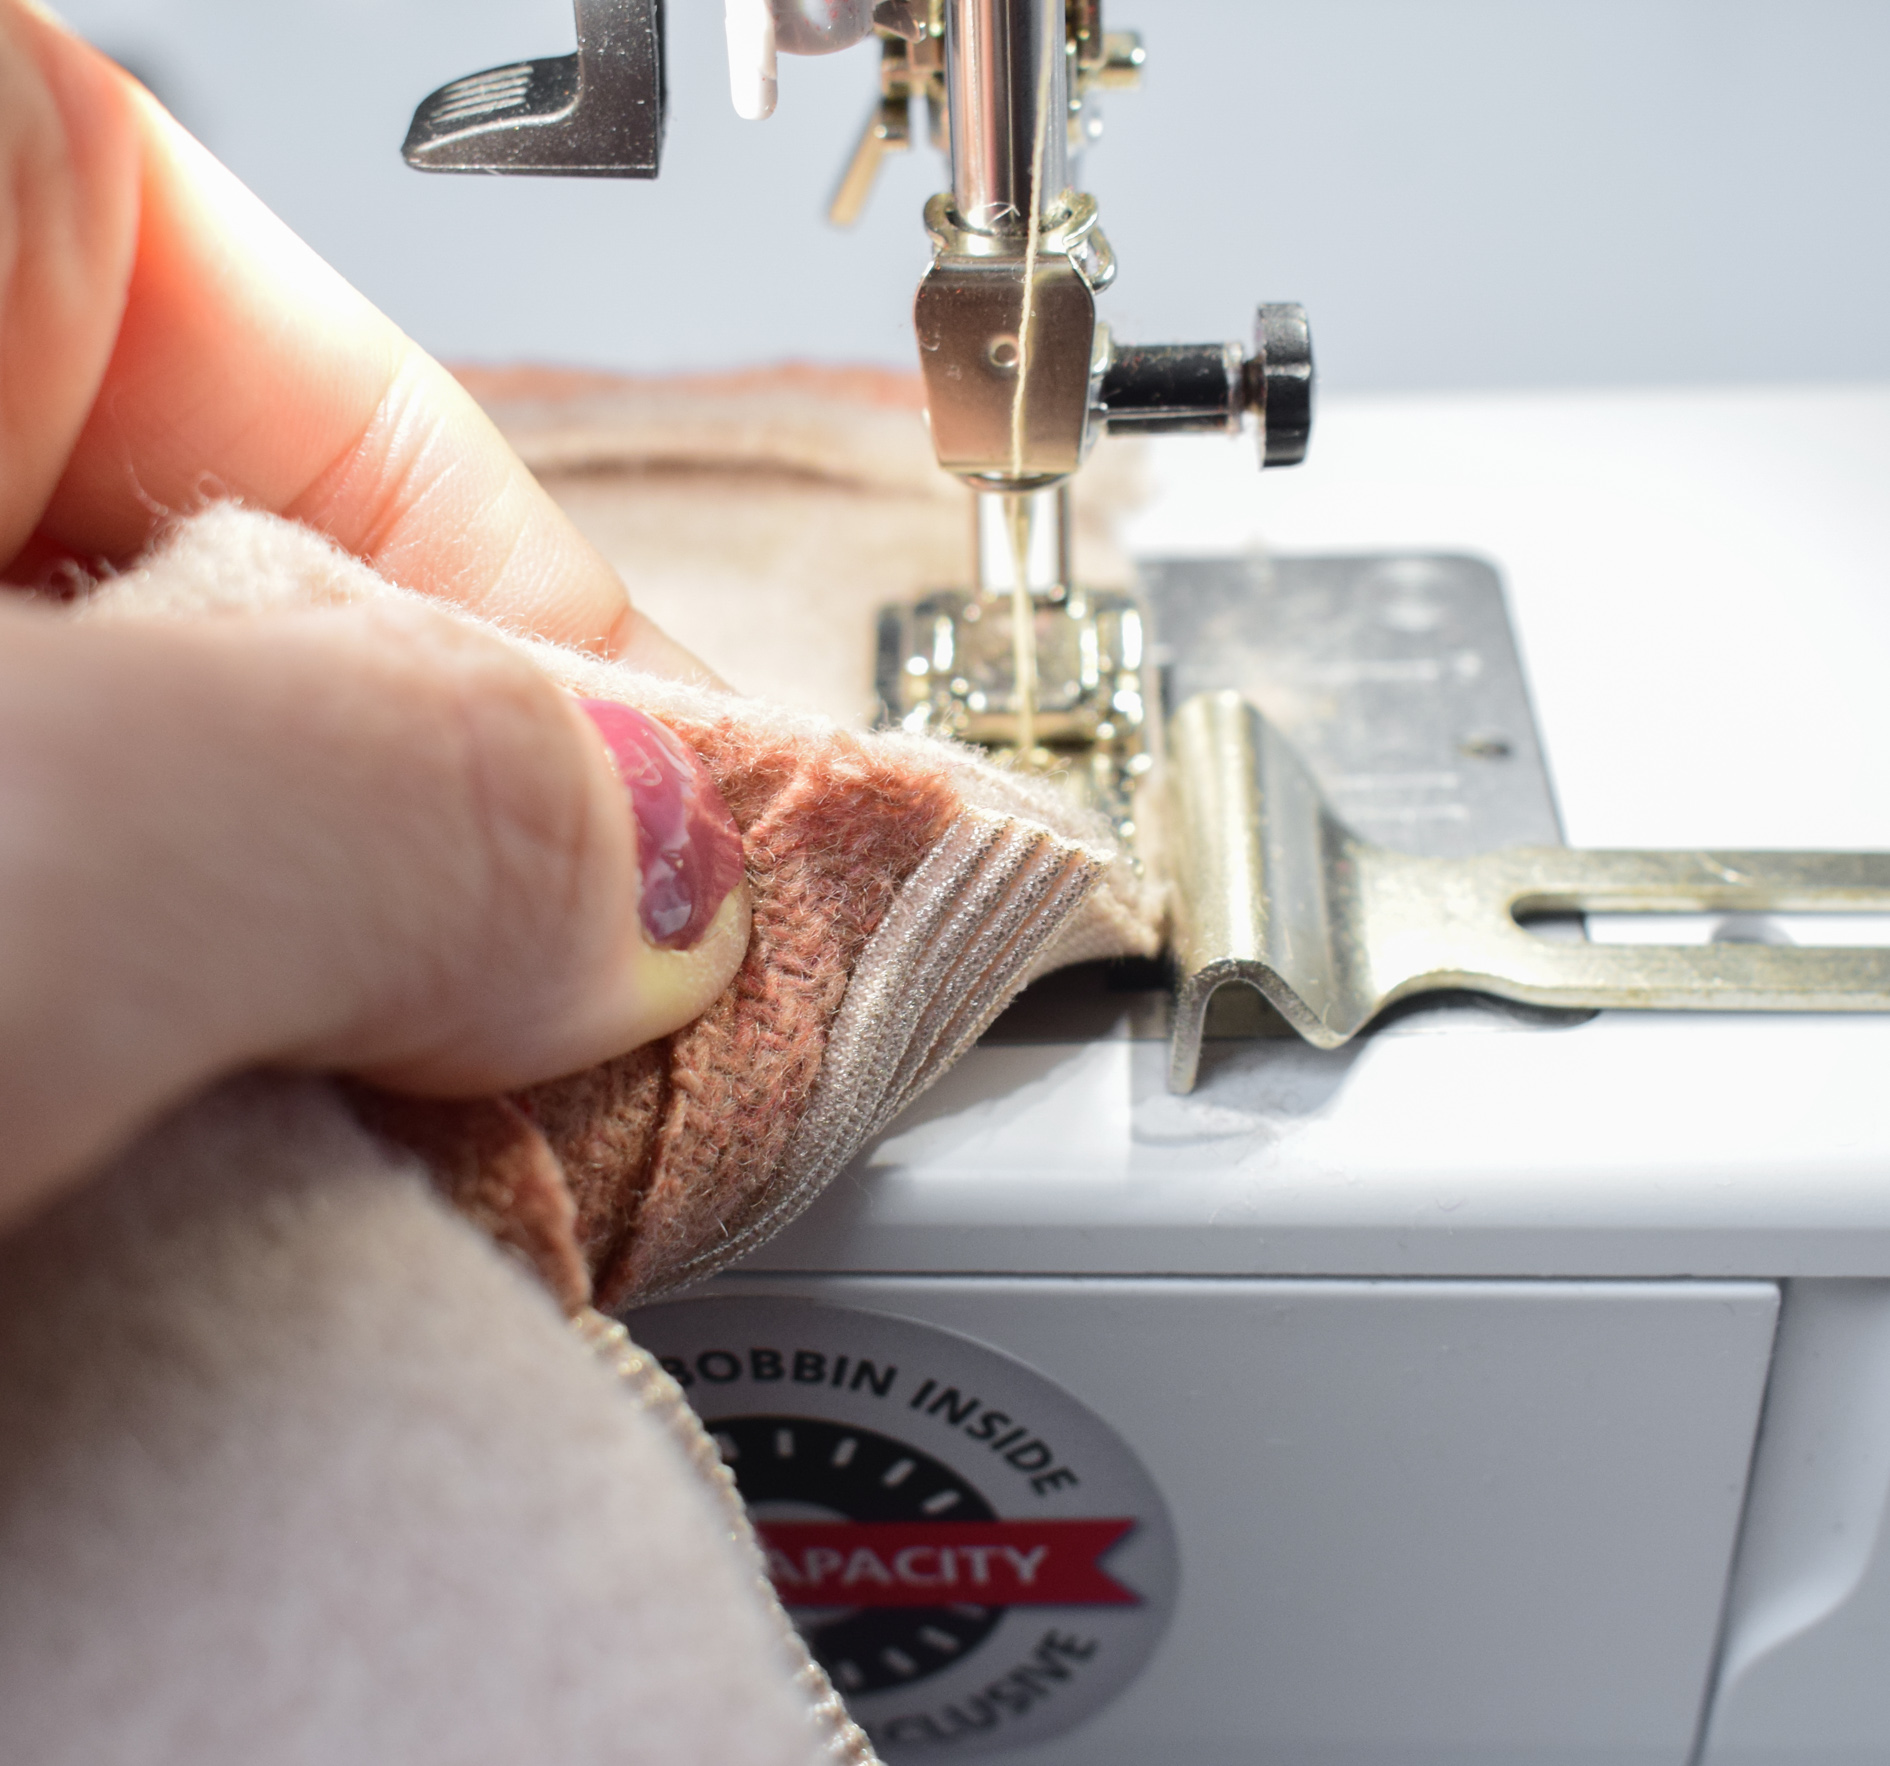
The patchwork foot I use stitches at exactly 7,5mm, which is why I choose that value.
Below you can see the patchwork foot with guide to stitch exactly at 7,5mm.
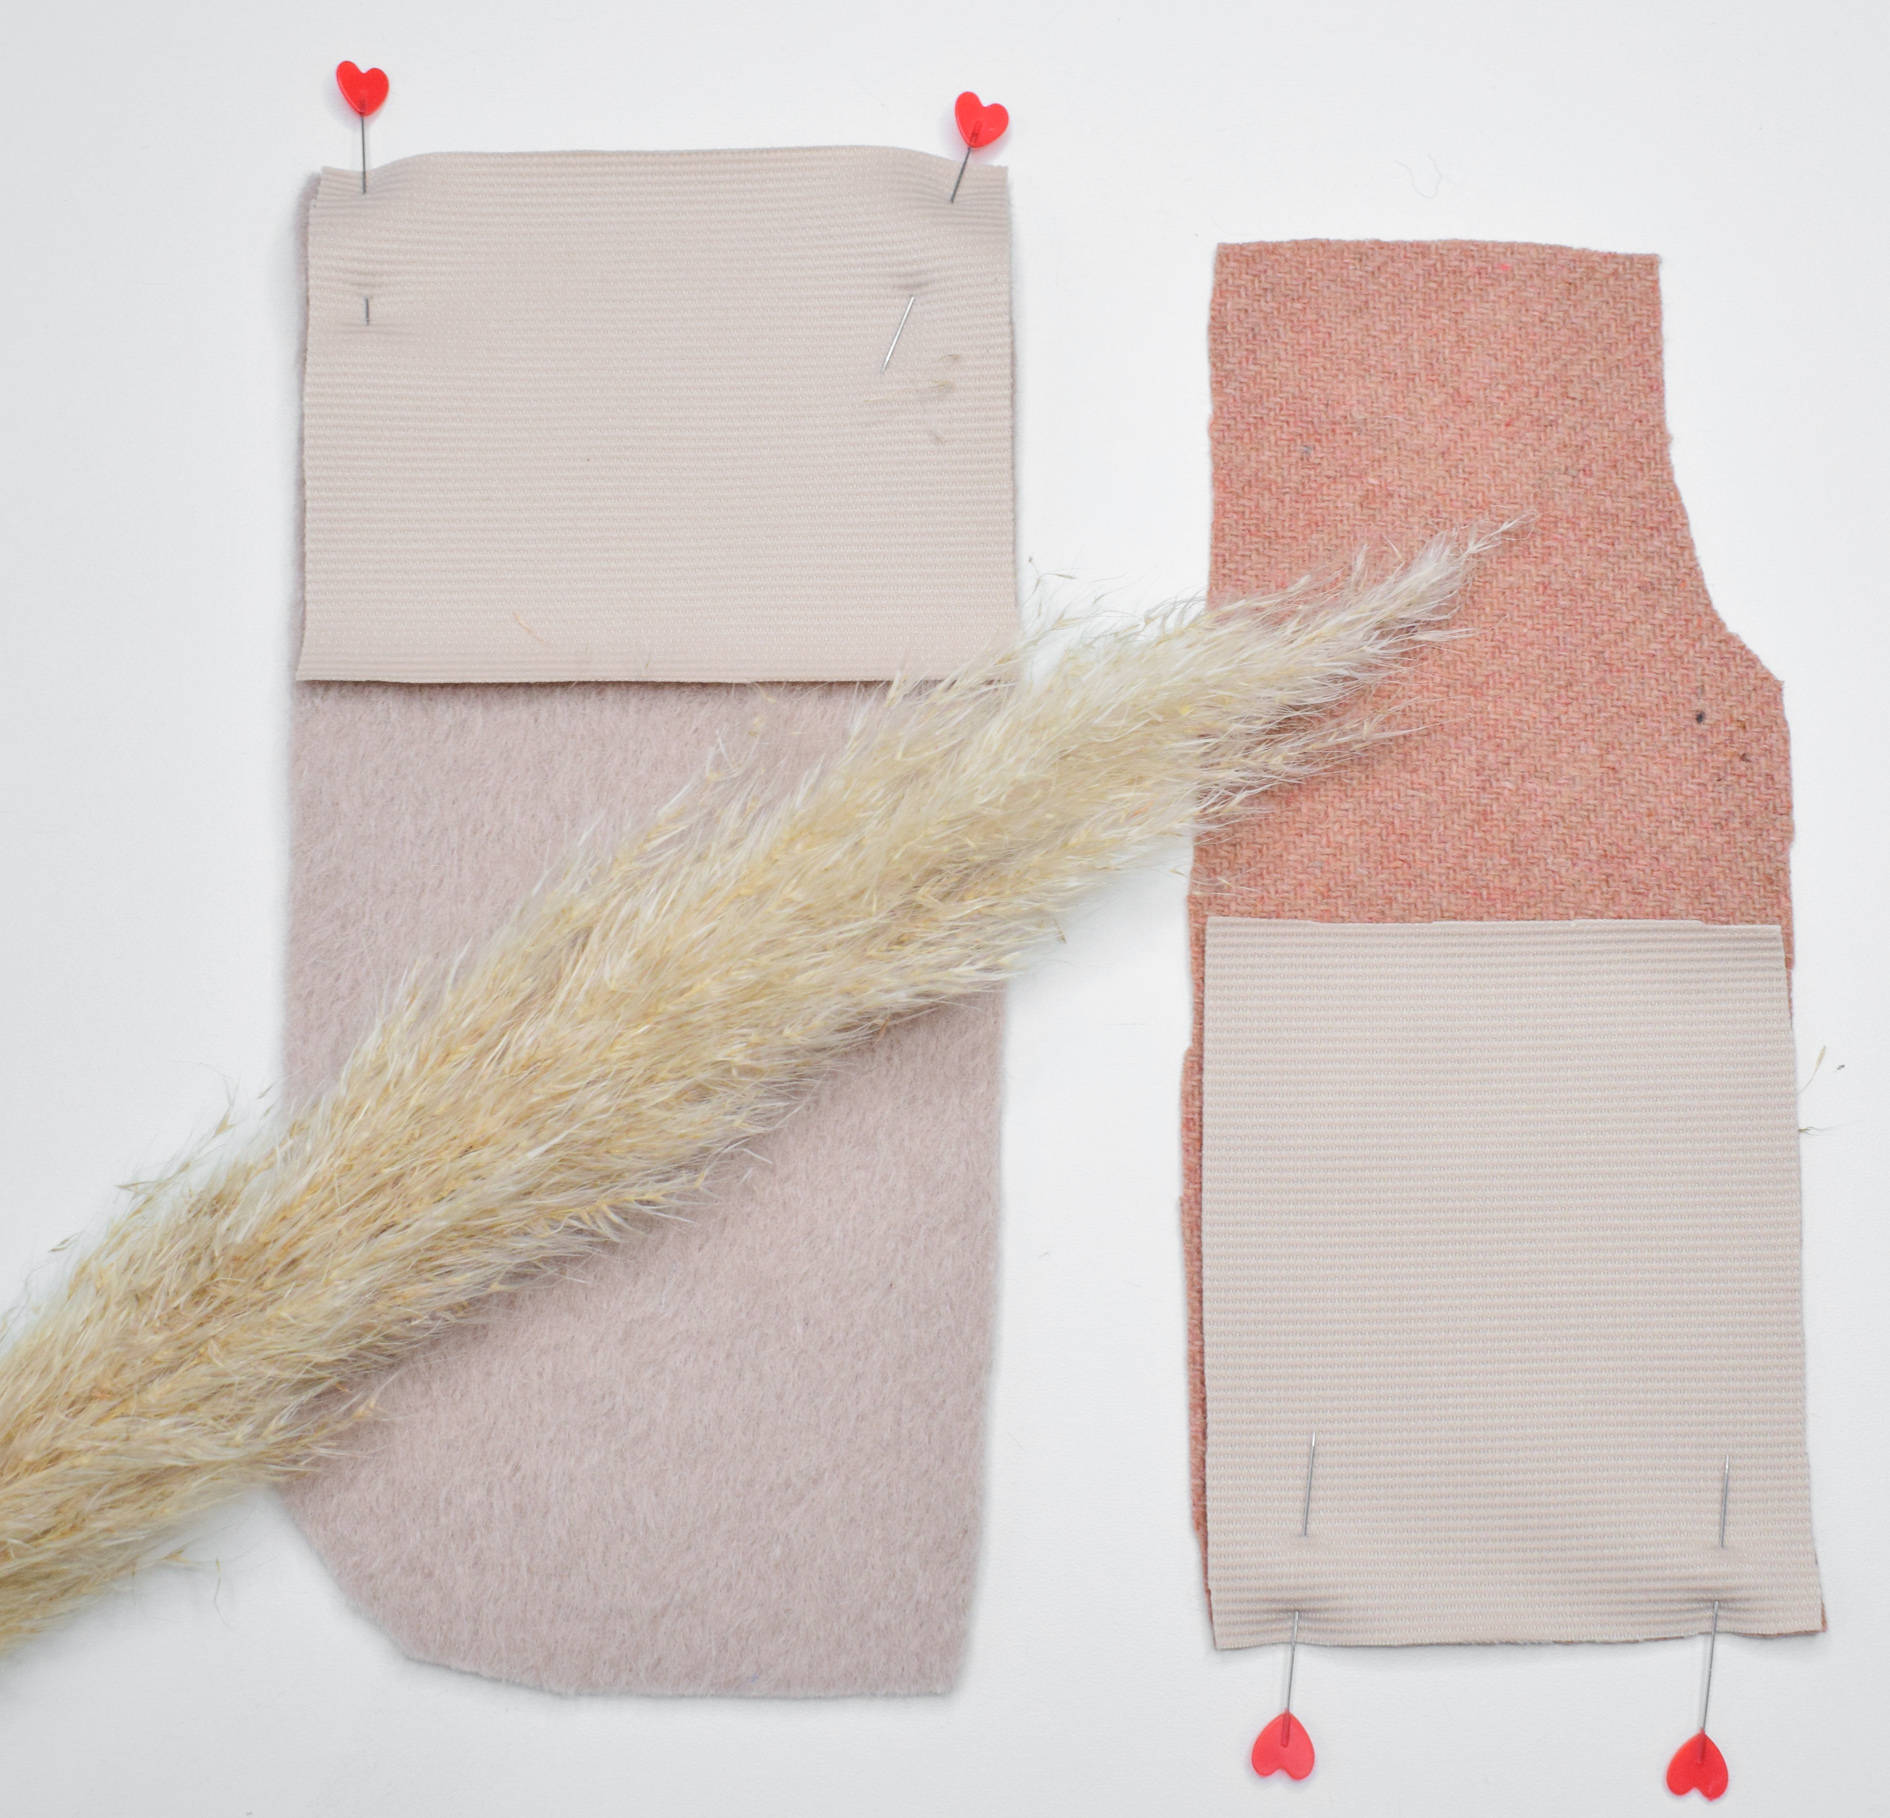
2.Cutting your fabric
Cut out all sections from the right fabric and place them together.
Leave your numbered pattern pieces attached to the fabric or mark them at the back.
That way you won’t loose track of things ;-).

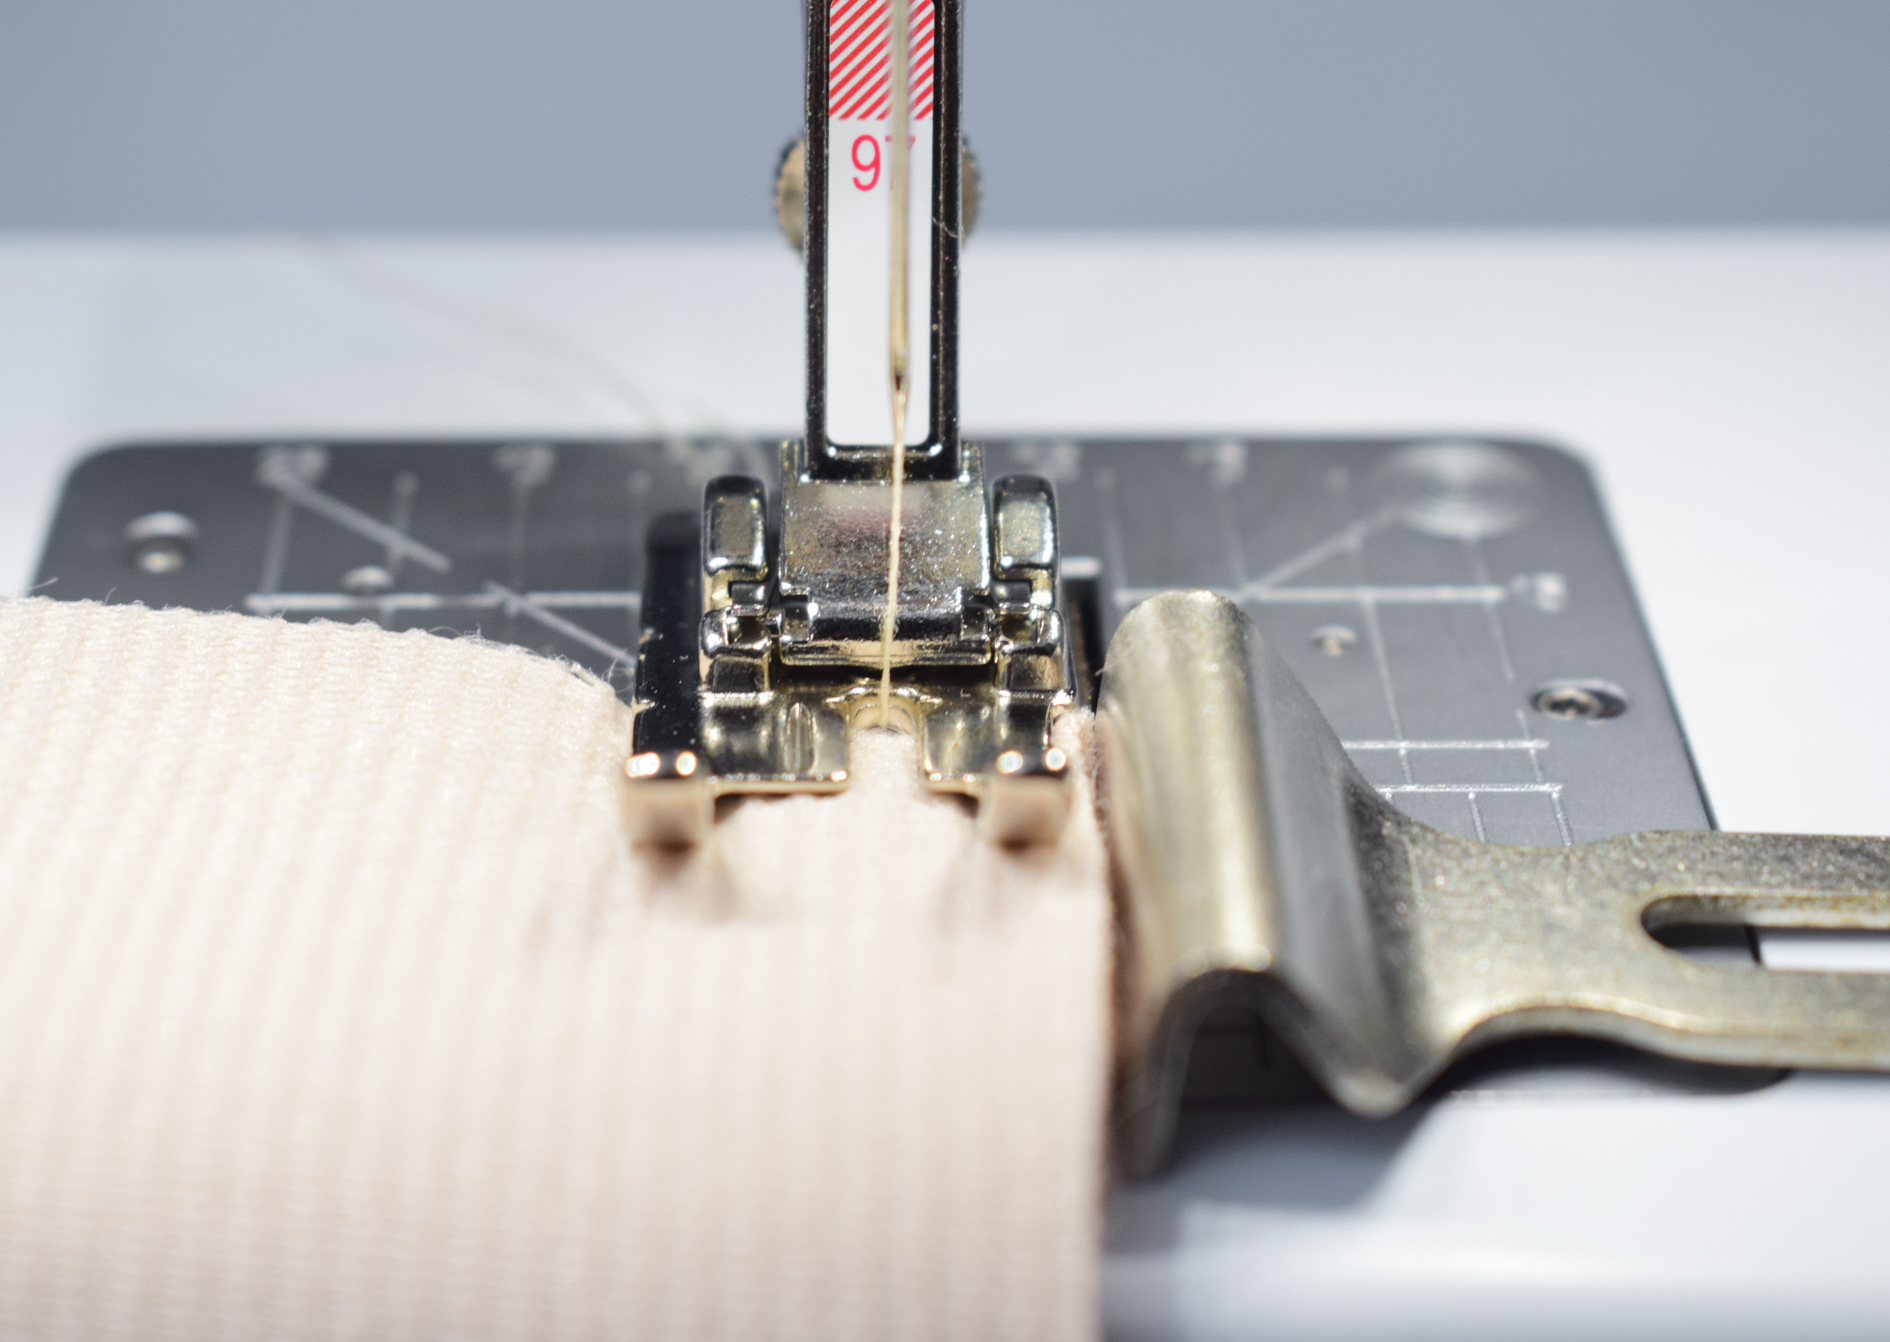
3.Stitch sections together
We’re going to sew the fabrics together.
To do this, place 2 pieces of fabric right sides together and pin.
Then stitch the seam.
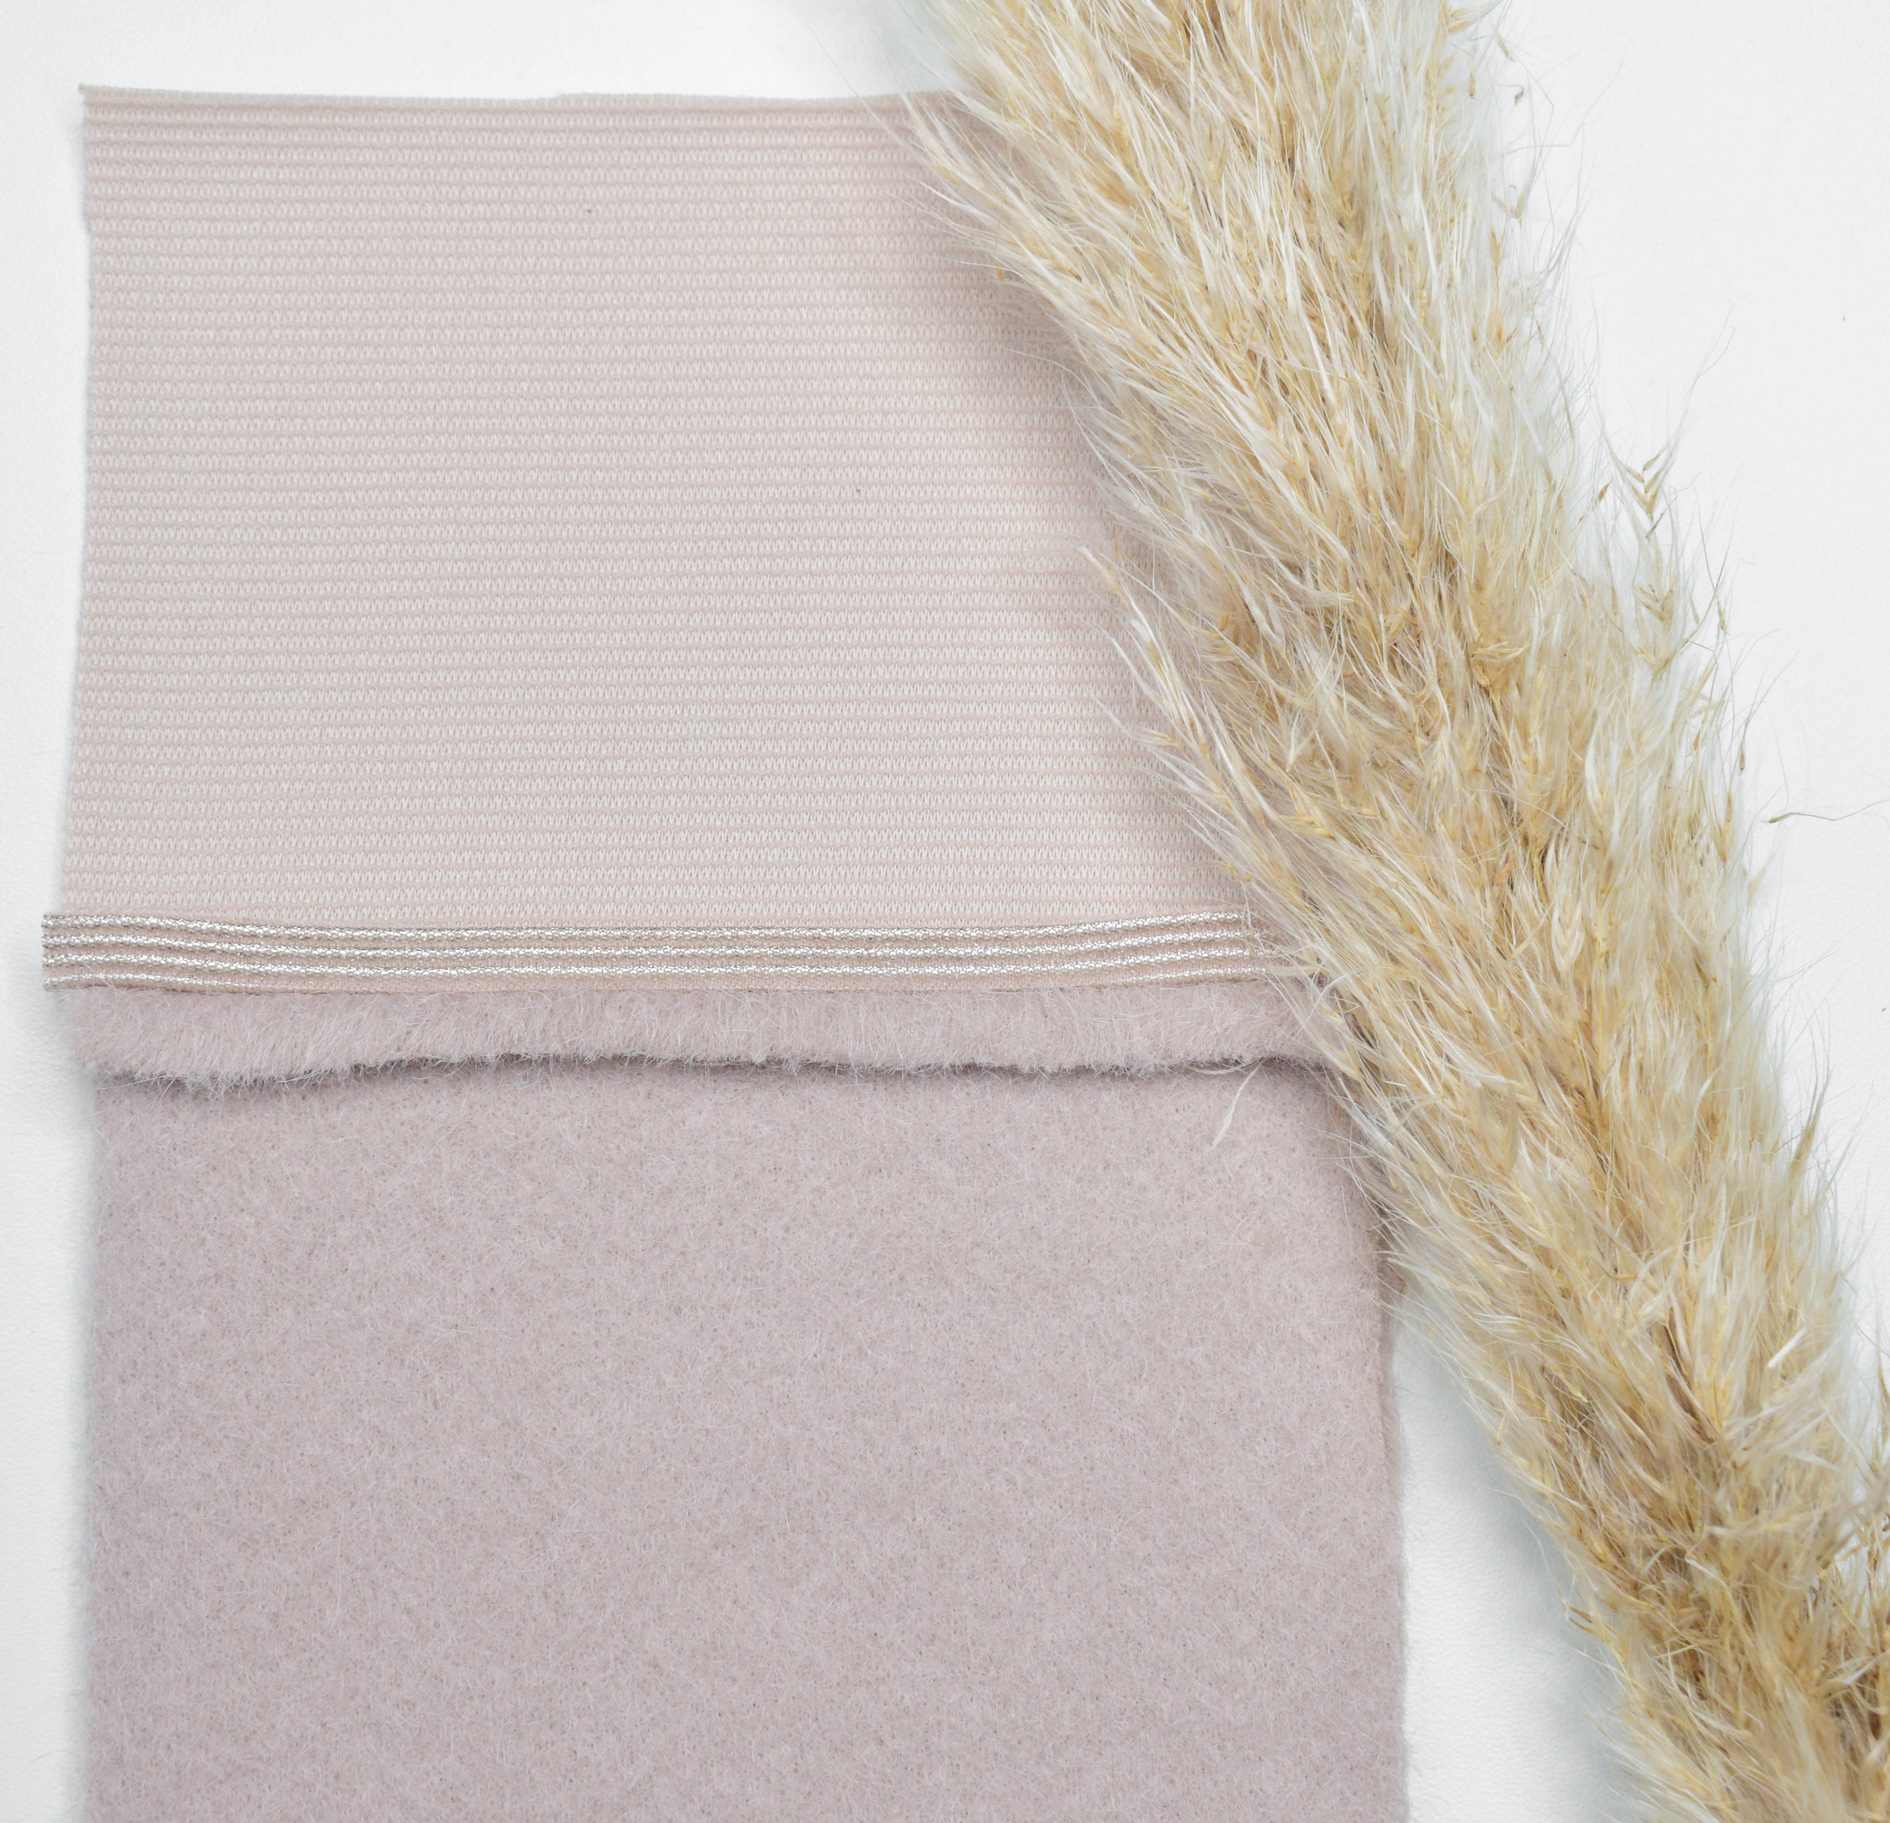
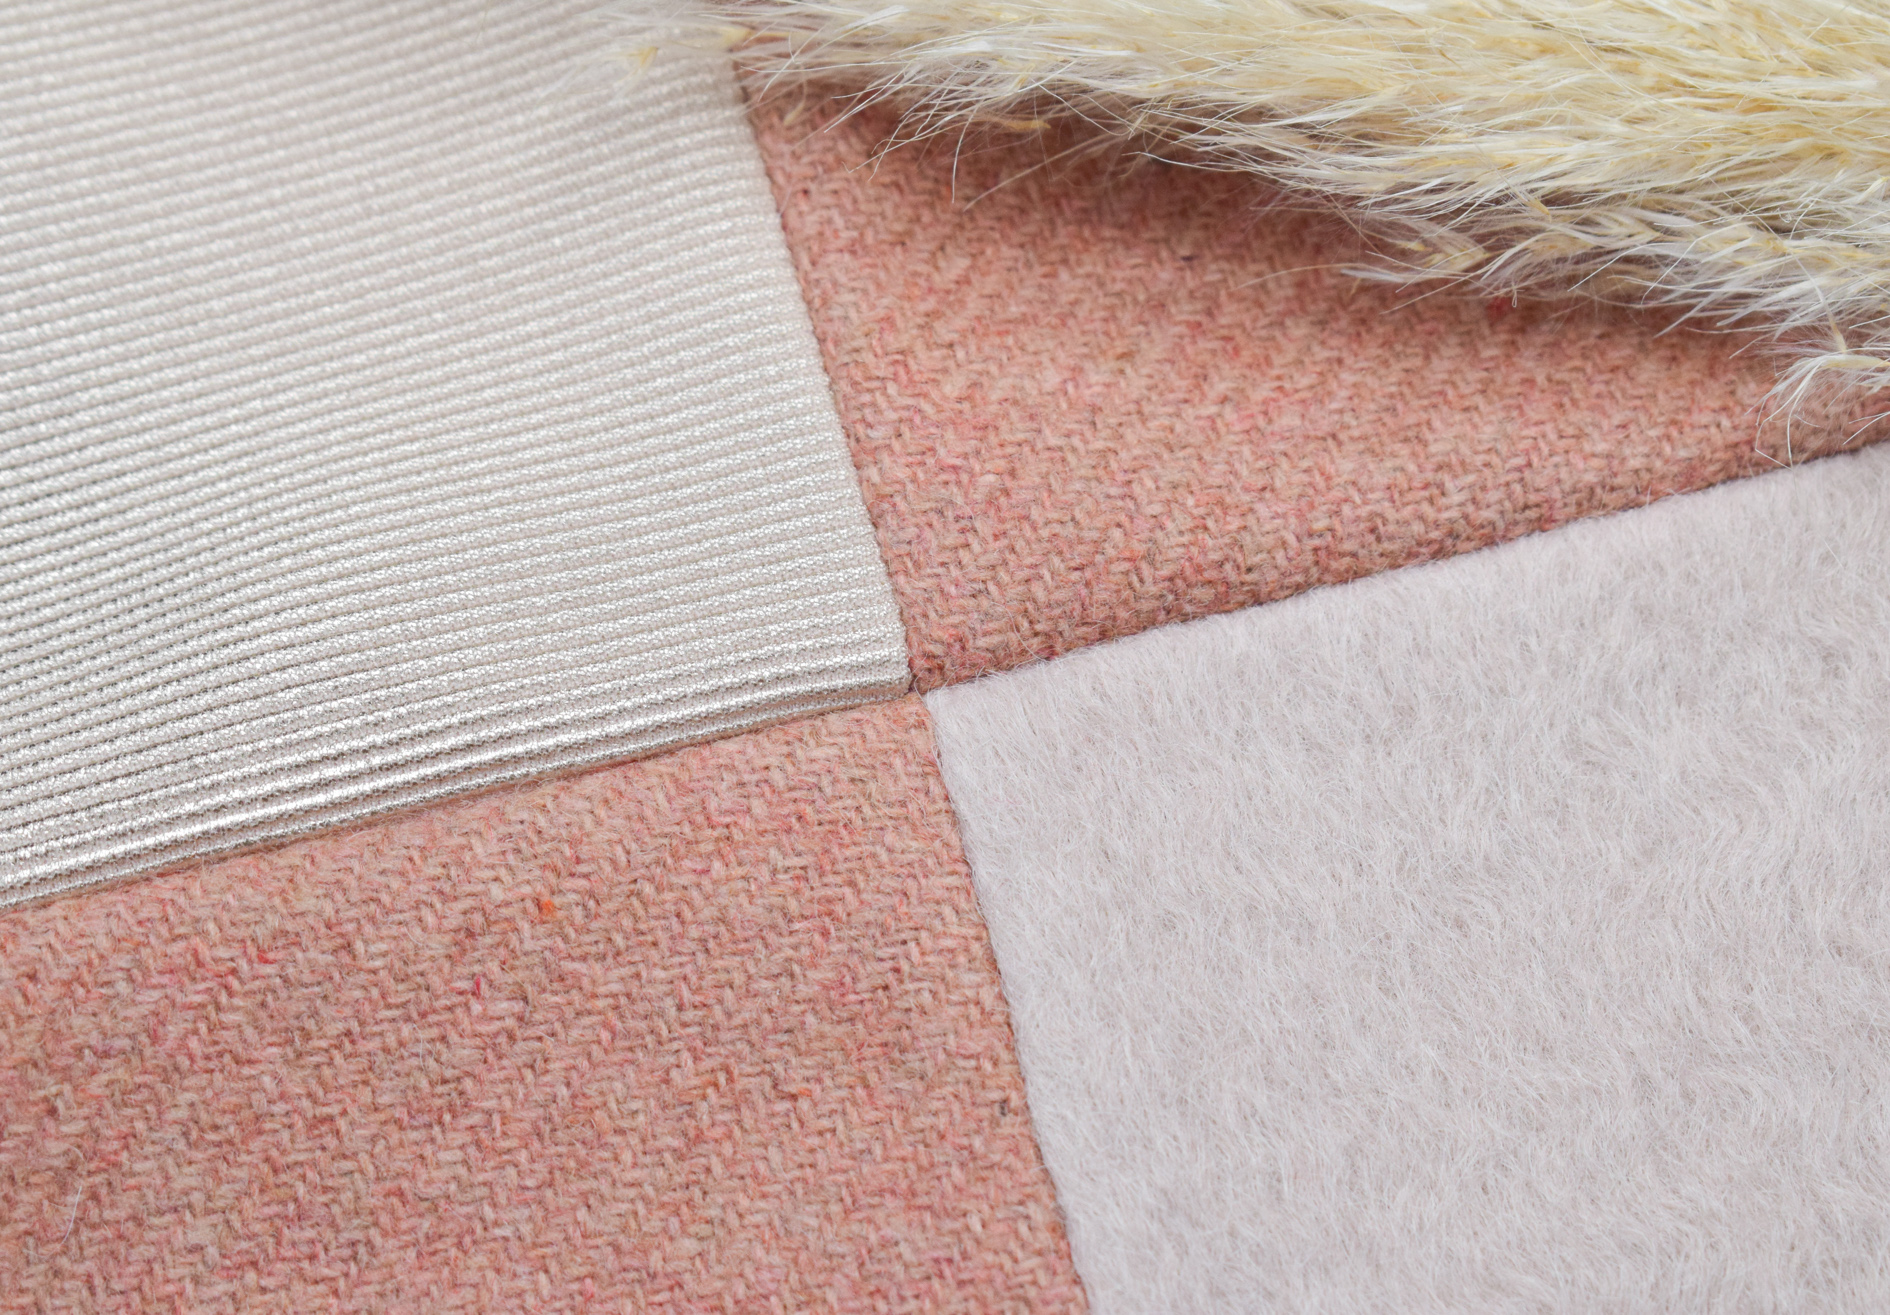
Press the seams open each time to get a nicely finished patchwork piece.
As you continue, you will come to a point where you’ll have to sew 2 seams neatly together so they match perfectly.

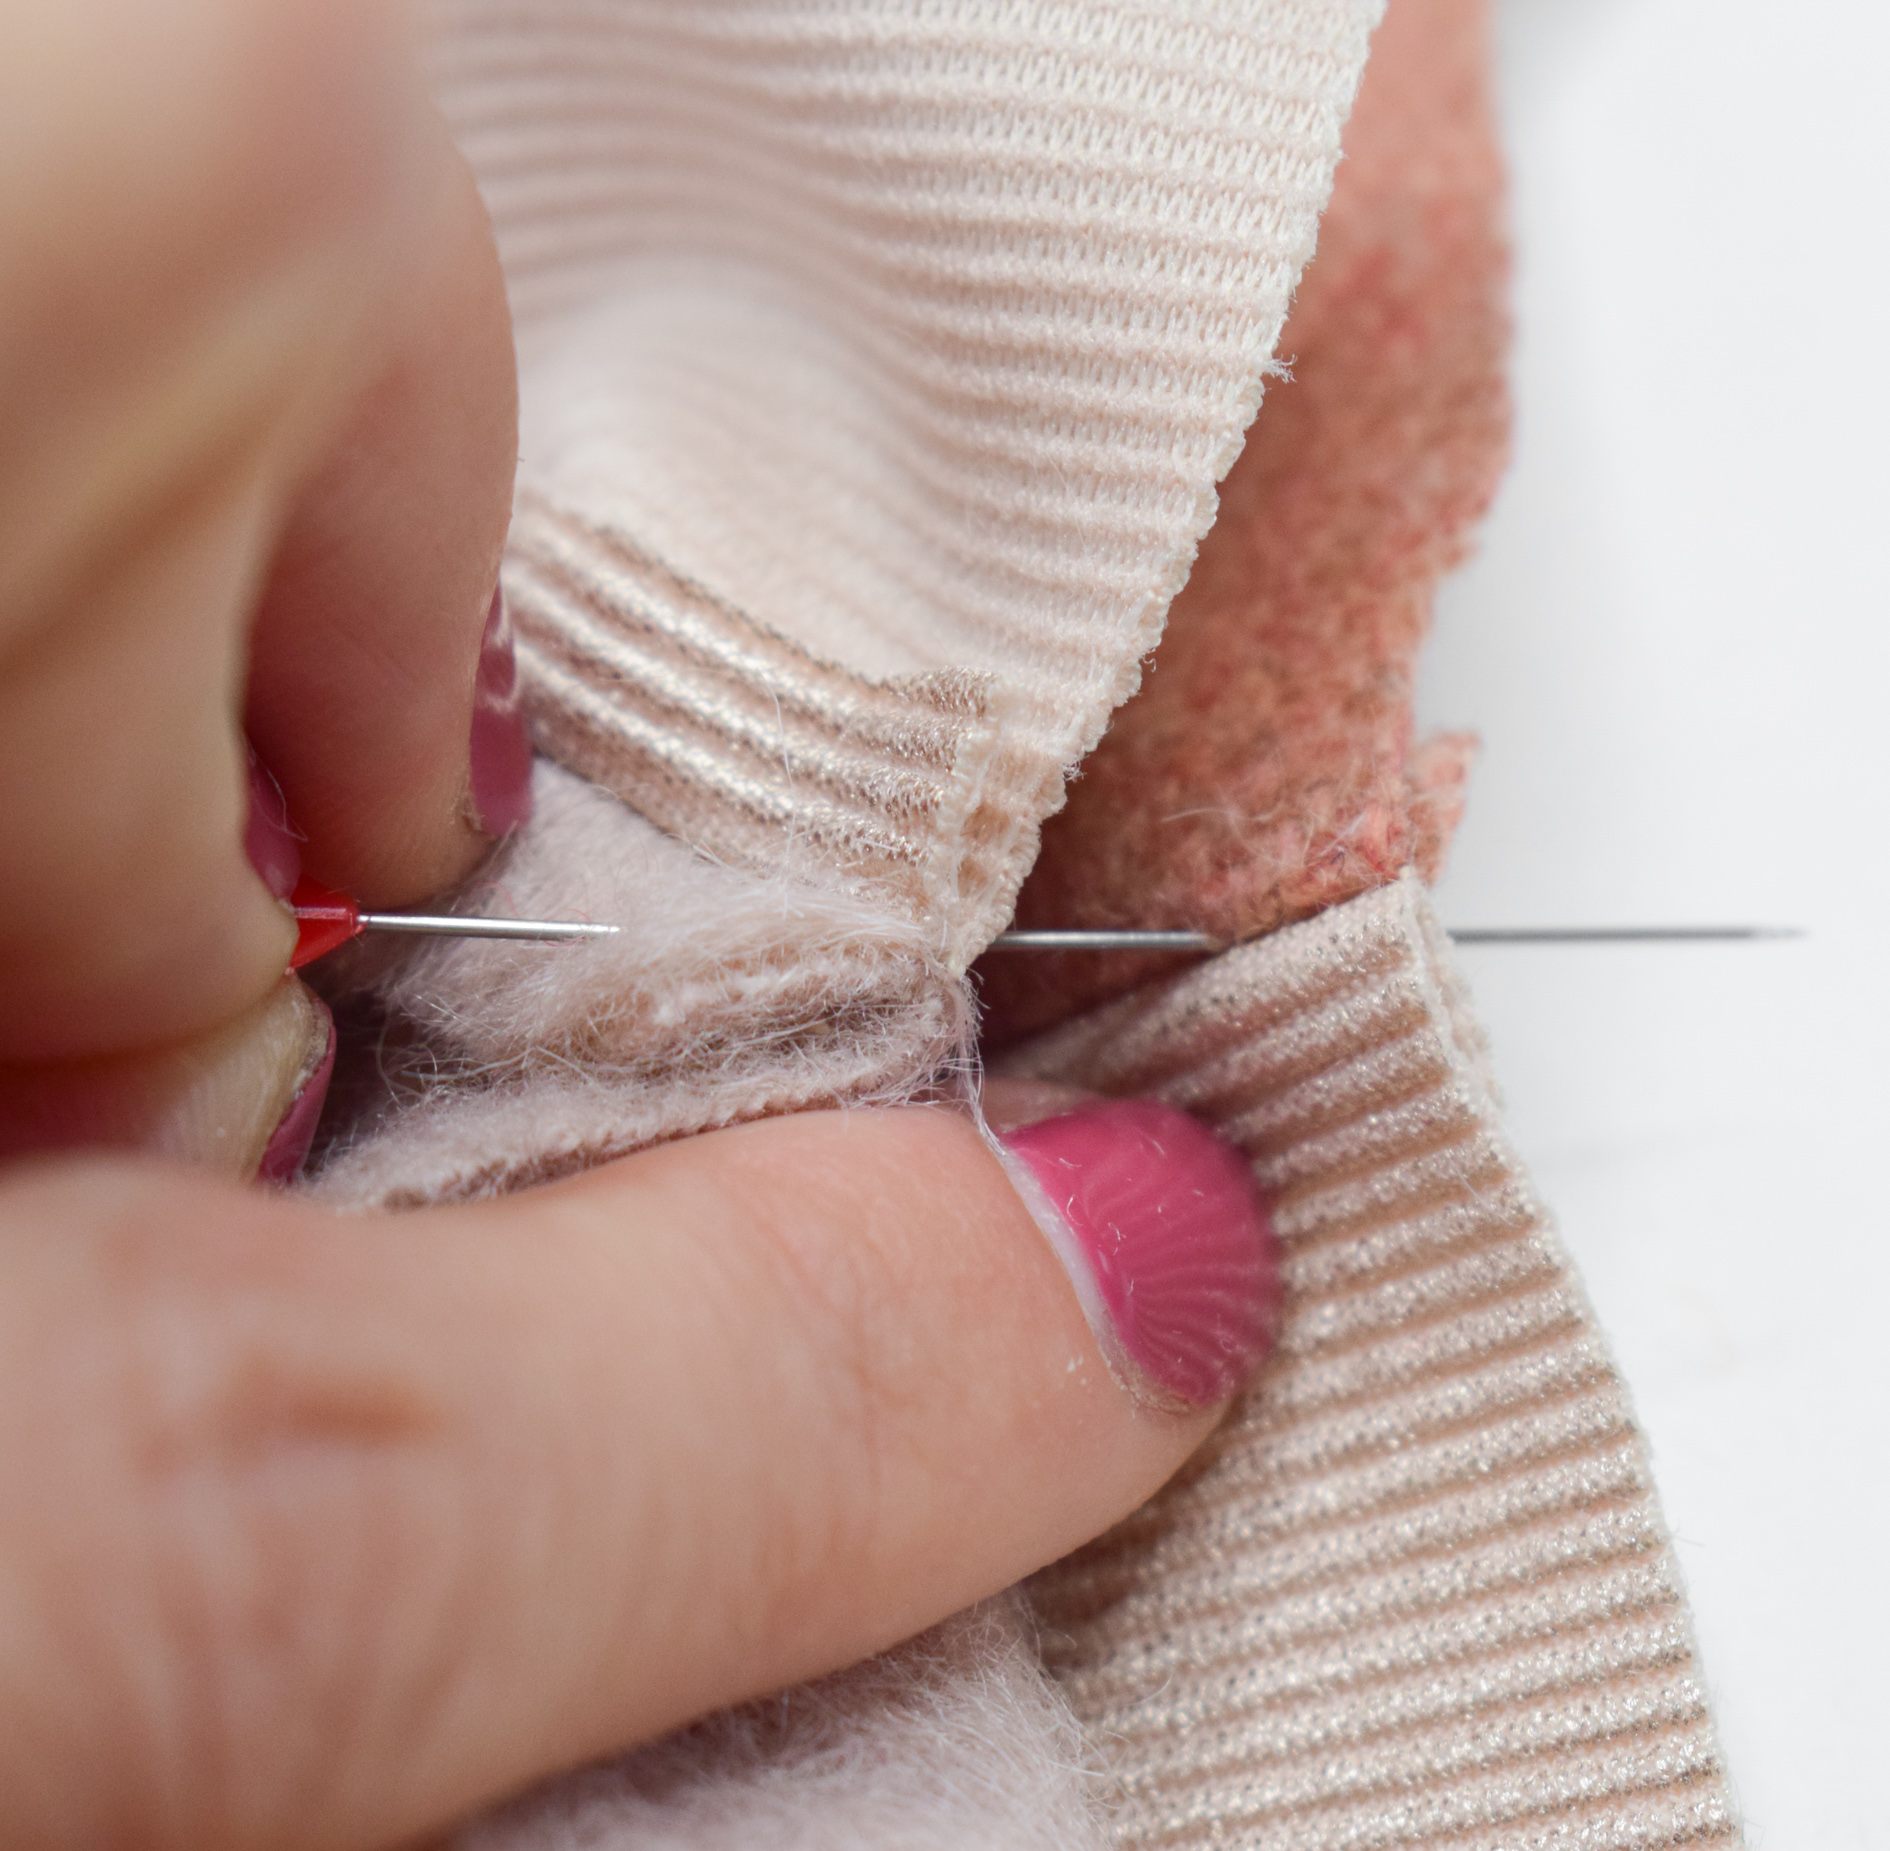
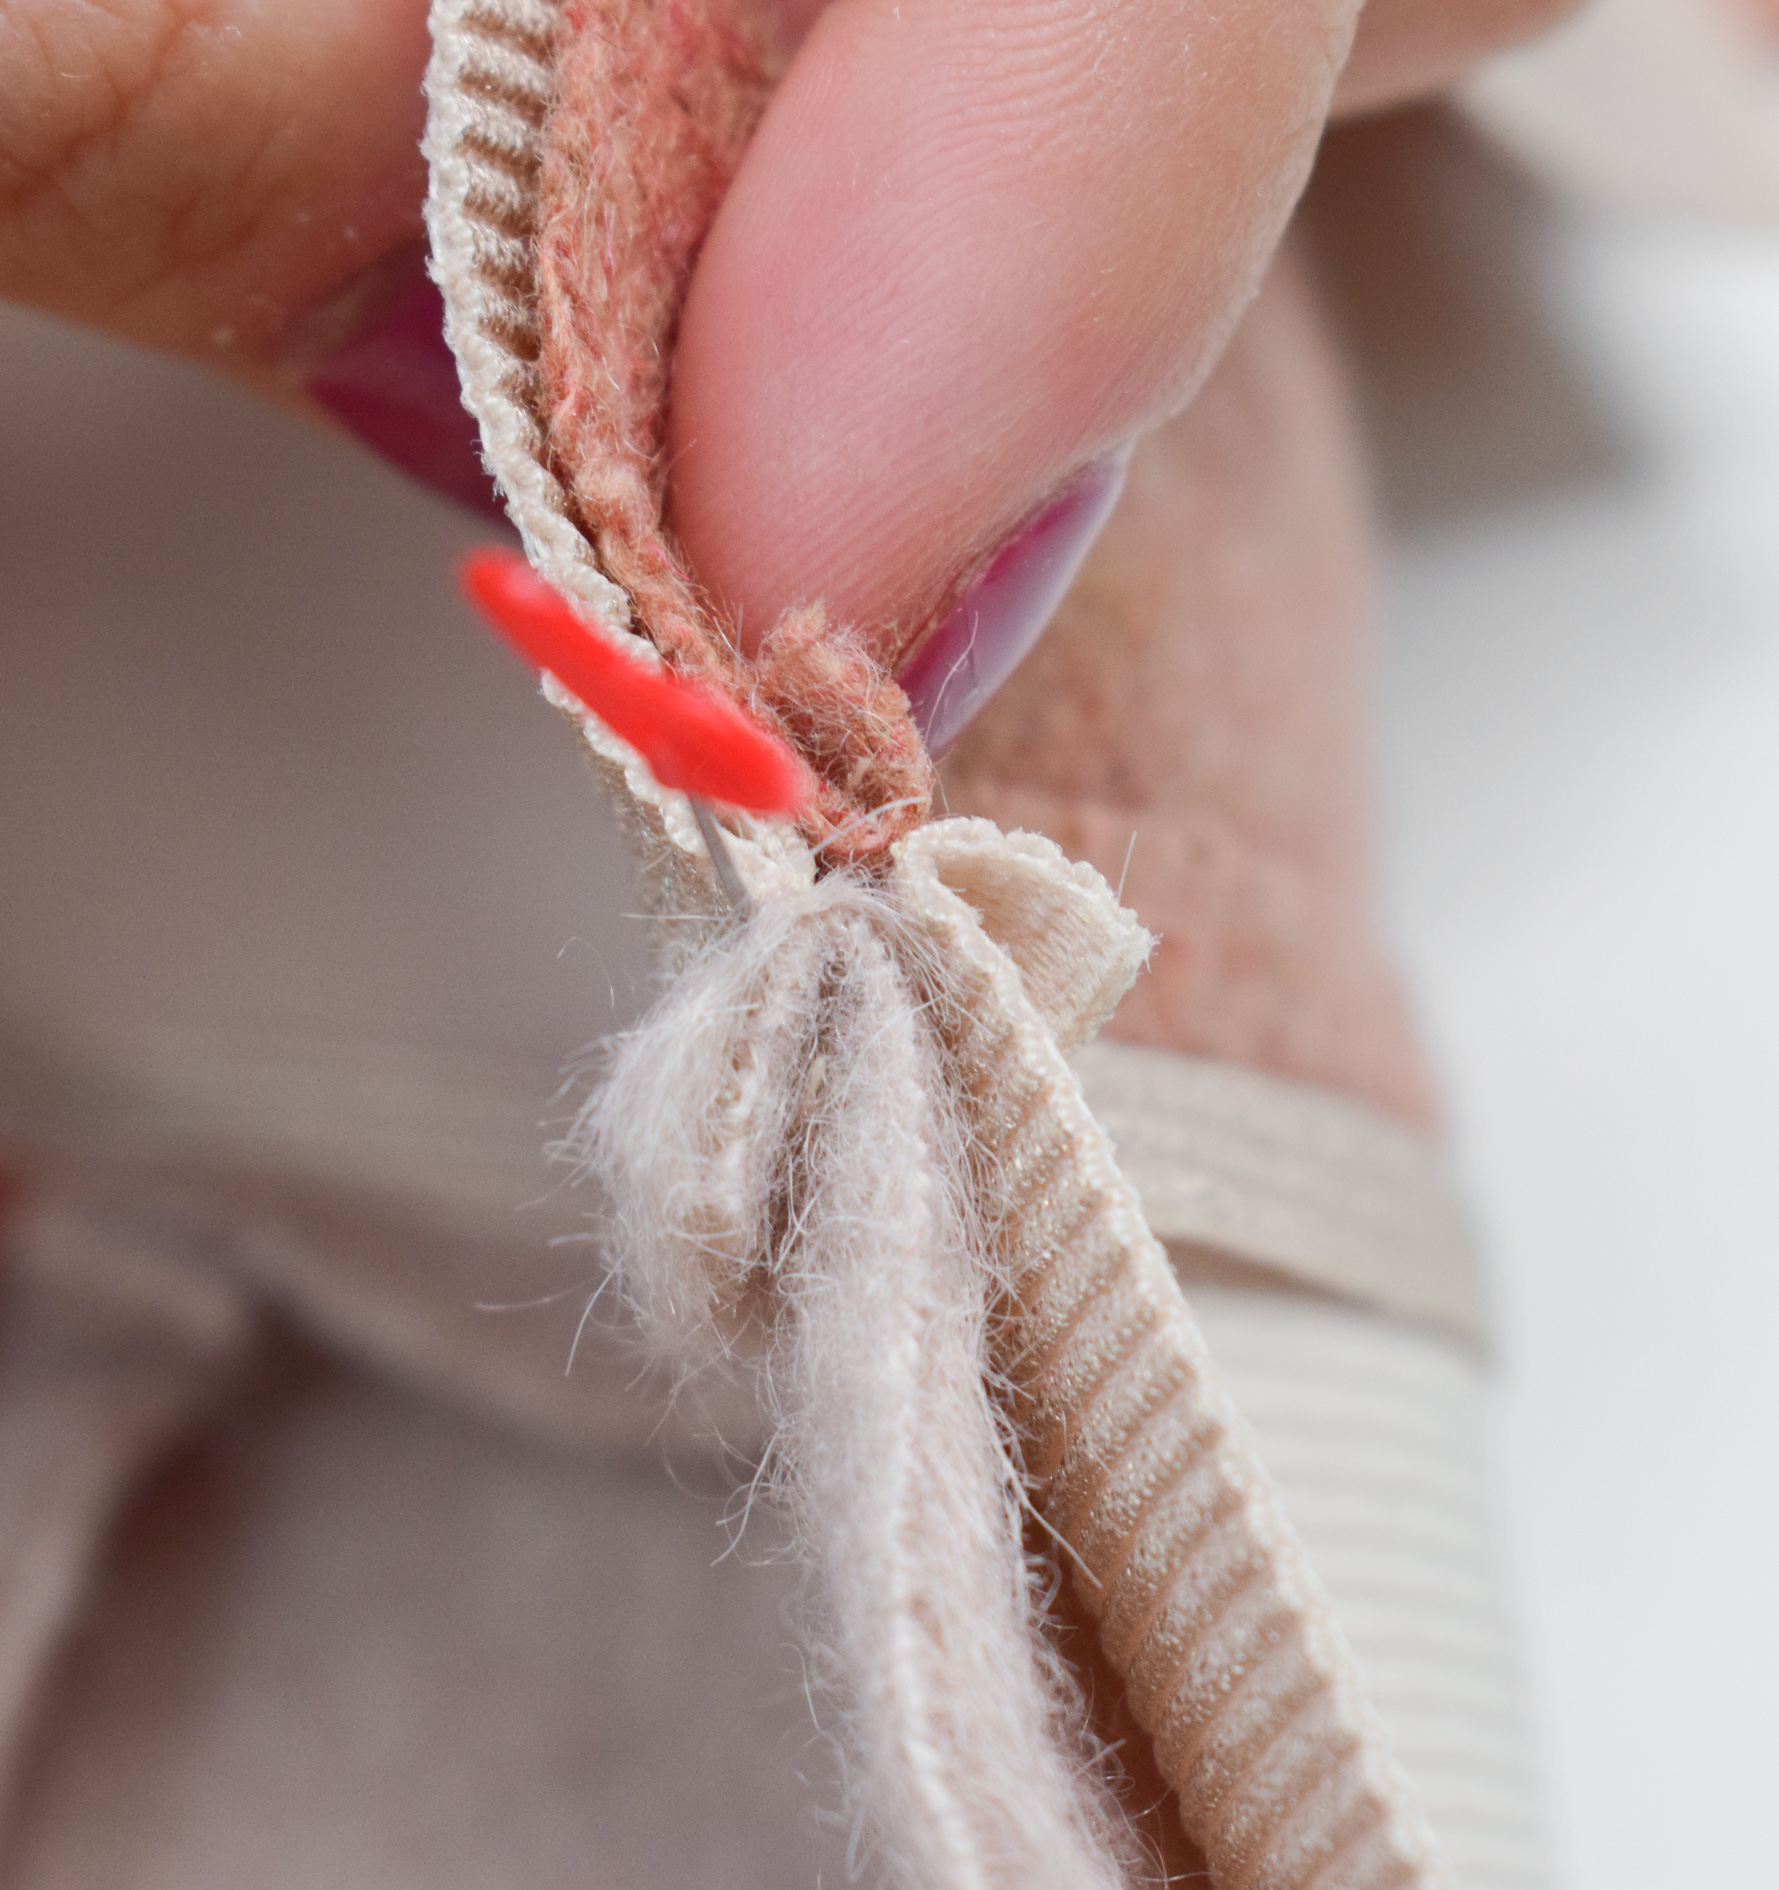
To pin these, first insert the tip of the pin just through the first seam.
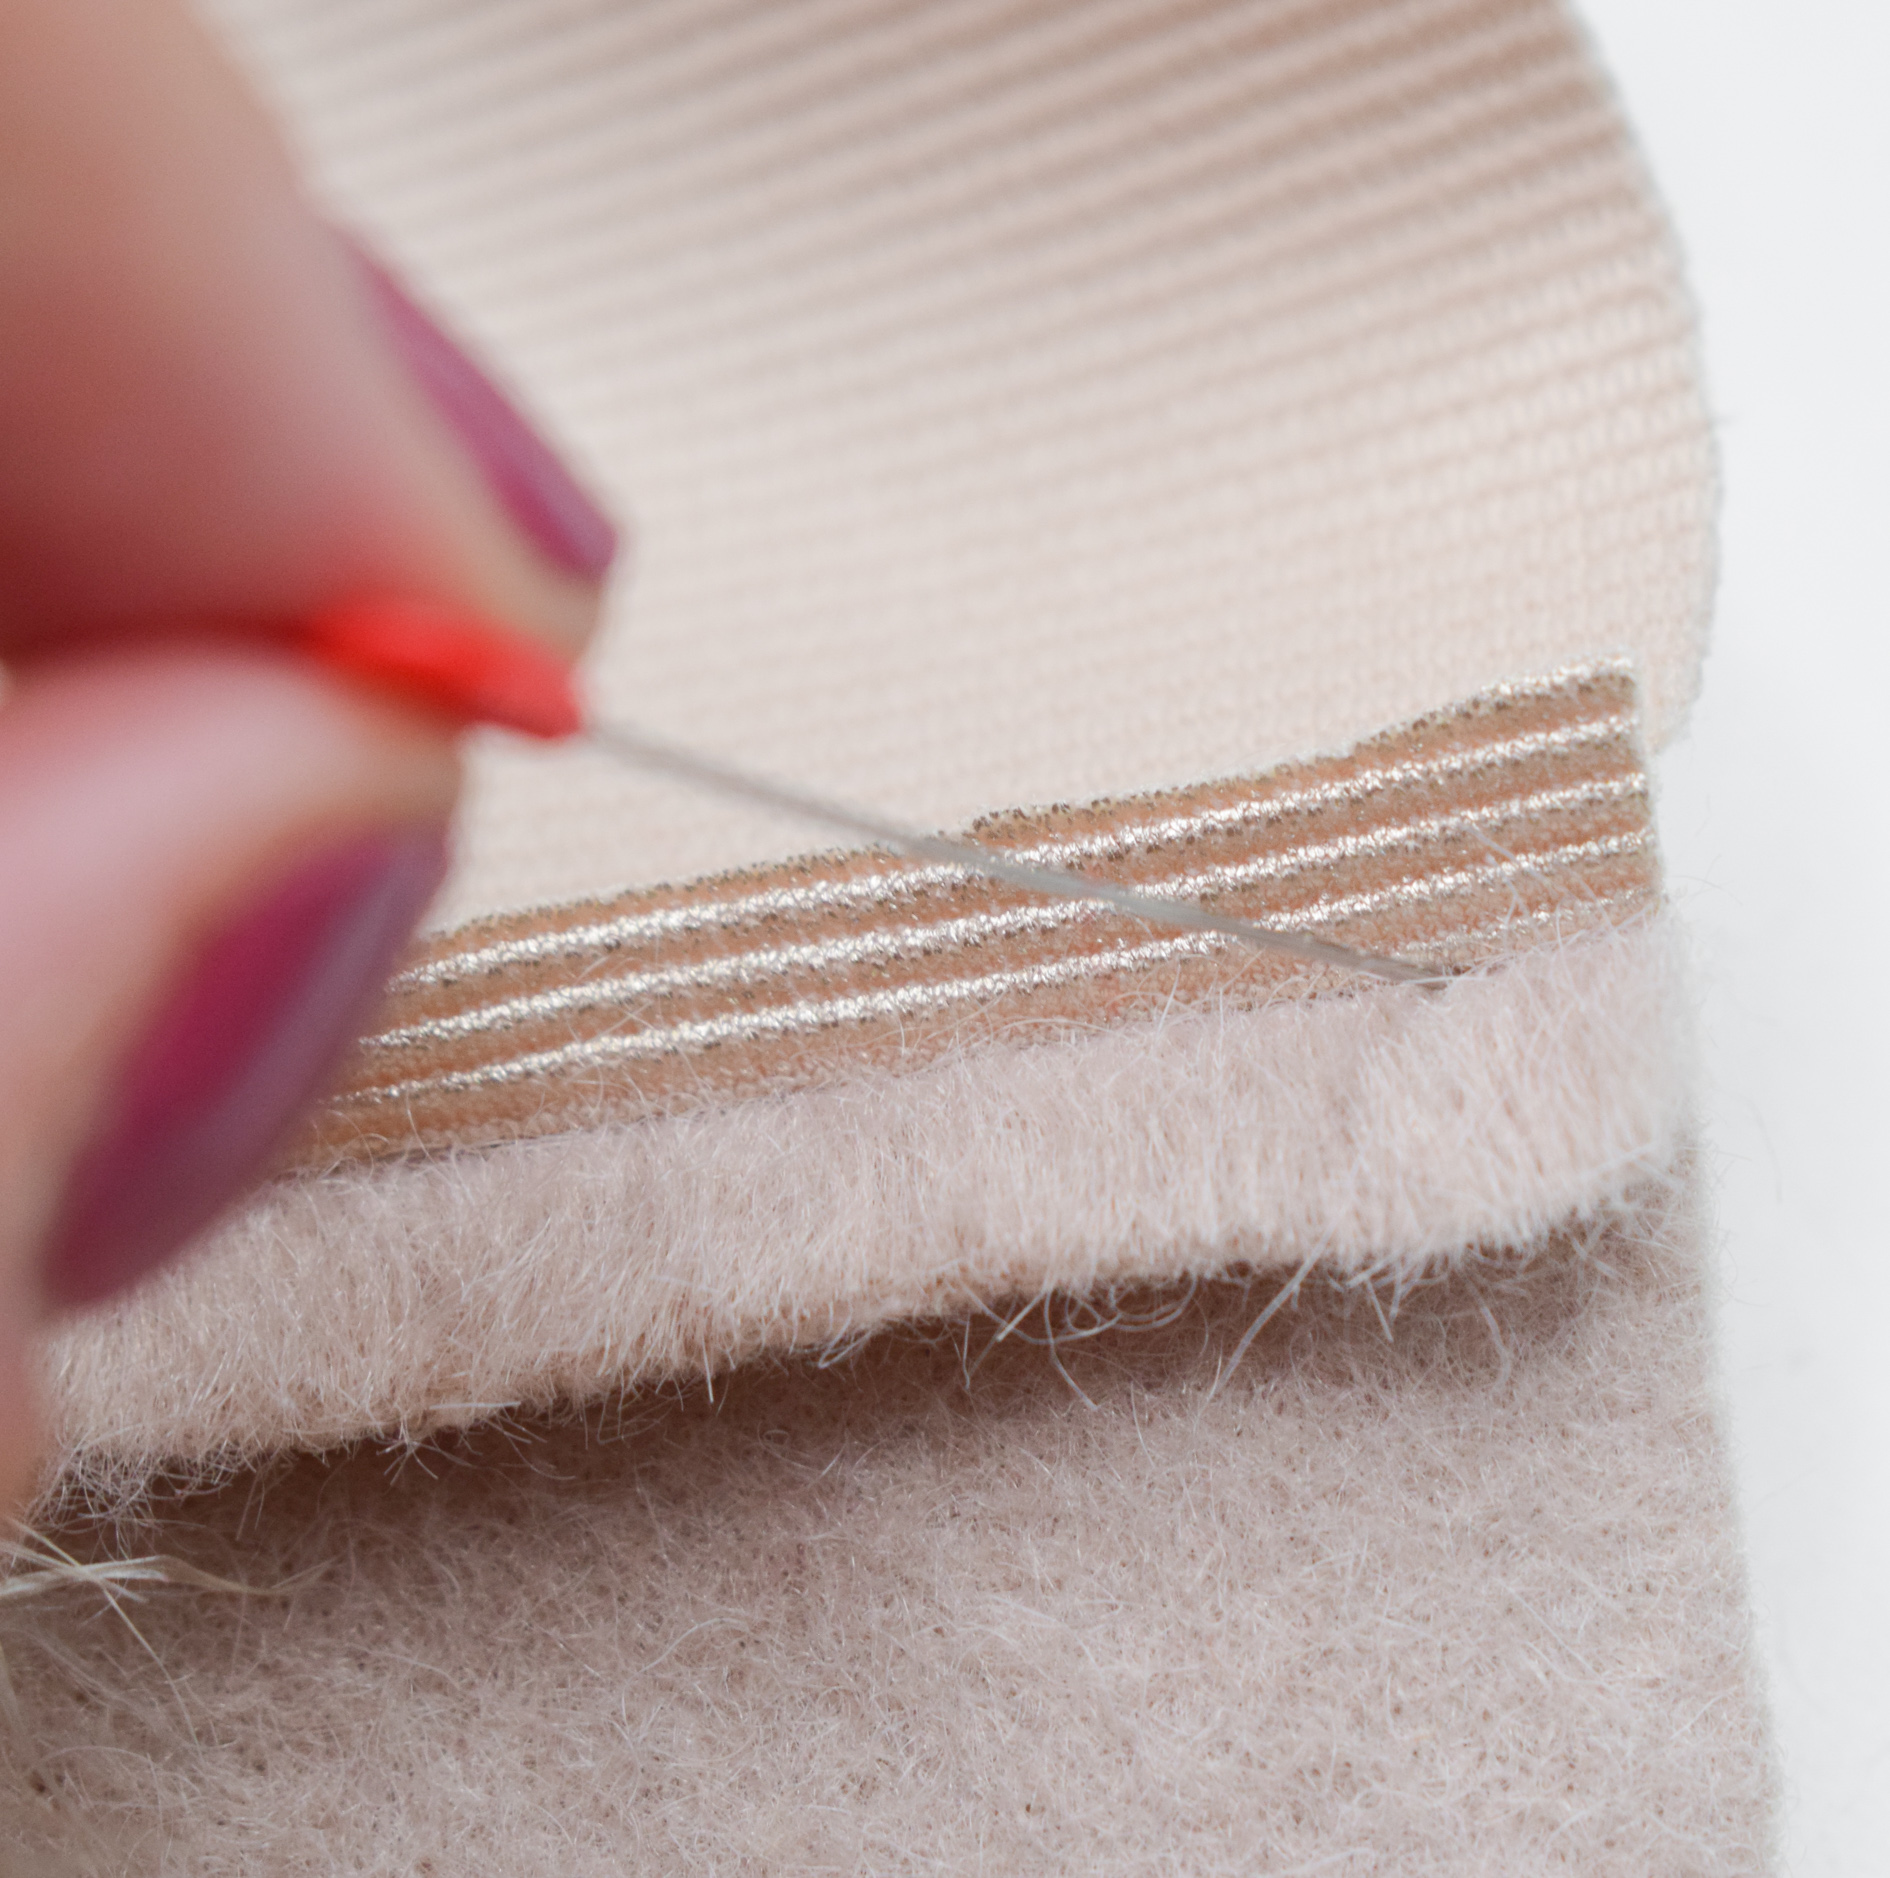
Continue by inserting the point exactly through the second seam and pin both seams together.
When sewing these seams, make sure the seam allowances are stitched flat, that way your seams won’t end up too thick.
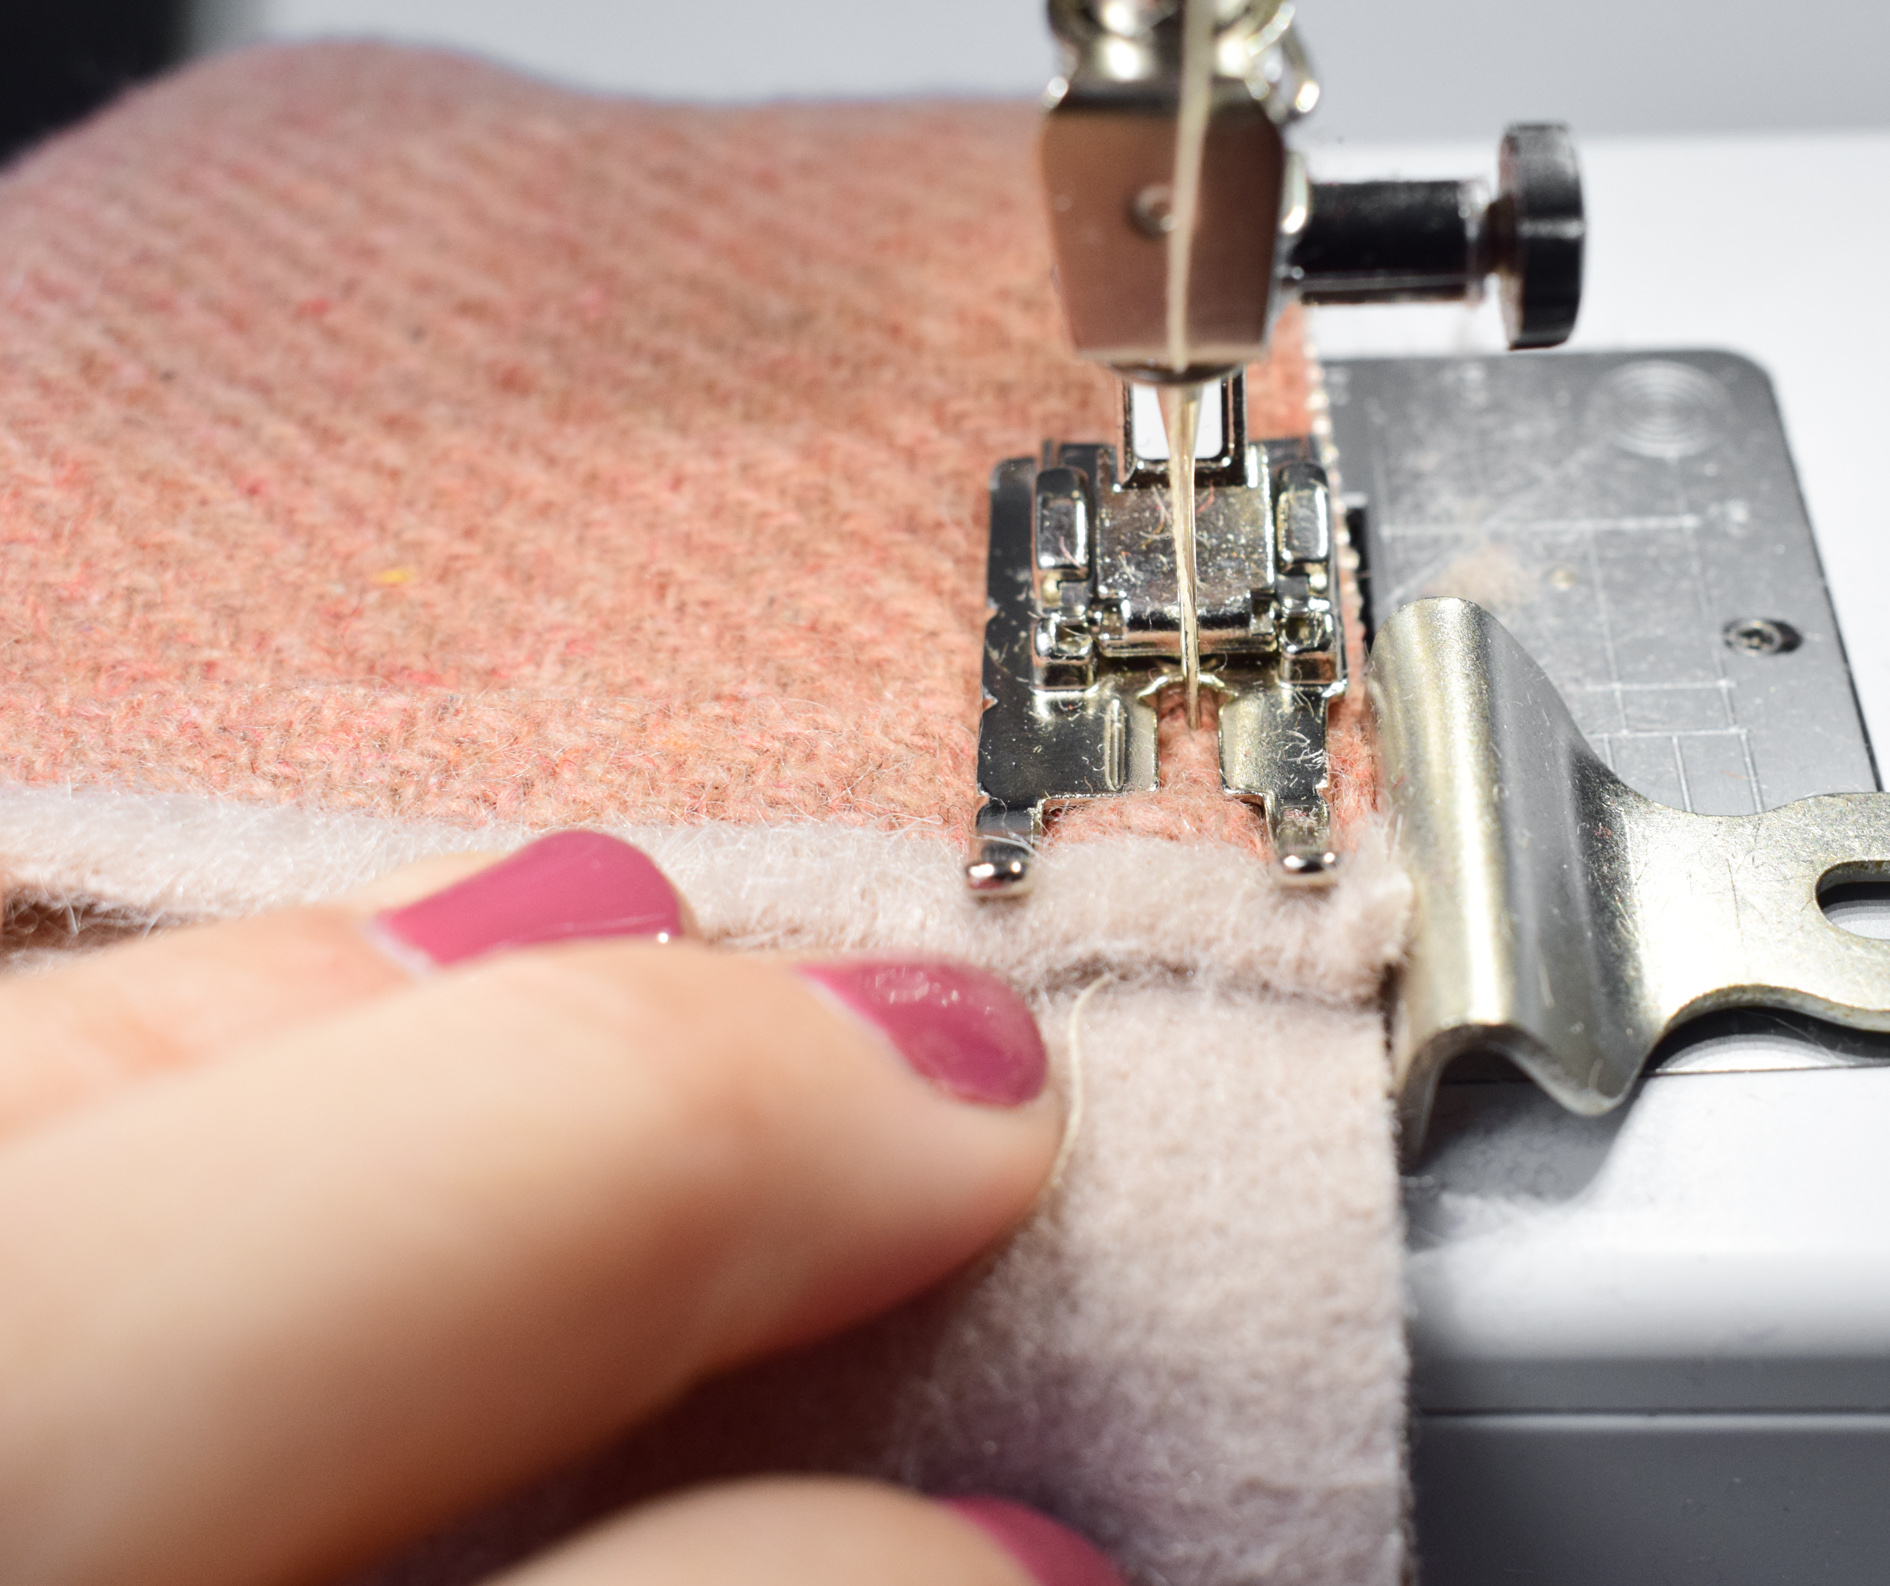
If you work this way, the seams will line up perfectly.
Keep repeating all these steps, with emphasis on pressing the seams open ;-).

You will see something beautiful emerge.
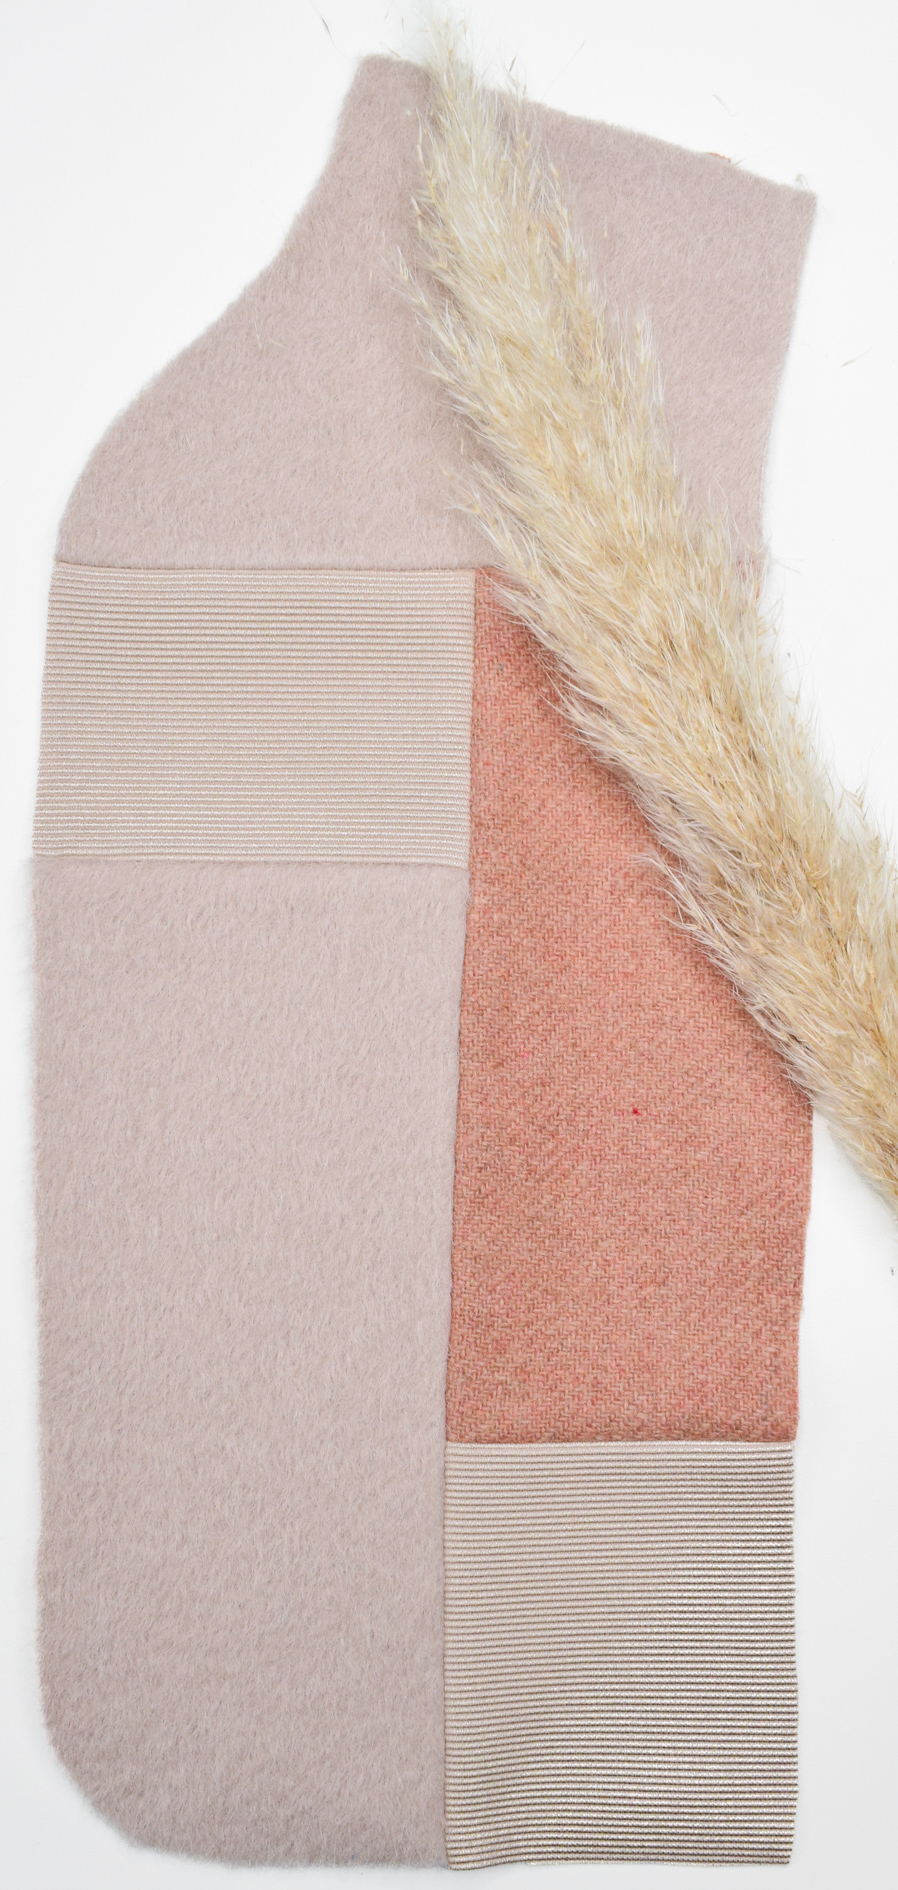
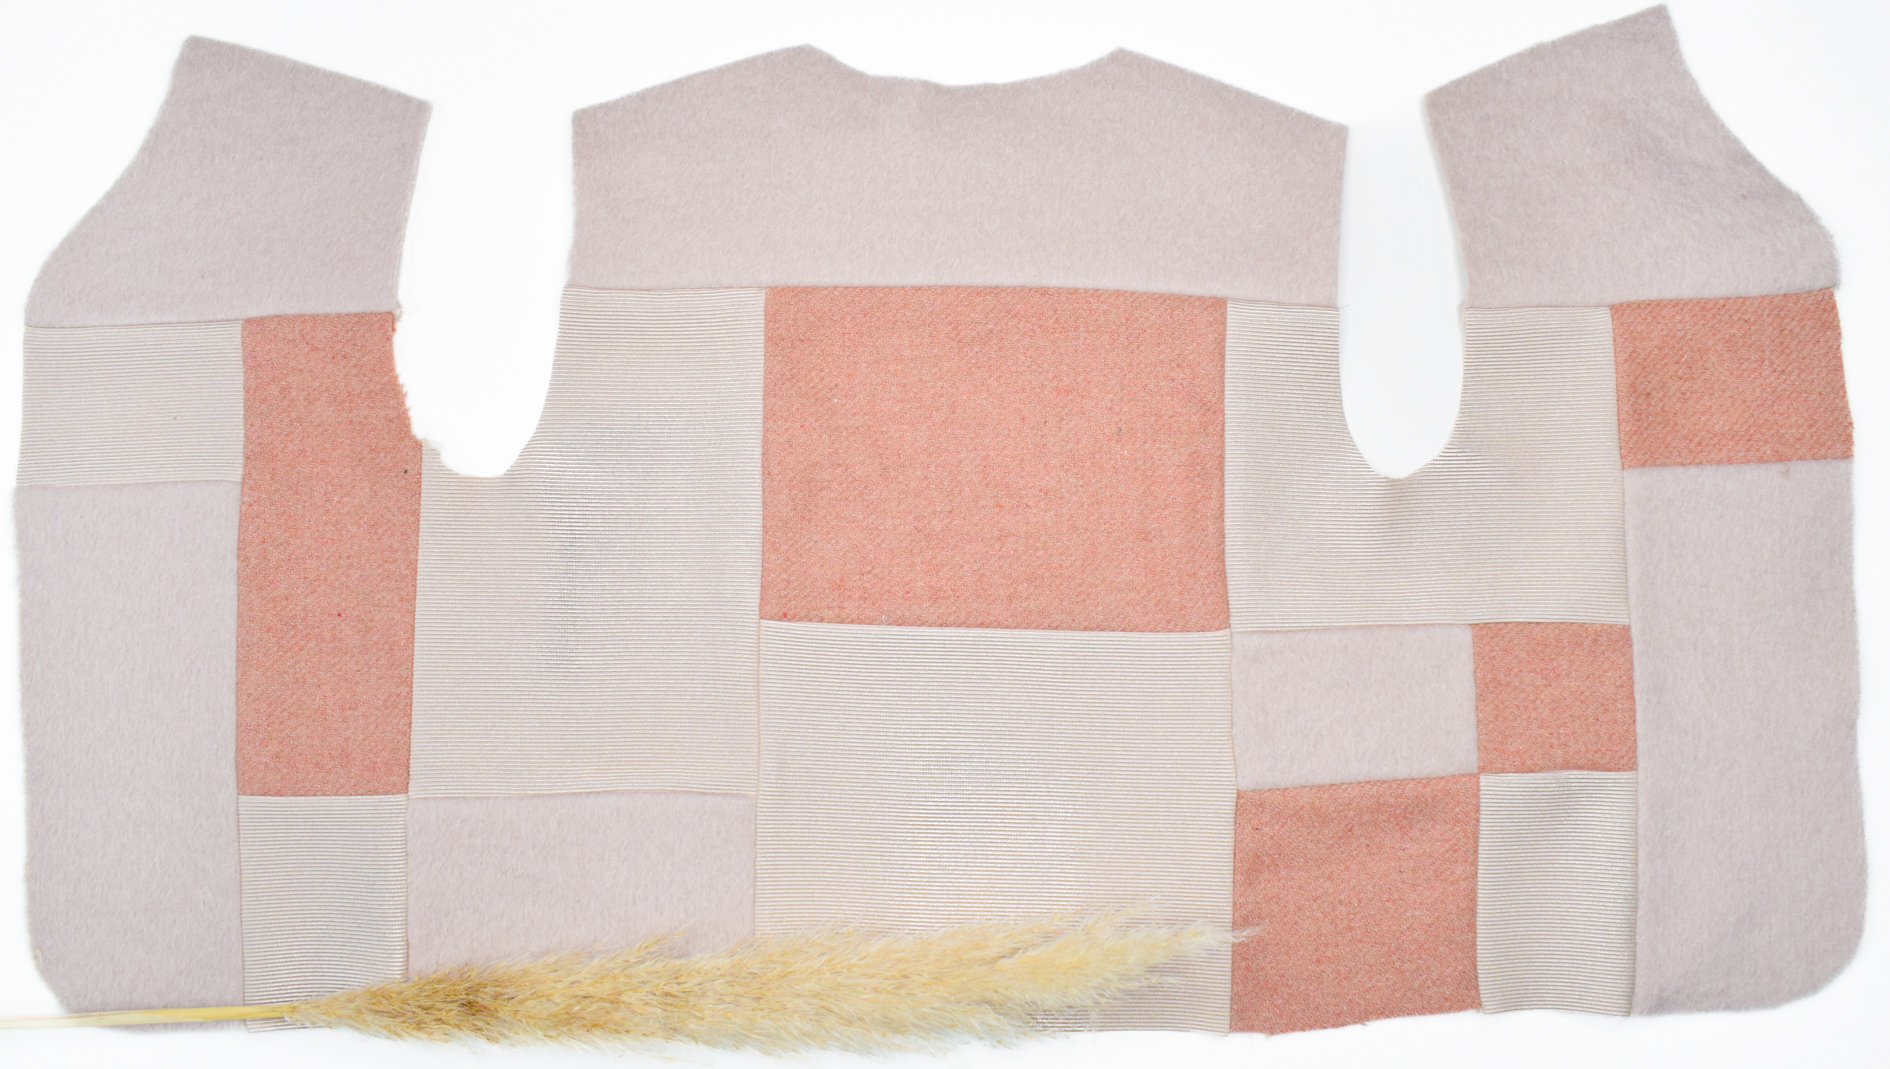
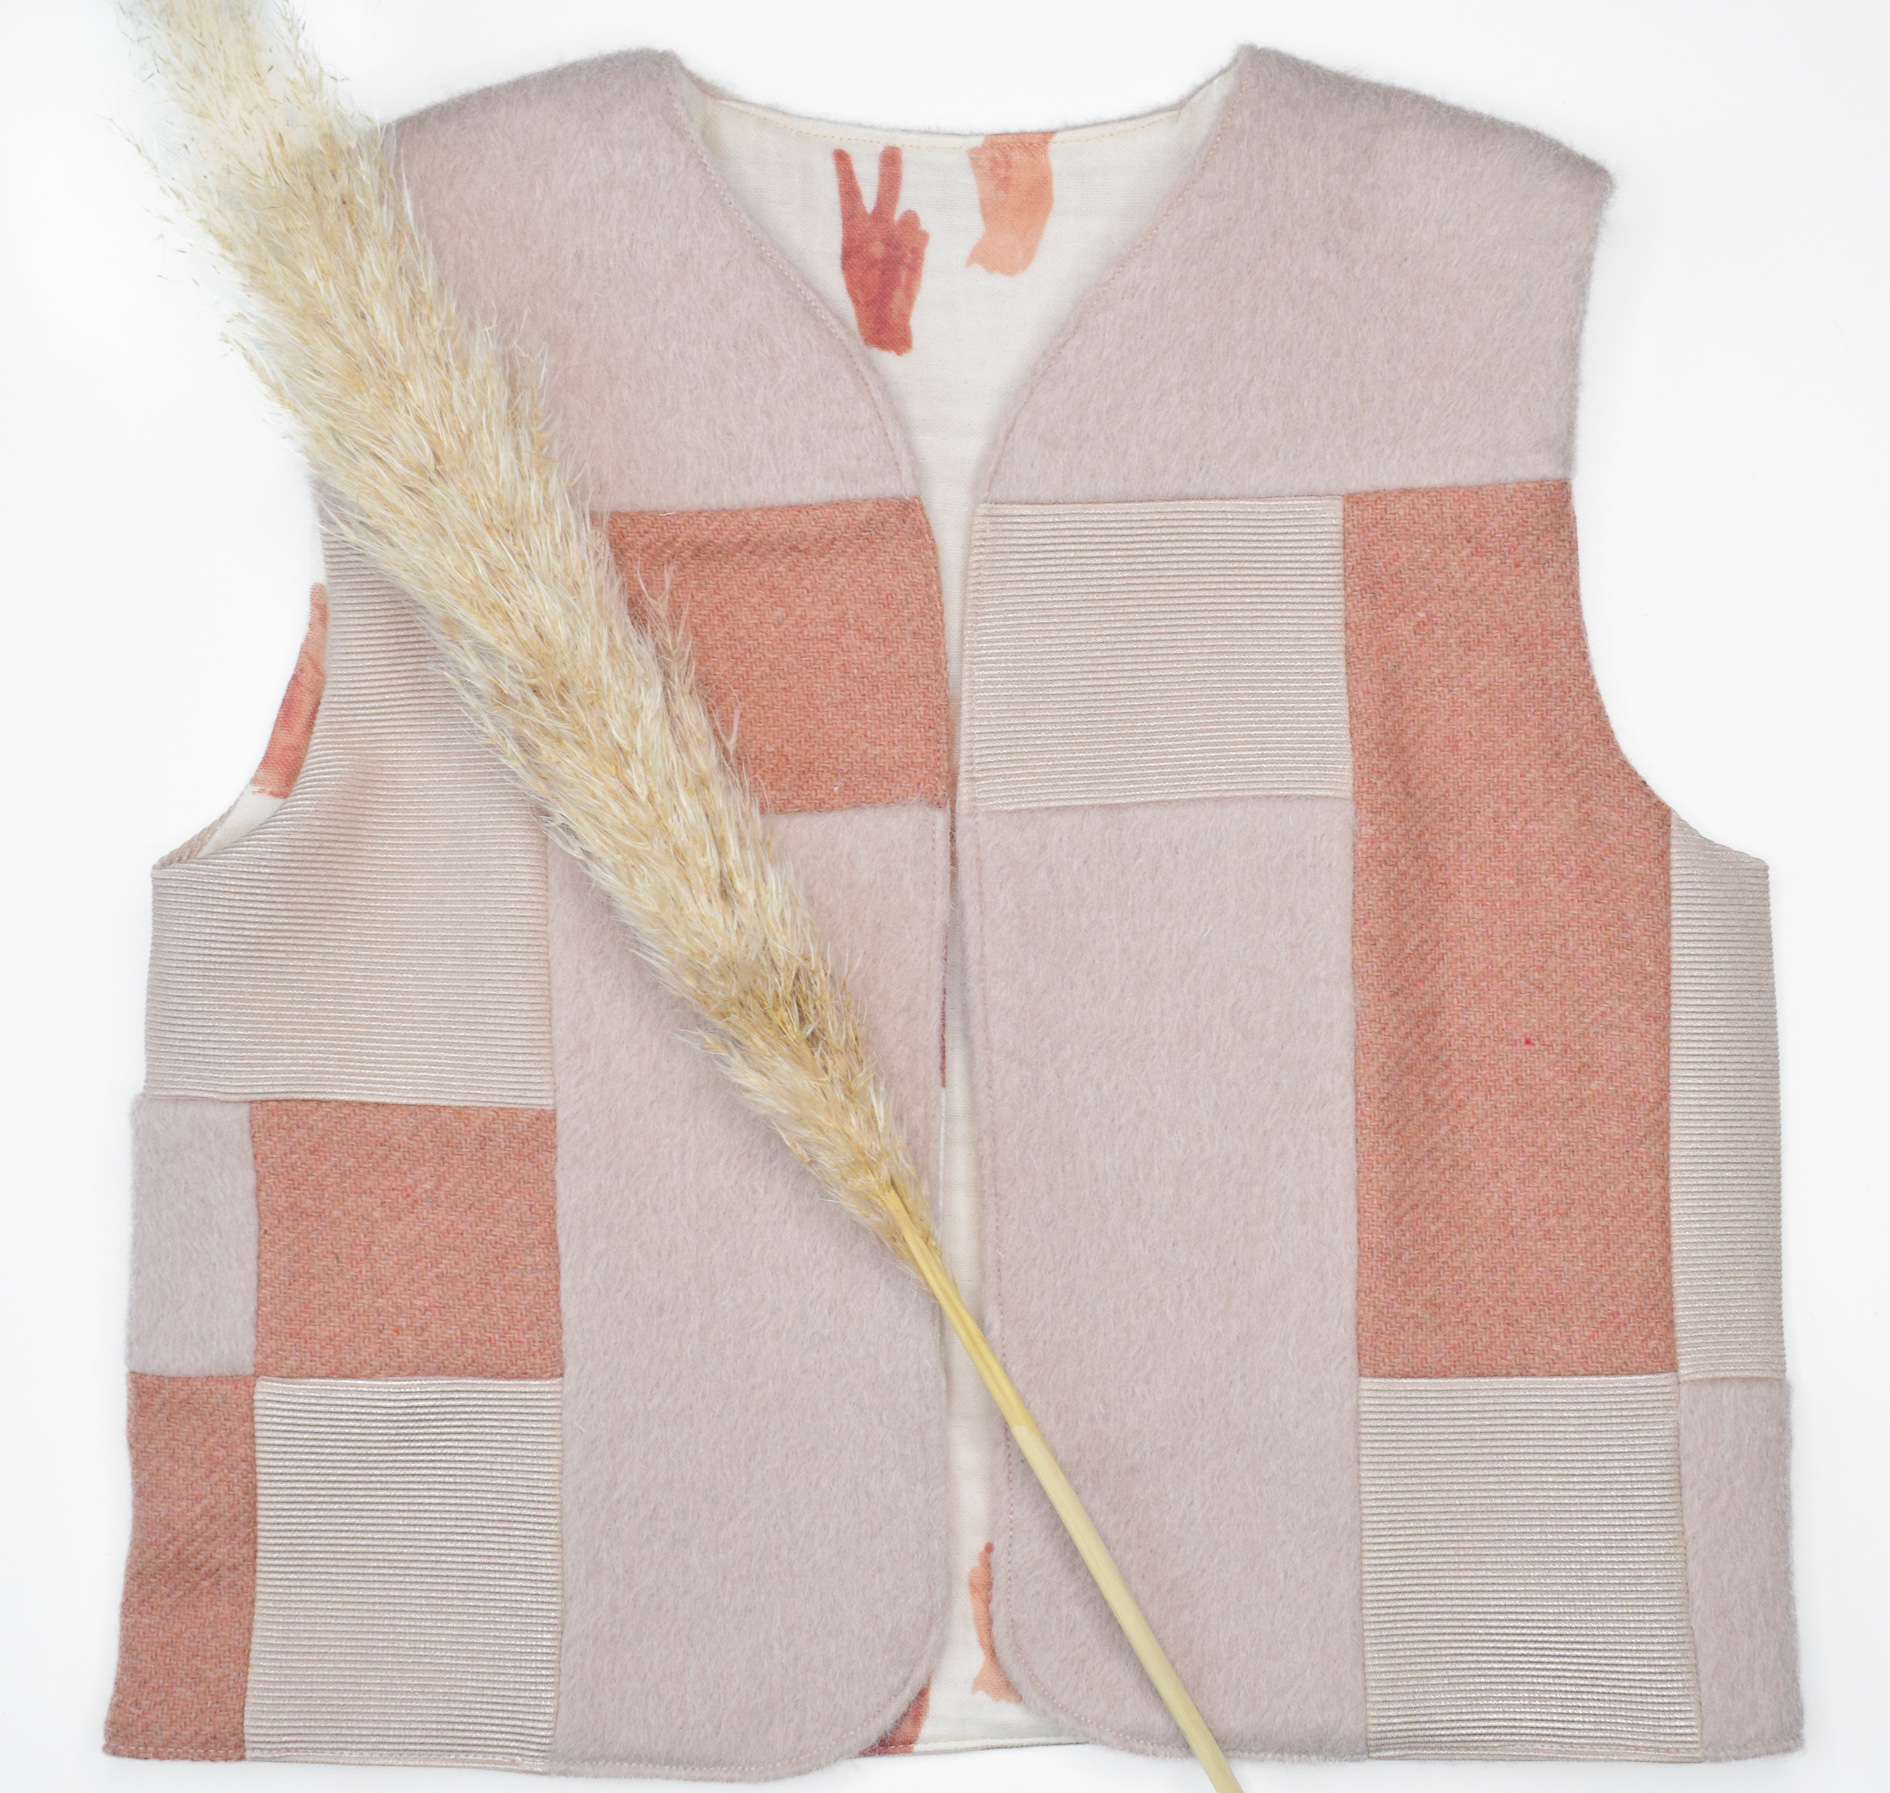
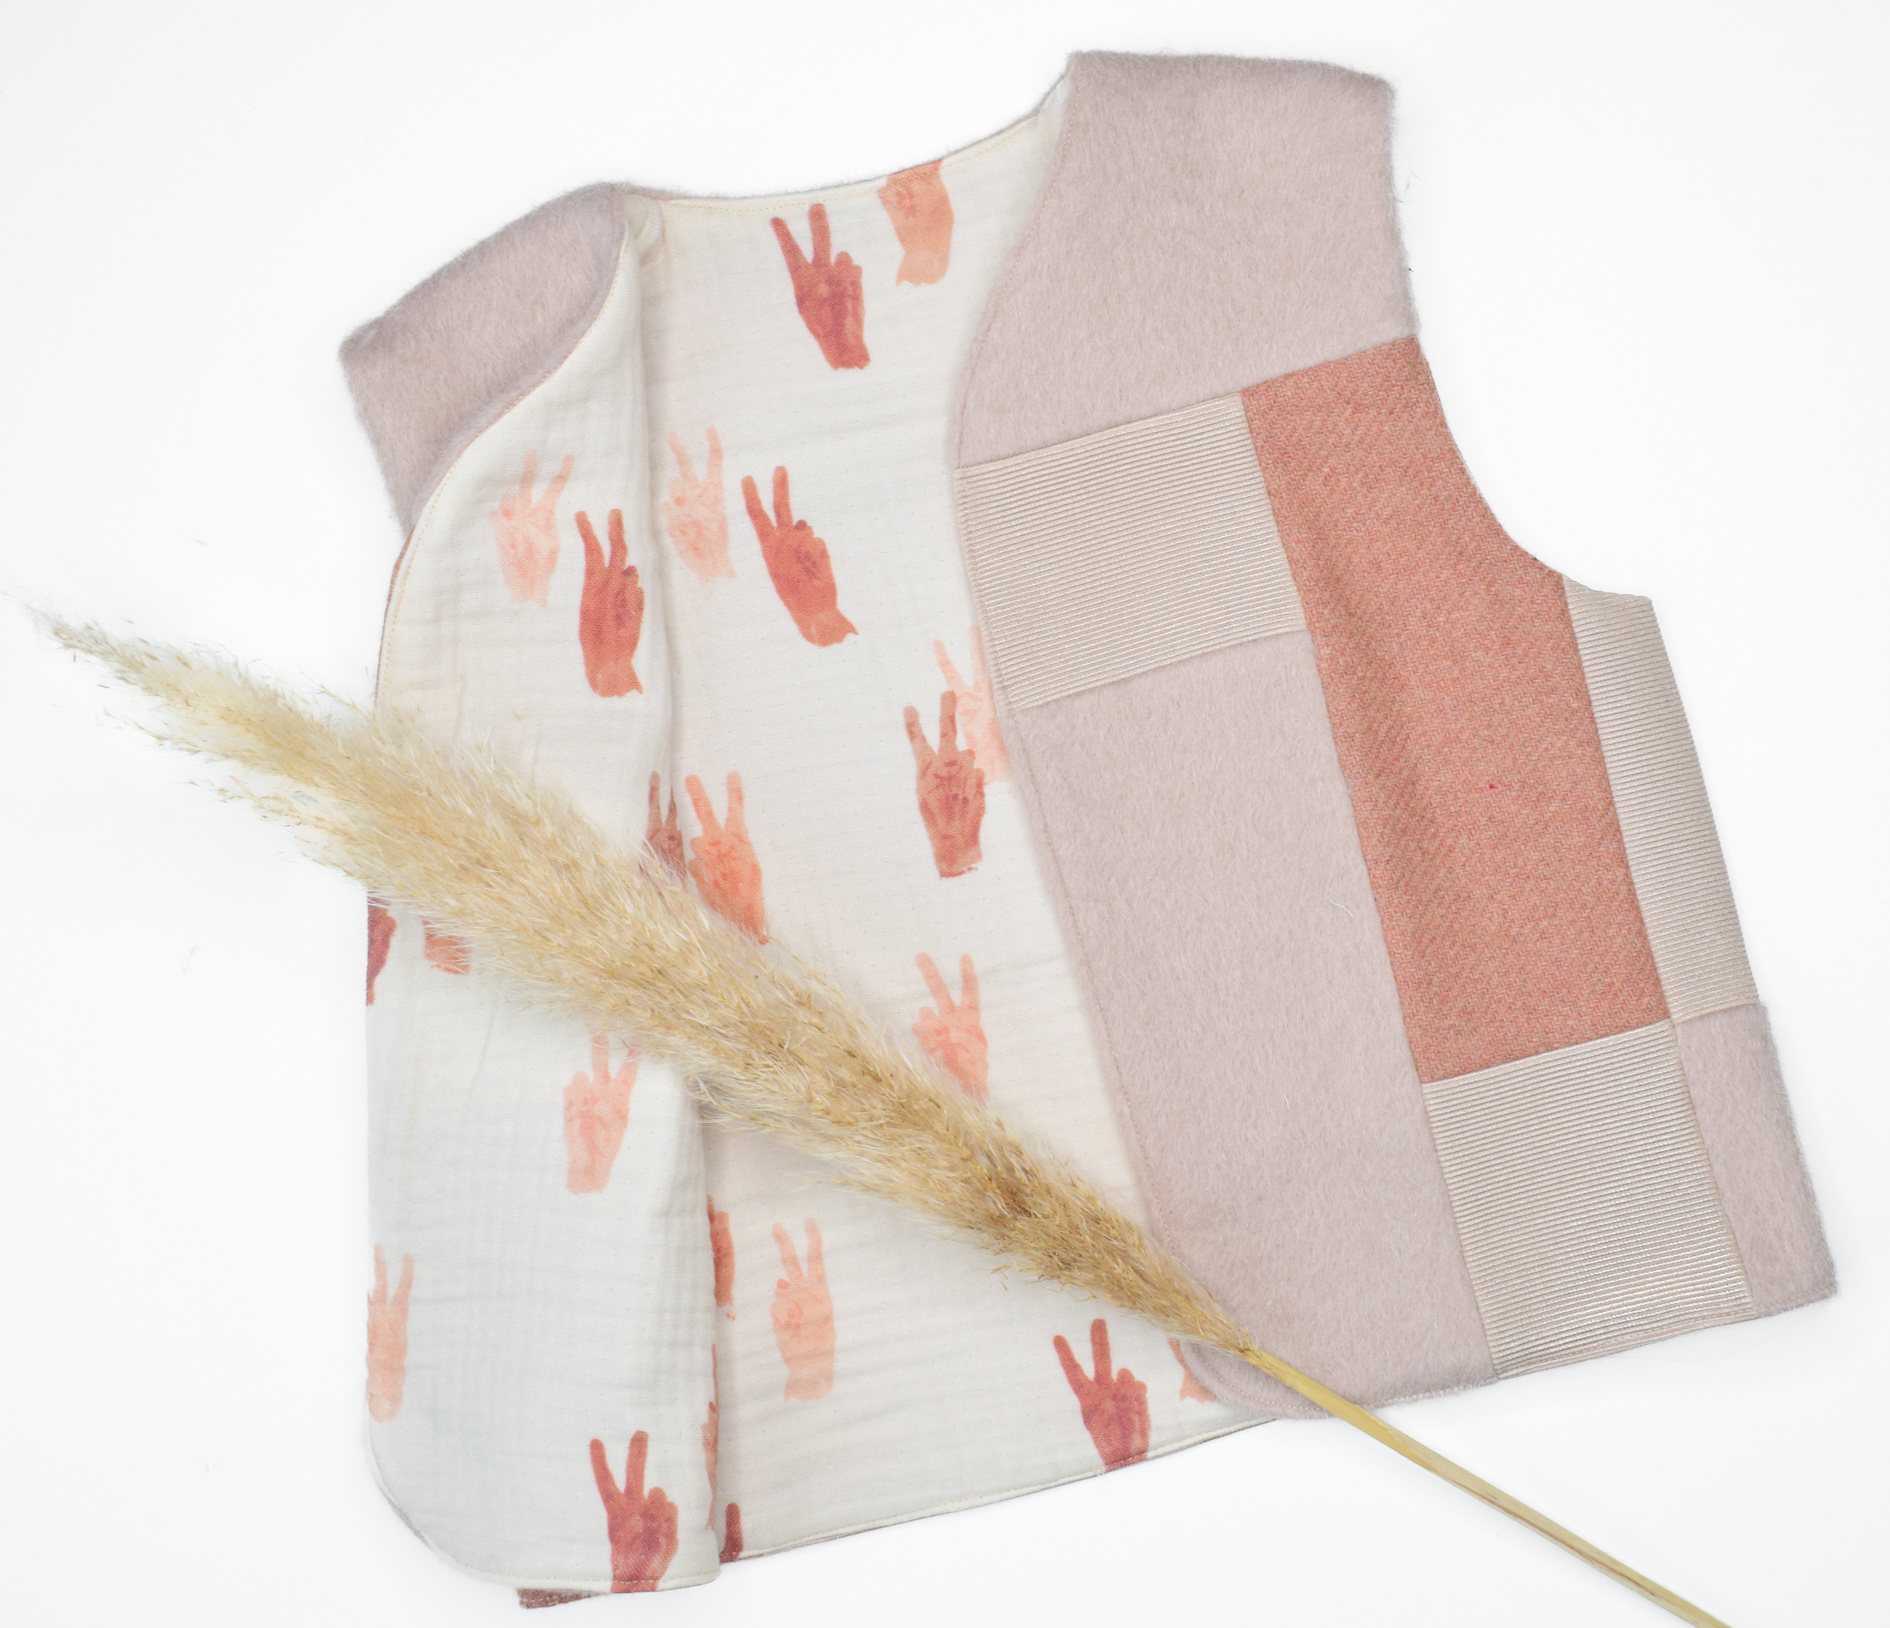
Once your patchwork vest is completely assembled, you can finish it as mentioned in the work description of your pattern.
I chose to line the vest with a soft double gauze fabric, very happy with the result!
Happy sewing!
Love
Isabel


0 Responses