Hello Bernina Lovers !
If you have been reading my blog posts you may know by now that I love sewing projects for kids and I specially appreciate a good sewing session with my children.
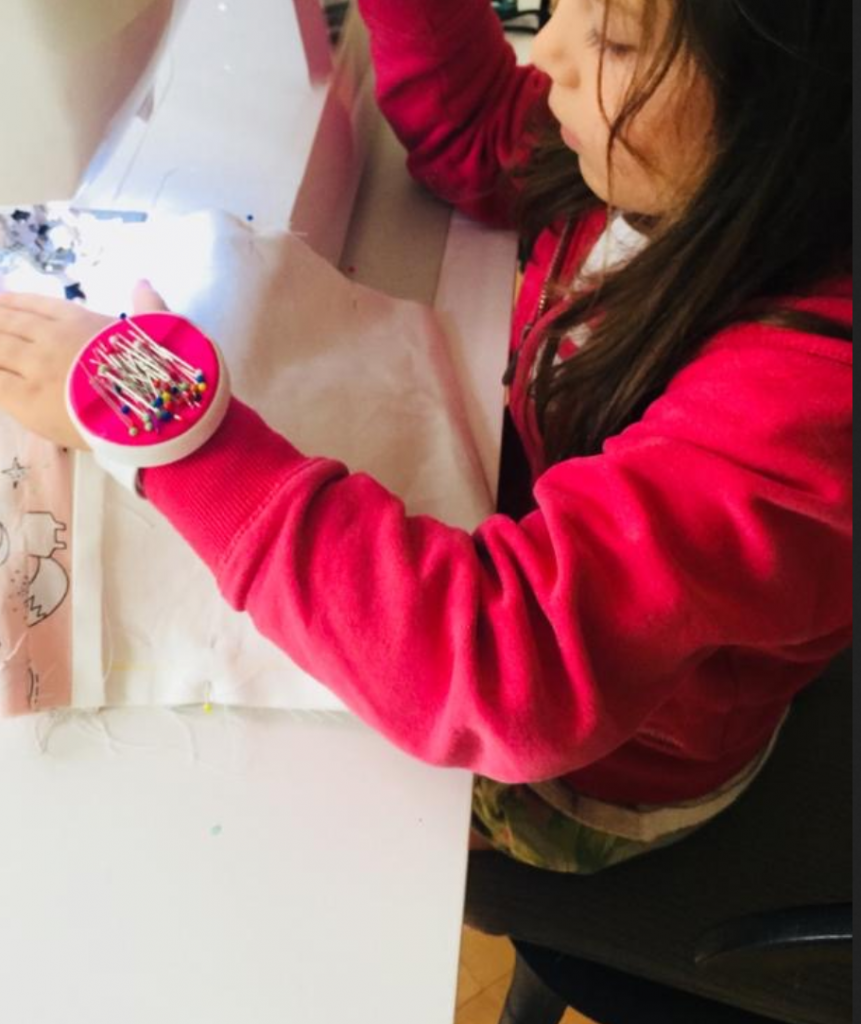
My second daughter, Julia, really likes sewing and she is always happy to share a sewing afternoon together.
This time, she asked for a tote bag for herself so that is what I helped her to do.
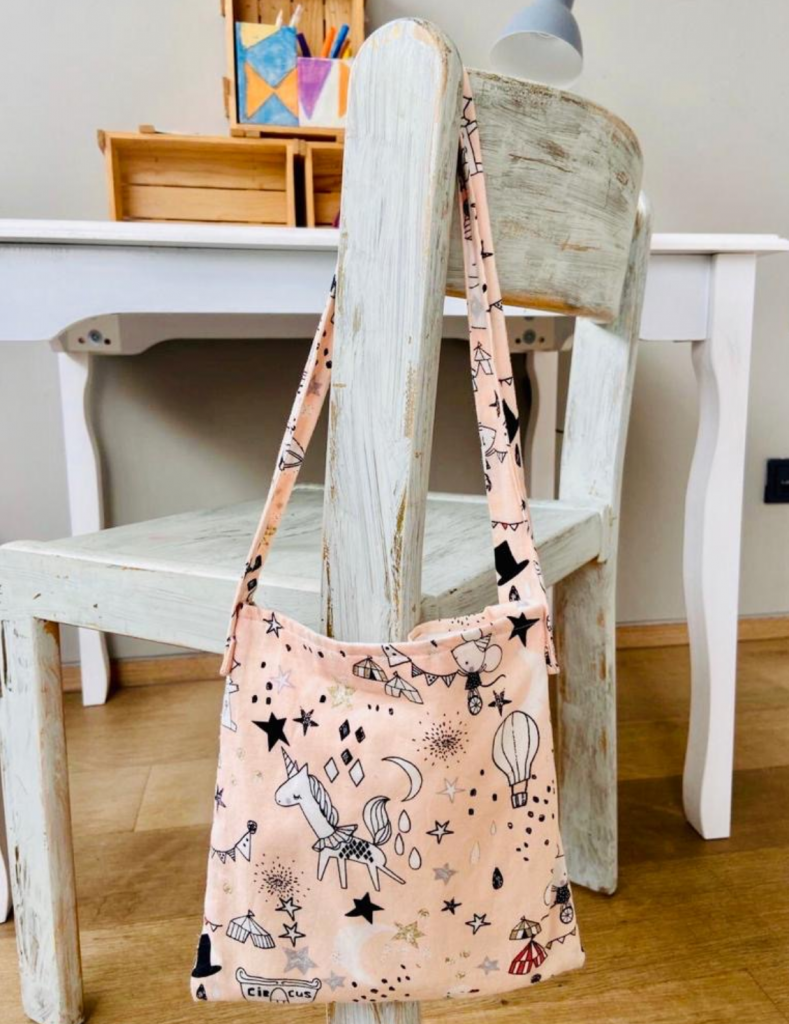
There’s nothing cuter than these little handbags.
Not only are they easy to make, but they are also practical.
So why not involve the children in this activity!
In addition, classes have resumed and these little bags could be used as school bags or for after-school outings.
Materials needed…
All you need is about 60 cm of fabric, (one for the outer part and one for the inner part), scissors and your sewing machine.
Preparing the materials…
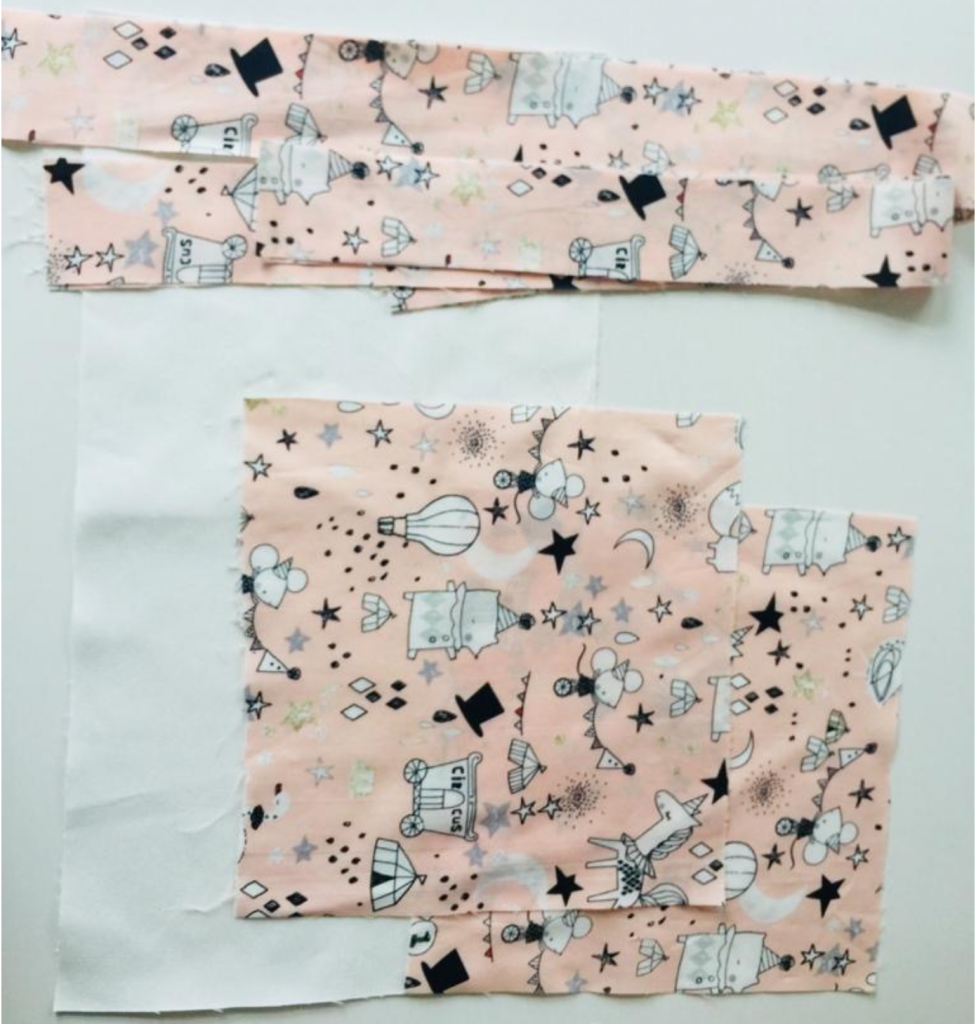
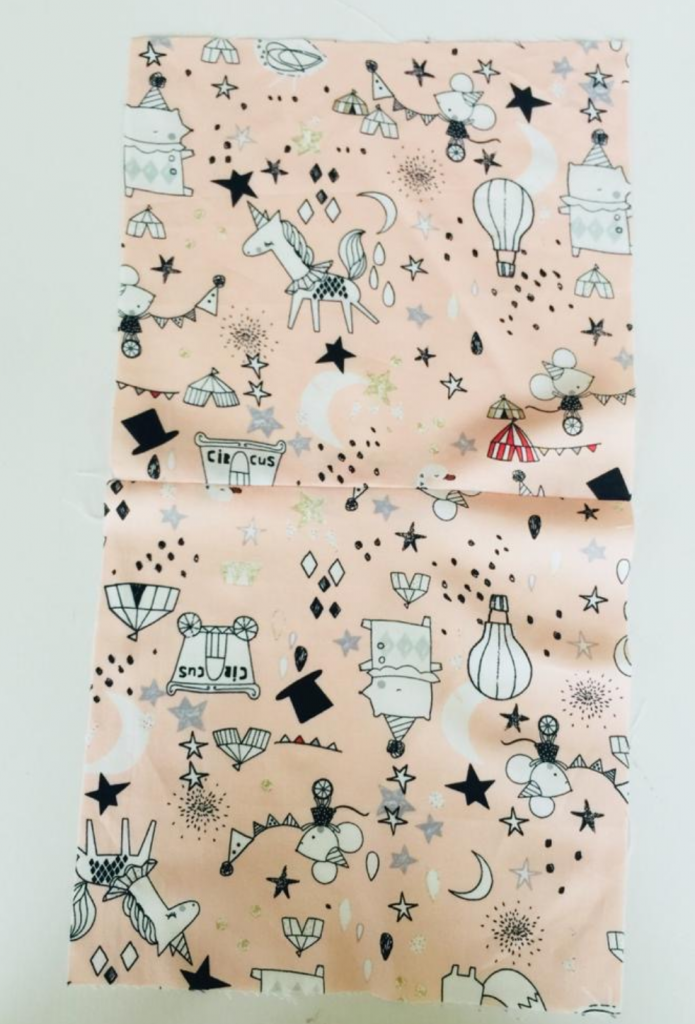
First, cut 4 rectangles of fabric, 2 from the main fabric and another 2 from the lining fabric.
The straps are also to be cut in the main fabric, you’ll need 4 pieces in total.
Measurements of rectangle fabric for the bag (outside and lining): 20 cm width X 25 cm height + 1 cm seam allowance all around.
Measurements of the 4 straps: 60 cm length X 4 cm width +1 cm seam allowance all around.
A few easy steps to follow…
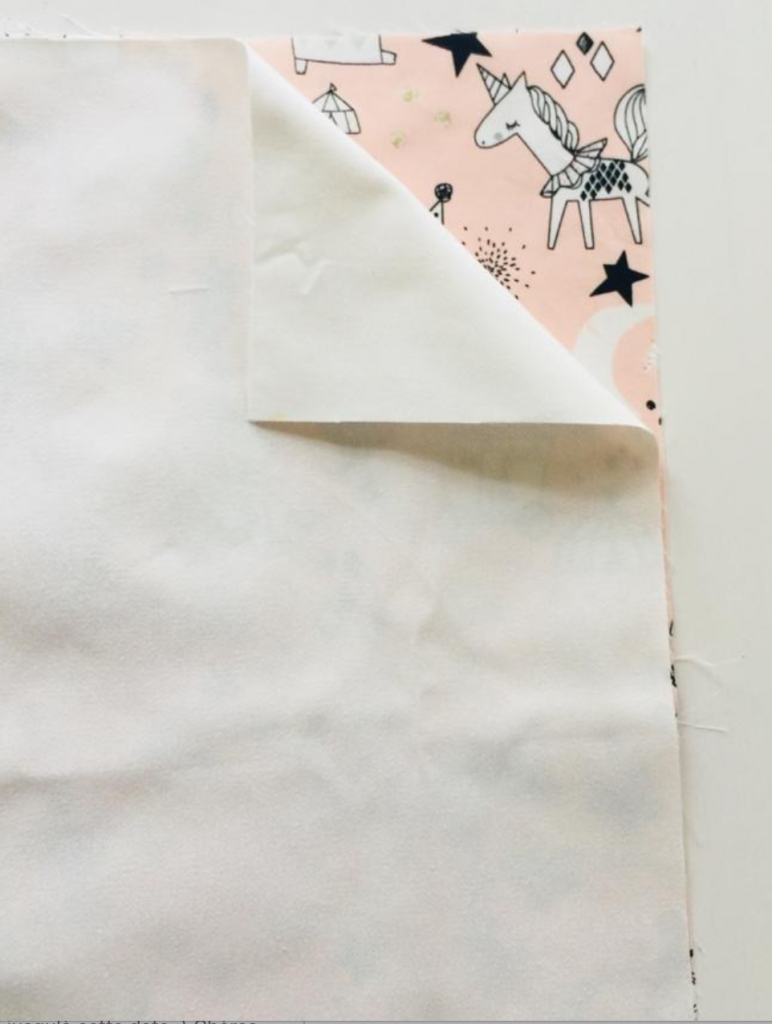
Overlap the fabrics, right sides together and sew the bottom 1 cm from the fabric edge, leaving the top and sides of the rectangles completely unsewn.
Do the same with the 2 pieces of fabric for the lining.
Press the seams open.
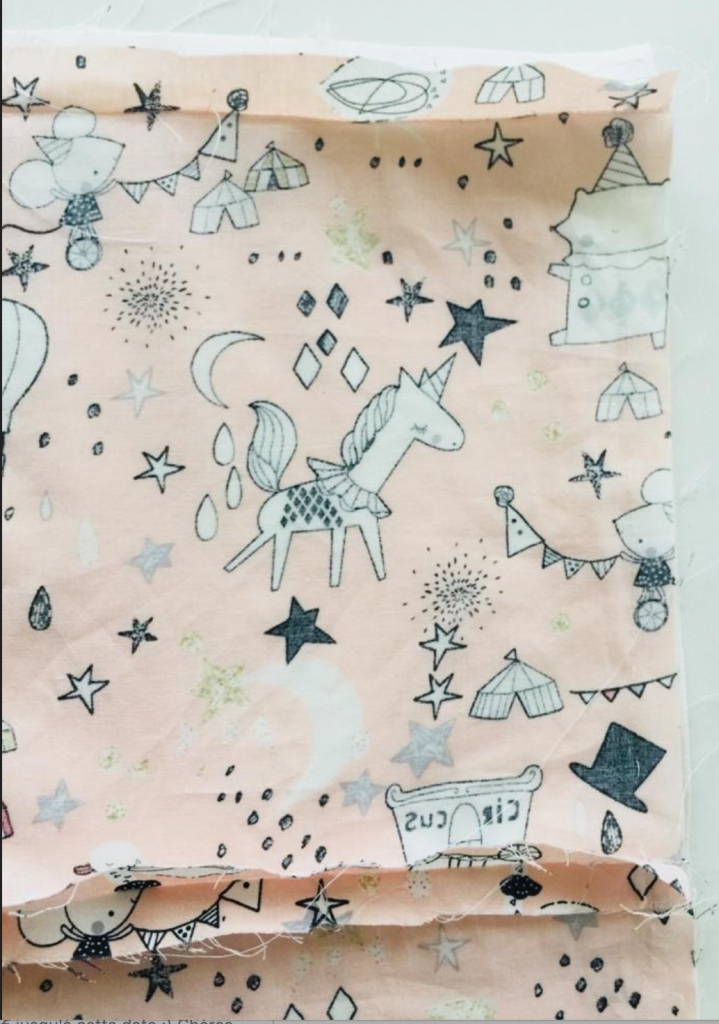
Place the outer fabric and the lining right sides facing. Sew the top seam of the outer fabric and lining together leaving an opening.
Press the seams flat leaving the gap open. Fold each fabric in half to align the sides, outer fabric right sides together and inner fabric right sides together.
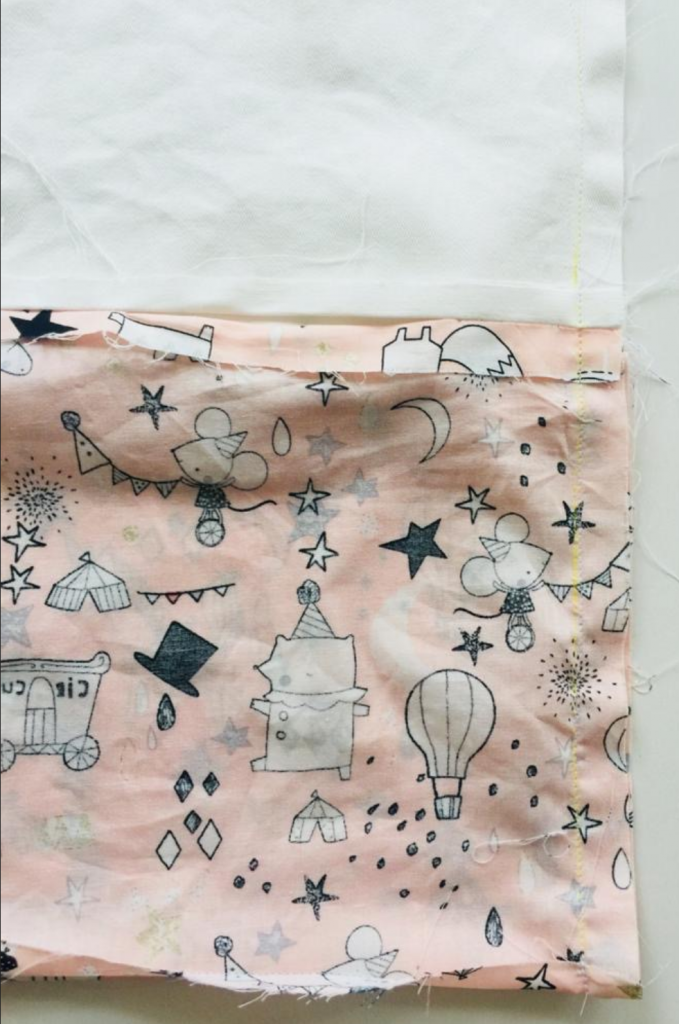
Sew the seam allowance on both sides.
Turn the bag right side out using the gap left before. Iron and topstitch the top edge at 0.5 cm from the top so that the lining and the main fabric are locked together.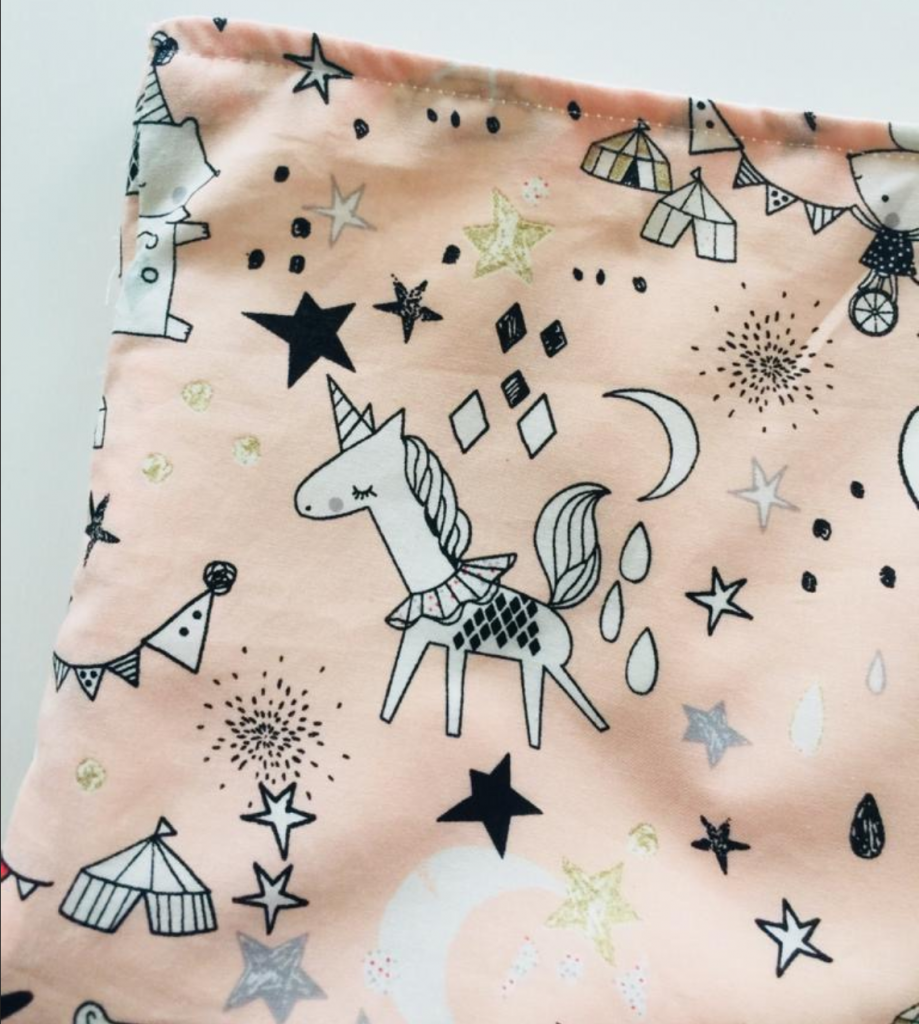
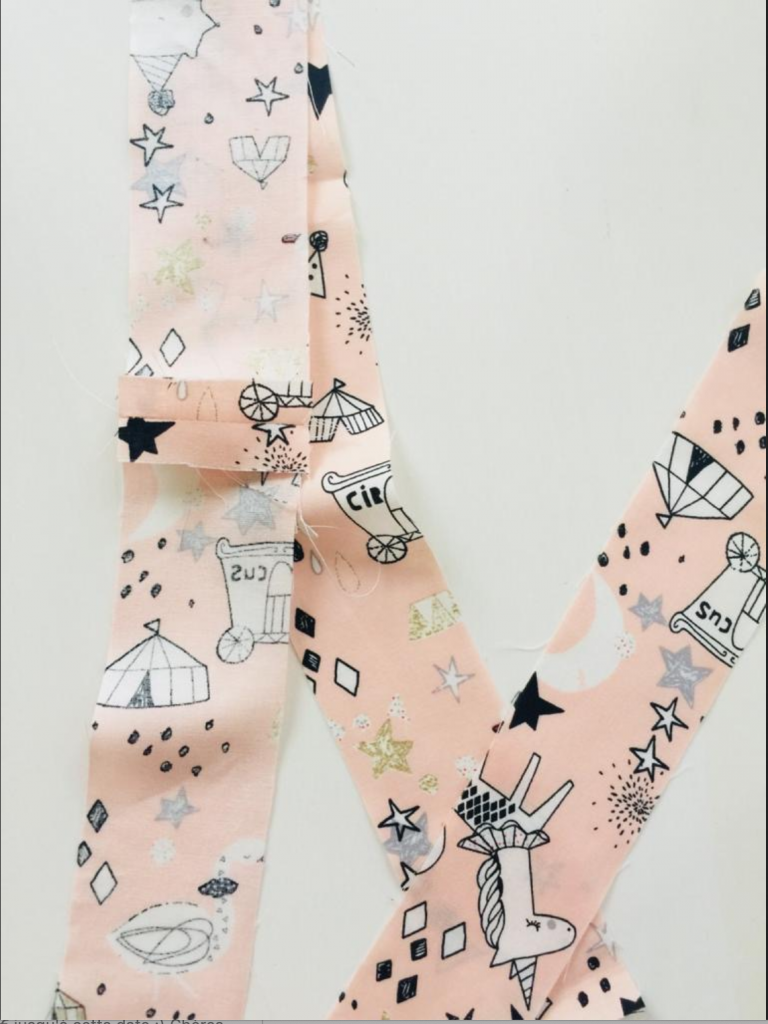
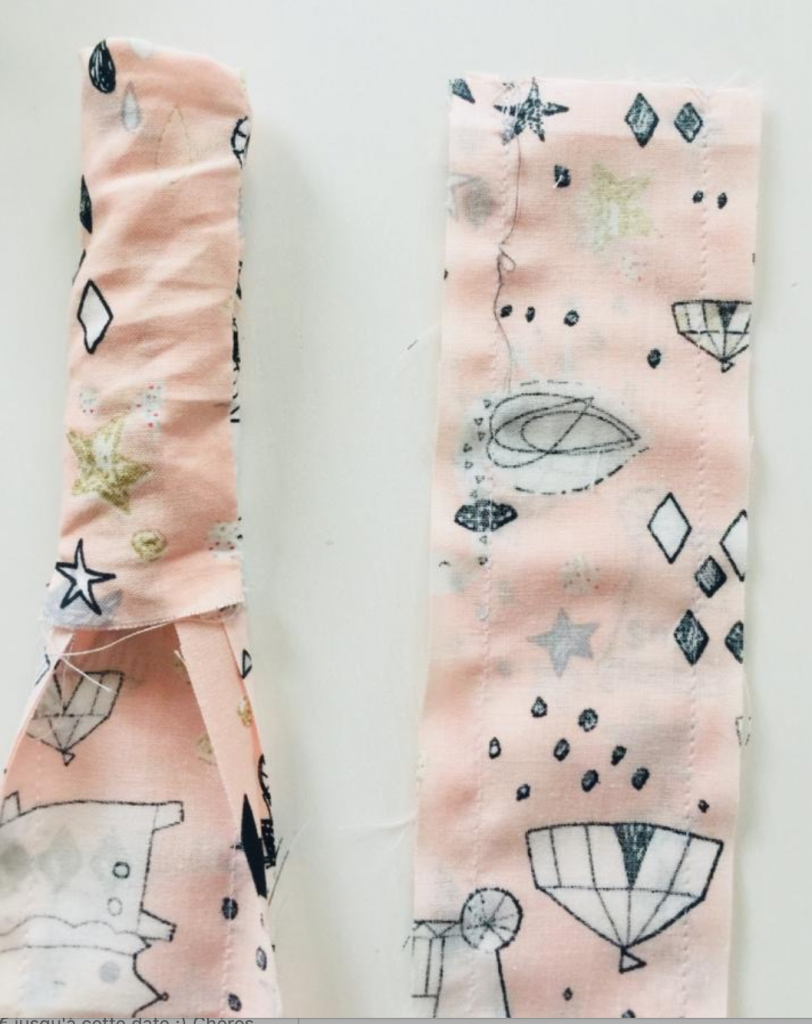
Prepare the straps by sewing the strips 2 by 2. Place 2 straps right sides facing and sew them on the 1 cm seam. Once you get 2 longer straps, place them again right sides facing and sew the sides (leave the top and bottom unsewn).
Turn the handles right side out (through the top or the bottom edges). Press them flat.
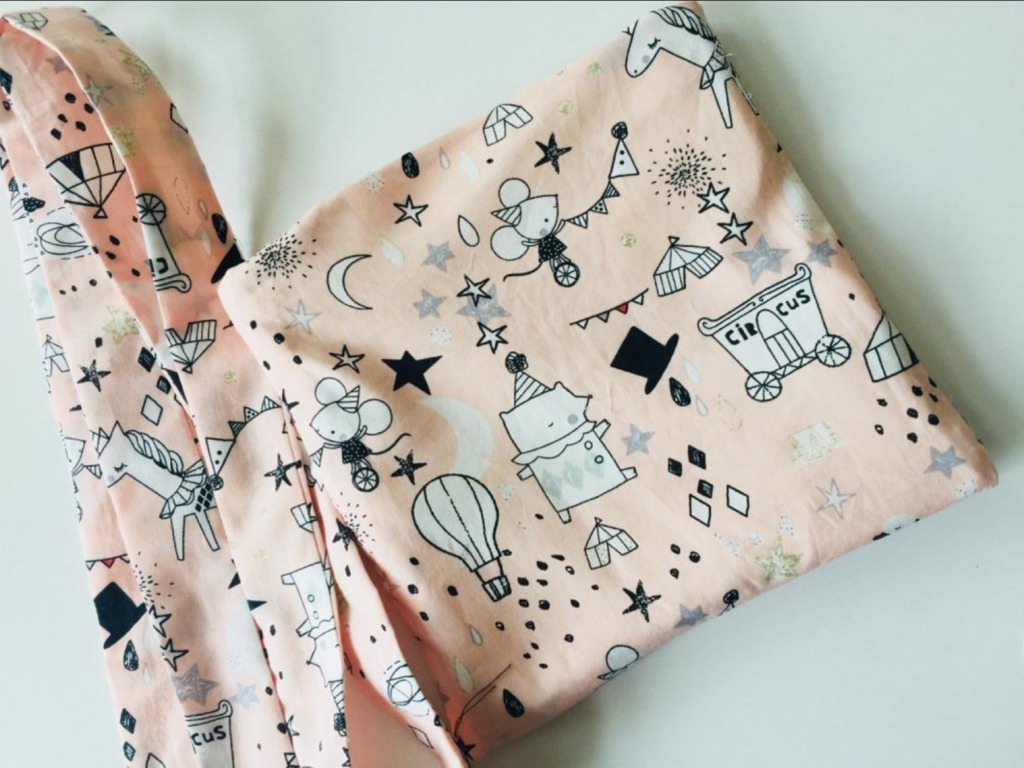
Now that all the previous steps are completed, these are all the pieces you will get. The bag and the 2 straps.
All you have to do is attach the straps to the bag.
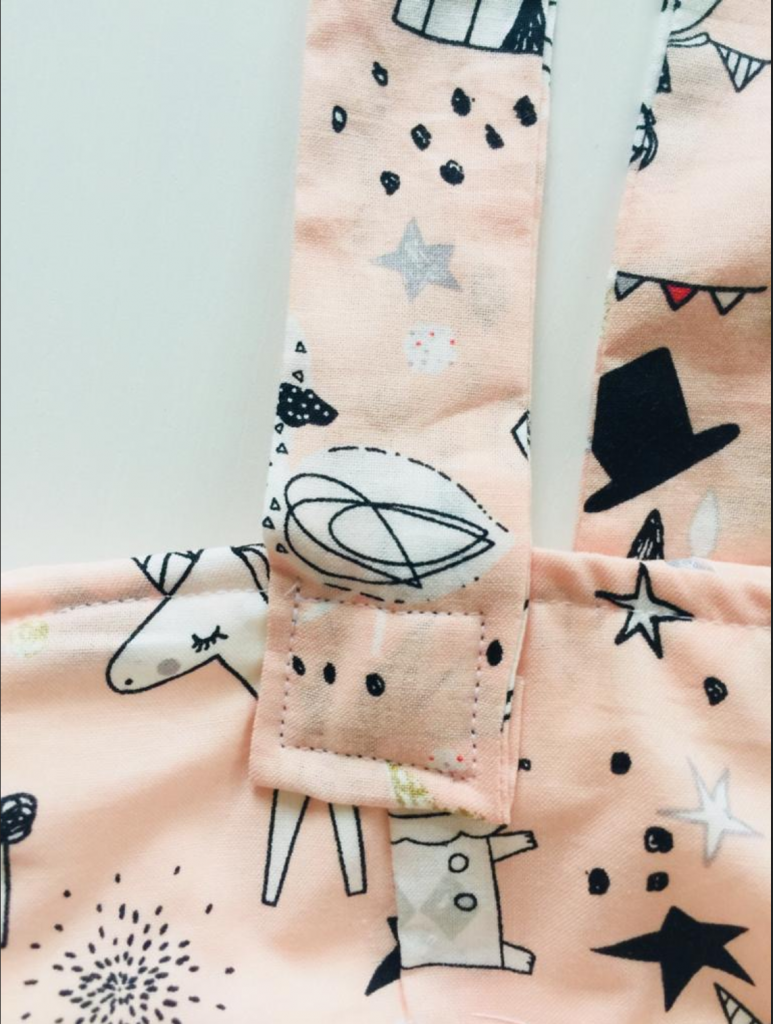
For that, just fold in 2 cm the edges of the straps and place them on the sides of the bag, the middle of the strap on the side seam.
Once pinned, topstitch them in place, making a square for as they will be strongly sewn this way.
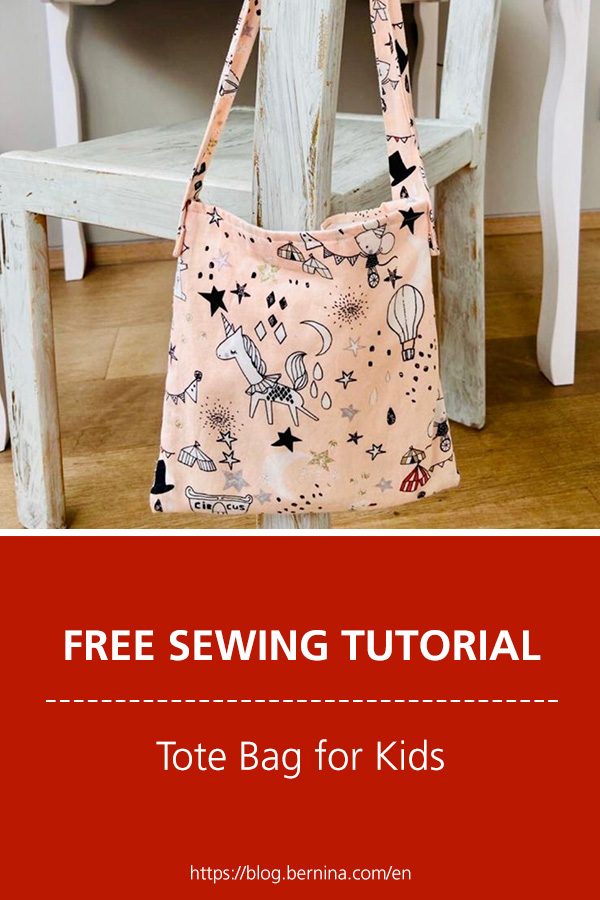
And here is your little bag !!!!!!
 BERNINA Corporate Blog -





Agree, the quilt community and quilt designers celebrated celebrity male quilters but persists in using exclusionary language in social media, blogs and websites such as seamstress, ladies and girls, and sectret sisters. My grandsons enjoy sewing and are budding little sewist . I unsubscribe from any vendor that persists in addressing only ‘ladies’ to the exclusion of half the population. Bad business and unkind. Hopefully Bernina fixes this error soon.
Great article but would suggest updating the title ‘Tote bag tutorial for girls’. Sewing (and tote bags!) are for all.
Yes indeed! I agree with you!