 BERNINA Corporate Blog -
Today the “Learning to Sew for Beginners” series is about your first sewing project: I am providing you with sewing instructions for a small bag.

Sewing instructions for a small bag
I based it on my first, proper sewing project, which I sewed without any help or questions. At that time, I sewed a small bag and was very naive regarding my approach to the project. I had no idea about zippers and used an invisible zipper from my mother’s sewing box and sewed it with the normal presser foot, with less-than-ideal results.
Since then, various bags have been created with my sewing machine and in order to ensure that you have more success with your first bag than I did, today I am going to show you how to practice correctly sewing in a zipper on a small bag project.
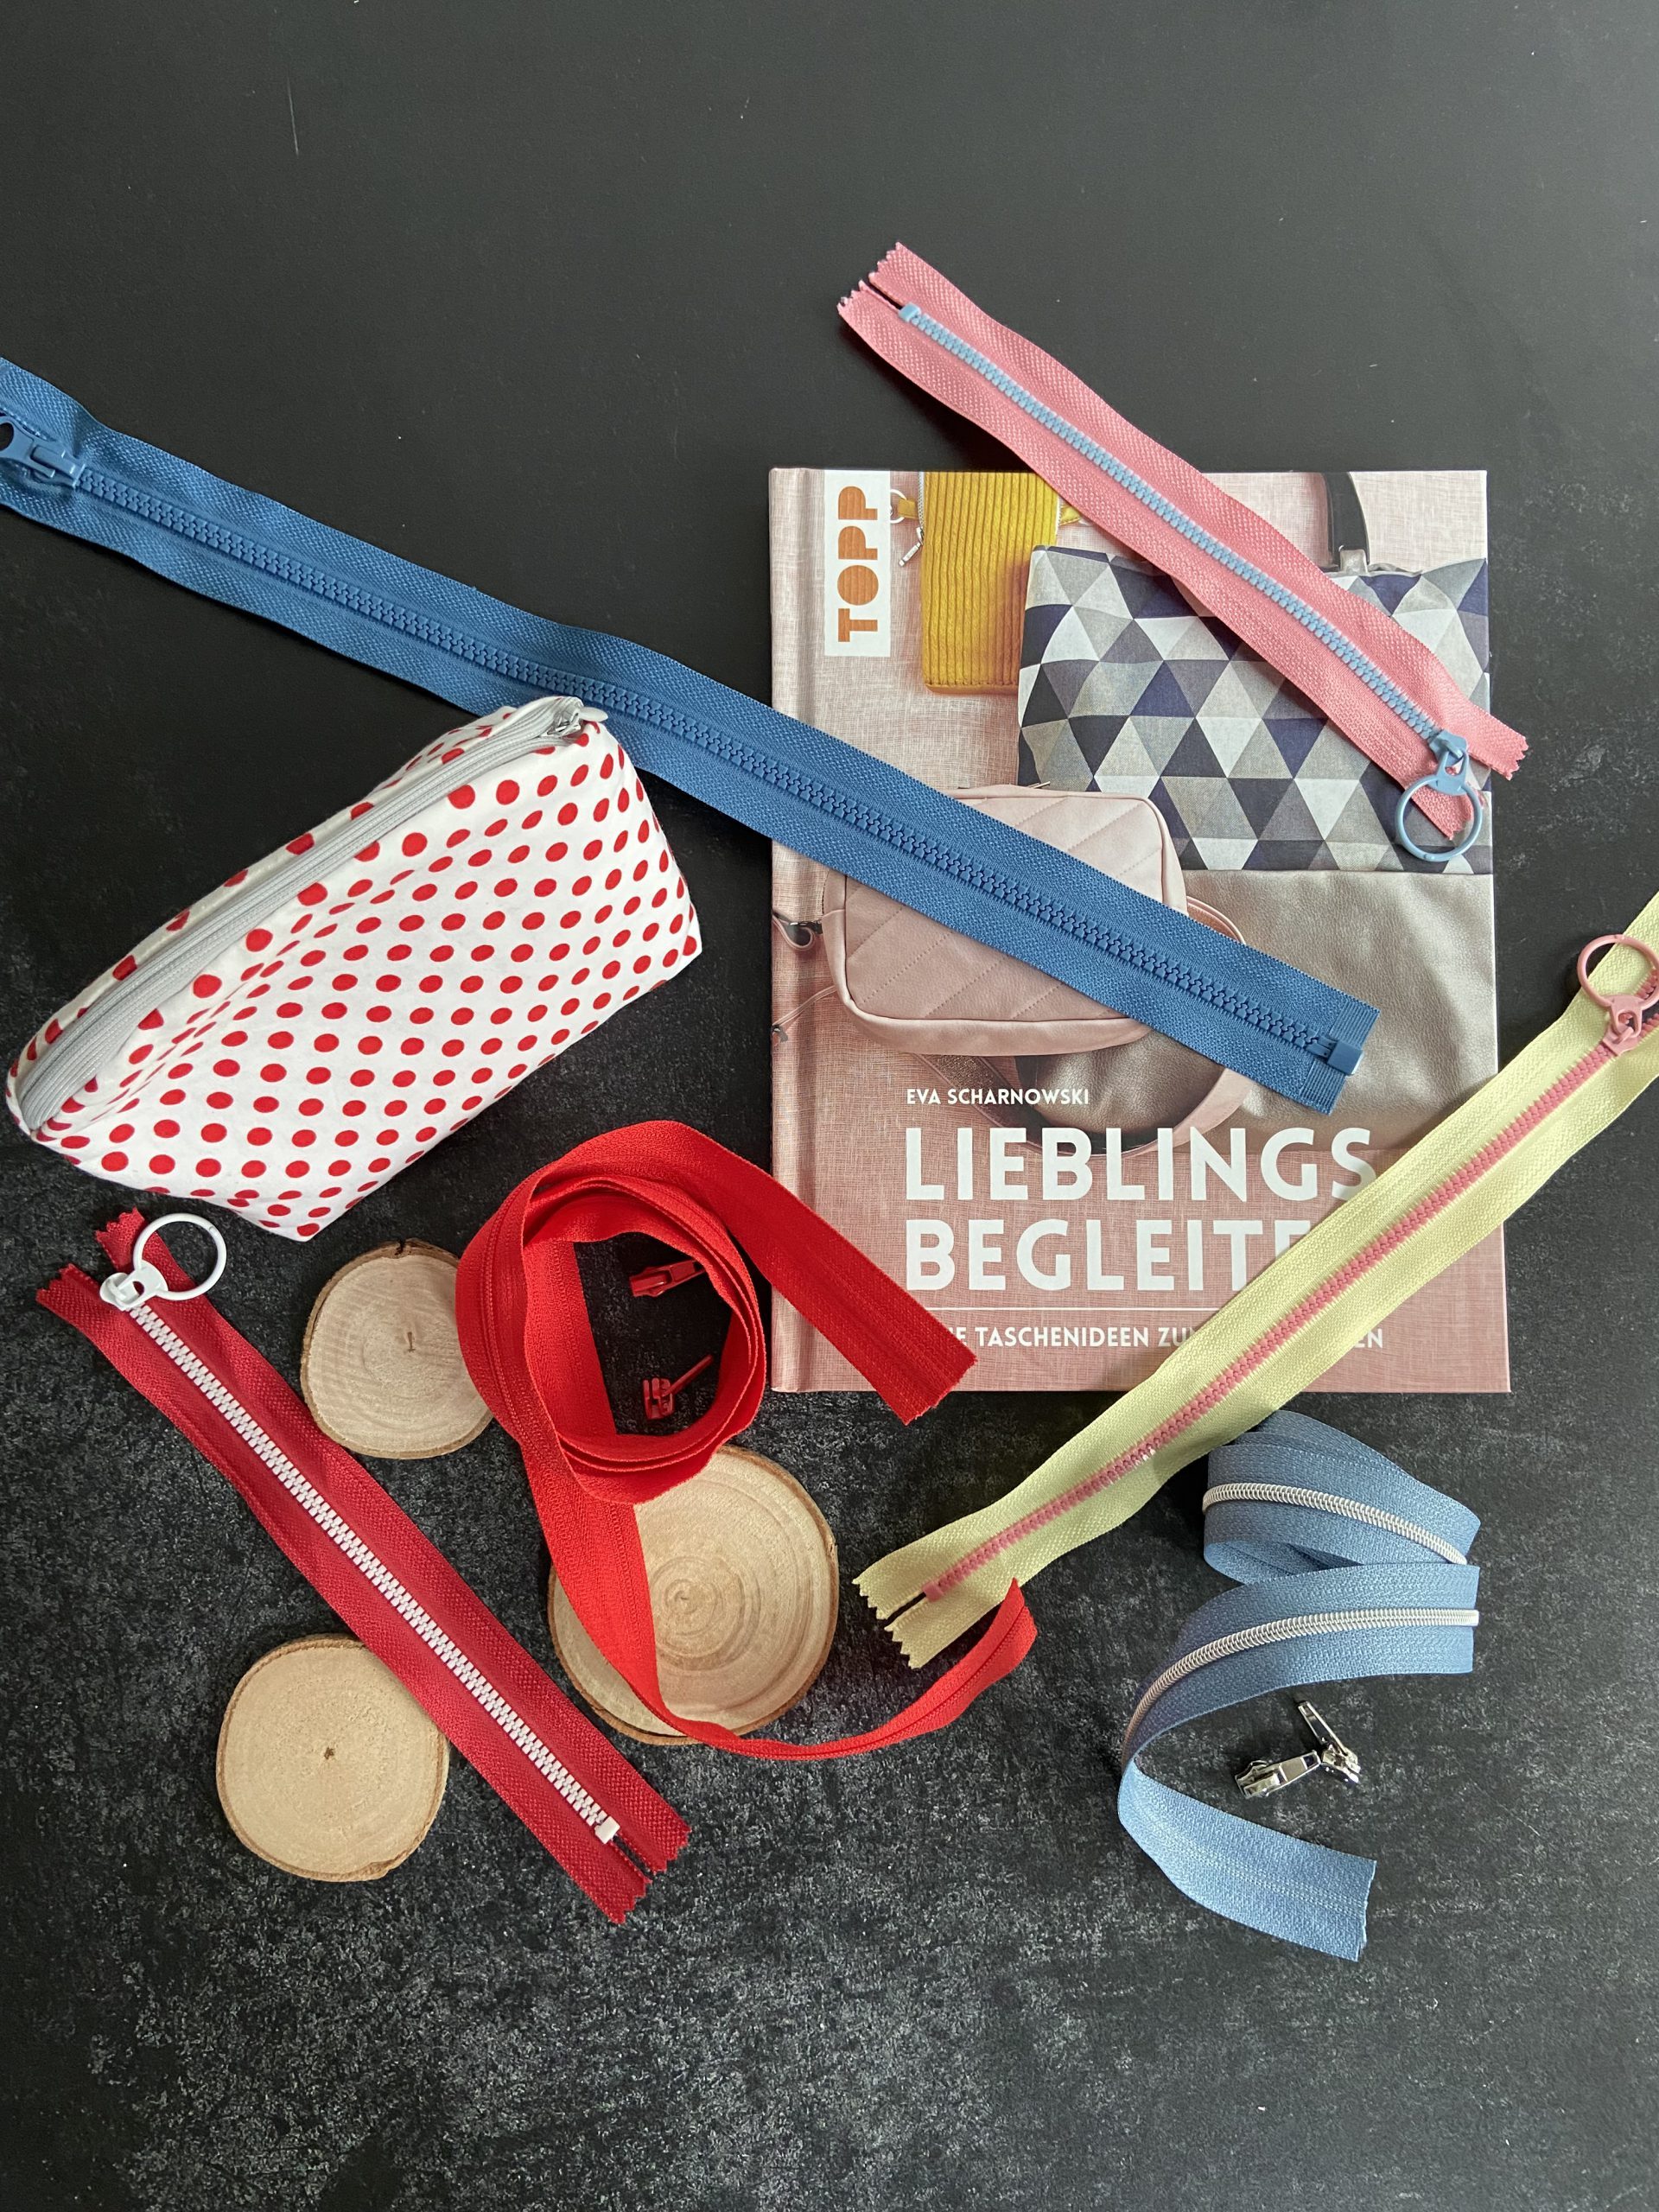
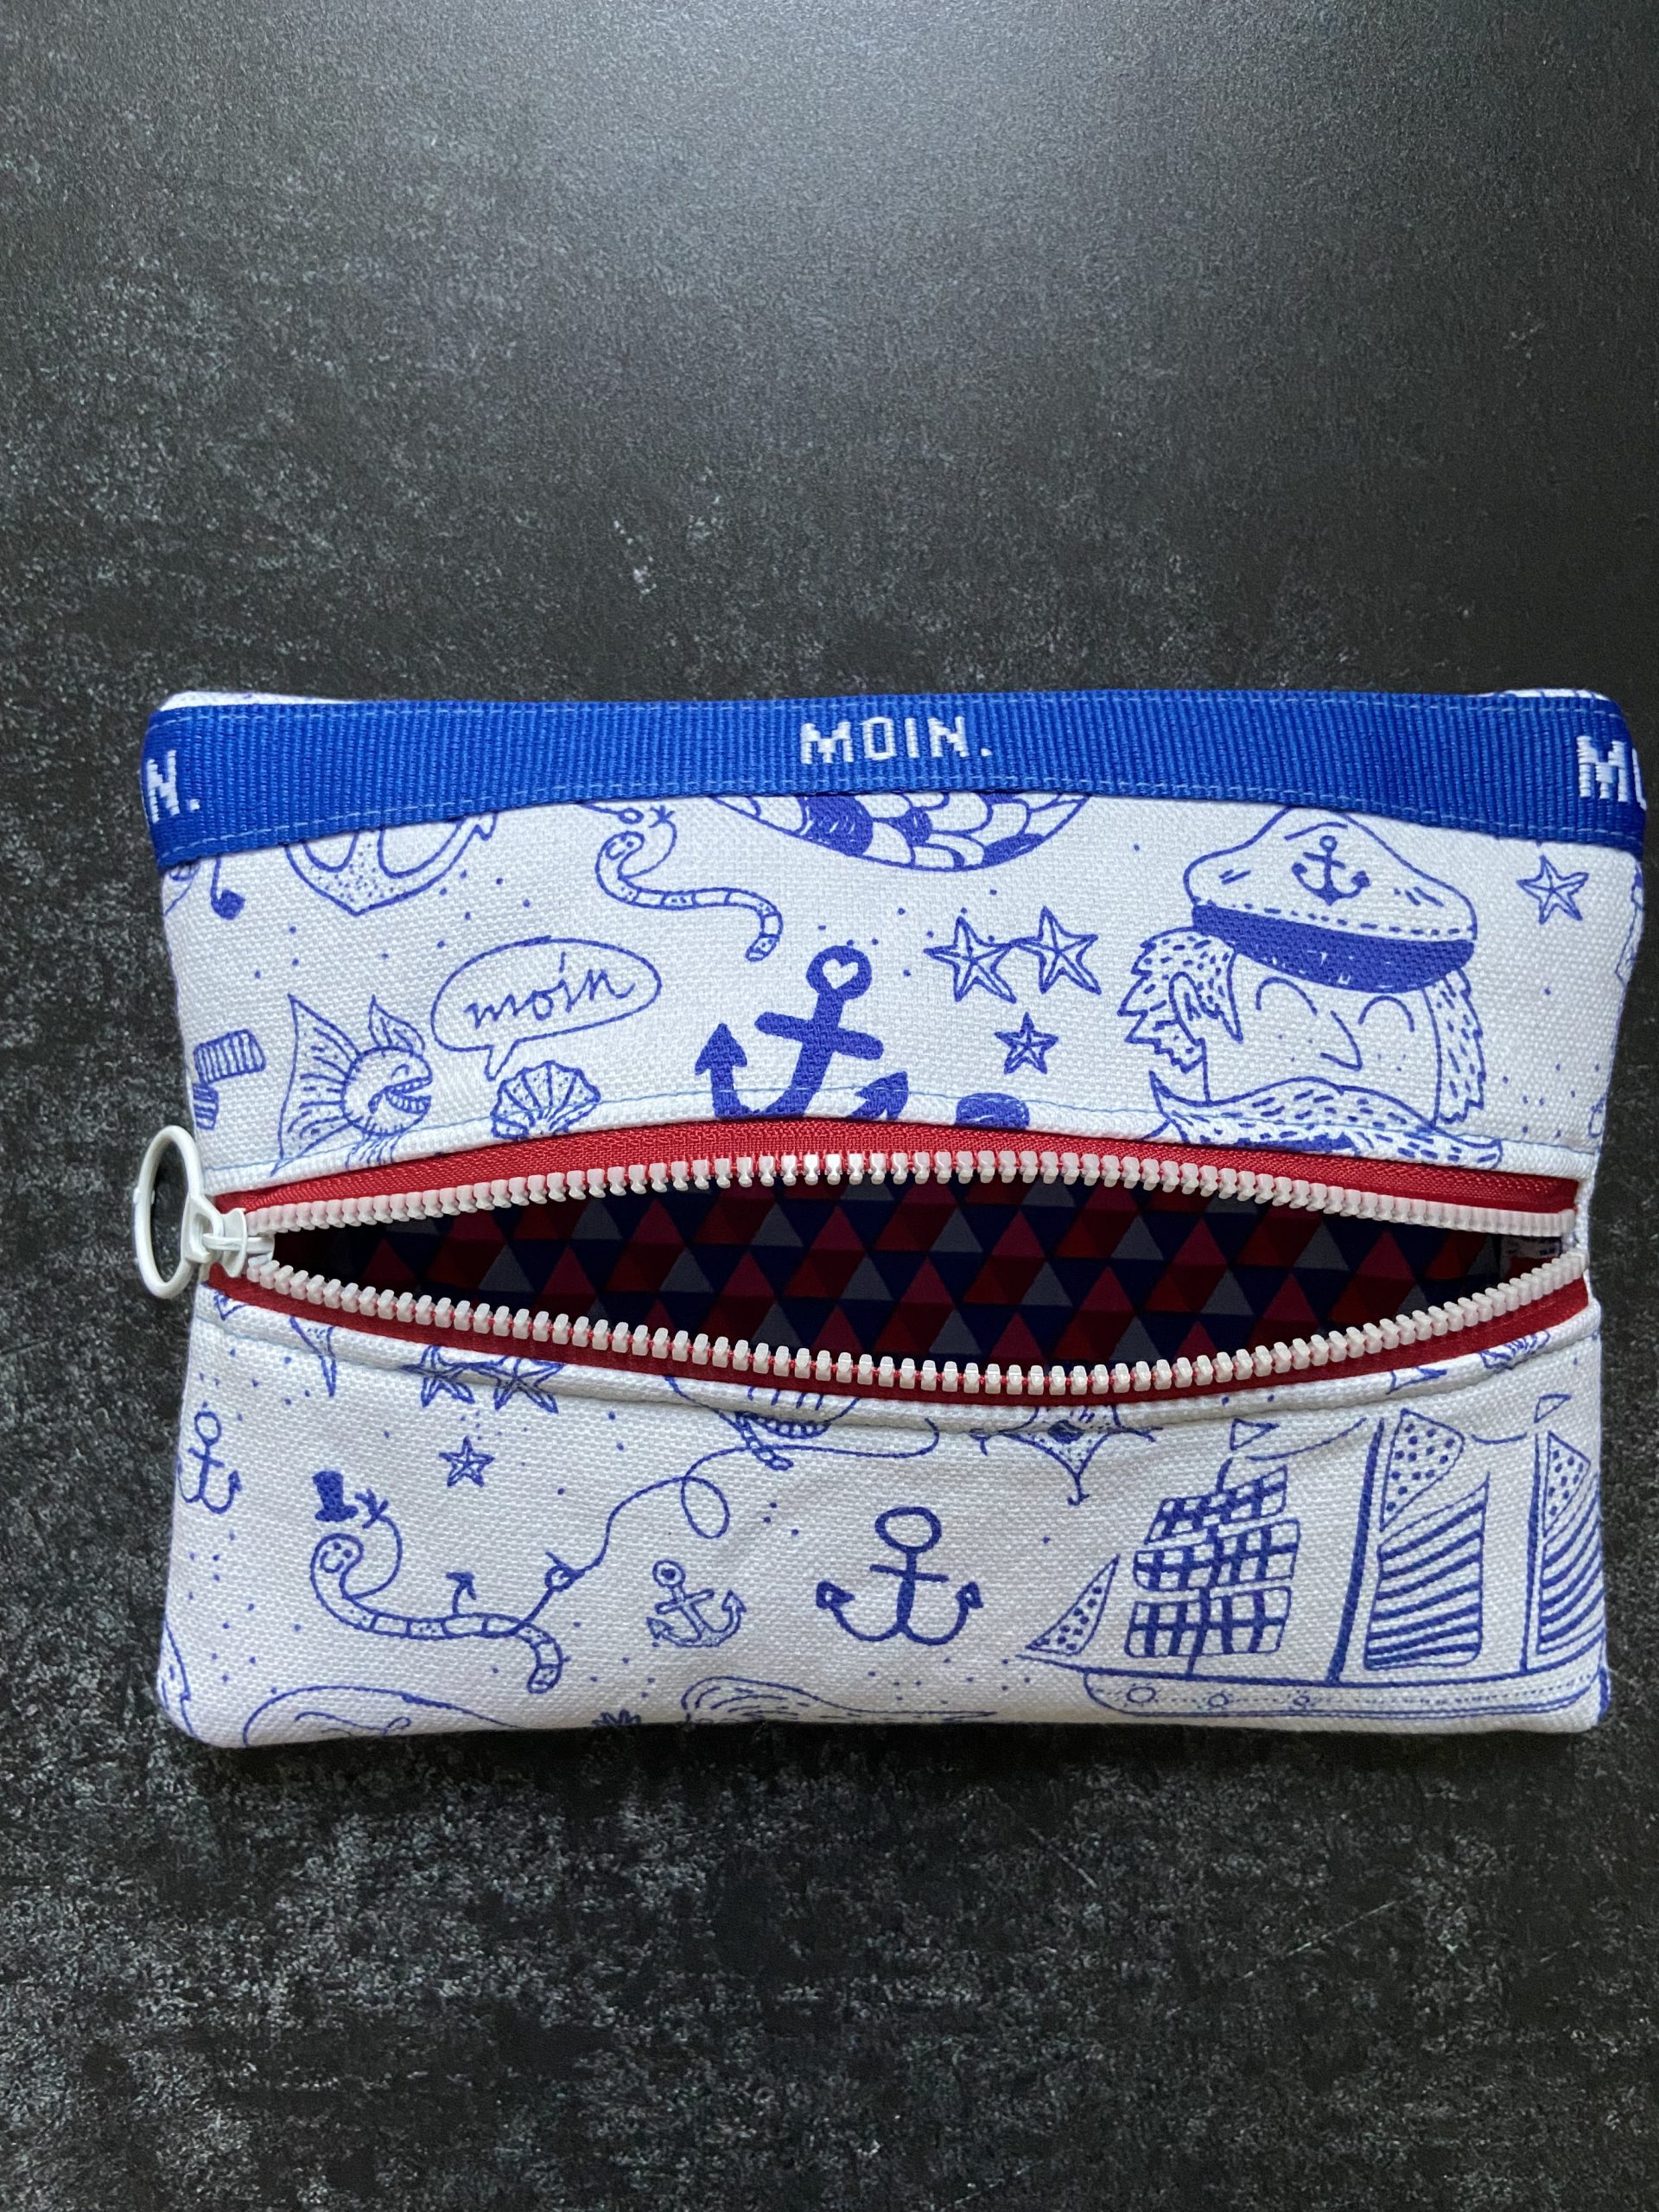
In the picture you can see the dotted pocket, which, back then, I sewed with an invisible zipper. But it still serves its purpose for carrying odds and ends. The bag also has a round top so that I could make it a little more difficult for myself. 😉

Sewing instructions for a small bag: Materials
To sew the small bag, you will need:
- a 20 cm zipper (I chose a “finished” zipper. If you have an endless zipper, you must cut it to fit and remember to cut it a little longer than 20 cm)
- Woven fabric (small remnants)
- H630 wadding
- If necessary, woven tape for embellishing
Cutting out
Cut out as follows:
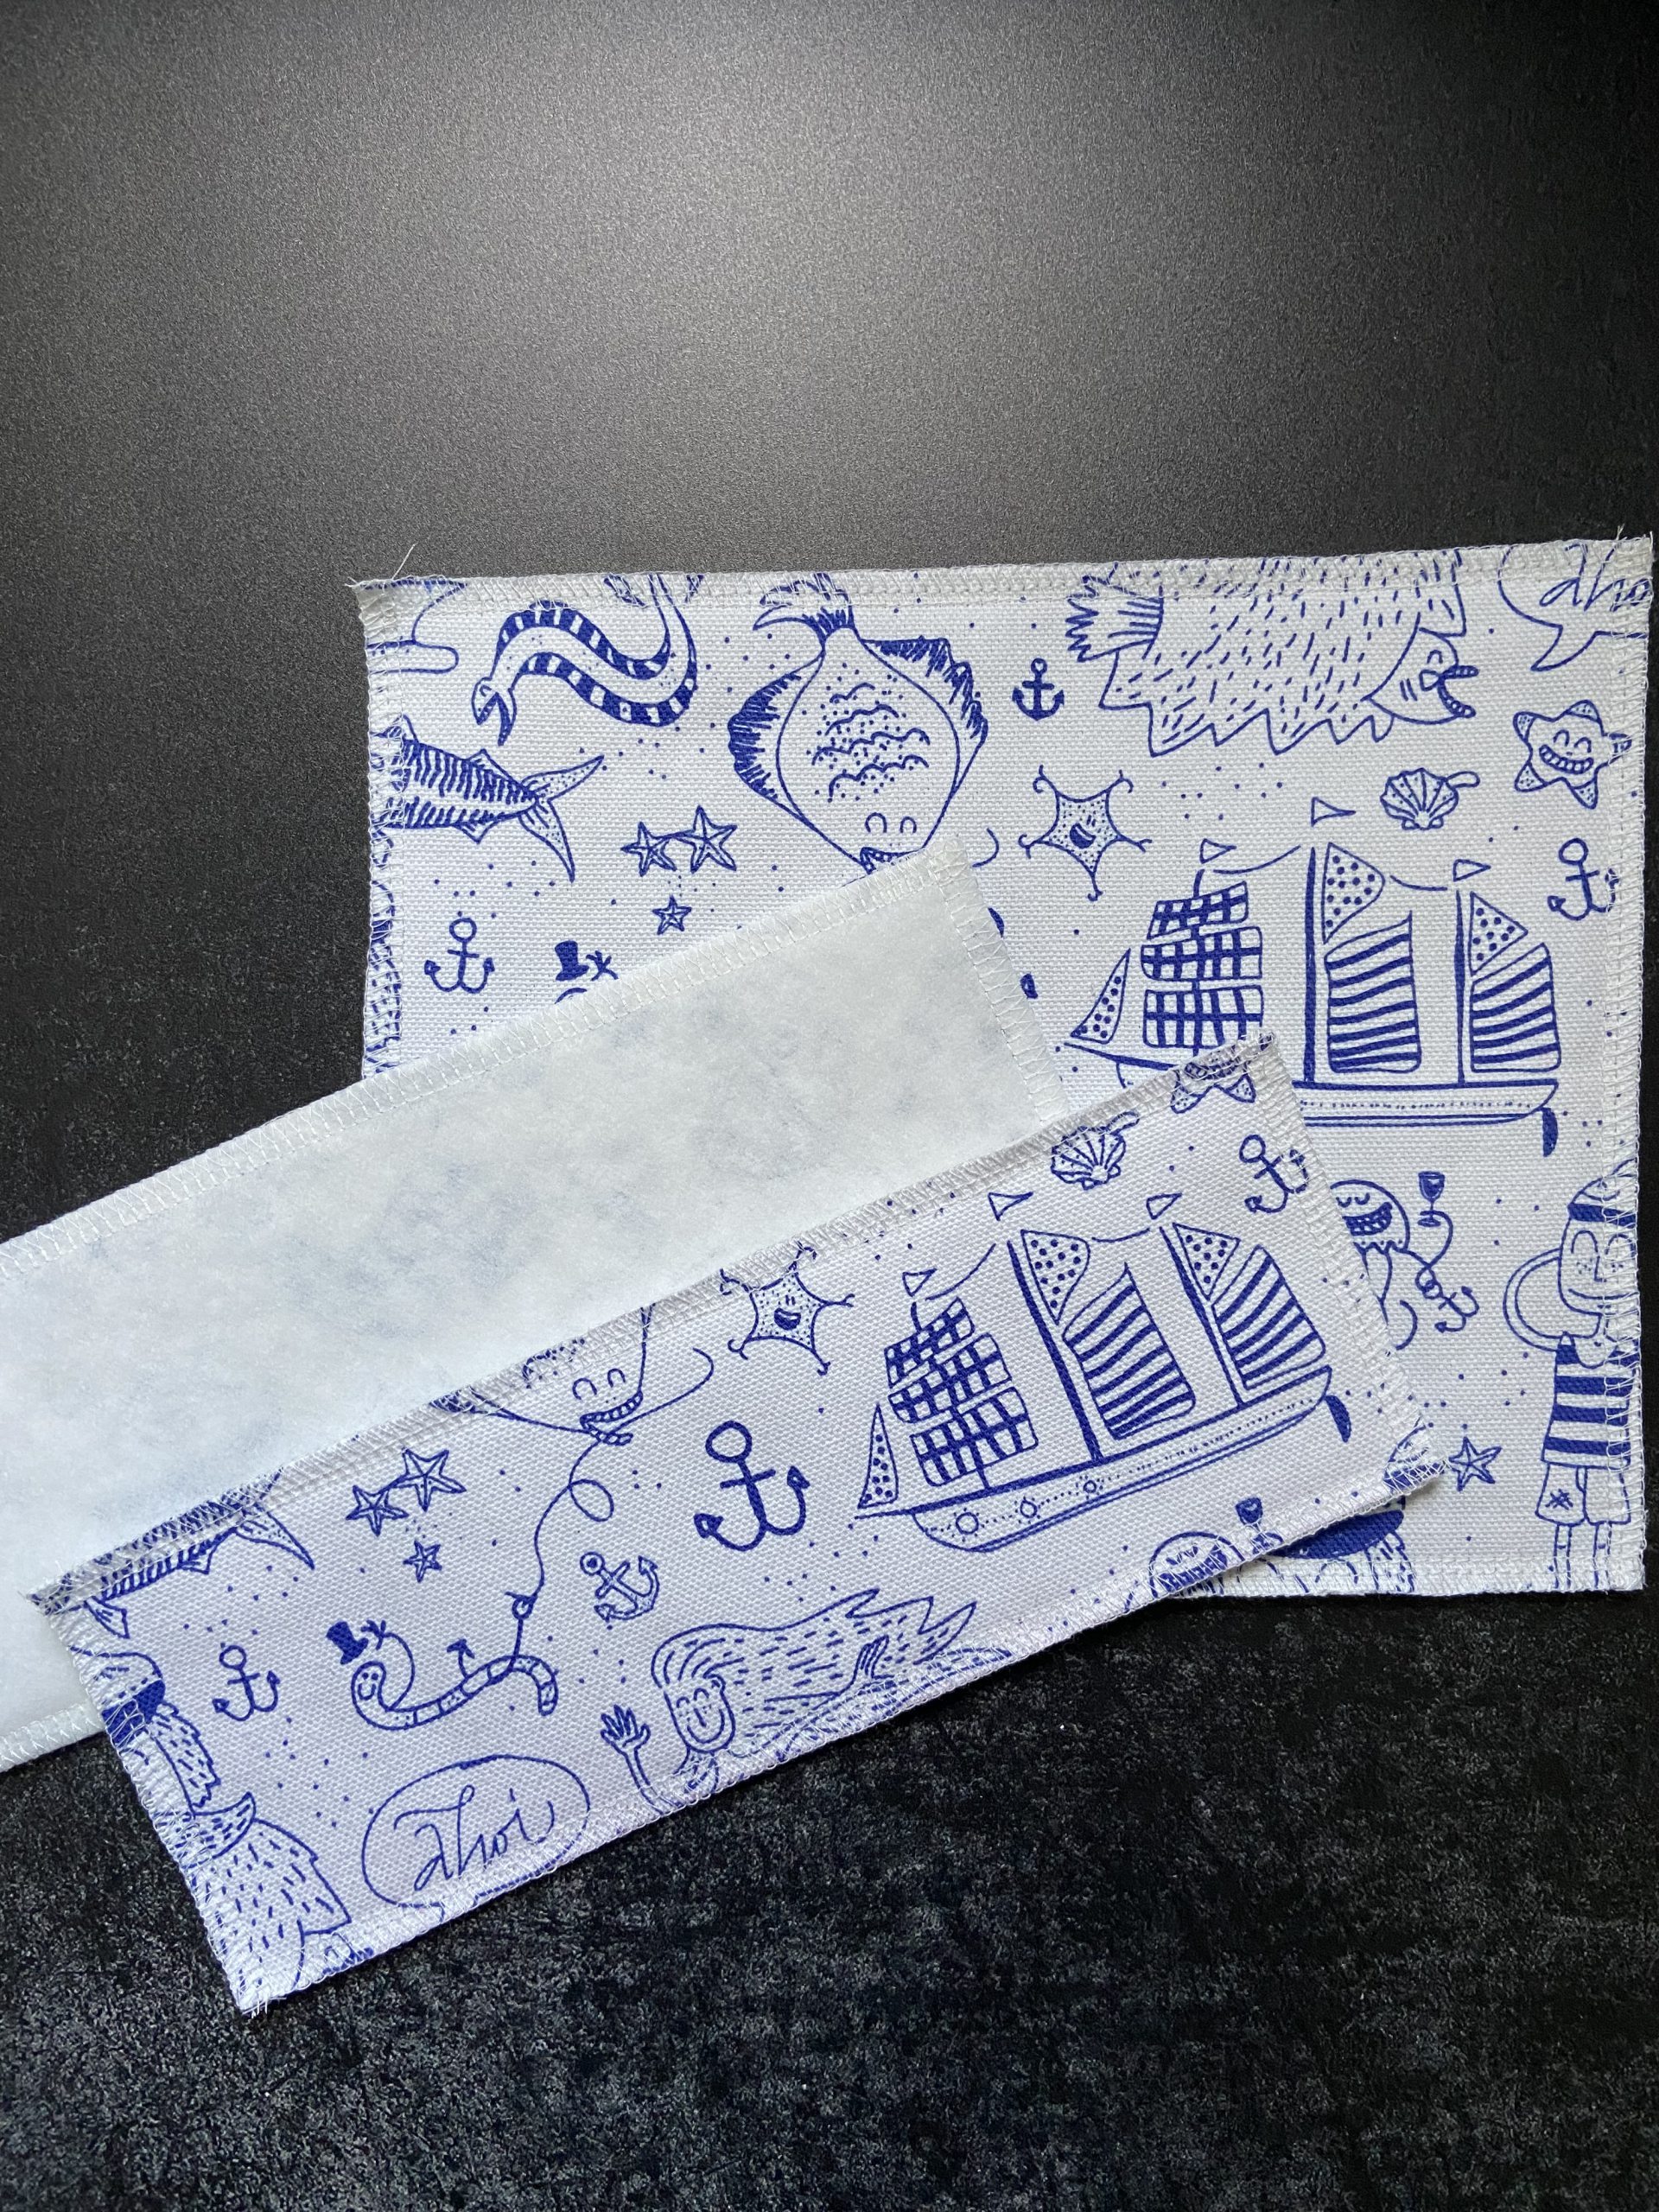
- one 22 x 17 cm rectangle each of shell fabric, inner fabric and H630 wadding
- two 22 x 8 cm rectangles each of shell fabric, inner fabric and H630 wadding
- Cut the woven tape to fit, if you also want to use it

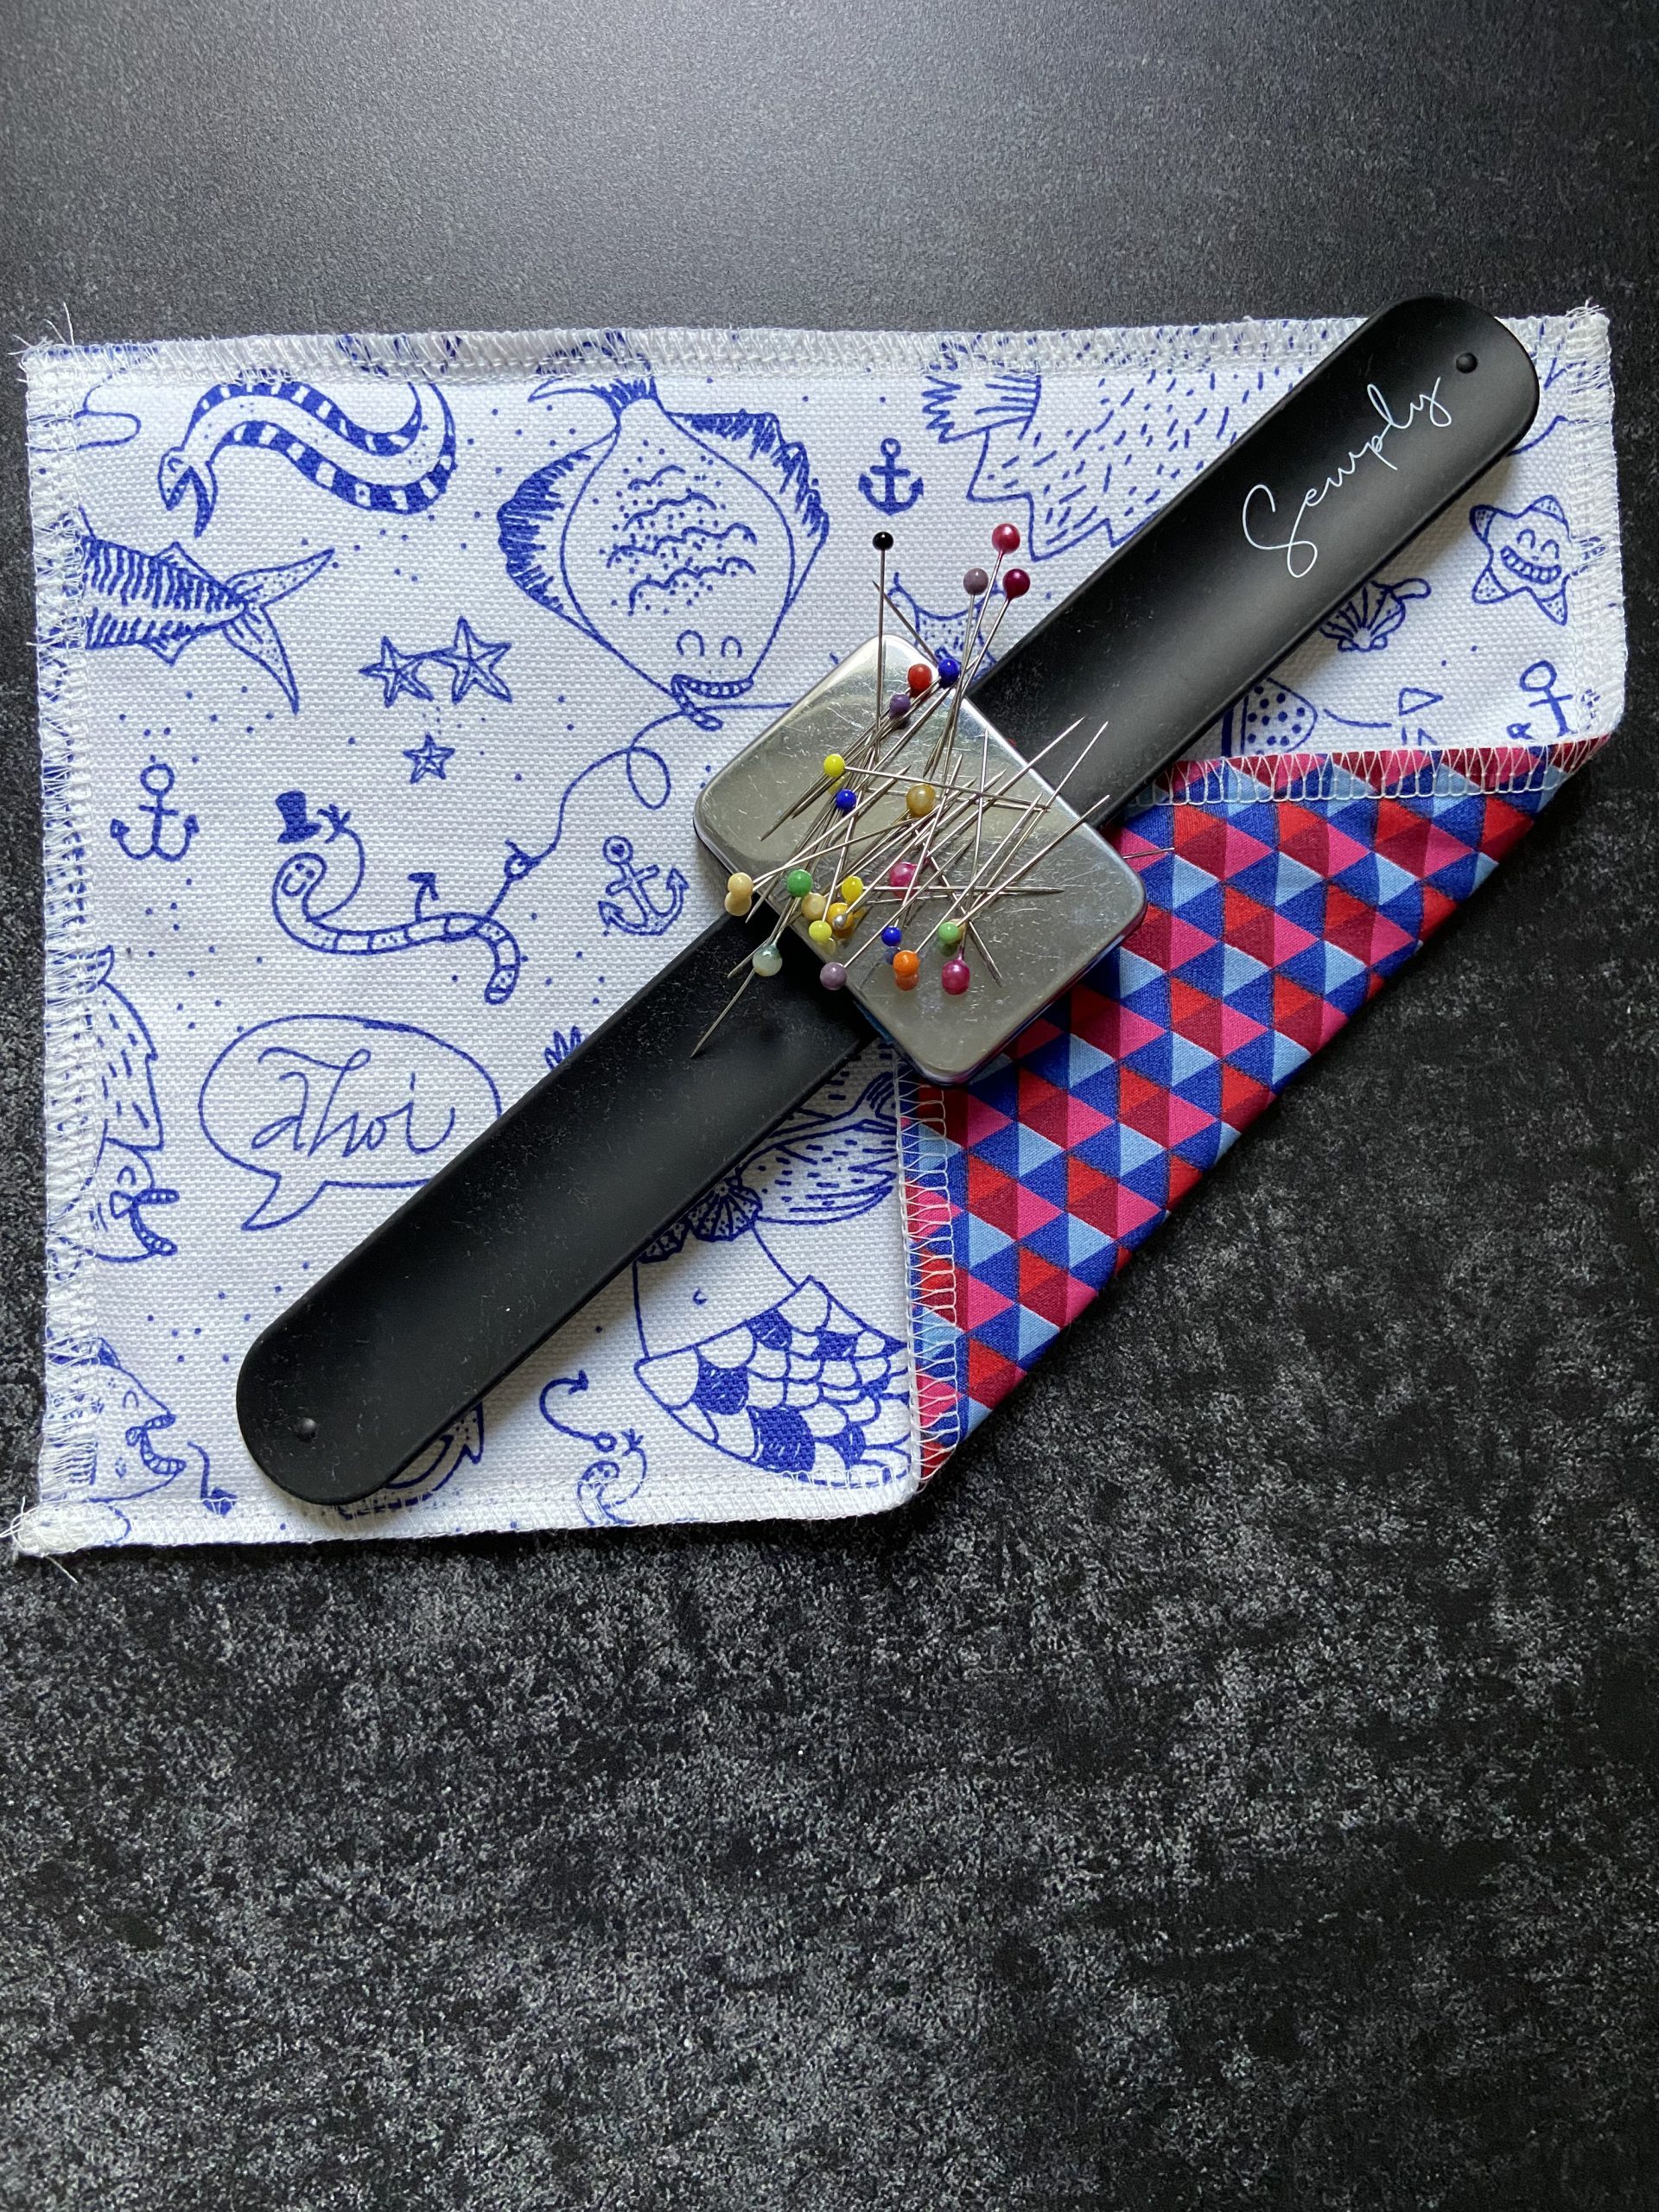
Preparation of the outer fabric
As the first preparatory step, iron the wadding onto the three outer pieces of fabric in accordance with the manufacturer’s specifications (temperature of your iron and duration of pressing). If you have a fraying fabric like I do, you should overcast it (enclose a raw fabric edge) if necessary.
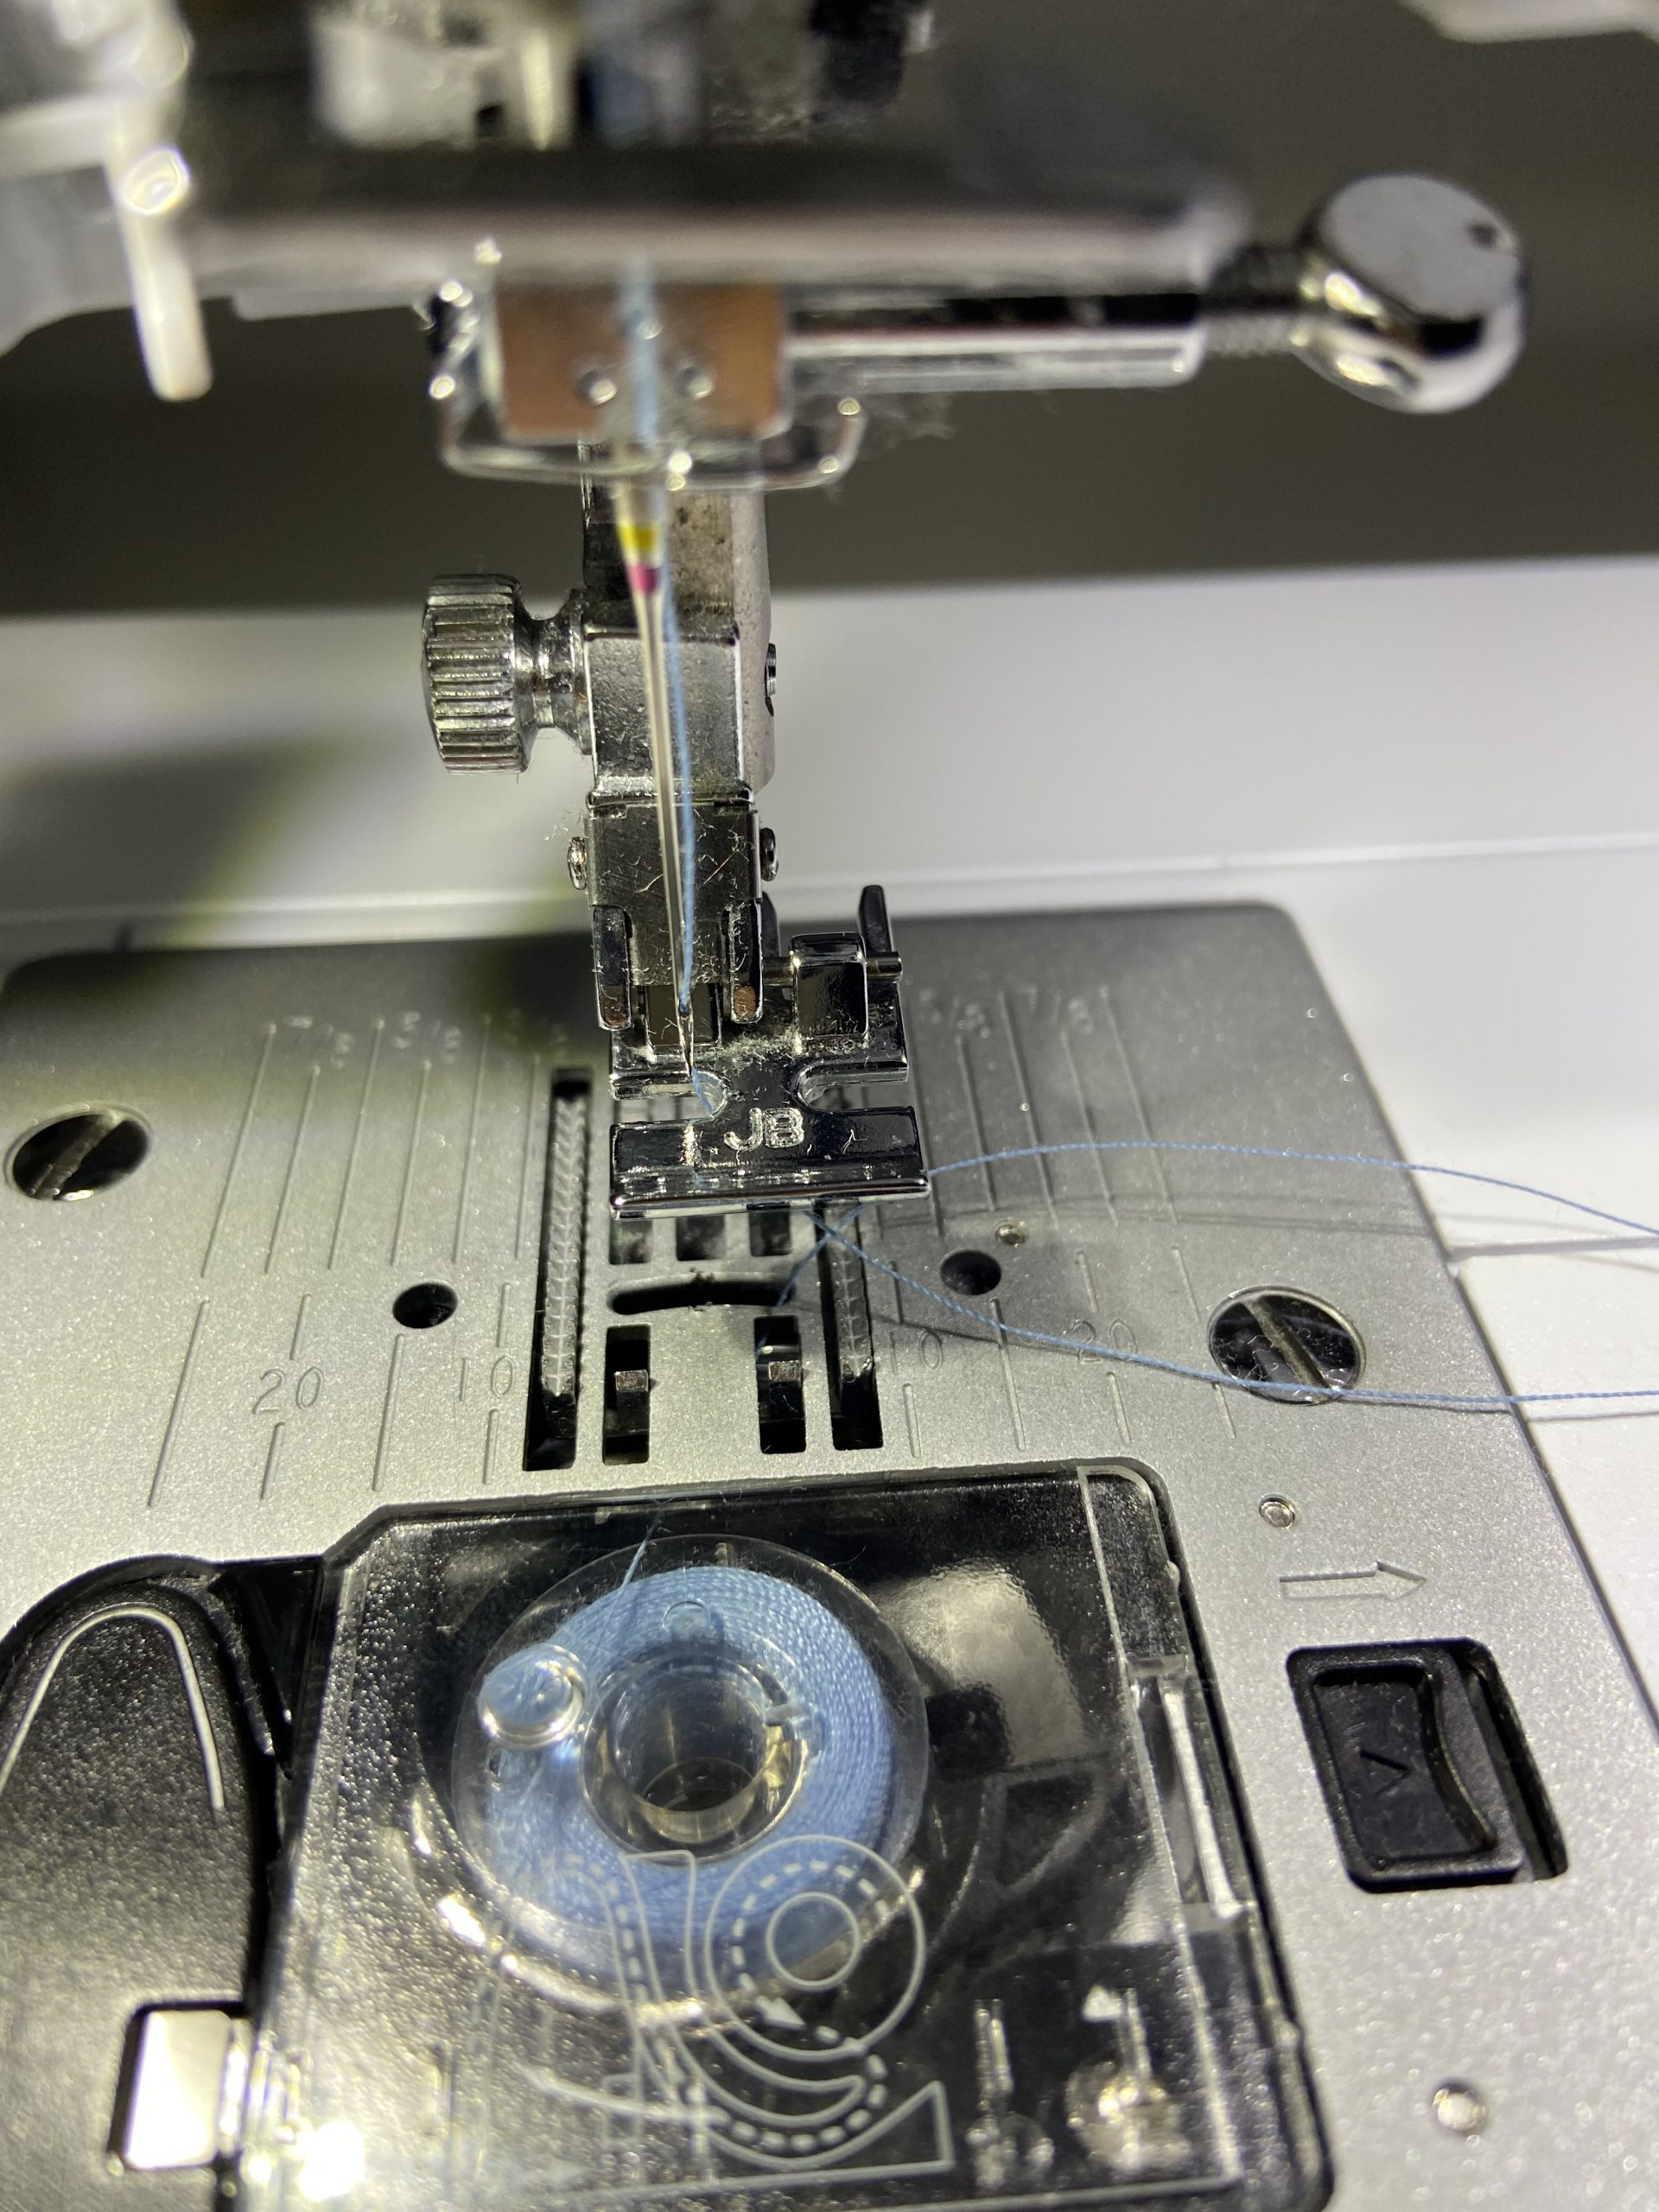
Preparing the sewing machine
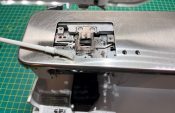
First, we sew in the zipper. So that we can sew the zipper in cleanly and neatly, we do not sew with the normal presser foot, but with the zipper foot. The is included as standard with my sewing machine. Probably with yours, too. I am sewing with the bernette 77.

In the picture below, you can see the difference between the zipper foot (left) and the normal presser foot (right): with the zipper foot you can get far closer to the zipper bead and sew it neatly and properly.

I always select the presser foot position on the right. I find it easier to use. Alternatively you can change the needle position to the left.
Sewing instructions for a small bag: we’re going to get started!
We will now begin sewing, starting with the zipper. The zipper is always sewn in between an outer fabric and an inner fabric. It is best for beginners to do this in two steps. The more often you sew in zippers, the easier it is to attach the outer and inner fabric to the zipper in one step.
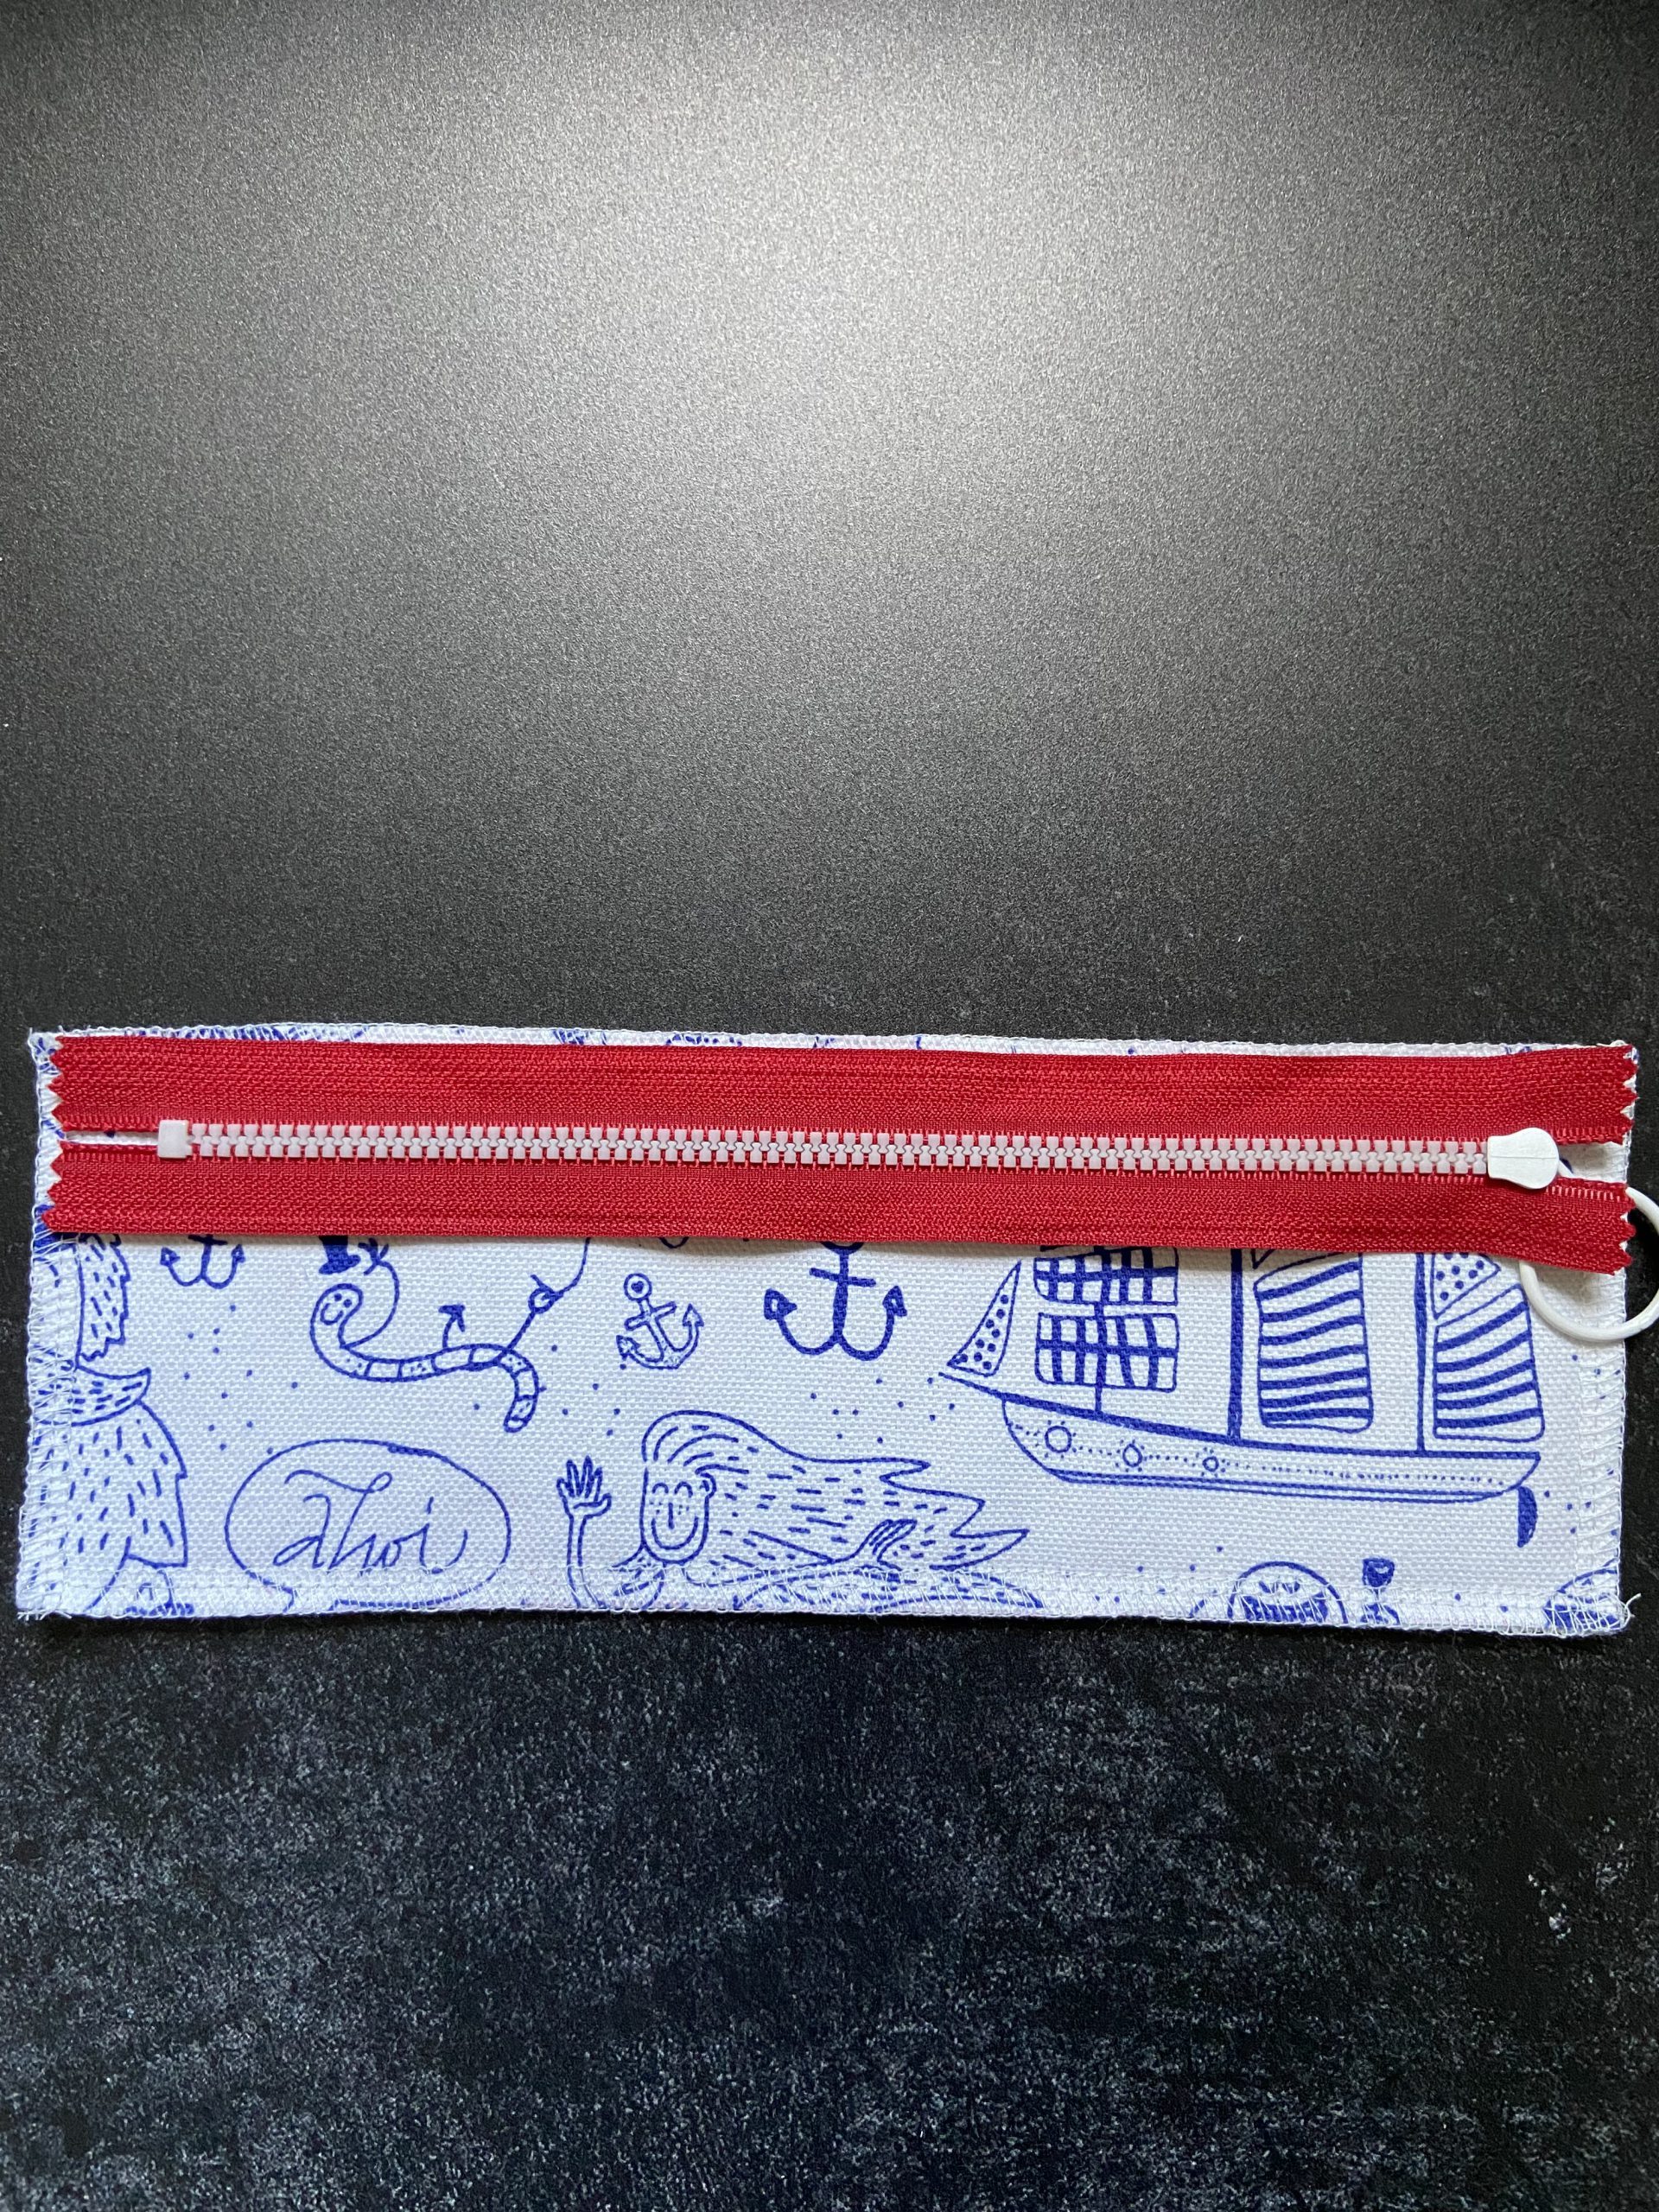

The principle is as follows: Lay the shell fabric with the right side up and place the zipper on top with the right sides together, i.e. the bead from the zipper faces down on the fabric. Then place the lining fabric onto the shell fabric with the right sides together (lining fabric with the right sides together) and secure the three layers with a straight stitch.
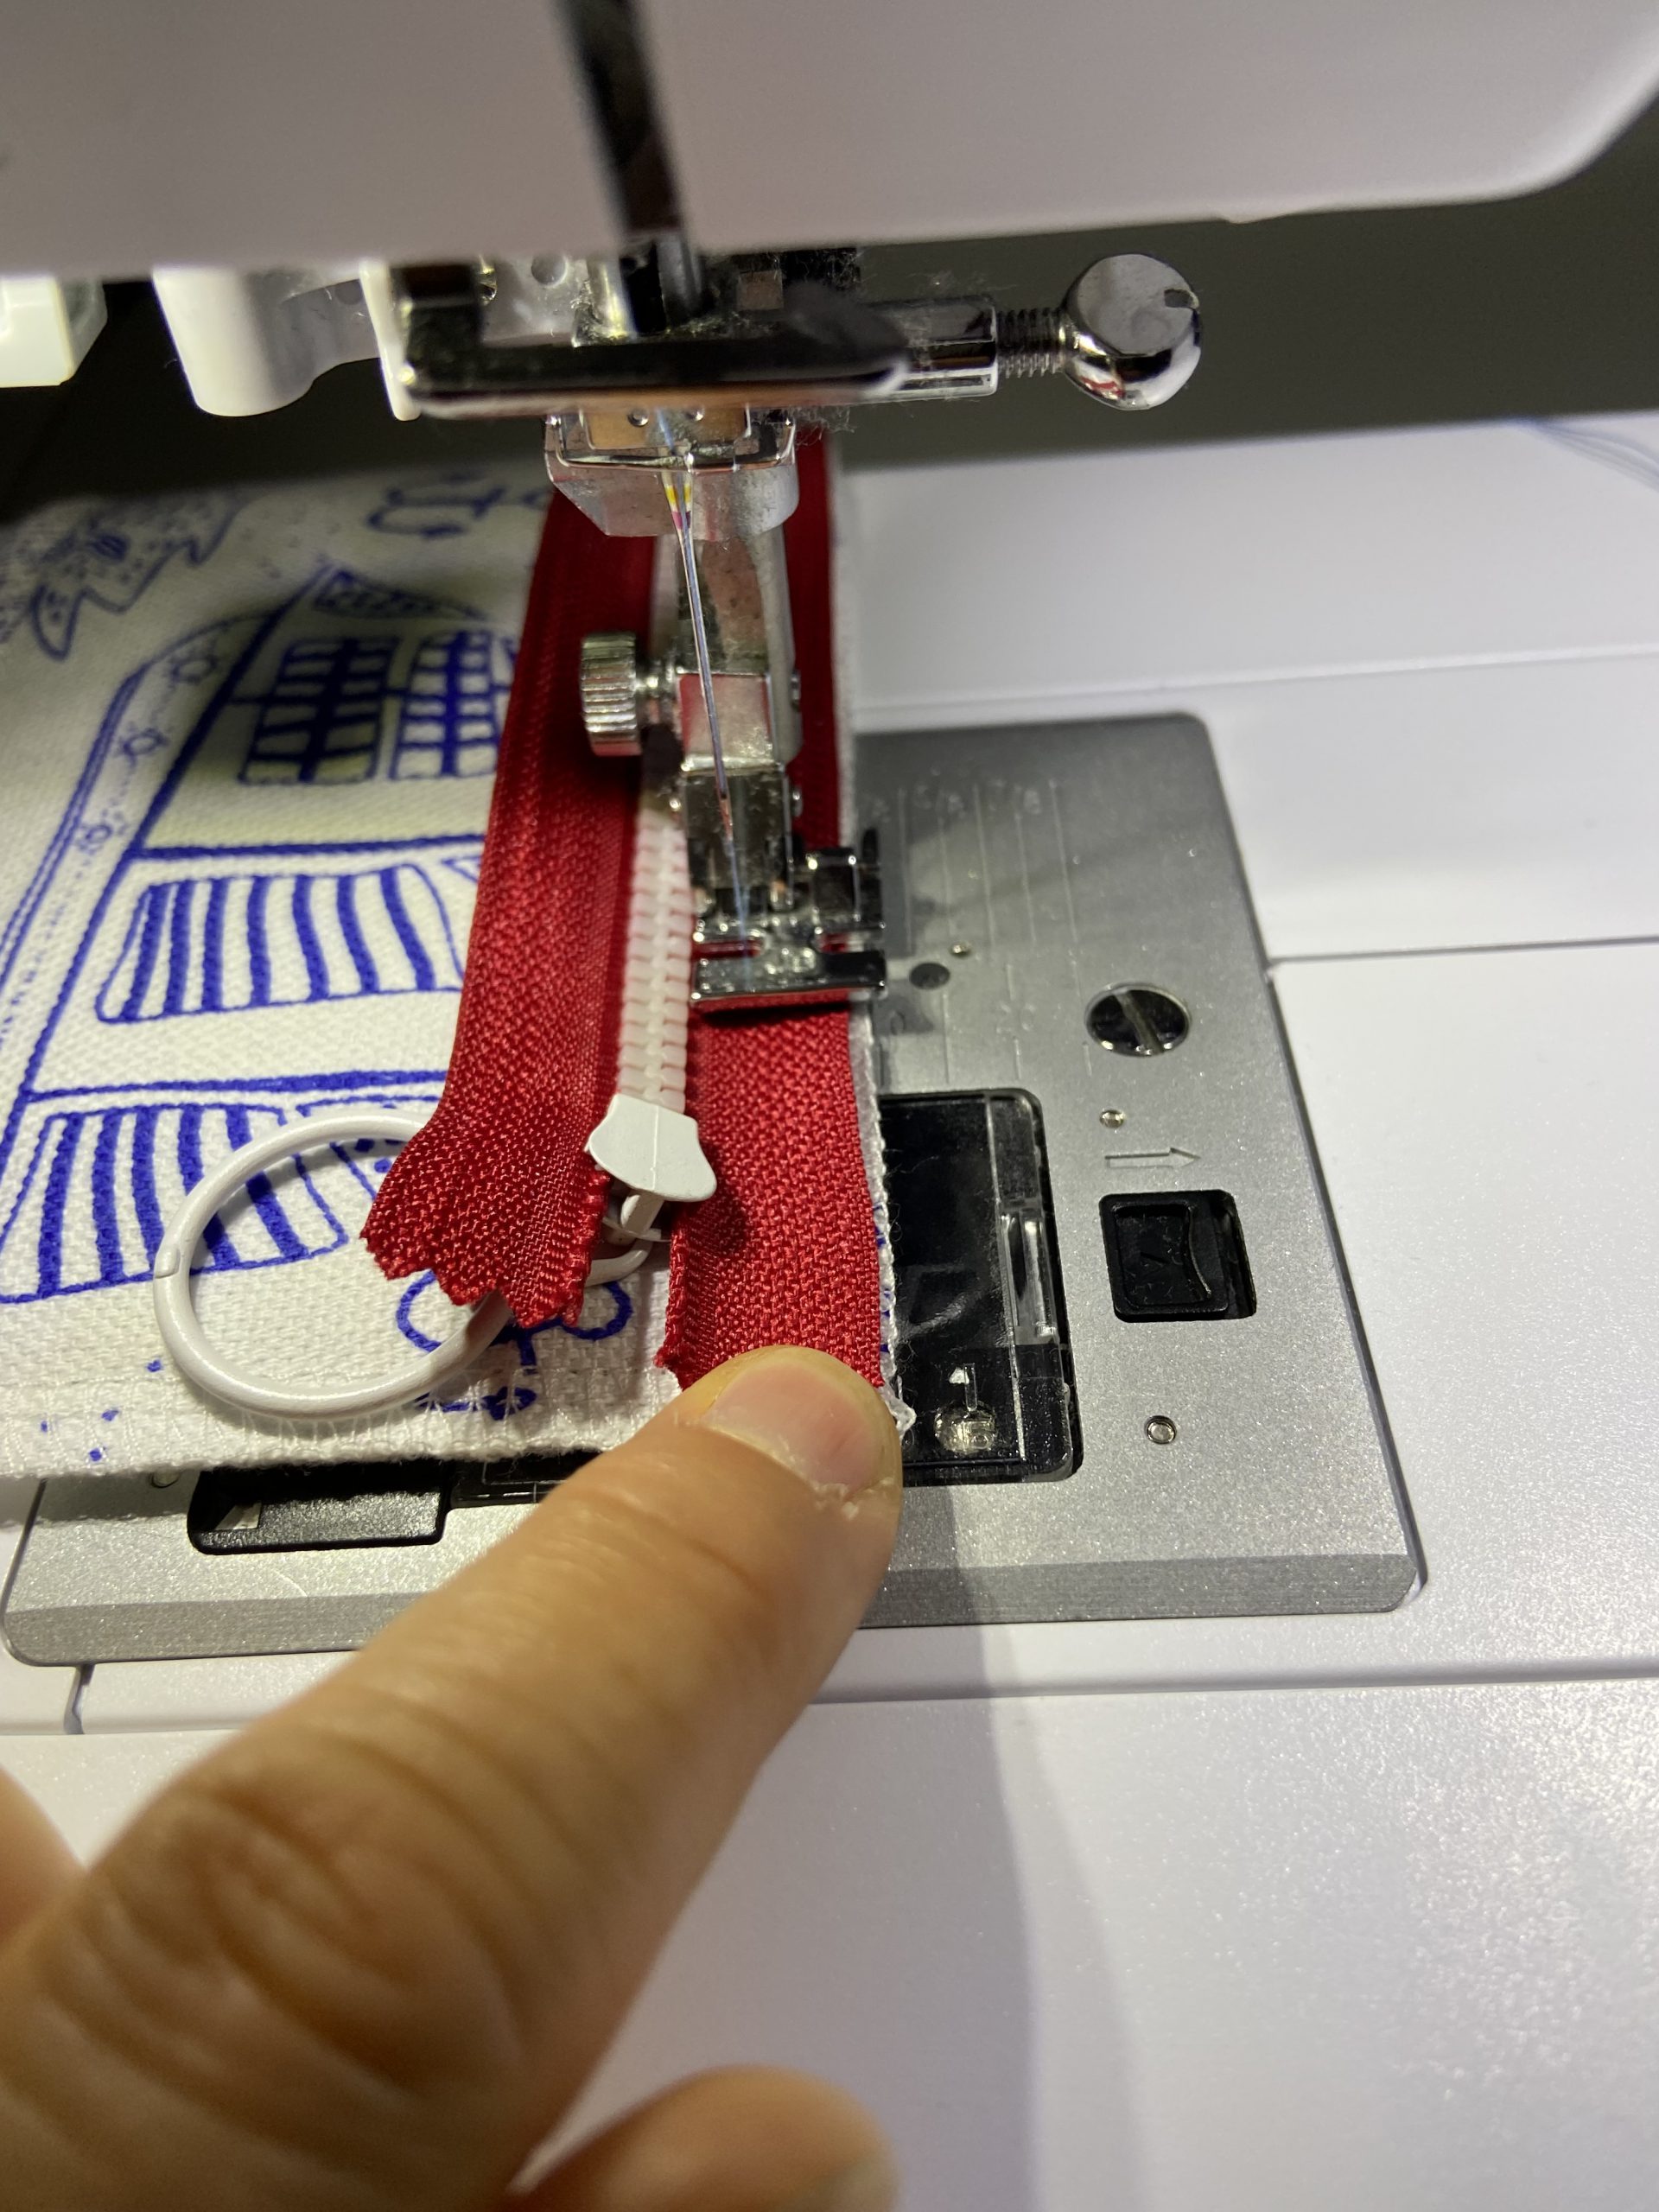
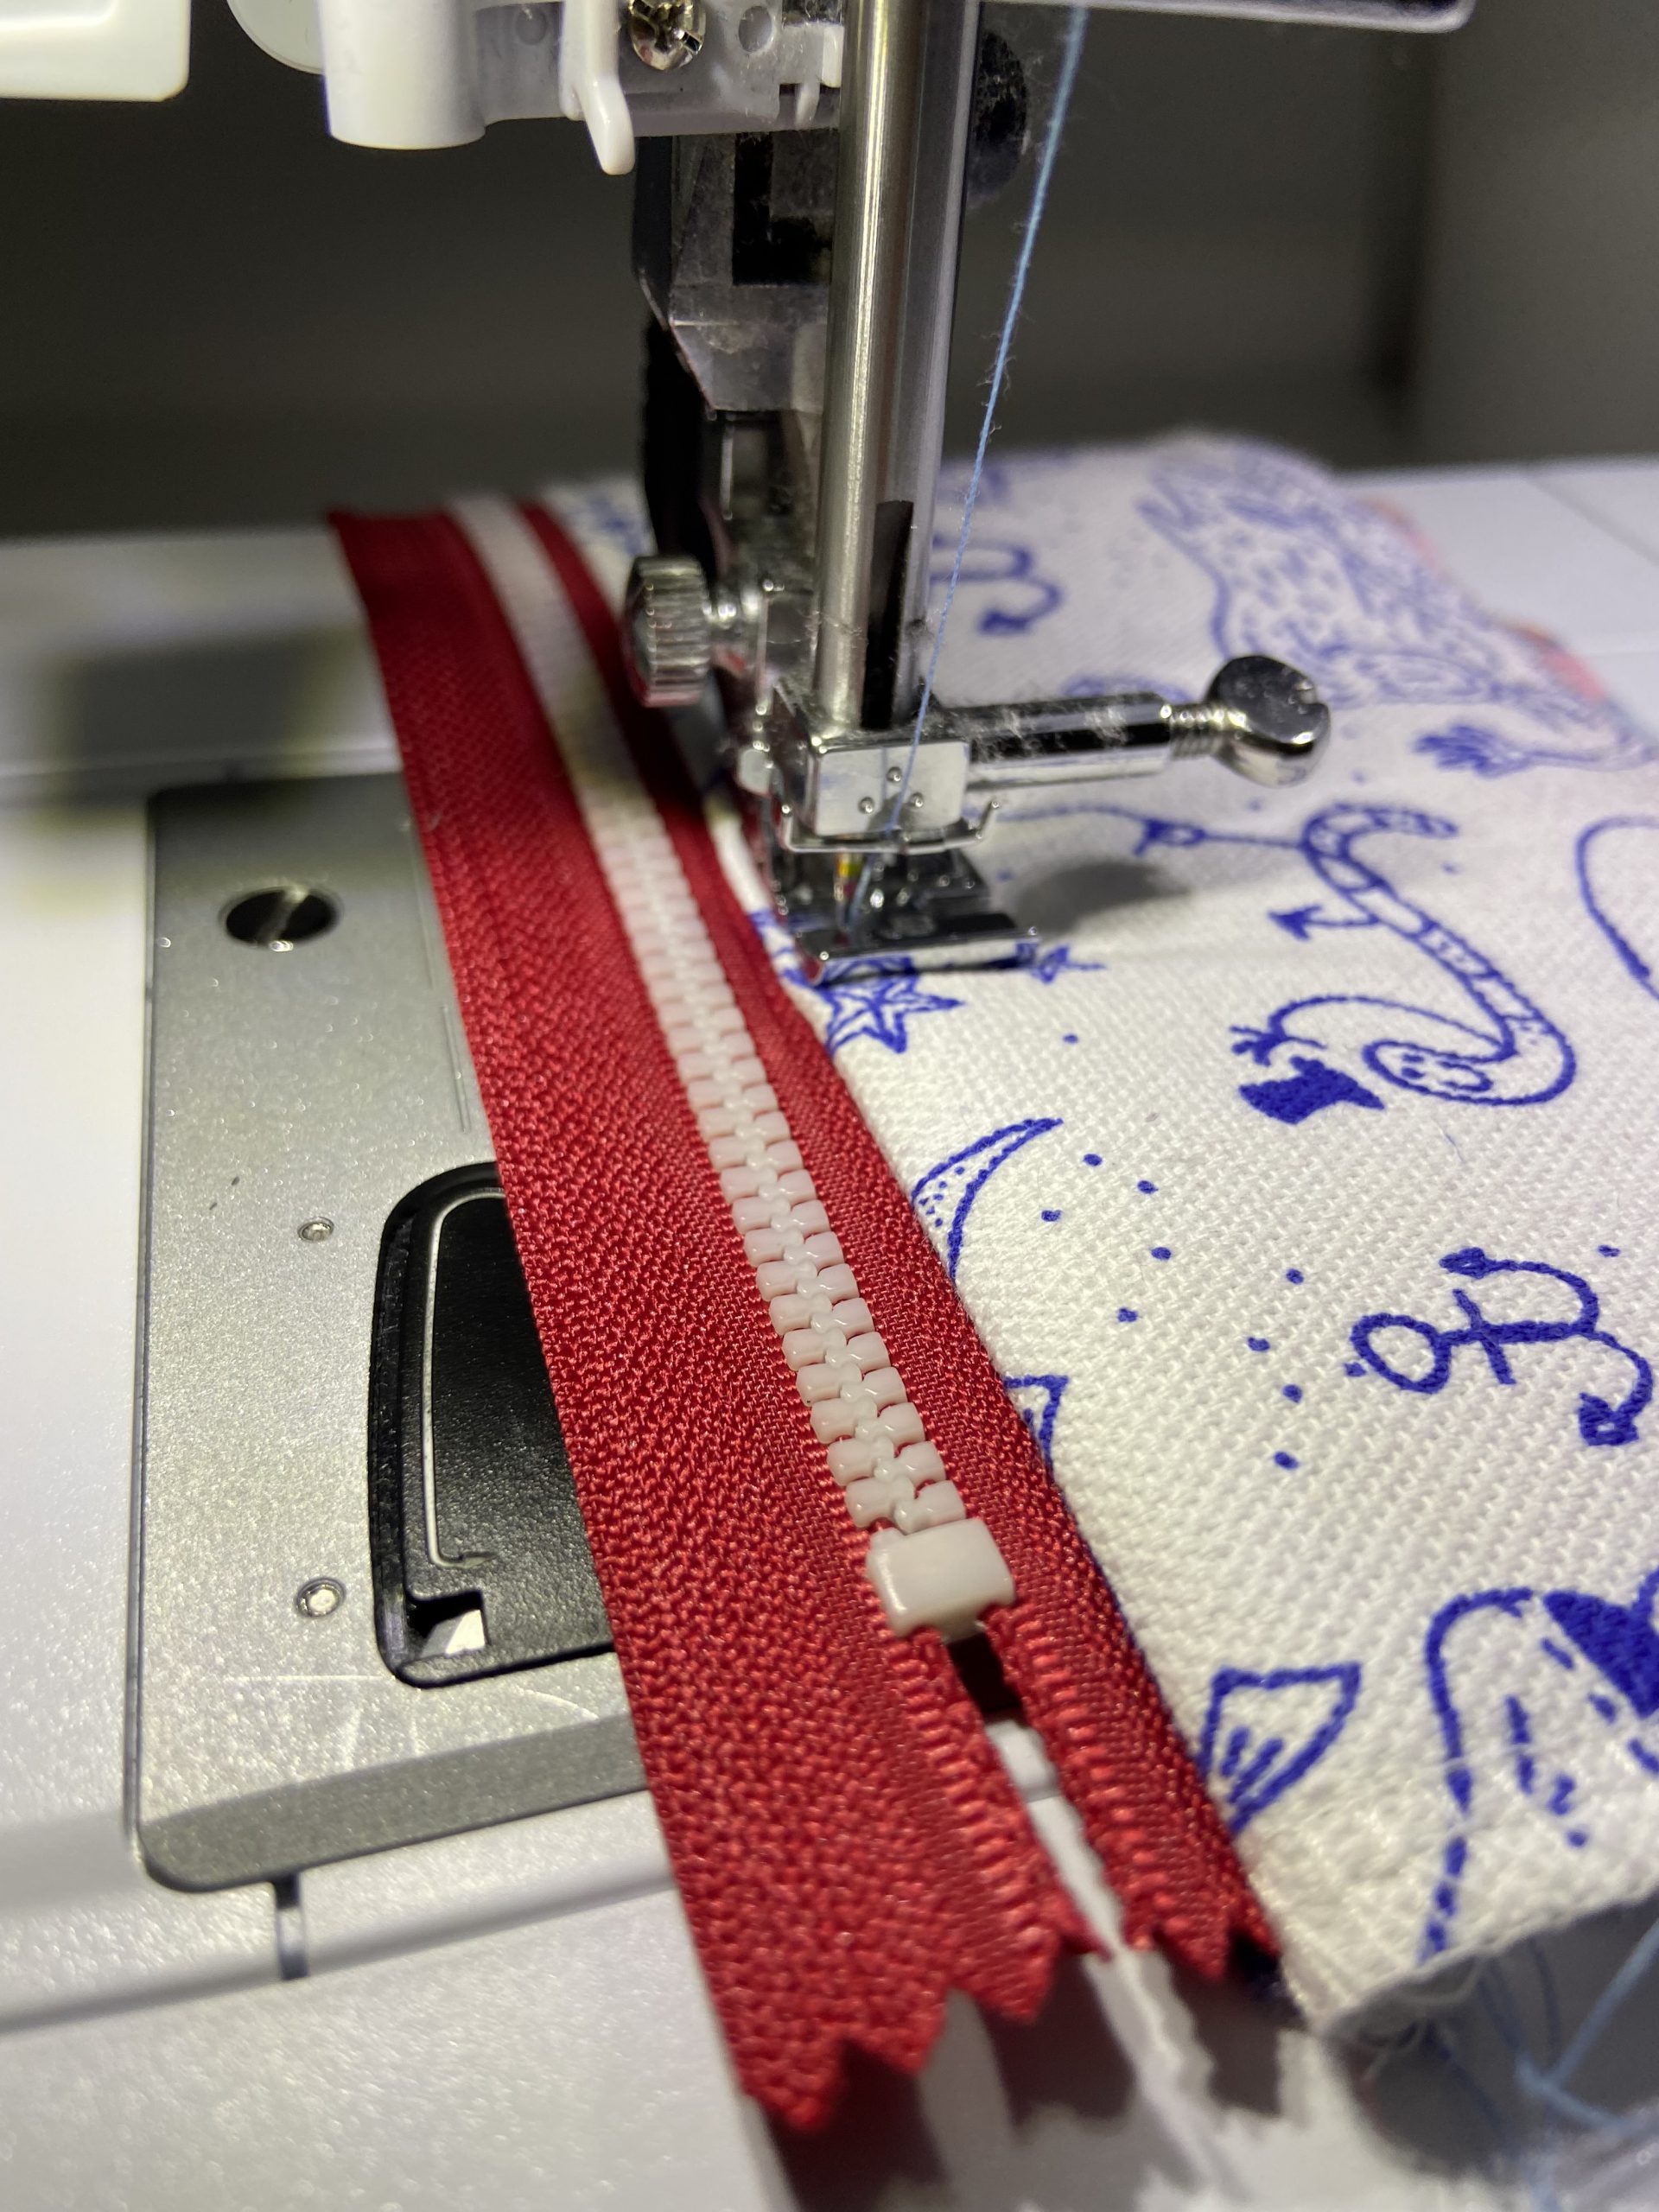
To start, it is easier to sew in the zipper in two steps, as I said. I have also done this here for the instructions. My foot runs along the zipper bead, giving me optimum spacing. When you get close to the zipper, turn the needle into the fabric, lift the foot and pull the zipper past the foot. Then you can continue sewing with the same spacing and do not slide off the zipper (as I do, see below. There’s nothing wrong with a little effort). You can sew using a straight stitch.
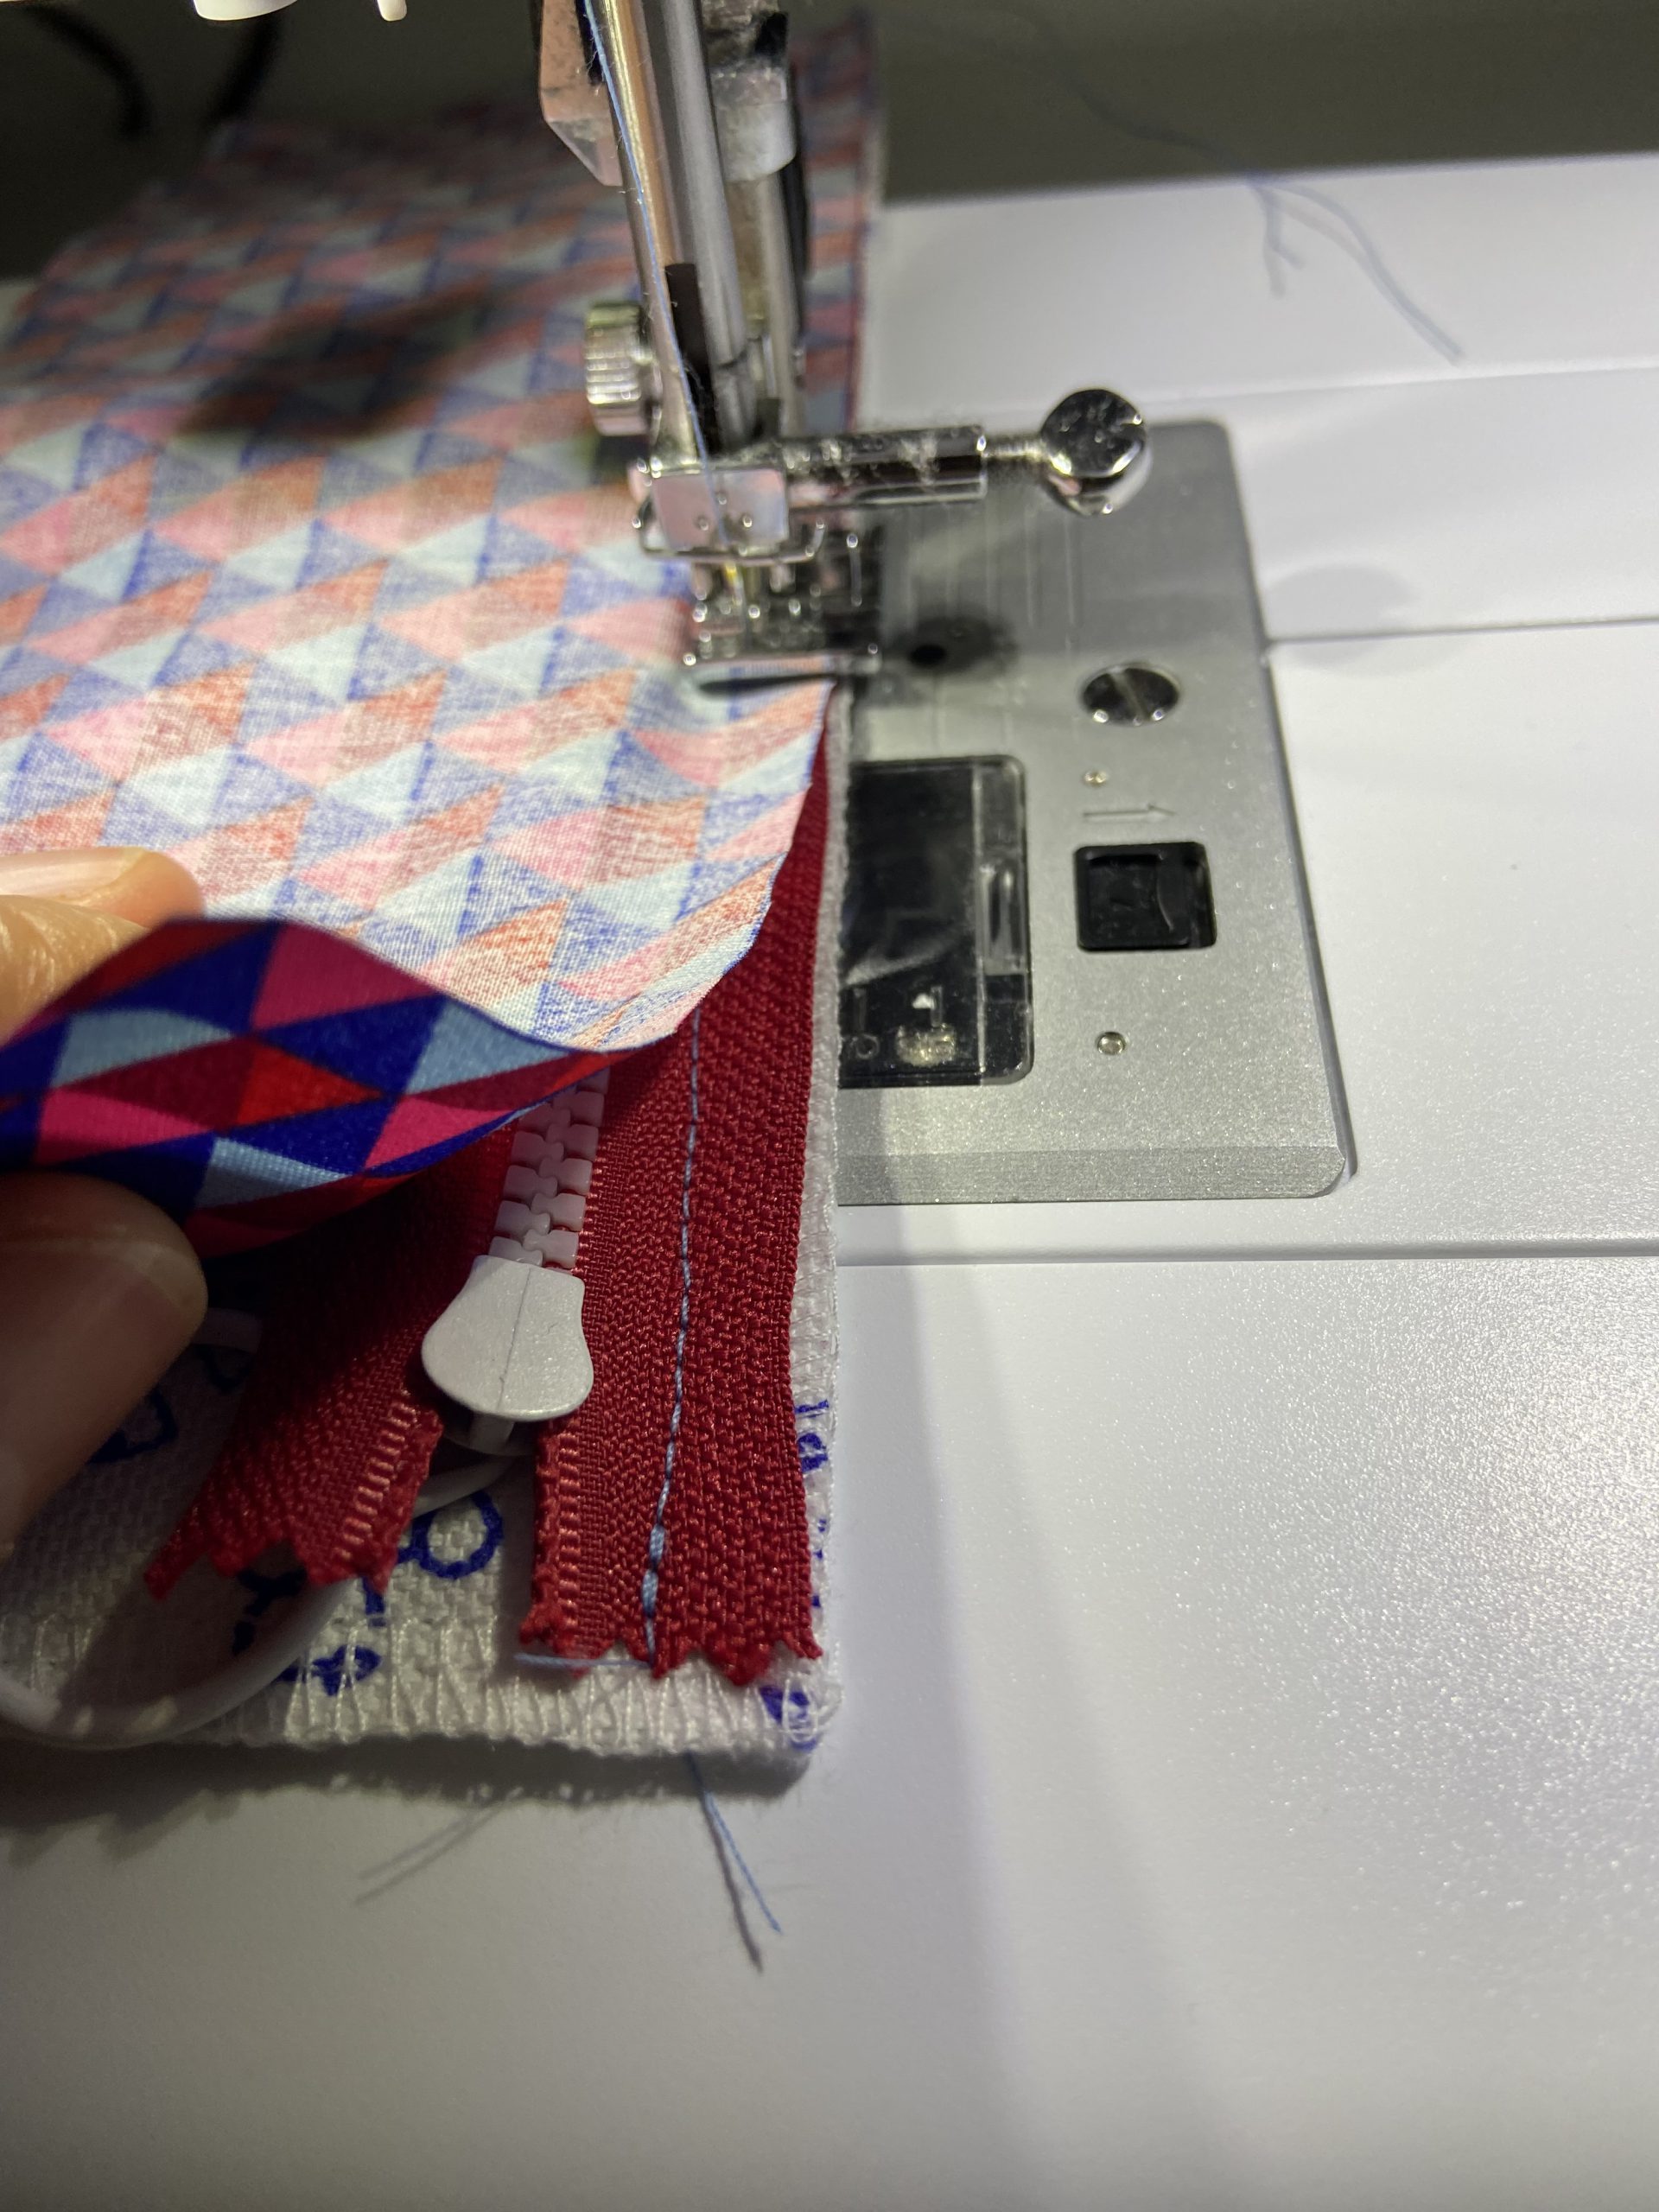
Now lay out the lining fabric as described above and sew it on at the same distance as the outer fabric. The zipper is now sewn into the middle of the outer and inner fabric. Now fold the fabric so that the zipper is on the outside and pull both fabrics so as nice and smooth. We now stitch the fabric from the outside. We do this by ensuring that the lining fabric does not “roll up” and bind into the zipper when it is opened.
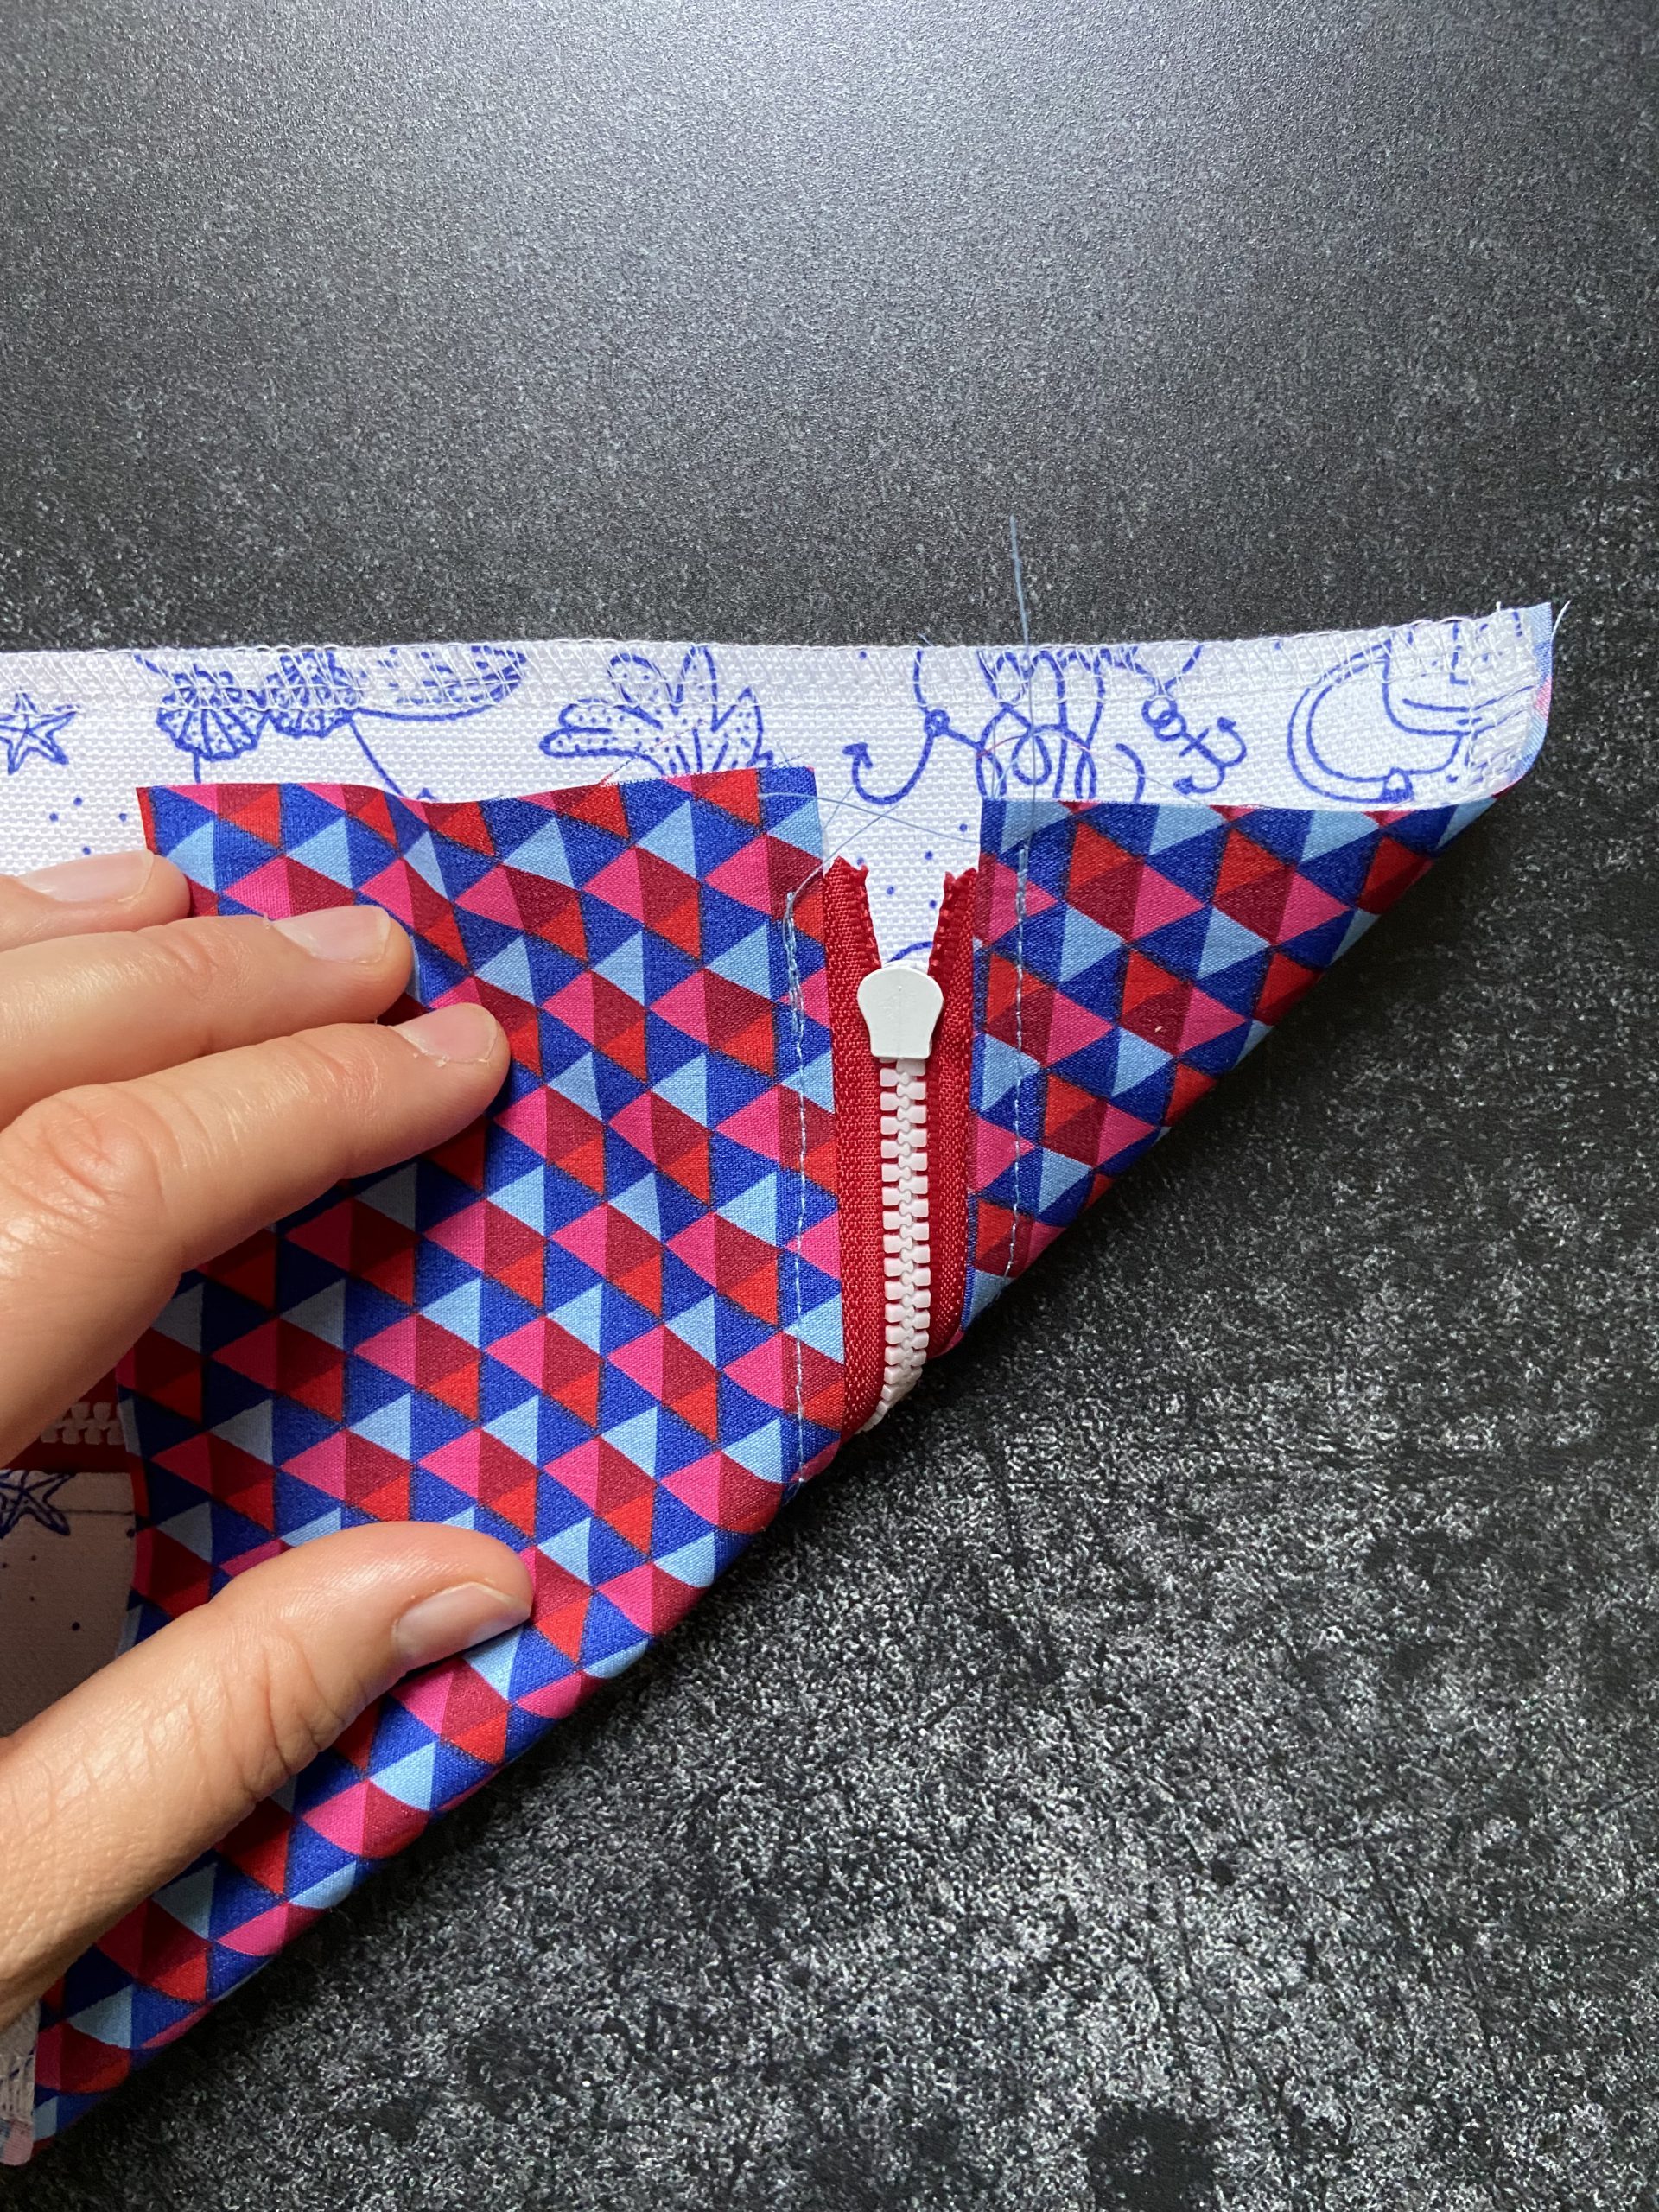
Next, we sew the other two narrow pieces onto the zipper. The principle is exactly the same. Place the zipper onto the shell fabric and the lining fabric with the right sides together and sew the three layers with a straight stitch.

Depending on how brave you are, you can do this in one step or you can do it in two steps if you want to play safe. At the beginning, it is sometimes better to follow the 2-step approach to avoid frustration with the seam ripper.
Again, stitch the fabric from the outside. When topstitching, it is important that the shell and lining fabric are smooth and wrinkle- free. This is the only way to topstitch and also looks decent from the inside. It would also be important to use fabrics that have the same properties, i.e. not particularly slippy and very firm, for example. This will also save you a lot of grief.
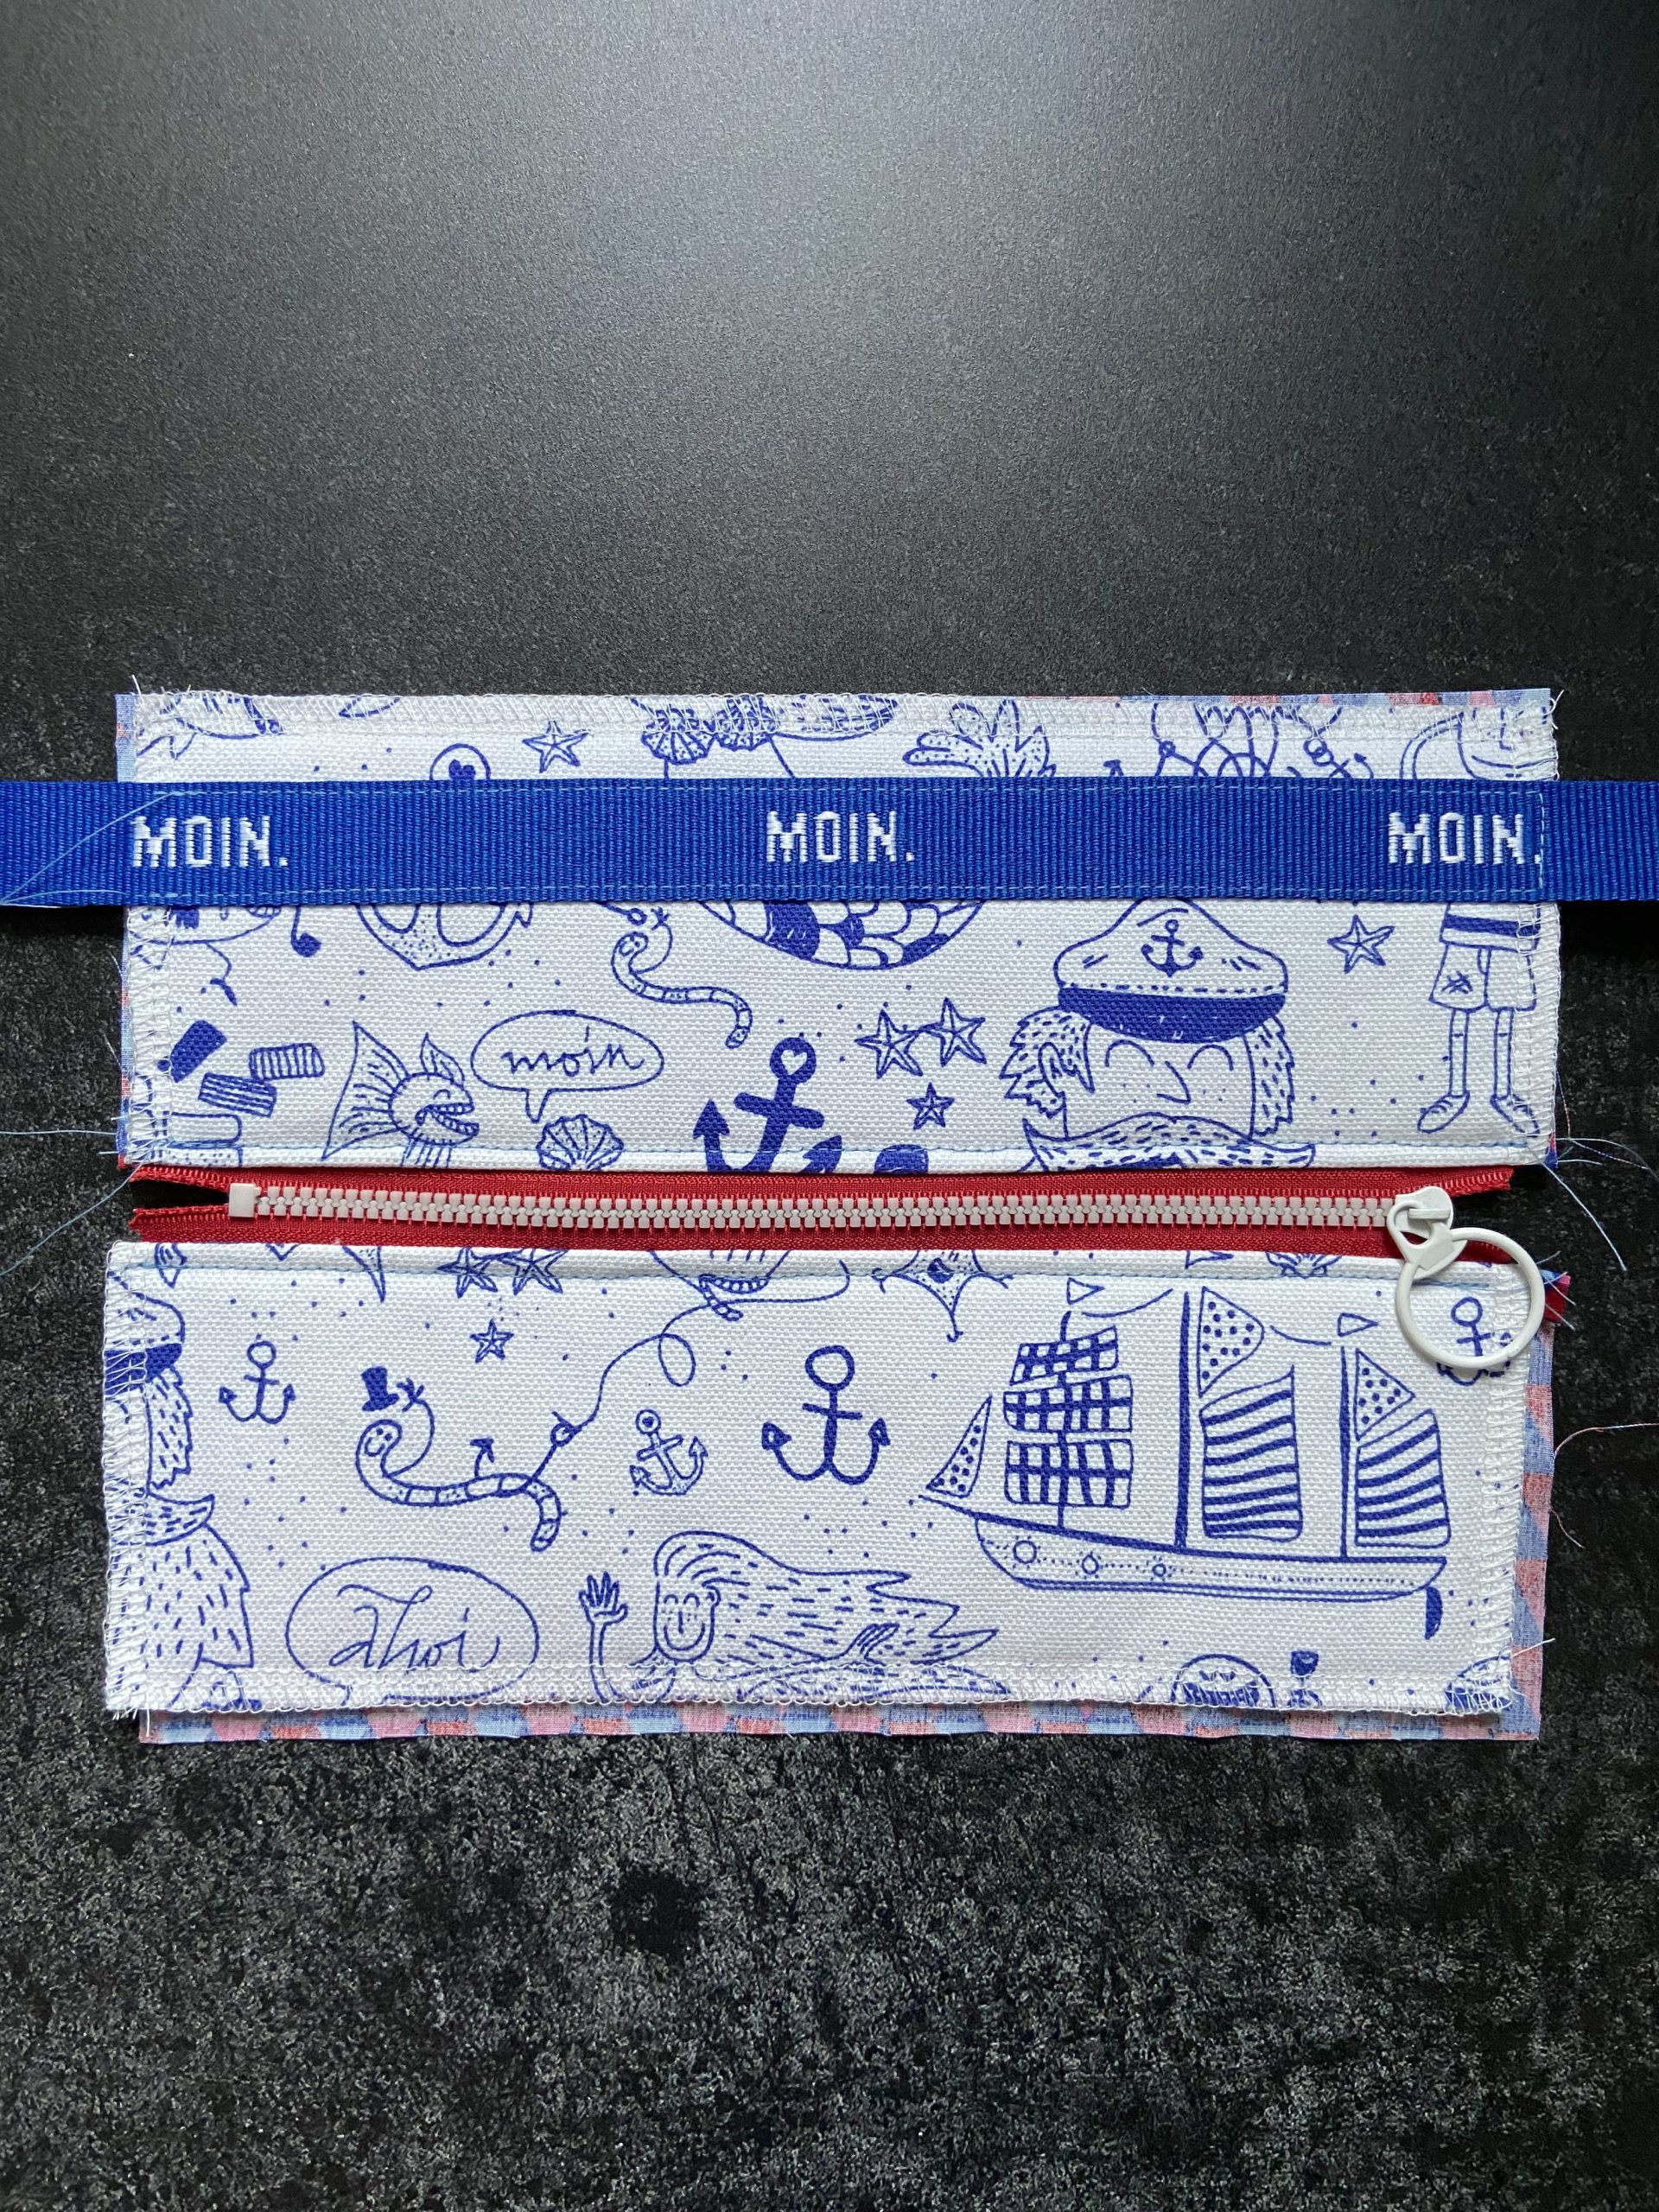
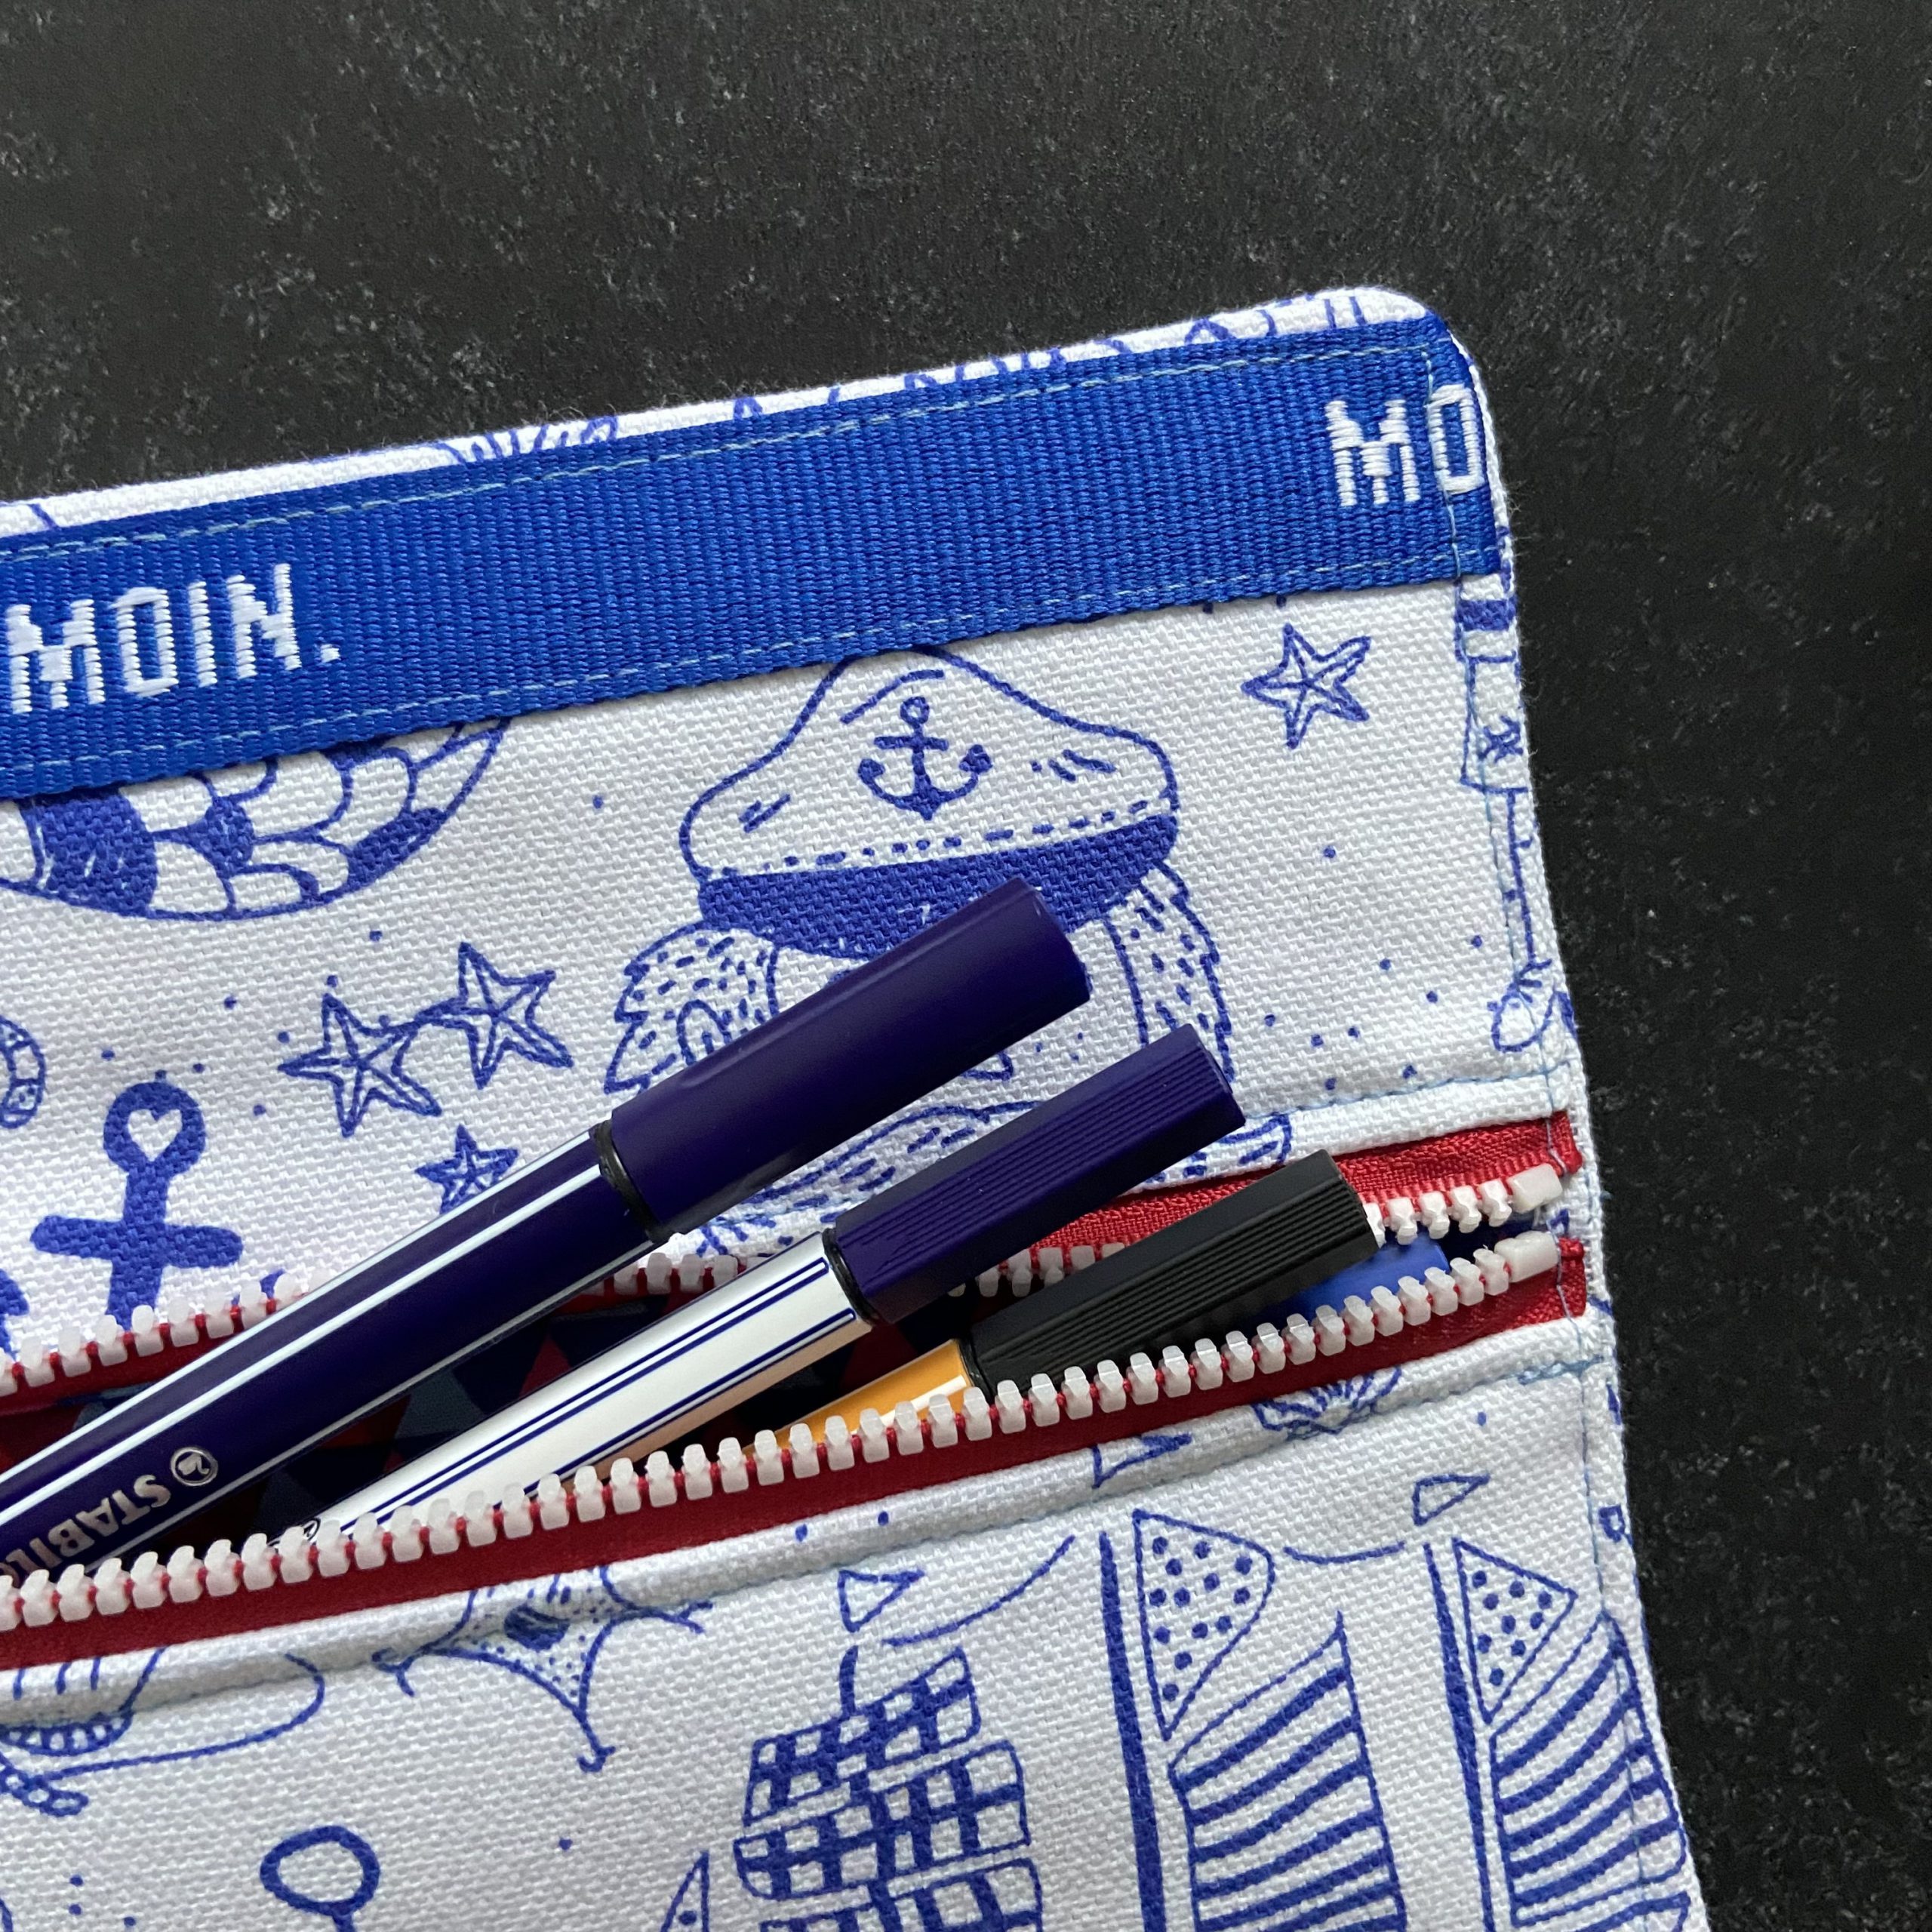
I then realized that I still had the woven band. I sewed this on (only onto the shell fabric), because it fits the fabric so well and I didn’t want to leave it out.
Completing your first sewing project
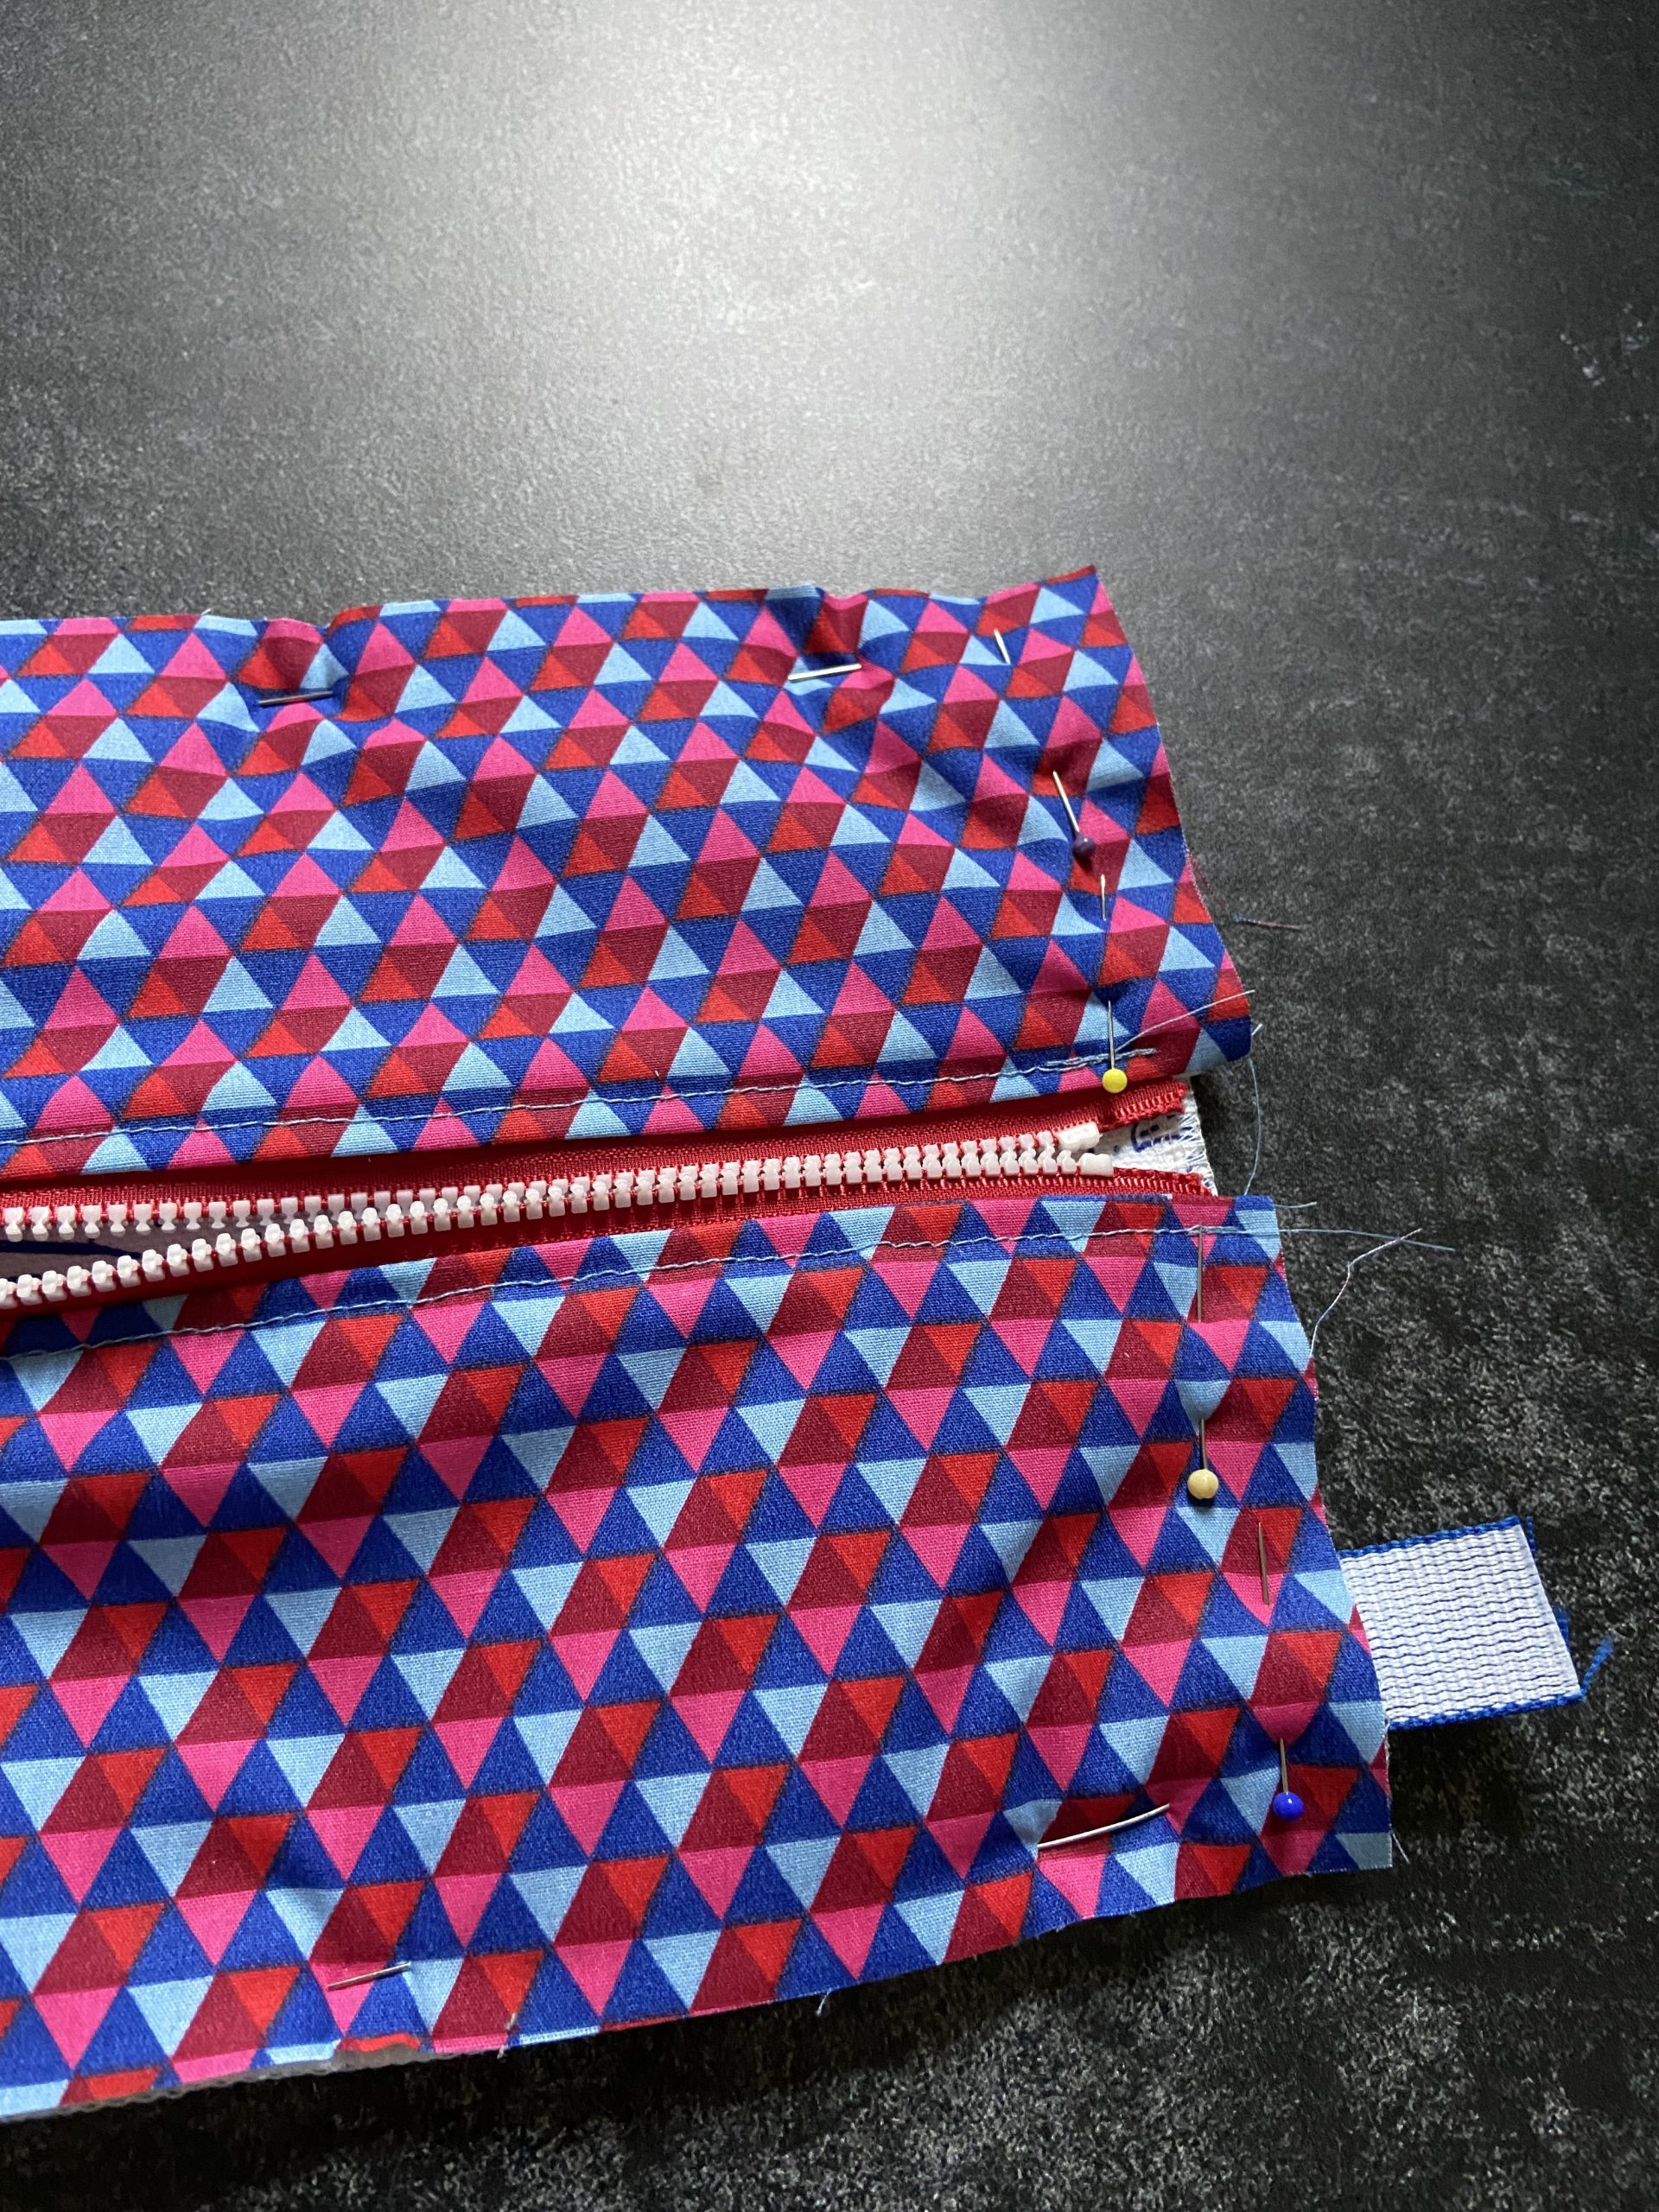
Now we are almost finished sewing. It will soon be finished and you will be able to hold your small zipped bag in your hands. First lay the two remaining pieces of fabric with the wrong sides together and serge them together or fix them in place with a straight stitch.
Then place this piece with the outer fabric onto the outer fabric of the zipper section, i.e. with the right sides together. We then sew around the edge. The zipper has to be opened so that we can turn the bag out afterwards. Otherwise, it will be difficult. 😉
When sewing together around the edge, we sew along the edge of the zip fastener. It will then look good once turned out.
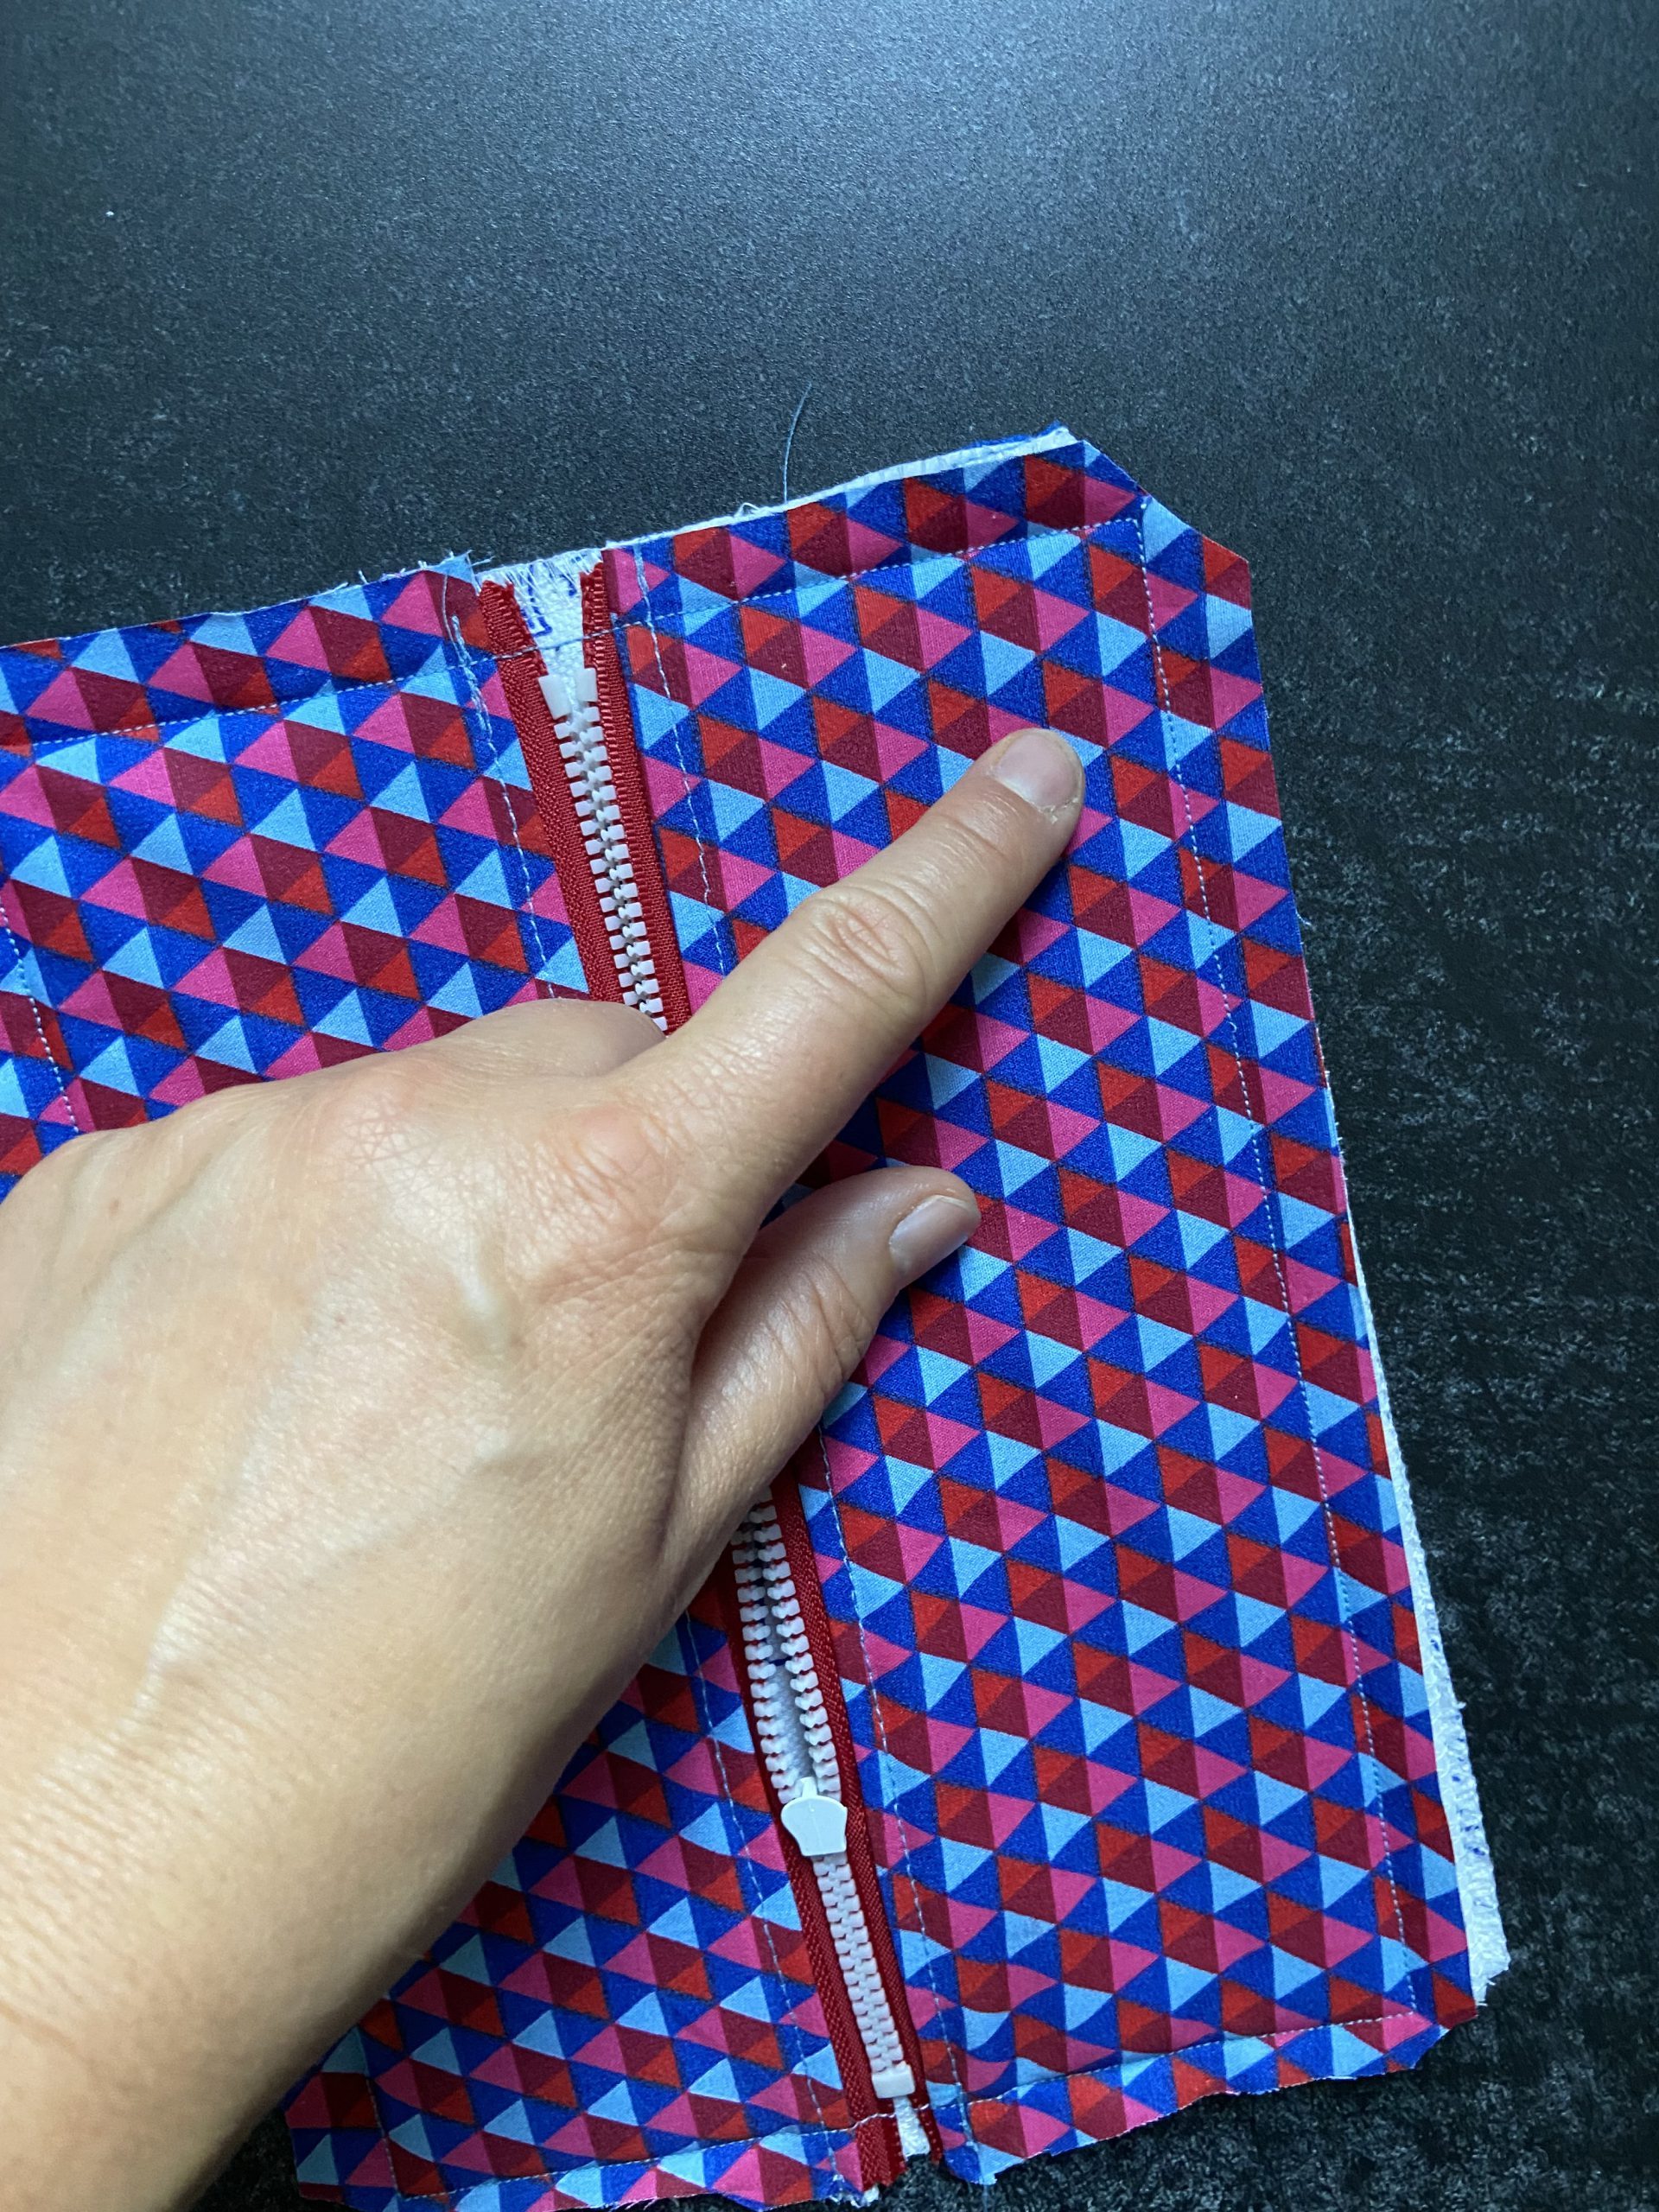
Once you have sewn around, shorten the corners so that it looks better after turning out. Also cut in the seam allowances a little in general, i.e. cut them close along the seam, but do not, under any circumstances, cut into the seam.
It’s now almost done: turn the bag so that the beautiful side faces out. Iron if necessary. Since I have a bit of an ironing fetish, of course I ironed. As it is now, you can see the seam allowance inside, which I don’t like.
That’s why I topstitch again from the outside. My narrow cut seam allowance is then “trapped” by the seam and is no longer visible when you look into the bag.
Have fun with this sewing project. The more zippers you sew, the better and faster it works. Then nothing will stand in the way of larger bag projects. The BERNINA Blog has a lot more projects with zippers. Here are just a few other project ideas:
- Mini case for earplugs or keys
- Heart-shaped gift pouch
- Back to school: pencil cases
- Zippered Travel Pouch for Dad
- Makeup bag with zipper
- Clutch for the party outfit
Have a great day.

0 Responses