 BERNINA Corporate Blog -
Hi everyone!
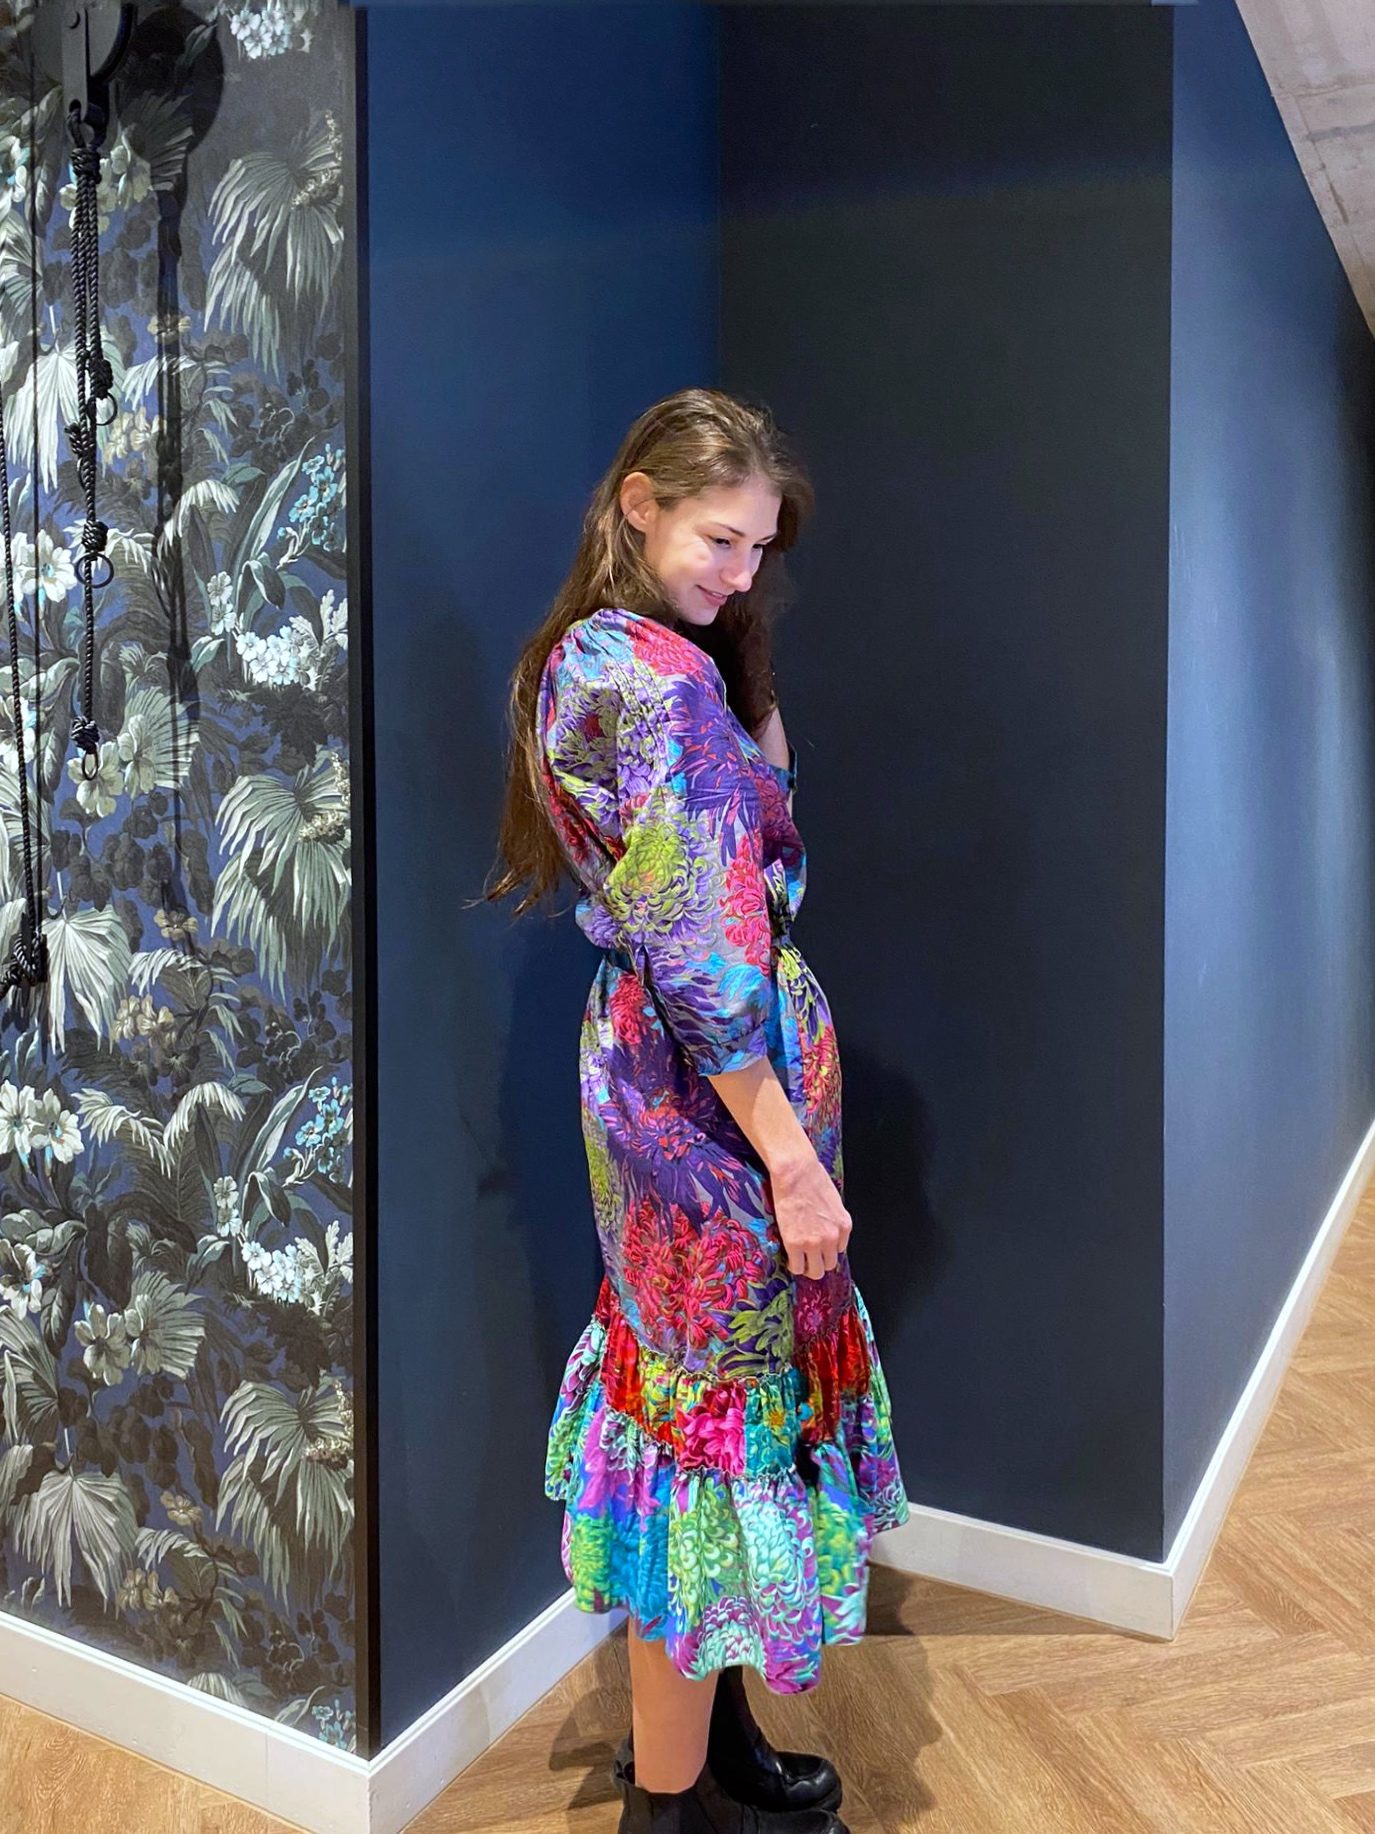
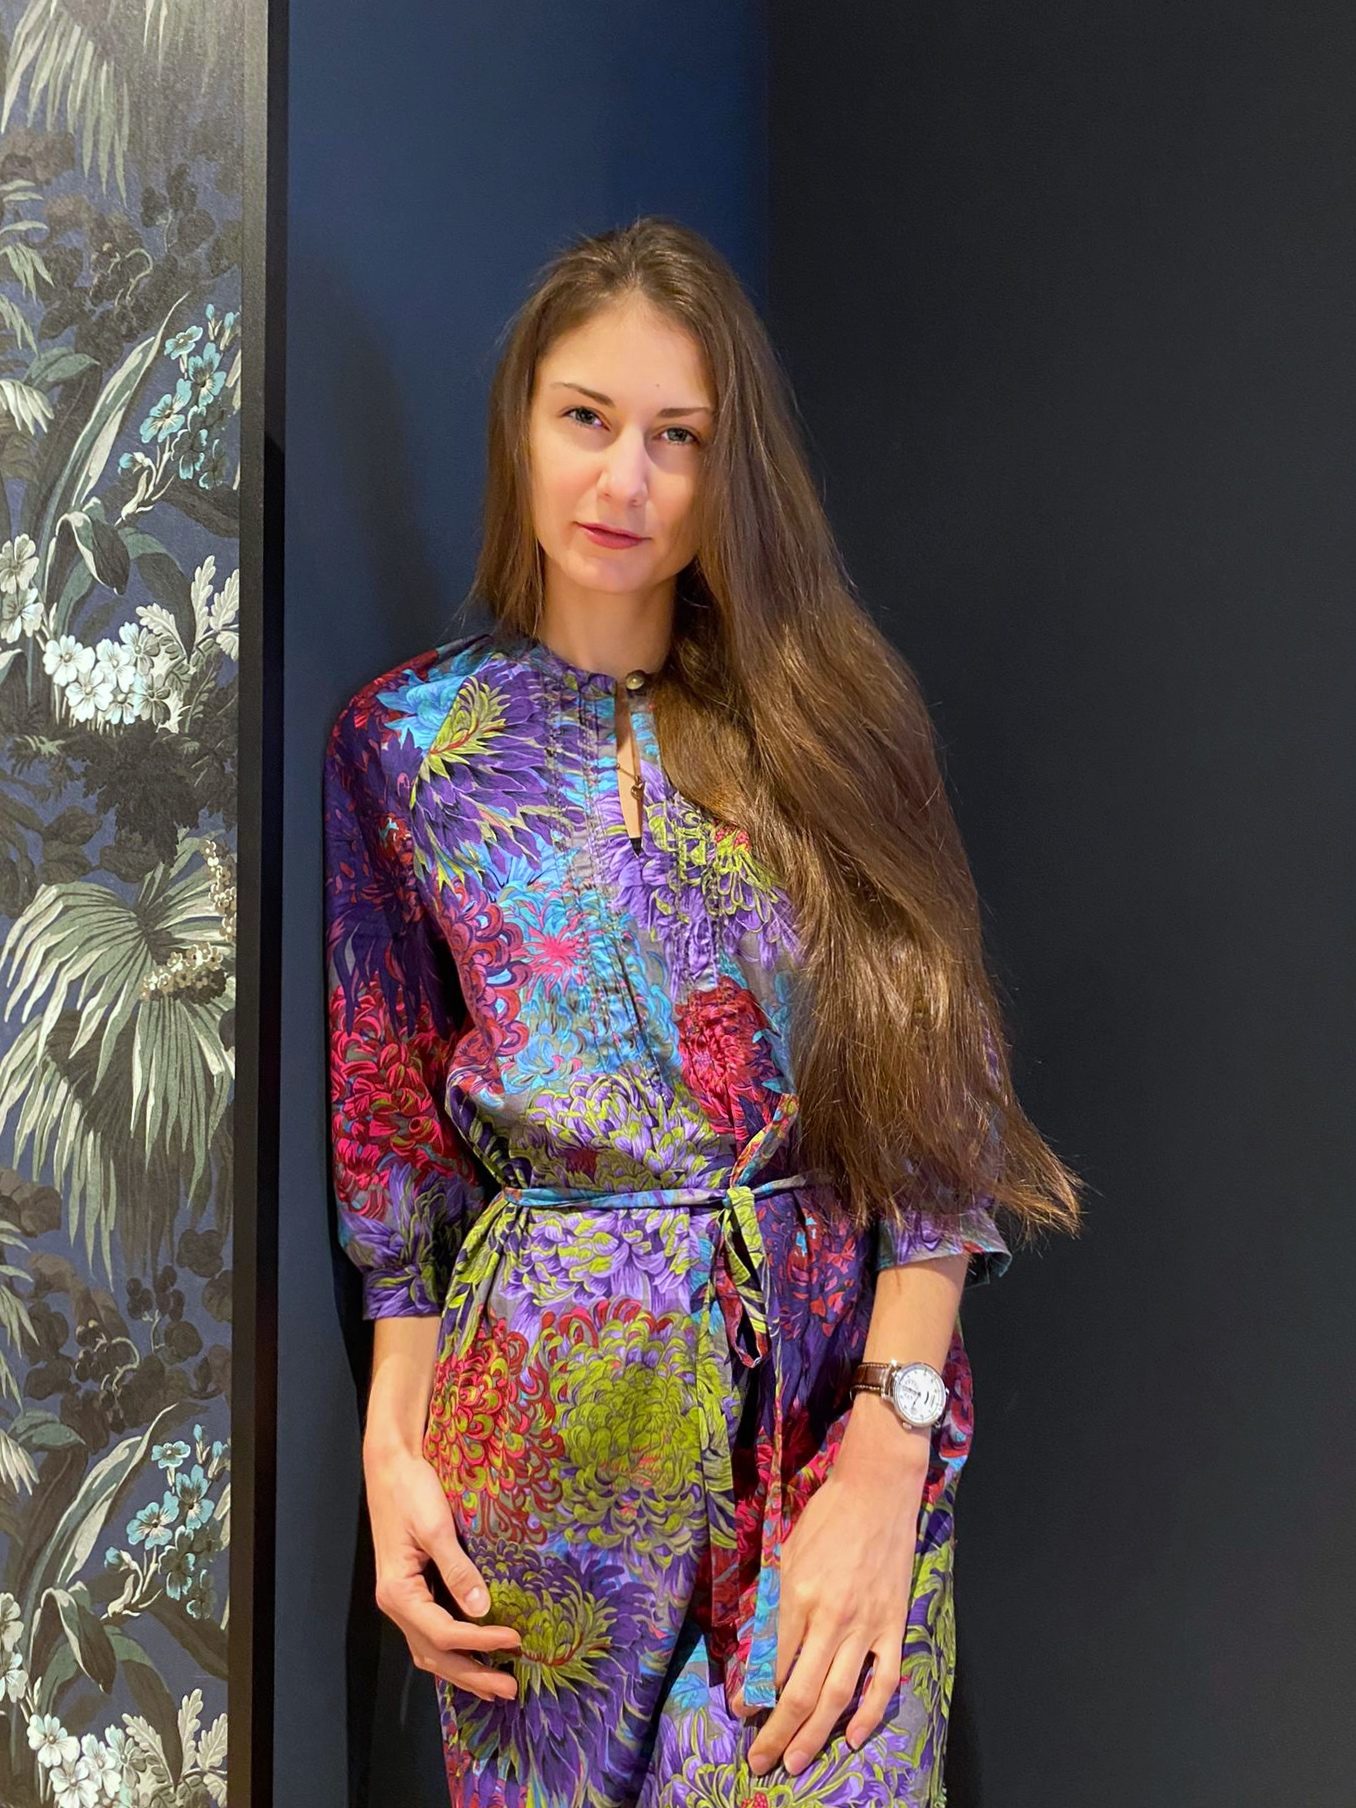
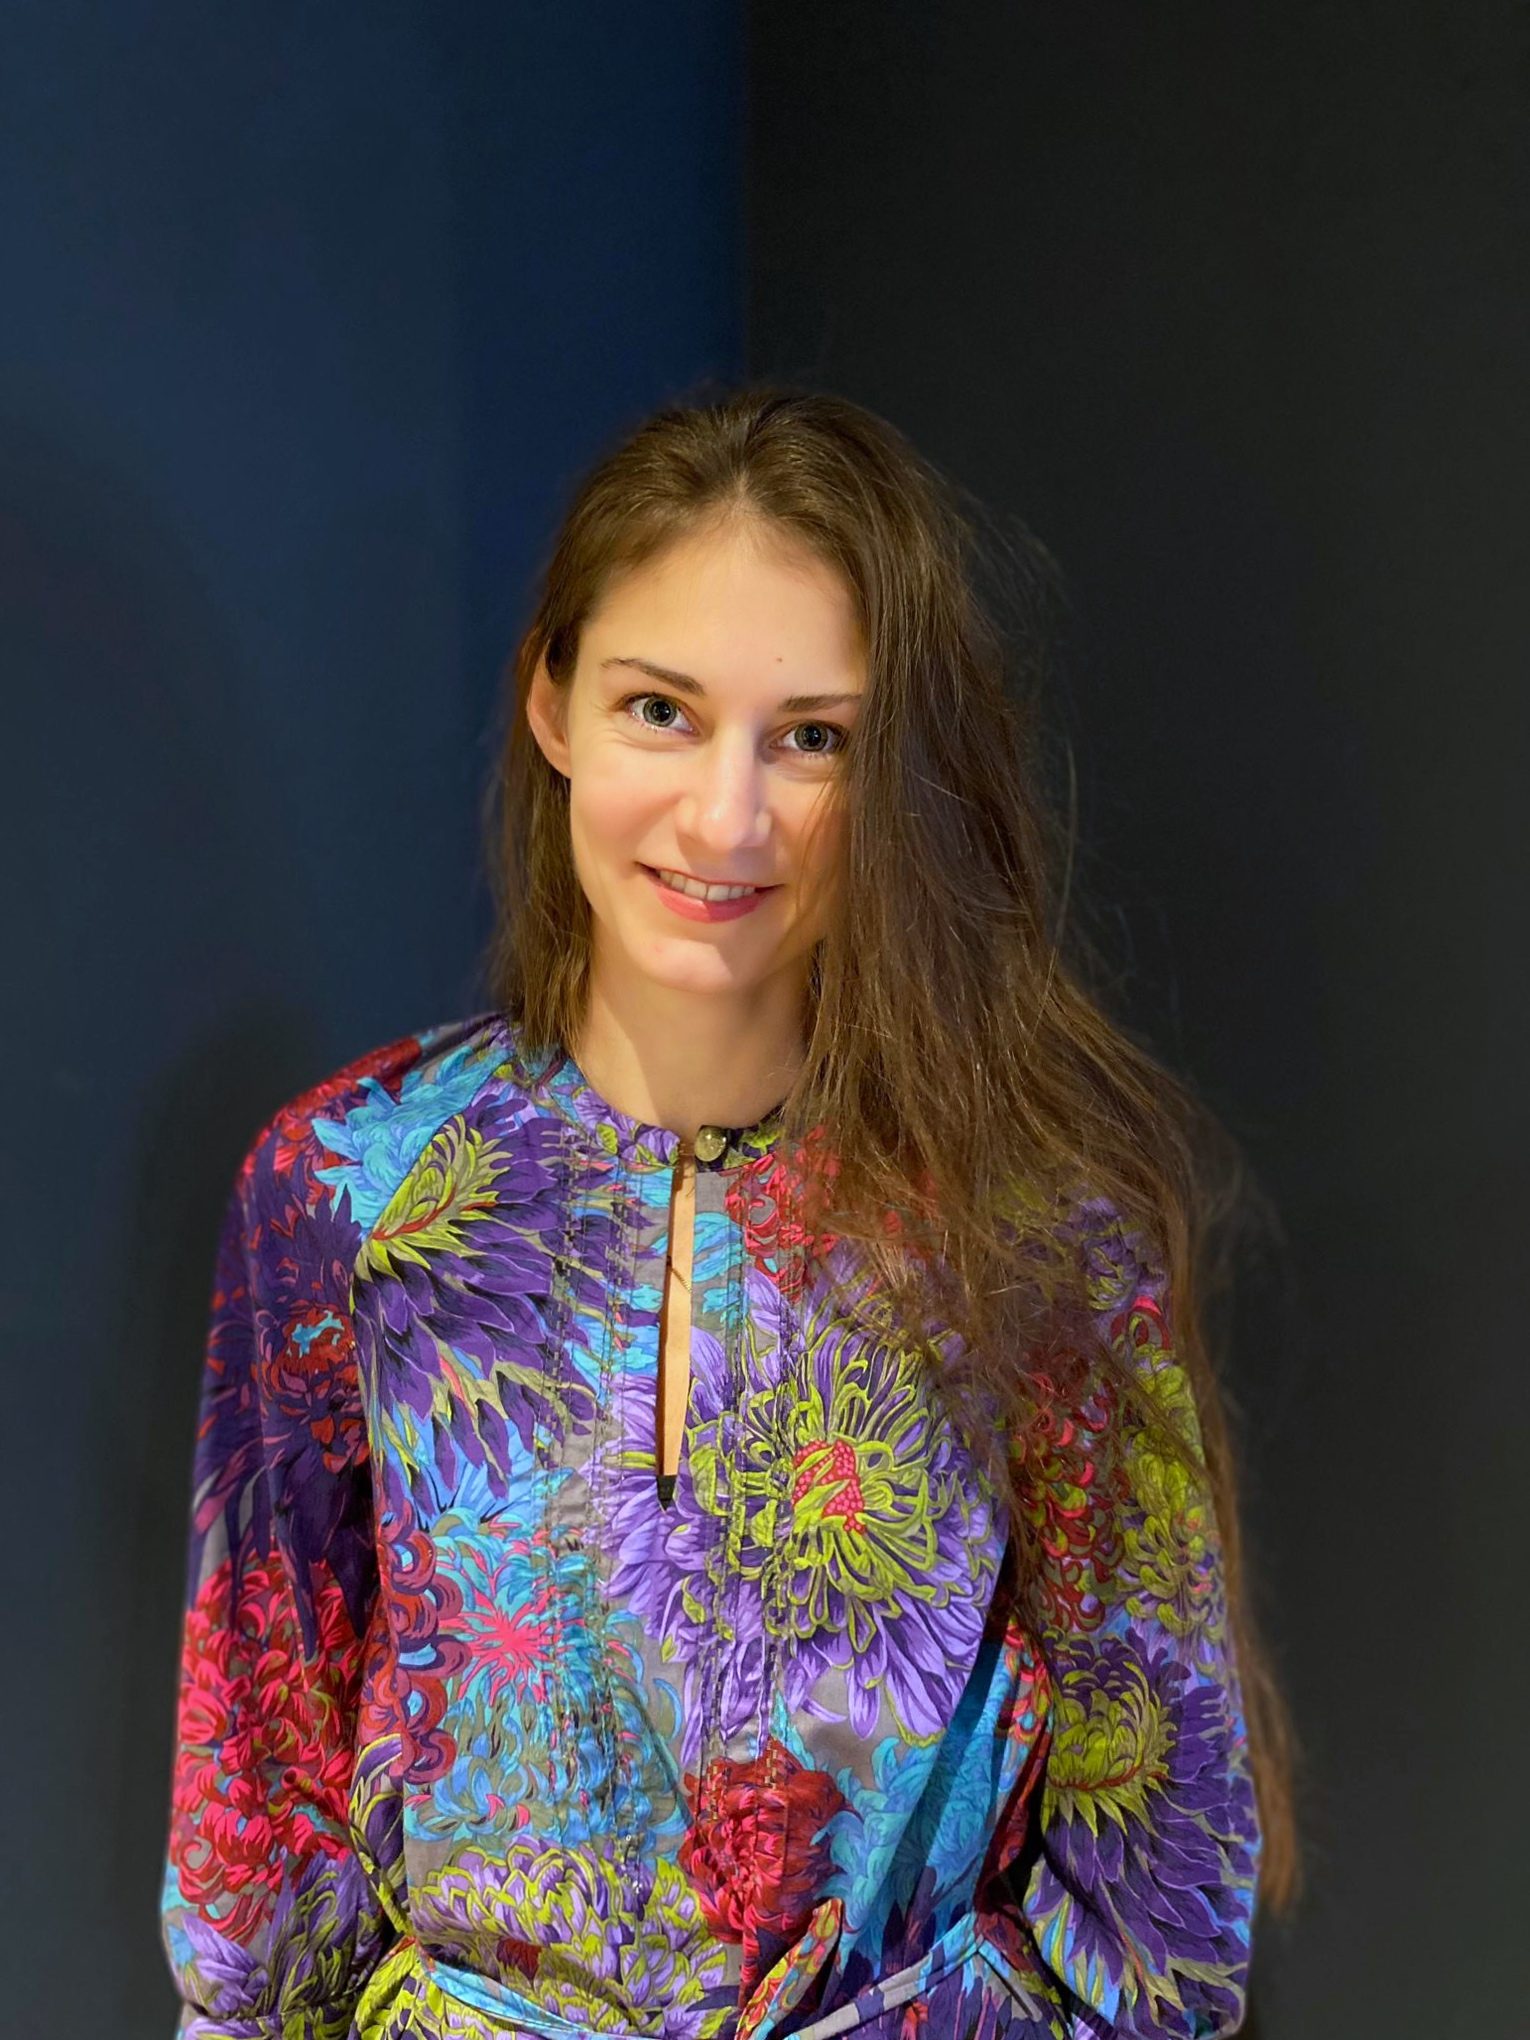
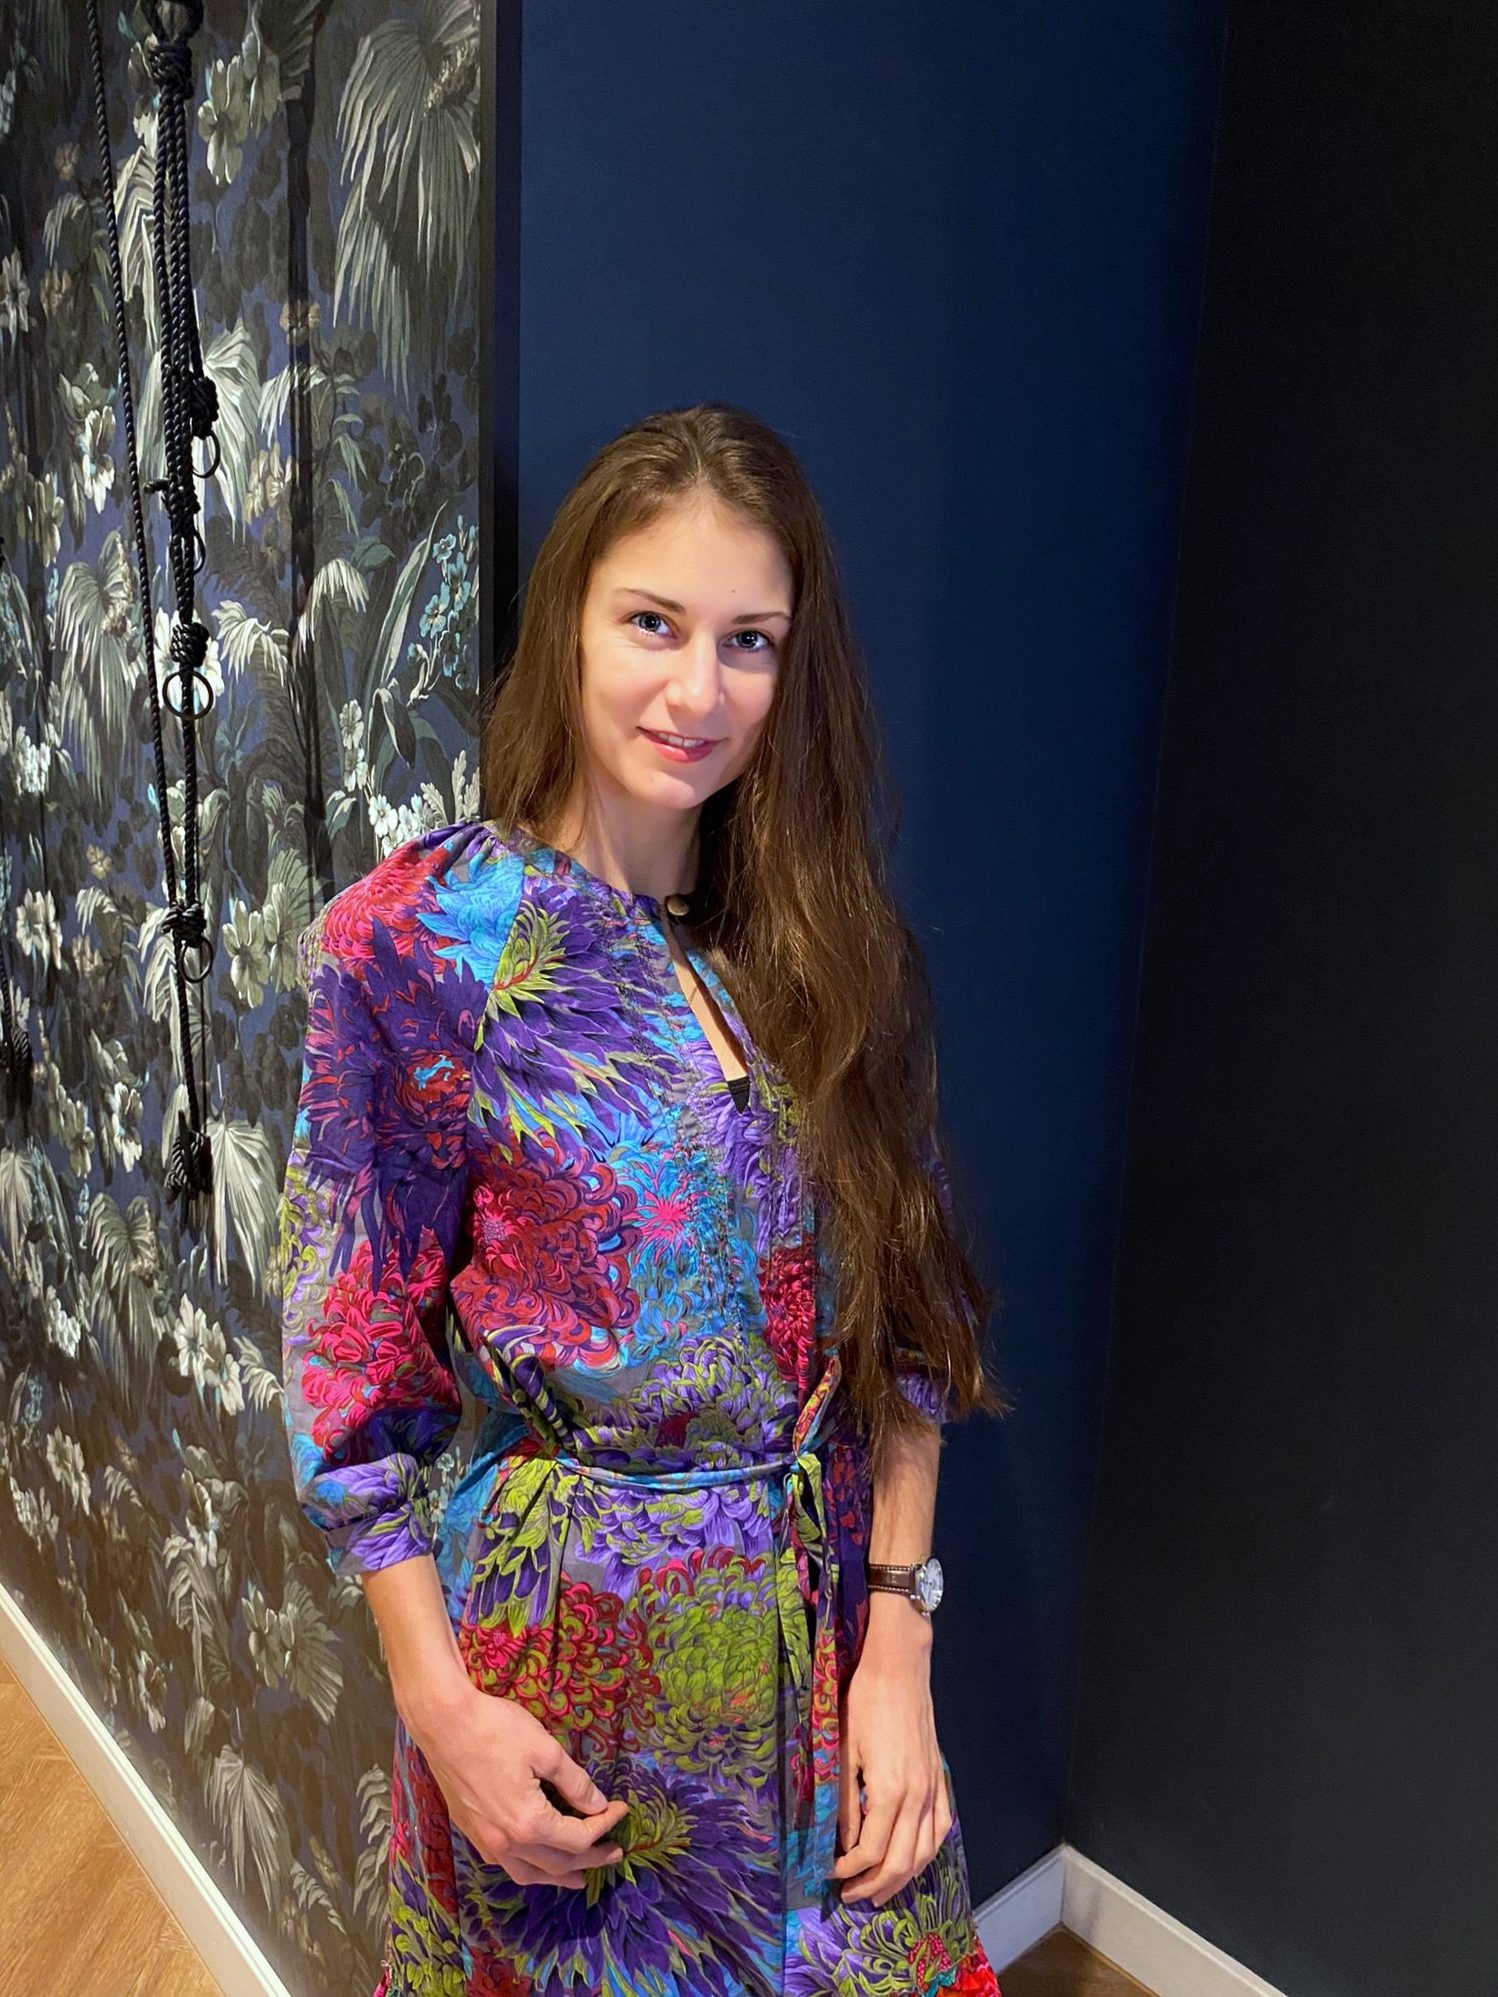
You have no doubt already discovered the Chrysanthemum dress from the Bernina Fashion Looks series. A spring dress with 3/4 sleeves, decorative pintucks and stitching with flounces at the hem. It is a real eye-catcher sewn from colorful fabrics by Kaffe Fassett.
I would like to sew this dress with you today.
I use the BERNINA 475 QE Kaffe Edition for this. It has all the stitches, including the decorative stitches, you need for this dress.

Sewing the Chrysanthemum dress
Pattern
You can find the pattern for the Chrysanthemum dress on the Bernina Inspiration Magazine website via this link: Chrysanthemum dress
The pattern includes seam allowances as well as a short tutorial for advanced sewists. In this article, I will explain the work steps with accompanying pictures so that the procedure is a little easier to understand.
Since the upper part of the dress follows exactly the same work steps of the Fashion Looks — Magnolia blouse, my explanation will be slightly more concise here. I will describe the other work steps in a bit more detail. In the linked article, you will find detailed information about sewing the blouse which will aid you with the steps shown here.
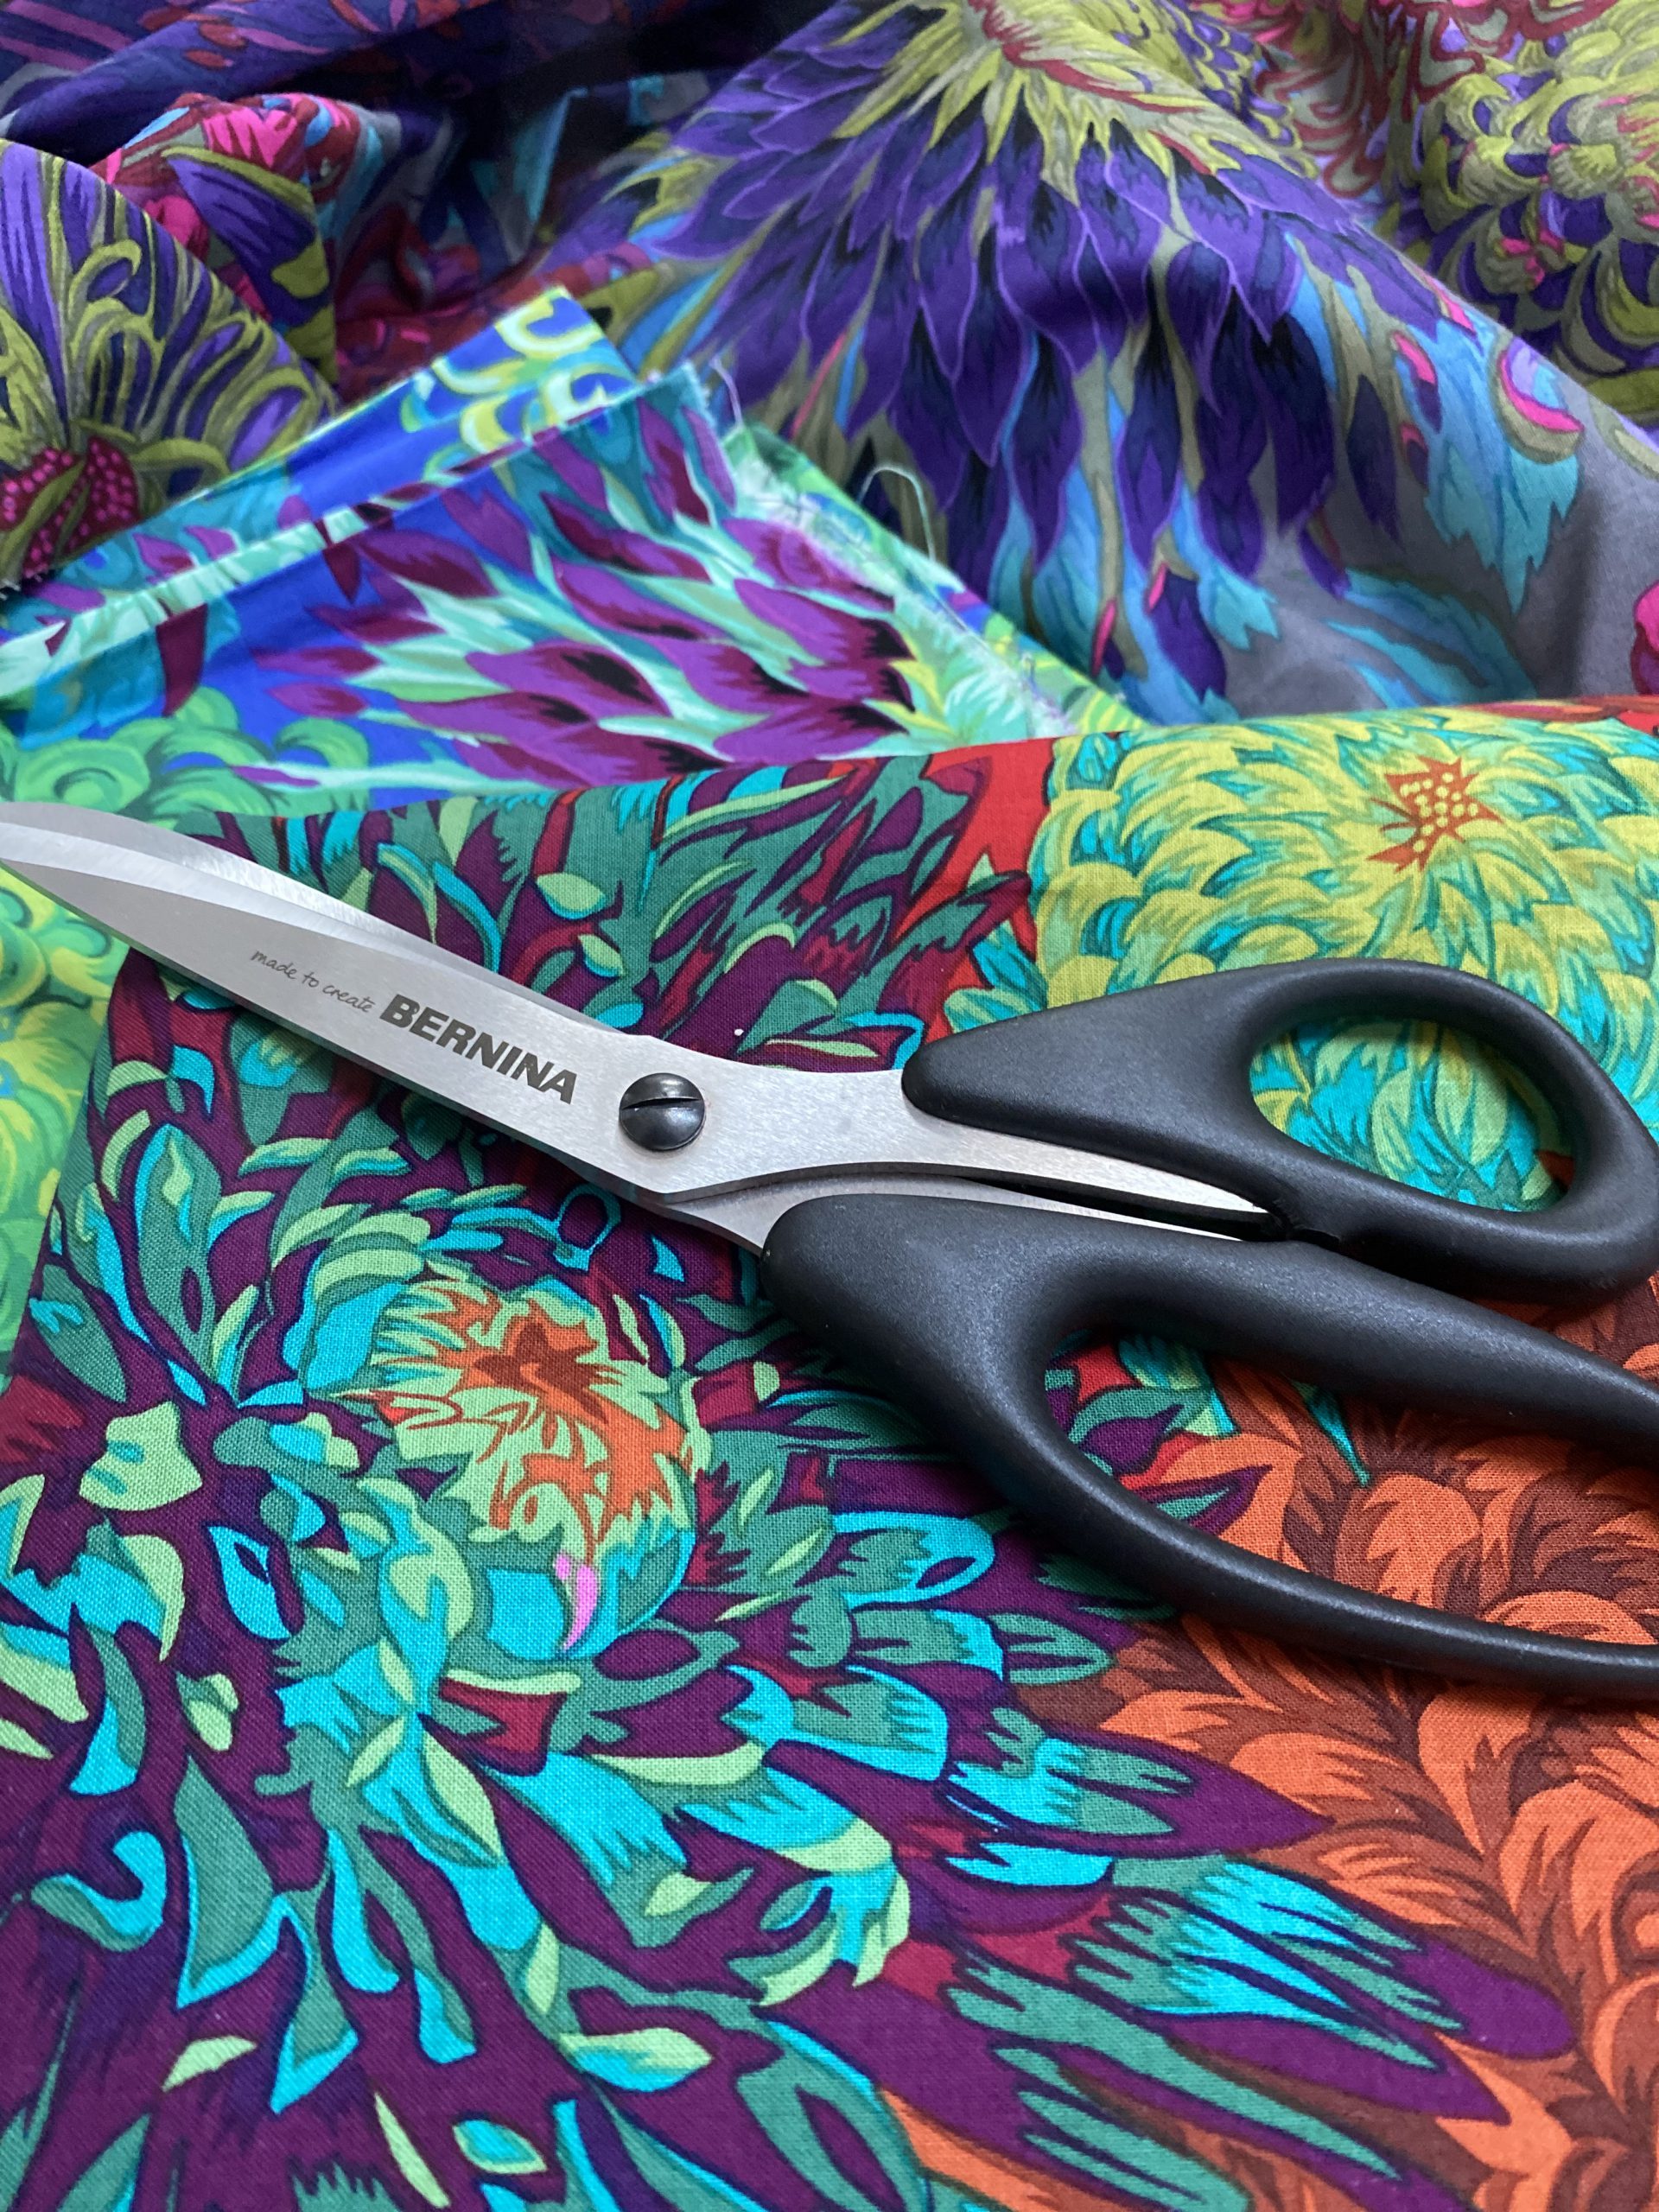
Fabric & other material
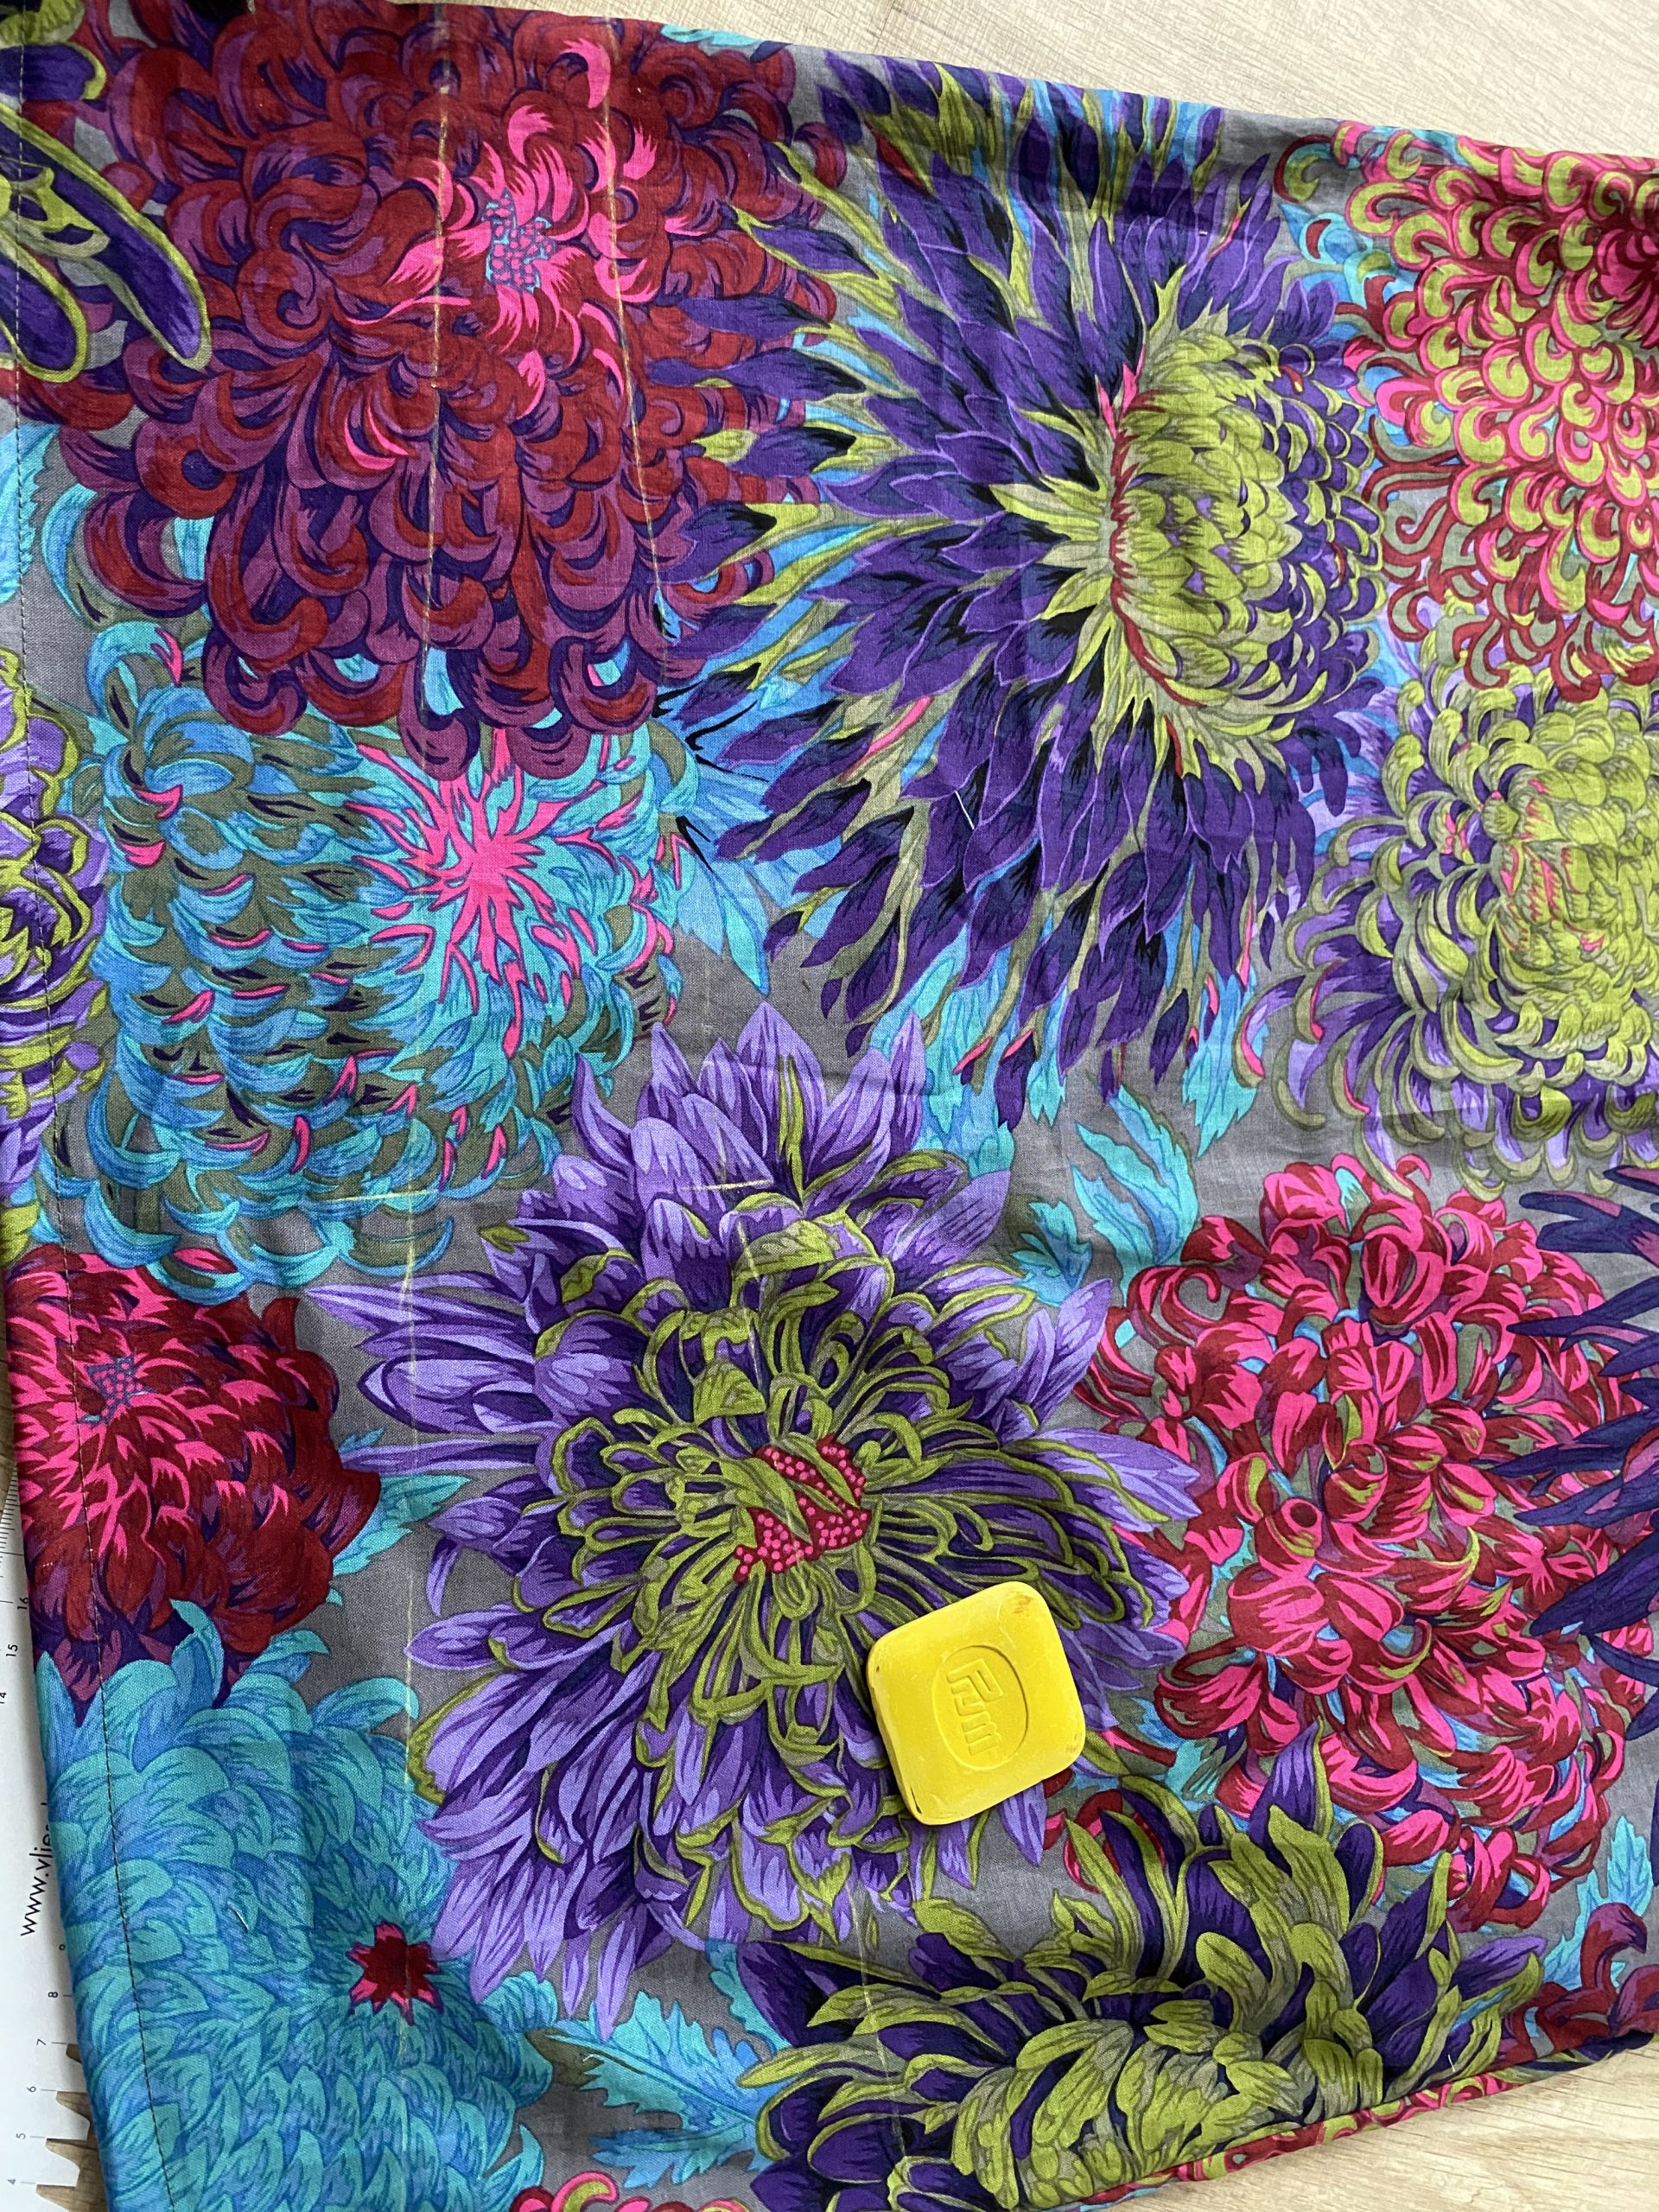
Light, flowing cotton or delicate linen fabrics are particularly suitable for the Chrysanthemum dress. For this model, I used the airy cotton fabric from Kaffe Fassett from the cover image of the pattern.
In addition to the fabric, you will also need:
- Vliesline G710 fabric insert
- 3 buttons
- Thread for the seams and thread for the decorative seams
- Transparent pintuck and decorative-stitch foot # 46C
- Thick thread for the pintucks
- Twin needle for the pintucks
Step 1: Prepare the front part
This follows similar steps as with the Magnolia blouse. First, the facing is ironed at the neckline with Vliesline G710 and then sewn to the front part, cut and reversed. This is how the neckline of the blouse is created.
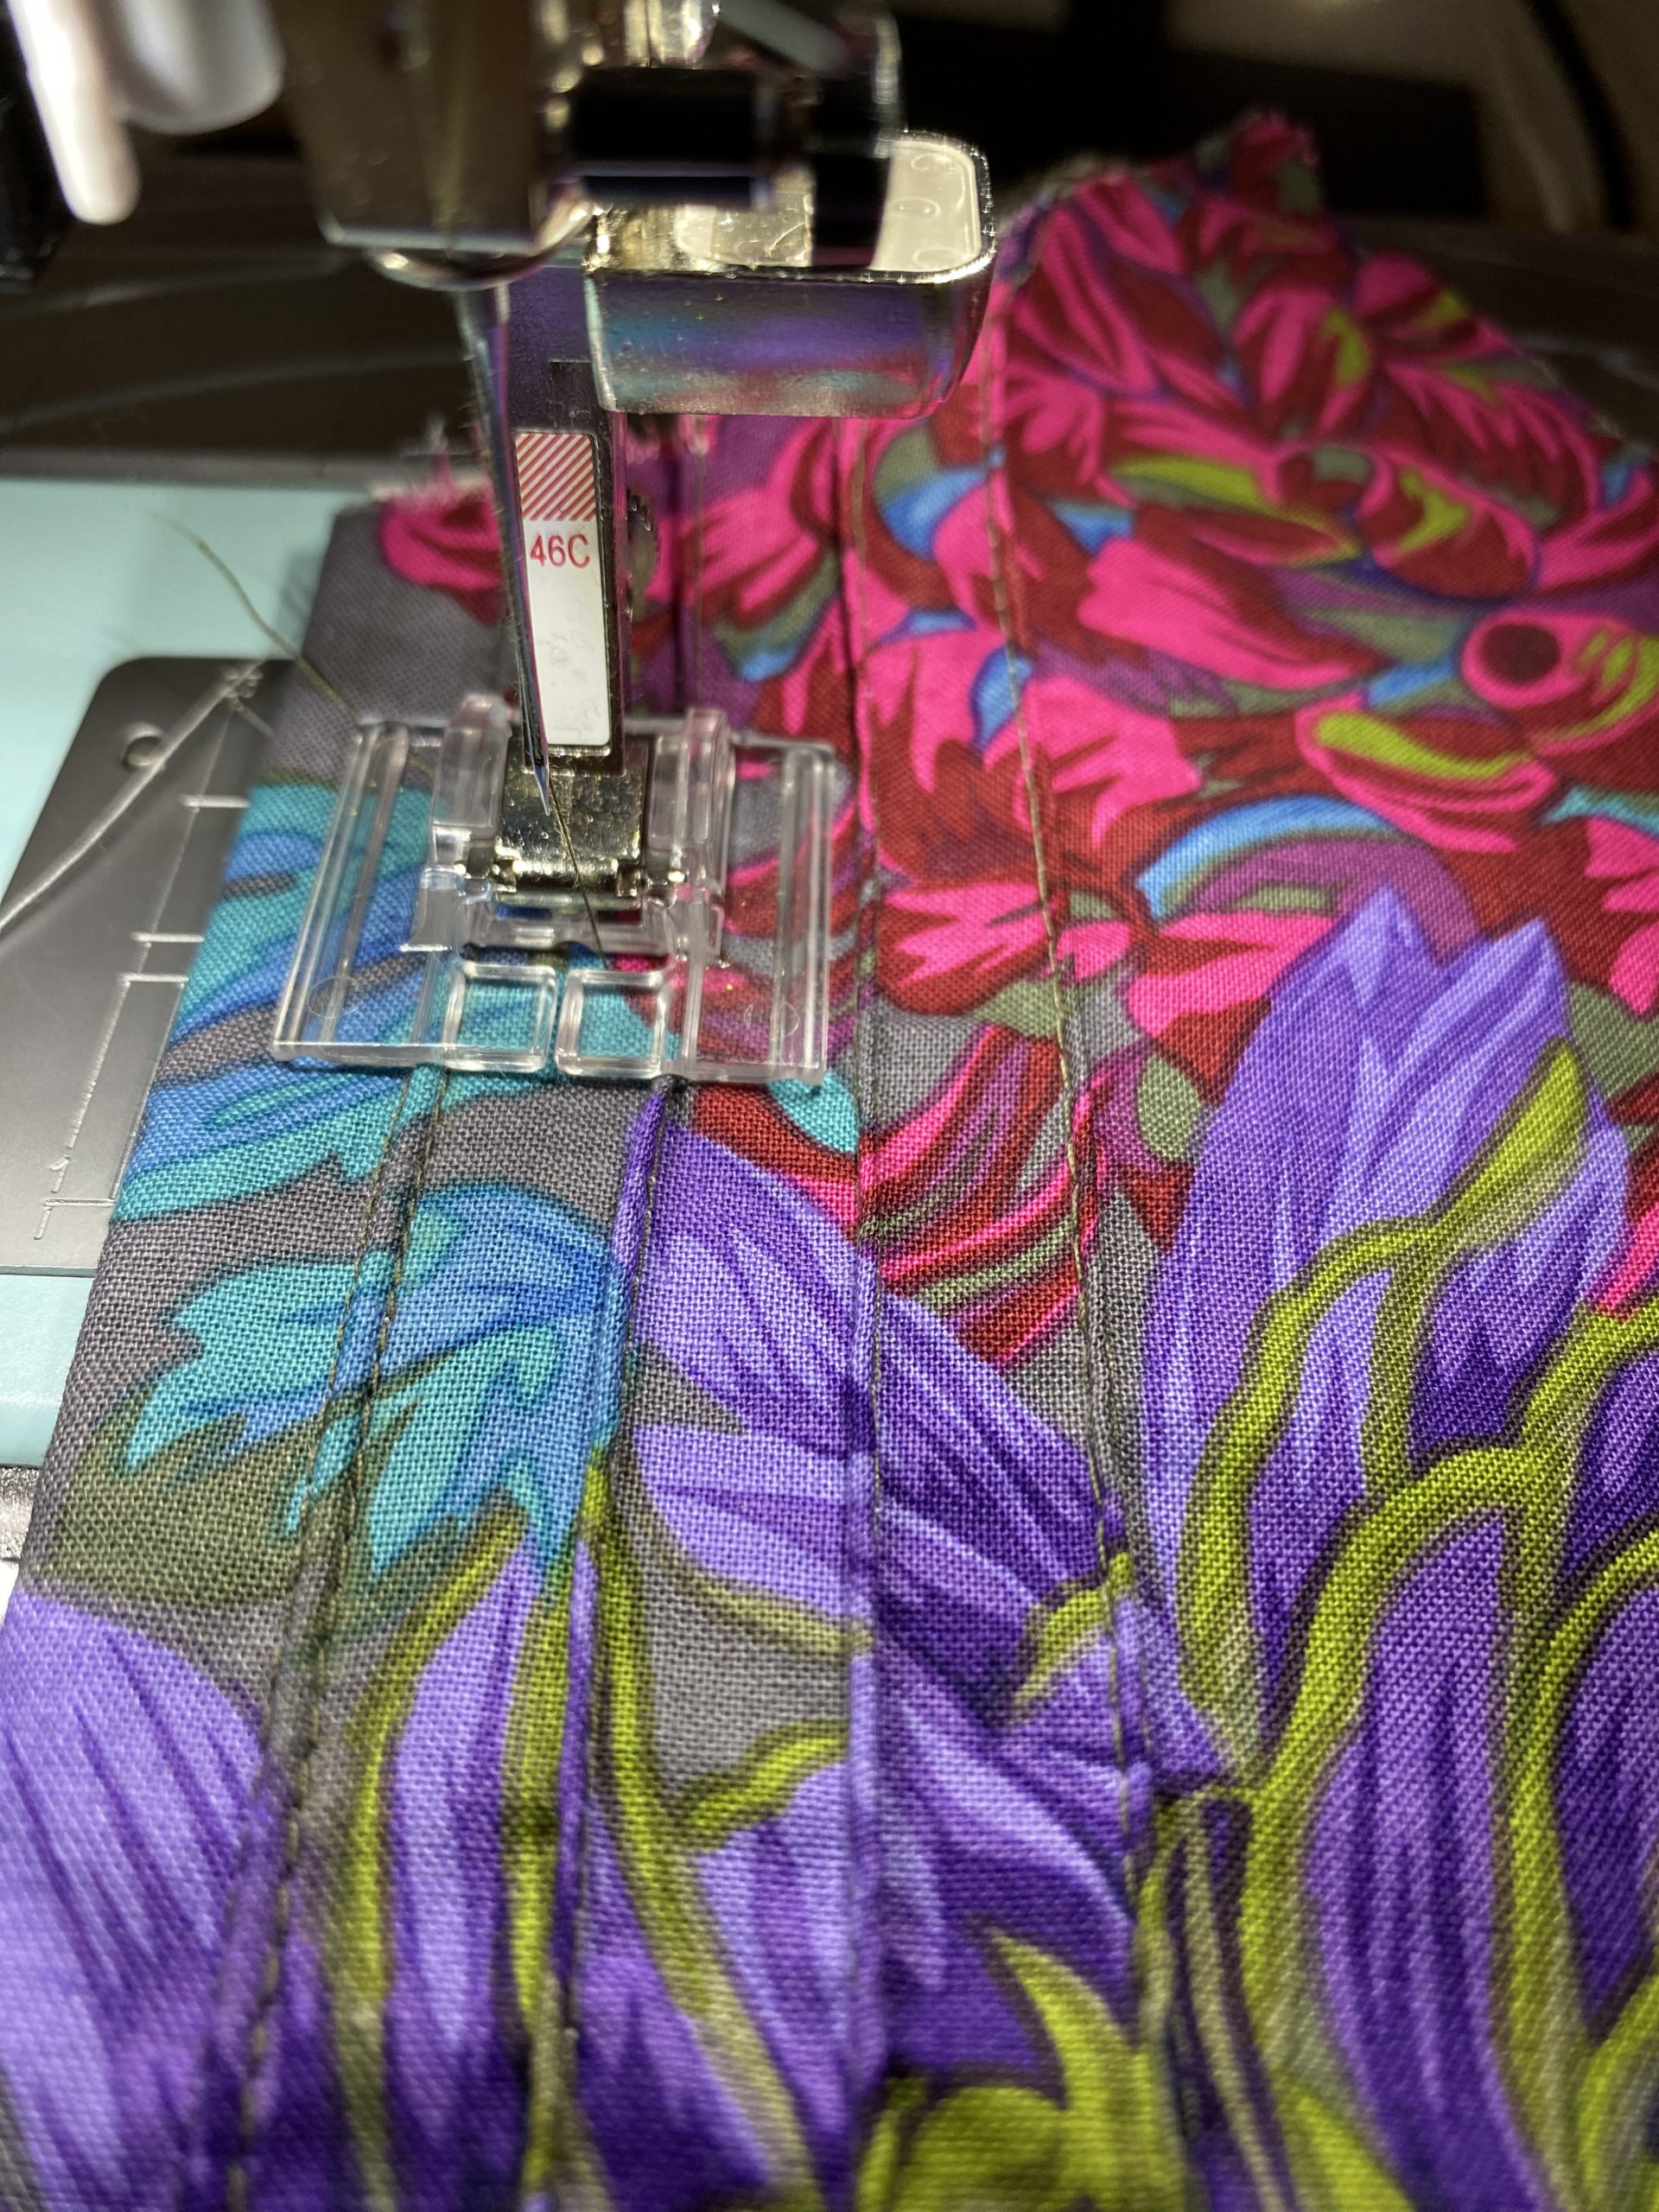
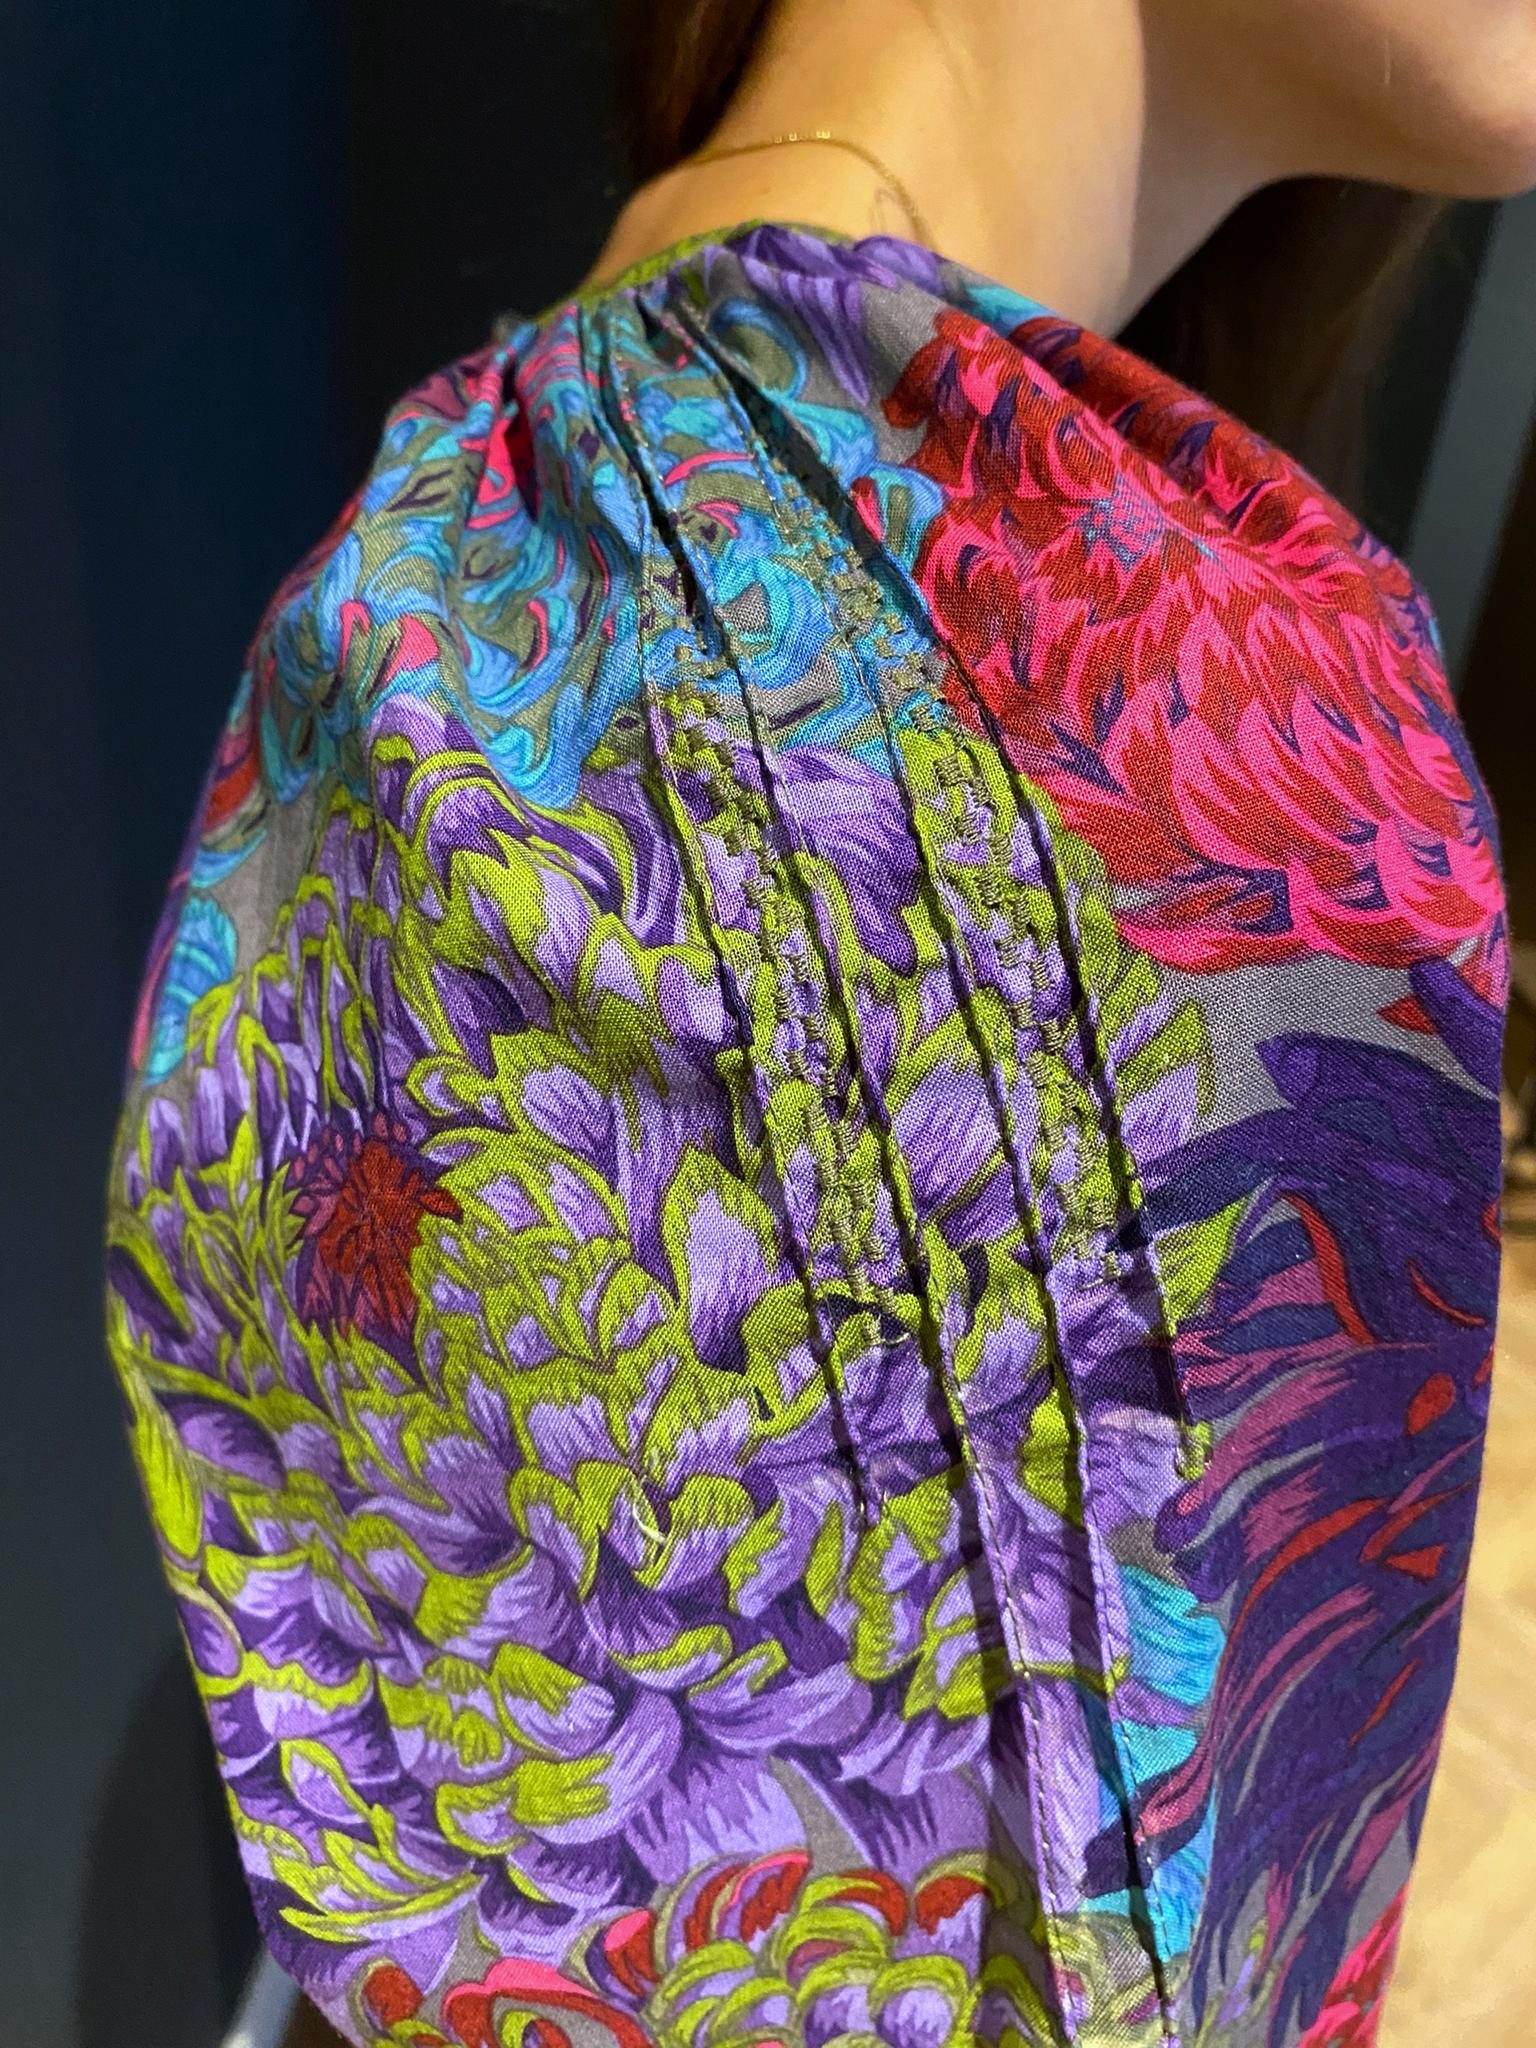
Then the pintucks are sewn onto the front part. The presser foot 46C is preferred for this step.
Mark the position of the first pintuck and the lengths of the other pintucks. Now thread the thicker thread through the small hole in the stitch plate (from bottom to top) for more plasticity in the pintucks.
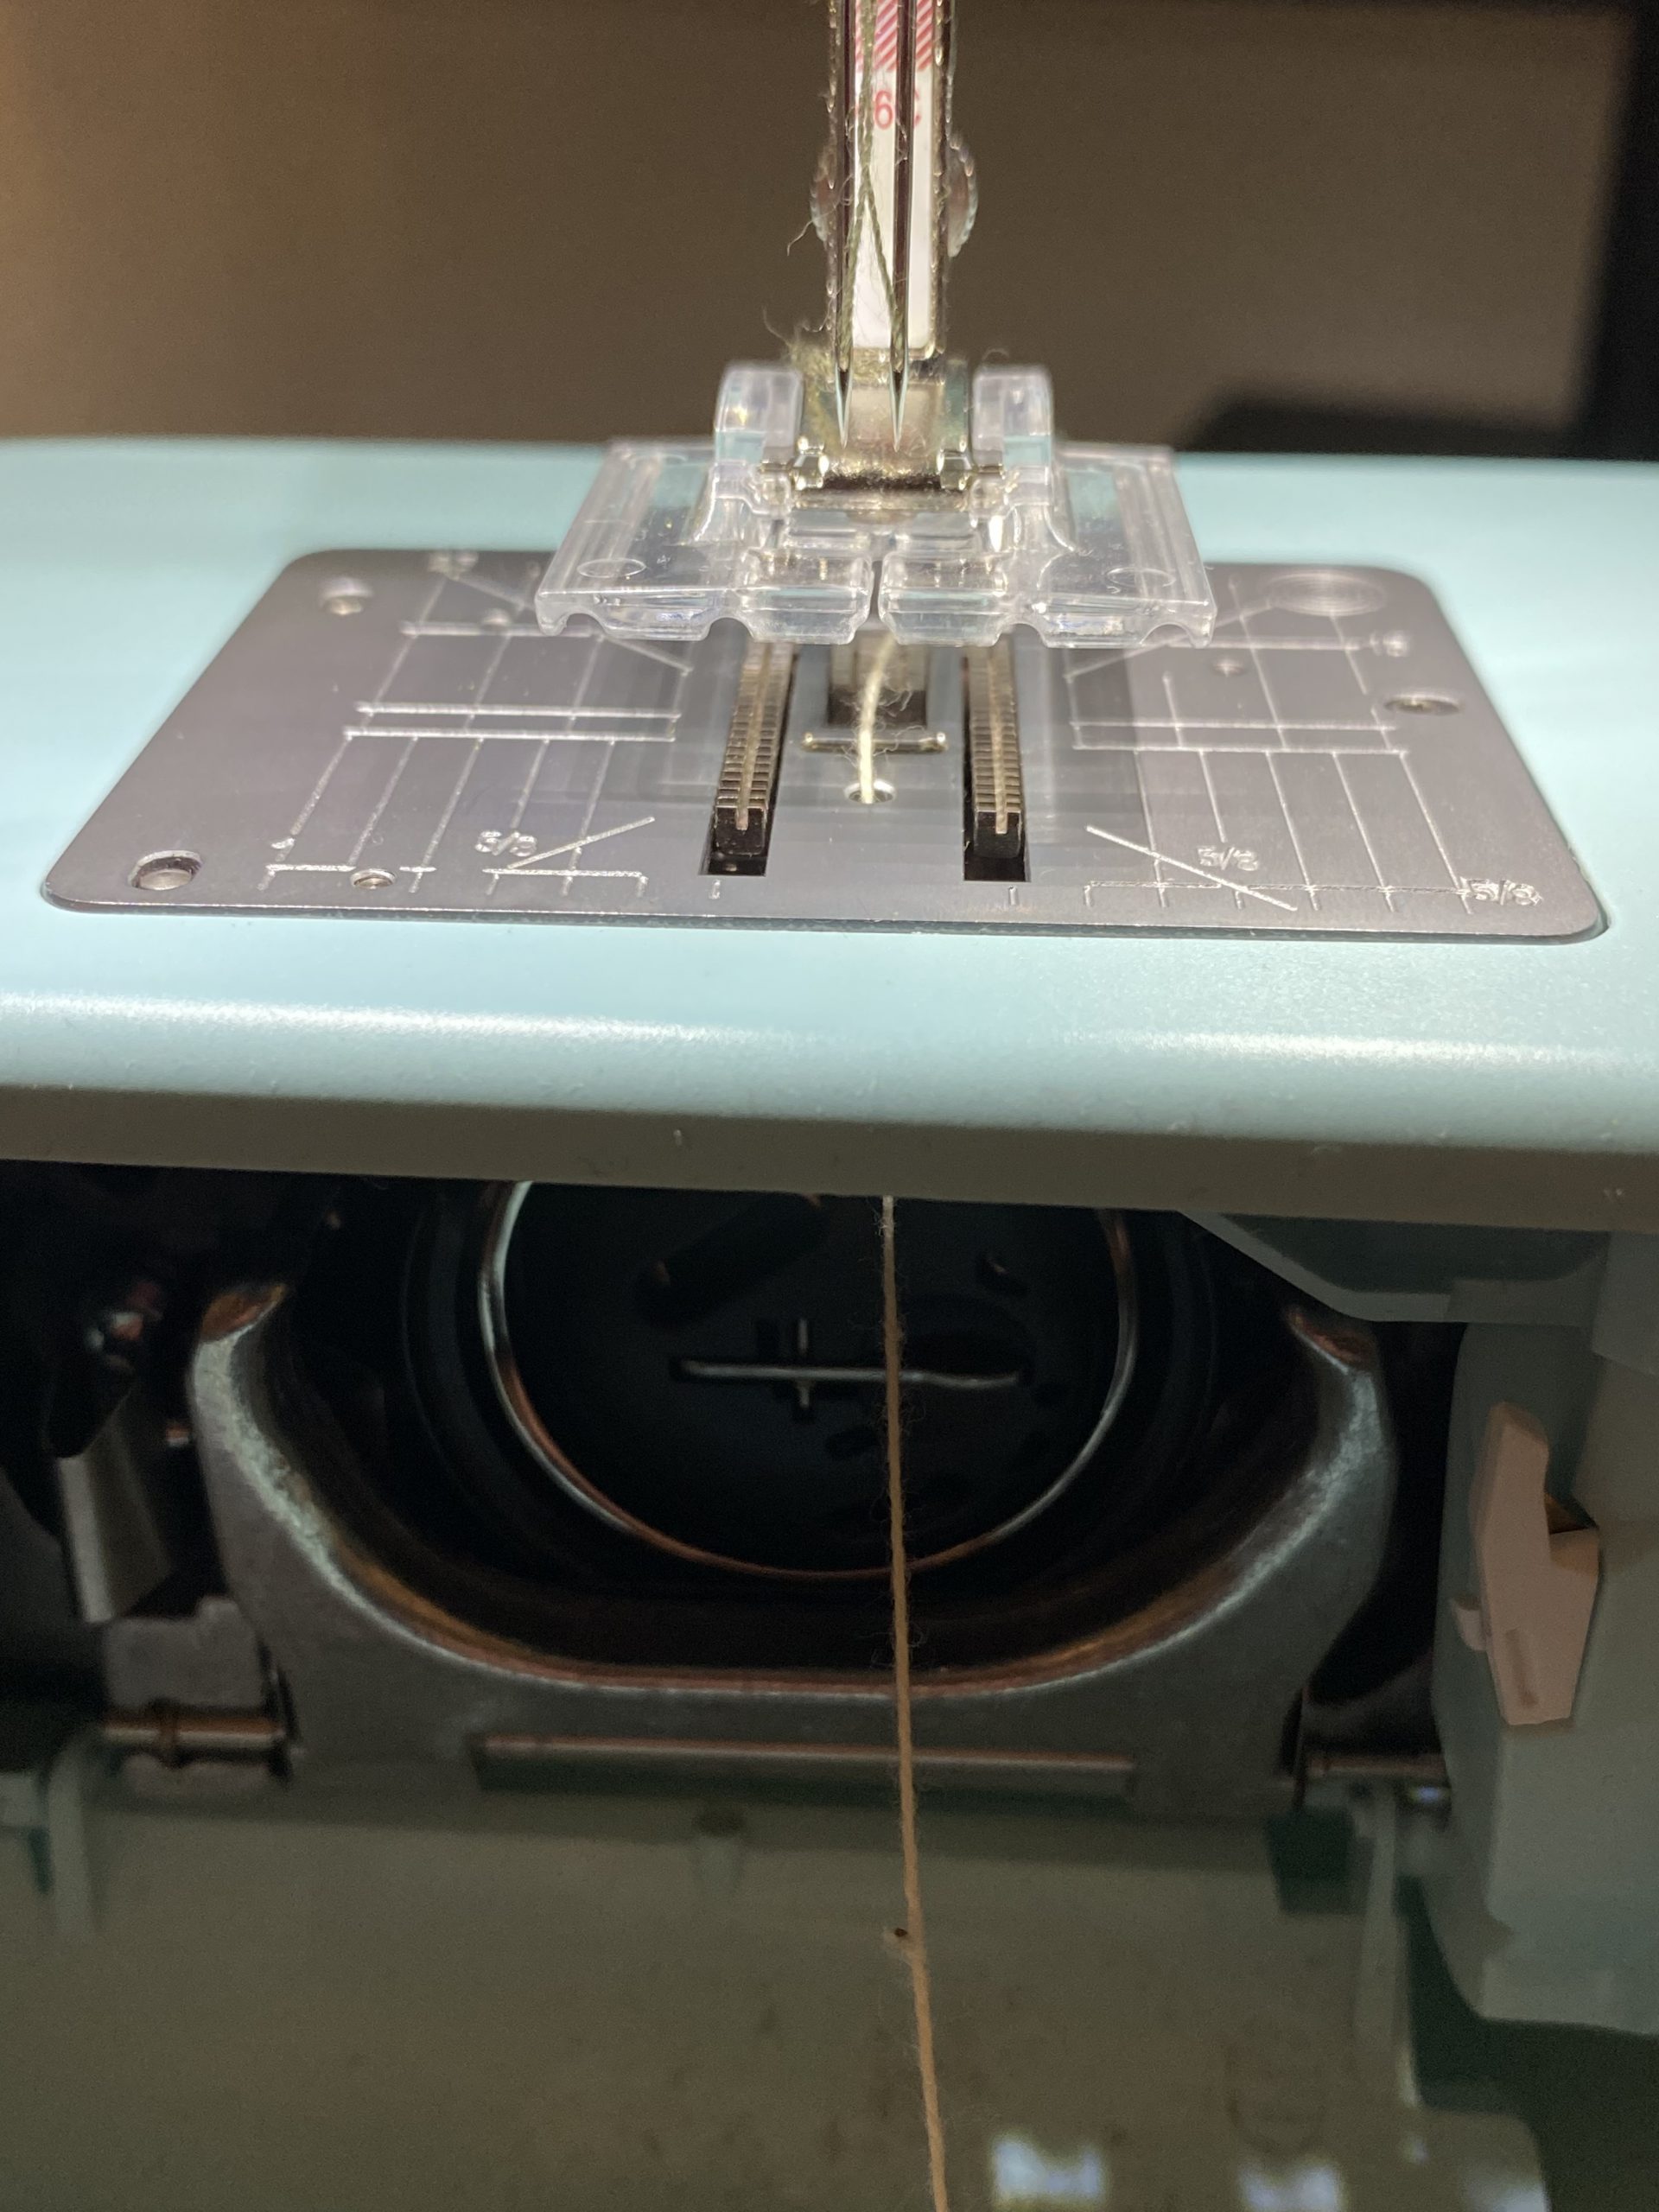
Then sew your first pintuck along the marked position. All other pintucks are then sewn in parallel using the guide of the presser foot.
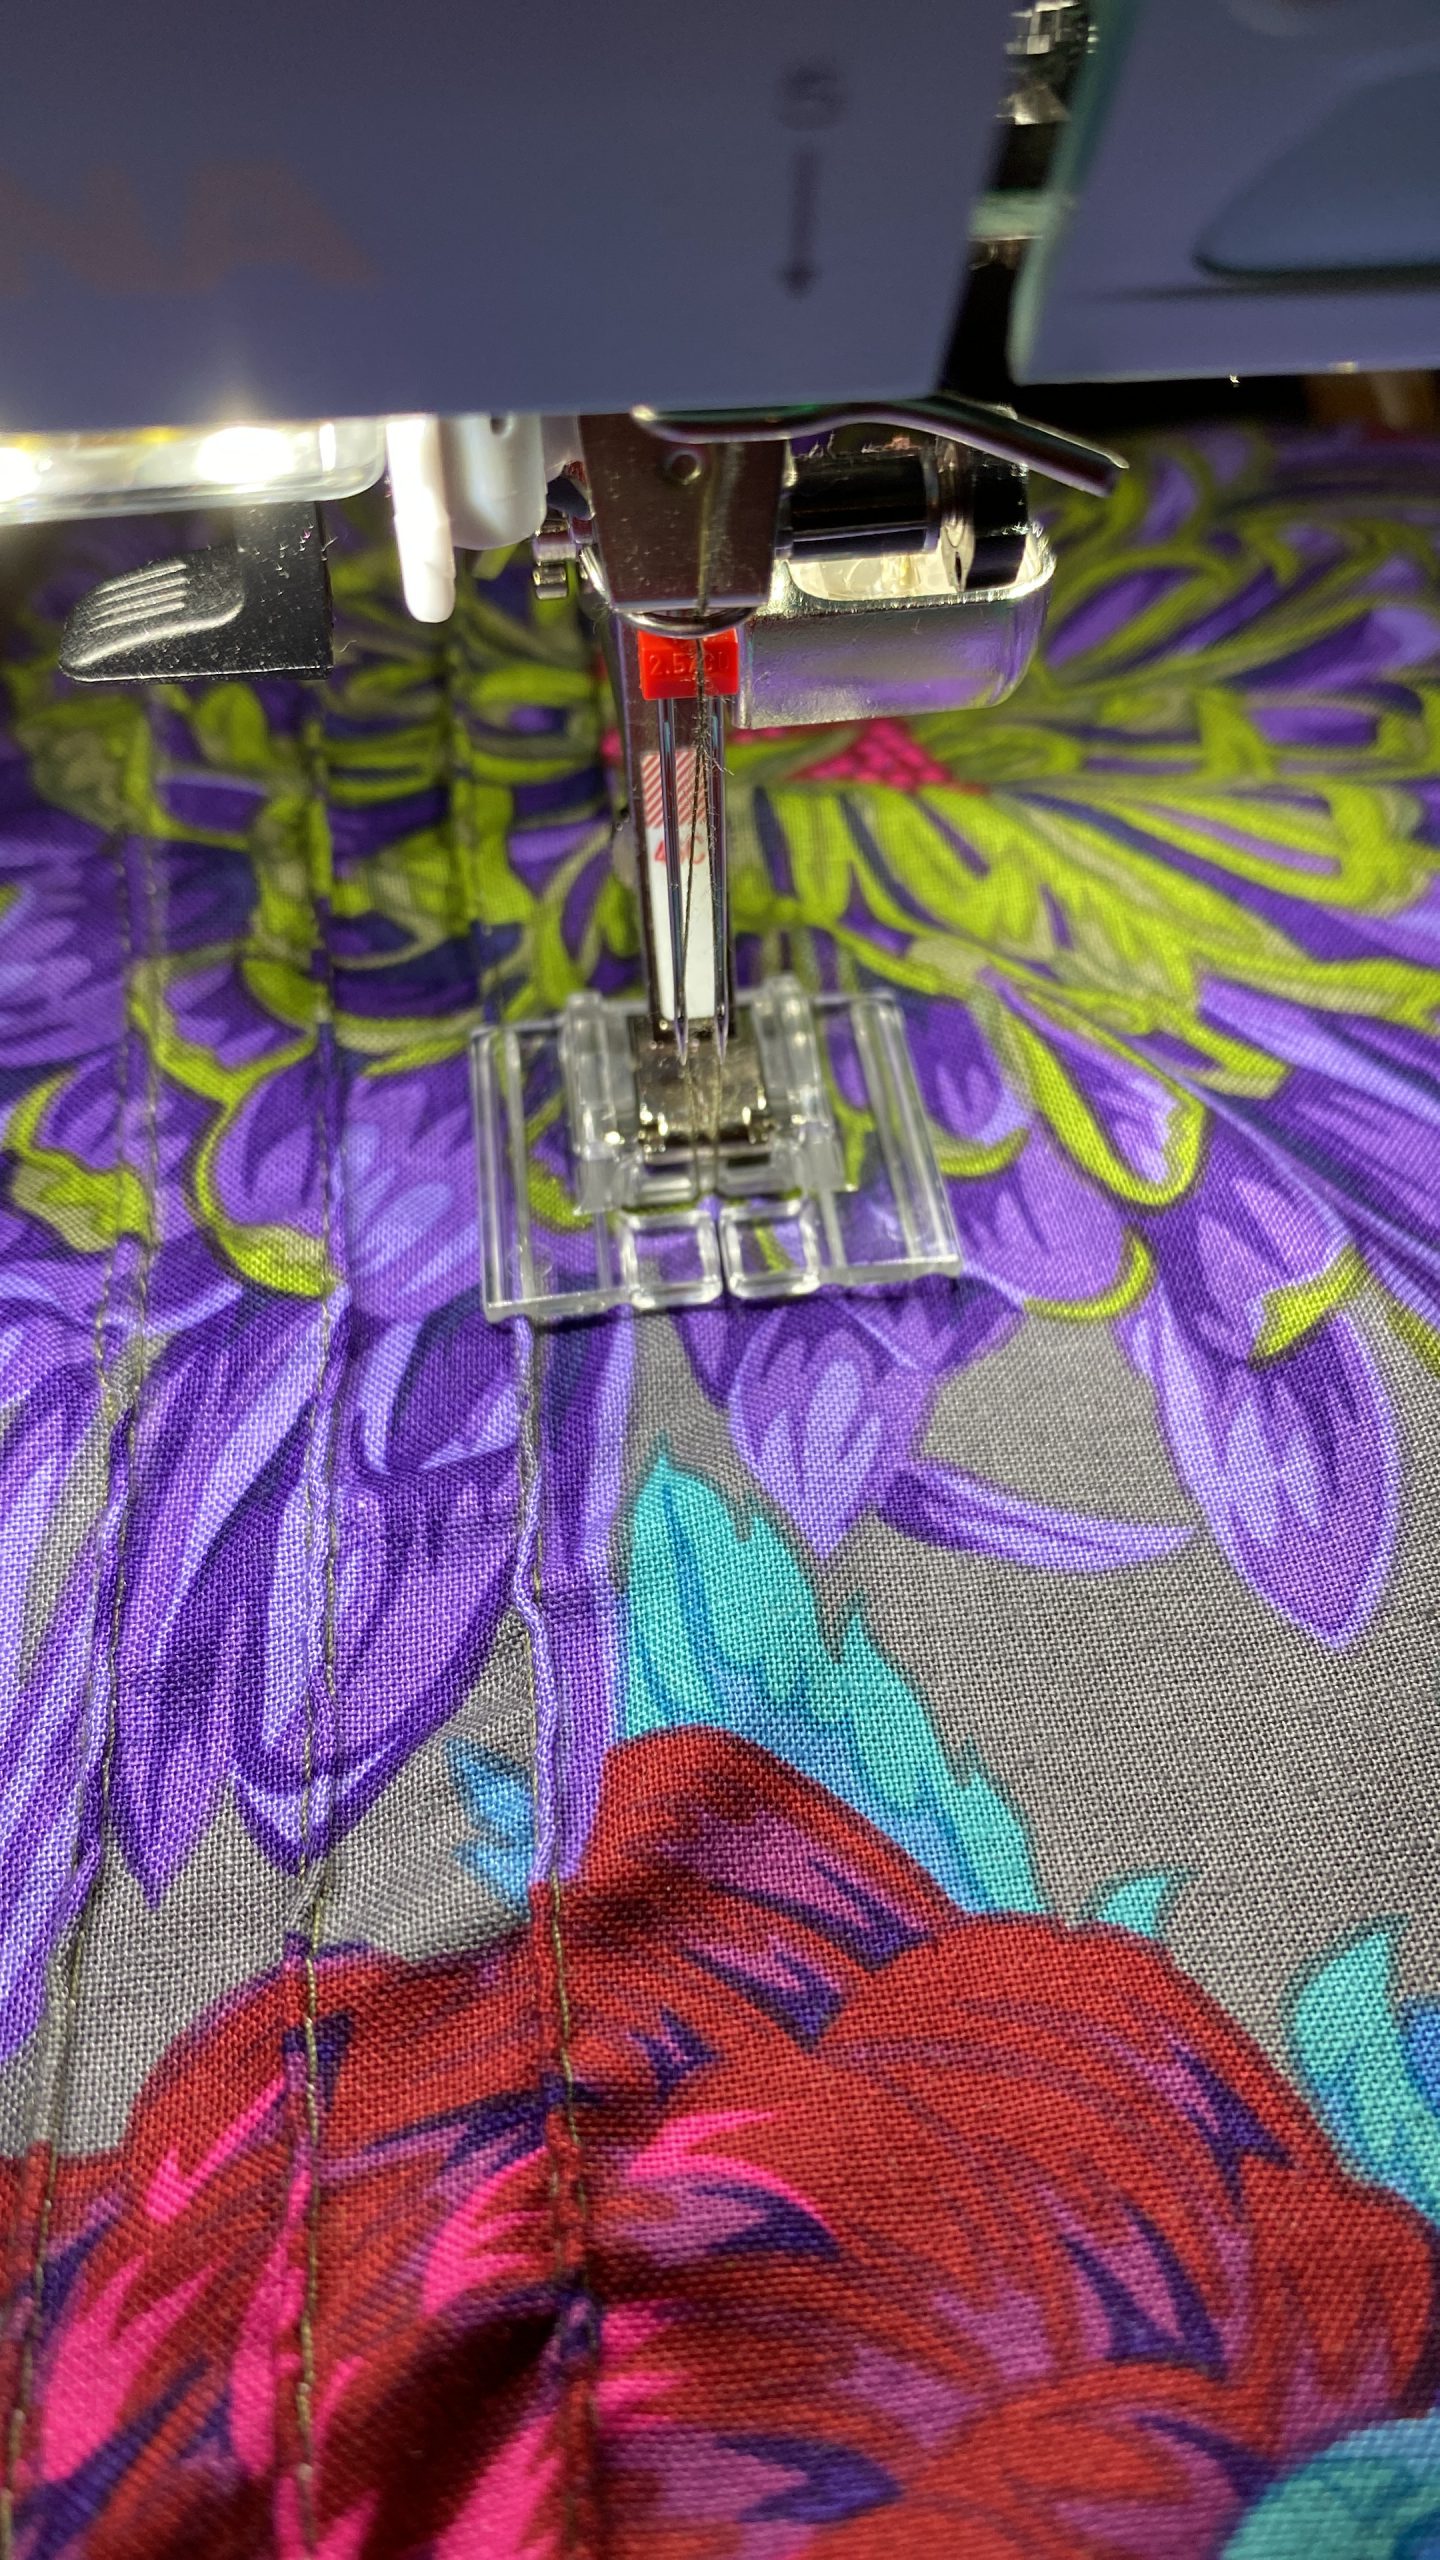
Then select the decorative stitch 405 and place the decorative seams in the middle between the pintucks. The pintuck foot 46C also helps to maintain an even distance here. Follow the same procedure with the sleeves.
Step 2: Sew on the pockets
Now focus on the seam pockets of the Chrysanthemum dress. Here are some options for how to incorporate them. The procedure I present to you is somewhat more complex but a very tidy method. Of course, you can also use a different approach.
First place one pocket piece on the front part, right side on right. Use the pass marks from the pattern for placement.
Now sew on the pocket pouch. Start 1 cm after the start of the pocket pouch and also stop 1 cm before this. This corresponds to the positions of the pins in the photo.

Then cut the seam allowance until just before the seam and edgestitch the seam allowance tightly onto the pocket pouch in the area just sewn. Turn the pocket pouches over to the left side of the front part and work out the small corners above and below.
Unfold the pocket pouch again so that it essentially lies next to the front part. Now place the two remaining pocket pouches, left side on left, on the pocket pouches that have already been sewn on and sew once all around with a 4-mm seam allowance. Make sure that you only sew the two pocket pouches together, not the front part.
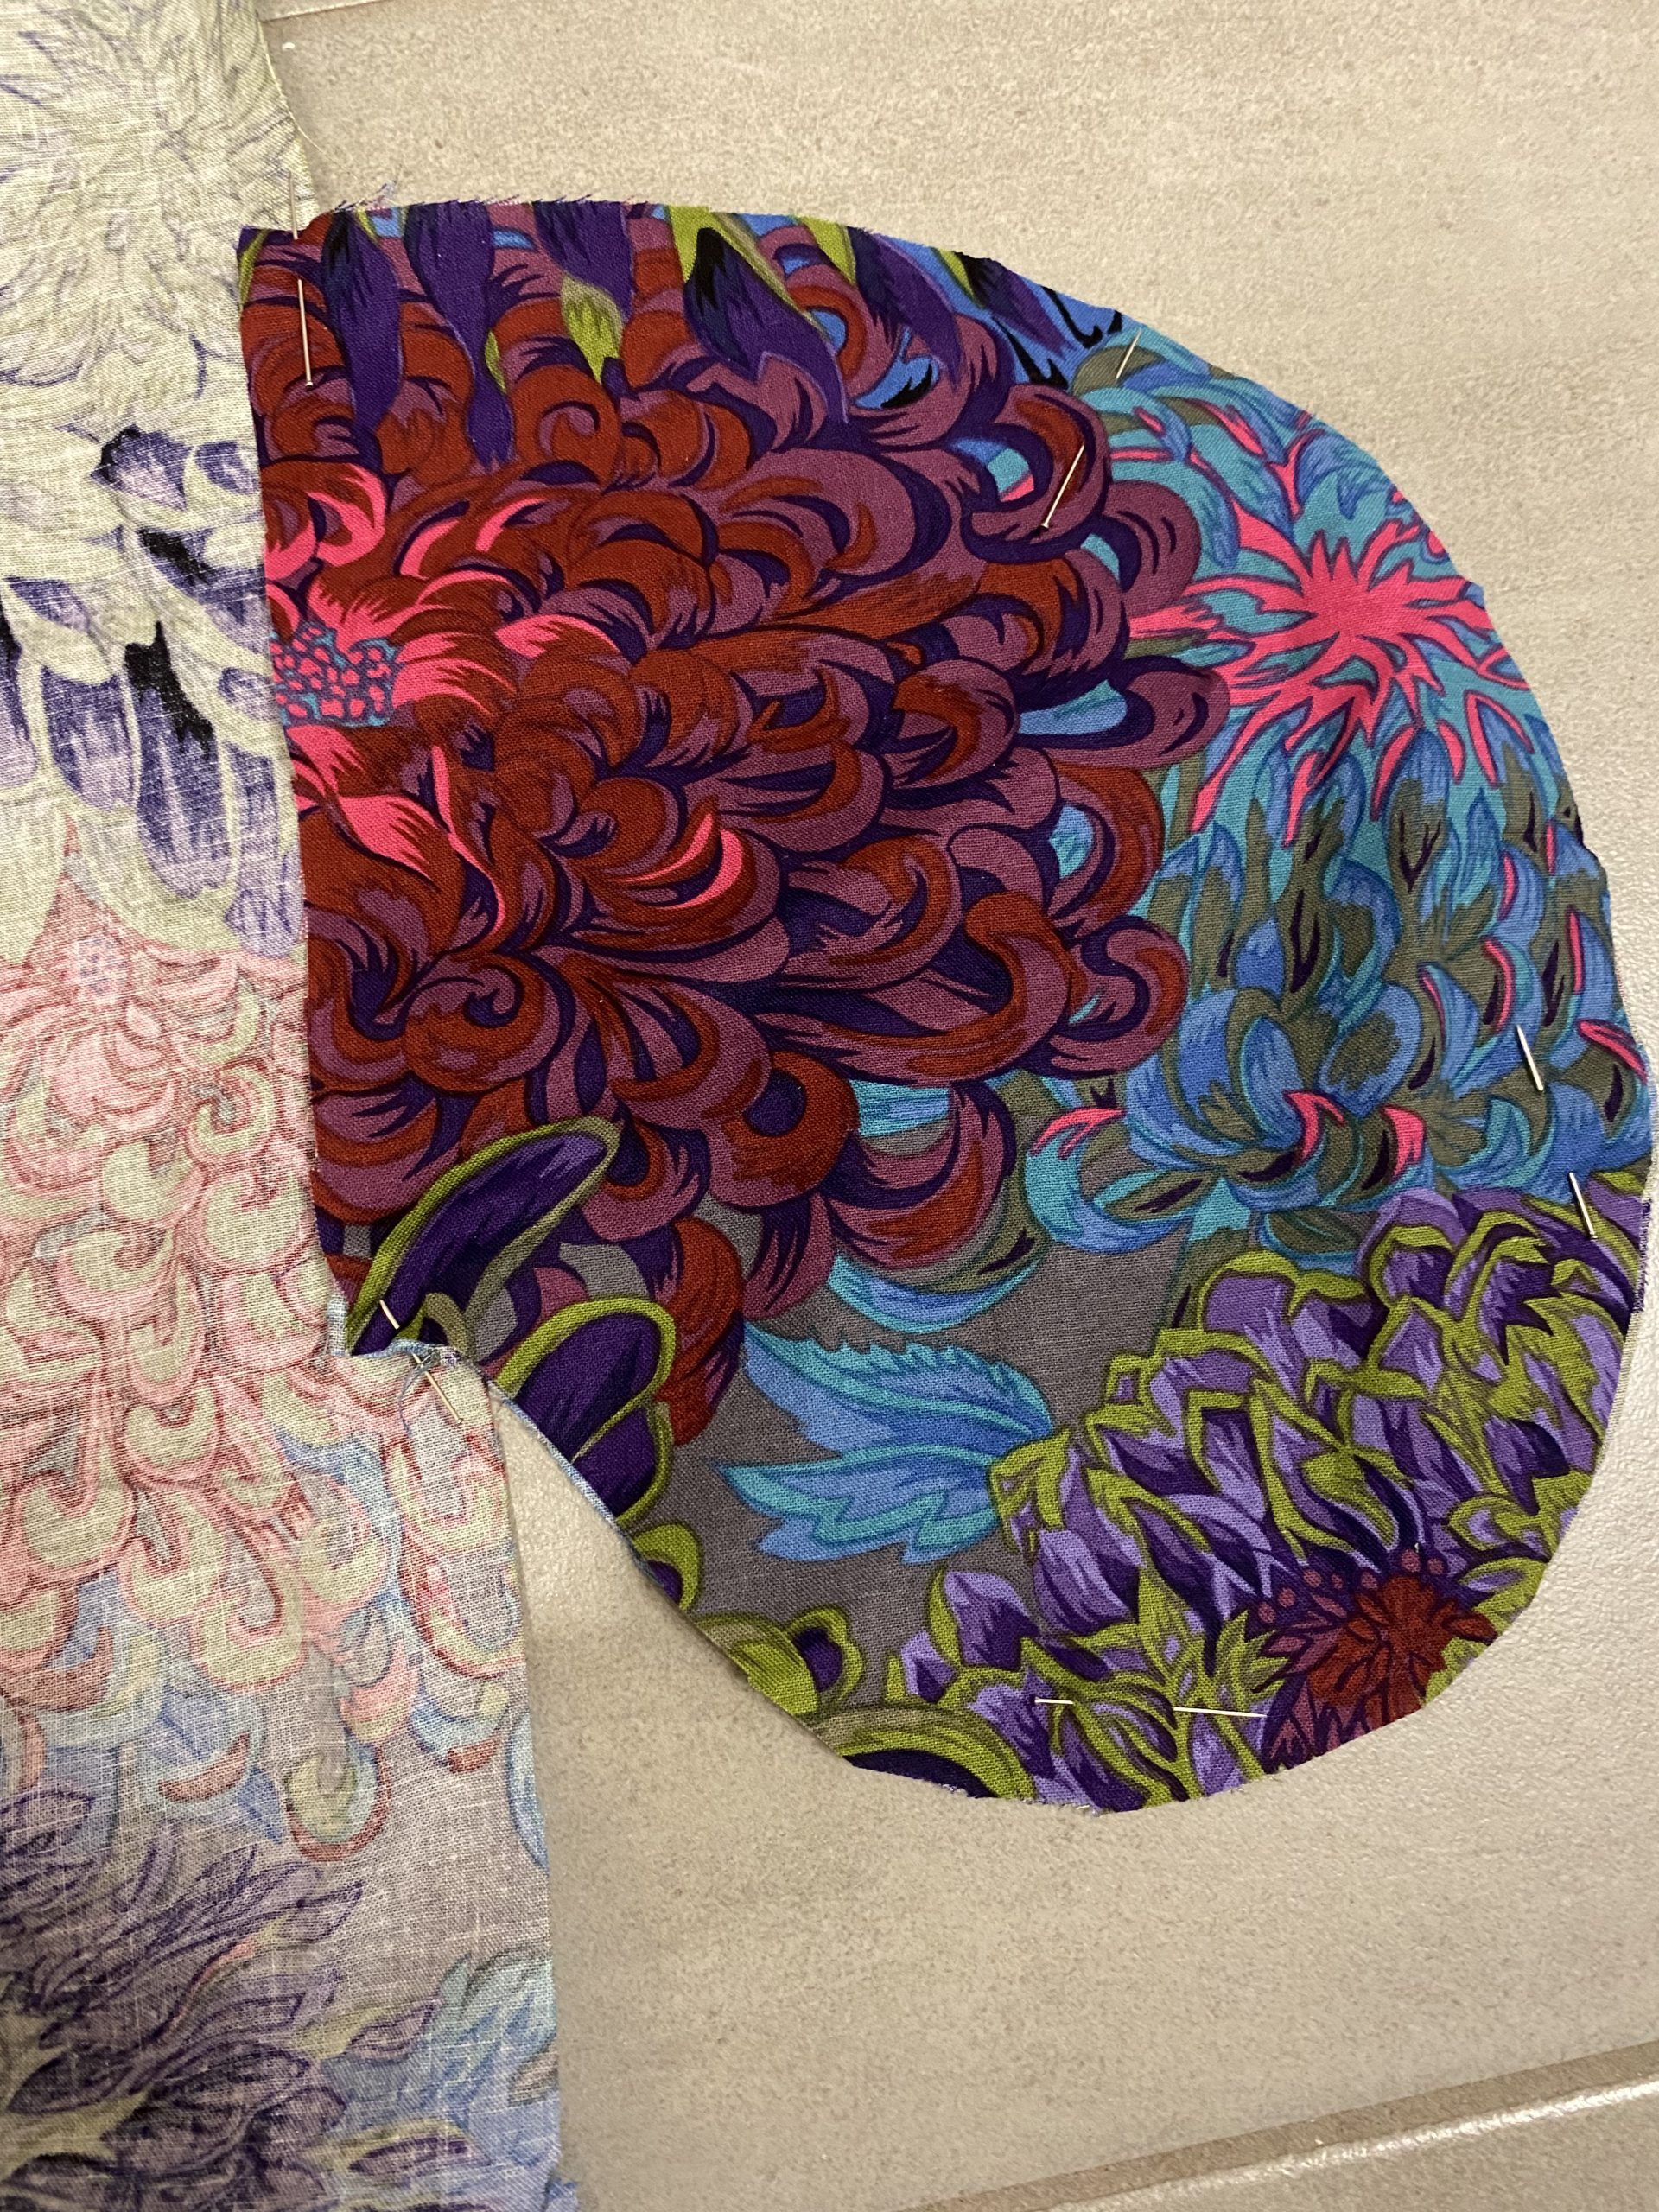
Then turn the pocket pouch so that the left sides are on the outside. Now sew again all around, this time with an allowance of 7 mm. Now the open edges of the pocket pouch are hidden, and you have tidy edges from the outside as well as from the inside.
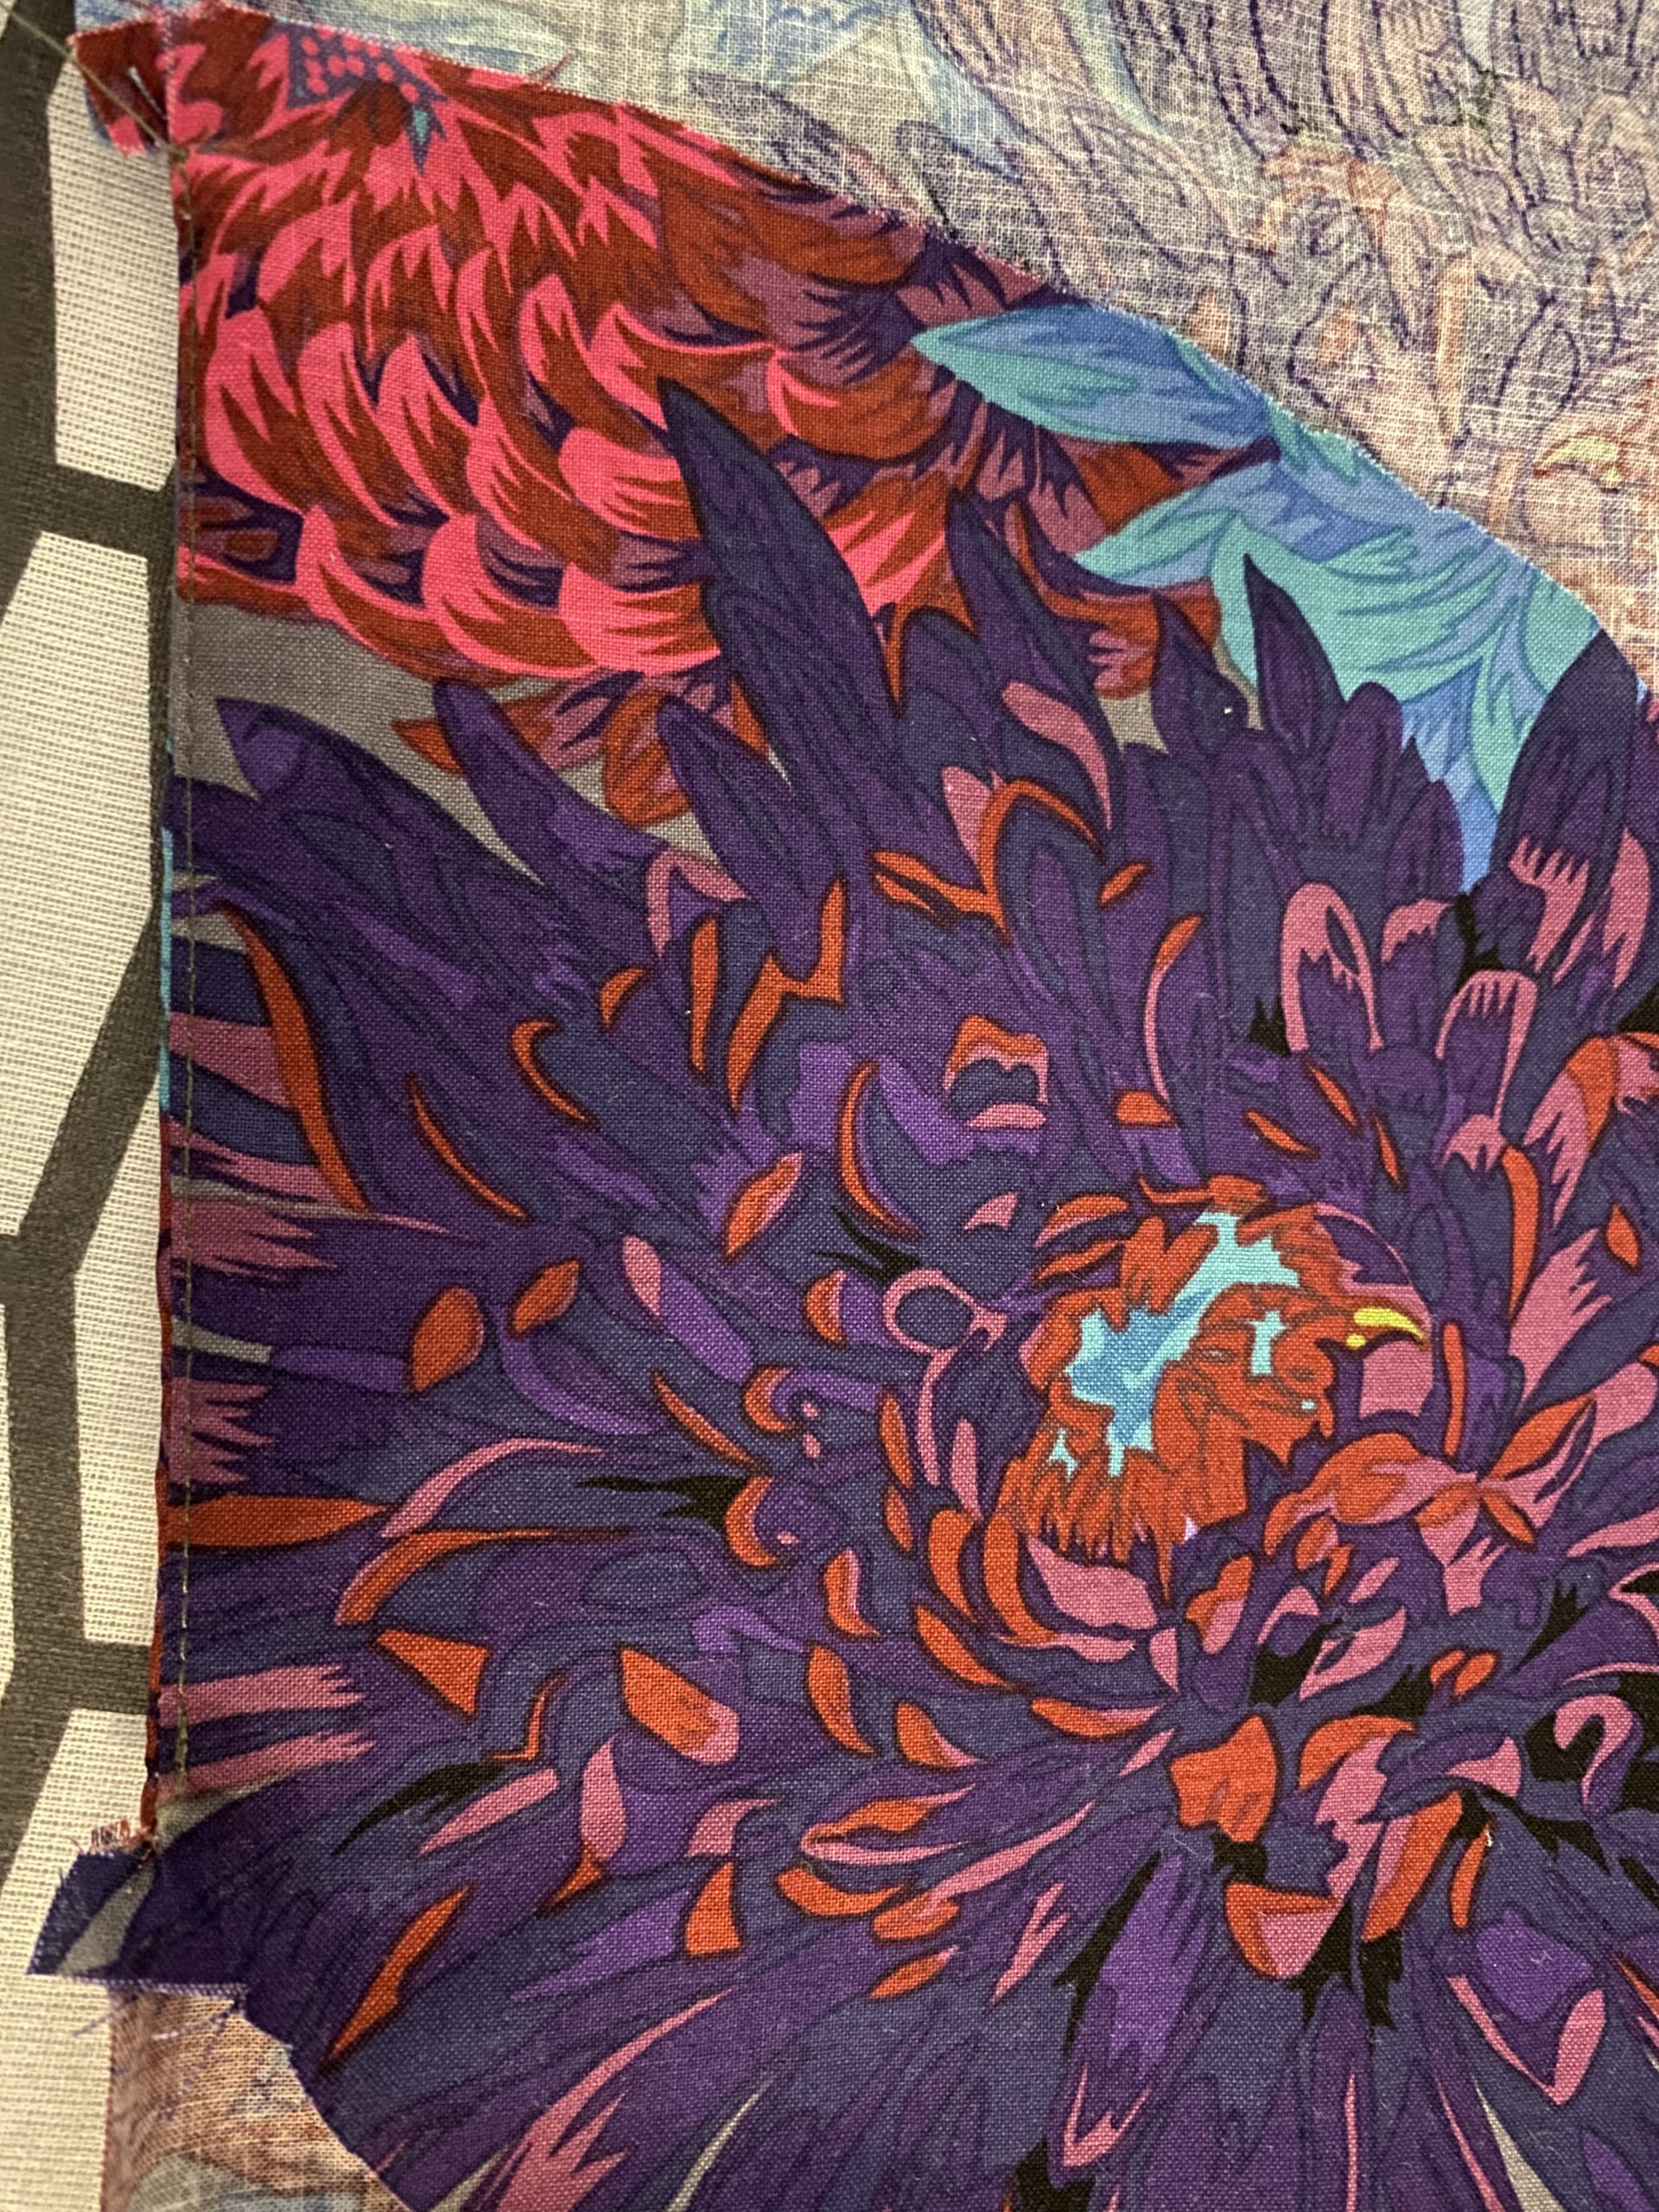
This is how the front part where the pockets are placed should now look.

Step 3: Process the sleeves
The sleeves are sewn just like the sleeves on the Magnolia blouse. The exact procedure for this is detailed in the article on the blouse. A brief summary of the work steps: Sew the pintucks and decorative seams in the same manner as the upper section. Then gather the sleeves to the width indicated in the pattern. Trim the sleeve slit with a strip of fabric and sew on the cuff.
Step 4: Sew the Chrysanthemum dress together
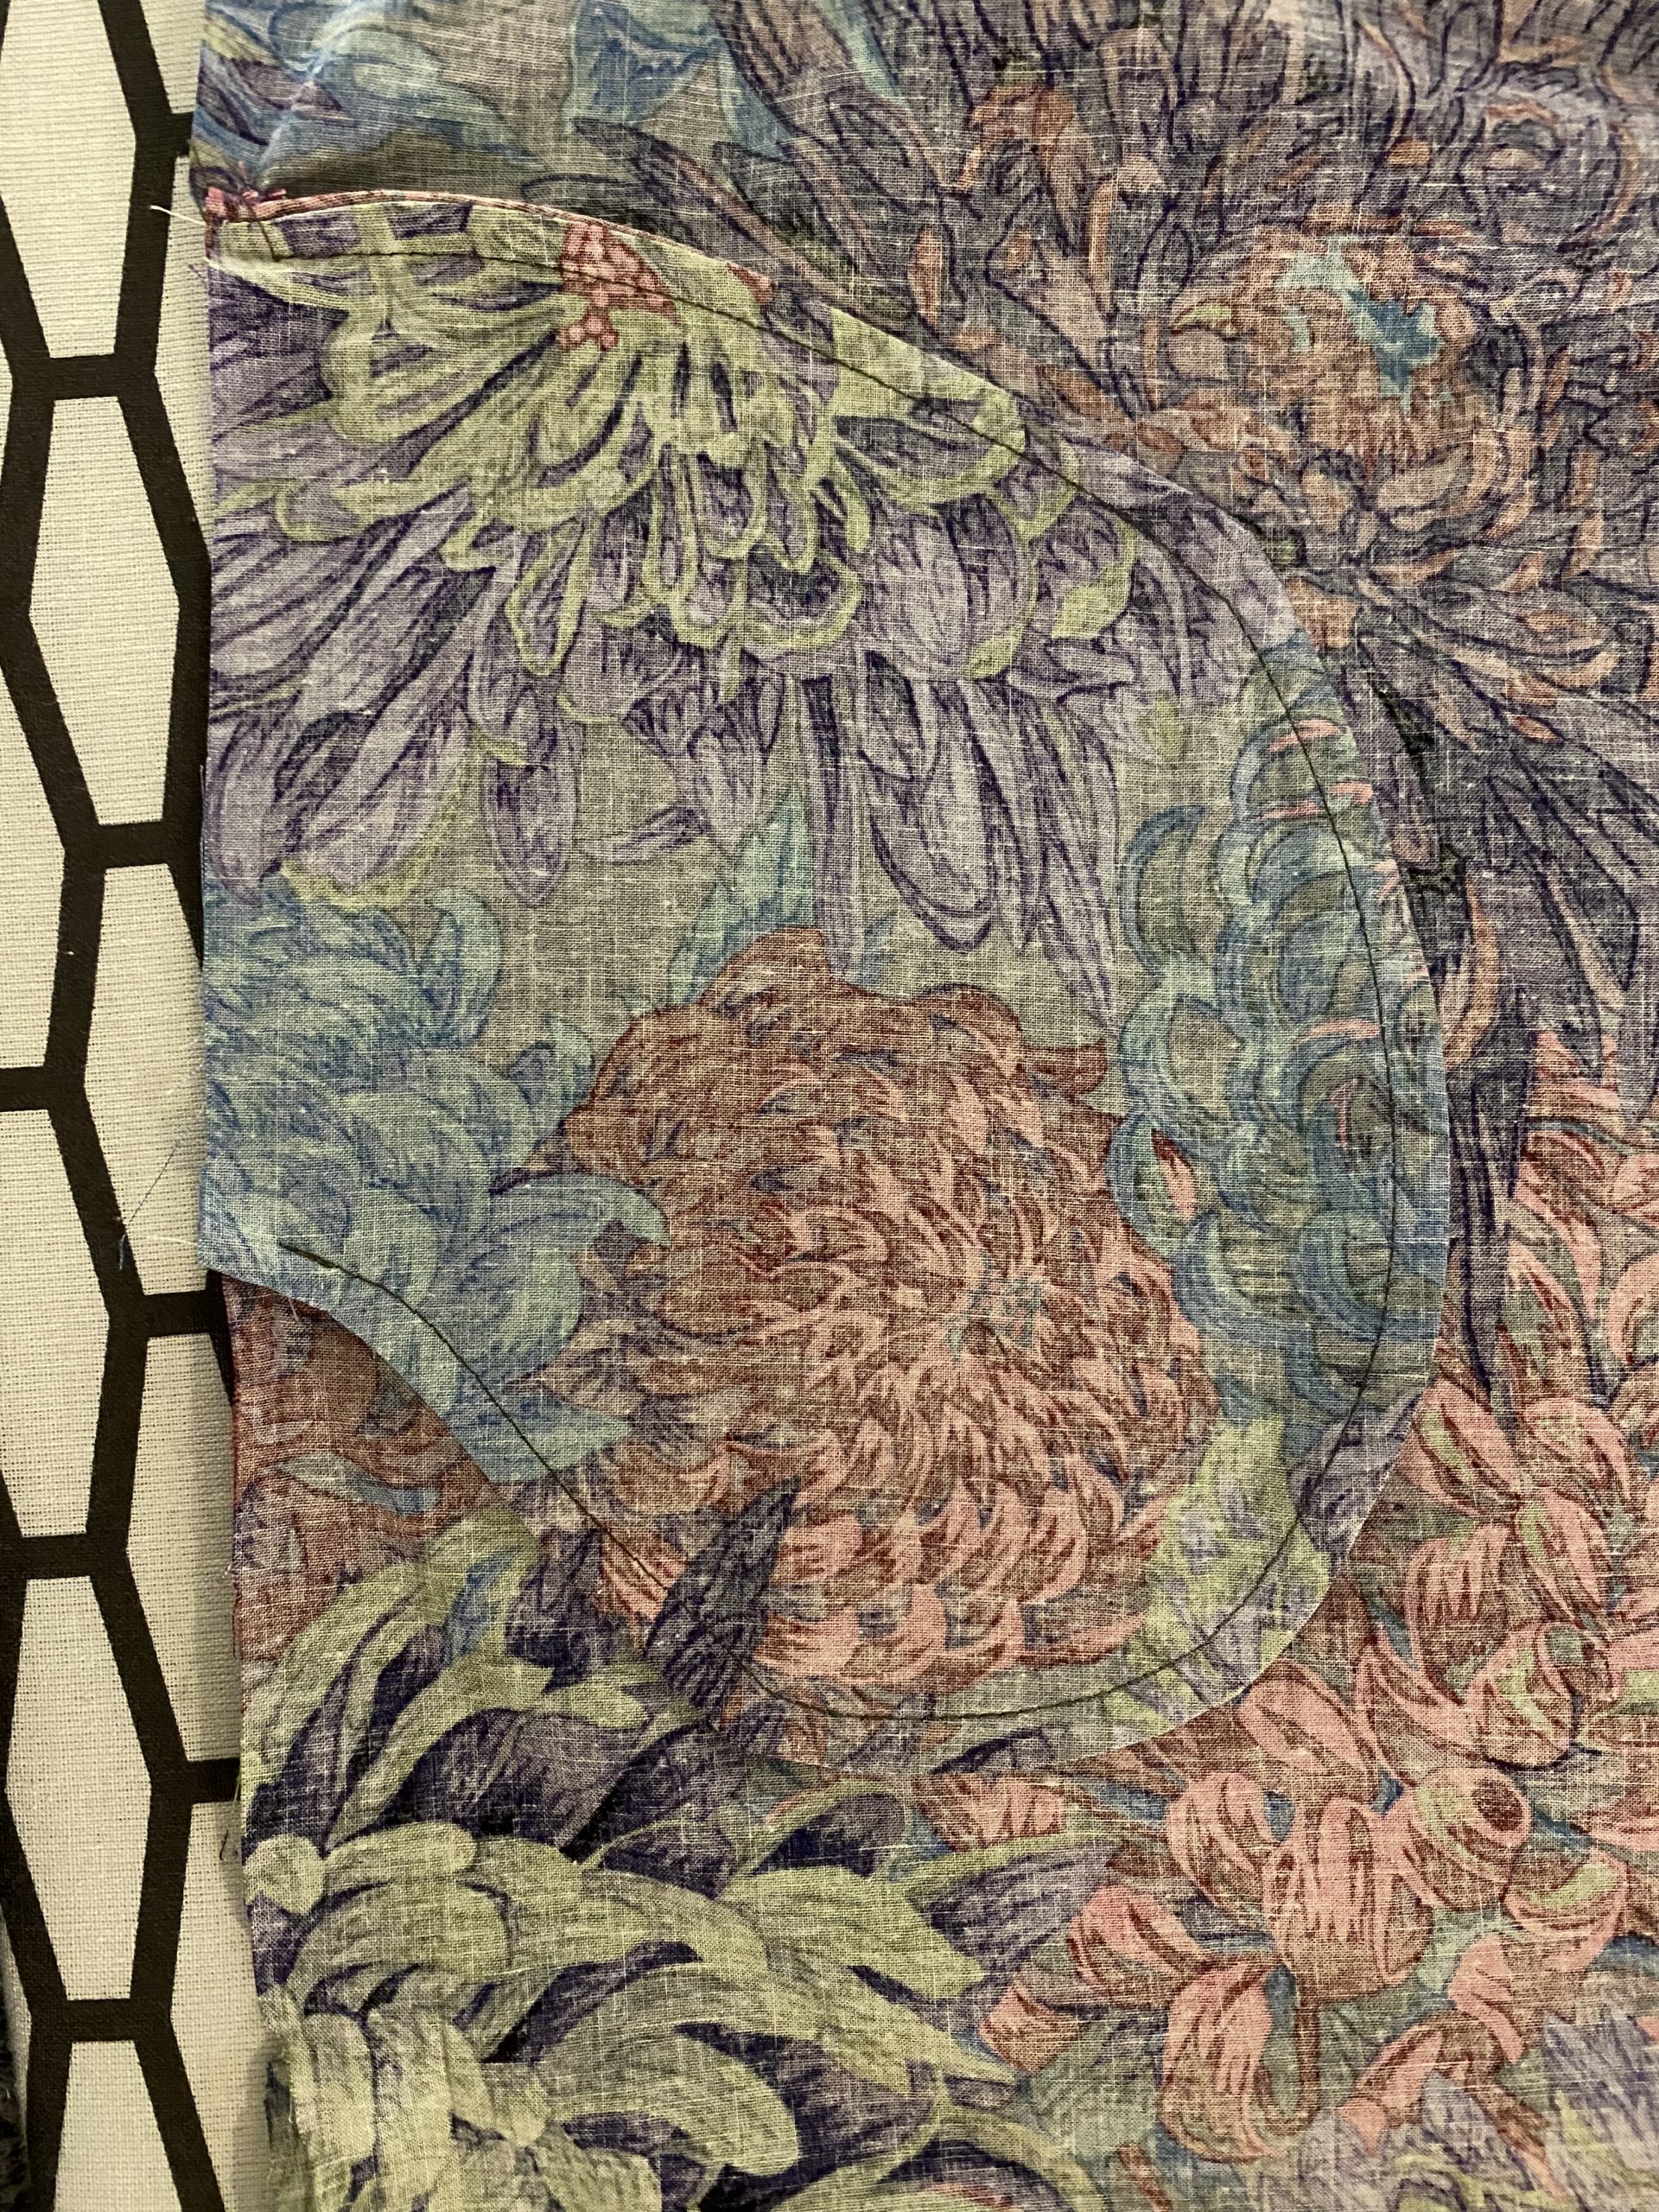
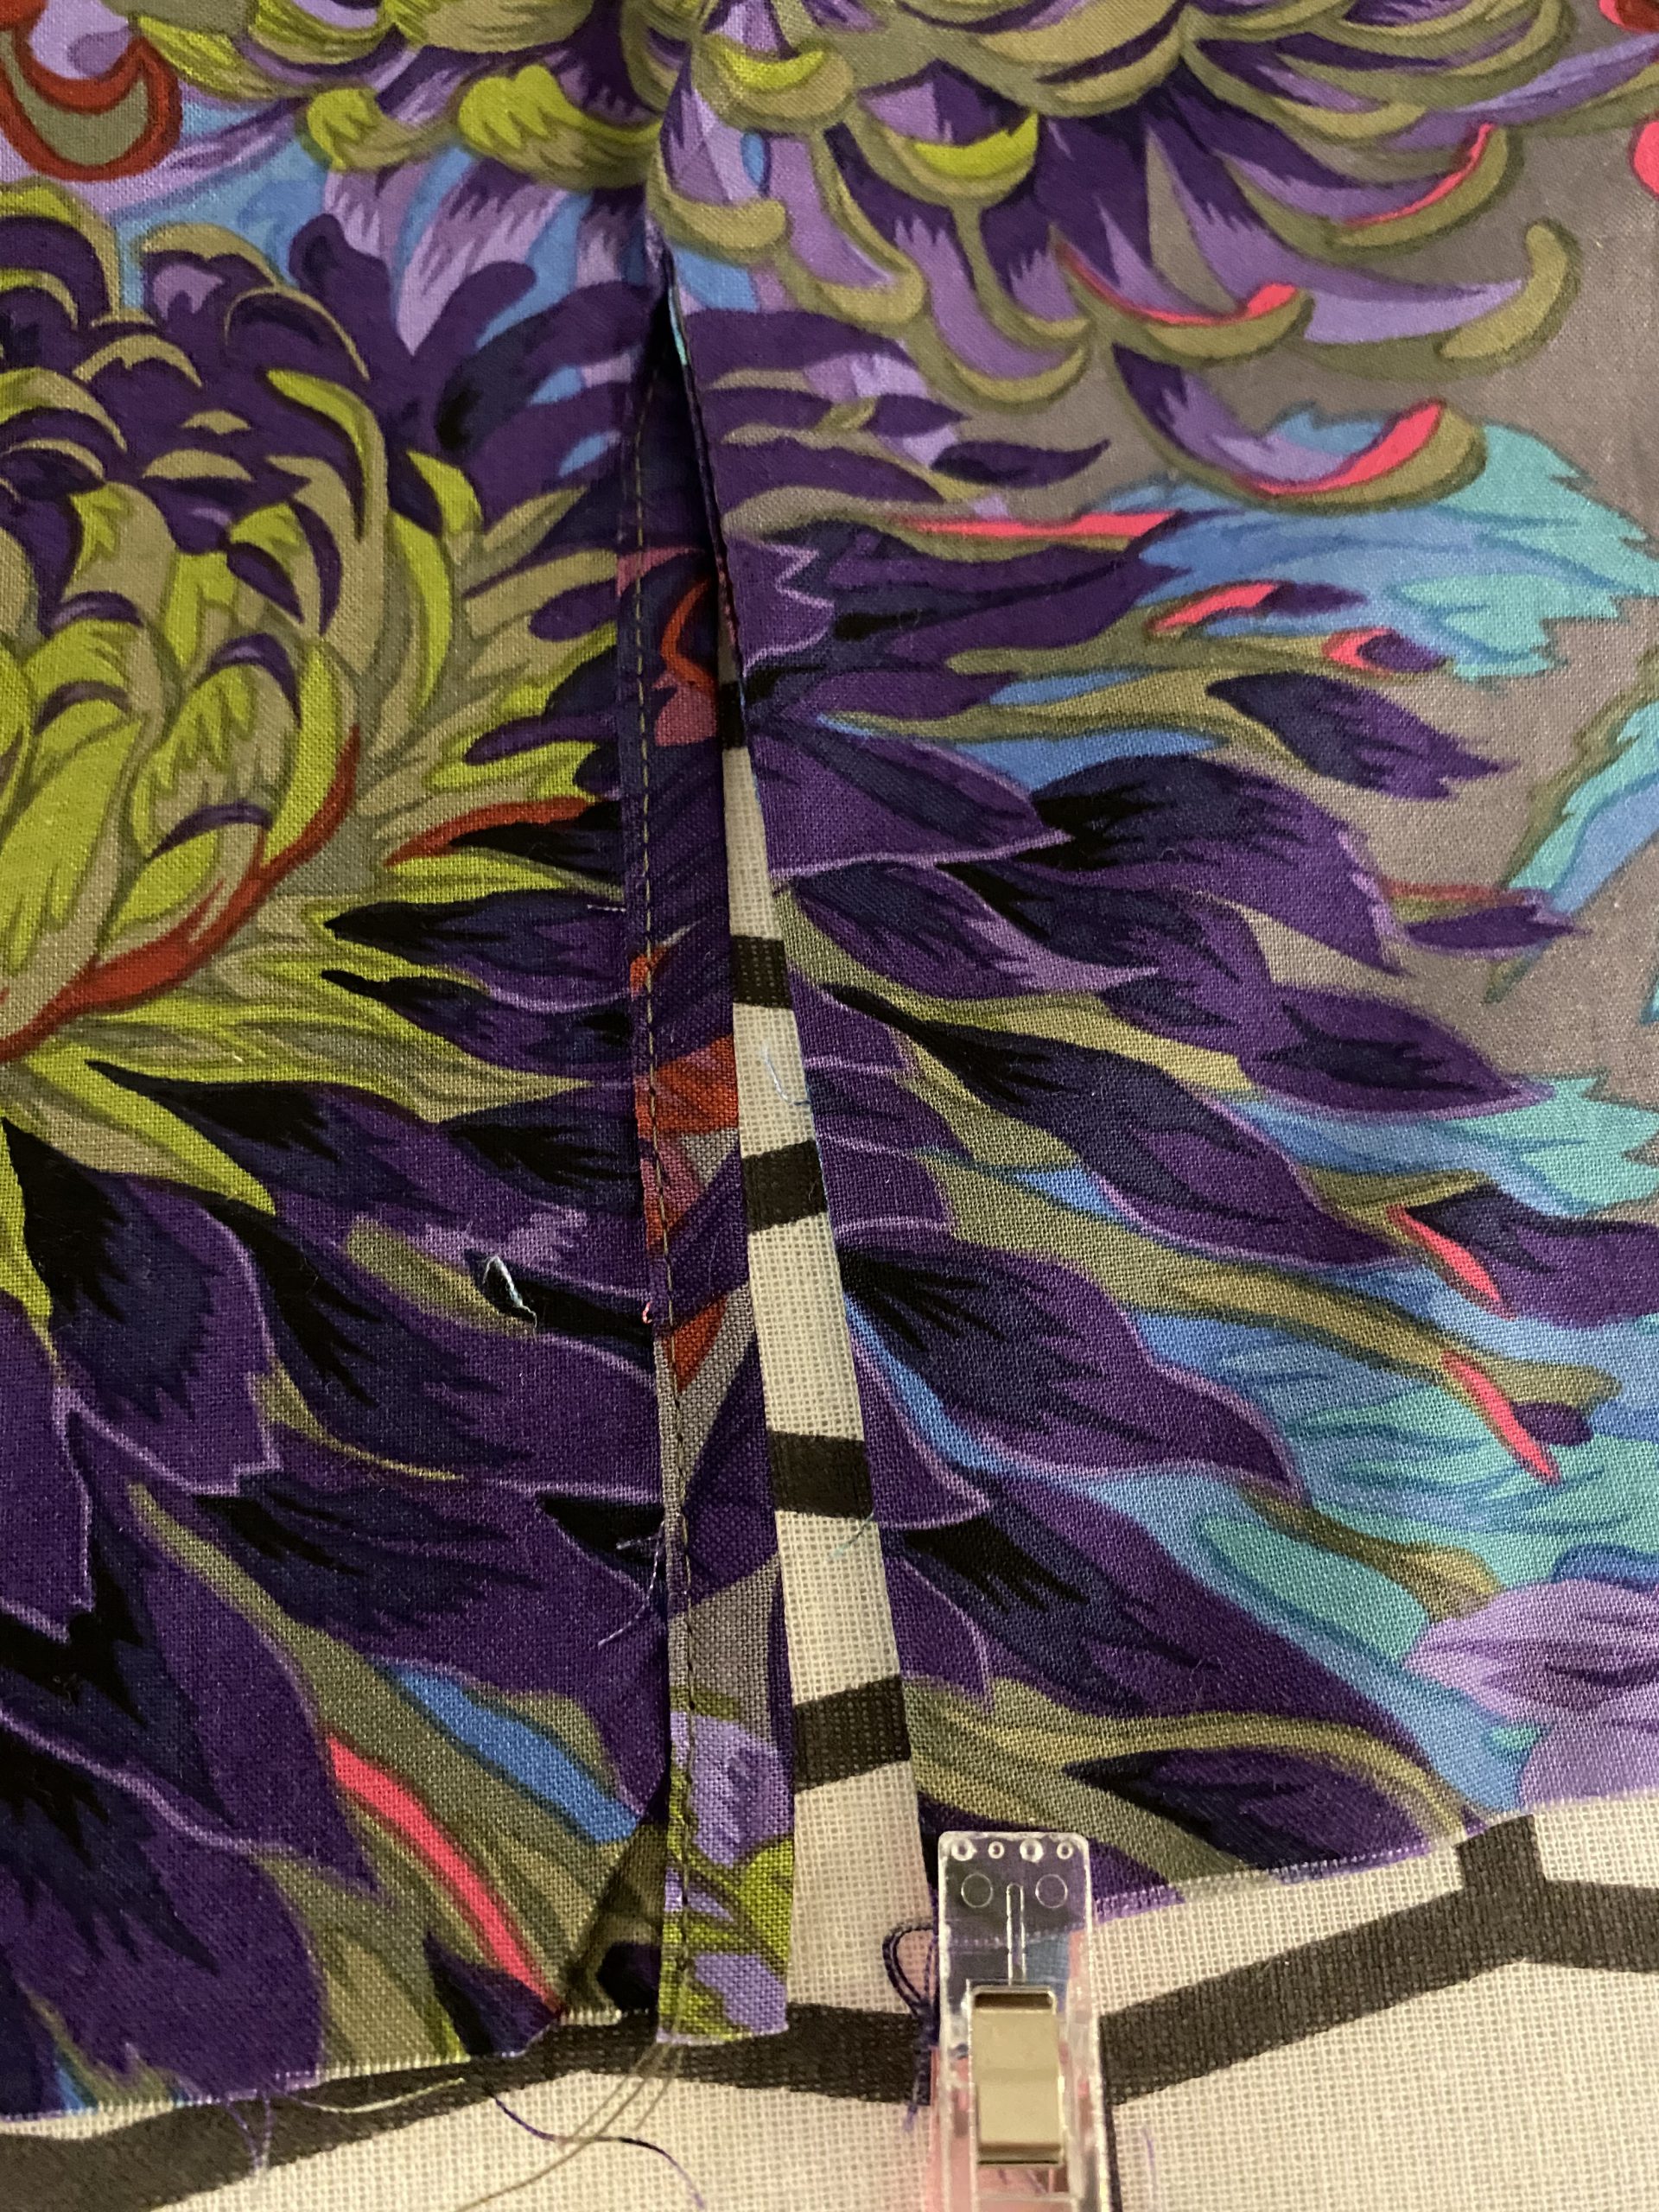
Now the sleeves can be sewn on the front and back parts. The side seams are then closed. At the positions of the seam pockets, make sure that you adhere exactly to the seam allowance and do not sew the opening of the pocket. Trim all internal, open edges with the overlock machine.

Step 5: Sew on the collar
The procedure for the collar is similar to that of the Magnolia blouse. Sew the outer collar right side to right on the neckline. Then sew the inner collar right side on right to the outer collar, fold the lower open edge with a 1-cm seam allowance inwards and pin the lower edge so that the seam is covered inwards. Then edgestitch to secure the edge.

Step 6: Hem the dress
The dress is hemmed before you proceed with the flounces. Trim the bottom edge with the overlock machine and turn the hem allowance inwards. Then stitch the hem all around.
Step 7: Prepare the flounces
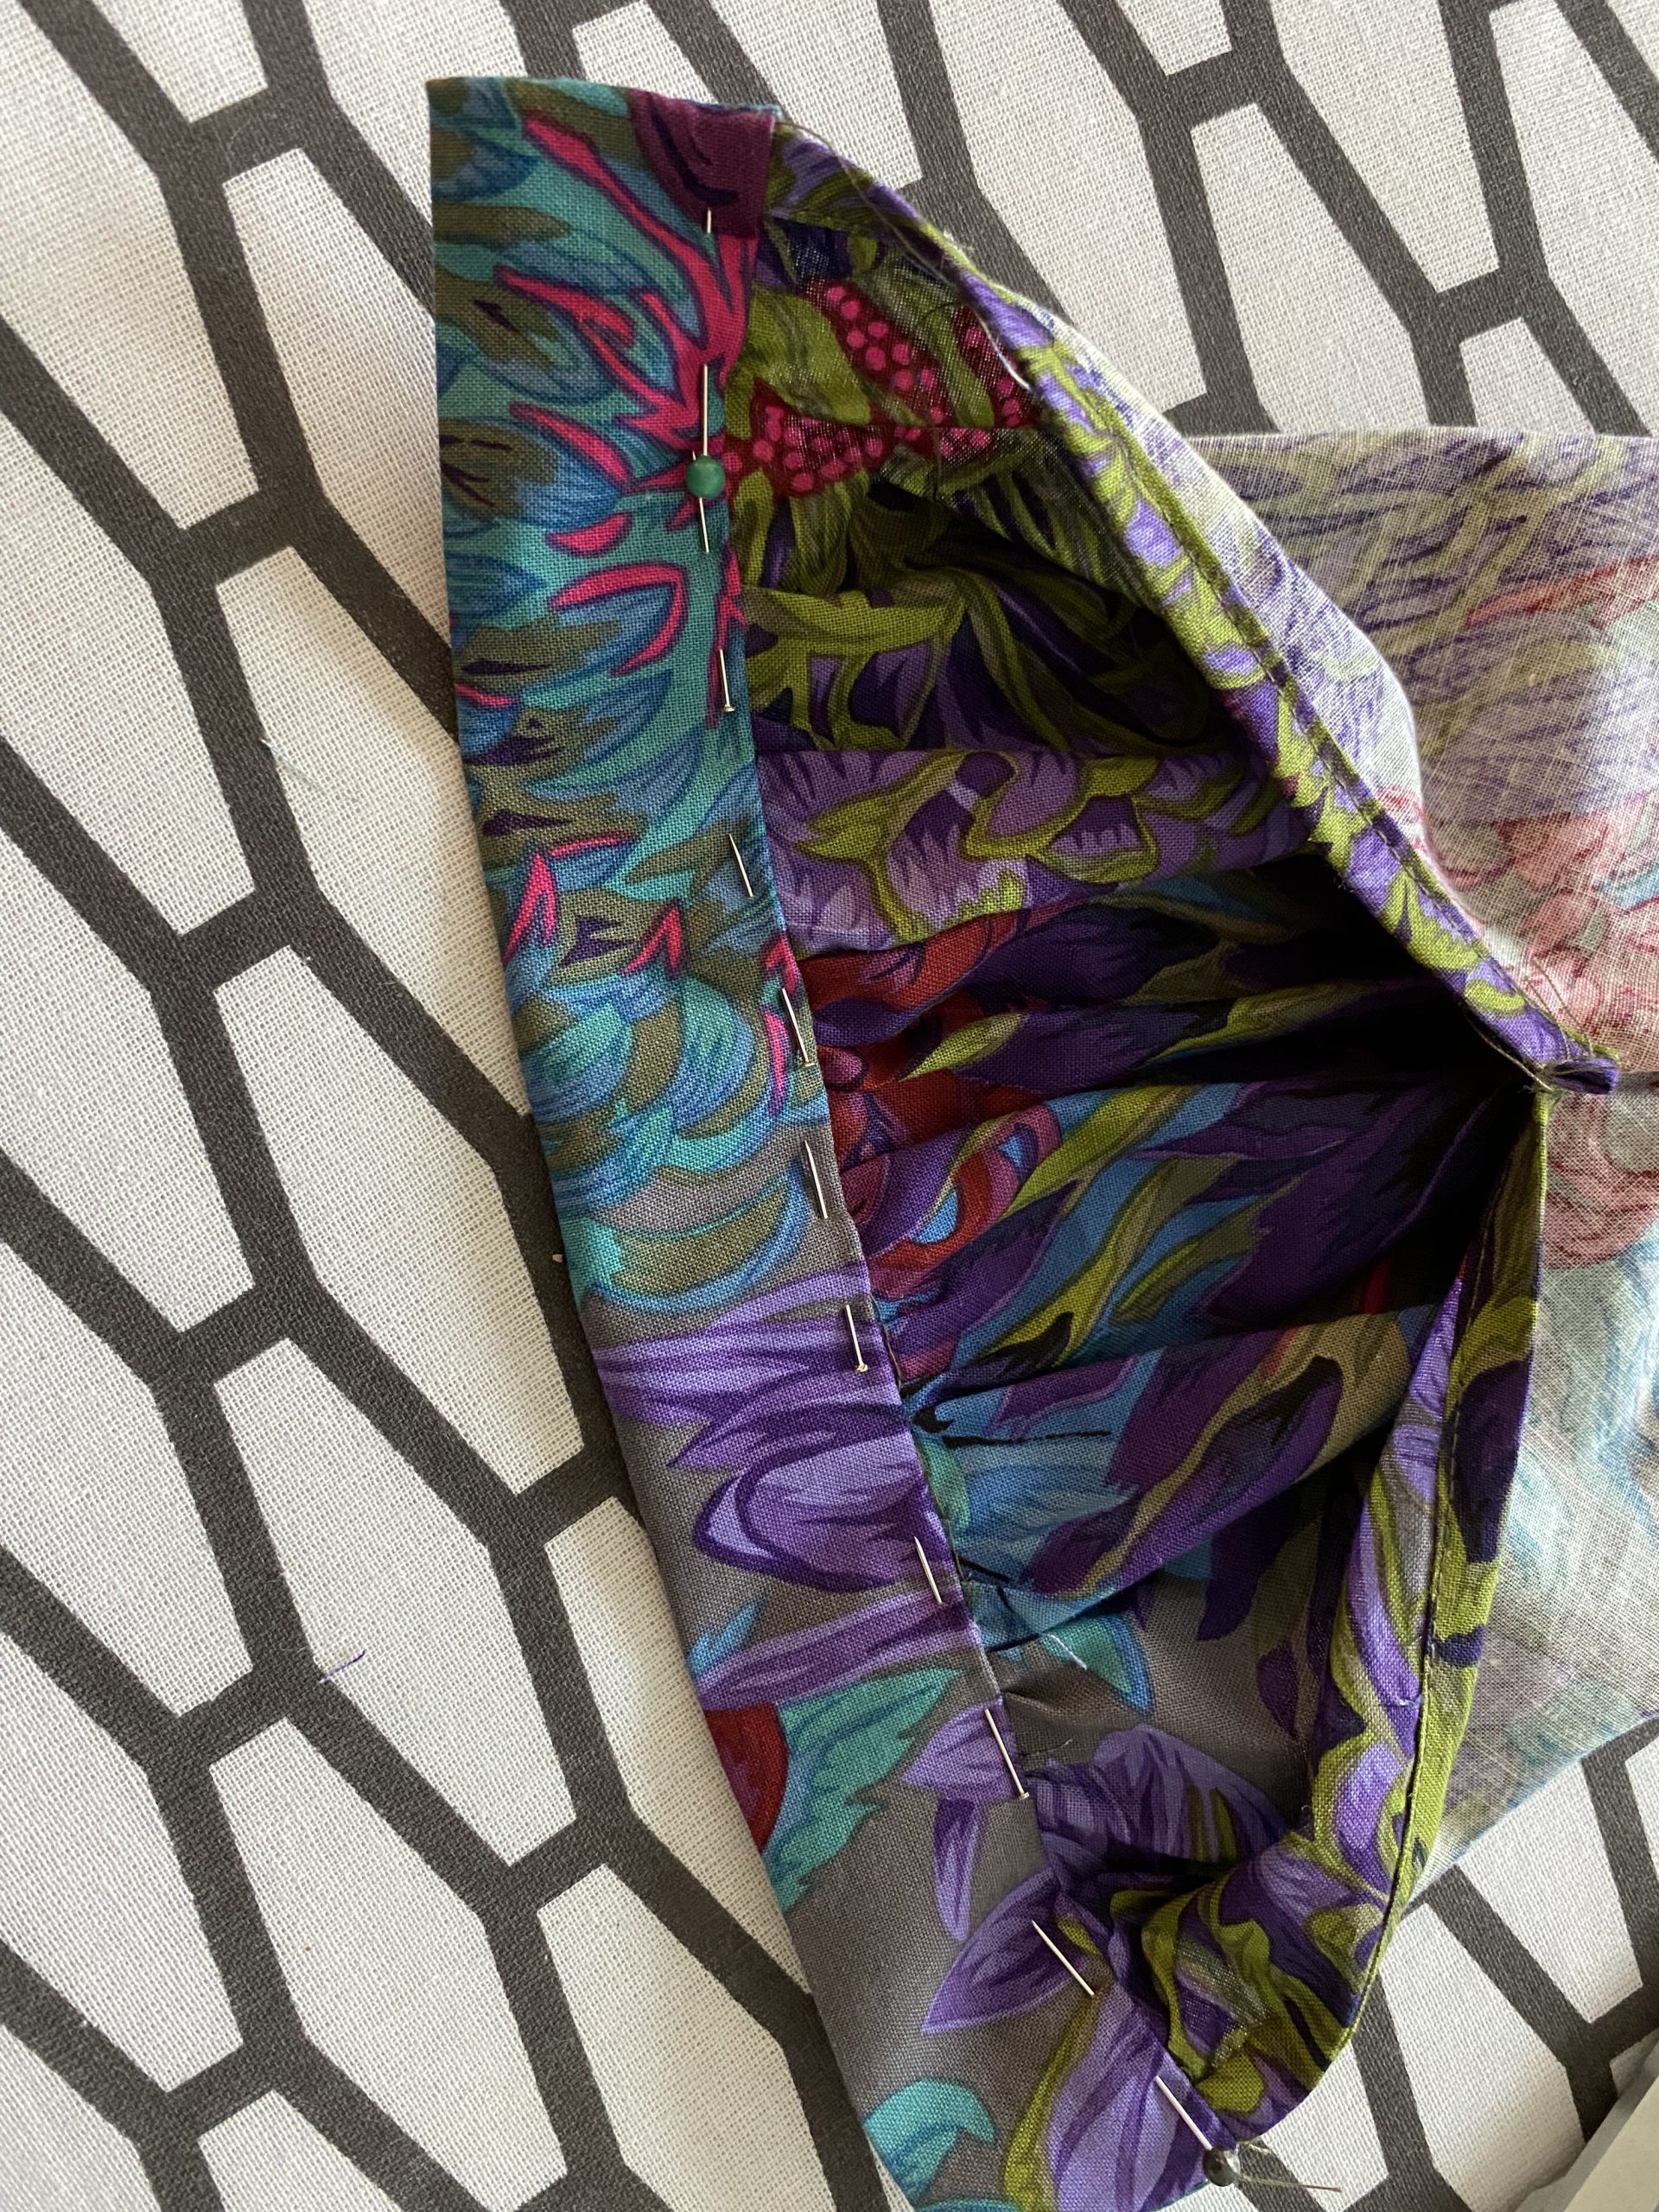
First sew the individual parts of the flounces together with French seams. This means that you first sew the parts to be connected left side to left with 1/3 of the entire seam allowance from the sewing pattern. Then turn the straight sewn edge so that both right sides lie on top of each other. Then sew this with the remaining 2/3 of the seam allowance to enclose the open edge.

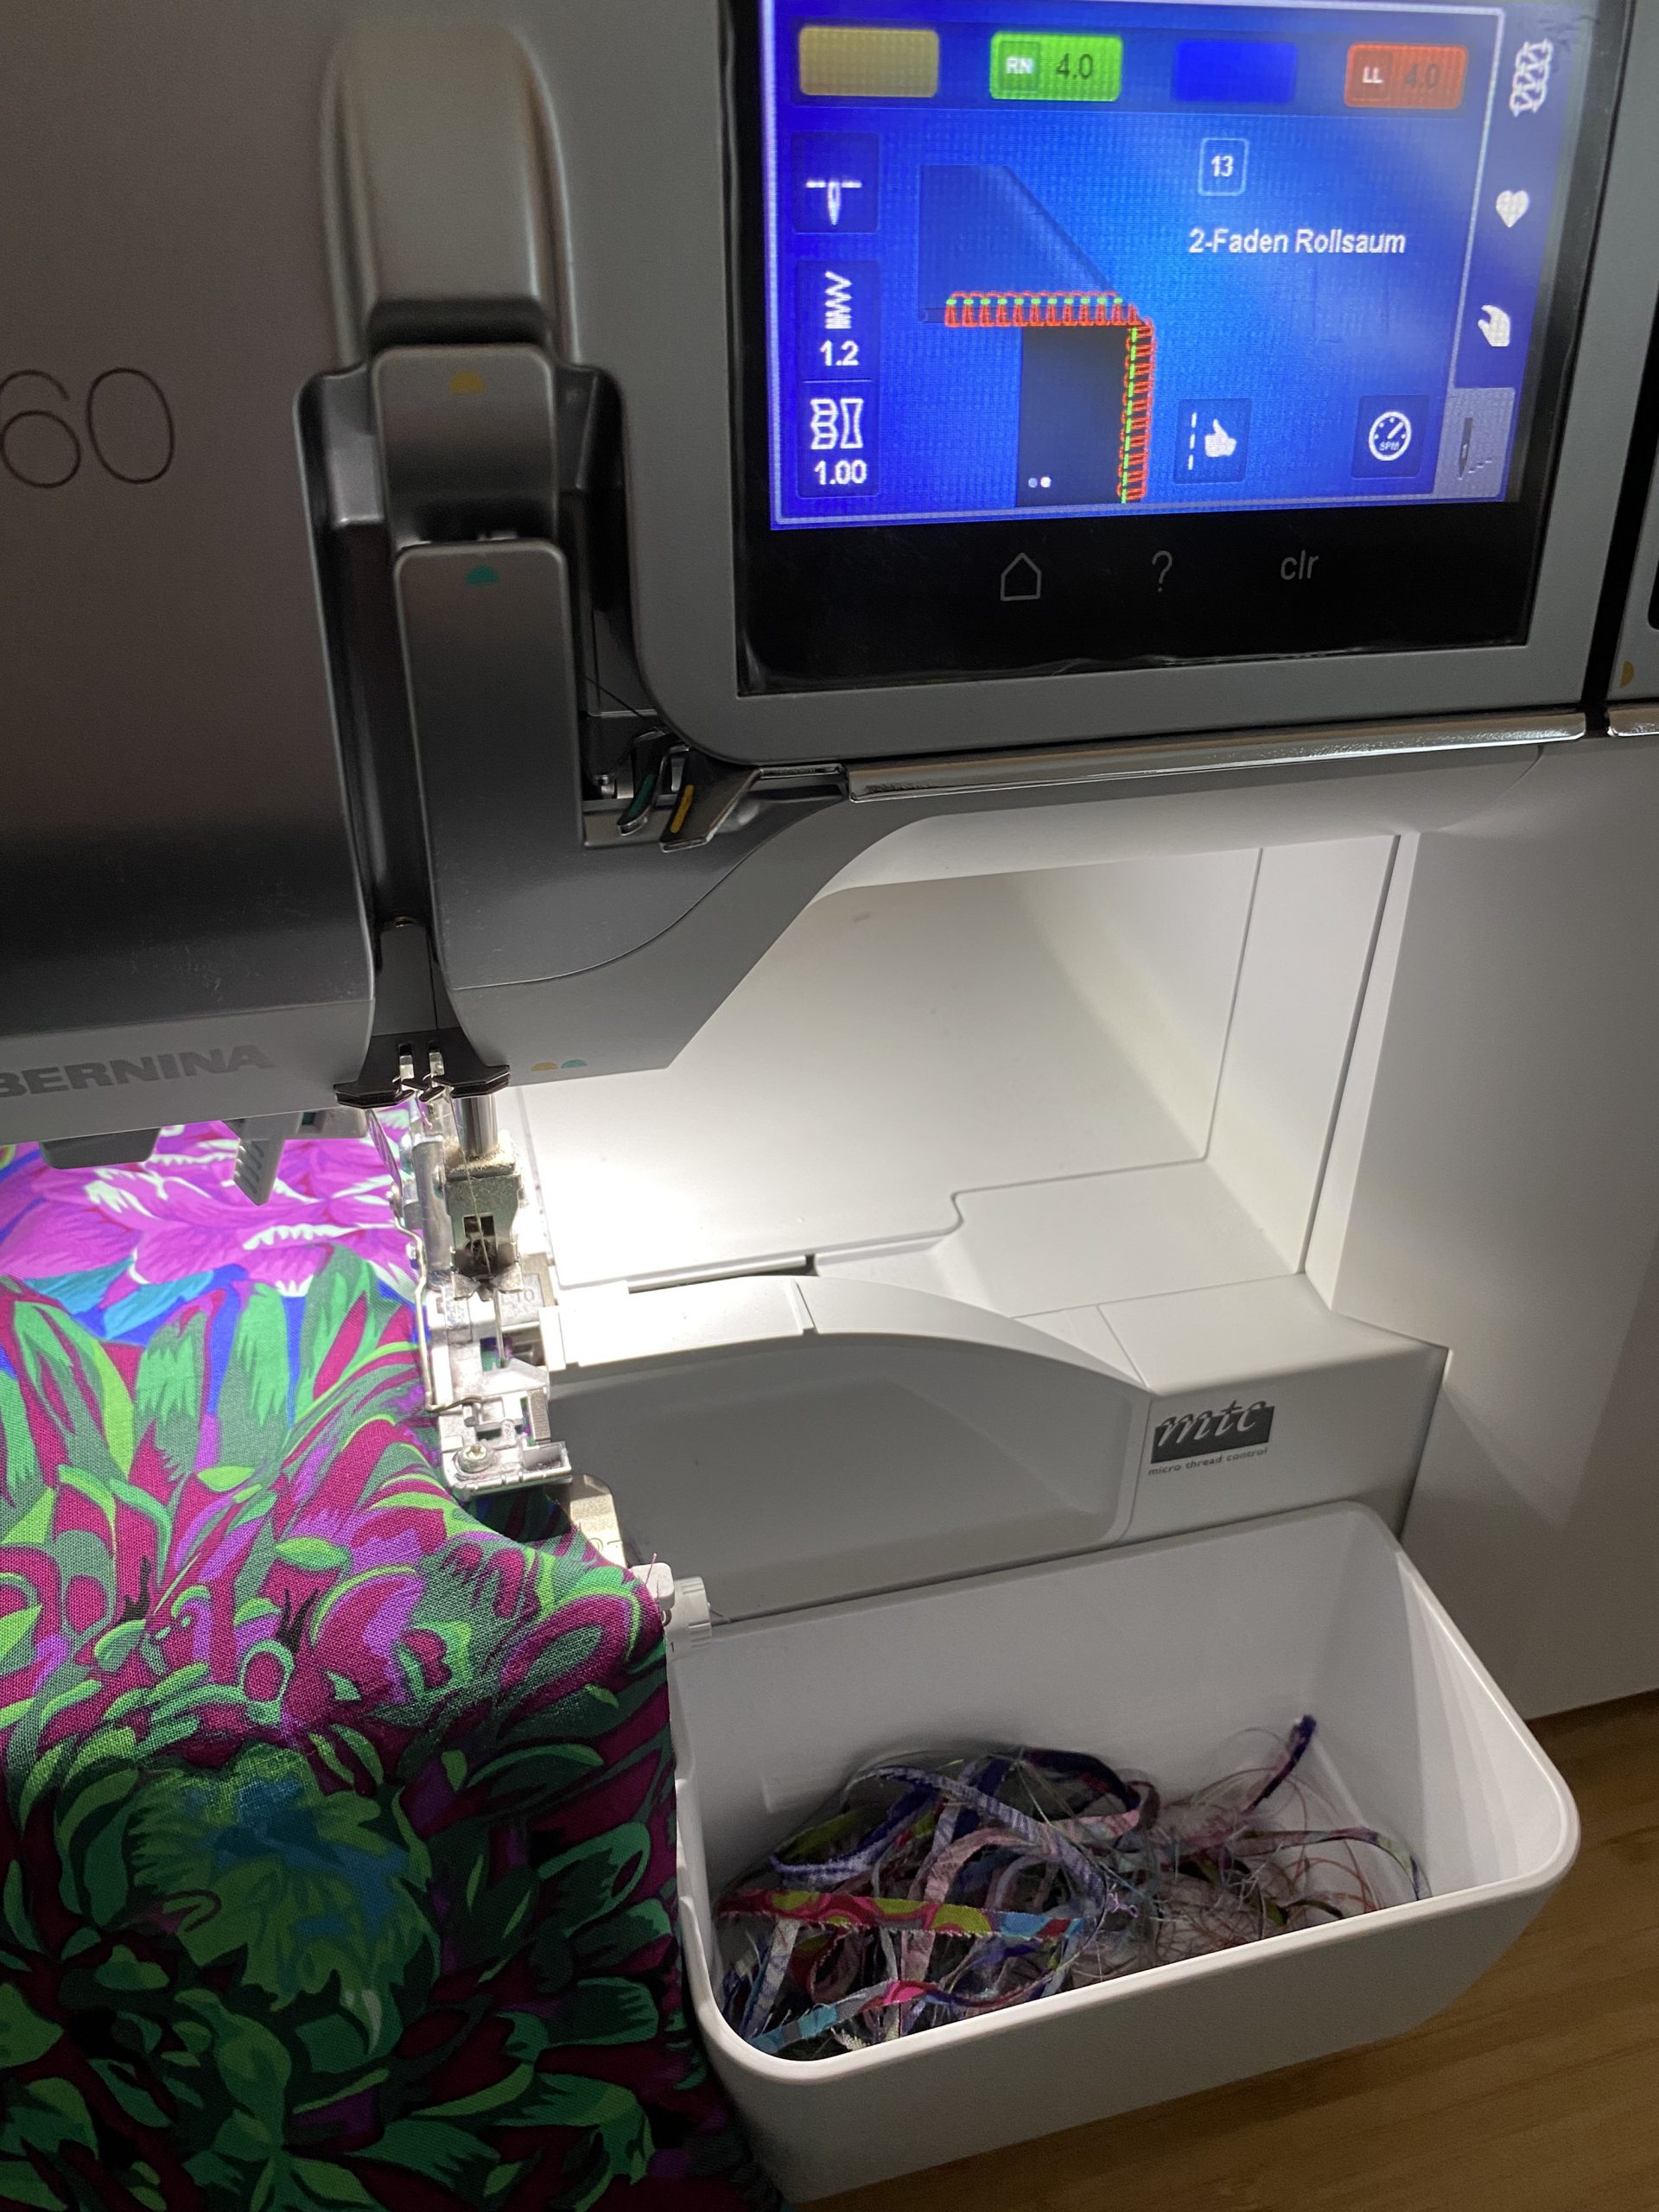
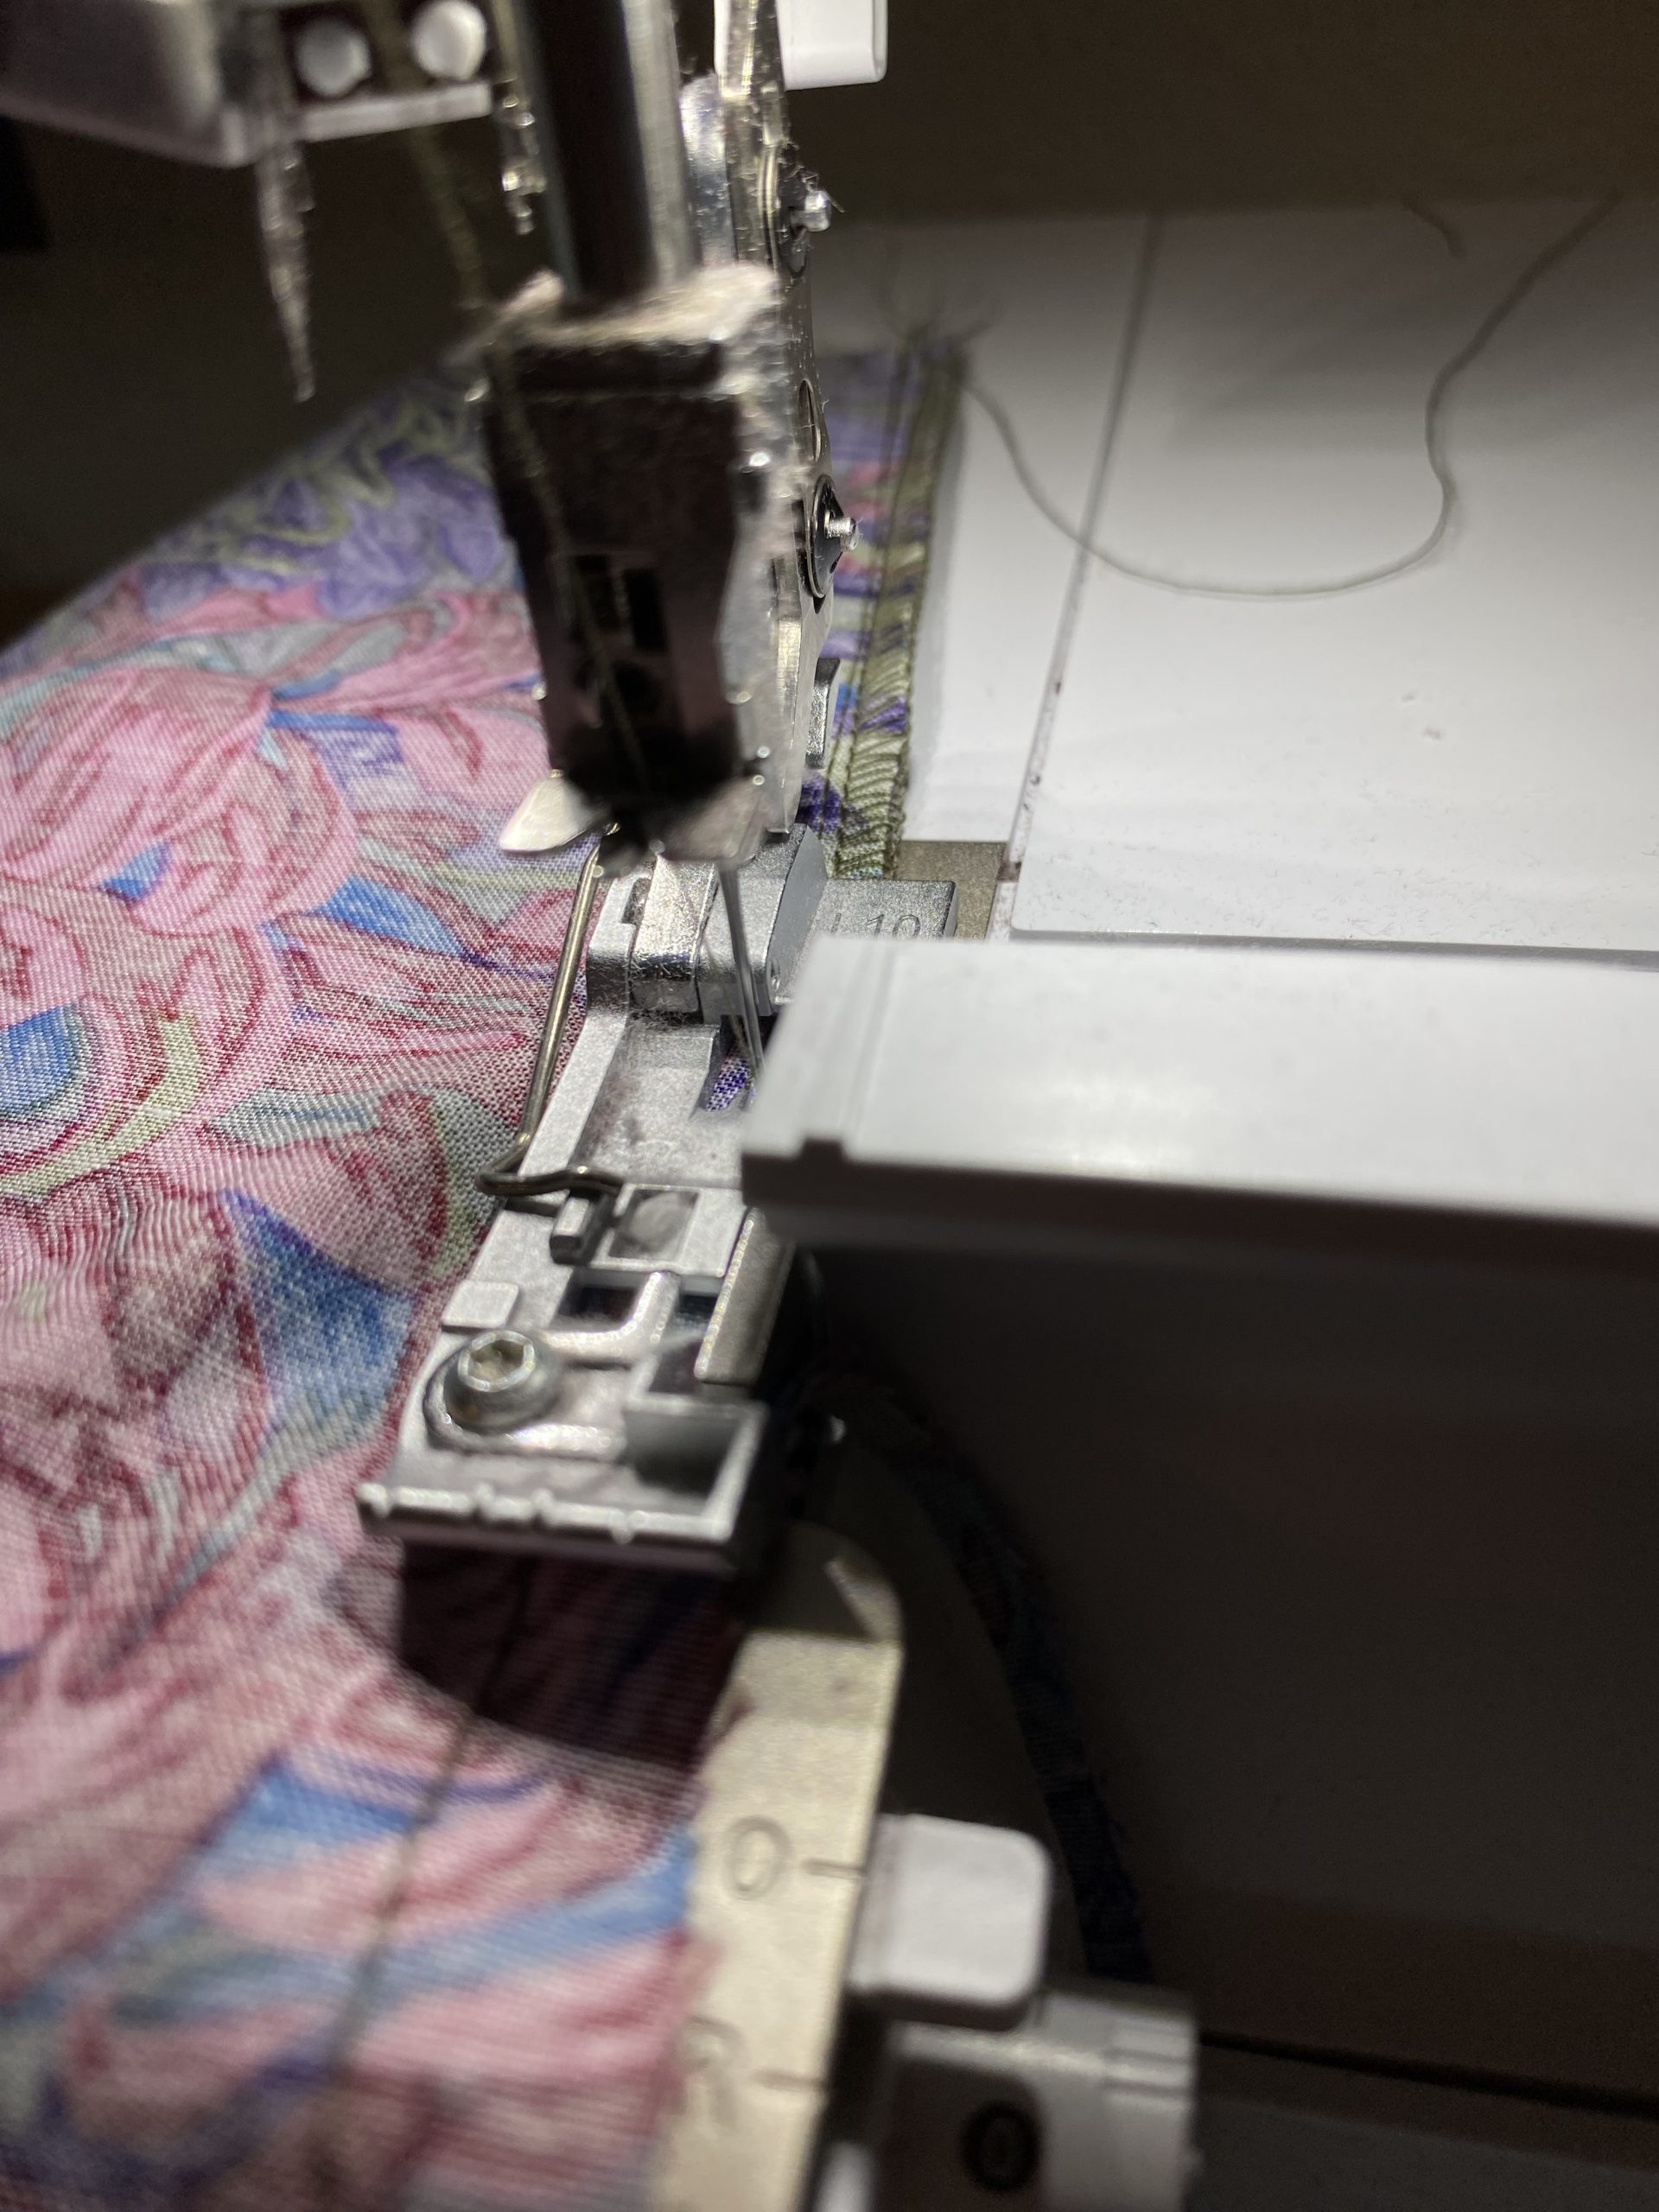
Now the long open edges of the flounces are each given rolled hems. I used the 2-thread rolled hem for this.
The flounces are then prepared for gathering with two parallel seam rows with a large stitch length at the upper edge. Gather the first, shorter flounce at the skirt circumference of the dress. The second, longer flounce is gathered at the circumference of the lower edge of the first flounce.
Step 8: Sew on the flounces
In this penultimate step, the just prepared flounces are now sewn onto the Chrysanthemum dress. To do this, first copy the positions of the flounces from the pattern.
Use the marker to place the first flounce on the dress. Pin the top edge along the drawn lines and then stitch it on.

The second flounce is then sewn analogously to this at the lower edge of the first flounce.
Step 9: Completing the Chrysanthemum dress
Prepare the belt by sewing the corresponding pattern piece in fracture together and reverse it.
Finally, you can attach the small loops of knotted threads to the collar and cuffs and sew on the buttons. Then it’s done: The Chrysanthemum dress is ready. All in all, it is no more difficult to sew than the blouse. It is just a little more complex due to the practical pockets and the flounces, which create a truly eye-catching look.
I hope you have a lot of fun sewing.


0 Responses