Hello Bernina Lovers !
This week I dedicated a few hours to a project that I really wanted to try.
Trying a different kind project…
I am not an underwear specialist although I have sewn panties and even bras for myself in the past. But this time I wanted to give a try to a men slip.
Long story short… My partner has survived 3 lymphomas in his life, and due to that he is very skin sensitive and hates feeling any kind of seams in his clothing (he actually wears all the t-shirts wrong side out) and obviously he feels the same when wearing underwear. He is not a boxer kind of person, he prefers wearing slips (I guess because there is less fabric touching the skin…).
Not finding what he needs in the market, so I decided to give it a try and make it myself…
He is always looking for new models and actually there is no many options, most slips are pretty basic, not as fancy as boxers and of course not as much choice as on women’s lingerie… So I decided to give it a try, I first searched on the internet to find a pattern that could fit his needs. But didn’t find a model that I thought was perfect. So I decided to give it a try with just his measurements.
I also have to add that we don’t live in the same country, so I just couldn’t try to make the slip by copying one of his.
He sent me the measurements of the slip he likes the most and from there, I traced a basic pattern.
Using my Bernina for a lingerie project
I wanted to use my Bernina for this project, as I know many people are afraid of sewing underwear and other projects because they don’t have an overlocker.
What you need
– 30 cm of stretch fabric
– 1 cm wide elastic band X 60 cm long
– 2 cm wide elastic band X the waist measurement (and a couple of cm extra)
– twin and single needle (special for stretch fabric)
– your sewing machine
Here are the steps to make this project
So if like me, you want to give it a try, you can follow this steps.
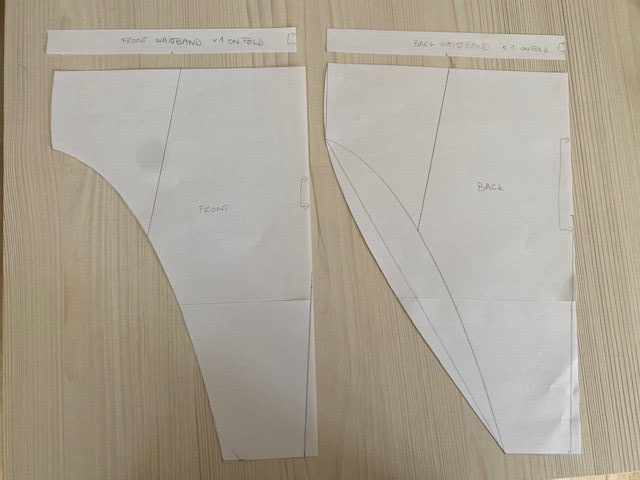
I first traced the back piece using the measurements I had. (You can also do this by taking one slip and placing it on top of the paper, folded in half and copying the measurements on it).
I copied the back piece and with a curve ruler I traced the leg opening to make the front piece. I also traced the front side seam.
As well, I traced the dart in the front center, 1 cm.
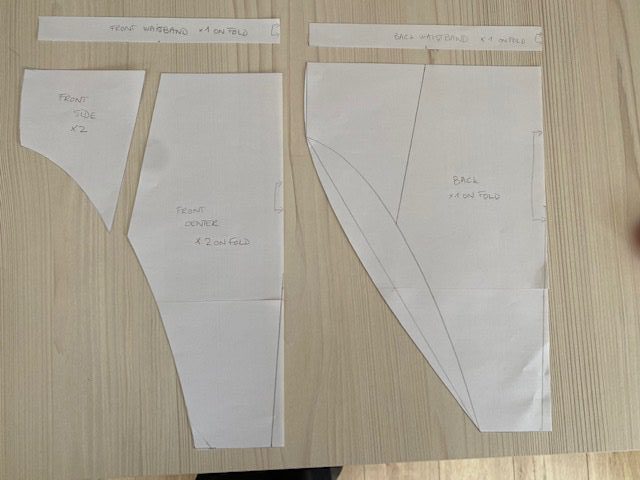
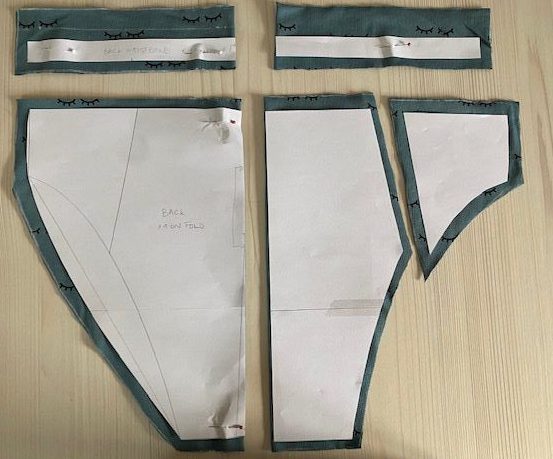
Then I cut out the waistband piece from each piece
All the pieces shown here are to be cut once in the fold, except the front side piece, who is to be cut twice and the front center, that has to be cut twice in the fold, for as I want that piece to be lined in order to keep the seams inside (not touching the skin).
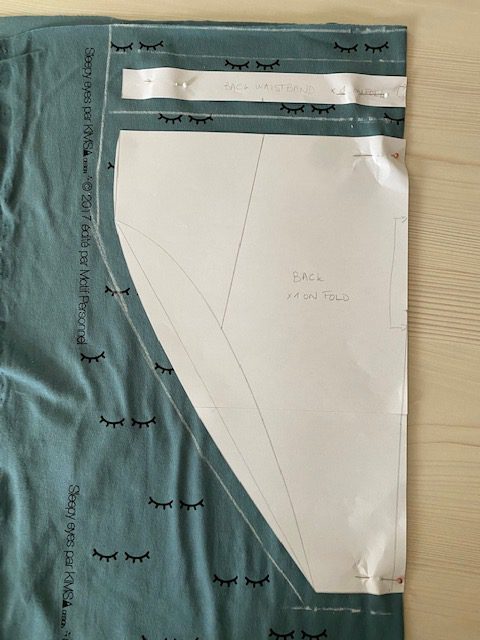
Once all placed on the fabric, a 1 cm seam allowance is to be added.
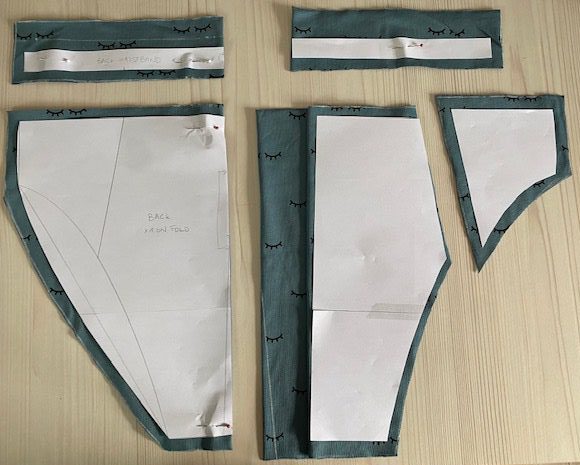
I placed the pattern pieces on the right side of the fabric (instead of as always recommended to place it on the wrong side) because I wanted to adjust the fabric drawings to be perfectly aligned within the pattern pieces.
I cut all the pieces as explained above.
All once in the fold, the front center twice in the fold and the front side piece twice.
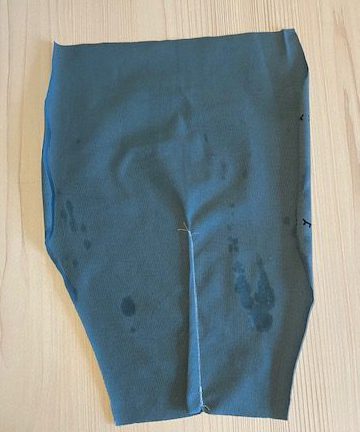
Then, I pinned the front center piece dart and sew it, with a long stitch (so it doesn’t break if the slip is being pulled up).
Do the same on the lining front piece.
Iron flat the seams (one to each side).
Sorry for the water spots on the fabric, my iron fooled me while I was making this project…
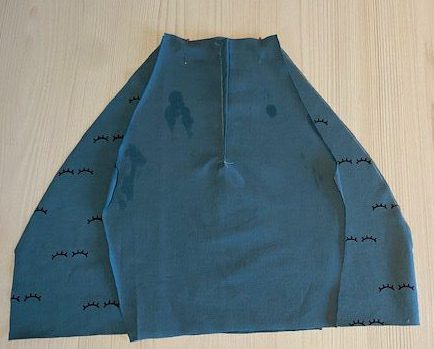
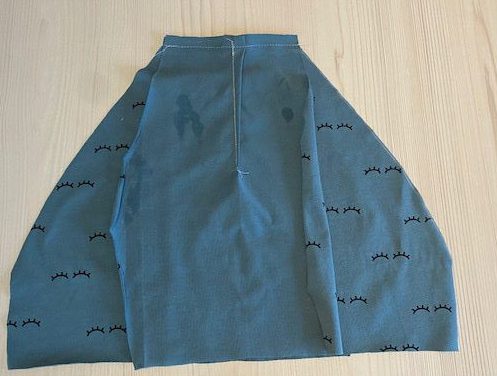
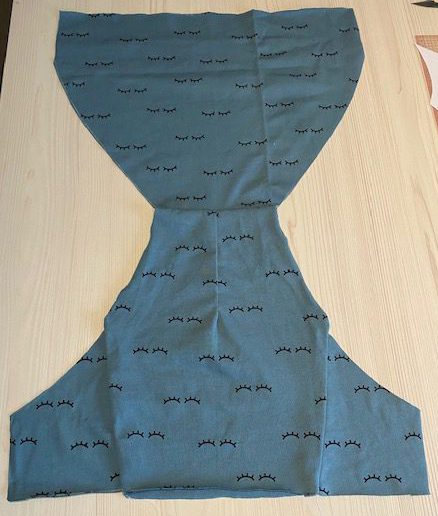
Then, place both front center pieces tucking the back piece in between. One front piece right side against the wrong side of the back piece and the other front center piece right side against the right side of the back piece. Pin all 3 layers together and sew them with a long stitch.
You can trim the excess seam to make it less bulkier.
Place the front center pieces together wrong sides facing and iron flat the seam.
Pin each front side piece to one of the front center pieces (don’t sew them until the next step).
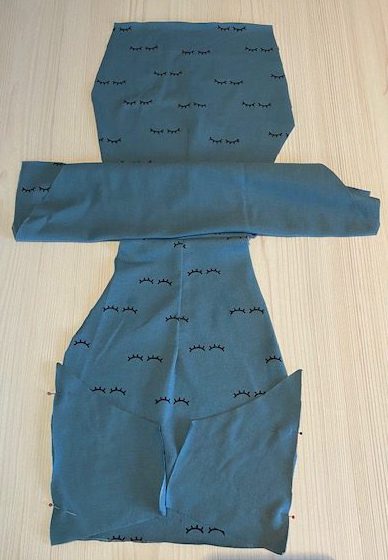
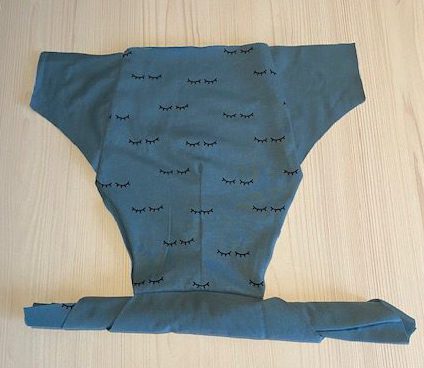
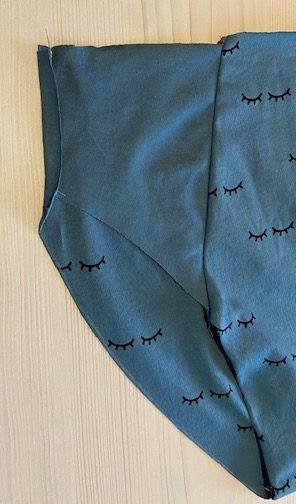
Now, we are going to use the Burrito technique. For that, we are going to roll up the back piece as seen in the picture.
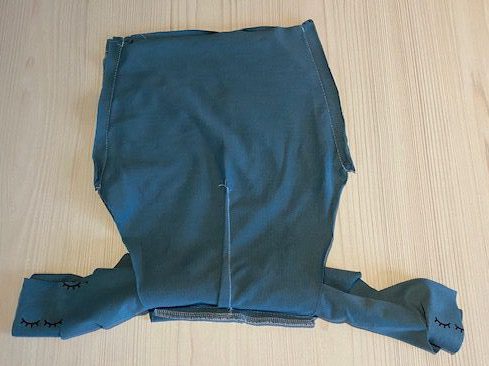
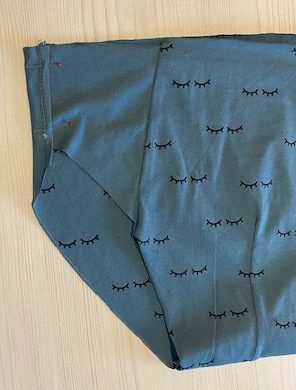
Place both front center pieces right sides facing, tucking the front side pieces inside. Pin the top side seams together and sew them.
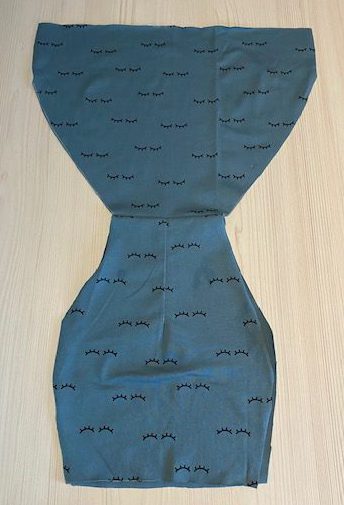
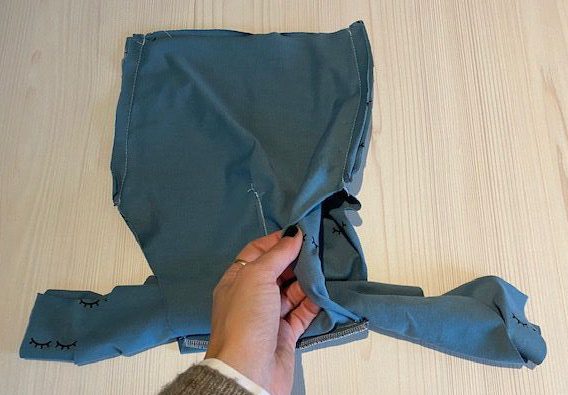
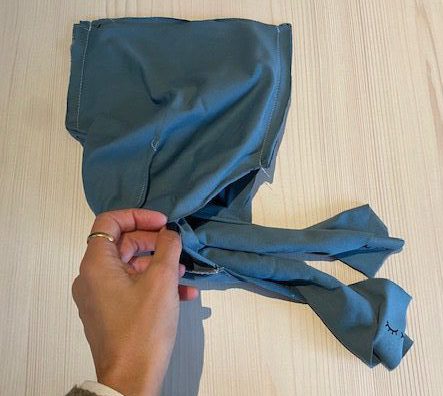
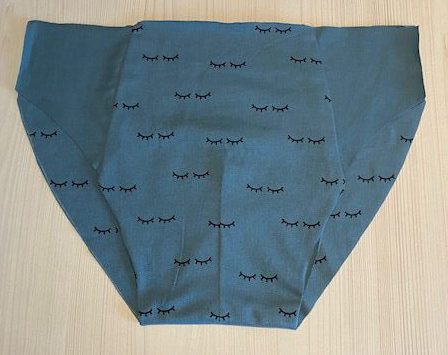
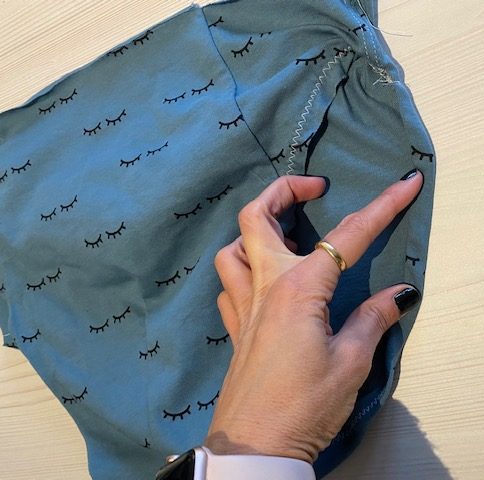
Through one of the gaps, pull out the back piece that had been rolled up previously. Once outside, you’ll see how nicely all the pieces are sewn together with hidden seams.
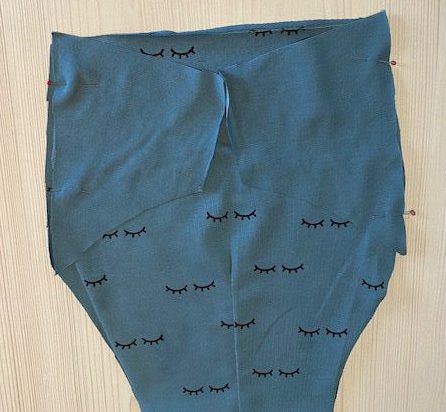
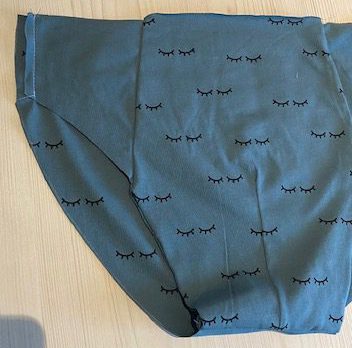
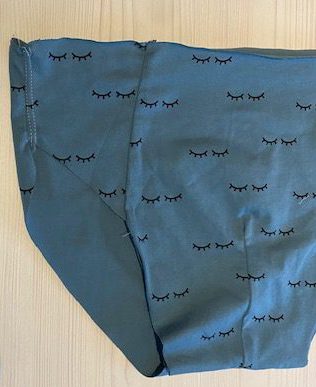
Place the front and back pieces together, right sides facing, pin the sides, sew them at 1 cm allowance and trim the excess seam of the front side piece if you want to do a felled seam…
Once the seam has been trimmed, fold the back piece seam onto the front side piece seam in order to fully cover it. Fold again and pin the seams together (without pinning the front and back pieces).
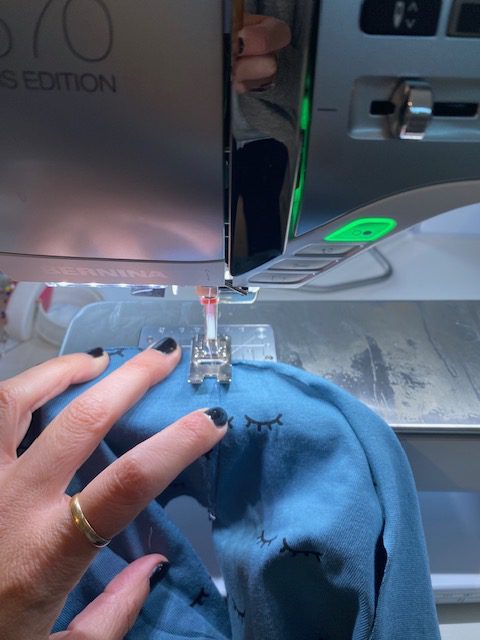
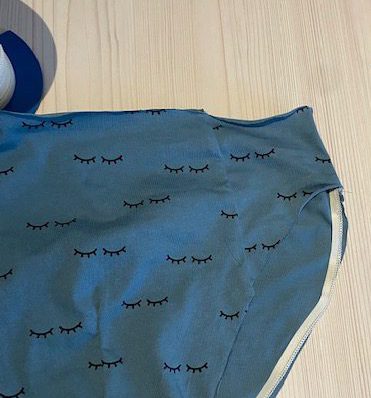
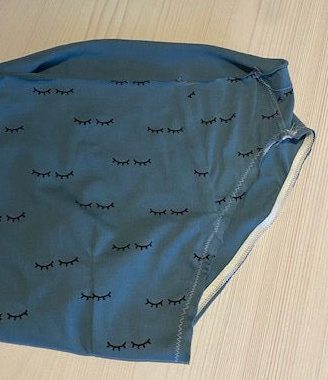
With the twin needle, top stitch the seam from the right side.
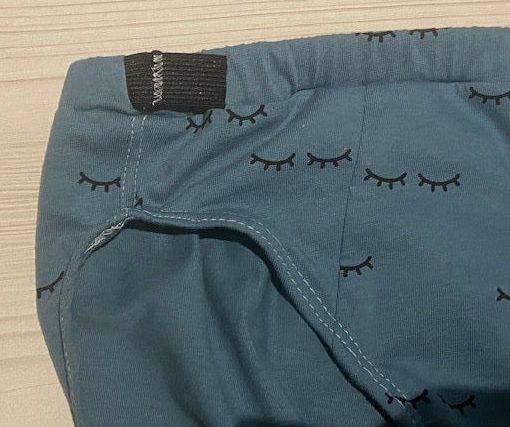
This is what you will get, the seam will be hidden underneath.
Then it’s time to sew the elastic bands on the leg openings. Place the elastic band at the edge of the fabric and starting at the top of the opening and pin it there.
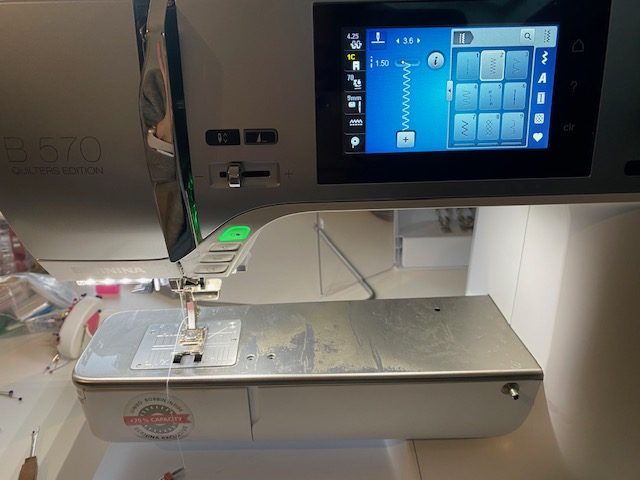
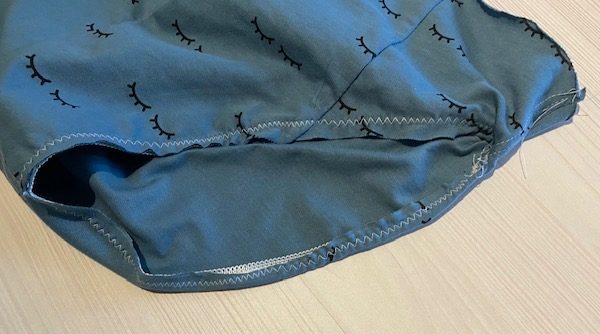
With the single needle and with a wide zig zag stitch, stitch the elastic to the fabric, from the wrong side.
As you sew, pull slightly the elastic band to create a small tension that will make the leg opening less stiff.
Now, fold the leg opening seam twice, tucking the elastic band inside.
With the twin needle again and a long stitch, top stitch the leg openings.
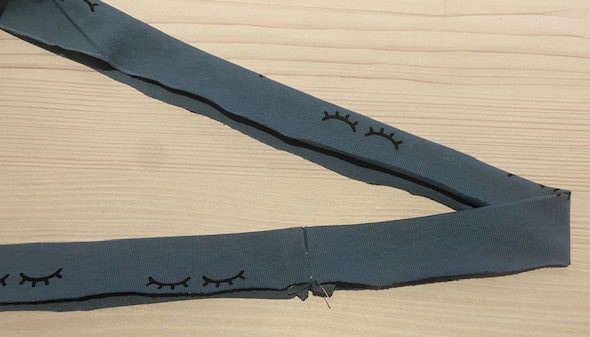
Place the front and back waistbands right sides facing and pin them on the side seams. Stitch one of the sides from top to bottom and on the other side, leave a 1 cm gap.
Iron flat the seams open.
Fold the waistband in half wrong sides facing
You should see the gap left here.
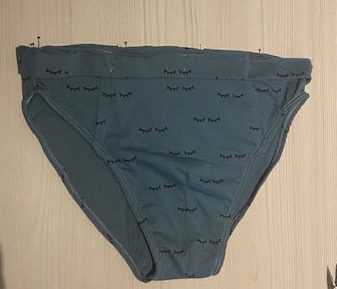
Place the waistband matching the top edge of the slip, matching the side seams. Pin and stitch. For this step, I preferred to overlock the seam for as my partner is very “seam sensitive” as explained at the beginning of this article and wanted to make it as thin as possible. But you can stitch all the layers together with your Bernina, using a long stitch and finishing the seam with a zig zag stitch.
Iron flat the seam.
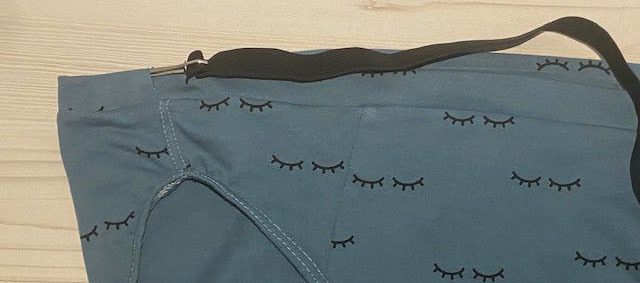
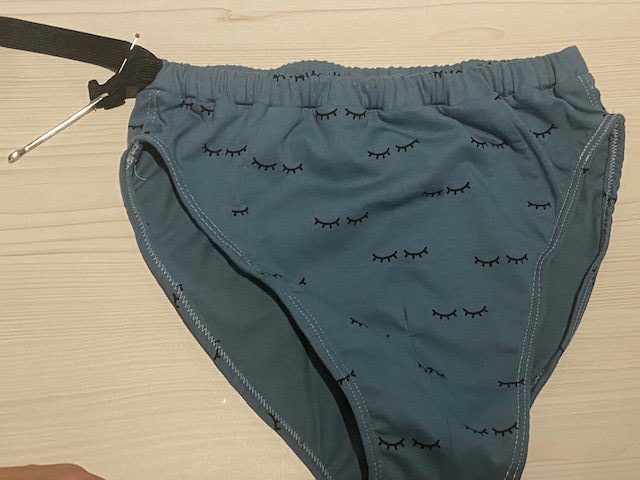
It is now time to insert the waistband elastic band through the gap left in the waistband piece.
Once the elastic band is out from both sides, put one edge on top of the other elastic band edge and top stitch with a zig zag stitch. Cut the extra elastic band and insert it into the waistband. Then close the waistband gap with an invisible stitch and you will be done!
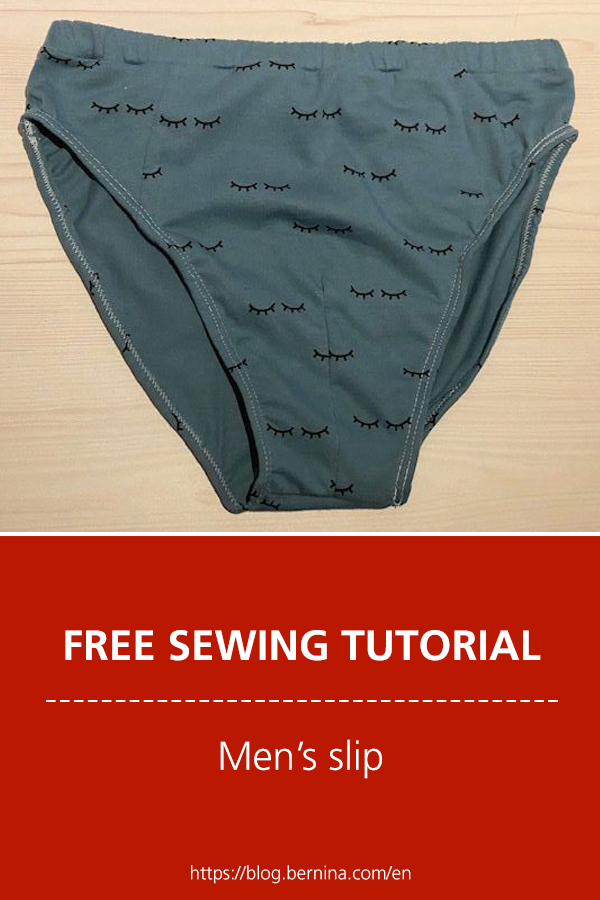
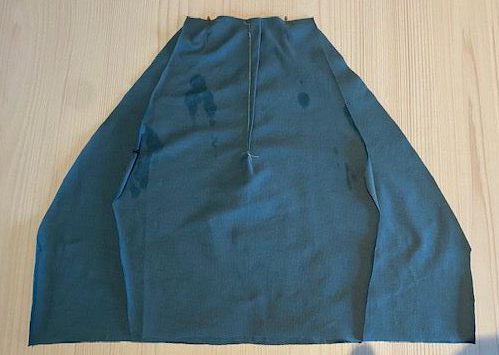
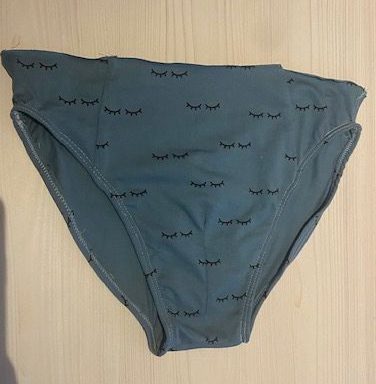
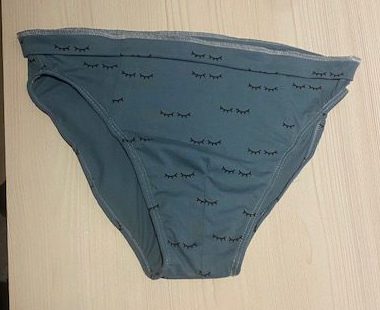
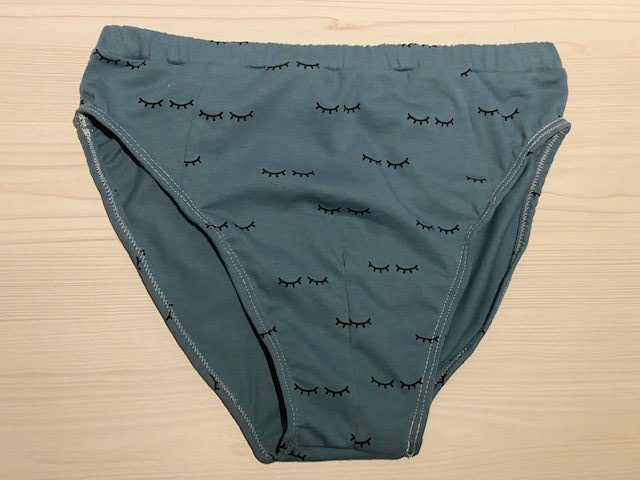
This is how the front looks.
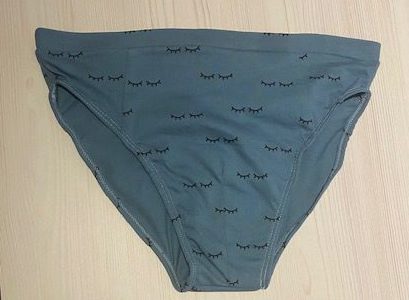
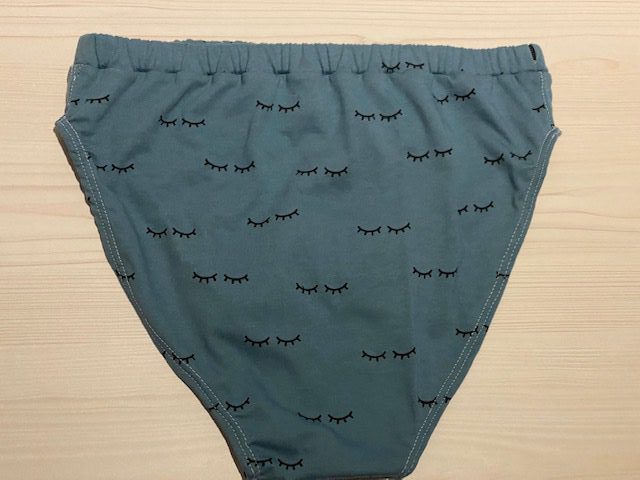
And this is the back of the slip.
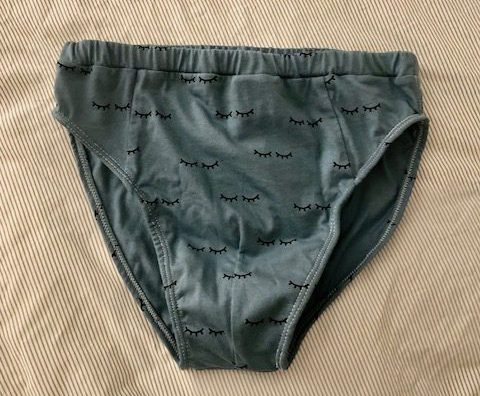
For a first time and not having the exact dimensions/measurements I am pretty happy with the result! What do you think ?
And for the happy news, once my partner tried it, he love it!!
The fit is quite good actually, I’d just have to remove some cm on the top center piece to make it fit better. But I am happy he is wearing it!
FYI: he didn’t want to pose with it!
 BERNINA Corporate Blog -






Thanks for this tutorial. I will now try sewing my own underwear. Wish me luck!
these patterns are in cm. Is there a conversion chart?
You can use an online converter. Just enter the amount of cm, press the key “Enter” and it will convert it to inch. https://www.rapidtables.com/convert/length/cm-to-inch.html
Thanks Ramona! That is what I usually do when I find patterns in inches 😉
Yes, same for me! We would miss out on too many cool patterns otherwhise 🙂