 BERNINA Corporate Blog -
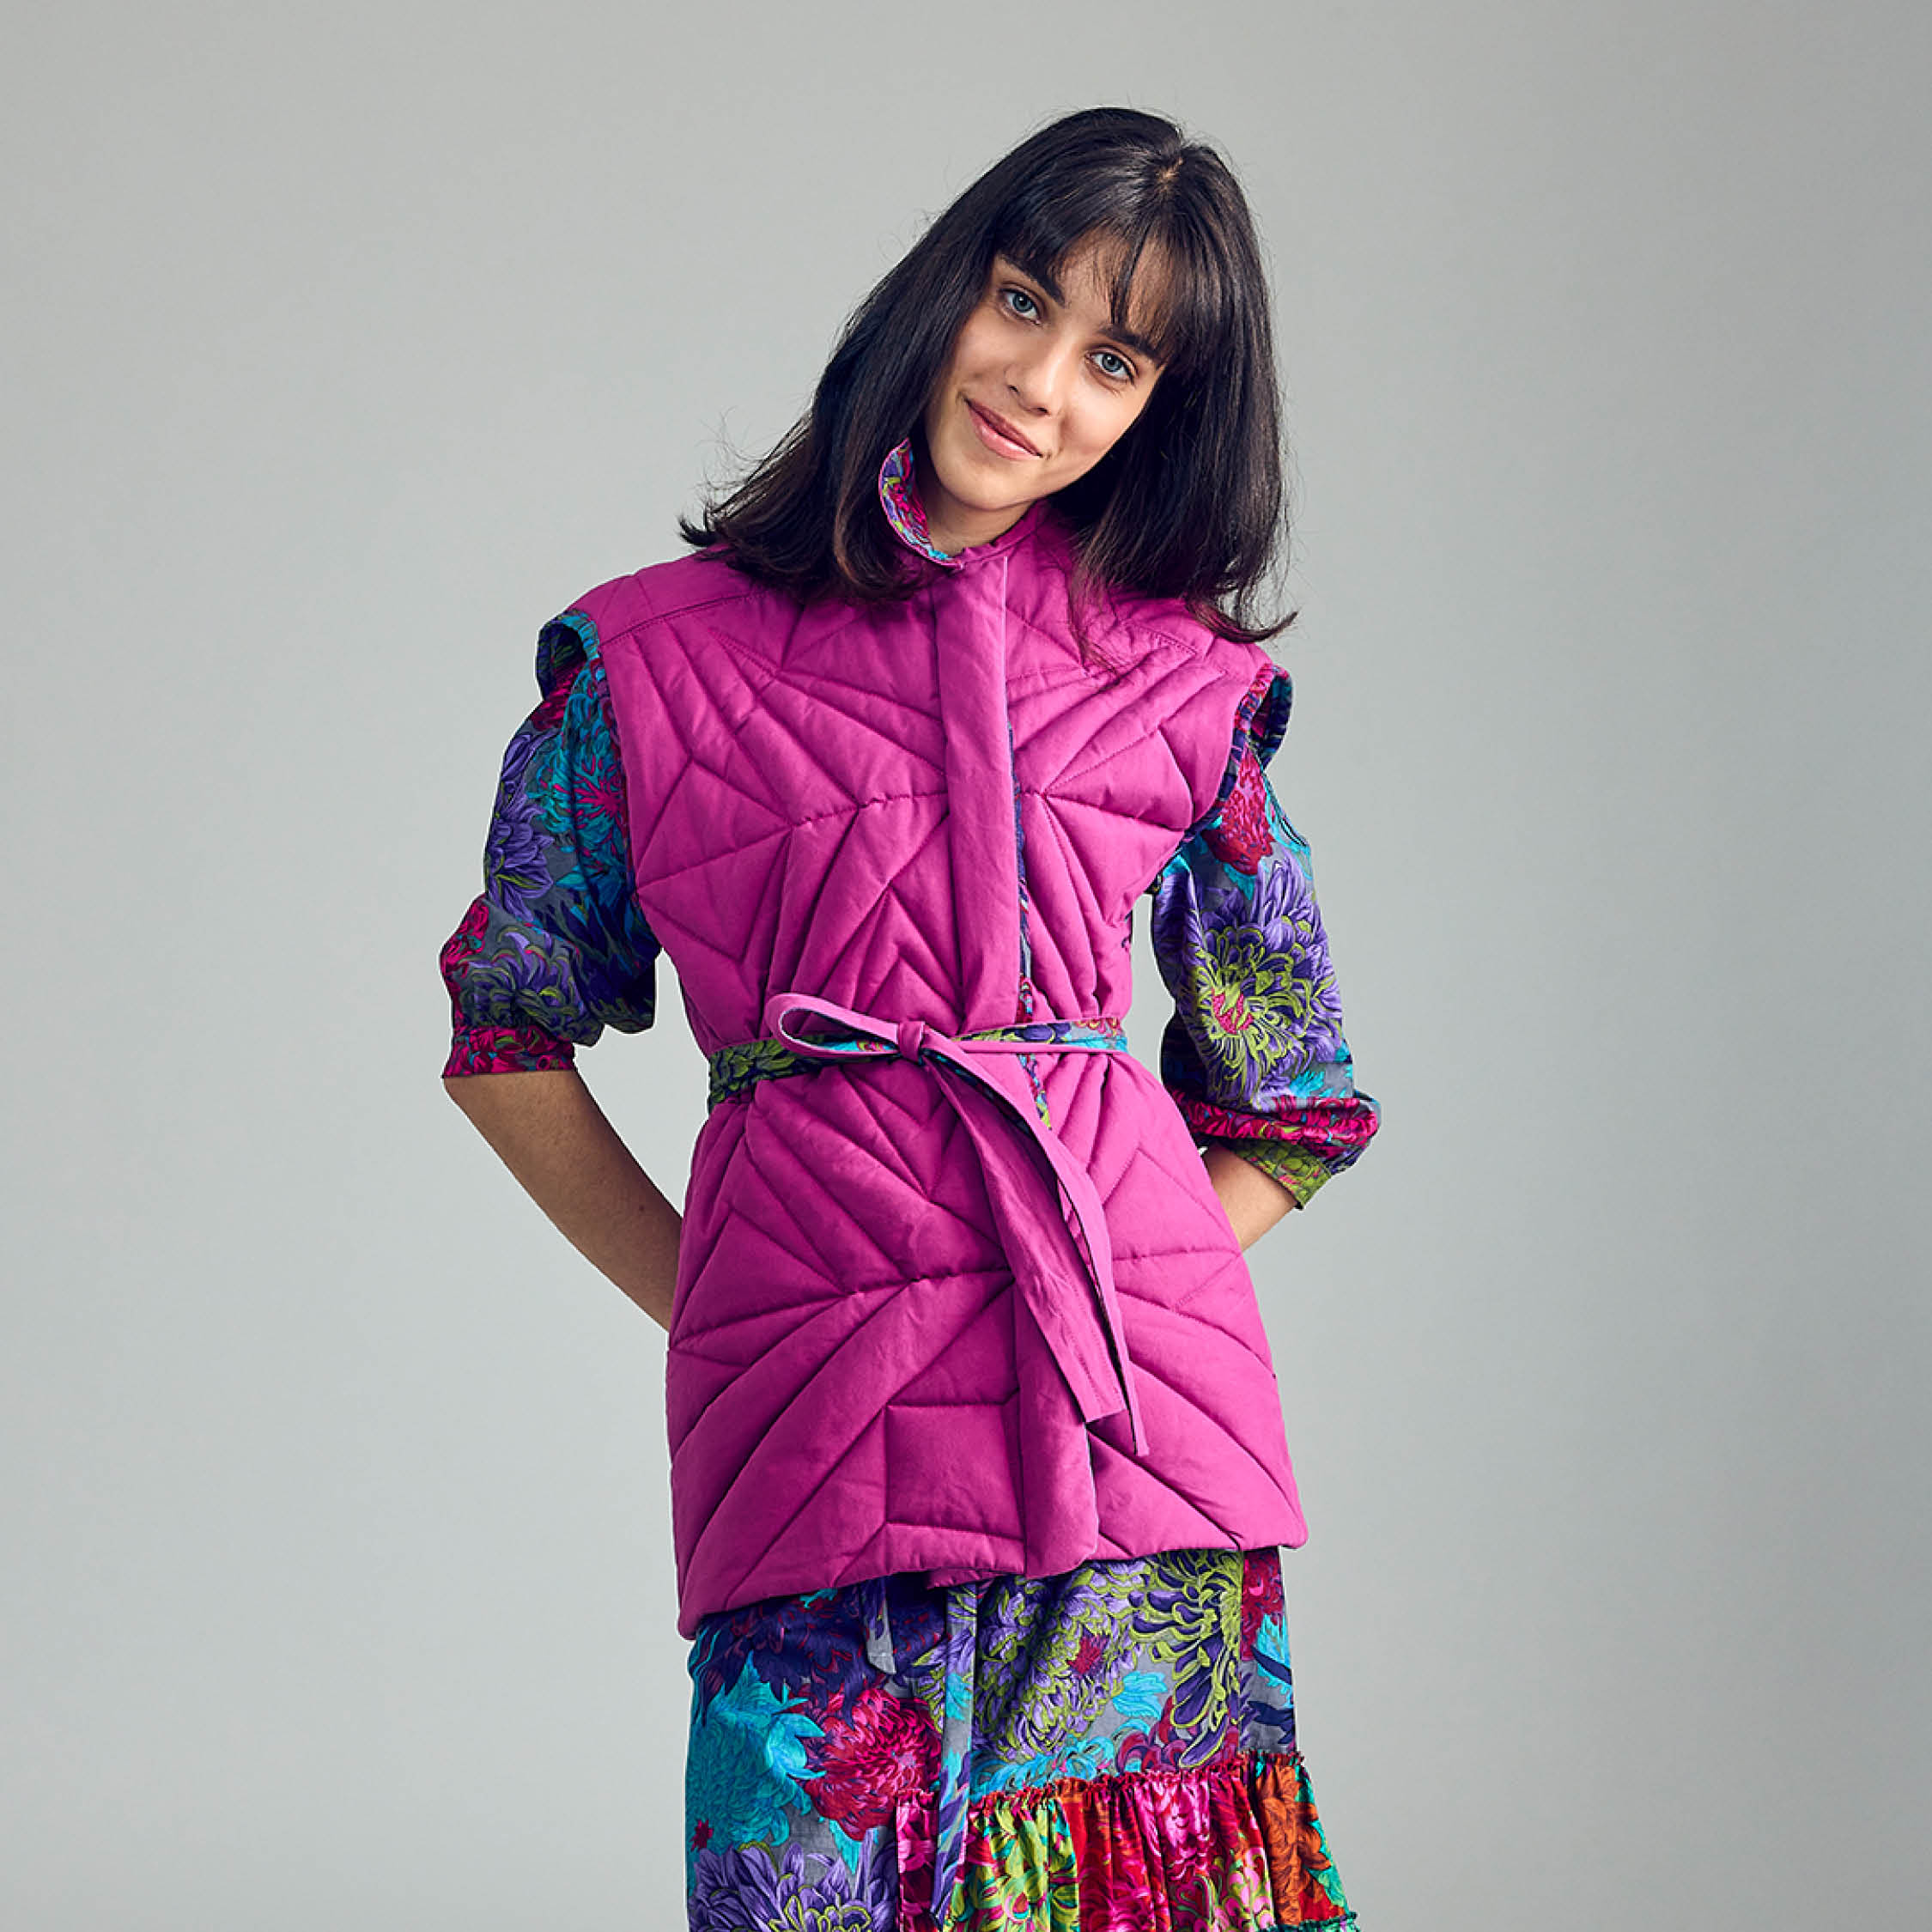
BERNINA Fashion Looks – Instructions for the women’s vest “Monarda”
The BERNINA Fashion Looks collection comes from the pen of the Swiss designer Irène Münger and is inspired by the fabrics of the English textile designer Kaffe Fassett. It is the first fashion collection to sew. The masterpiece of the collection is the vest “Monarda”.
The puffer vest is perfect for seasonal transitions. The quilted oilskin or canvas is filled with warming padding and lined with a Kaffe Fassett floral print fabric. The model with a stand-up collar, a distinctive shoulder area and a waist belt can be perfectly combined with a flounce dress or sweatshirt from BERNINA Fashion Looks and makes a particularly chic image with sneakers.
The fashionable cuts from the collection are available online in the Inspiration Shop.
Follow my detailed guide, available today, for the easiest possible method to sew the vest. I will show you how you can sew your own vest with many accompanying pictures.
The following material is required for the vest:
- Walking foot no. #50
- Presser foot #1 C/D
- Zipper foot #4 C/D
- Heavy canvas cotton “washed-burn bronze” by mind the MAKER or oilskin – 1.70 m
- Chrysanthemum cotton fabric “Autum” by Kaffe Fassett – 1.90 m
- Volume fleece R200 by Vlieseline – 4 m
- Detachable zipper 65 cm
- Sewing and overlocking threads
- Copying paper
- Tracing wheel
- Tape maker for bias binding 18 mm
- Prym spray adhesive, temporary
Preparations/fabric cutting
Sewing patterns
The pattern is part of BERNINA Fashion Looks: Go to the vest pattern “Monarda”.
You will find an overview of all the patterns here.
Open the pattern PDF and print Page 1 on A4 paper with the setting “original size”. Check the control-square – if it is 10 x 10 cm, then print the entire pattern. Place all sides together as indicated and glue them together at their borders. Cut out the pattern pieces in the appropriate size.
The sewing pattern already contains all seam and hem allowances.
Cut
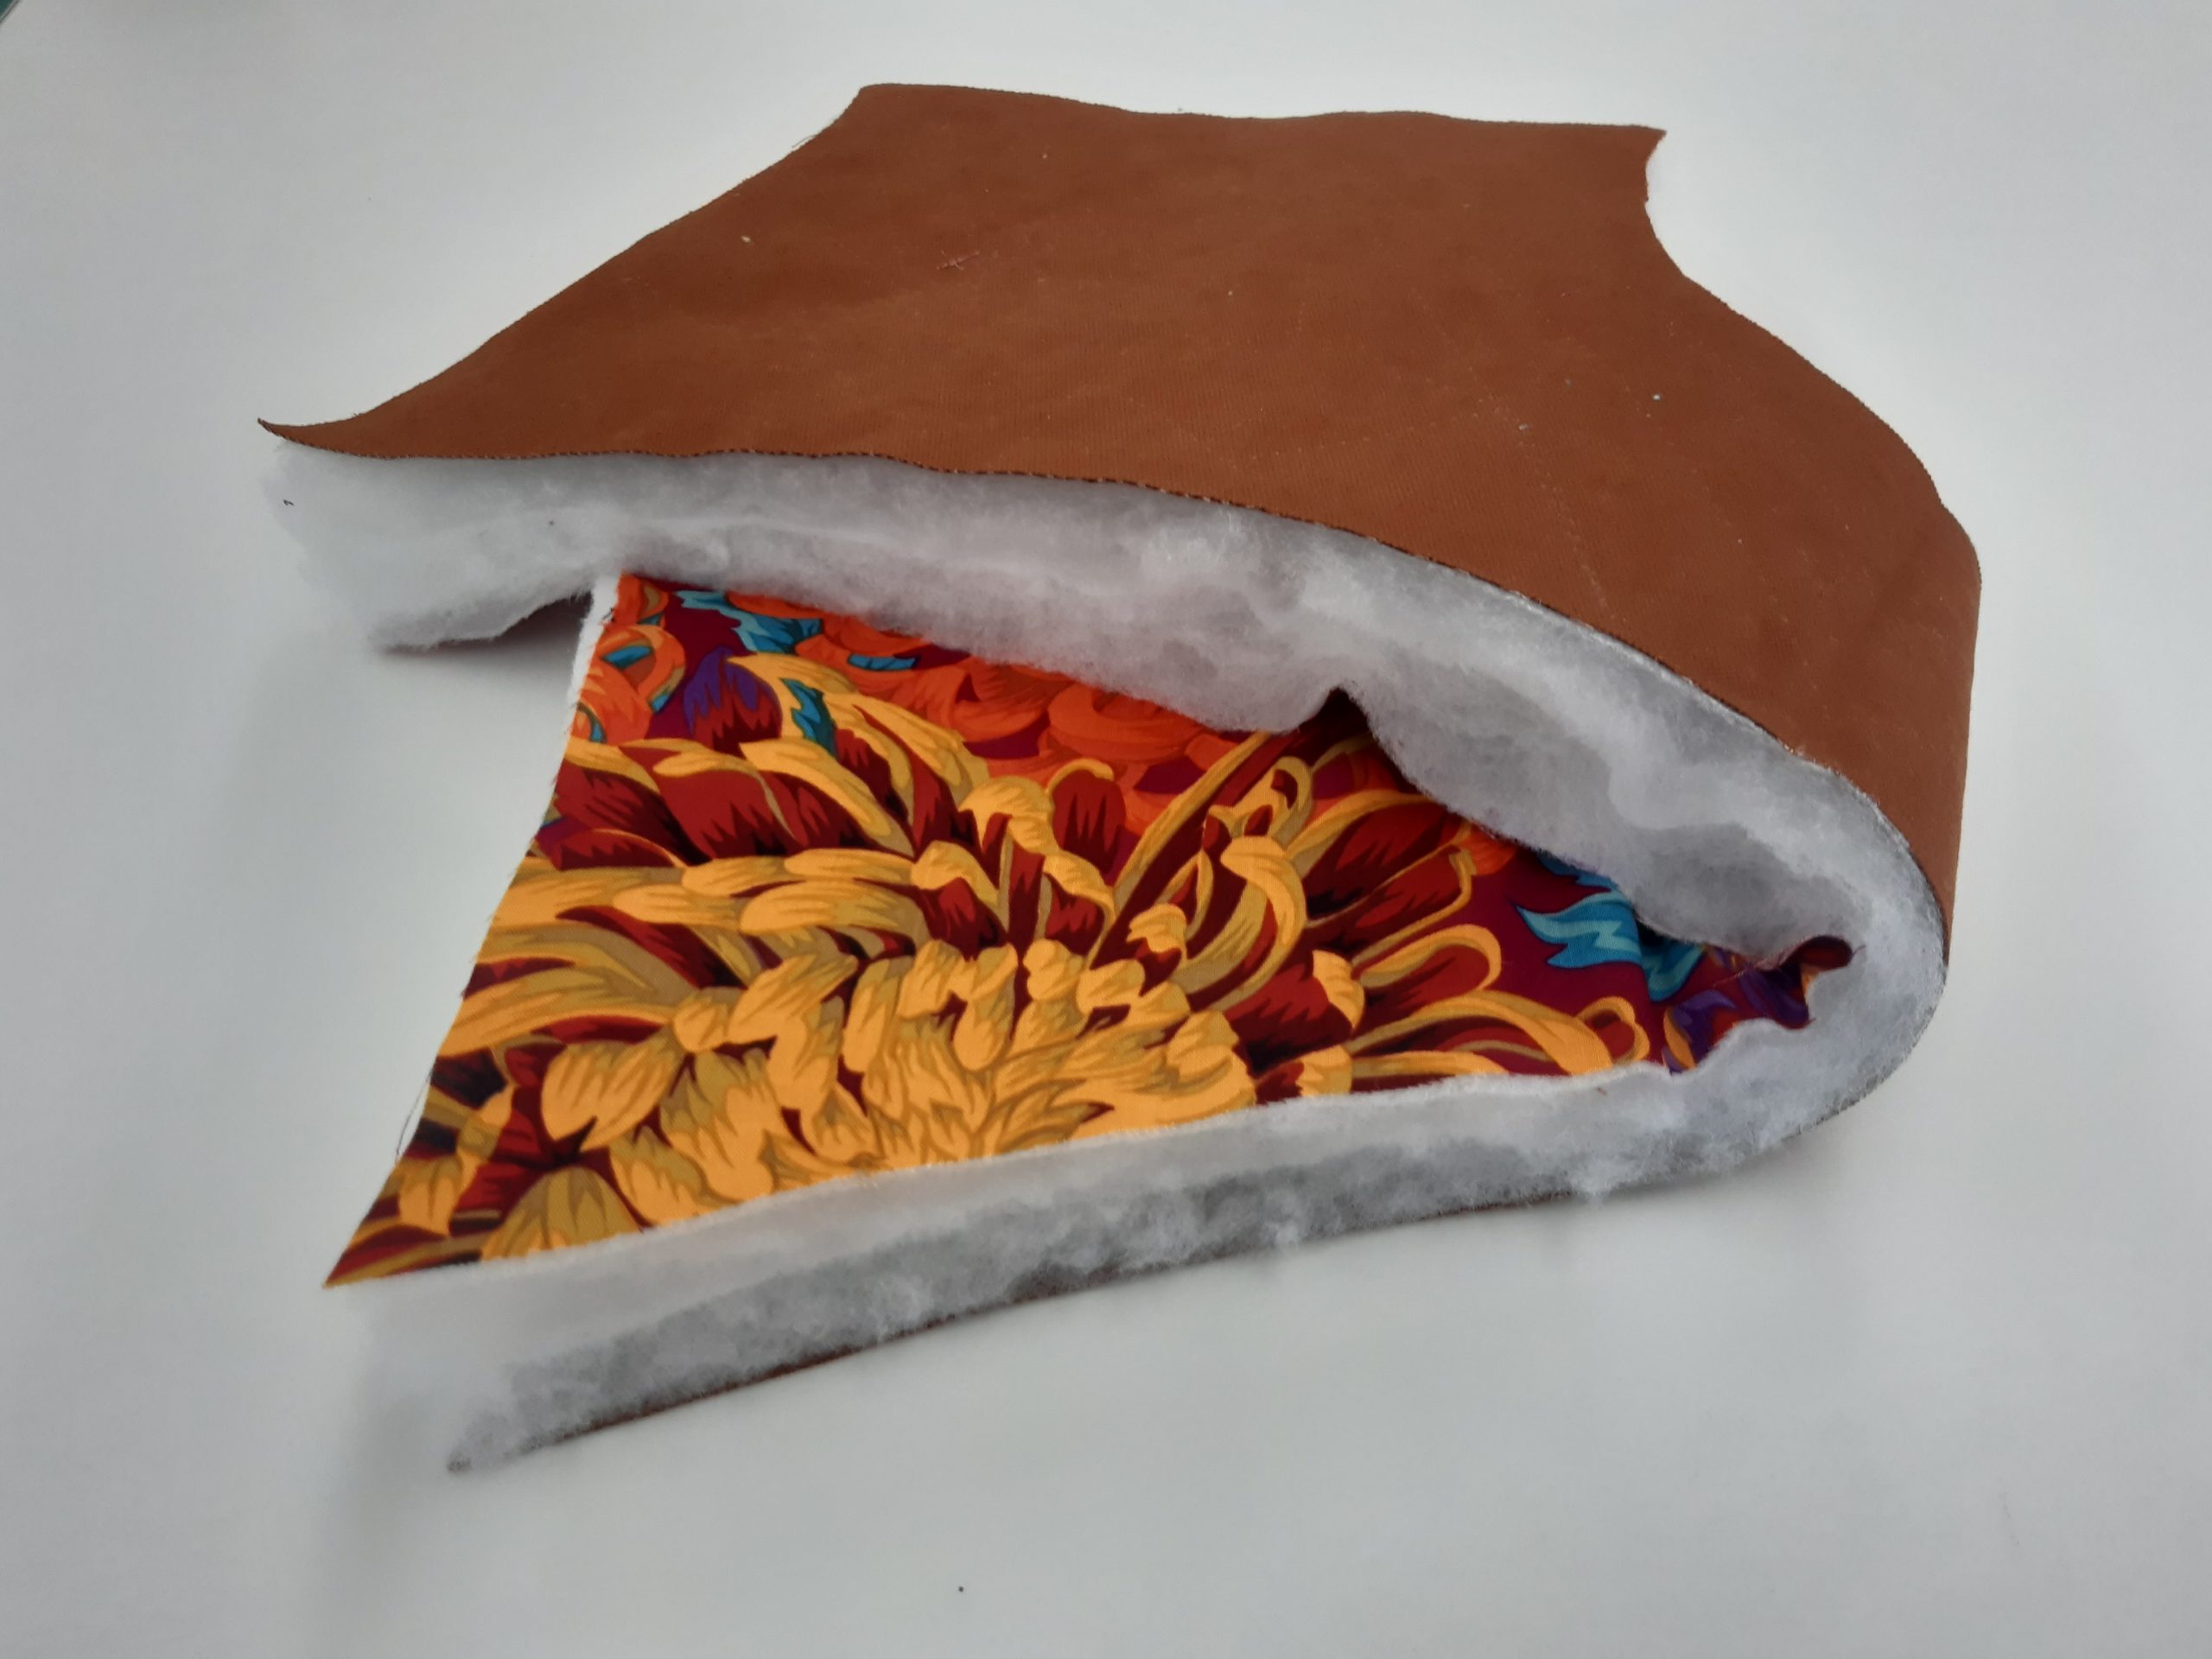
- Cut the back yoke, back piece and two front pieces as indicated on the pattern twice from the fleece and once from the canvas and lining material.
- The collar and trim are each made of canvas, lining and fleece.
- Cut a tie belt from the canvas and lining fabric.
- Cut the pocket pouch (mirror-image) twice from the canvas and twice from the Kaffe Fassett fabric.
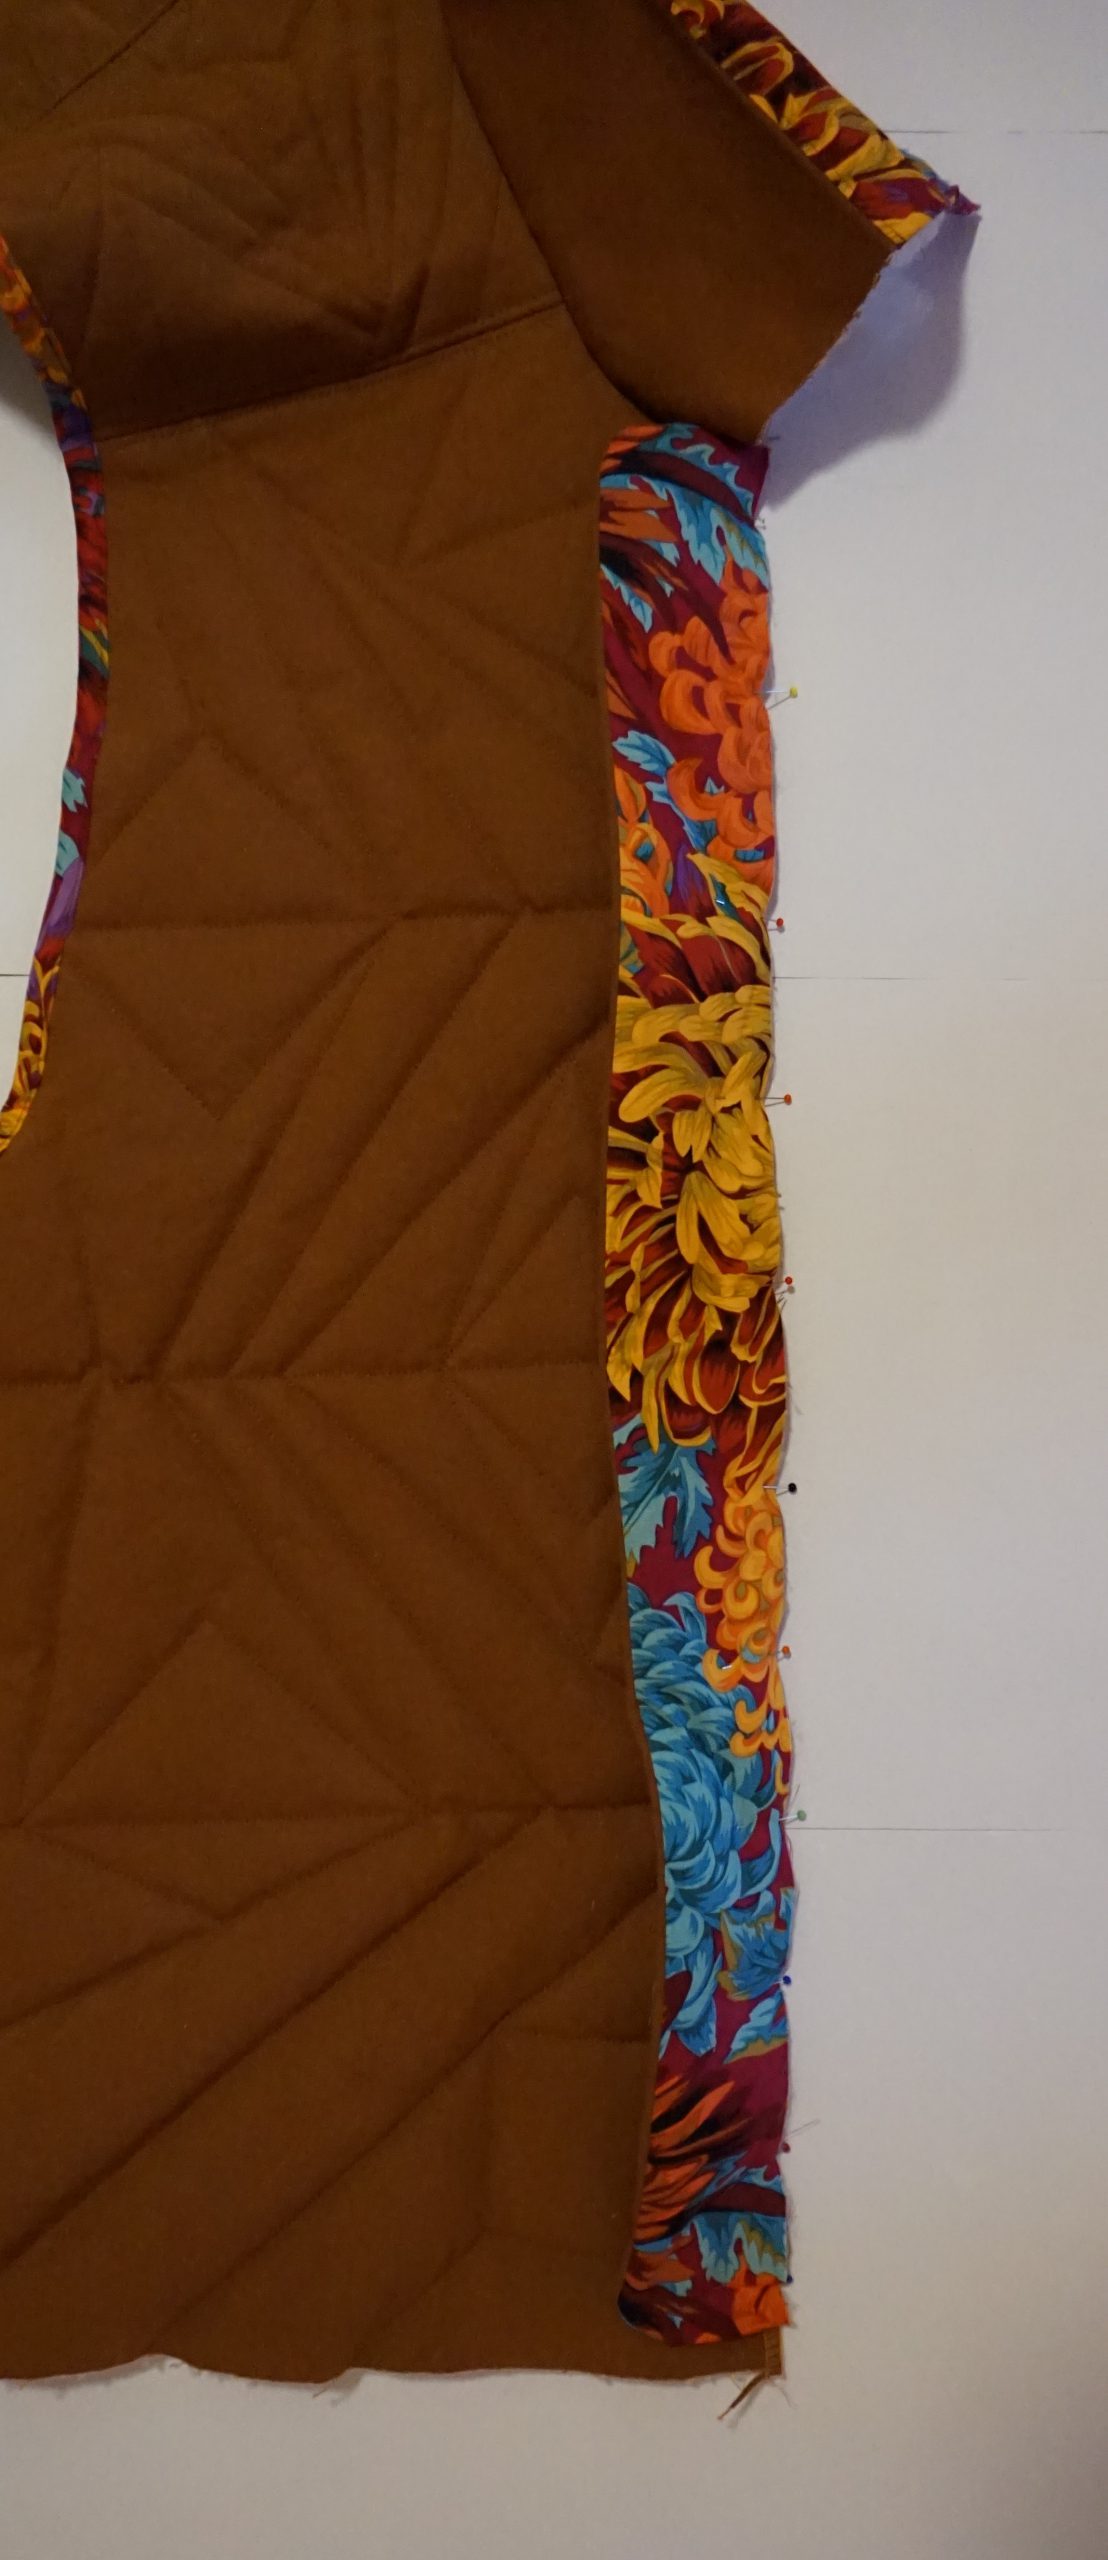
- Cut 3.8-cm-wide oblique strips from the Kaffe Fassett fabric: 2x armhole width, 1x yoke length, 2x shoulder length, 4x side length, 1x hem length and 2x as facing for a zipper.
- Iron all diagonal strips with the tape maker for bias binding.
TIP: I only cut the bias binding once the parts are sewn together. This allows me to measure exactly how much bias binding I need.
Sew the vest – let’s begin!
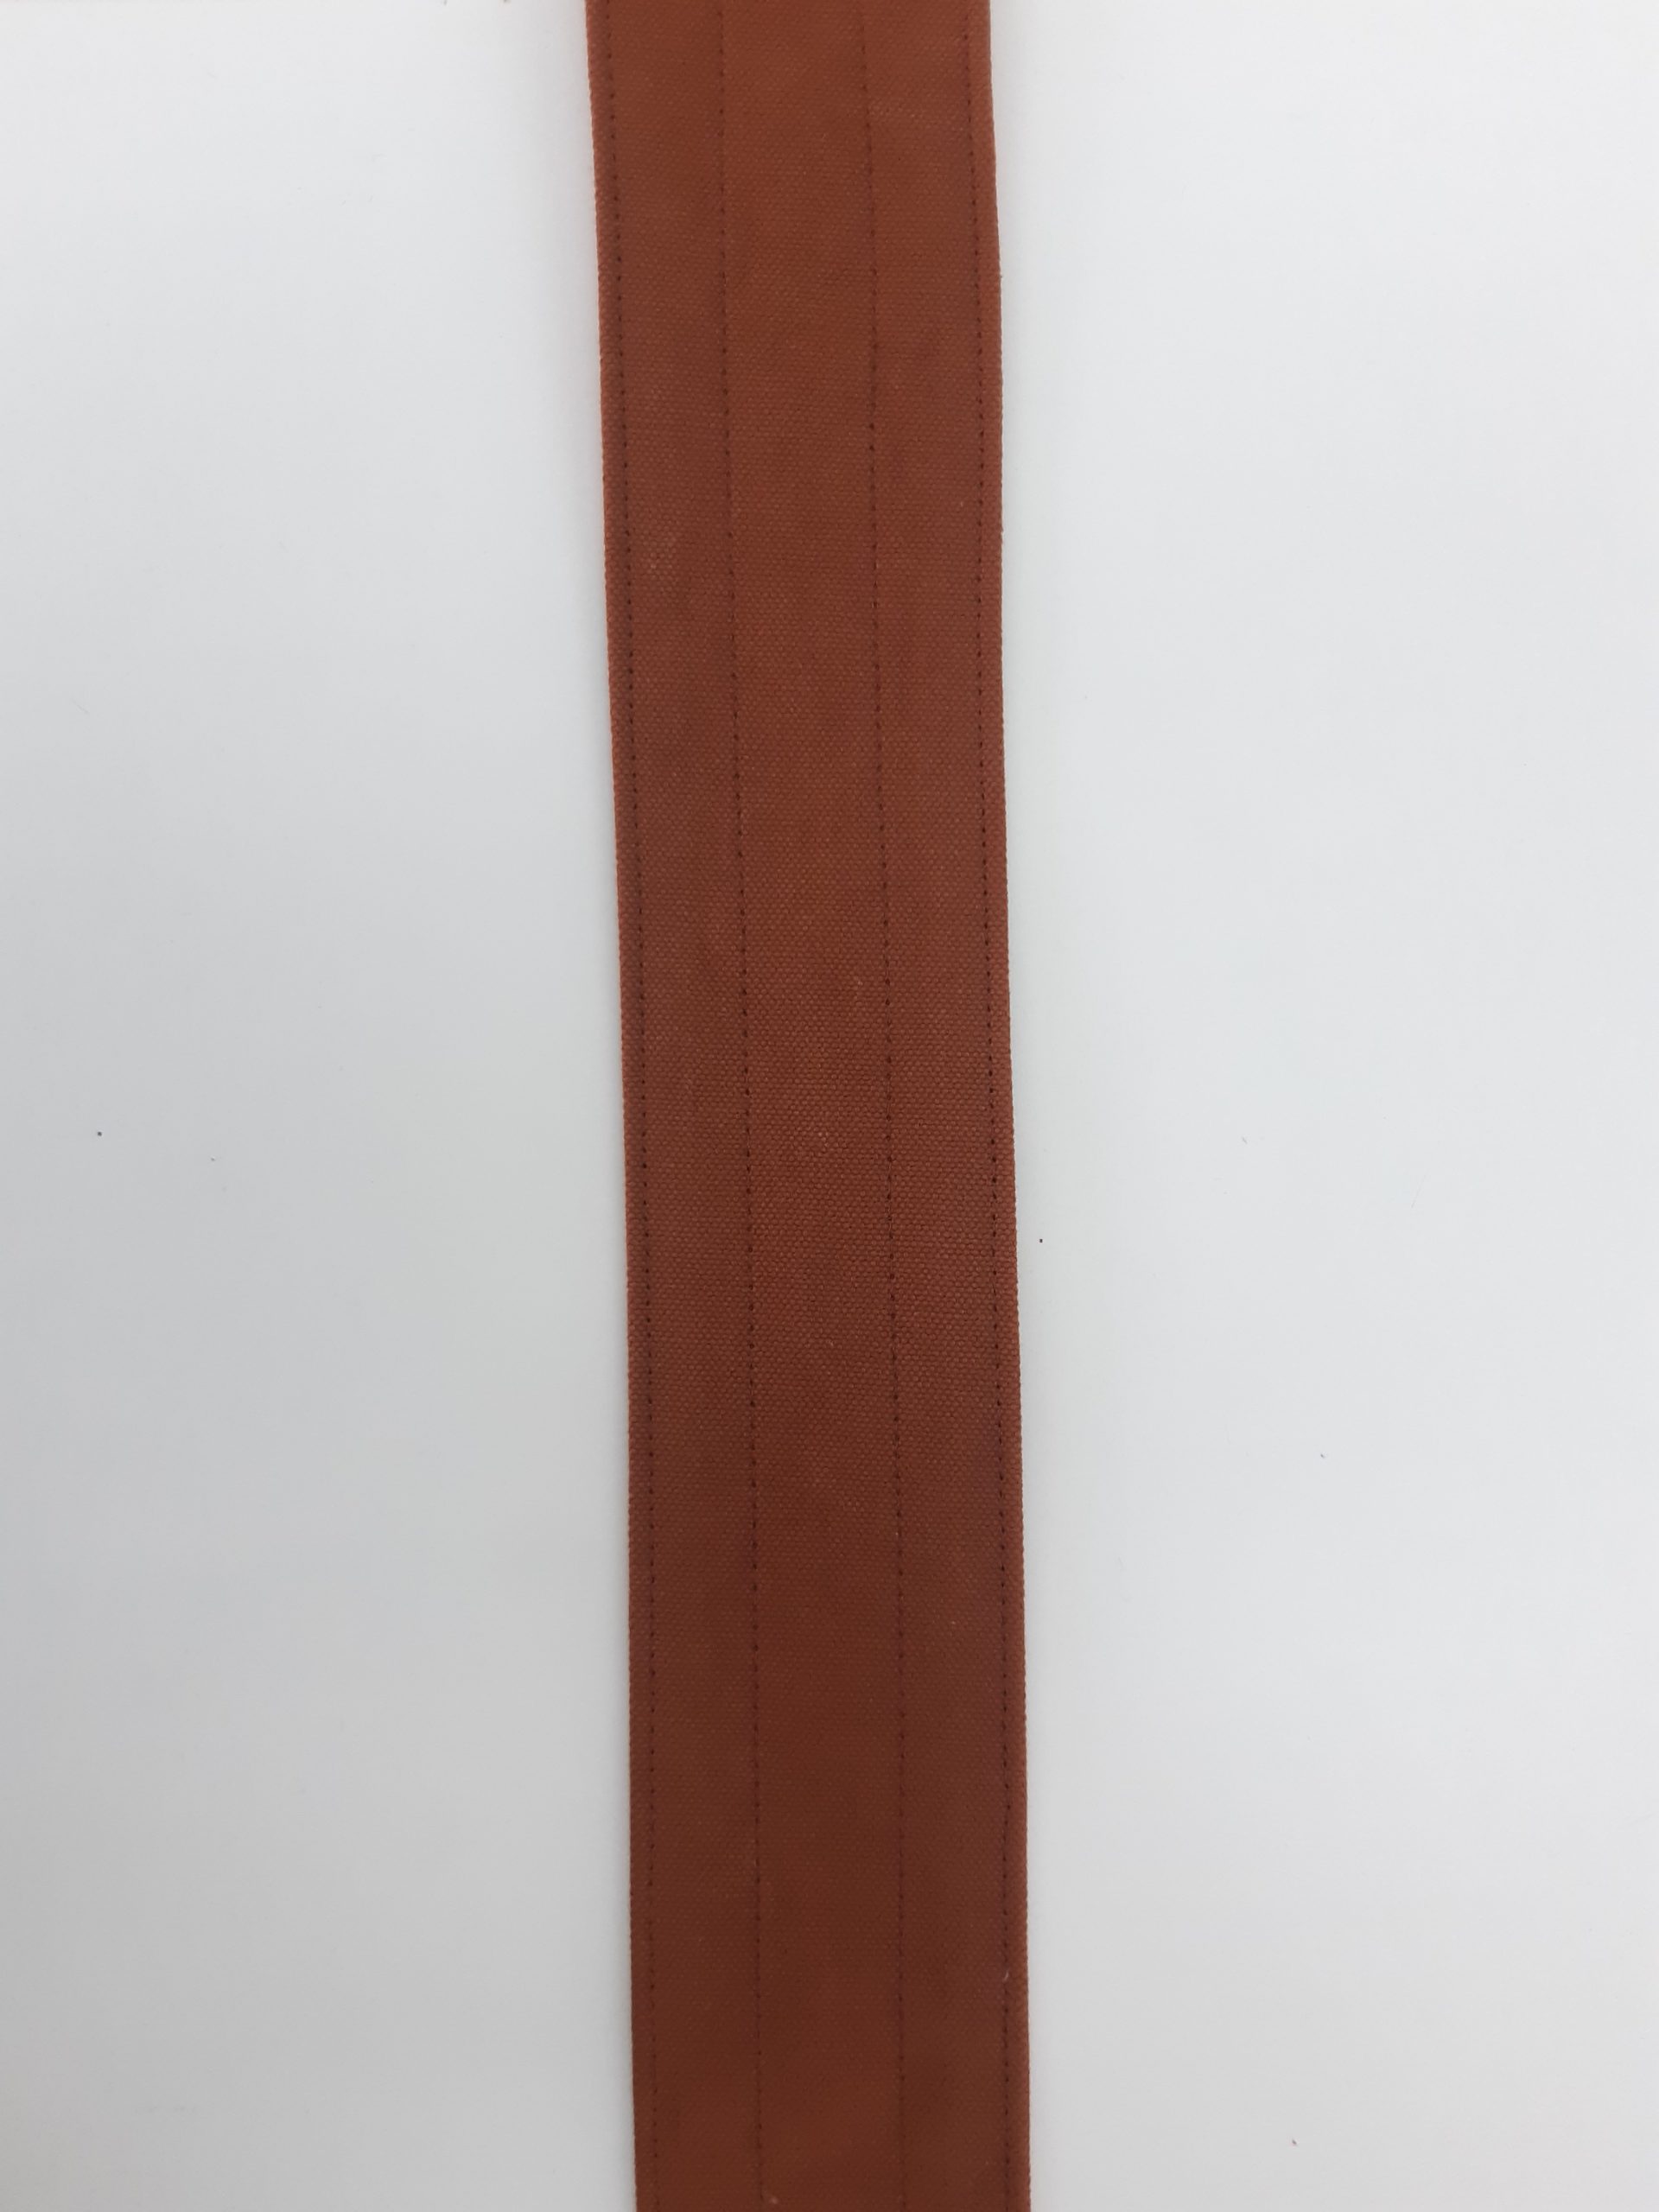
Sew the tie belt:
Join the canvas and lining part right side to right side and pin all around.
- Sew the belt together all the way around with a presser-foot width, leaving a turning opening of about 10 cm open on one longside.
- Reverse the belt and iron flat. Iron out the corners and edges neatly.
- Turn the seam allowance at the turning opening inwards and pin it.
- Edgestitch the belt all around with a stitch length of 3 mm.
Stitch the belt lengthwise twice from the front. Distance to the length edge is 1.5 cm/ stitch length 3 mm.
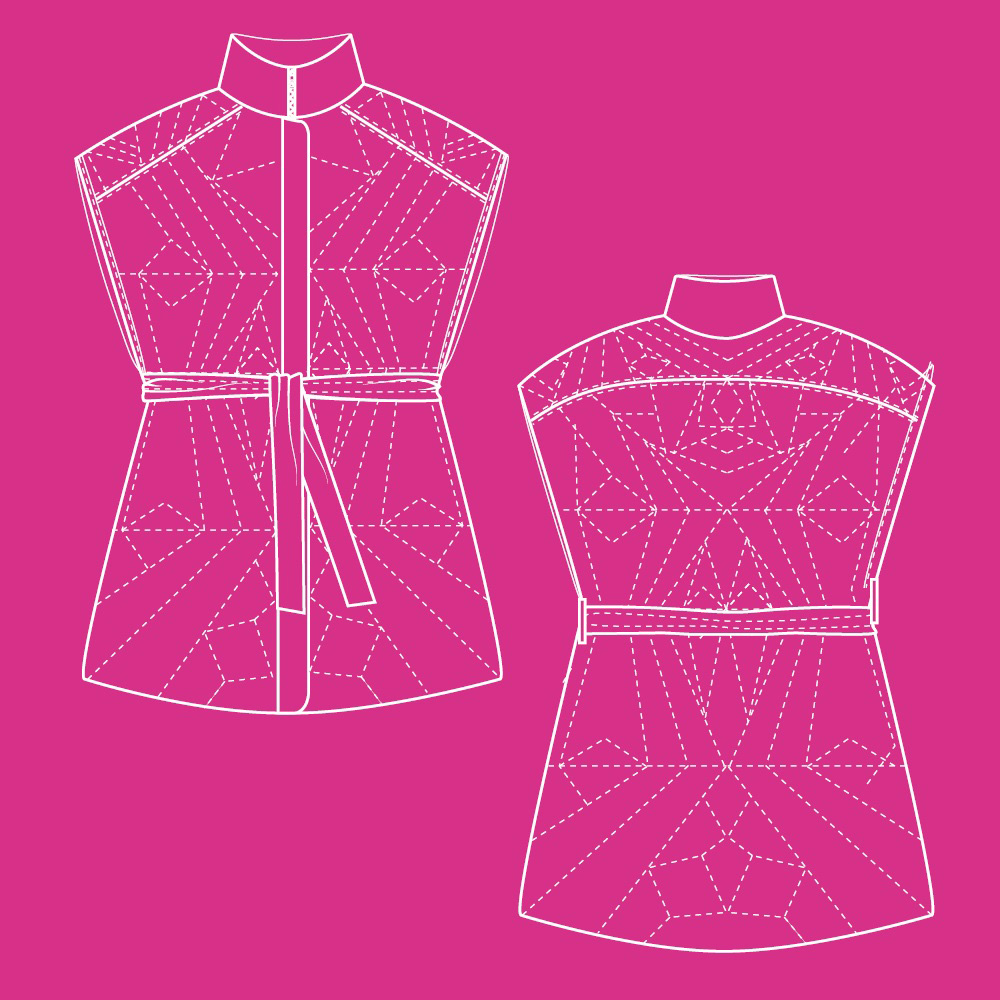
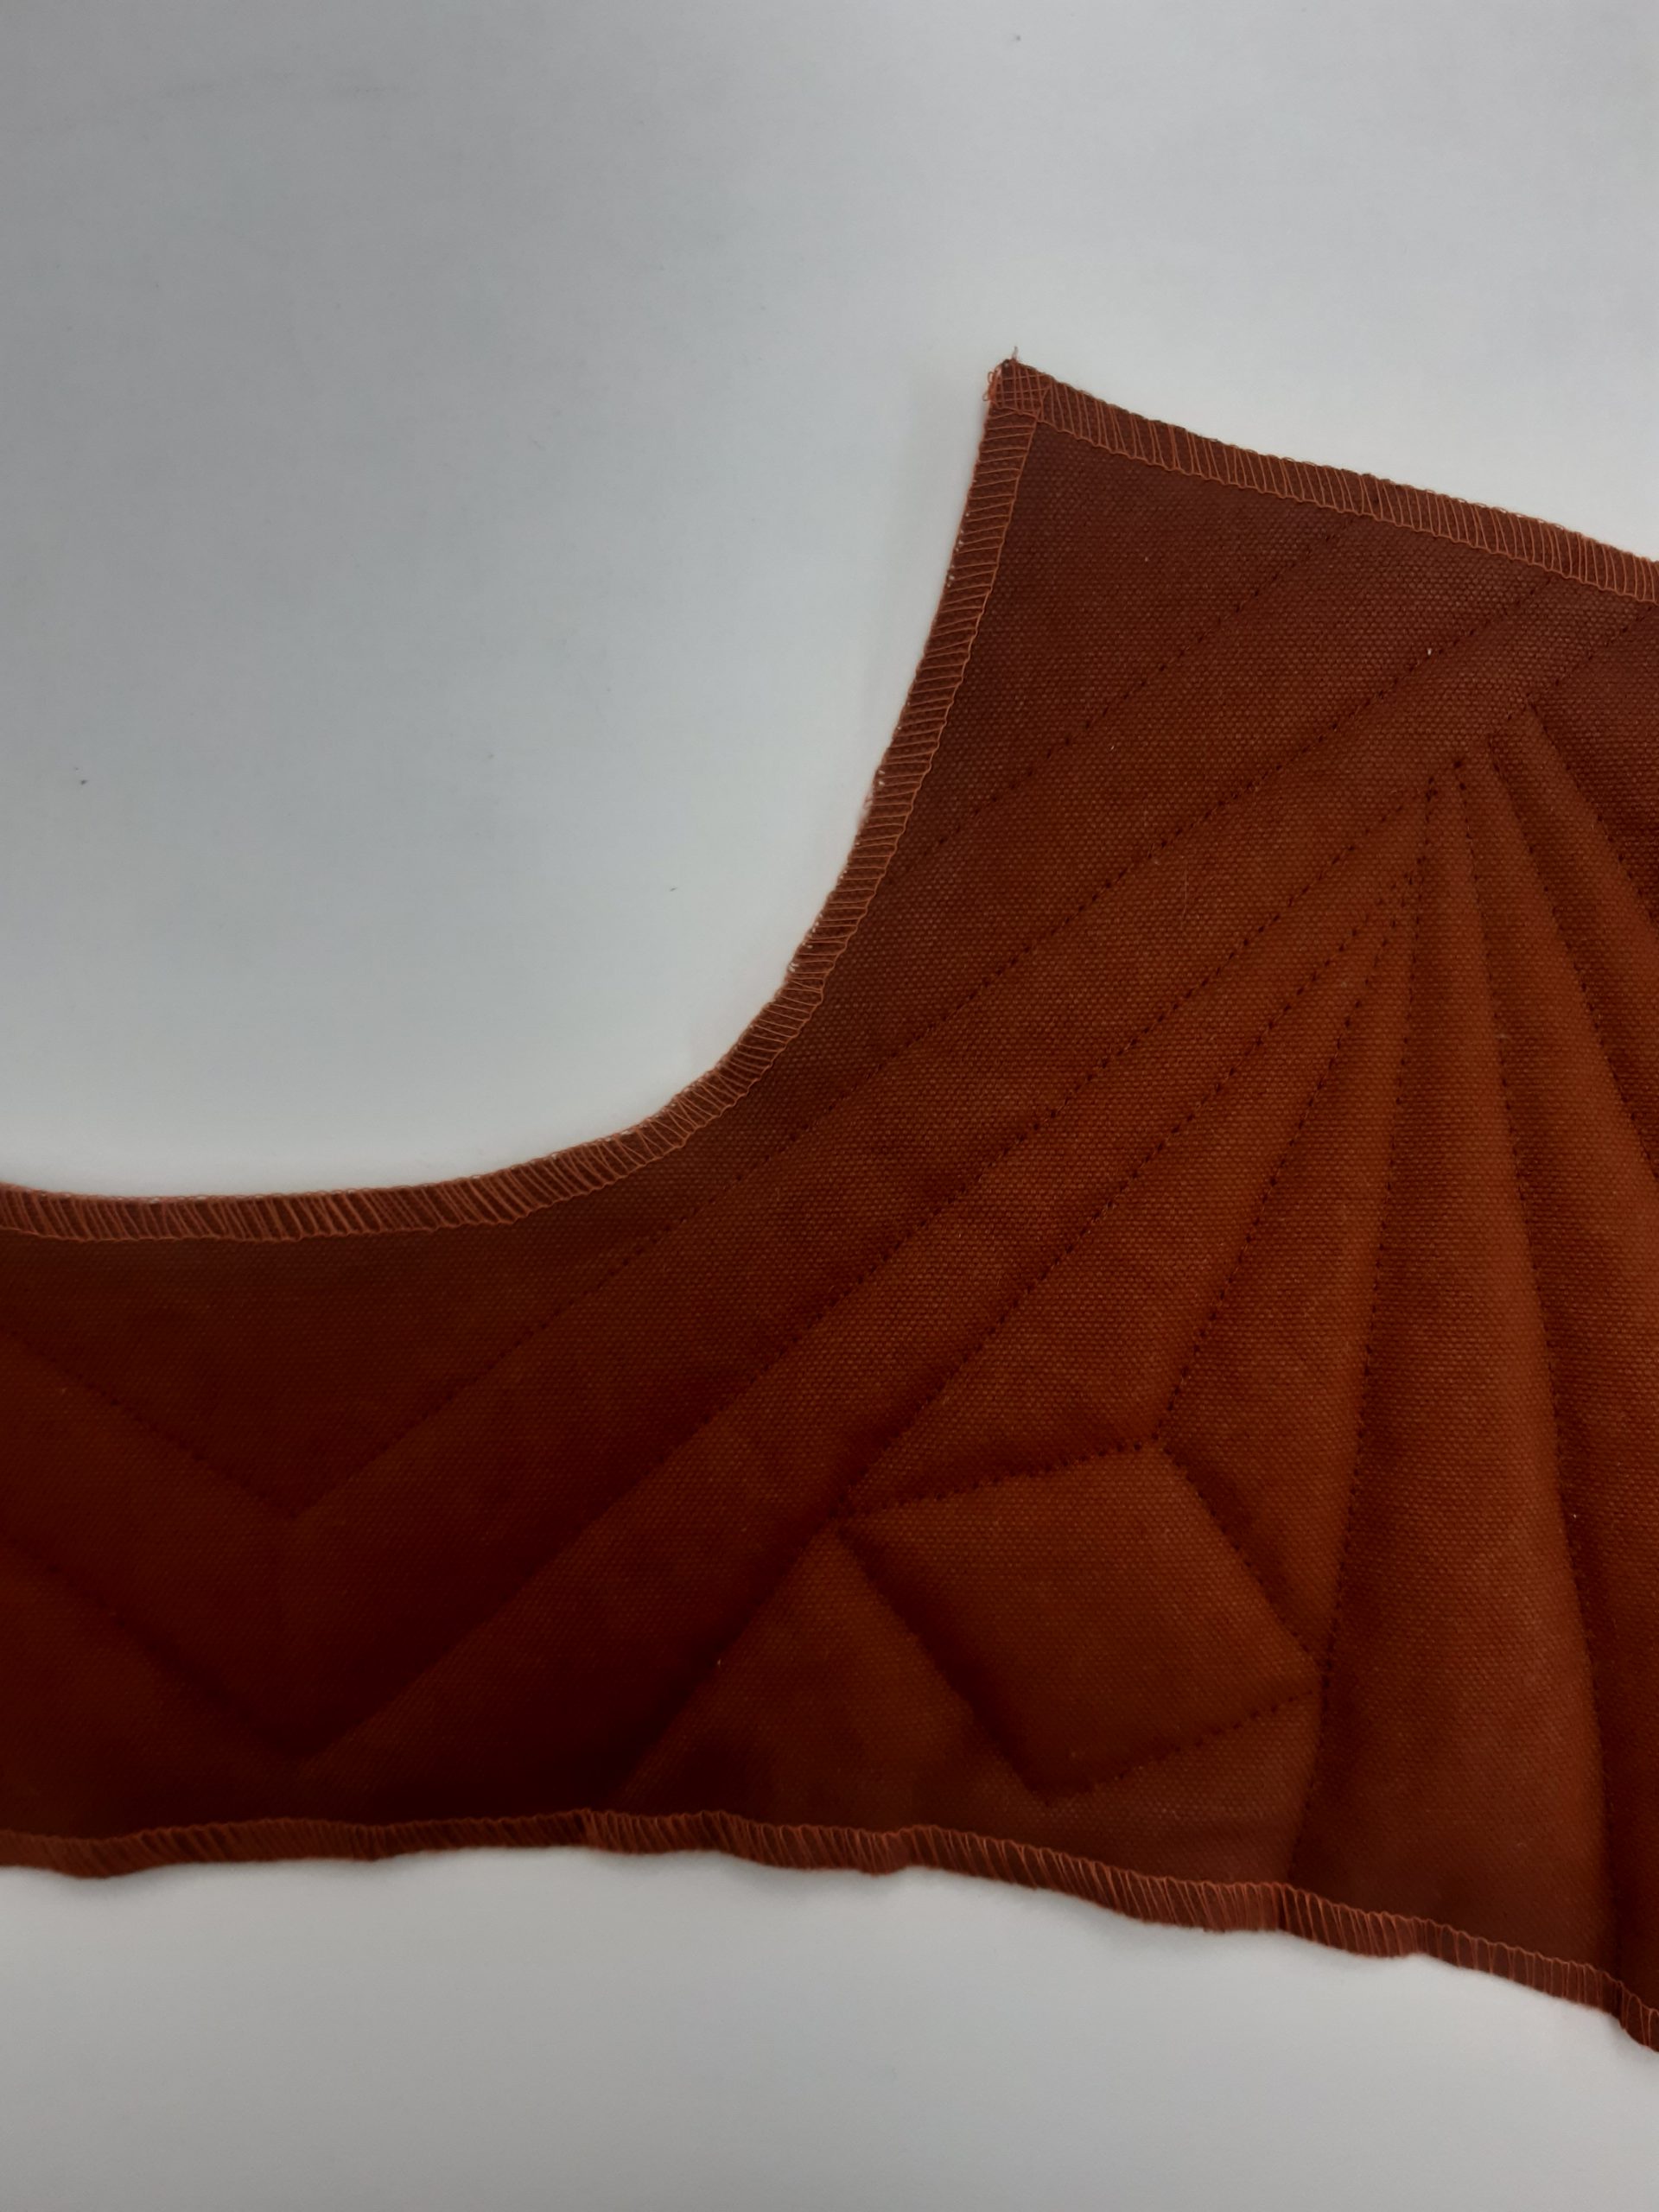
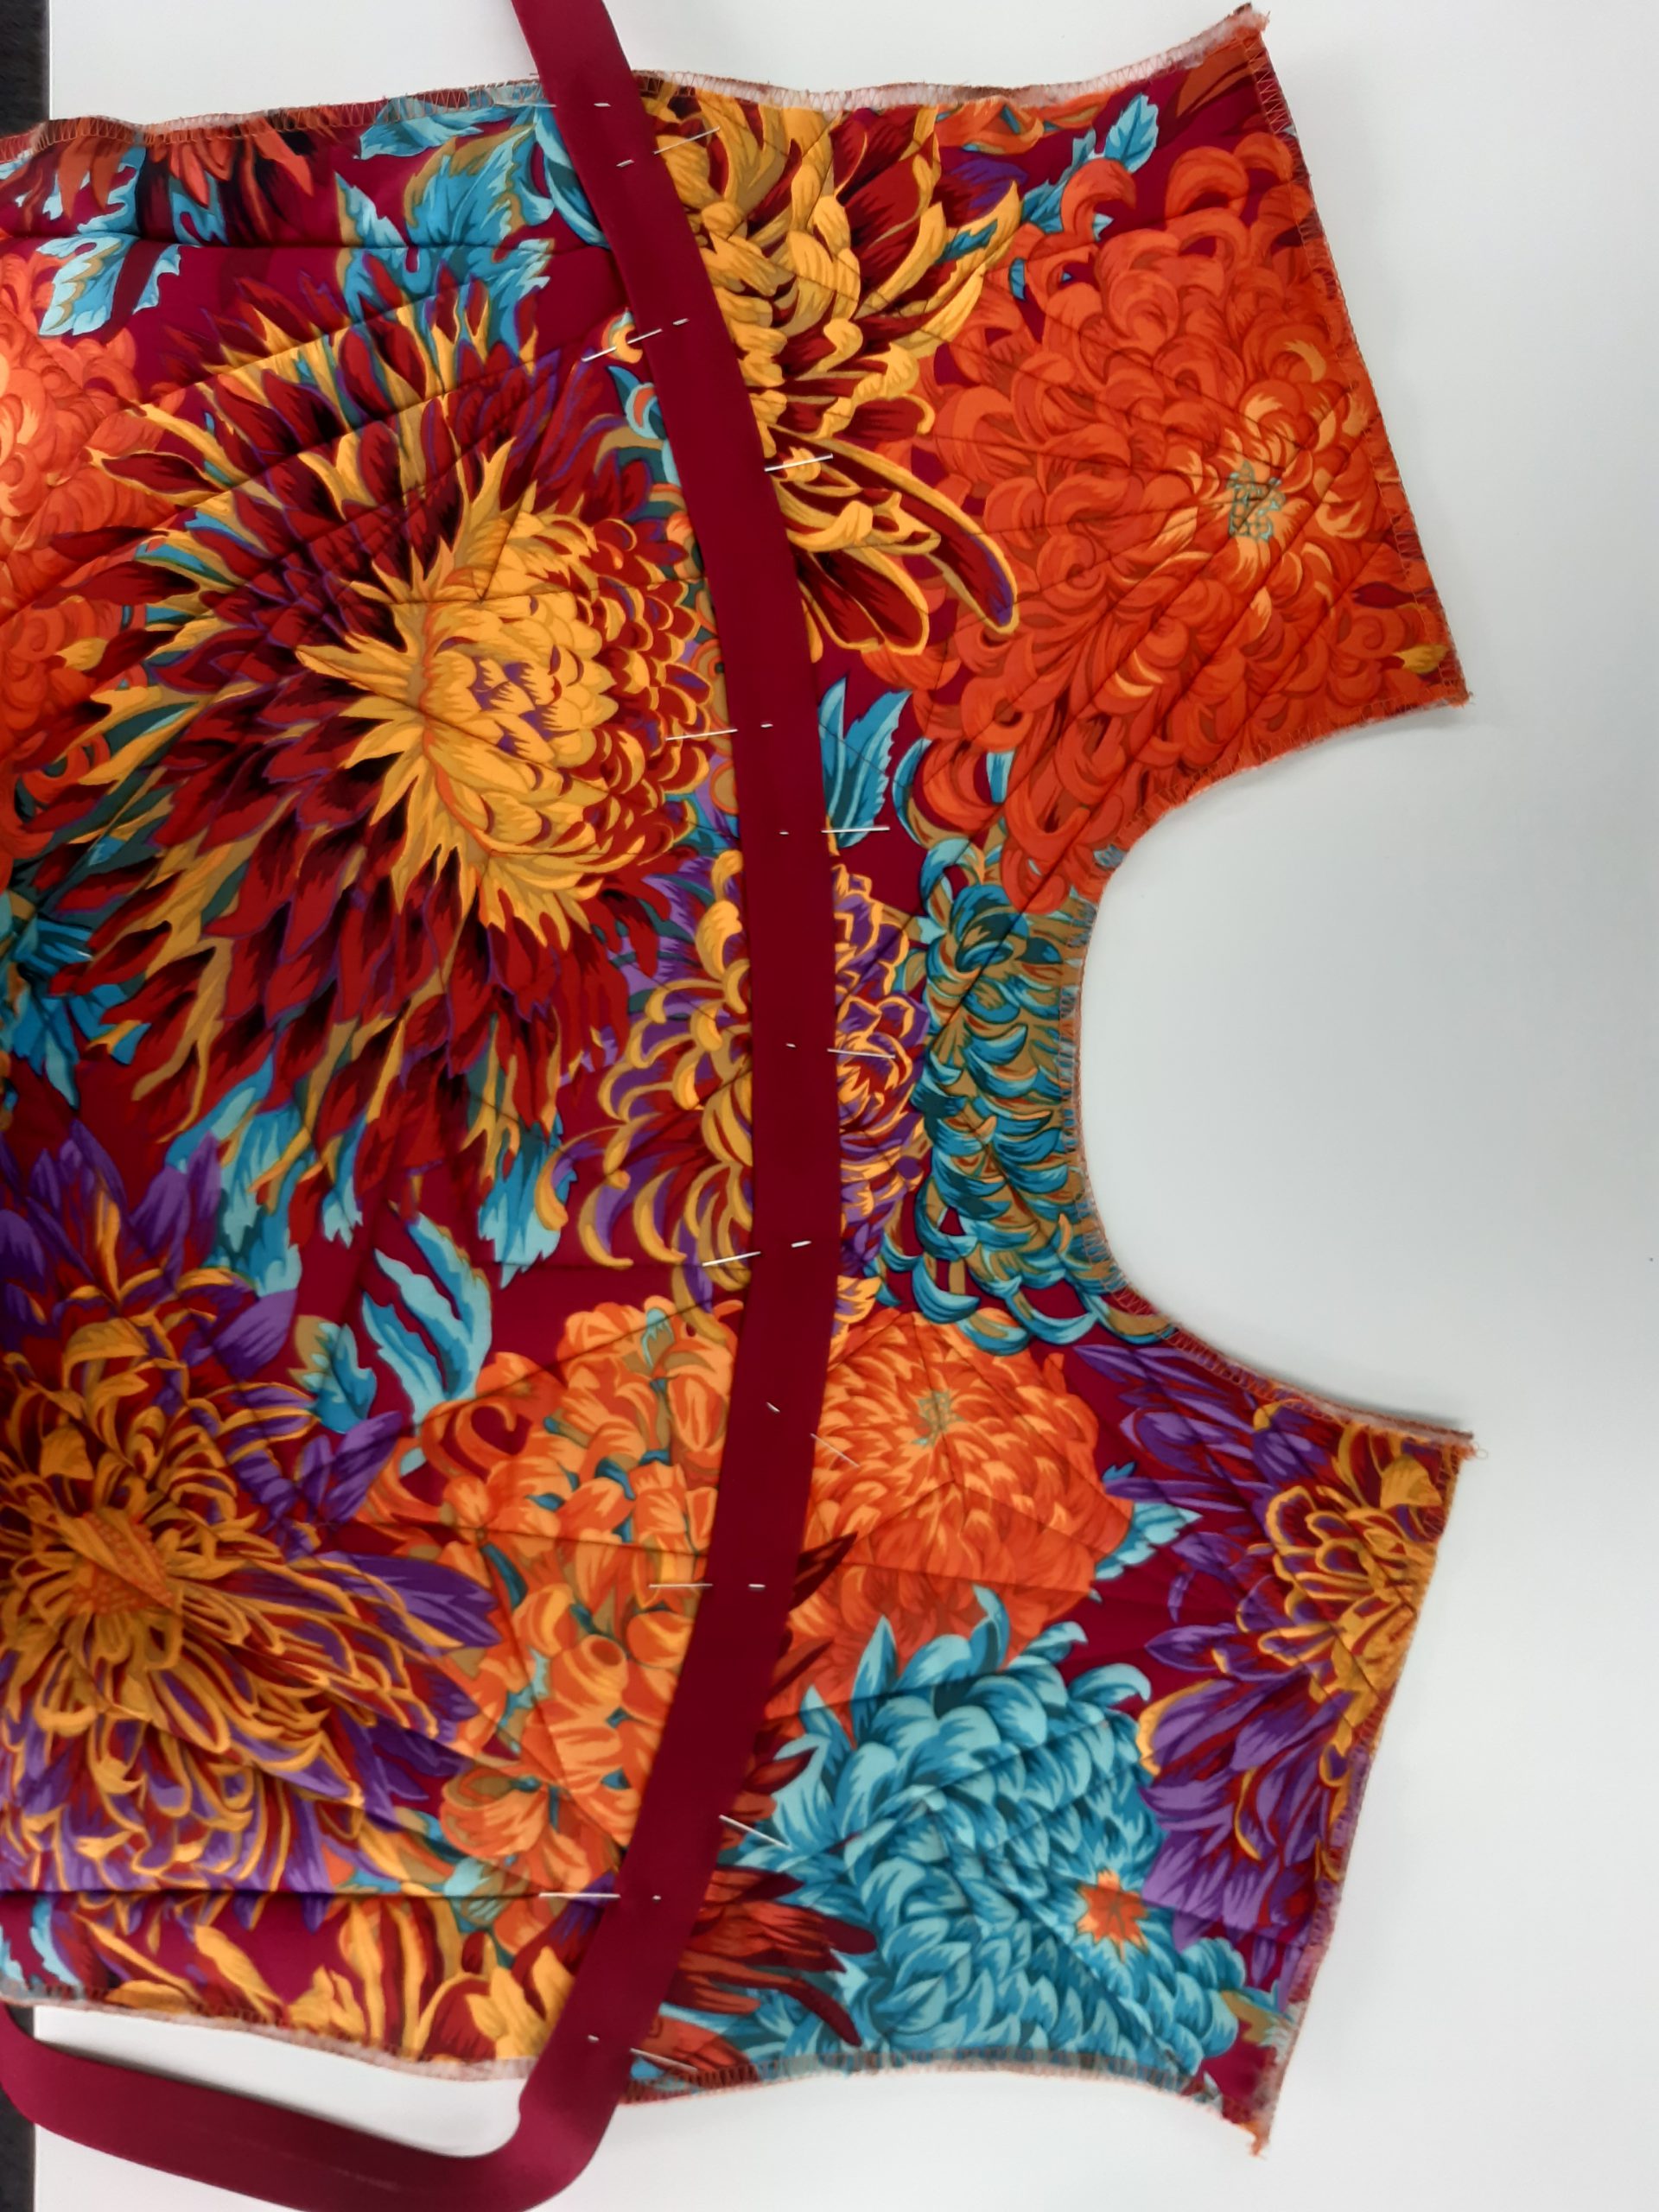
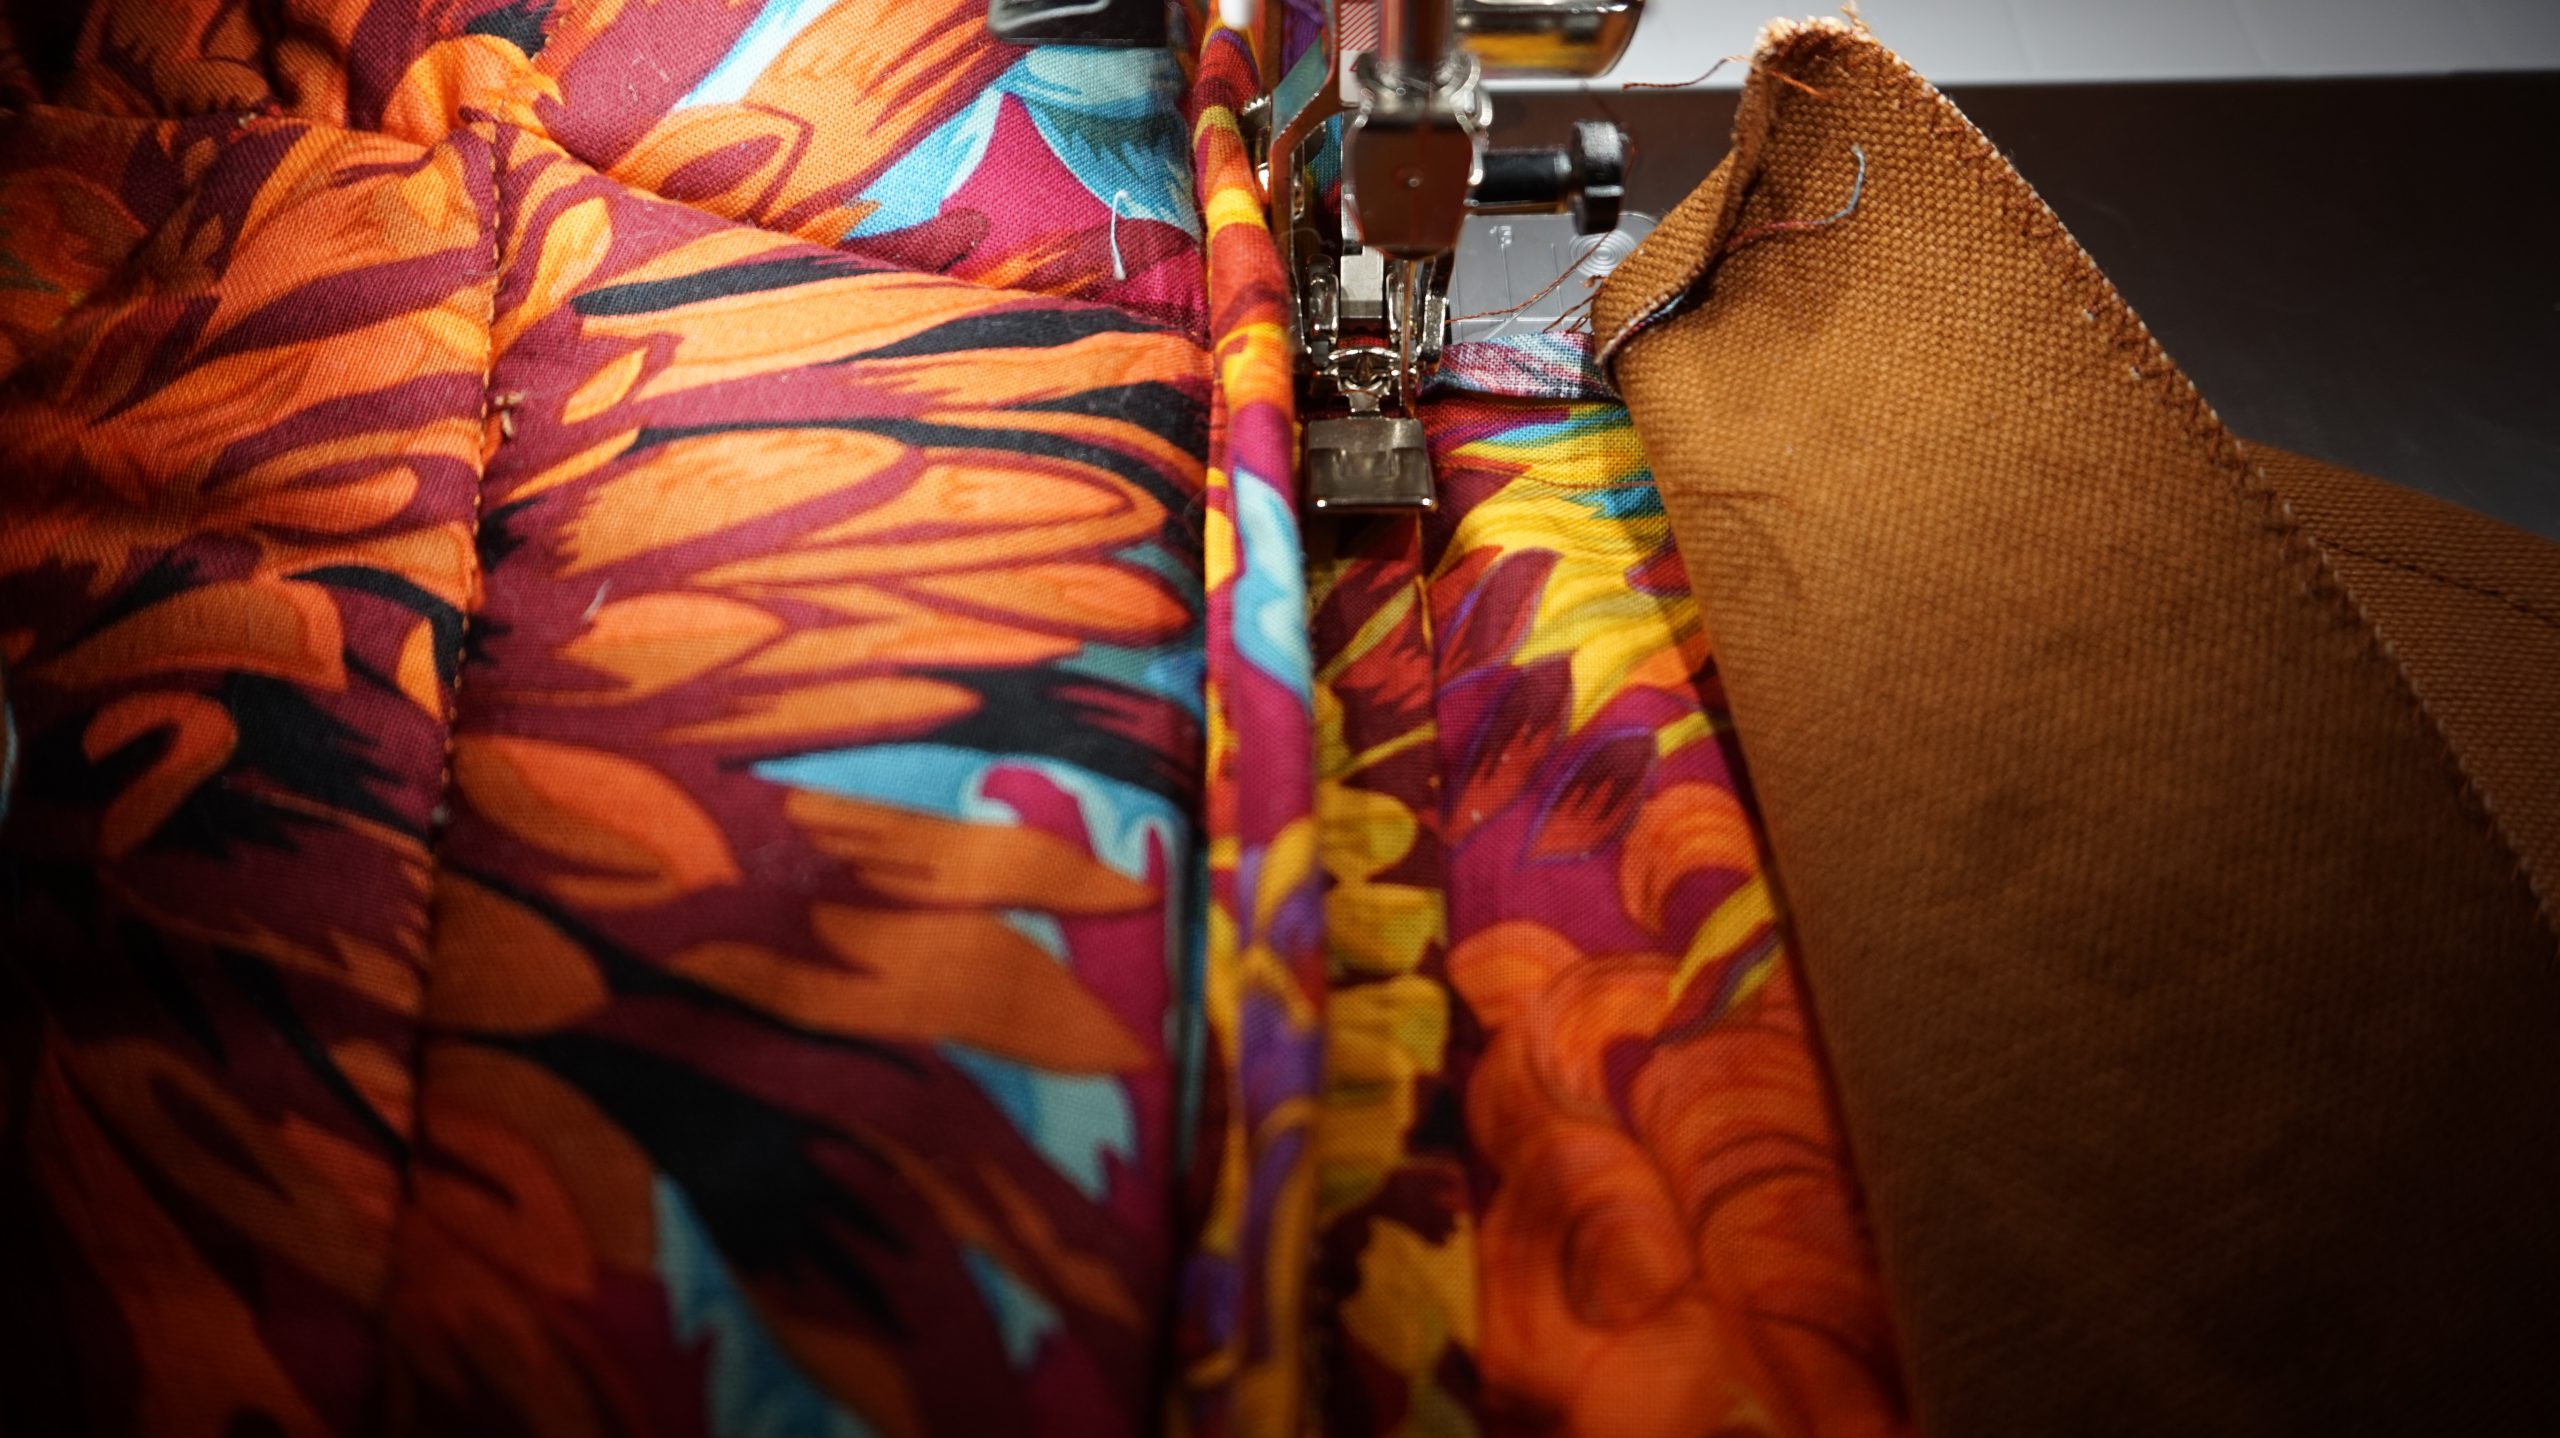
Quilted pattern for the vest:
First, with the copy paper and the tracing wheel, the quilted lines are transferred from the pattern to the front (front, yoke and back parts) of the corresponding canvas parts.
Preparation for stitching of the yoke, back and front parts of the vest:
- Place the canvas part face down on the front part, spray the back with spray adhesive and glue the volume fleece onto it.
- Spray the first volume fleece with spray adhesive and glue the second volume fleece onto it.
- Spray the second volume fleece with spray adhesive again and glue the corresponding lining part onto this with the front side facing up(!).
- Prepare the back yoke and both front and back parts as a “sandwich”.
- Secure the layers at the edges with a few pins so that the layers do not shift.
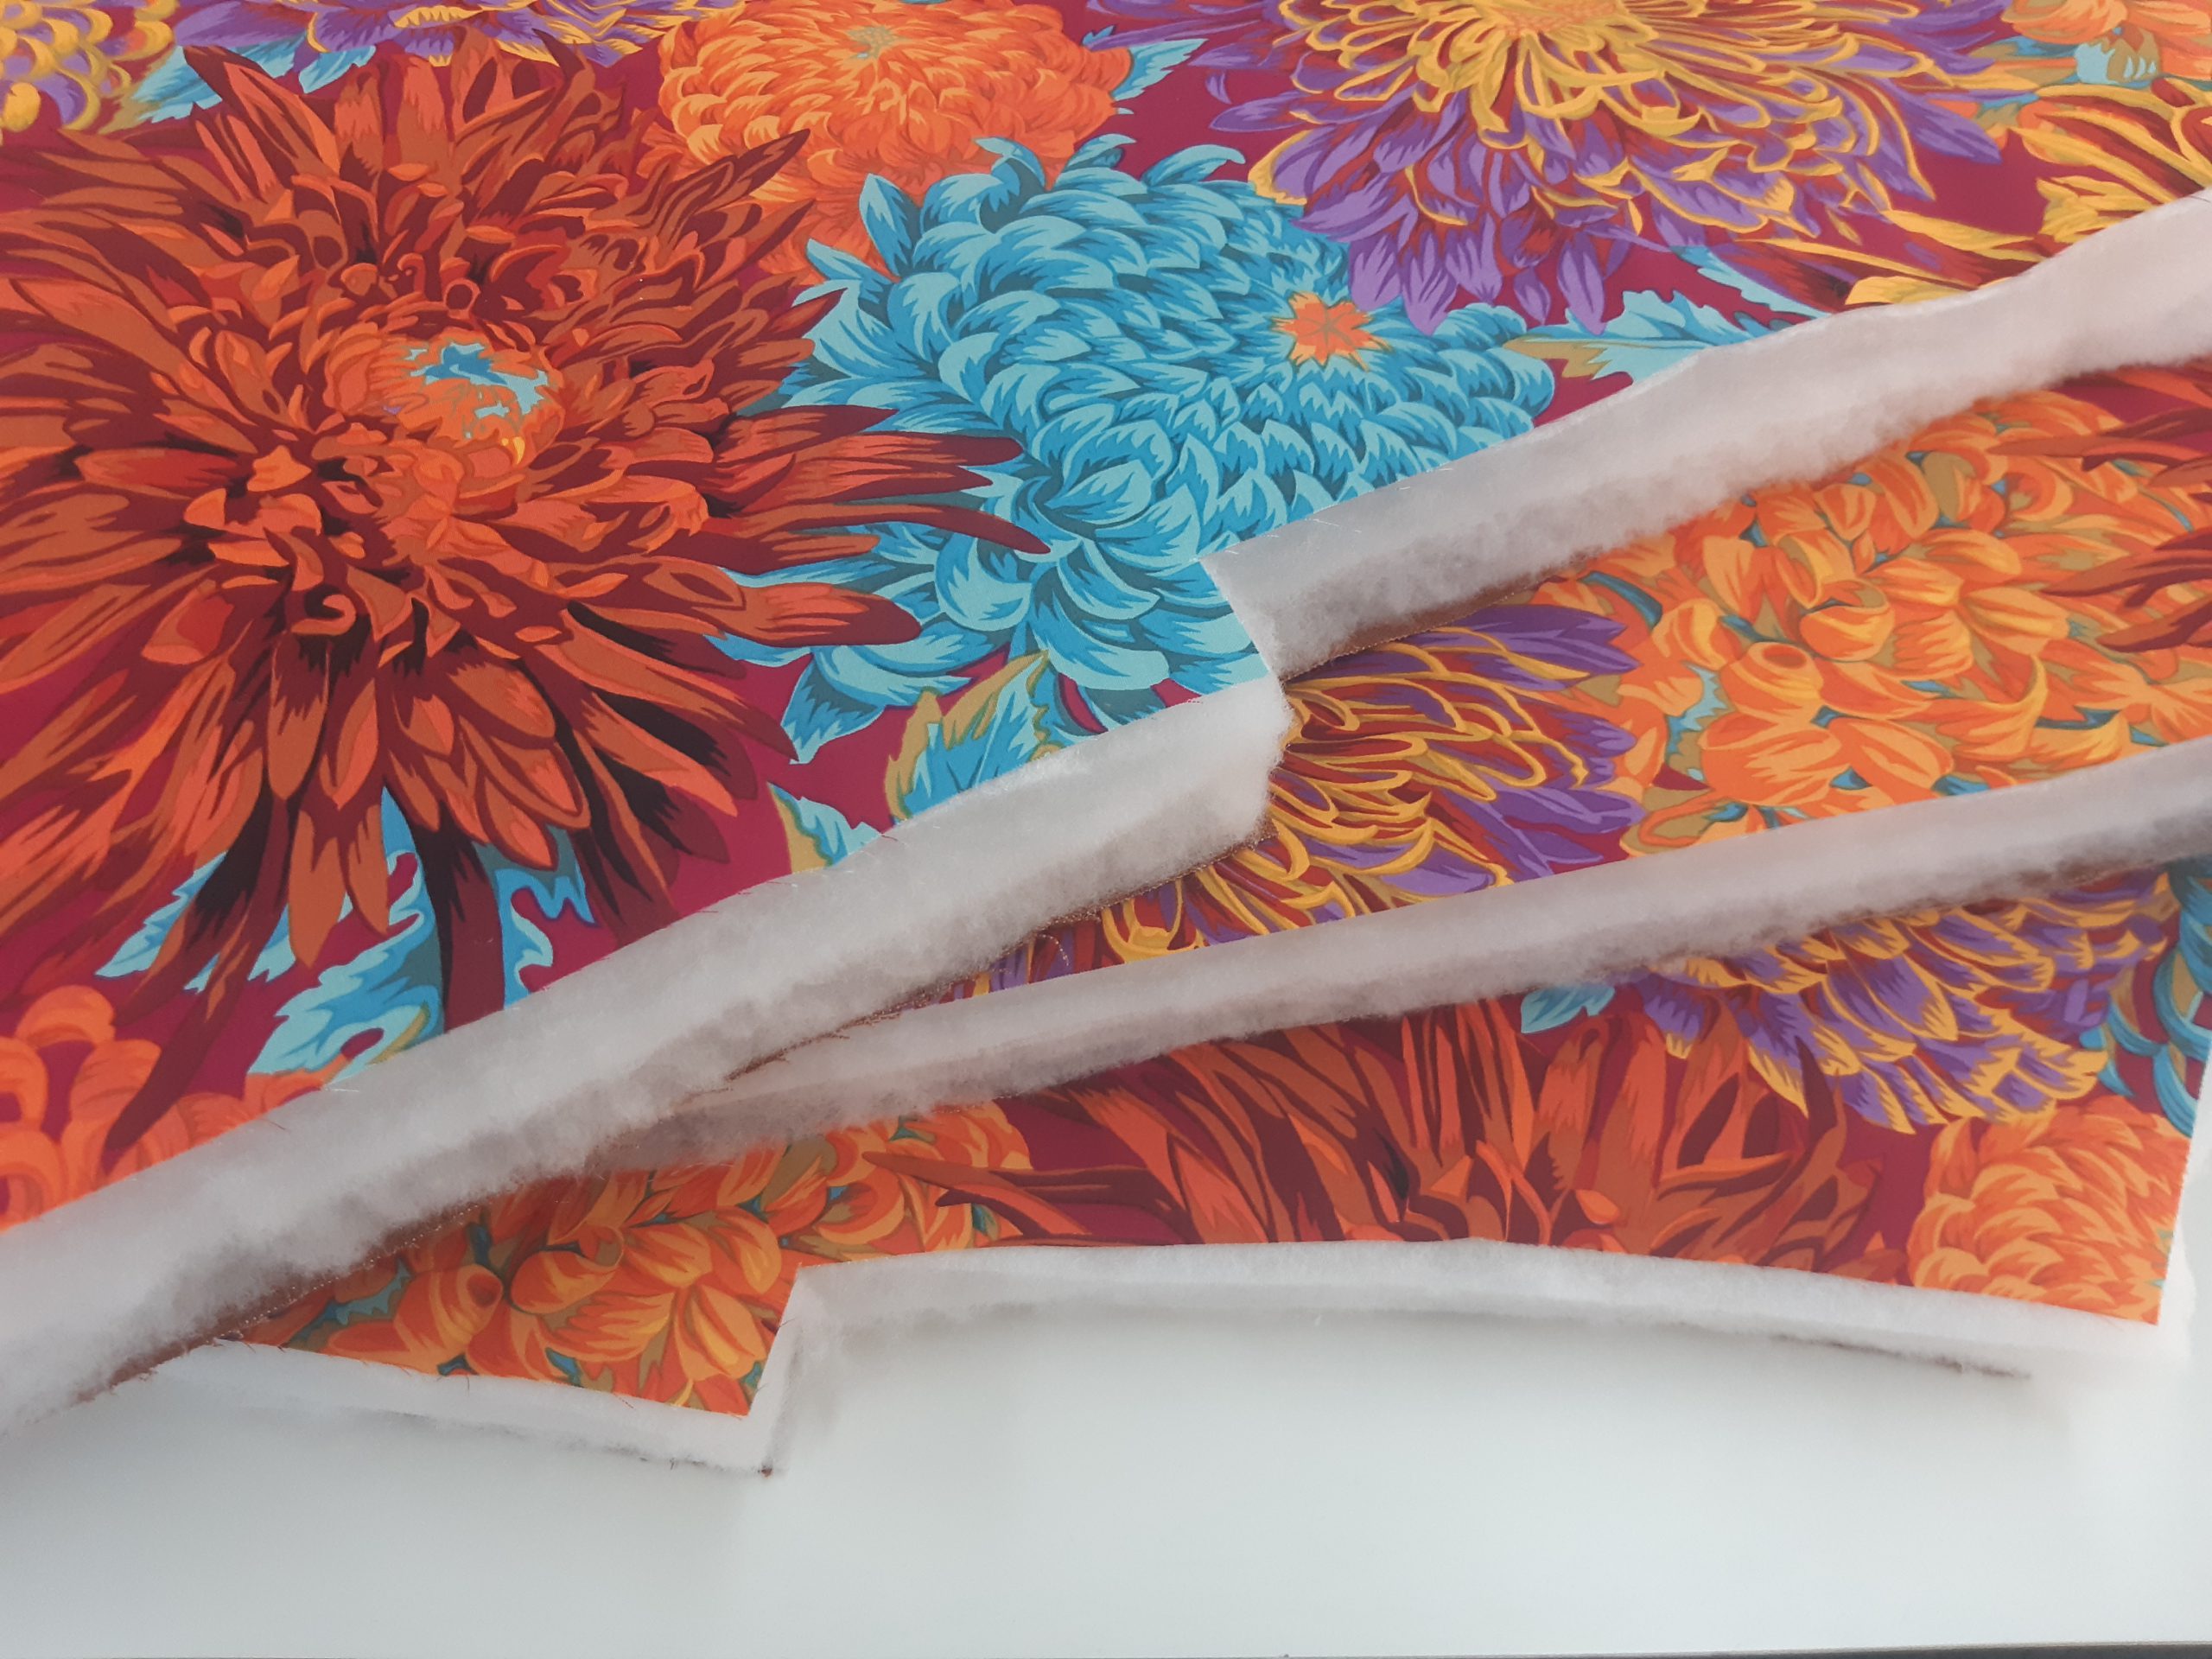
Now attach the walking foot #50 to the machine and increase the stitch length of the straight stitch to 3 mm.
Now from the canvas side, stitch the quilted lines transferred from the pattern through all four layers. It is best to first stitch the straight crosslines so that the parts are secured somewhat.

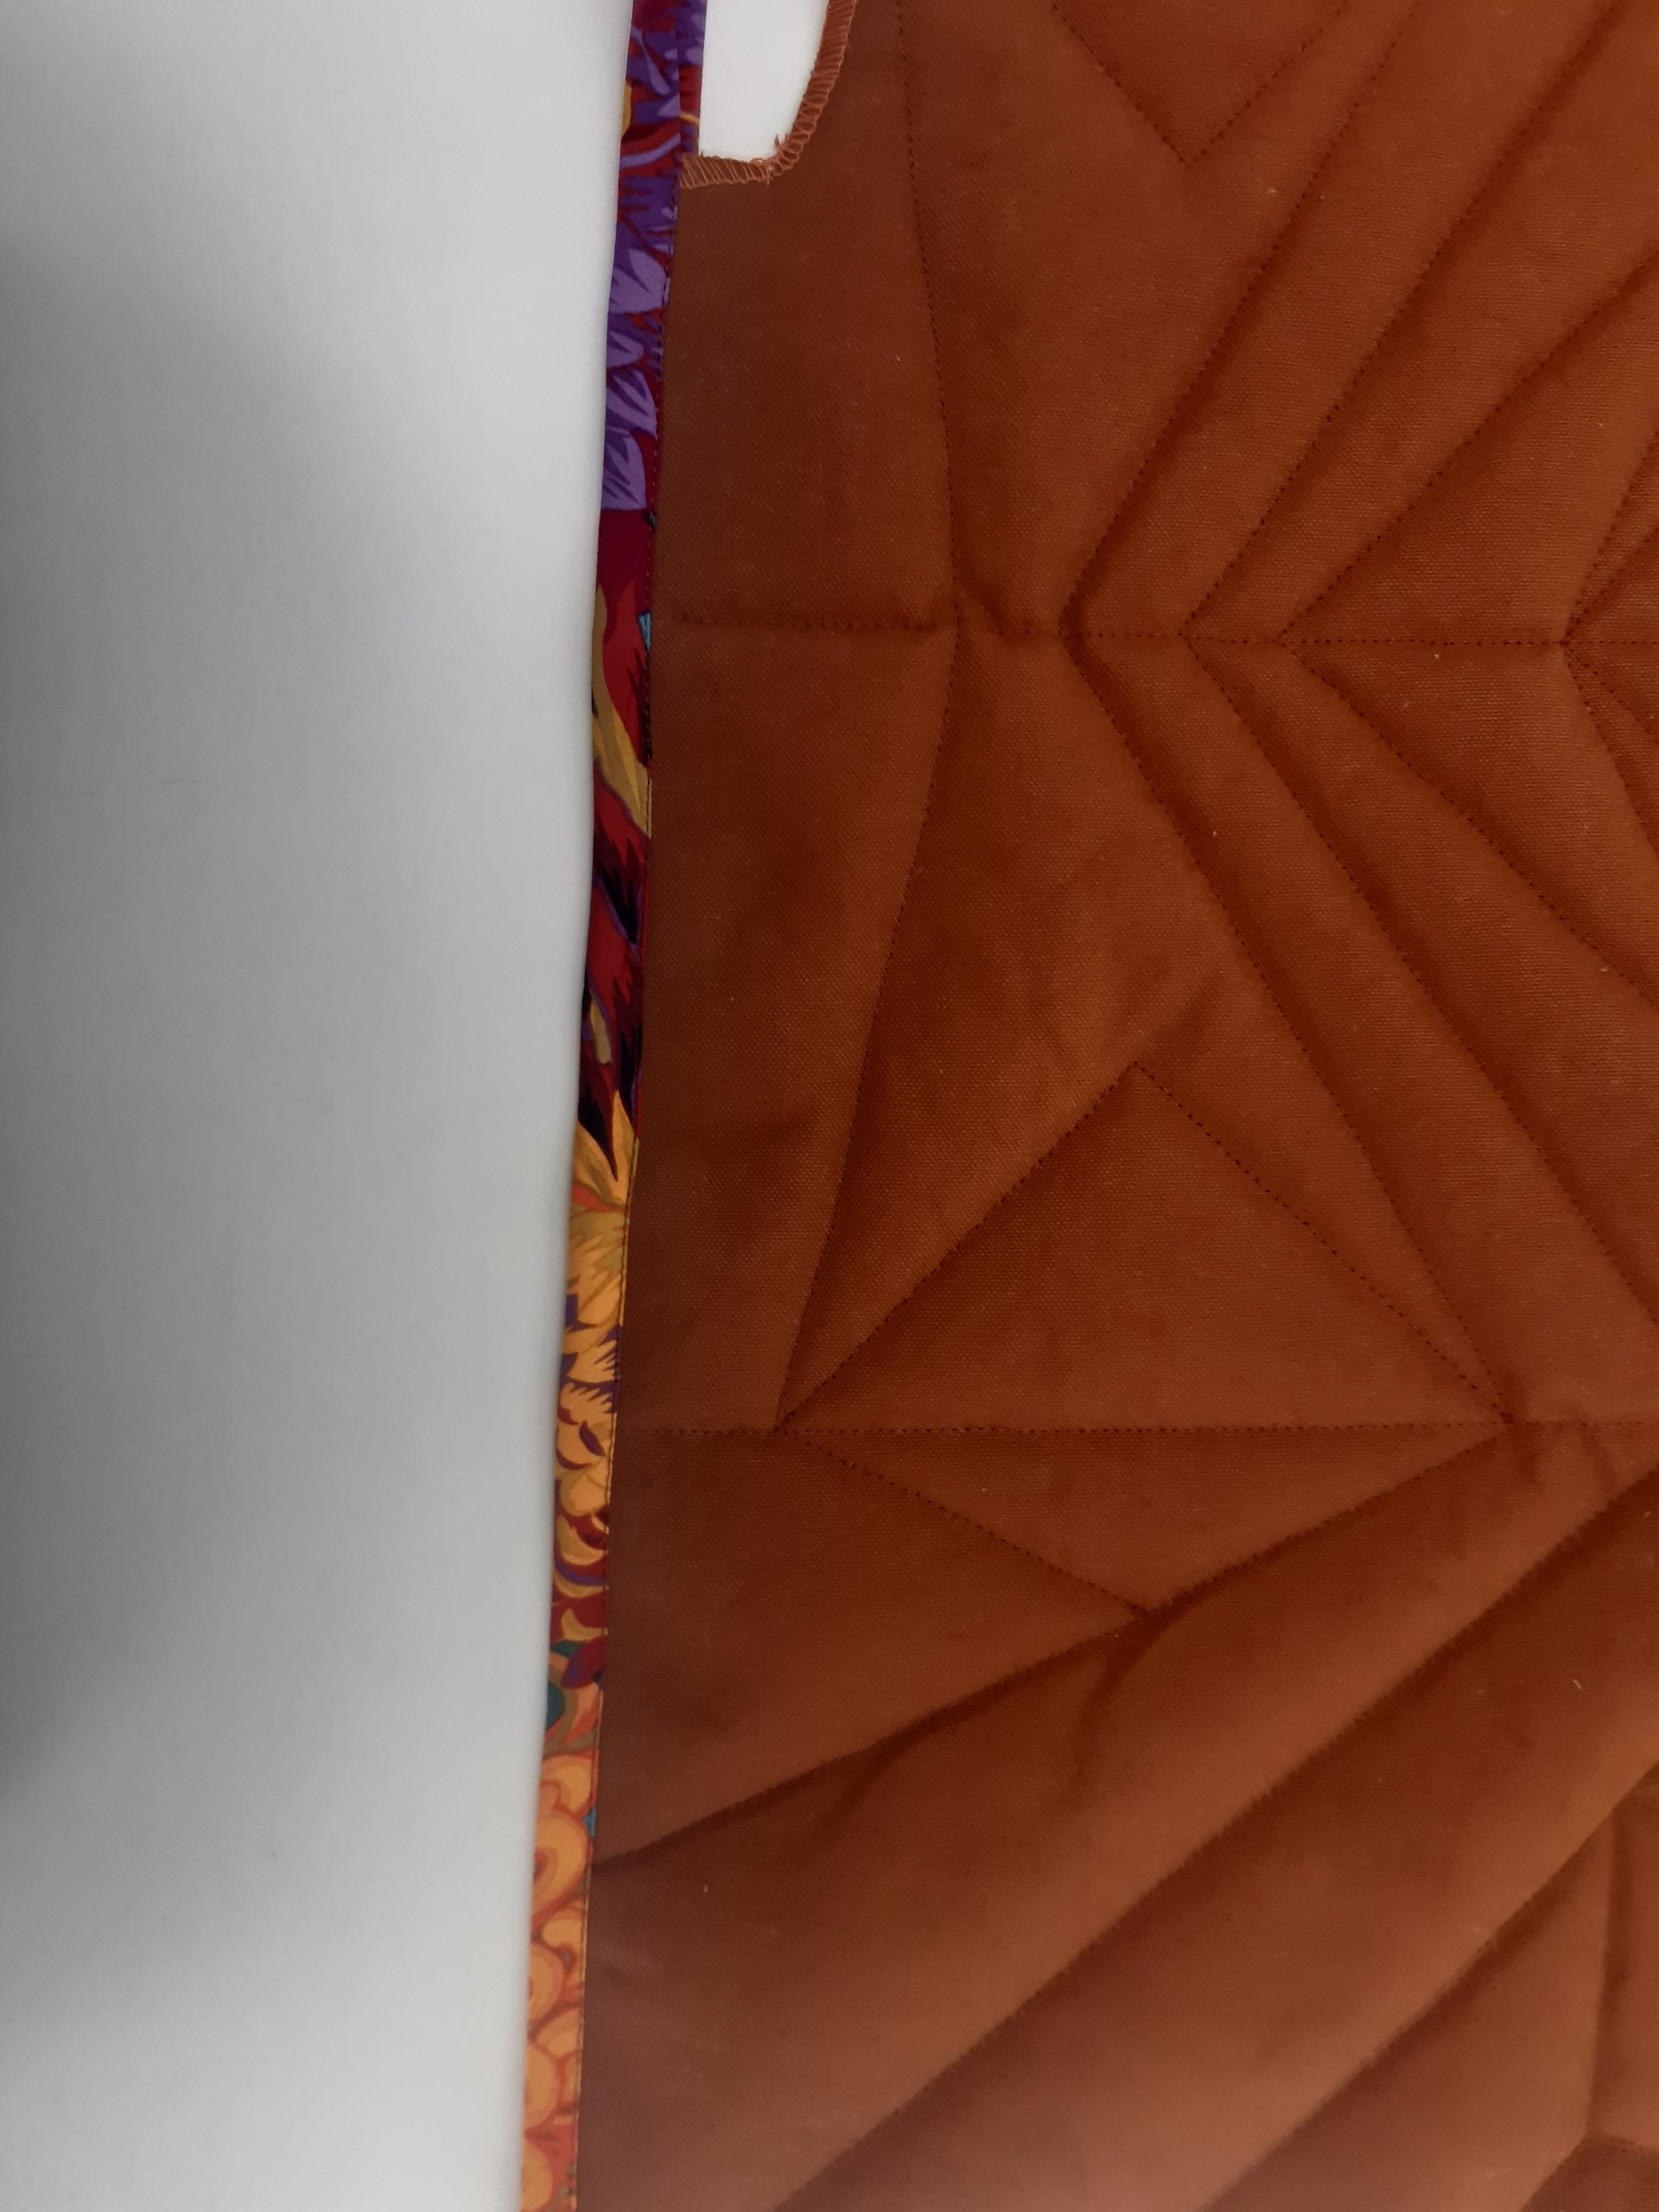
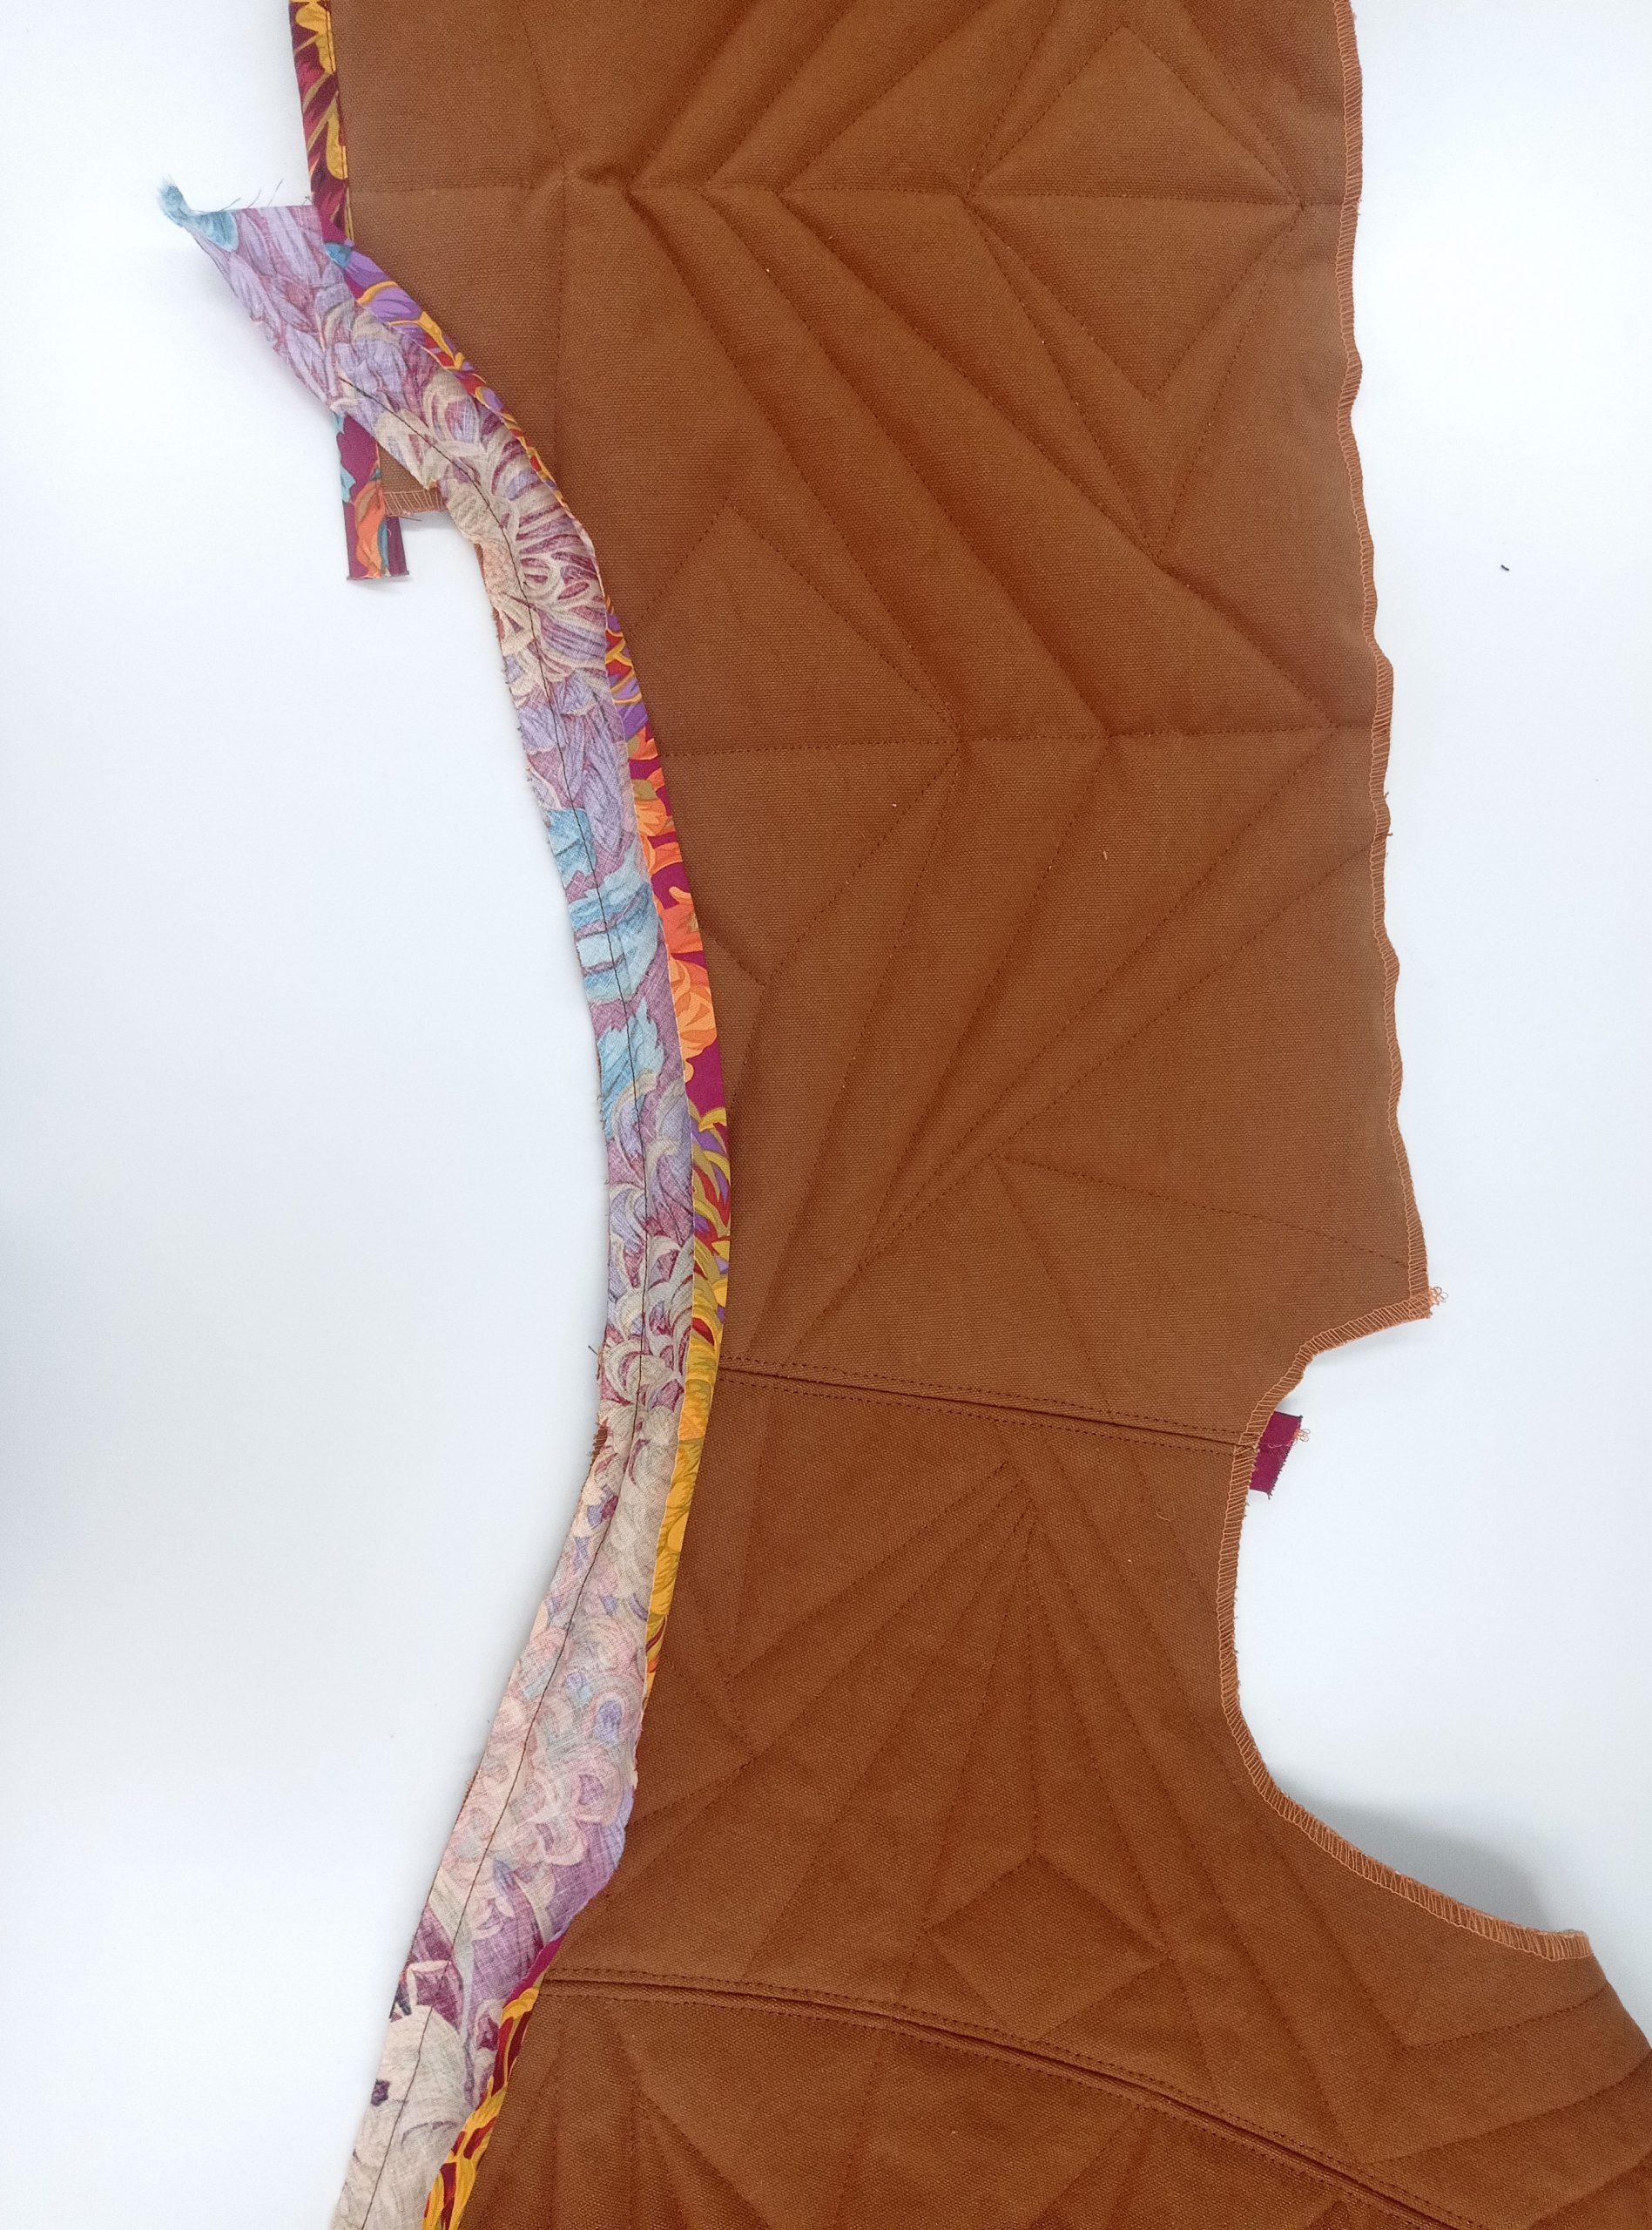
Then trim all parts of the vest all around with the overlock machine, so that the edge becomes slightly flatter and is easier to process.
Sew the vest:
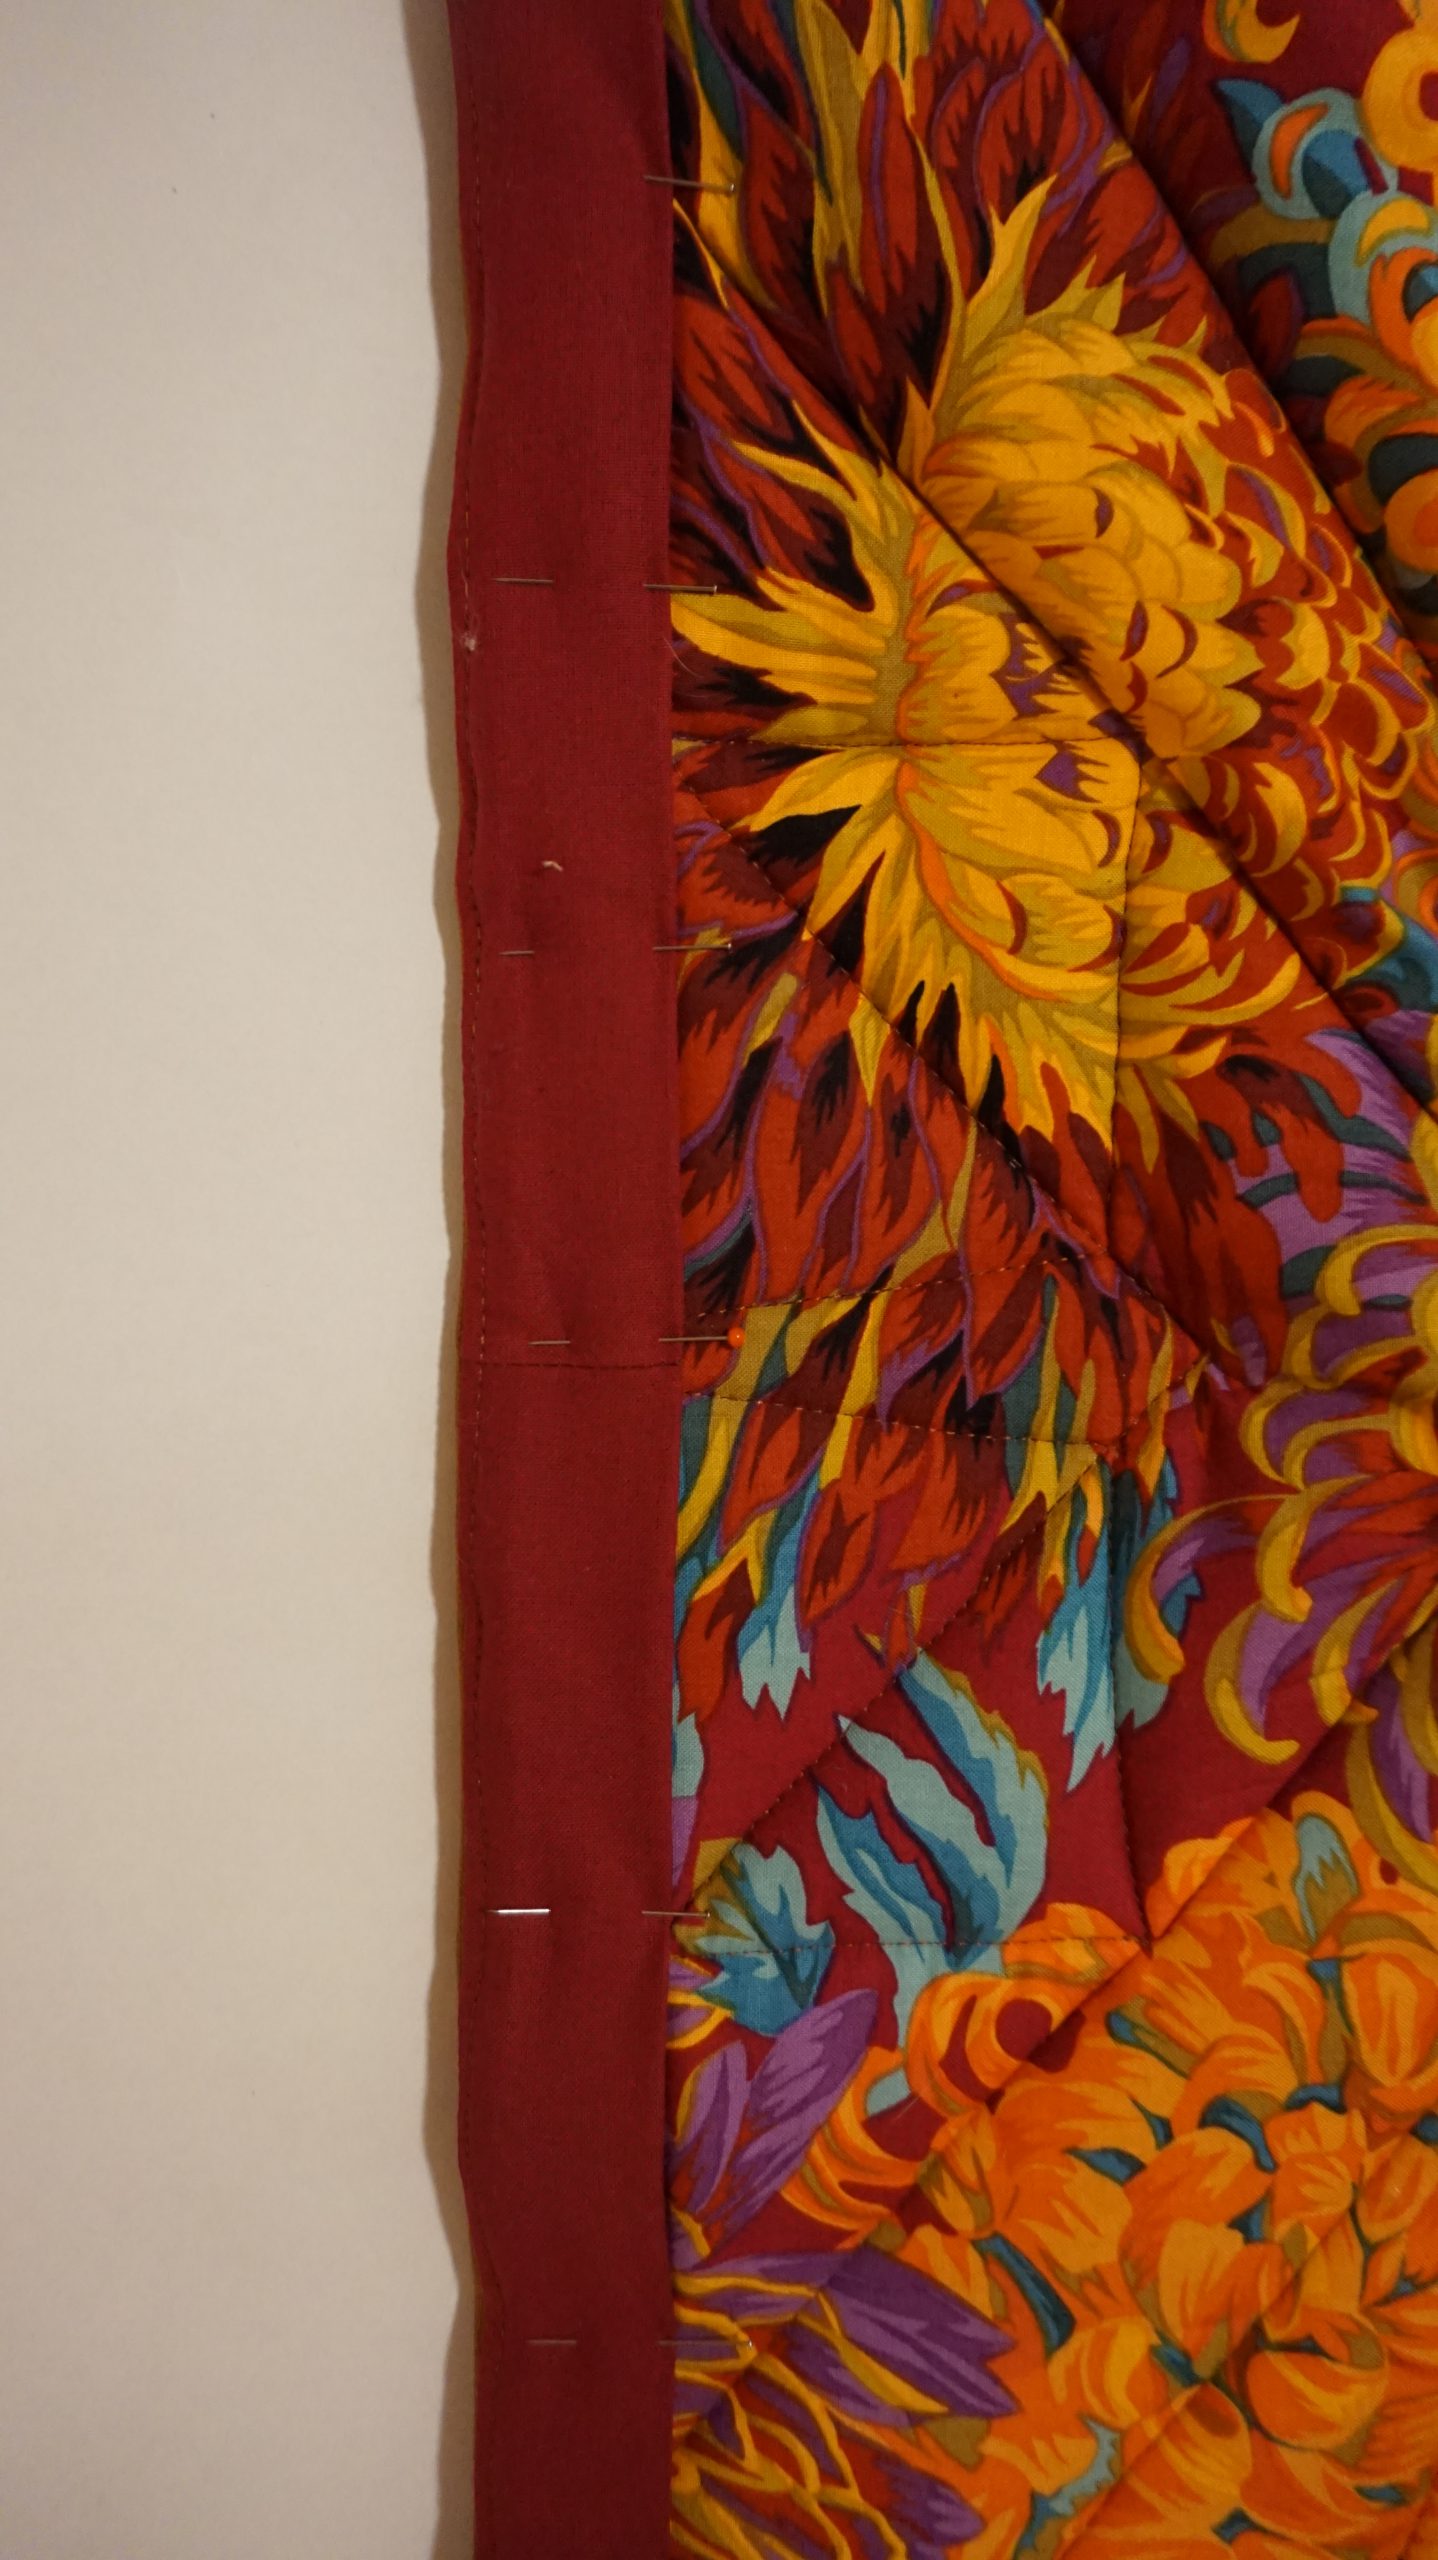
Attach presser foot #1 C to the machine. Now hem the seam allowances of the side seams with diagonal strips:
- Pin the strip with the right side to the canvas and flush to the edge.
- Securely stitch the strips one presser-foot width apart.
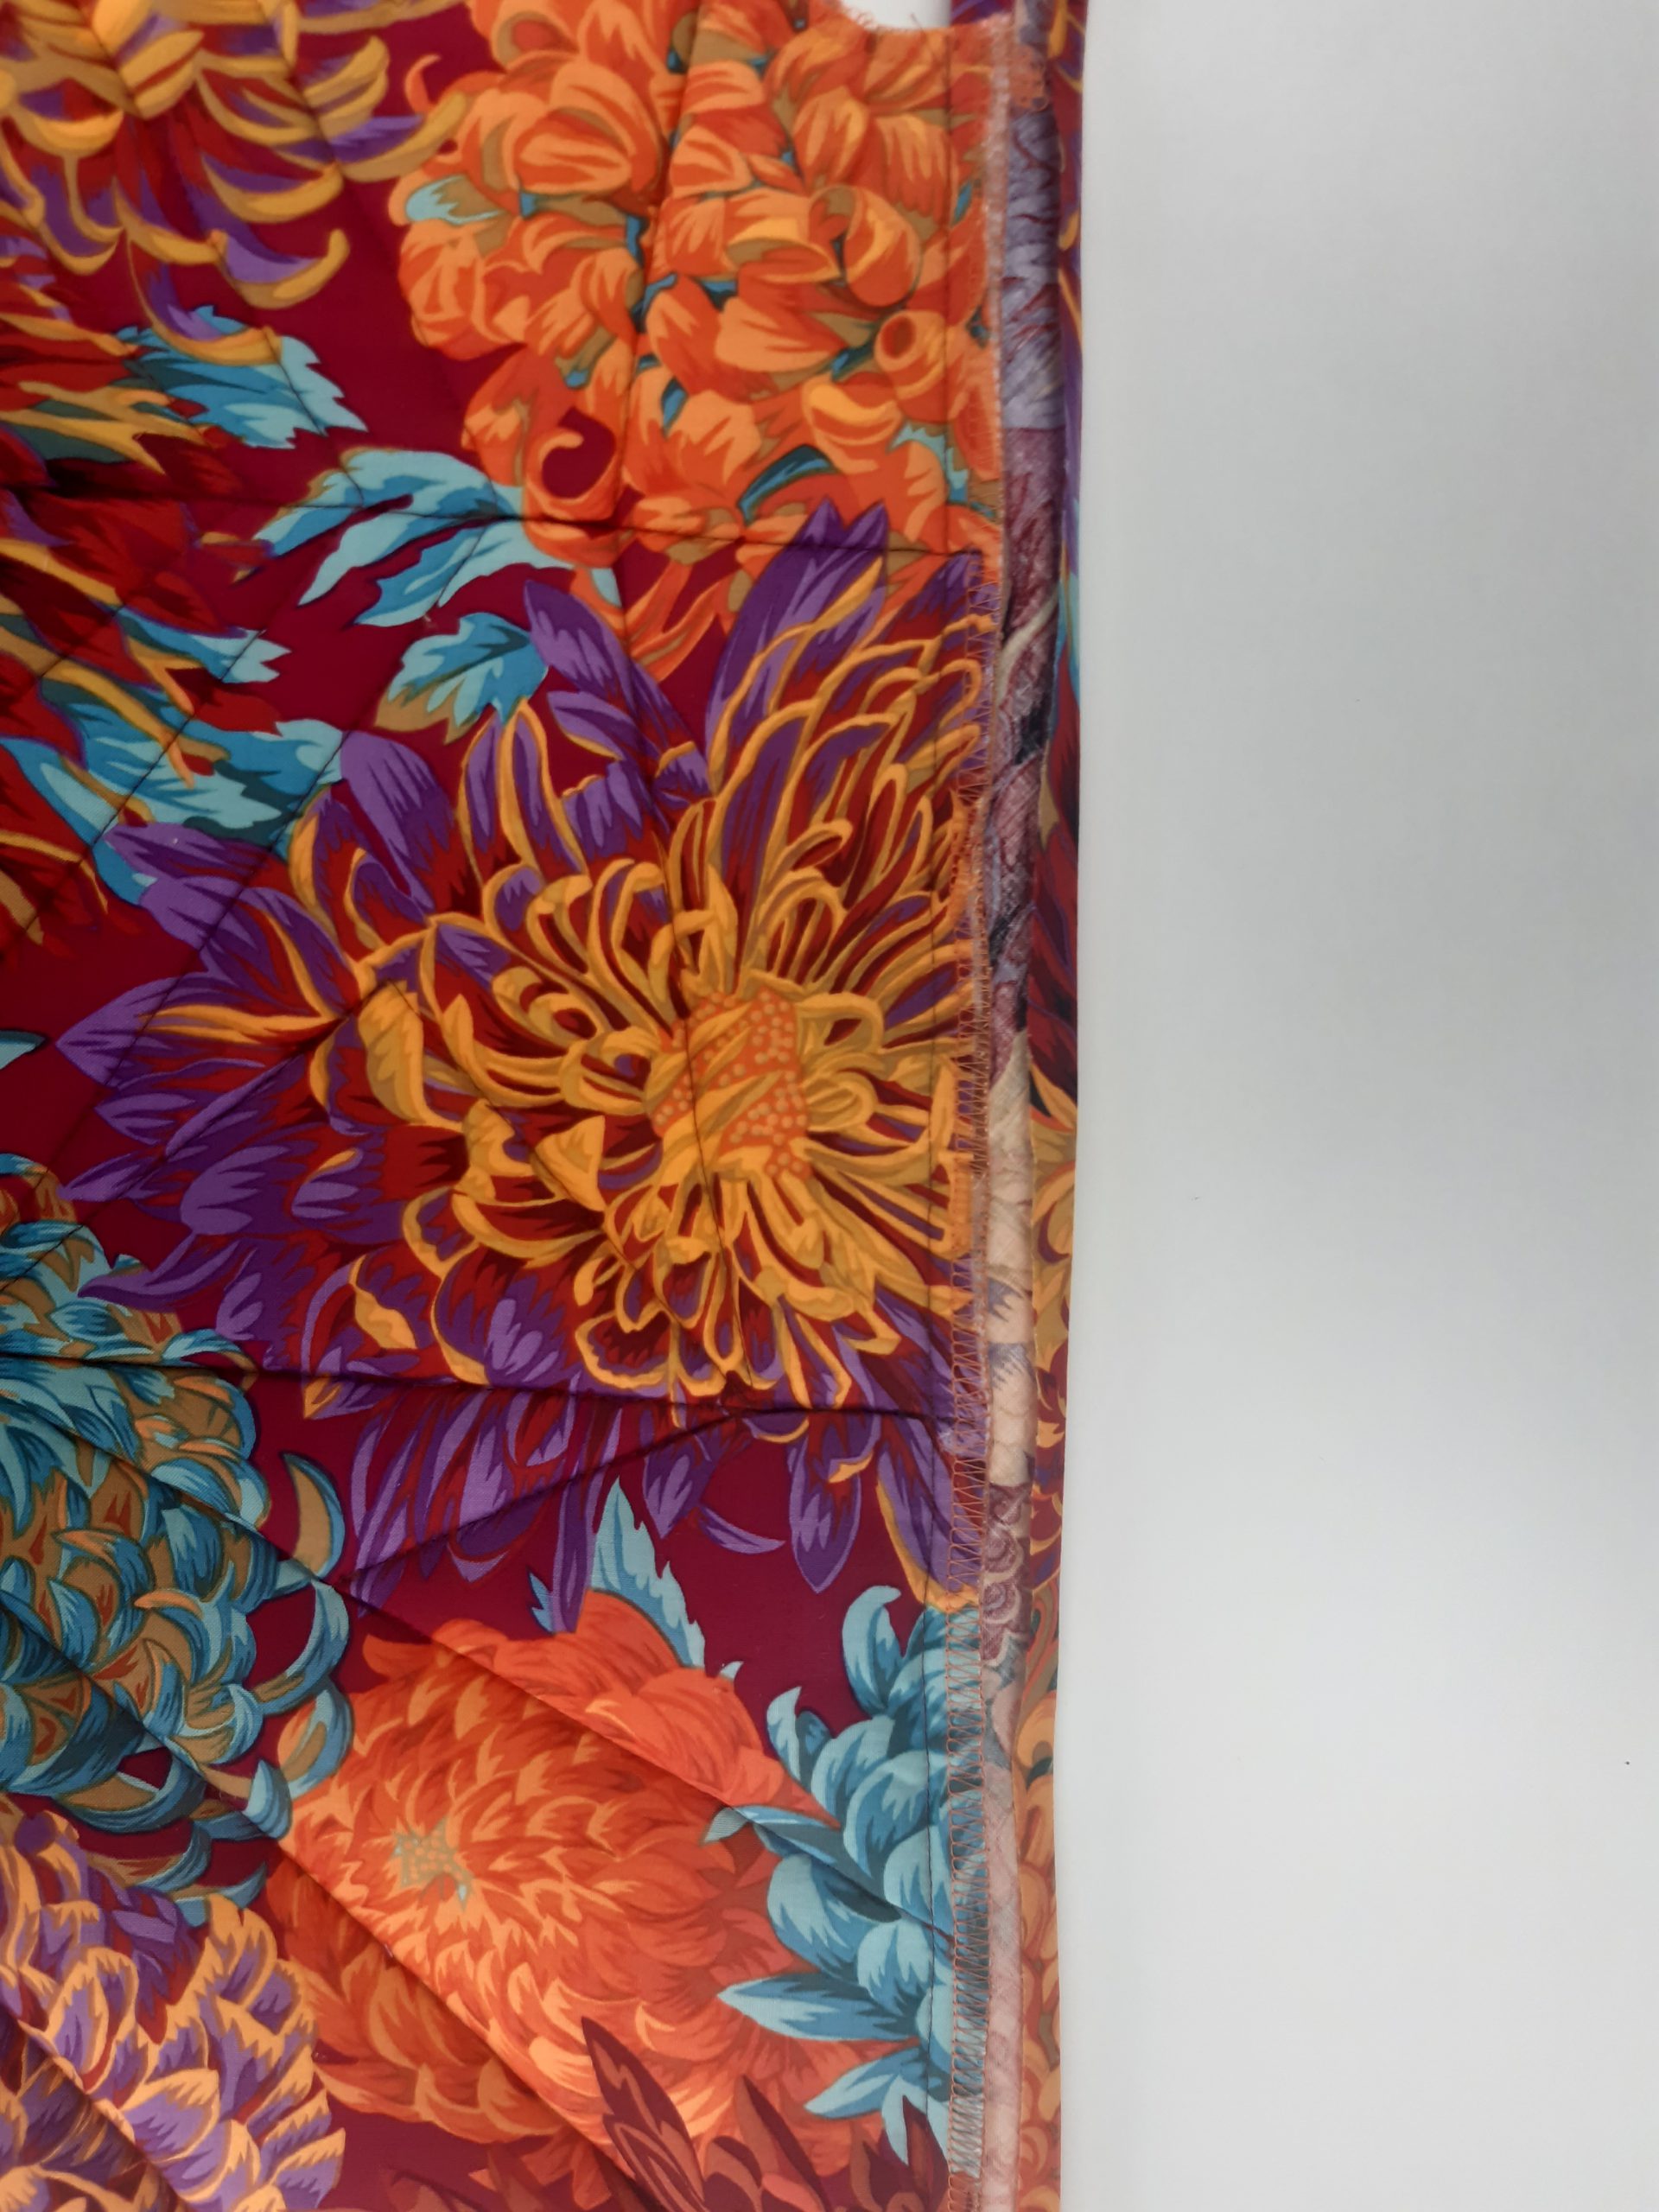
- Fold the strip around the seam allowance and pin it to the inside of the seam allowance.
- Securely edgestitch from the front side.
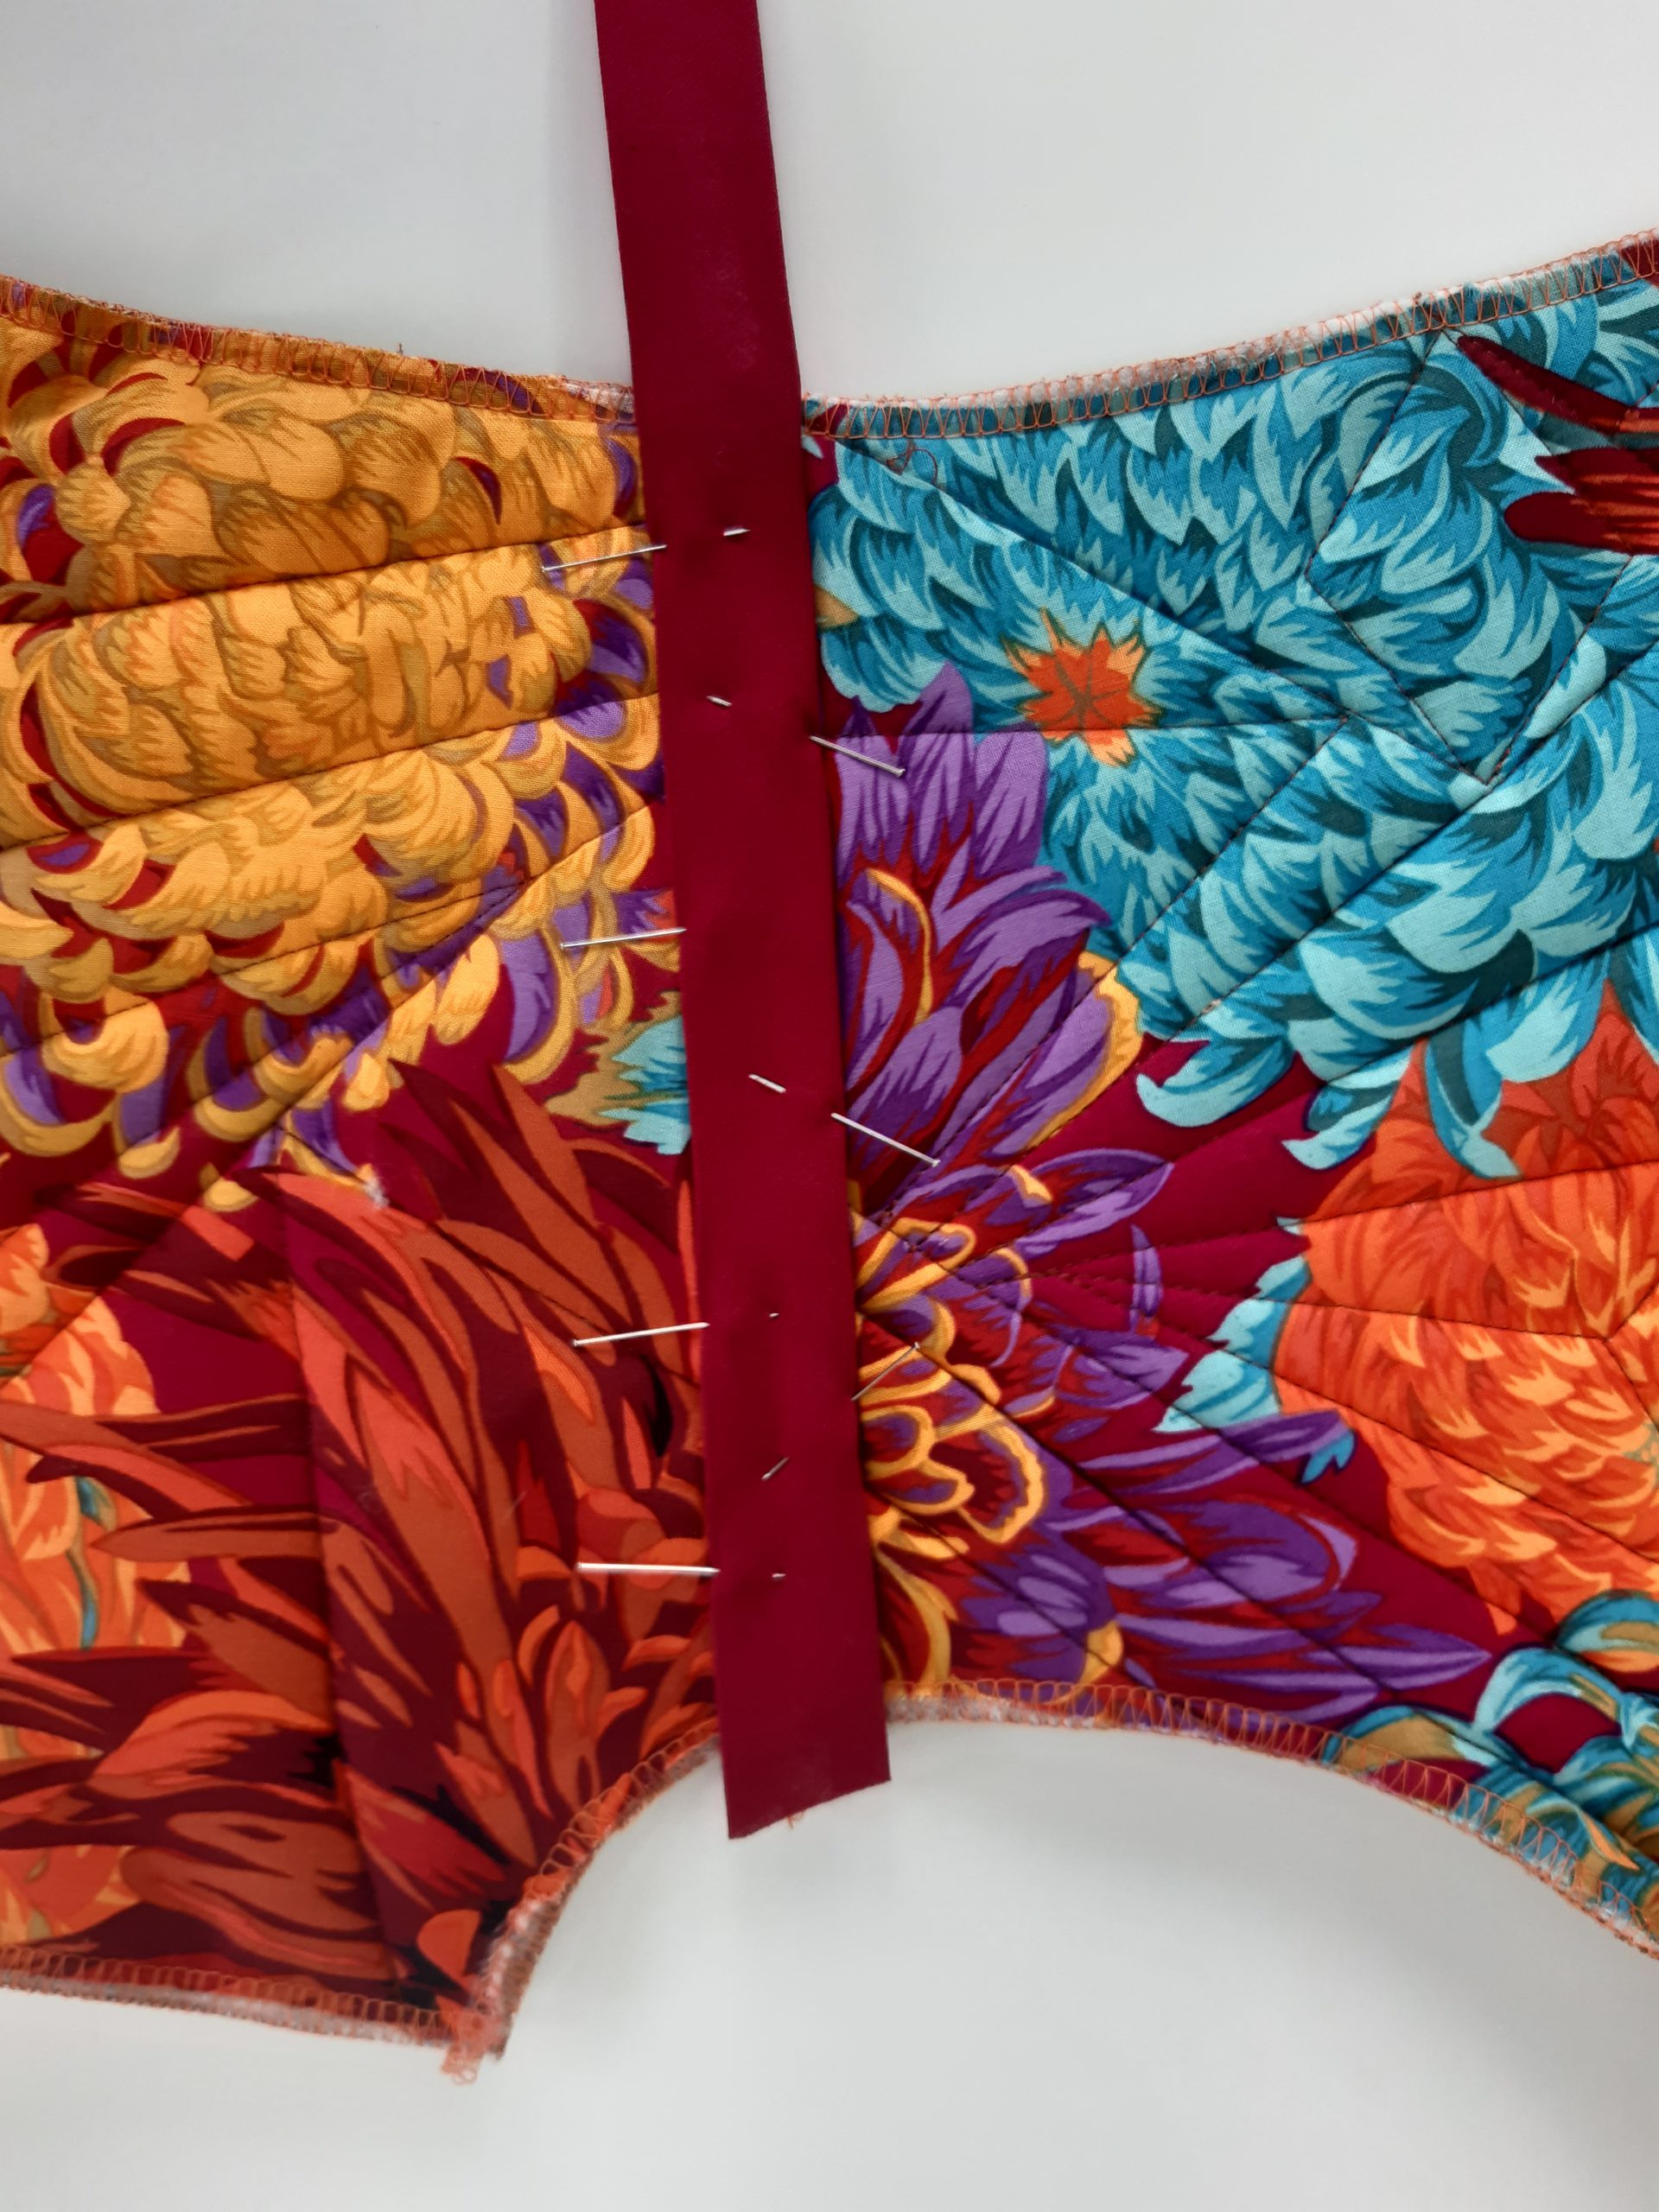
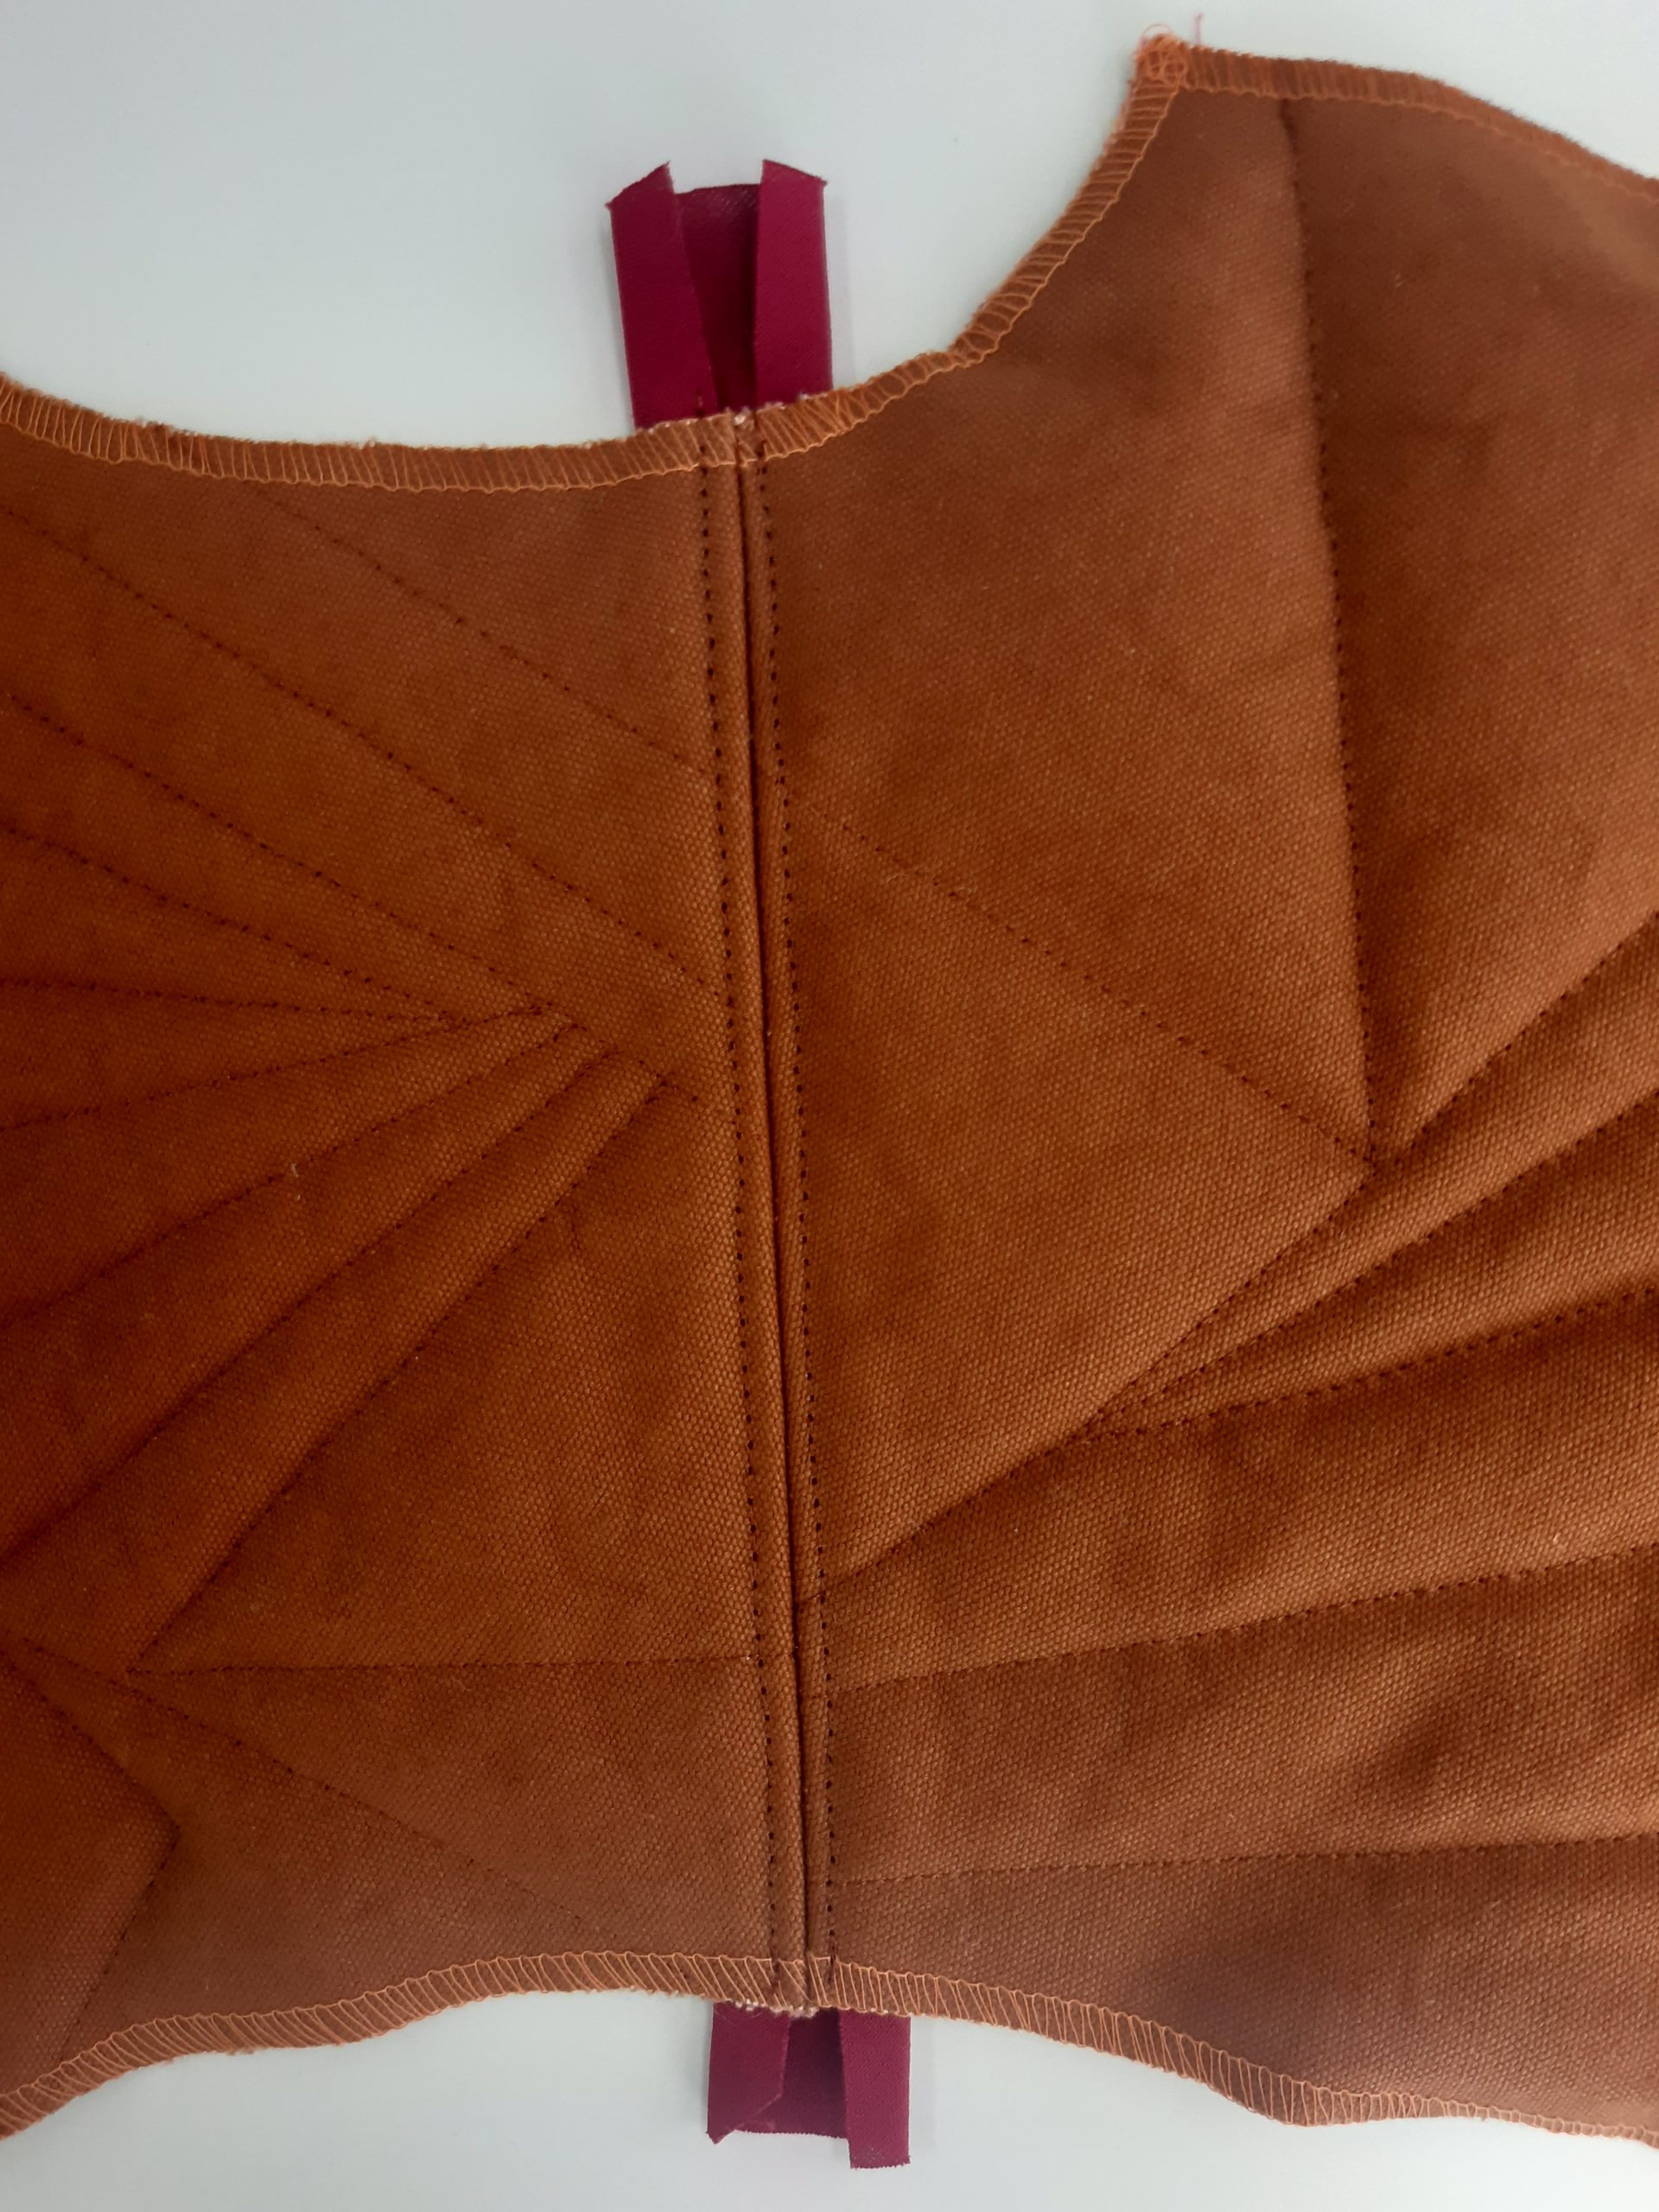
Fit the yoke on the back part of the vest and sew on; separate and iron the seam allowance.

If desired, the seam allowance can now be covered with a diagonal strip. To do this, place the ironed diagonal strip on the seam and place the ironed edges around/under the seam allowance. Pin the strip here and then sew the seam in narrow stitches from the front.
Close the shoulder seams of the vest, and separate and iron the seam allowance. If desired, conceal the seam allowance as by the yoke and sew the seam in narrow stitches from the front.
Now hem both armholes of the vest with diagonal strips. After the strip has been sewn from the front once, fold the strip 1 cm inwards at the ends (side seams). Now fold the strip inwards, pin it and sew on in narrow stitches. This trims the ends evenly.
Pocket insets for the vest:
First the two pocket pouches are sewn. (Here the pocket pouches were extended parallel to the side seam and the hem.)
- Trim all 4 long, straight edges with the overlock machine.
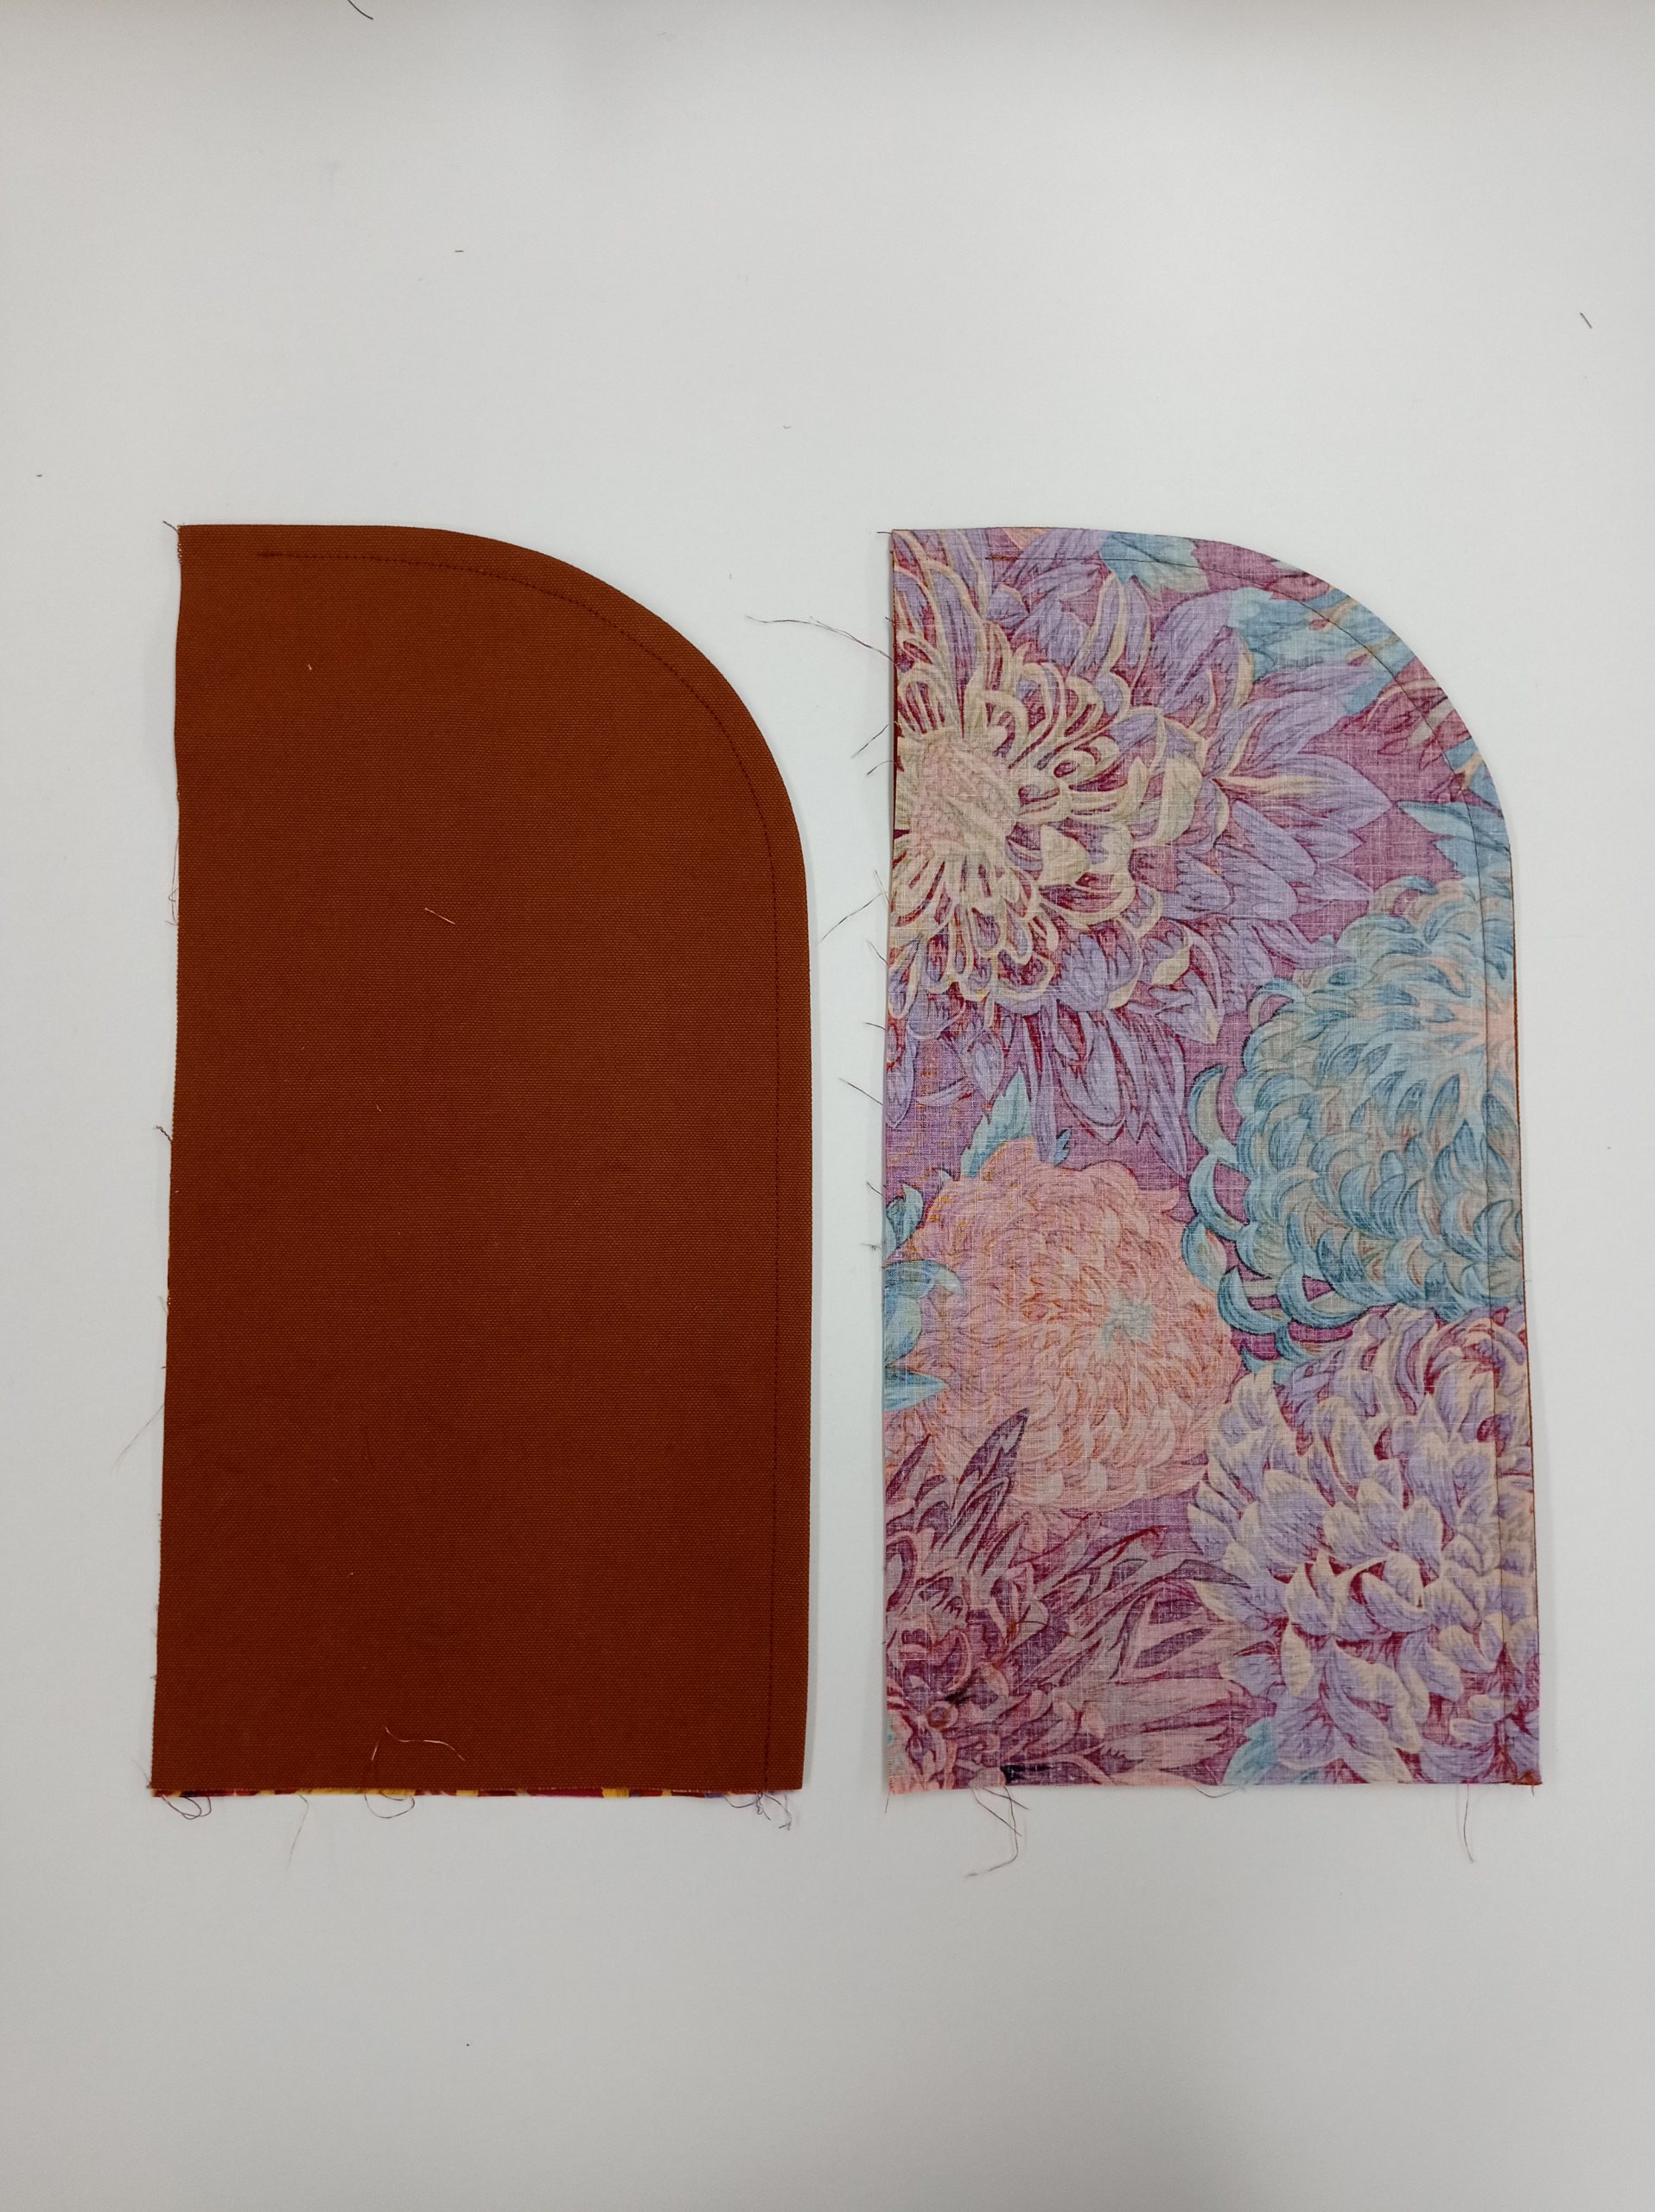
- Place one canvas pocket pouch and one lining pocket pouch together with the left side facing each other.
- Sew the pocket pouches together with the curve 5 mm deep on the side; leave 3 cm open at the beginning of the curve.

- Turn the pocket pouch over and iron the edge flat.
- Stitch the pocket pouch from this side flush to the edge, again 1 cm deep (French seam). Leave 3 cm open at the beginning.
Close the side seams of the vest:
Measure 15 cm upwards from the hem and make a mark. From there, measure another 15 cm (for the pocket opening) upwards and mark this similarly.
- Close side seams except for this 15 cm pocket opening.
- Separate and iron the seam allowance.
Place the pocket pouch in the vest so that the canvas is facing upwards. The long side is flush with the side seam, and the short side is flush with the hem.
- The long lining edge is pushed under the seam allowance and sewn twice to the seam allowance from the front. Back-stitch in the seam of the diagonal strip once and edgestitch at the edge once.
- Place the long edge of the canvas over the side seam, flush with the bordered outer edge of the second seam allowance. The seam allowance of the side seam is completely concealed.
- Sew the long edge of the canvas with a zigzag stitch on the seam allowance, 5 mm stitch width.
- Iron the pocket pouch flat, pin it to the hem and attach it to the front of the curve with a few stitches on the cotton fabric.
- Also attach the seam allowances at the armholes with a few stitches.
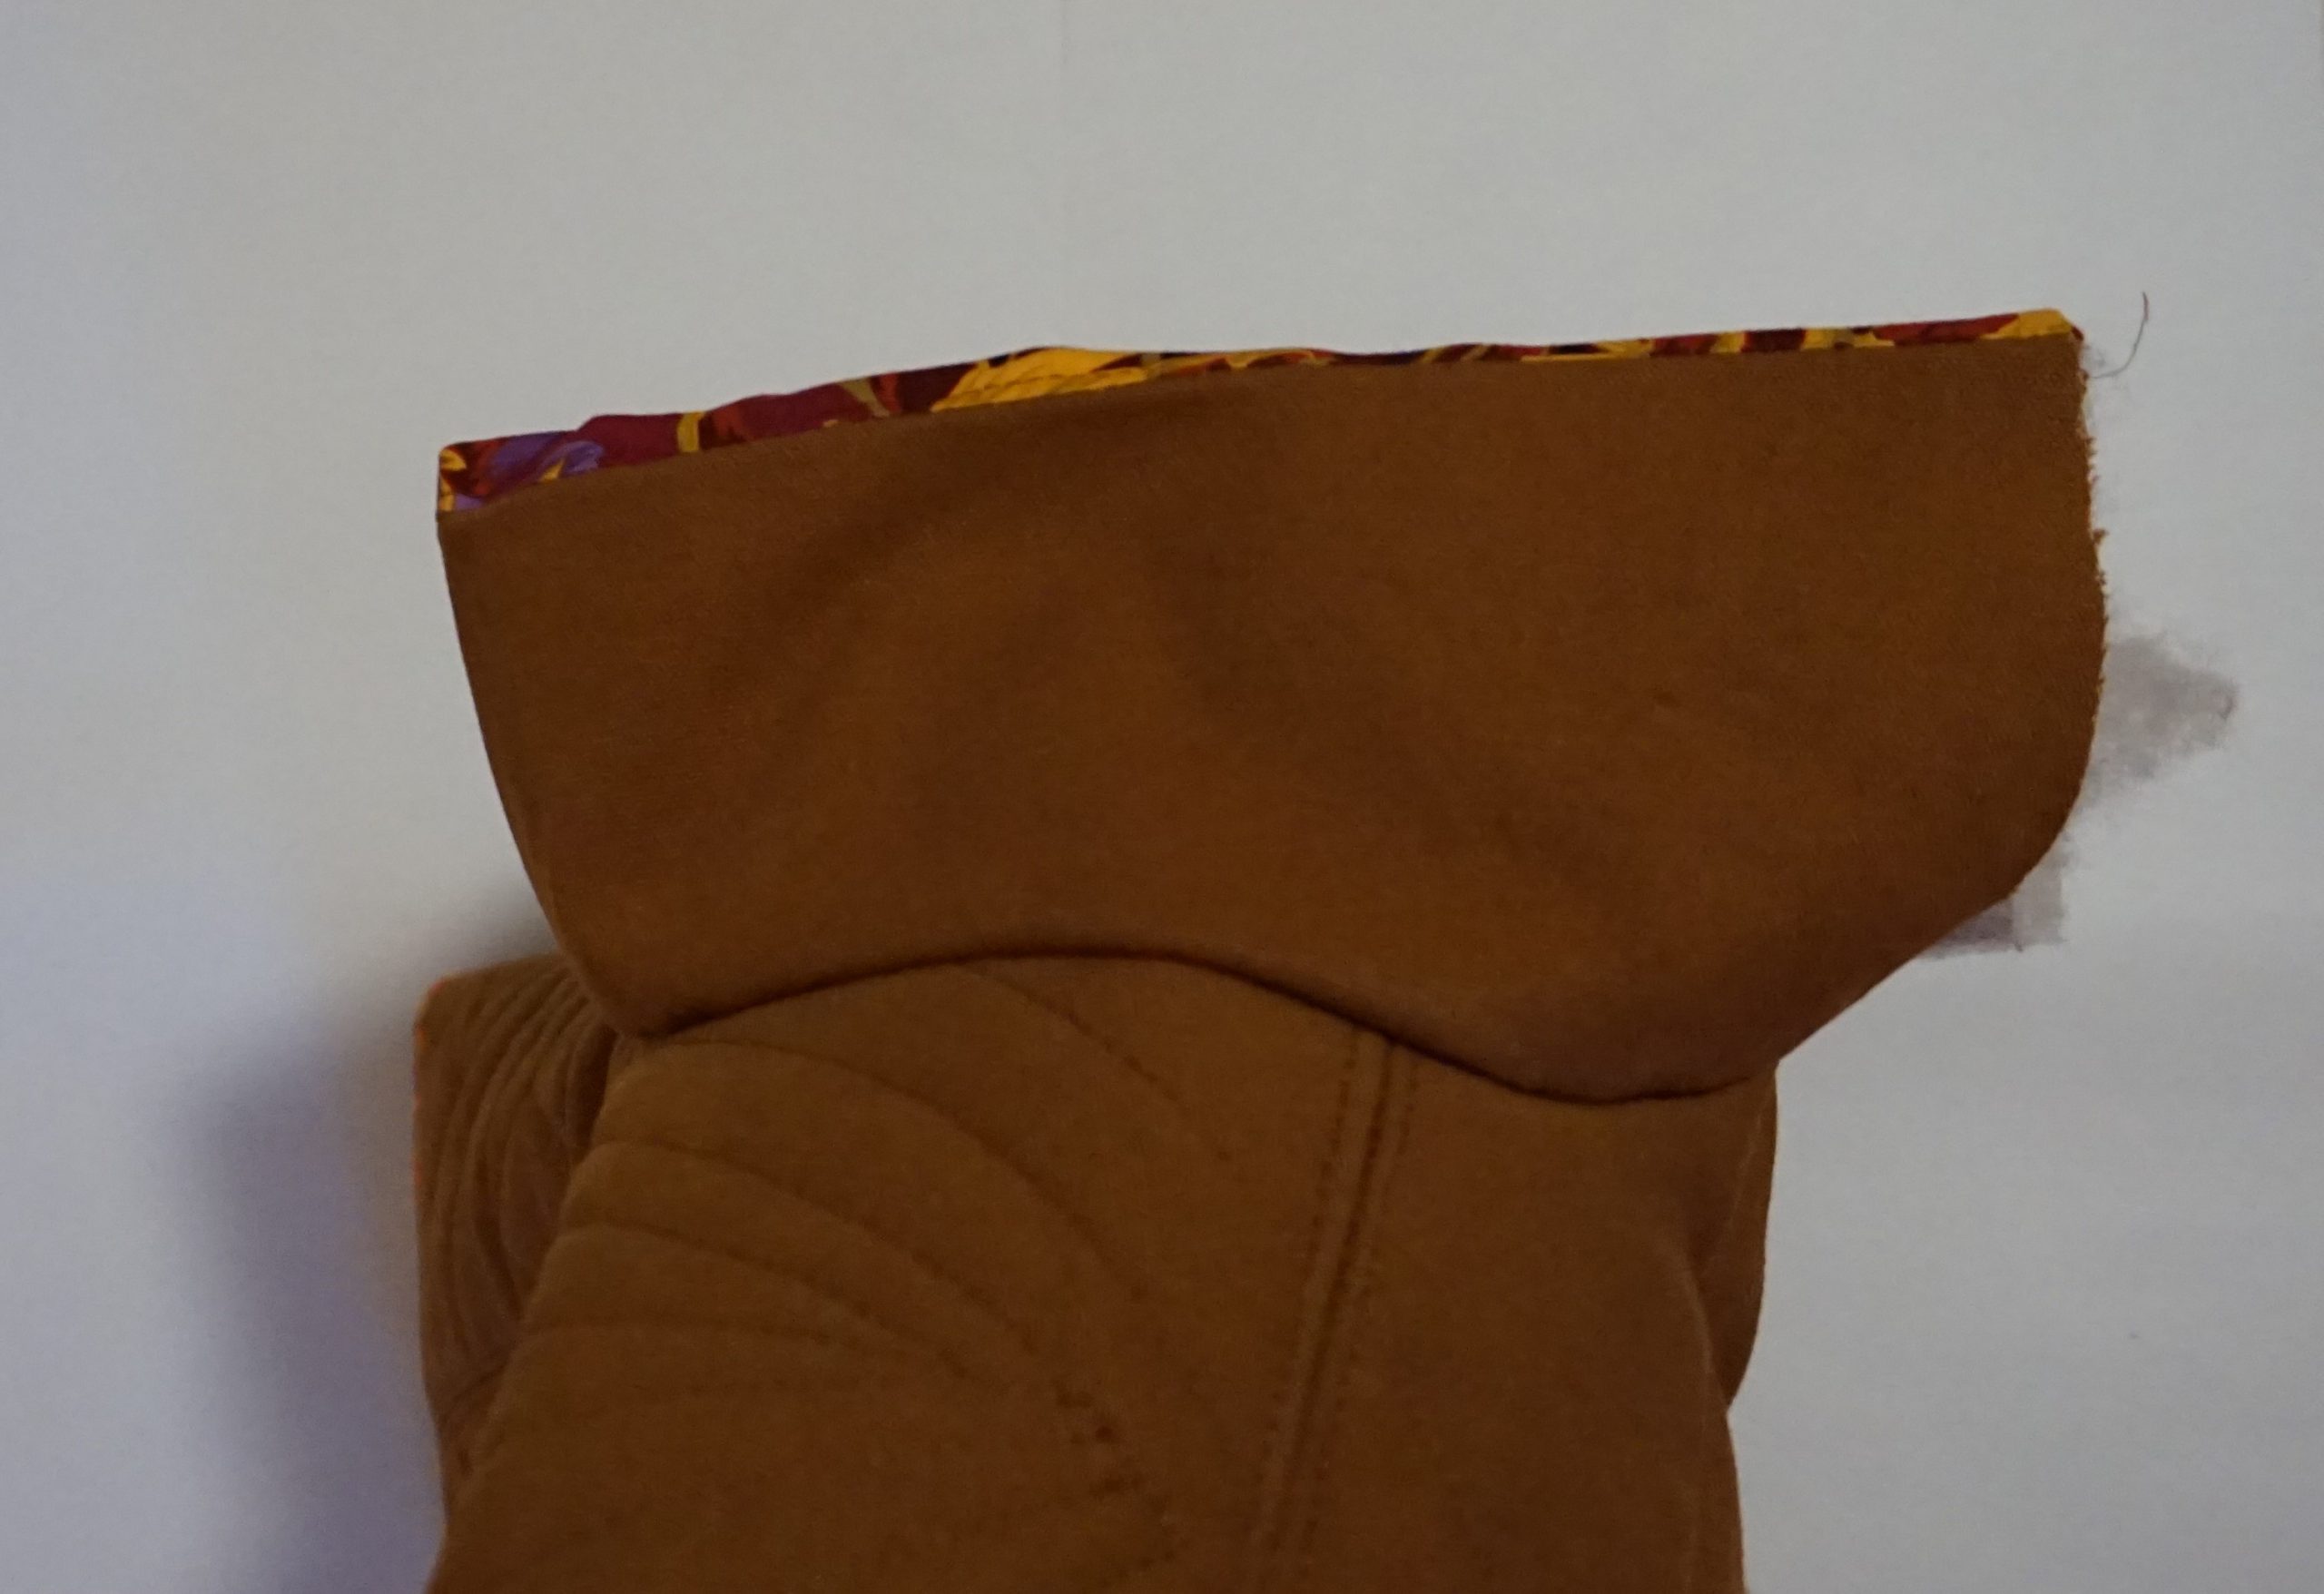
Sew the collar of the vest:
Fold both collar parts from the right side to the right and pin this.
- Close the long outer edge; iron the seam allowance to the lining and edgestitch this.

- Glue the fleece on the left side of the canvas collar with adhesive spray.
- Place the collar pieces on top of each other and iron flat.
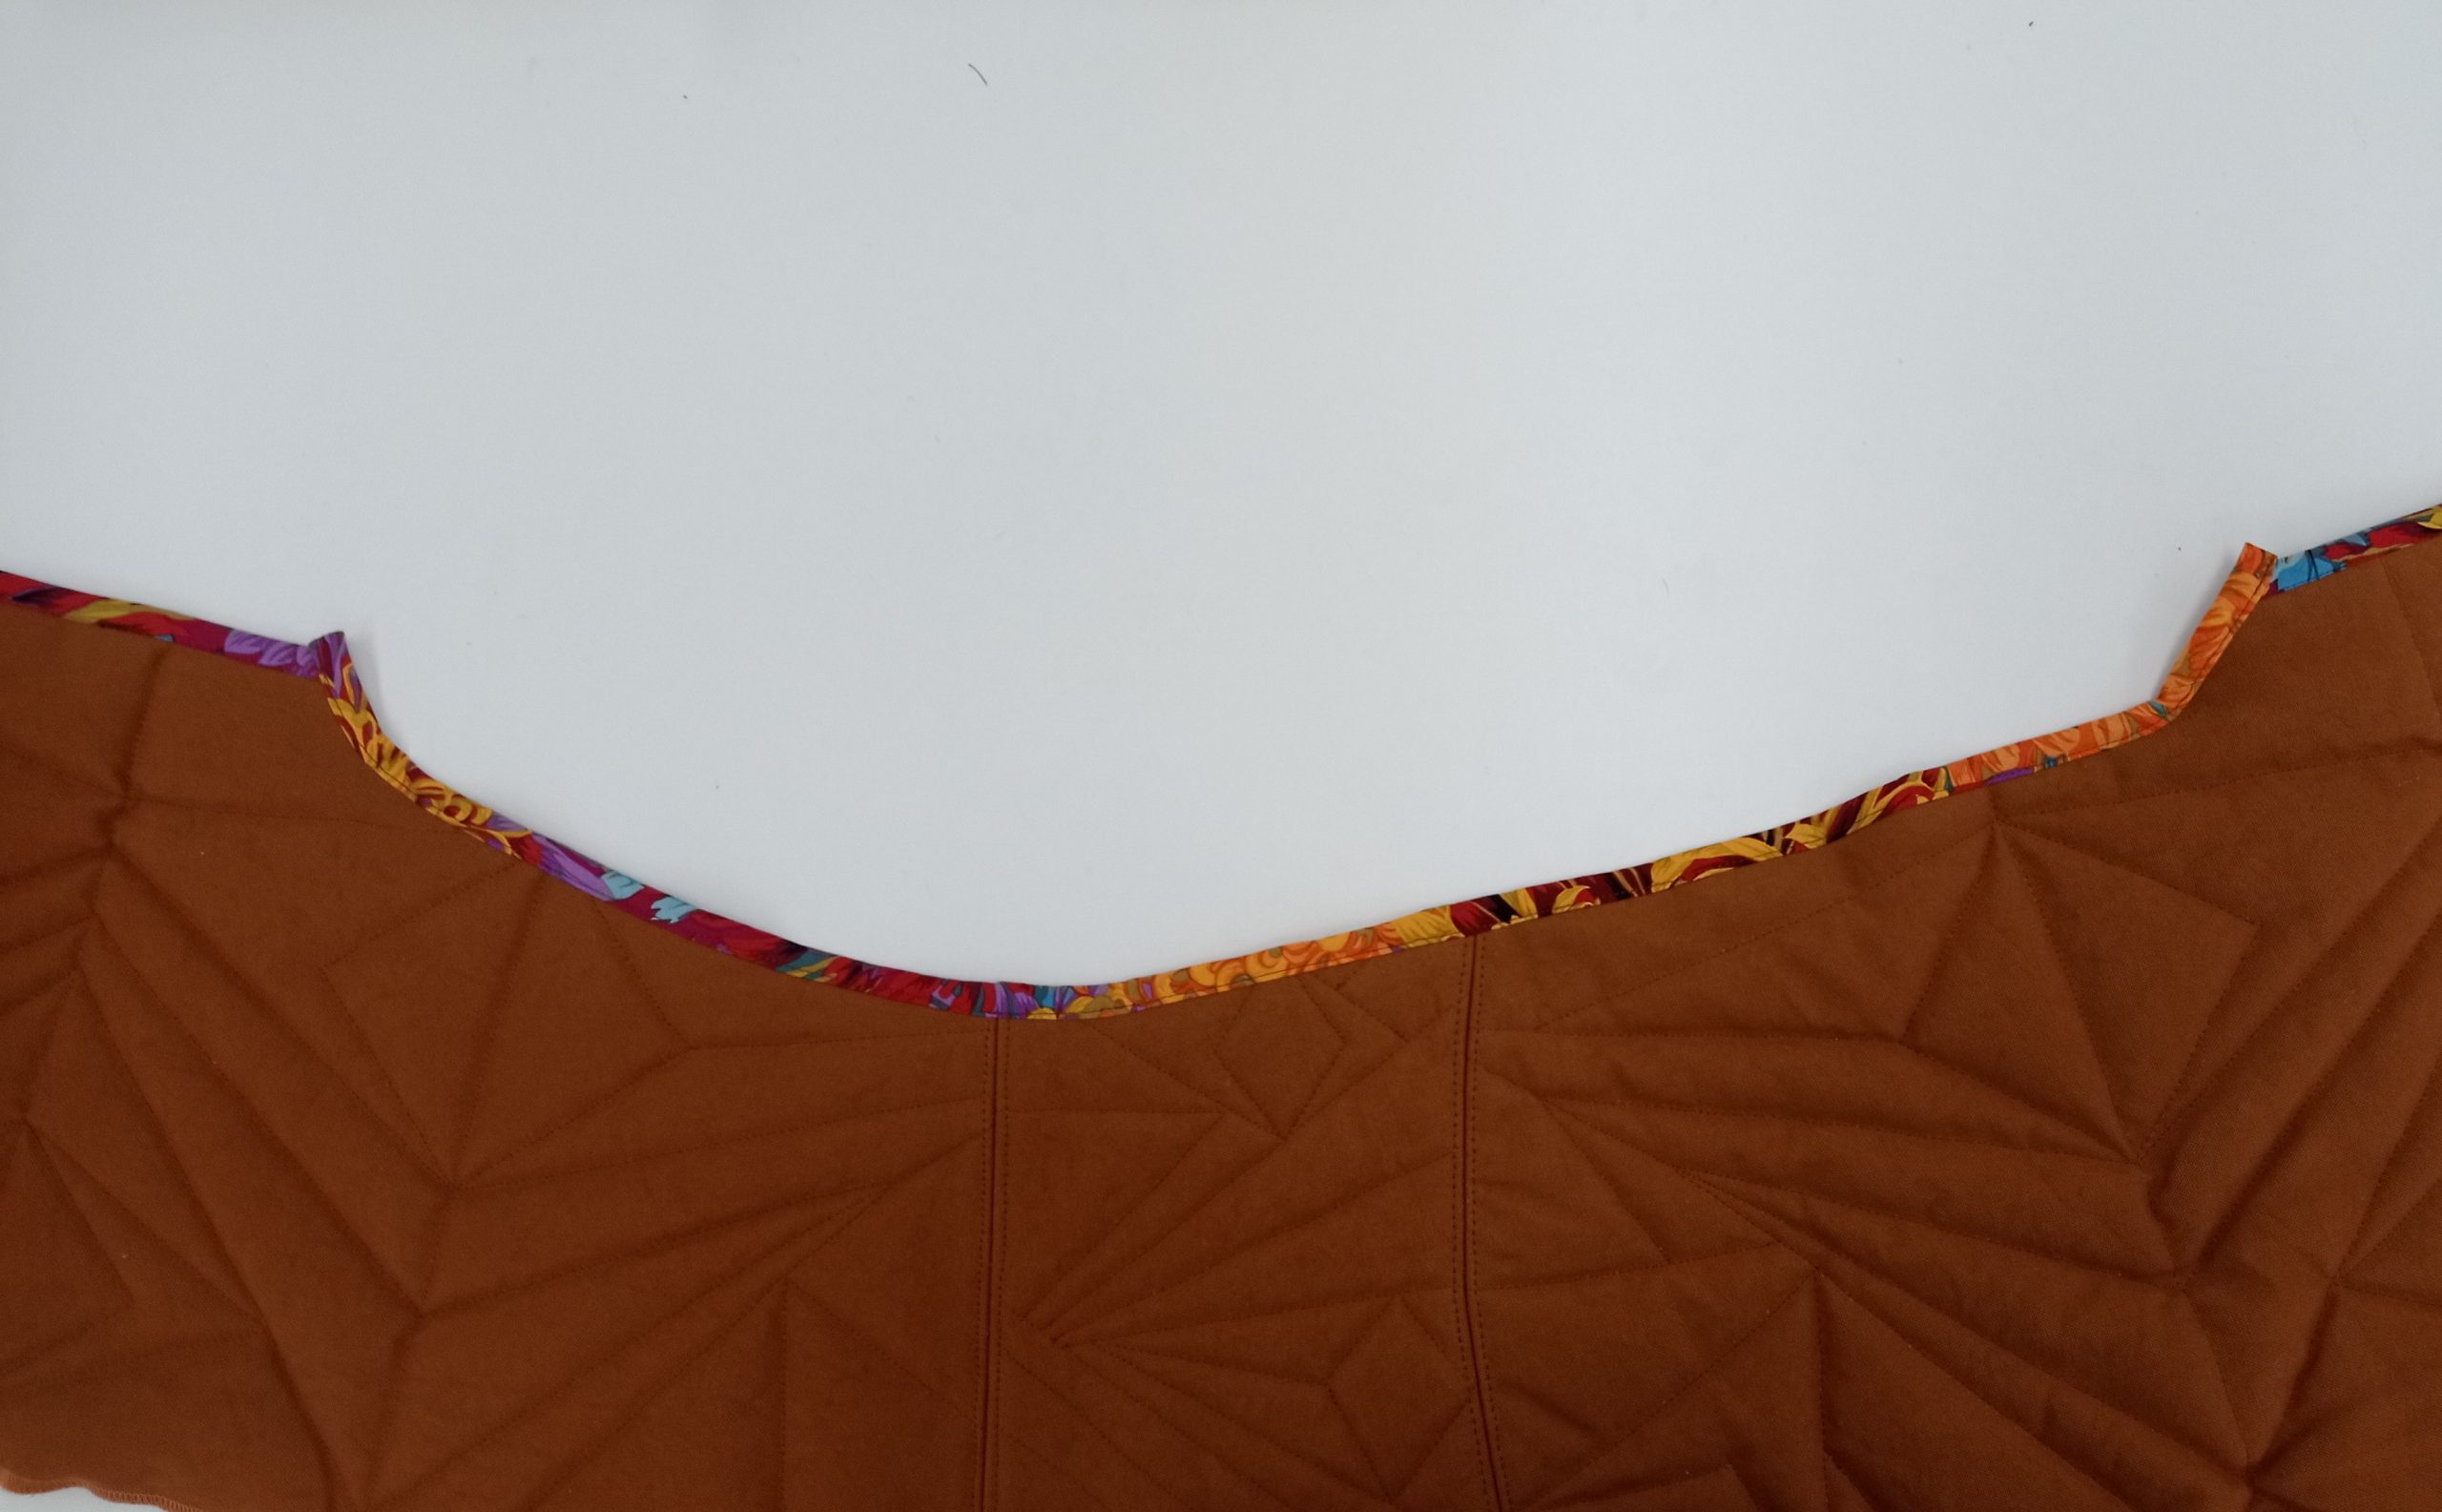
- Insert the canvas collar into the neckline and stitch this.
Sew trim to the vest:
Fold both facing parts from the right side to the right and pin this.
- Sew the outer edge together with the curves; the straight long edge remains open.
- Turn the trim over and iron.
- Slide the fleece into the trim and attach it with adhesive spray.
Insert the trim directly below the collar flush with the front edge on the right front part. Sew the trim with a presser-foot width; do not sew the seam allowance of the neckline and collar.
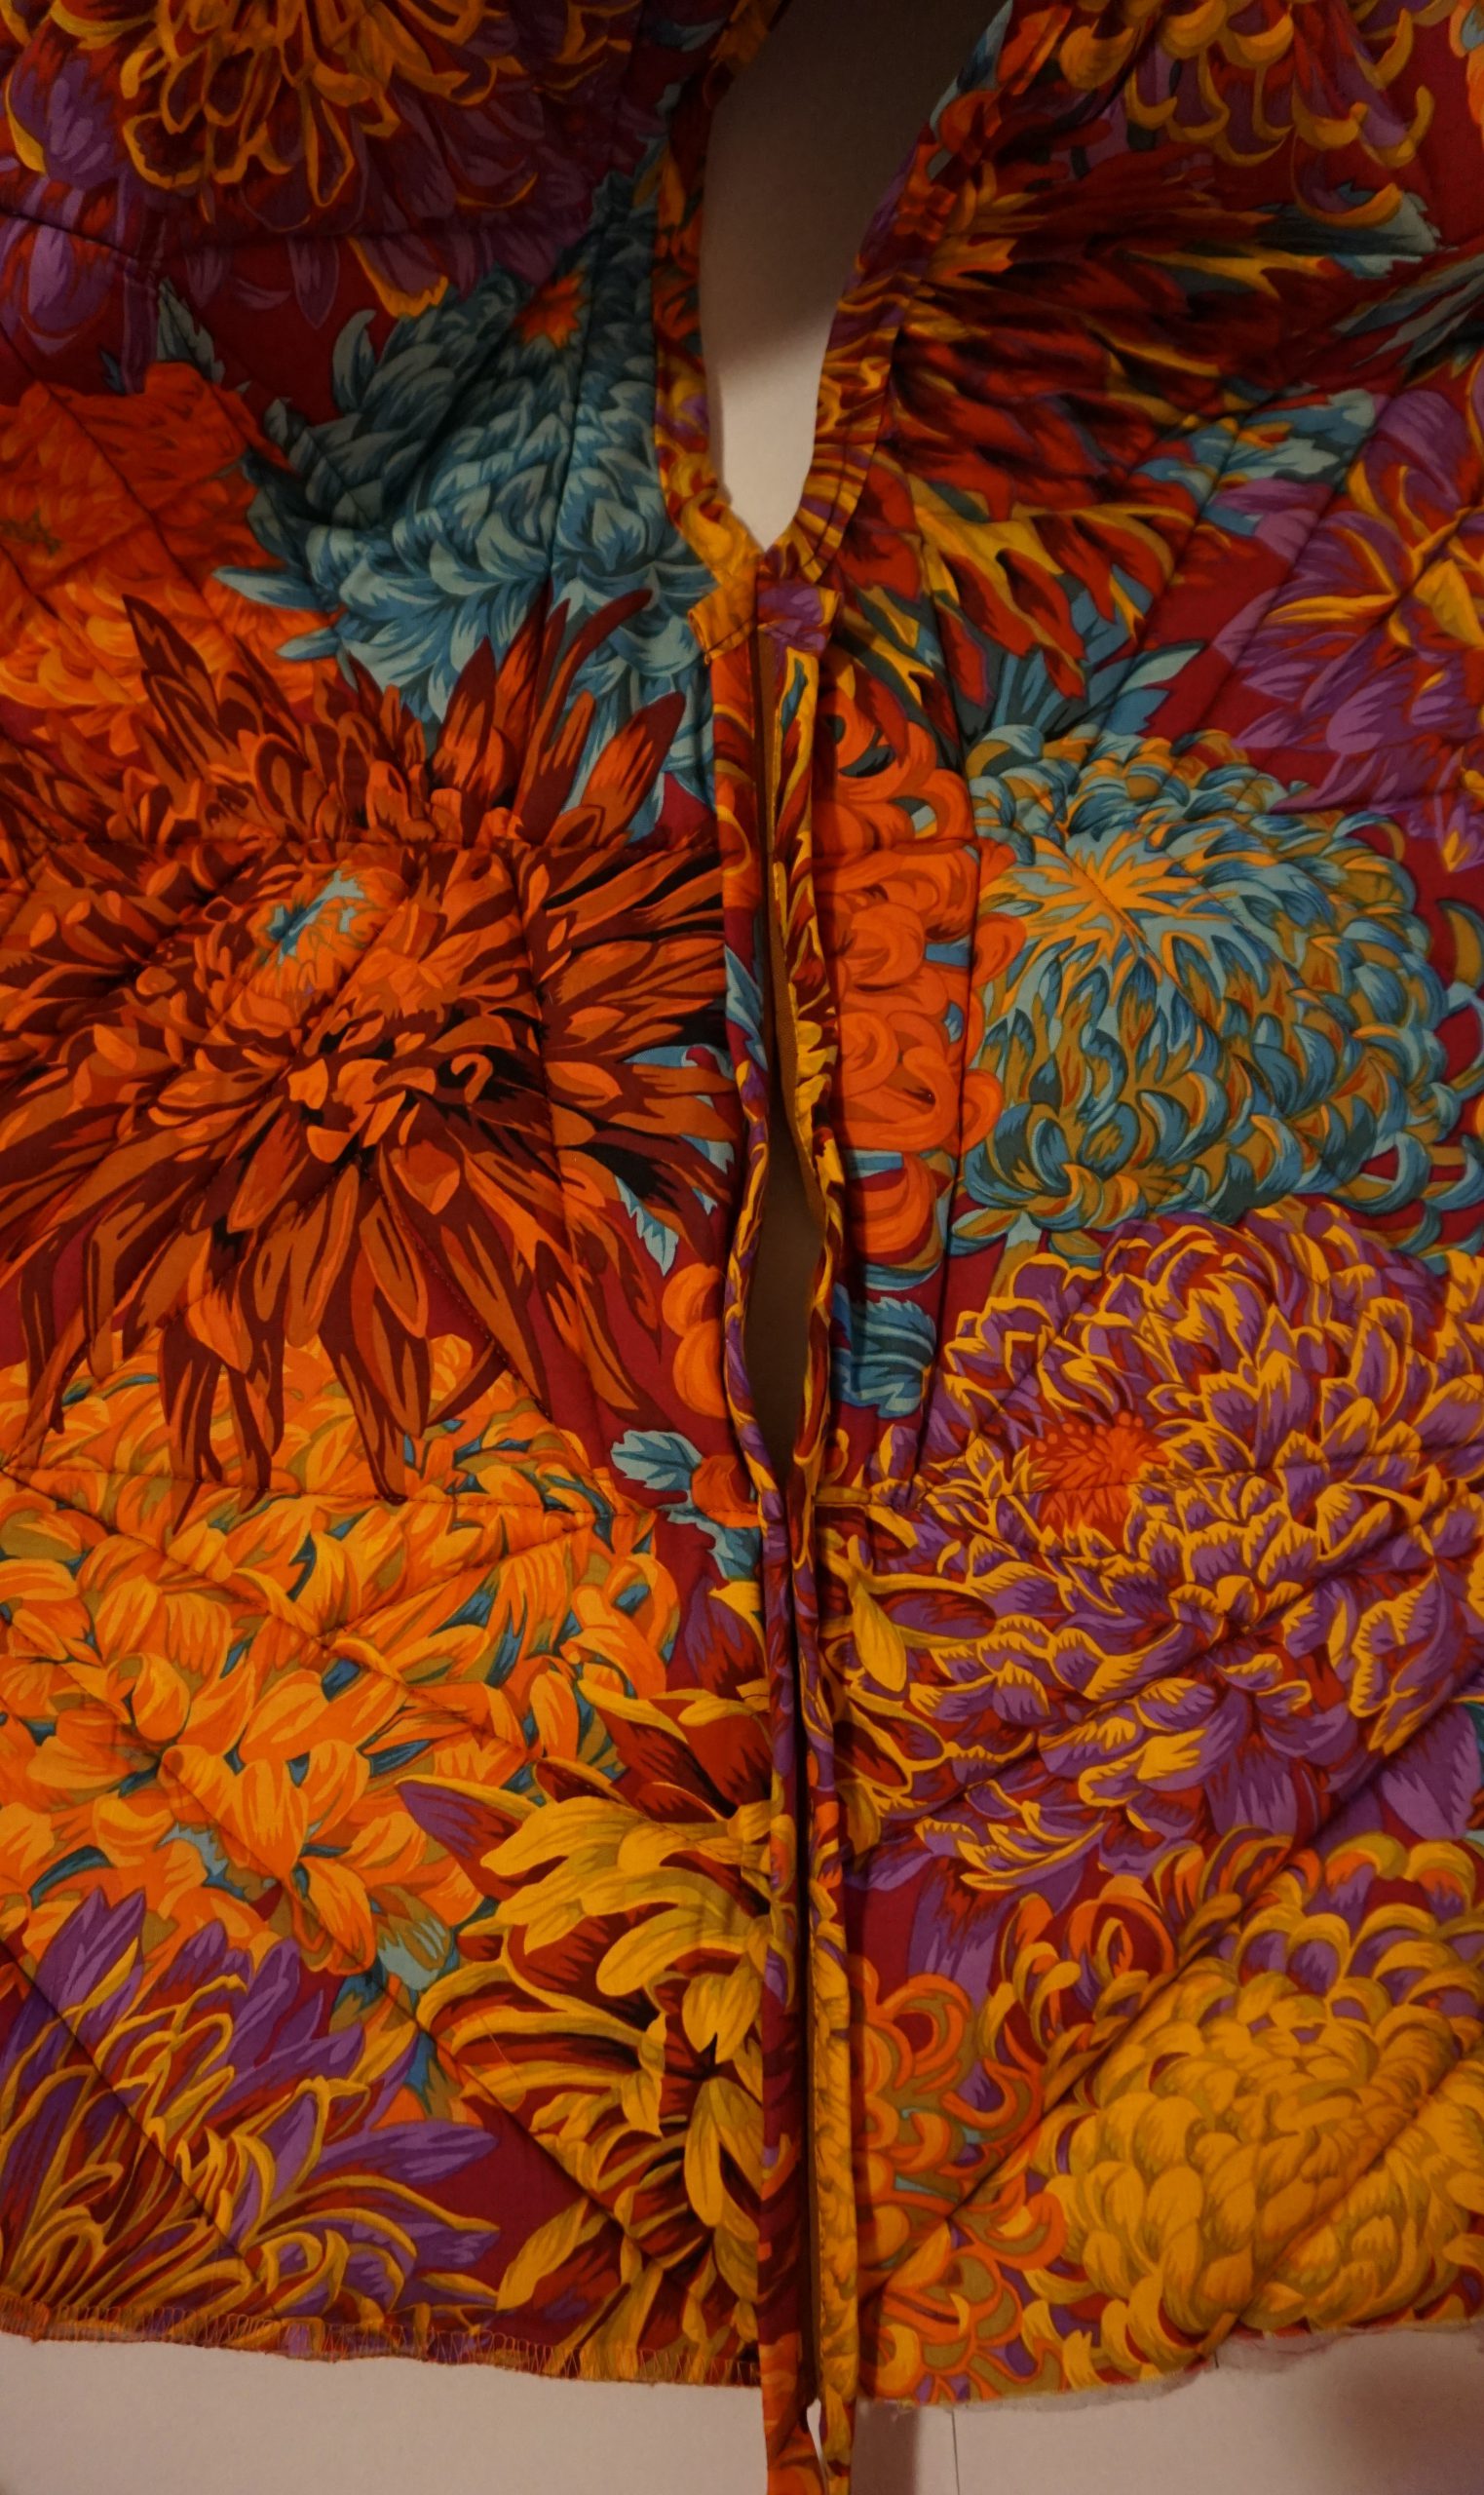
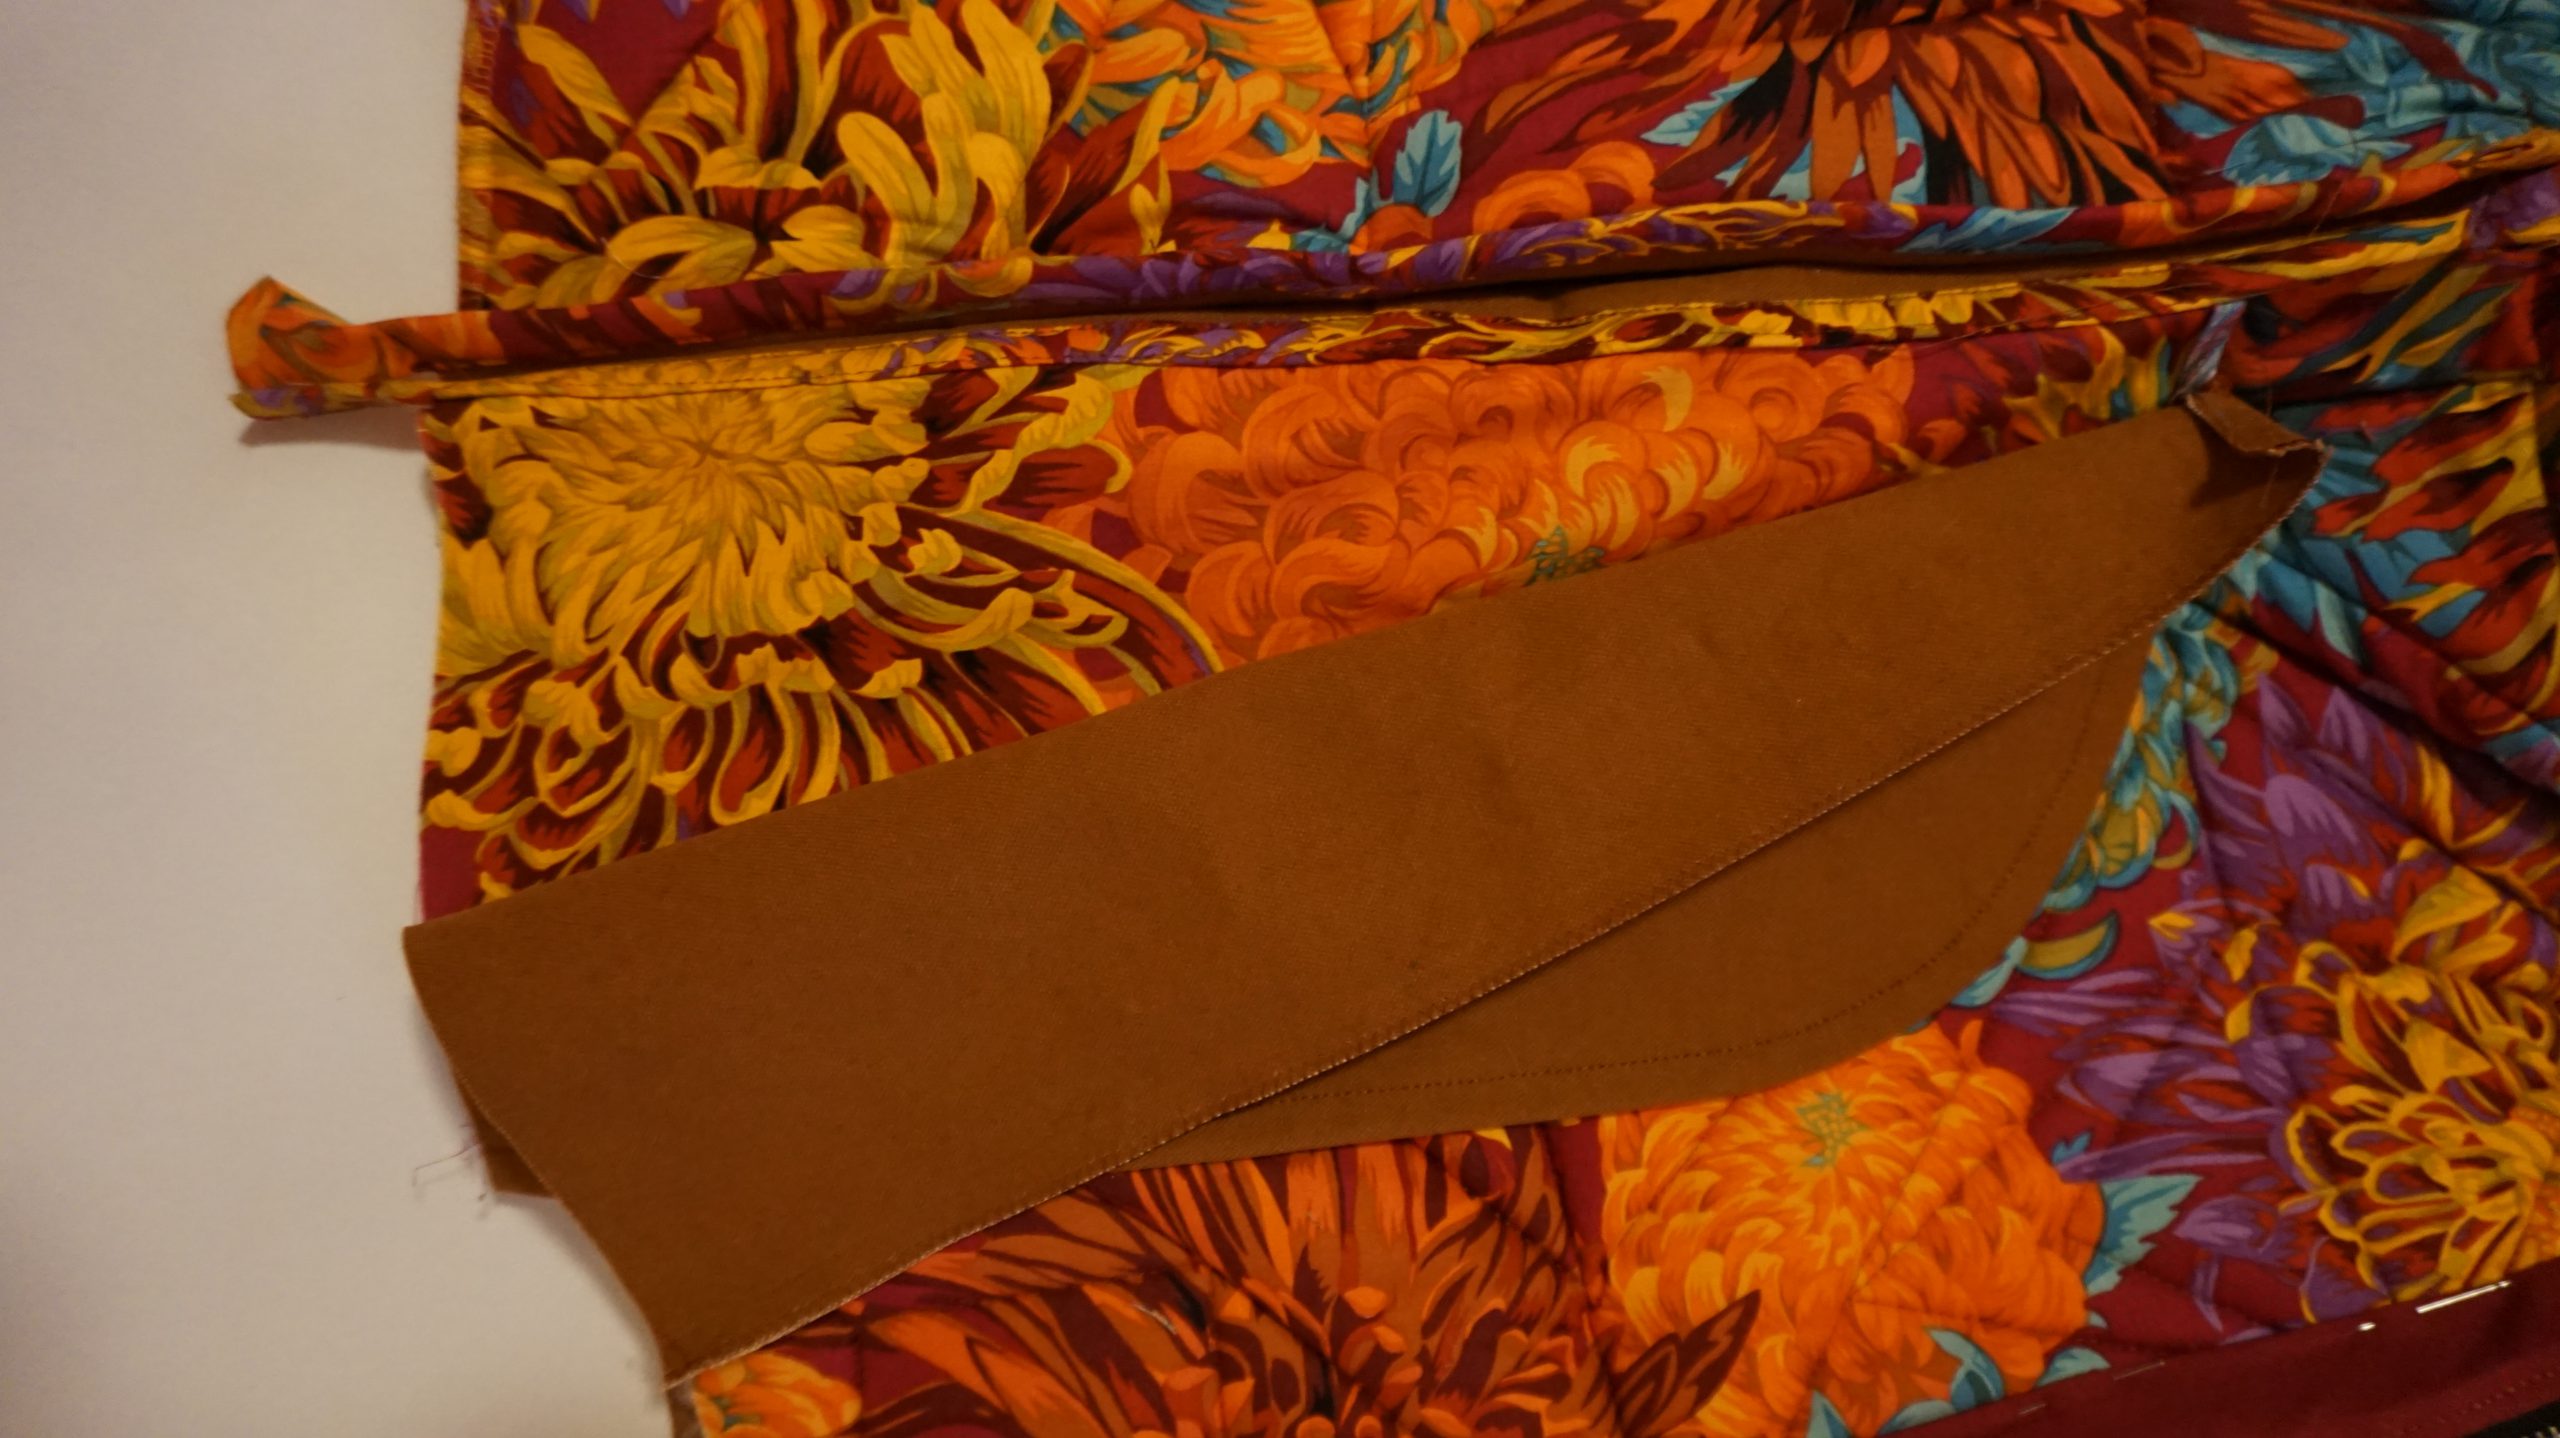
Attach the zipper for the vest:
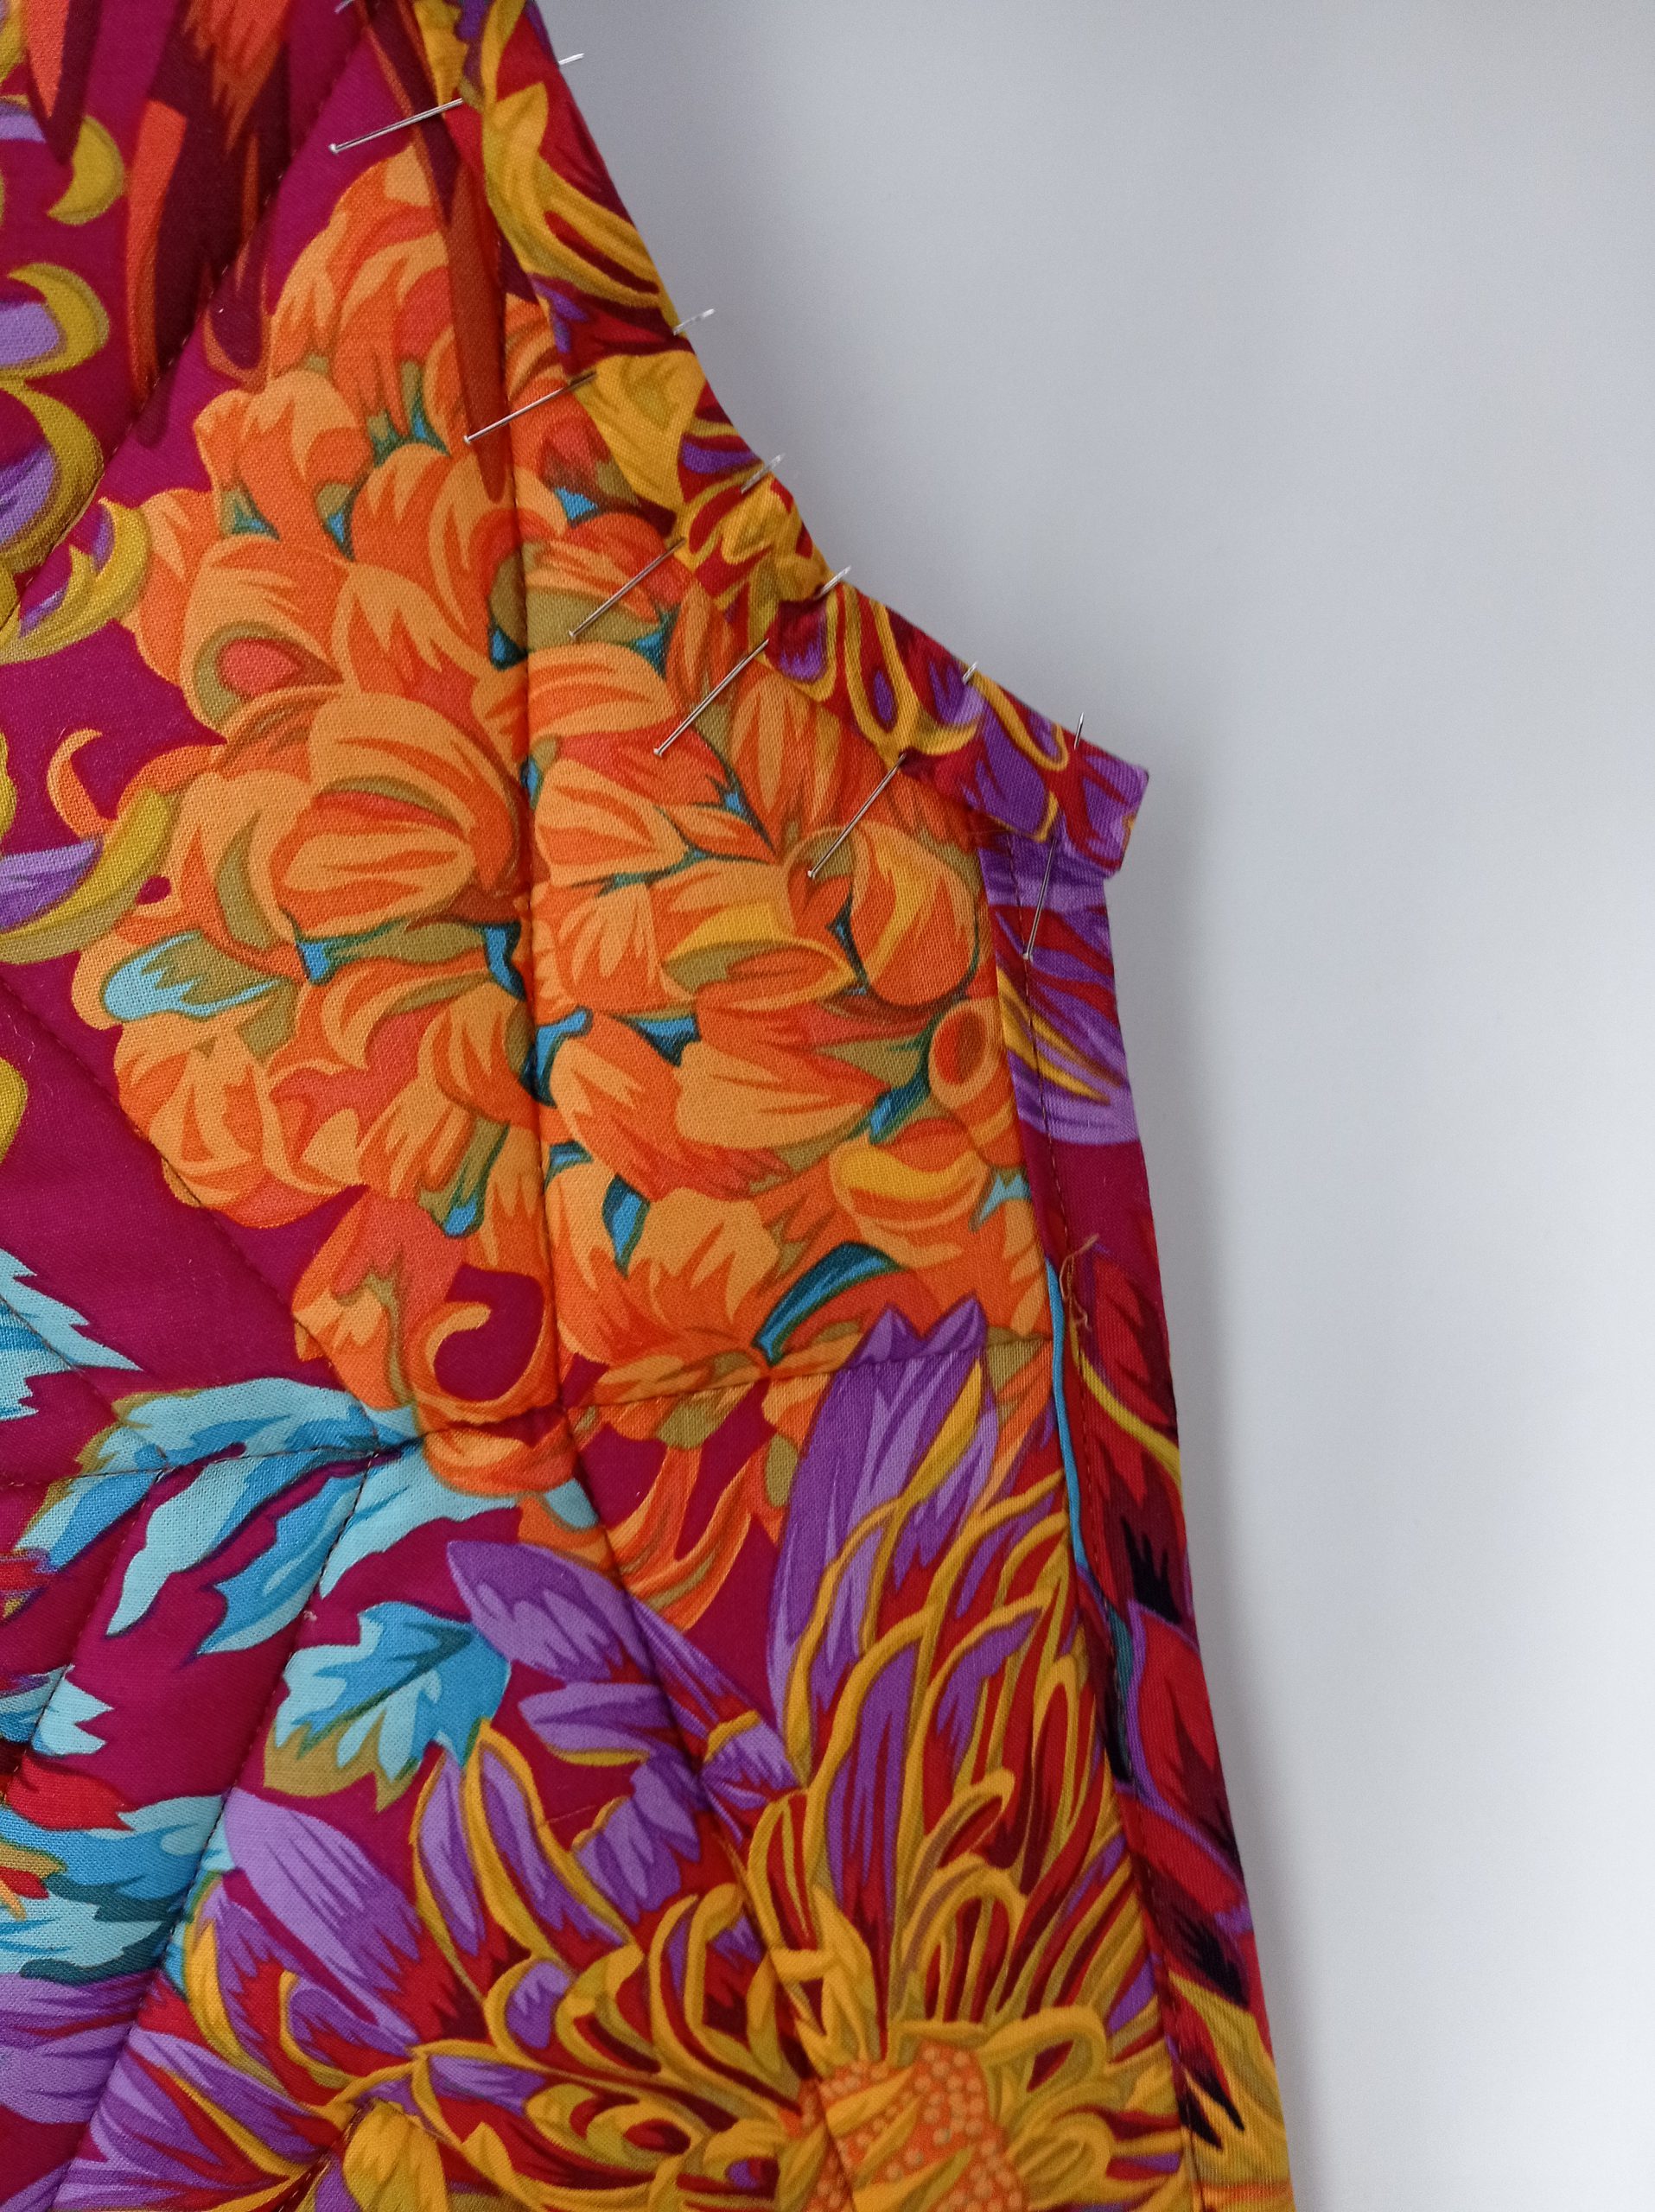
Pin one part of the zipper (right side to right) to each of the two front parts. Starting from the collar, pin from the zipper tape flush to the front edge. The seam allowance of the collar and neckline is folded upwards.
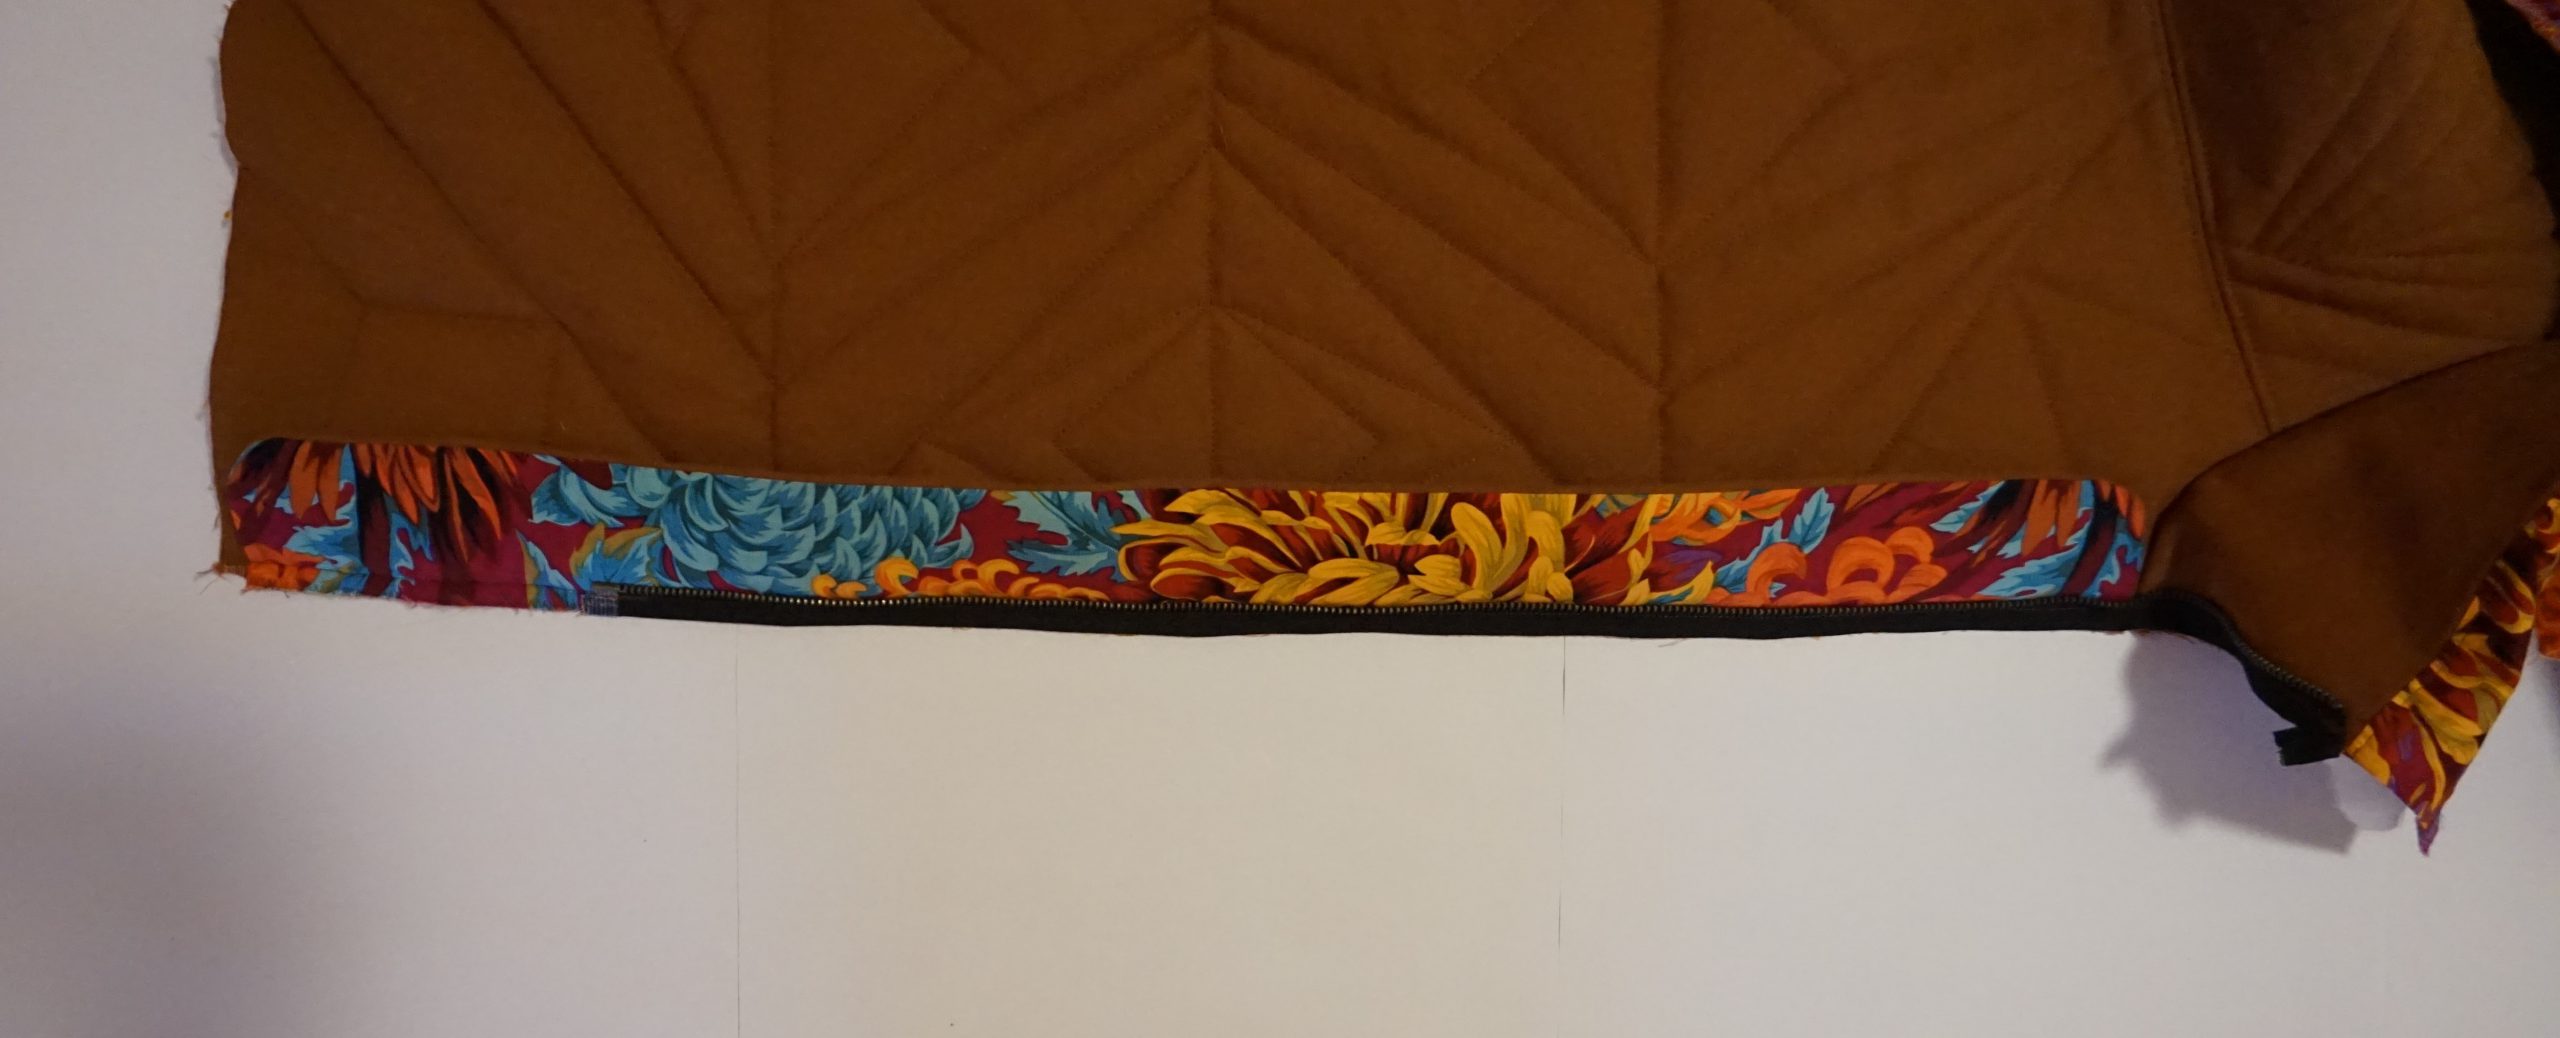
- Sew both parts with the zipper foot #4 C/D.
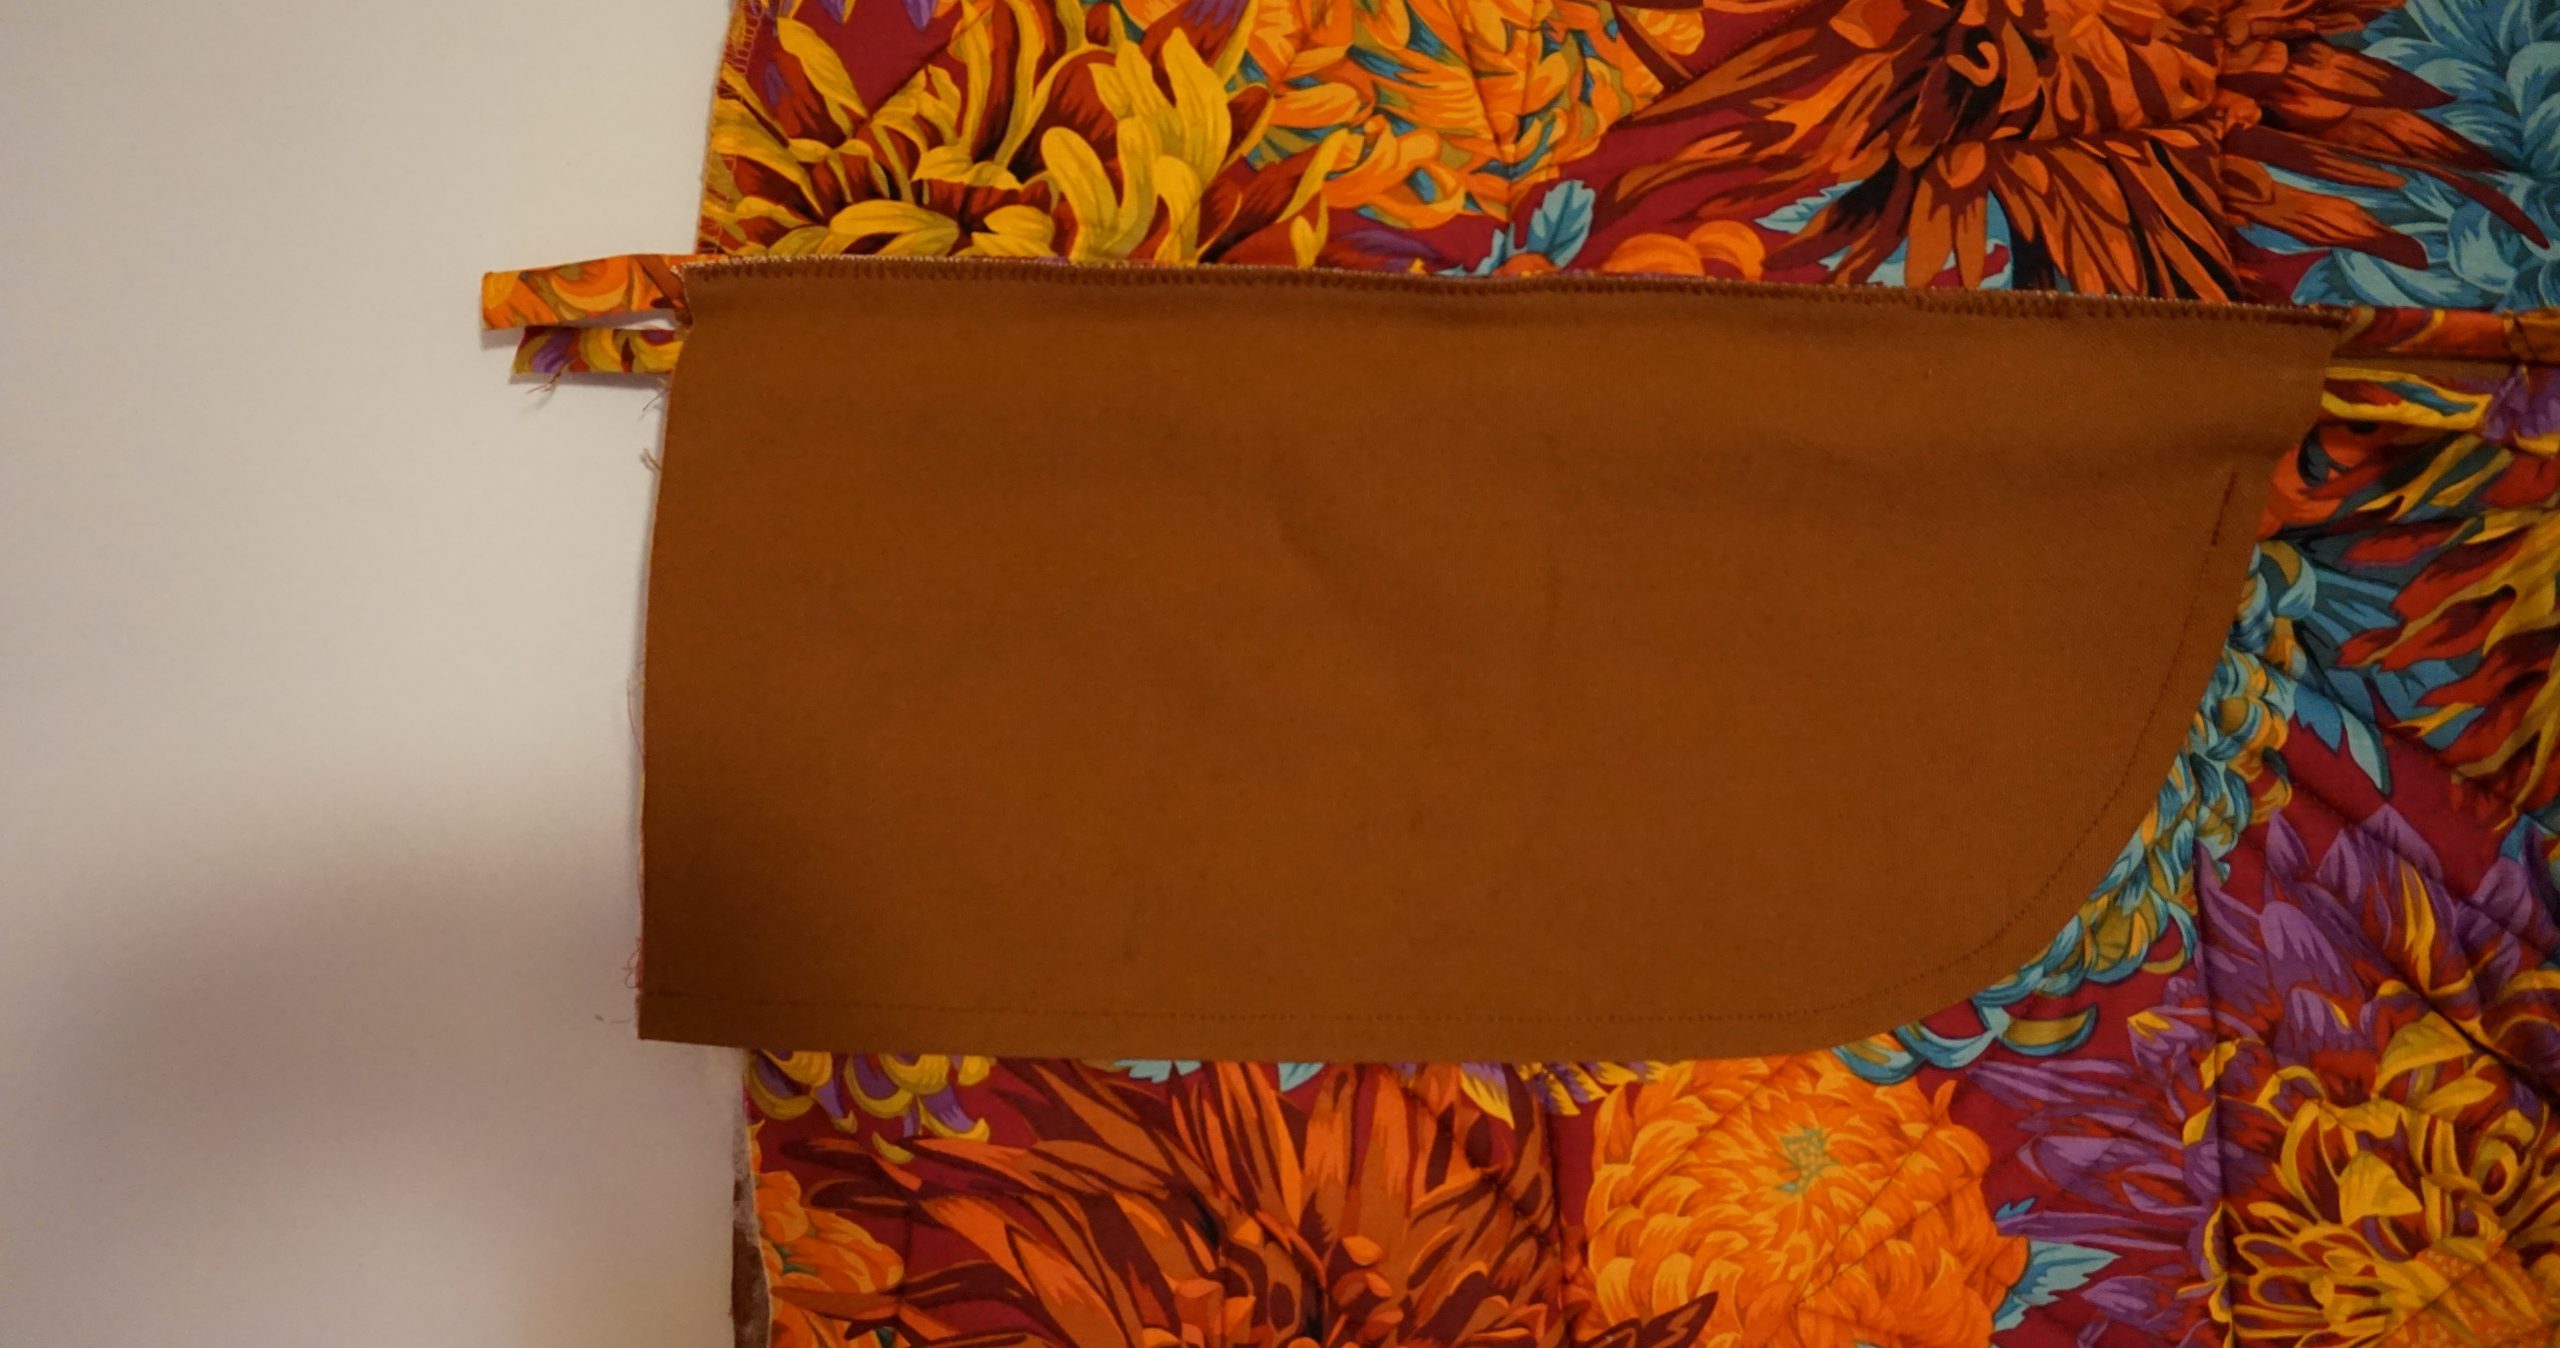
- Place two oblique strips (along the entire length to the hem) with the right side to the zipper and pin flush to the front edge. The zipper is sandwiched between the diagonal strips and the vest.
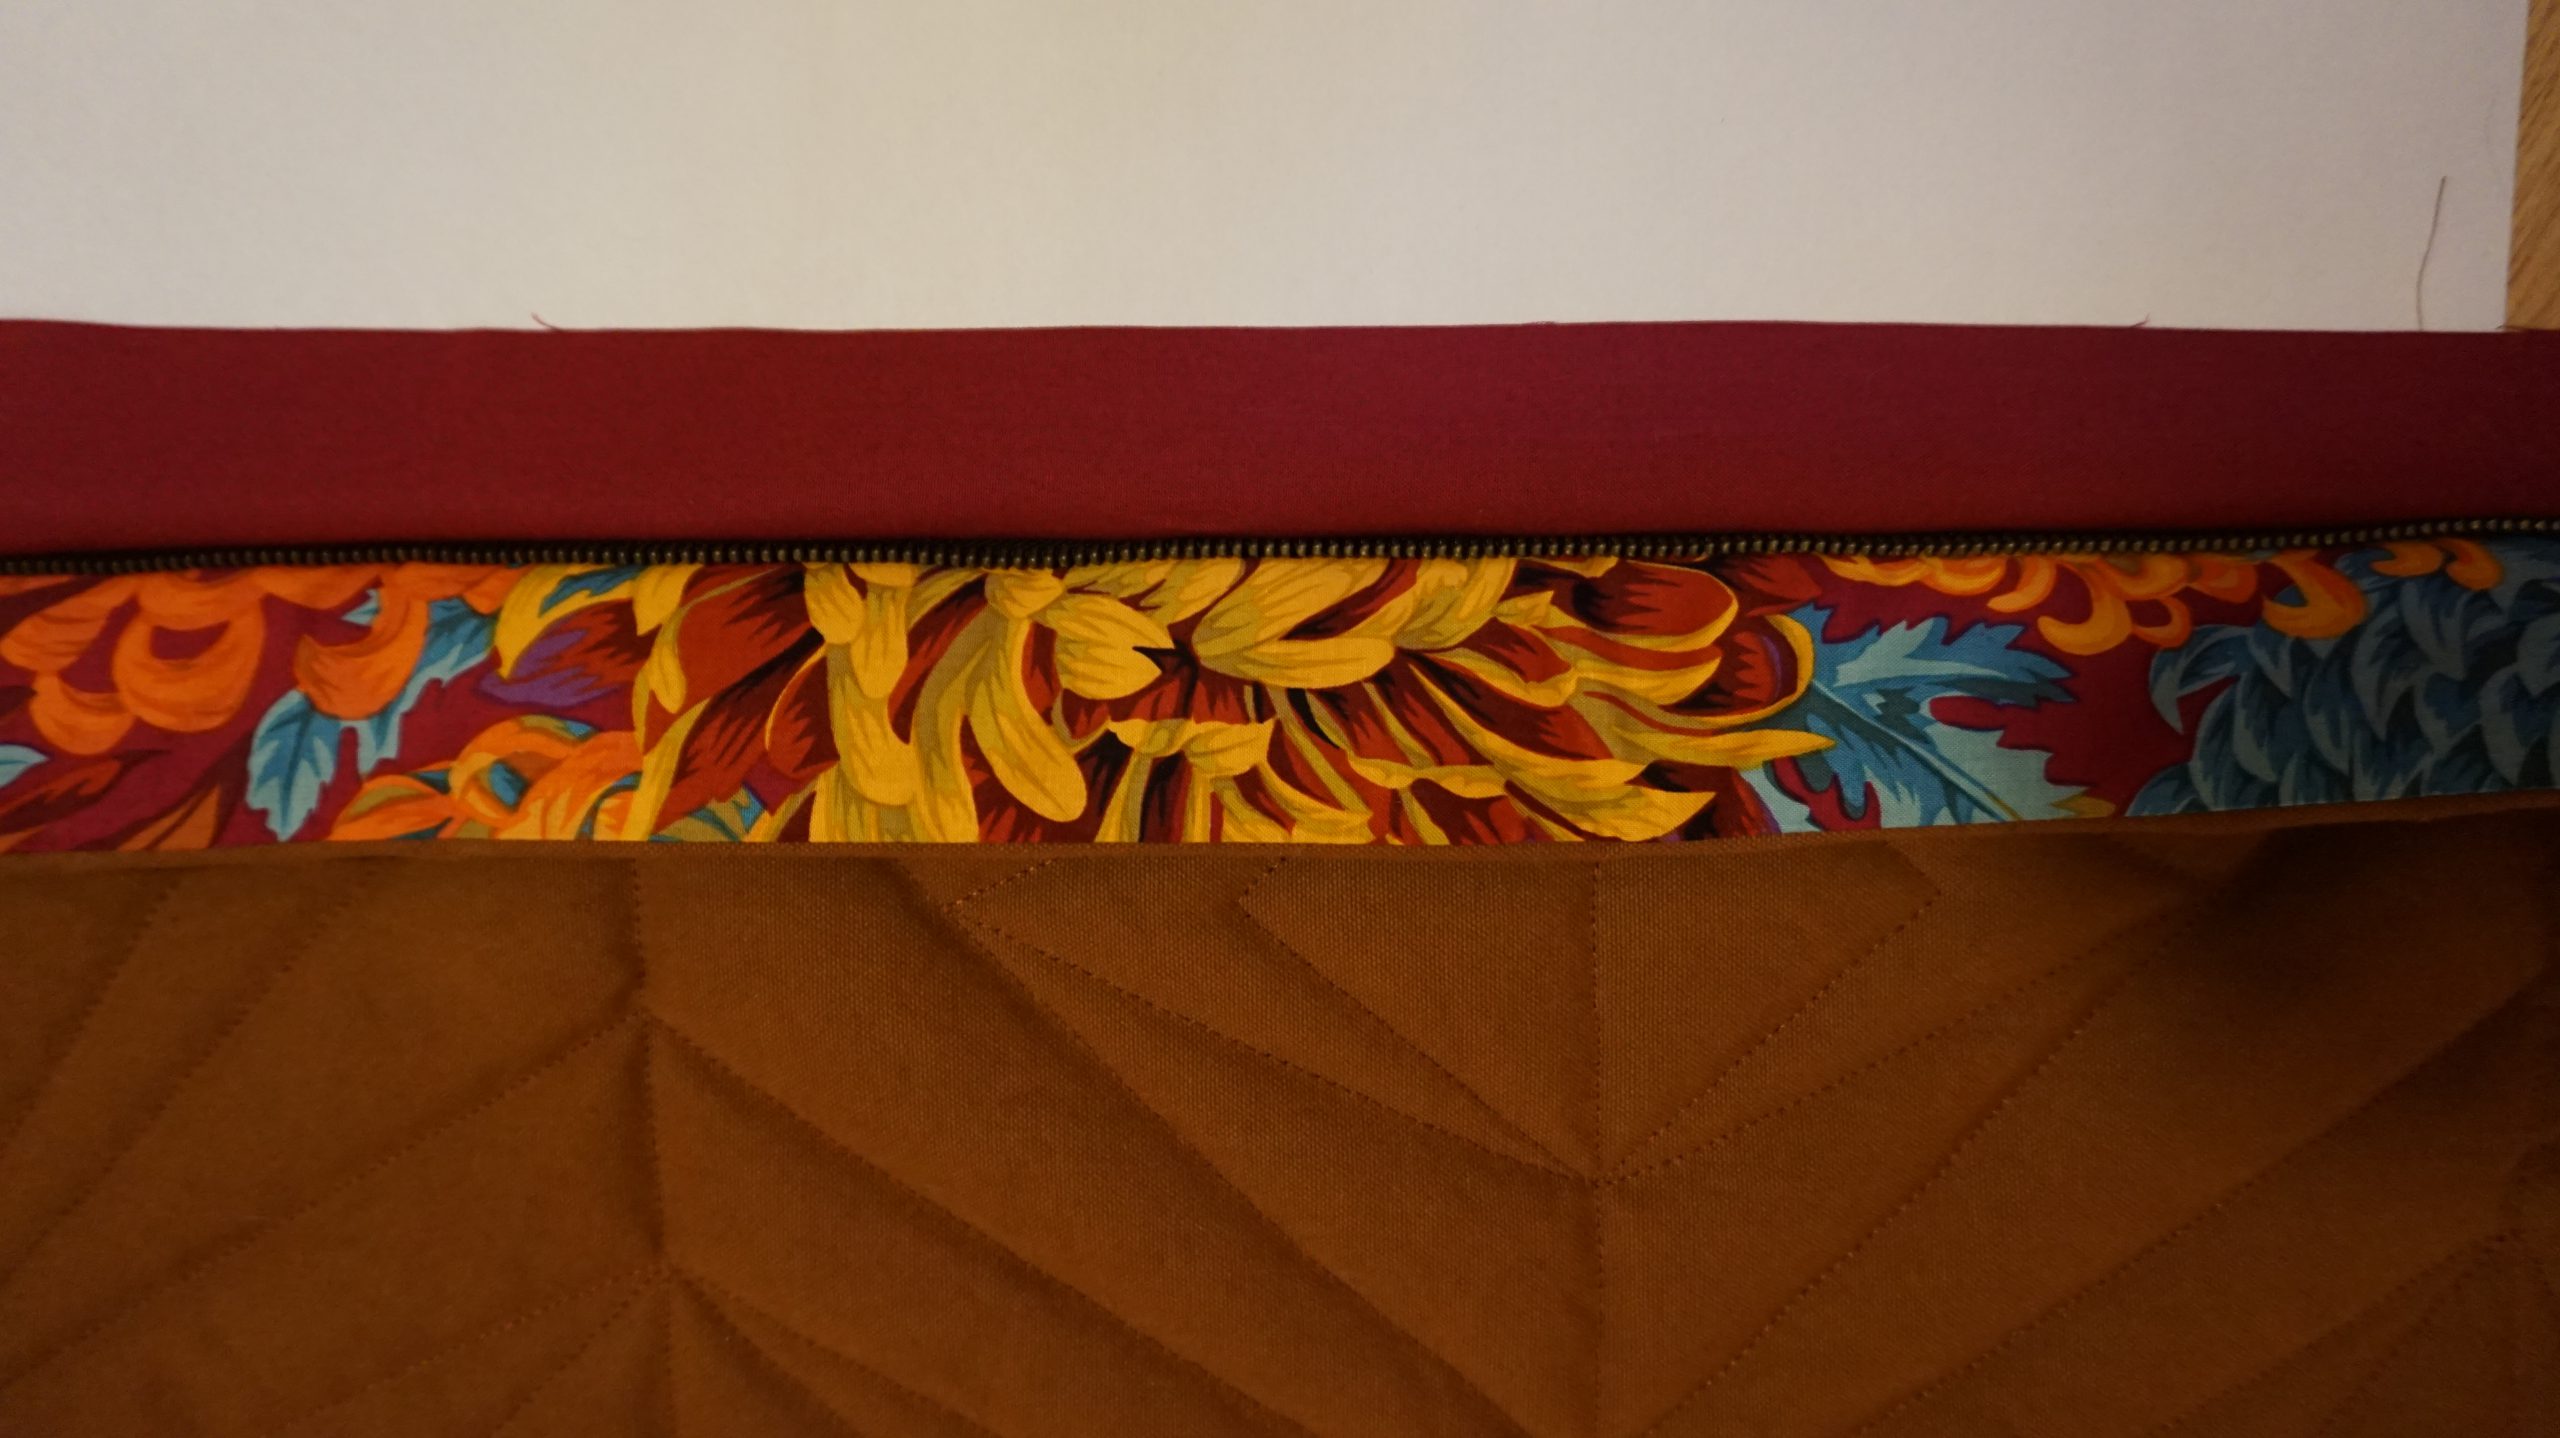
- Sew the diagonal strips with narrow stitches and iron to the side.
- Edgestitch both strips and thus secure the seam allowances.
- Fold the diagonal strips and seam allowance inwards and pin. Iron all parts flat.

On the collar, fold the seam allowance inwards at the front edge and pin. Iron the seam allowance at the neckline into the collar. Fold 1 cm of seam allowance inwards at the collar lining and pin to the seam.

Sew the diagonal strips onto the zipper and pin the collar lining all around by hand.
Sew the hem of the vest:
Sew a diagonal strip along the entire hem length. Make sure that the trim is not sewn with this.
- Edgestitch the diagonal strips and seam allowance.

- Fold the strip inwards and pin; at the beginning and end, fold the strip about 1.5 cm inwards.
Also sew this diagonal strip by hand.
Enjoy your new vest!


0 Responses