 BERNINA Corporate Blog -
Hello friends,
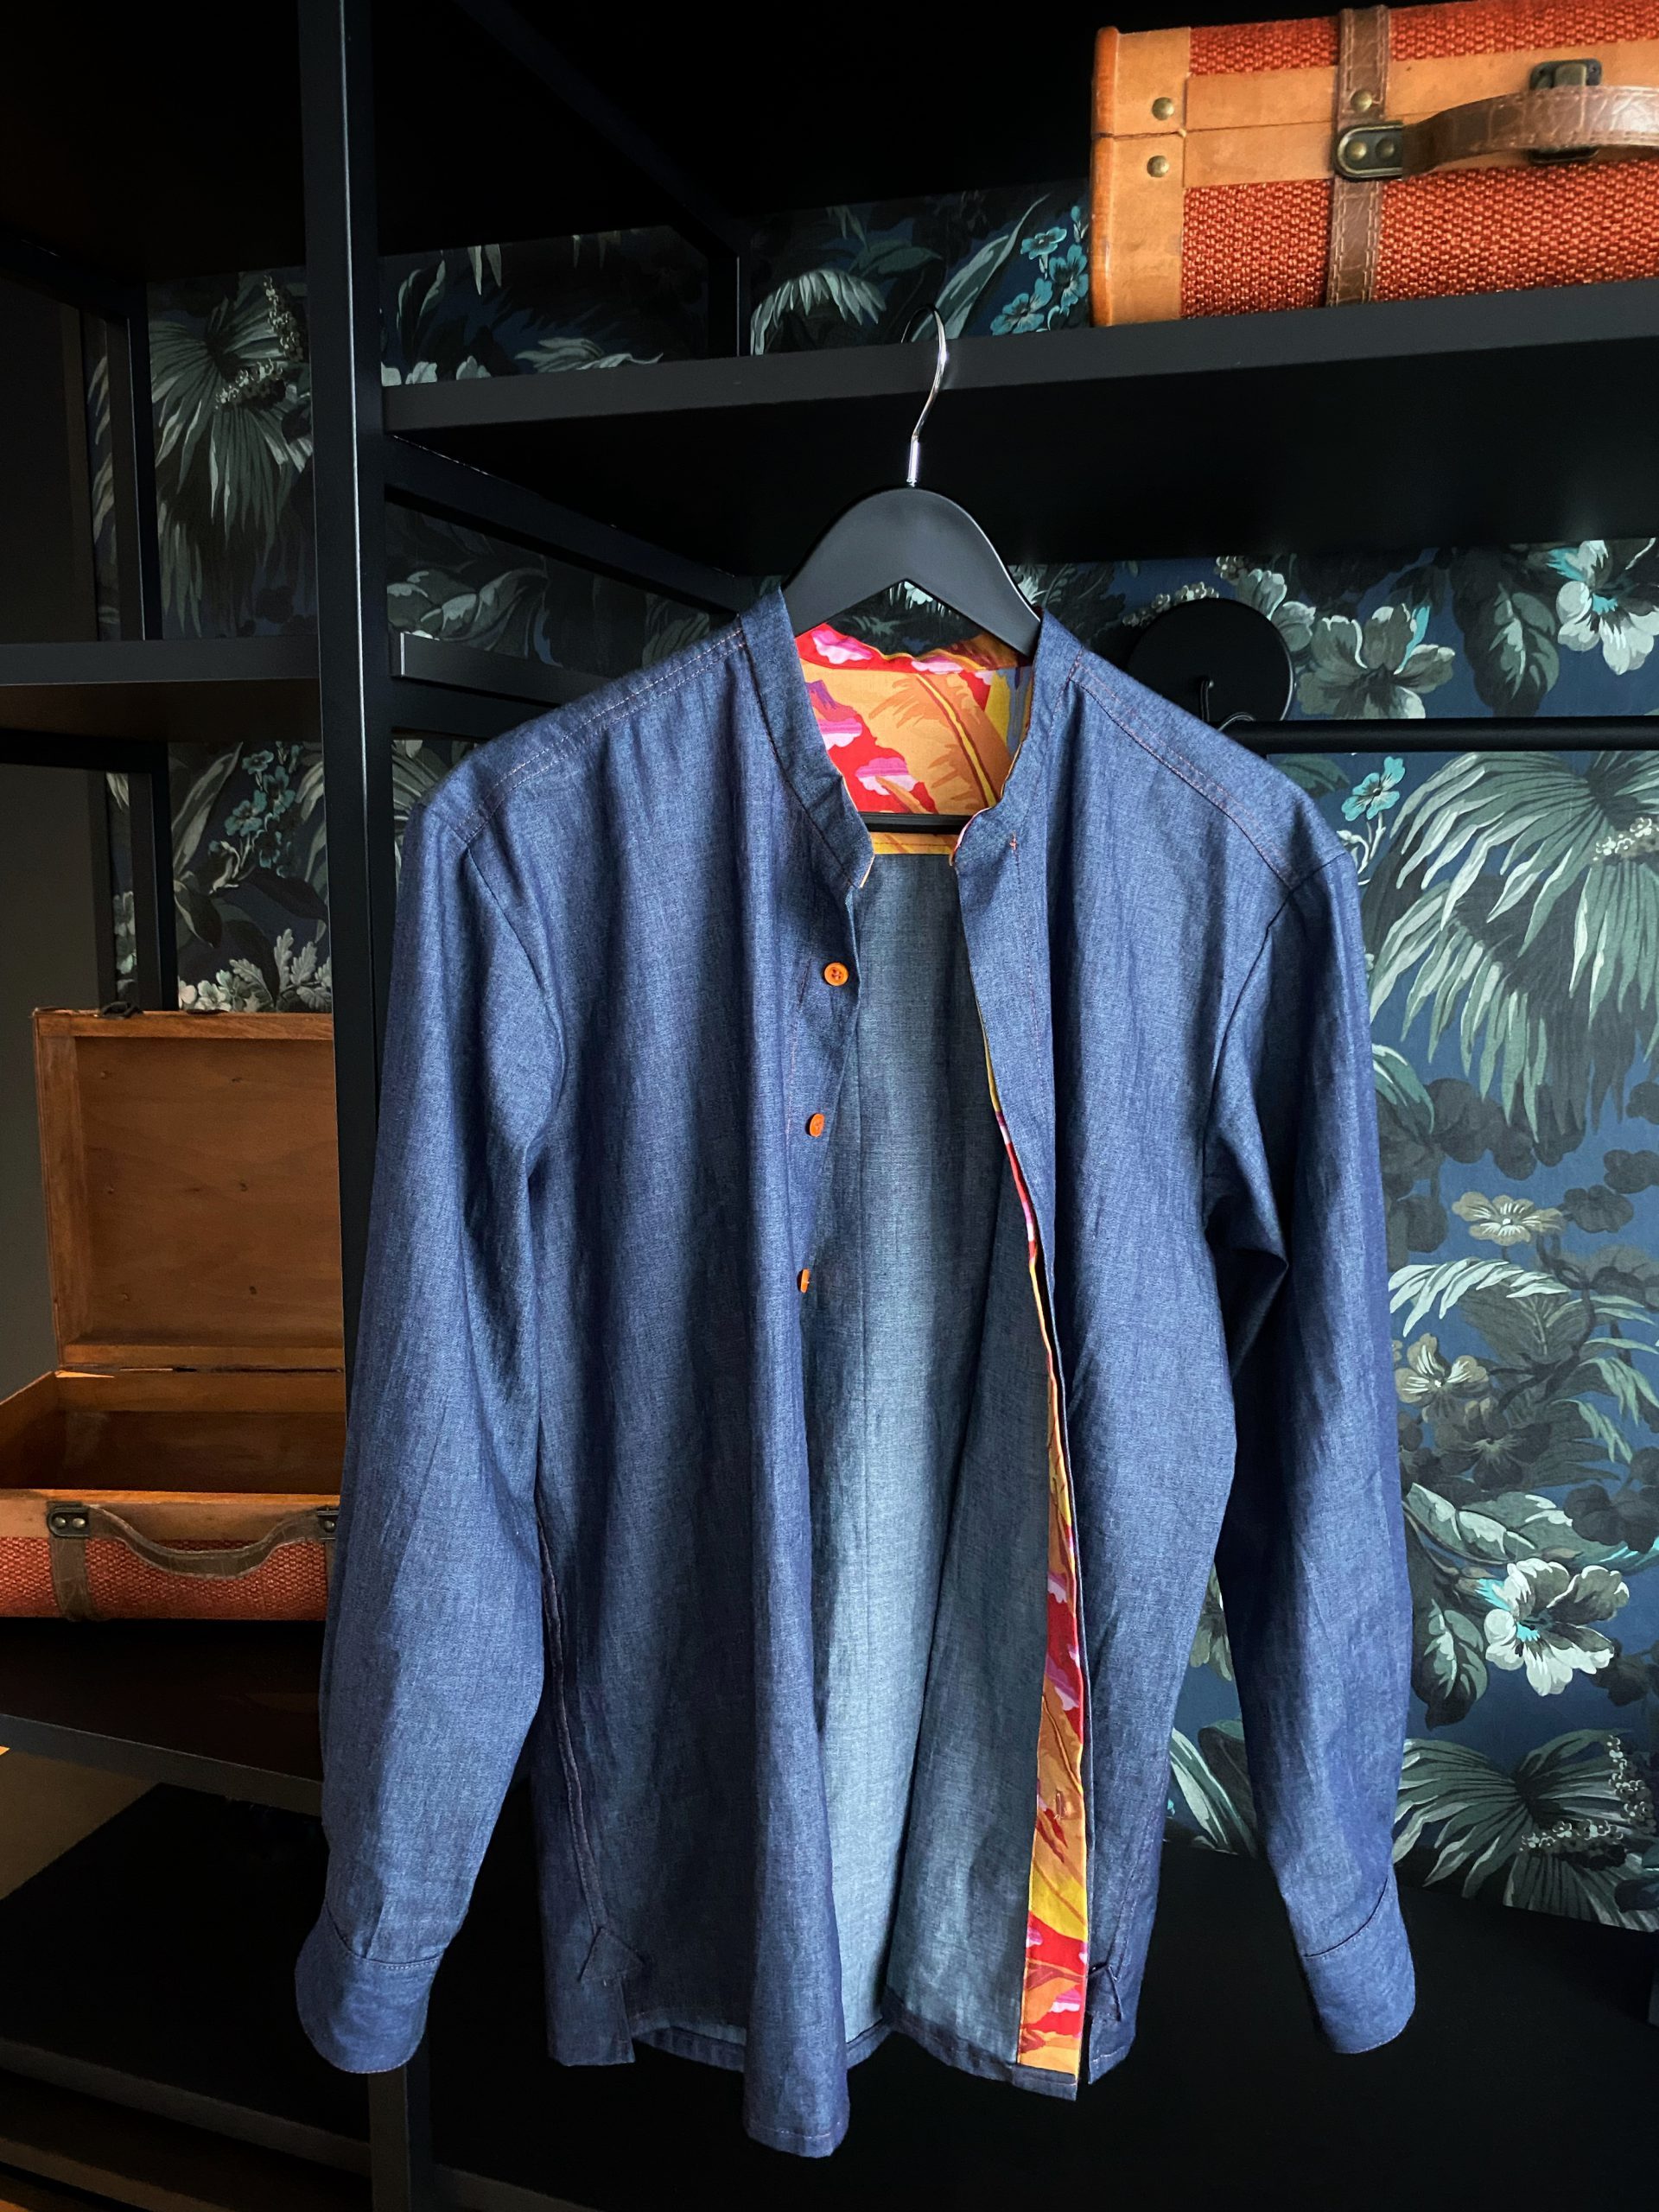
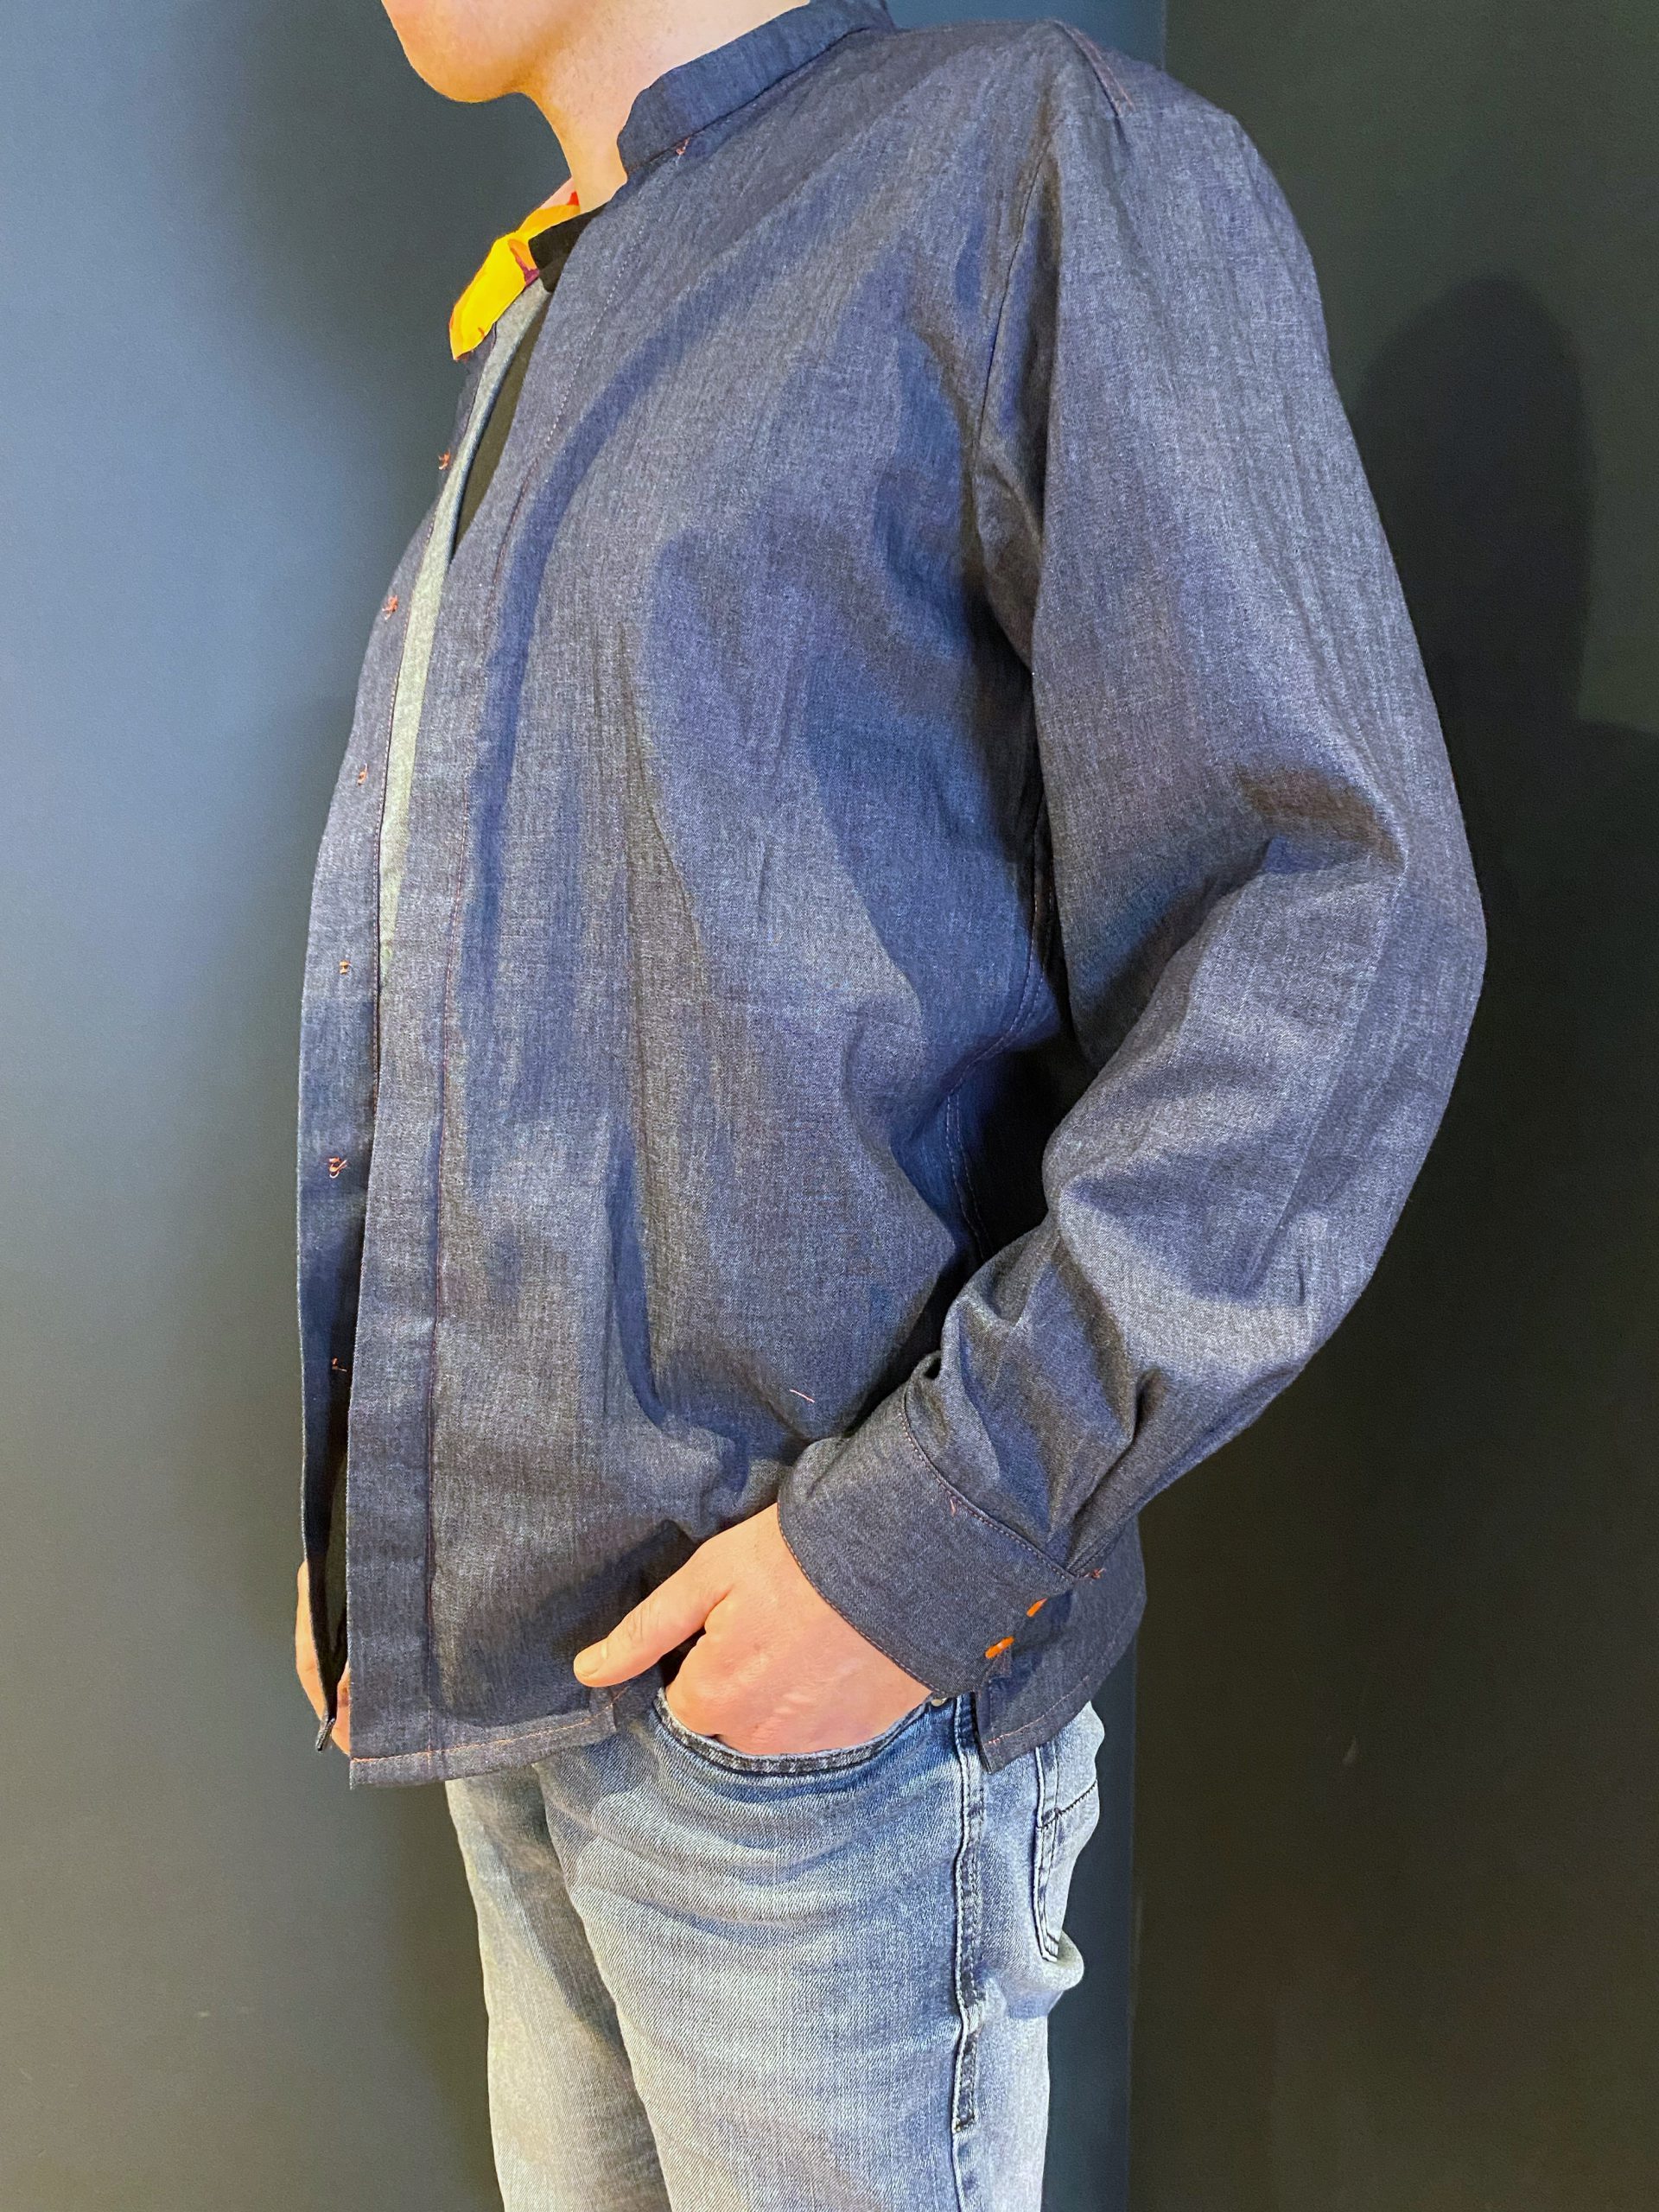
Today I want to sew another item from the Bernina Fashion Looks series with you – the Cala men’s shirt. This is a really lovely shirt for men with snazzy details like the hidden button placket, where you can add a discreet flash of color. What’s more, most of the seams are worked as flat felled seams, which makes the shirt very high quality.
I used the BERNINA 475 QE Kaffe Edition to make the Cala shirt. This machine offers many useful features, including automatic buttonholes, which are very helpful in this project.
Sewing the Cala shirt – let’s get started
What you’ll need
As always, you’ll need the pattern. You can find this on the Bernina Inspiration magazine website, or via this link: https://www.bernina.com/man-shirt-cala
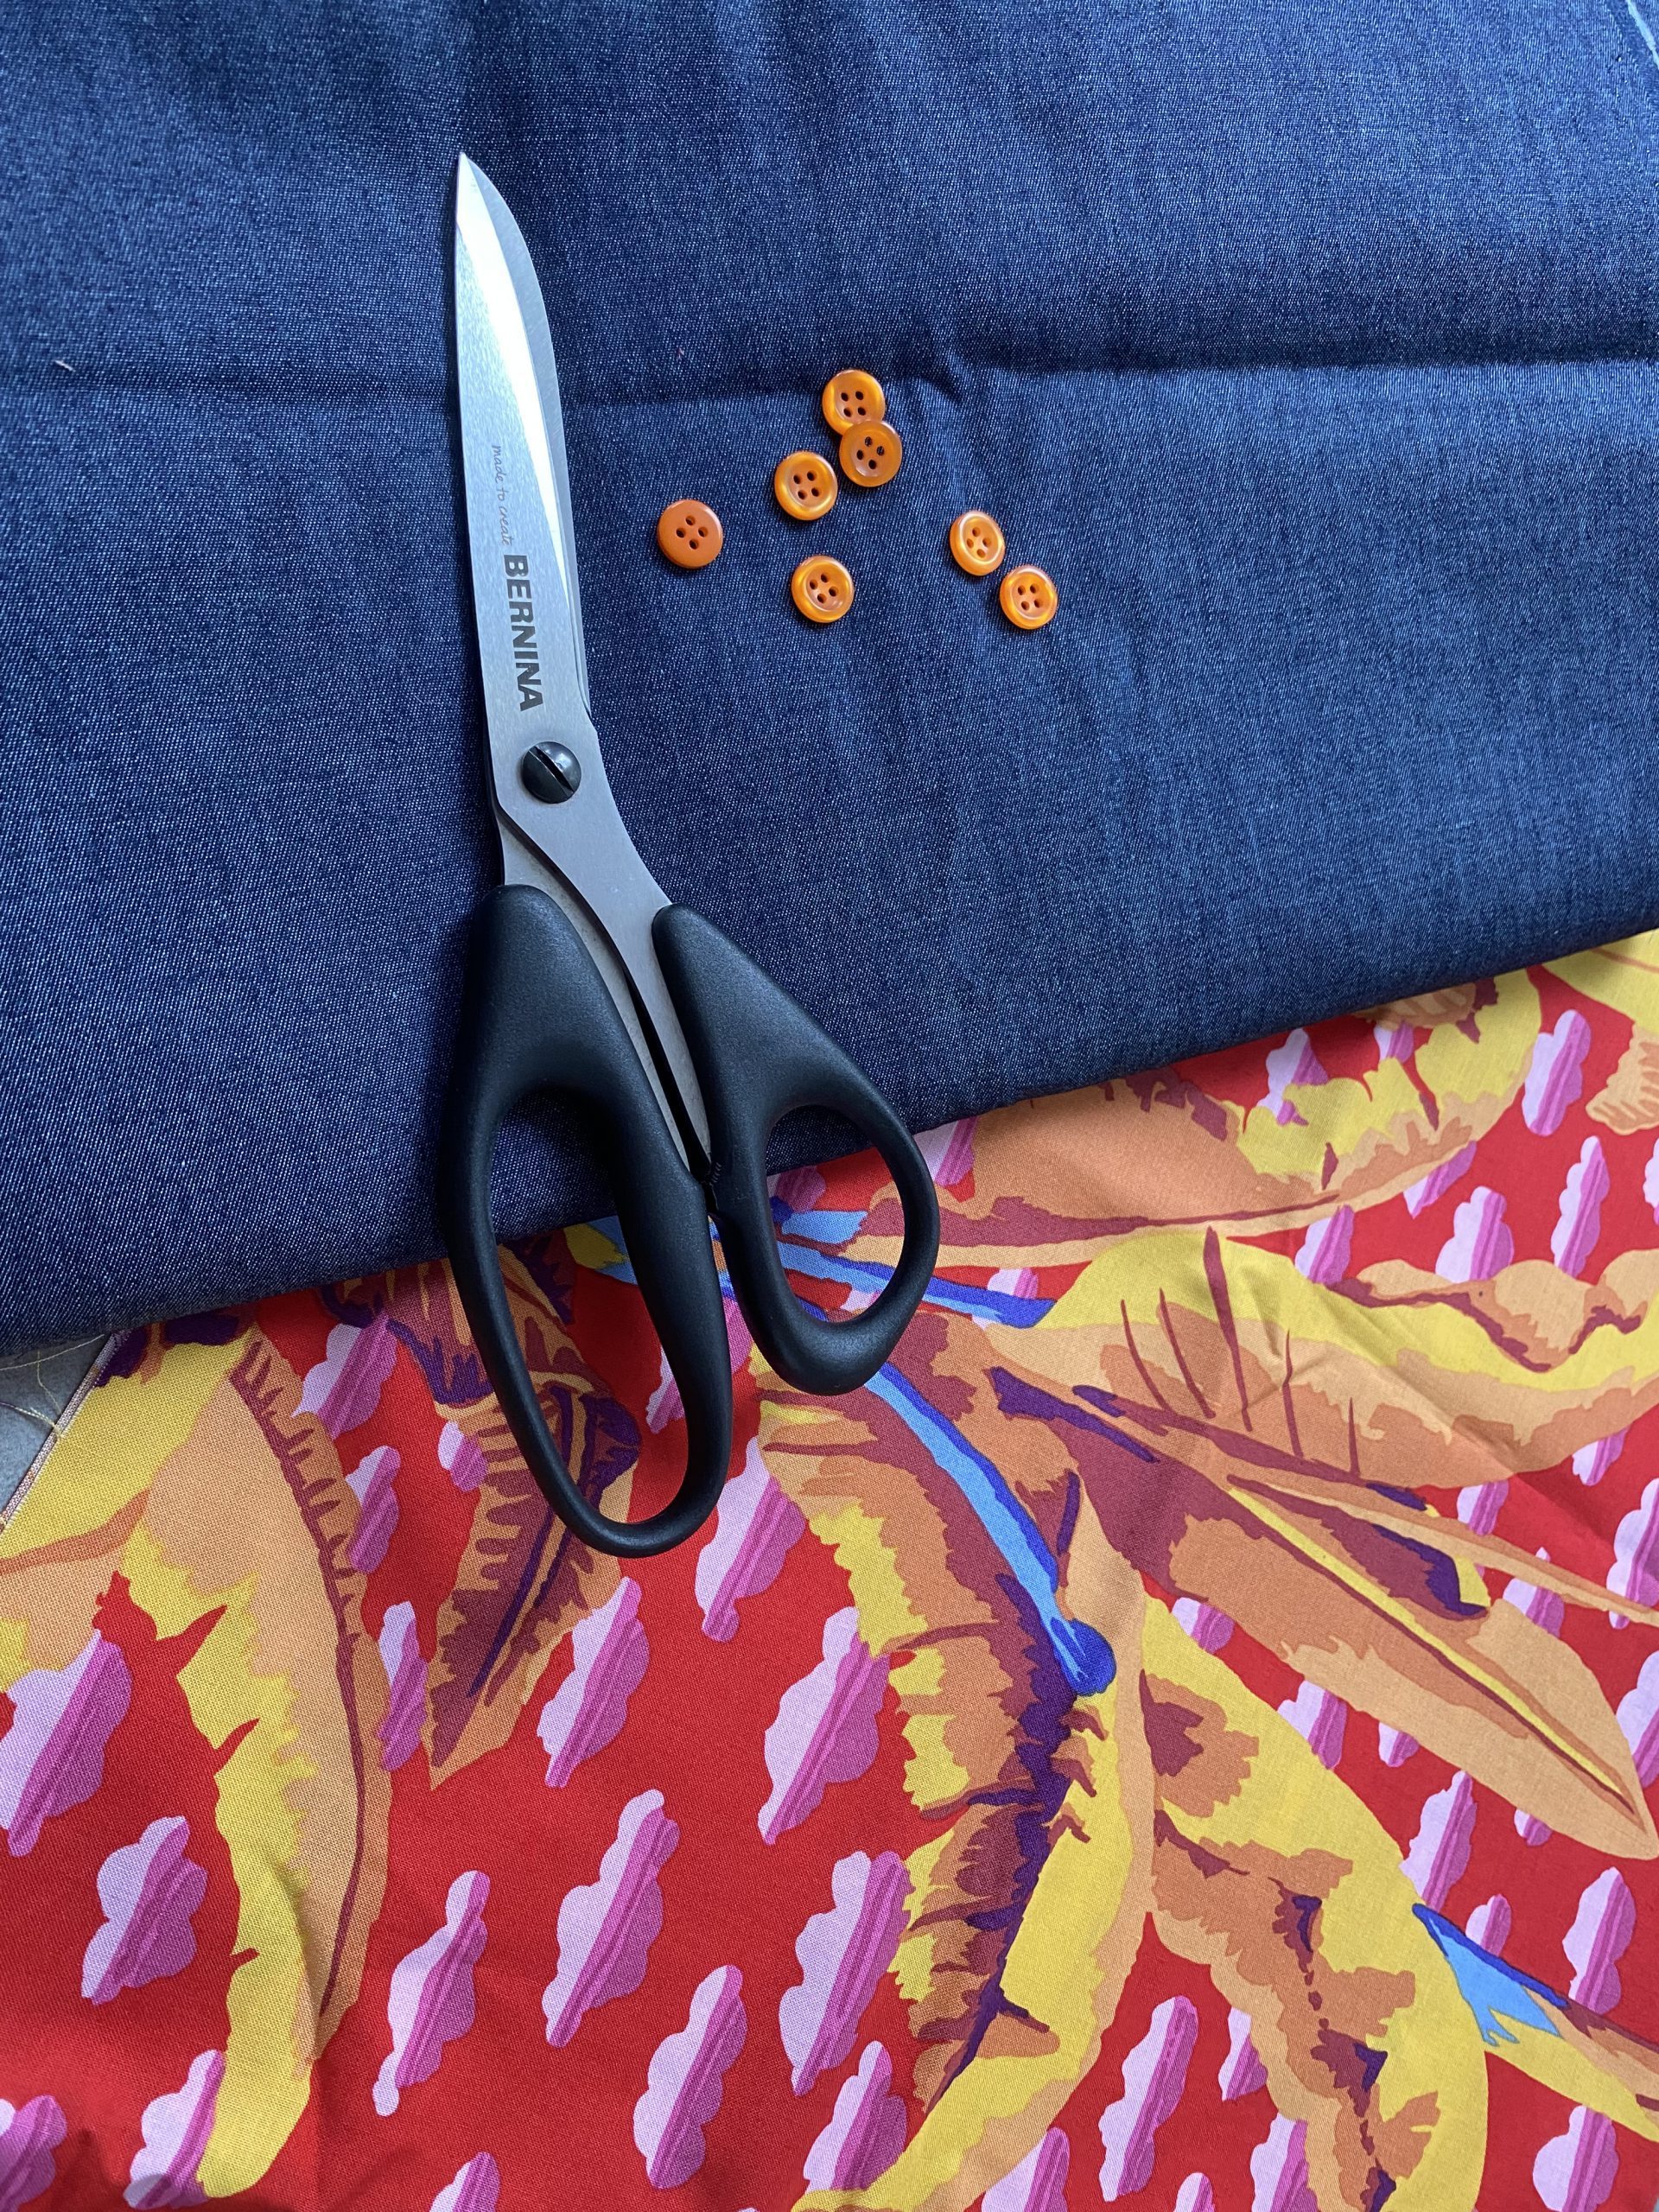
As well as the pattern, you’ll also need the fabrics. A number of different woven fabrics are suitable for a plain outer fabric; here I opted for chambray fabric. You’ll also need a colorful fabric for the color accents – Kaffe Fassett’s bright designs have a stunning impact here.
You will also need:
- Buttons
- Woven interlinings from Vlieseline
- Sewing thread
- Button sew-on foot #18
- Buttonhole foot with slide #3A
- Pins
Step 1: Cutting and preparation
First, cut out all the pieces you’ll need. Remember that with Bernina Fashion Looks patterns, the seam allowance (1 cm) is already included (outside line). After cutting, iron the pieces with Vlieseline interlinings as listed in the instructions.

You can also attach the star now if you like; I decided to do this later.
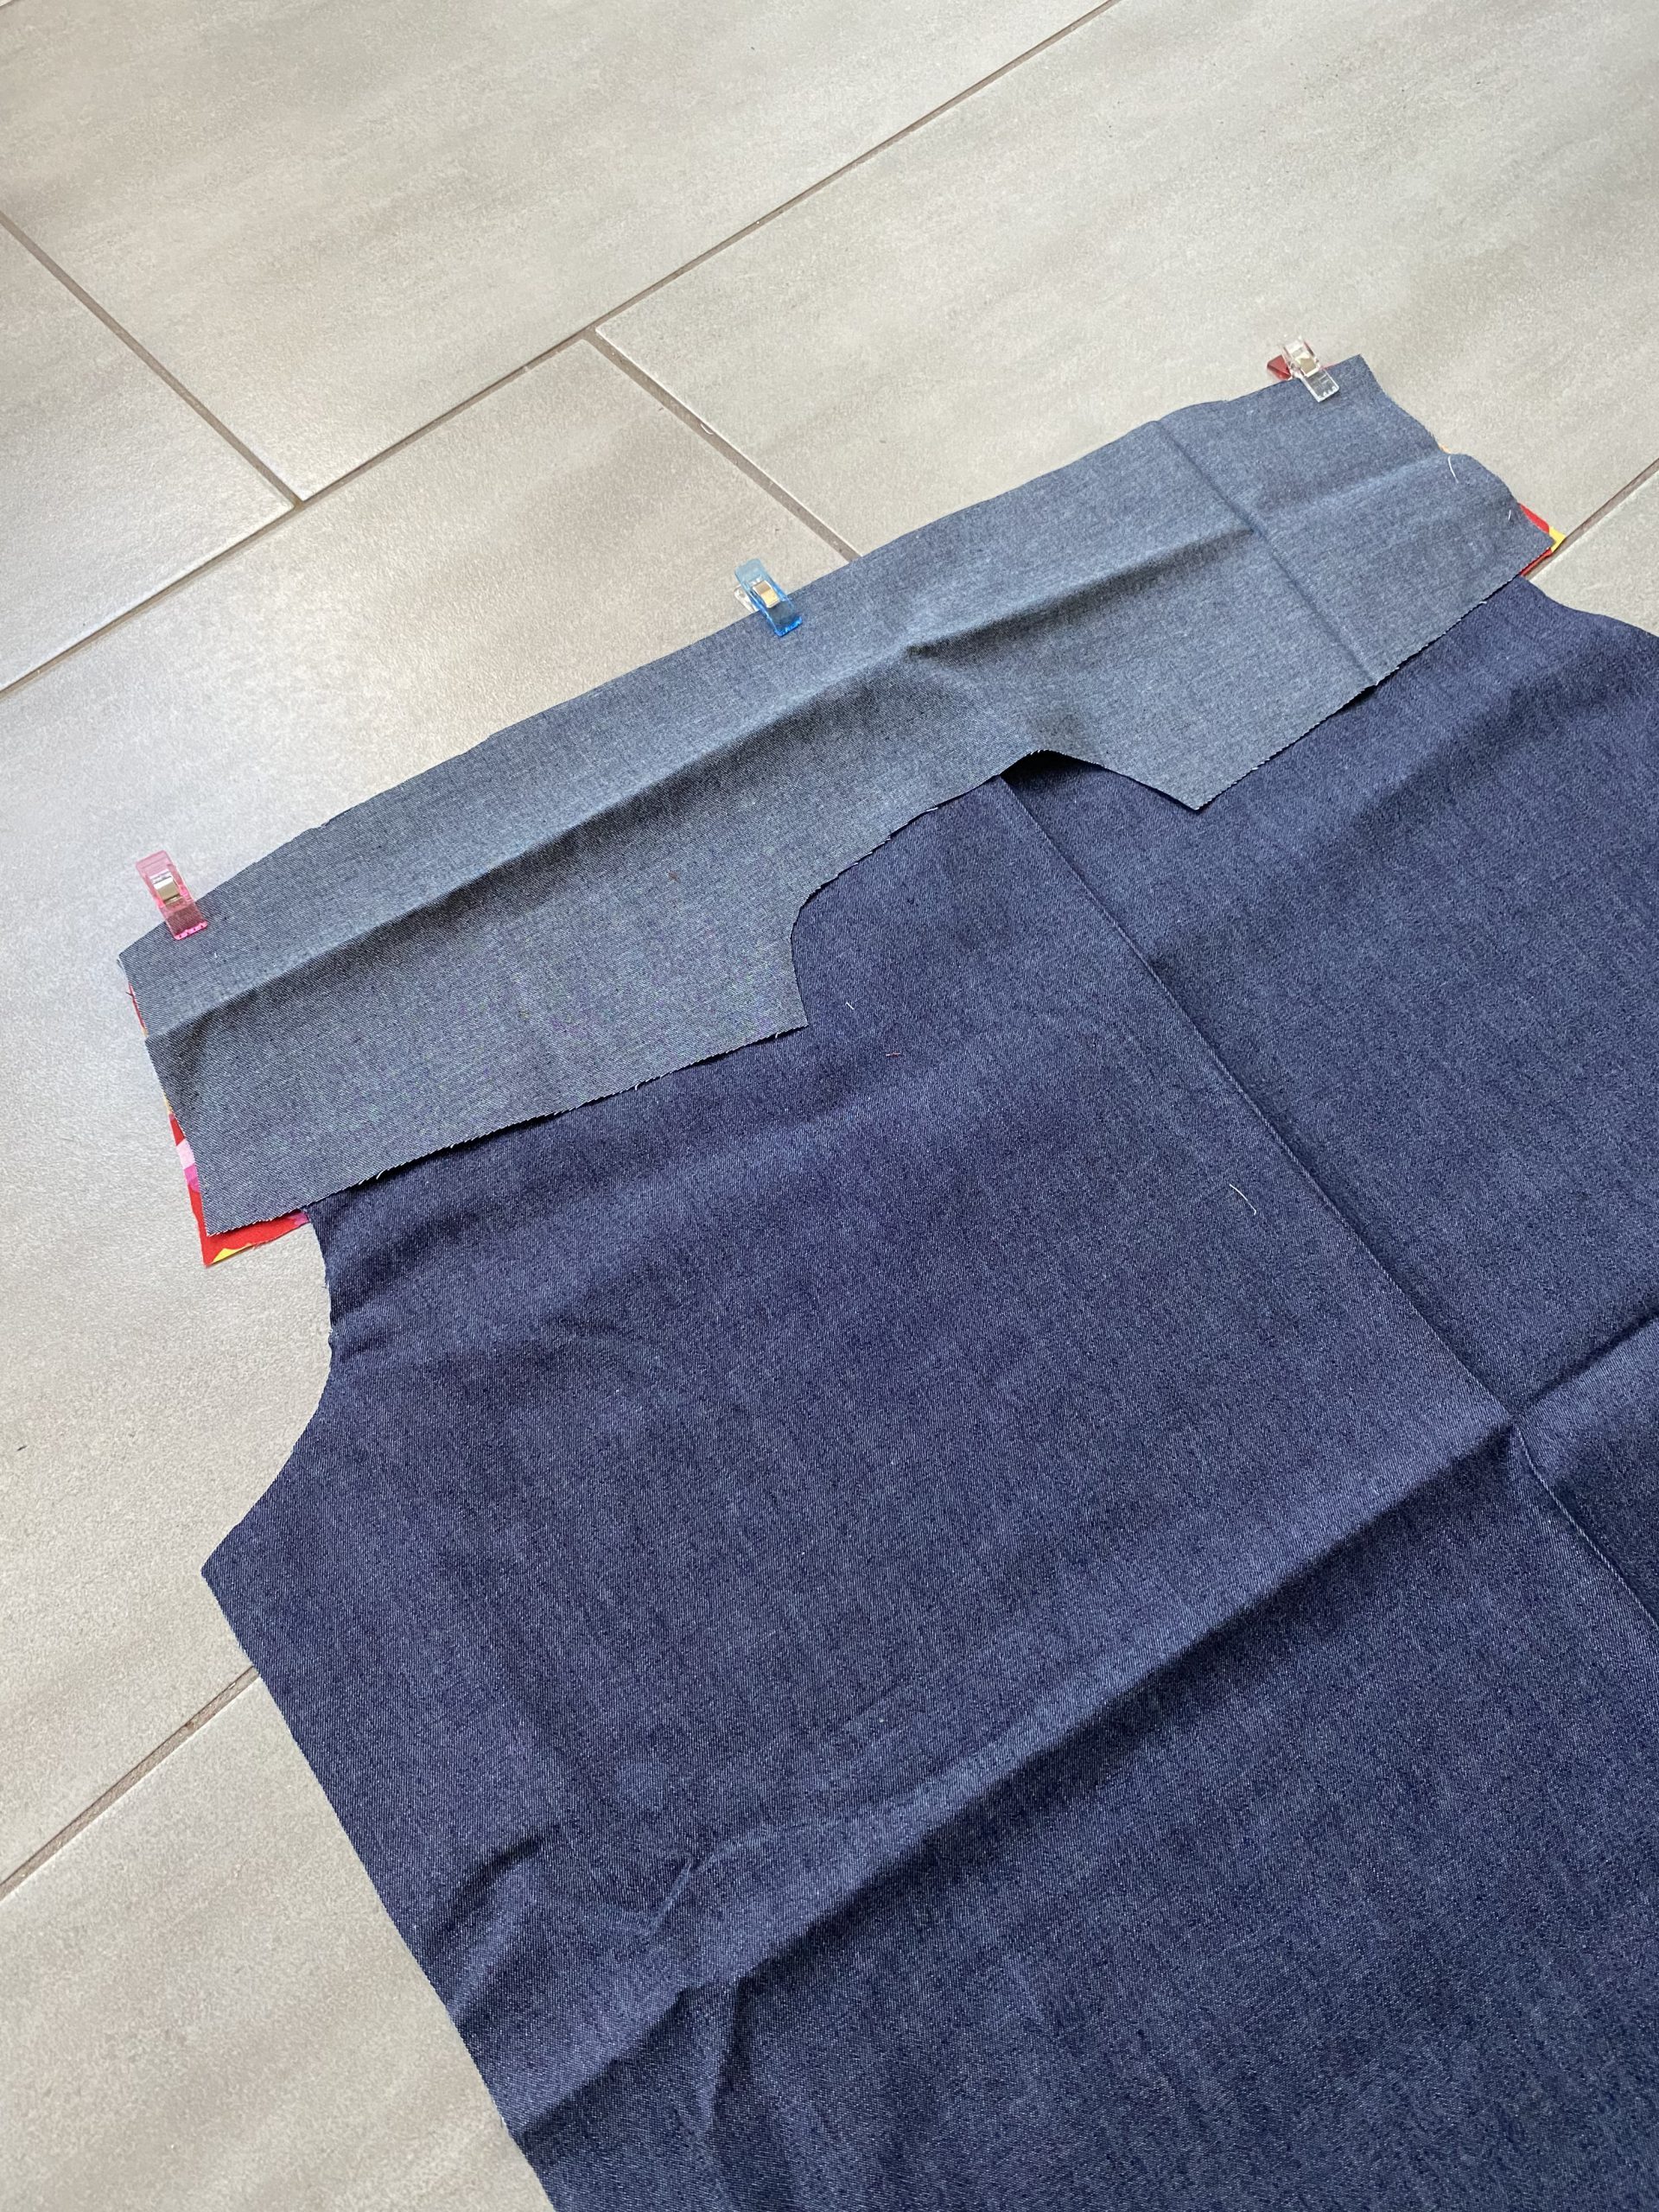
Step 2: Sewing the back piece
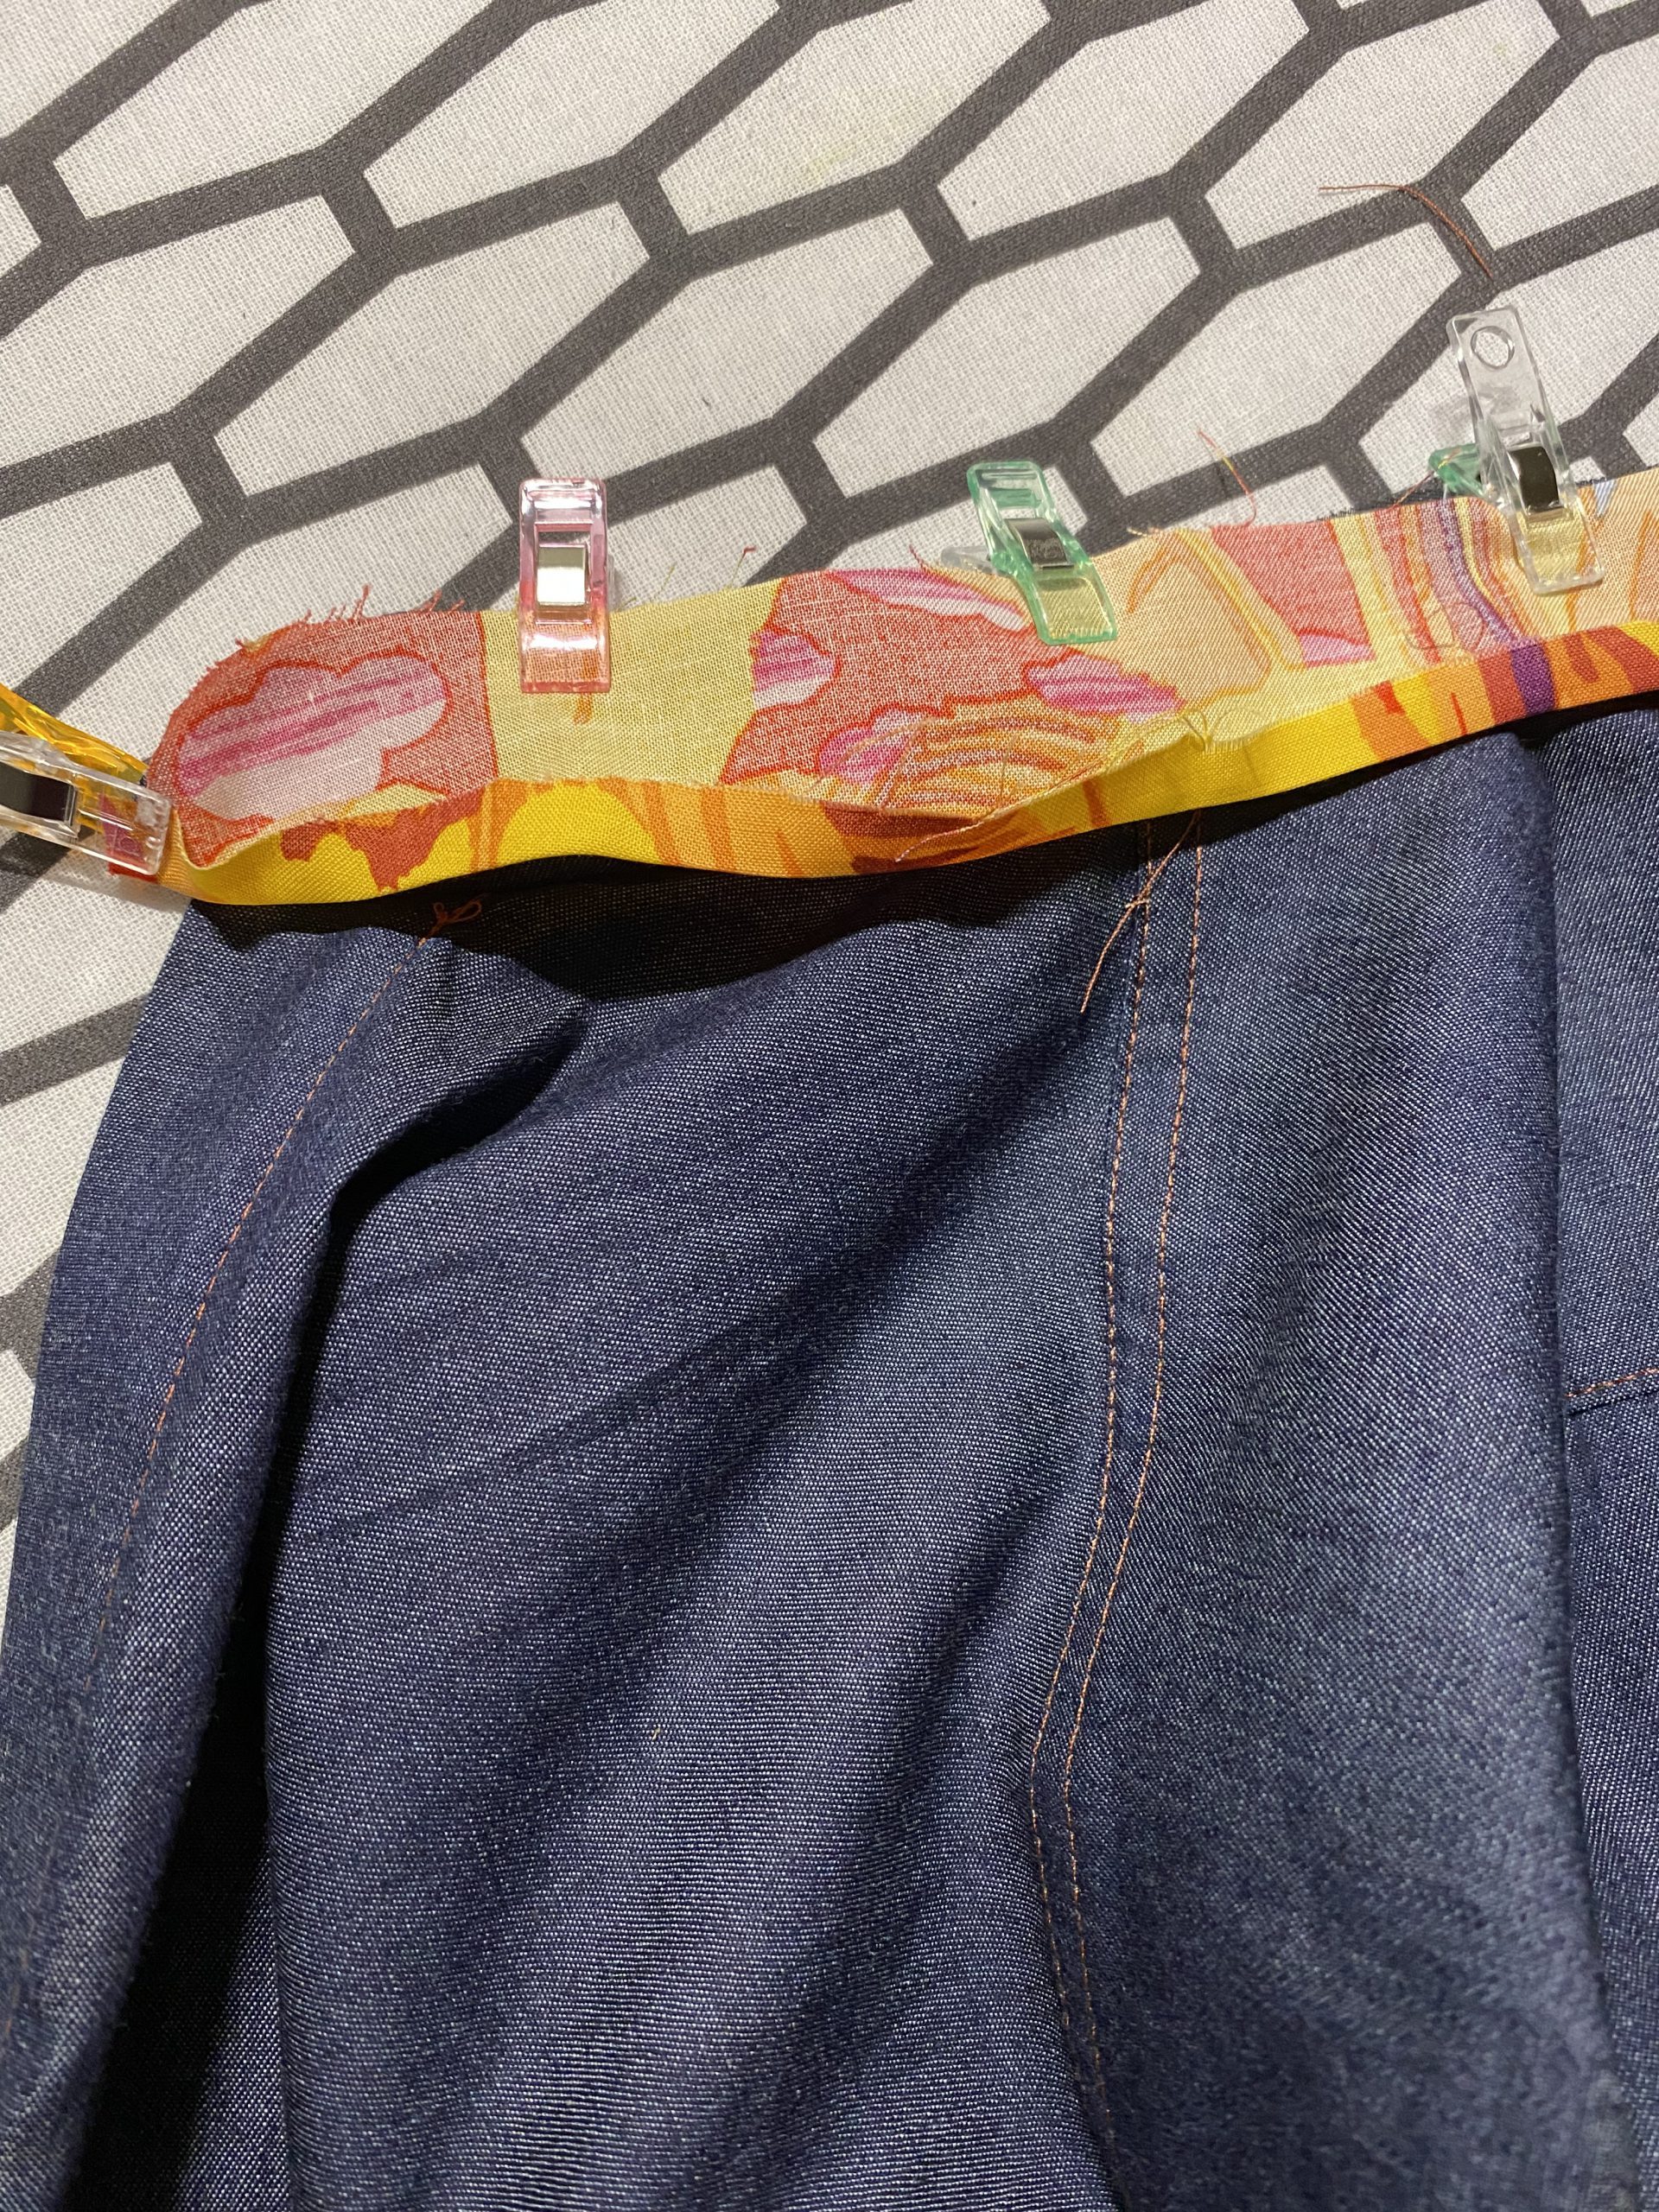
The back piece of the Cala men’s shirt is composed of the lower part and the yoke. The yoke is cut twice; once from the outer fabric and another time from the colorful lining fabric.
Place the yoke of outer fabric right sides together on the back piece and pin everything in place. Now take the colorful yoke and place it right side up on the wrong side of the back piece. This means that the fabric will later be able to enclose the seam, and from the inside everything looks neat and tidy.
Then stitch with the sewing machine and if you like, you can topstitch from the outside with a decorative thread.
Step 3: Making the hidden button placket
The Cala shirt stands out thanks to its stylish hidden button placket detail. This is cut from colorful Kaffe Fassett fabric, so brings subtle color into play.
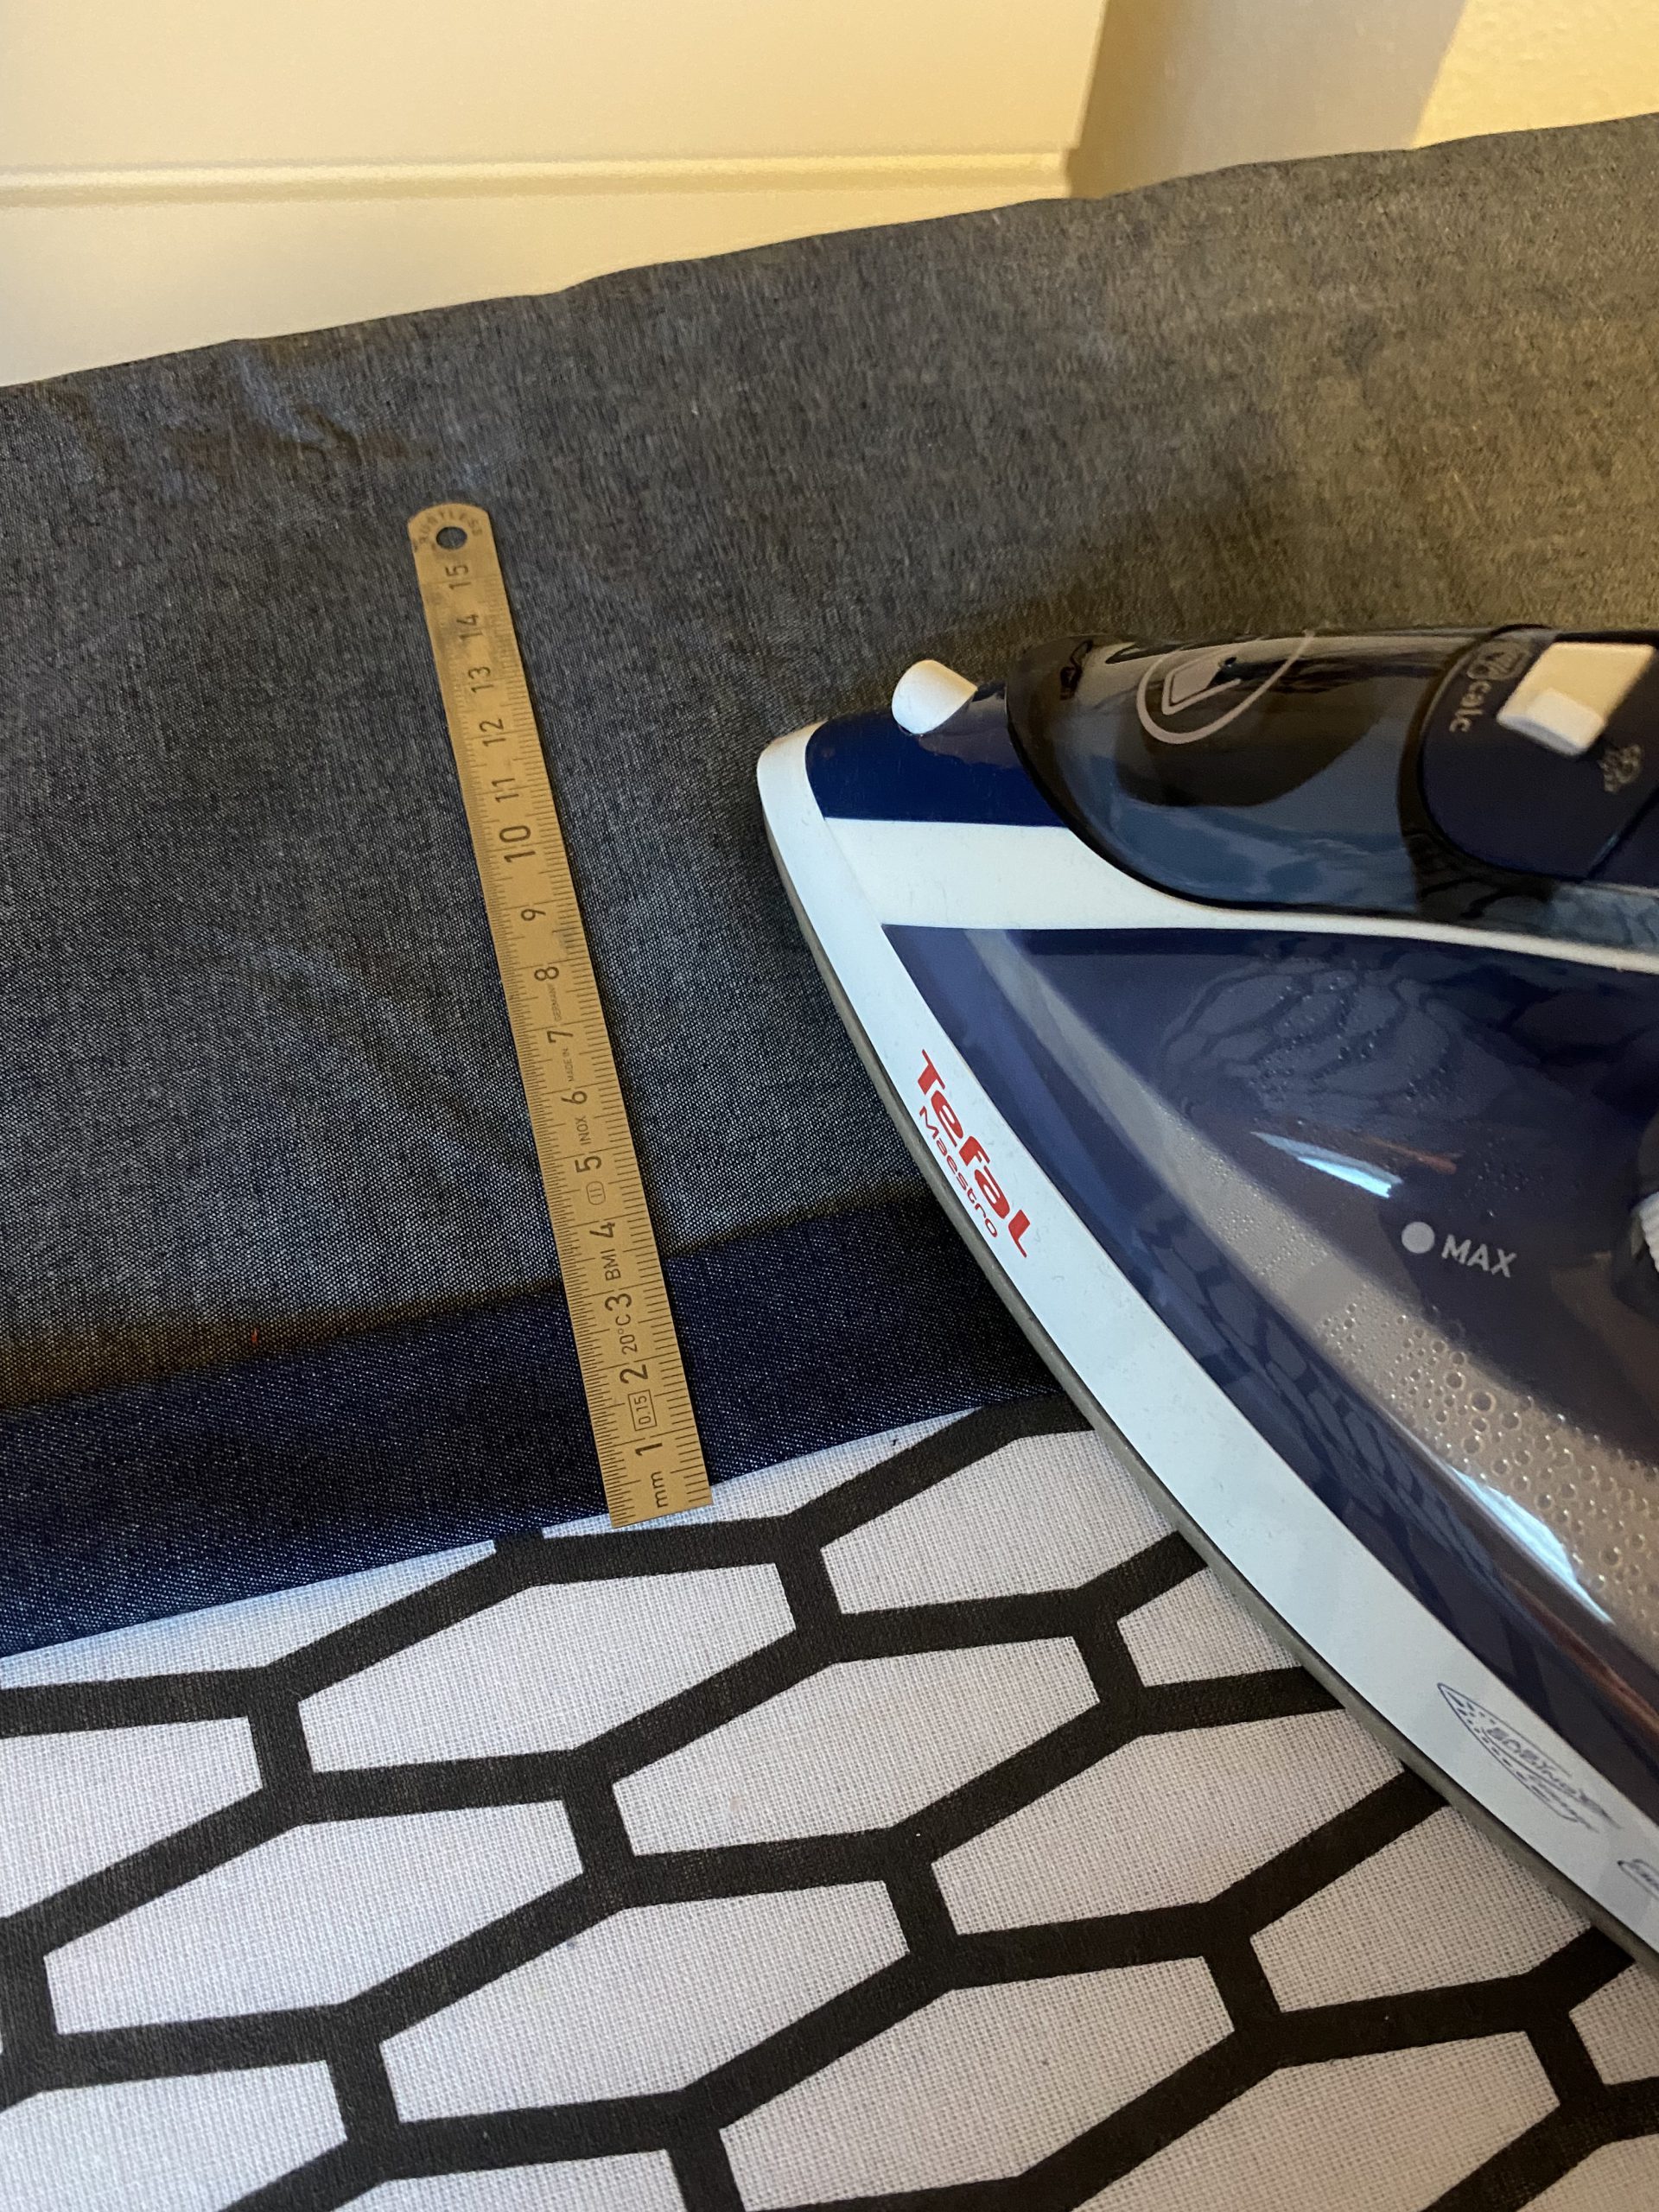
Take the fold lines and seam allowances from the pattern. Before you start, it’s a good idea to iron everything very precisely, so it will be easier when sewing later.
To do this, first fold over the seam allowance of 1 cm and iron it tight.
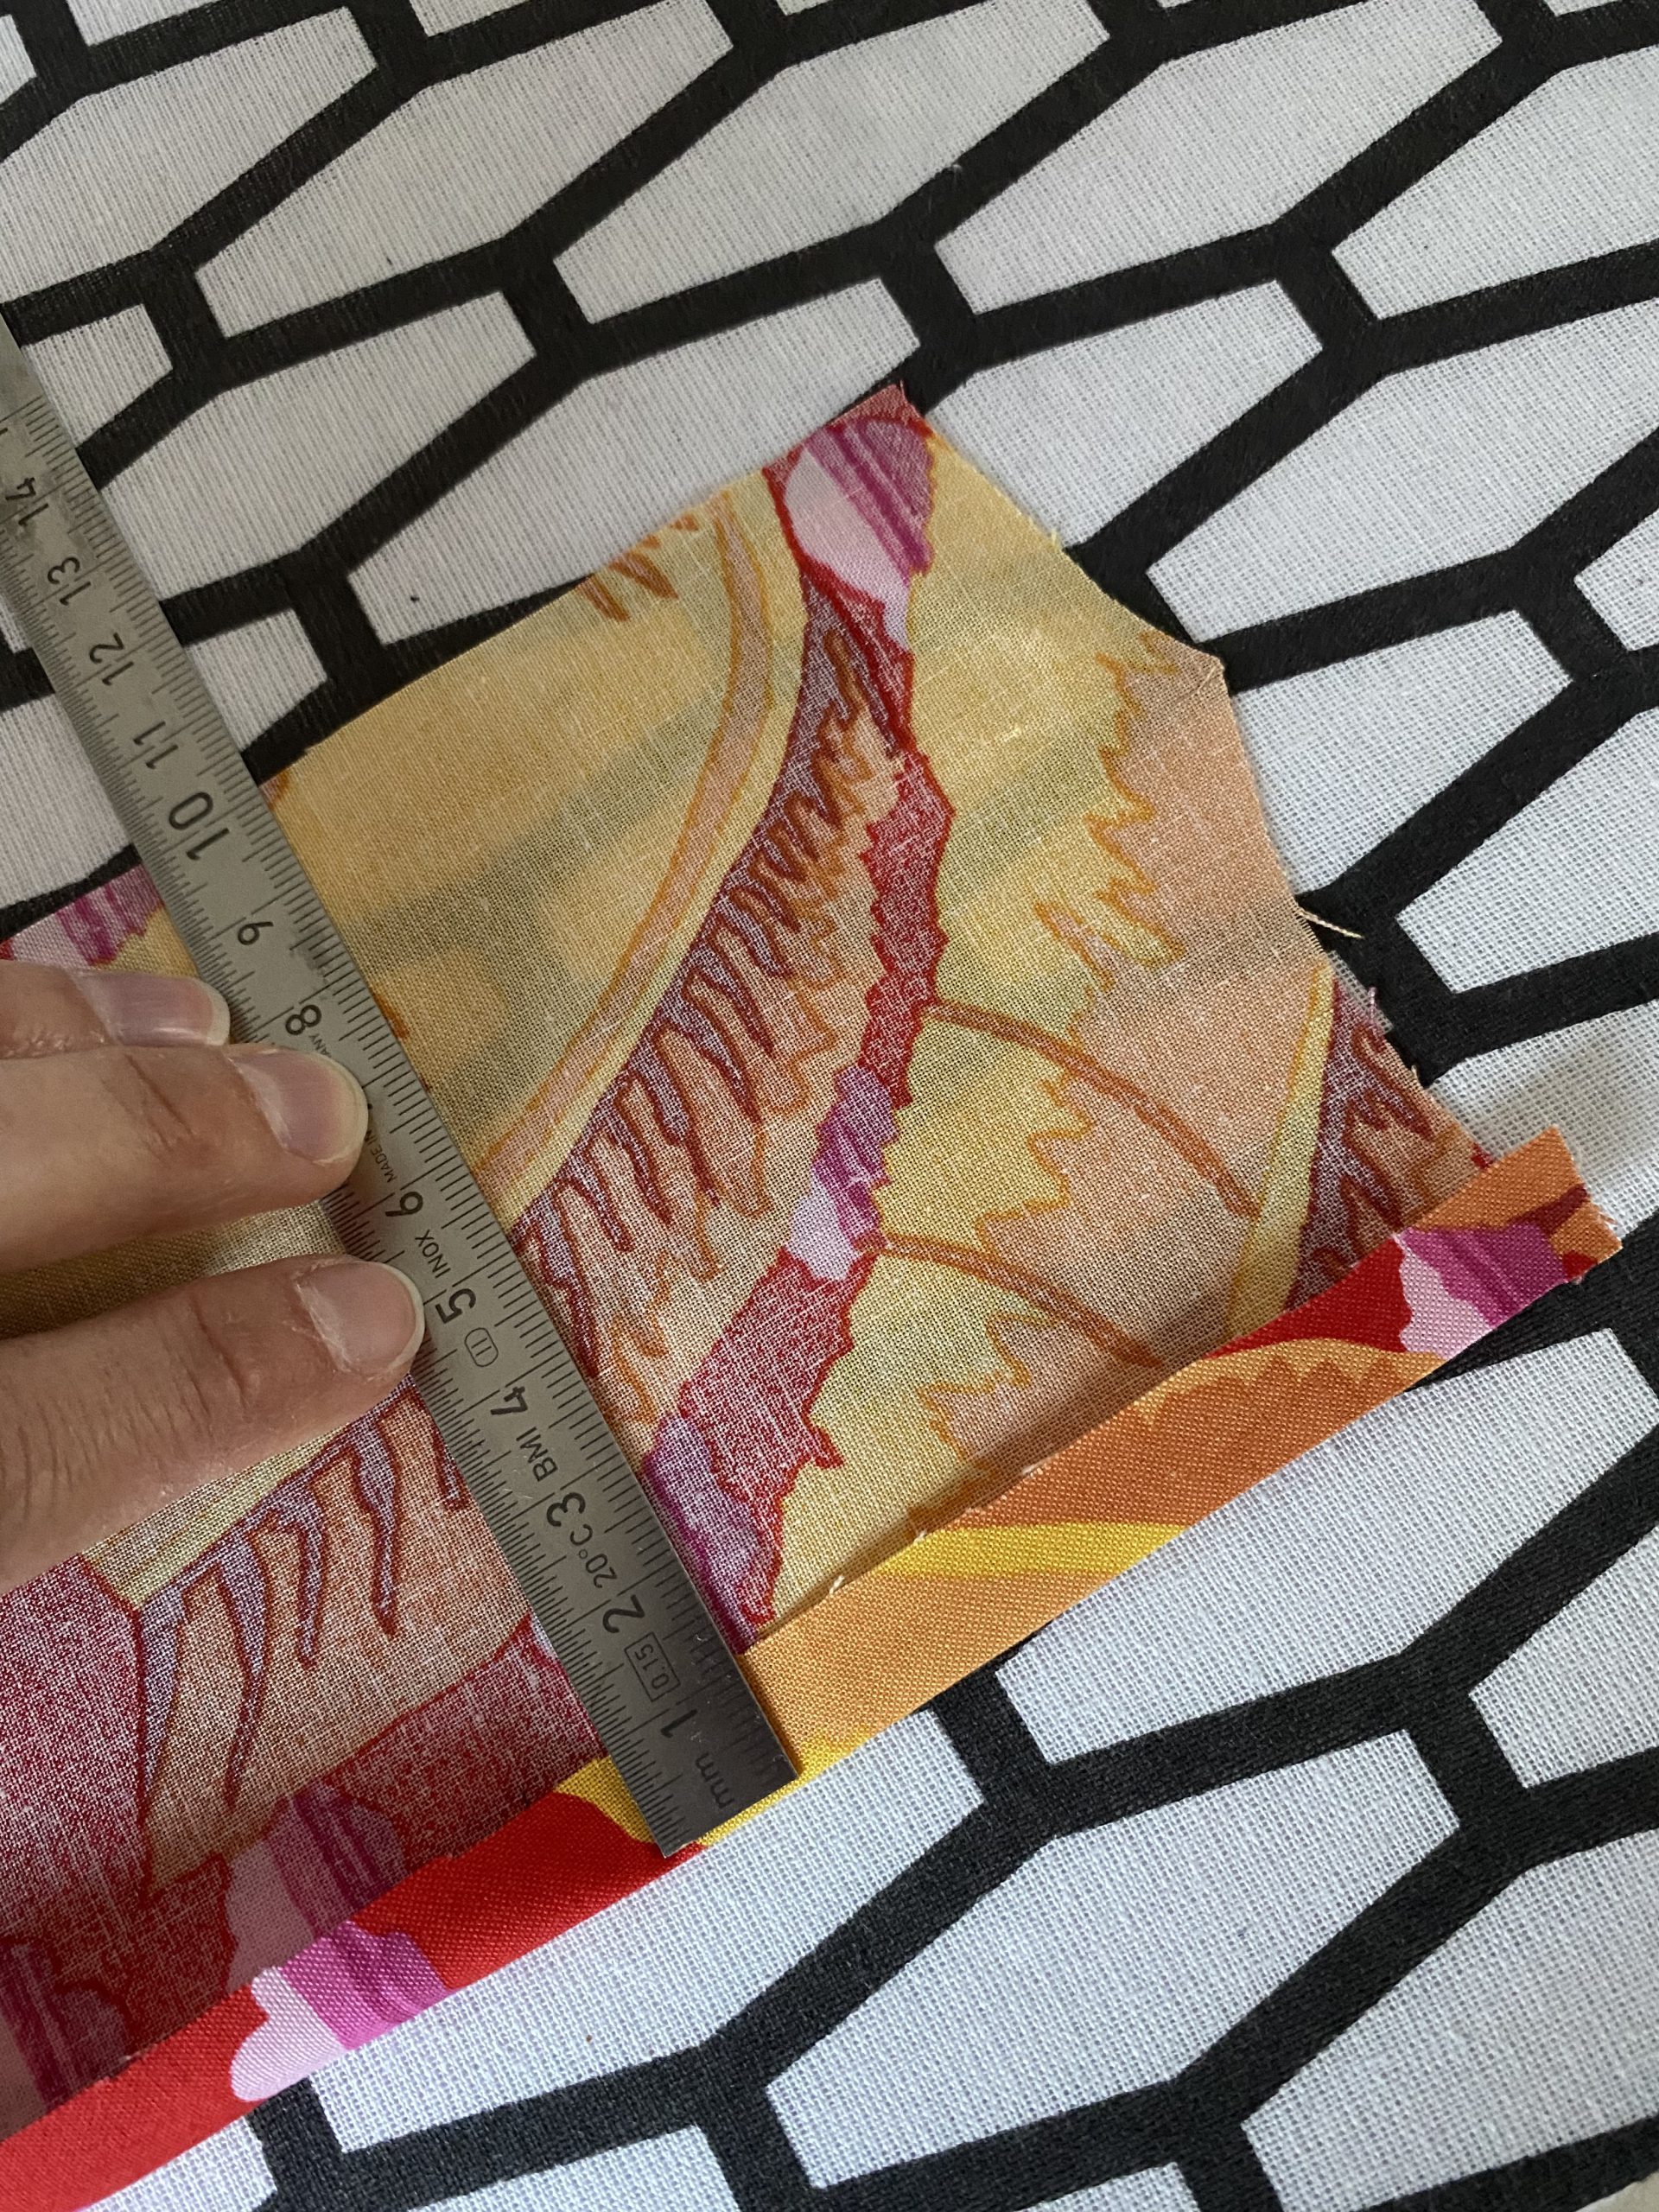
Then fold over 3 cm again and iron tight once more.
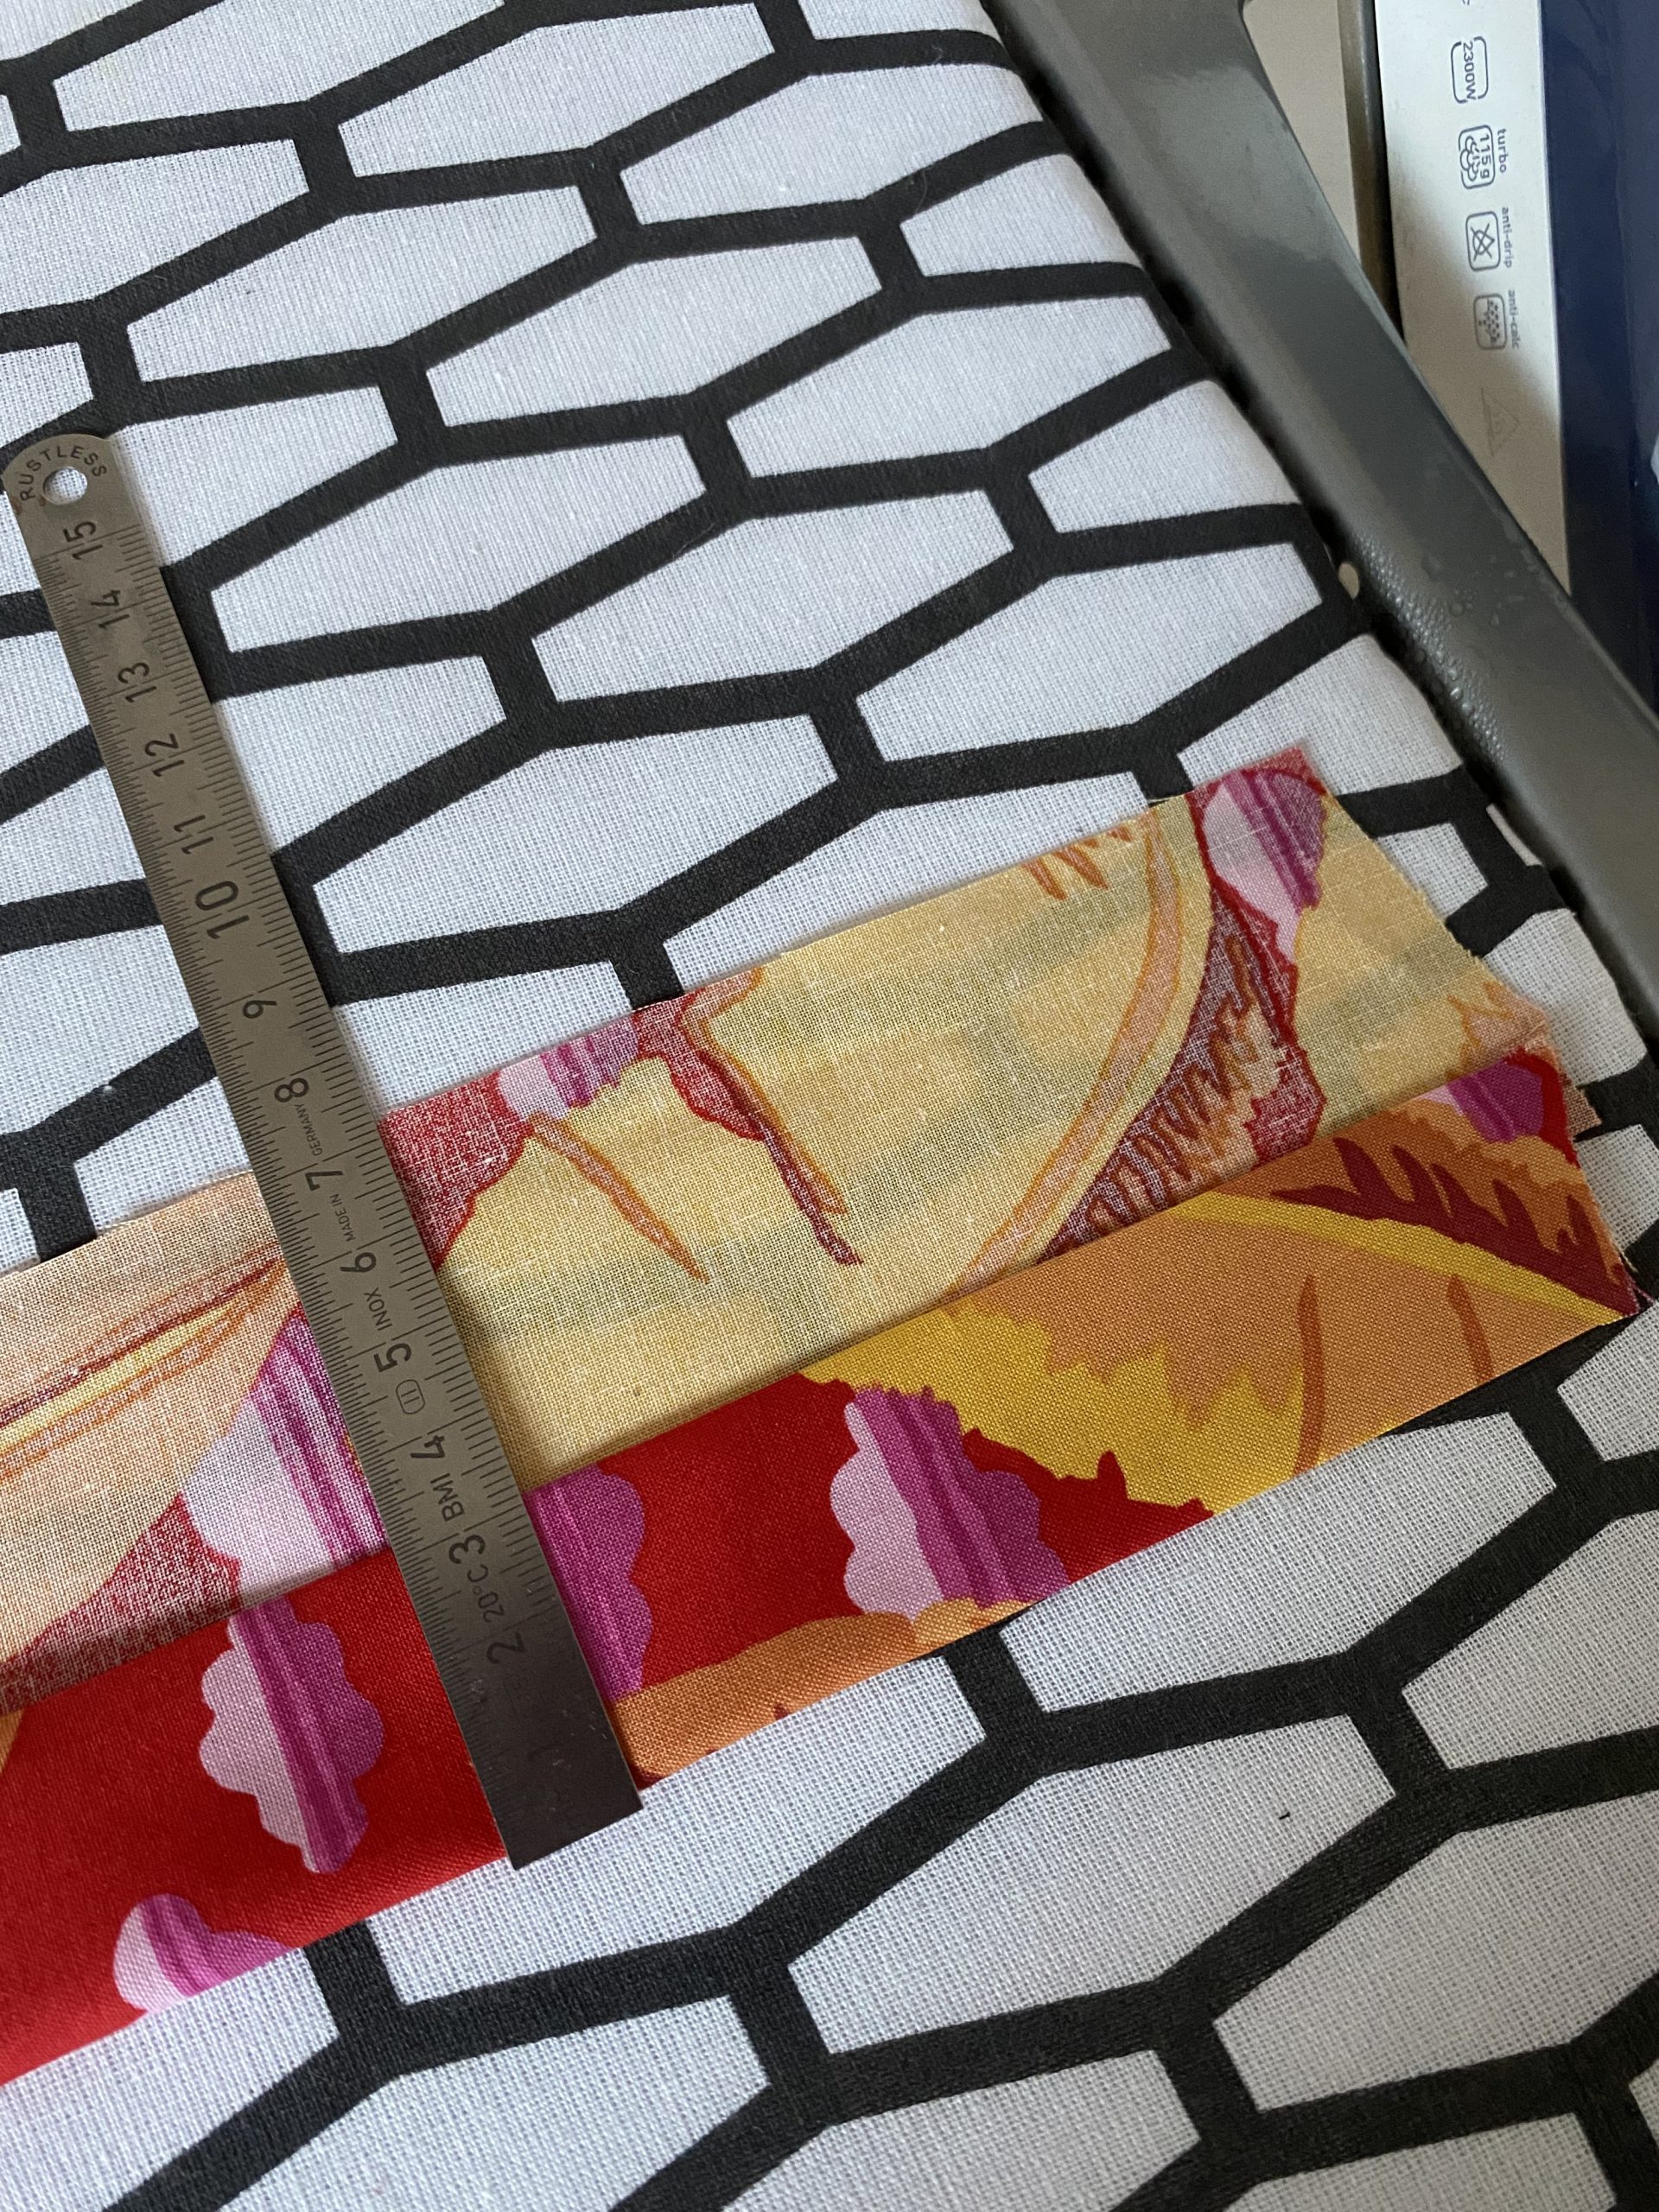
Fold over 3 cm one last time. The seam allowance of 1 cm should now be left at the edge.
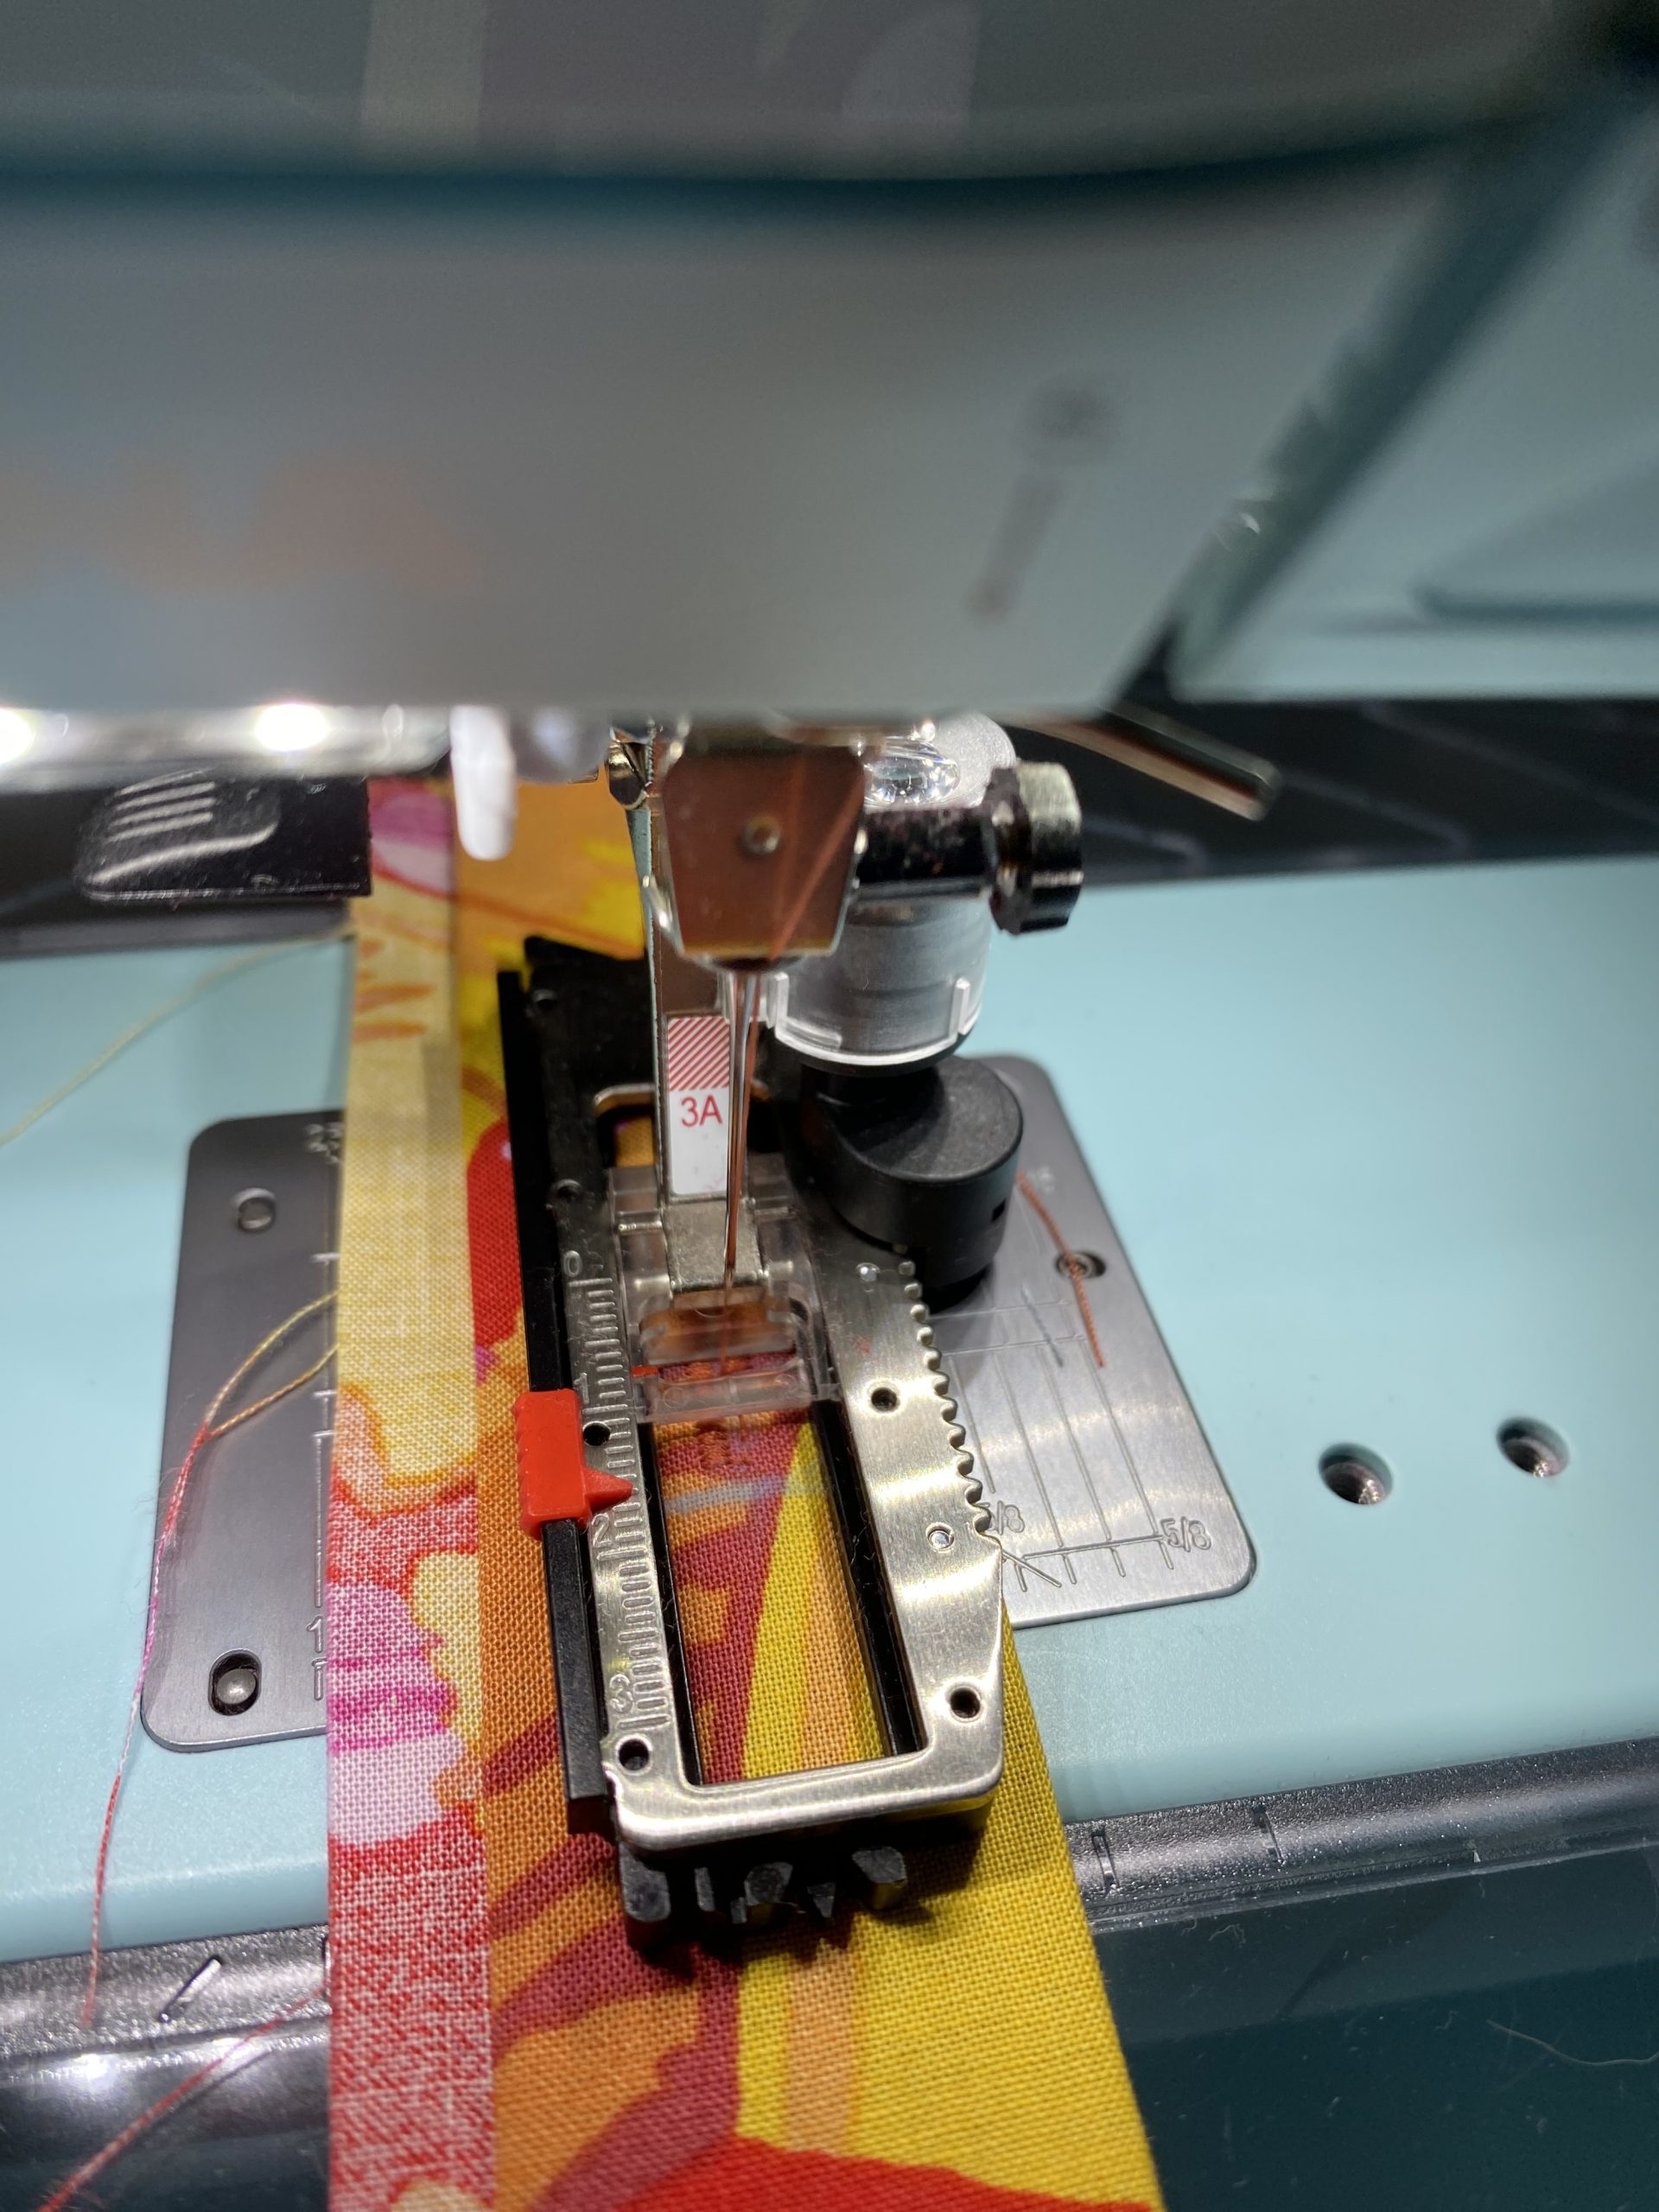
Using the markings in the pattern, mark the position of the buttonholes and sew them using the buttonhole foot 3A.

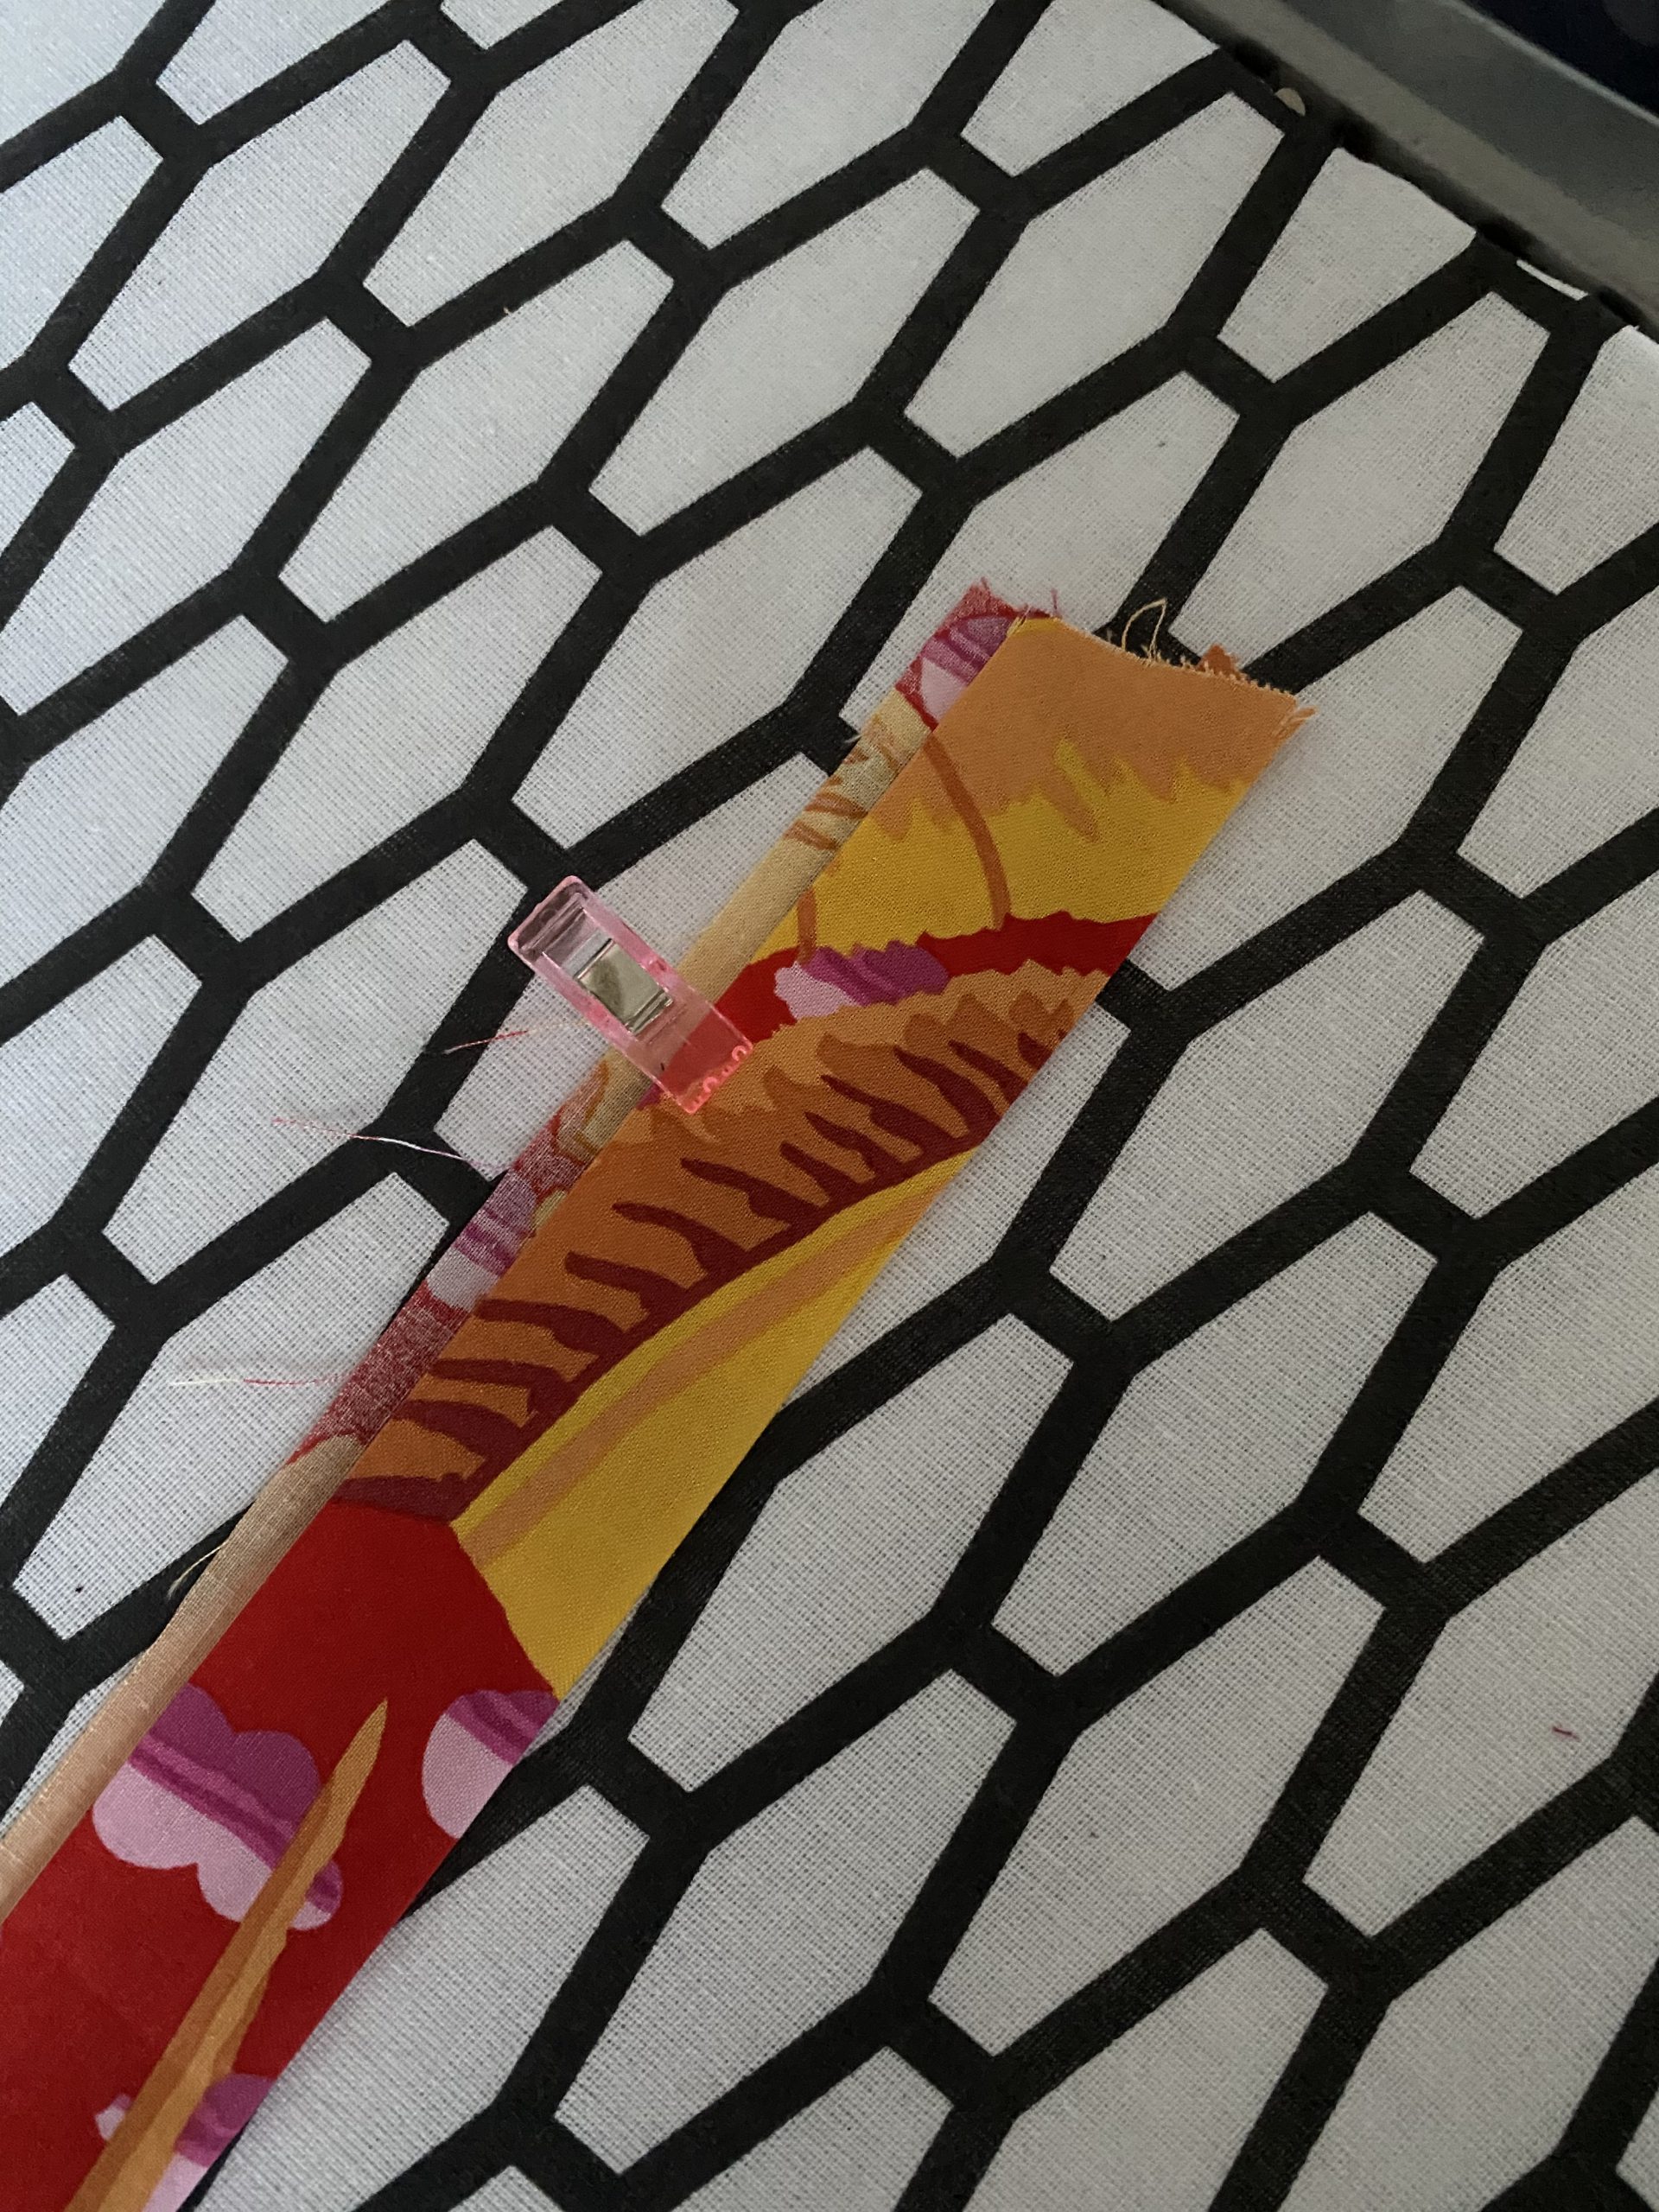
Step 4: Sewing on the hidden button placket
Now that you have made the hidden button placket for the Cala shirt, it can be sewn to the corresponding front piece (1b).
Fold the piece 1b over at the front edge as shown in the pattern, and with right sides together, sew the button placket to the front edge. The seam allowance can then be hidden under the button placket, which is still open on one side.

To fix this, topstitch the hidden button placket close to this edge.

Step 5: Making the front edge of the front piece
The front edge of the remaining second front piece is finished quite simply. Fold the front edge twice 3 cm each time and iron the edge tight. You can fix it in place with decorative topstitching.

Step 6: Closing the side seams
You can now sew together the front pieces and the back piece of the Cala shirt. A flat-felled seam is used in this pattern.
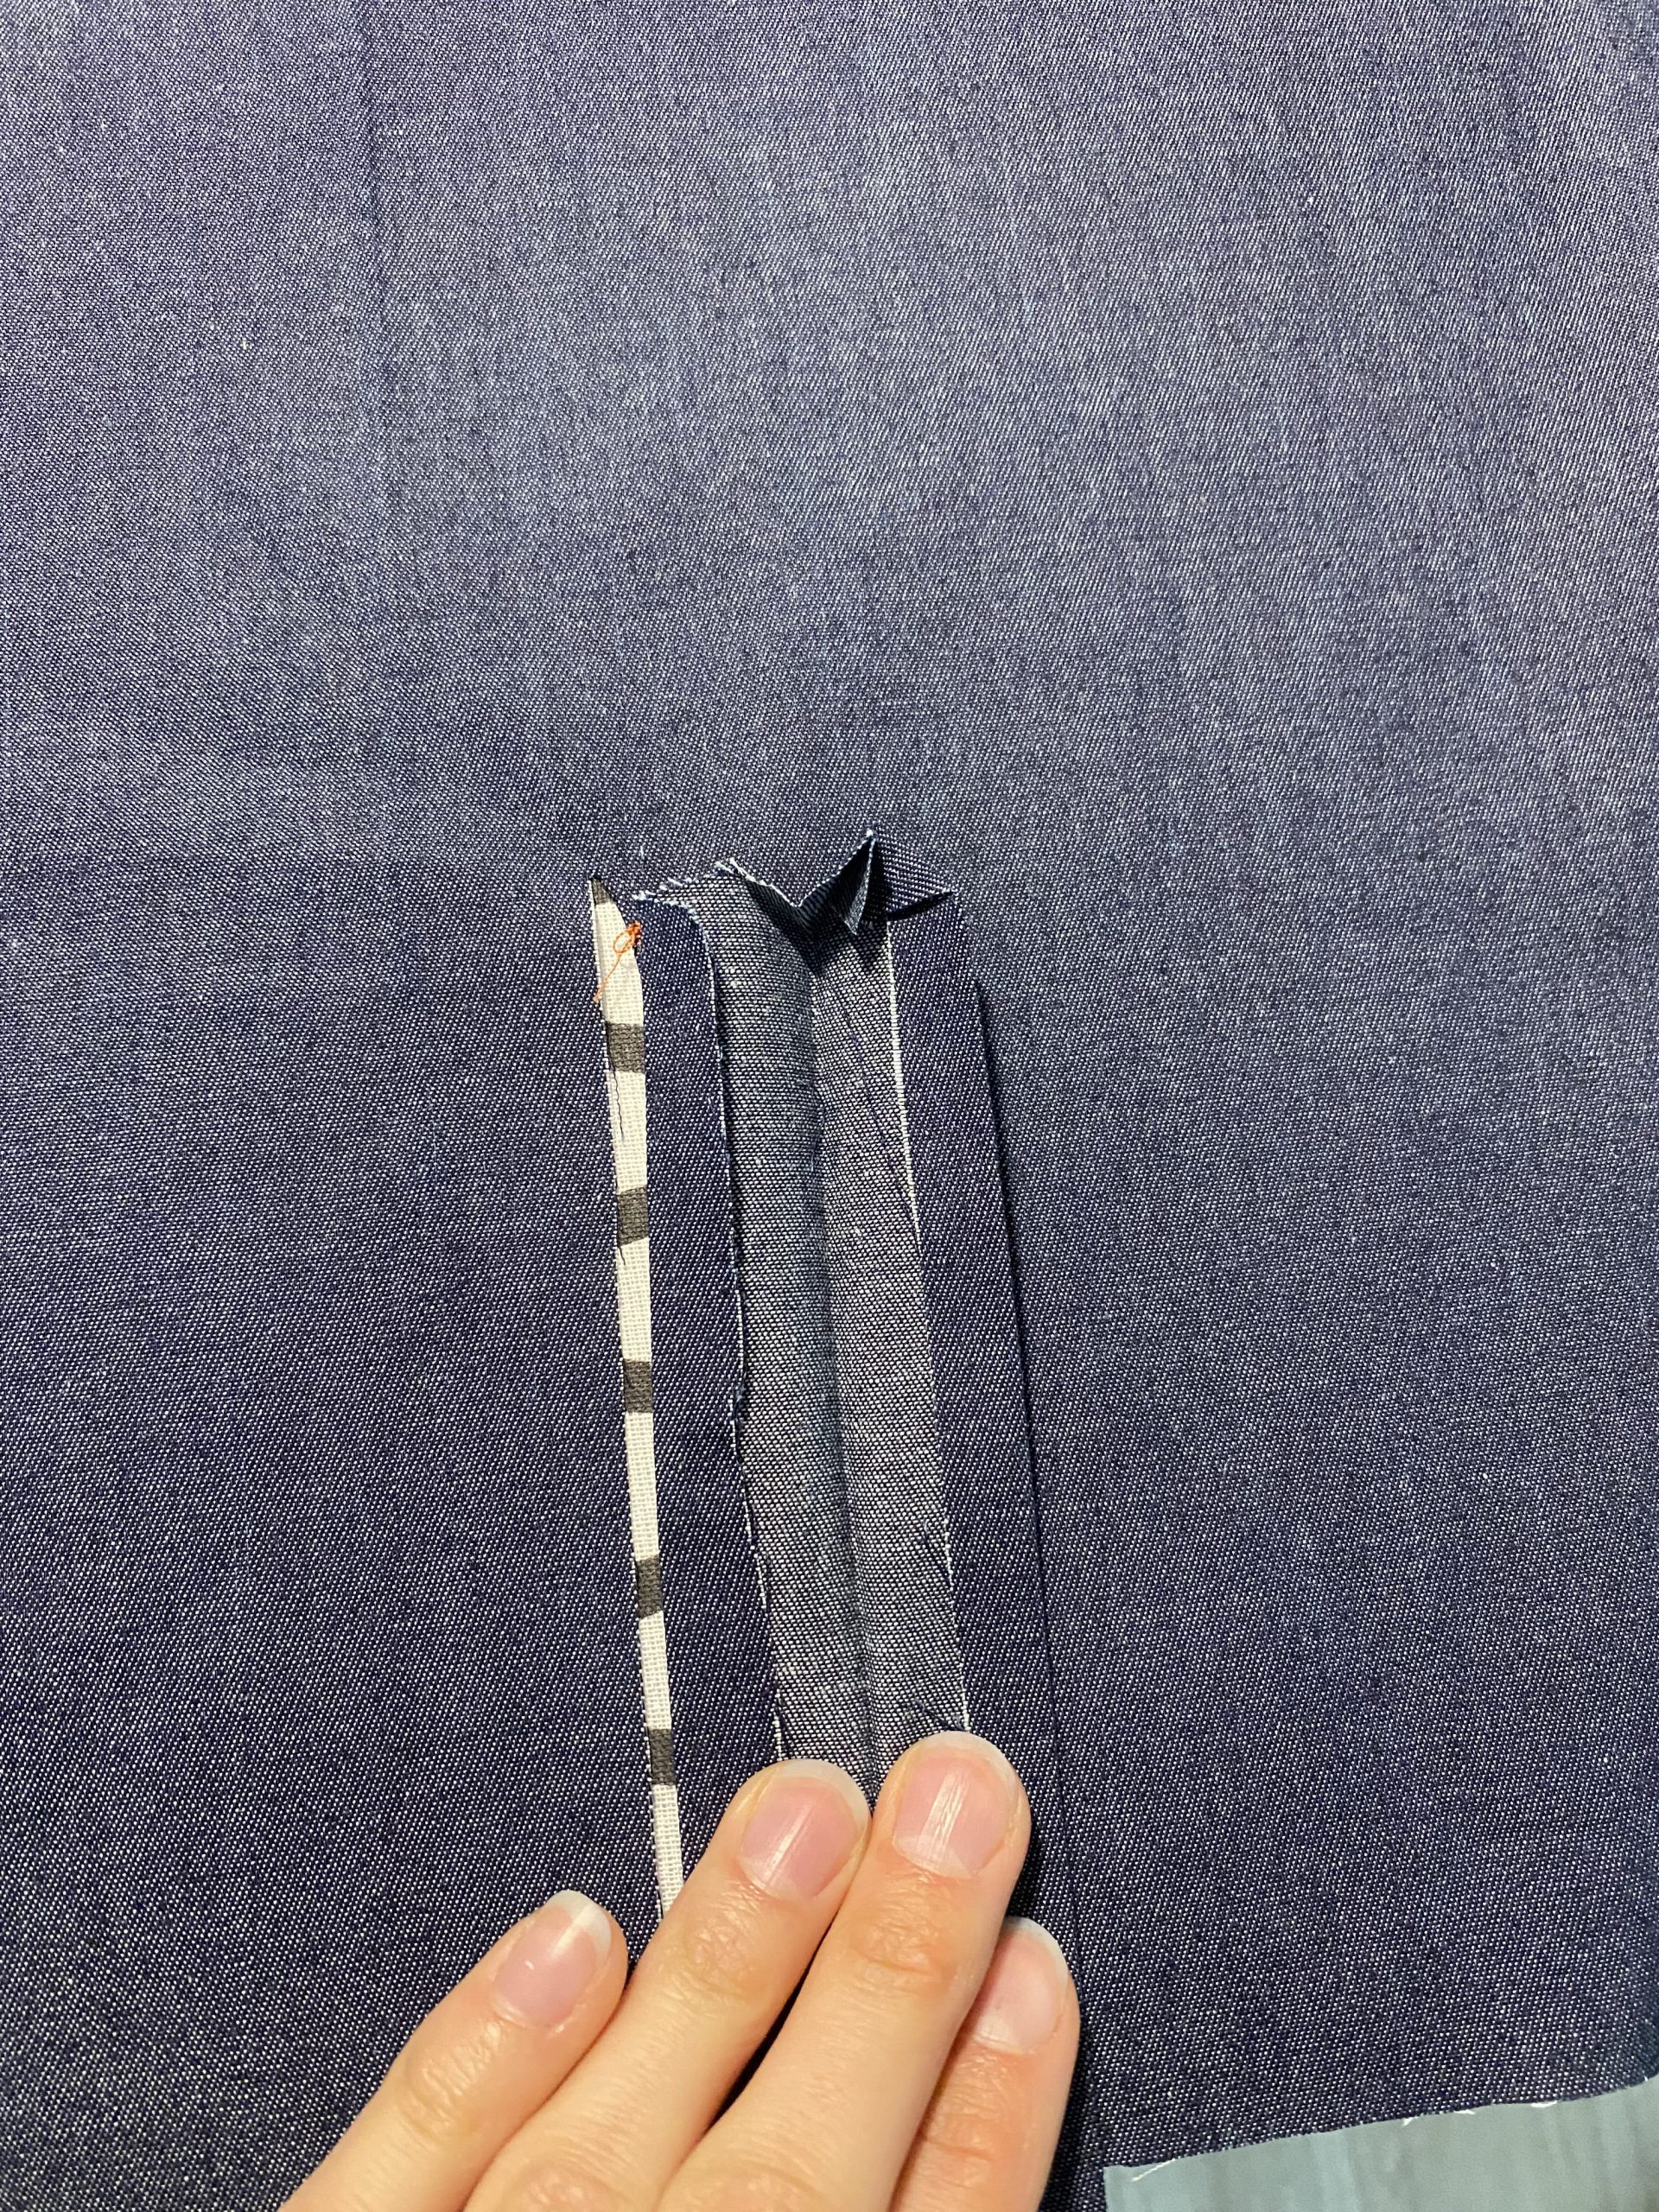
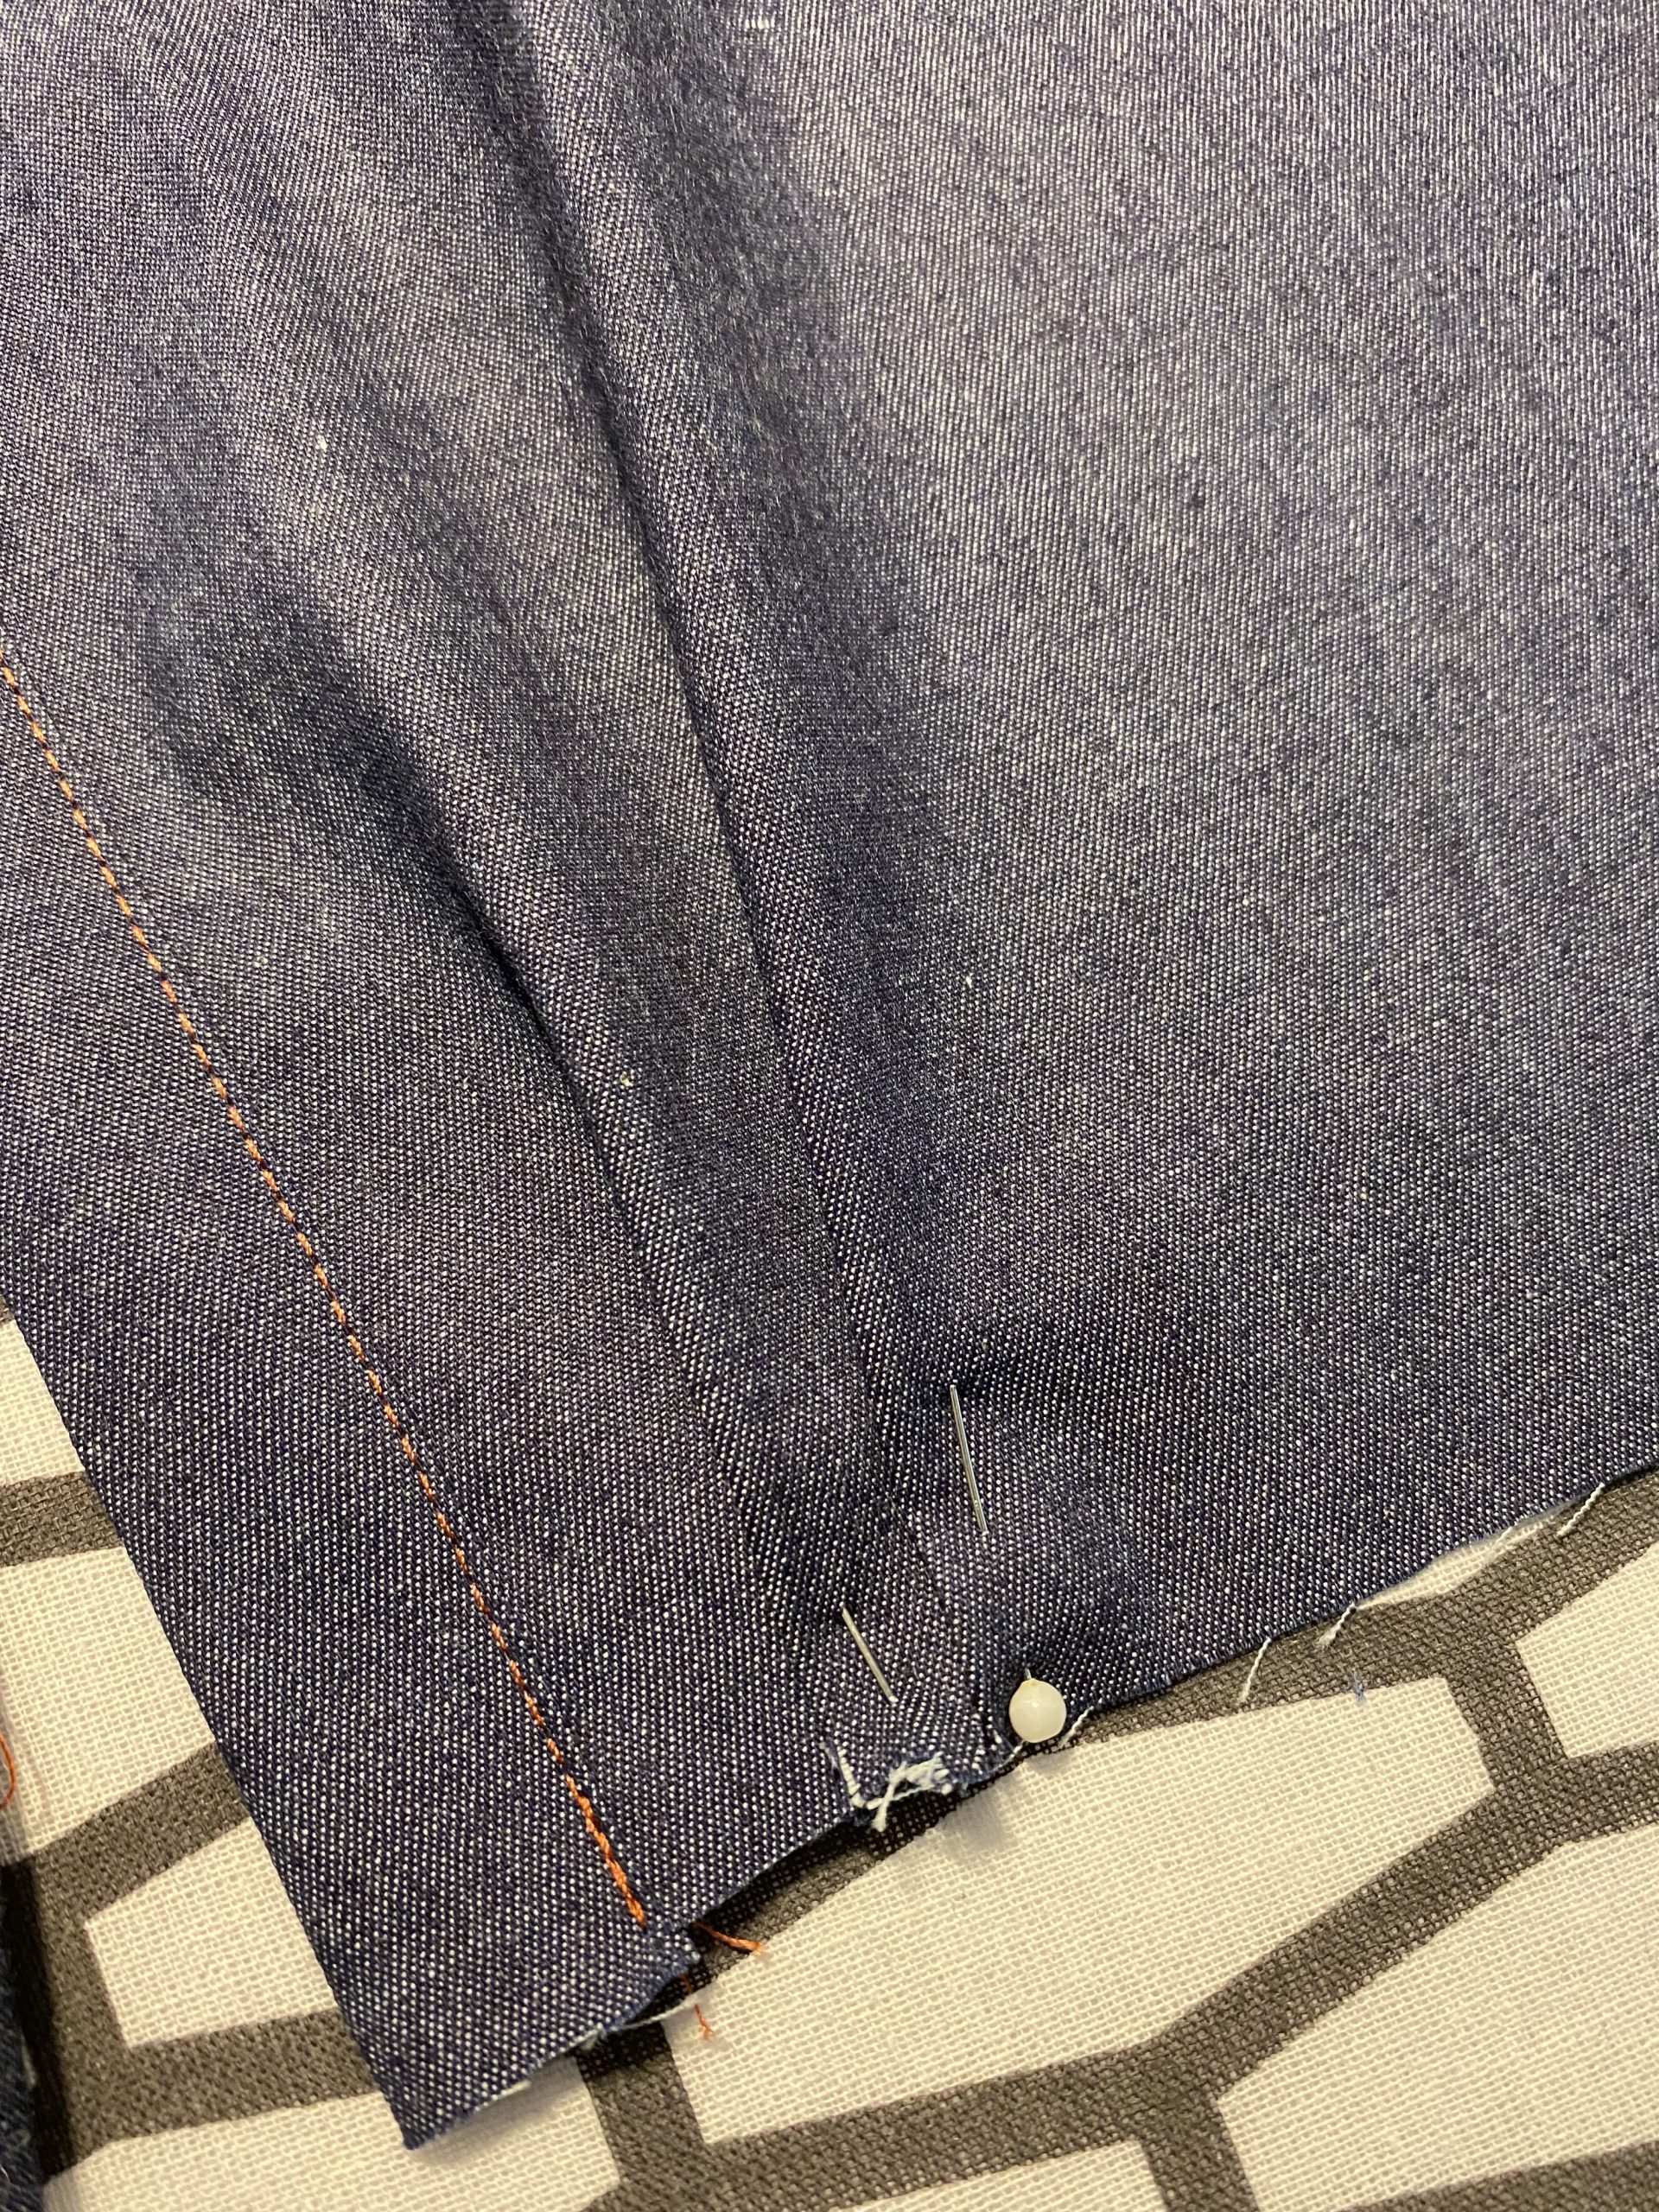
To create this seam, first sew the side edges of each front piece to the back piece, wrong sides together, with a 1.5 cm seam allowance. Leave a piece open at the bottom, as marked in the pattern.
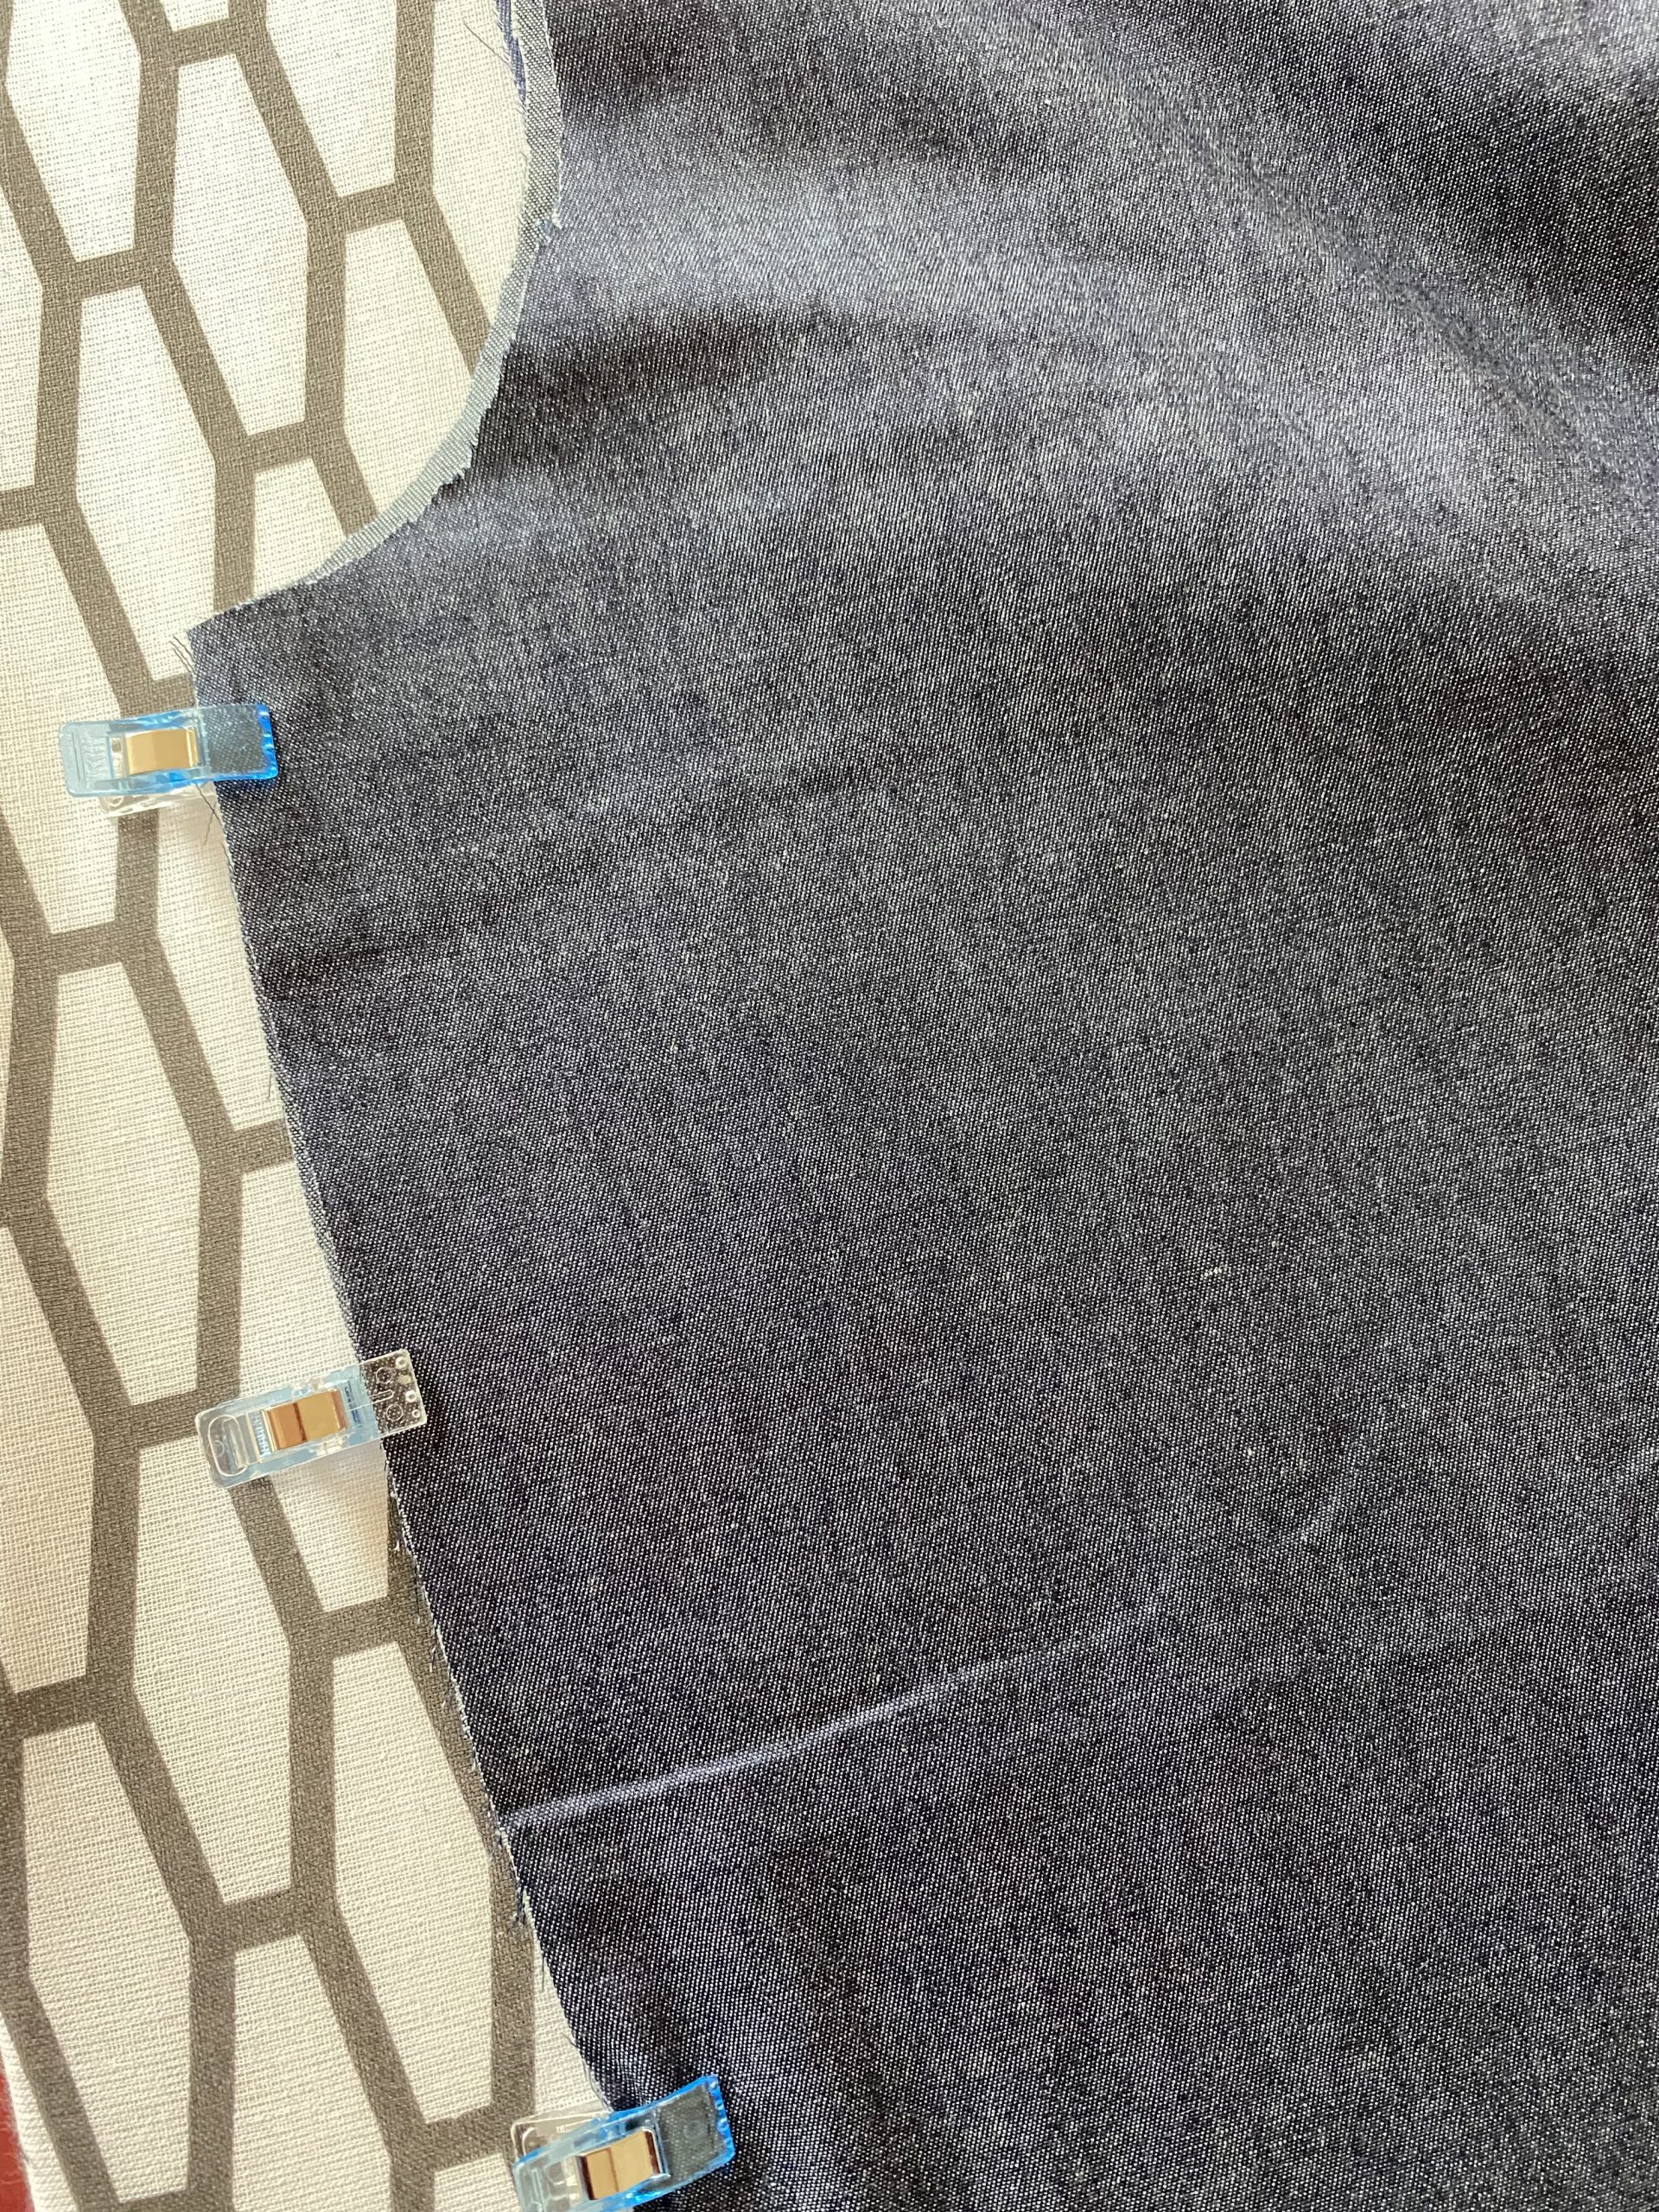
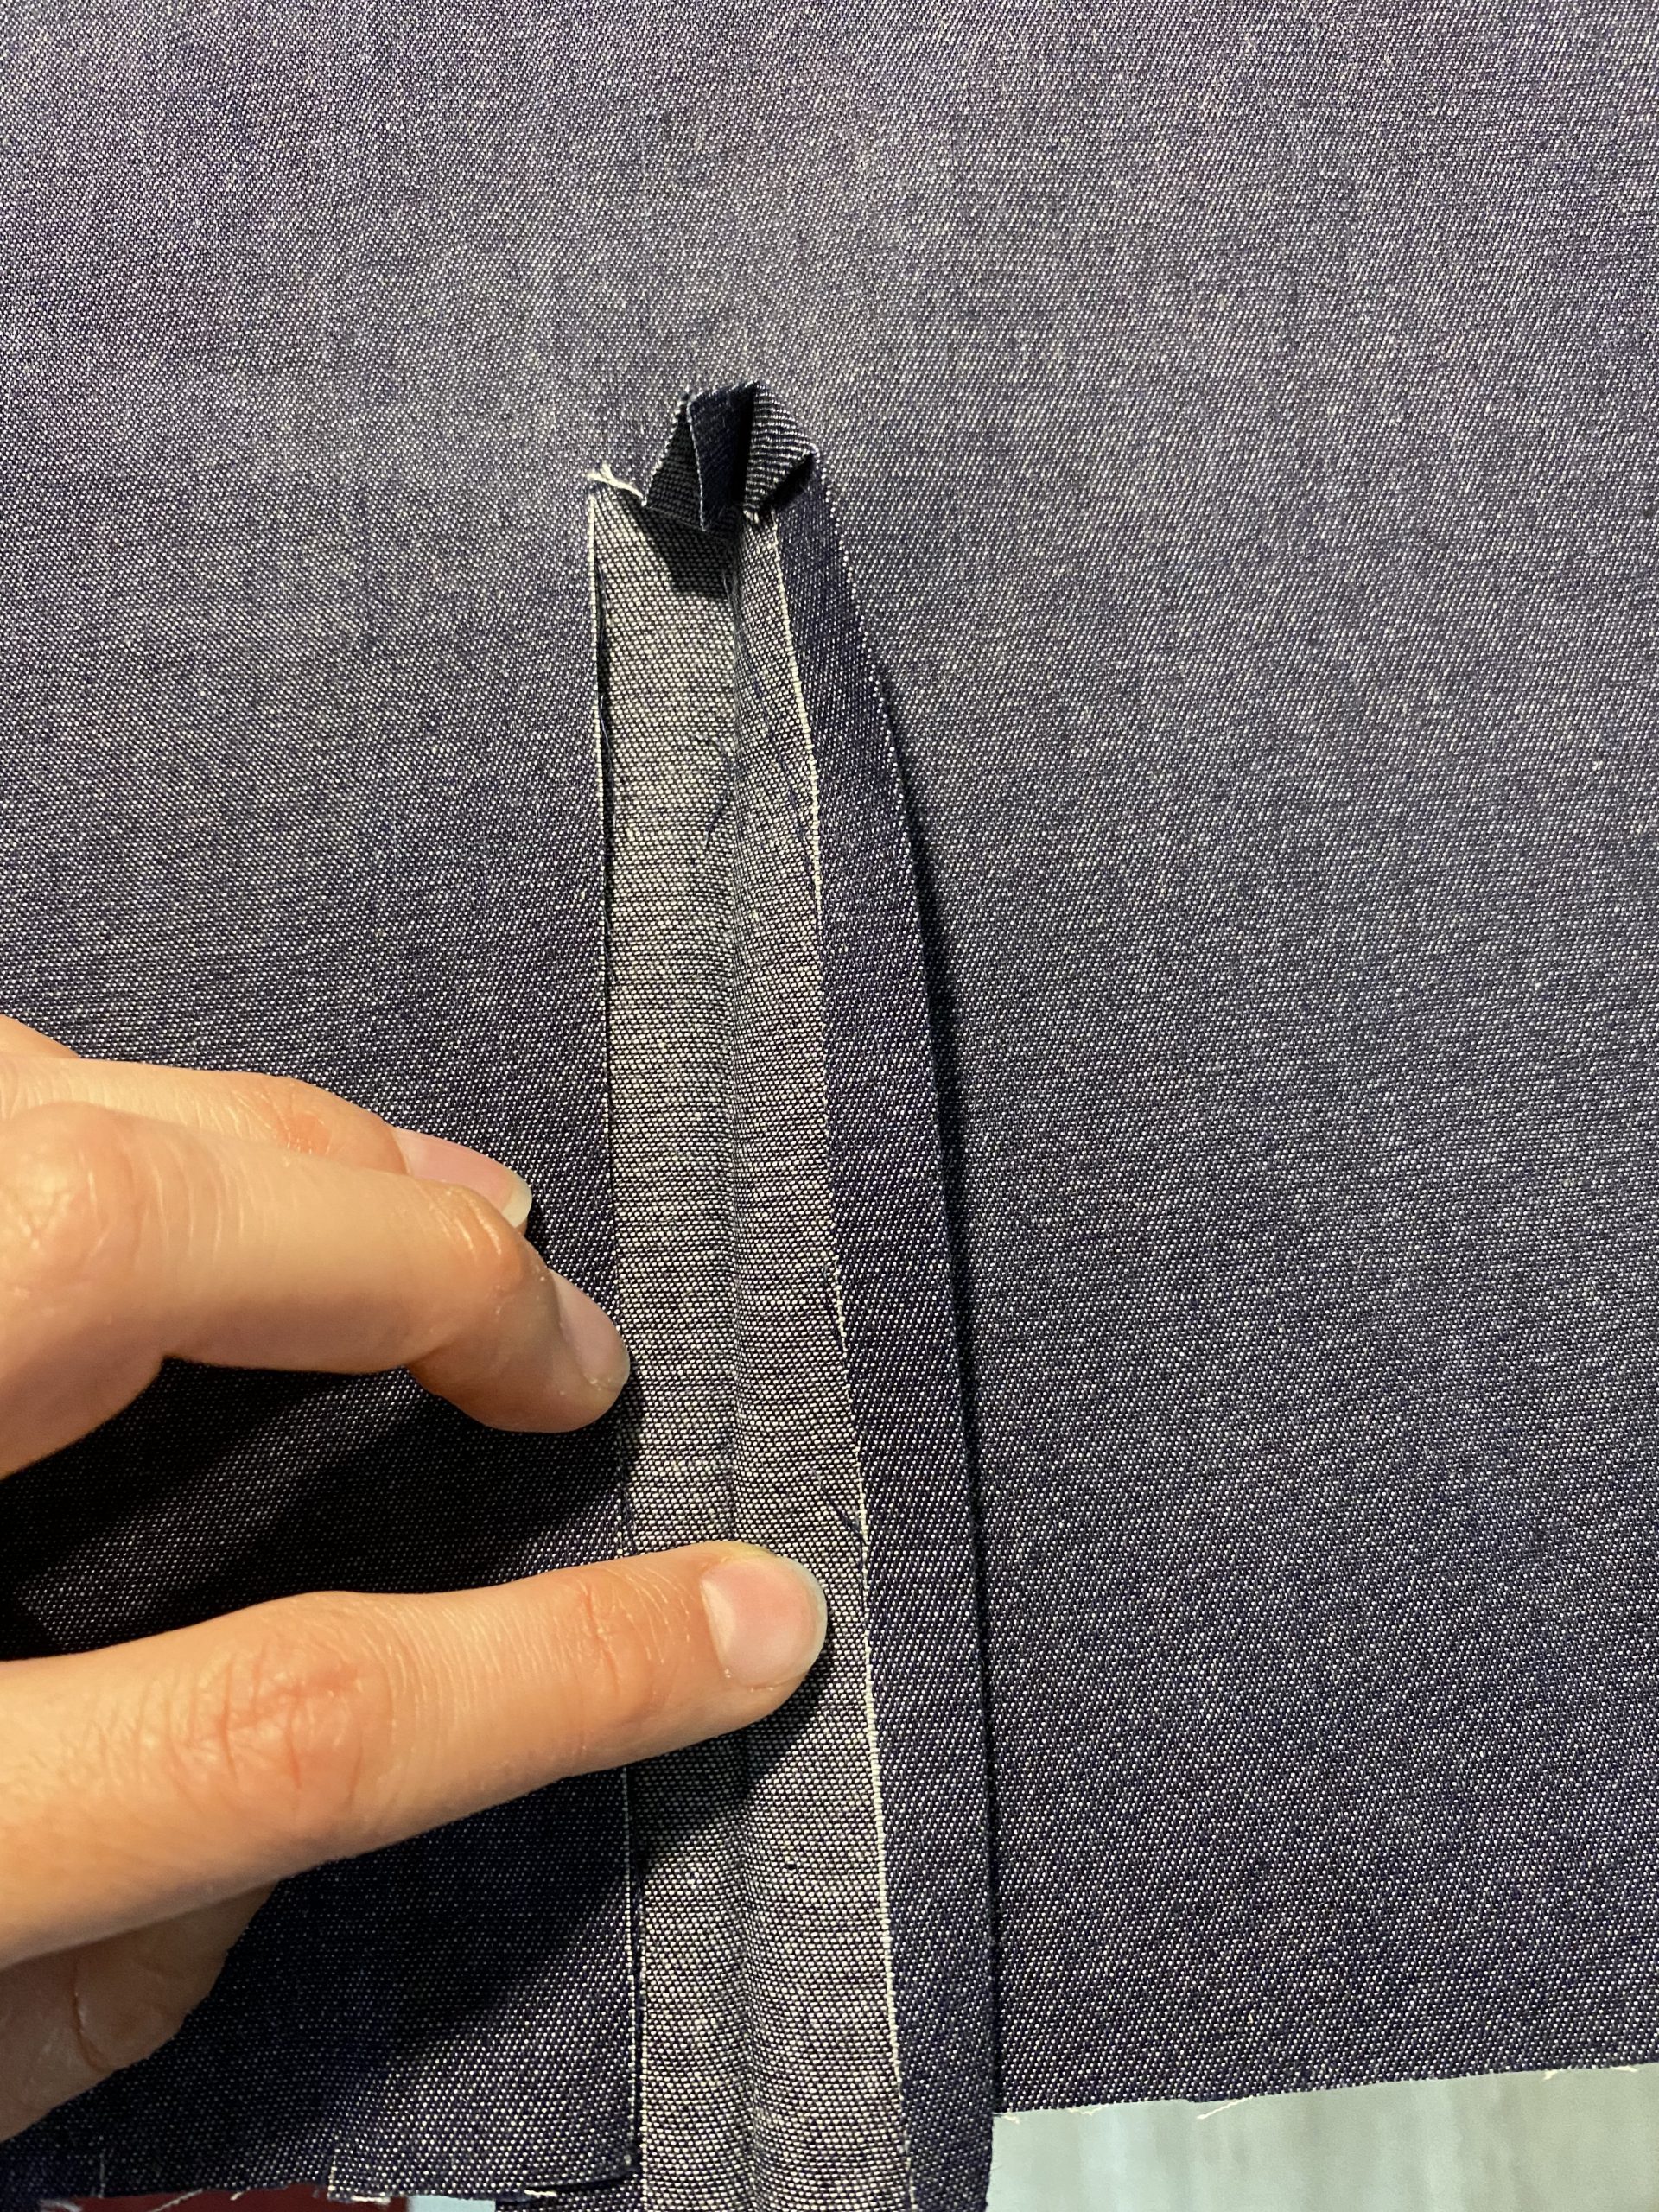
Then cut one of the seam allowances back in half and fold the still complete seam allowance in half. The folded seam allowance is now pinned to the fabric, covering the cut-back allowance.
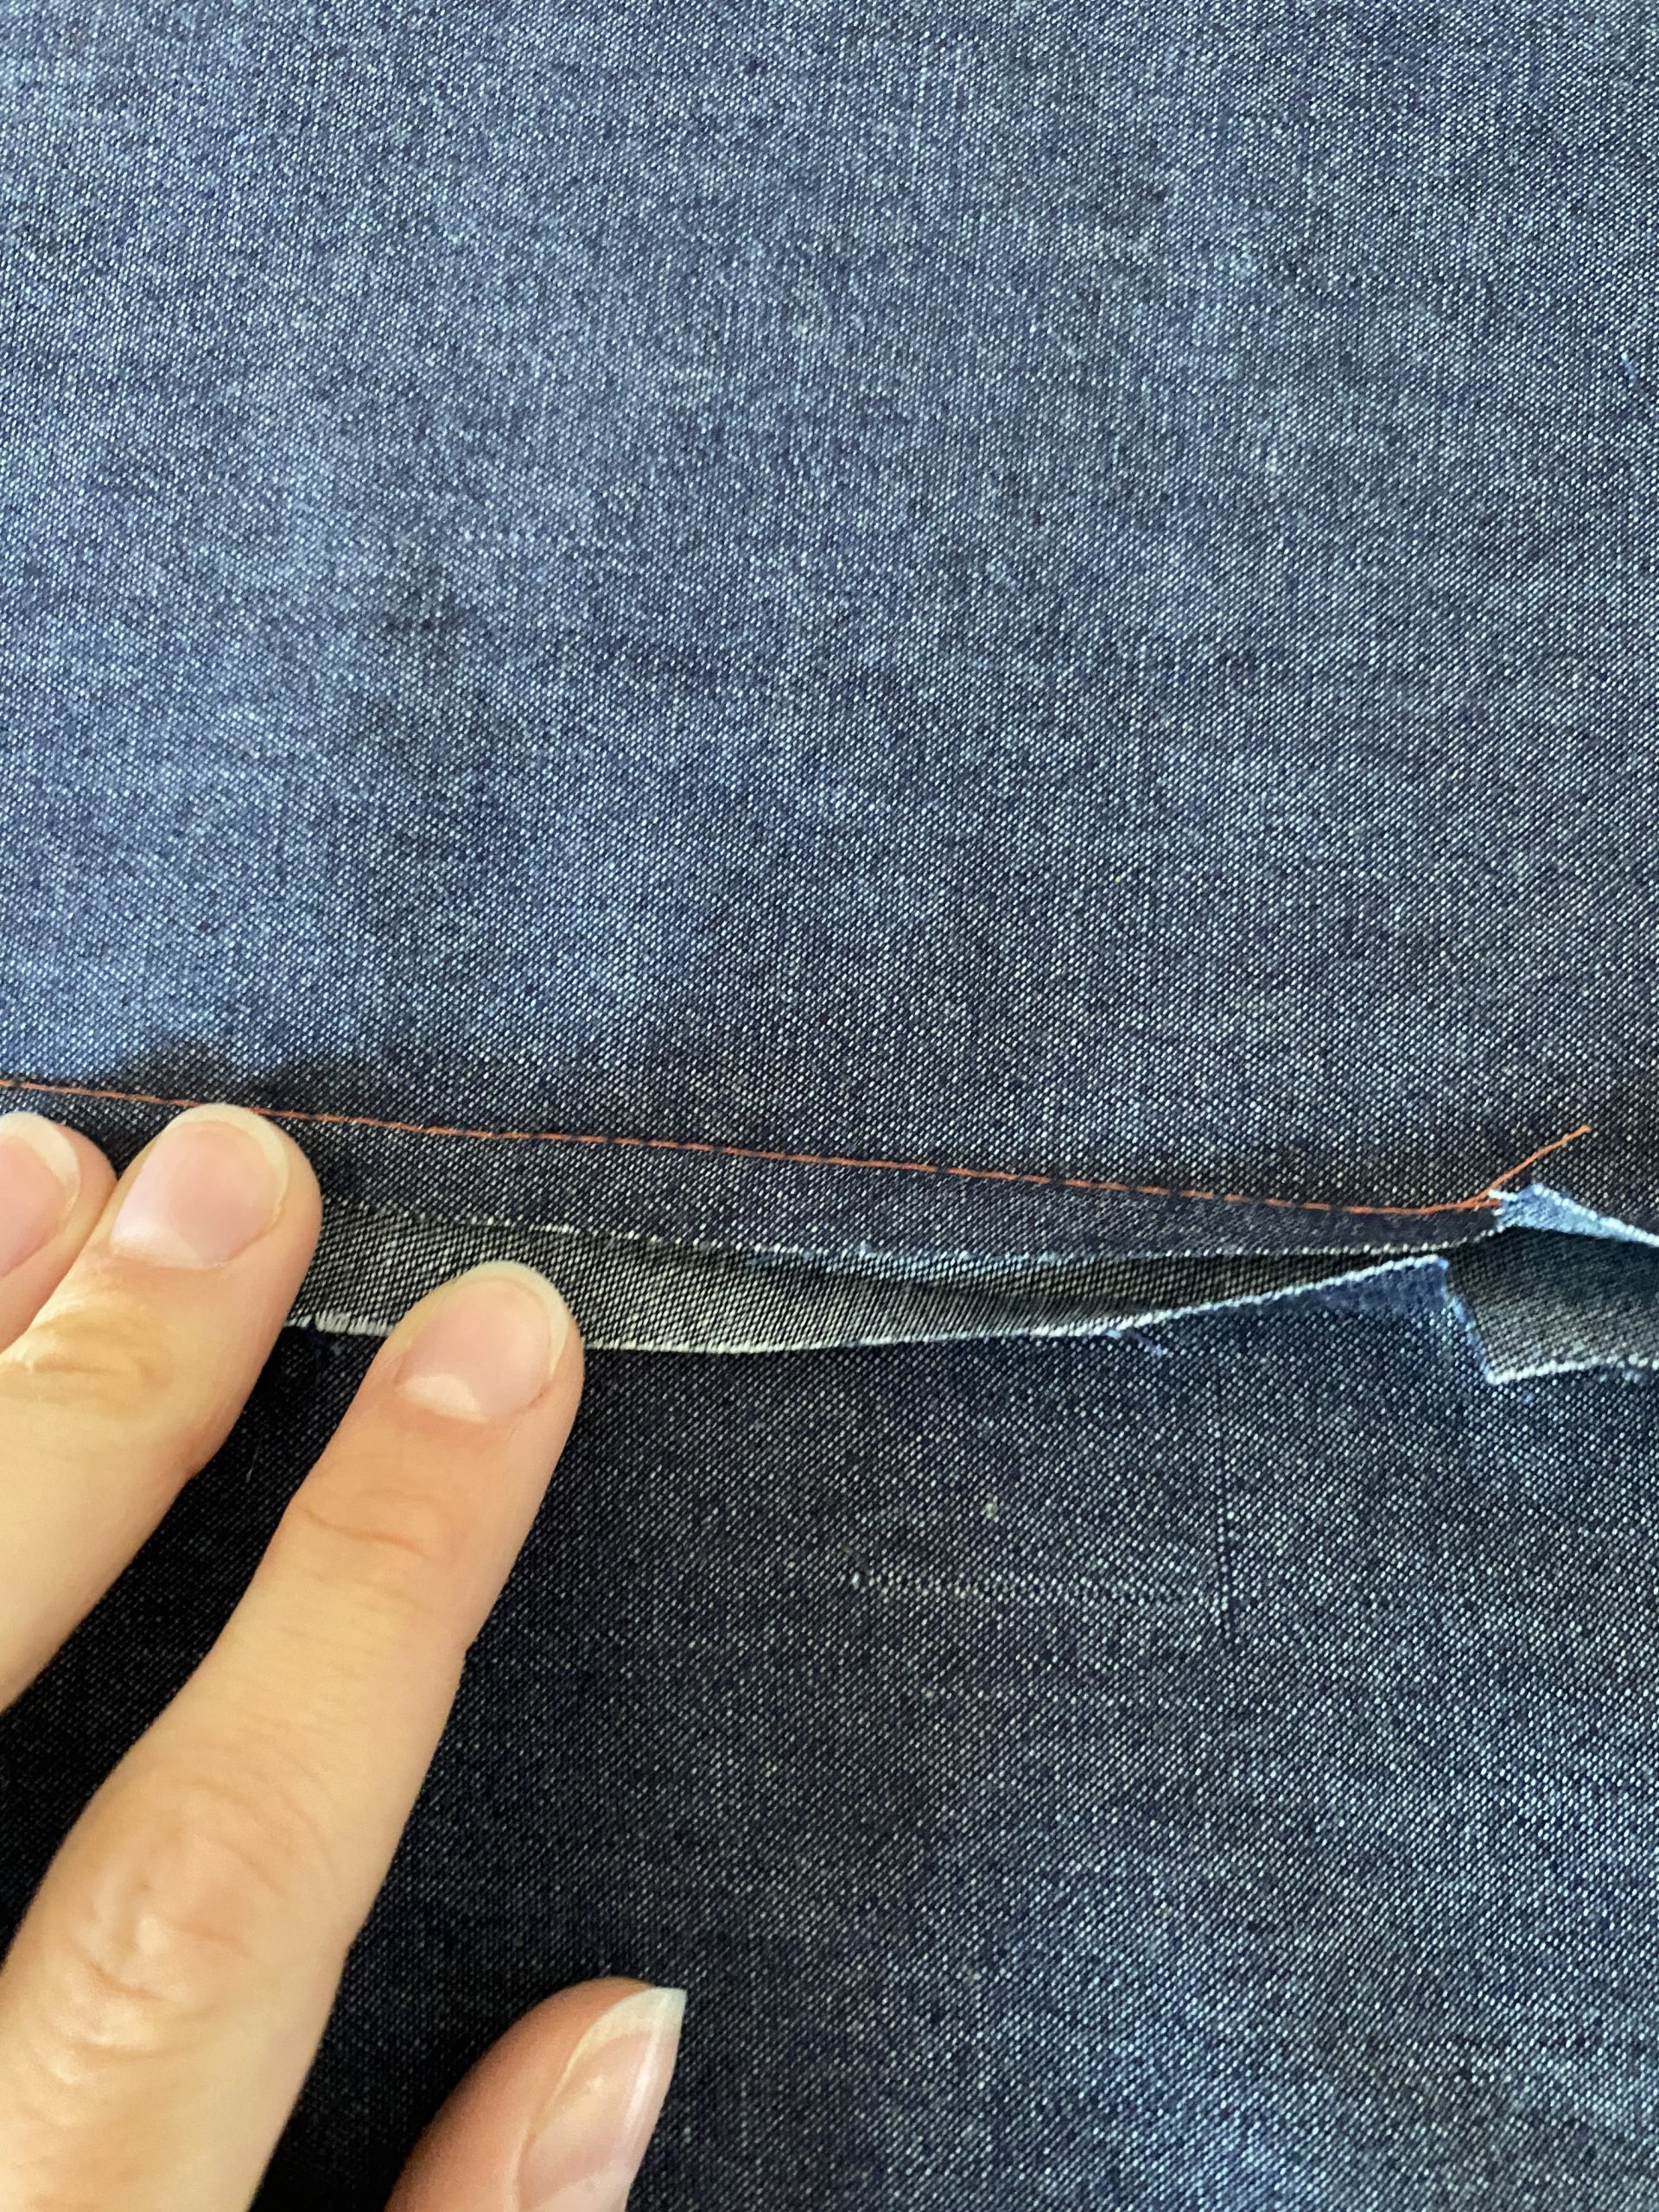
The edge is now topstitched close to the edge, parallel to the previous seam.

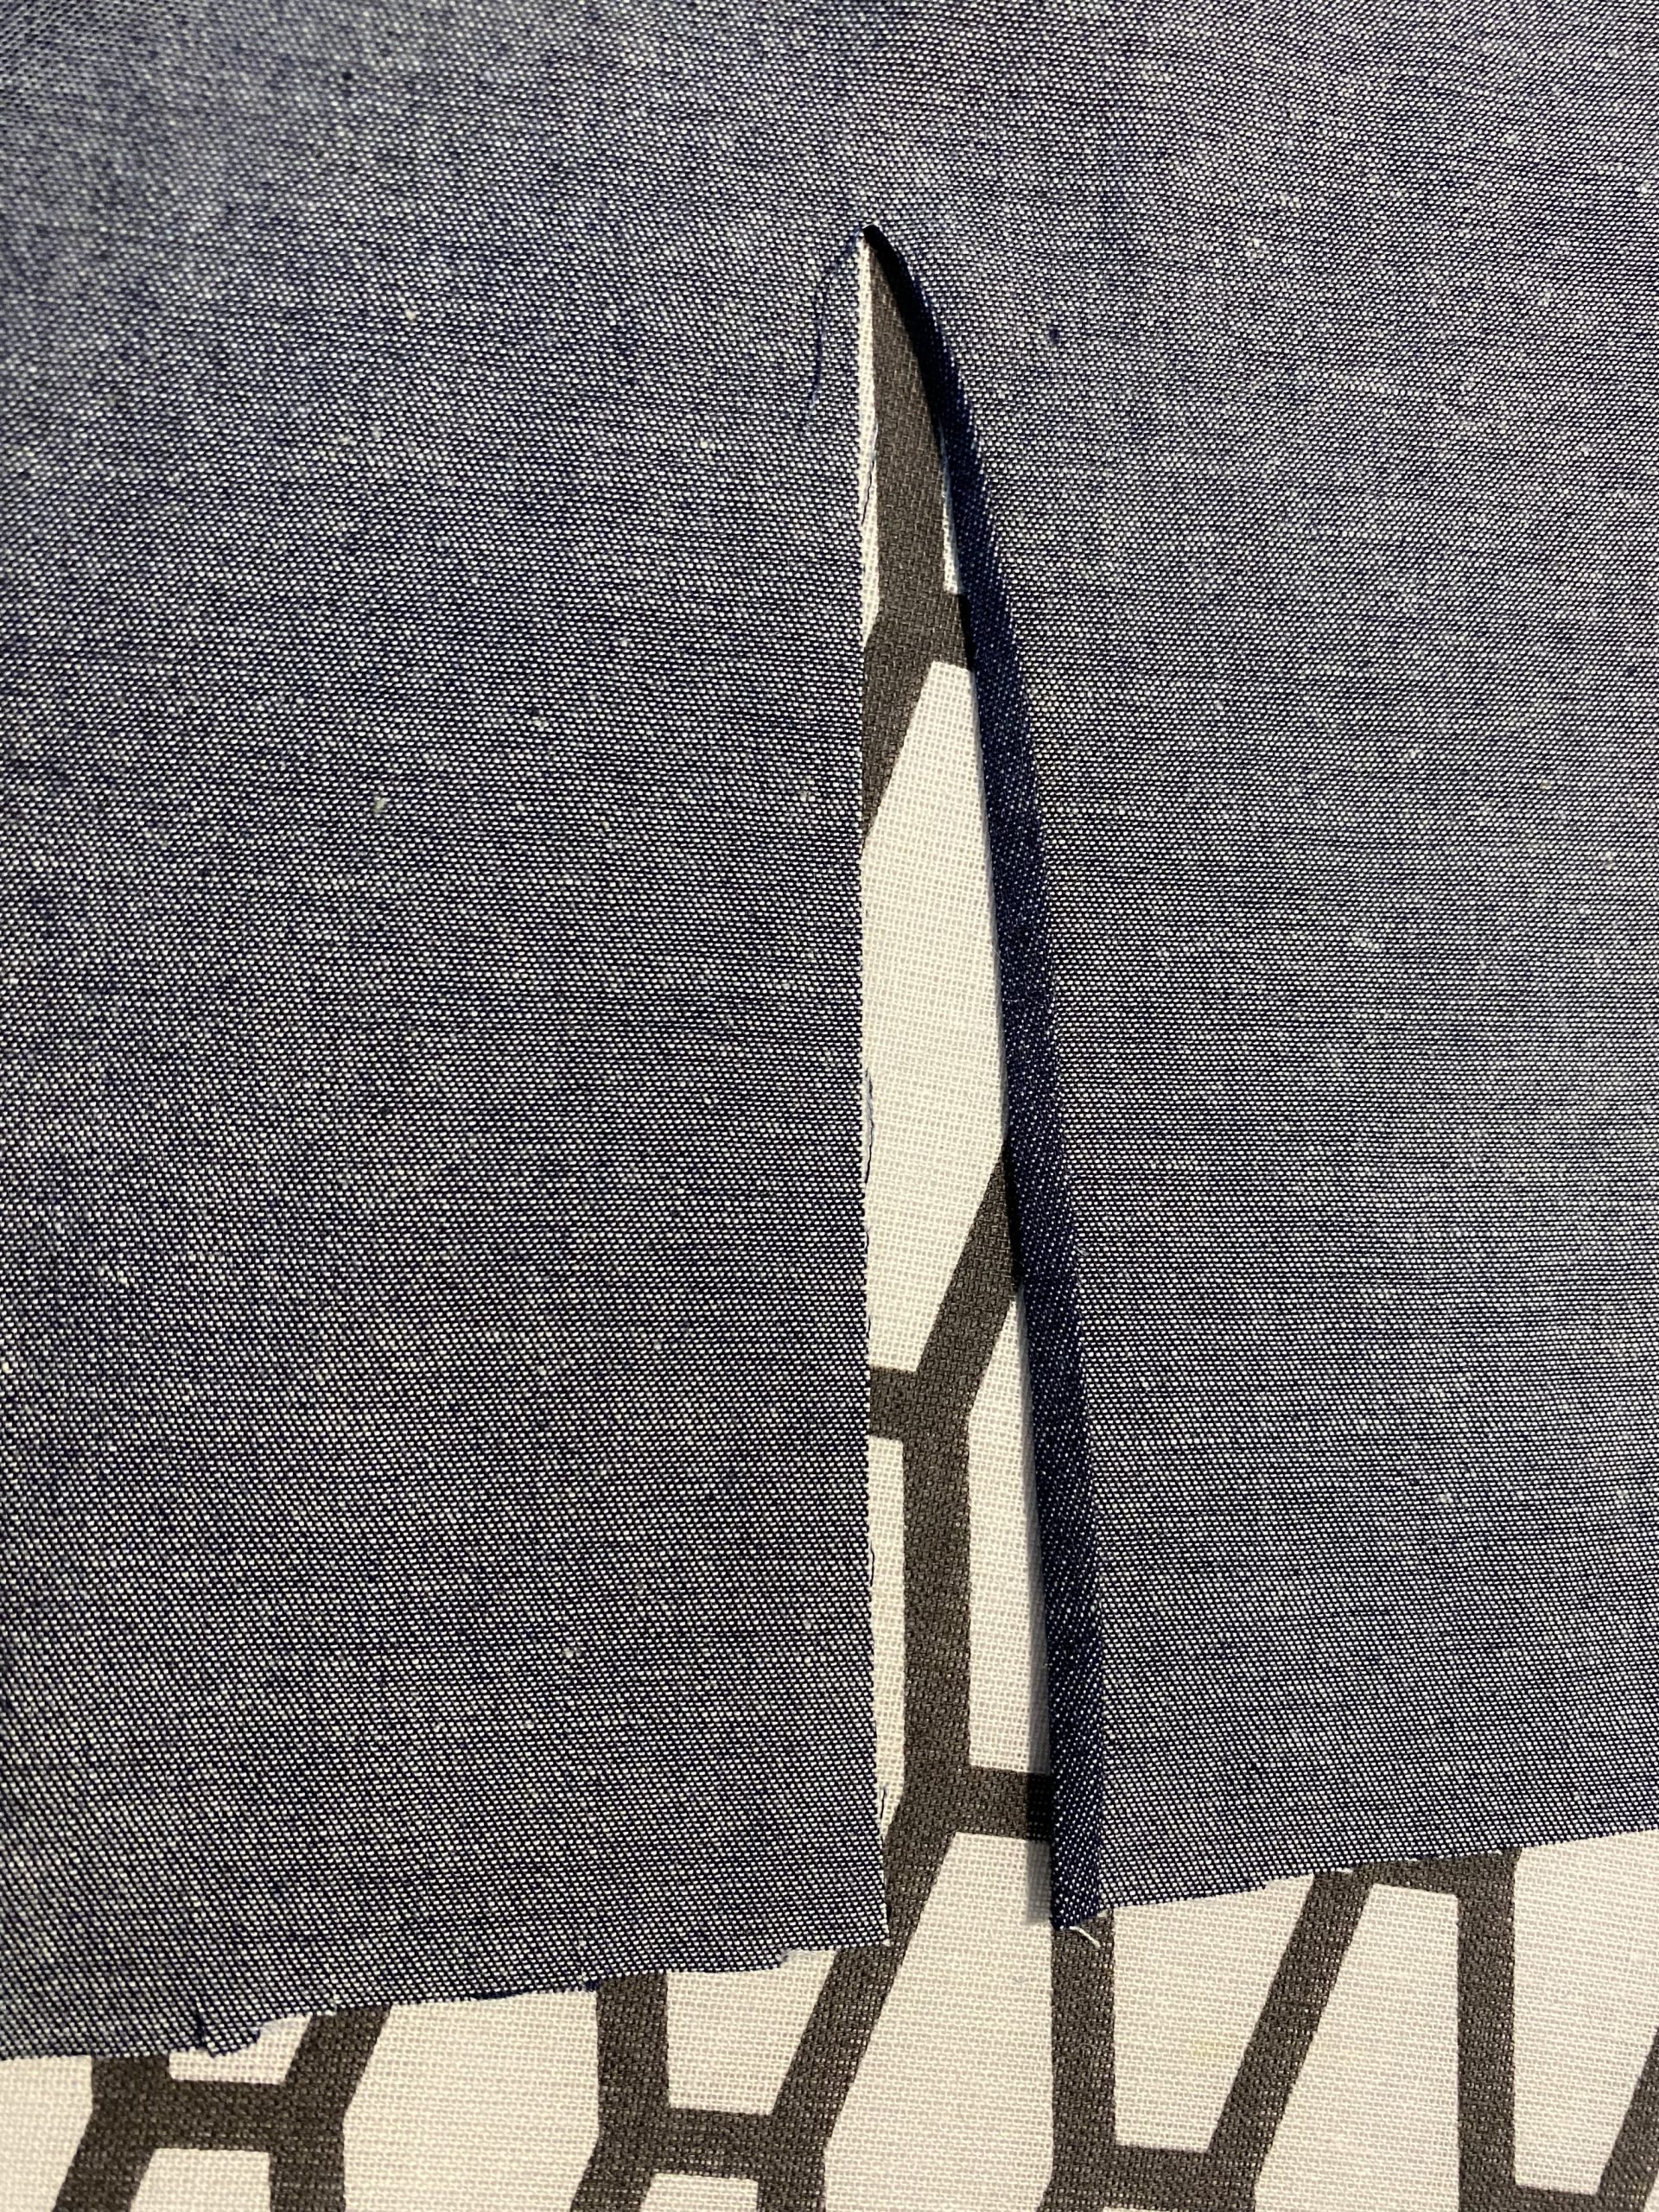
For the small slit at the bottom of the sides, fold the seam allowance in half twice and sew in line with the side seams to secure the edge.
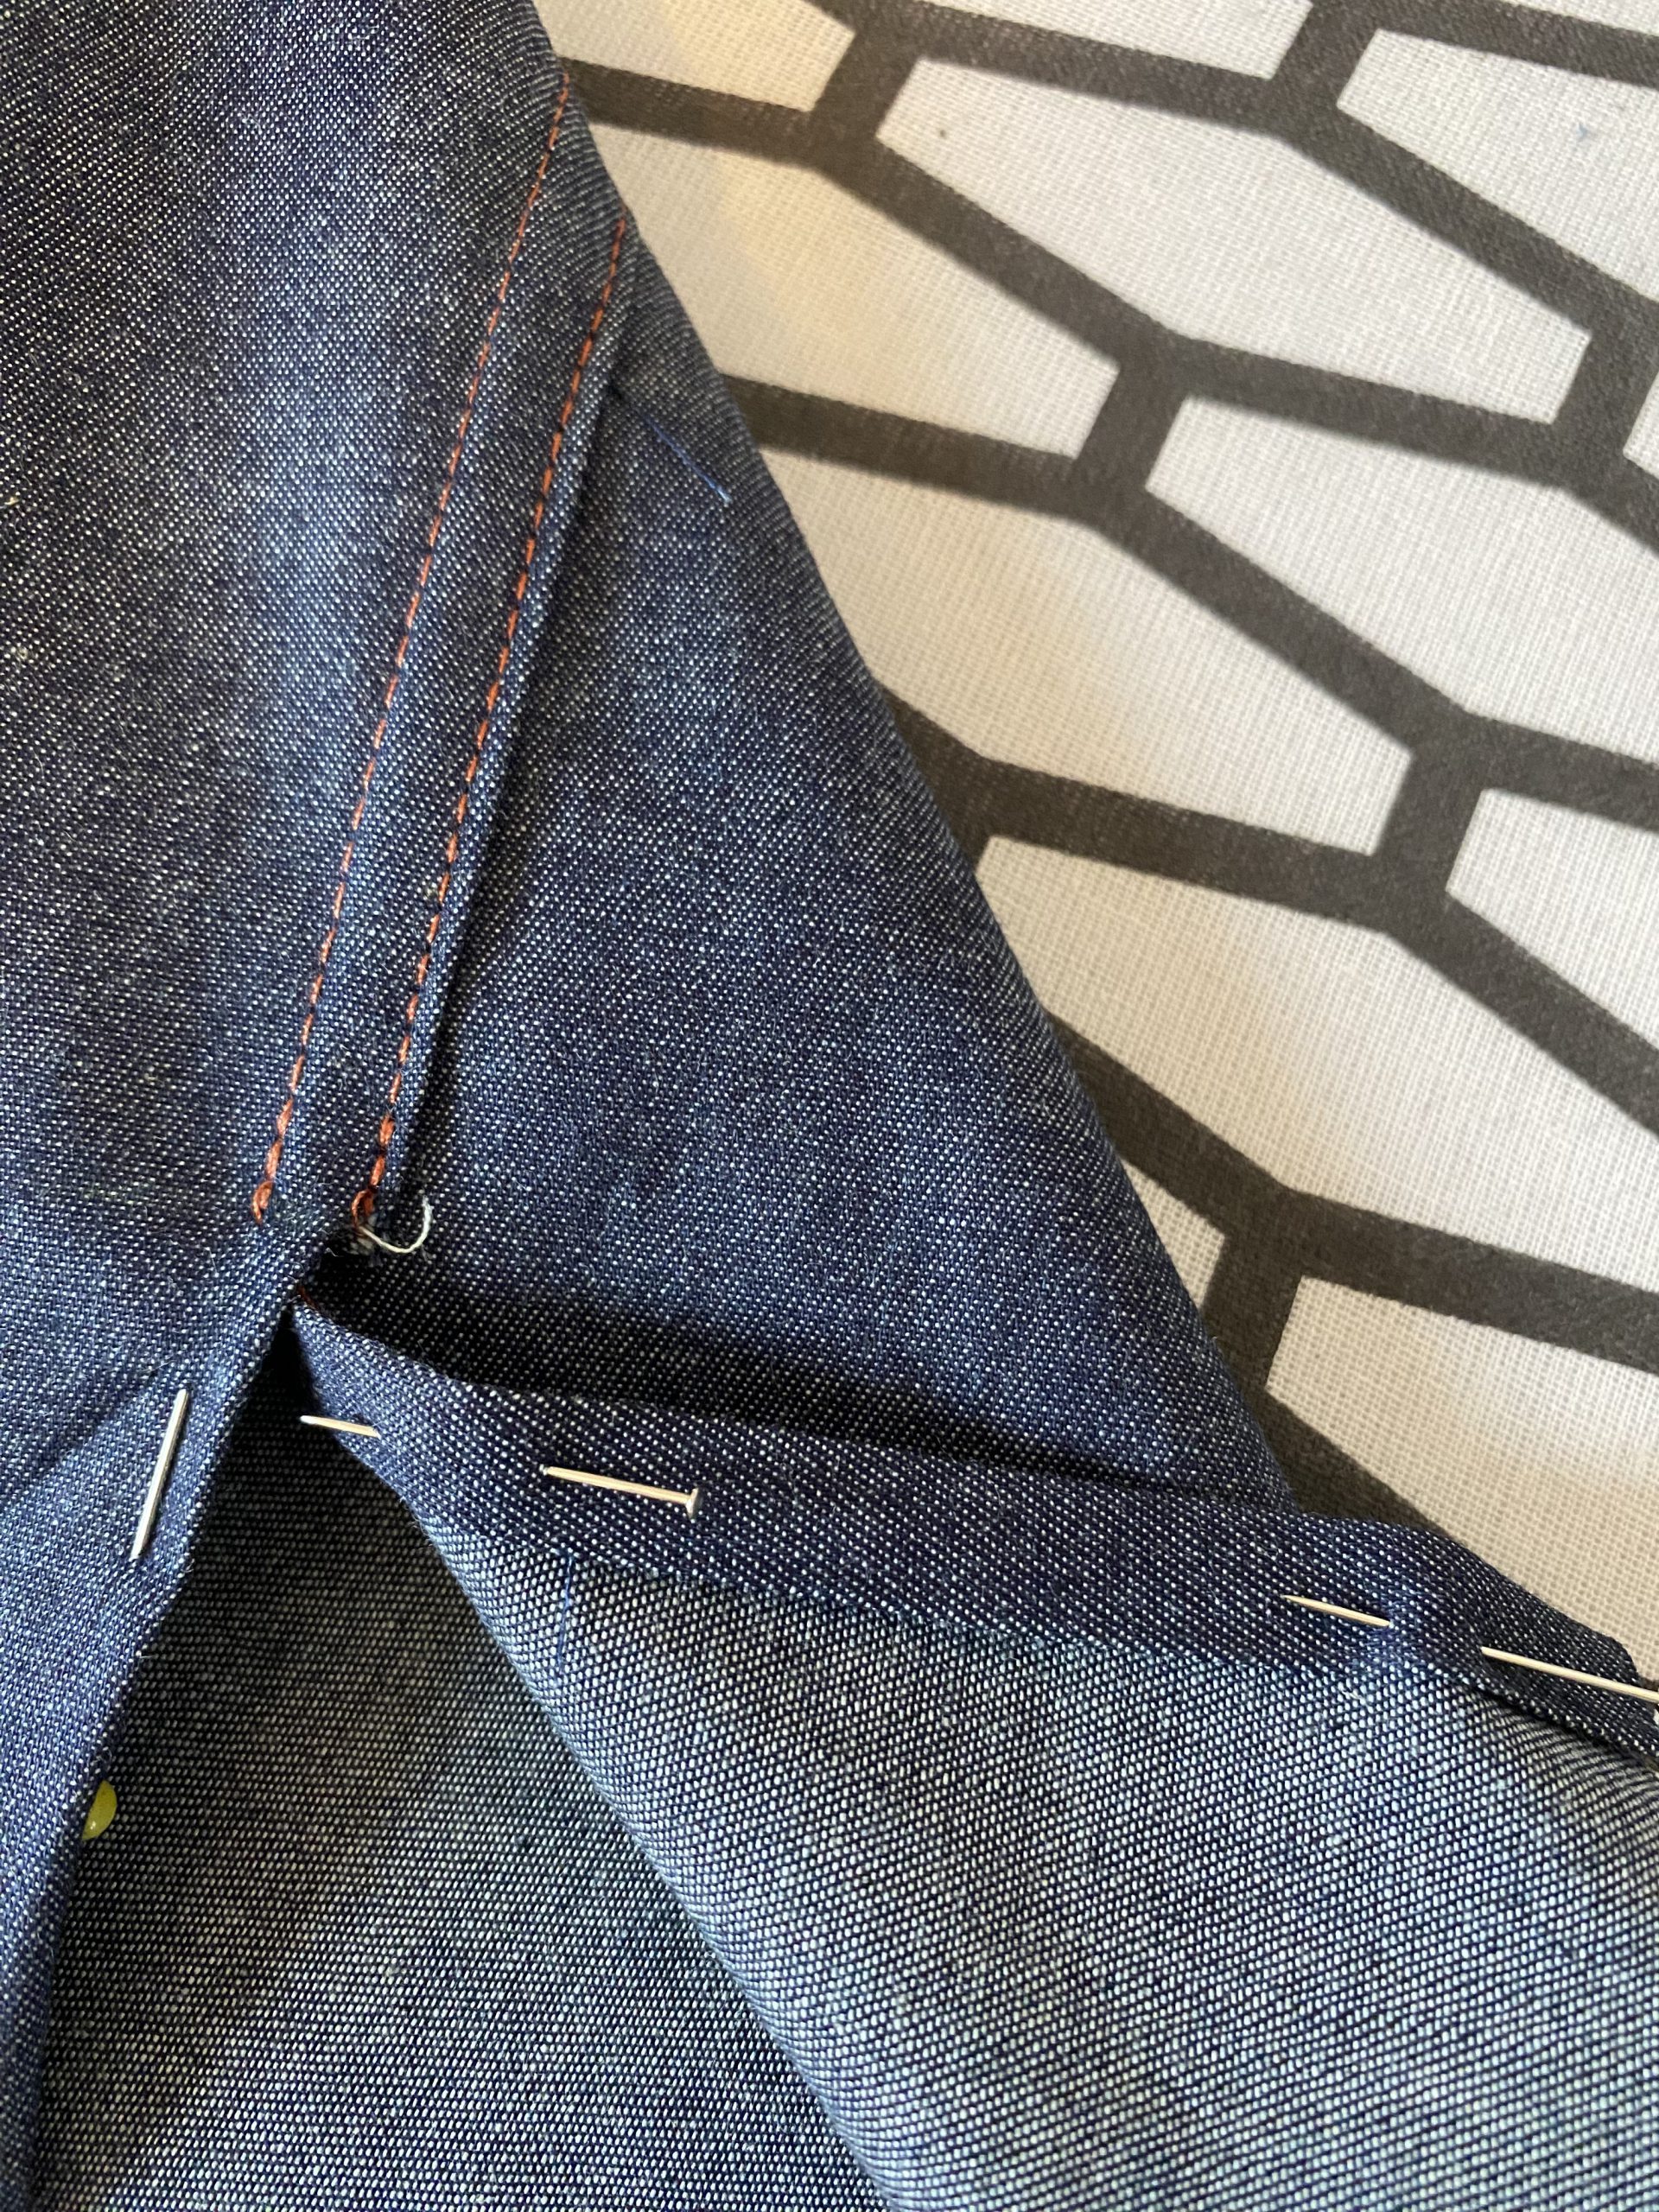
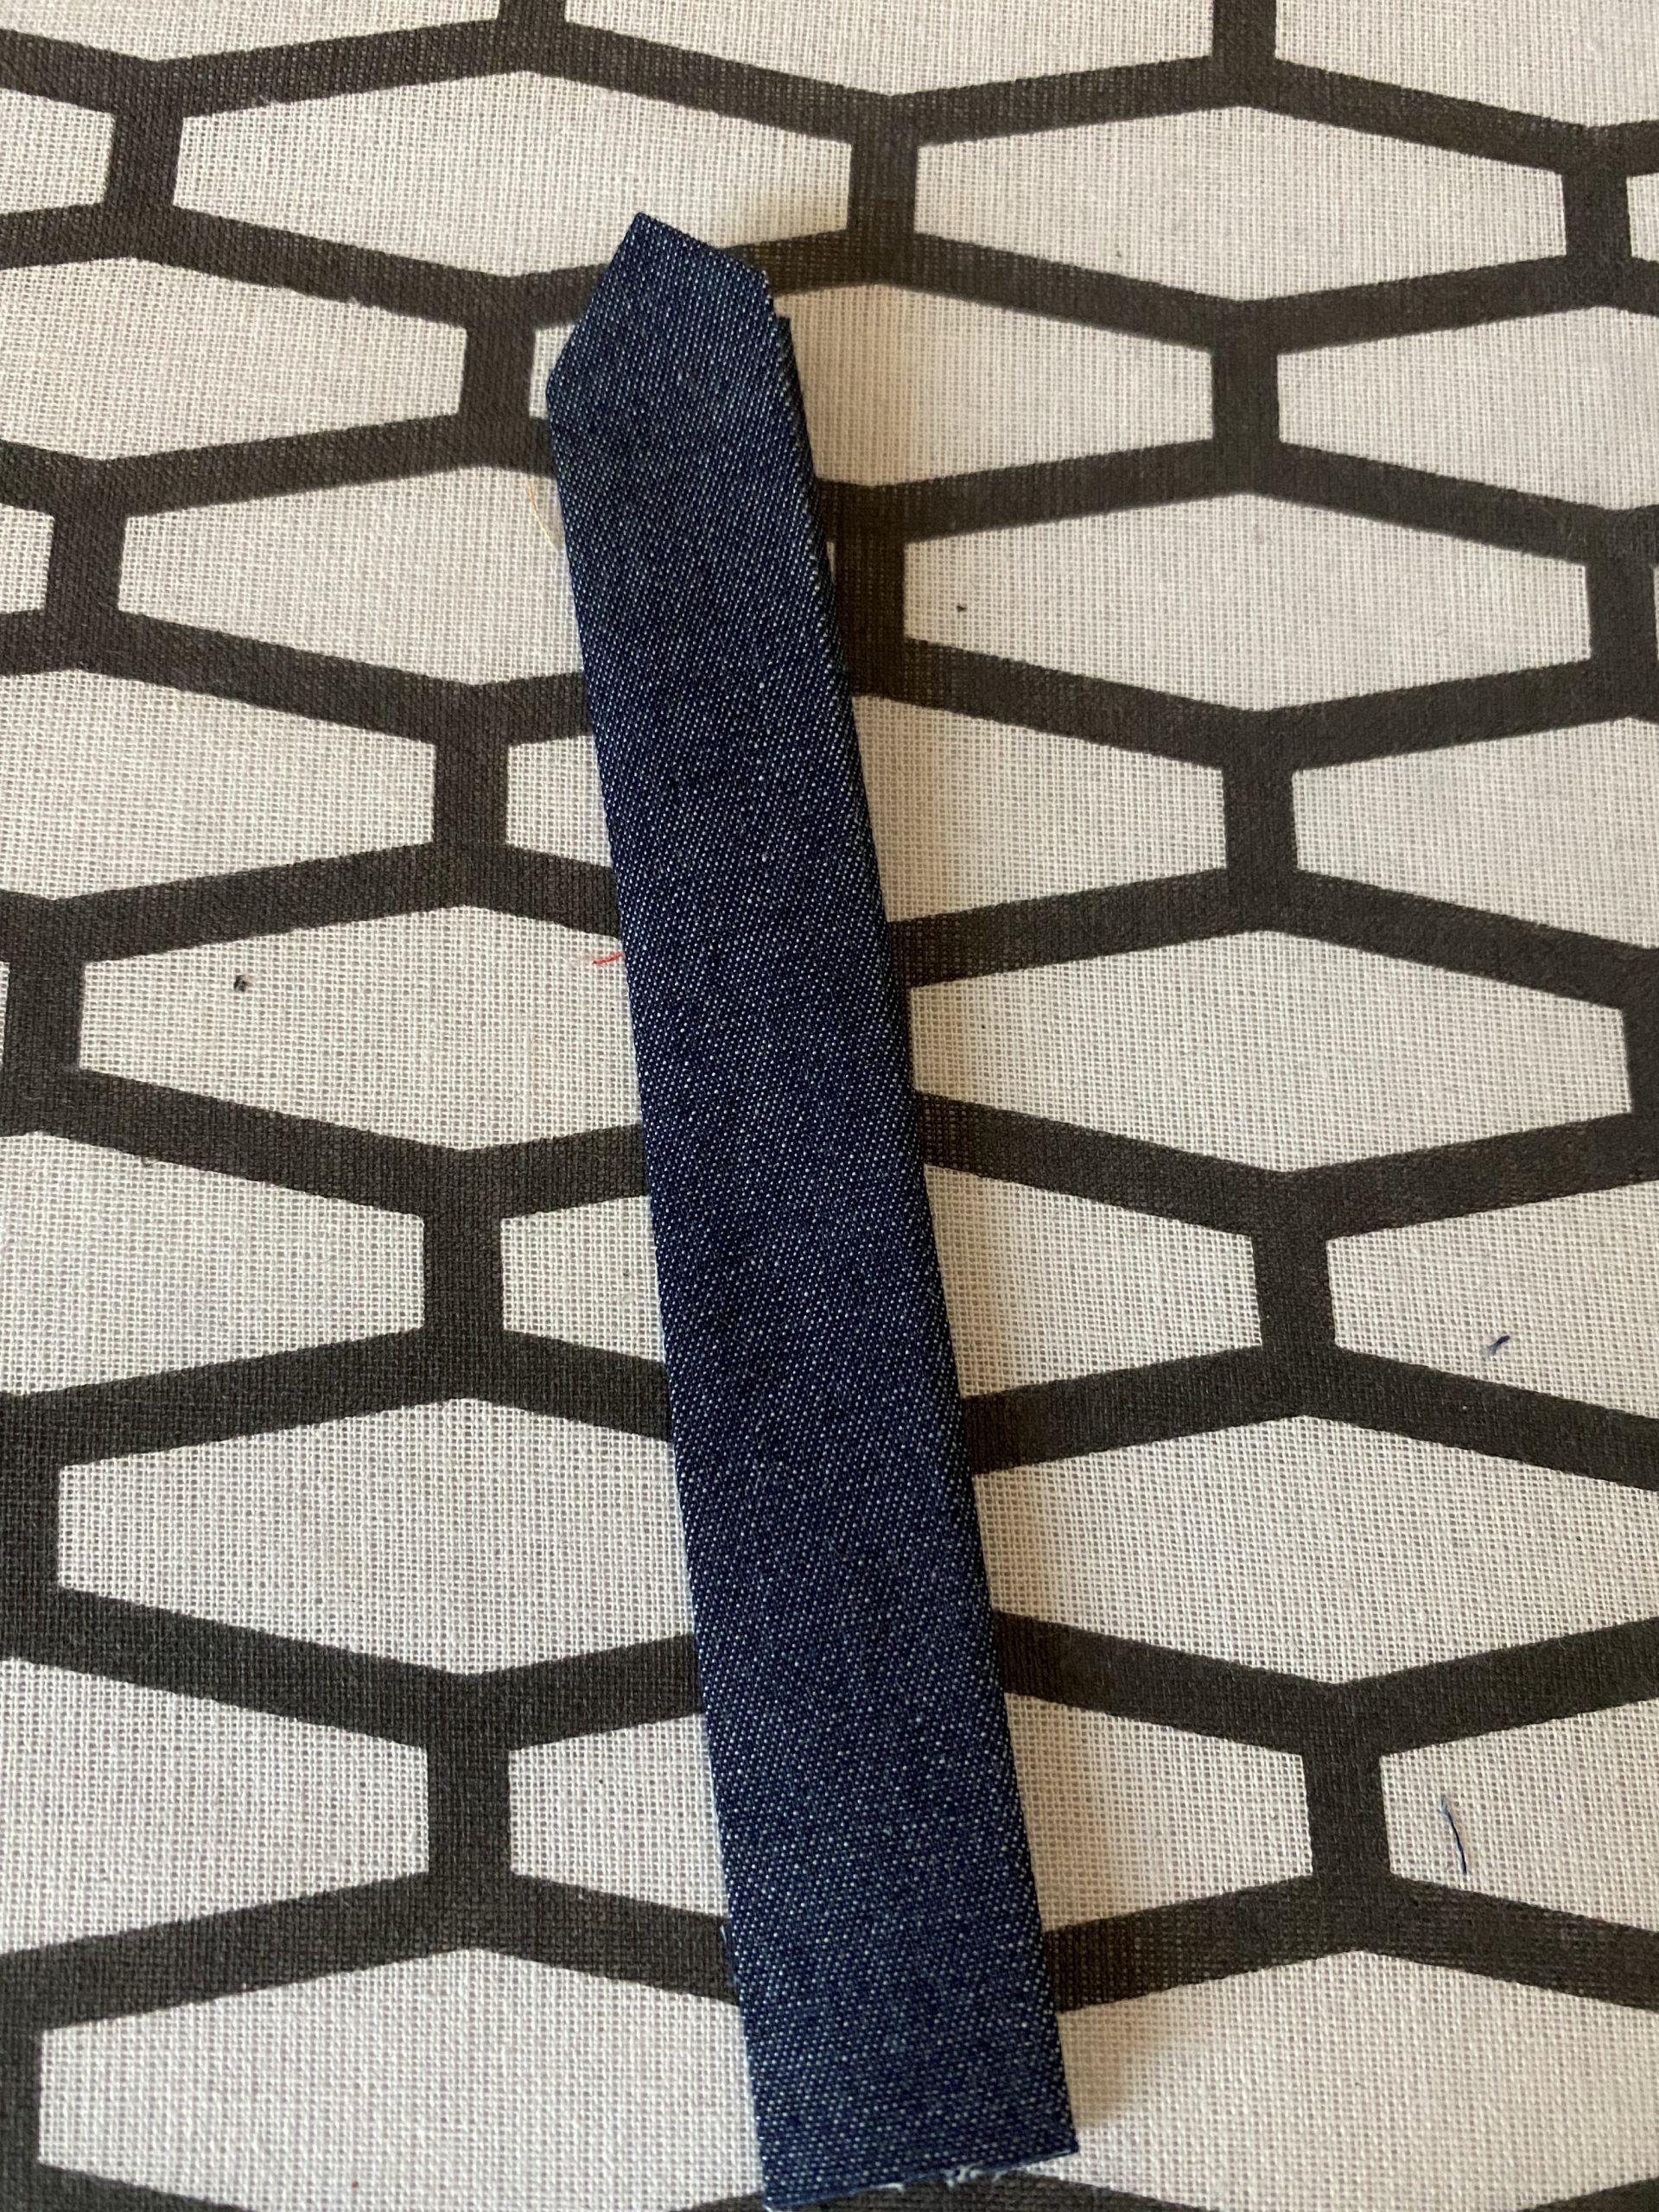
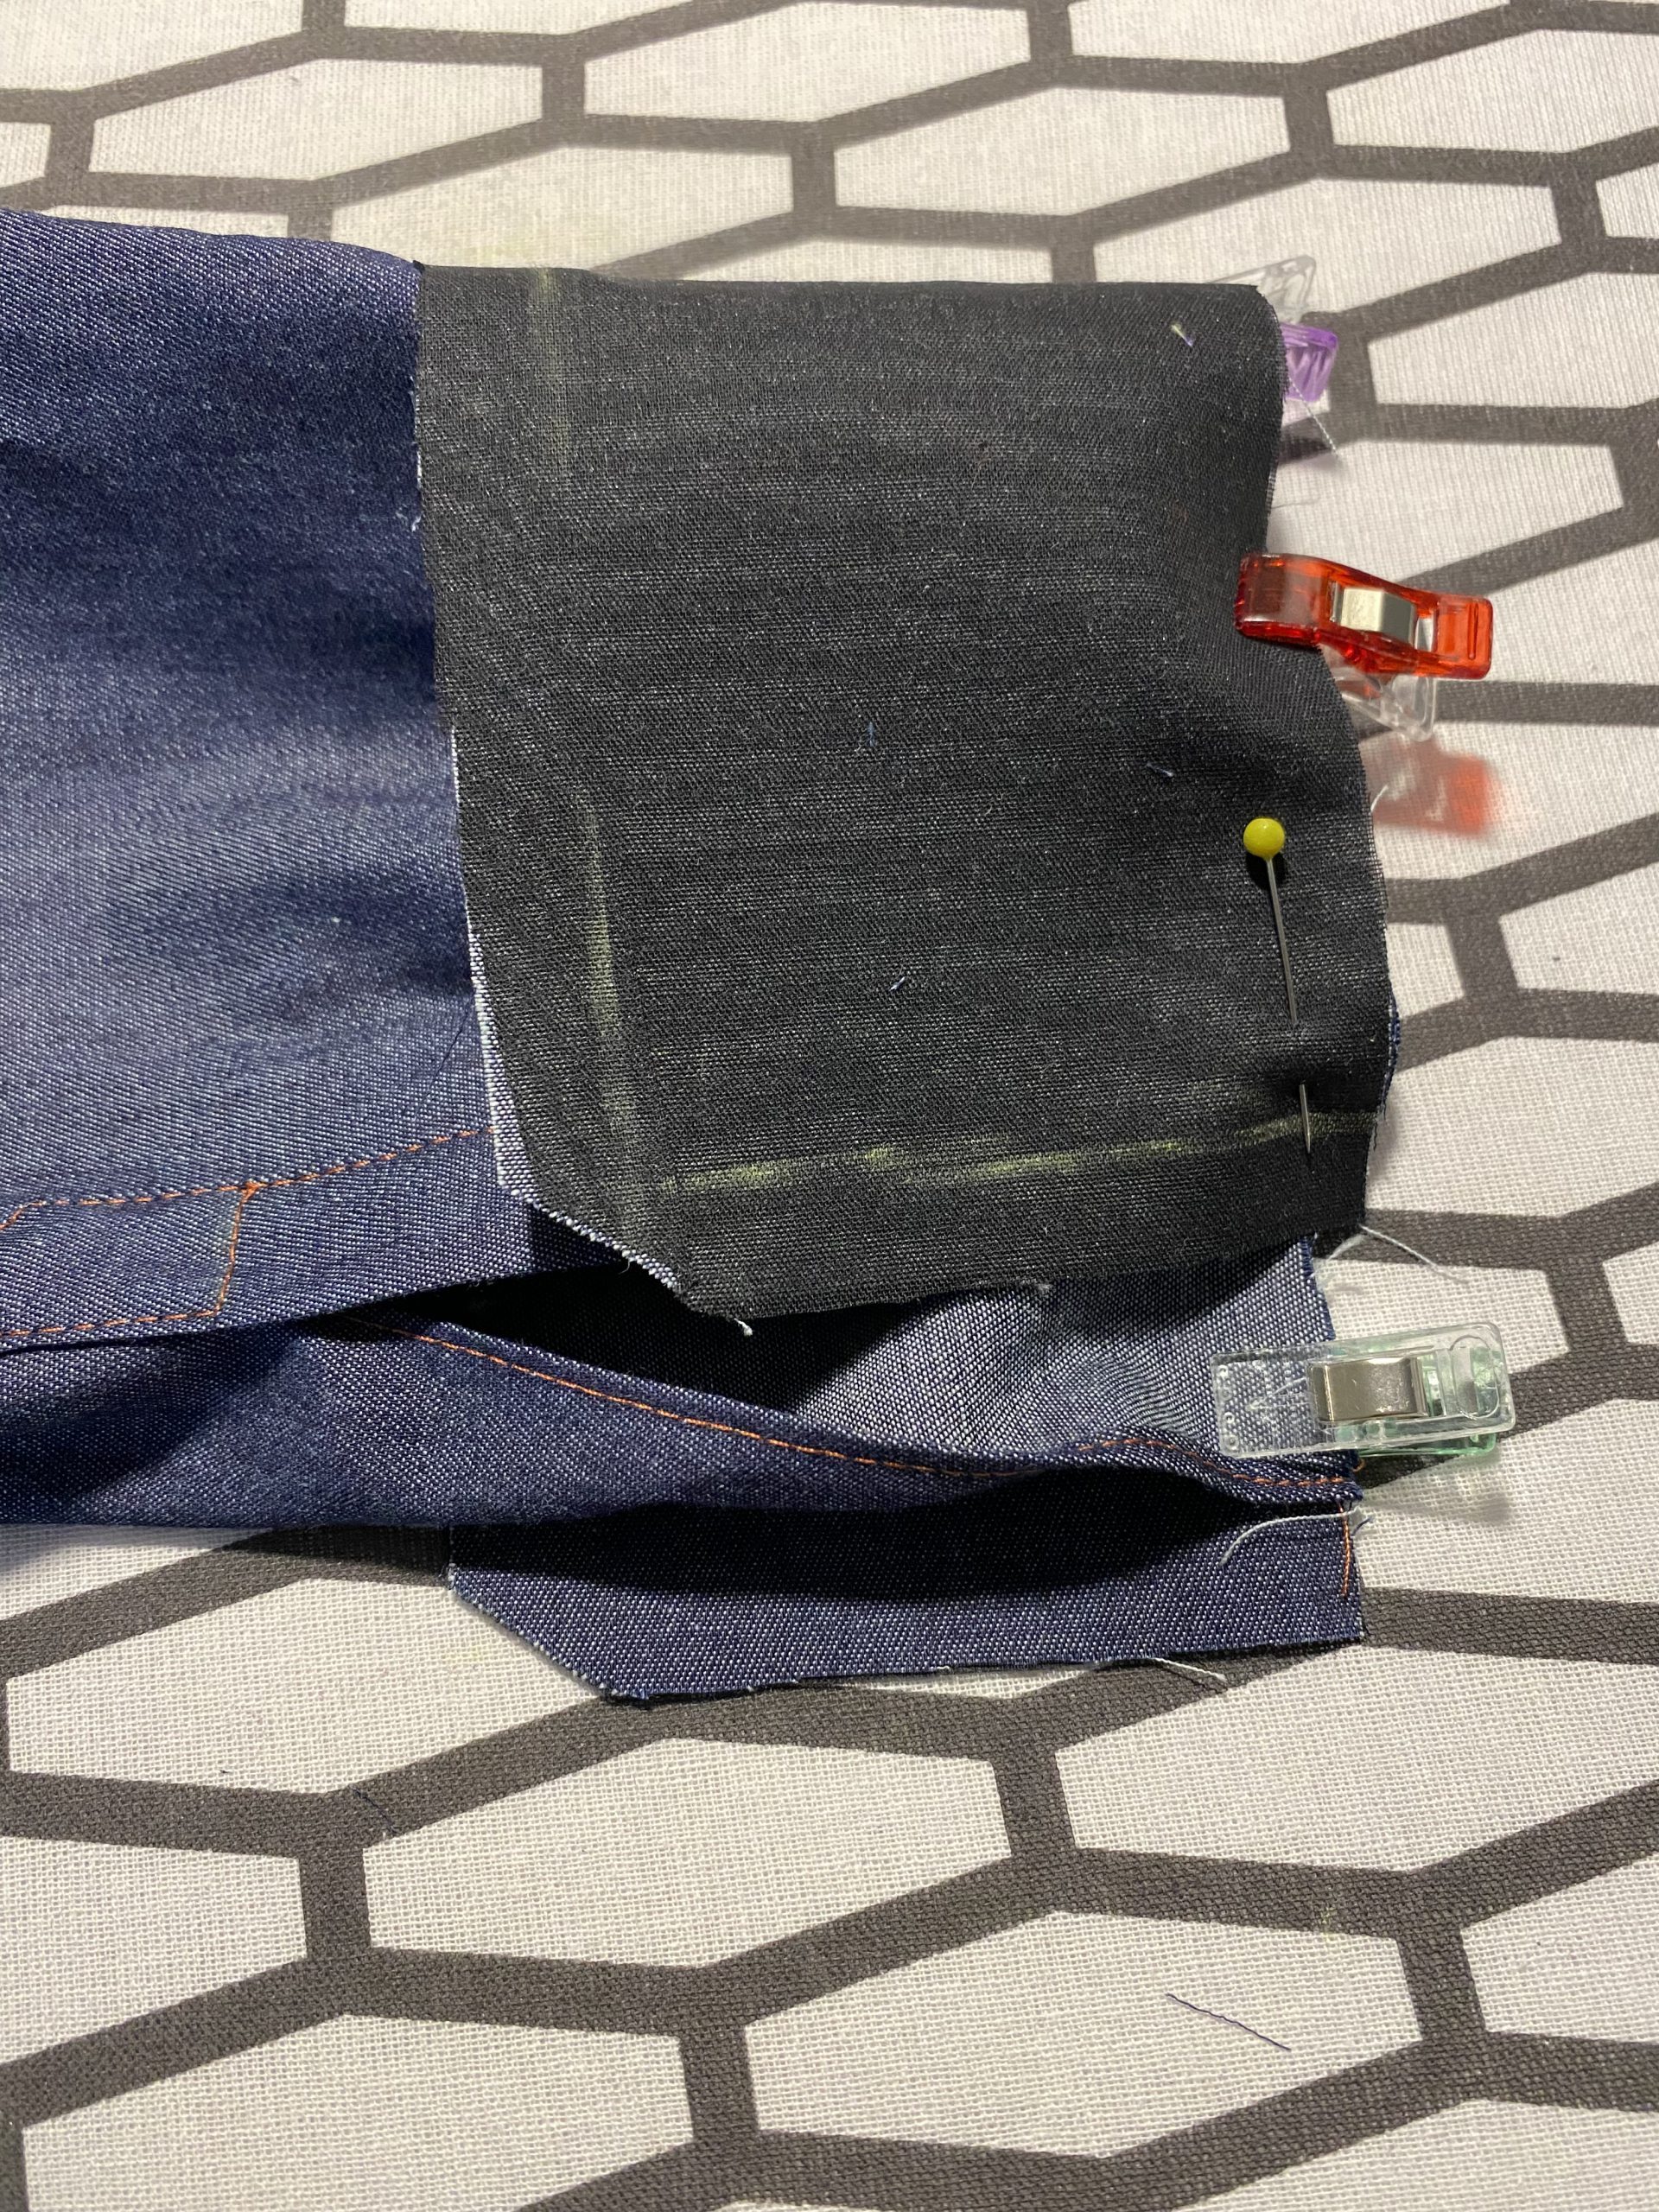
You can now place the triangular trim piece. First iron the seam allowances all around and pin the triangle in place. Then sew it close to the edge.

Step 7: Making the sleeves
Now we’ll make the sleeves for the Cala shirt. First of all, we need to incorporate the slit here.
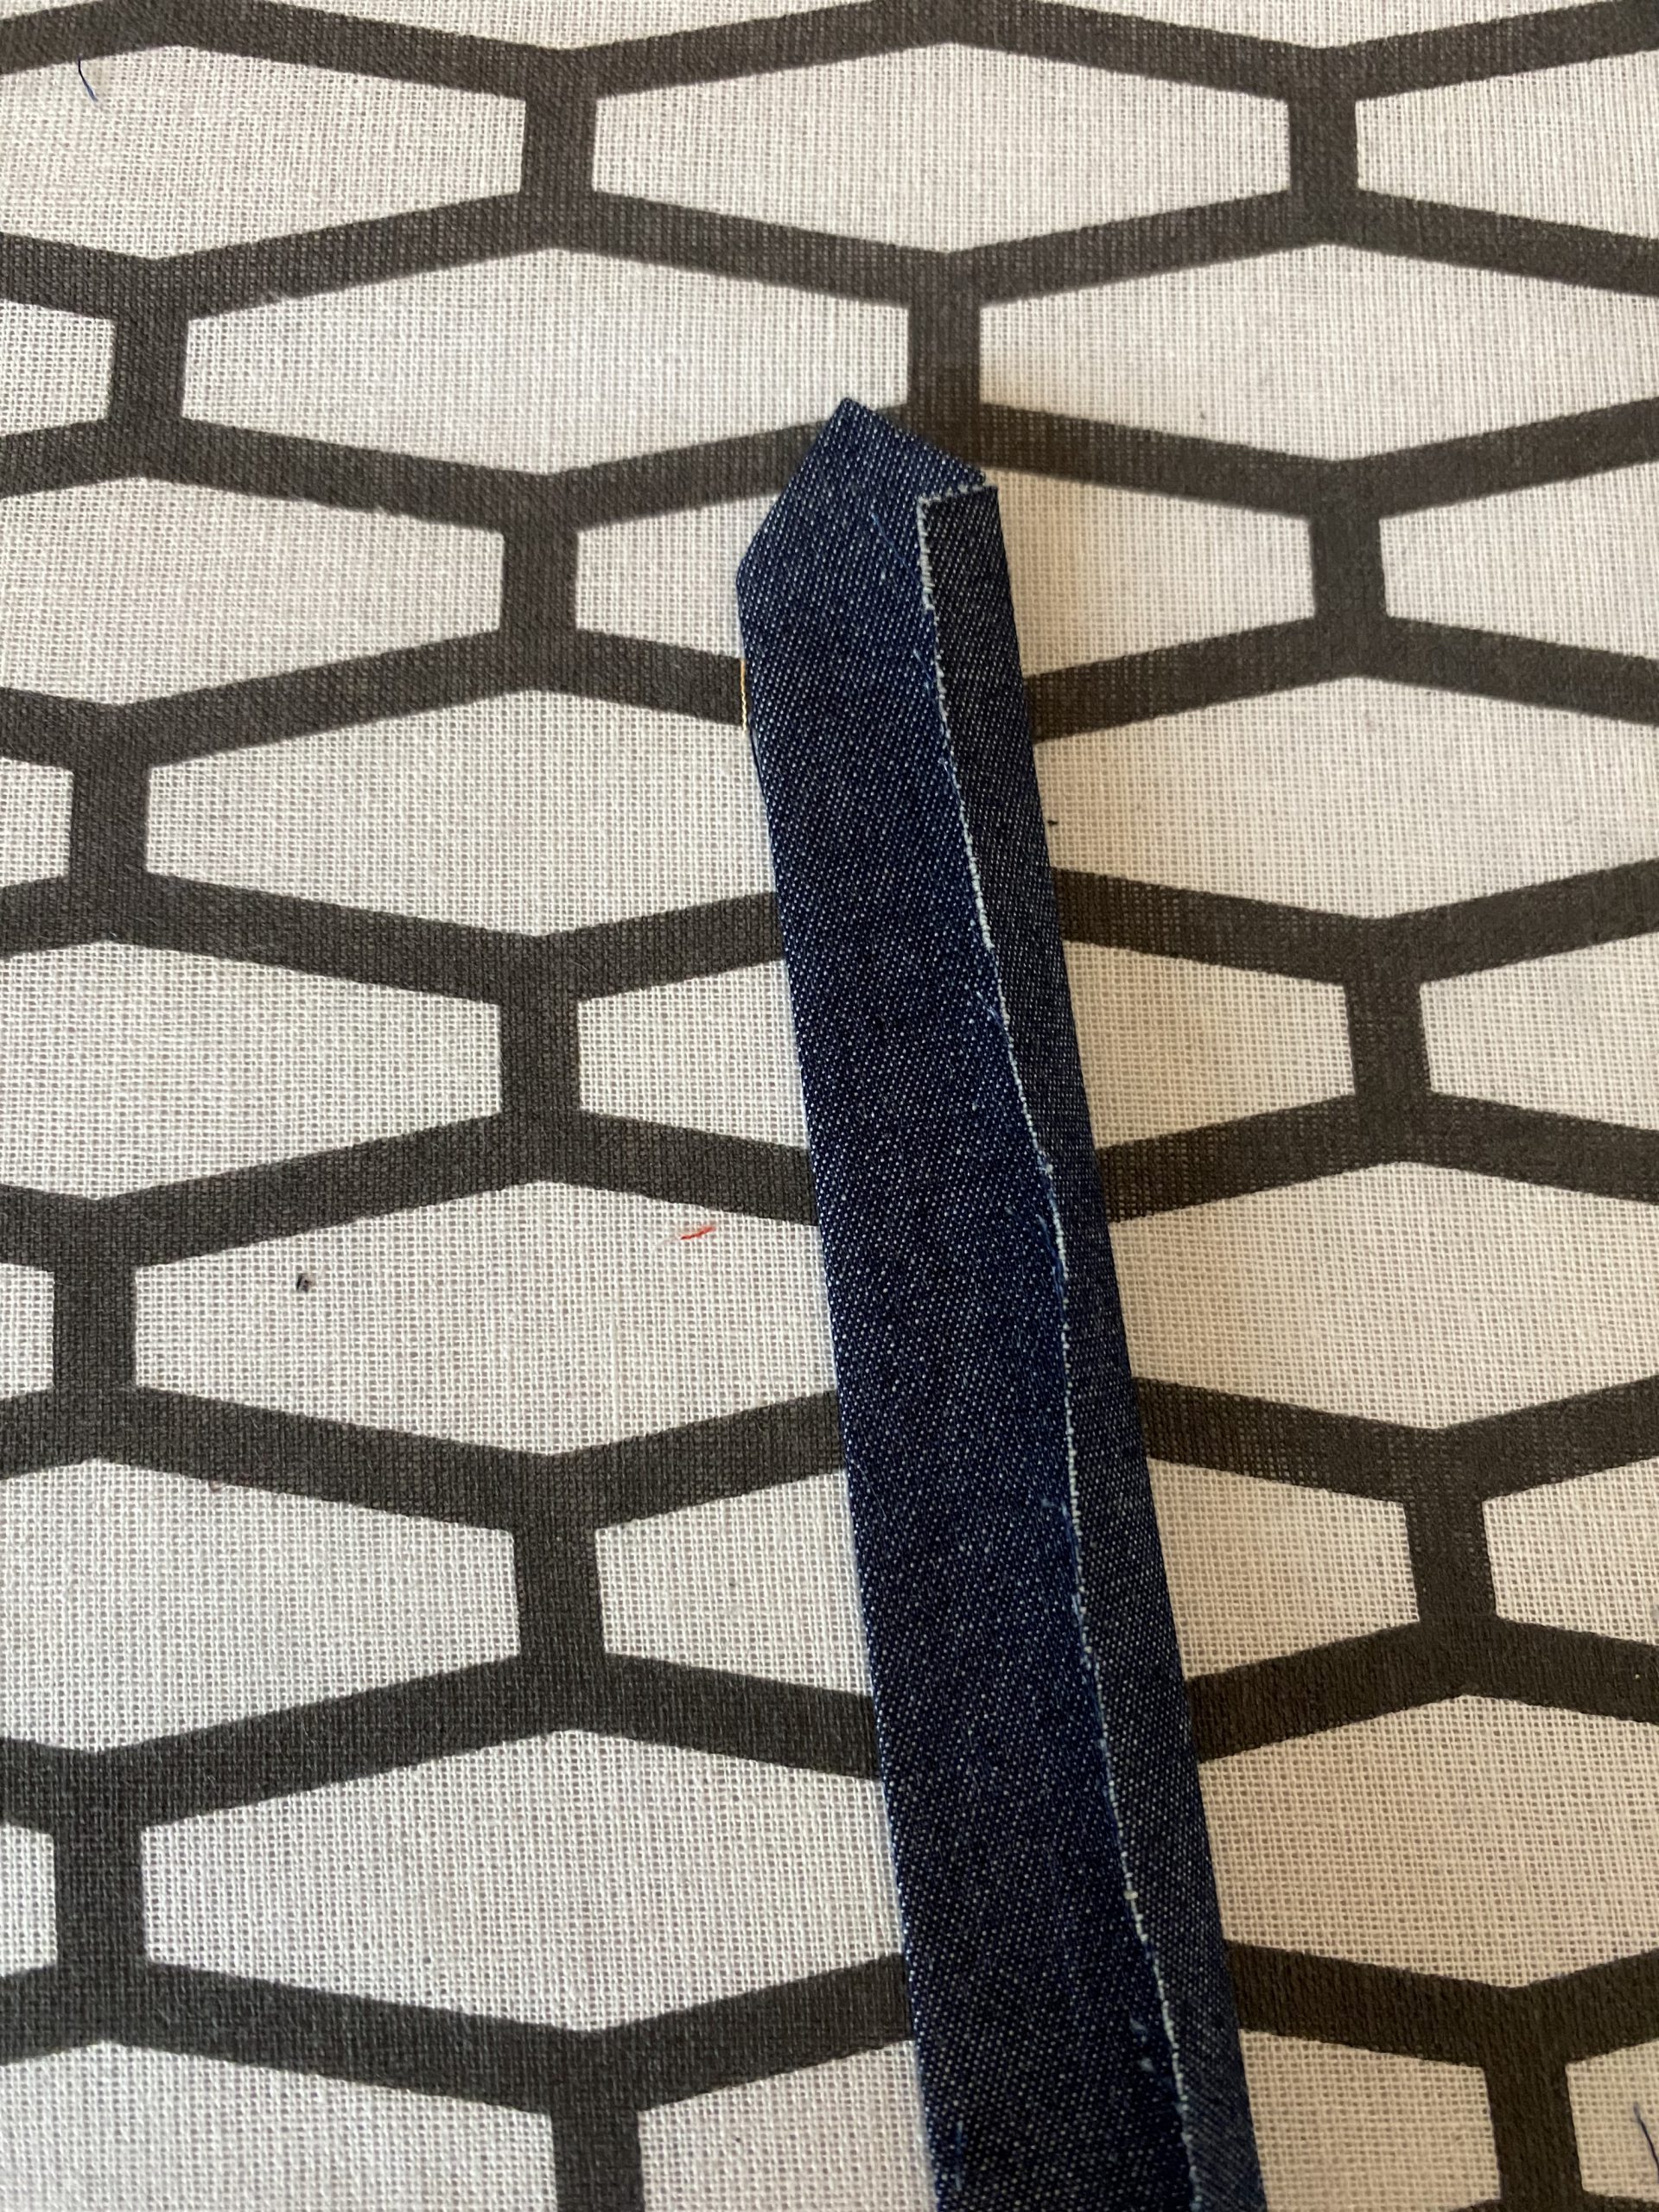
To do this, iron over the seam allowances of the slit piece. Here, a small template in the shape of the finished slit can be very helpful. Then fold the slit in half. The seam allowance of 1 cm is folded around the open edge and ironed.
On the sleeve itself, iron a narrow fold down edge (about 3 mm) twice; this edge runs out to the top. Topstitch the folded edge close to the edge.
Place the prepared sleeve slit at the now still open edge. Place the folded seam allowance of the slit behind the open edge so that both edges (the slit on the sleeve and the edge of the folded seam allowance) meet exactly.
Then fold the pre-ironed slit part again and pin everything well. Then sew close along the edge where the slit and sleeve piece join, once up to the point, and about 2 cm below the point again horizontally back to the seam at the edge, as shown in the picture below.

If you like, you can now sew a buttonhole in the center of the slit. I decided to leave this out, though, because I still had to shorten the sleeves quite a bit so that it would fit properly.
Finally, sew the sleeves together again with a flat-felled seam.
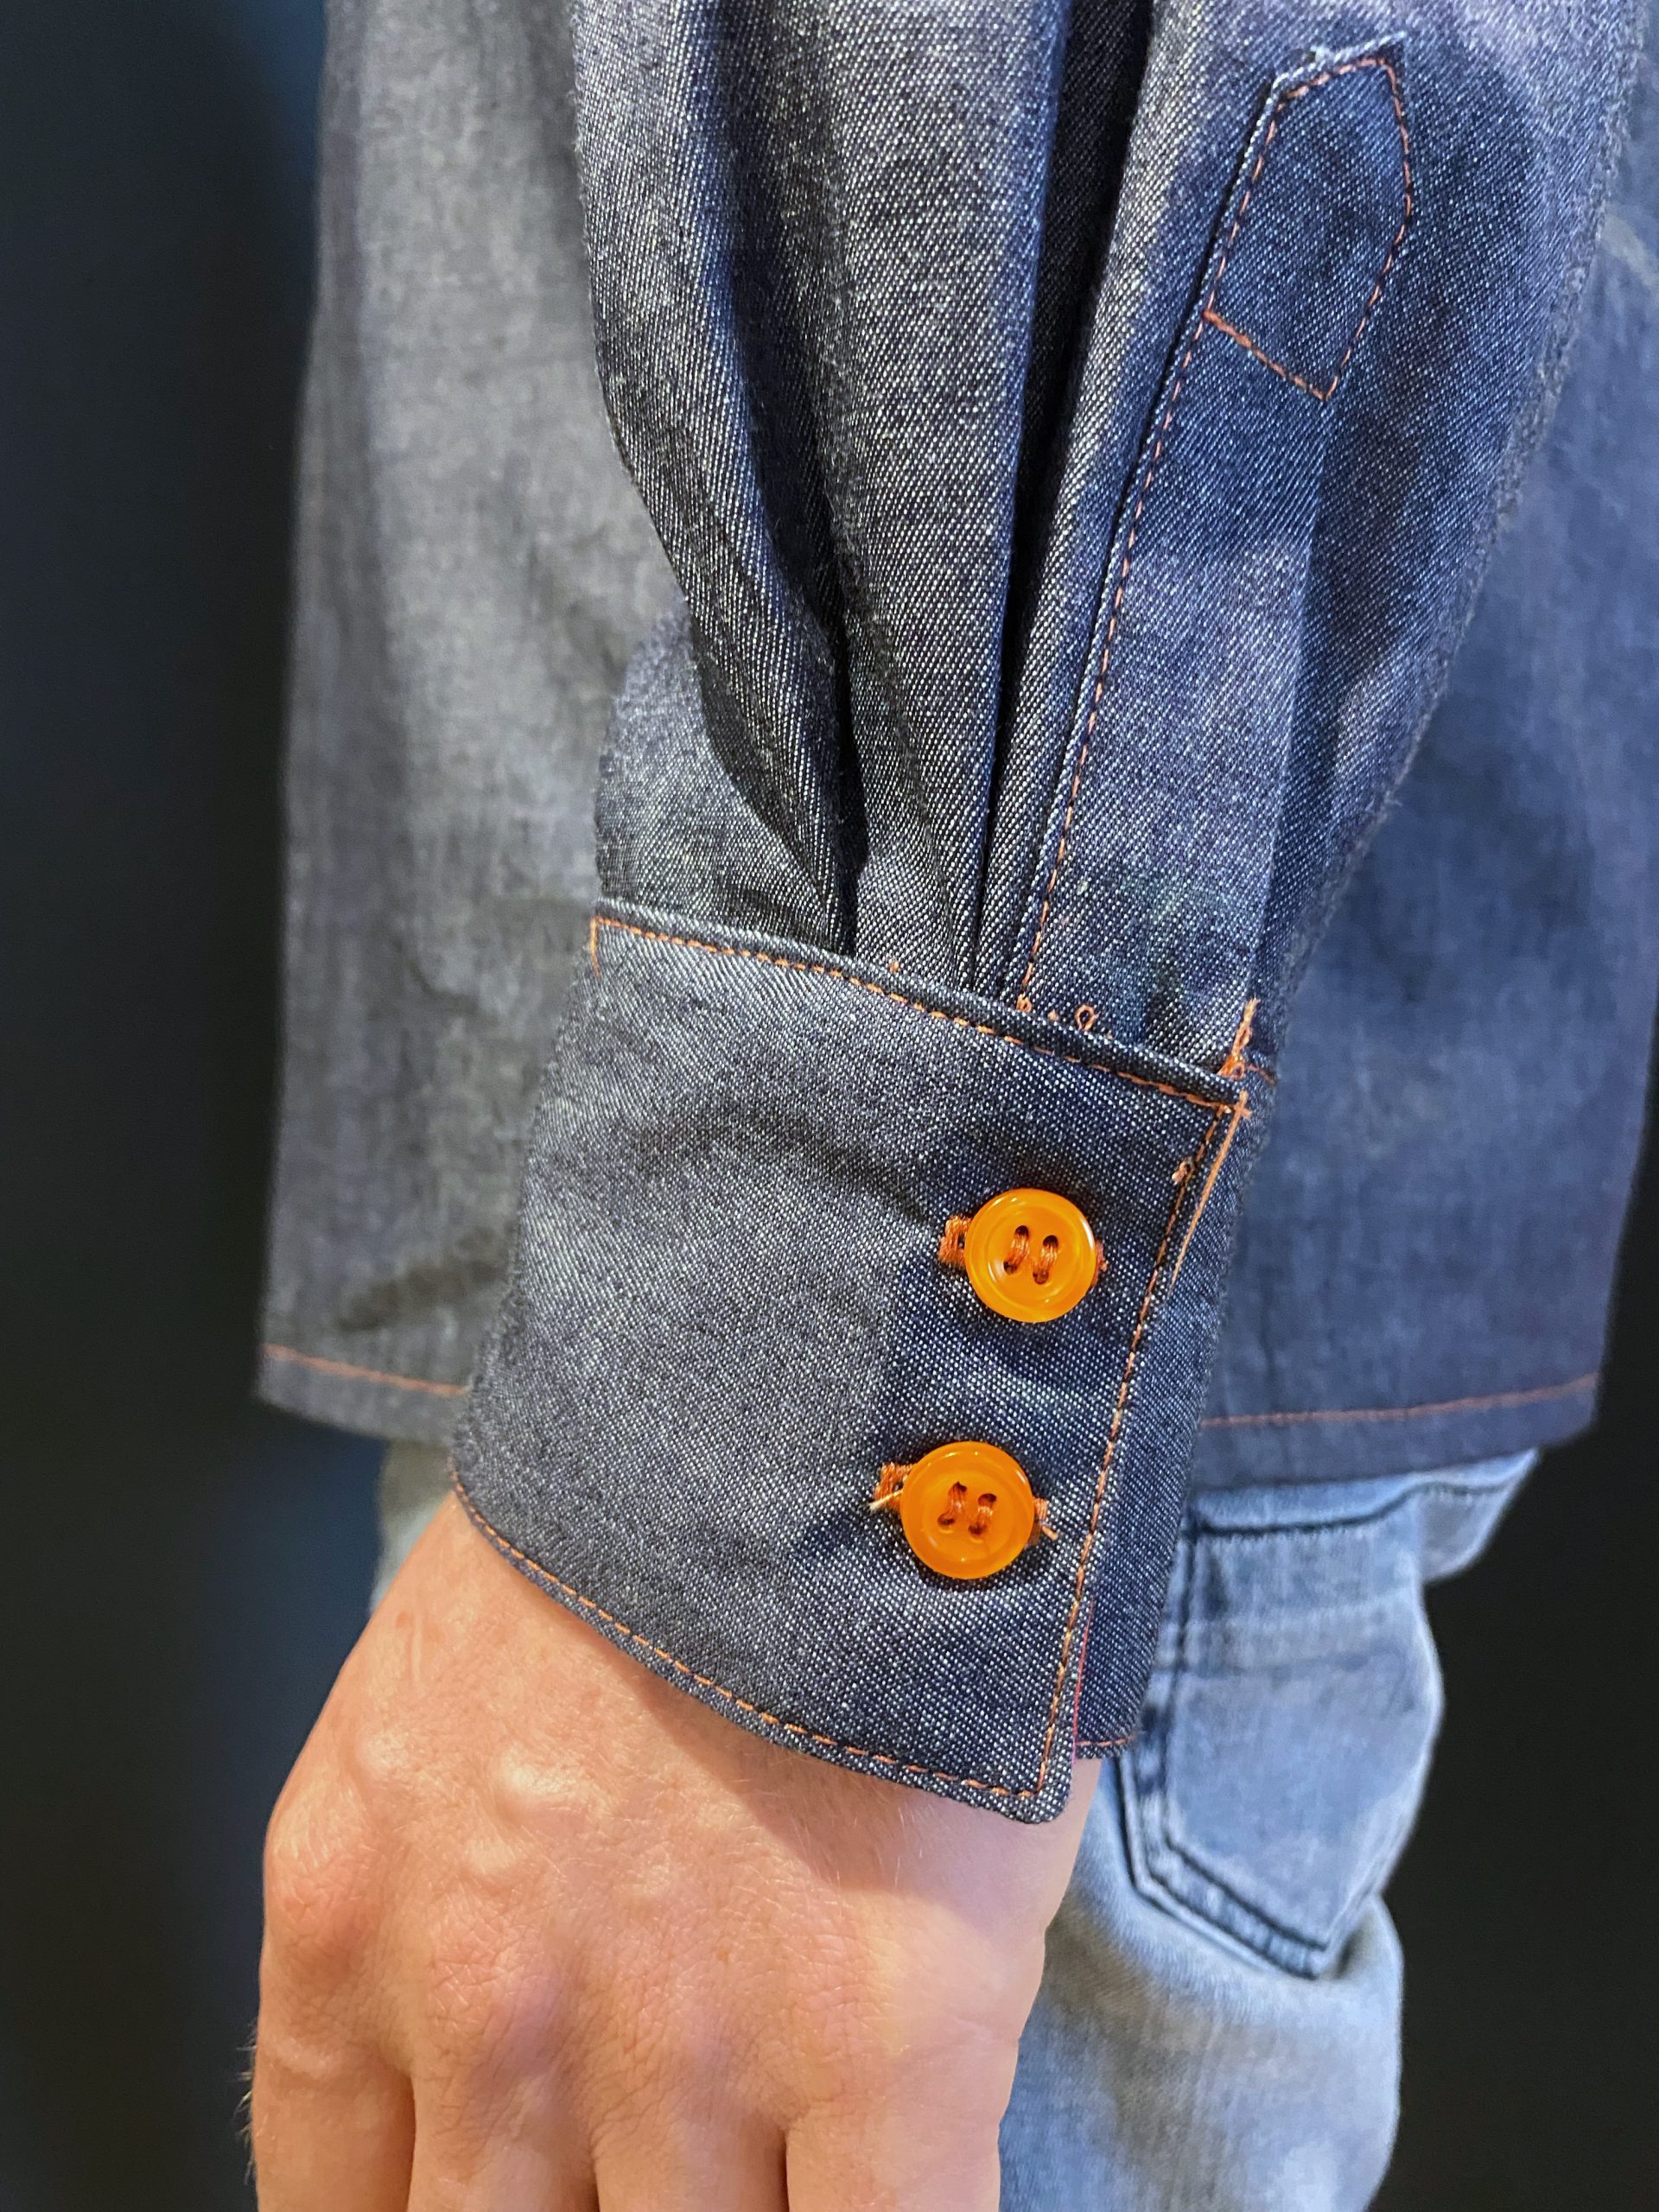
Step 8: Sewing on the cuffs
First, lay out the folds as shown in the pattern. Fix the folds with a few stitches.
Then pin the outer cuff right sides together. In each case, the seam allowance of 1 cm overlaps at the beginning and end. Sew the cuffs on. Then sew the inner cuff to the outer cuff, right sides together, along the long and two short edges. Turn the cuff, fold the still open edge of the inner cuff 1 cm to the wrong side and pin everything securely. Topstitch the cuff with decorative thread from the outside. Finally, sew in one or two buttonholes, depending on your taste and button size.
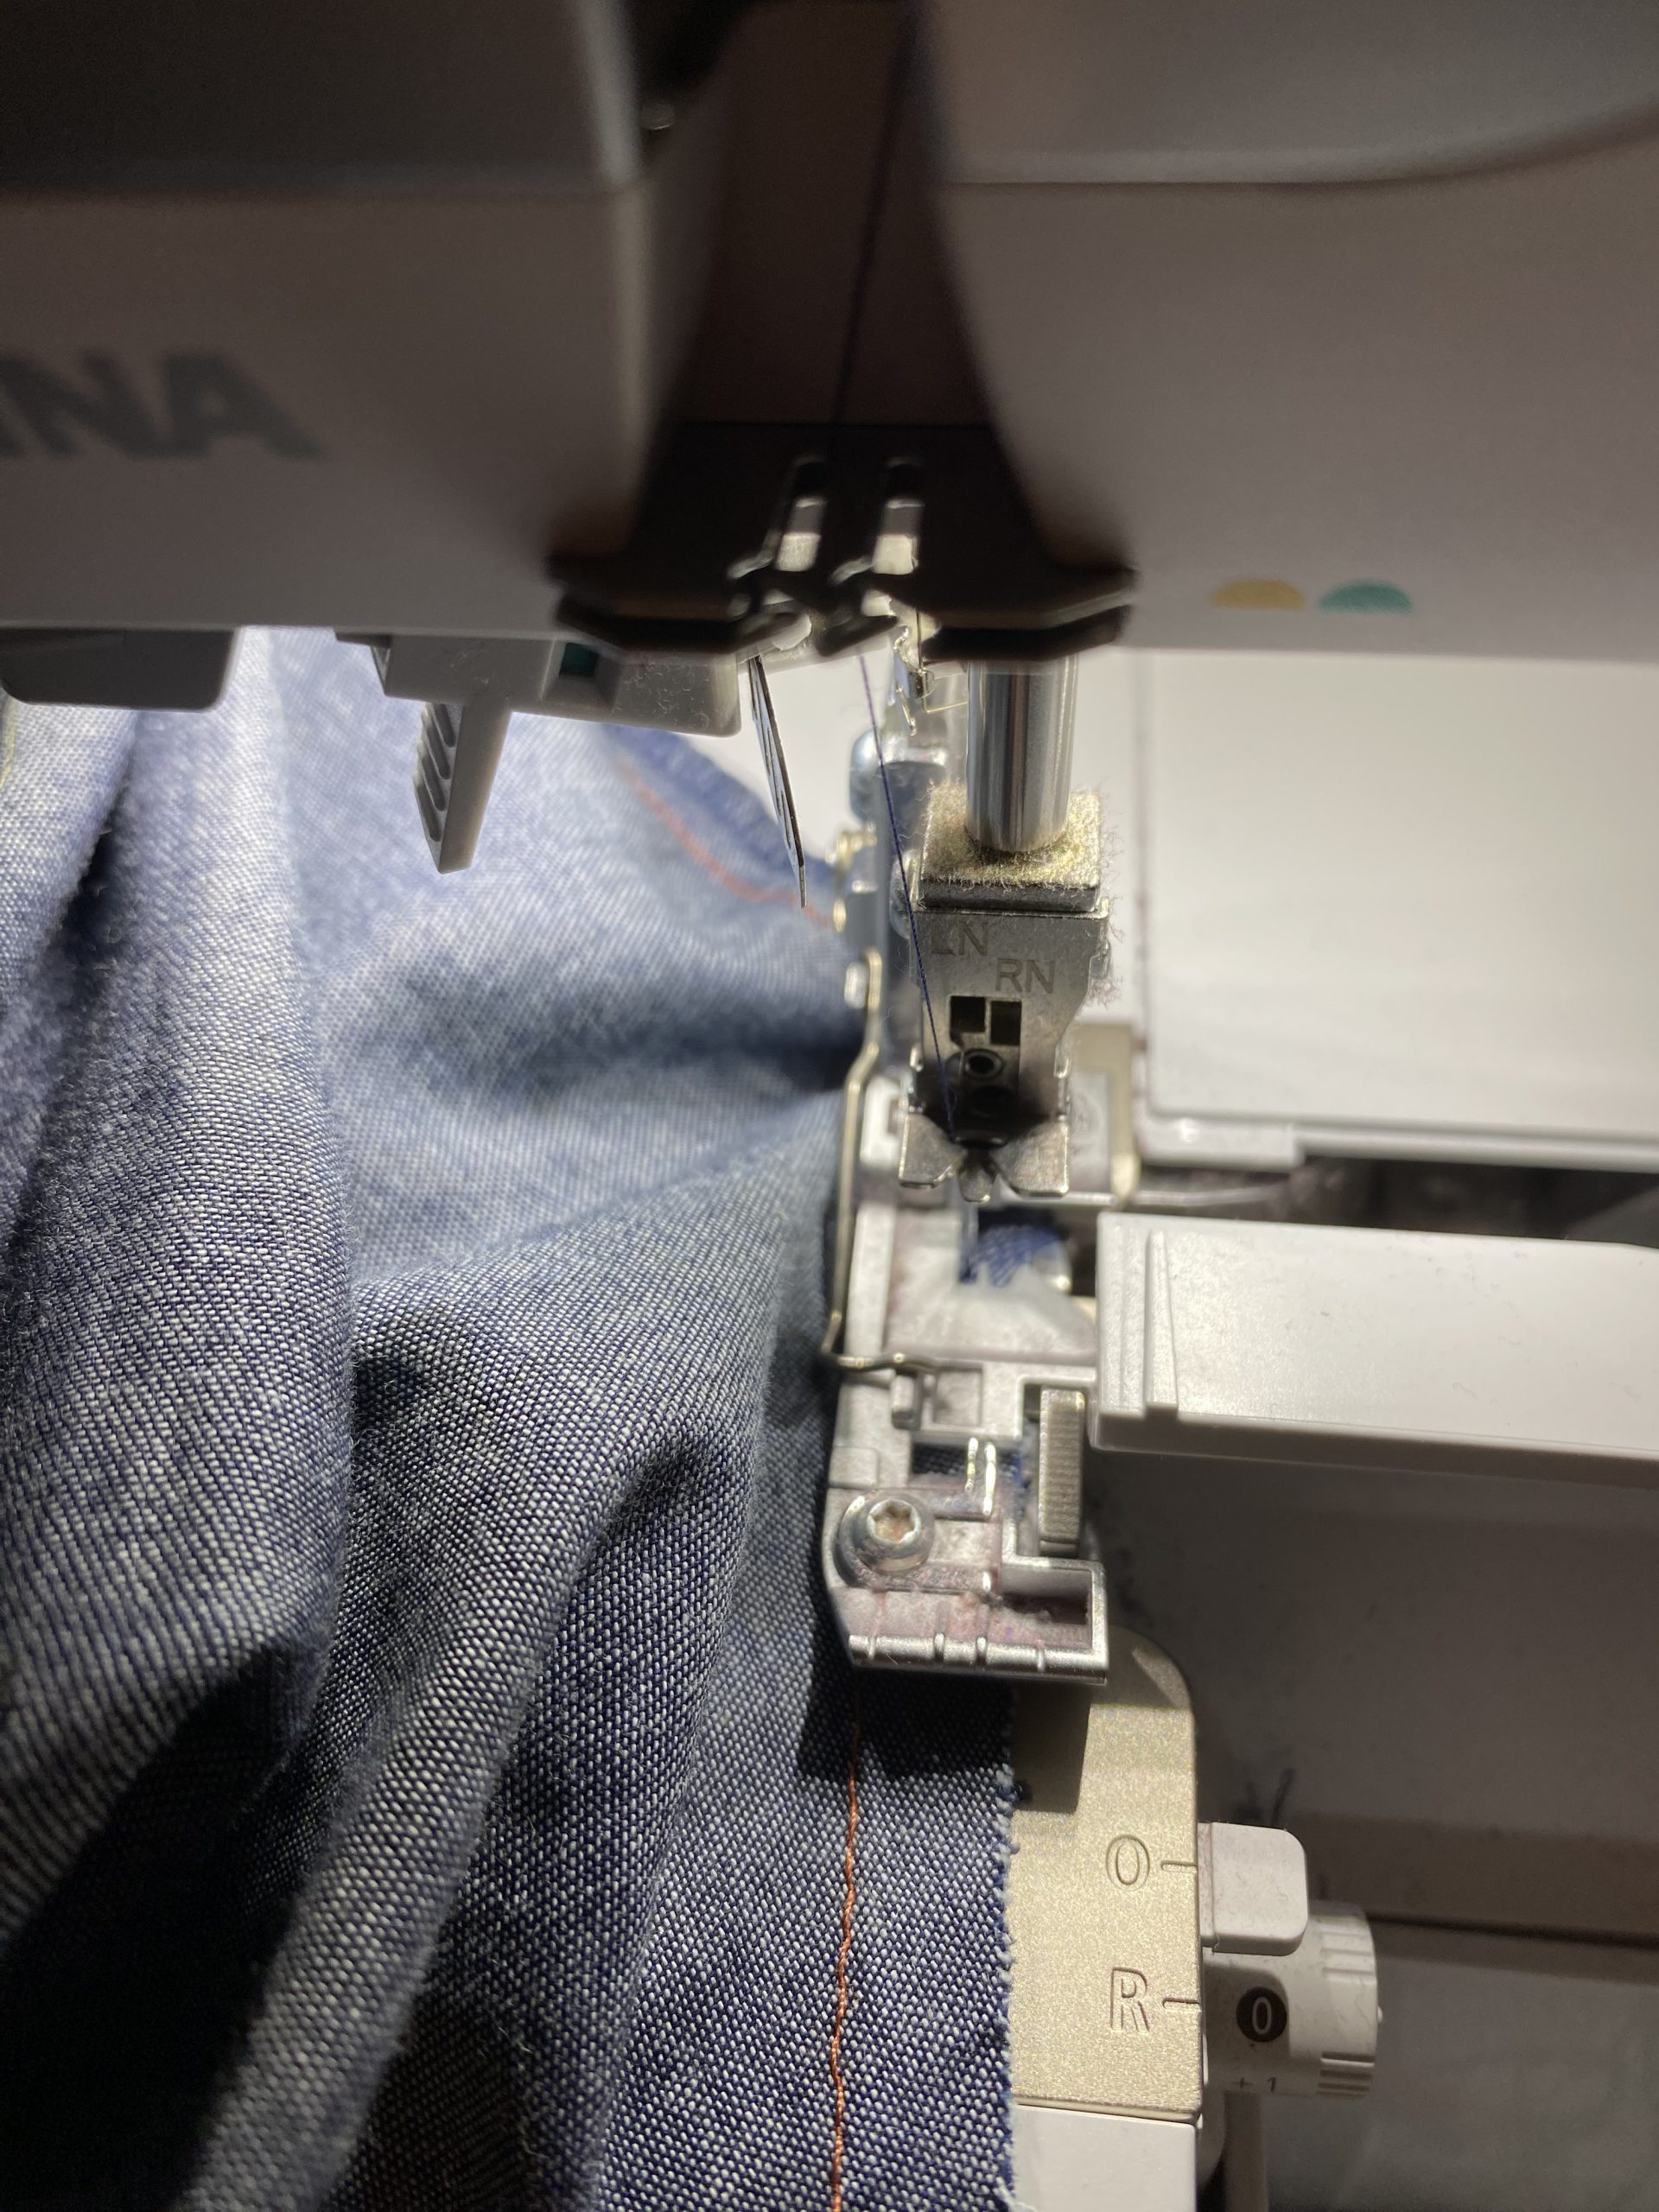
The sleeves are now done and ready to sew on. Sew the sleeves right sides together and finish the seam inside with the overlocker.
Step 9: Sewing on the collar
For the collar of the Cala men’s shirt you take a similar approach to sewing the cuffs. Mark the seam allowances on the front of the collar pieces to above the curve and pin the outer collar first, right sides together. Here, the seam allowance of 1 cm overlaps at the beginning and end.
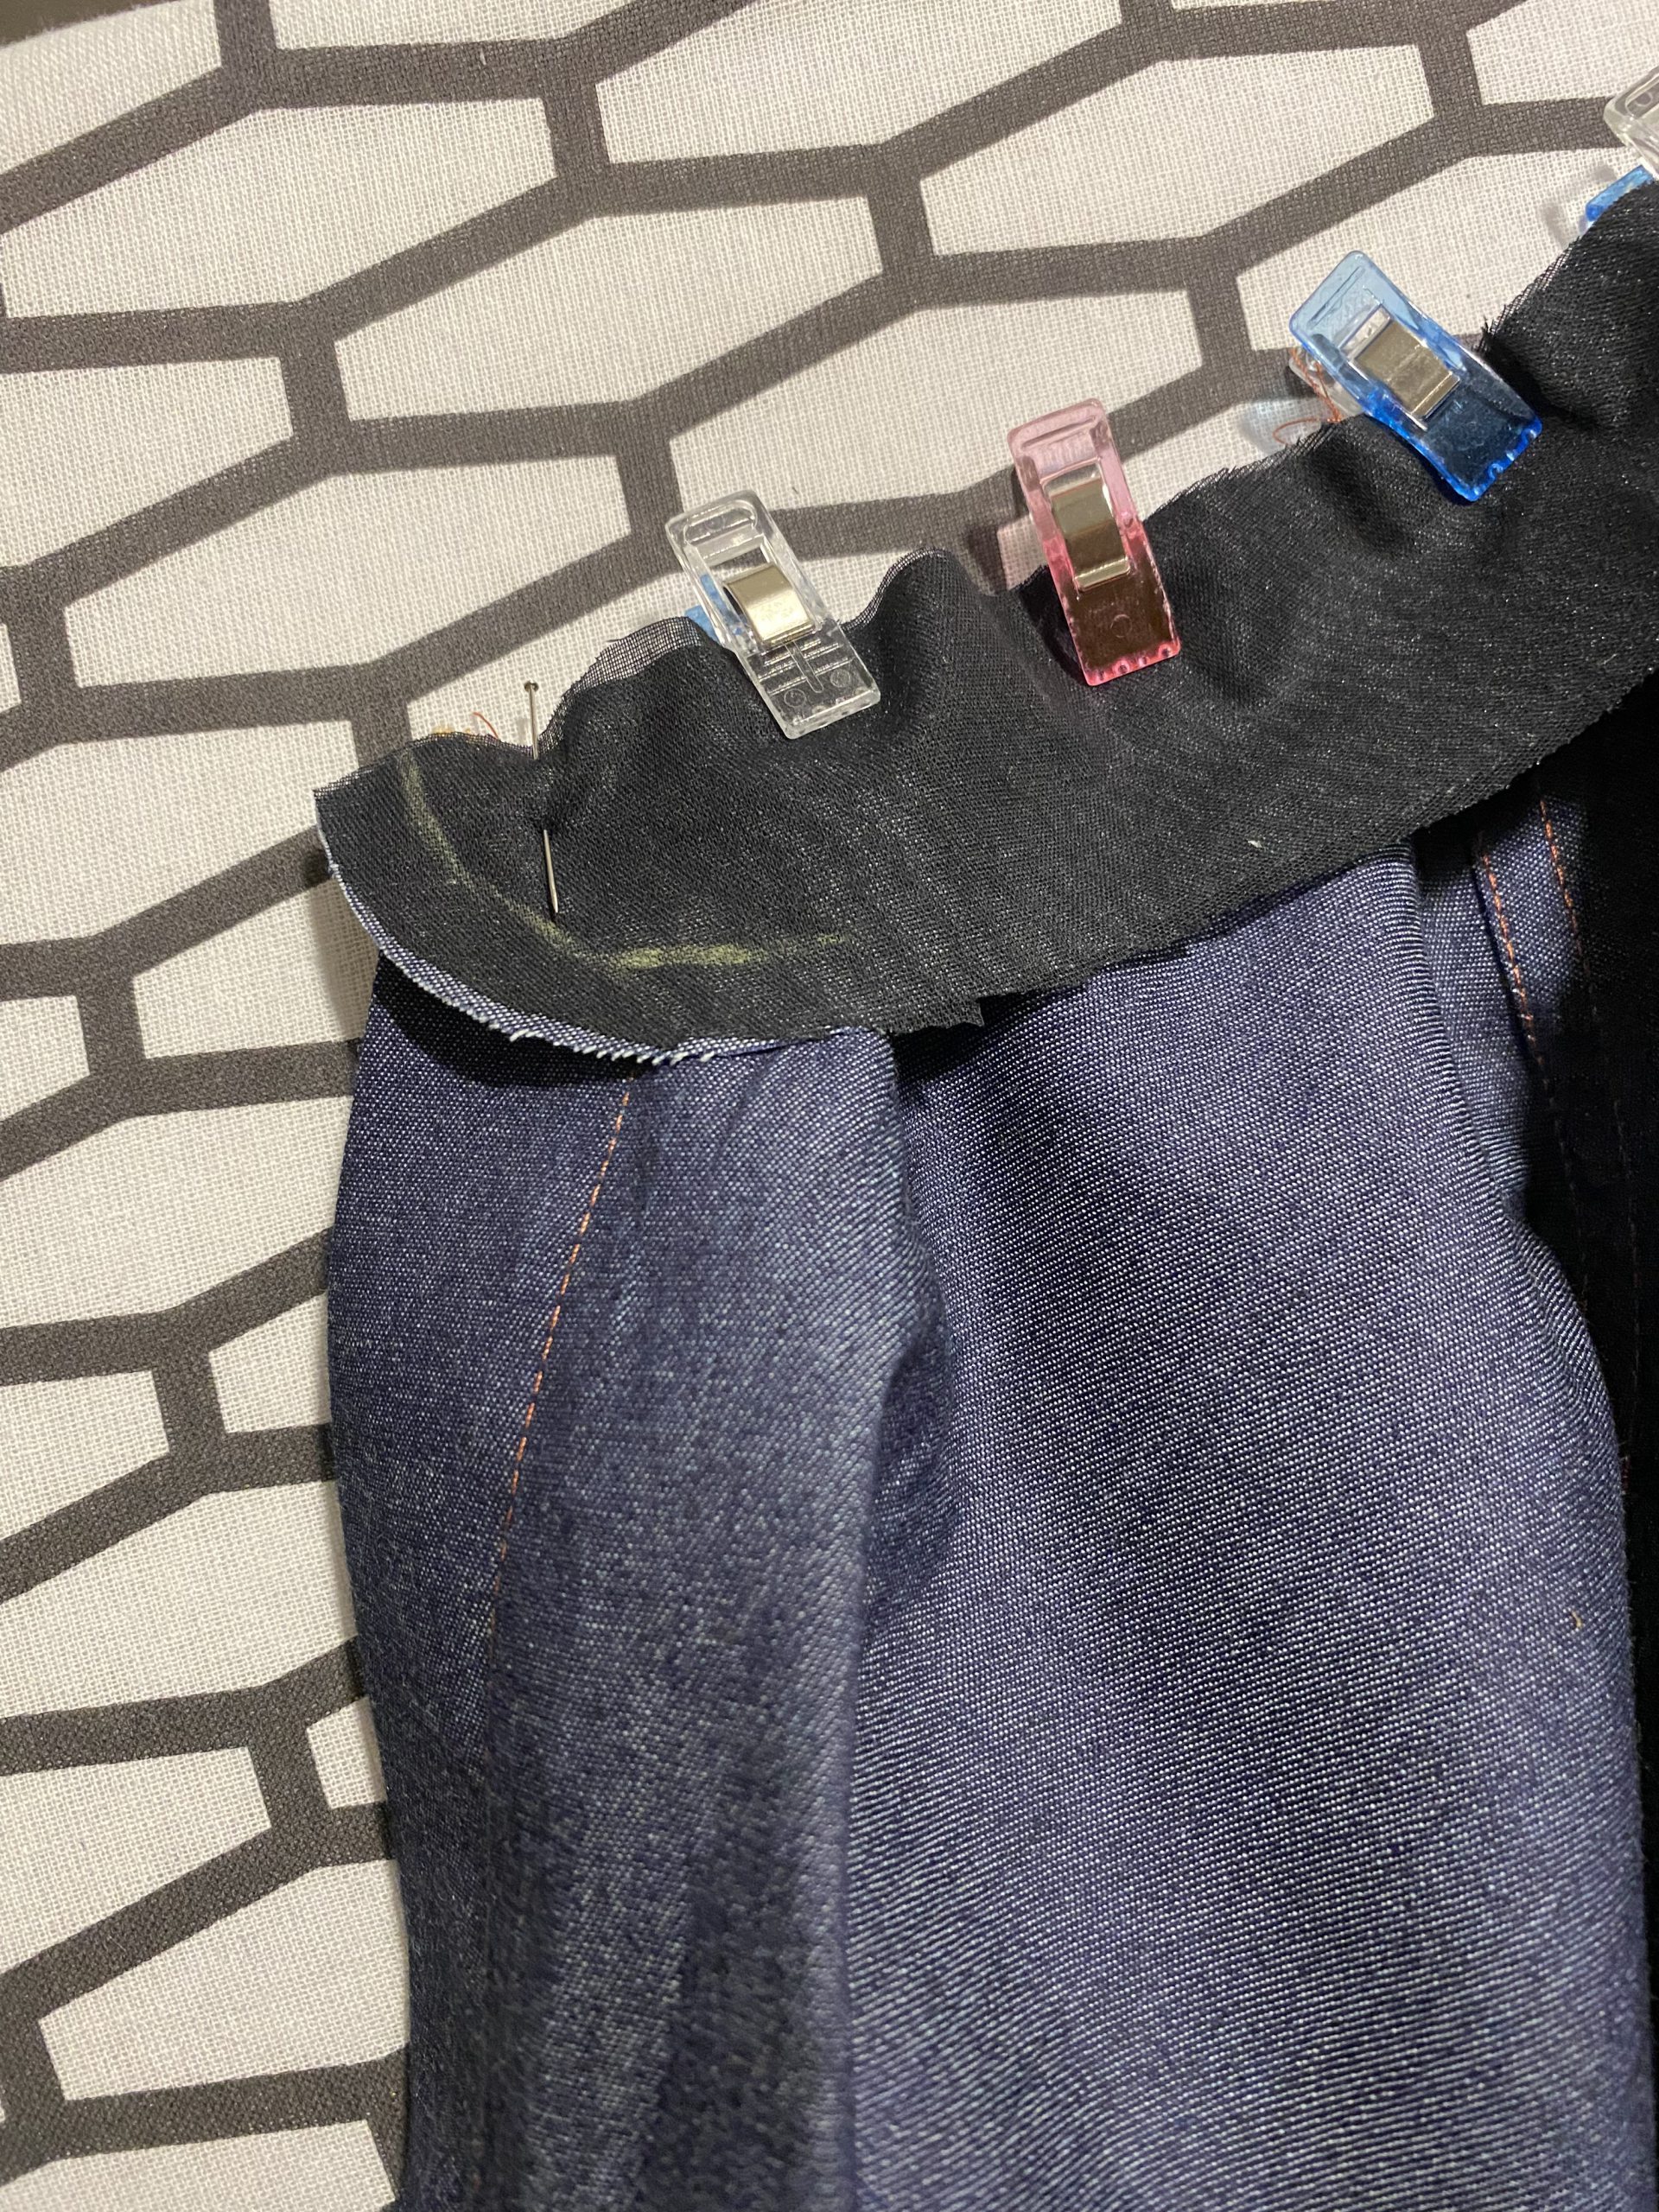
After sewing, pin the inner collar to the outer collar, right sides together. Here it is a good idea to press the seam allowance of the lower edge on the inner collar in advance.
Sew the inner collar in place, turn the collar inside out, and pin the turned seam allowance inside. Then topstitch once around the collar close to the edge, fixing the seam allowance inside.
Step 10: Sewing the hems
Your Cala men’s shirt is now as good as finished. Fold the bottom edge over twice and topstitch from the outside to create a neat hem. Now add some details, like the embroidered star.

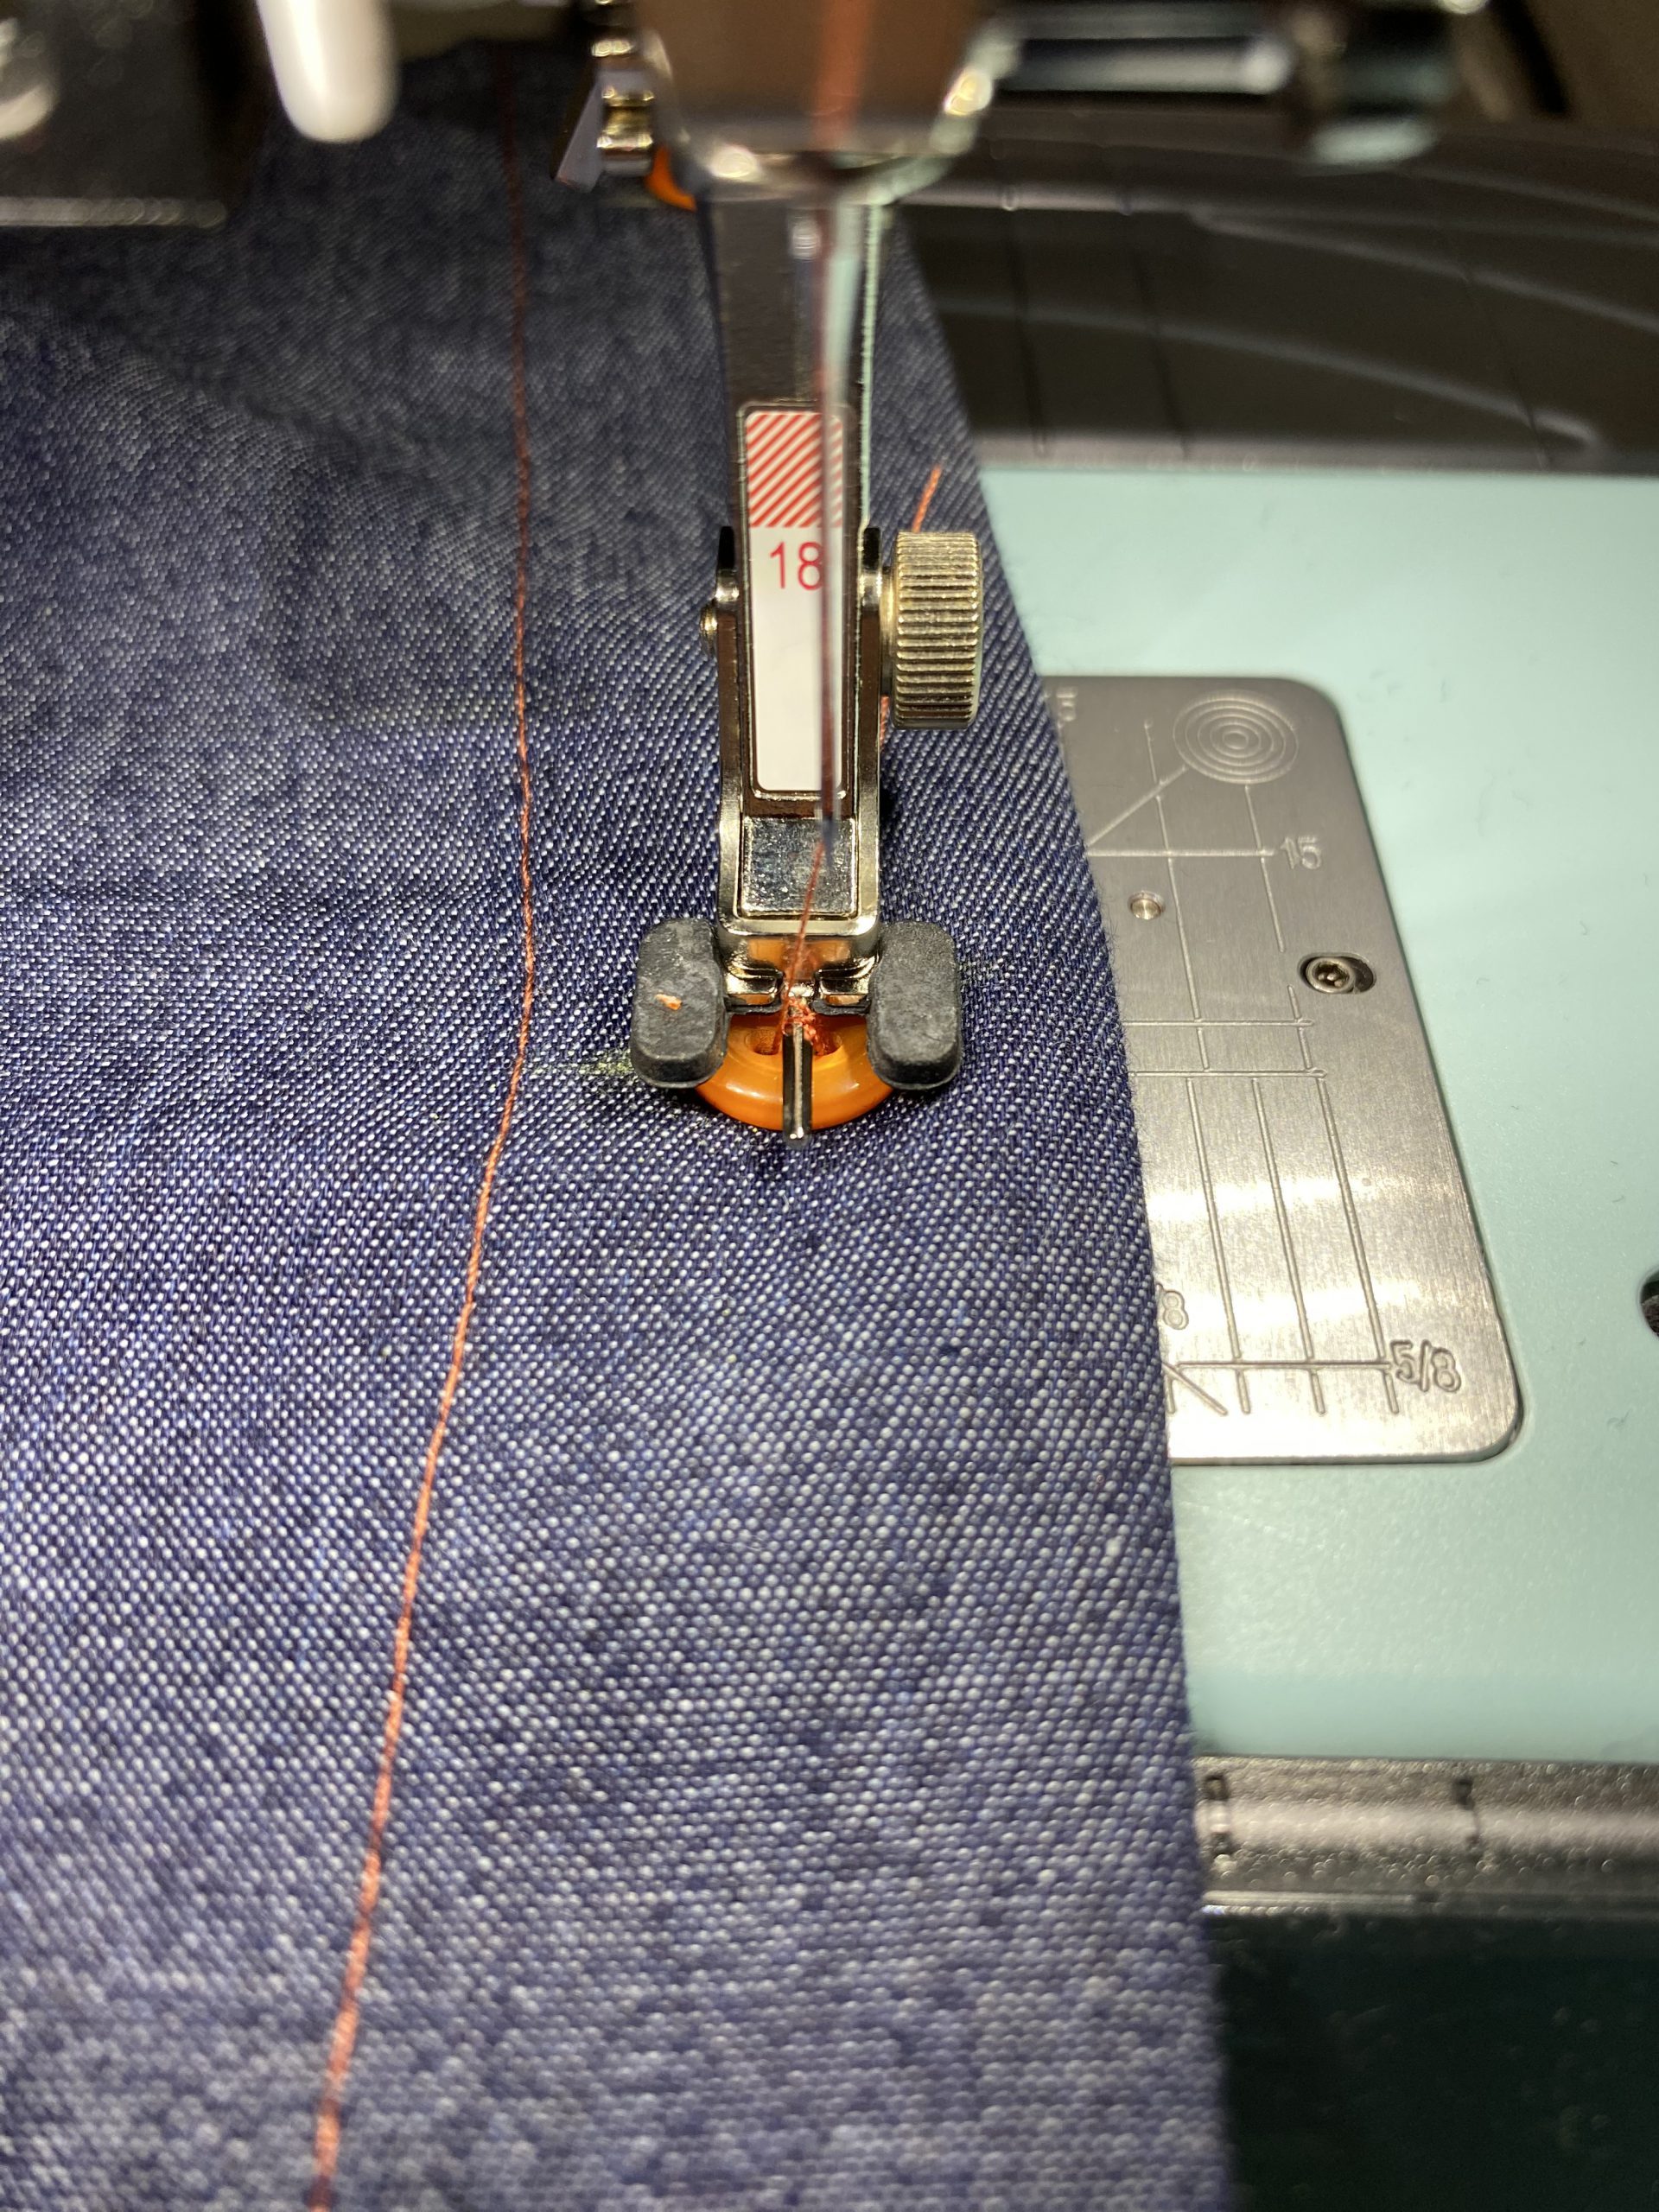
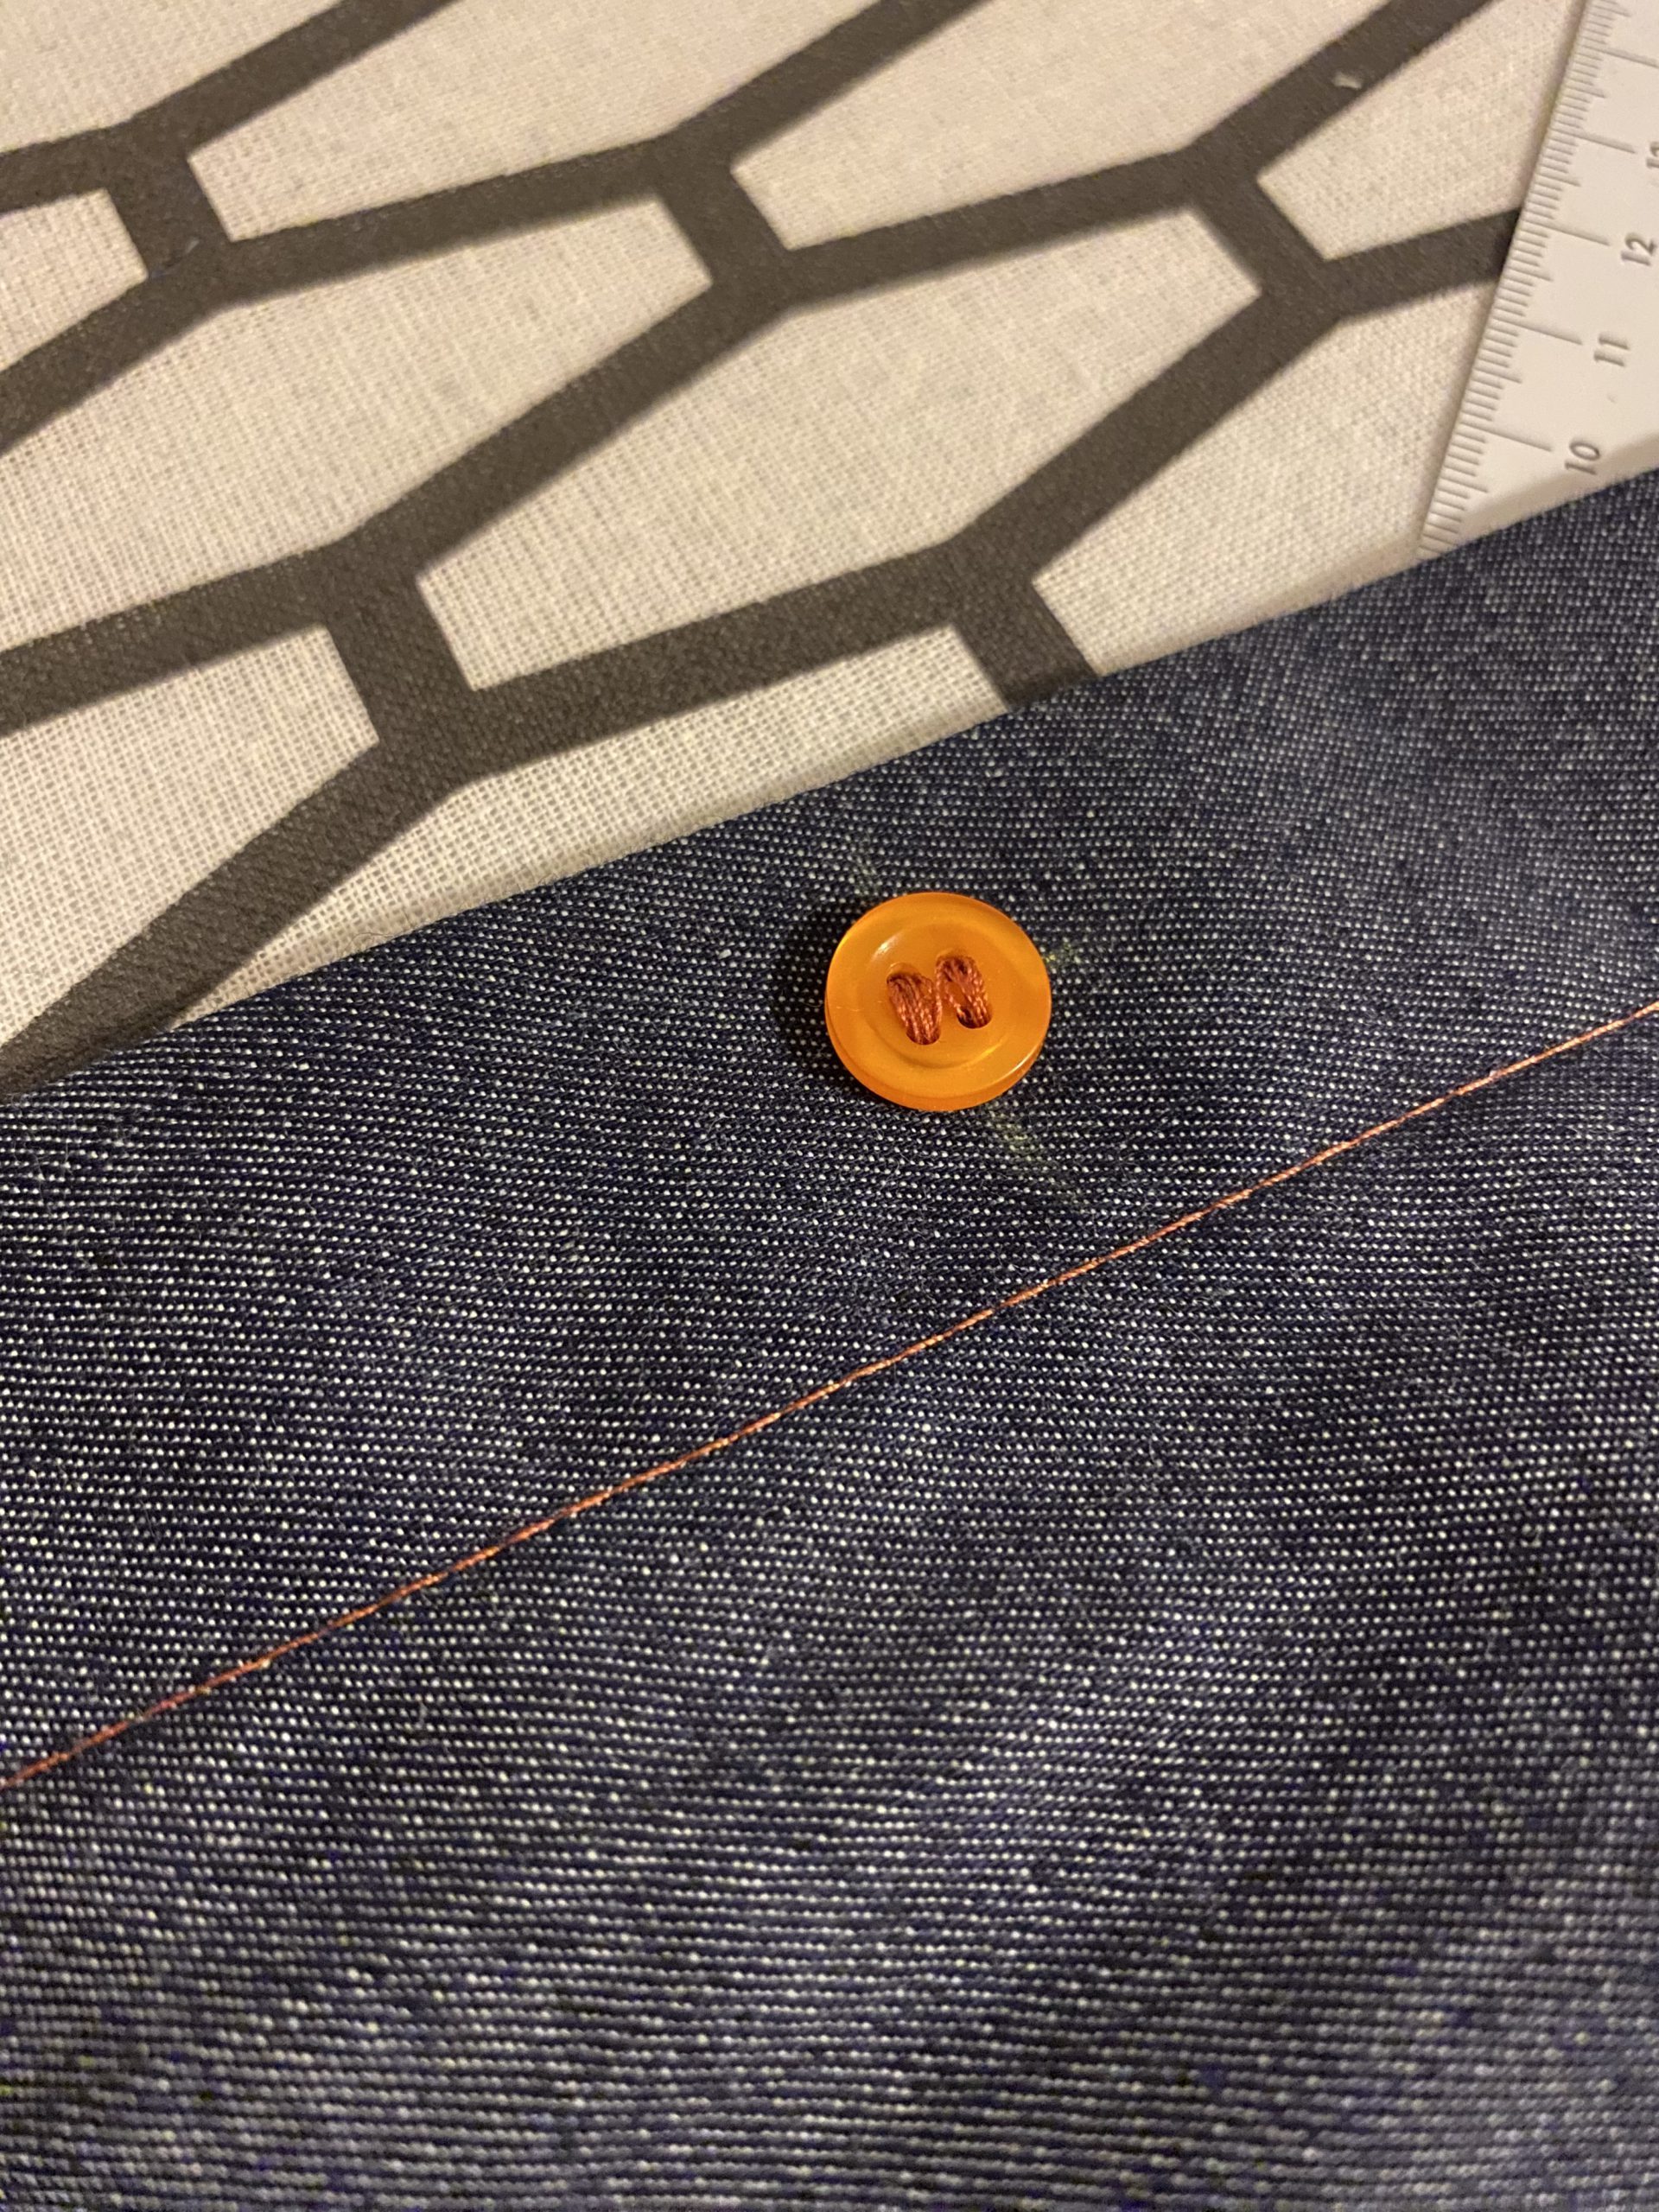
Step 11: Sewing on the buttons
Last but not least, sew the buttons onto the shirt. Mark the positions of the buttons on the shirt and then use the button sew-on foot #18. The buttons will be sewn on in a flash. You can select the right stitch on the menu of the BERNINA 475 QE.
Your Cala men’s shirt is now finished. Happy sewing!


Where do you get this pattern. There is no link?
The link is indeed missing. You can buy the pattern here: https://www.bernina.com/man-shirt-cala
No link for the pattern
Dear Nancy,
You can buy the pattern here: https://www.bernina.com/man-shirt-cala