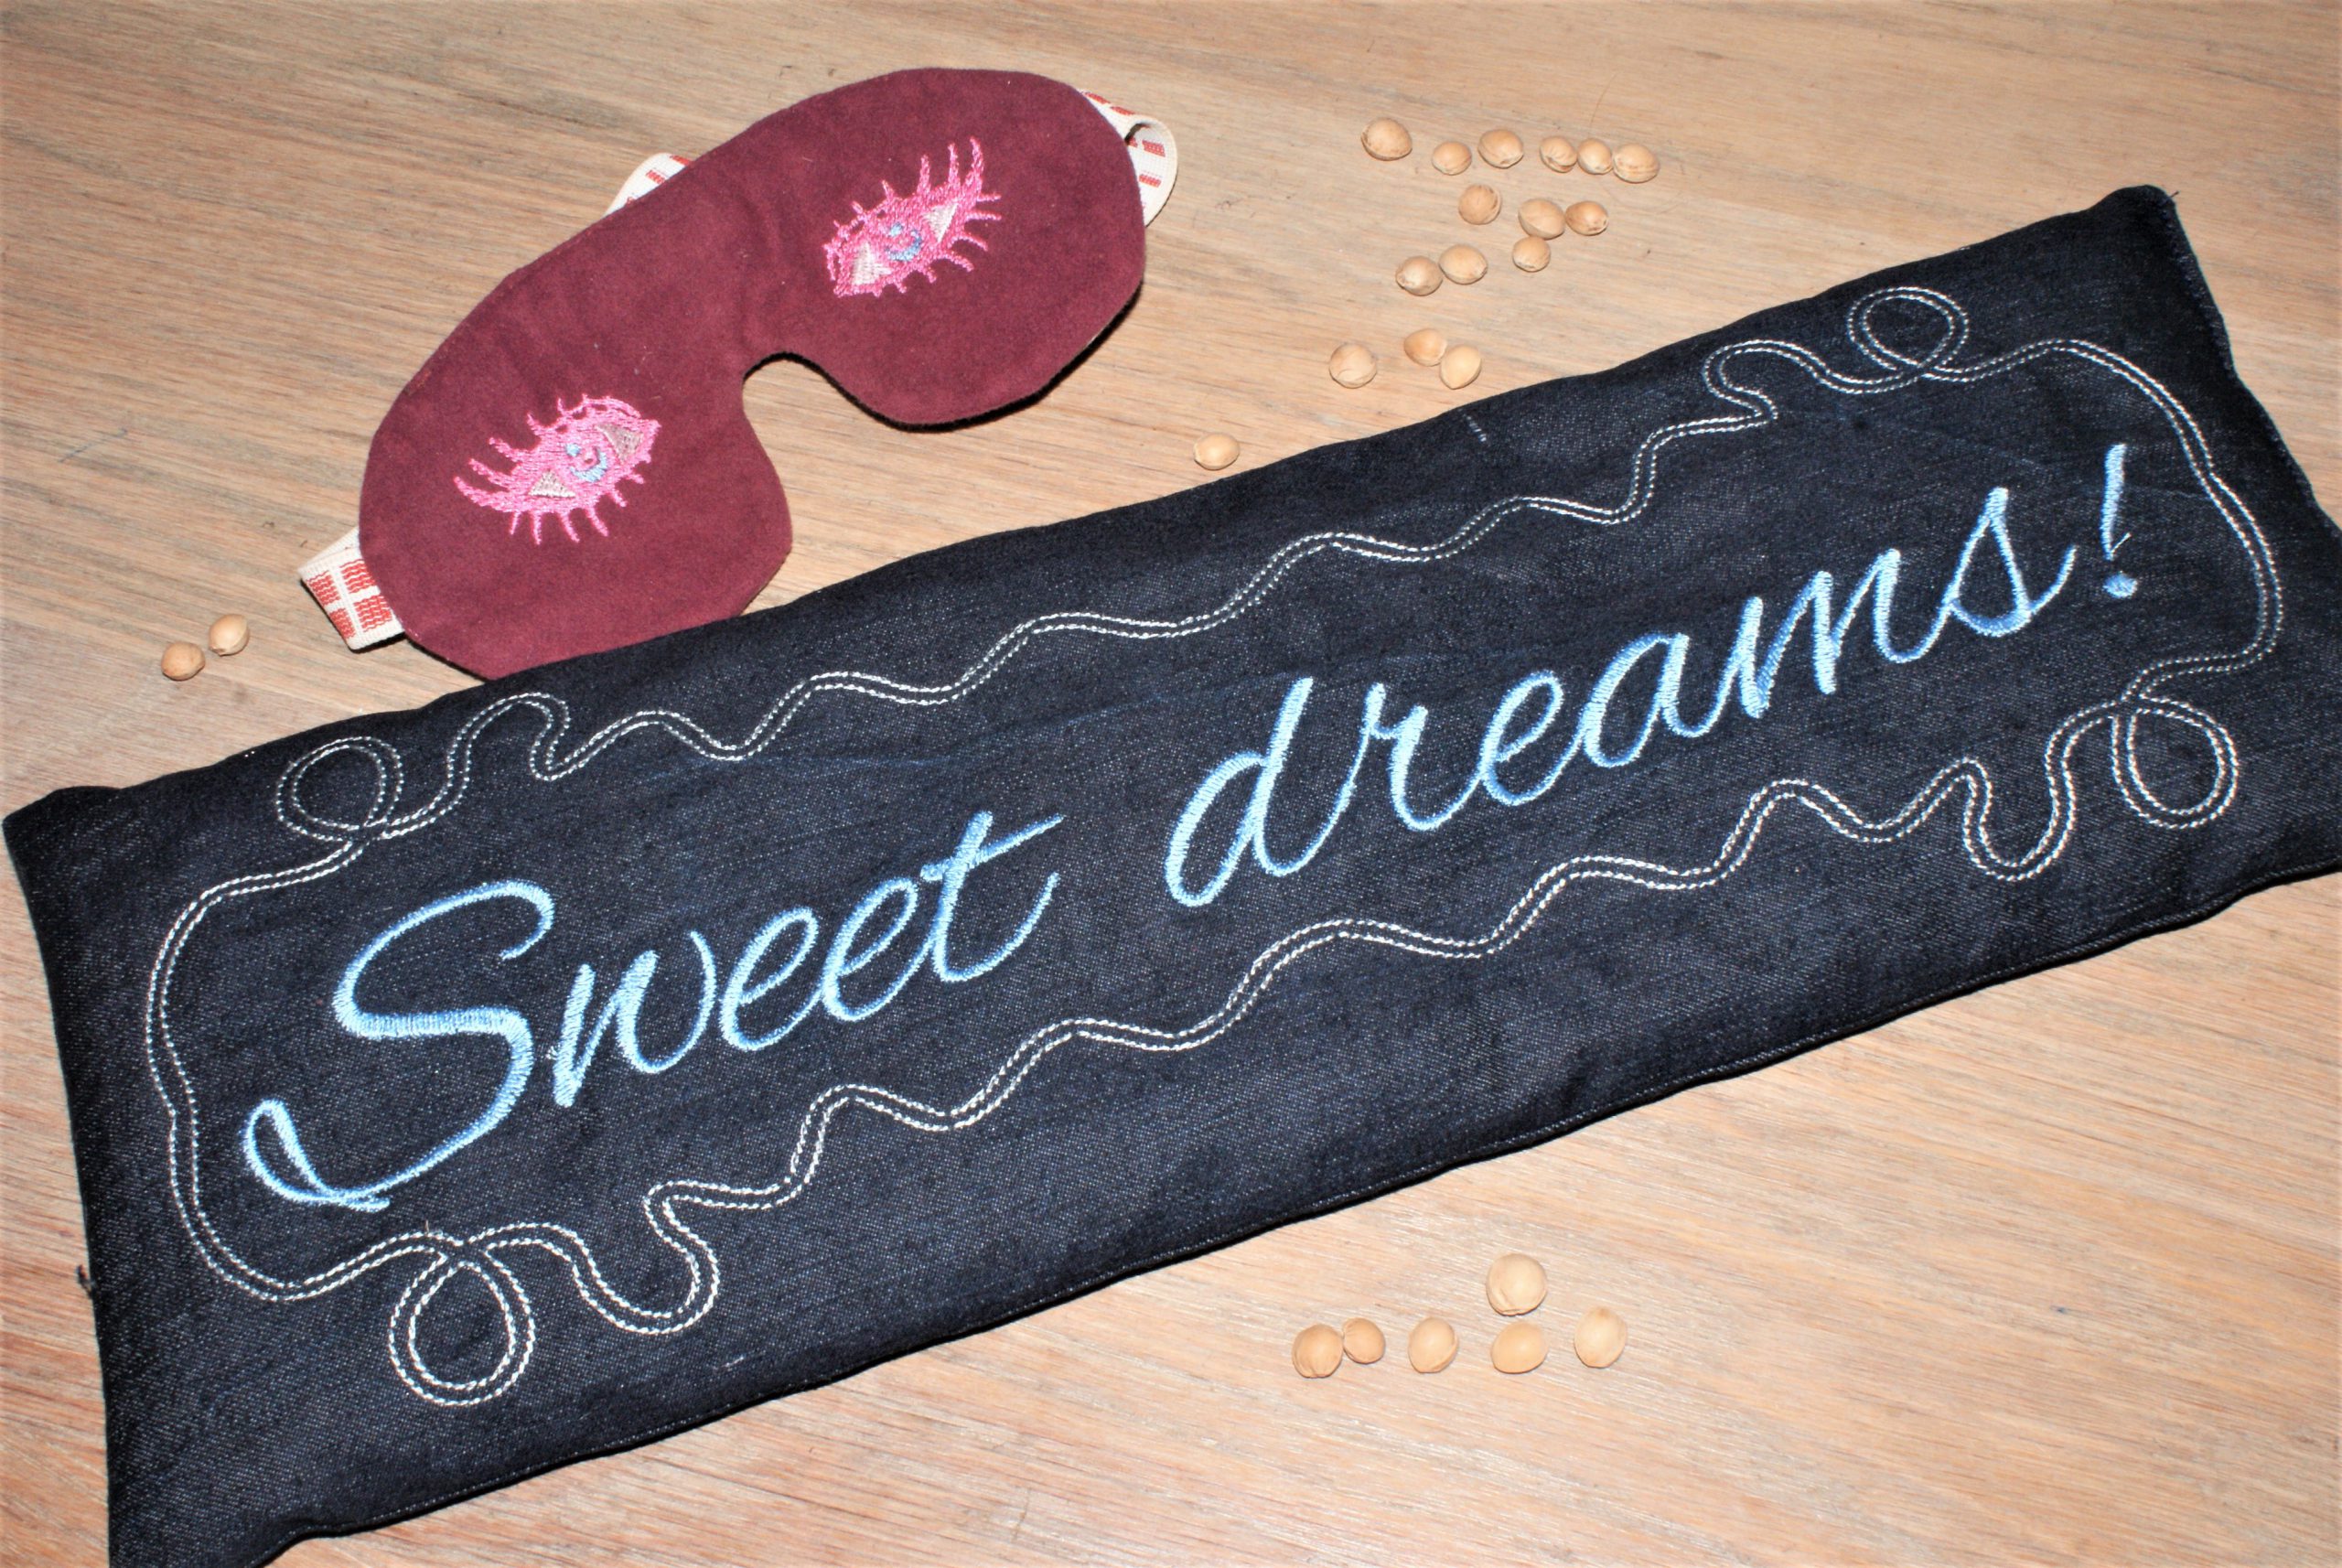
Every now and then, you need to sew a new cover for a cherry pit pillow. I want to make a new one for a former 55 x 11 cm pillow and transform it to a 45 x 16 cm size. With this new size the dimension of the machine embroidery file matches the pillow.
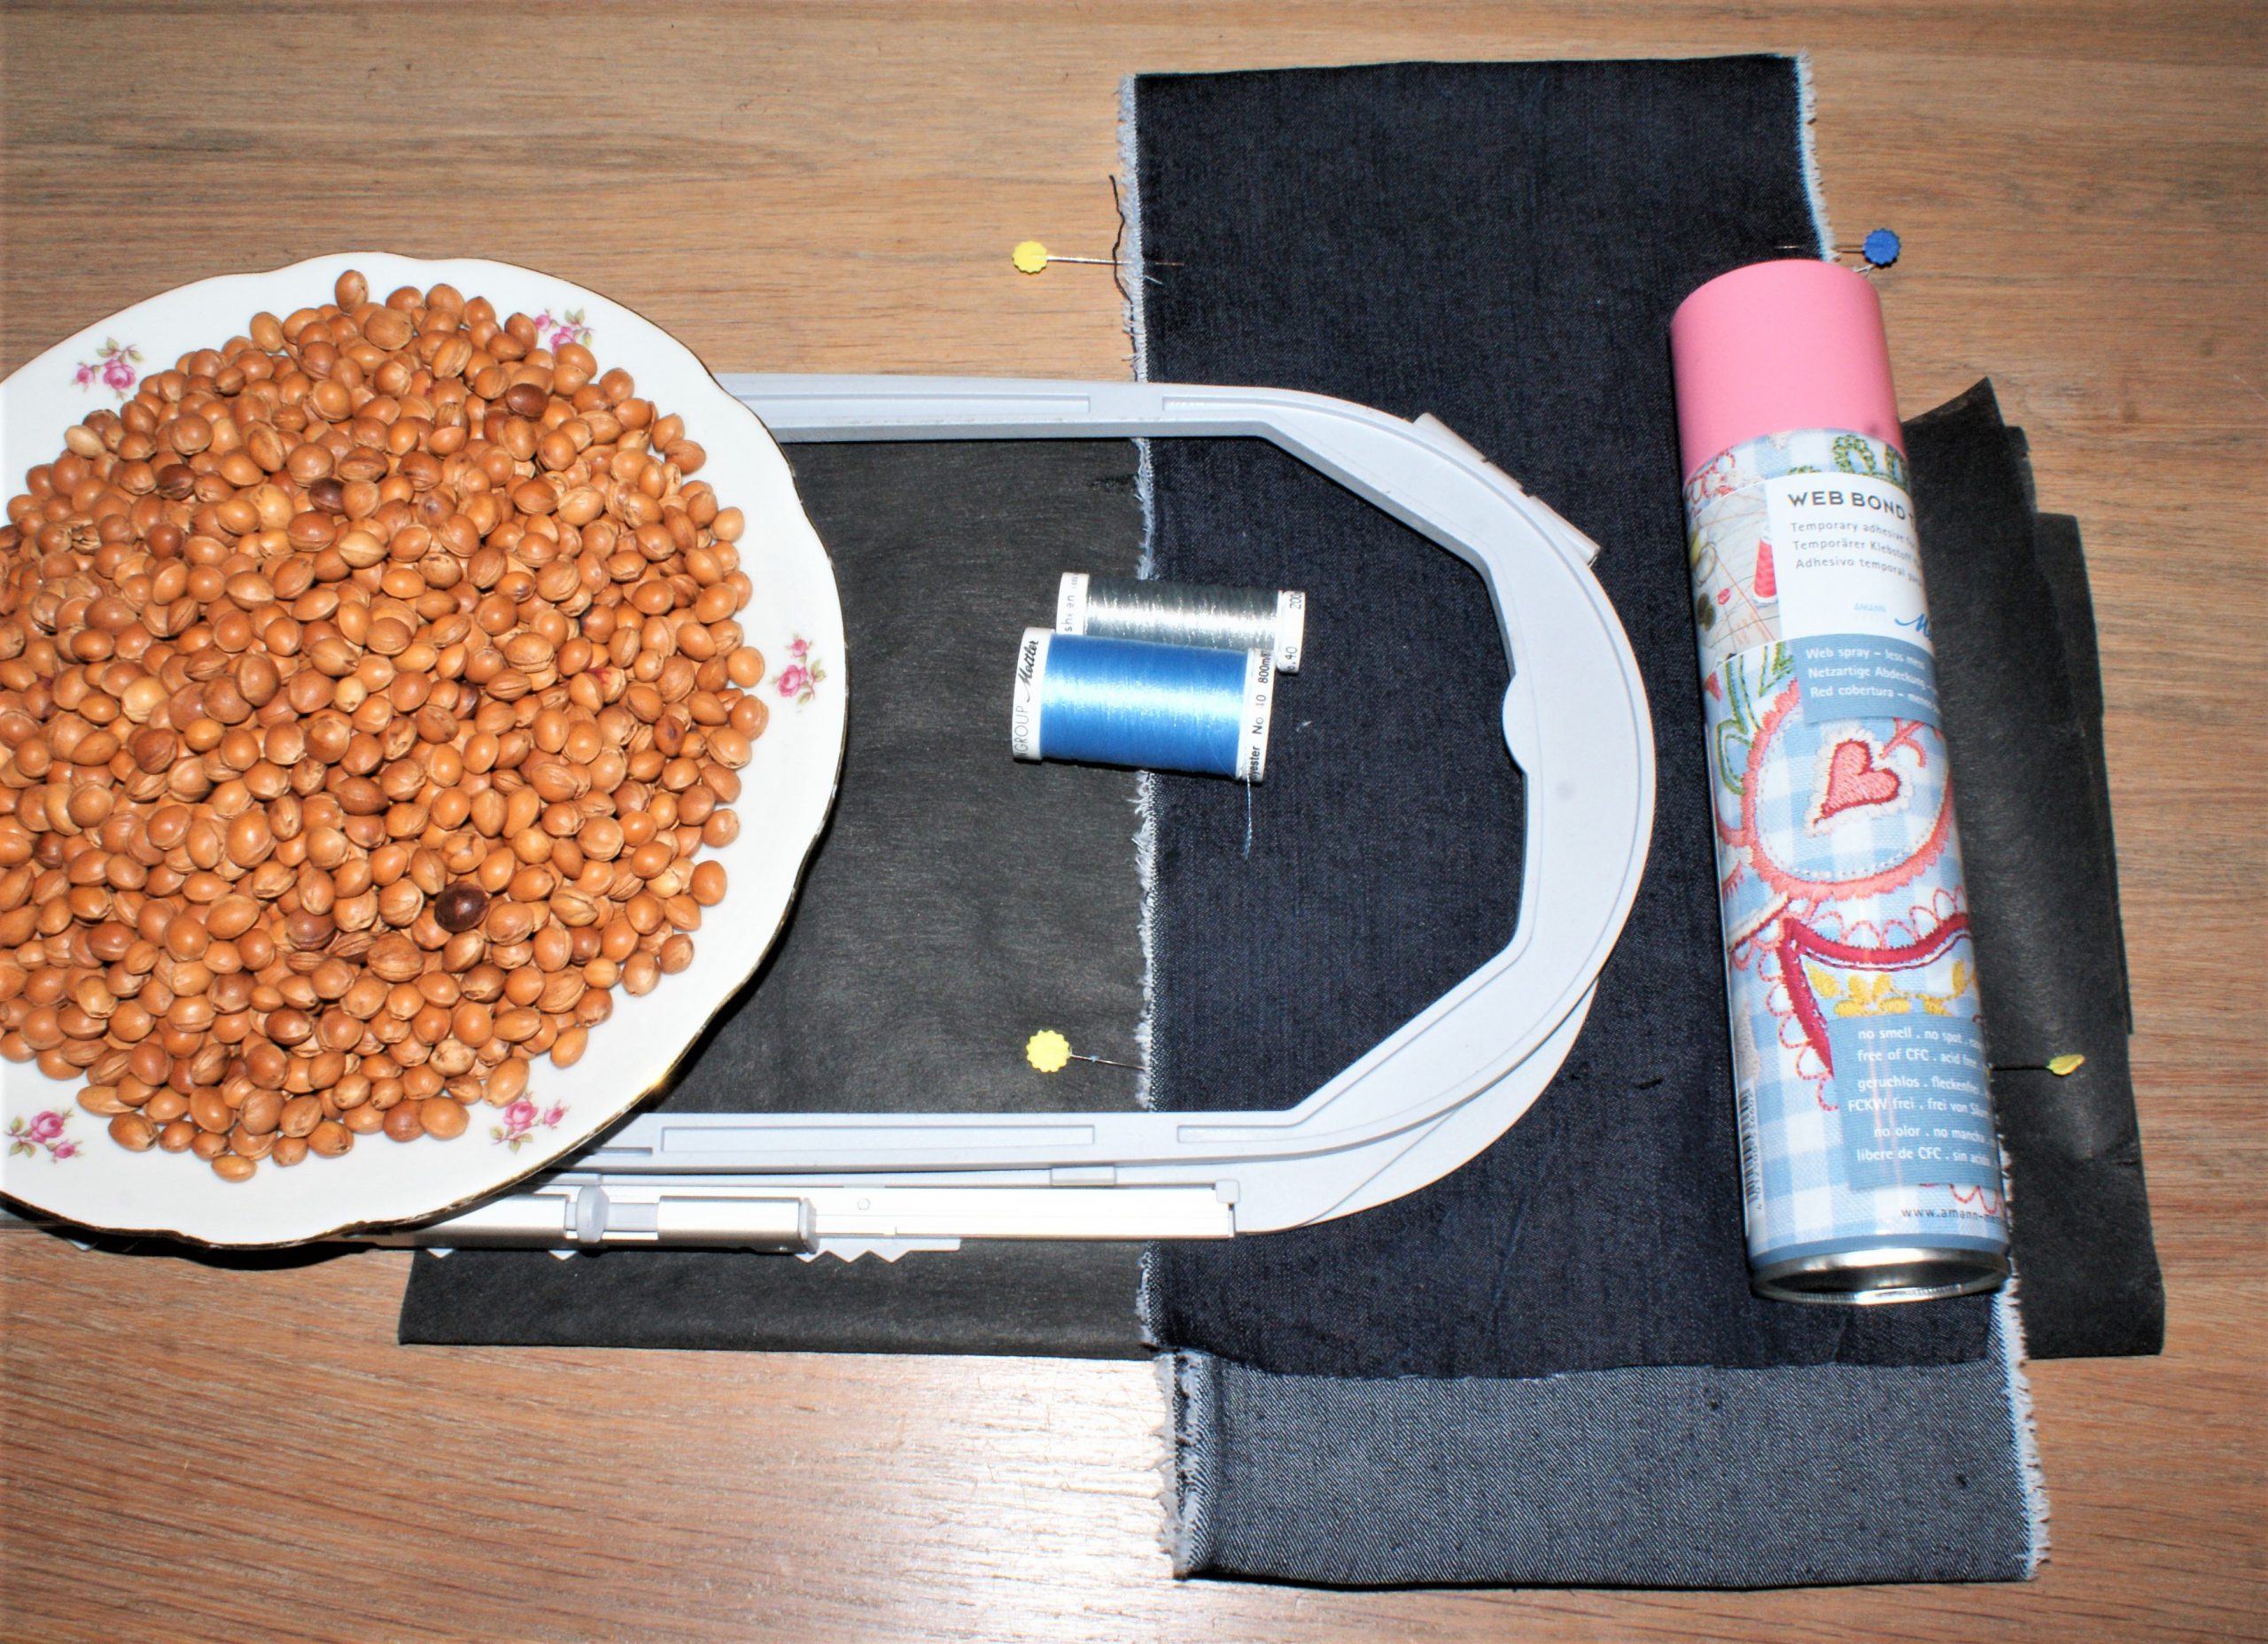
Supplies to make a new cover for a cherry pit pillow.
- Middle weight or heavy weight cotton or flanel 18 cm wide and 95 cm long
- The embroidery file EXP, PES, HUS and VIP: Sweet dreams
- Mettler Poly Sheen embroidery thread
- Mettler Seralon sewing thread
- Cherry pits
- Mettler Web Bond temporary adhesive spray
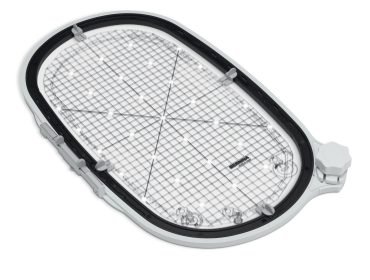
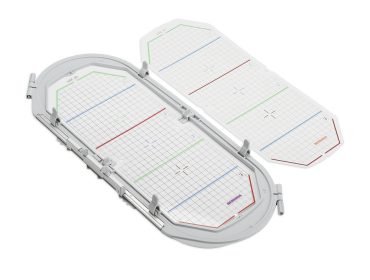
- Mega Hoop or Maxi Hoop
- Tear away stabilizer
Start with the embroidery file:
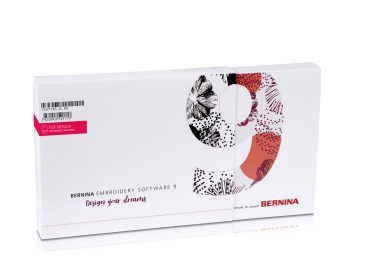
The embroidery file is designed in BERNINA Embroidery Software 9
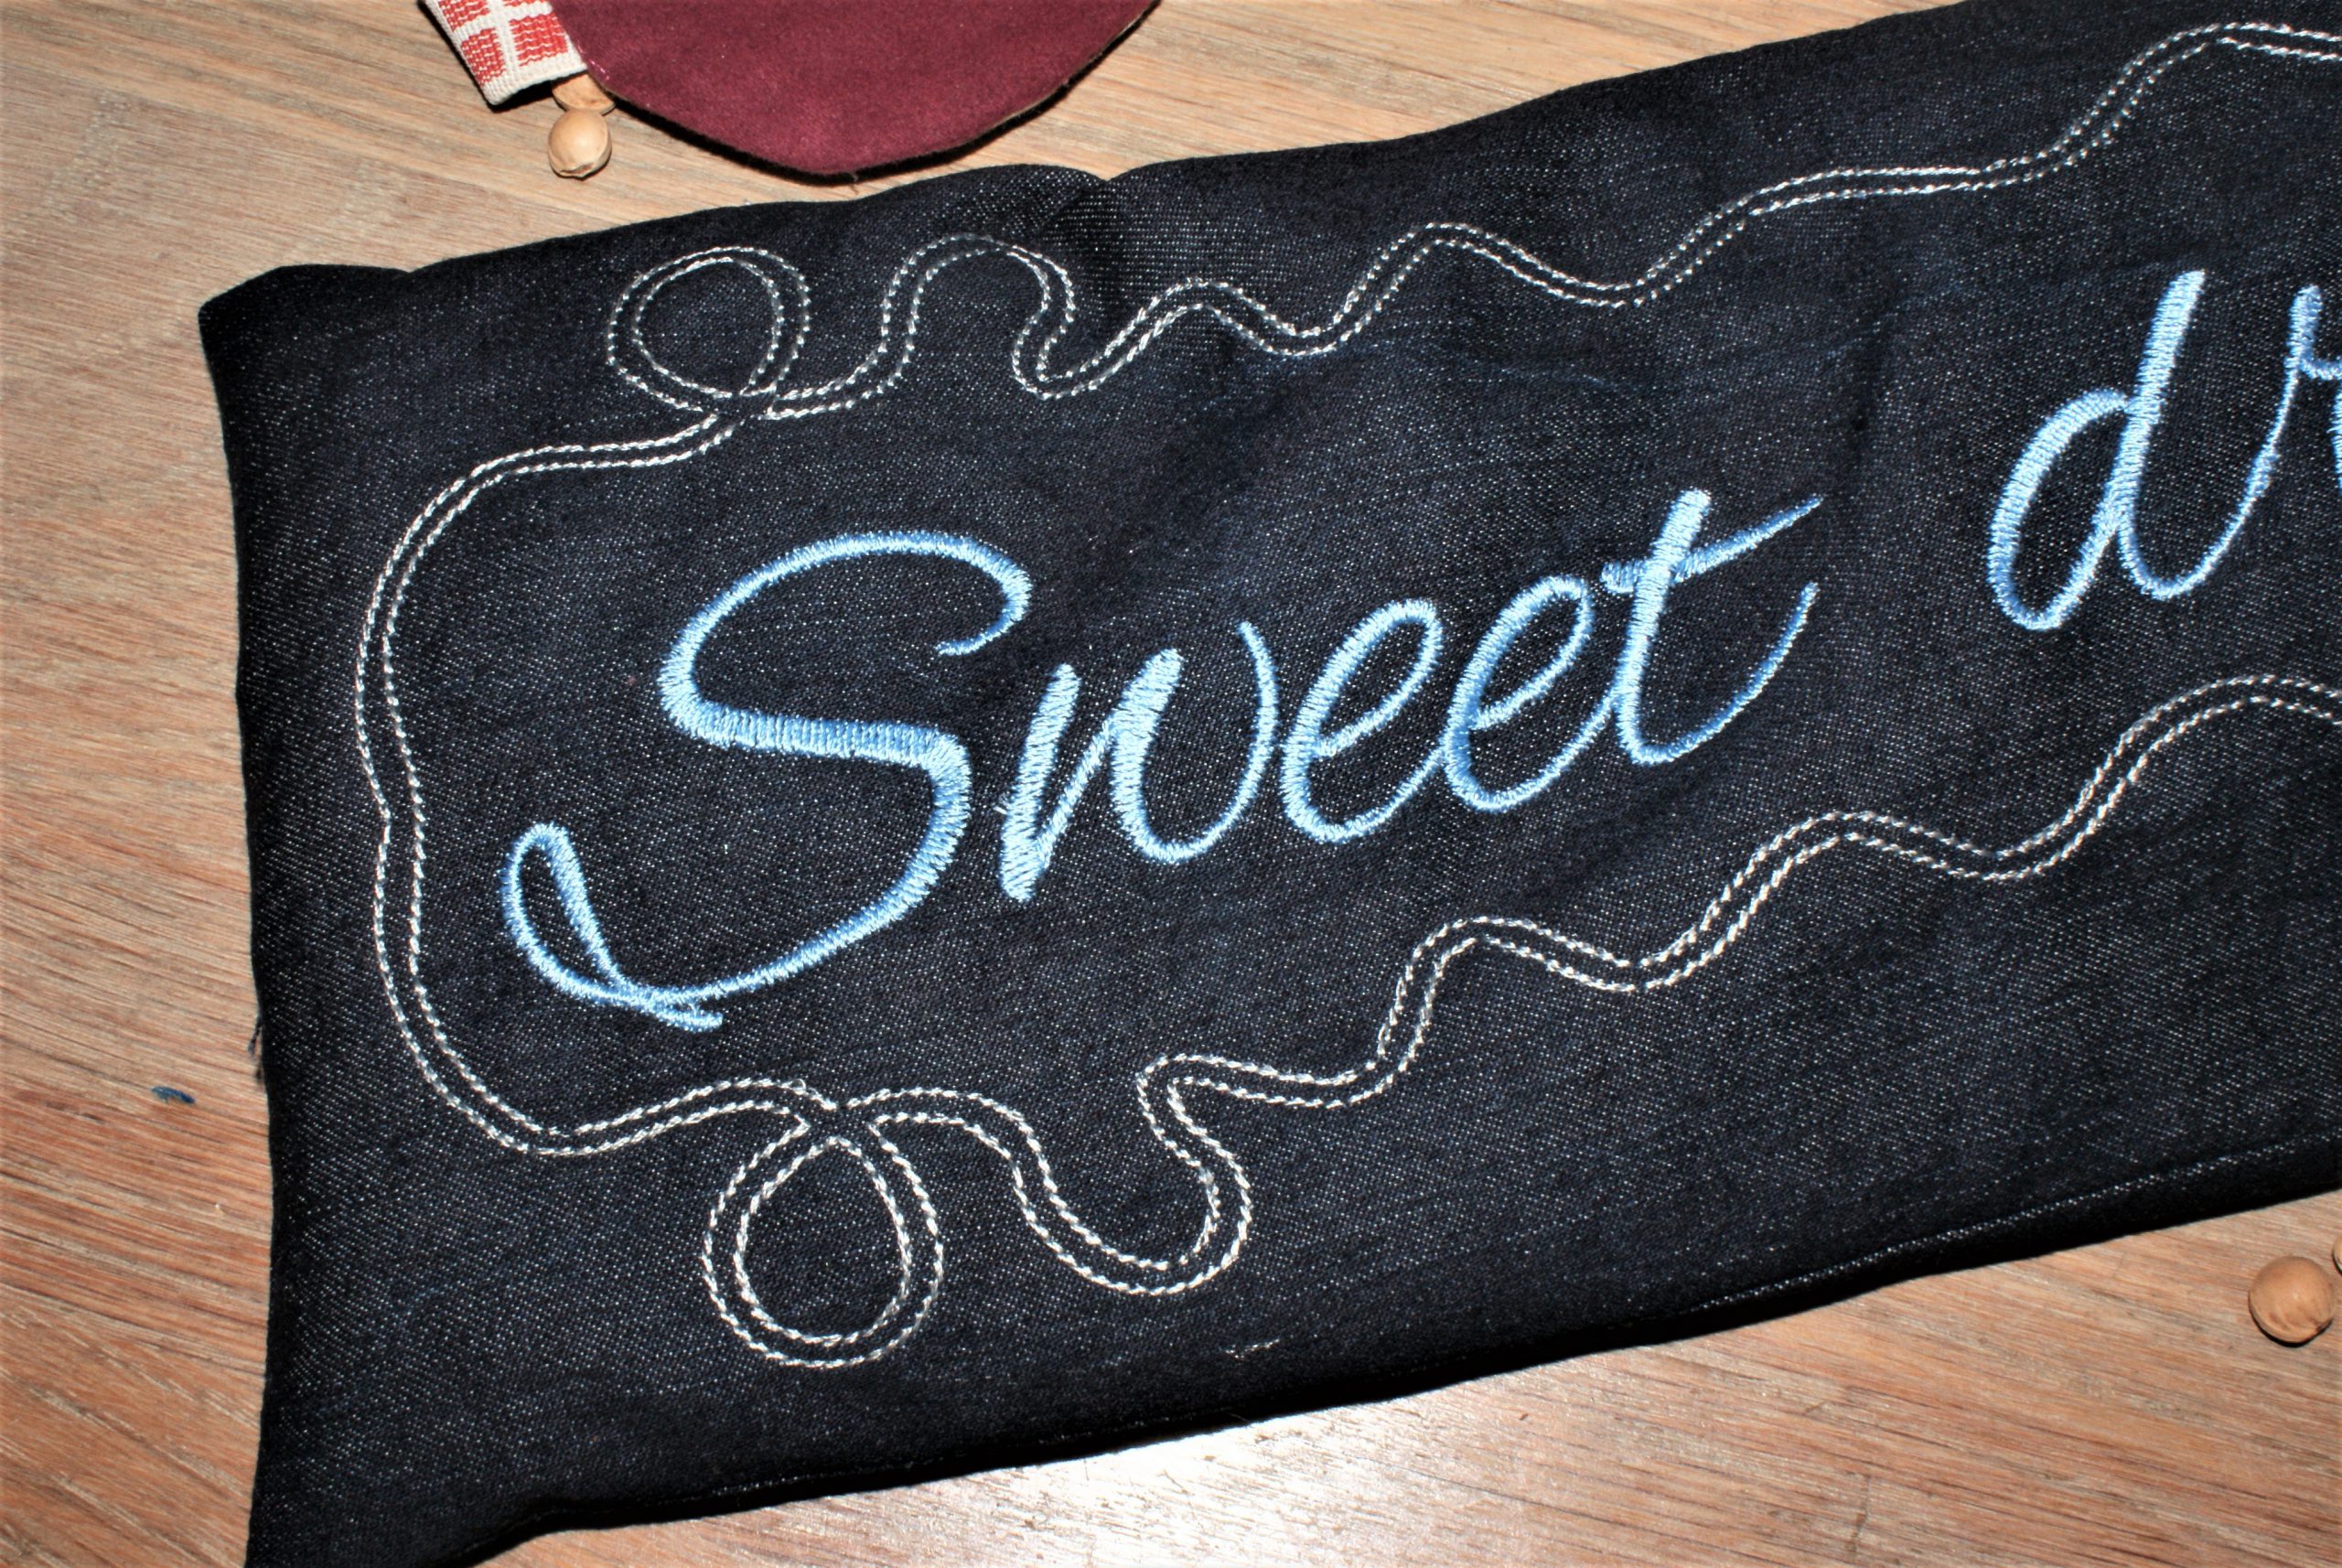
The font is ‘Alex Brush’.
Download the file and transfer to the machine.
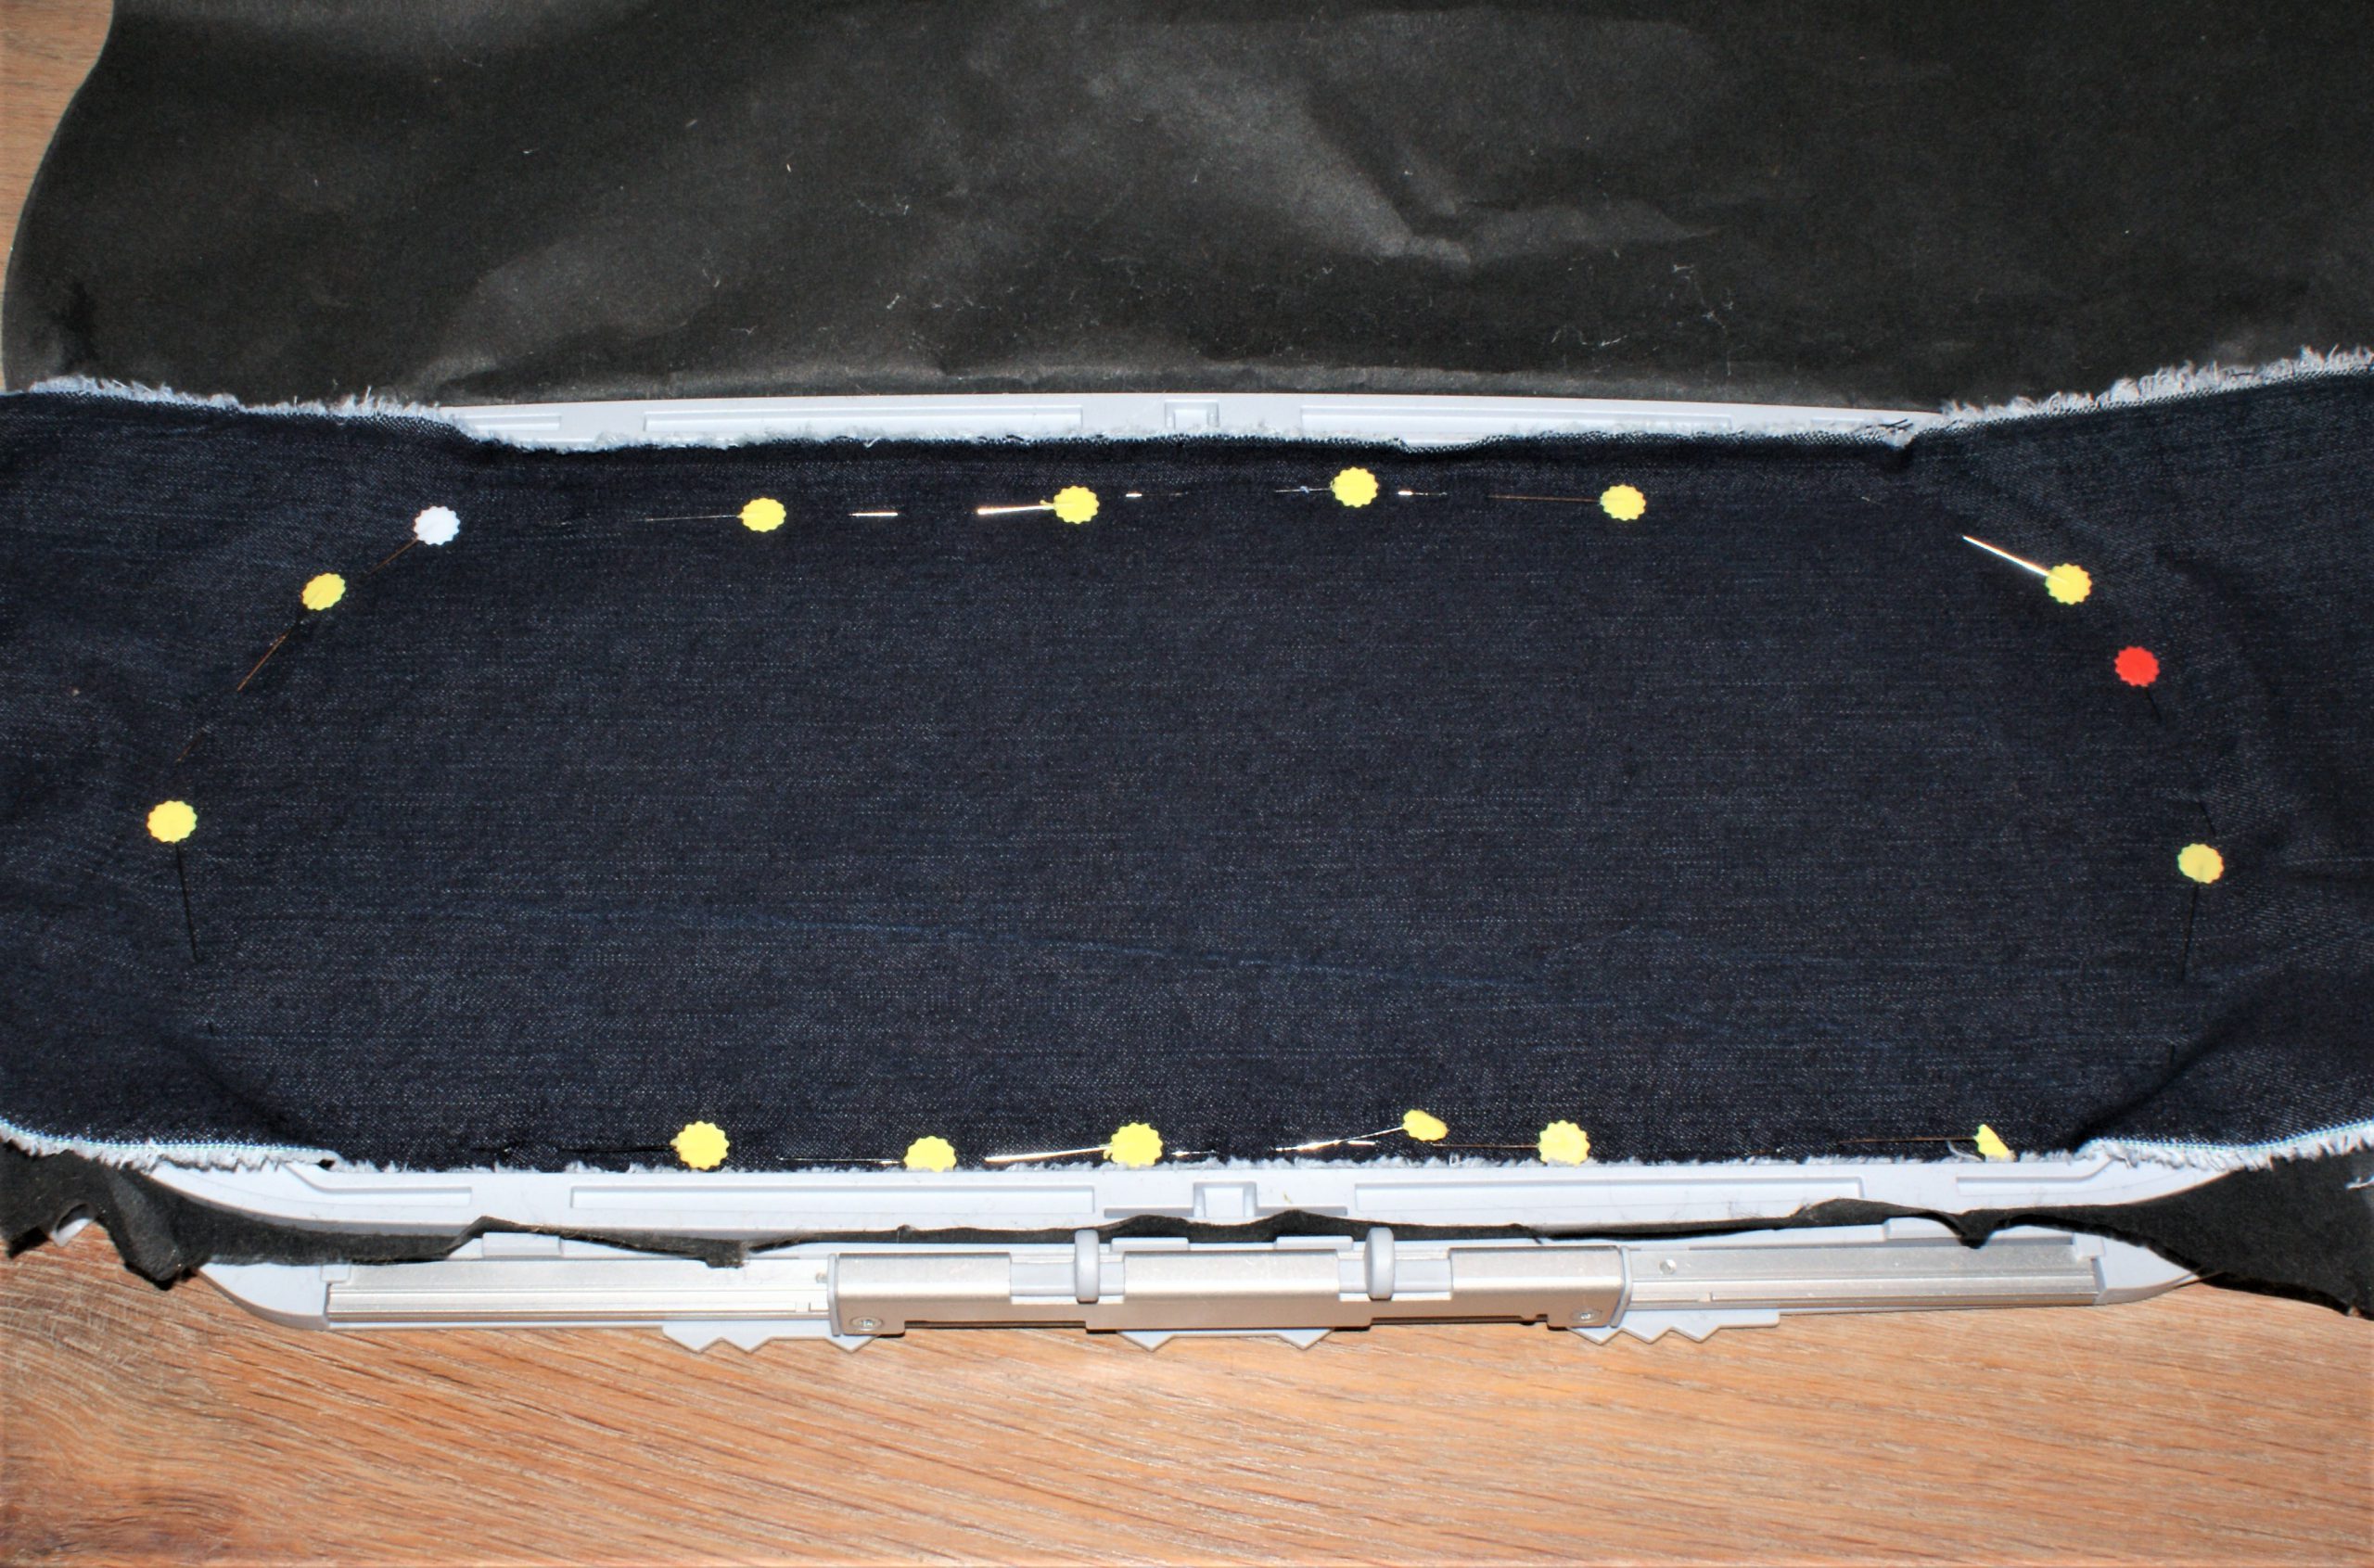
Hoop the stabilizer and spray temporary adhesive spray to fix the fabric to the stabilizer.
Use a bastingstitch to sew the fabric to the stabilizer. Remove pins in time, so you don’t sew over them.
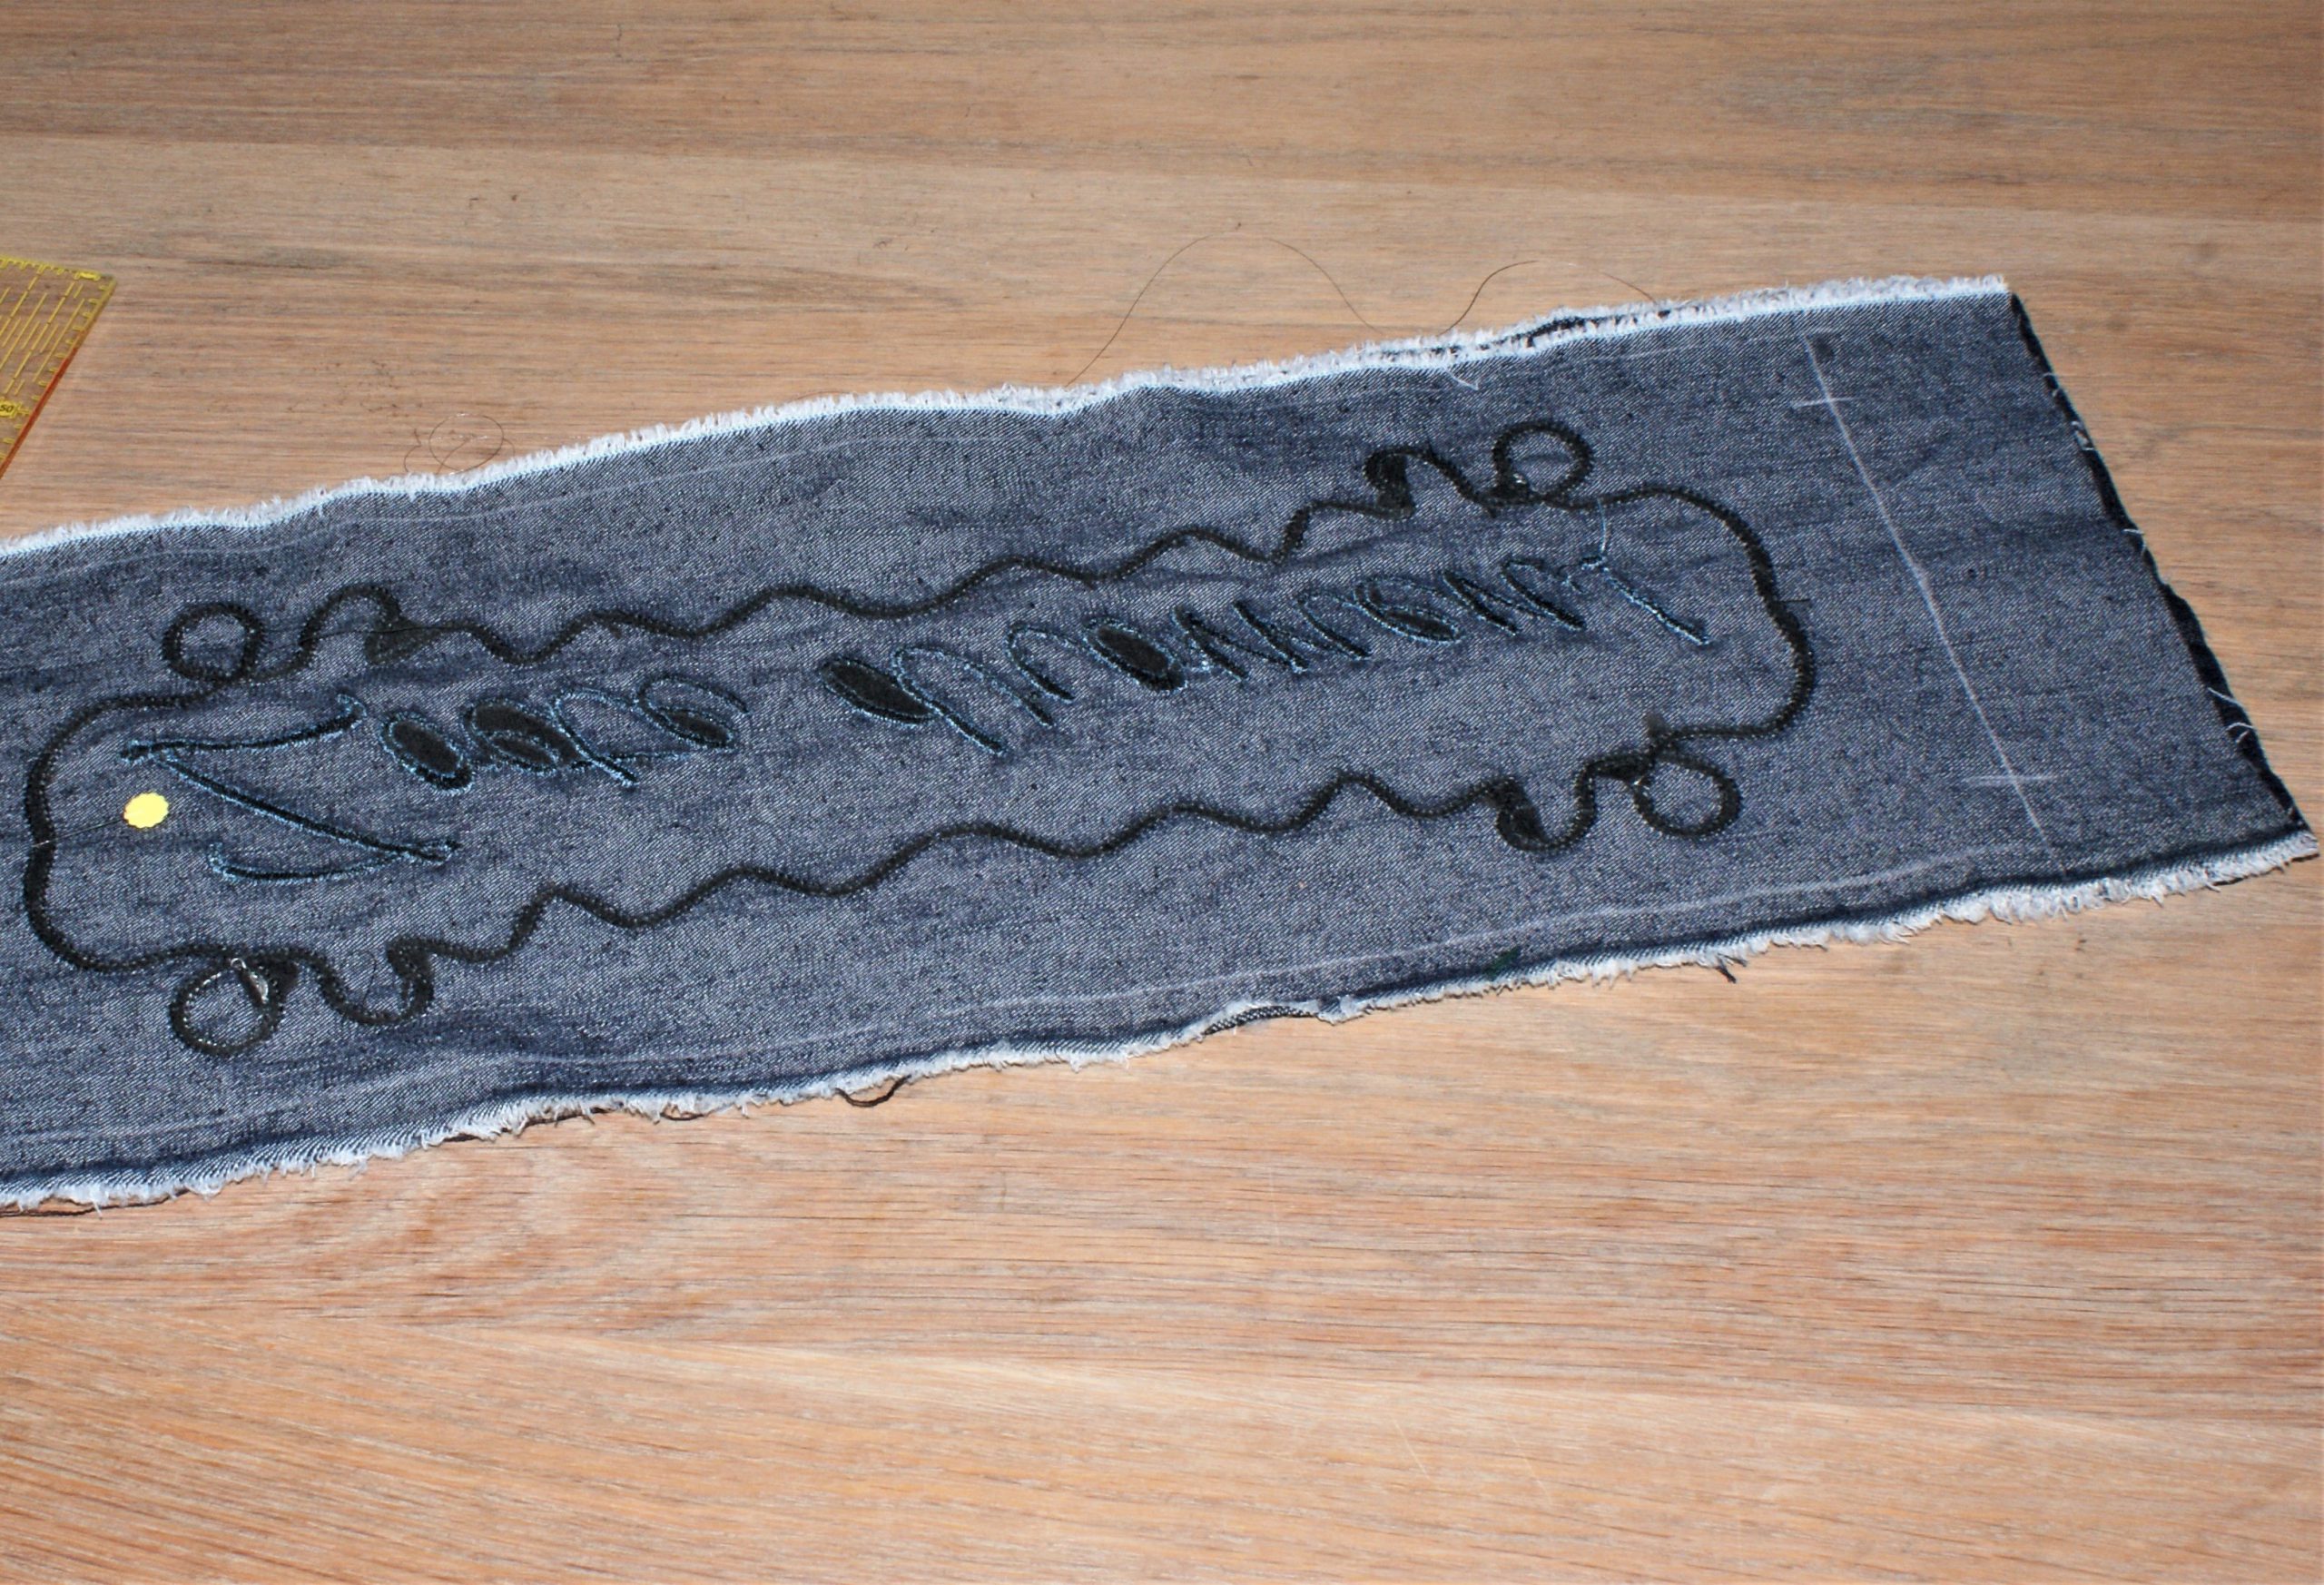
Embroider the pattern.
Sew the cherry pit pillow:
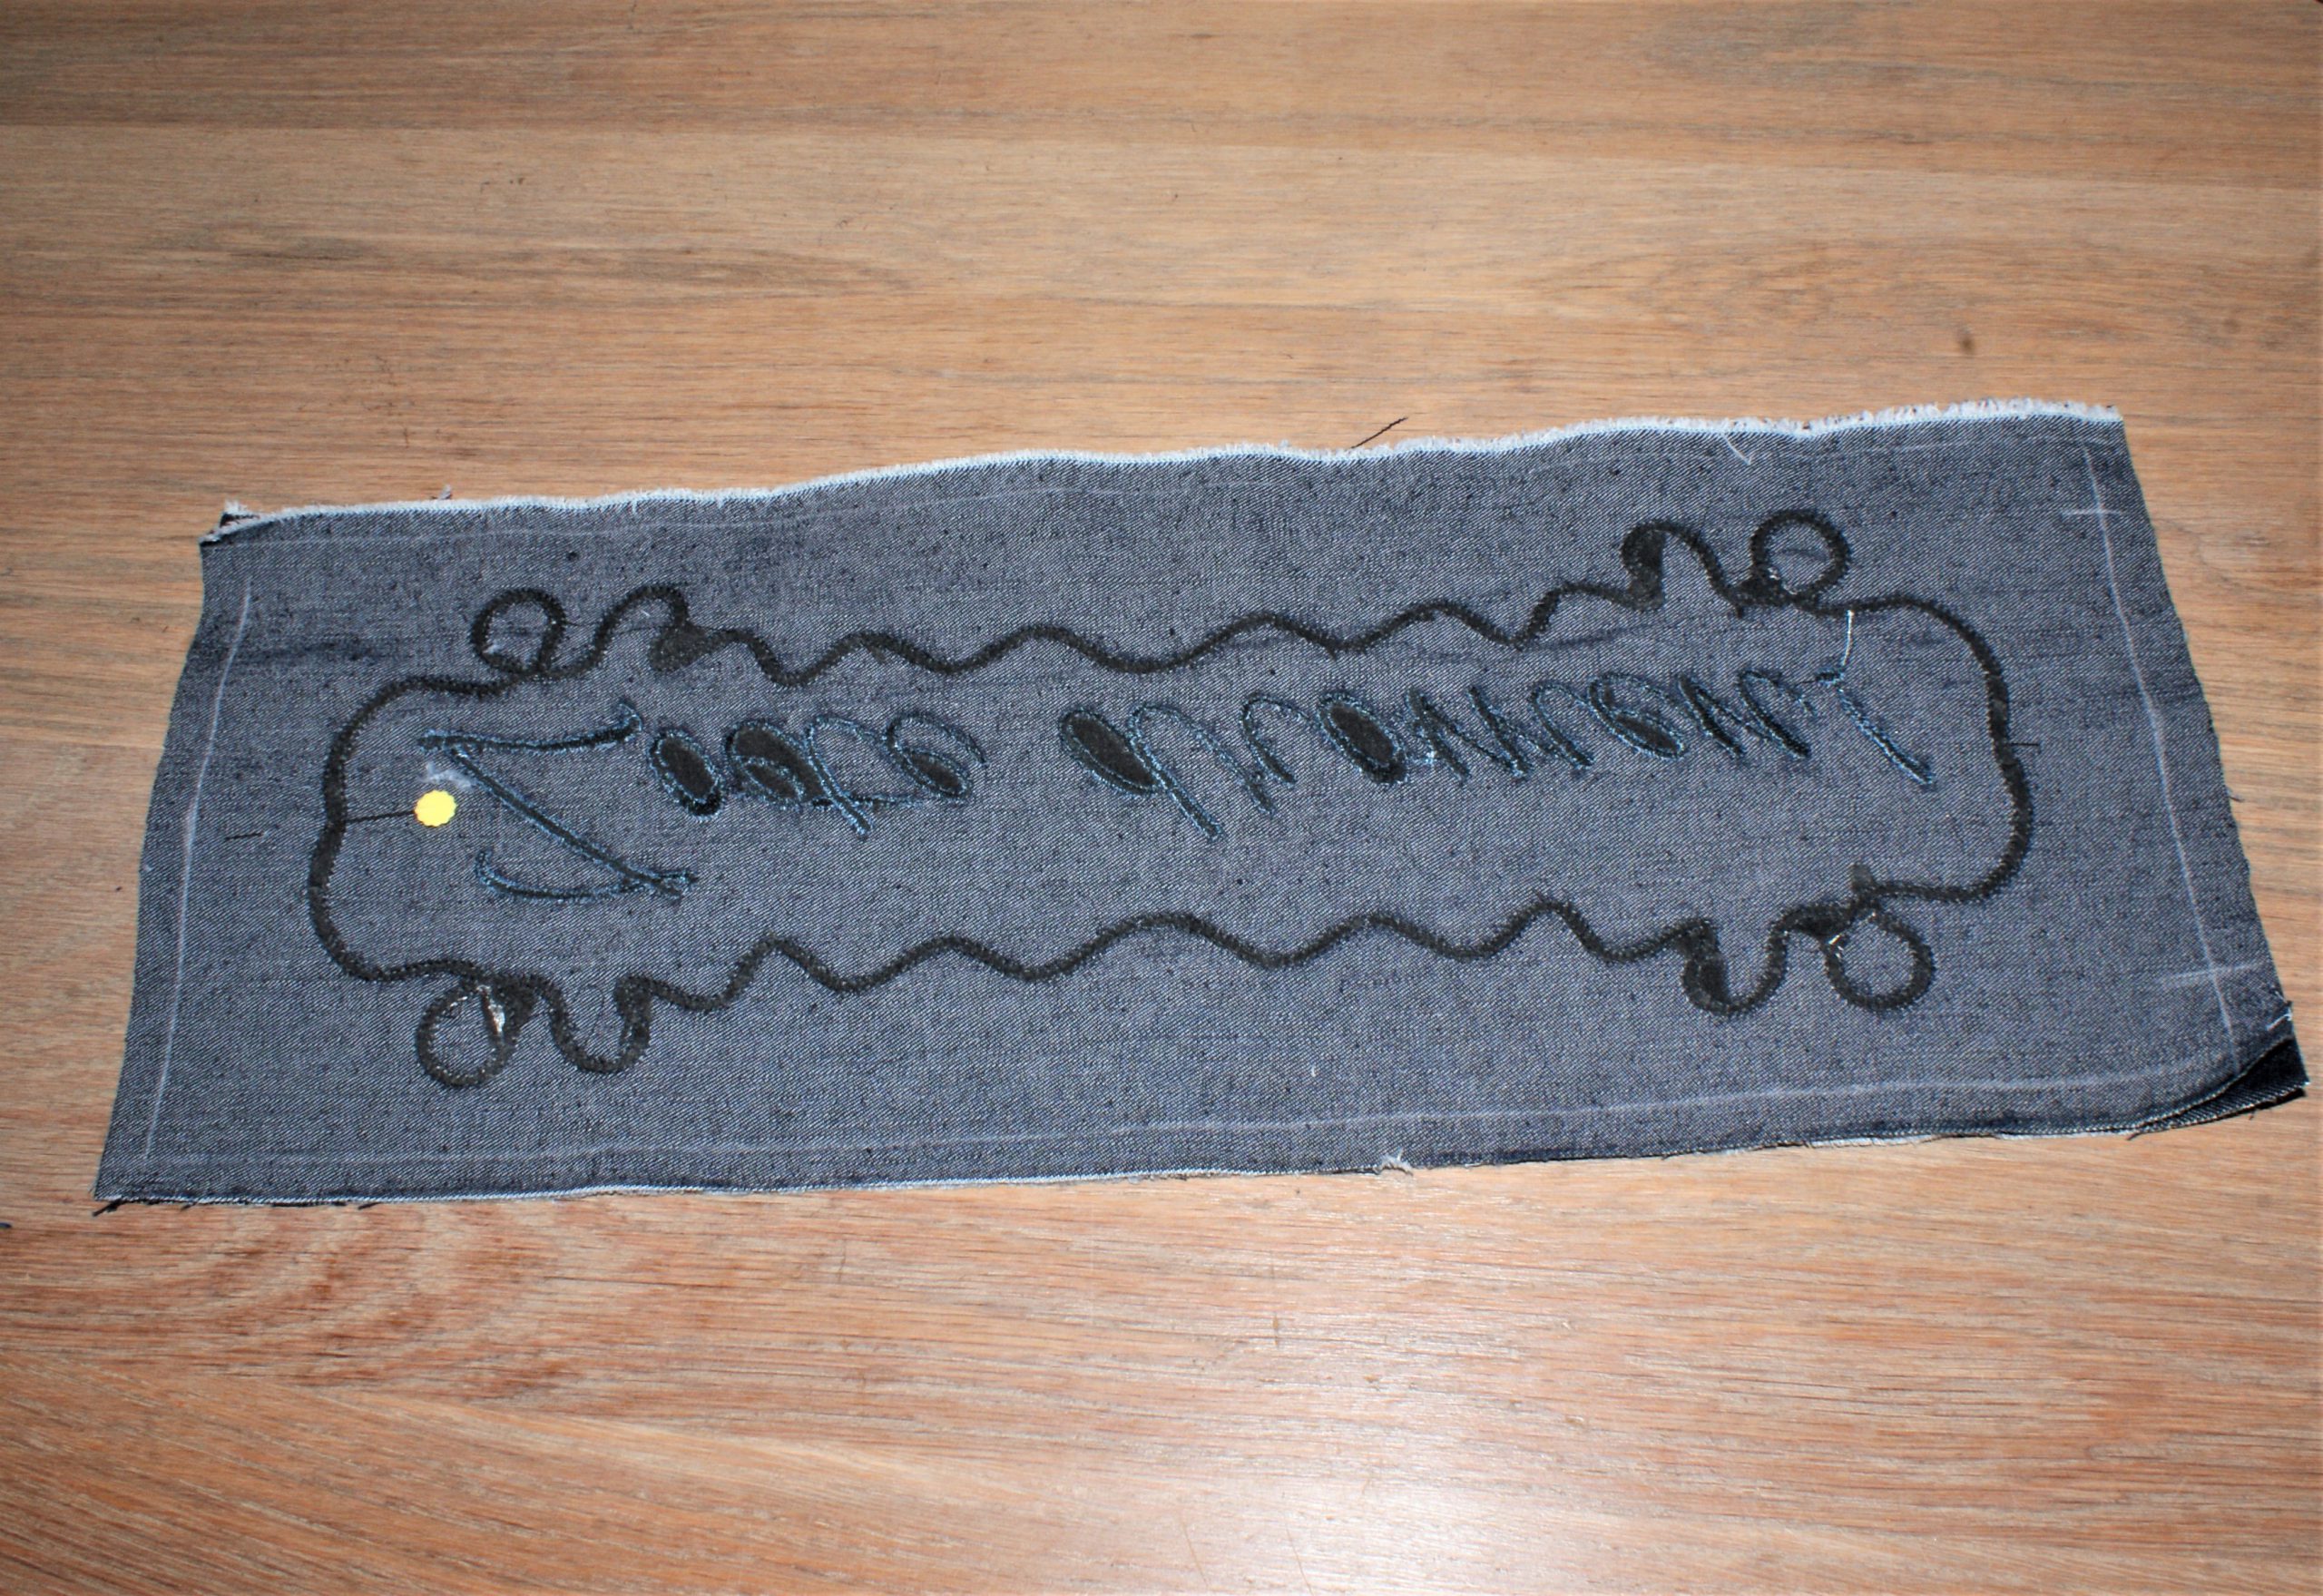
Draw the rectangle on the fabric and mark the opening on a short side:
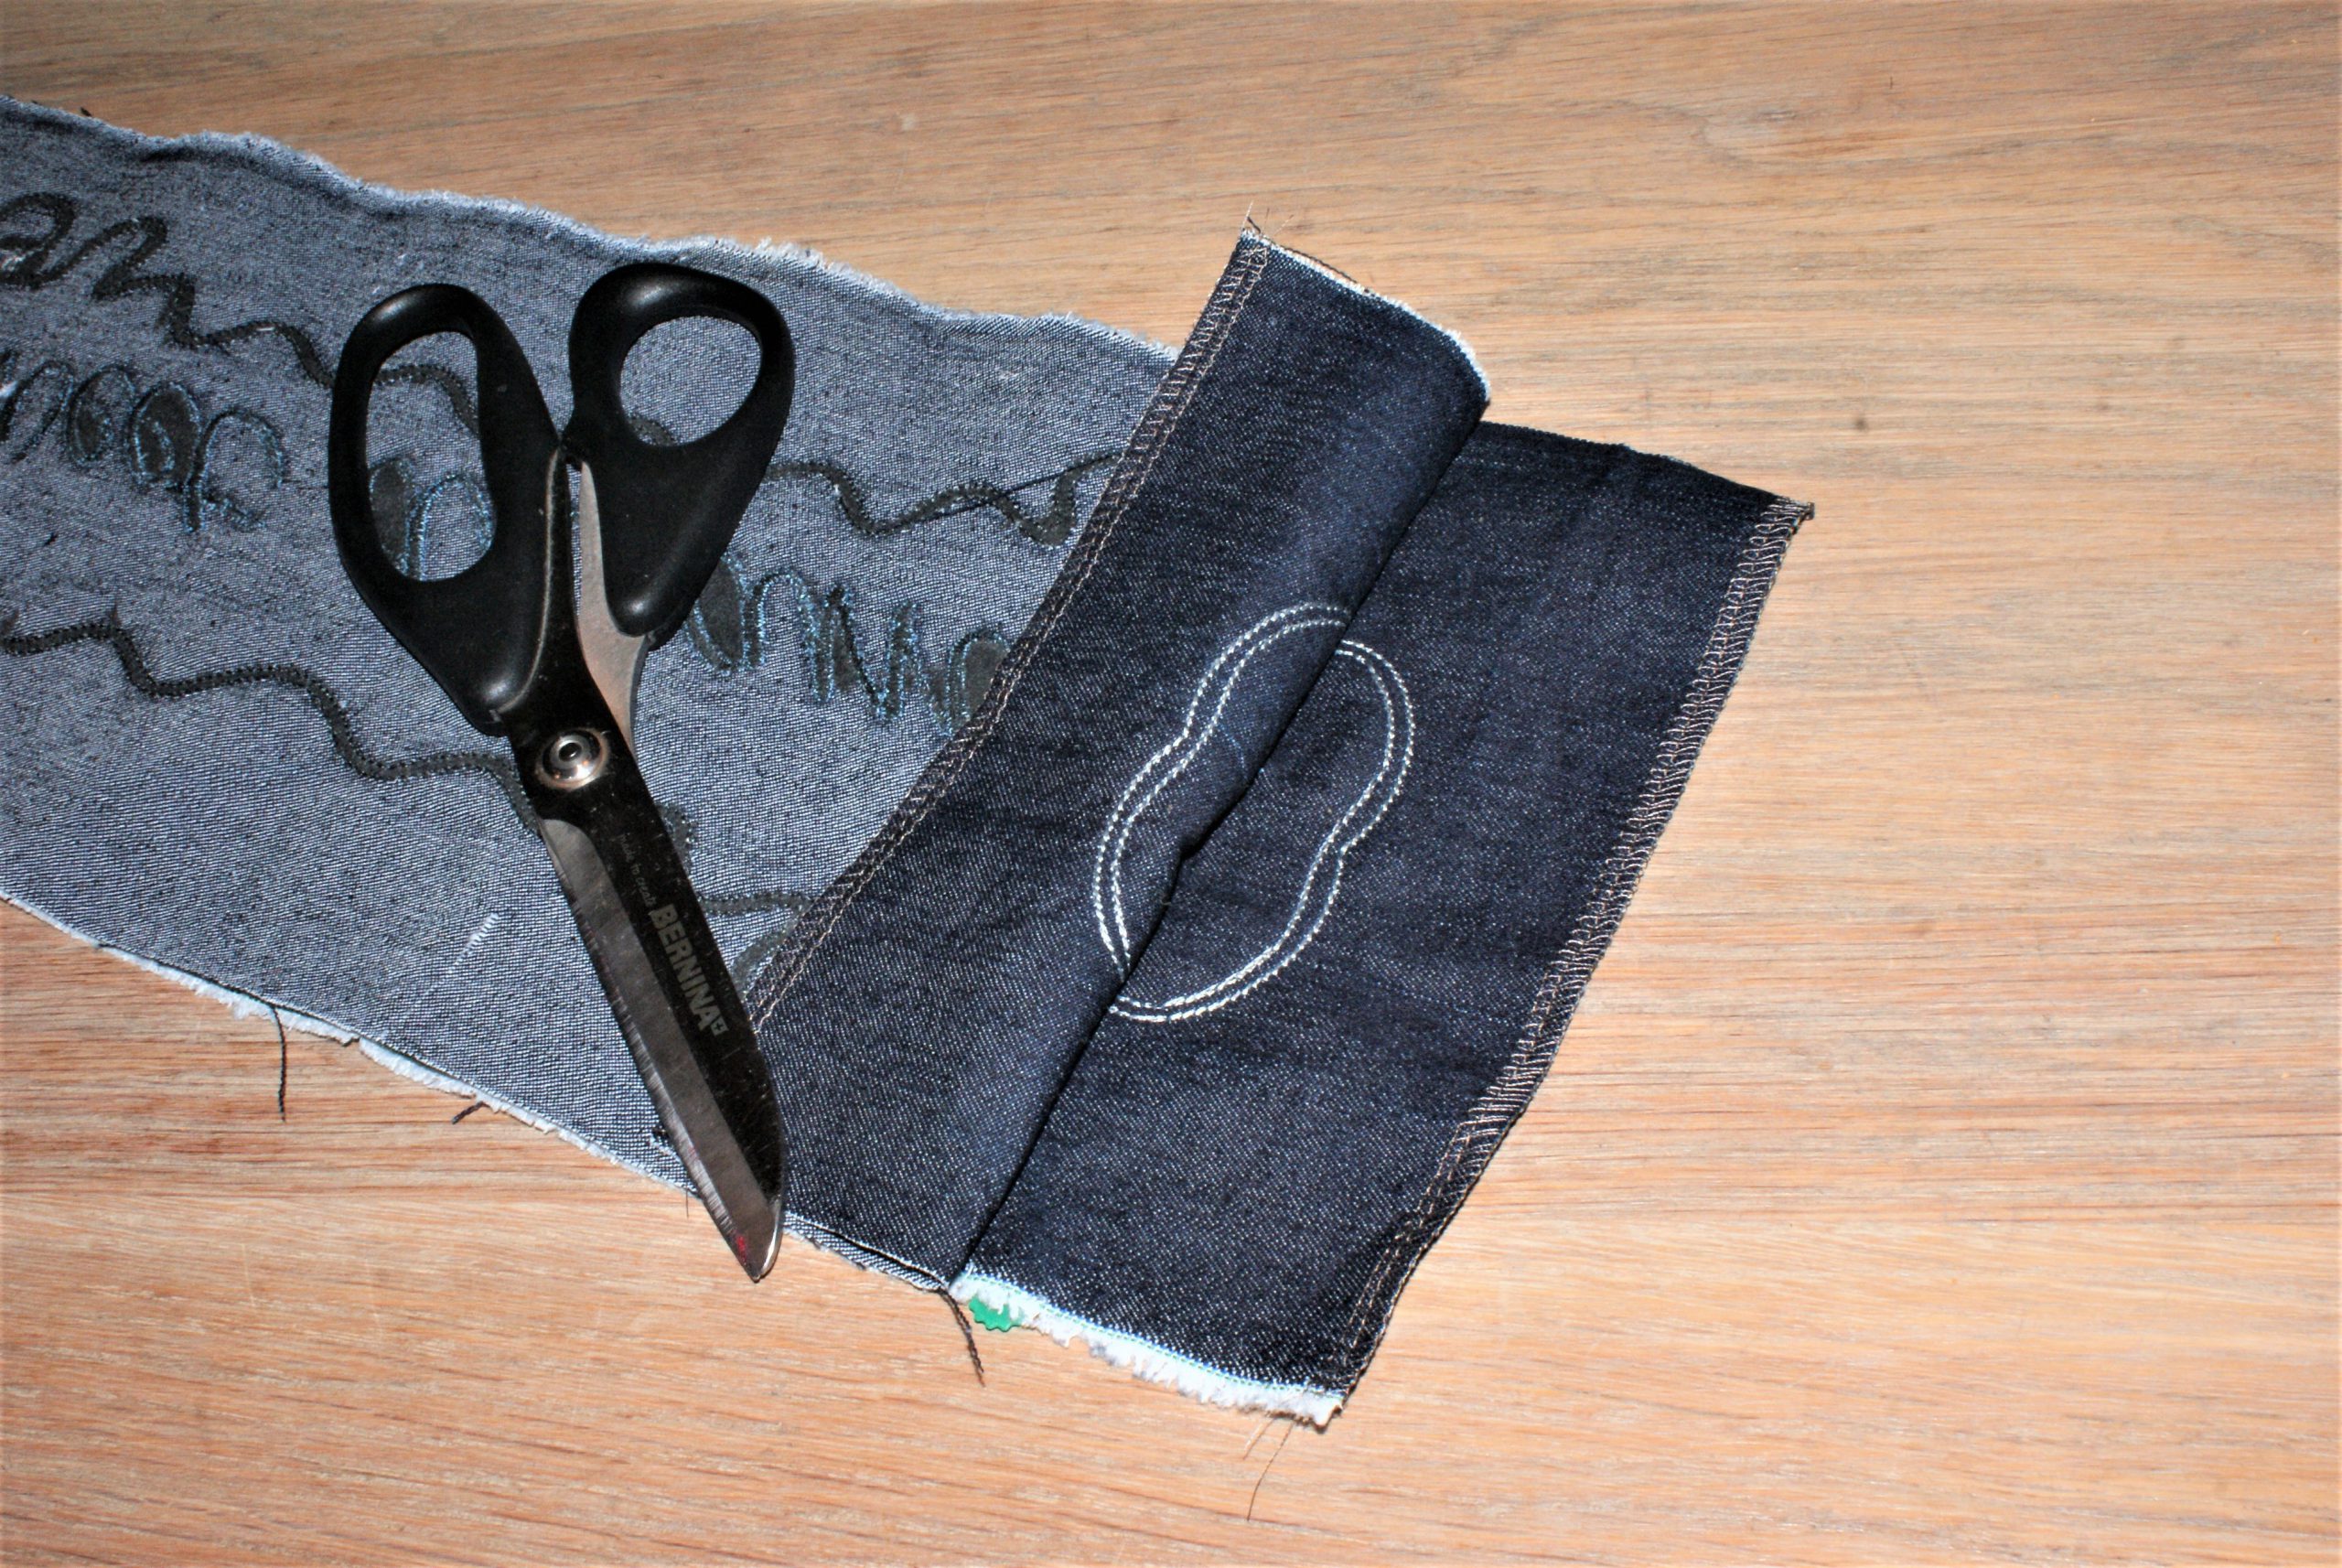
Cut the seam allowance to 1 cm arounc the rectangle:
I finished the short sides with an overlock stitch, but it’s not really necessary.
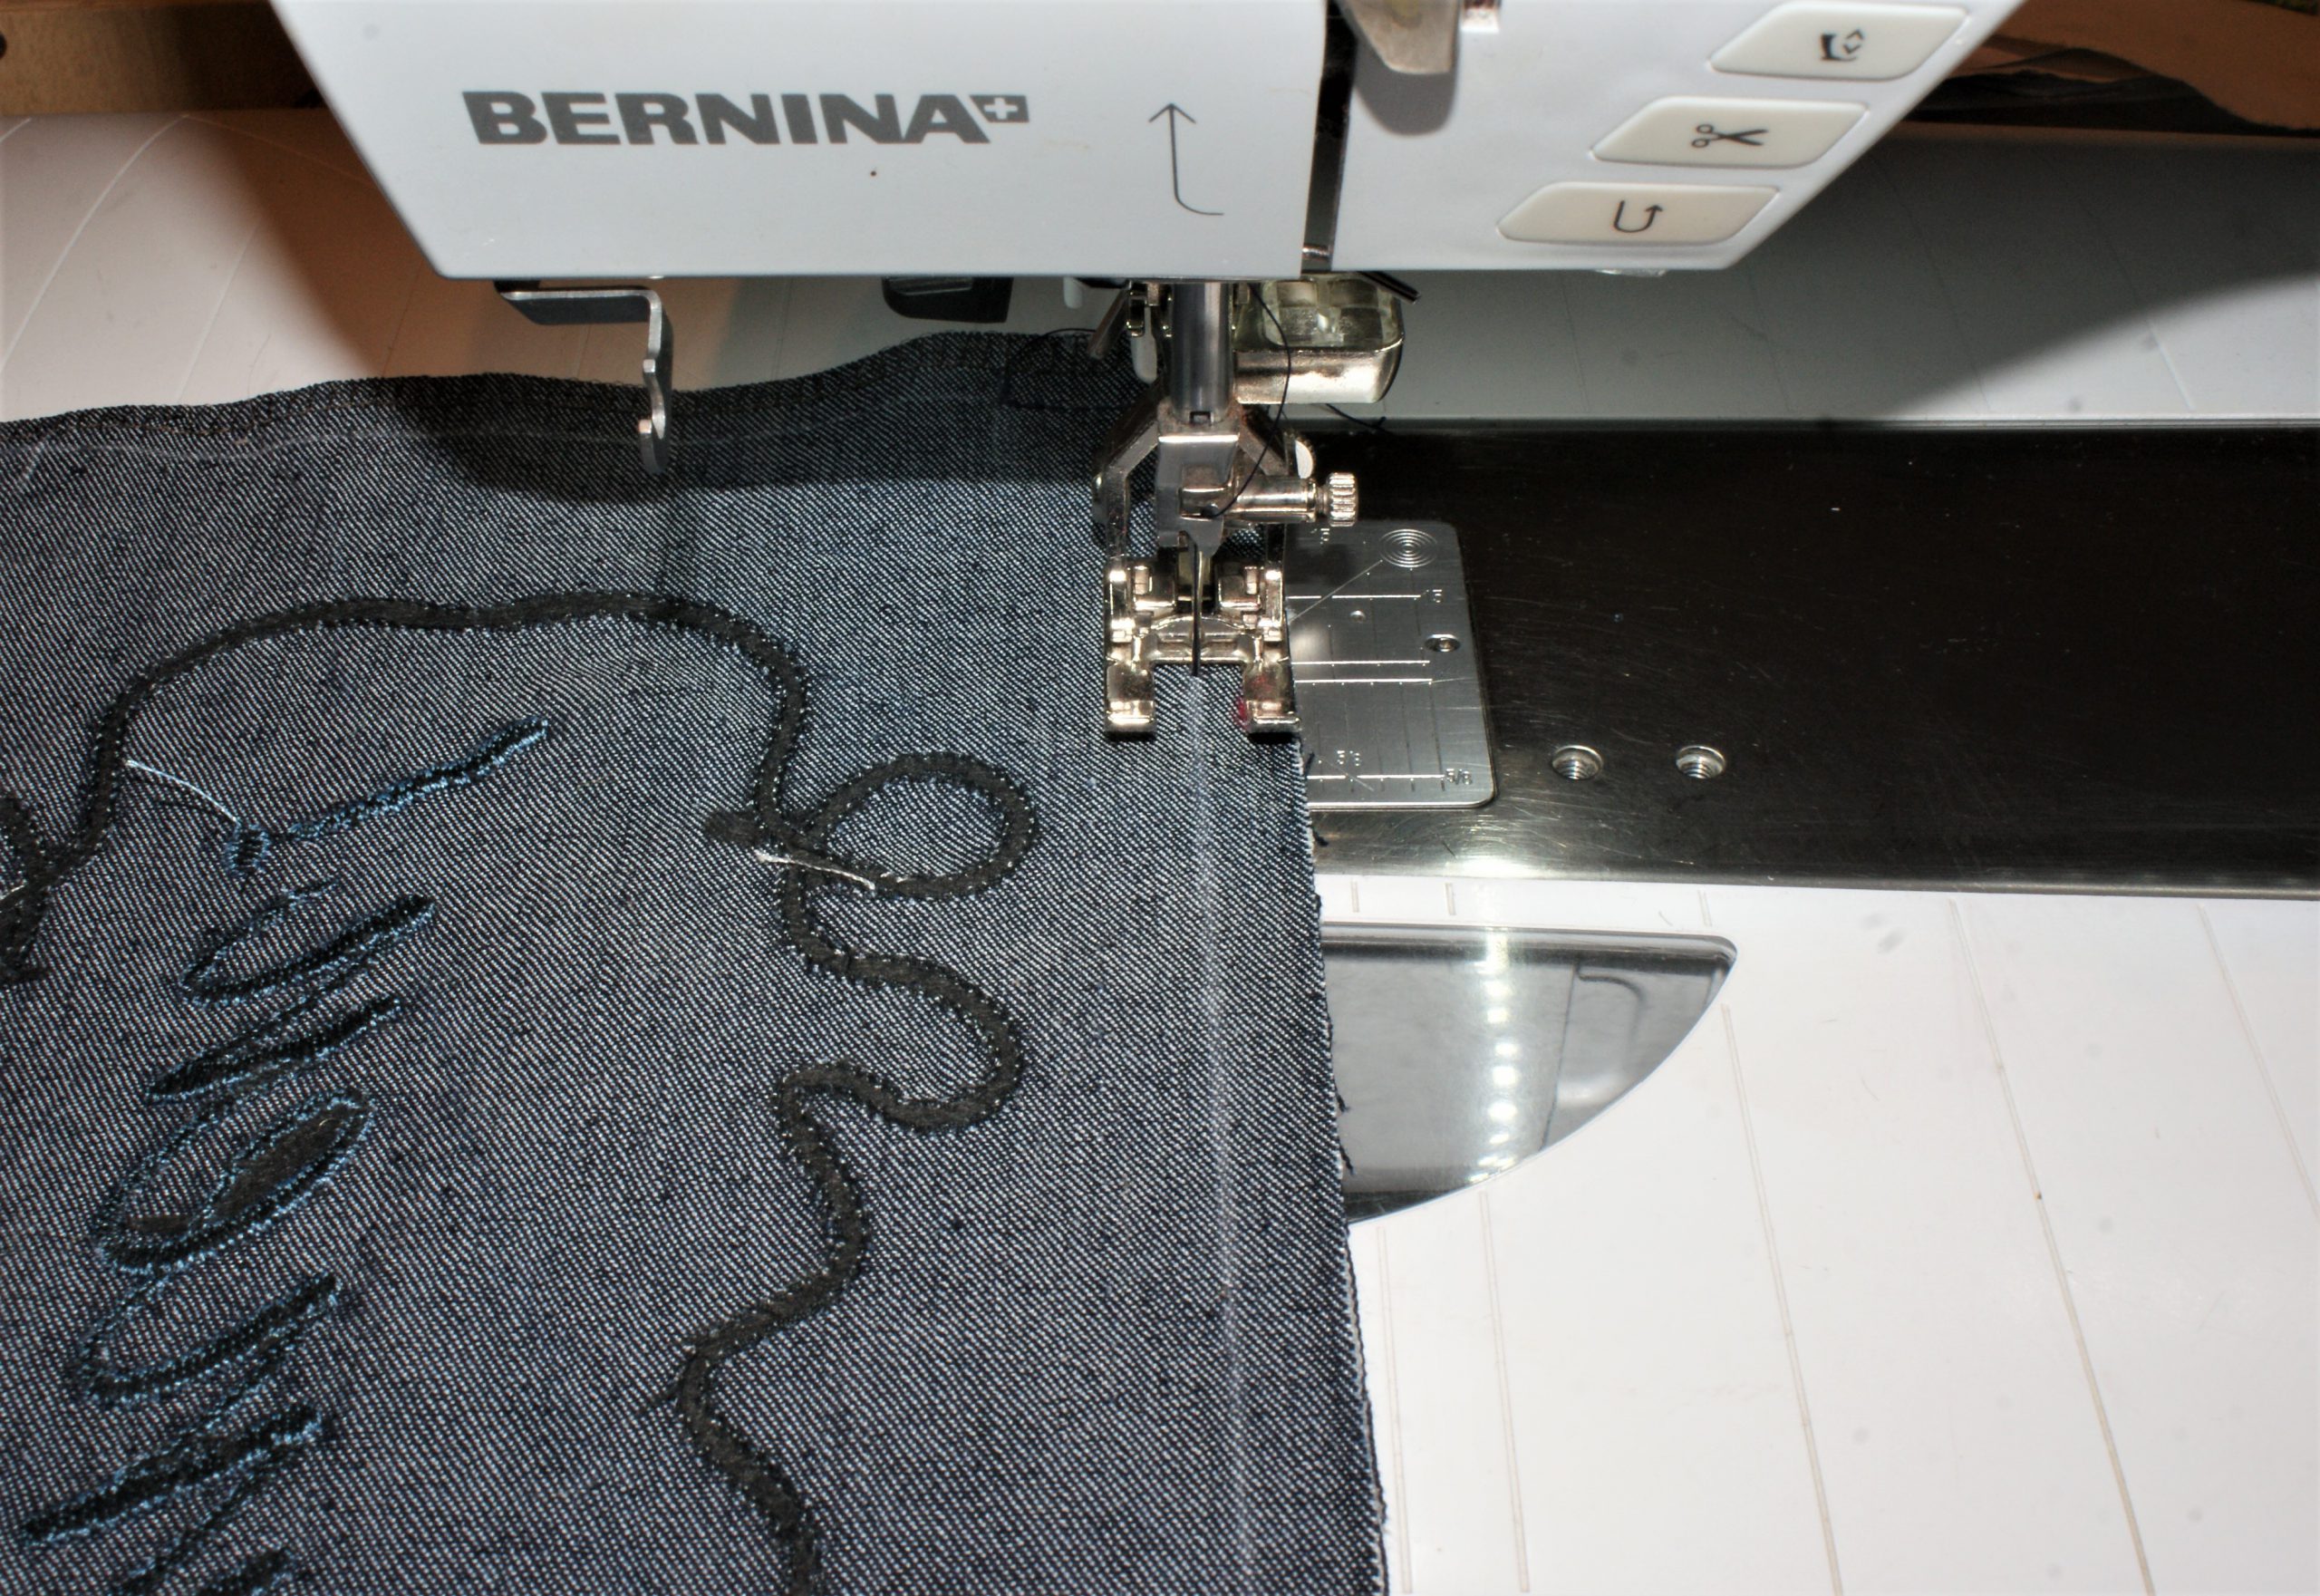
Sew the outline and leave an opening to fill.
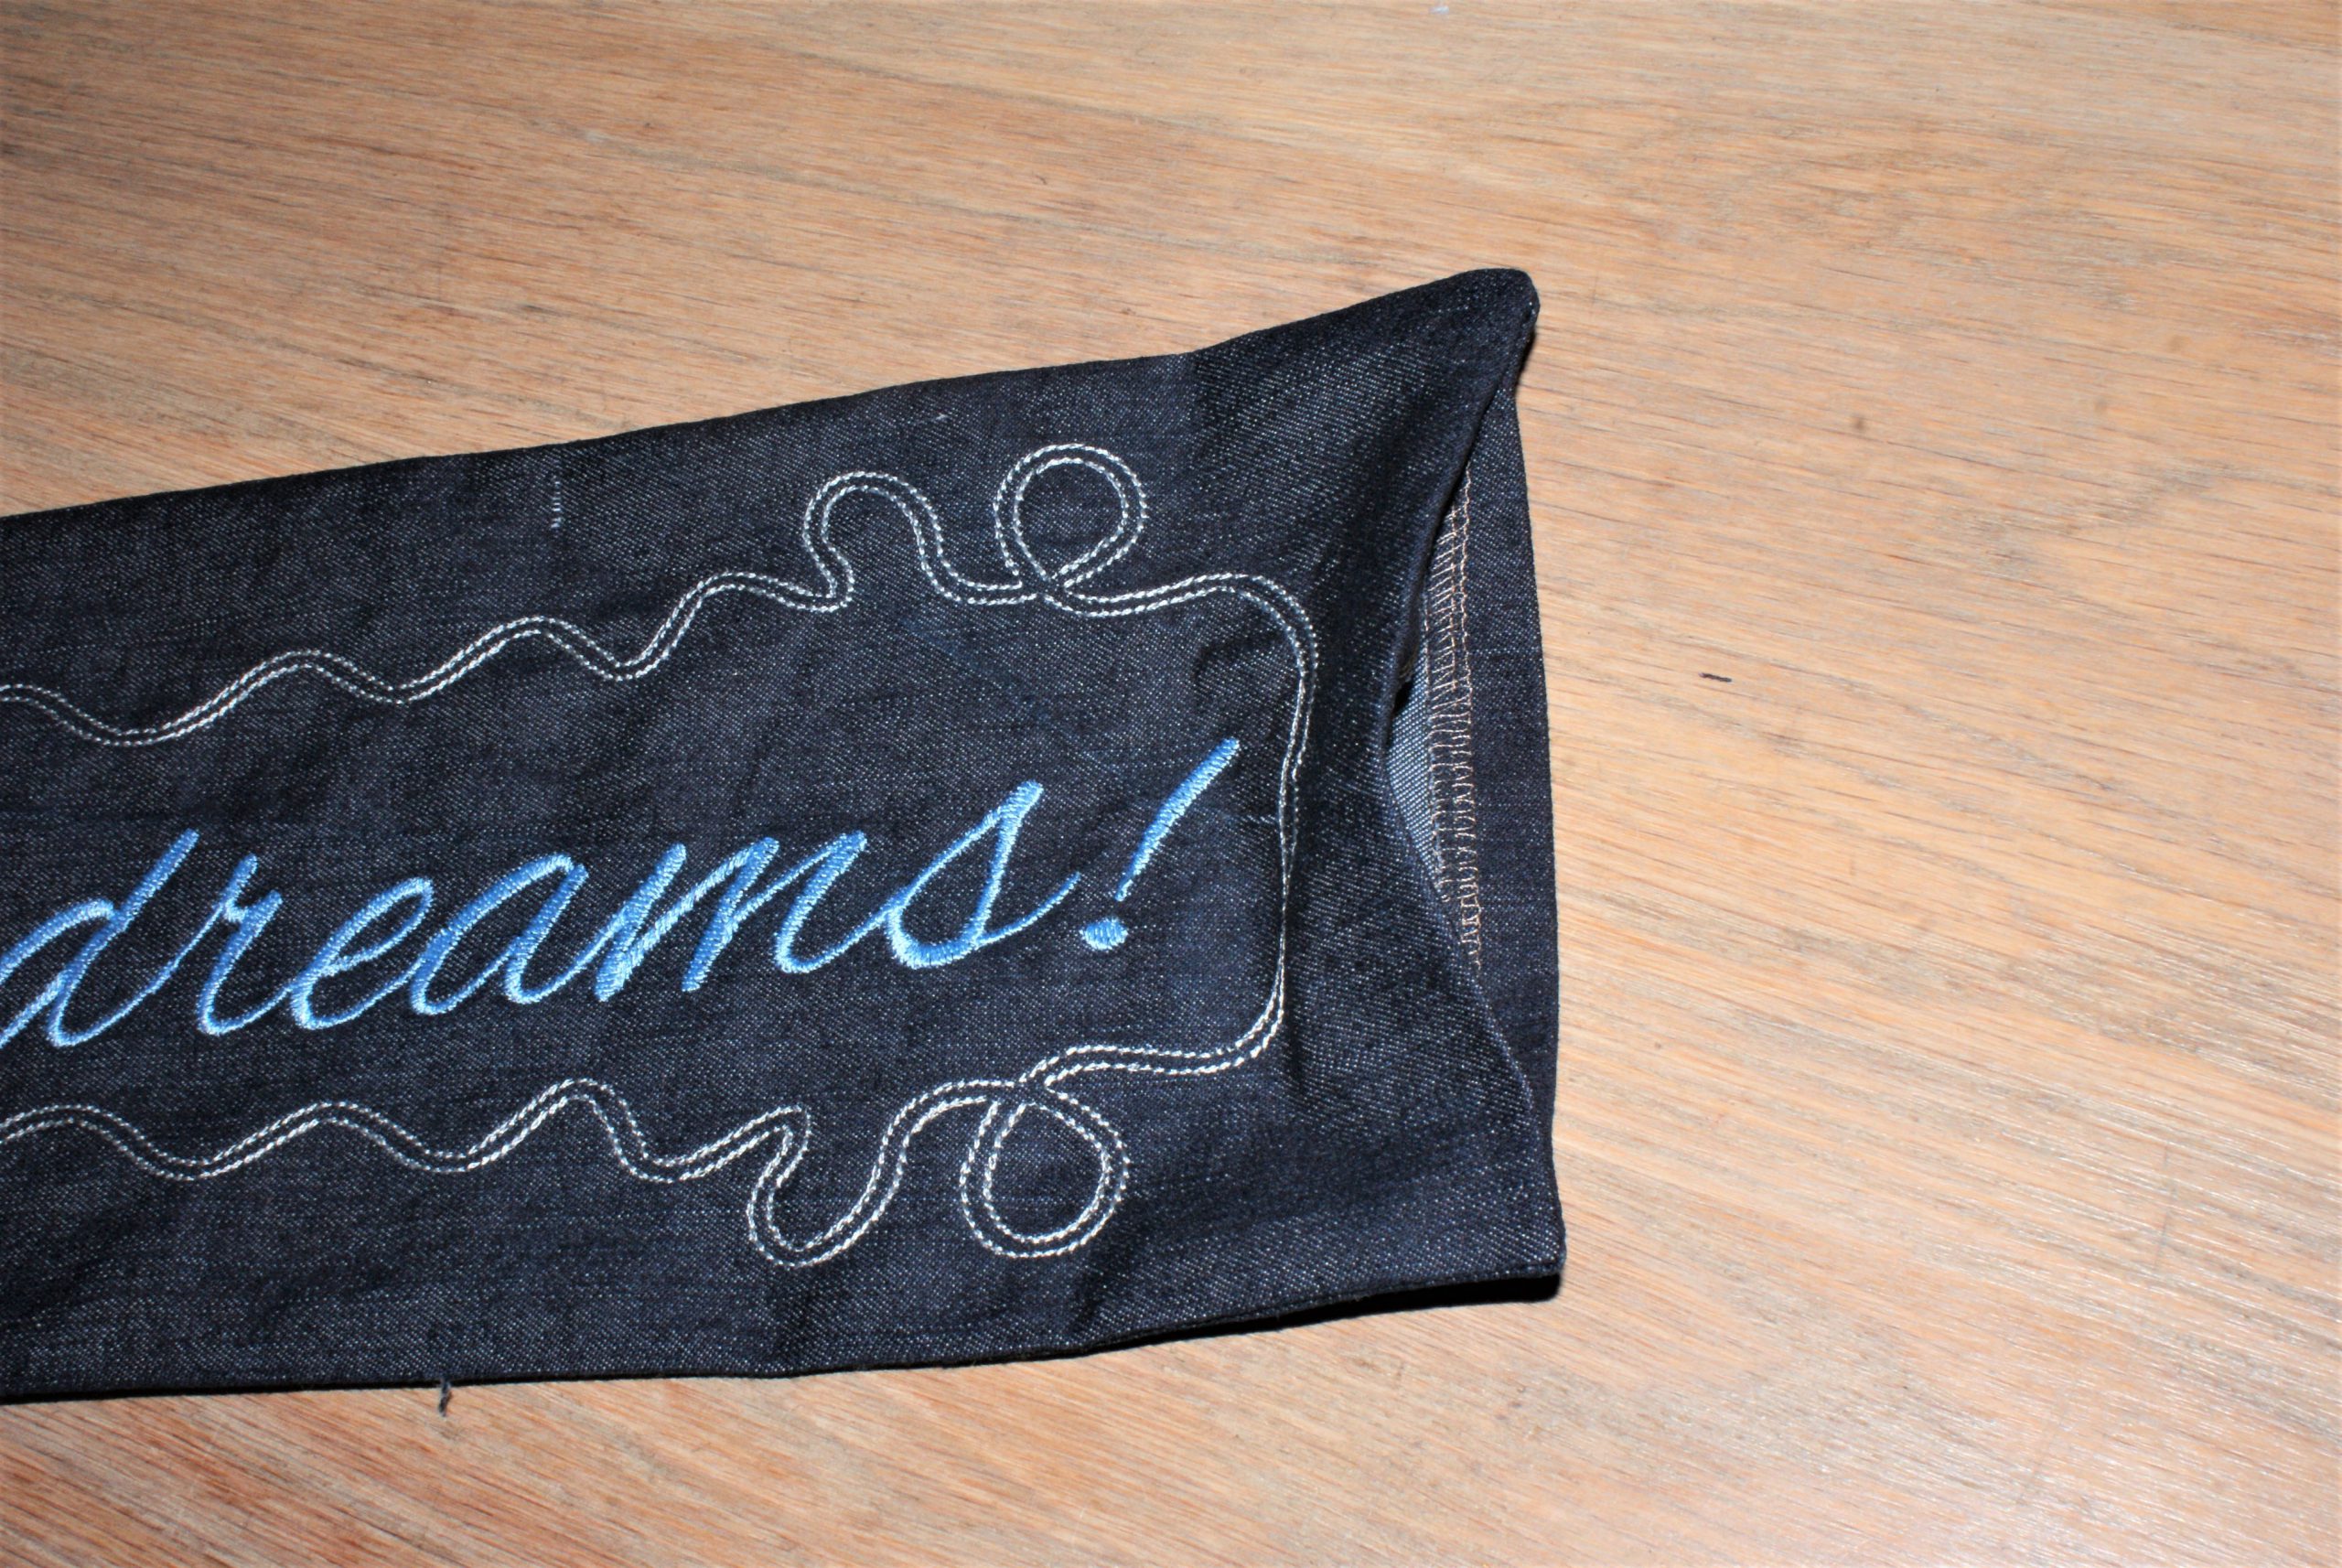
Cut the corners, it’s easier to turn inside out. Iron the seam in the opening.
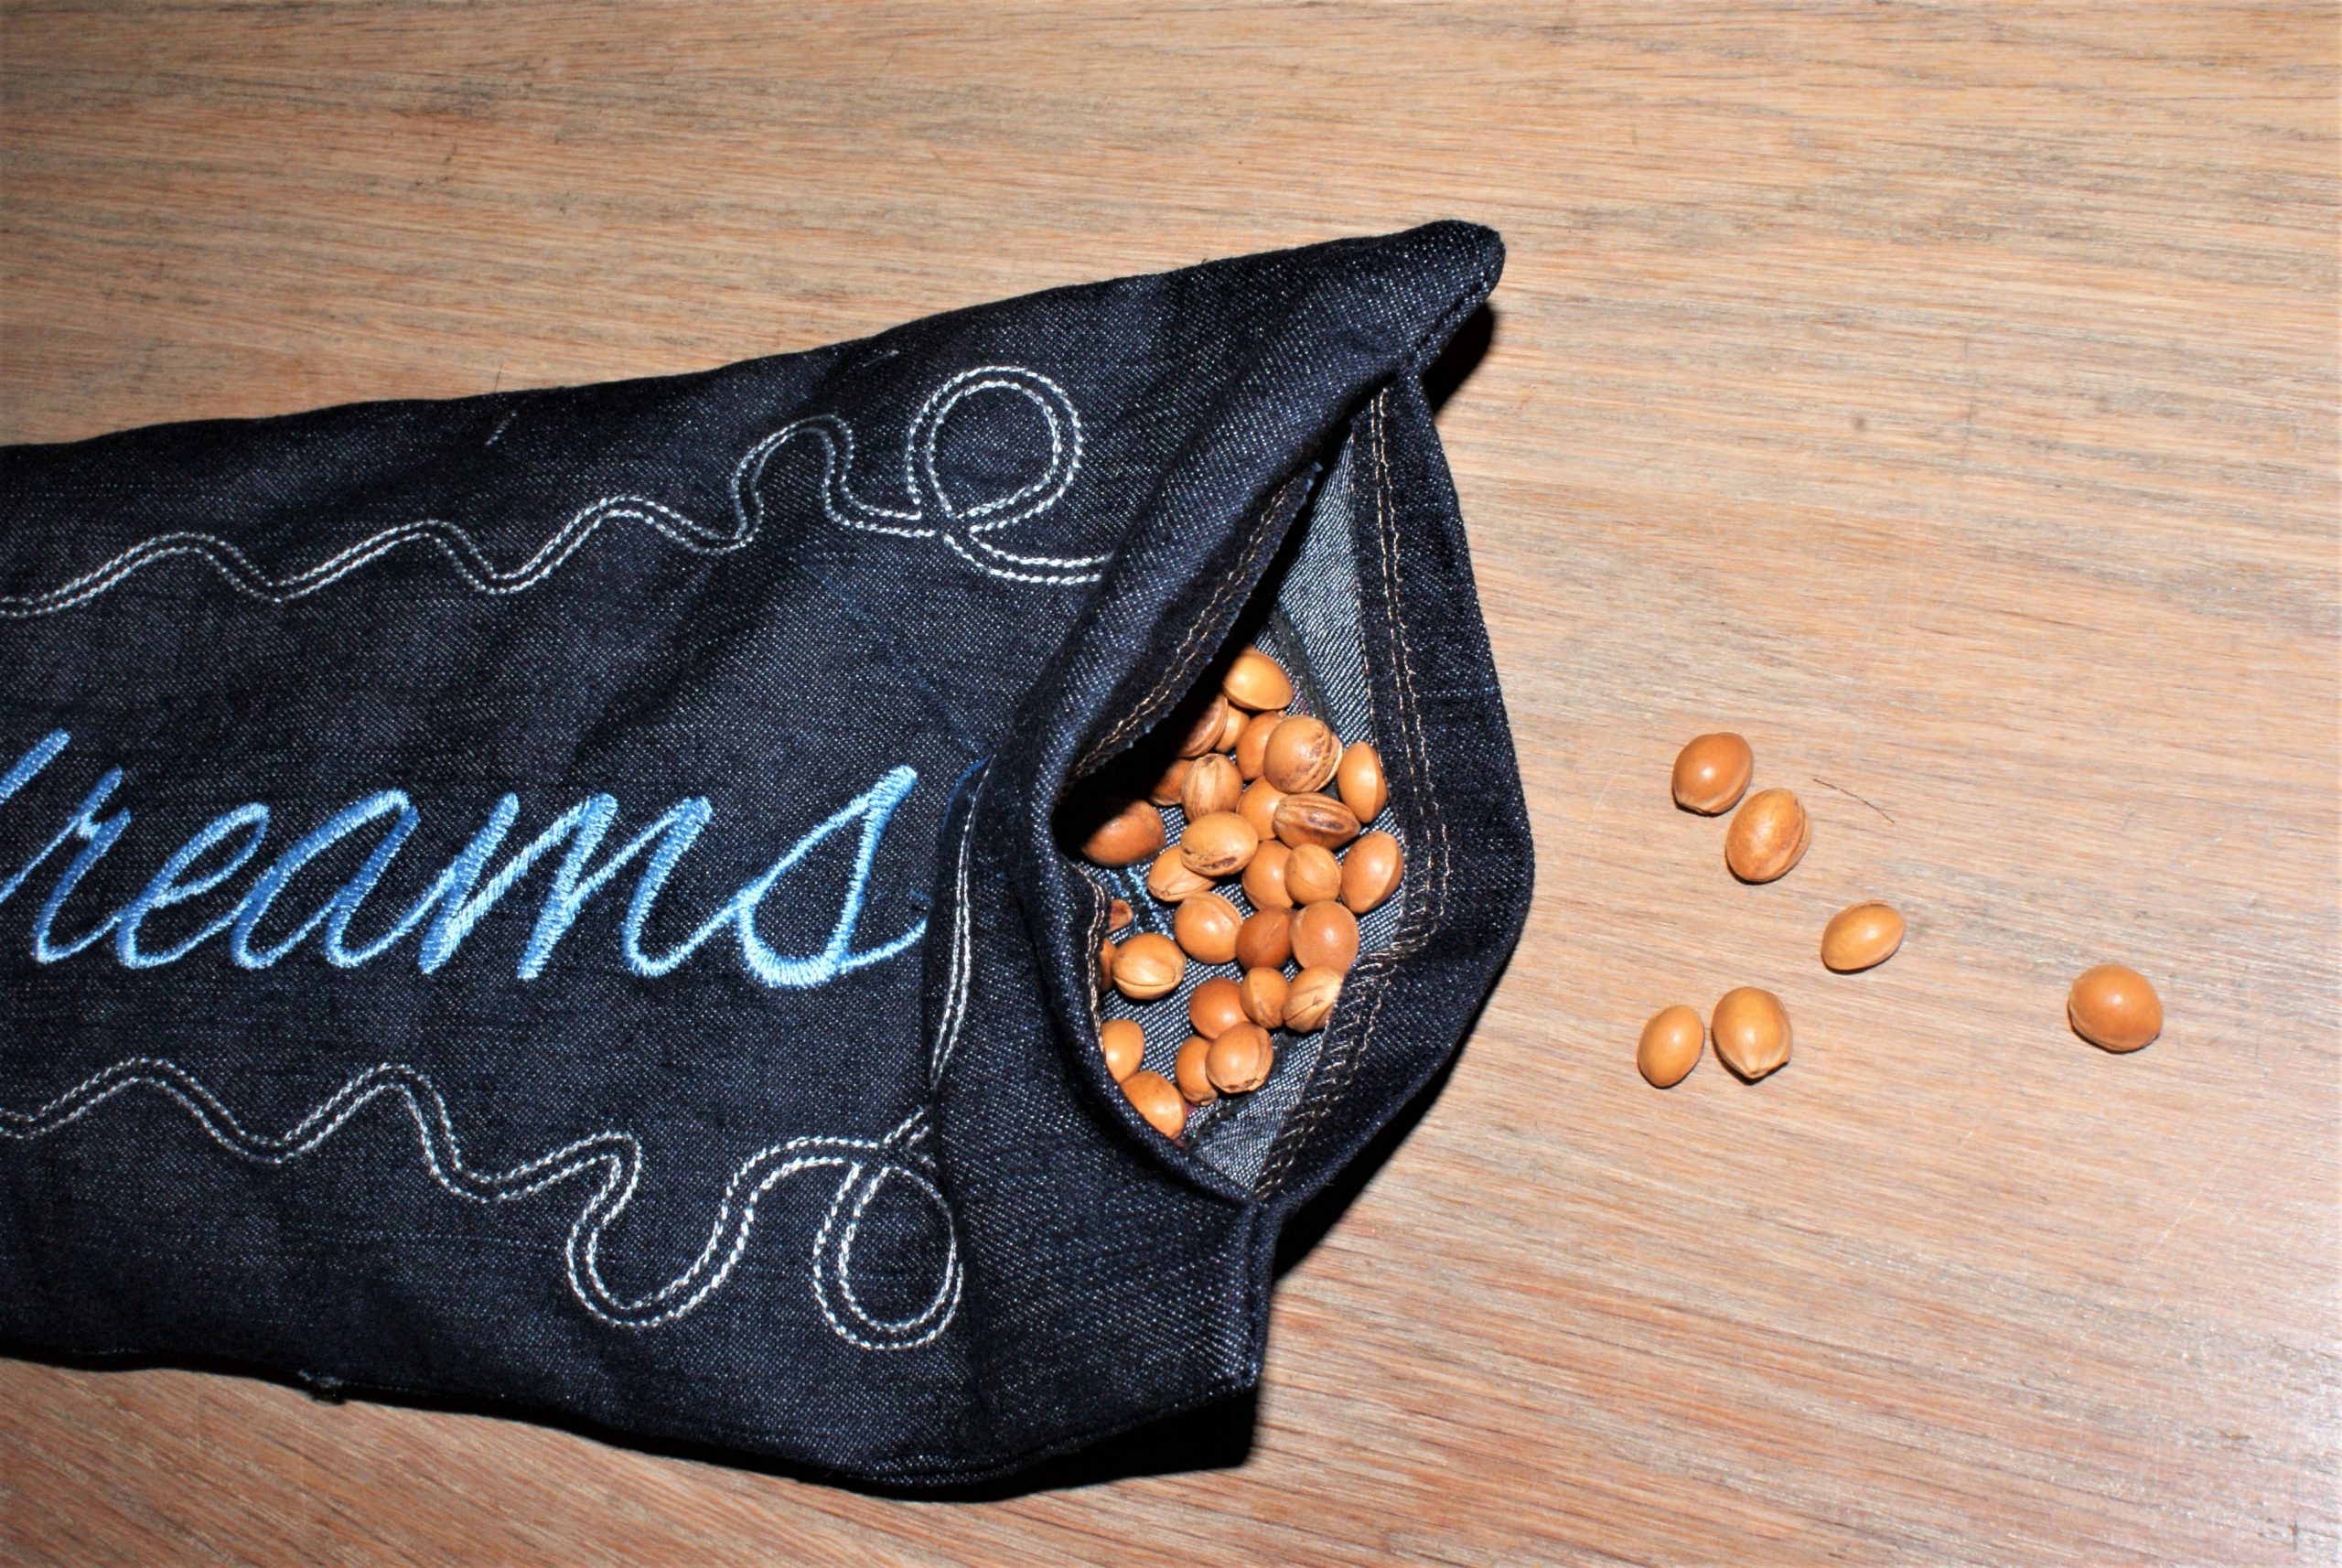
Fill the pillow with the cherry pits:
Pin the opening and sew the side seam to close the pillow.
Look, the cherry pit pillow has a new cover! You see it’s easy to sew a new cover for a cherry pit pillow.
Sweet dreams to all of you!
Follow me on Instagram Beacallemeyn
 BERNINA Corporate Blog -



0 Responses