 BERNINA Corporate Blog -
New Jersey top for everyones wardrobe
One of my absolute go to top patterns because its a quick relatively easy sew and fits me absolutely perfectly ( I have made a few alterations, but I will go through those later)
Perfect fabrics to use are knitted fabrics, from a Cotton Jersey, Viscose jersey to a more stable knit such as a Ponte de Roma, stretch Rib. Most importantly is that the fabric has stretch. (There is a stretch guide provided in the instructions of the pattern)
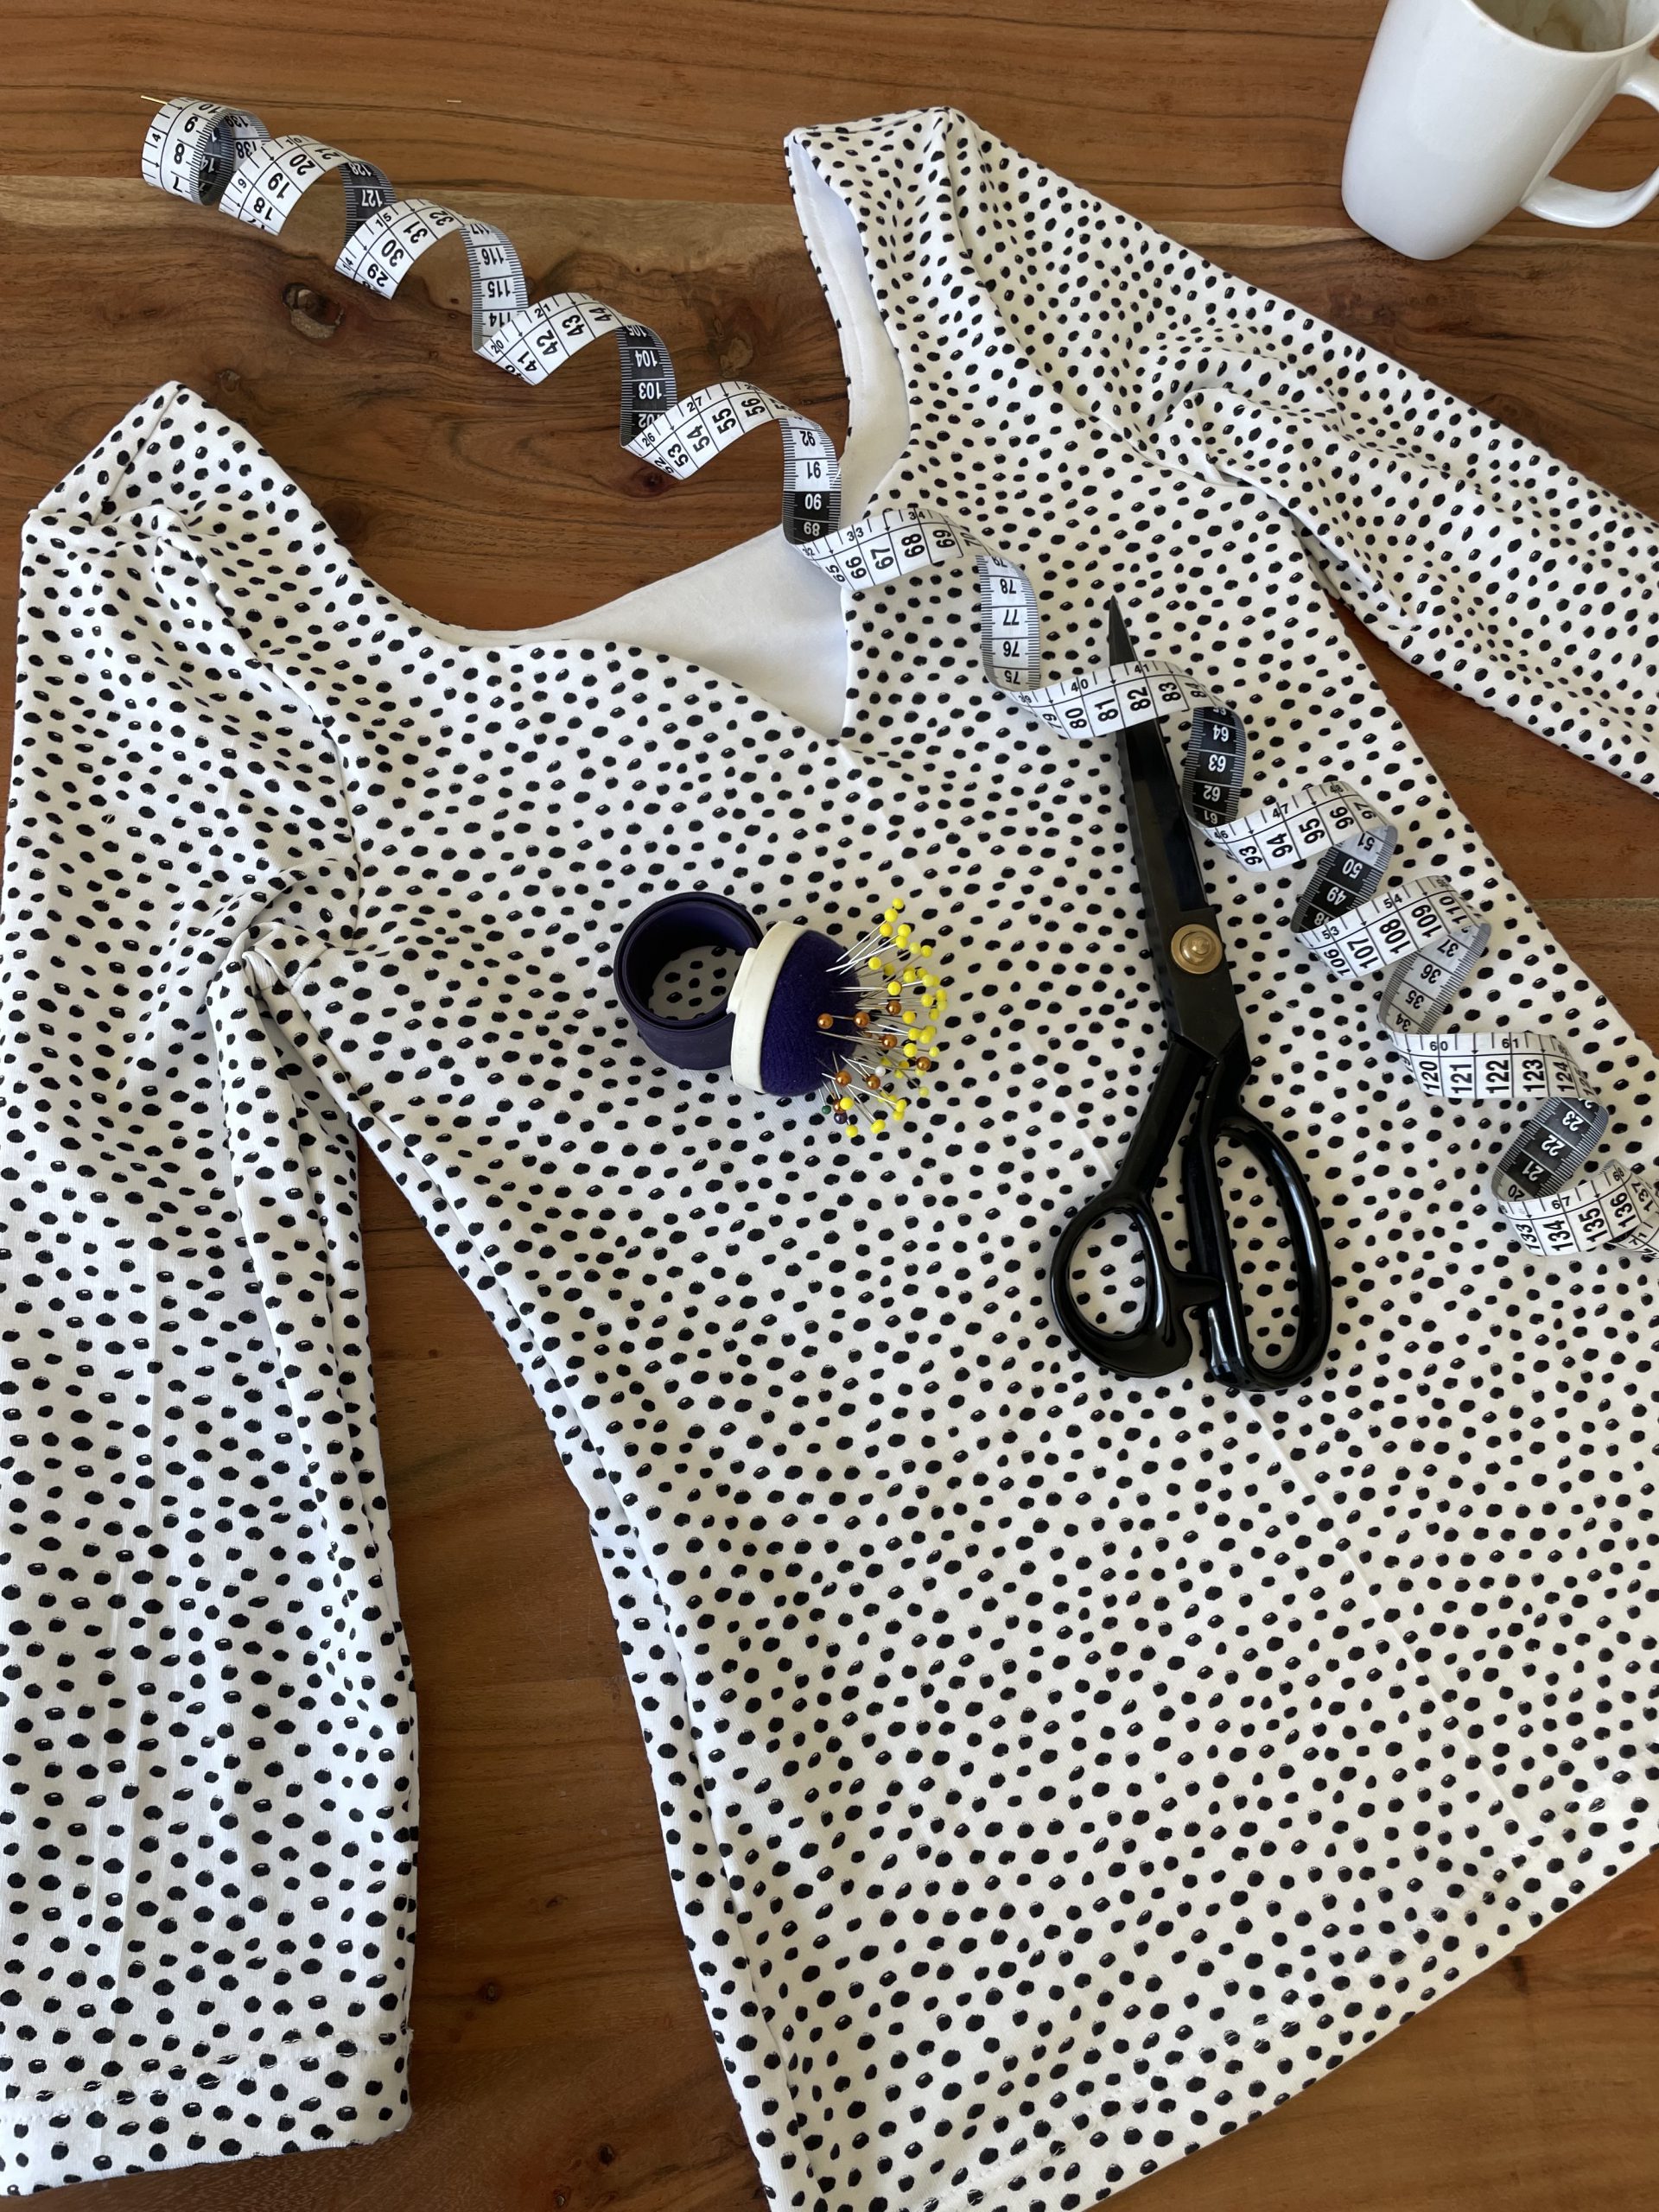
I have used a spot printed Cotton Jersey and a plain white Cotton Jersey for the lining.
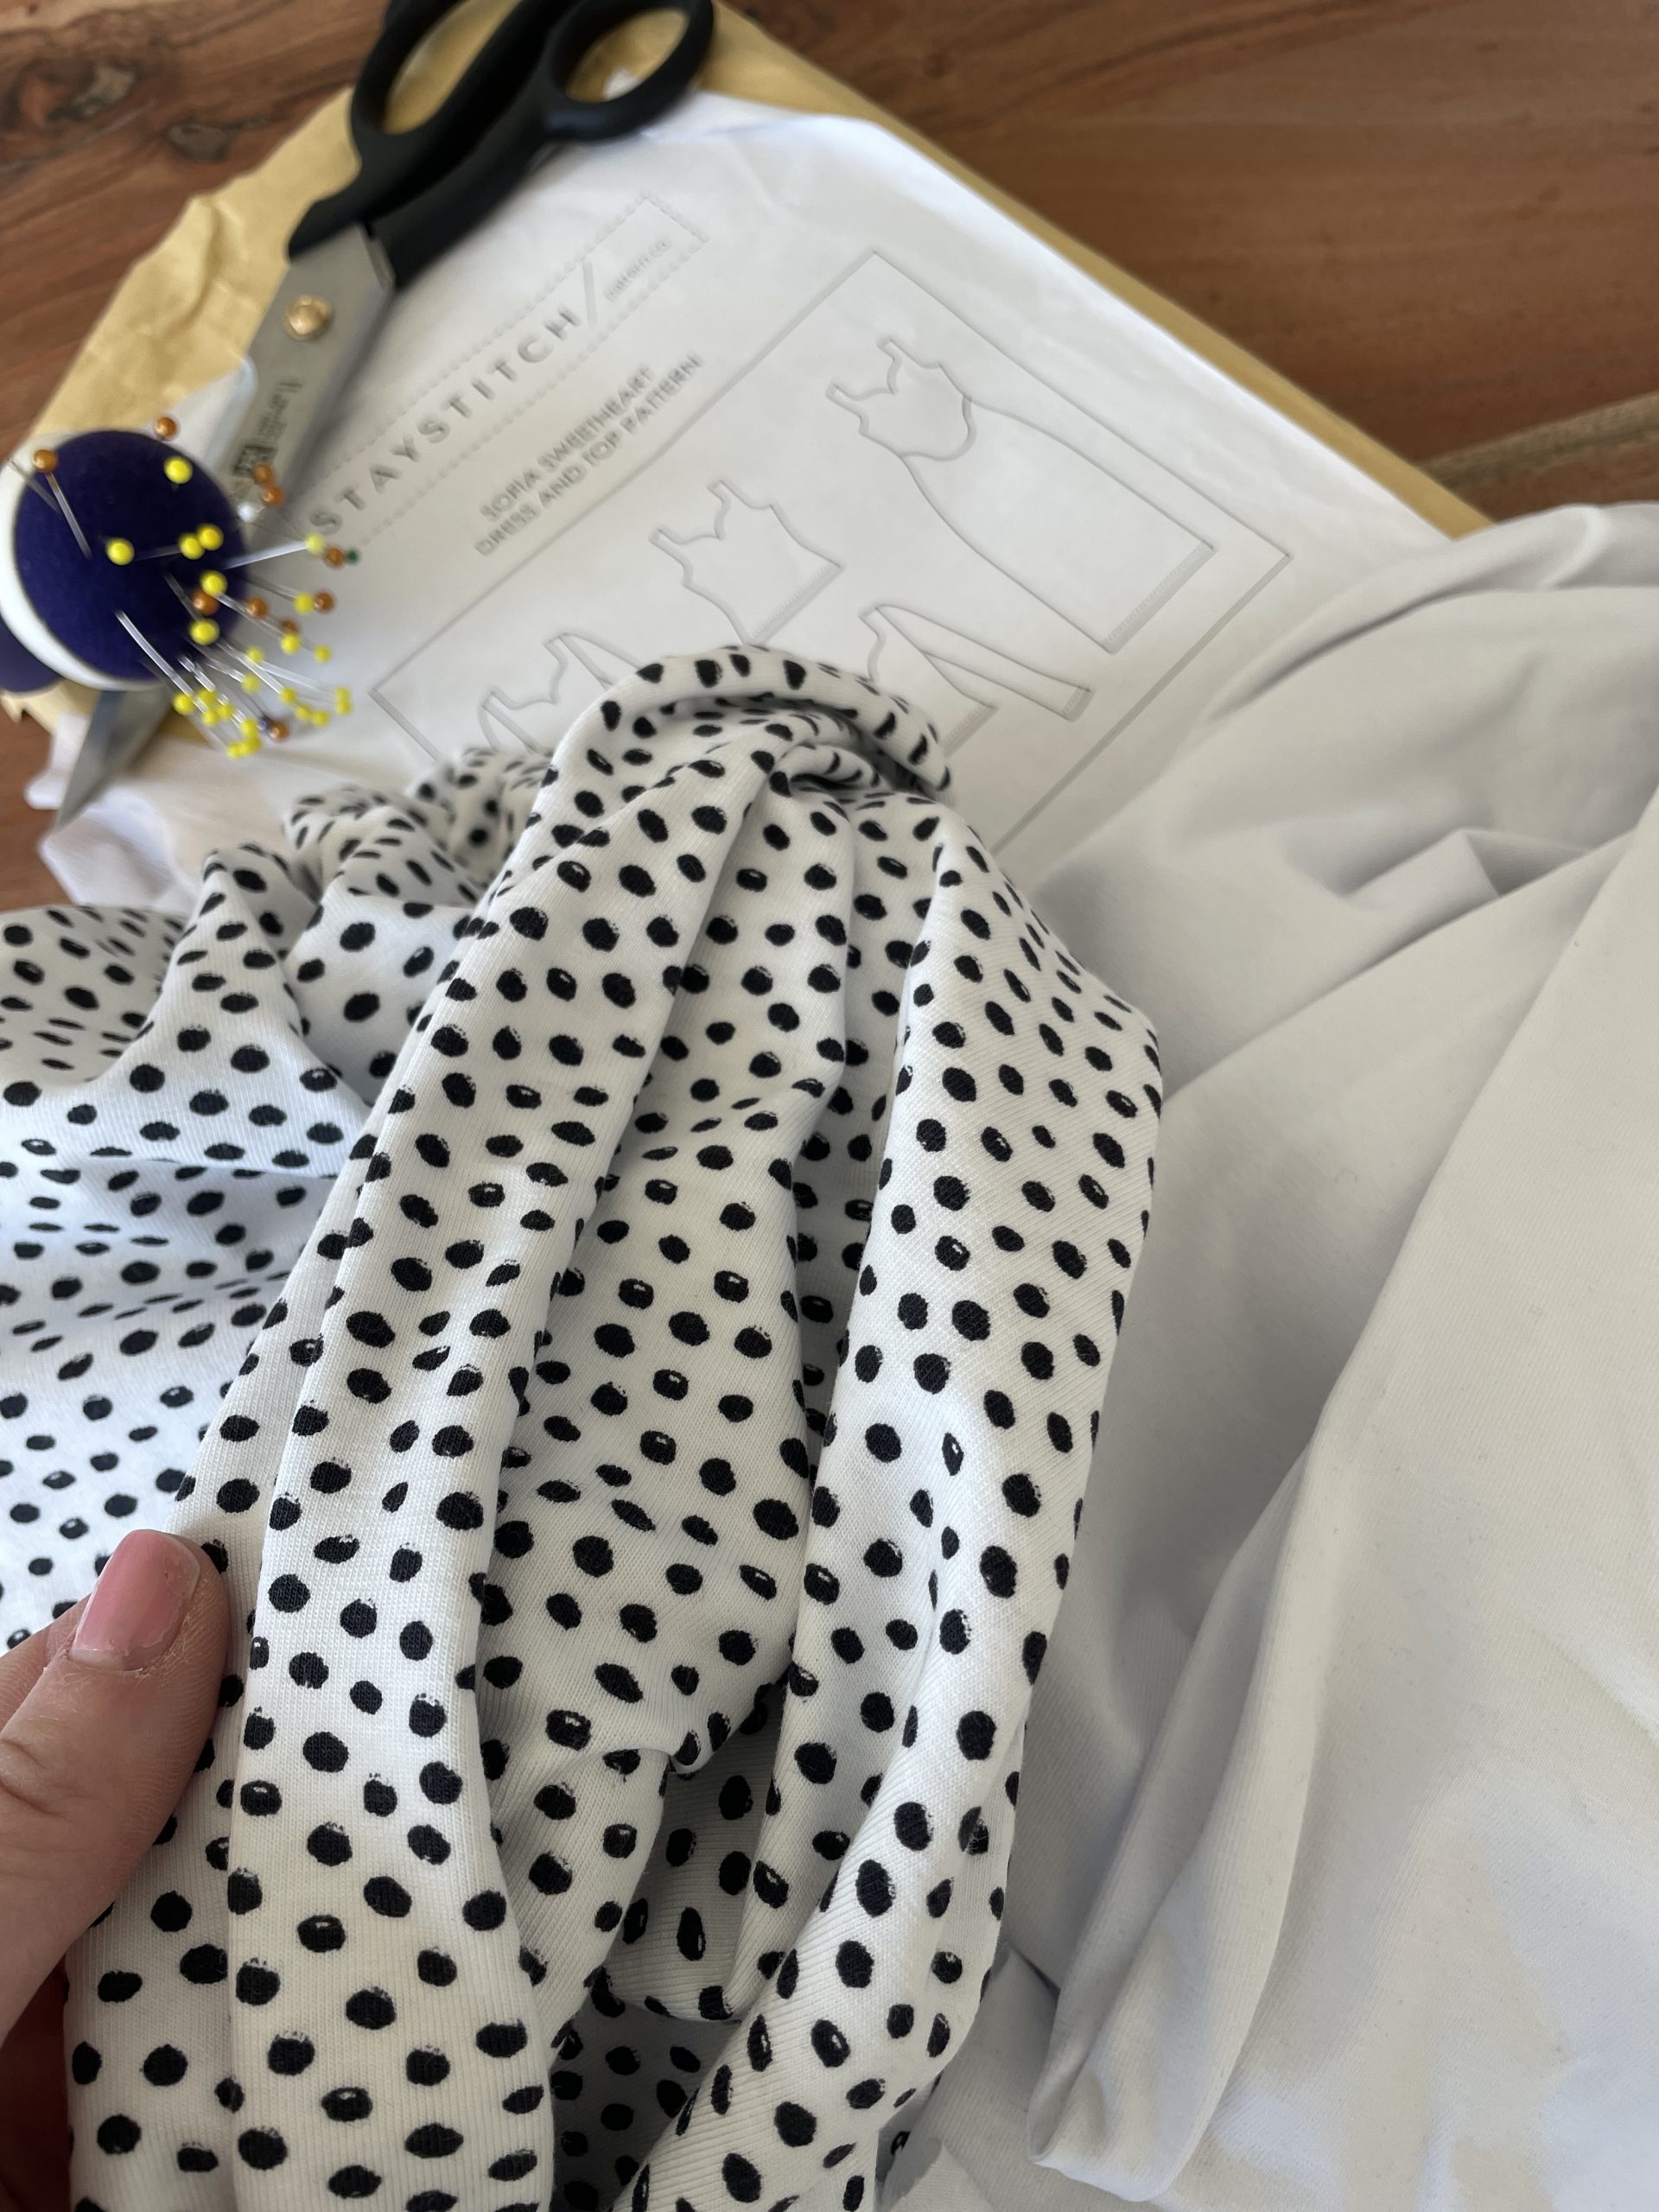
My fabric choice, cotton Jersey
The pattern comes as a dress and a Top, and you also have the option to have sleeves or armless, resulting in a perfect top / dress for the summer and the cooler months.
I have until now made both versions, this time, I have decided to cut the sleeves a little shorter for a more spring look and have a 3/4 length sleeve.
Ive also adjusted the length of the top, as the first version of the top I sewed was far too short, and the days have gone since im able to pull off a crop top! Ive added around 15cm to the length!
Choosing your size
Firstly and very importantly, measure yourself and compare your body measurements to the table provided. This will identify which size pattern you will require, and advise how much fabric you will need to buy. (the good thing is, not much fabric is needed!!) As a result you will have the perfect fit.
I have sewn myself a size 4.
Tips when sewing with Knitted fabrics
Always use a ballpoint stretch / jersey needle. Ballpoint needles have rounder tips and and helps to avoid tearing holes in the fabric. For lighter fabrics I would recommend a size 65 or 70 needle.
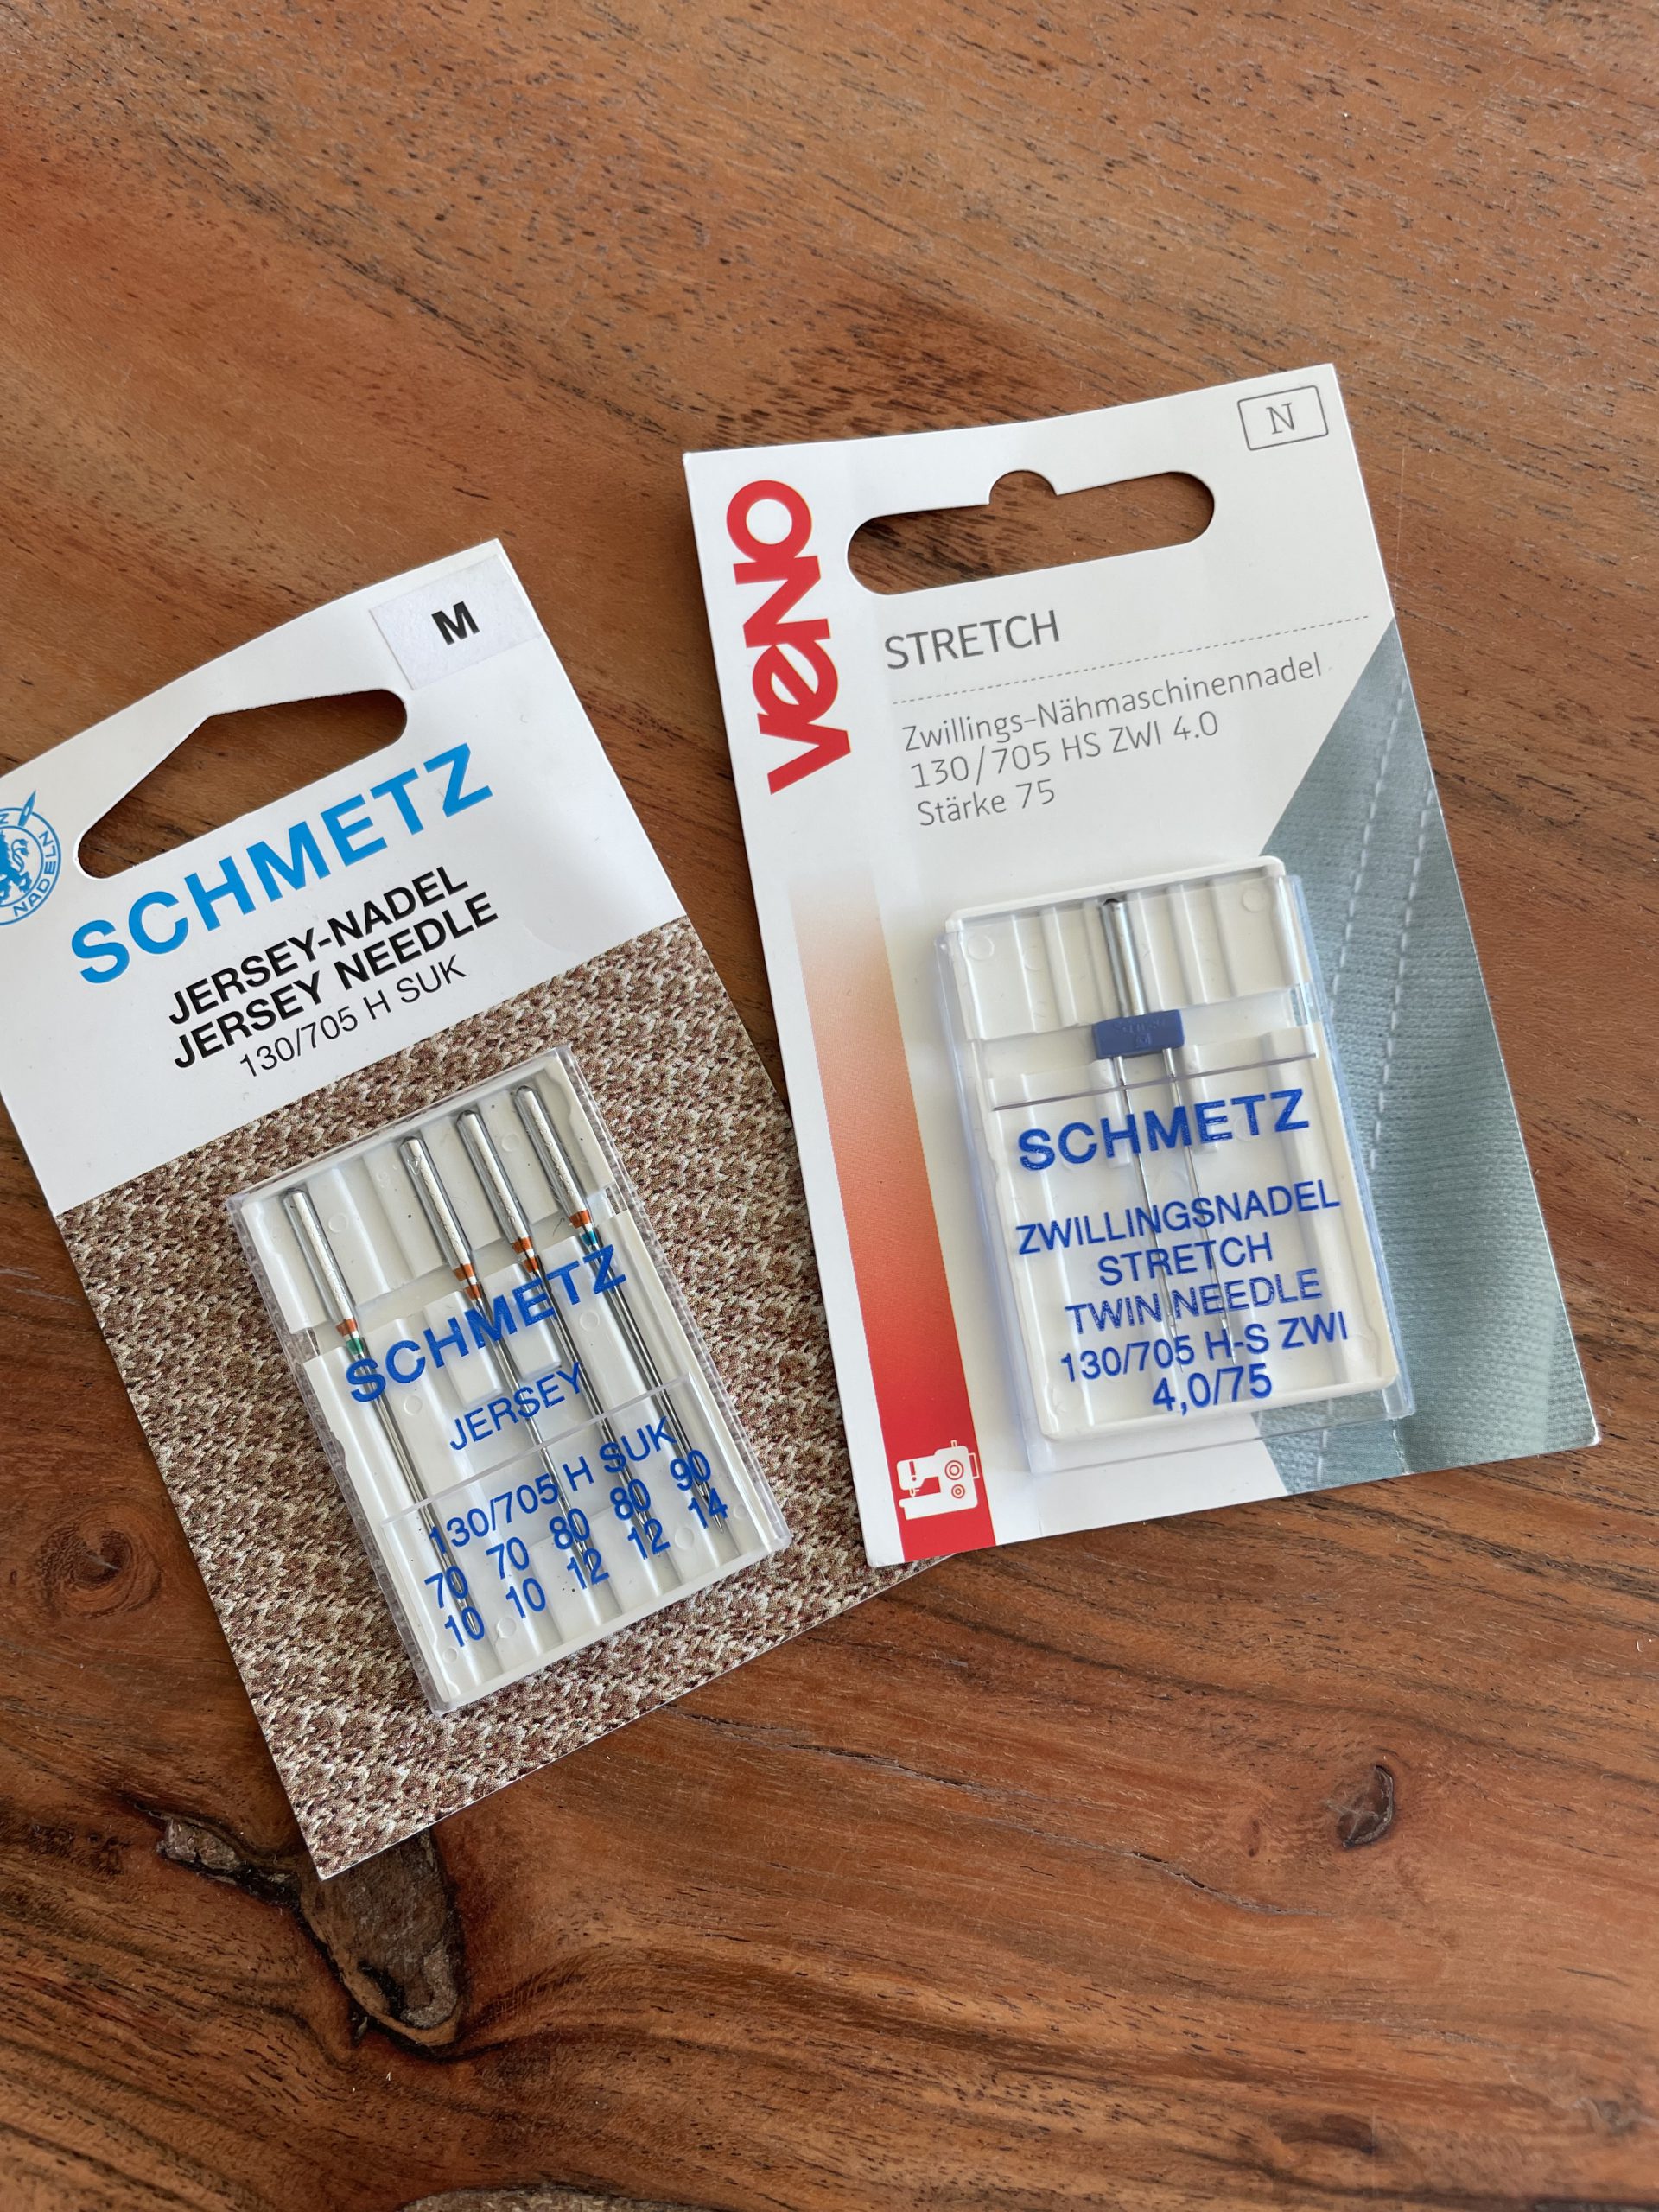
Stretch and twin needle for the sewing machine
I would also highly recommend a twin needle if you dont have a cover stitch machine for the hems of the sleeves and the body. This gives a very professional finish, more so than a zig zag stitch, and it stretches with your fabric, preventing seam tears.
Stitch Type
Id highly recommend using a combination of sewing machine and Overlock, but, if you dont have an overlock machine than a sewing machine is also suffice.
Always use a zig Zag stitch when sewing with knits, if you use a straight stitch your seams will not stretch back and can snap and break! a narrow zig zag works best. I highly recommend testing your stitch on a scrap of the same fabric before you start to sew.
I used a a zig zag size of 1,5mm wide and 2,5mm long when sewing around the neck facing, an overlock for the rest of the seams and a twin needle for the hems.
Seams can be finished off using the zig zag or an overlocker.
Sewing your top..
Attaching the Interfacing
Firstly we have the machine threaded and ready to go, all pattern pieces have been cut out, ( seam allowance is included in the pattern) and the interfacing has been ironed onto the wrong side of the lining pieces. ( press with your iron, using steam.) This will help stabilise the sweetheart shape of the neckline.
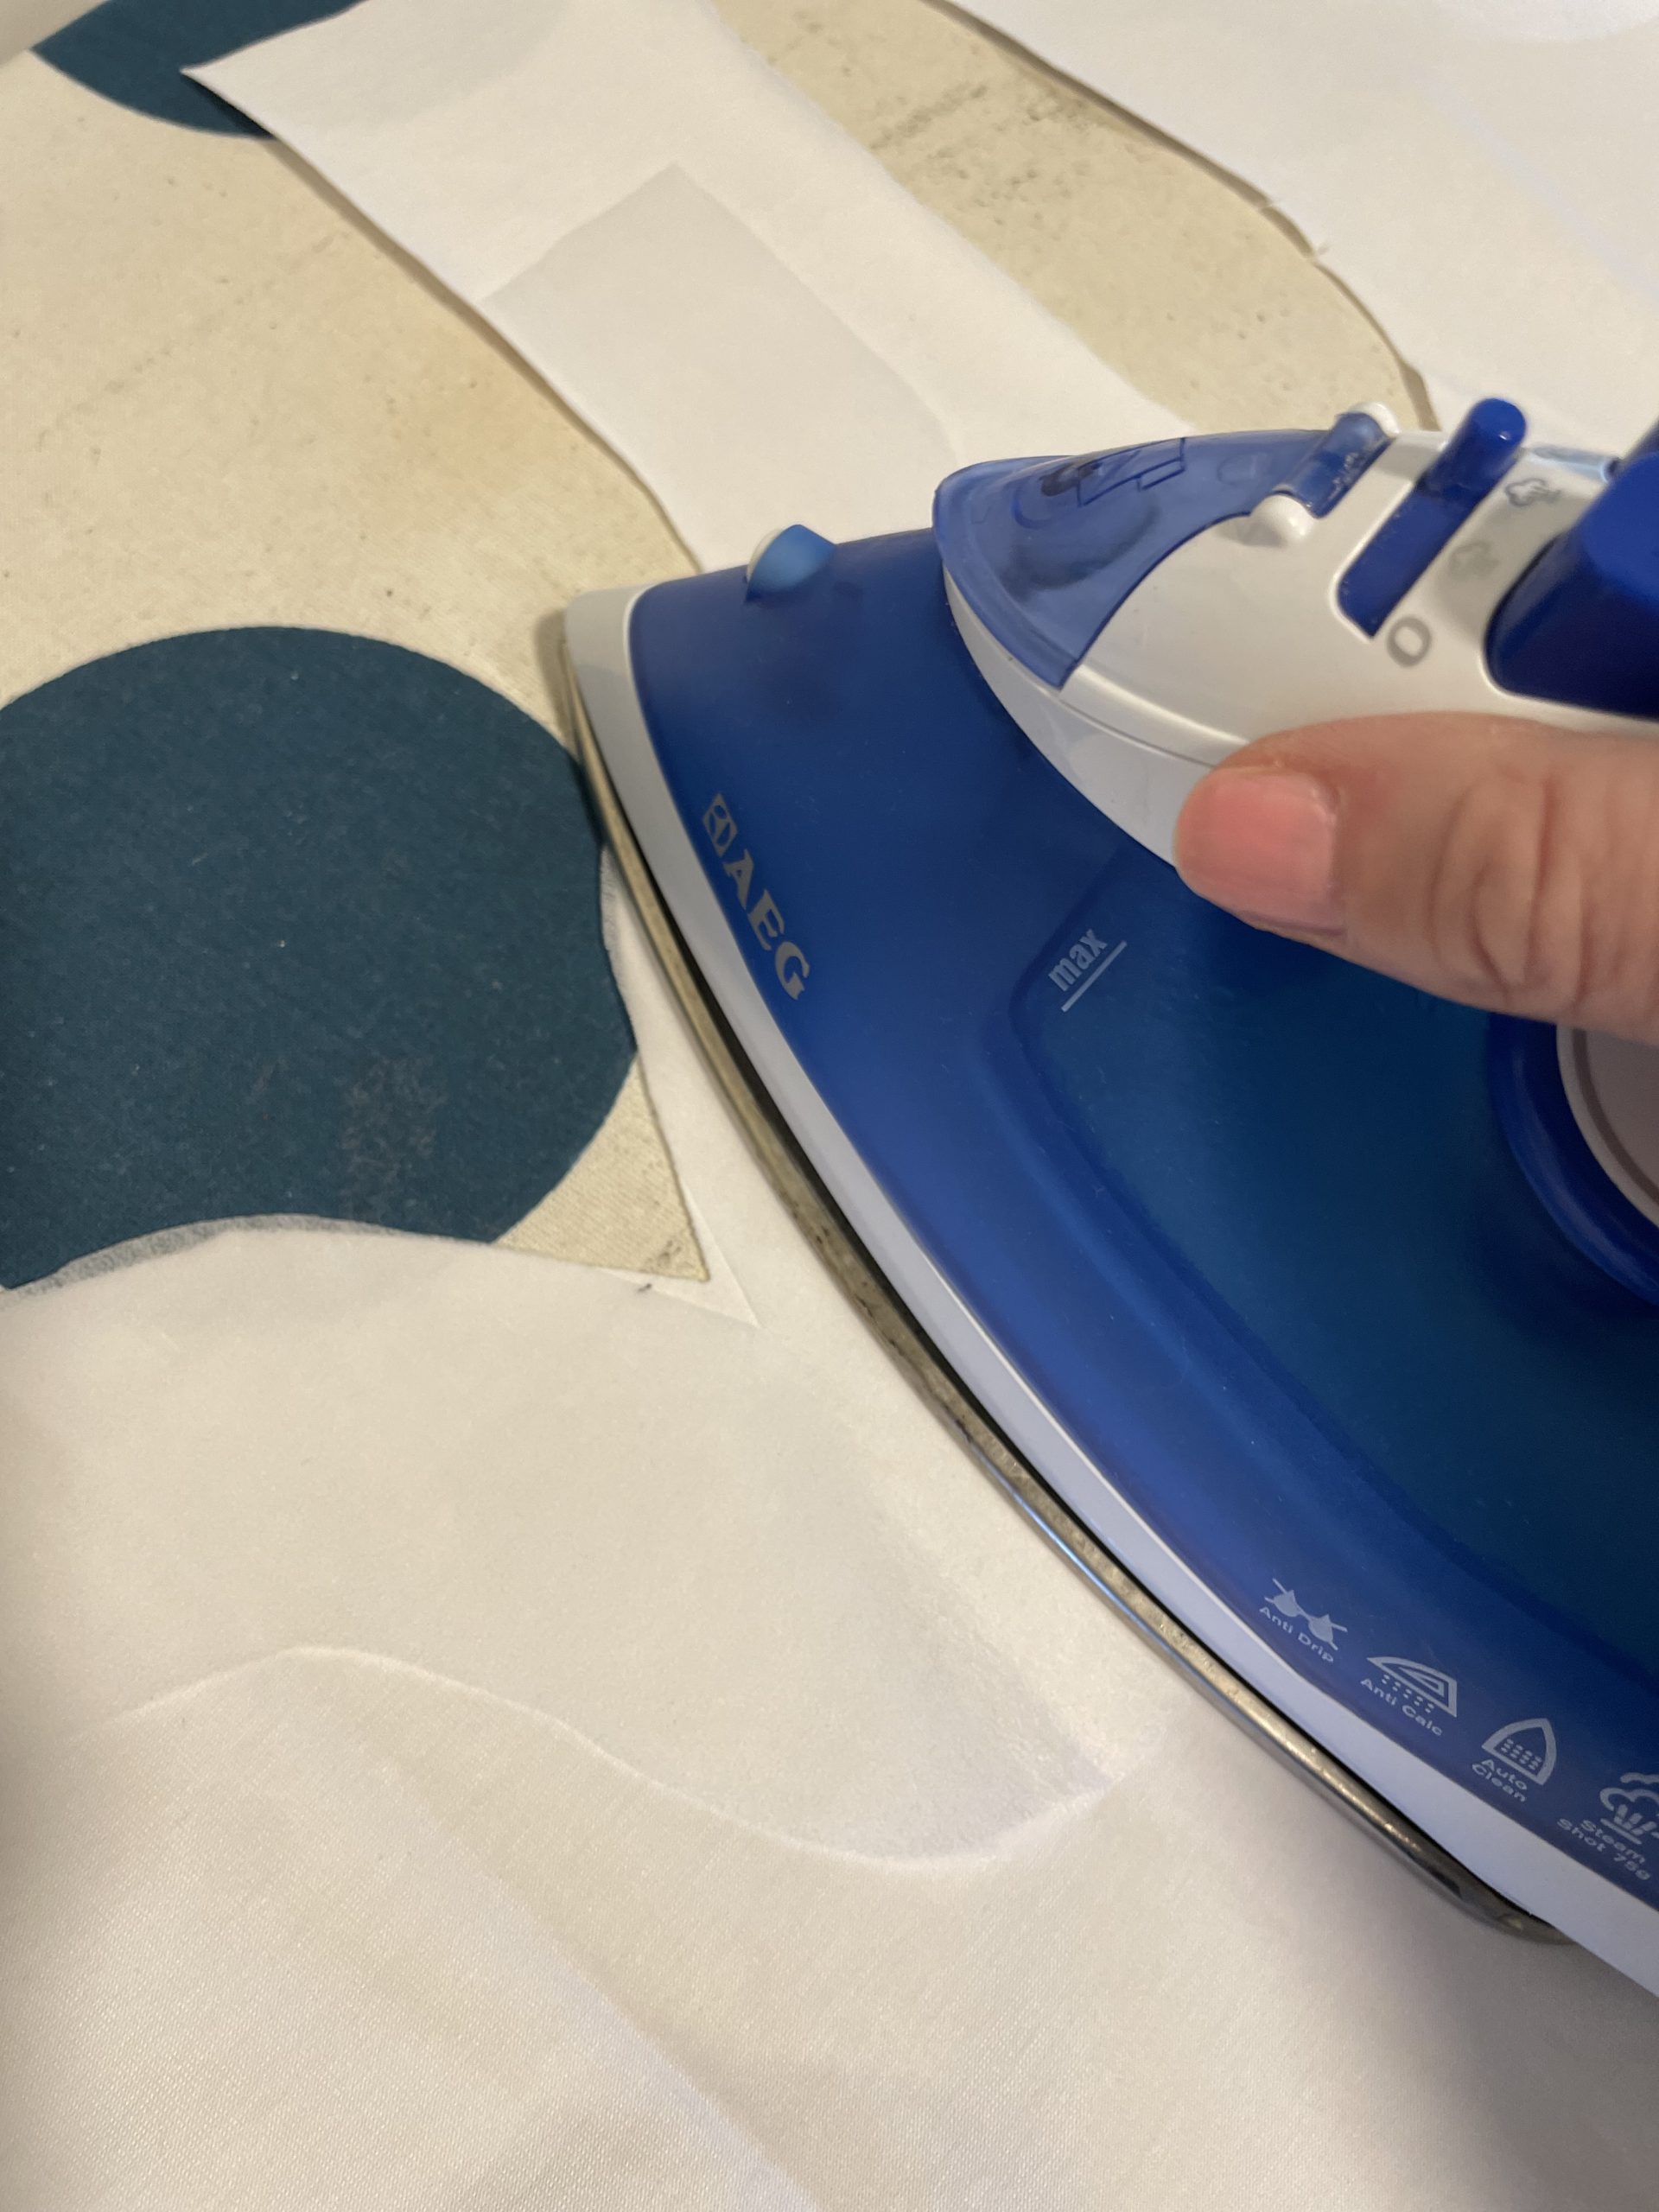
Interfacing fused to the wrong side of the lining, back and front.
Sewing the shoulder seams
Secondly with right sides together sew the shoulders seams together off the front and back bodice and the front and back lining pieces and press towards the back.
shoulder seams of both the lining and the outer bodice
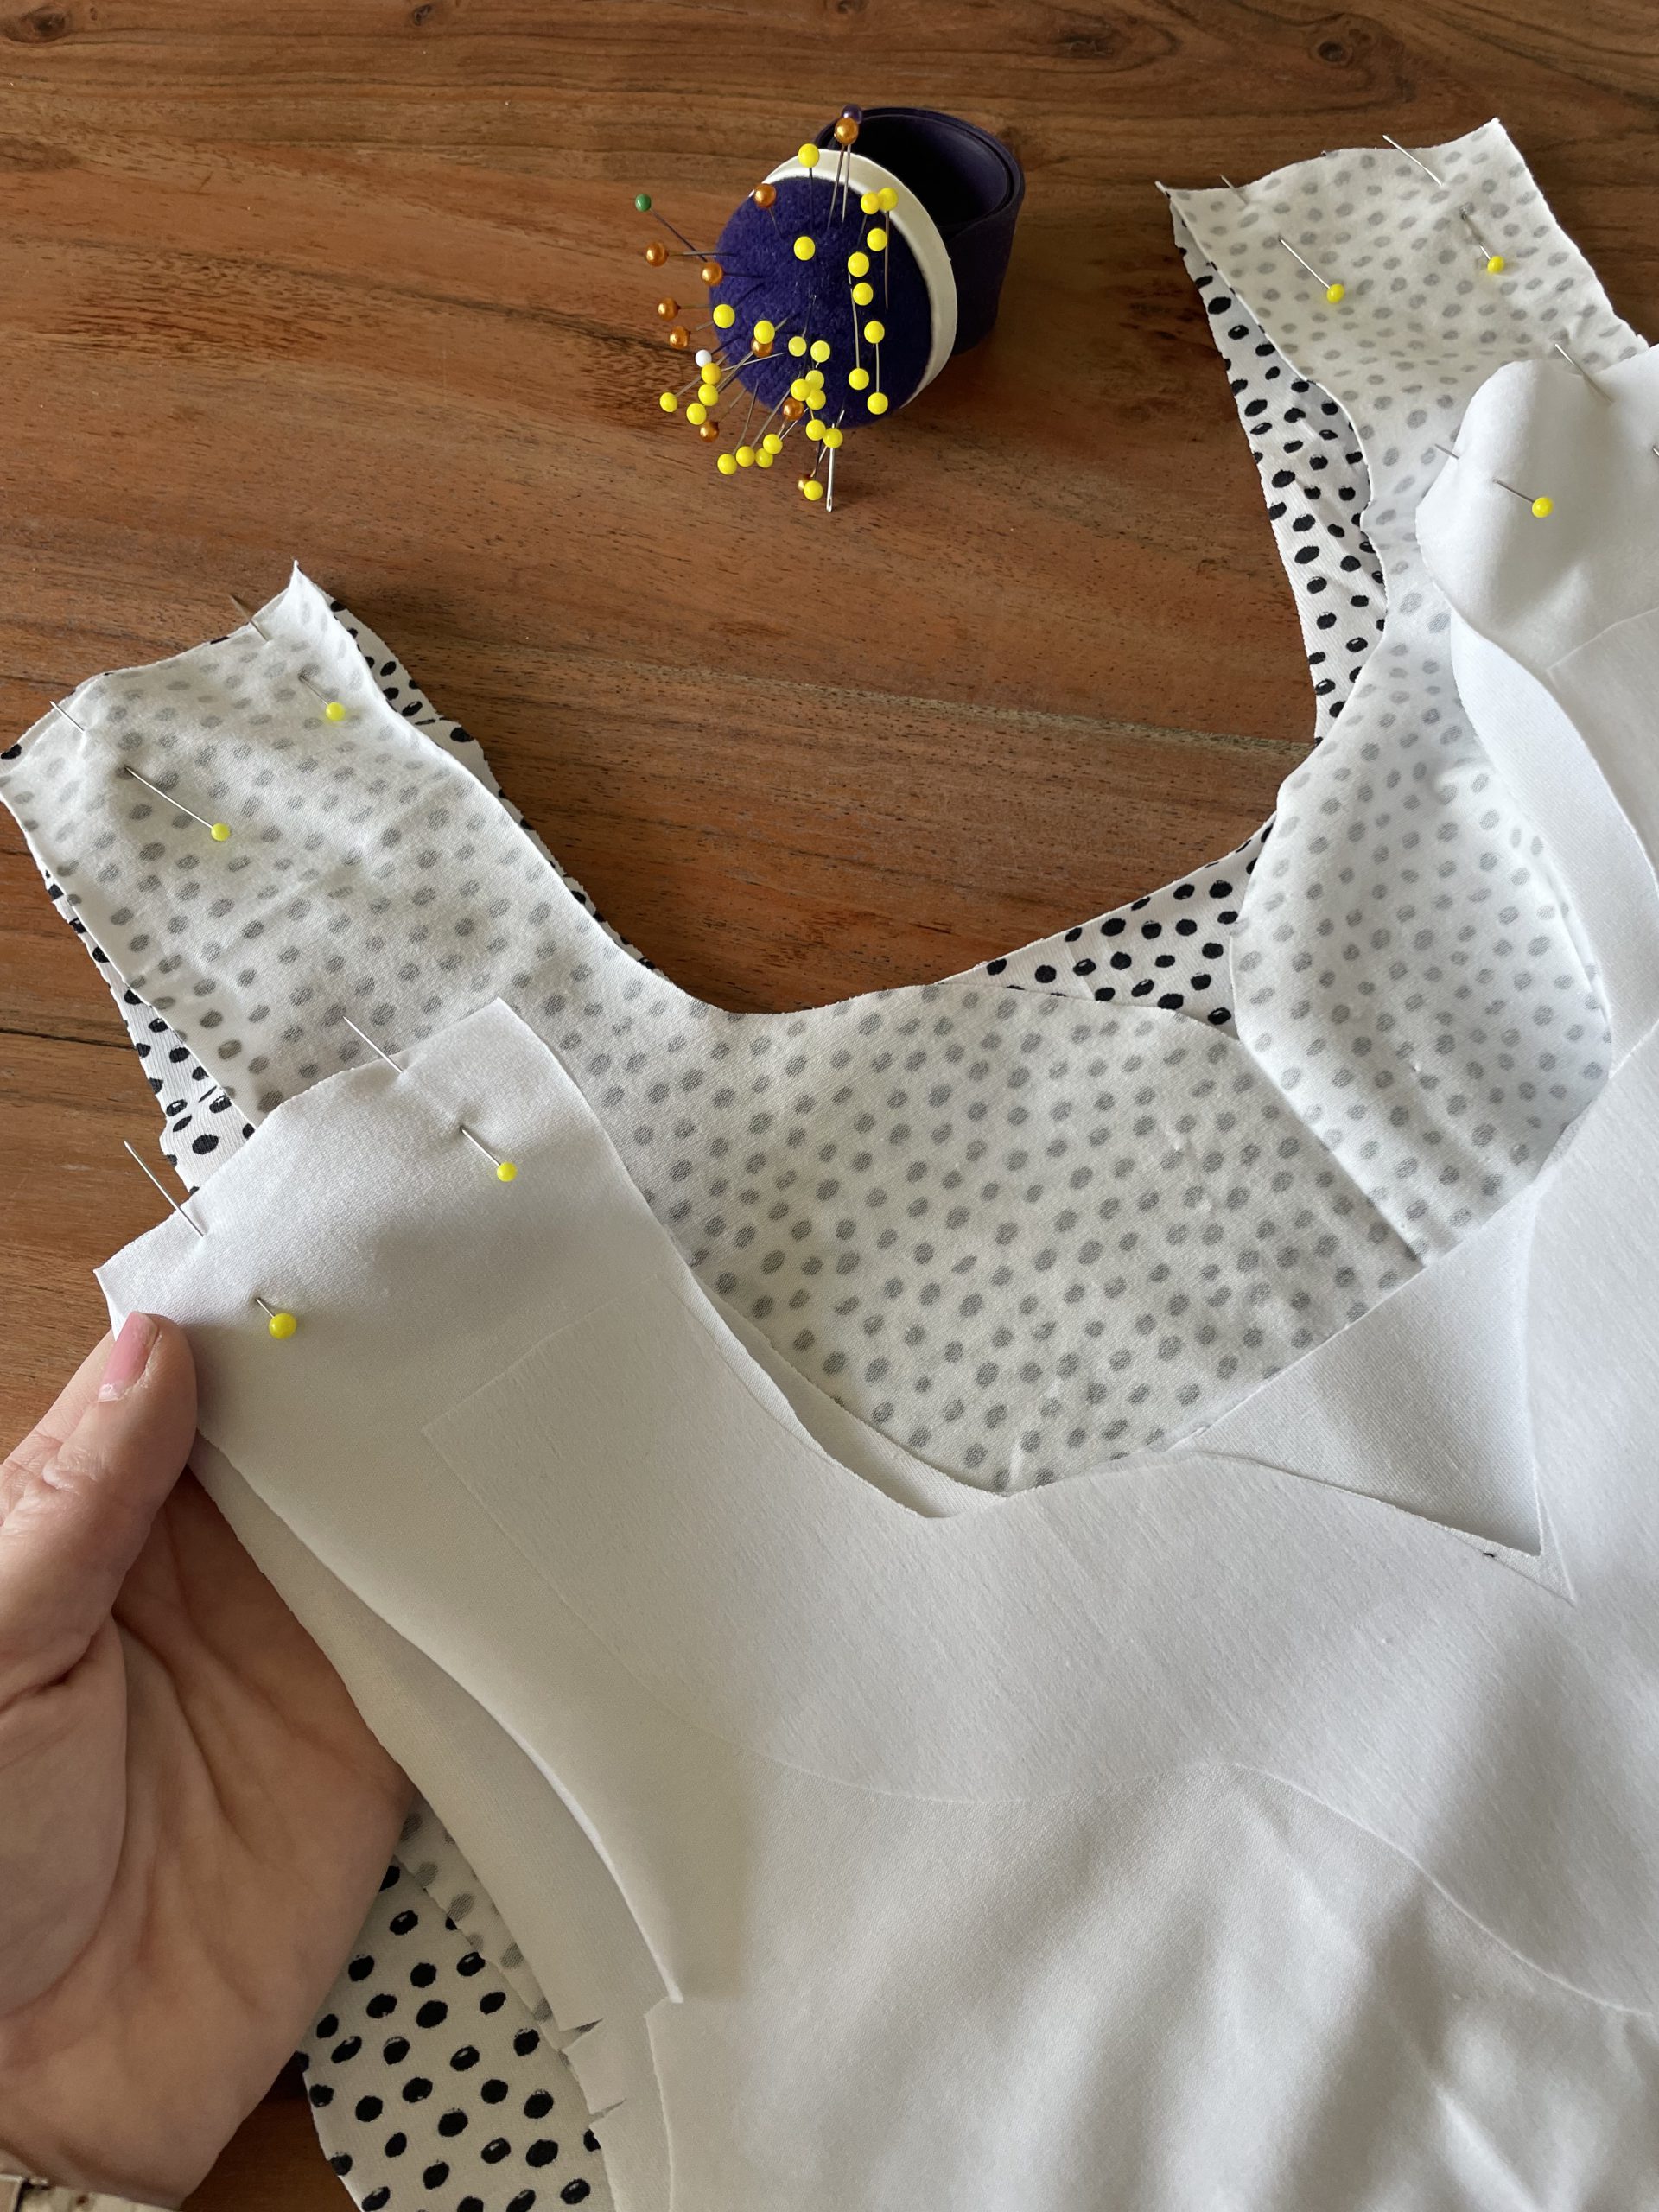
Sewing the neckline
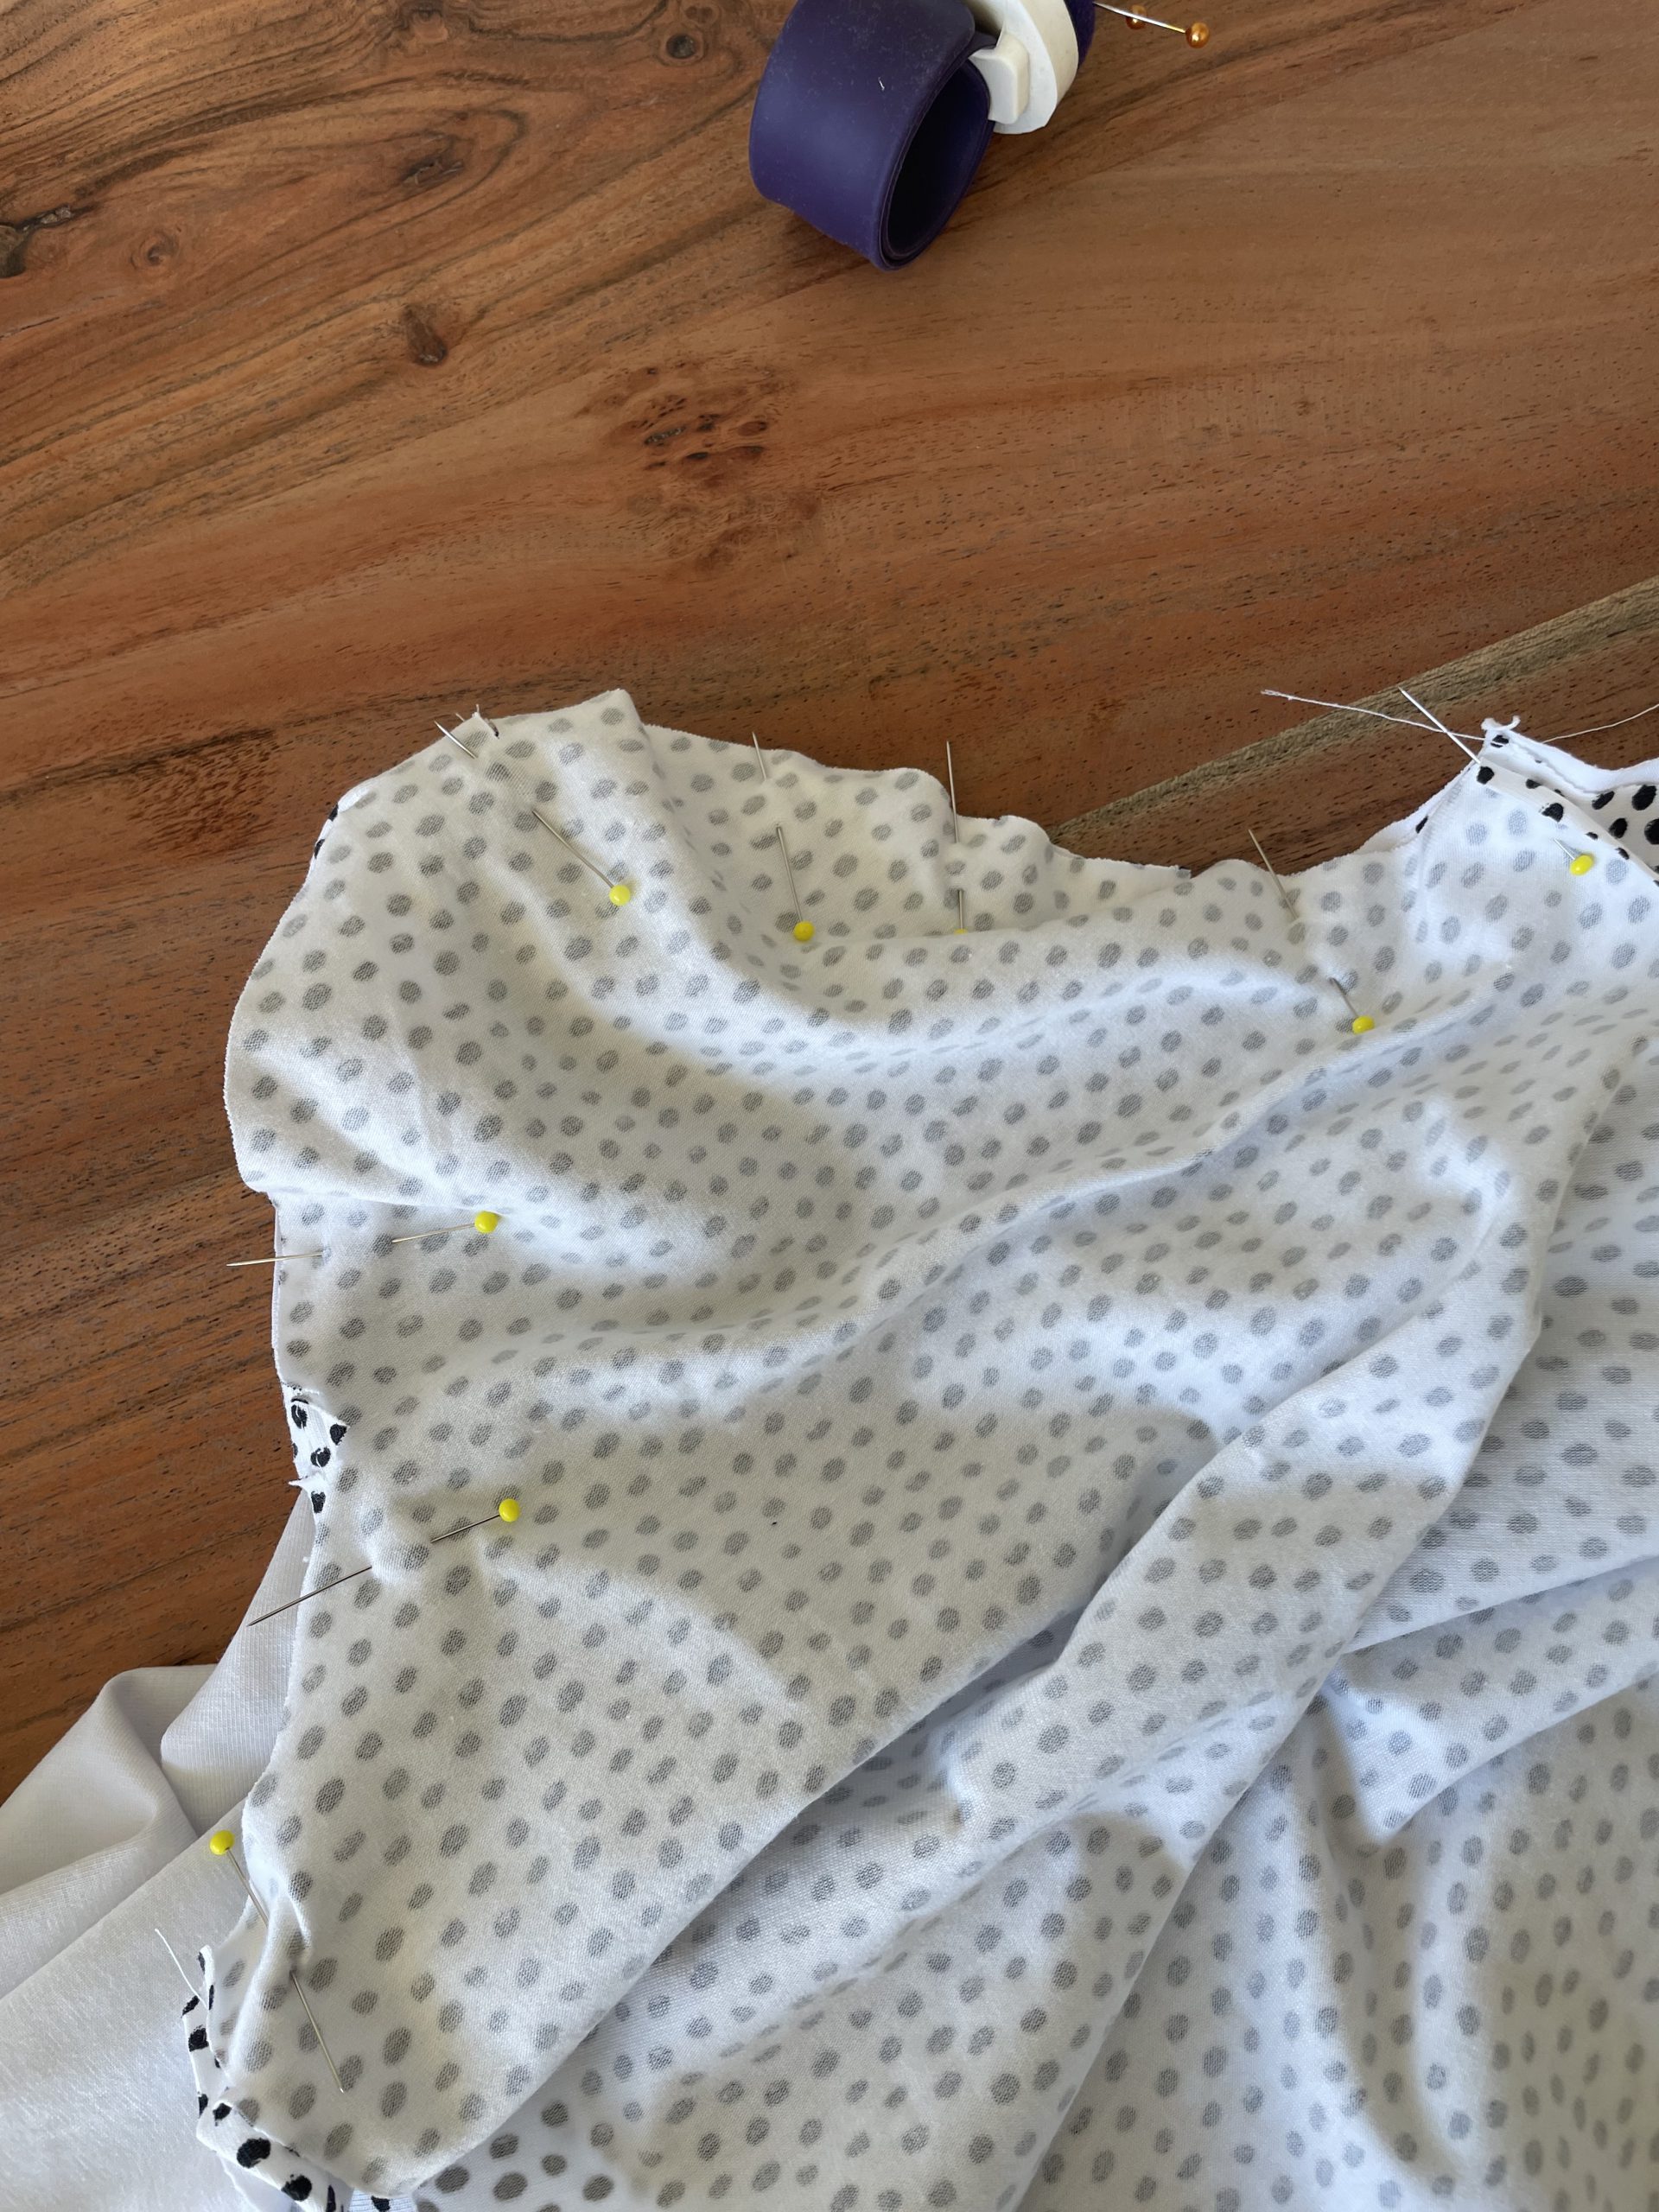
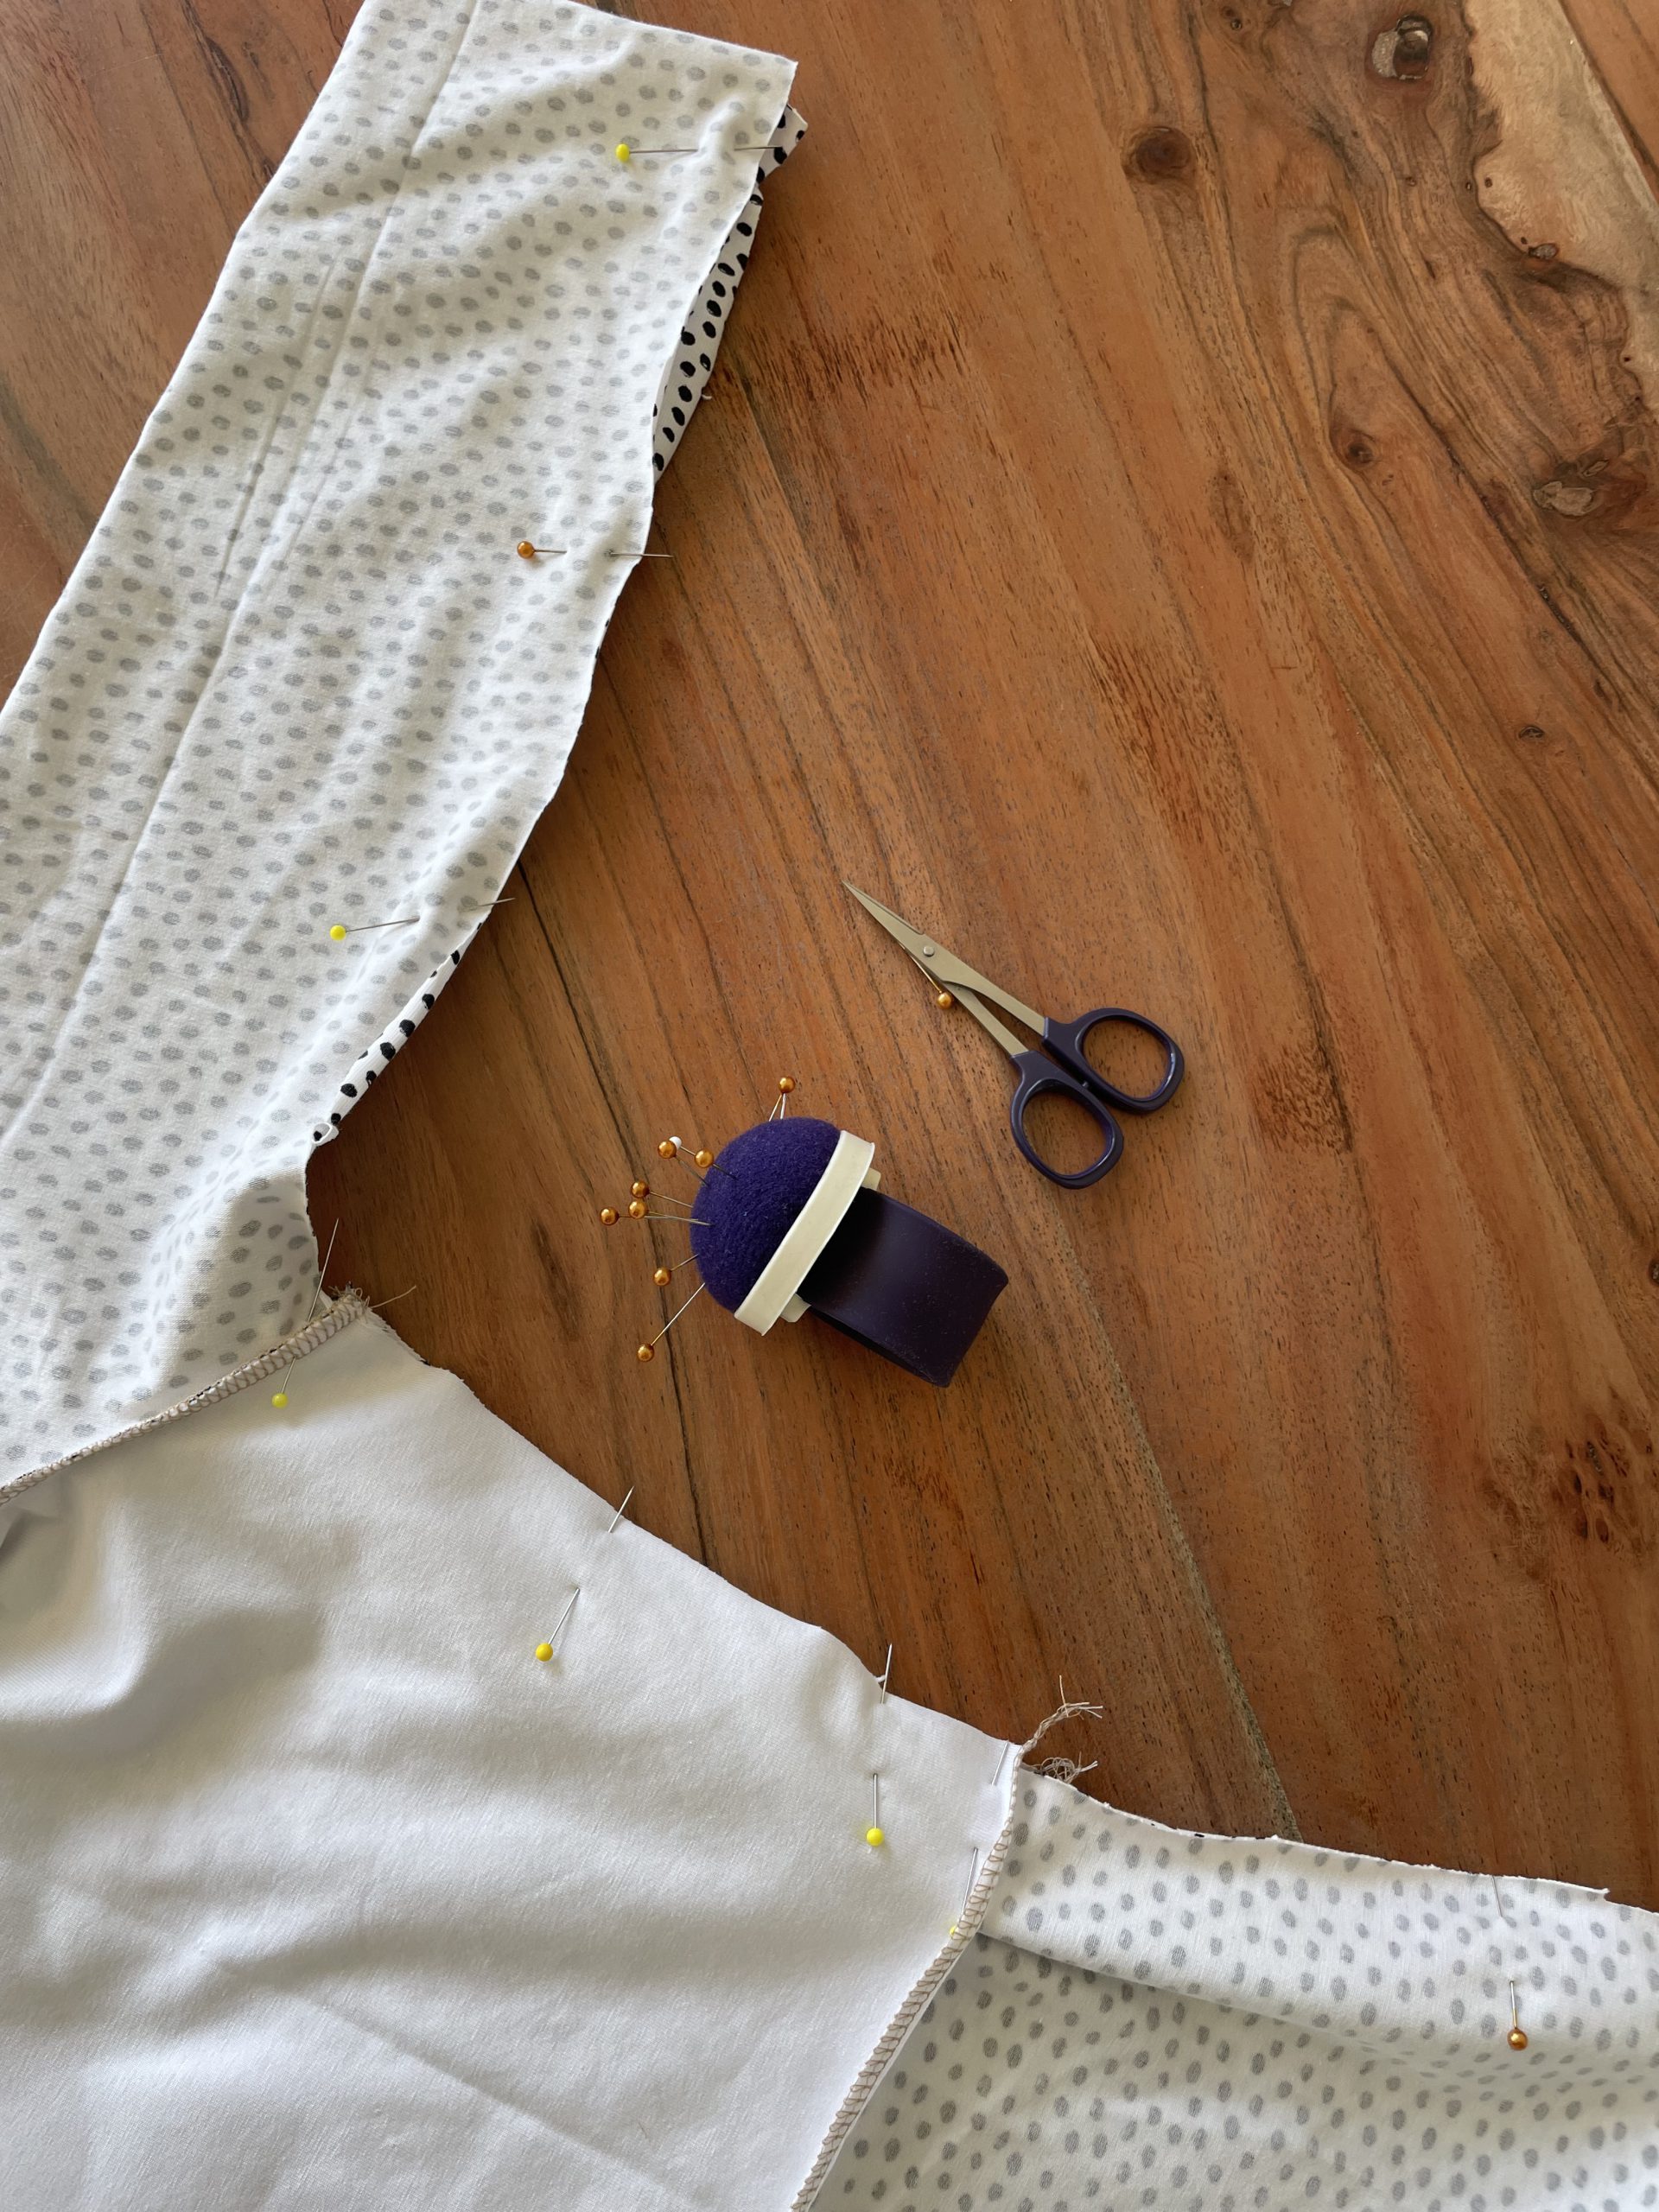
Thirdly place the front and back lining pieces on top of the front and back bodice right sides together, aligning the raw edges of the neckline. Pin and sew with a 1cm seam allowance. Here I used my sewing machine, I found this easier to follow the intricate neckline shape and create the sharp V shape at the front.
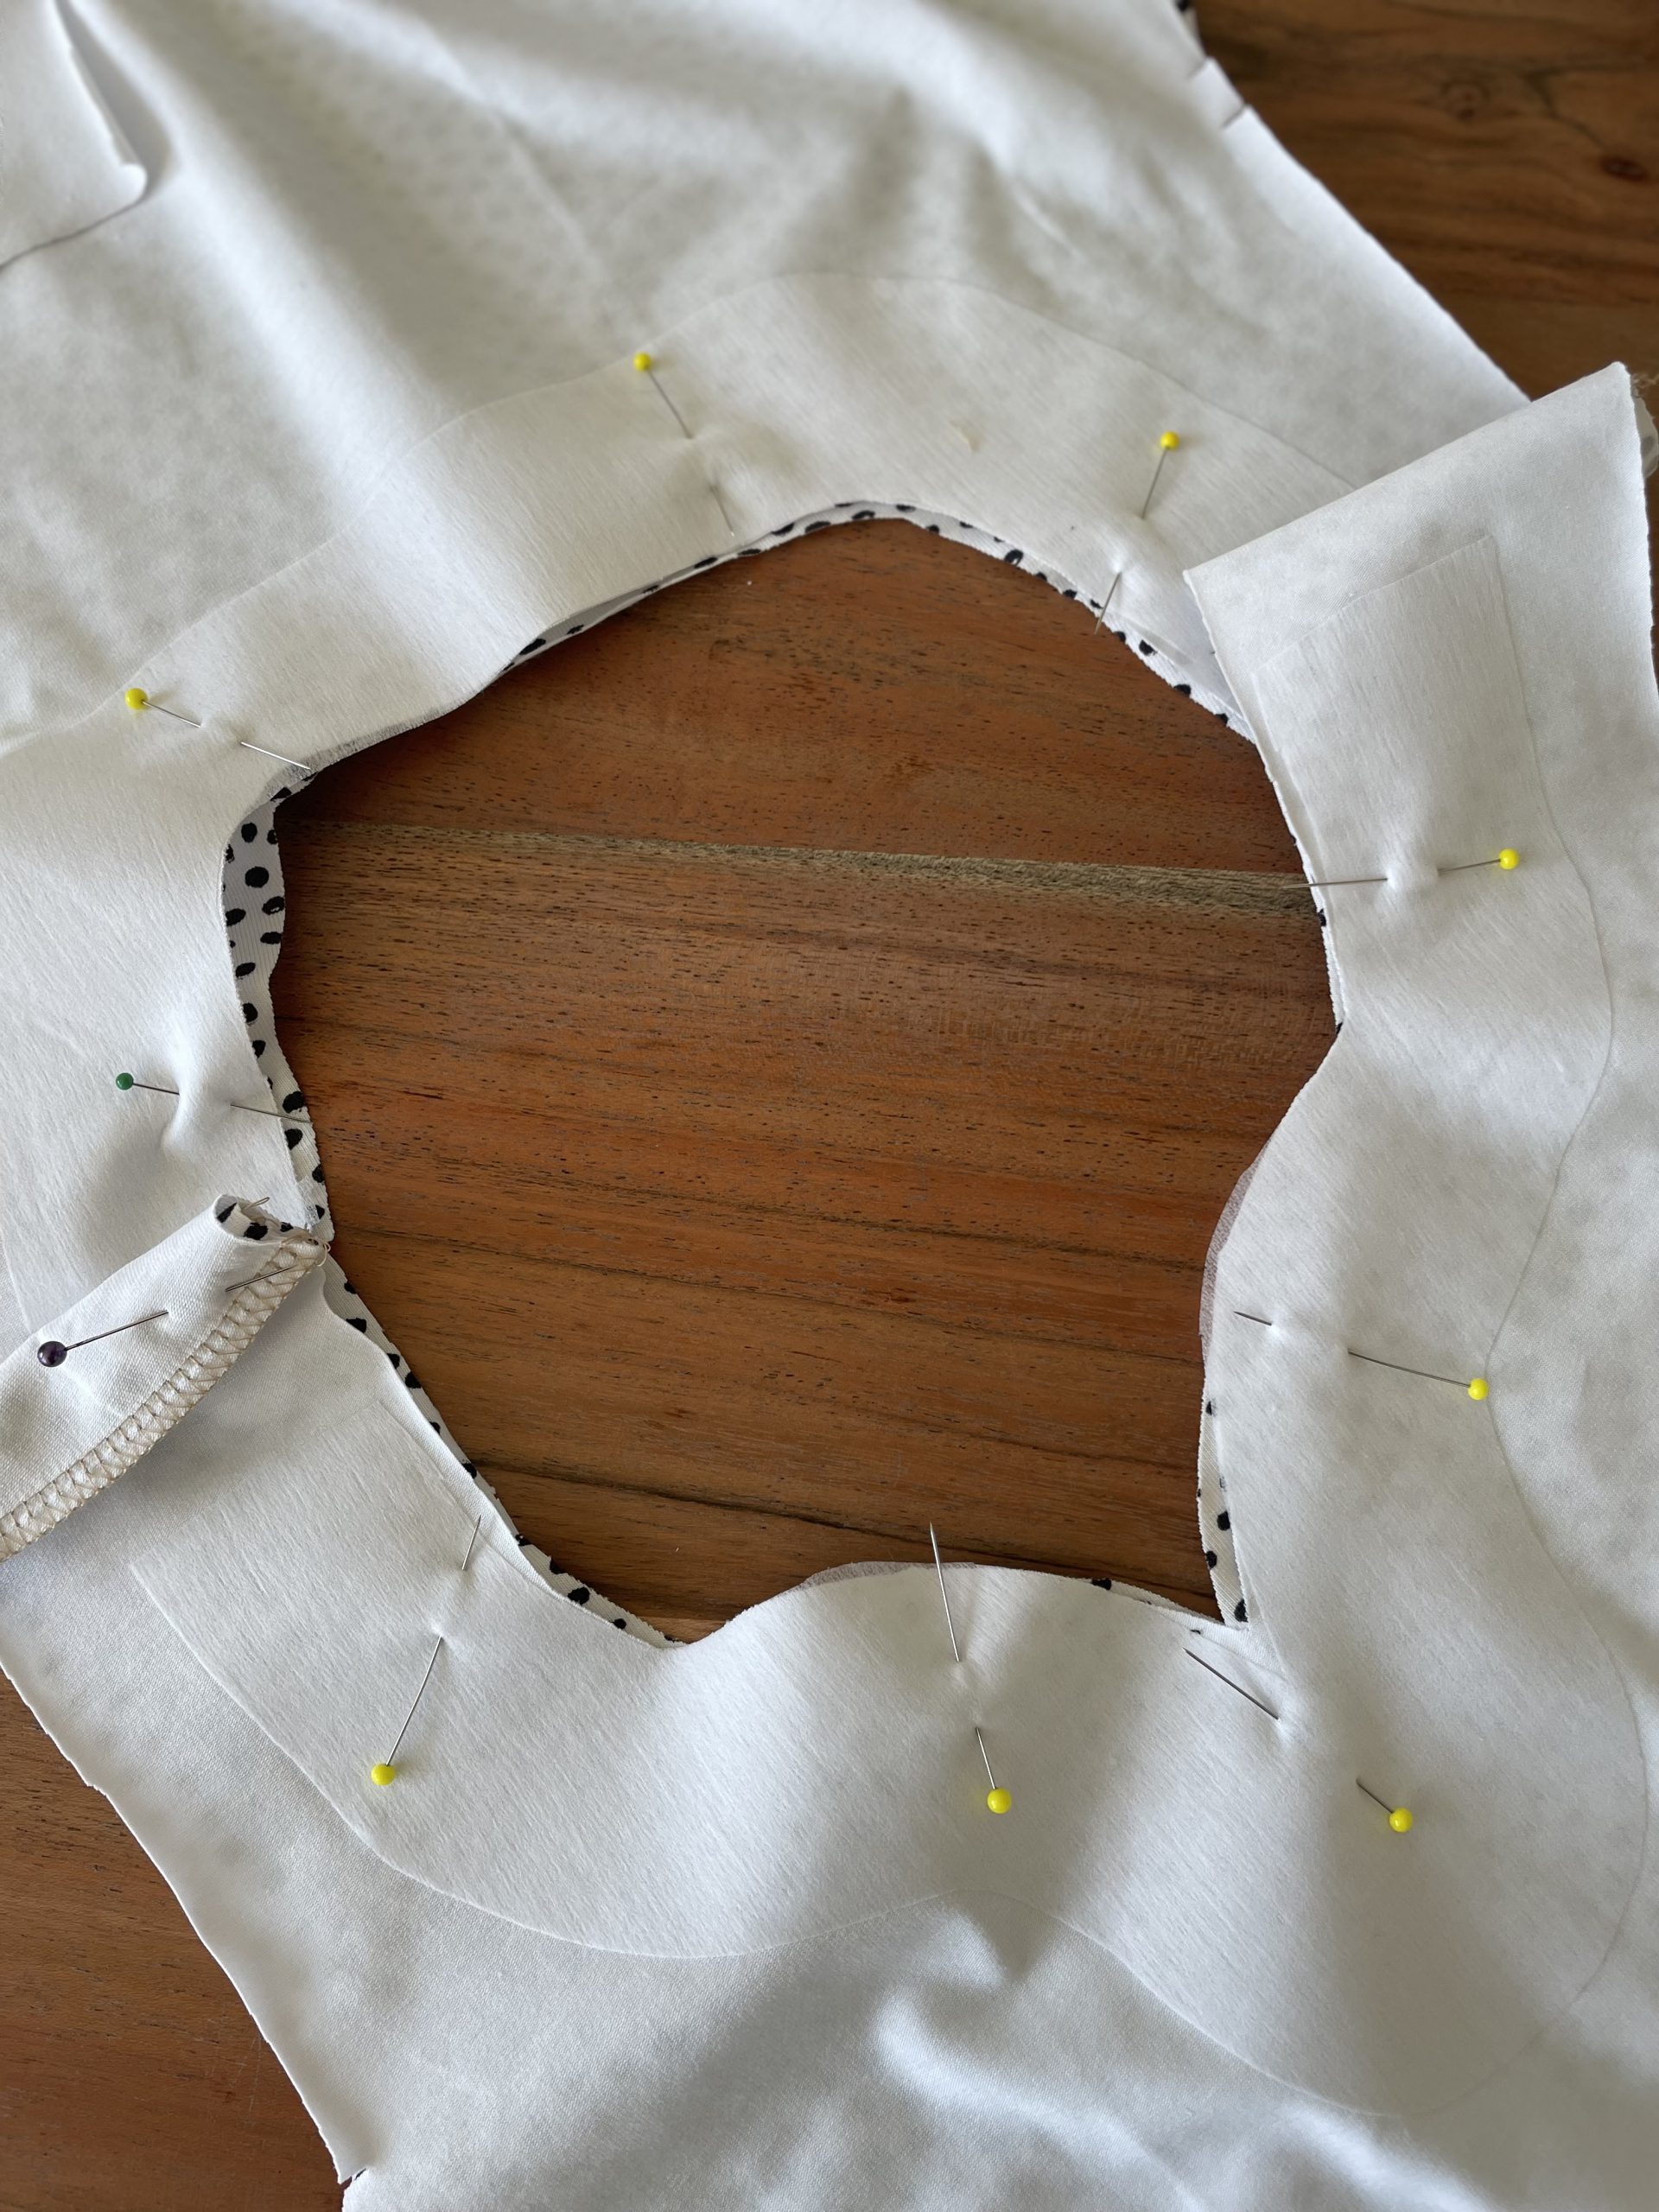
Pin and sew around the neckline, lining and outer bodice, right sides together
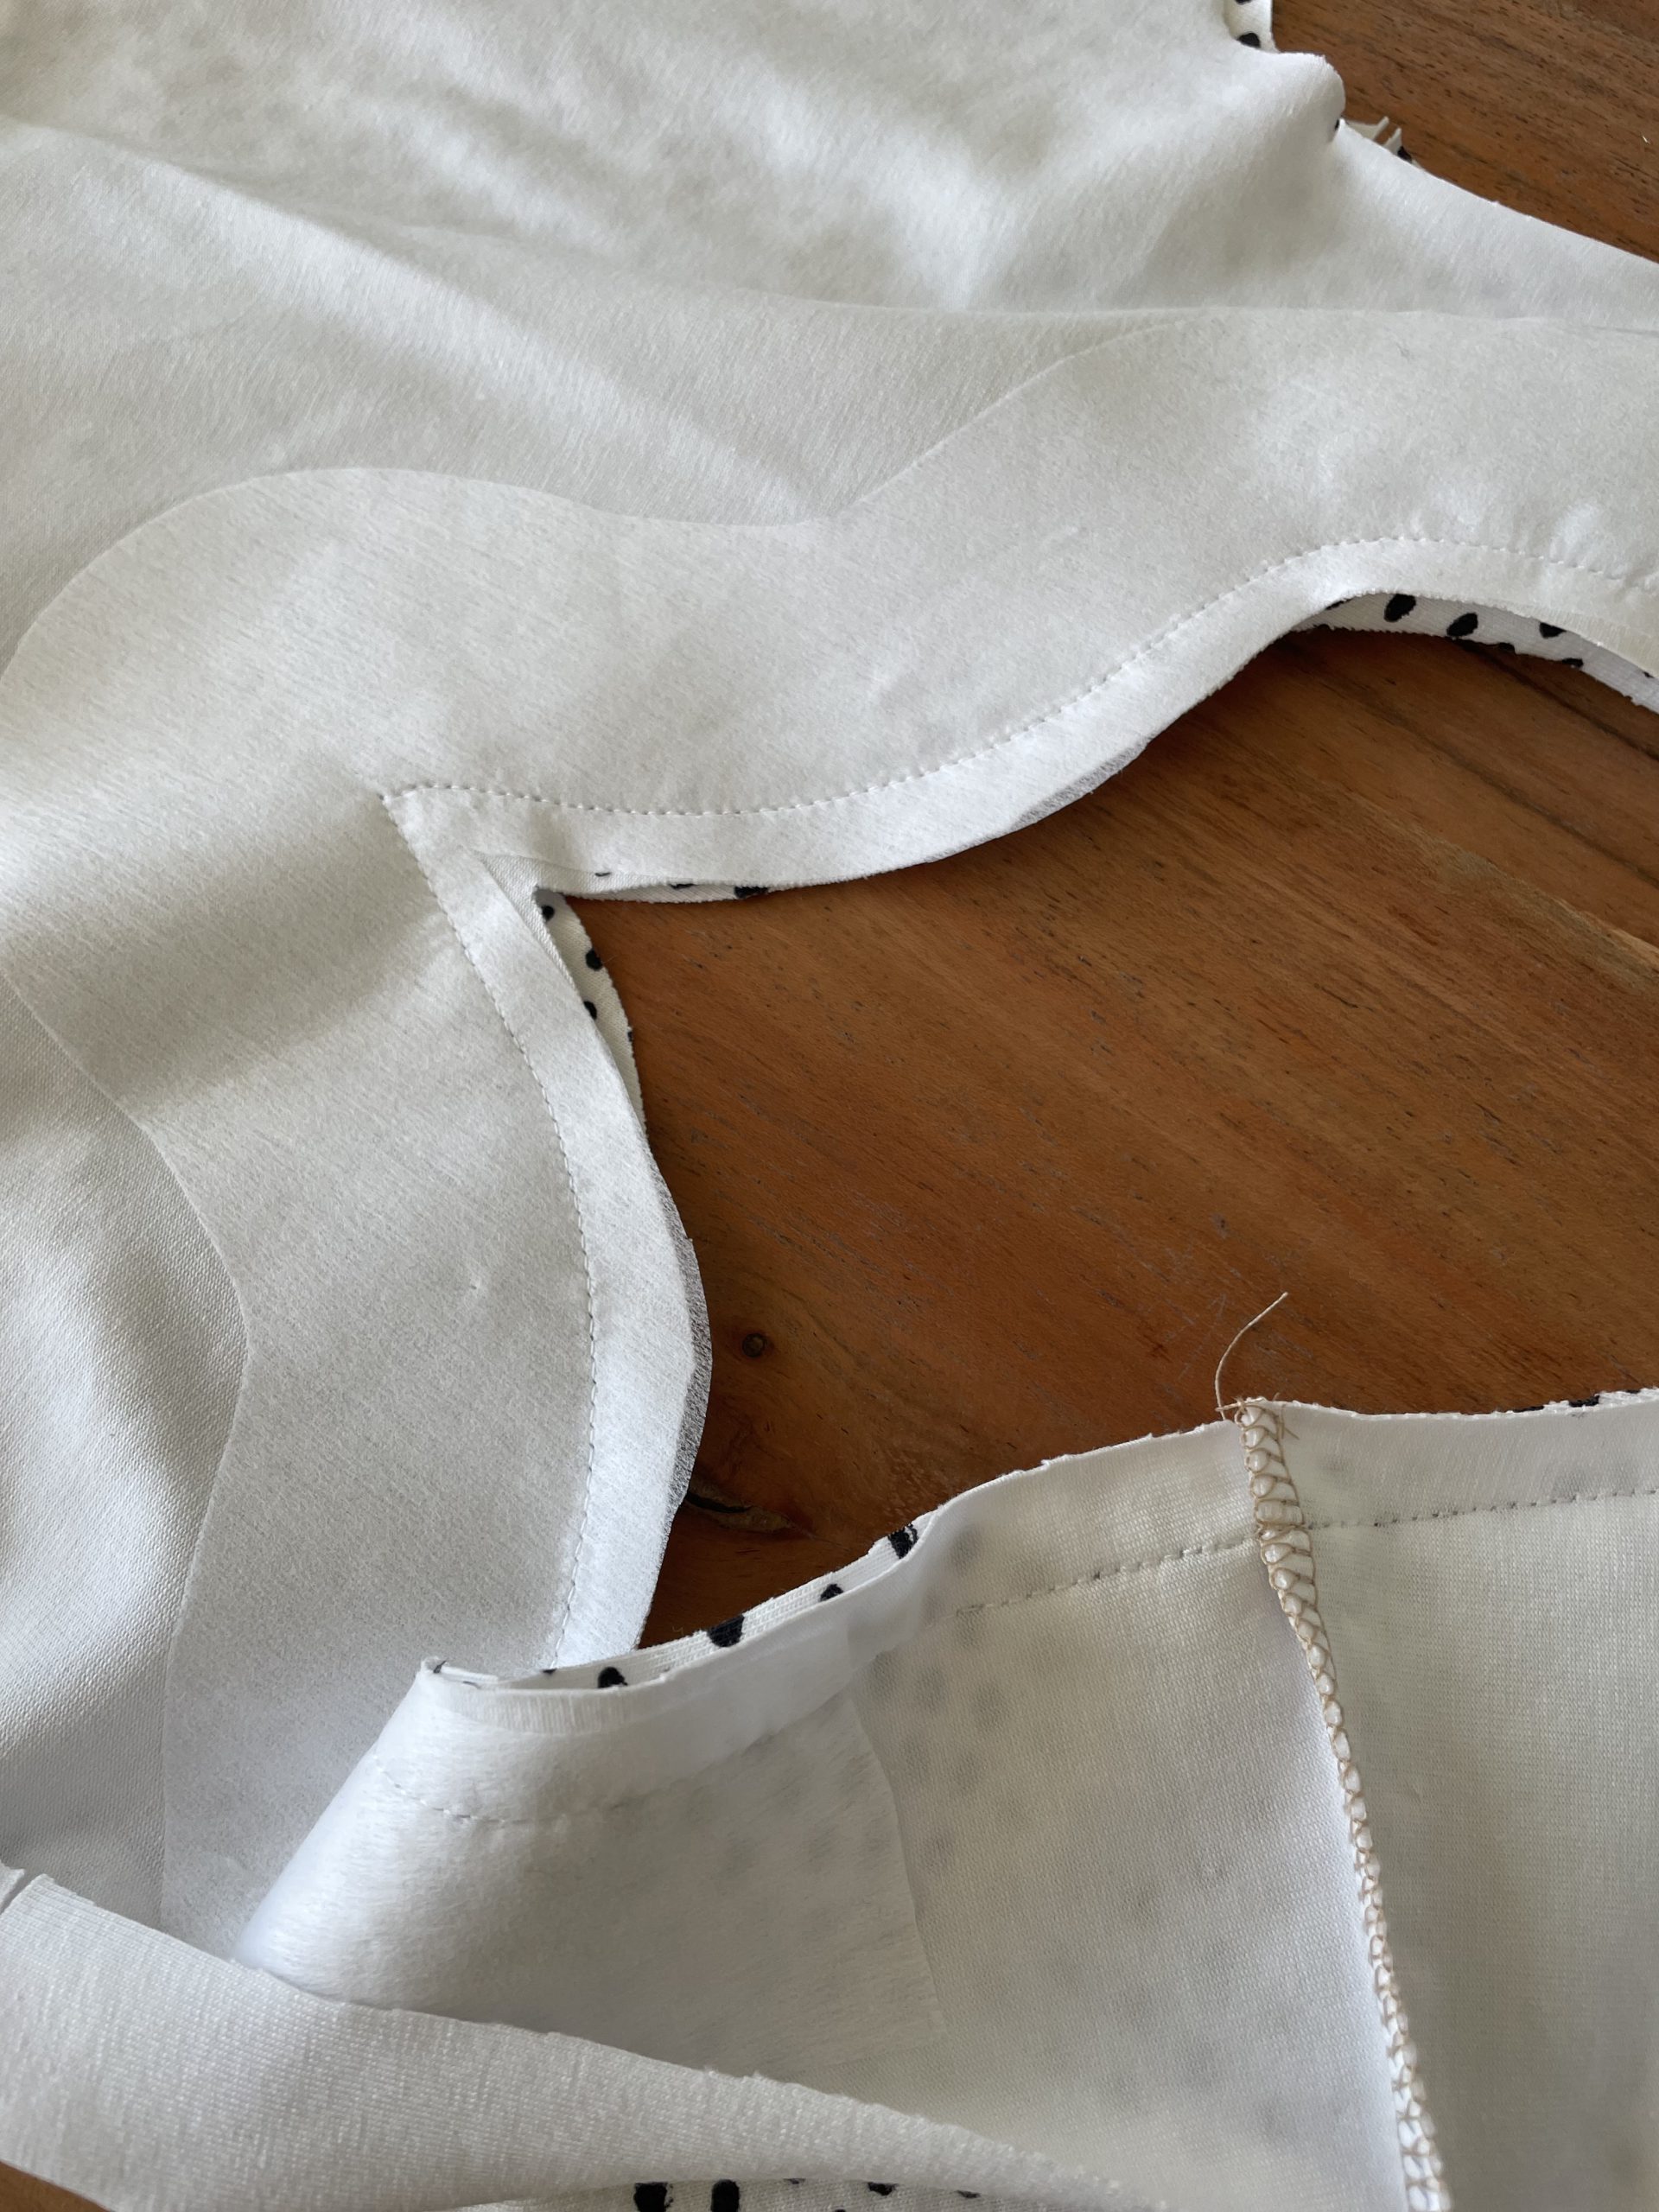
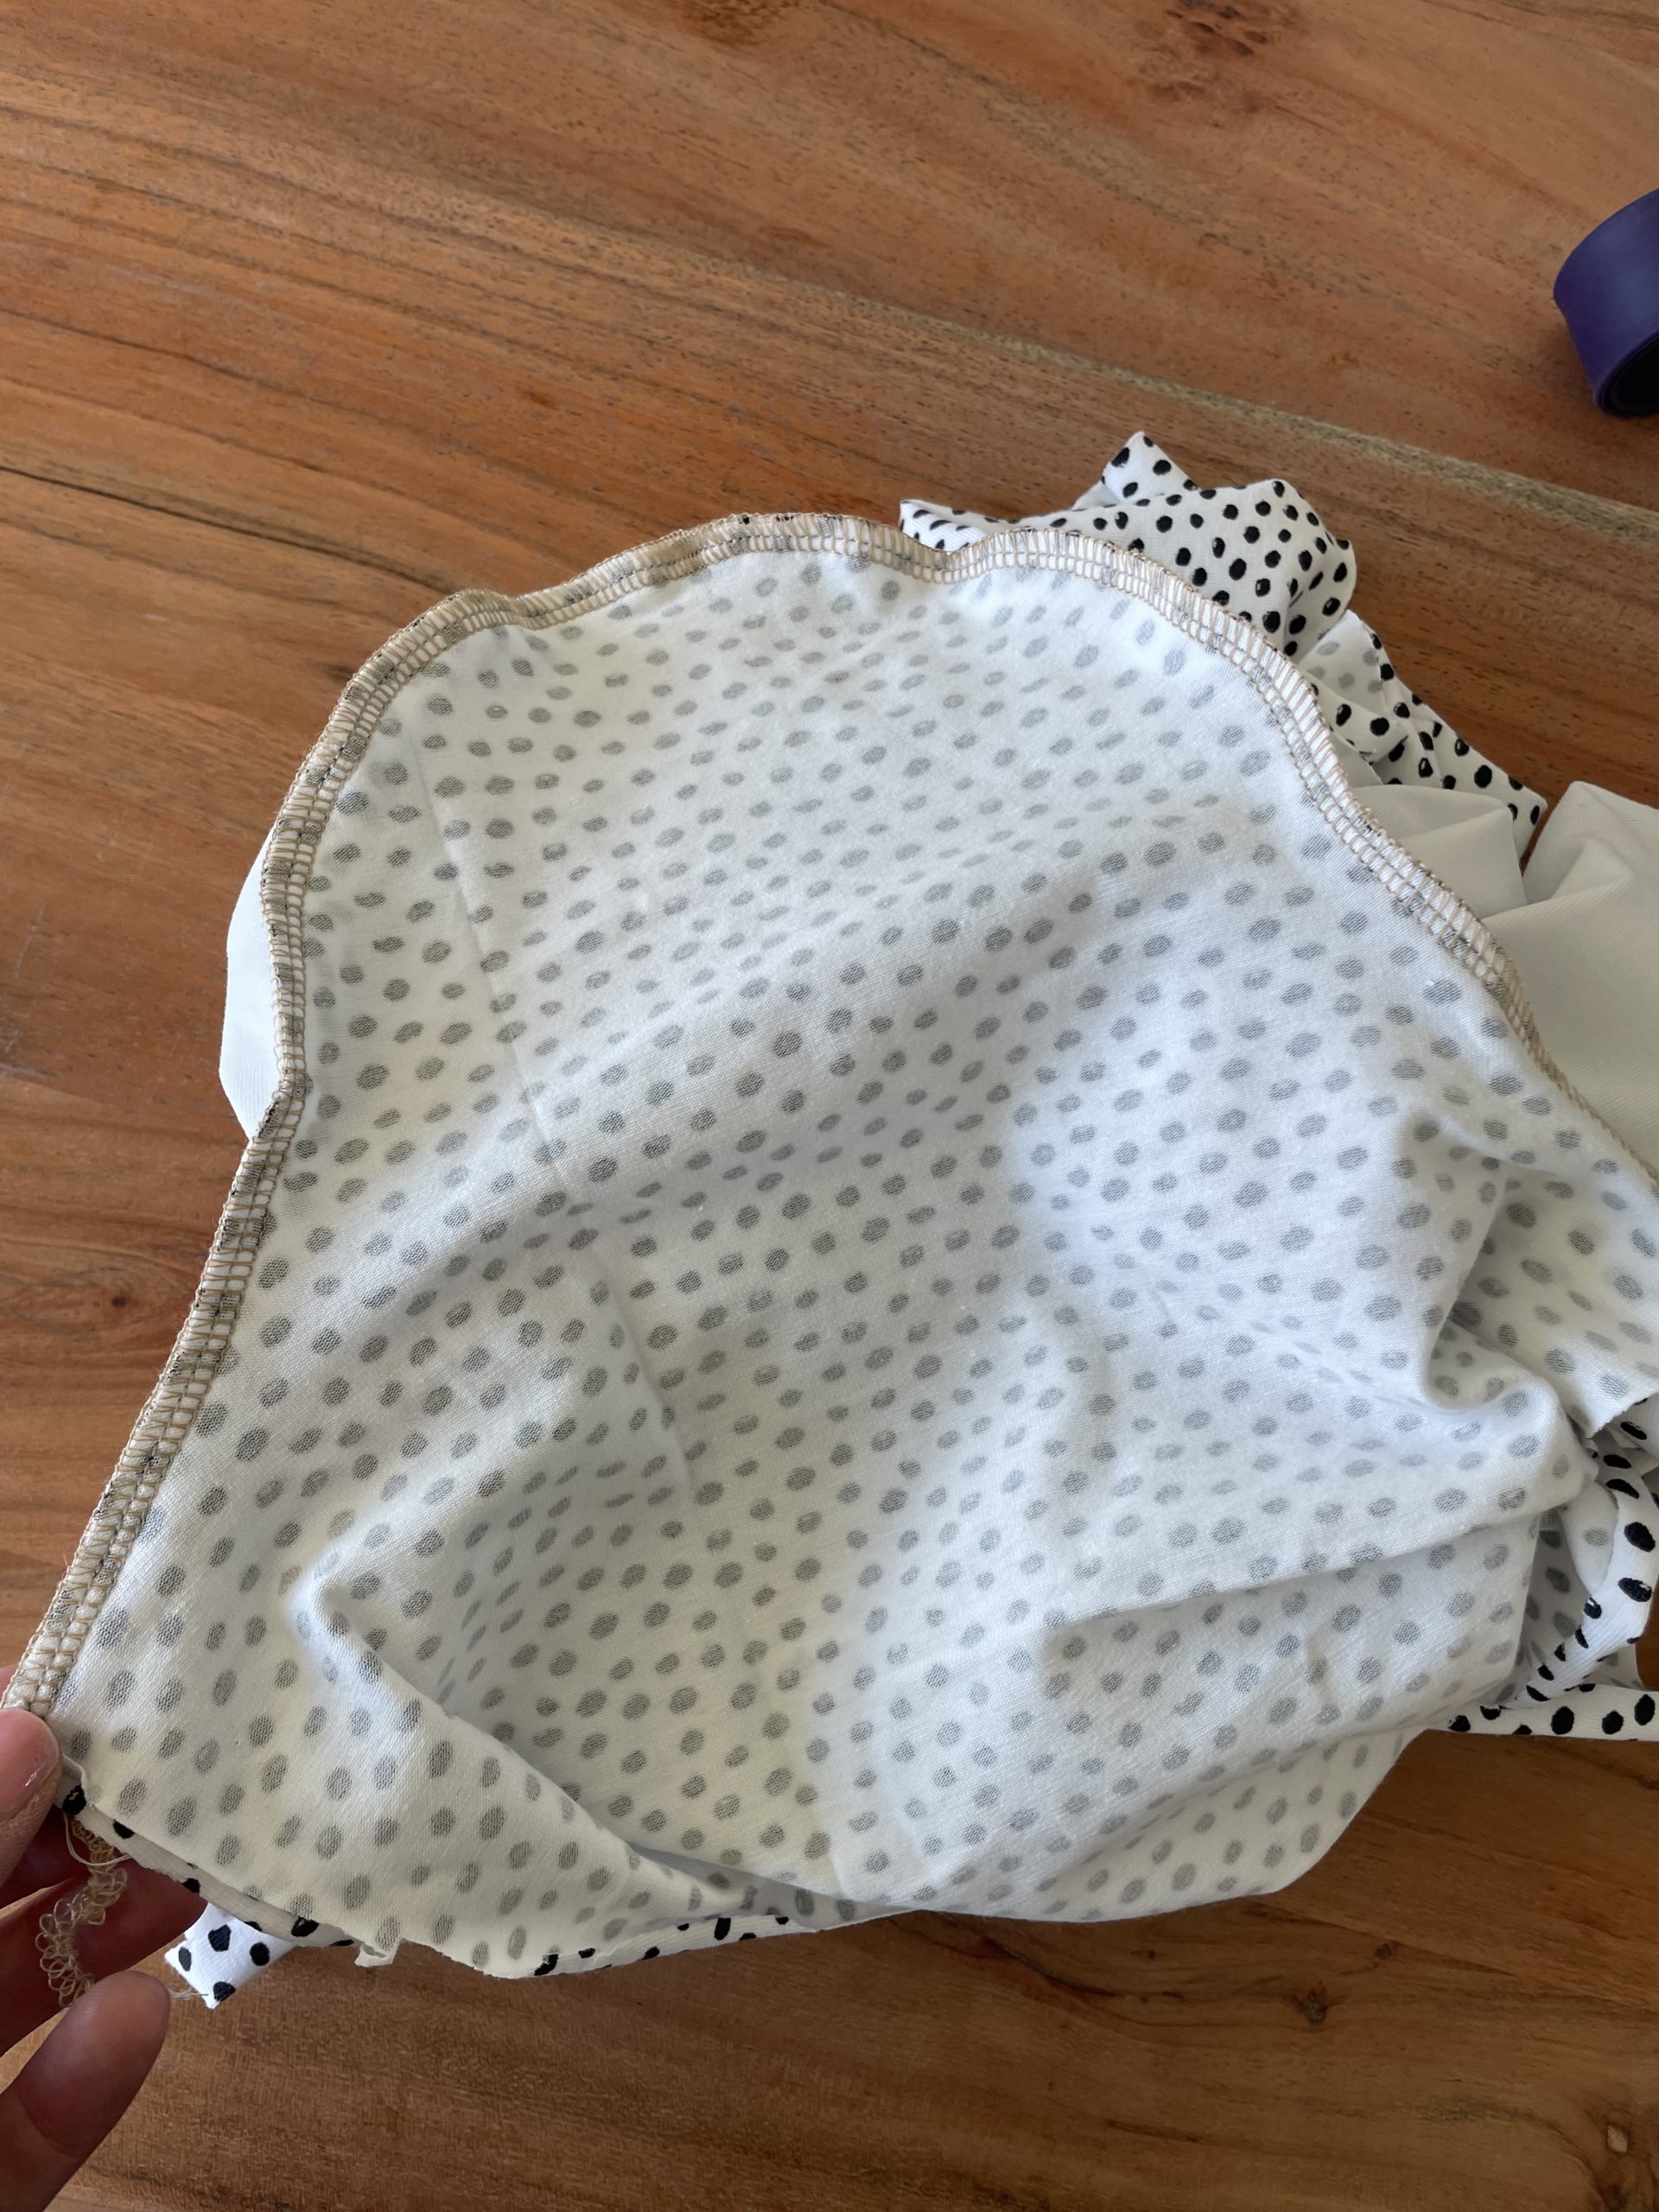
If you, like me, have sewn you neck line with the sewing machine, you will need to grade your seam lining and clip into the curves of the neckline snipping into the V shape at the front of the top, being very careful not to cut through the stitch line.
This helps to create a much smoother accurate shape.
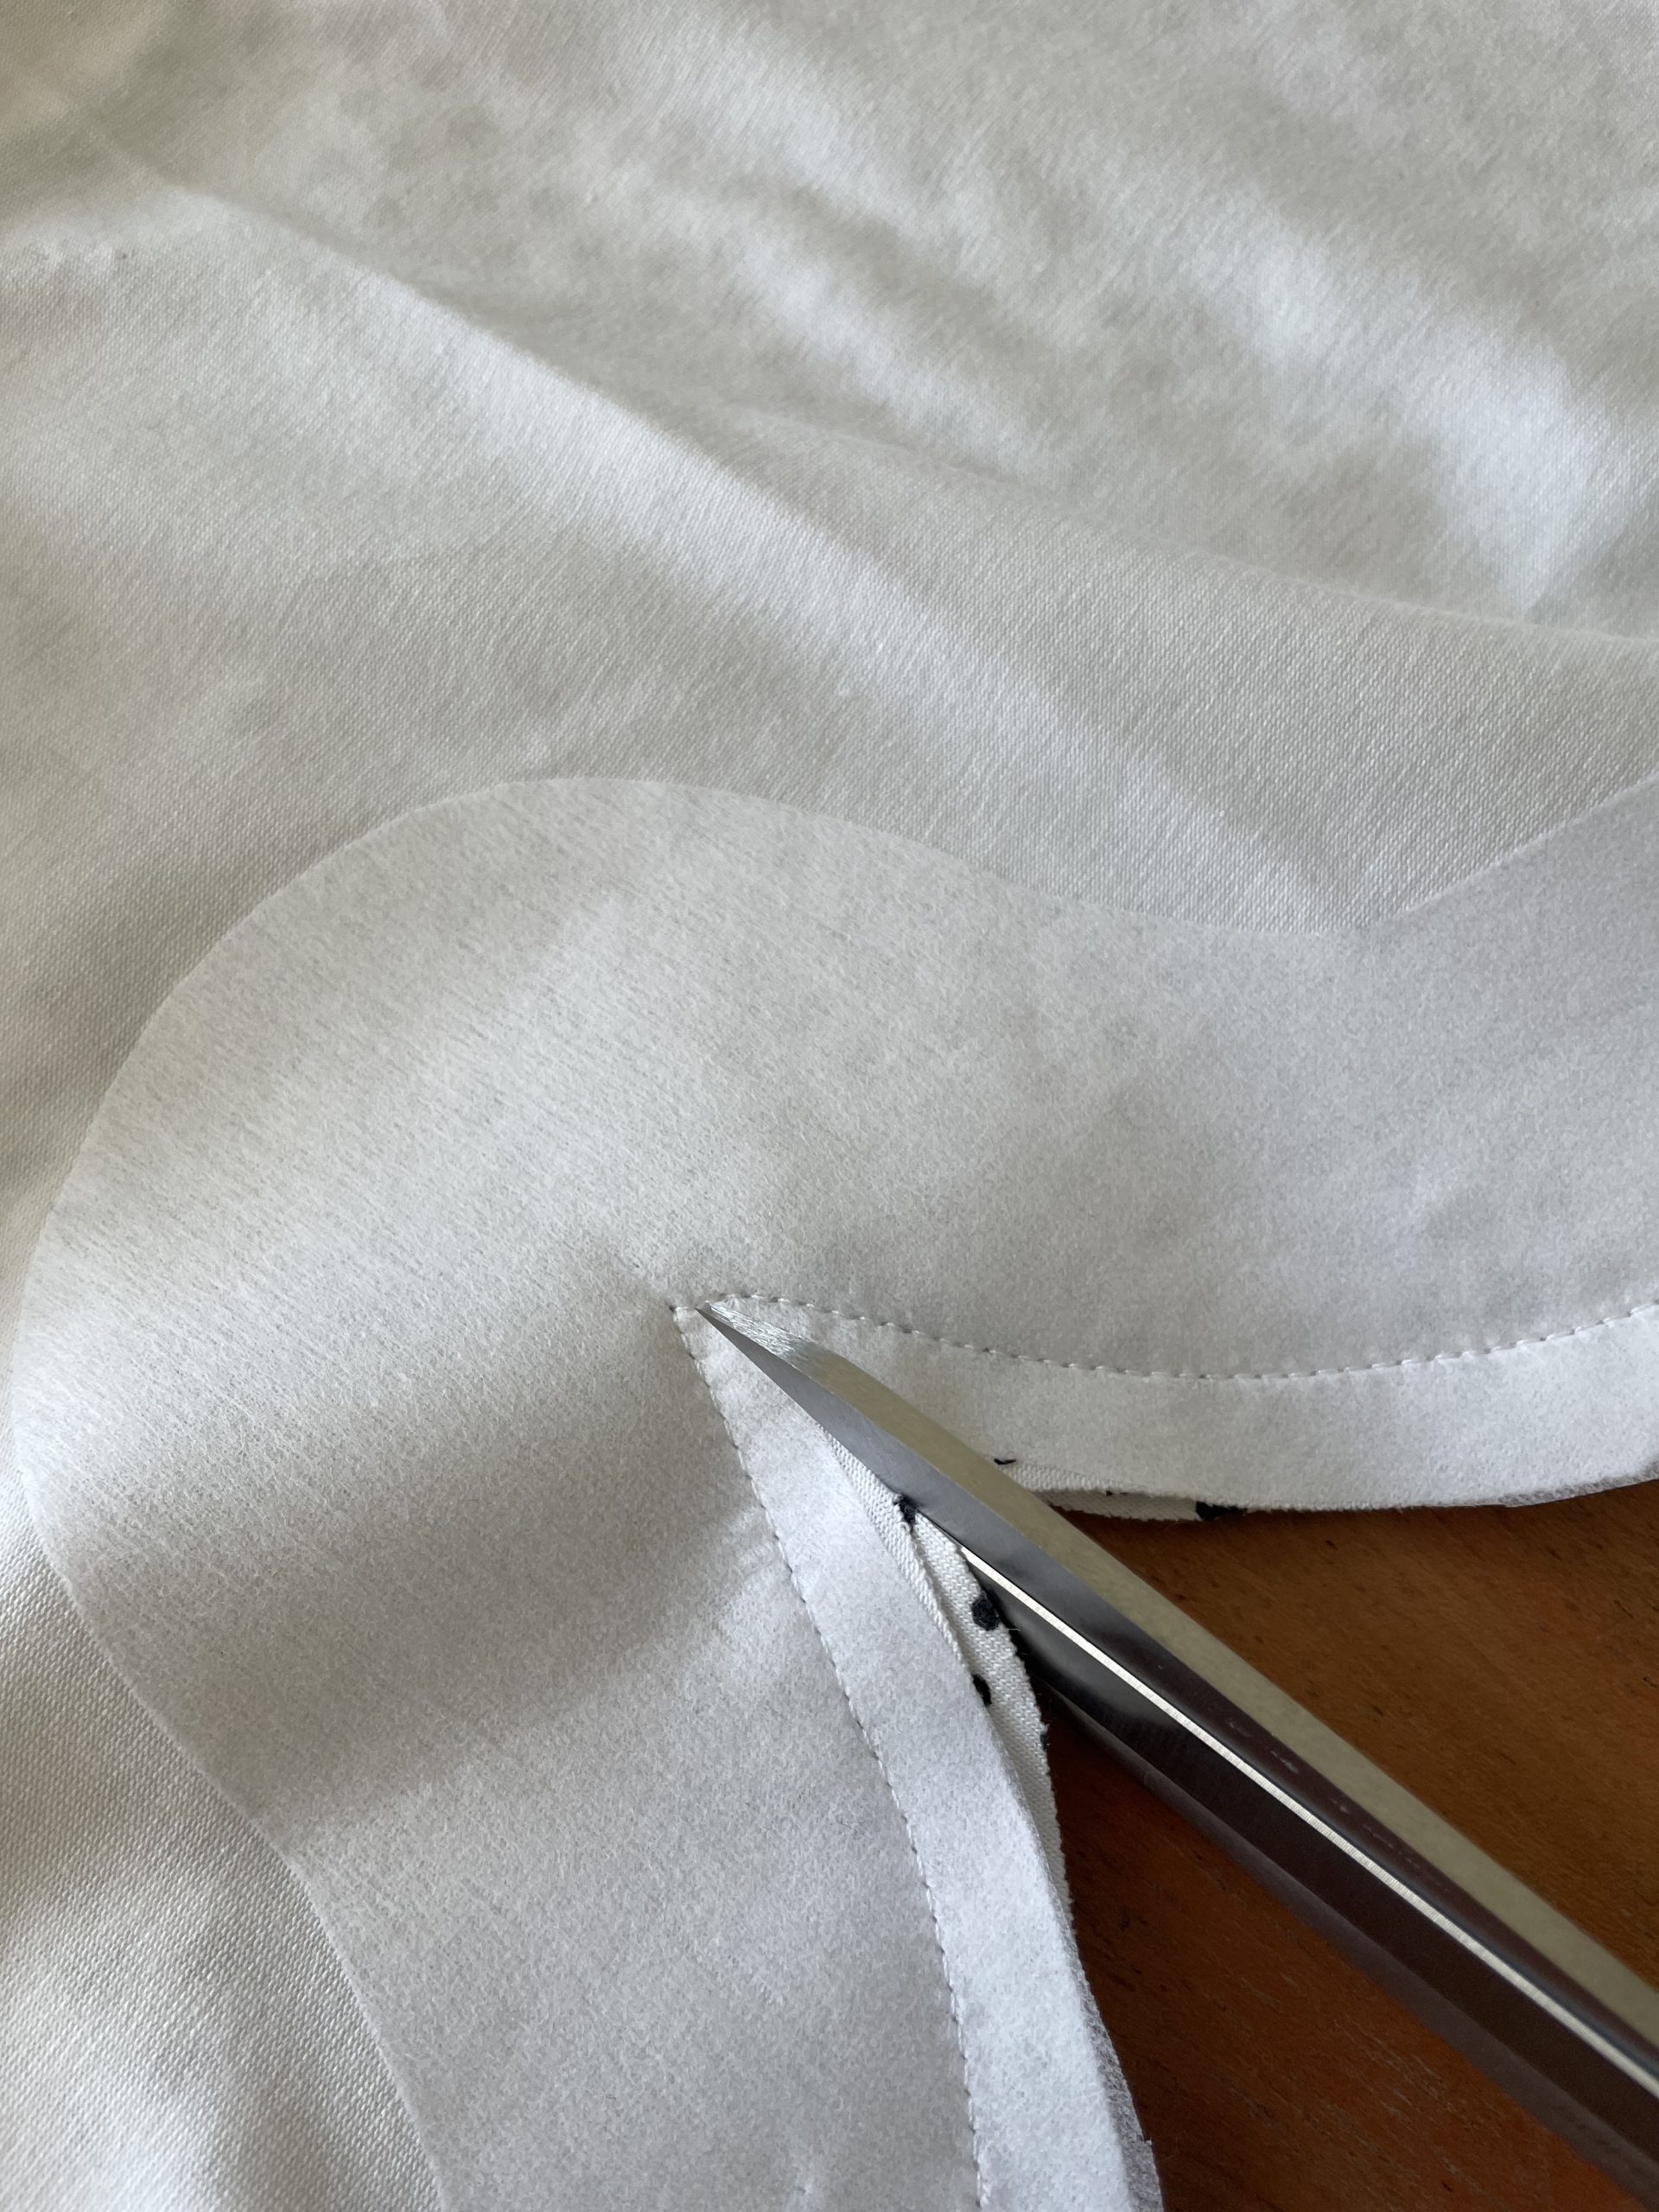
snipping into the V at the front of the top
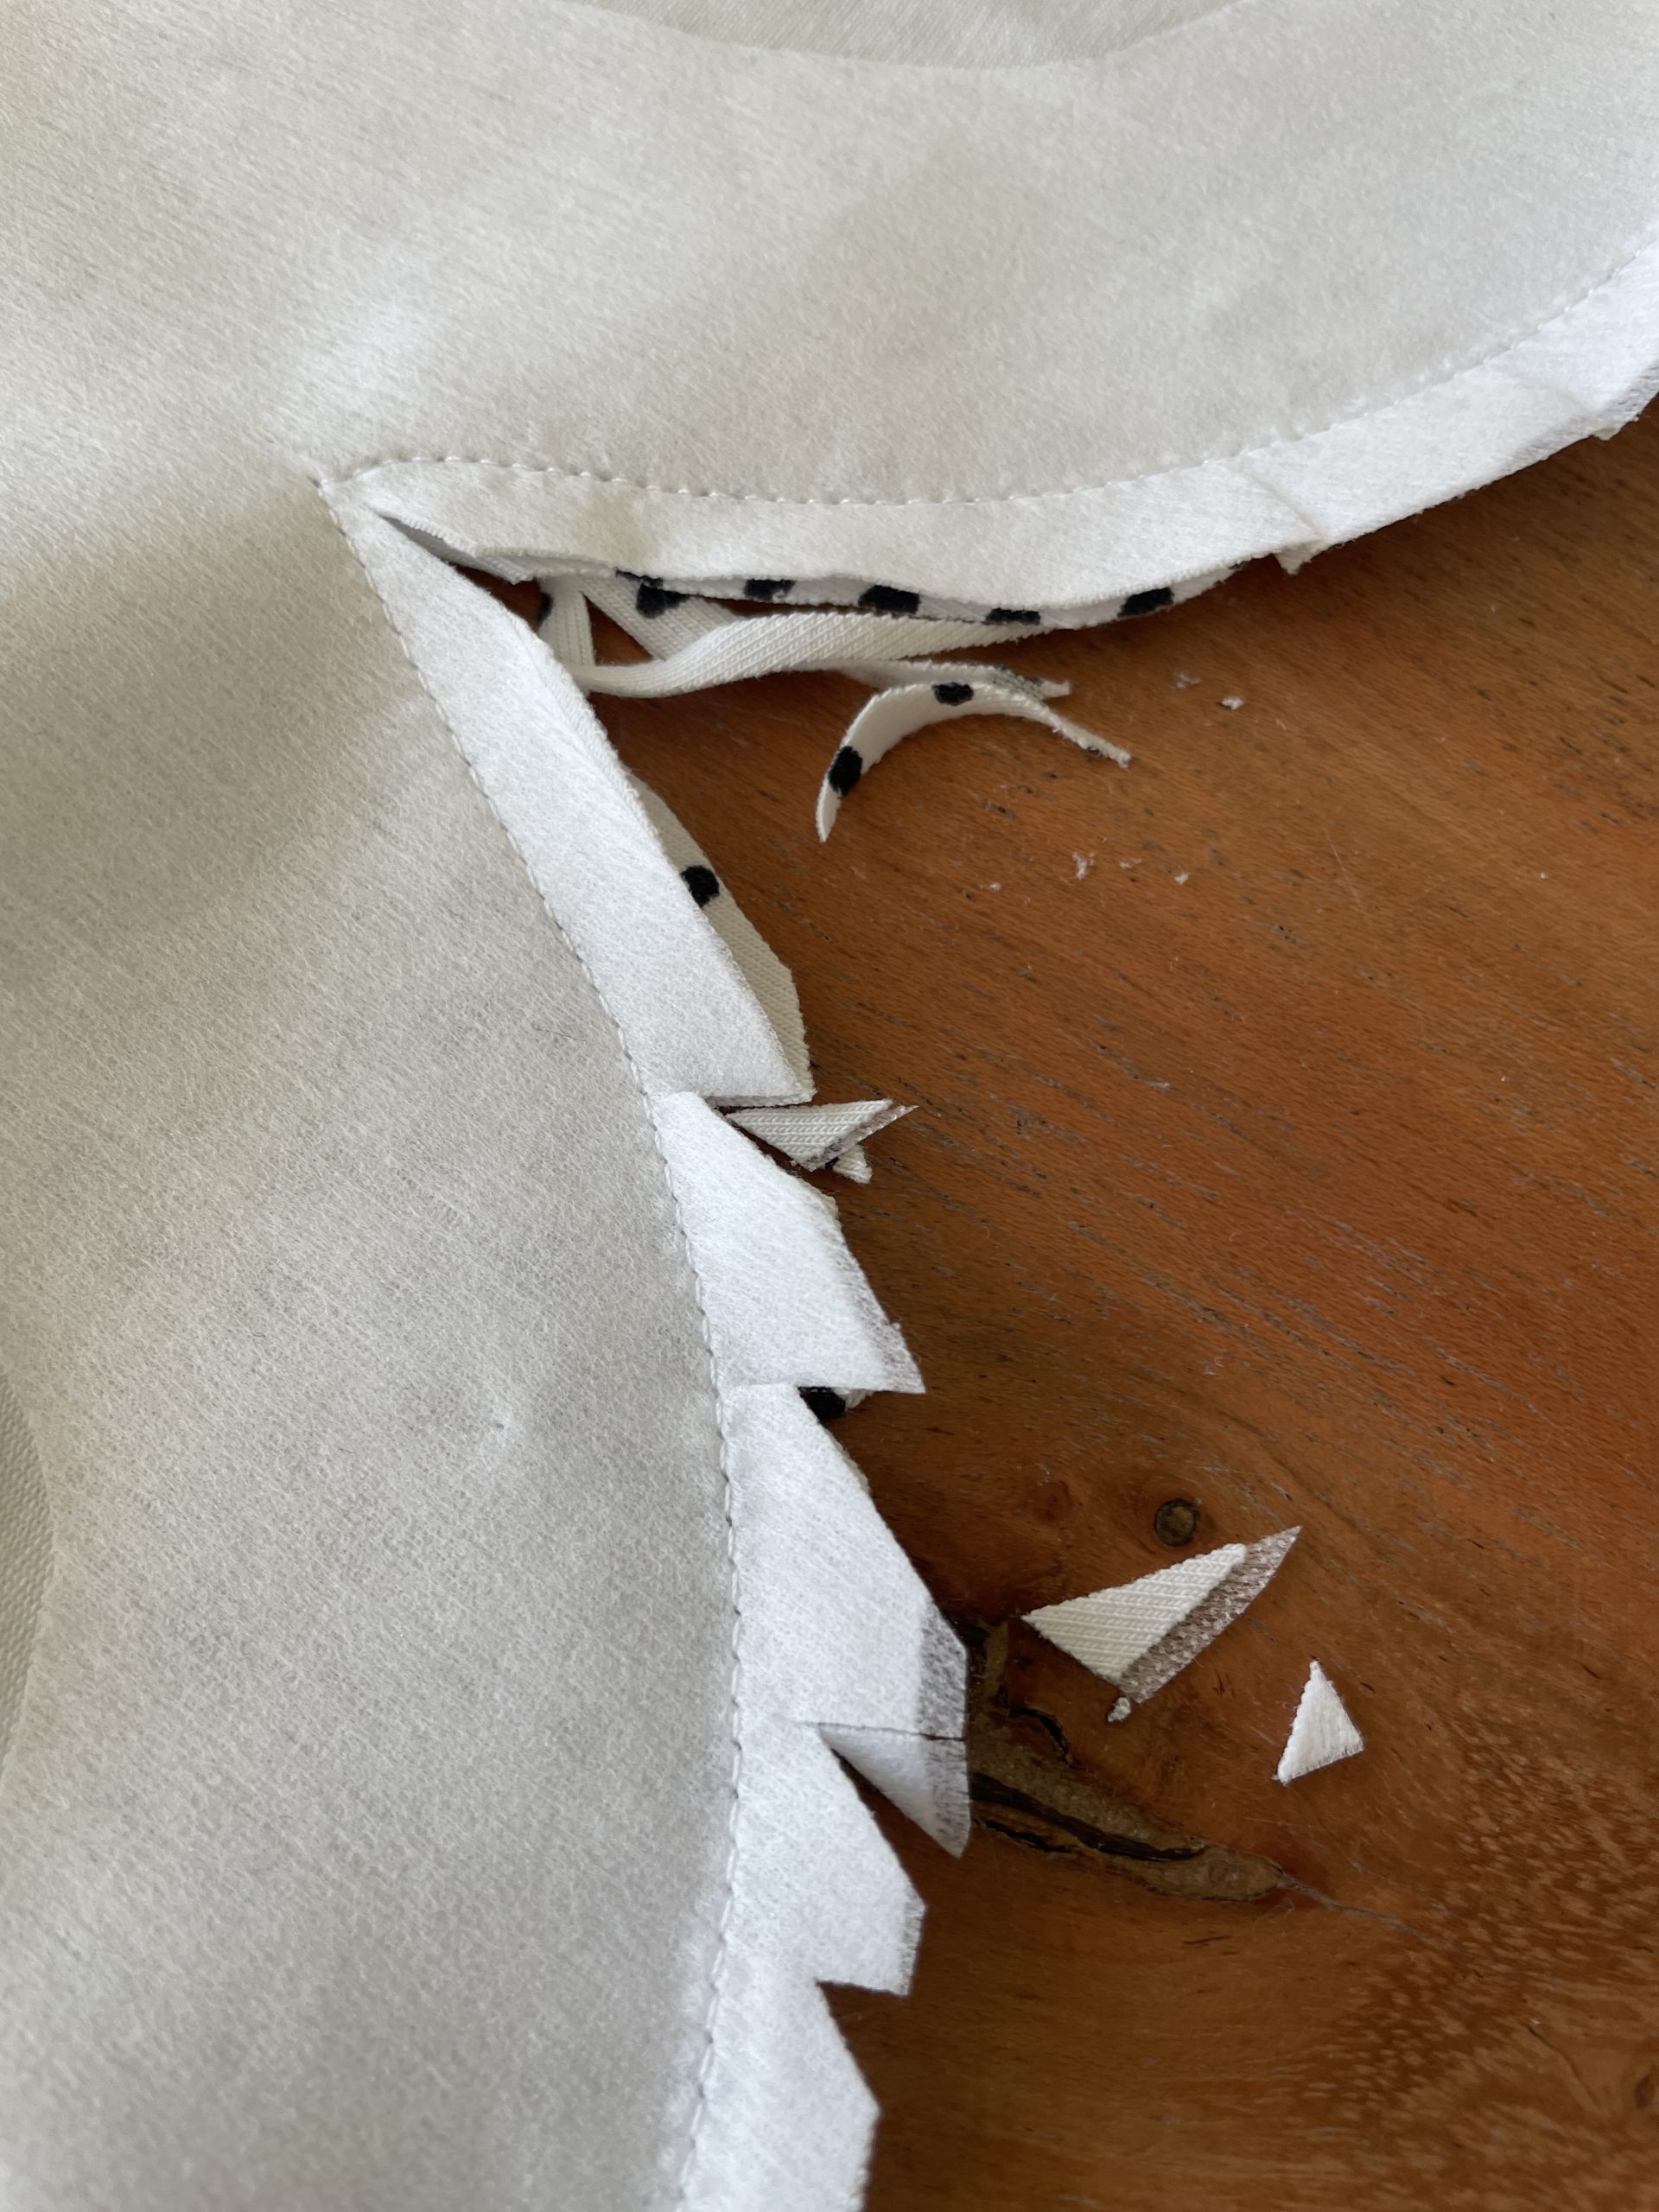
creating small V shapes on the round curve
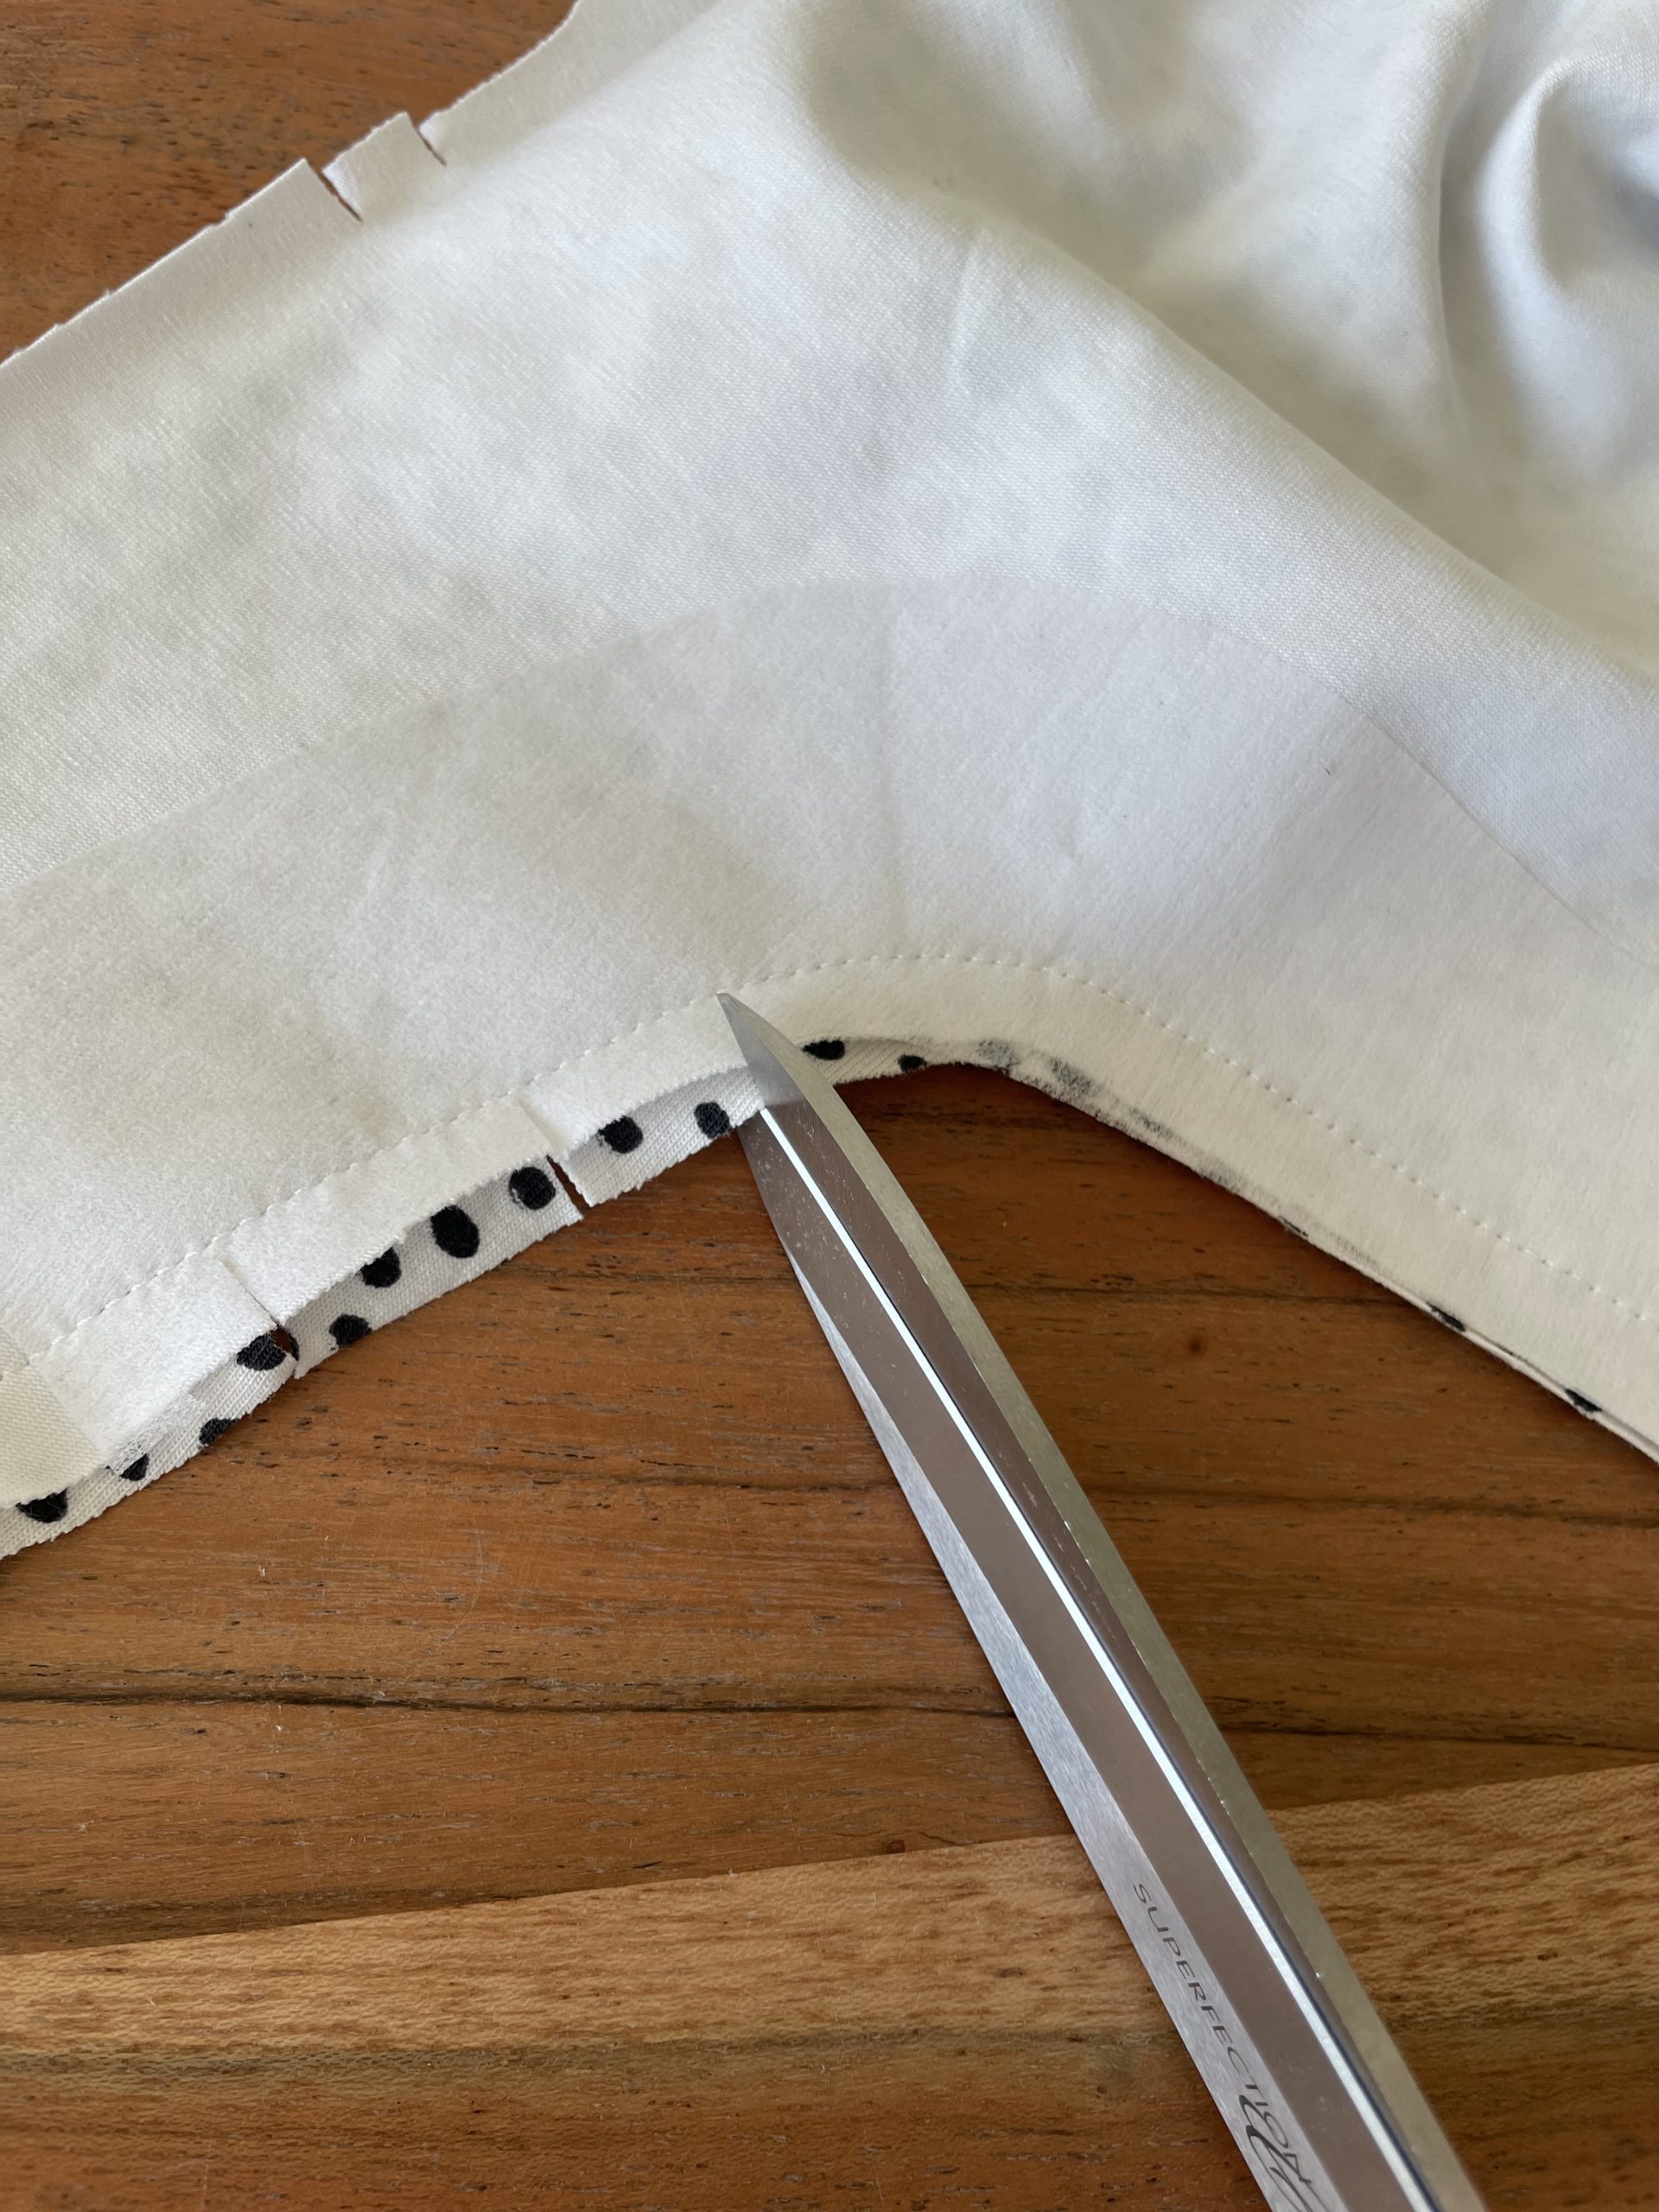
cutting small snips into the back curve
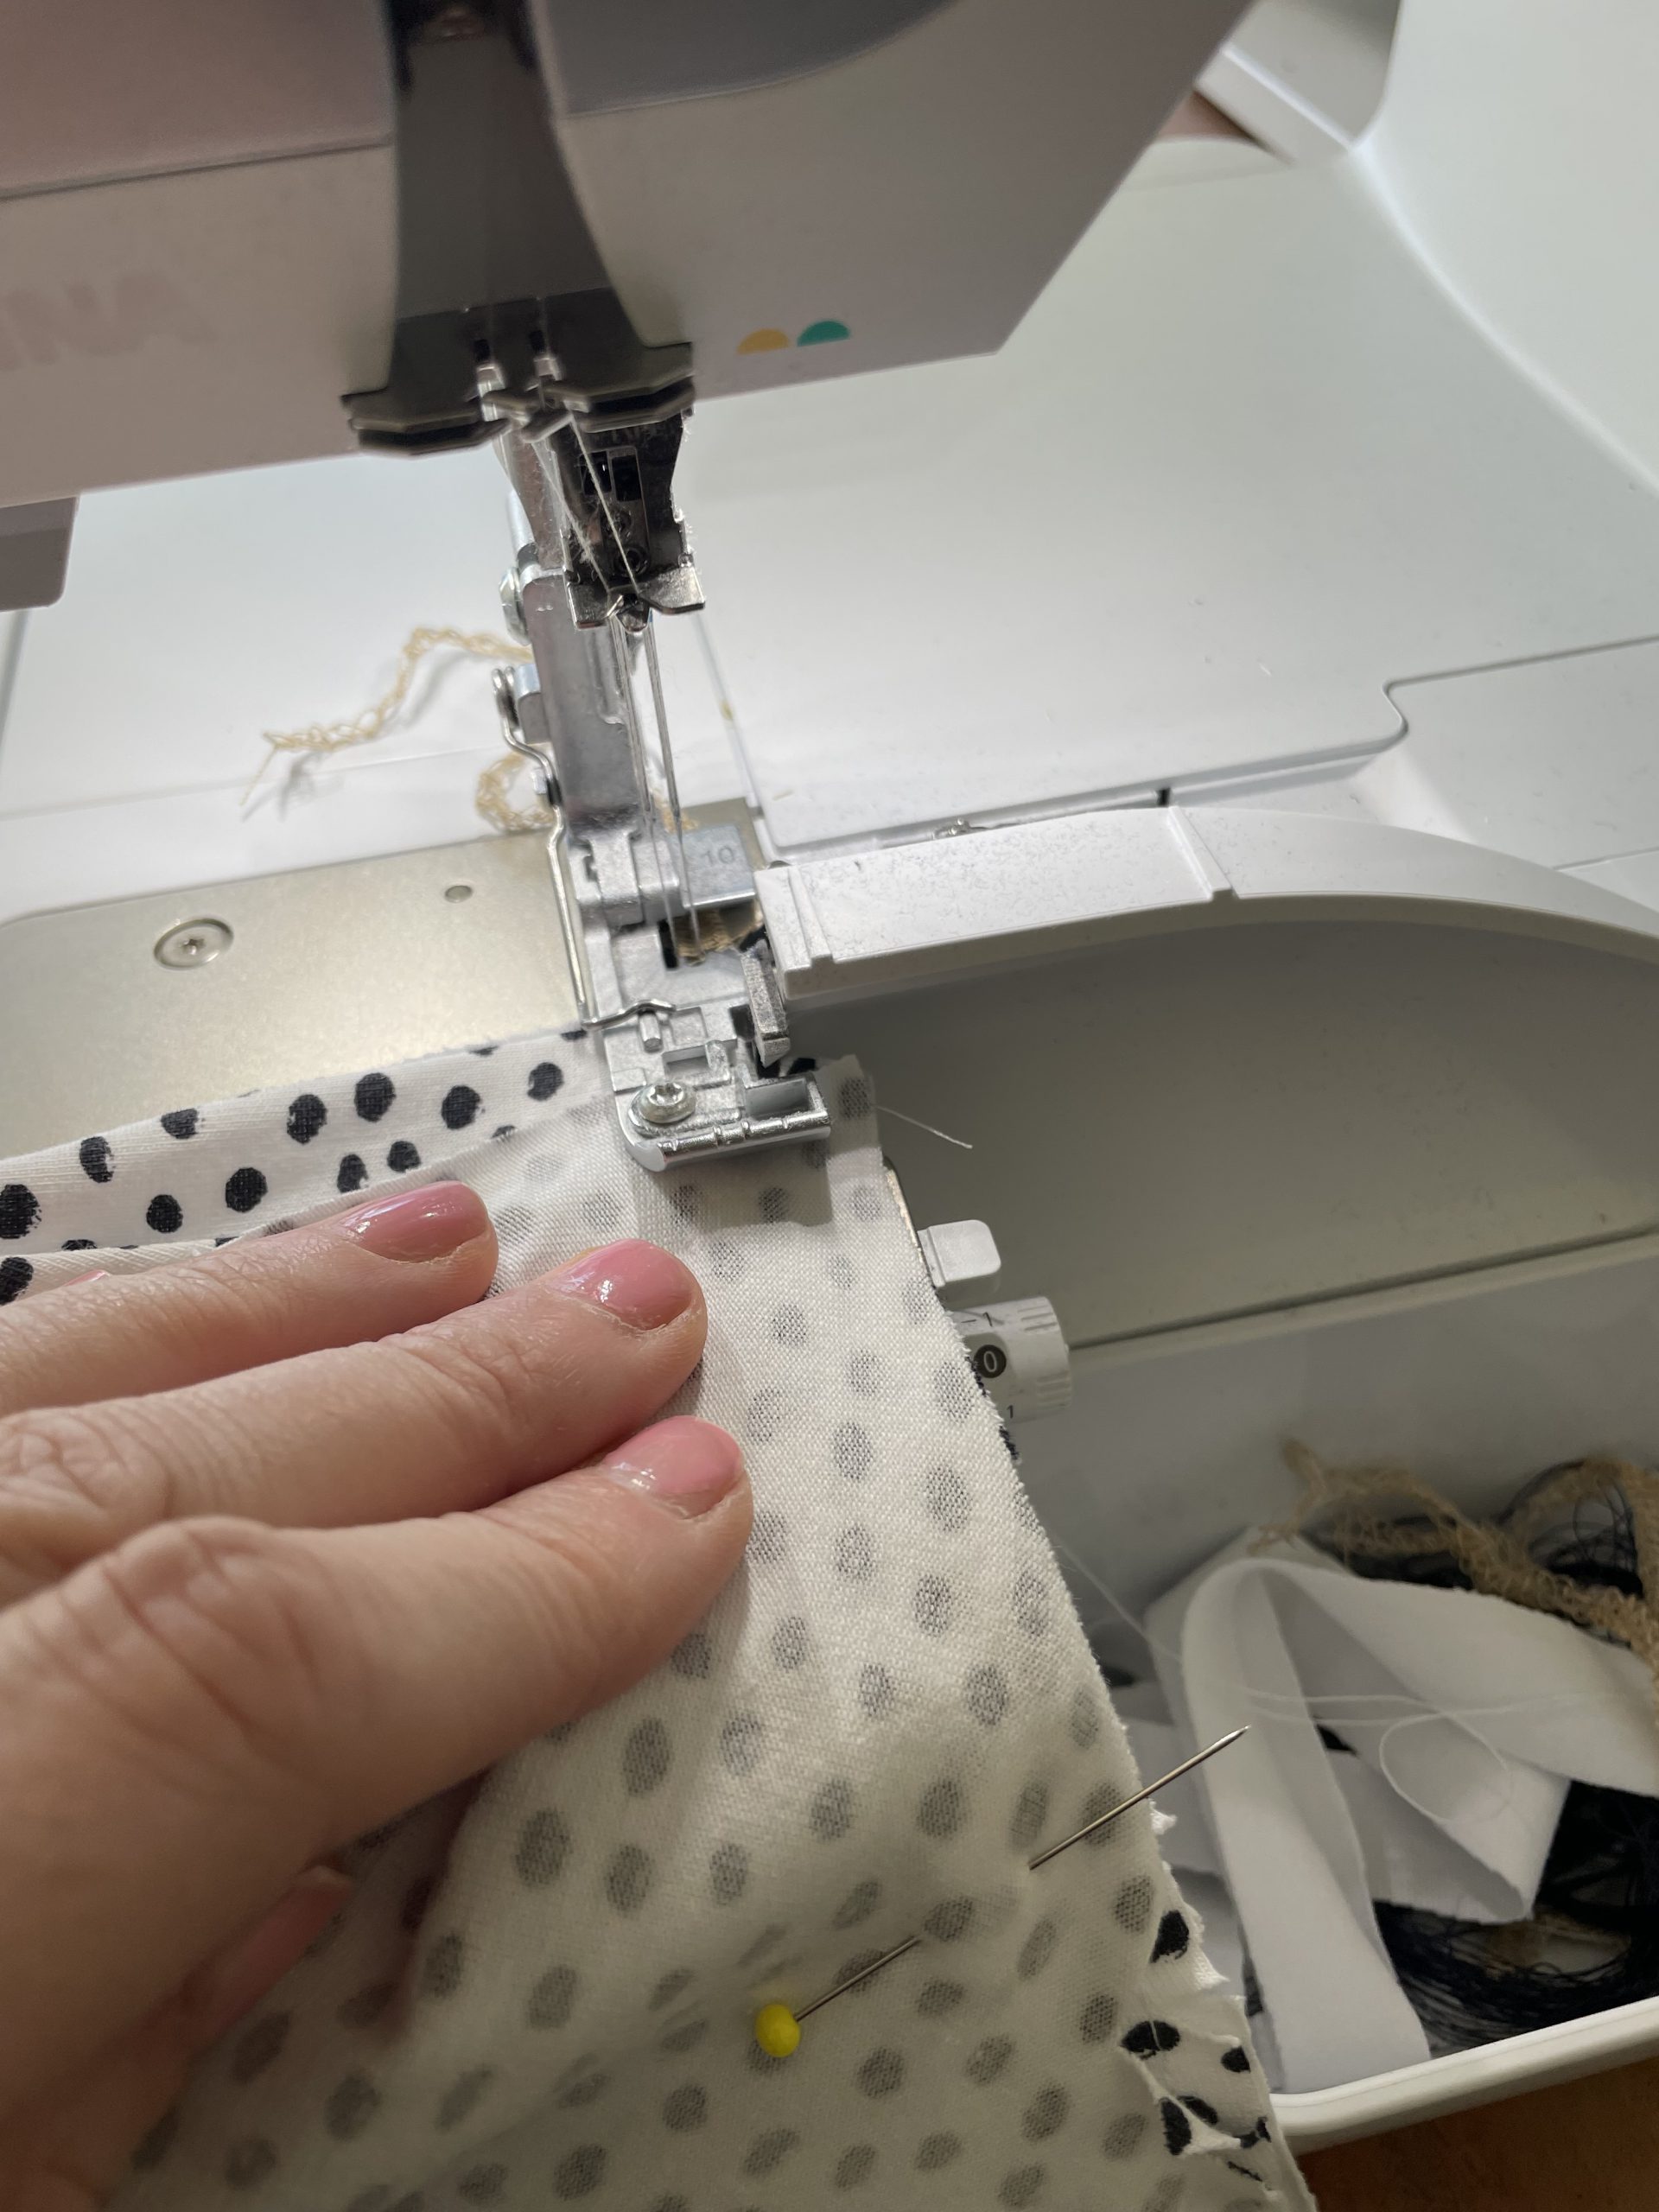
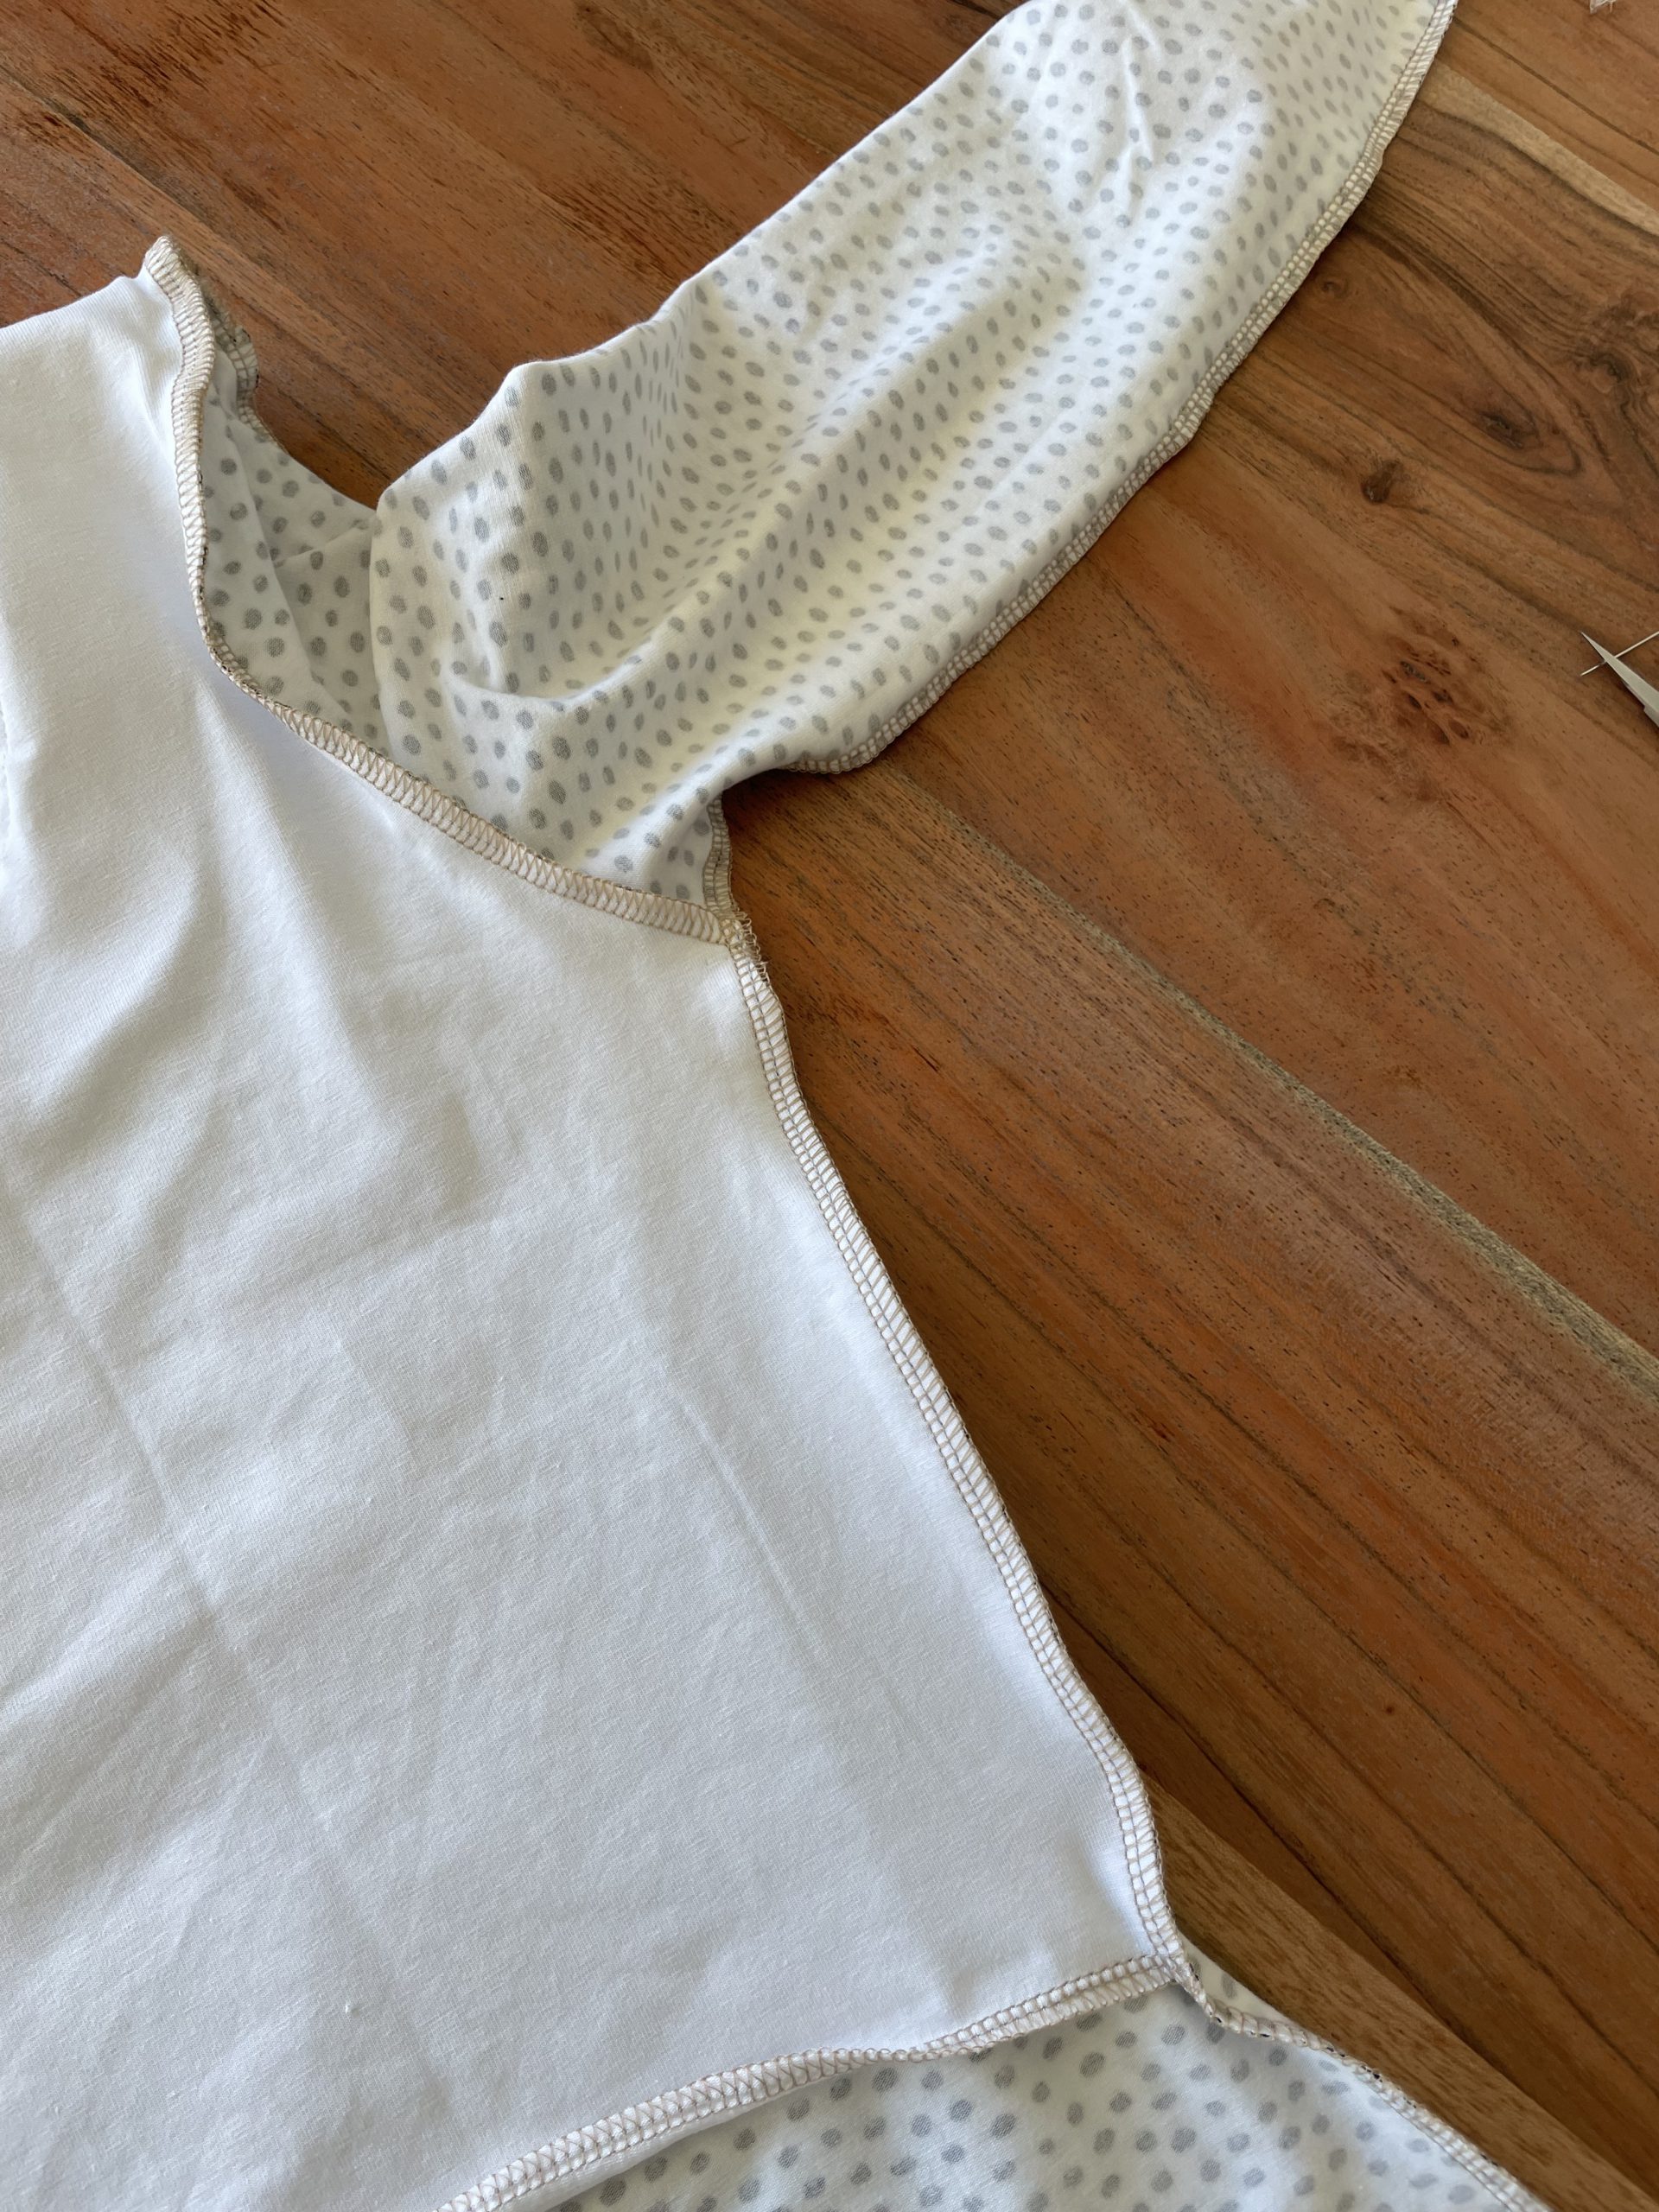
Next turn the top right side out and pull the lining and seam allowance away from the bodice. Press the seam allowance towards the facing. Under-stitch by stitching the seam allowance to the lining, stitching as close to the seam as you can.
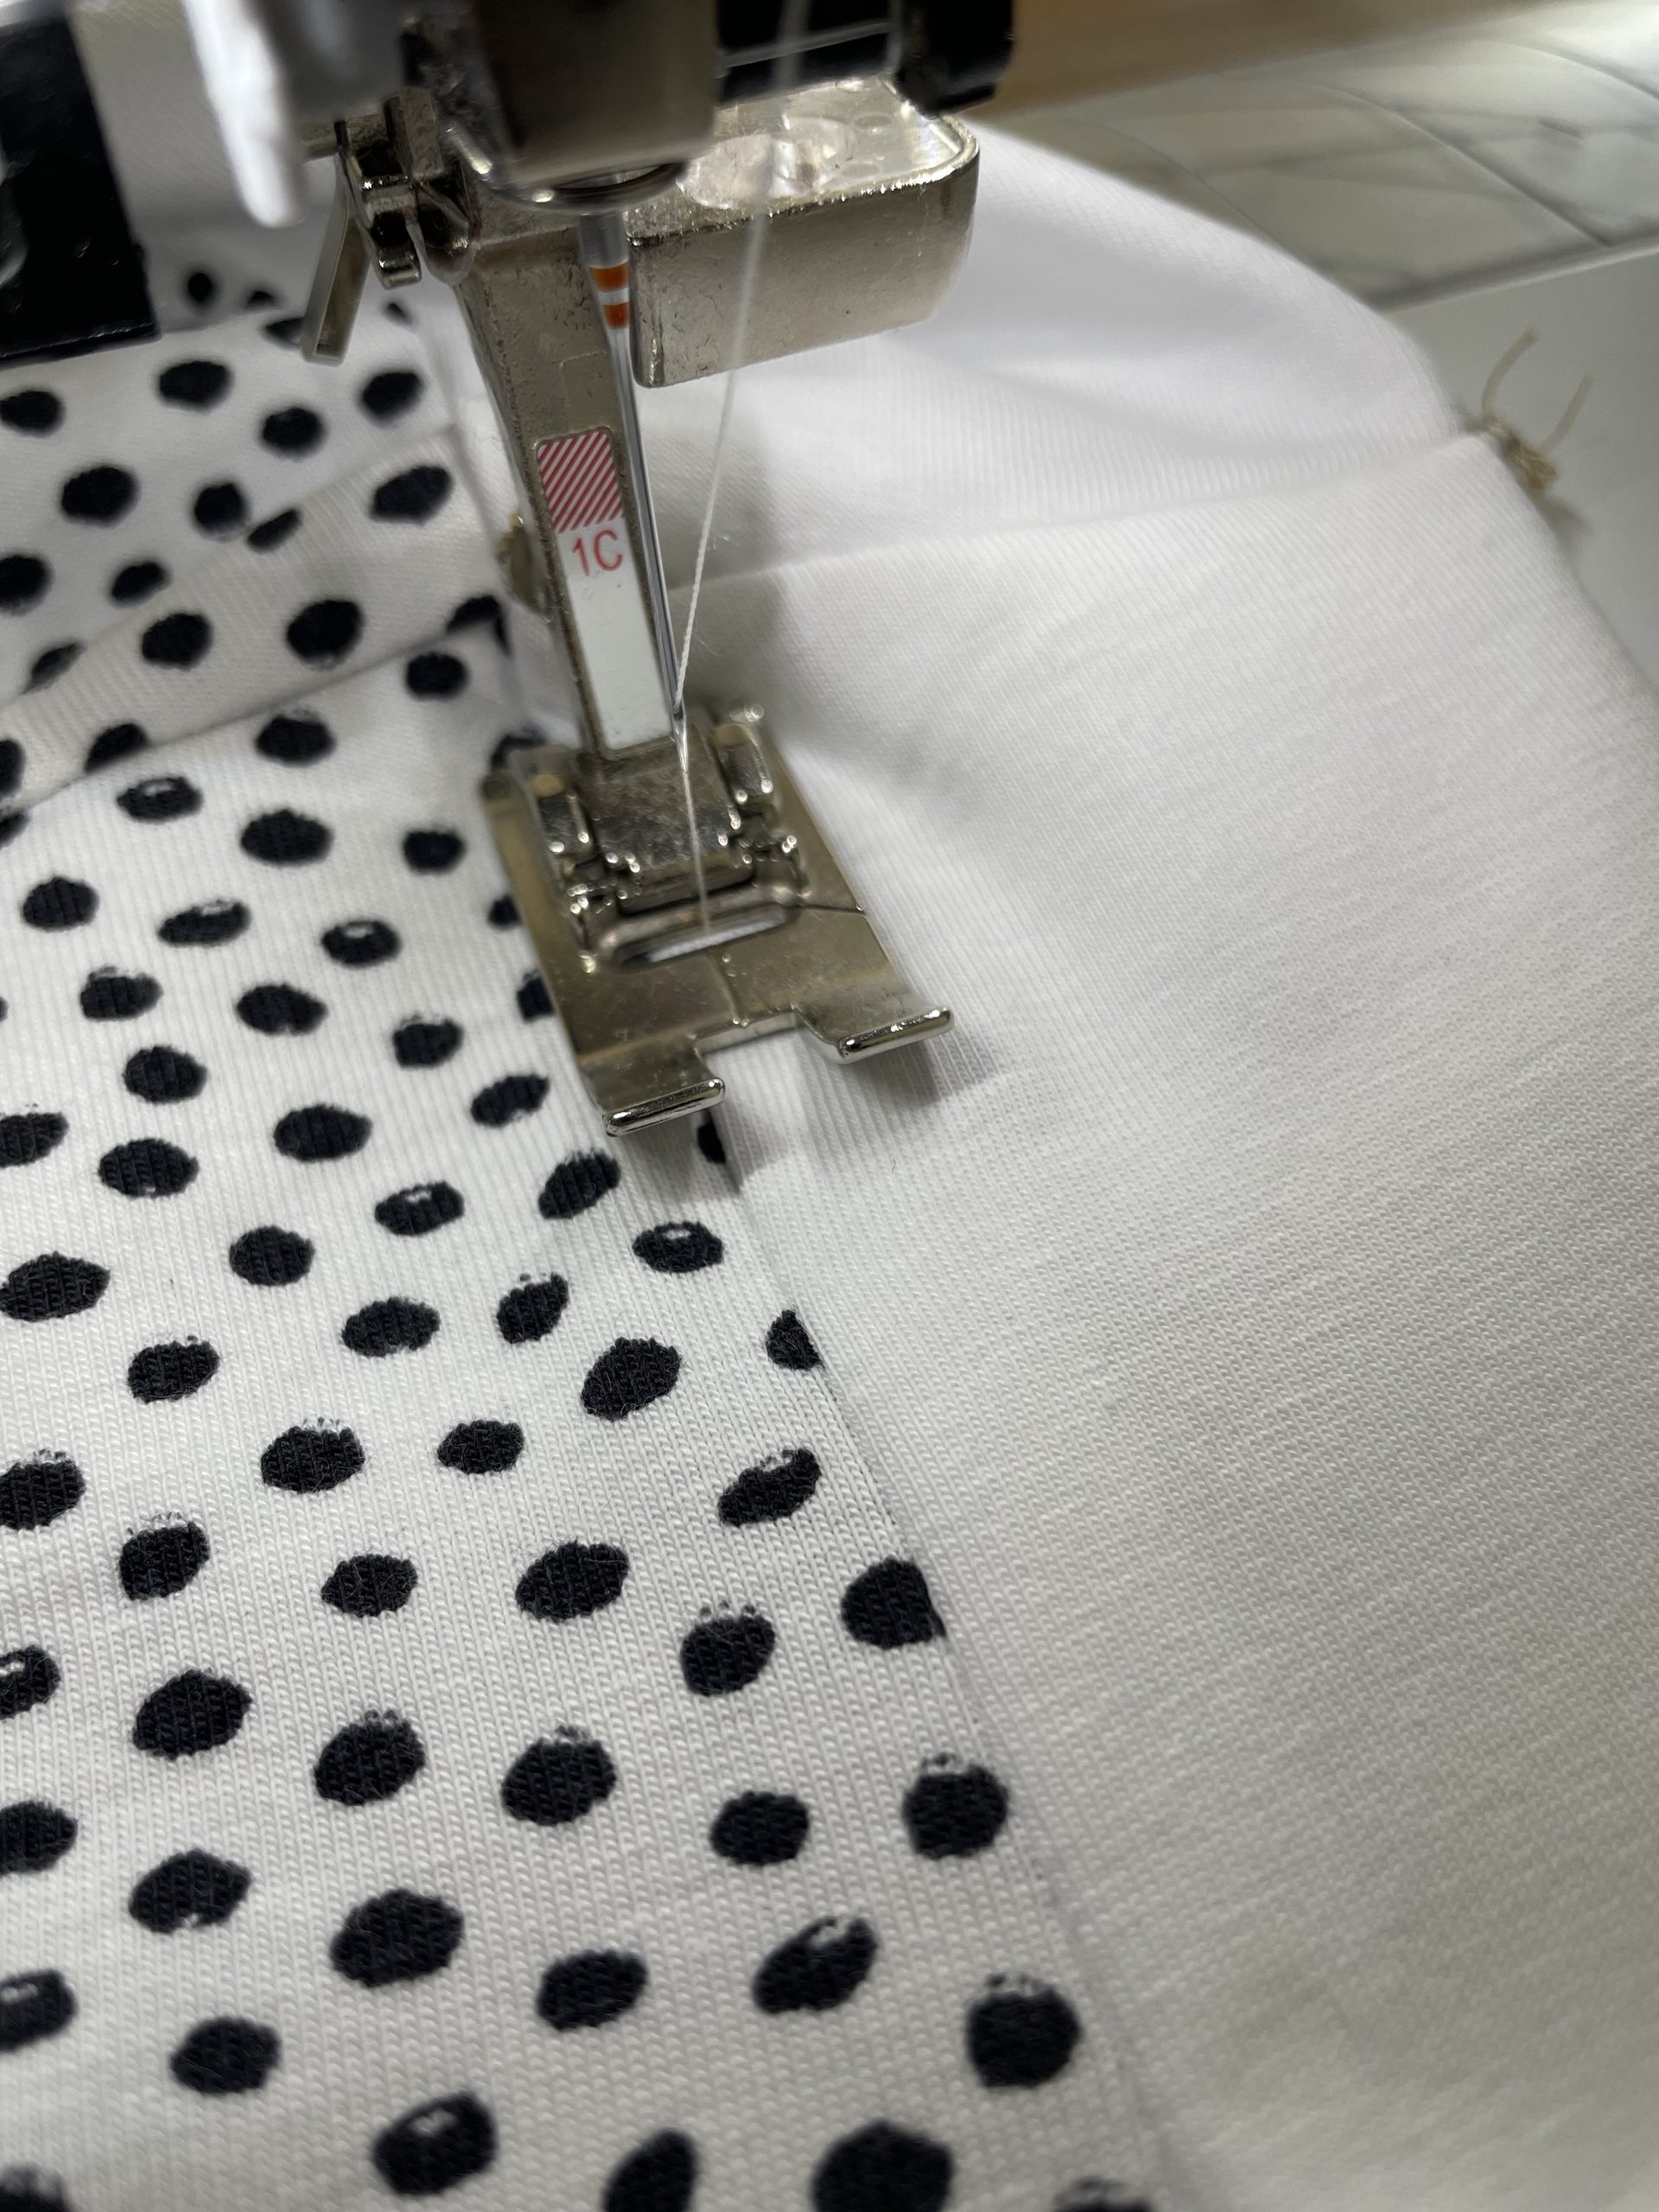
under-stitching the neck line
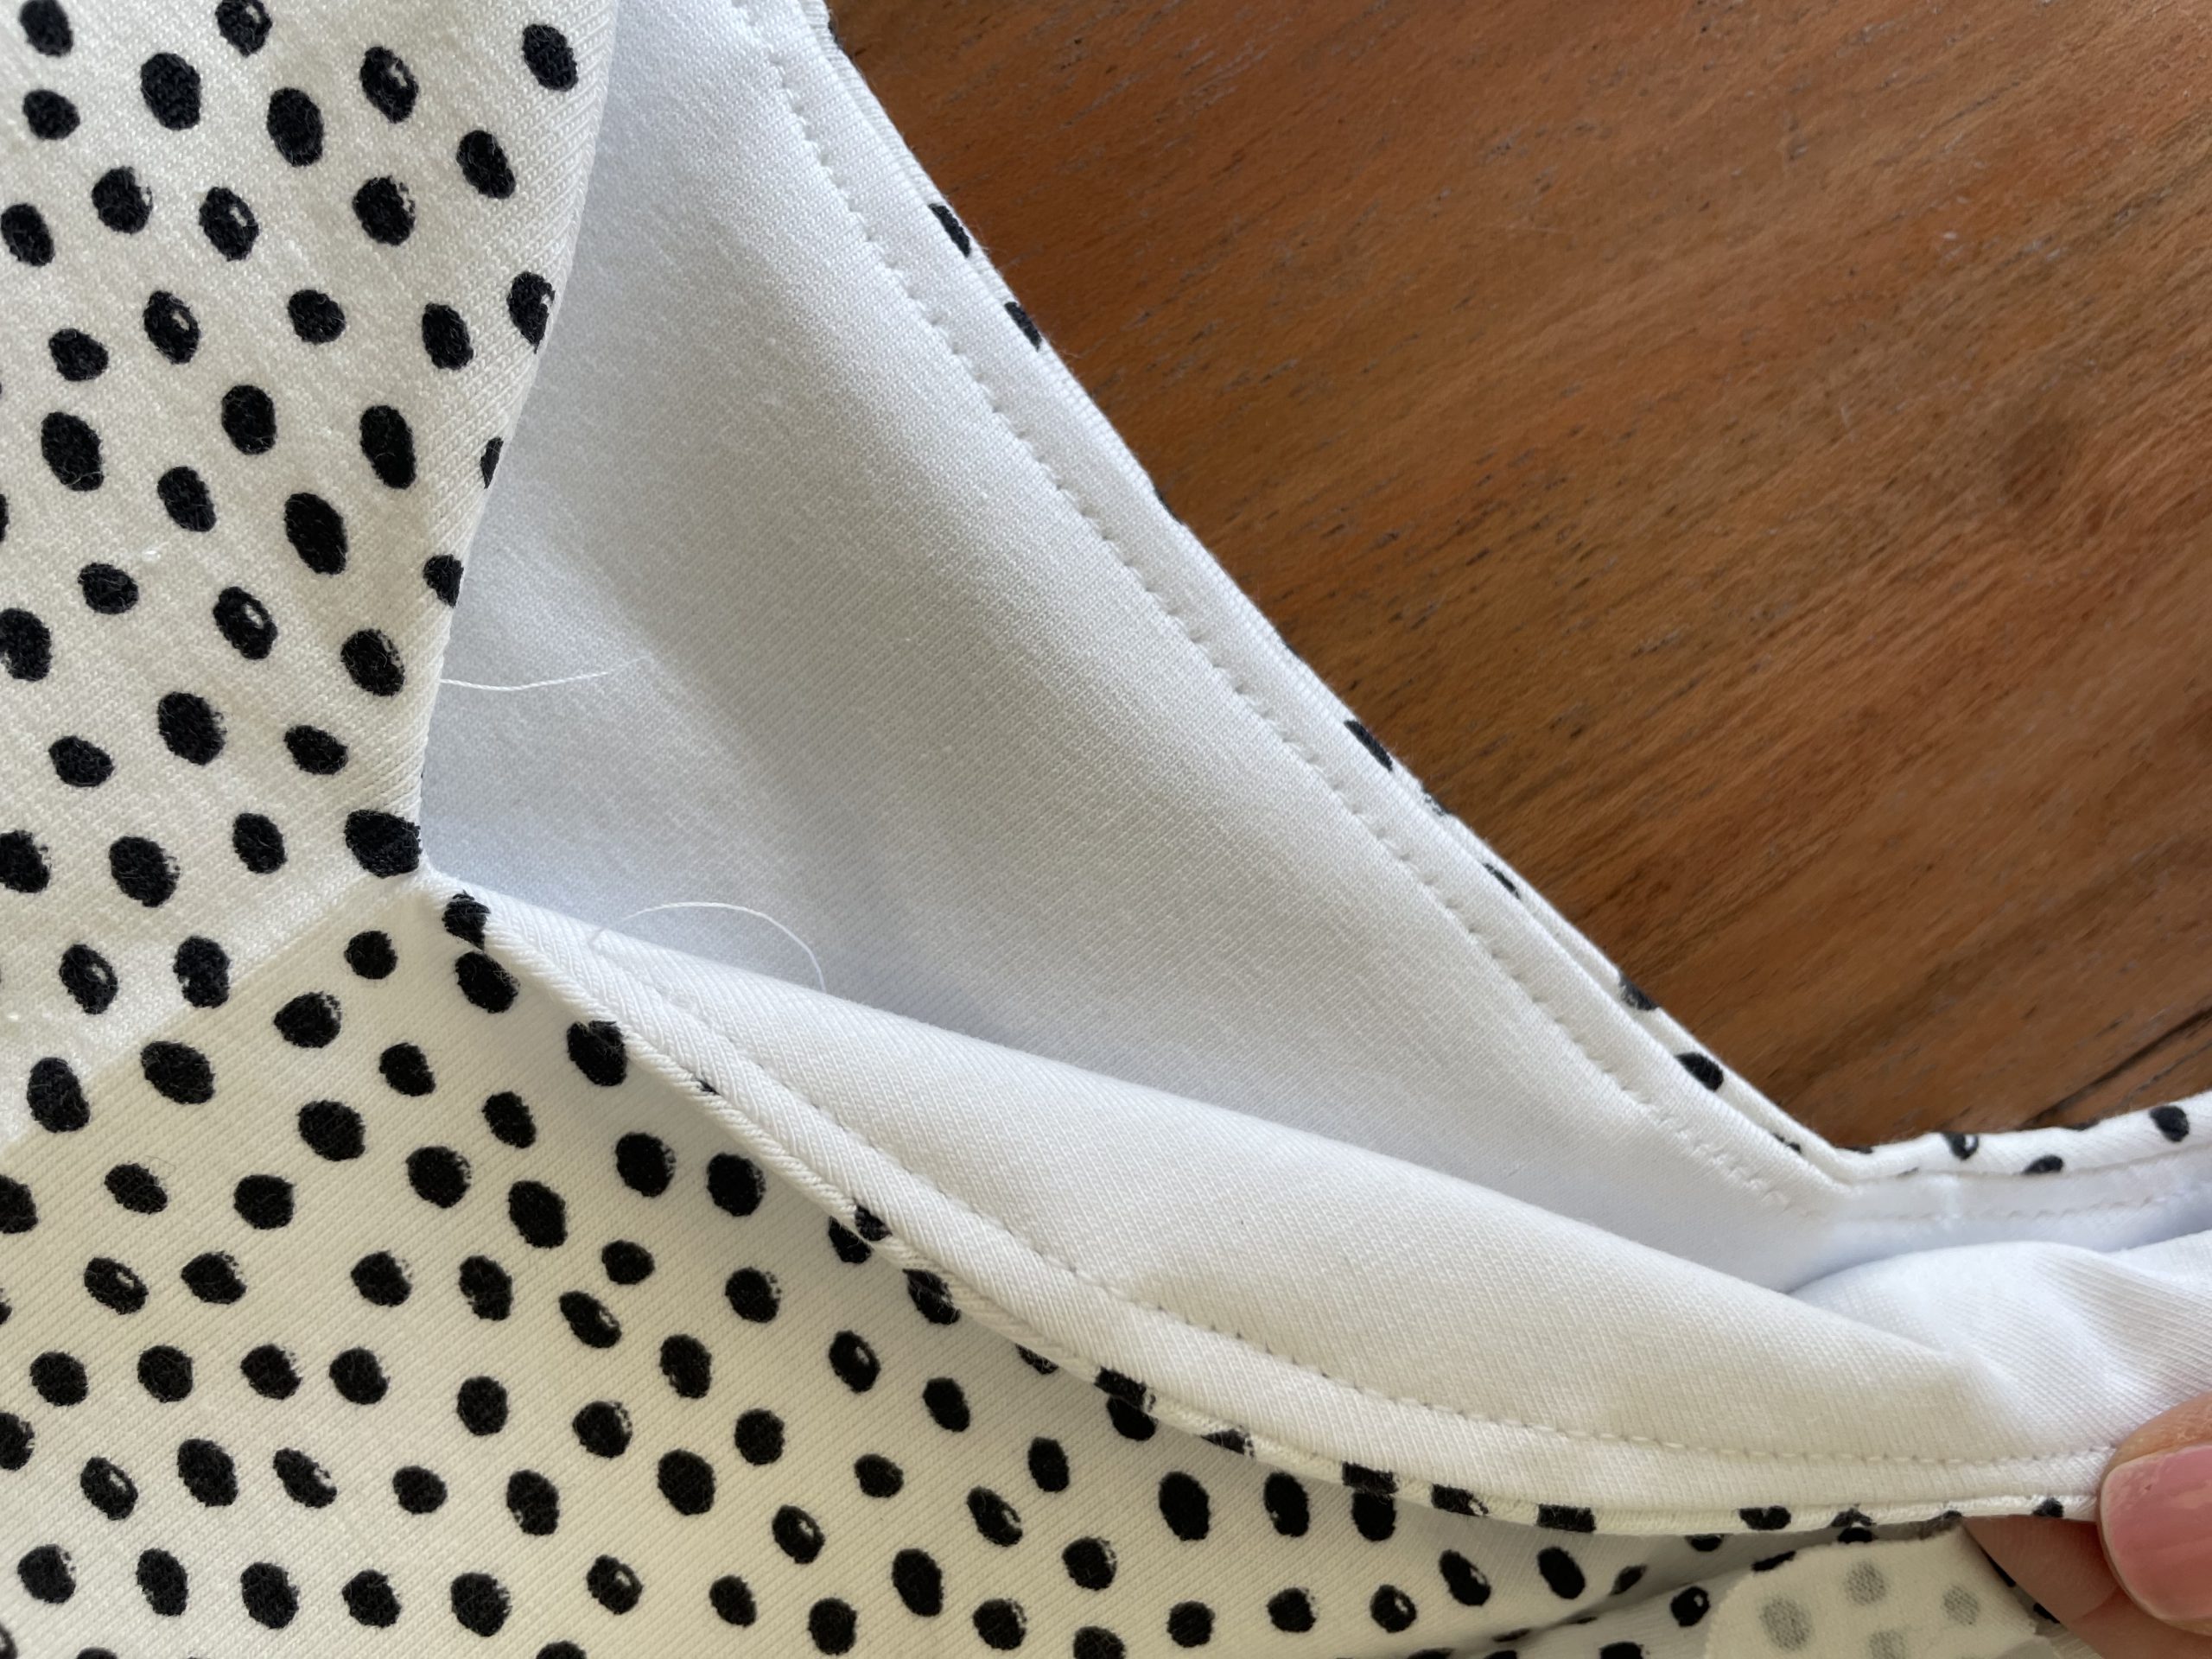
under stitching around the neckline
Try to sew as close the V as possible, you wont be able to get all the way into the V-shape.
Attaching the sleeves
Fourthly, with your top laid out flat, pin and baste your armholes using a long stitch length, this will prevent them from slipping when attaching the sleeves.

Next match your sleeve to the armhole, using the shoulder and sleeve notches, pin and sew using the overlock machine or Zig zag.
match the armhole / sleeve notches
pin your sleeves and sew
Overlocked sleeve head
sewing the sleeves to the top
Lining
If you would like a cleaner finish to the lining, finish off the bottom of the lining now with an overlock or zig zag.
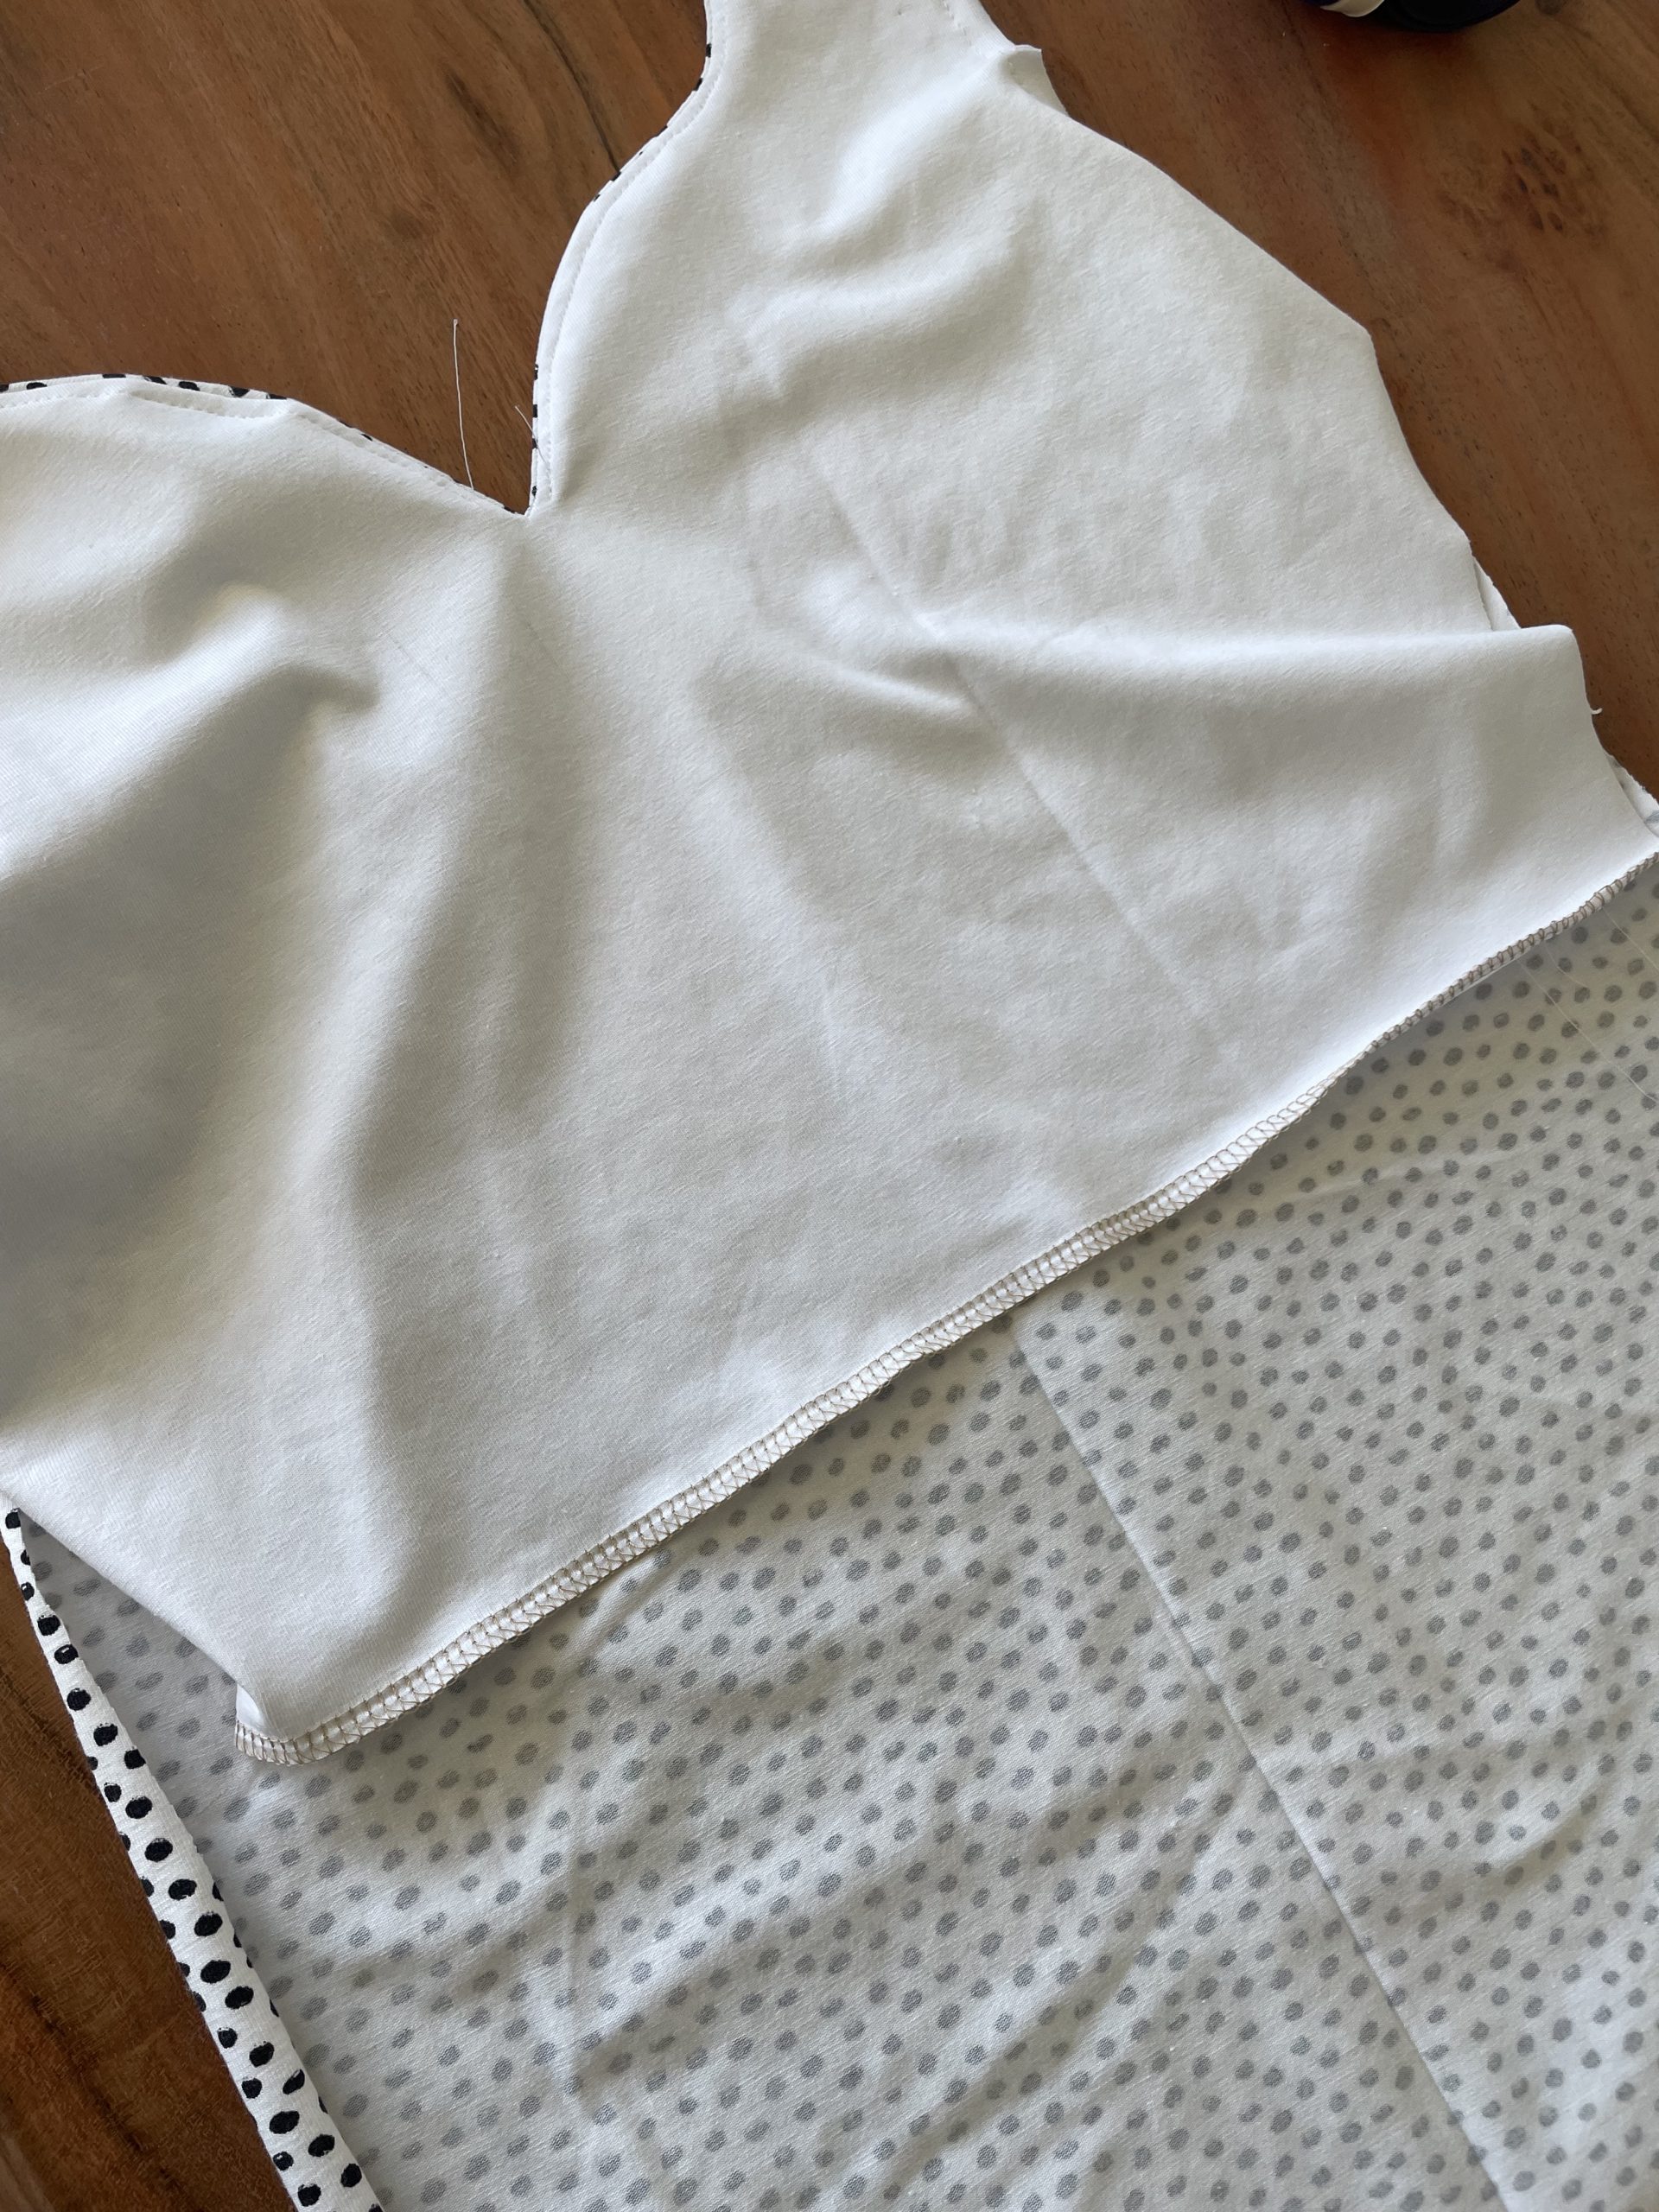
neatened of lining seam.
Sewing the underarm and side seams
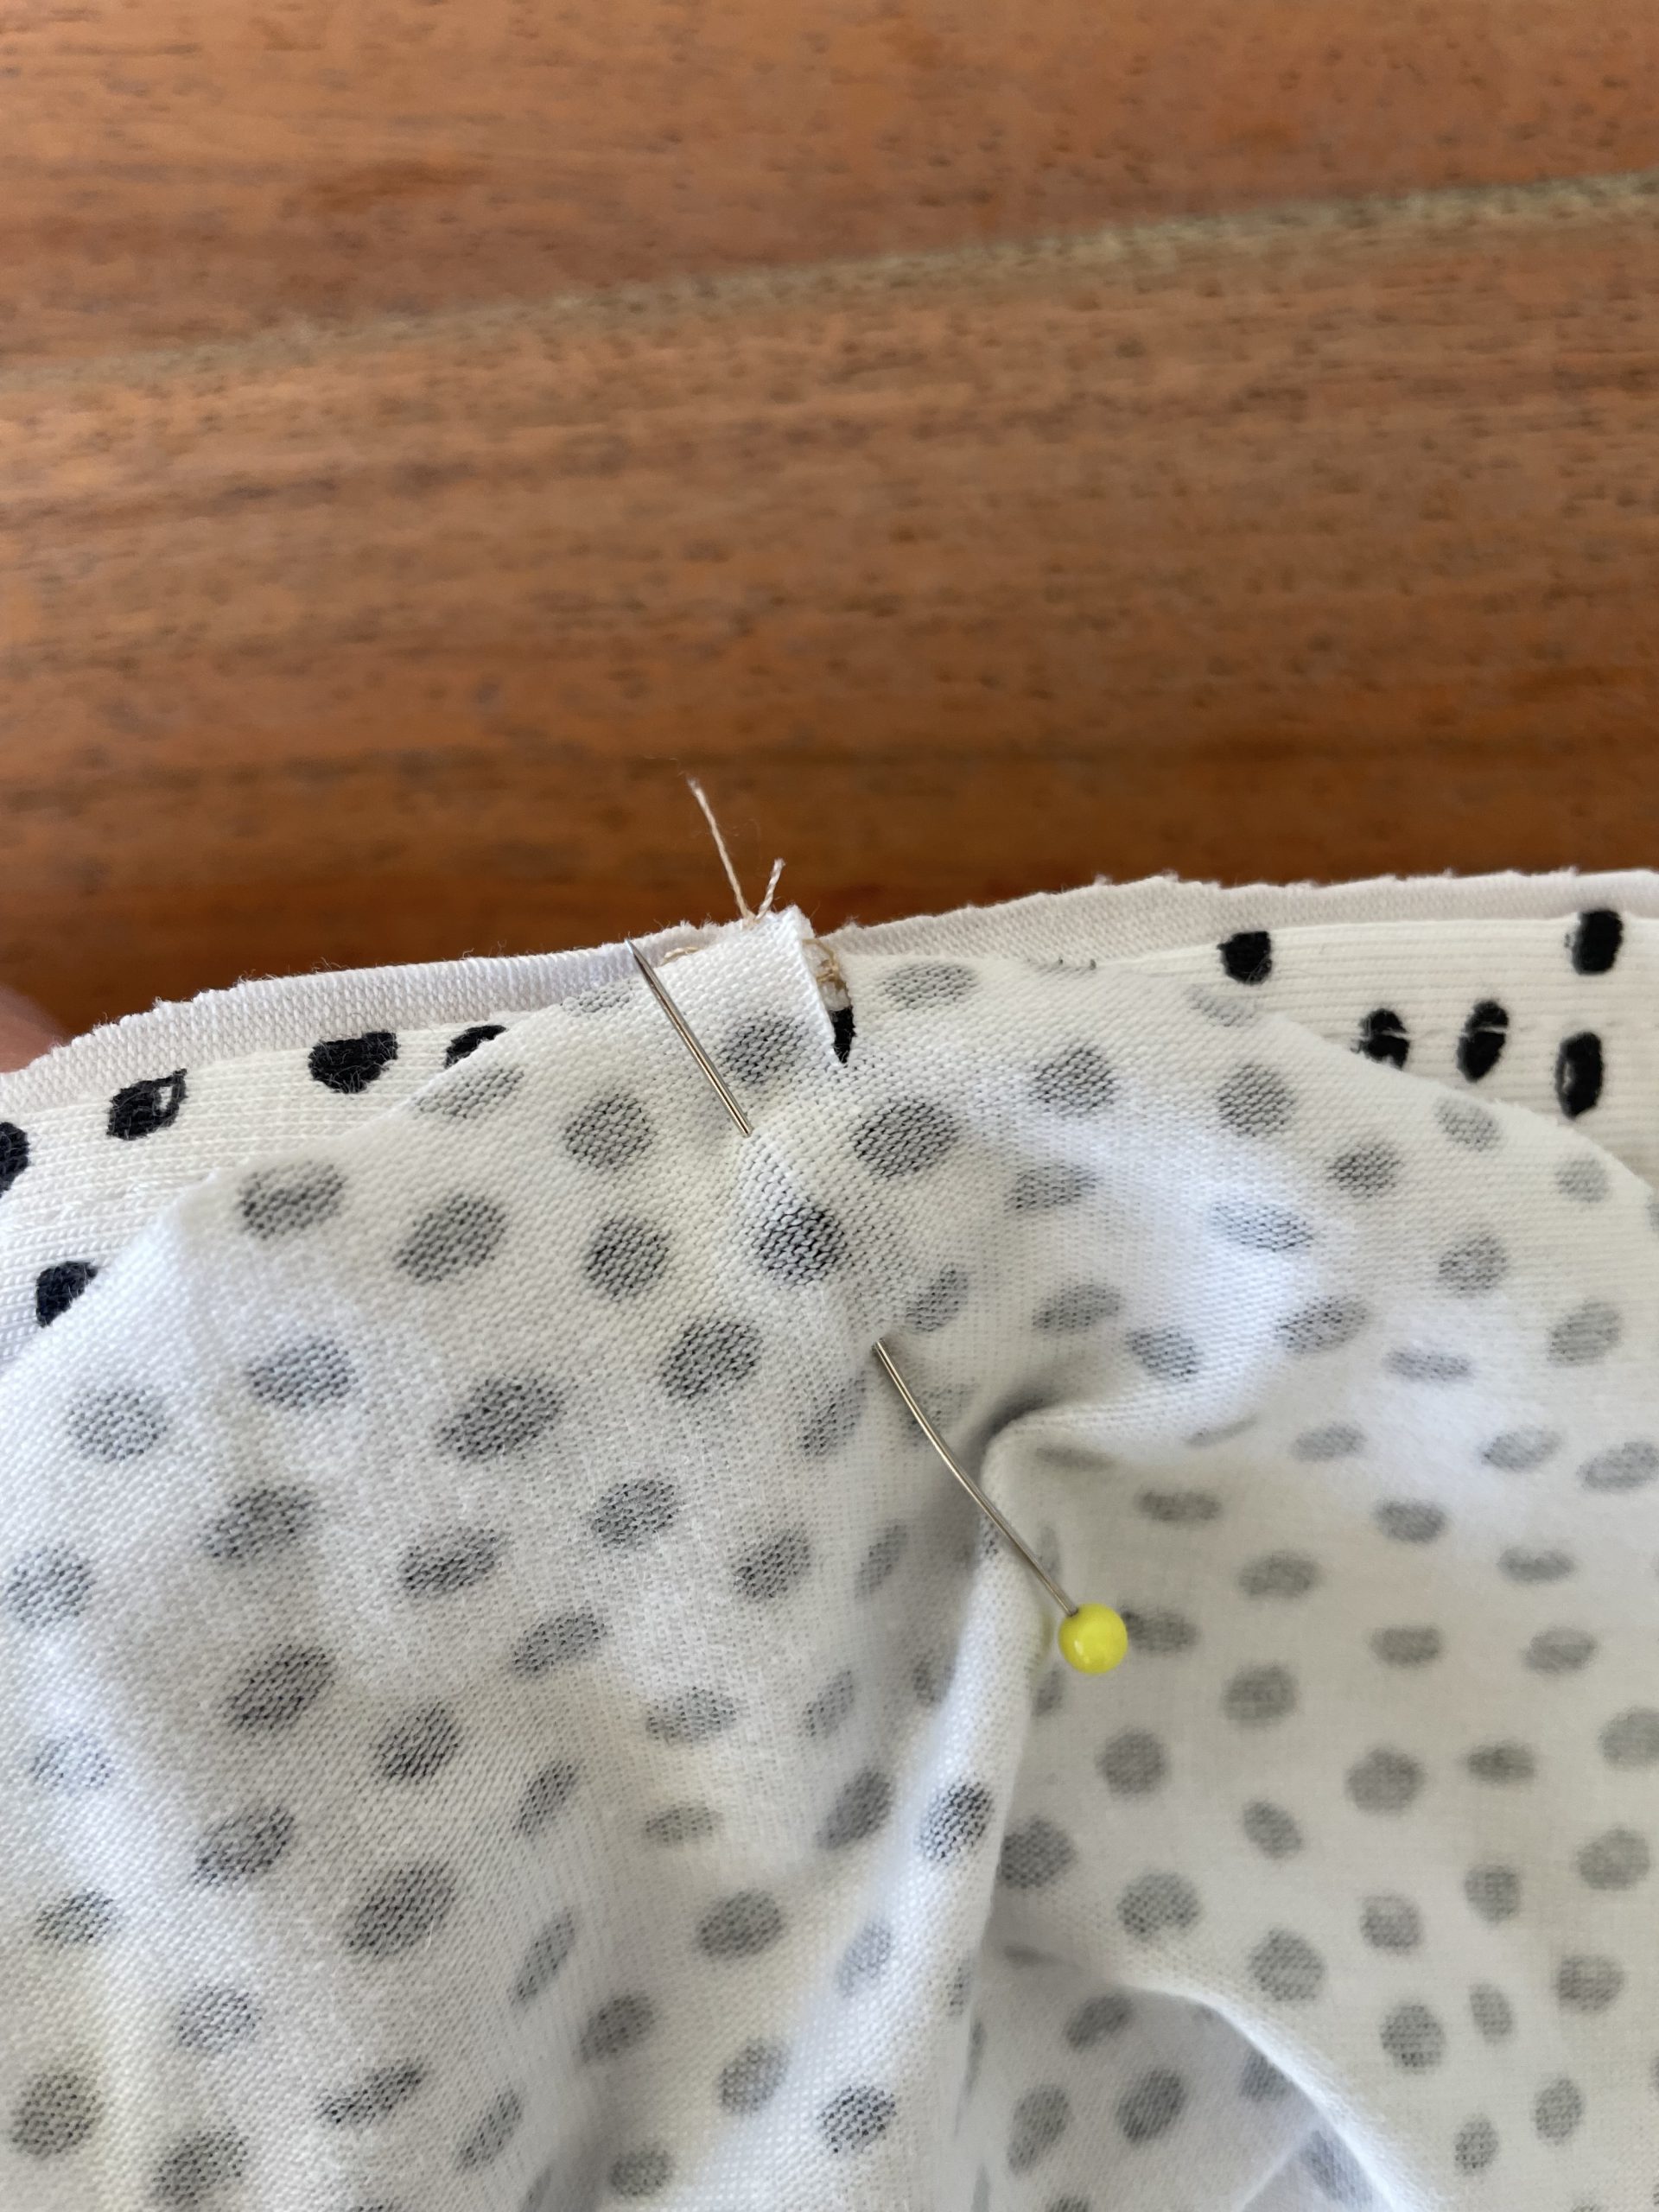
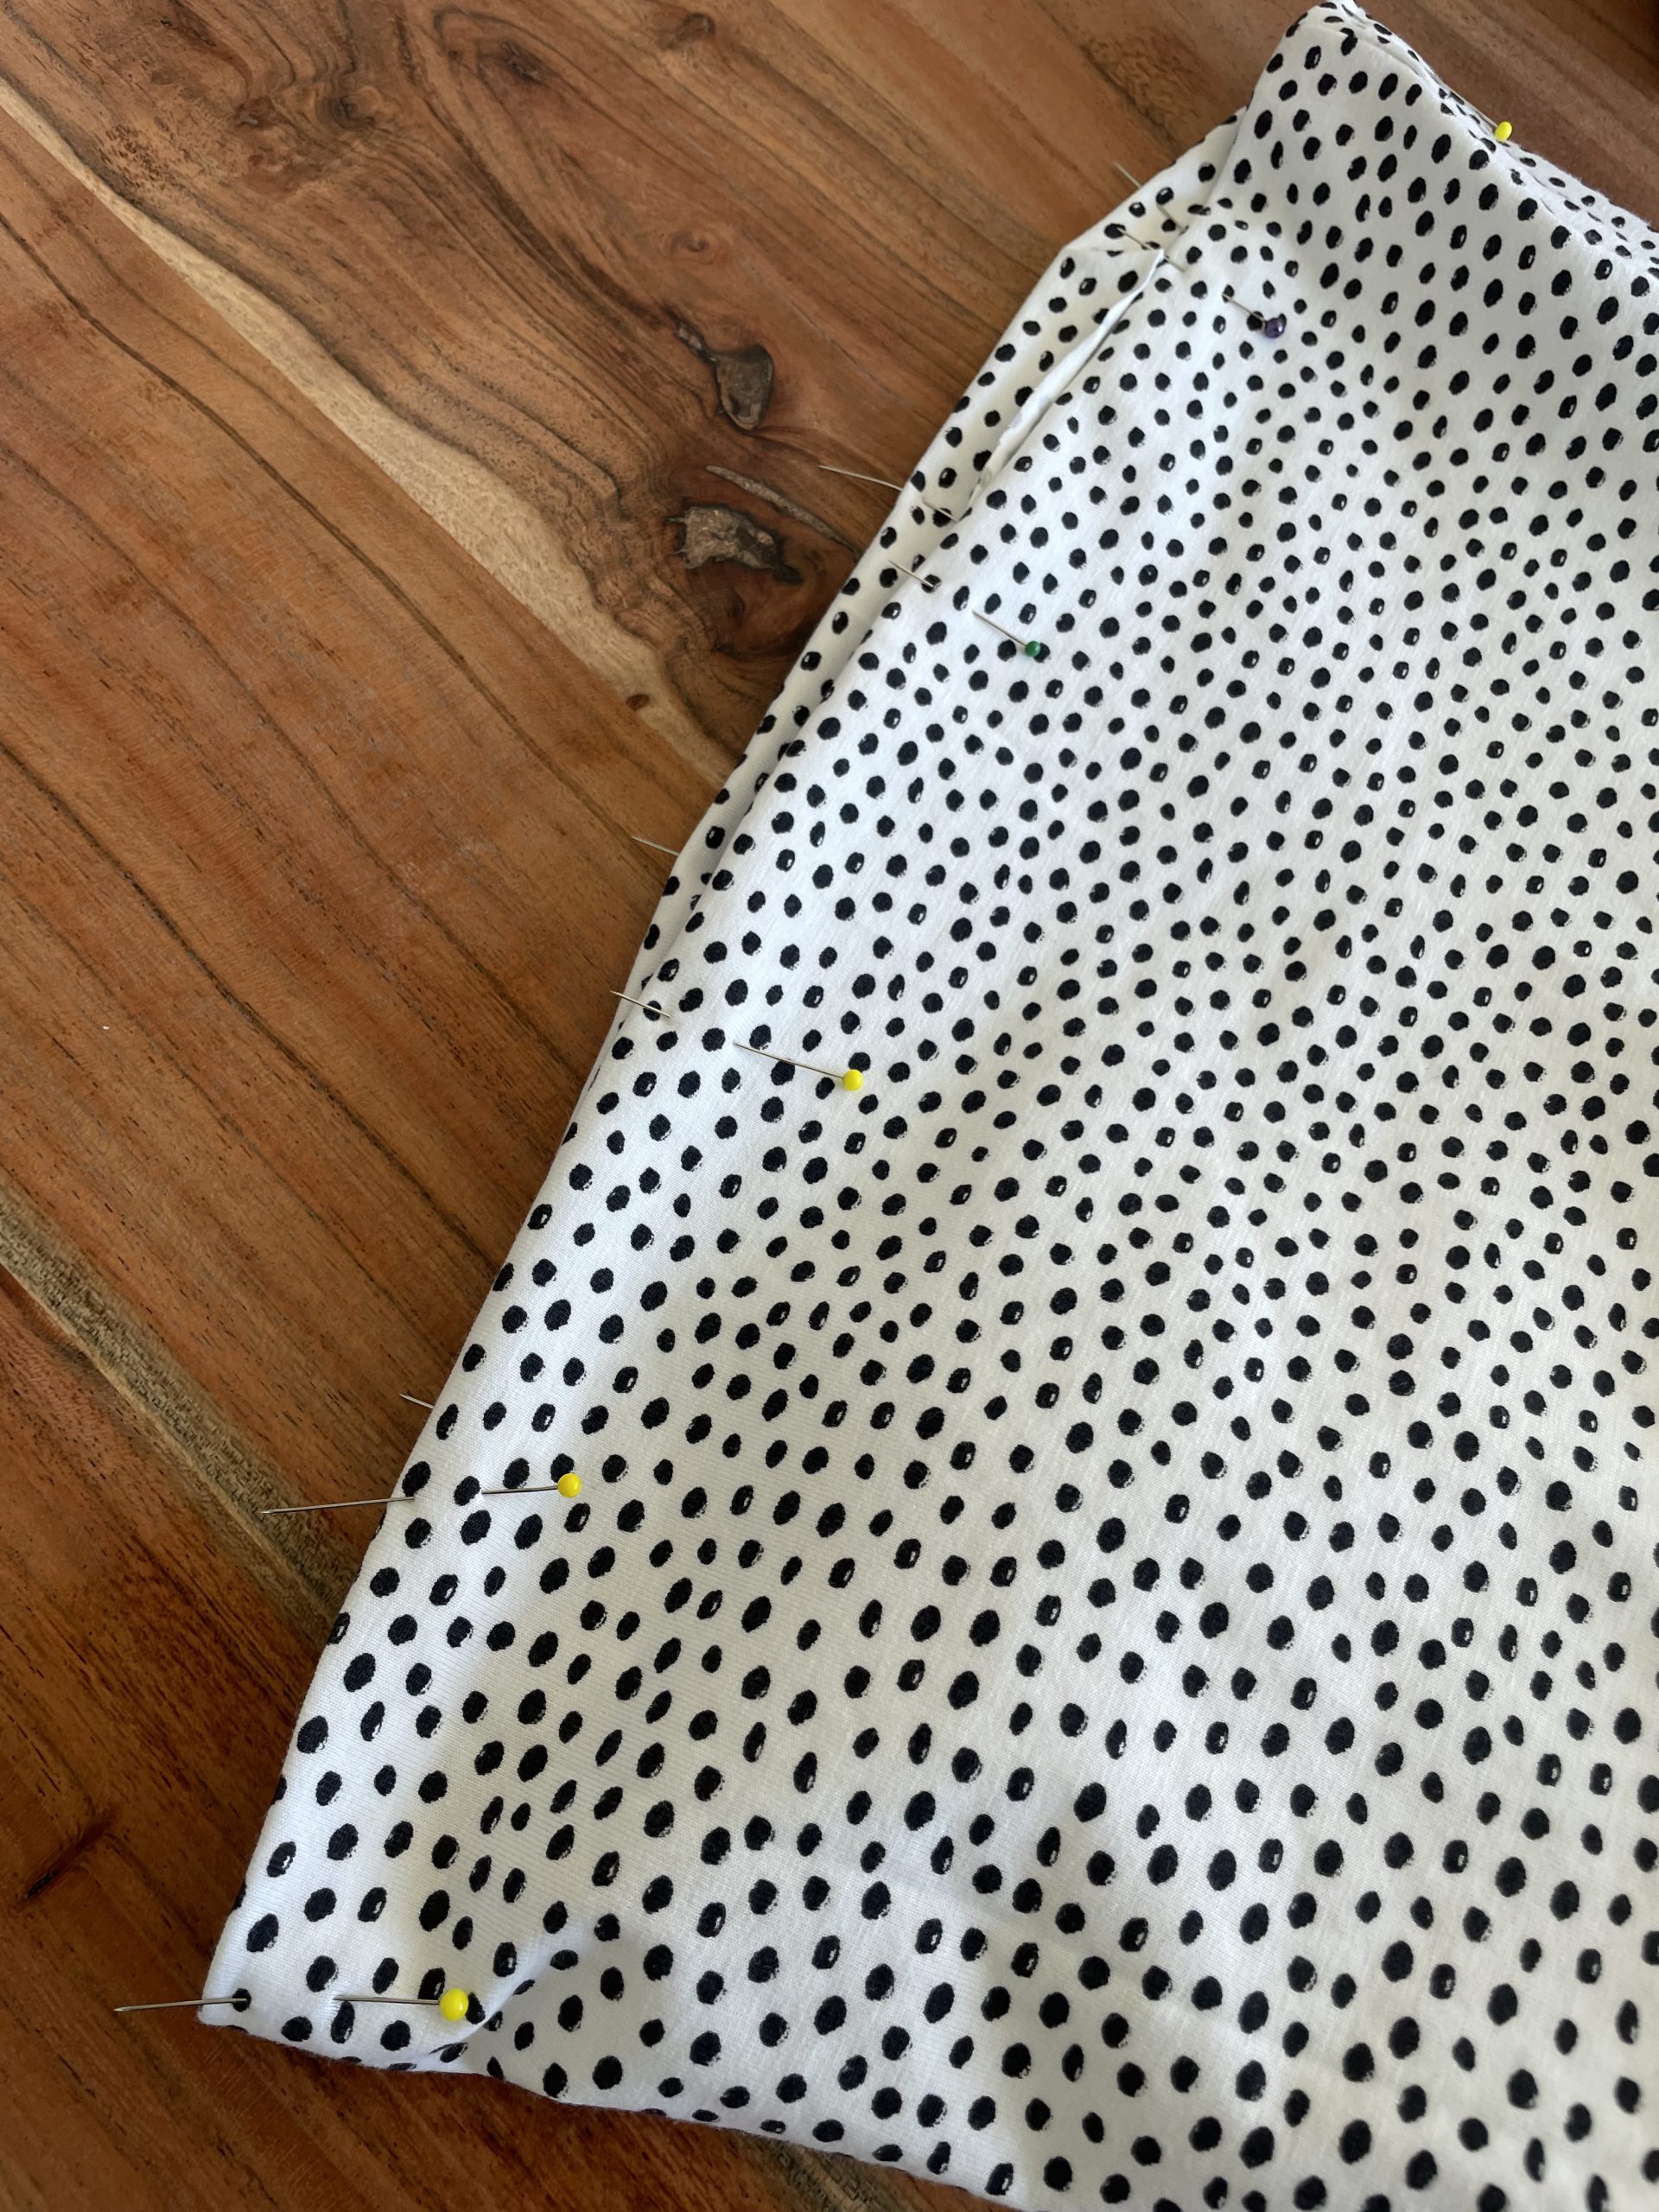
Finally, pin and sew the top right sides together along the under arm and side seams, be careful to include the side seams of the top and the lining along each side.
Pin and sew along each side, making sure to match the underarm seam and all layers along the sides.
matching the under arm and side seams
Hemming the sleeves and the bodice
The final stage of the top is too hem the sleeves and the main hem of the bodice.
Press the seam my 2cm to the wrong side and pin to keep in place. Thread your machine with 2 threads at the top and a bobbin all in the same colour into the twin needle.
lay your seams with the correct side up and sew around using a straight stitch ( 3,5mm long) making sure the catch the hem on the wrong side.
Tip: Sew slowly feeling the fabric through your fingers, making sure to catch the hem of the garment on the wrong side.
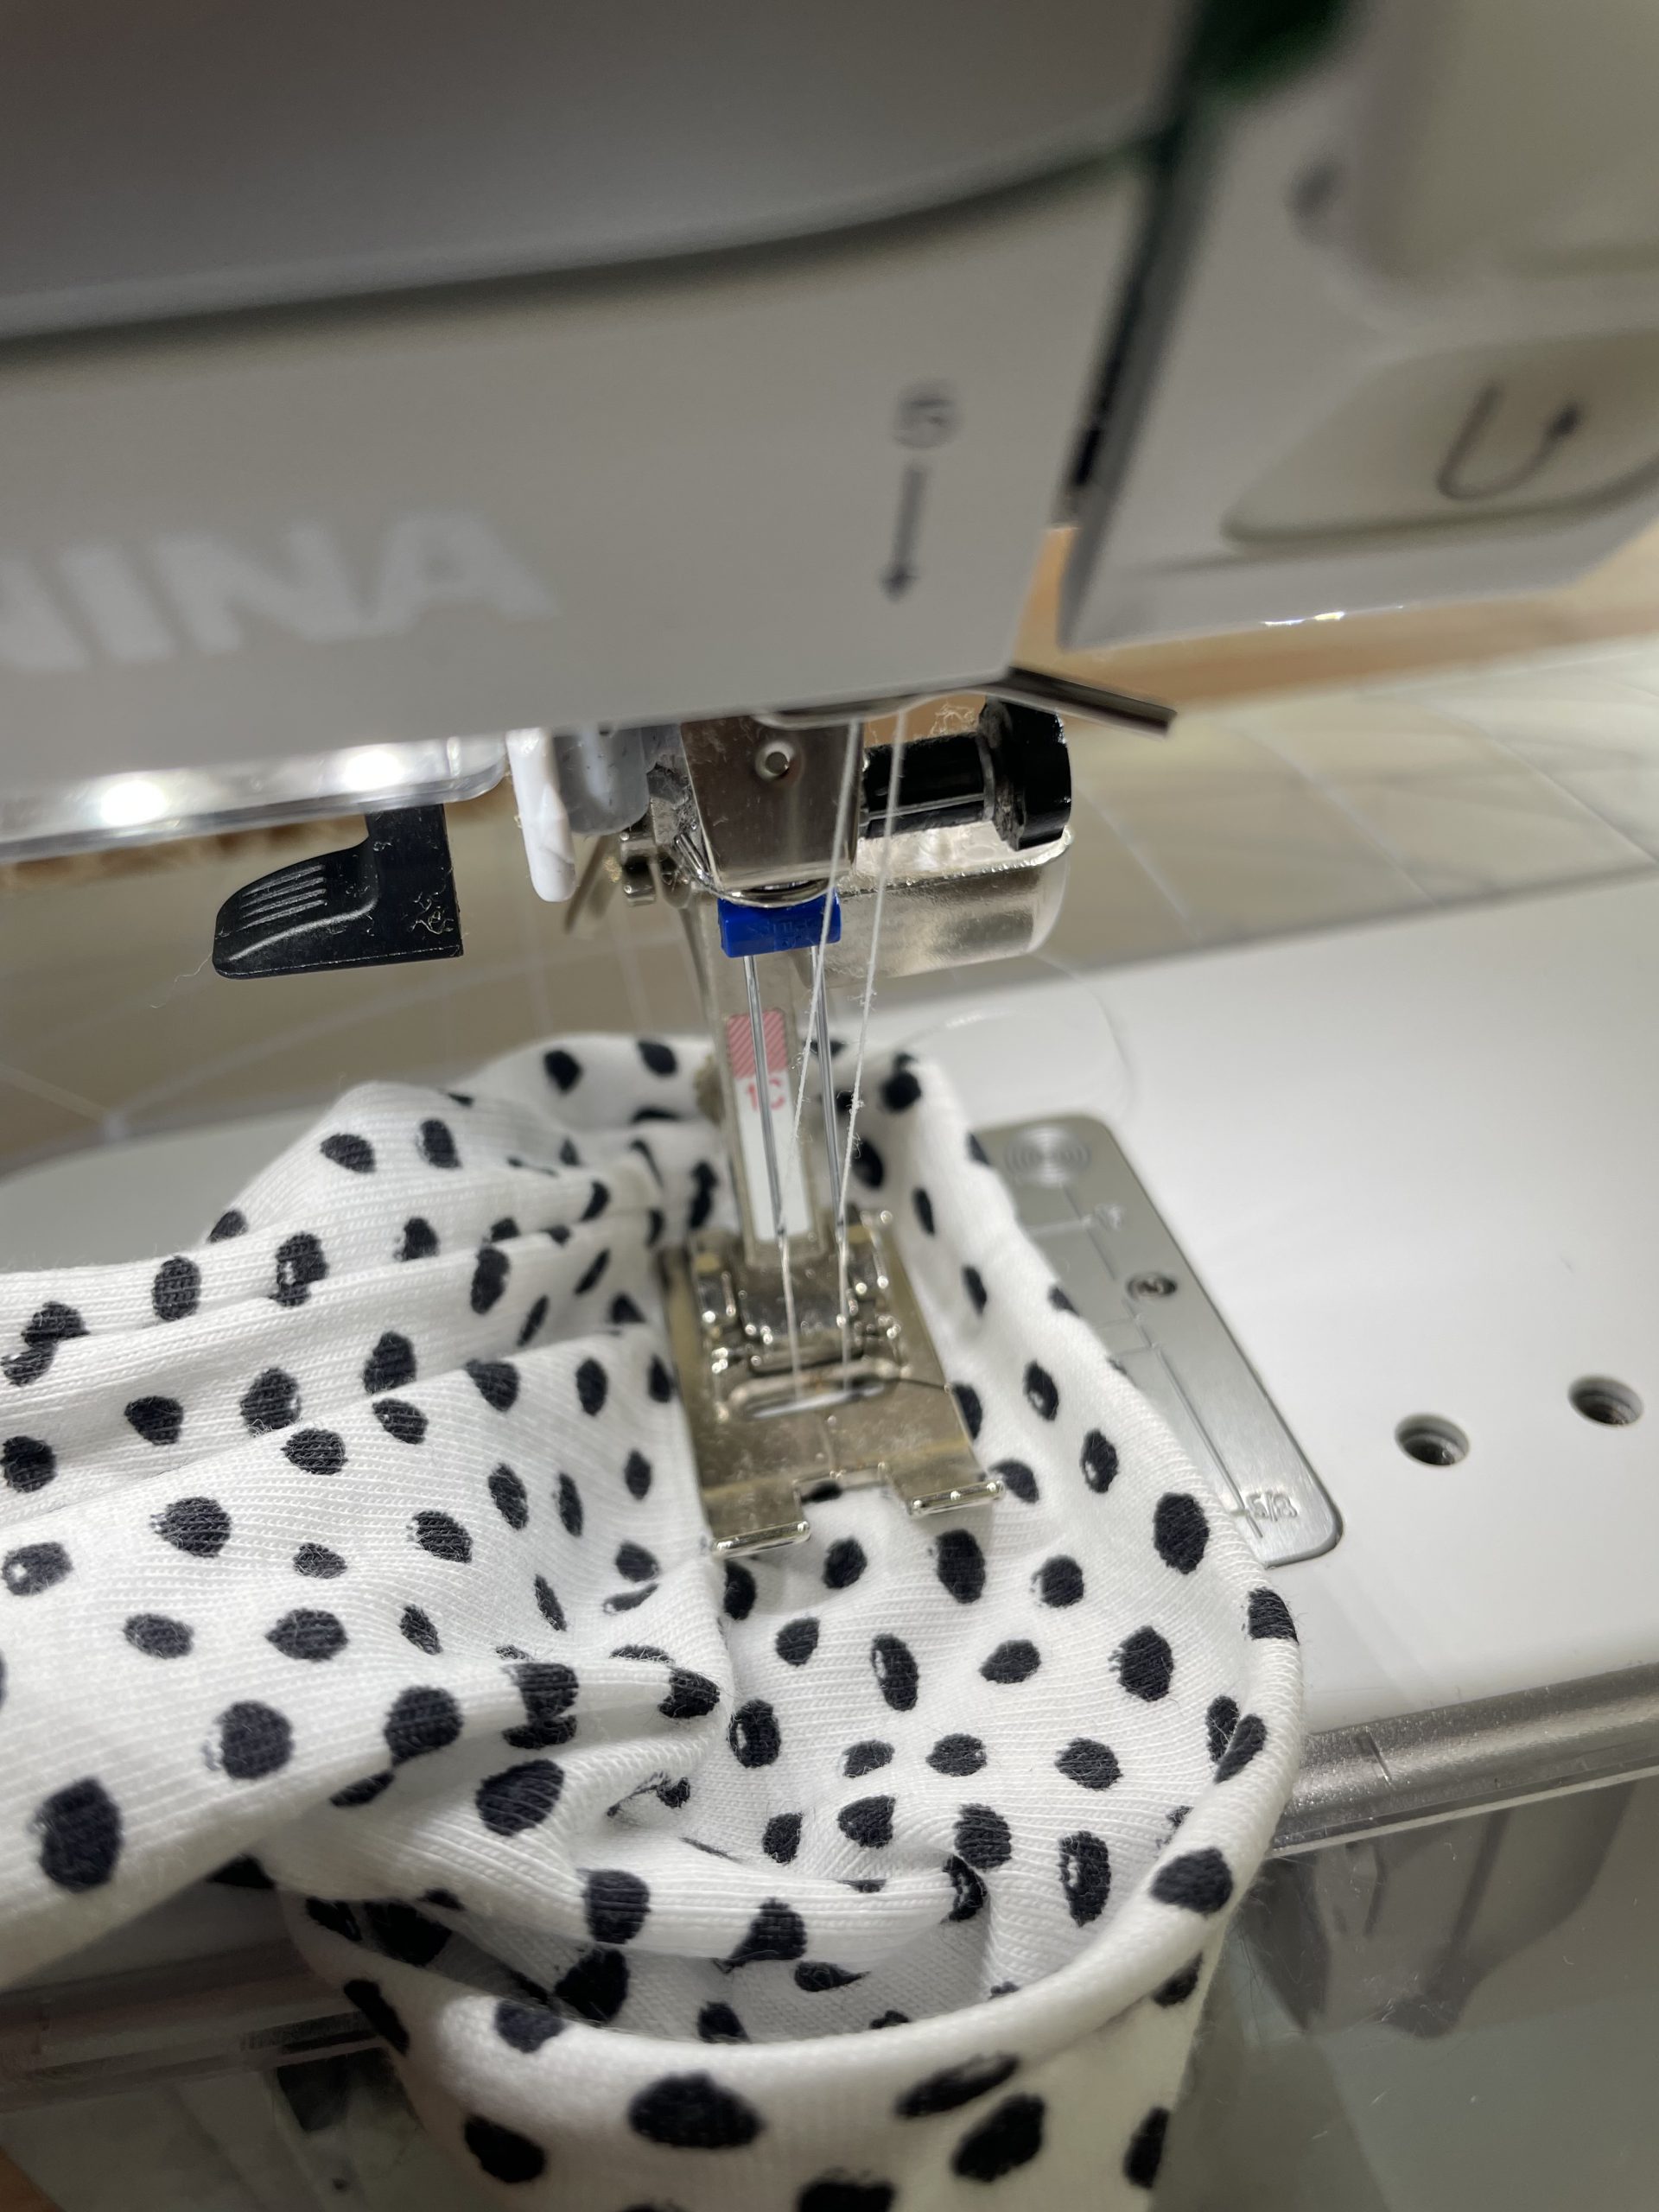
Twin needle hem
Press, Pin and sew your hem
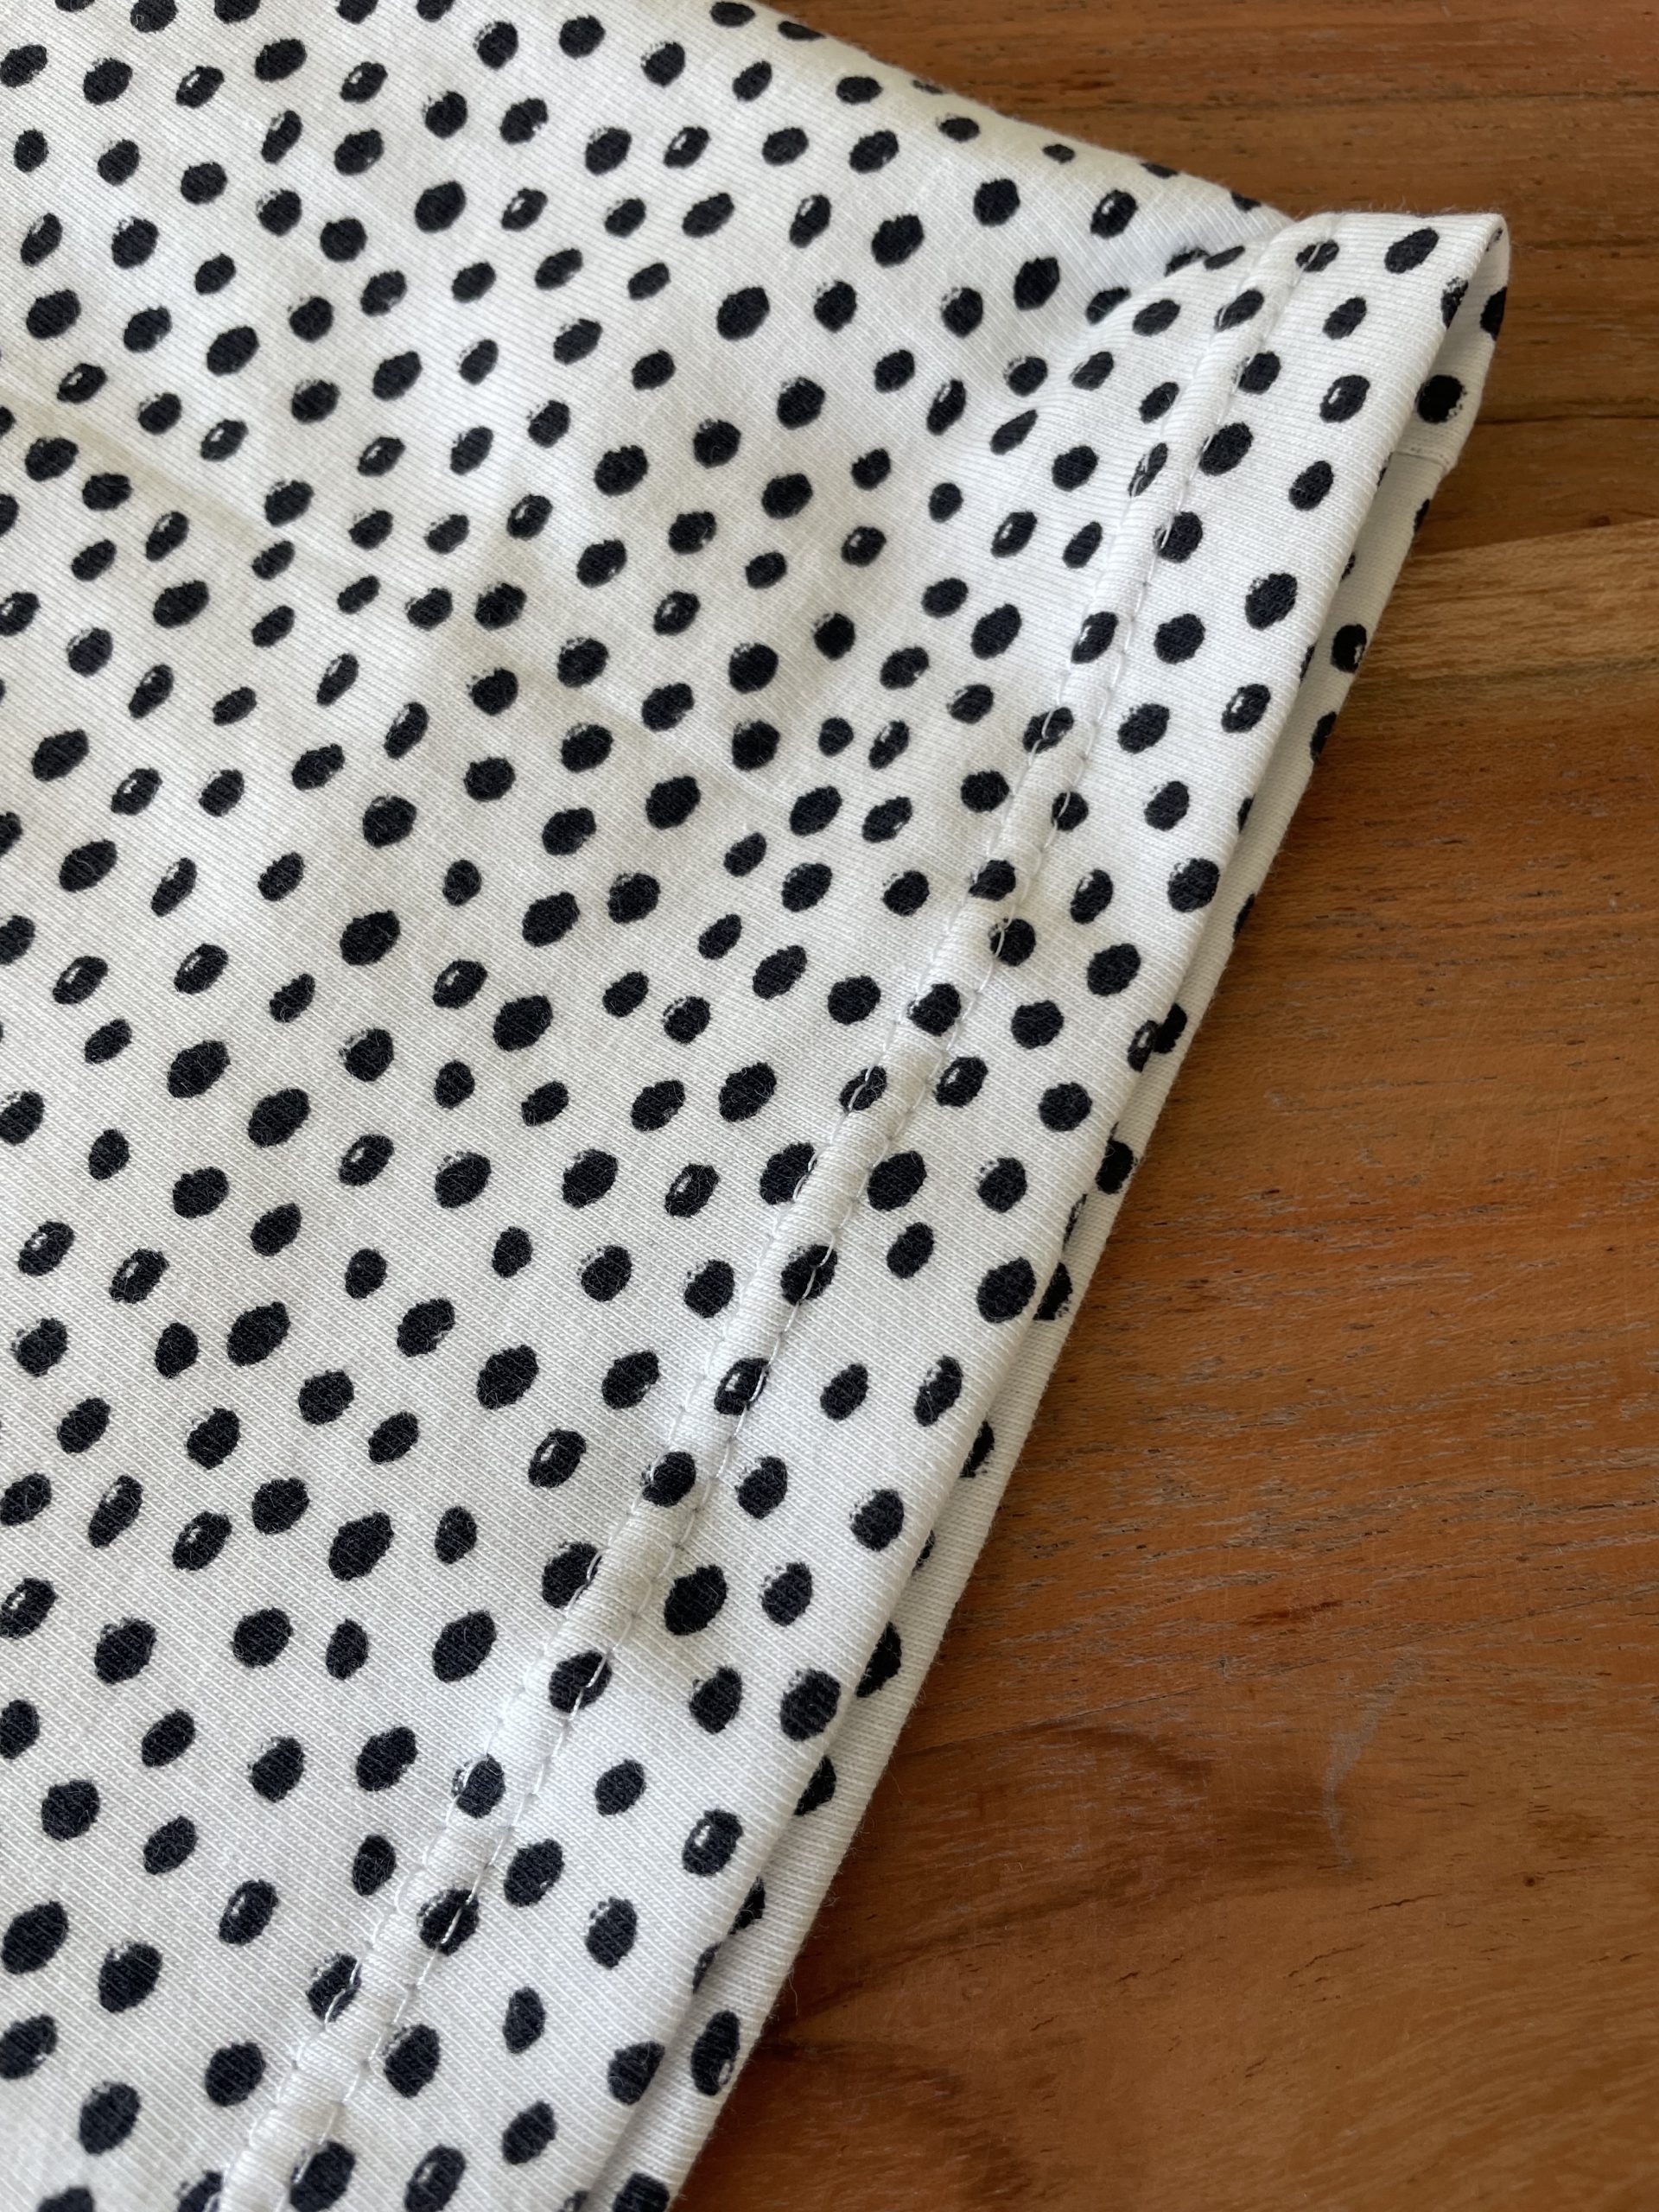
Professional, neat finish
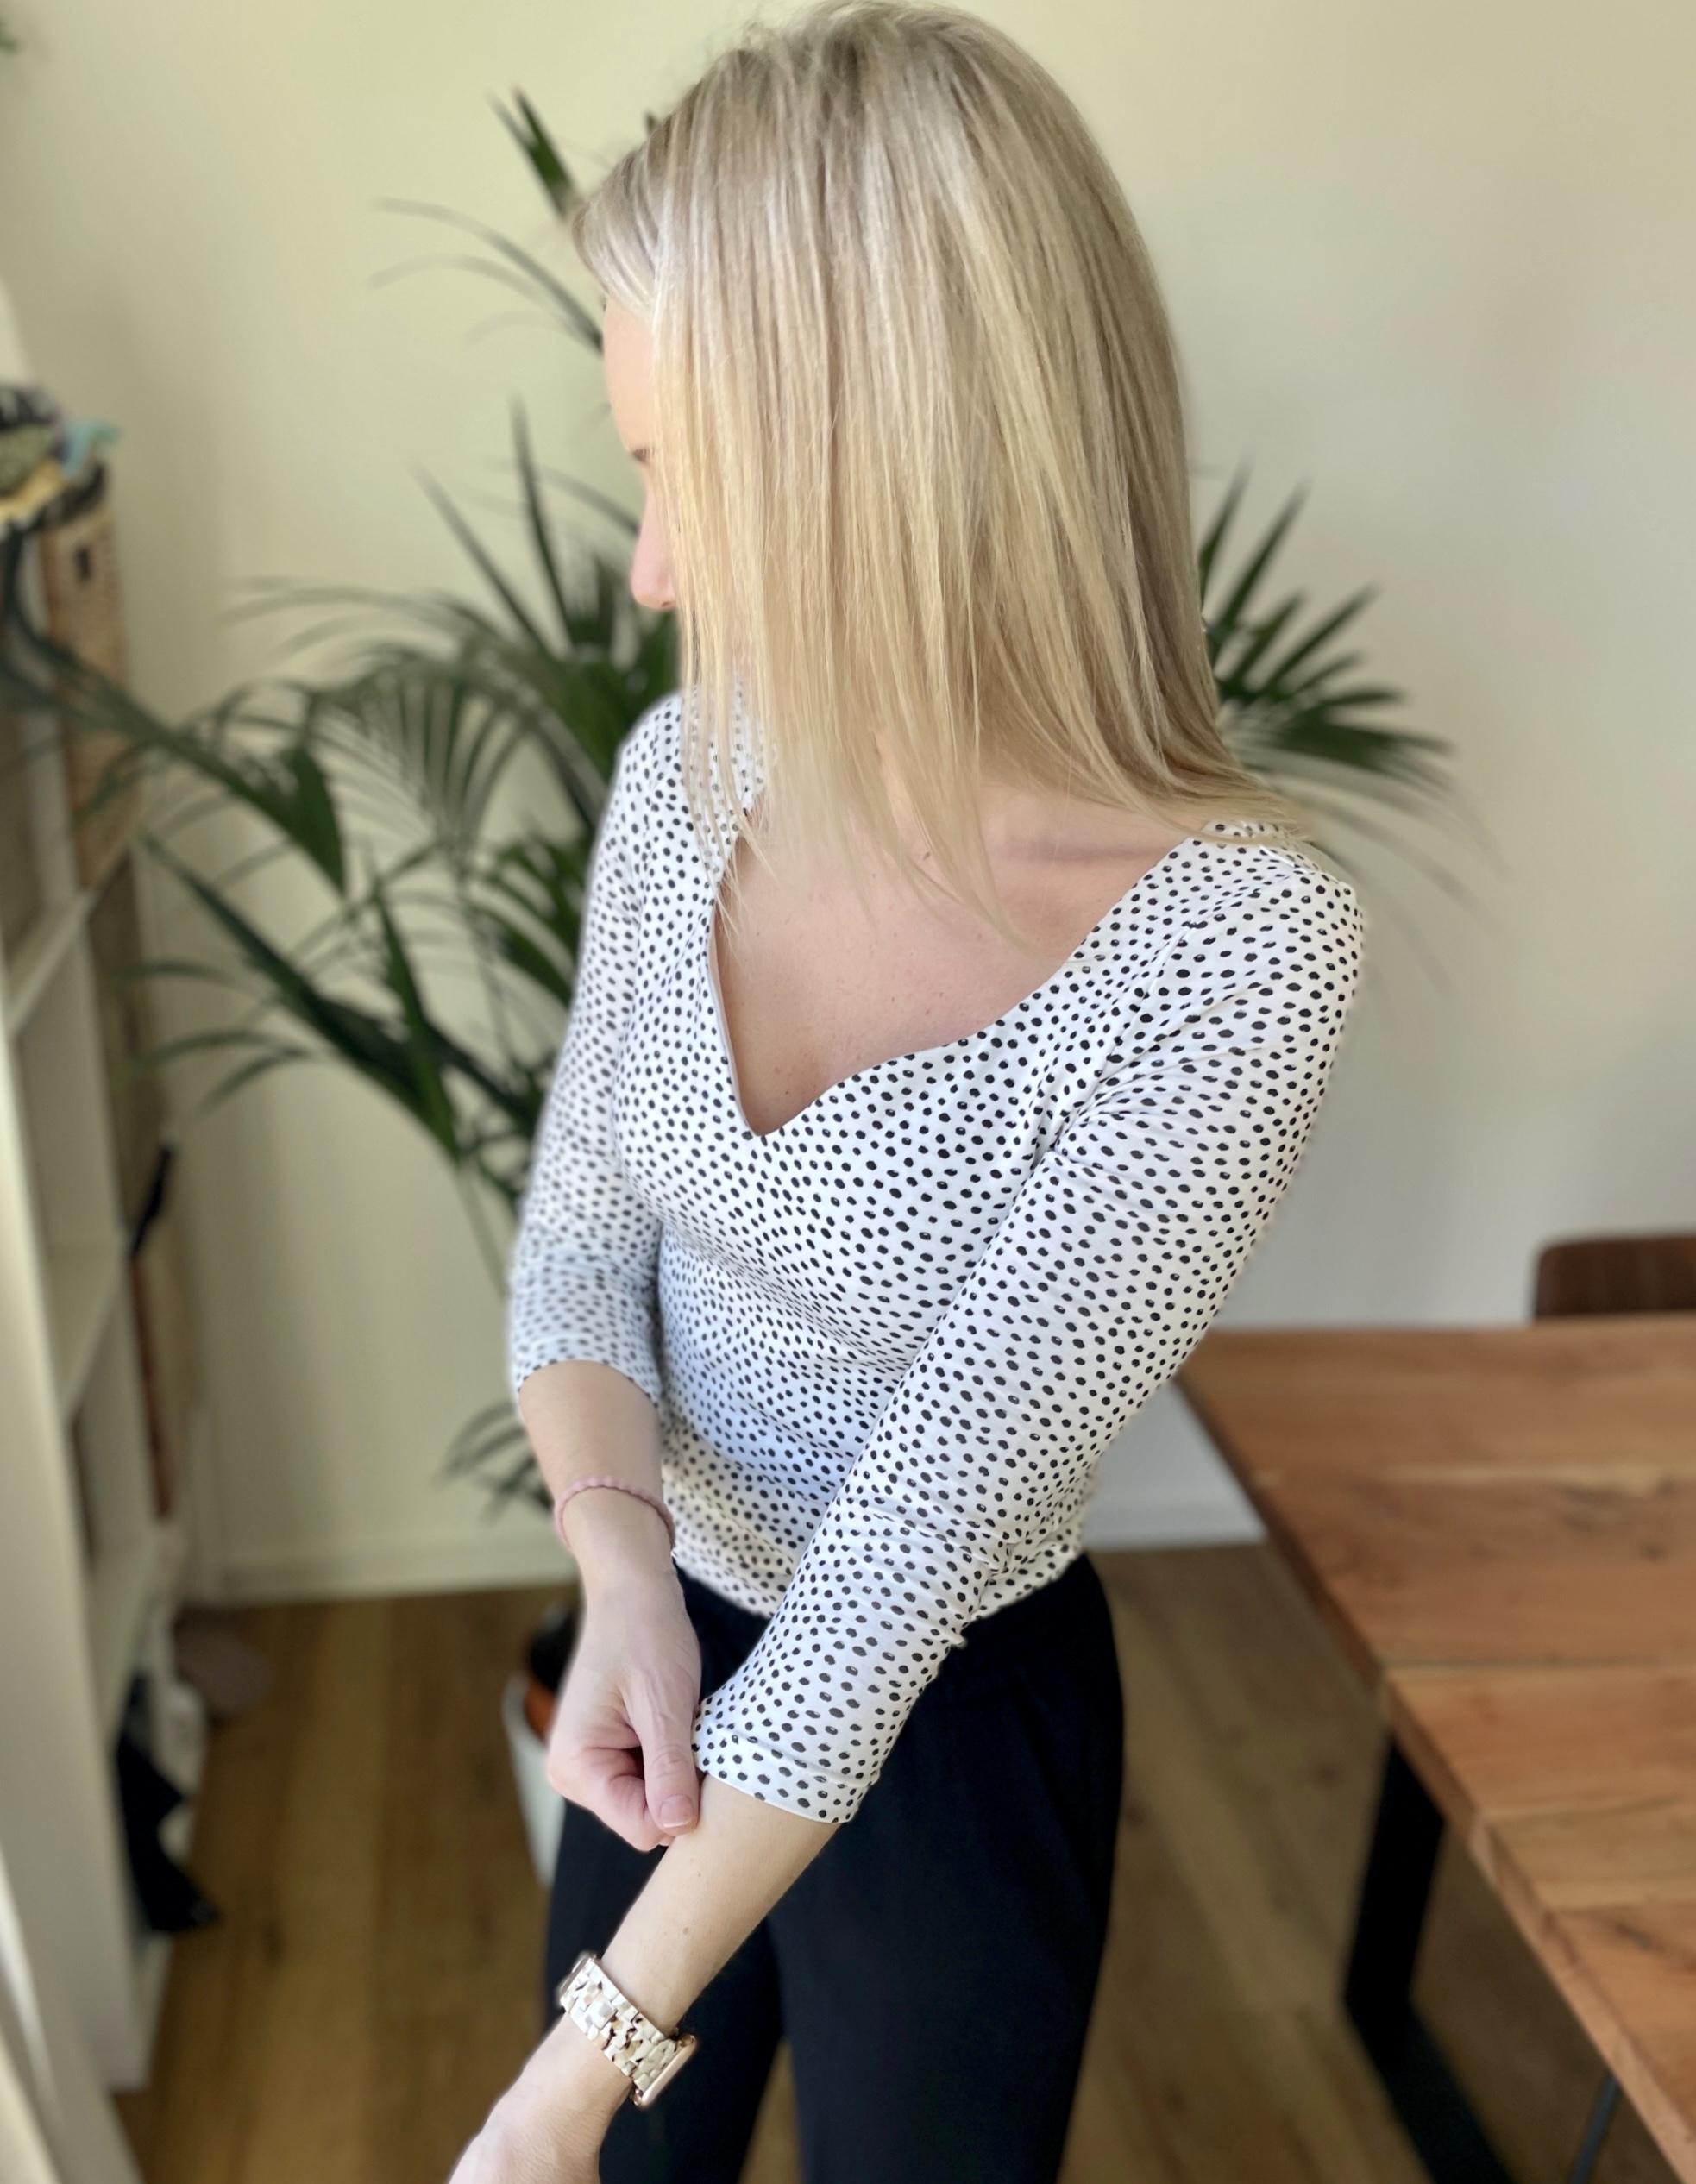
New edition to your wardrobe
Congratulations, you have now finished your top, one final press and you’ve done it!!!
Now pour yourself a drink, warm or cold and plan what your going to wear your brand new top with….
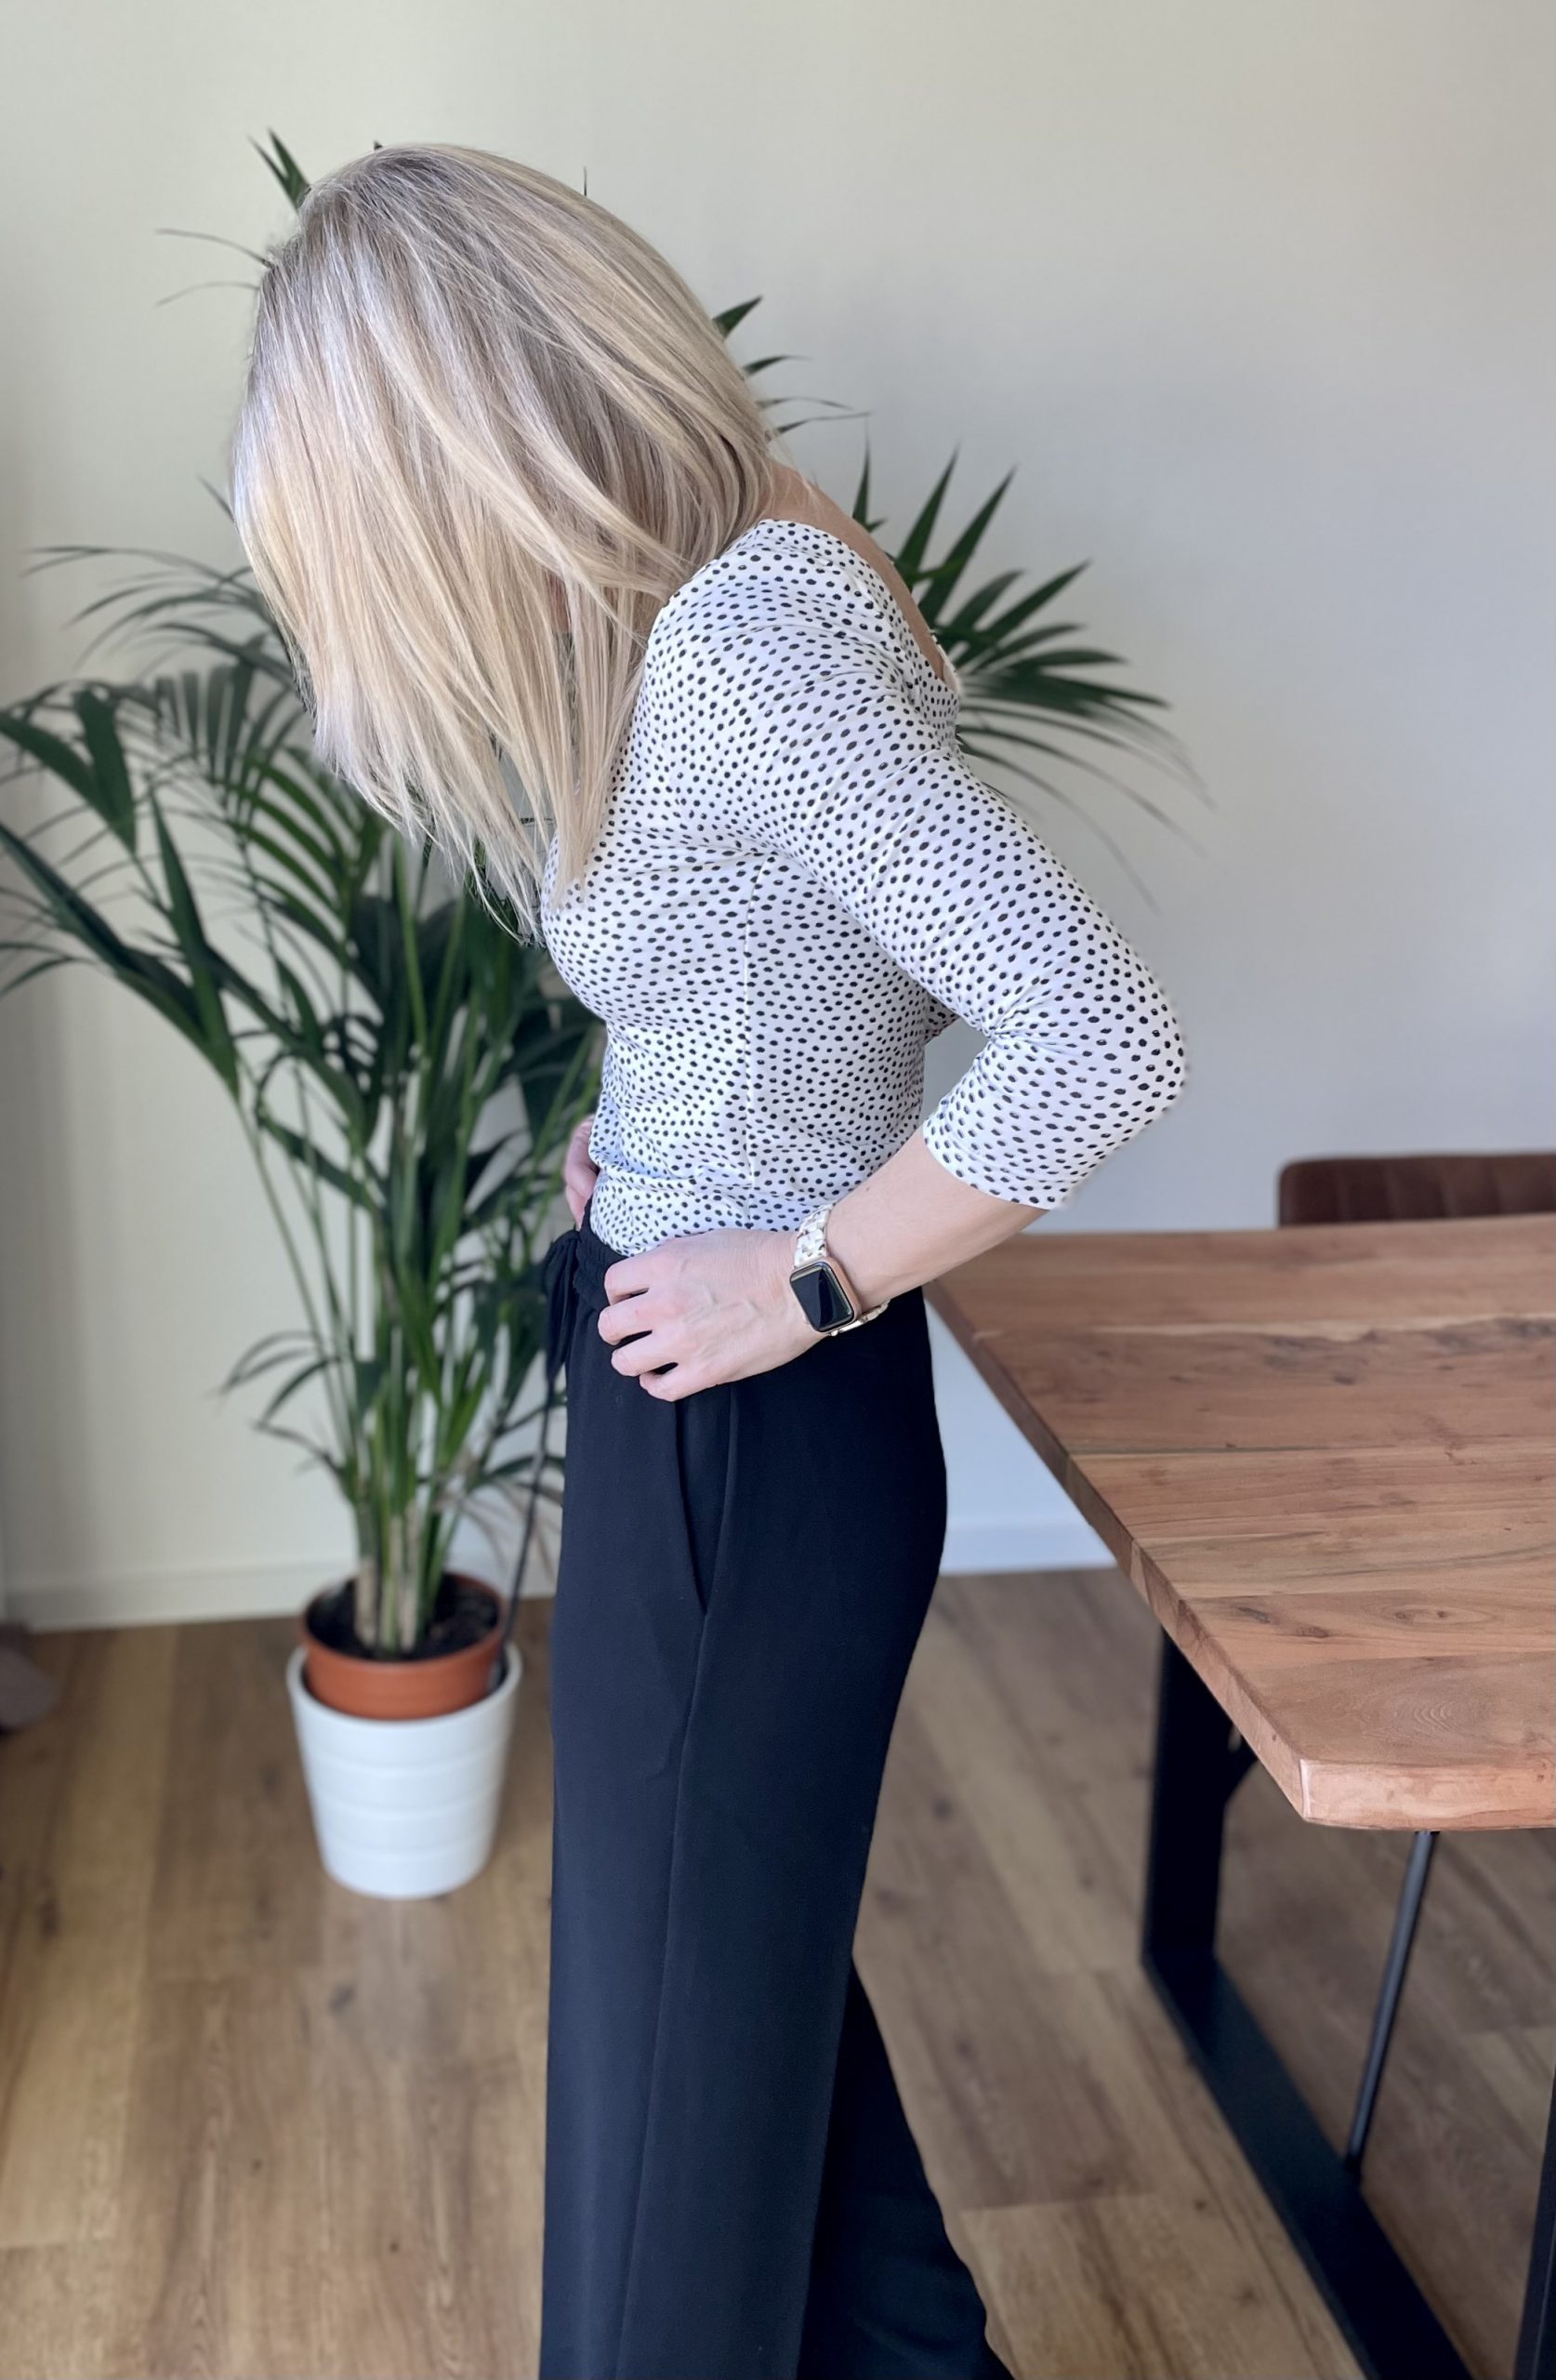
3/4 length sleeve Sweetheart neck jersey Top
For more makes and inspiration, visit me at Eversewme
My Finished Top
I am wearing my new top with Black wide casual trousers, perfect for work.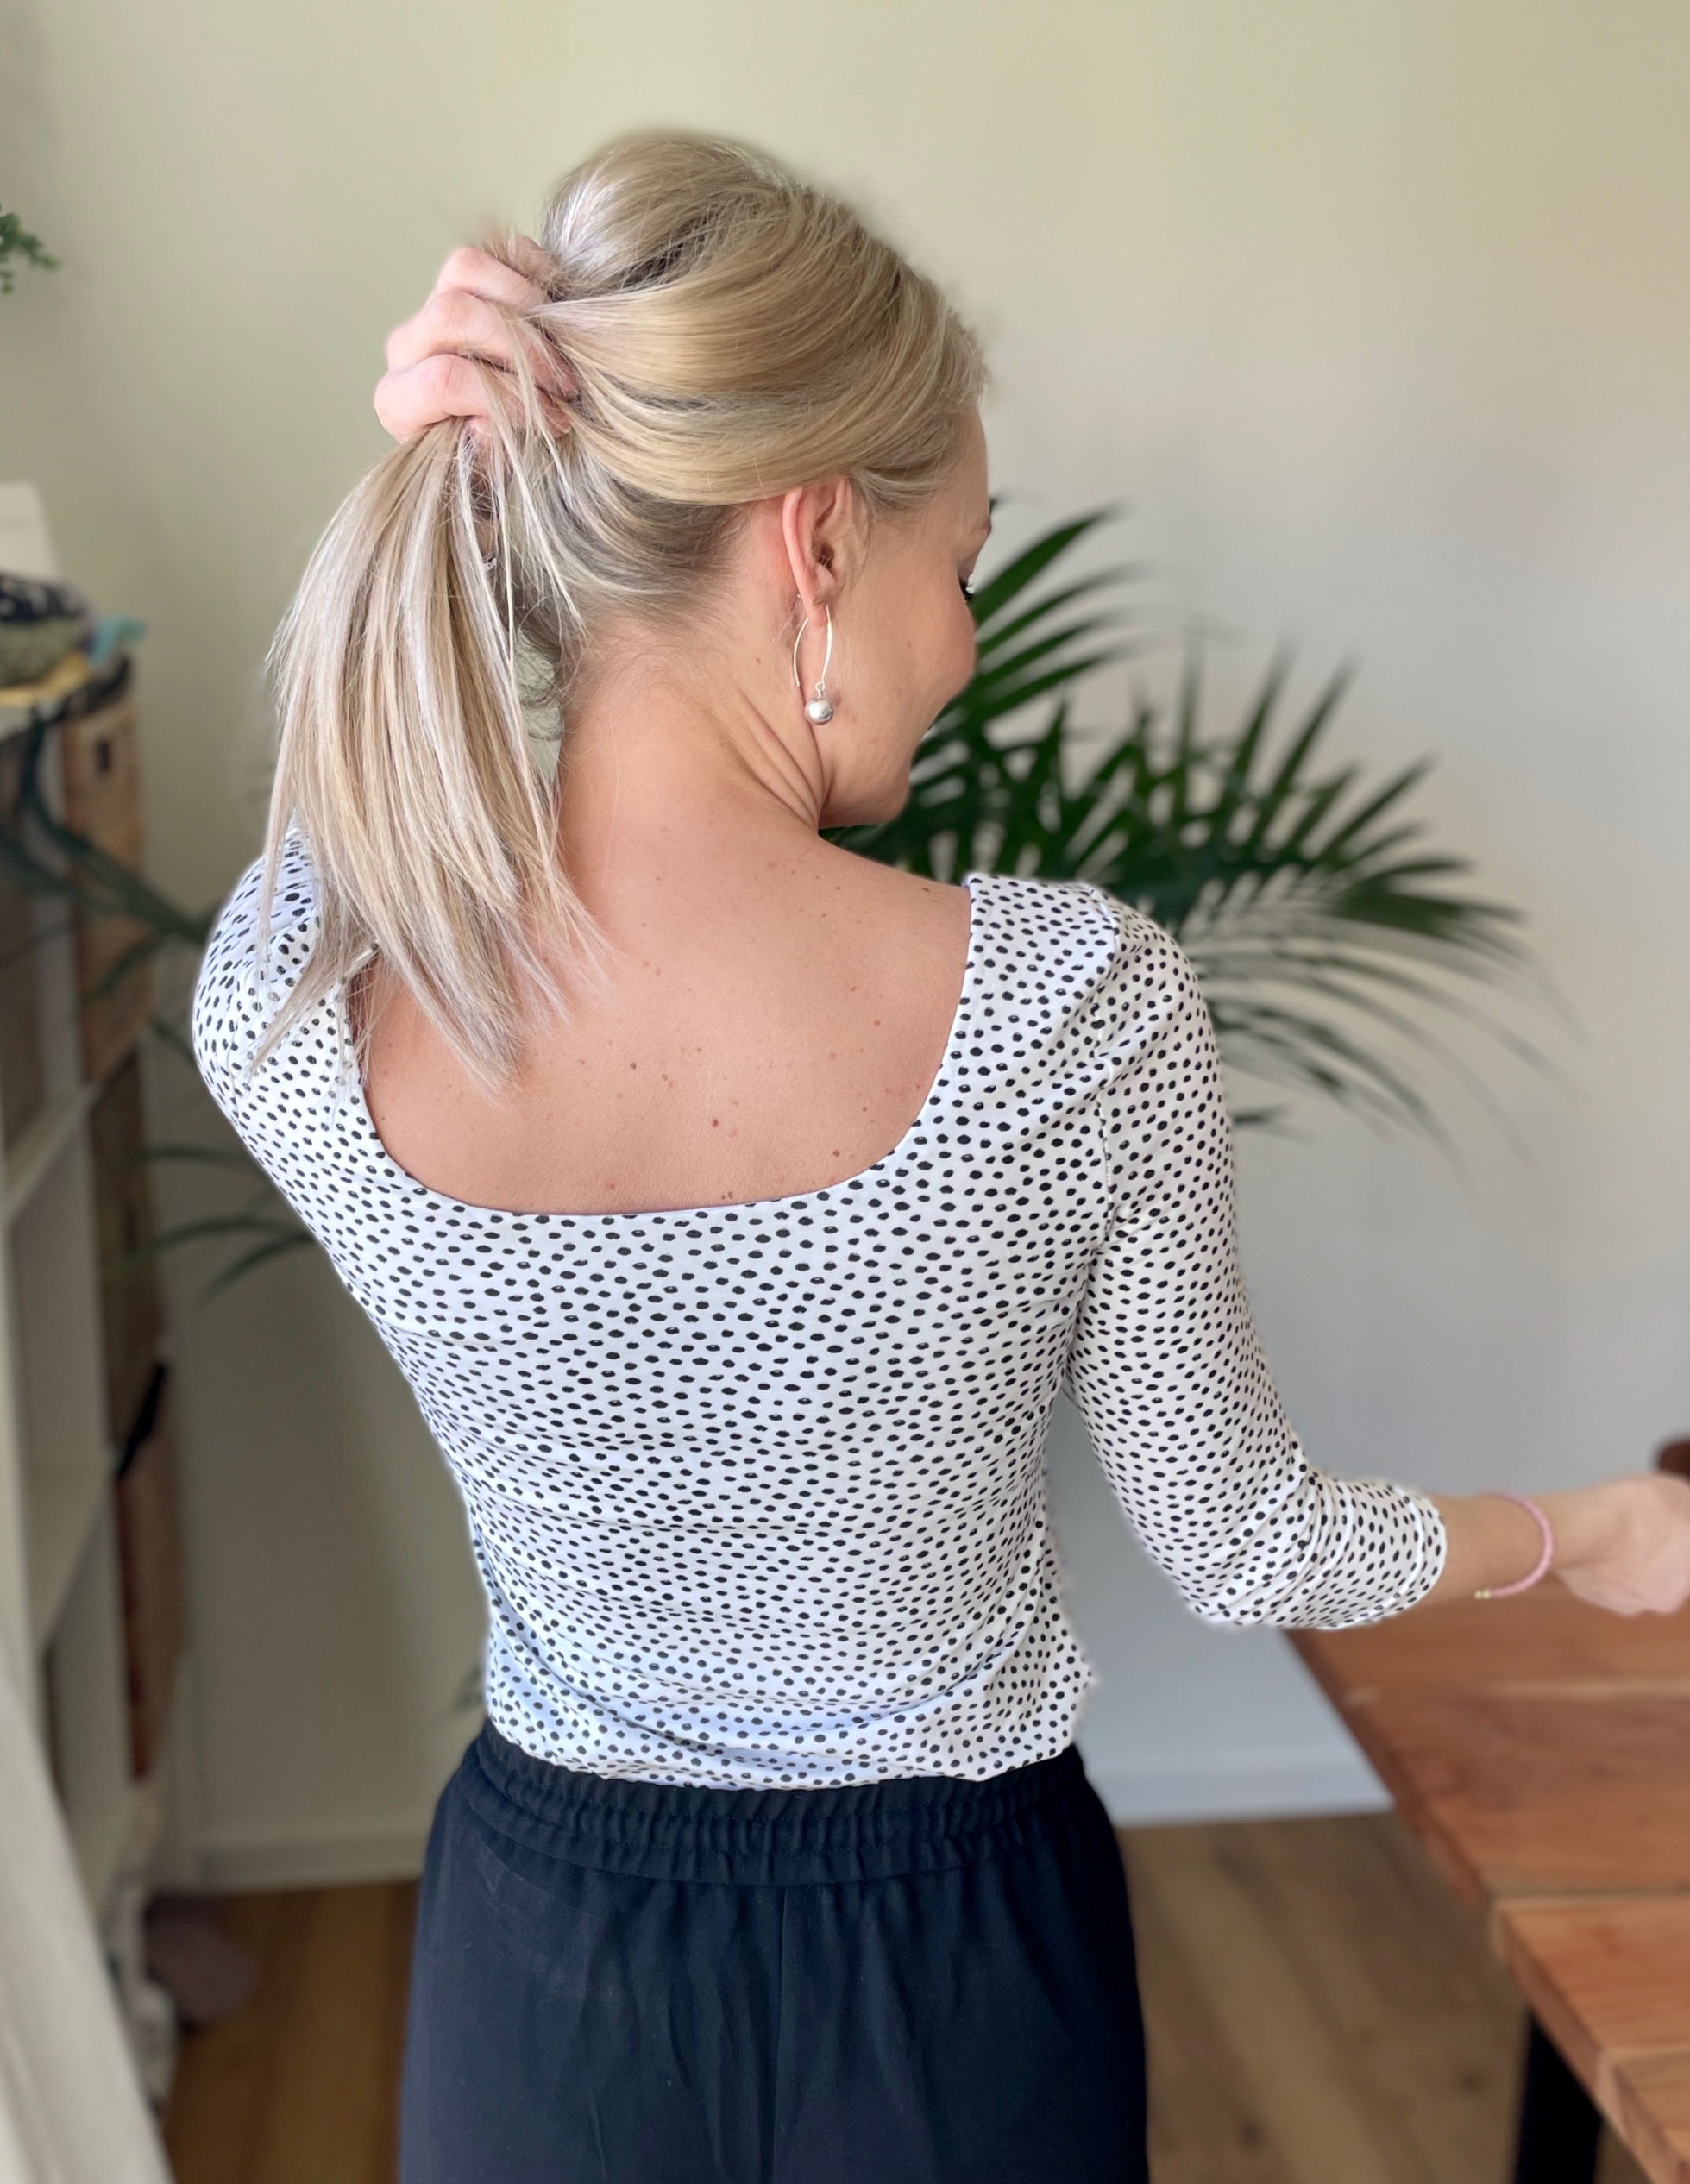


Where do we get the pattern?
Hy Luciehelene,
I just discoverd that another author has once posted instructions for the pattern of the Sofia top without sleeves and she mentiones there that the pattern is from Etsy: Sofia Sweetheart Knit dress, shirt and top
Kind regards, Ramona
where do i get the pattern?
Hy Kat,
I just discoverd that another author has once posted instructions for the pattern of the Sofia top without sleeves and she mentiones there that the pattern is from Etsy: Sofia Sweetheart Knit dress, shirt and top
Kind regards, Ramona
Your right, the pattern is on Etsy from staystitch patterns