 BERNINA Corporate Blog -
Hey, welcome to the “Learning to Sew for Beginners” series. Today, I will tell you about the most important presser feet, stitch plates and other aids involved with the sewing machine. What already comes with the machine, what additional supplies could be purchase, and what is not needed?
The very good news first: I am talking about things that are useful and make life, or sewing, easier. You don’t necessarily need them to sew. The sewing machine and included presser feet are sufficient for your first steps on the machine. However, you might want a little more after these first steps, and this is where these tools come into play:
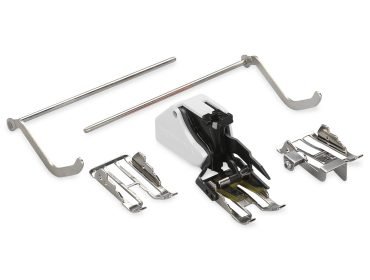
Presser feet, stitch plates and all kinds of accessories
Let’s start with the presser feet. I could now list my favorites and, once again, sing the praises of Foot no. 10, the narrow edge hemmer. Don’t worry, I’ll get to that later – I want to build my list in order of importance. I remember my early days of sewing, when cotton was still a collective term for woven fabrics and not a raw material, I was afraid of jersey and thought it was a good idea to simply hem a jersey skirt with bias tape.
It’s a lot at the beginning. And although, fortunately, you don’t have to know everything, it is helpful if you know exactly those things that are important for your own needs. The rest can wait until later.
Presser Feet – absolute basics
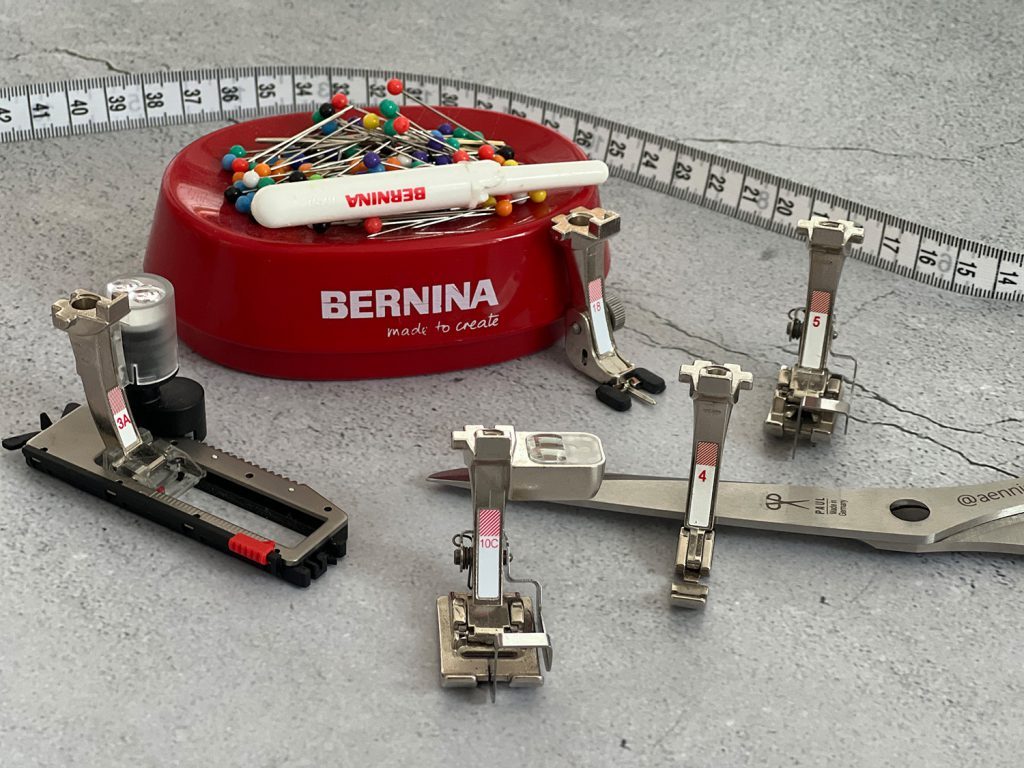
My standard foot is what BERNINA label the No. 1, and otherwise answers to the beautiful name Reverse Pattern Foot #1. It is supplied with the machine and you can make any sewing stitch with it: zigzag, straight stitch and decorative stitches. The presser foot is ideal for all forward and reverse sewing stitches.
And this also takes us directly to the presser foot for stretchy fabrics: The Overlock Foot #2
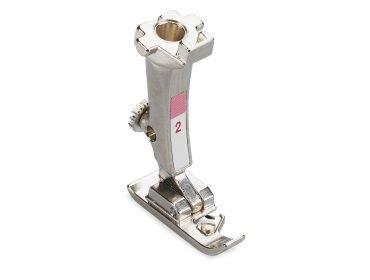
To be honest: I have almost never used it. Initially, the purpose of the serging seam was not clear to me, and I just used mum’s old pinking shears. Later, when I discovered the advantages of the overlock seam, I added an overlocker. If this step is still a long way off for you , use the overlocker foot. With it, you can hem and serge your sewing pieces much easier. The presser foot simulates the overlock seam, which consists of 3-4 threads.
The stitches are created via the pim on the inside of the presser foot and thus provide an additional amount of thread. Thus, the fabric no longer pulls together, which is a frequent “beginner’s issue” with zigzag stitch. A flat and stretchy seam is formed. Perfect for hems and cuffs. Check the manual of your sewing machine to see which stitch to use with the Overlock Foot #2.
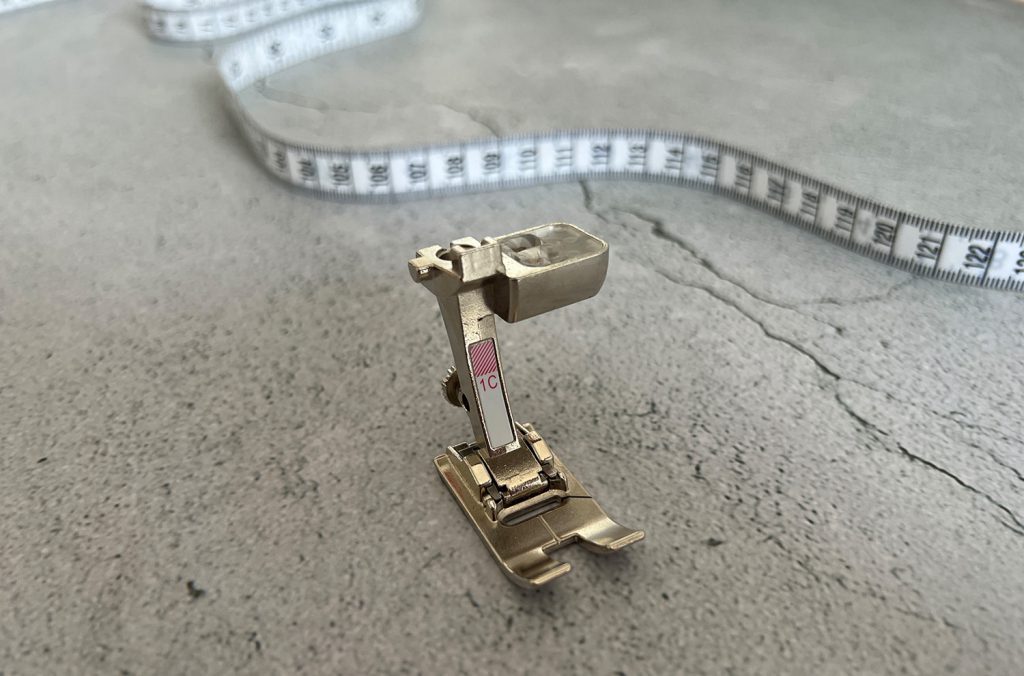
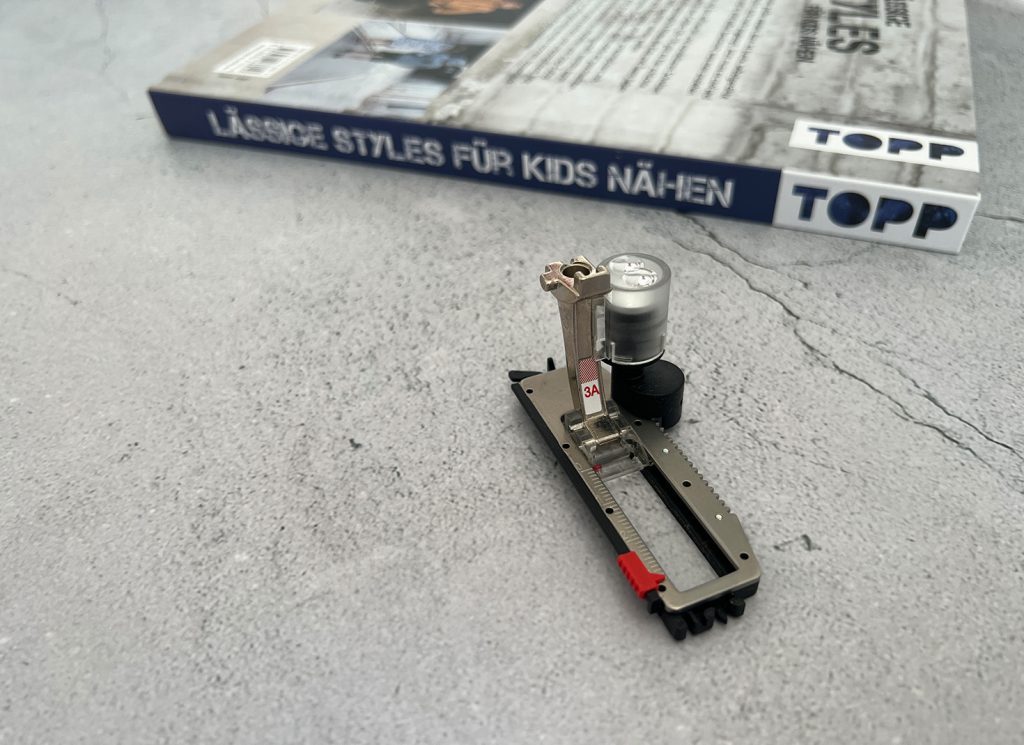
Only a select few beginners will find themselves sewing a blouse or jacket. Nevertheless, I do not want to forget the Buttonhole Foot #3. Most amateur sewers stumble upon a pattern for a (cosmetics) bag and, since they are afraid of zippers, it has to be closed with a button. And this button needs a hole. The buttonhole is nothing more than two thread beads (i.e. very tightly sewn zigzag stitches) with a bartack (a slightly wider zigzag sewn on the spot) at the top and bottom. Of course, you can sew this using the standard presser foot. But you don’t have to.
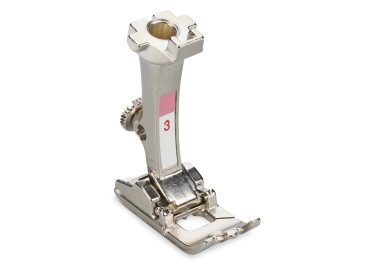
There are special buttonhole feet and – one that I think is really fantastic – the Buttonhole Foot with Slide #3B. It sews the buttonhole as if operating by itself. Depending on the machine and model, the extent of your role can vary, but in any case, sewing buttonholes in this way is a breeze. Select the size of the button and then press the pedal. The machine sews the two required beads and bars by itself. Not yet relevant for the bag, but very important for your first shirt with a button strip: the buttonholes look exactly the same.
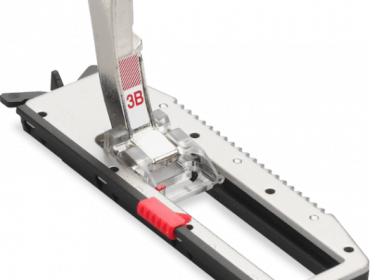
Of course, a test buttonhole with a remnant of your fabric is ALWAYS recommended. You can test whether the fabric must be reinforced and how it behaves when sewing.
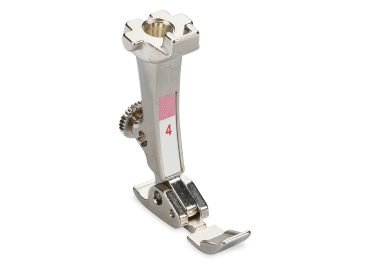
The time has come: the buttonhole is mastered, the first zipper is your next challenge. We bravely take a peek at the Zipper Foot #4. No worries, it doesn’t do anything! At BERNINA, the presser foot is called No. 4 and with it, you can get extra close to the zipper bead with the needle. Caution, the zipper foot has a midsole, i.e. you should make sure that you have set a straight stitch and have moved the needle to the correct position. Otherwise, the needle can break and end up in your eye – in the truest sense of the word!
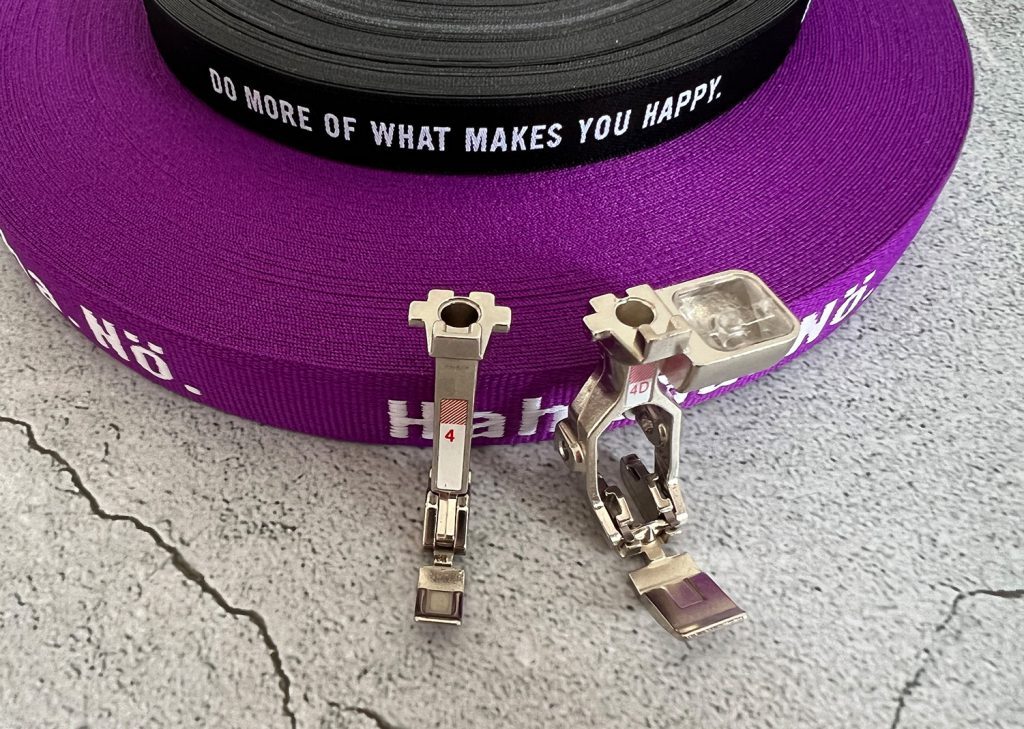
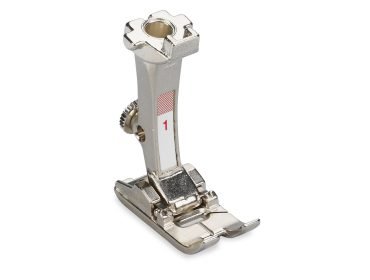
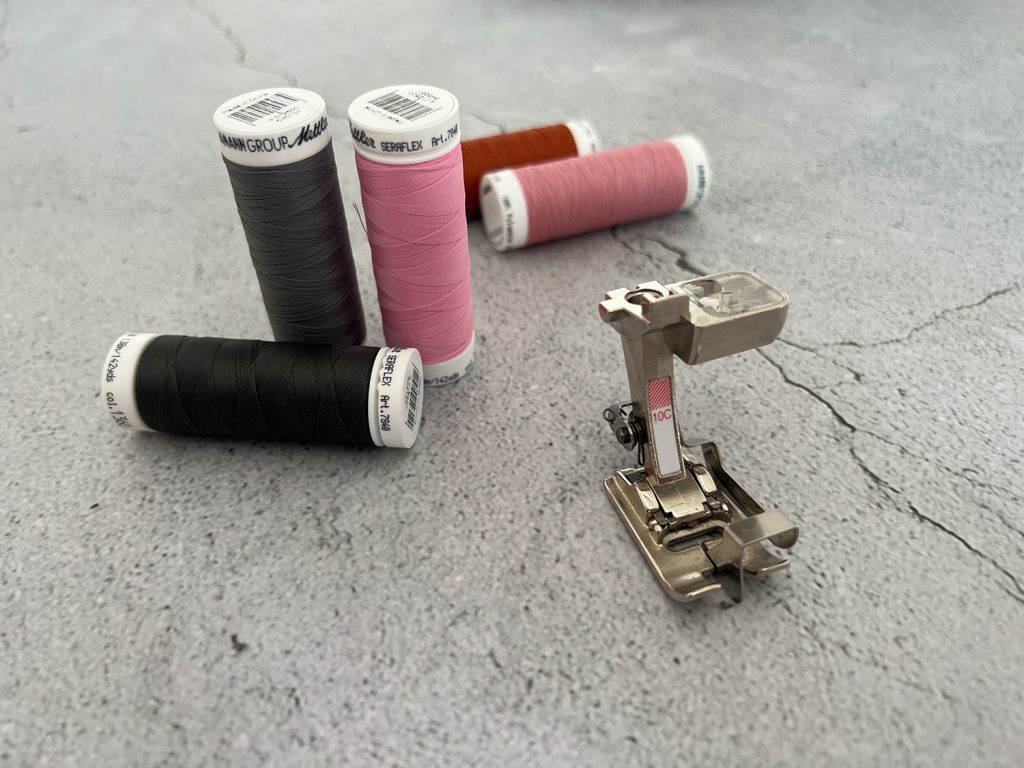
Once your first zipper has been sewn in, perhaps you also want the edges to be stitched neatly? This where my favorite foot comes in: the Edgestitch Foot #10. An inconspicuous thing, with a big effect! The small rail in the middle allows you to sew along one edge at a constant distance.

No joke: if I had known about the existence of this foot during the early years of my sewing life, it would have saved so much bother. I was not able to topstitch cleanly. My stitches were not nice and regular and the straight stitch parallel to an edge was, unfortunately, a wavy line. That is, until the narrow edge hemmer entered my life and I was able to relax when stitching close to the edge, because the track is maintained. Amazing! With this, an extra strip (serge strip on the cuff) is also incredibly simple!
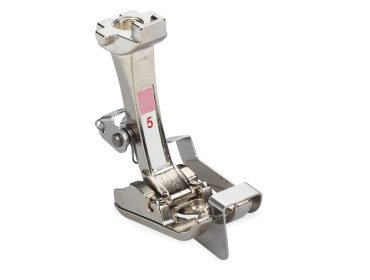
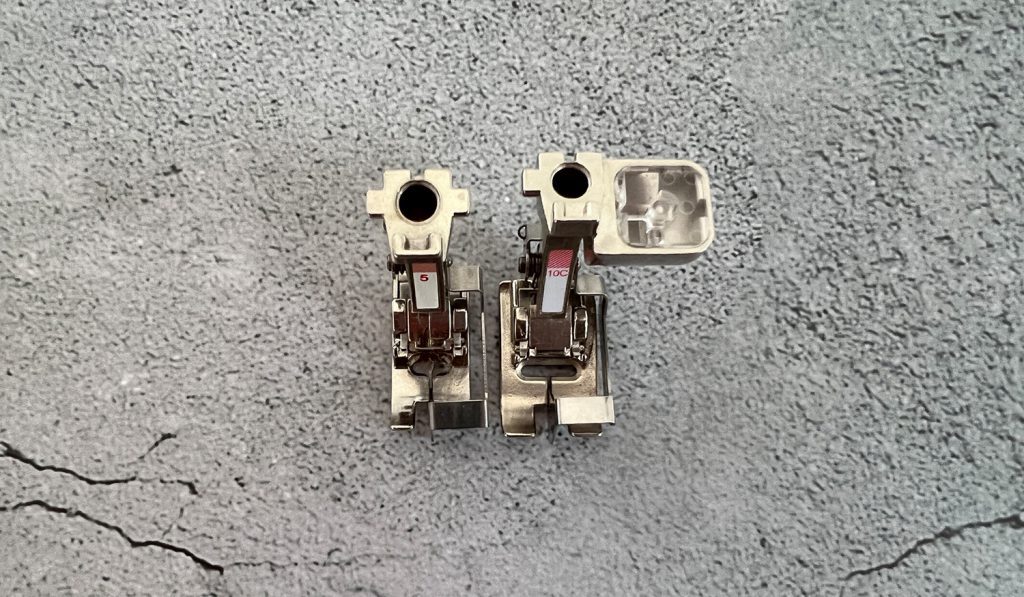
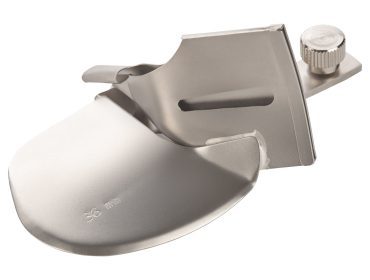
My little life hack for the frugal sewer: check whether you, by chance, have a Blindstitch Foot #5 in your collection. Granted this is not the first presser foot a beginner will look for, but with me it was included with my first machine and it can also be used as a narrow edge foot. It also has a guide rail, although this is continuous. In the top view, you can see the guide for both feet.
I’ll just have one more peek into my accessories compartment. There are still lots of great sewing feet inside. Most of these make sense if you already have particular sewing interests.
Do you specialize in decorations and regularly sew bunting chains and table runners? Then thumbs up for the Double Fold Binder for Unfolded Tape #C21. A practical tool. But definitely somewhat superfluous if you only want to sew on a meter of bias tape once a year. It takes longer to get set up than to simply sew it on with the standard foot. I loaned my bias band hemmer to a friend who wanted to sew 60 meters of bunting for a christening. Before she gave it back, she quickly hemmed placemats for her family of six, a tablecloth and all kinds of small items. She was so enthusiastic about the part and borrowed it on two other occasions…
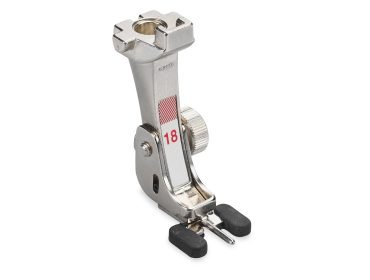
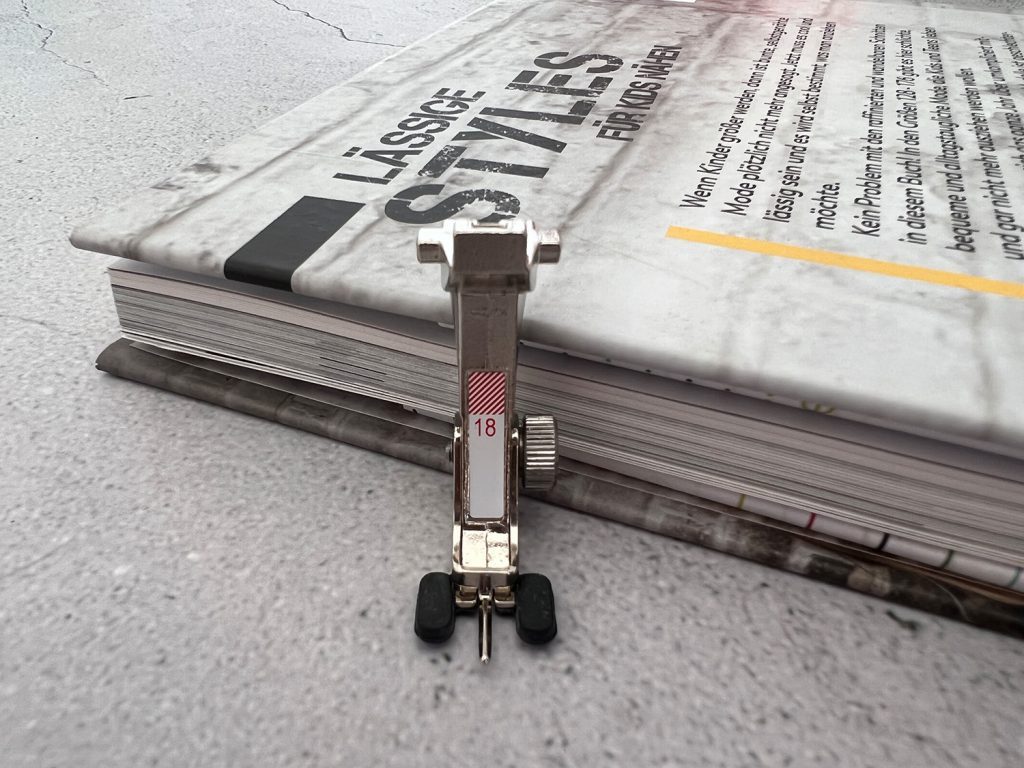
I always use the Button Sew-On Foot #18 if I have to sew on more than one button. I don’t like this job, so the foot makes the work easier for me. But if you don’t consider sewing on 10 buttons manually to be hard work, you would be best investing your money in other feet. The edgestitch foot, for example…
Hands free
On my first machine, I only sewed using the start/stop button. At some point, however, I discovered the pedal. 😉 I have stuck with it to this day, although I could make things even easier: the knee lever is THE must-have accessory. Of course, I also have one of these and soon I will get it out of its packaging again. It does take a while to adjust to the knee lever, but after that everything runs like clockwork and with your hands free. With light pressure, it raises the presser foot, with stronger pressure, it lifts the foot further and lowers the feed dog…
Janine has already described this BERNINA Hands-Free System, of which the knee lever is part, in her post here.
Separation instead of despair
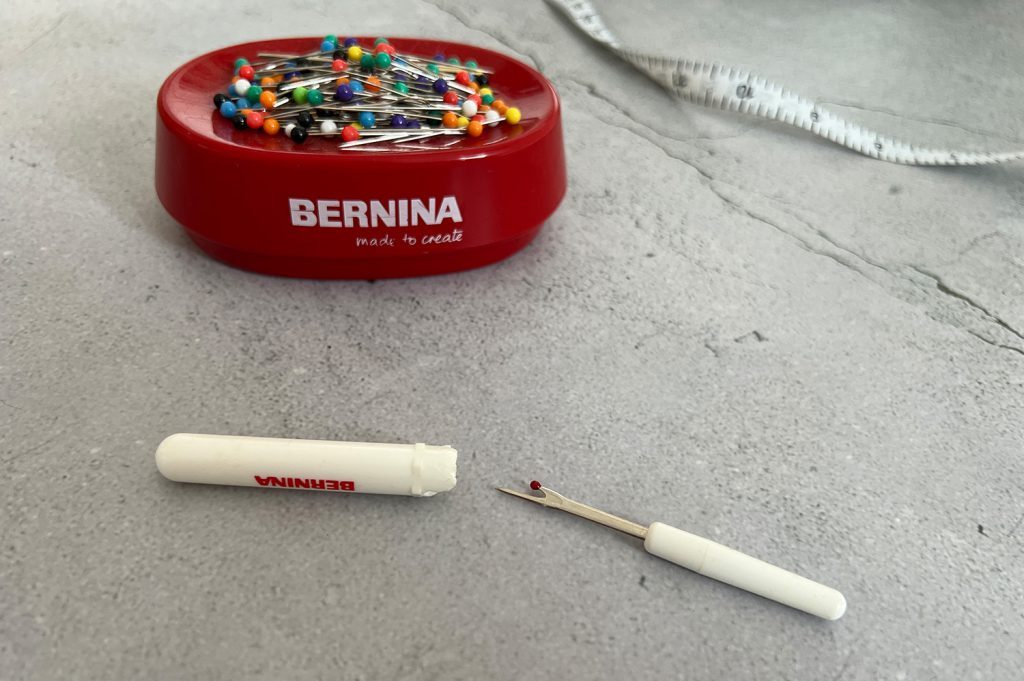
I don’t want you to miss out on the most important item in my accessories cabinet. It is still used after many years of sewing and, in most cases, its involves very little aggravation. I am talking about the seam ripper. Lovingly known as “Berni the Ripper”, it quickly and gently separates incorrect seams. “Reverse sewing” has never been more beautiful. Definitely treat yourself to one, and do not try scissors.
Pulling and pushing
Now comes a real game changer for many beginner sewers! Before I became a happy BERNINA owner, I sewed on an old machine owned by my mother. Sewing jersey was almost an impossible task, and the seam just wasn’t nice. Wavy, uneven and untidy. Until someone explained to me that I should buy a walking foot for the machine as a matter of urgency, Three-Sole Walking Foot with Seam Guide #50. I did, and very soon I was able to work with stretchy fabrics.
The walking foot ensures that the two fabrics move at the same time. Without it, only the transporter pushes the lower fabric layer and the fabric at the top is “pulled along”, as a result of which the stitch pattern can suffer and stretchy fabrics can become wavy.
Even with BERNINA machines that have a switched-on Dual Feed (this is the feed dog that grasps using the split shaft of the D presser feet from the back top), it is recommended that you have n walking foot ready for use. This accessory is unbeatable for difficult fabrics.
Stitch by stitch
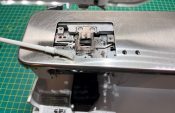
A classic sewing fail is the “fabric-eating machine”. The sewing machine pulls the fabric under the stitch plate and doesn’t want to let it out again in a hurry. Anyone who sews with fine fabrics – and it’s not just silk, even a slightly more delicate jersey is enough – can have this problem. Not only should the needle and thread be suitable for the fabric, but the stitch plate can also contribute to the success of the sewing project. For clean topstitching, I don’t use the normal stitch plate, but rather the Straight- and CutWork Stitch Plate.
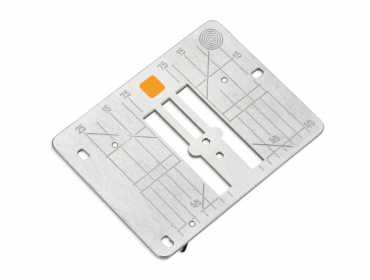
Instead of the wide stitch hole, this stitch plate has a small, circular stitch hole that leaves just enough space for the needle and thread. The fabric rests stably when the needles pierce it (which, of course, only works with a straight stitch). This stitch plate therefore guarantees a clean stitch feed and ensures beautiful seams. Changing the stitch plates is very quick, meaning you don’t run the risk of pushing it on and forgetting about it.

Here is a video in which BERNINA presents the various stitch plates:
Hebi and co.
Already familiar with height compensation? While it may sound like something to do with climbing or diving, it is actually an item found in the accessory compartment of the BERNINA. A small, rather inconspicuous tool consisting of several plastic discs. If you have too many layers of fabric under the presser foot, it can easily end up at an angle. For perfect seams, you can underlay the height compensation, also known as the midwife, and thus return the presser foot to the correct position. Small tool, big help!
Overall it is worth taking a look at the accessories supplied with the machine. The small vial containing sewing machine oil should be used at regular intervals. And, when a thread slips from the holder, this is a sign that it’s time to adjust the size of the thread spool stop.
Keep it simple
Finally, I have a great sewing tip: keep it simple!
Yes, dare to take on whatever projects that you feel like tackling. If you bought the machine to make baby accessories, don’t keep doing practice projects that are of no interest to you. This is supposed to be your new hobby, not the mandatory handicraft course. Anything you like is allowed. If you want to sew clothing, then make use of the patterns. Dare to take on the projects that appeal to you.
I sewed clothing early on because my requirement for cosmetic bags was quickly met and other woven fabric projects only became interesting later.
Watch YouTube videos if you have any questions and browse through blogs and books. There is a vast array of literature to answer your initial questions. However, it is not mandatory that you own a classic beginners’ sewing book. Most sewing books have a theoretical section that is more than sufficient, in which the basics are explained suitably for beginners and you get a decent number of patterns for your favorite topic.
Sure, your first home-sewn garment may not yet be perfect. But it probably won’t be if all you have previously practiced is hemming dish towels. The second shirt, however, will be wearable. The third one will be great. The fourth is a reworking of the first, which you pulled apart again in order to successfully upcycle it. And for the fifth, you might make small changes to the pattern to achieve a perfectly tailored cut.
Tadaaah, say hello to your new favorite hobby!
You can find the other posts in this Learning to Sew for Beginners blog series here.

0 Responses