 BERNINA Corporate Blog -
Did you download the free pattern of the month for the sweatshirt Cosy? Find all information in yesterday’s blogpost Free sewing pattern & embroidery design for the sweatshirt “Cosy” (February only) Here’s a tutorial for the free sweatshirt ‘Cosy’. Watch the nice embroidered detail in the back.
It’s a very comfortable and easy to wear sweatshirt.
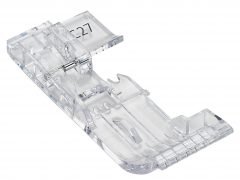
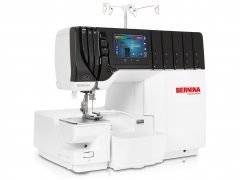
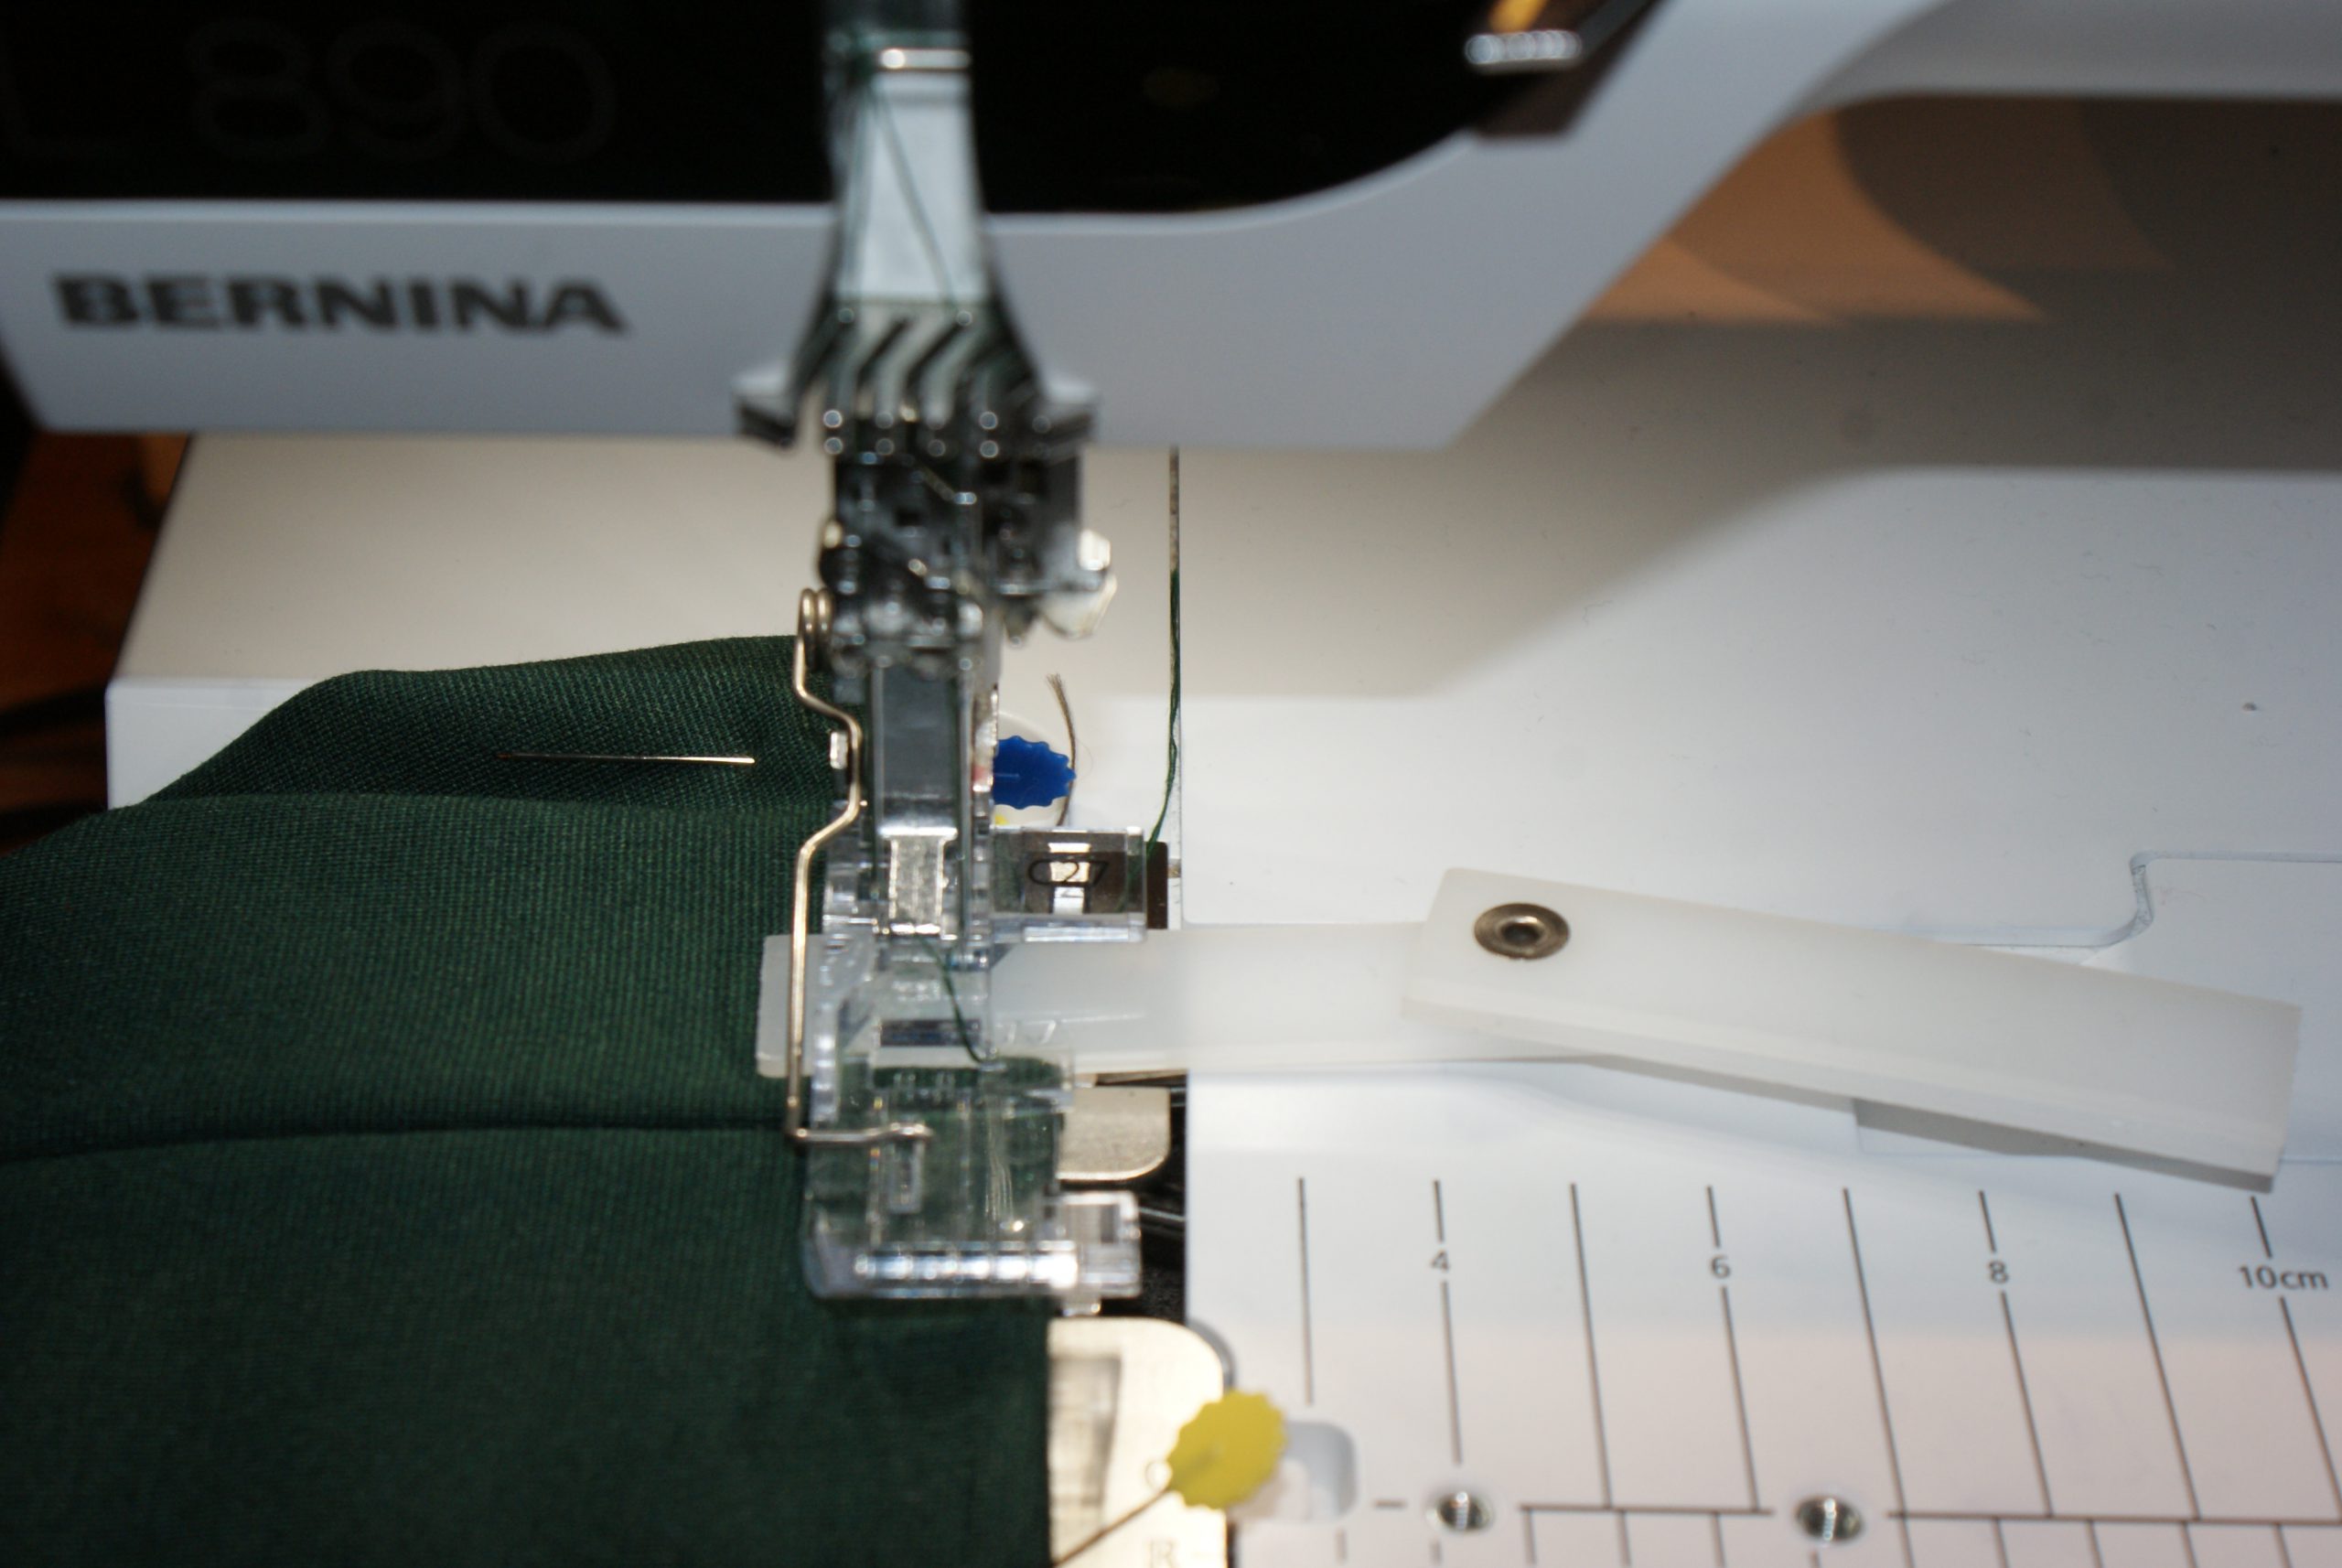
I used the BERNINA L 890 to sew the shirt. The Clear Overlock/Combostitch Foot #C27 helps you to keep a good view on your work.
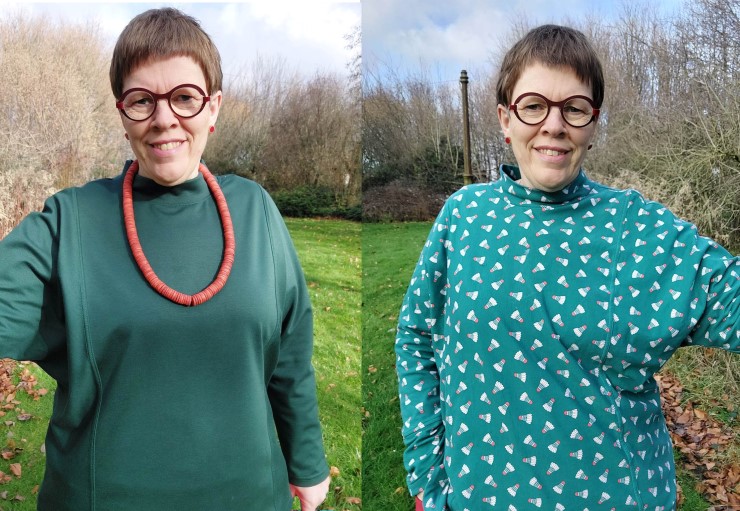
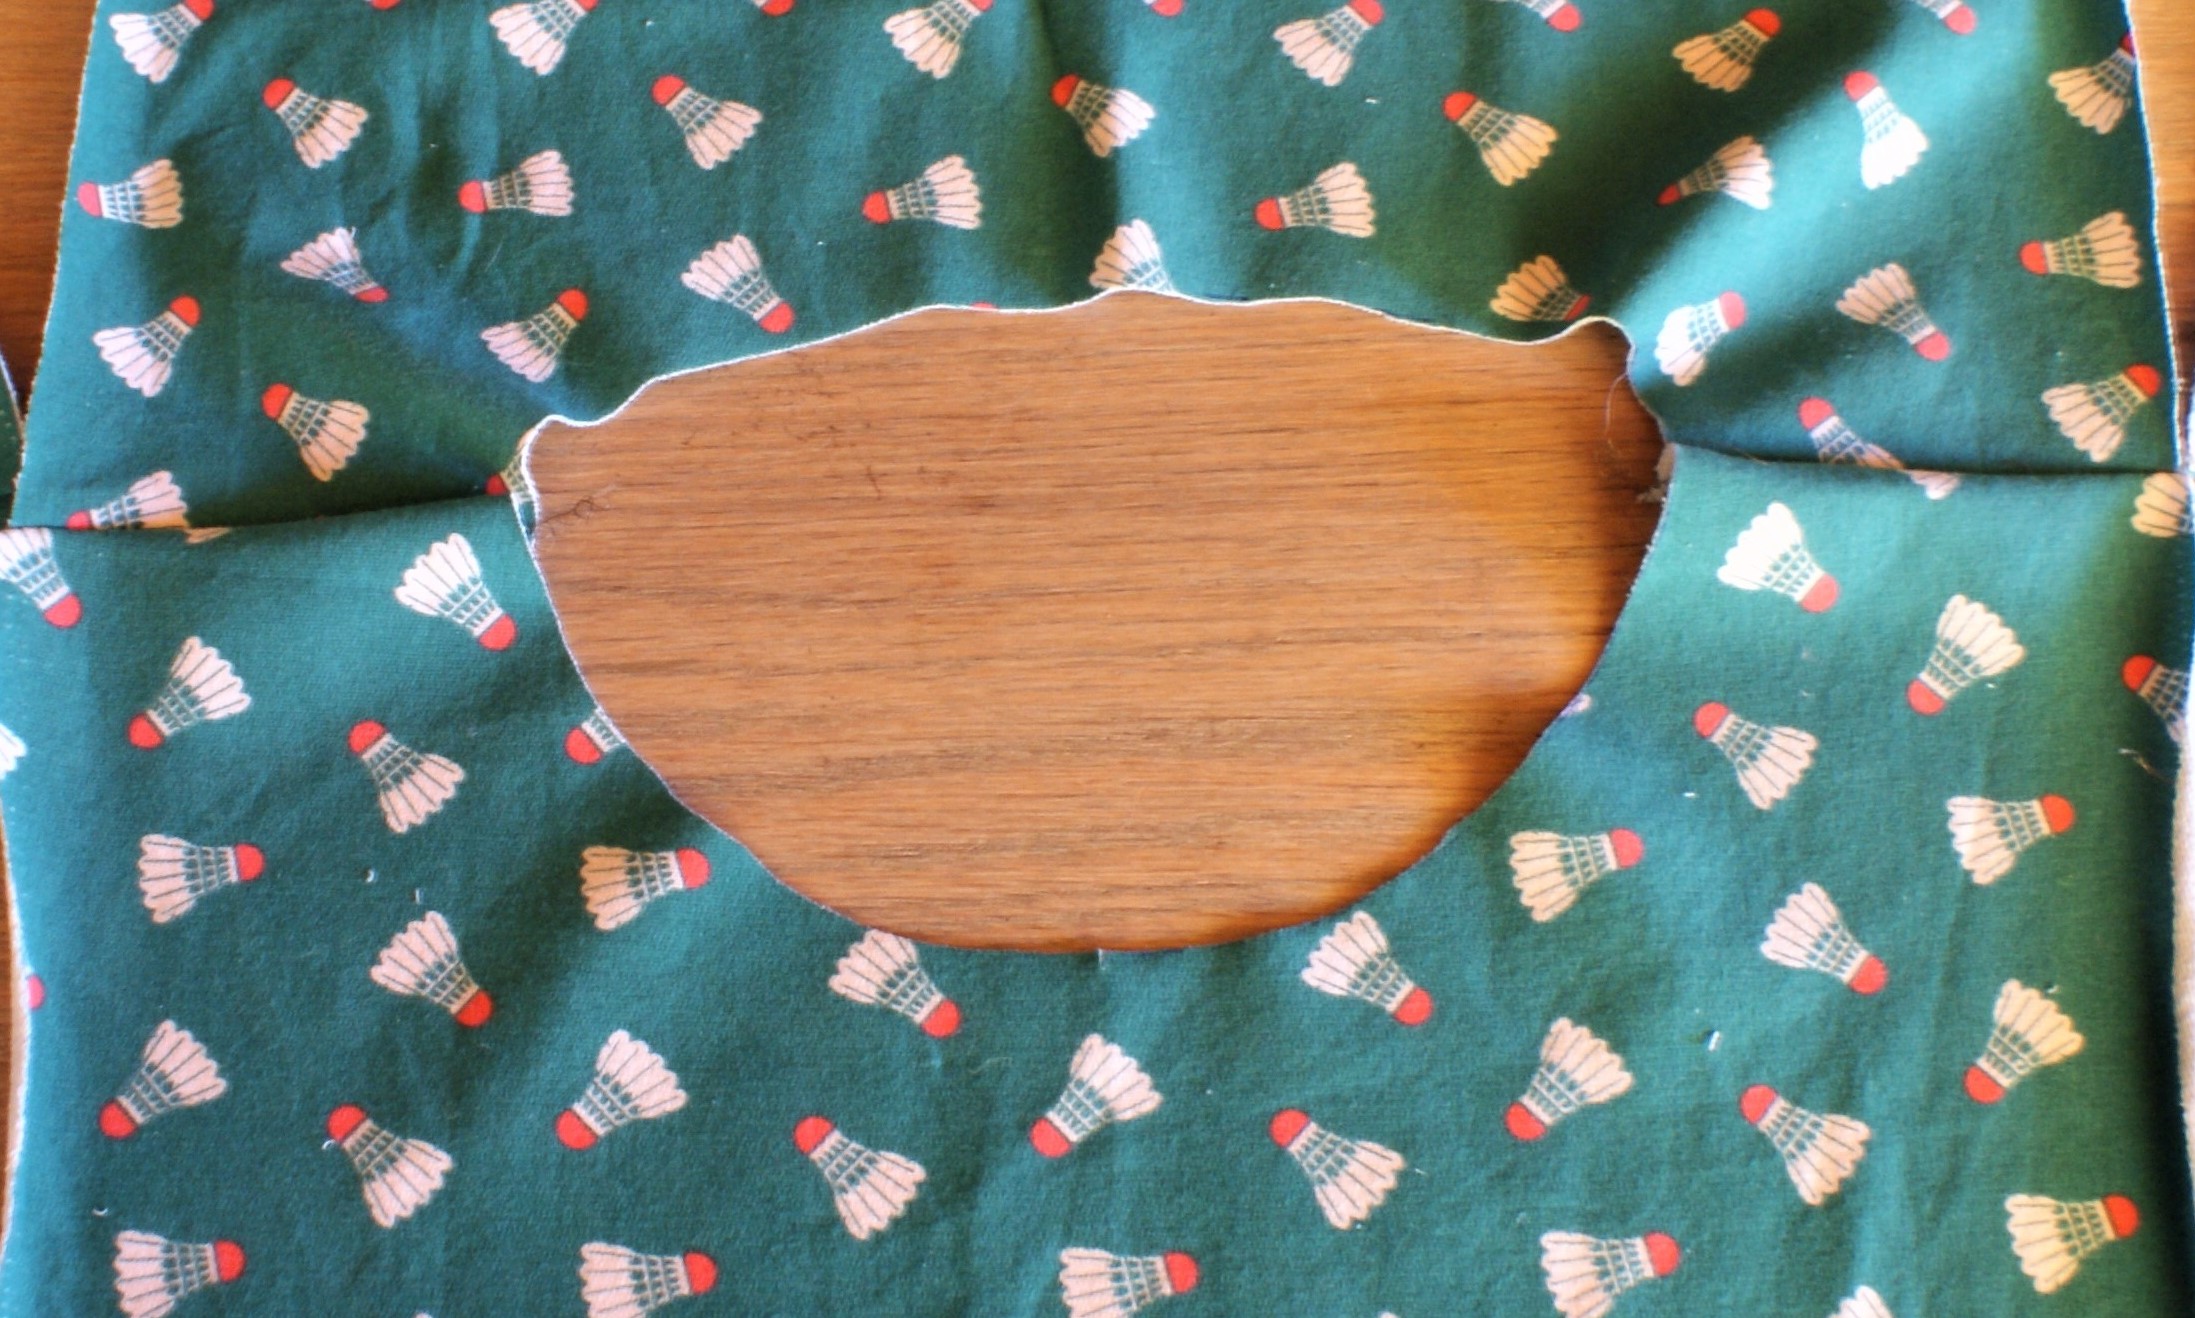
Be sure it’s an easy pattern. I made 2 sweatshirts in one week. The one in plain dark green punta di roma has the embroidered detail and looks stylish. The one with the badminton shuttlecocks is very funny and casual! Pictures are from both shirts.
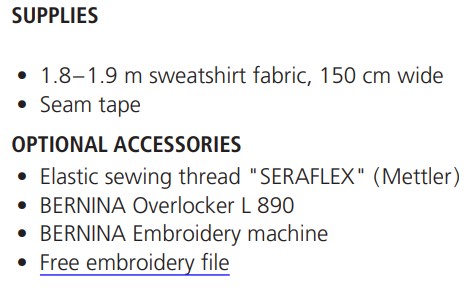
Supplies for the sweatshirt ‘Cosy’
- Mettler Seralene overlockthread
- Mettler Seraflock coverlockthread
- Mettler Poly Sheen embroidery thread
- Cut away stabilizer for the embroidery
- Iron on stabilizer for the embroidery
Start with the pattern

Find the free download in yesterday’s blogpost or through this link: www.bernina.com/inspiration-freebie. Download the pattern and the embroidery file as well. If you missed the free pattern in February 2023, you can still order it from the inspiration Magazine shop throug this link: Sweat shirt Cosy Inspiration.
I find it easy to print the A0 file in a copy center. If you like to print standard printer sheets at home, follow these instructions:

The embroidery
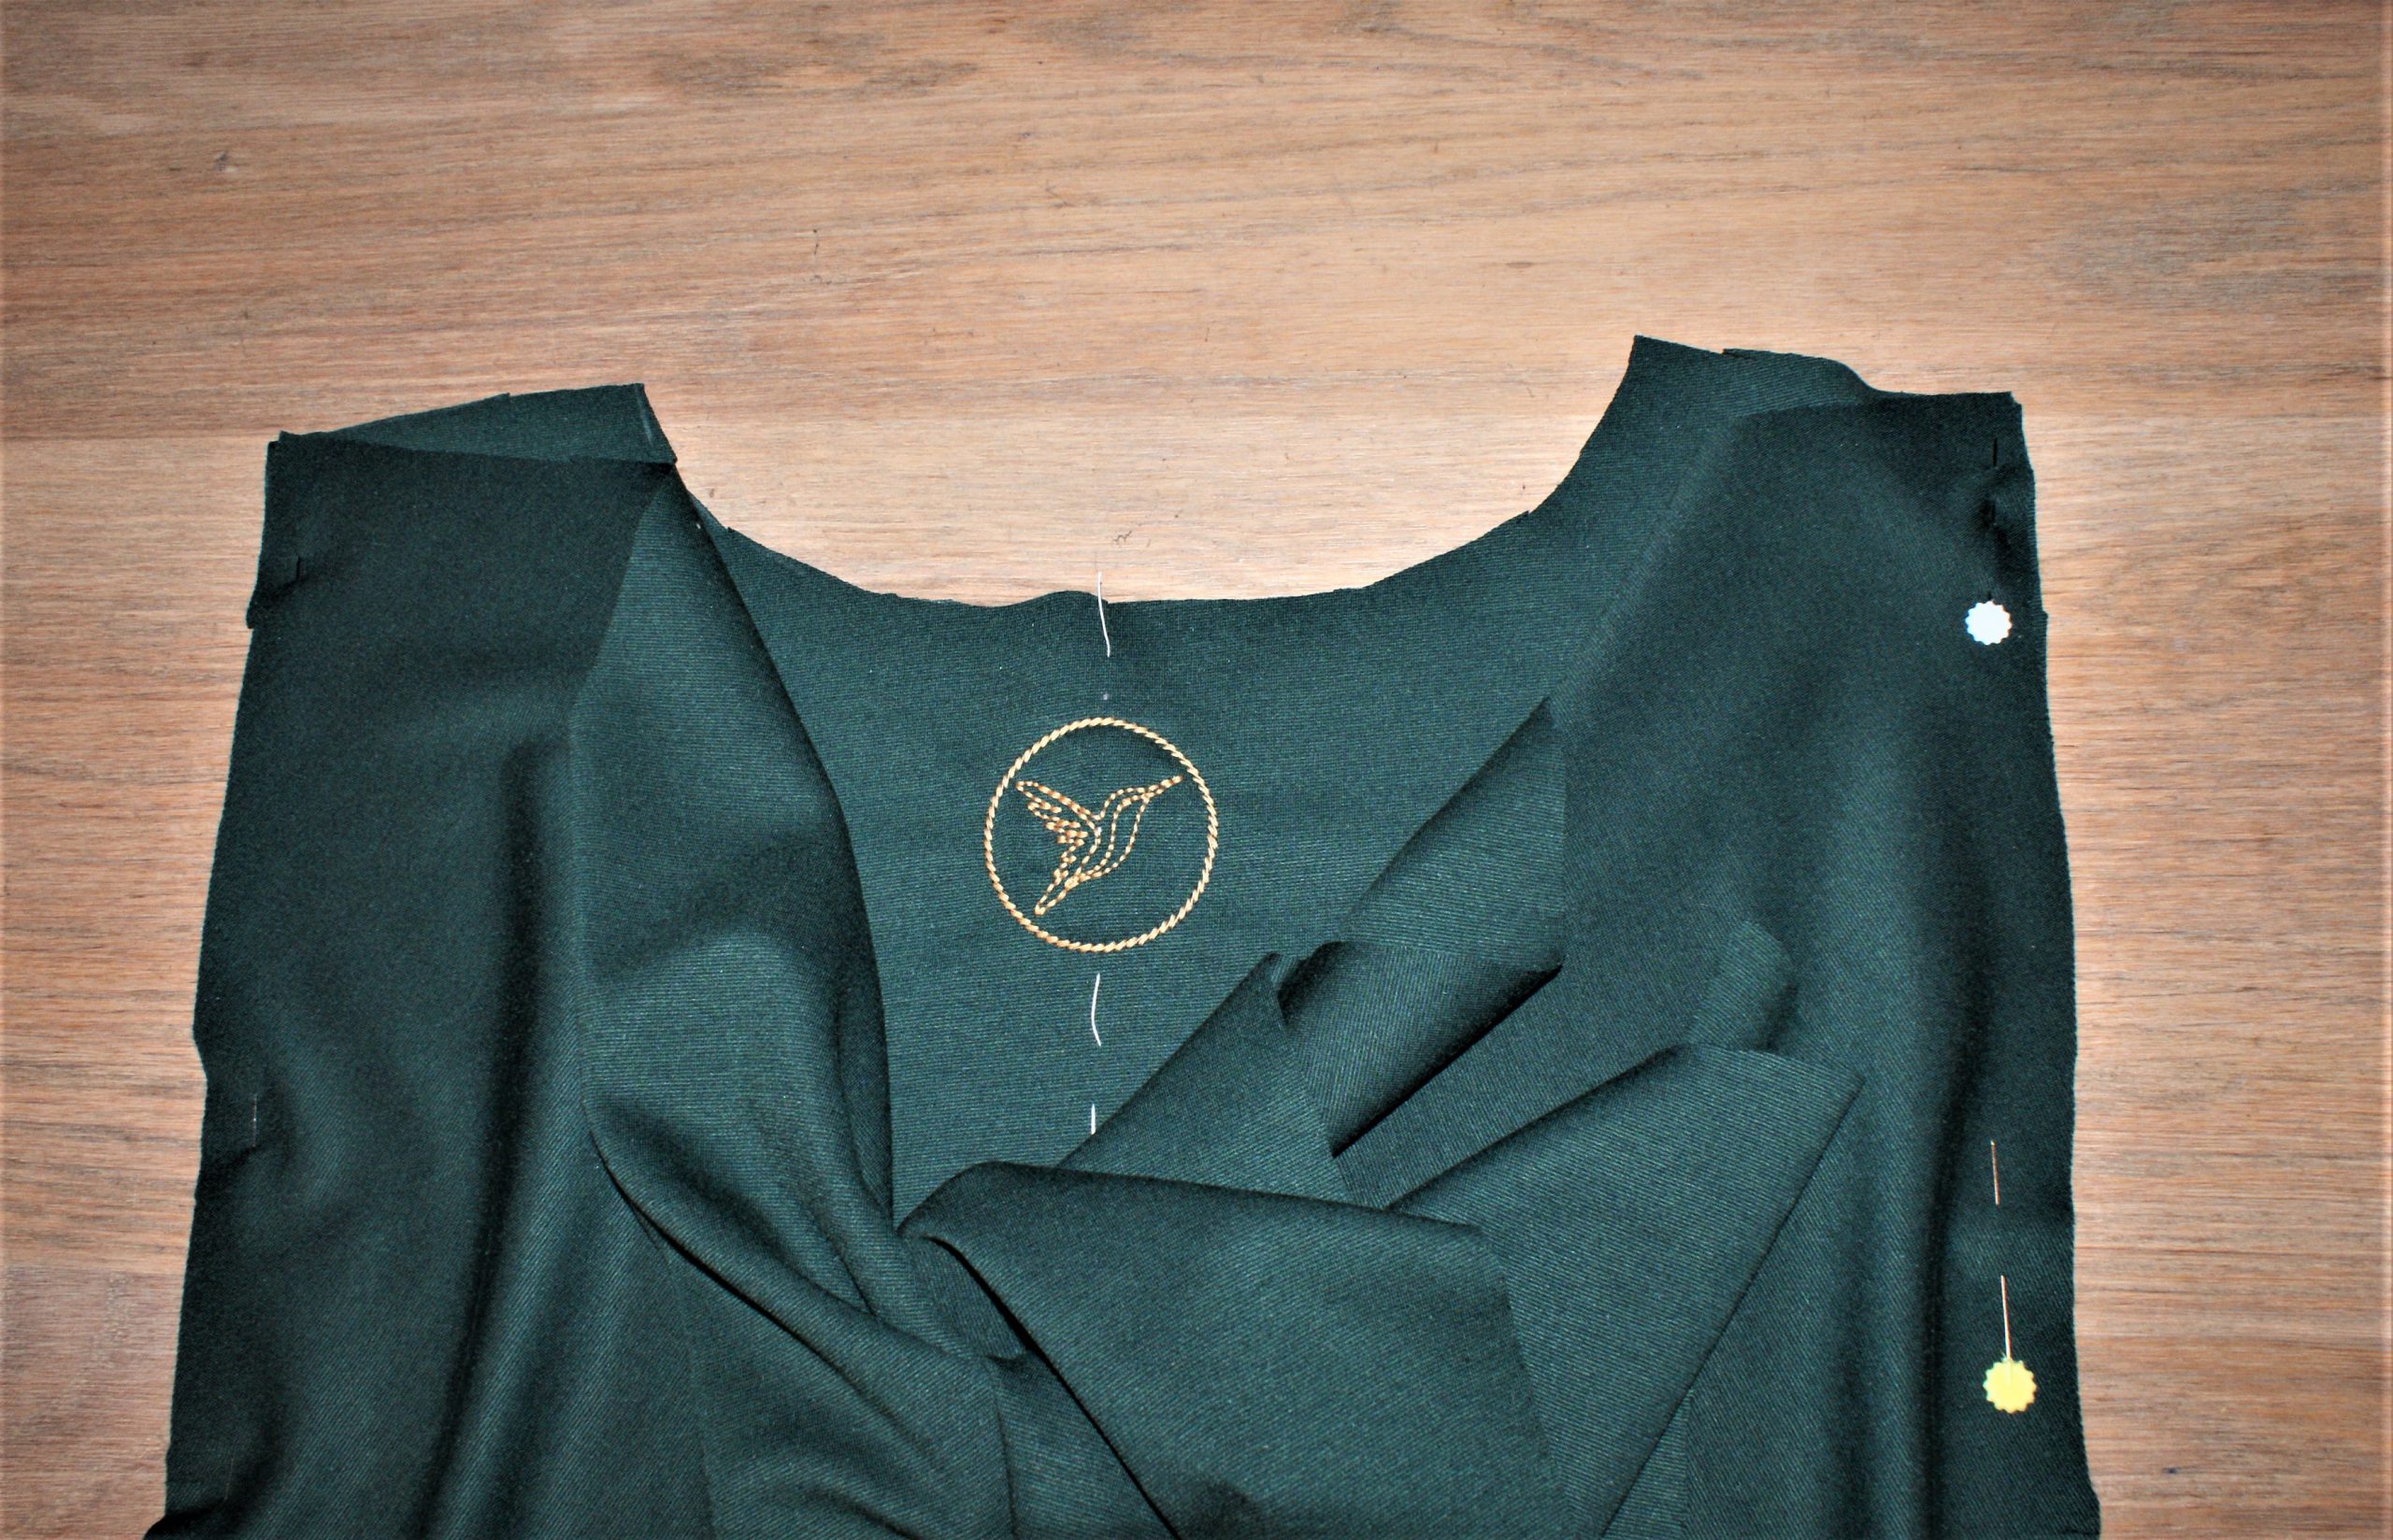
At first we will embroider the bird on the back. It’s easy to draw the back part on the fabric with chalk and embroider the bird before cutting out the pattern piece, especially for more complicated embroidery files. It’s easier to hoop a larger fabric.

Mark the center back line with basting thread.
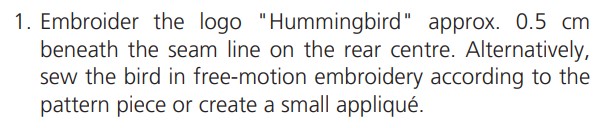
First iron on a patch of stabilizer on the fabric on top of the back pattern piece before embroidering.
Check the orientation of the embroidery file and adjust if necessary.
Use the pin point placement to position in the center of the pattern part.

I set the bird and the circle as 2 different colours in the software Designerplus 9.
I stopped the machine after embroidering the bird and added an extra patch to hide the stabilizer:
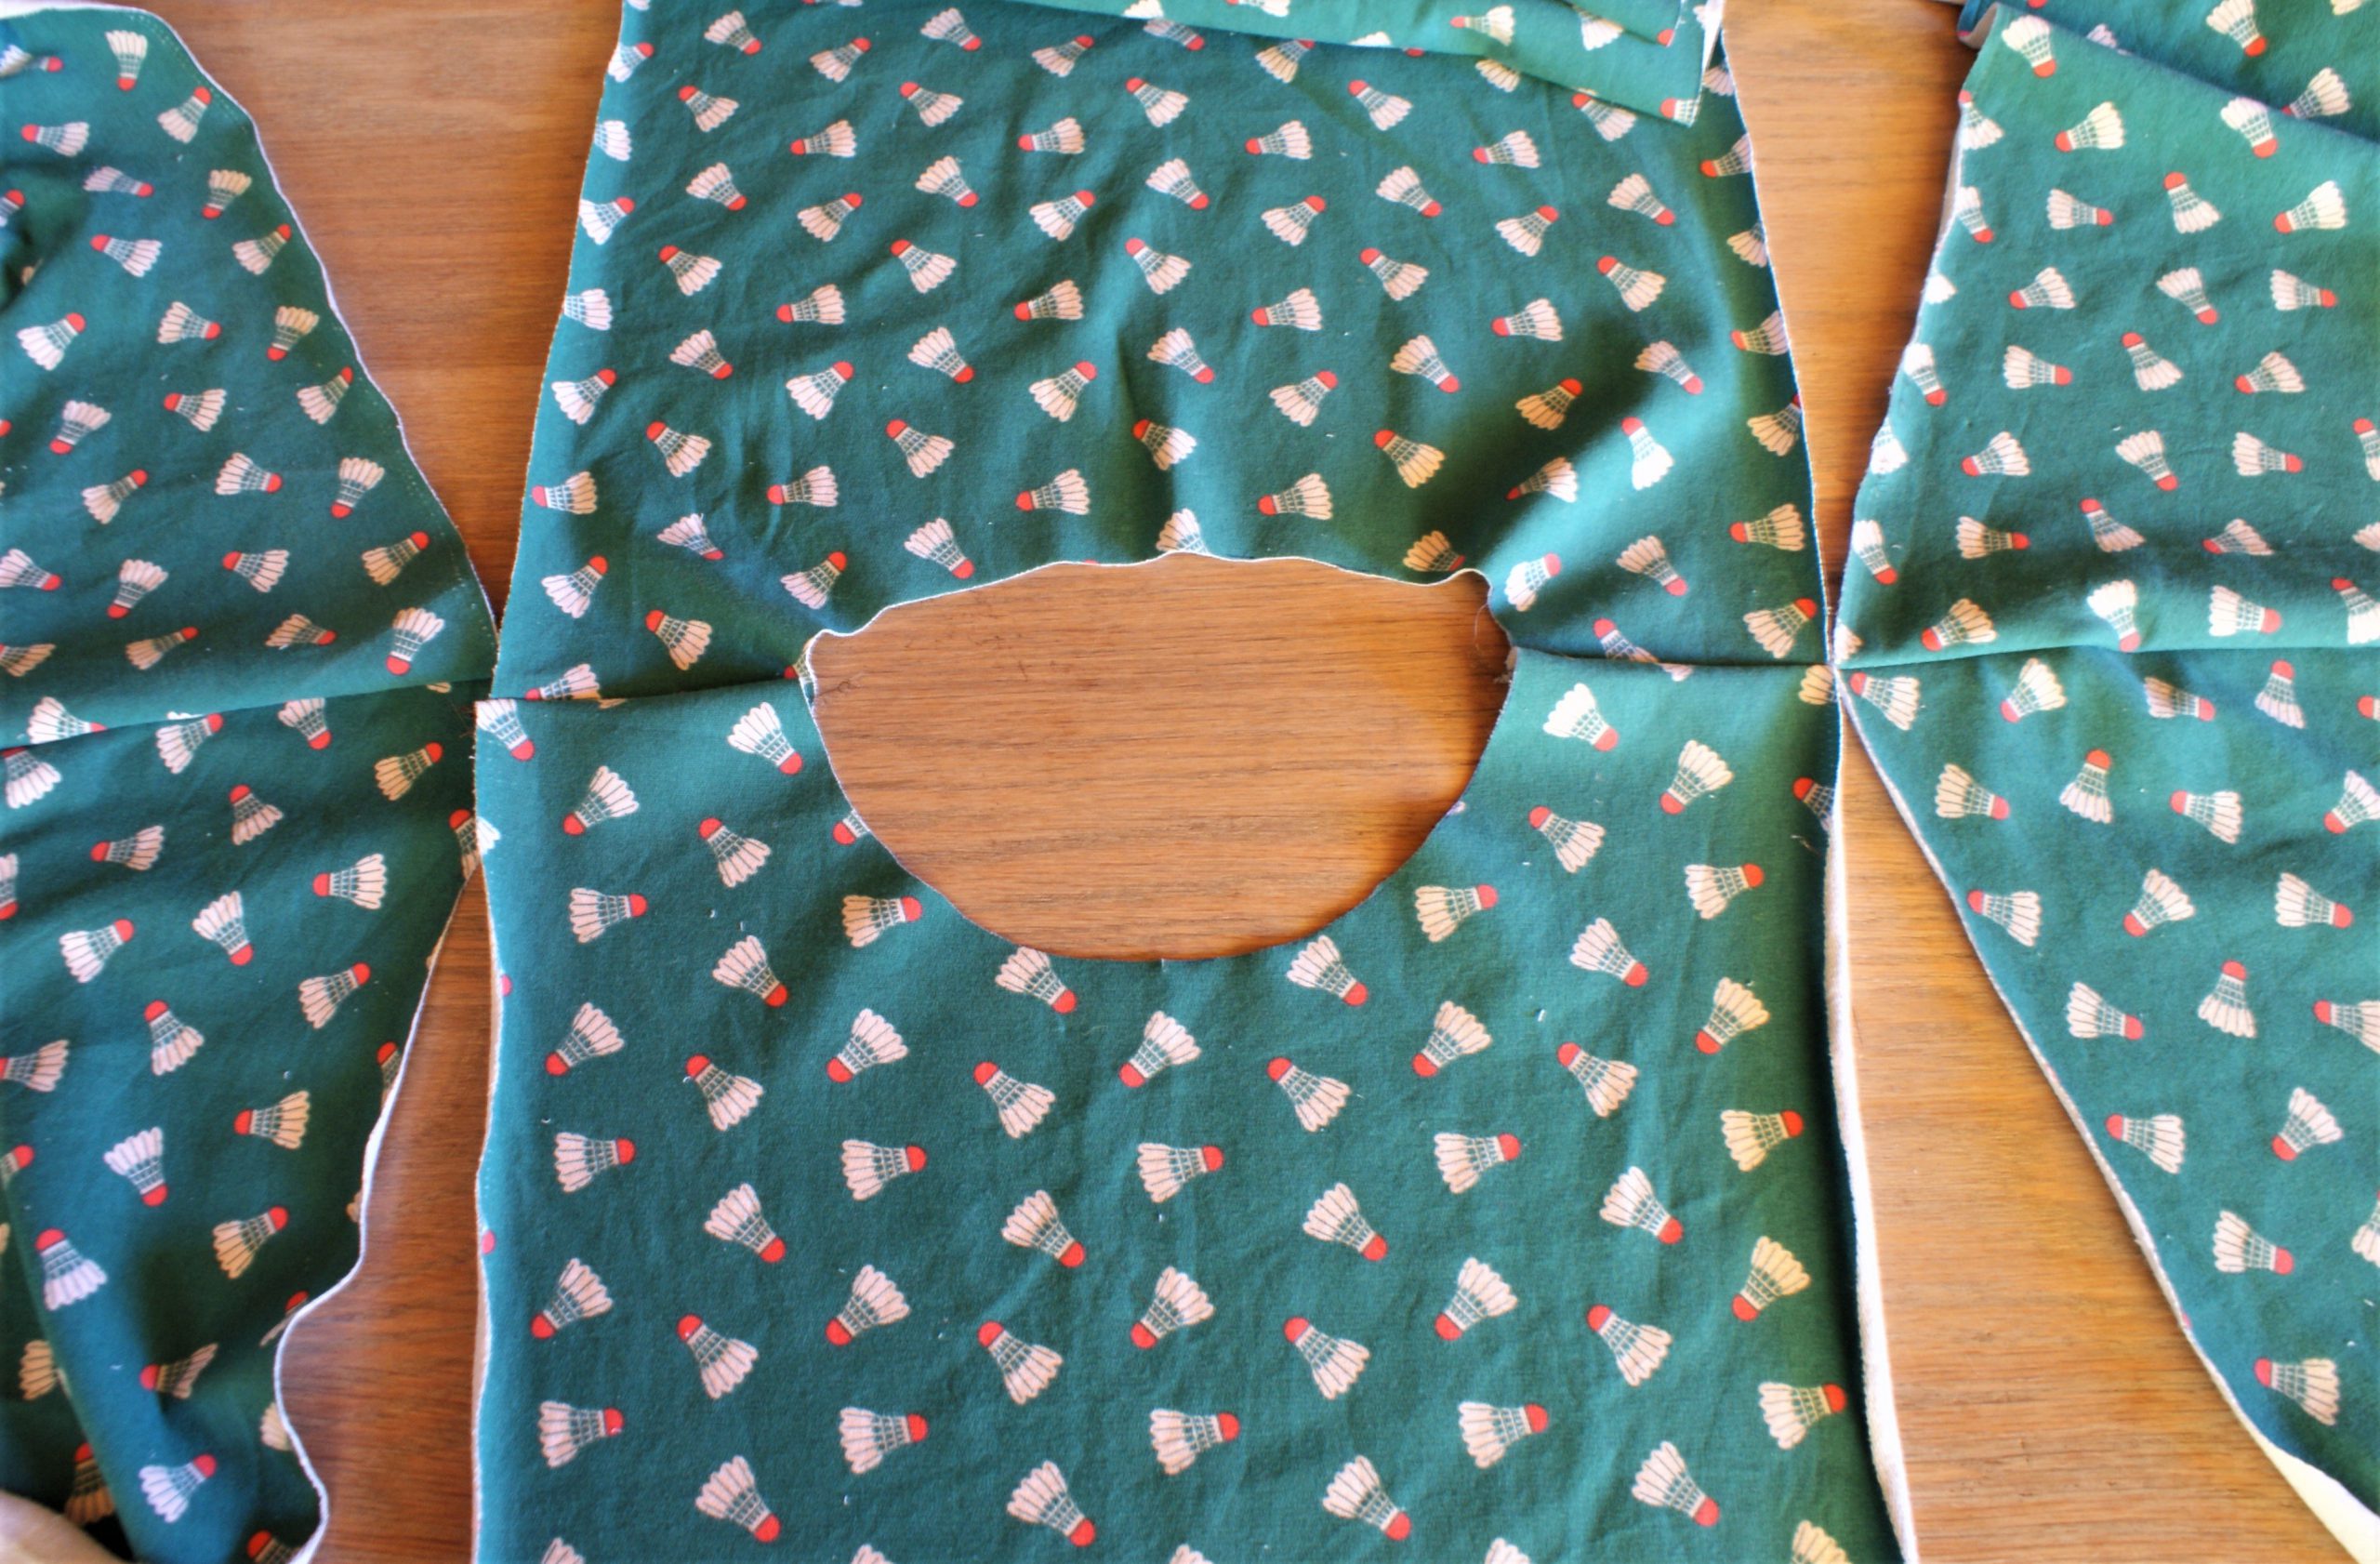
Position the back pattern part on the fabric again and cut with a 1 cm seam allowance. Continue to cut all other pattern pieces.
Cut out other pattern parts.
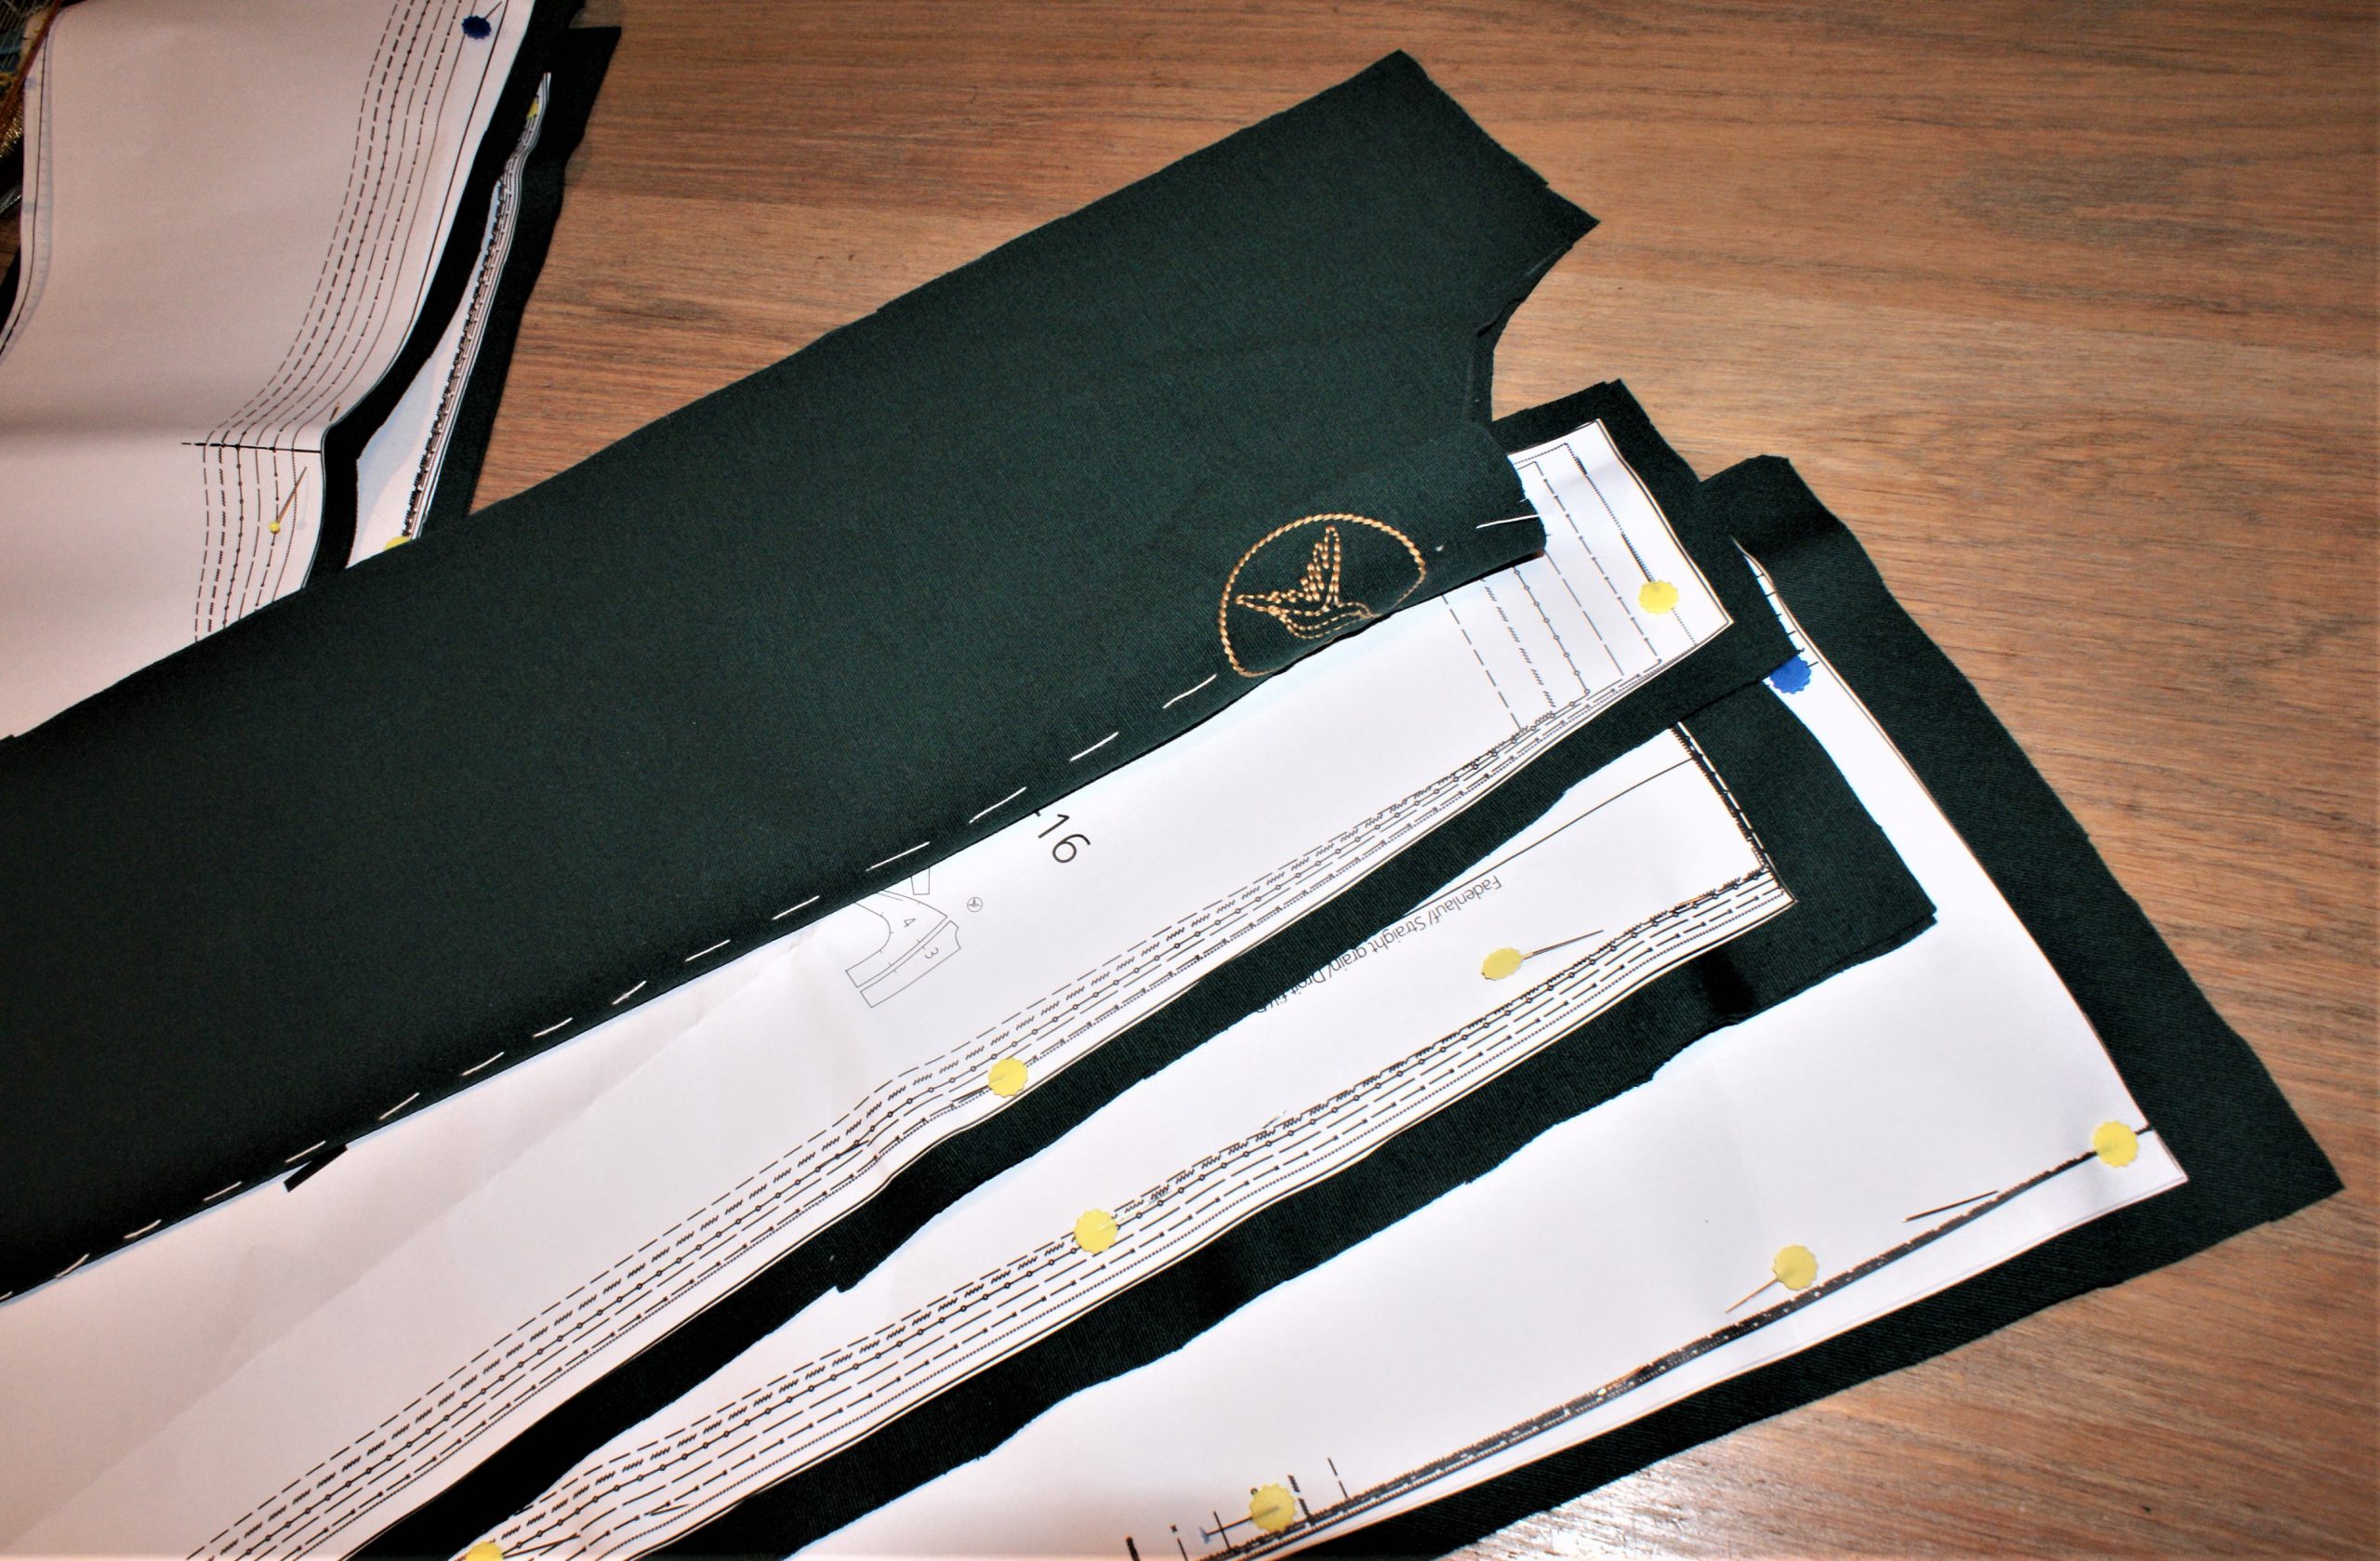
Take notches with basting thread or cut in seam allowance for 4 mm.
Sew the sweater with the overlock/coverlock L890

Overlock with a 7mm stitch width. This allowes you to cut of a 3 mm of the seam.

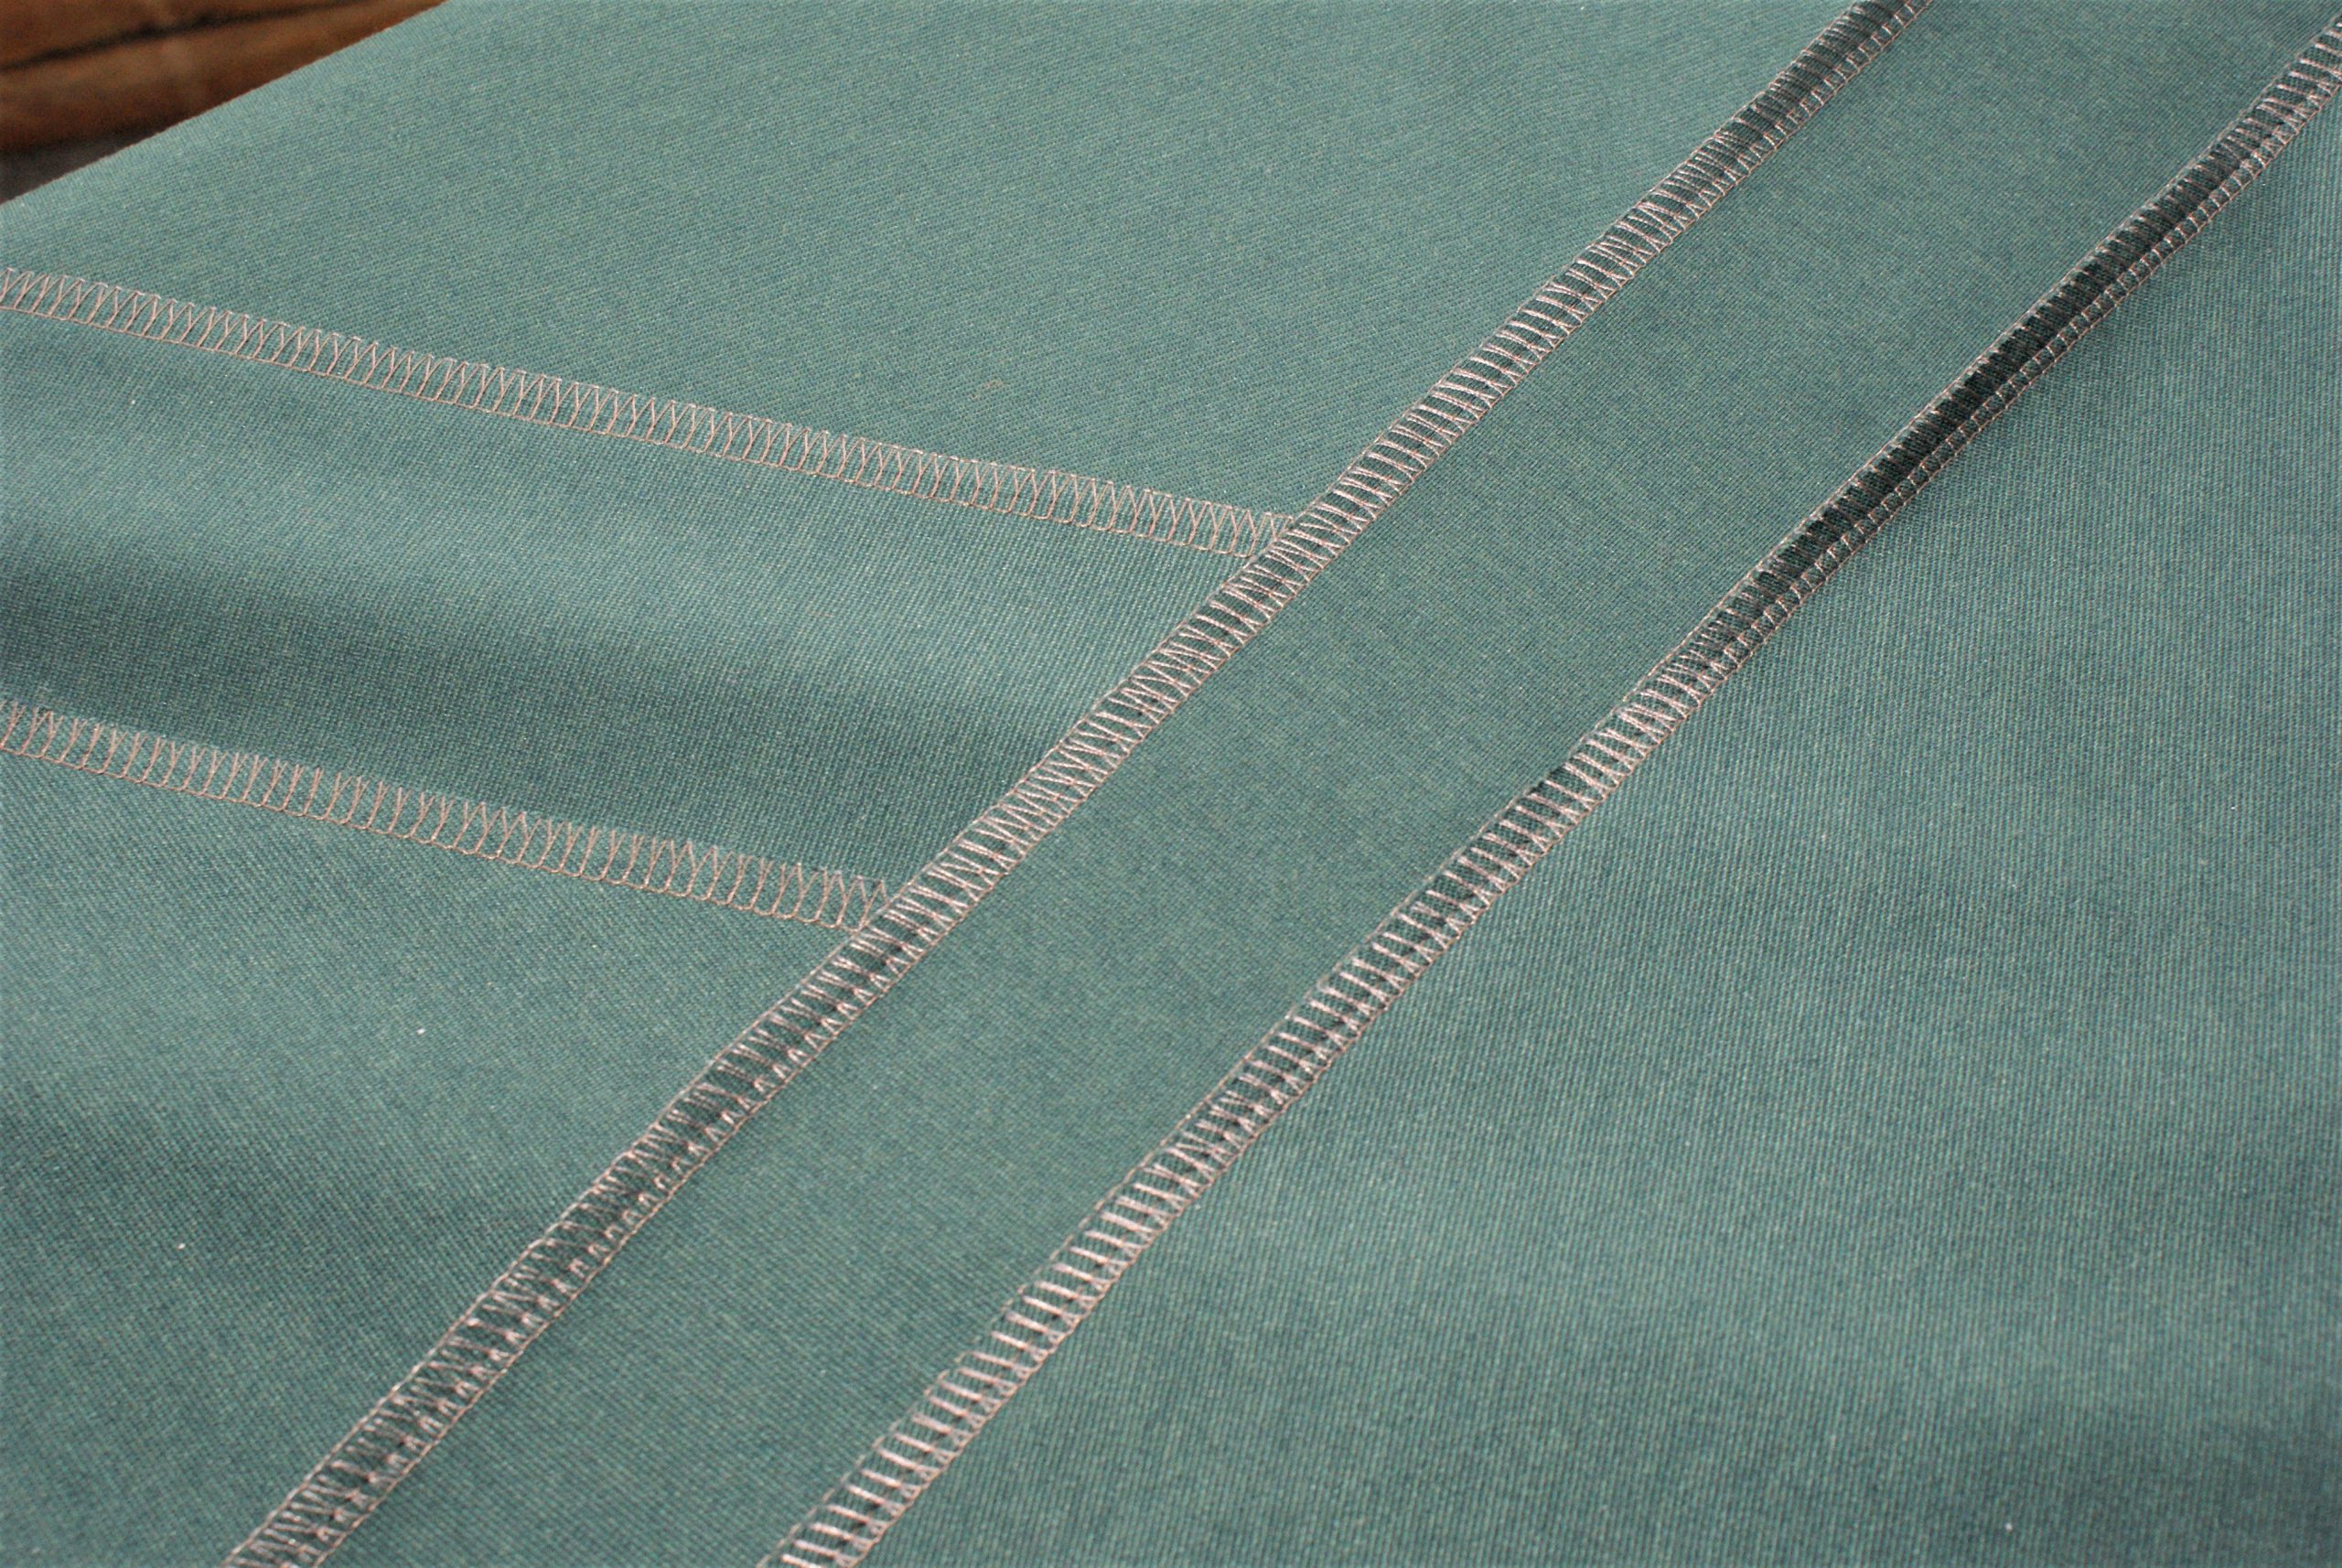
Close the center front and back parts together.
Sew the collar and sleeves
At last we will add the collar. At first, cut it wider than necessary. Pin short sides together and try it on.
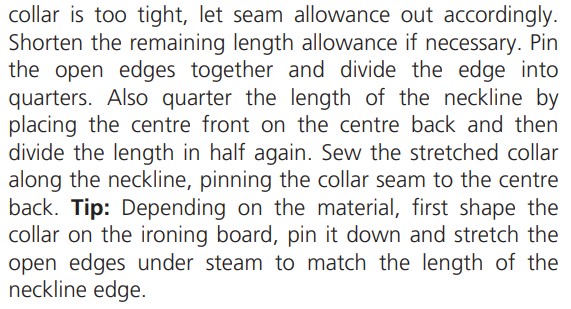
Pin to the neckline of the shirt and overlock.

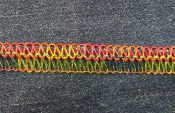
Finally coverlock the seams
At last, we will finish the seams.
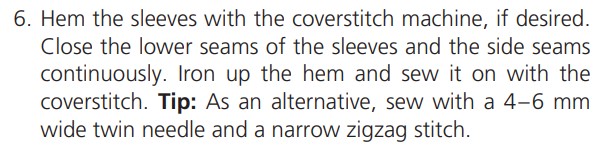
Fold over the sleeves and coverlock with a wide 2thread stitch to finish.
Guide along a certain point of the presser foot to sew parallel to the bottom edge and use the heighth compensation tool for bulky seams if necessary:

Now the shirt is finished and ready to wear. Do you like it as much as I do?


You are the greatest, Bea, so wonderful what you do for us all. thank you, Joann.
Joann, thanks for your appreciation! I like to work with my BERNINA’s and discover all functions. And this pattern is a pleasure to make!