 BERNINA Corporate Blog -
We are already in Part 9 of the “Learning to Sew for Beginners” series. Today I’m going to tell you about sewing with an overlock machine.
All novice sewers reach the point where they are considering purchasing an overlocker. Provided you are sewing woven fabrics, you can achieve a very good result when serging edges with a normal sewing machine using the zigzag stitch. By the time you dare to give sewing stretch fabrics a try, this is when an overlock machine comes into play.

Why an overlocker?
Of course, you can also sew jersey or sweat fabrics with a normal sewing machine. These often have an overlock stitch (which is actually a “false” overlock stitch), or you can sew with a different elastic stitch. Why do you even need an overlocker?
Quite simply, because sewing with one is just much more fun. The speed of the machine is different, and this is particularly noticeable when sewing adult clothing. And of course you get a much nicer and more professional result. By means of the adjustable differential feed, an overlocker feeds the fabric evenly, without stretching it, and trims off the excess fabric. The machine sews the fabrics together in one step, neatens them, and creates a clean edge thanks to the knife.
The looper threads are interlaced at the fabric edges. This makes the seam extremely stretchy and tear-resistant. Much more elastic and resilient than a zigzag seam or a “fake overlock stitch” on a sewing machine.
With an overlocker, you can only sew along the edge and never in the middle of the fabric. Binding with bias tape or appliqué isn’t possible either. The overlocker does not replace your normal sewing machine. It is a useful addition if you want to work with stretchy fabrics and give garments a professional look.
Sewing with an overlock machine
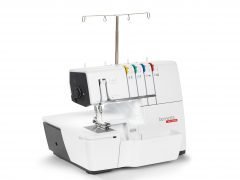
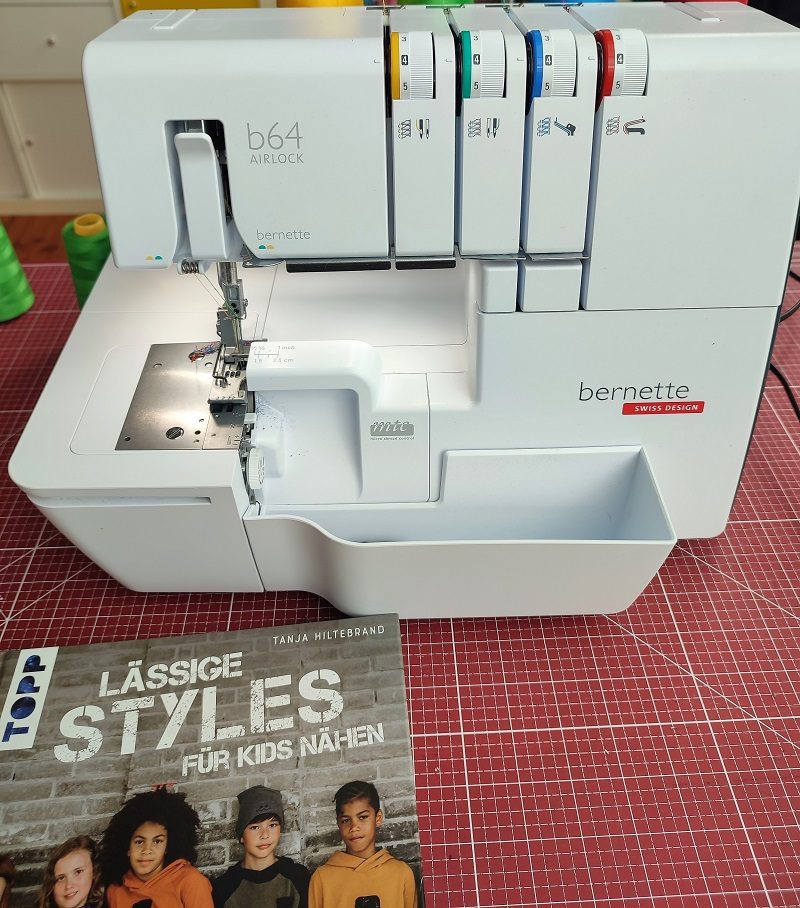
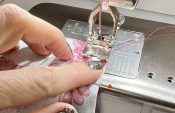
At first, sewing with an overlock machine discourages many beginner sewers. You will ask yourself: how do you thread this thing? How do you adjust the various overlock stitches? What must you keep in mind? However, with the right machine and a few tips, you will manage it. So stay calm and trust yourself. With my bernette 64 AIRLOCK, threading is a breeze. The looper threads are threaded with the air threader in a flash, and changing the thread is also really fun.
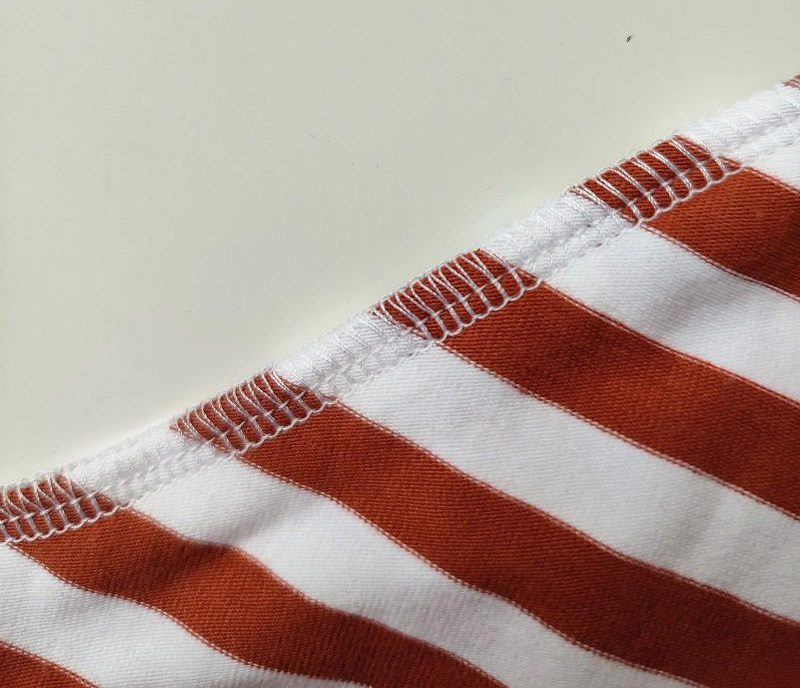
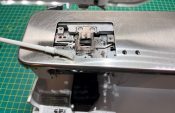
The standard seam of an overlocker consists of four threads. Two of them run through needles, the other two through the hook. The needles sew a parallel line, while the looper threads lie around the edge of the fabric. This creates an elastic overlock seam due to the interlocking of the four threads.
You cannot reverse sew with an overlock machine; You sew in and out of the fabric. This creates the typical overlock bead, which you must then secure. In addition to the typical 4-thread seam, there are many different types of seams that can be sewn with an overlocker. However, these differ depending on the model.
Tips for beginners
Sewing needles
Special sewing needles should be used when sewing with an overlock machine. The needles must meet special requirements, because the overlocker sews at a completely different speed, and usually through several layers of fabric. There are therefore special overlock needles available in stores that I really want to focus on.
Thread
An overlocker needs 3 to 4 thread spools (depending on the stitch used). In most cases, so-called overlock cones are used. Since you use more thread when overlocking, it is worth purchasing cones in all the common colors. For colors that you rarely use, you can also use small spools of thread.
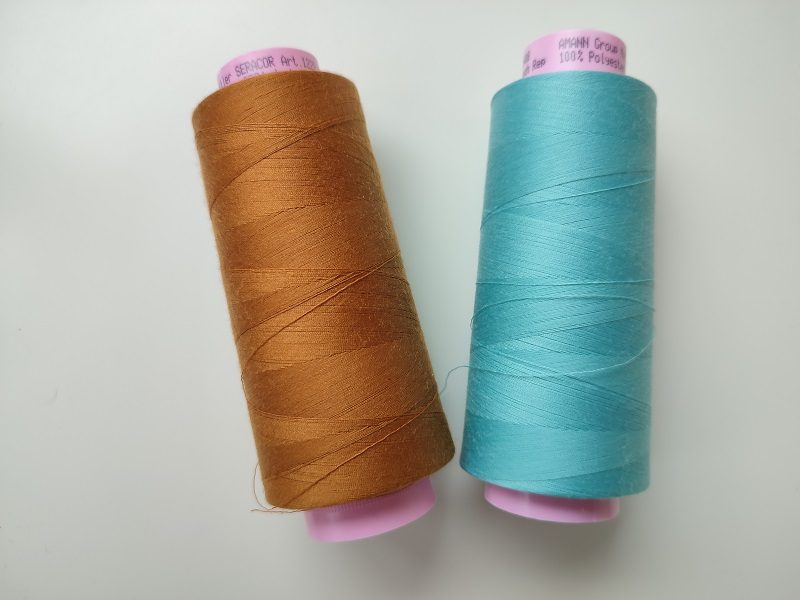
When sewing, the general rule is that the quality of the thread contributes significantly to the quality of the sewing process. This is no different when overlocking. It is recommended that you use branded thread, e.g. Seracor from Mettler. This high-quality thread is evenly wound, rolls better off the spool, and does not tear so easily.
Sewing with an overlock machine consumes significantly more thread than sewing with a regular sewing machine. In addition to the two needles for the overlocker, there are also the two hooks that loop around the edge of the fabric together when sewing. They consume much more thread than the two needles. It therefore makes sense to exchange cones from time to time so that consumption per cone becomes more even.
Be careful with pins
When overlocking, it is important to be very careful when using pins. Before you know it, one of the pins can end up under the knife. In addition to the possible risk of injury, this also causes the knife to become blunt or broken. I recommend using clips or pins to the left of the seam, so as to avoid the knife.
Threading the overlocker
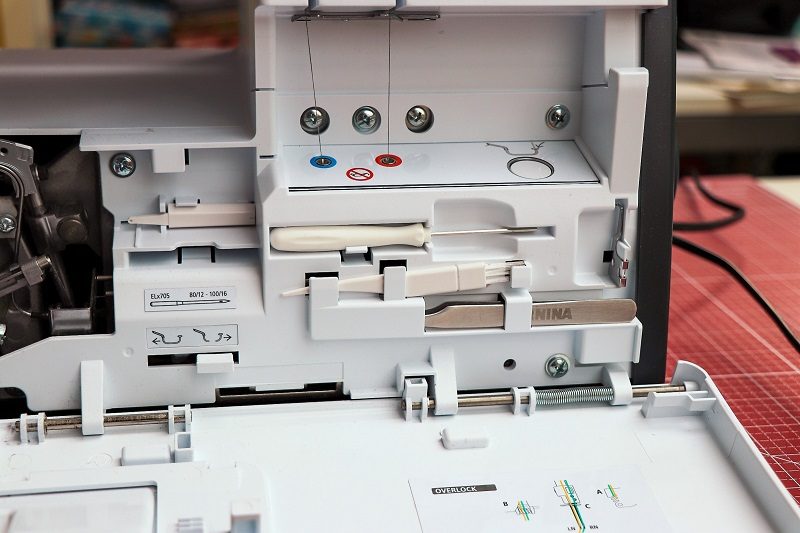
Don’t be afraid of threading! Adhere to the instructions for use and follow the sequence and the threading diagram for the machine when threading.

The instructions for BERNINA and bernette machines are also available online and can be downloaded as a PDF. For BERNINA machines, it is best to visit www.bernina.com/support and search for your model there. The instructions for bernette machines can be found at www.bernette.com on the detailed page for the respective product, in my case at bernette 64 AIRLOCK Product Page.
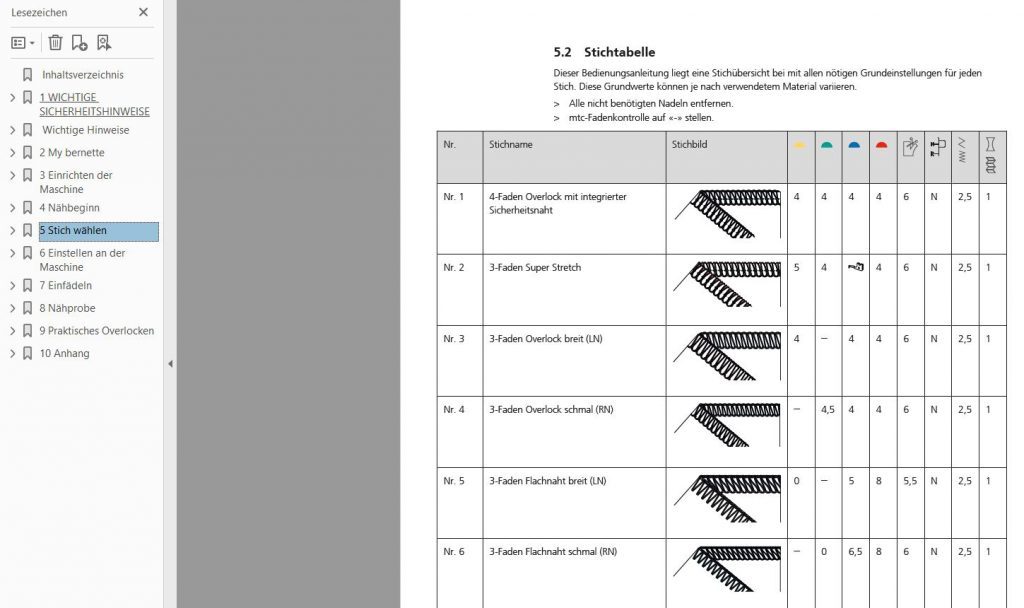
You can search the PDF instruction manual for keywords. They also contain an interactive table of contents, which can be used to quickly access the desired location. One important element is the stitch table, which contains all the necessary basic settings for each stitch. However, it should be noted that these basic values may vary depending on the material used. Therefore always perform a sewing test first and then optimize the stitch settings if necessary
There are numerous instructional videos for both BERNINA and bernette that will guide you through the first steps and are very helpful. It is worth checking out the BERNINA and bernette websites! All the videos can also be found on YouTube – here is the bernette channel and here is the Bernina channel.
For my bernette 64 AIRLOCK, there is a YouTube playlist with more than 20 videos. Here, threading is also shown in detail, for the looper threads …
… and for the needle threads:
In the videos, click on the CC icon at the bottom right to show the instruction text in the video (YouTube subtitles). You can select the language of the instruction text by clicking on the gear icon.
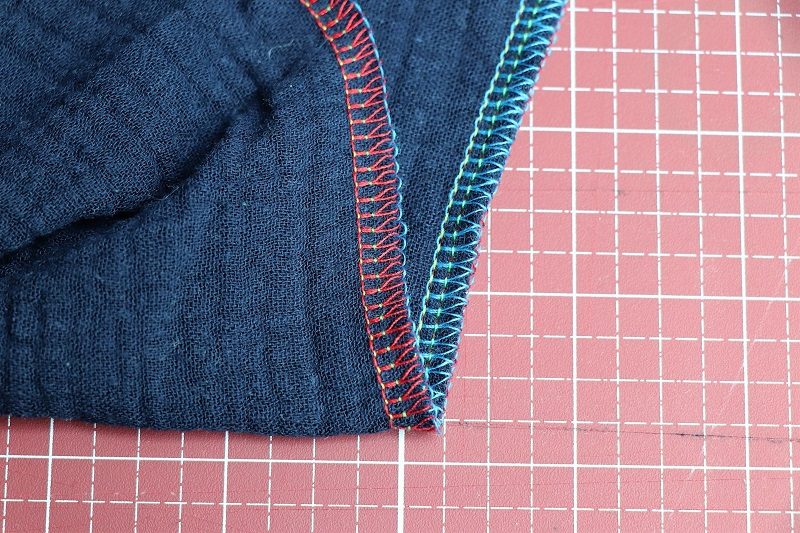
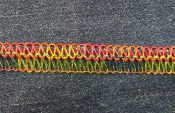
In order to give you a better feeling for the generated overlock seam and the settings, I recommend that you start by using four different colored cones. This way, you can see exactly which cone is responsible for which thread in your seam. You can then better explore the settings.

Take your time when getting started and change the tension of the individual hooks, the sewing pressure, or play with the settings of the differential feed or the stitch length. The different colors give you a relatively quick feel for your overlocker.
There are also instructional videos from BERNINA and bernette on this subject. Below is the video for my bernette 64 AIRLOCK. As you can see, the videos also use threads in the colors of the adjustment dial:
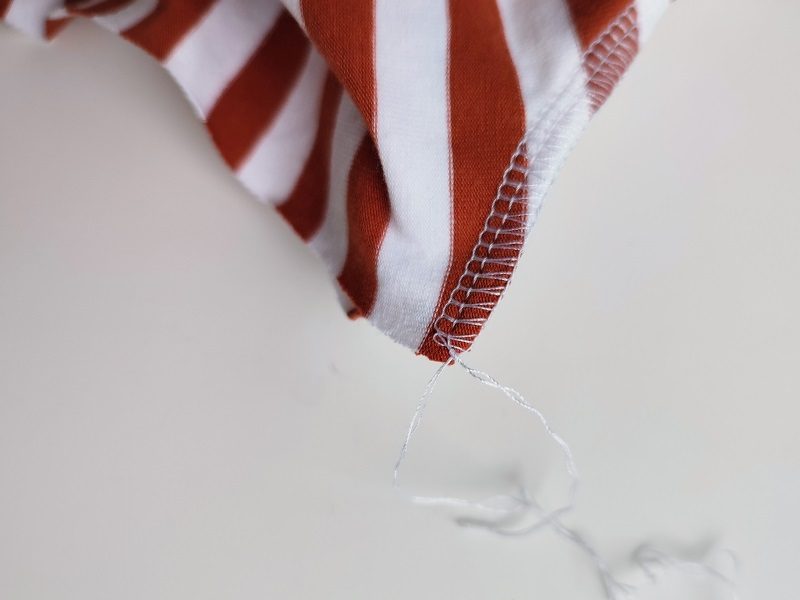
Securing the overlock seam correctly
At the beginning, the question arises as to how to secure the seam correctly with an overlock machine. After all, there is no reverse sewing here. Depending on what you are sewing, you do not necessarily have to secure the overlock seam. You don’t have to do anything else for seams that you sew over during the further sewing process. These are automatically locked by the other seam. With all the other seams, there are three ways to handle the overlock bead that is produced at the beginning and end:
-
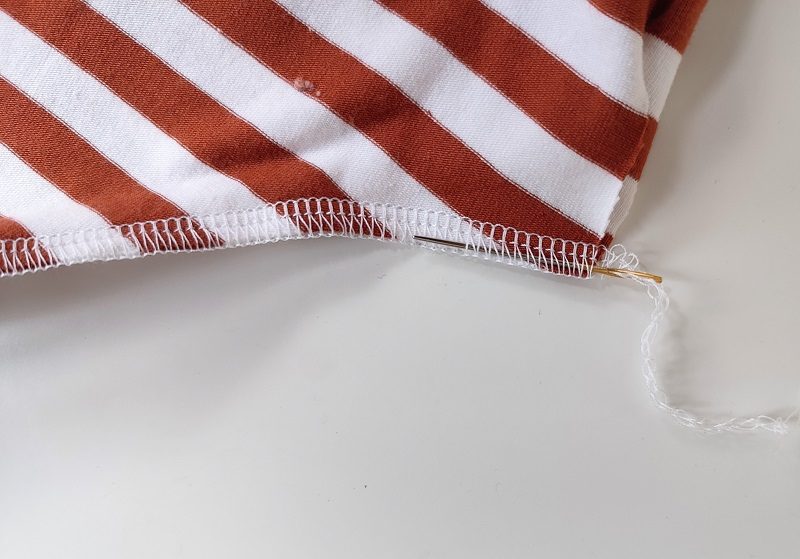
With the help of an embroidery needle or needle aid,
thread the bead onto a slightly larger needle or embroidery needle. Then carefully pass the thread through the overlock seam. The end of the bead can then be cut off.

-
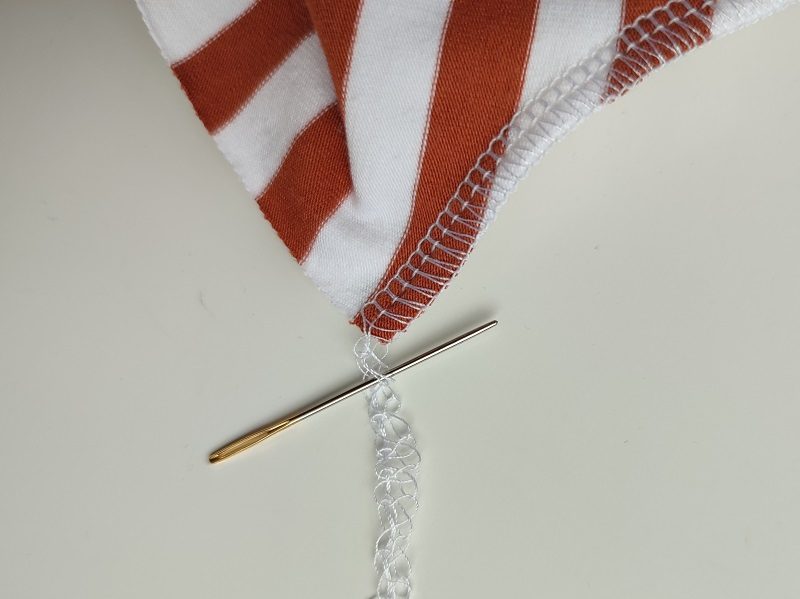
Knot the ends of the thread.
This is my personal favorite method, even if it doesn’t look so clean. However, it’s quick. To do this, pull out the middle two threads and release them. Then simply knot the resulting two strands together and cut off the remaining threads.
-
Securing the ends of the thread
Securing with the overlock machine is indeed a little more complicated – but this method is also often used:
To start the thread, first sew 2-3 stitches into the fabric. Then leave the needles in the fabric and raise the presser foot. Now carefully bring the bead forward and place it under the presser foot. Now sew approx. 2 cm. Then place the remaining bead of thread to the right, in front of the knife, and cut it off as you continue sewing.
Separating the overlock seam
Of course, even when sewing with an overlock machine, everything doesn’t always work out immediately. At first glance, it seems difficult to separate an overlock seam.
Initial sewing projects
Do you now have an overlocker and but don’t have the confidence to get started? Then just start with simple projects such as children’s jersey pants or a simple cloth!
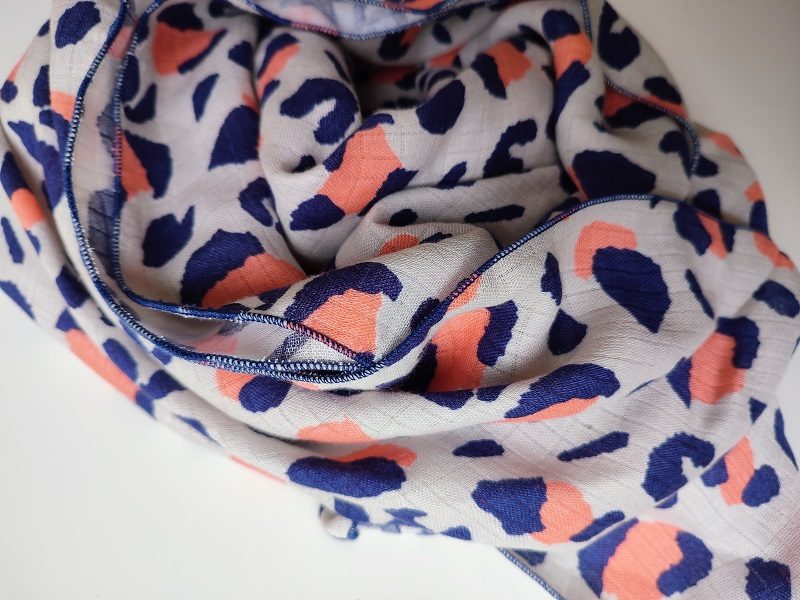
Sewing rolled hems is not difficult if you follow the settings in your machine’s instructions. And the neatened edges look incredible, especially if you play around with colored thread.
You can find videos from BERNINA and bernette about sewing a rolles hem:
I sewed my daughter a quick scarf for the cold fall and winter and she really loves it.
Best wishes,
Johy


0 Responses