 BERNINA Corporate Blog -
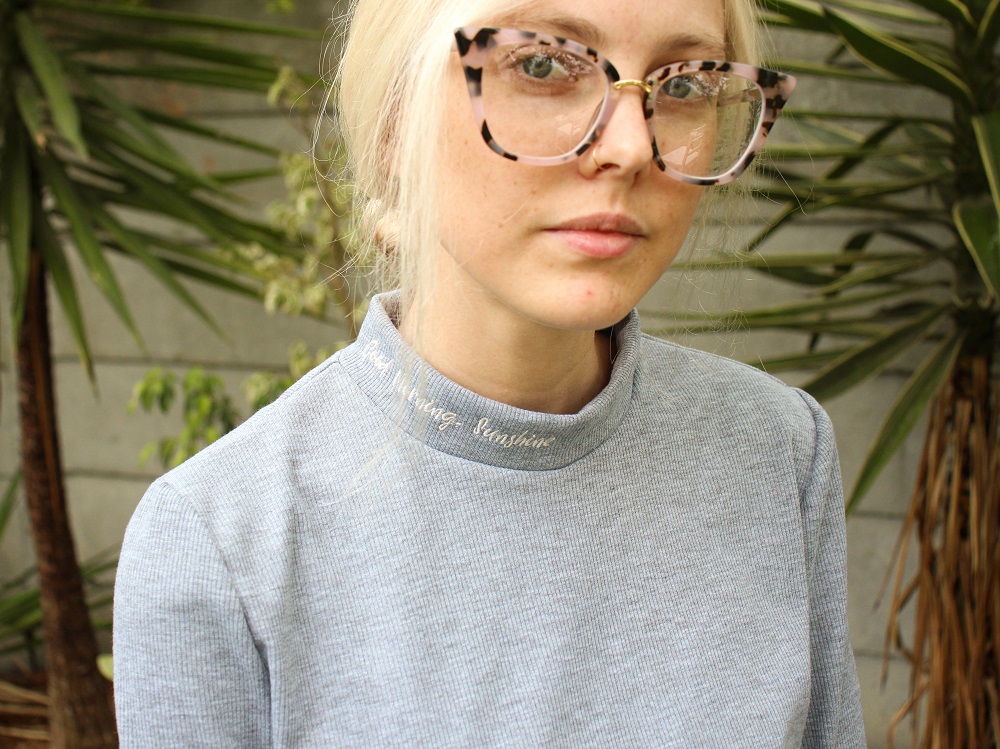
I downloaded the free March sewing pattern by Inspiration Magazine which is a cute crop top called Vio. You can follow my sew-along: Sew Along for the Vio Shirt (free pattern in March)
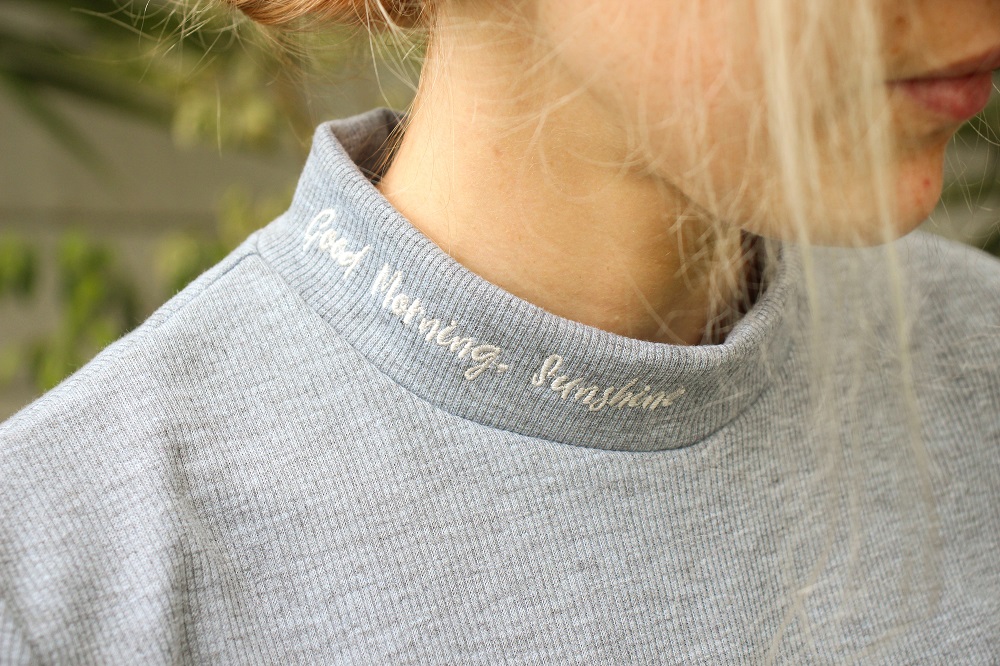
As March is the month of my boyfriend and my anniversary, I wanted to create a fun embroidery design to add to my top. I chose to use the name of a song that has meaning to us. It’s a fun song we relate to as I am not a morning person! We have been to many performances of the band and listen to their music on every road trip together. Shortstraw’s music is a lot of fun.
I wanted to use a font that was as quirky as their music.
Bernina has so many great fonts preloaded in the Embroidery Software 9 but if you are looking for something specific, you can download fonts to use in your embroidery like I do.
What will be needed:
When choosing a font to embroider on a ribbed knit, a relatively bold one is best so that it’s not lost in the texture of the knit.
Keep in mind that some cursive fonts could be too delicate. The thin lines of the stitches may not show up properly in the knit and could even break when the fabric stretches (depending on your choice of stabilizer).
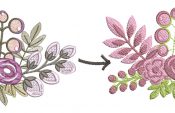
Here is a free embroidery design if you also want to embroider the curved neckband of your Vio Top.
HR Made to create curved

Like Bernina, we were made to create!
Download a Font
Here is an article that provides advice on where to download free fonts safely: 10 best locations for downloading safe free fonts by Tudor Dan
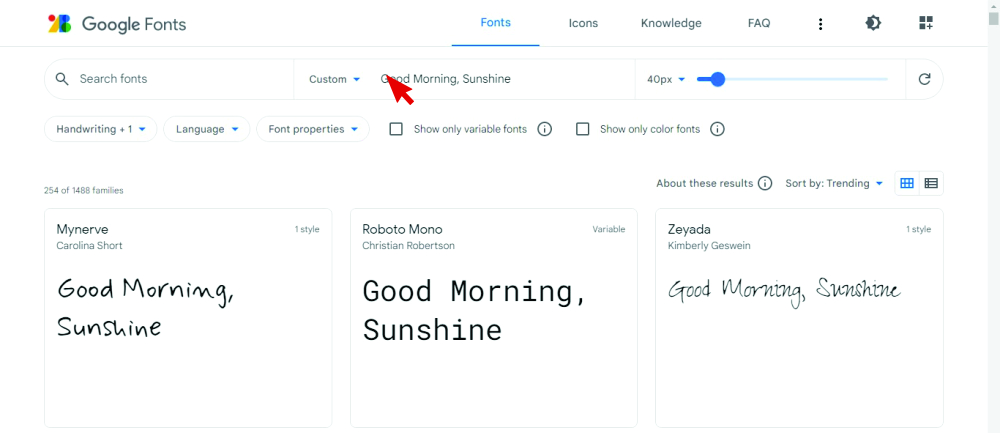 The websites usually provide a preview of the font in custom text. So you can type your desired wording to see what it would look like in the available fonts.
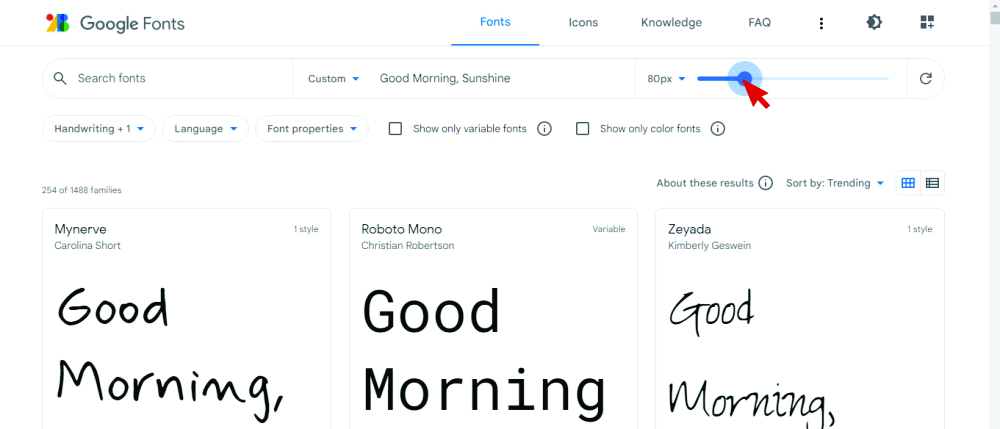 You can also adjust the size of the font for better preview.
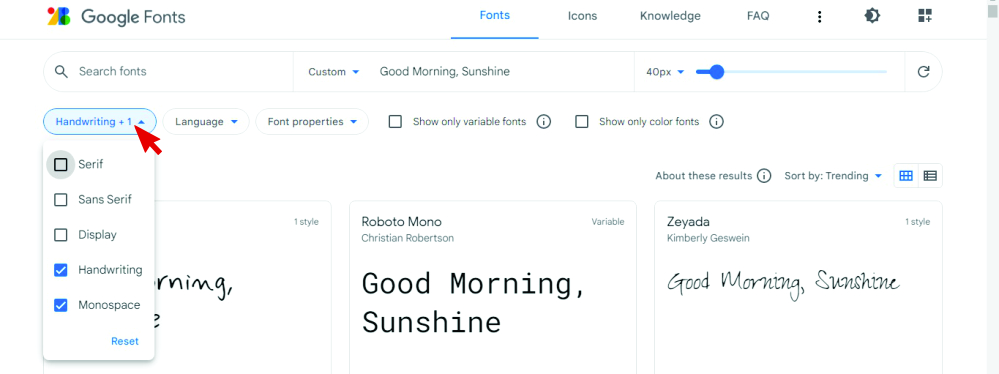 Most websites have some variation of being able to select different font type categories.
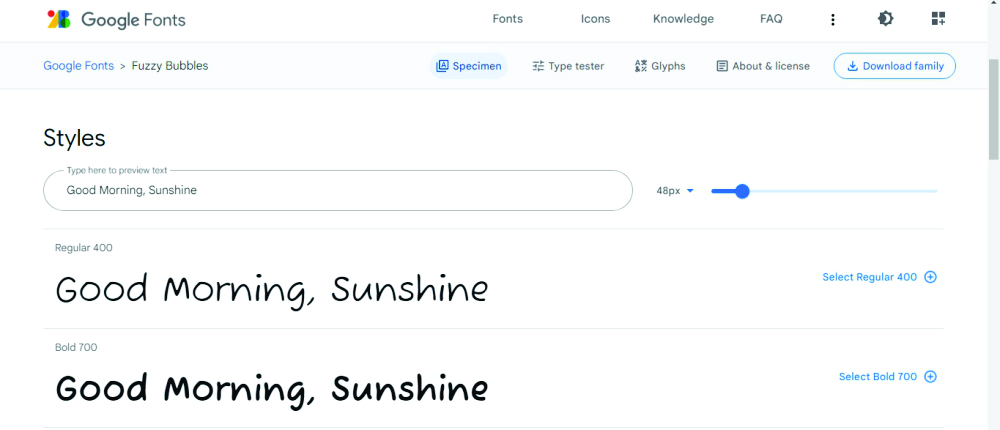 Click on the fonts to find out more about them.
Some fonts have multiple styles (Regular, Bold, Italic…)
All the styles will be accessible when you download the font.
 When you have chosen your font, click download.
You’ll see it downloading in the bottom toolbar.
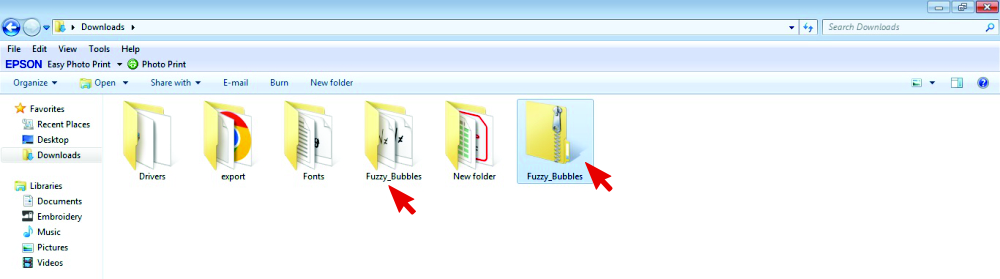
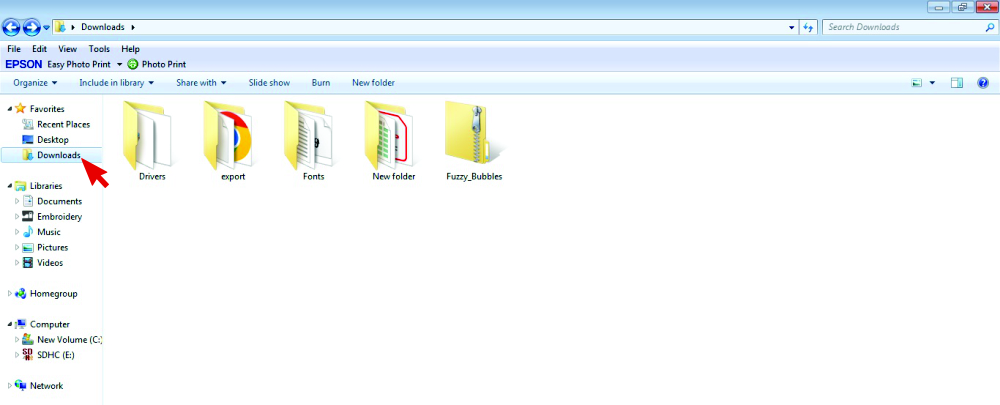 Open the Downloads folder from your desktop.
 You can cut and paste the folder to another folder/location.
I have a folder where I keep all my downloaded fonts, however for this tutorial I left it in the Downloads folder.
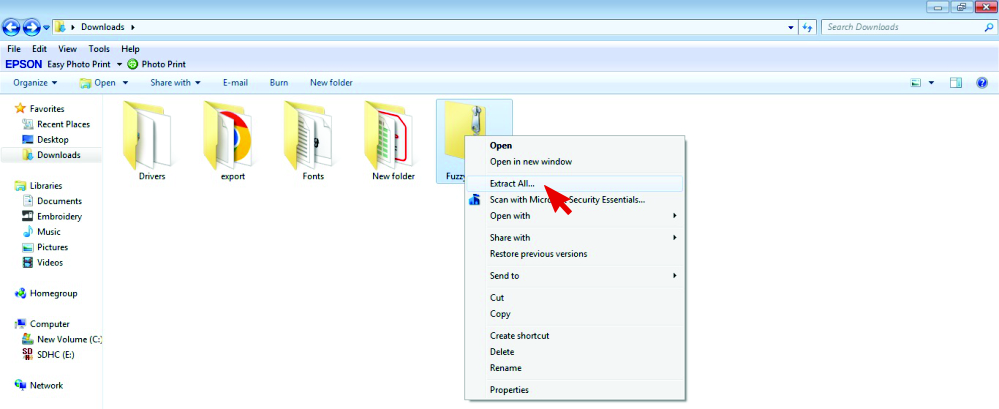
When the folder is in your chosen location, right click on the folder and select Extract All in order to unzip it.
The folder has been “zipped” or compressed to make it a smaller size to download. We need to “extract” it in order to have access to the information in the folder.
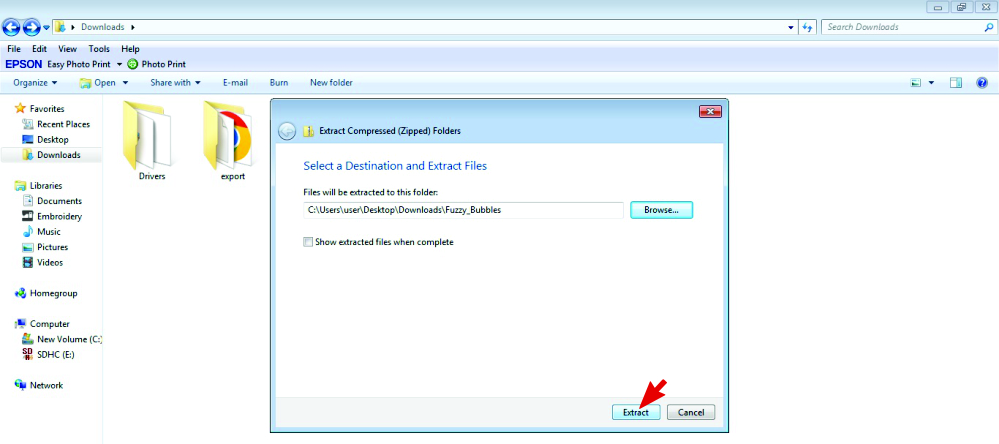 Since the folder is already in the correct location, select Extract.
 Now that the folder has been extracted, you can delete the zipped folder.
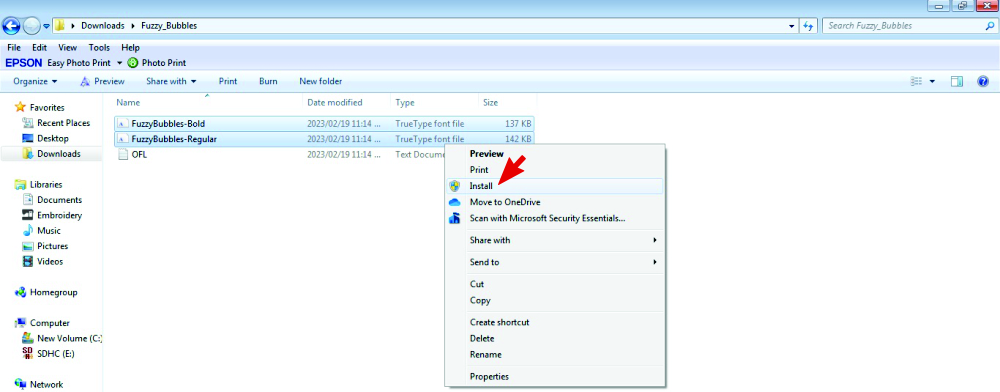 Open the extracted folder.
Select the font (or fonts if multiple styles)
Right click and select Install
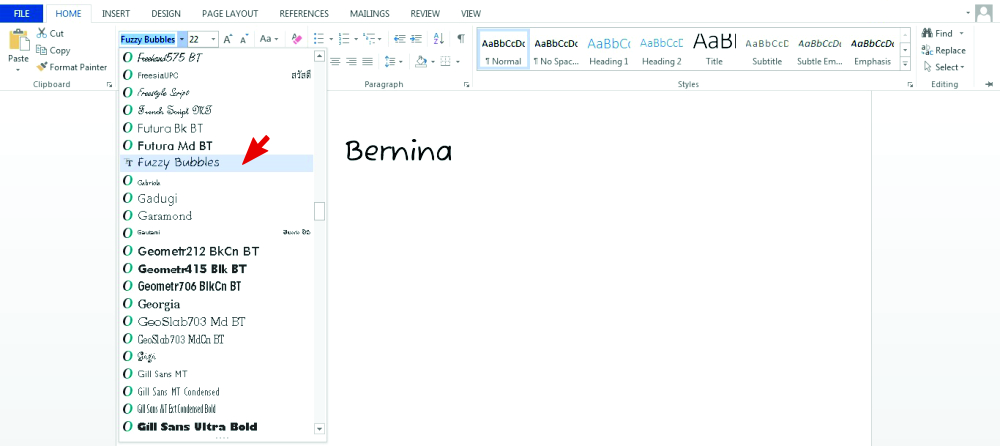 Now when you open your embroidery software (or Corel Draw and even a Microsoft document) the font will be available to use from the font menu.
Create the embroidered wording
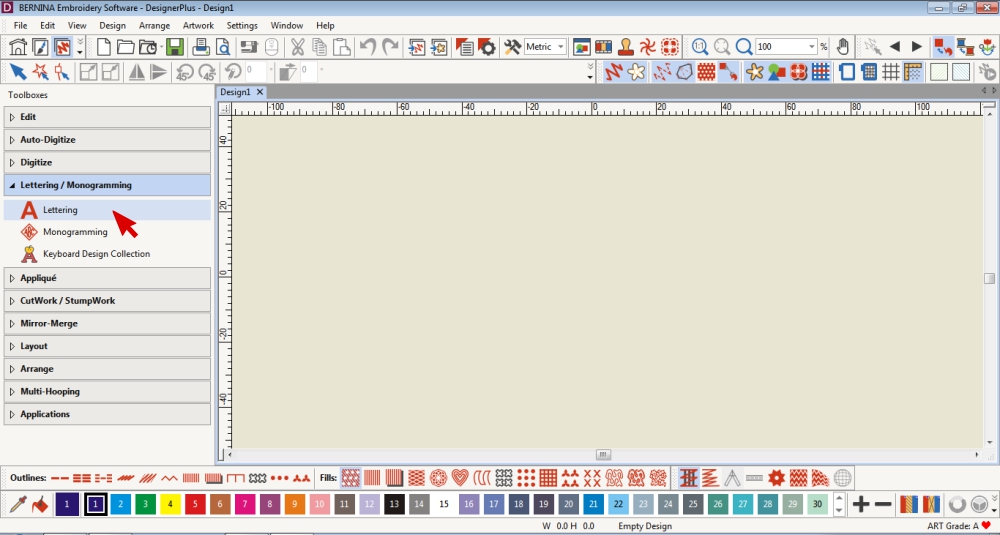 In the Lettering/Monogramming Toolbox, select the Lettering Tool.
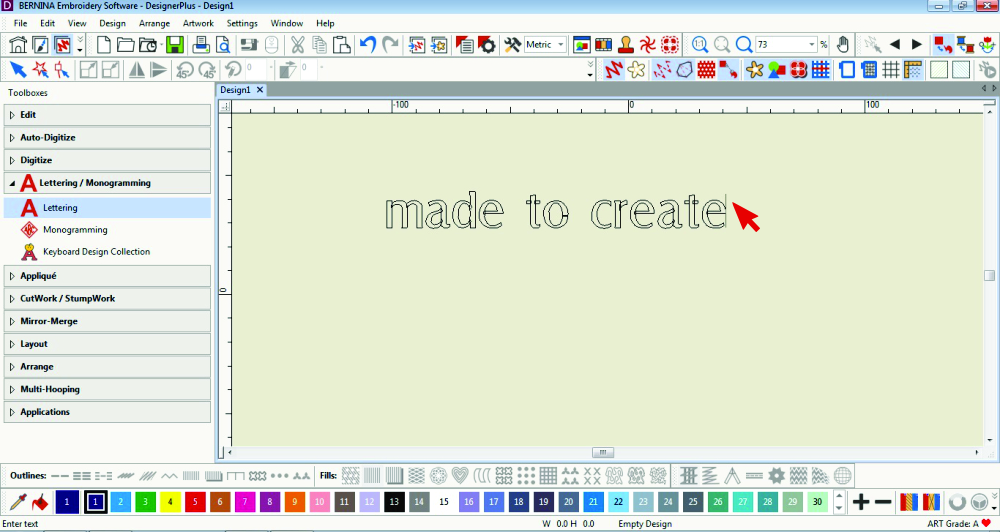 Click in the canvas area and type your wording.
 Press Enter on your keyboard when the wording is complete.
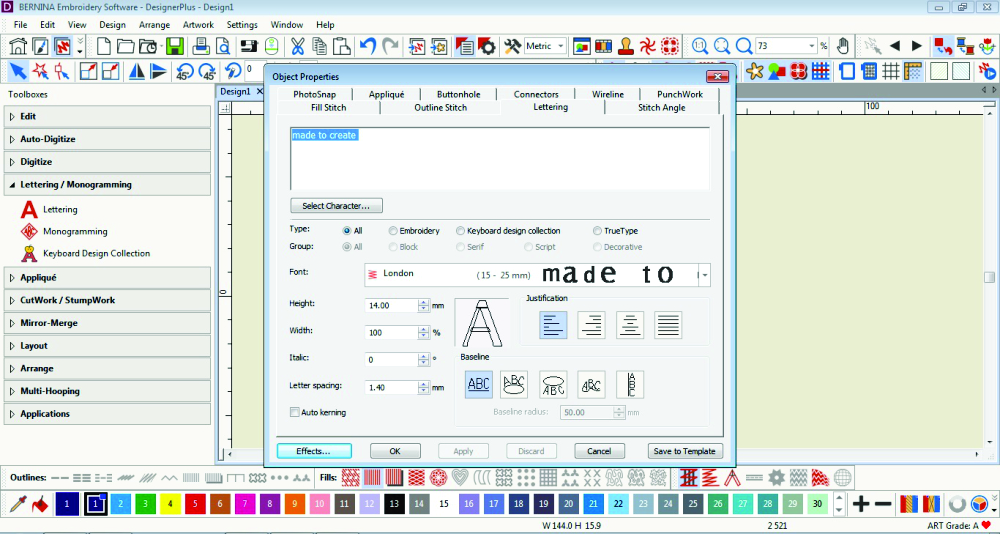 Select and double click on the wording to open the Object Properties.
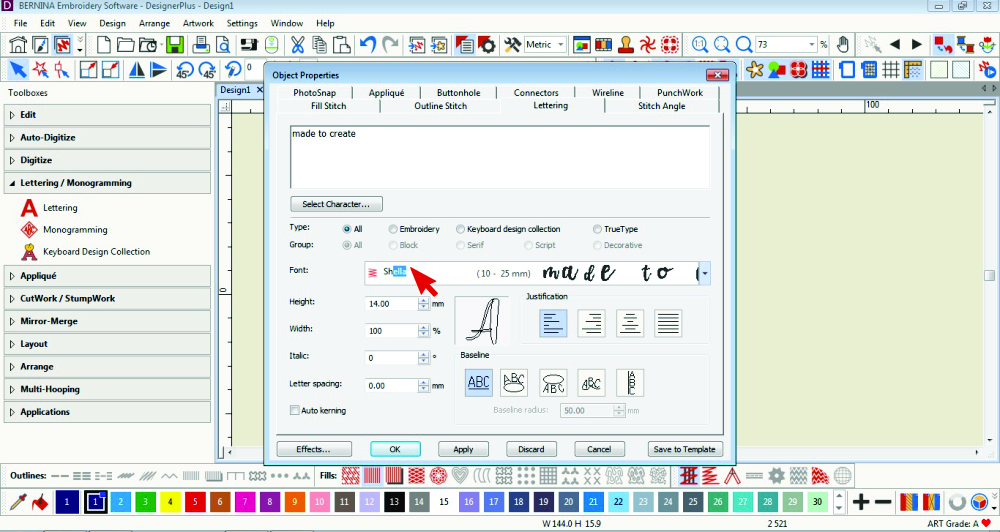 Type in the name of the font you want and click OK.
 Adjust the size if necessary.
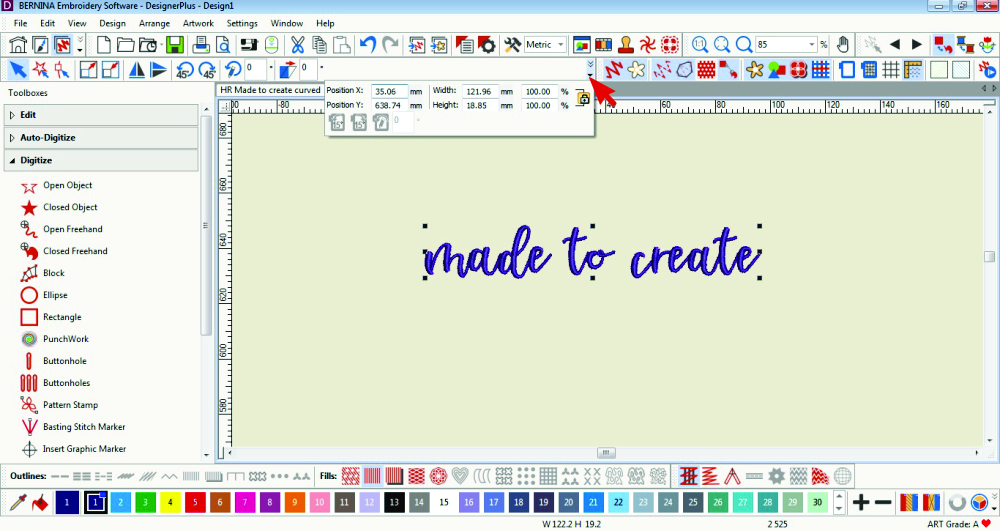
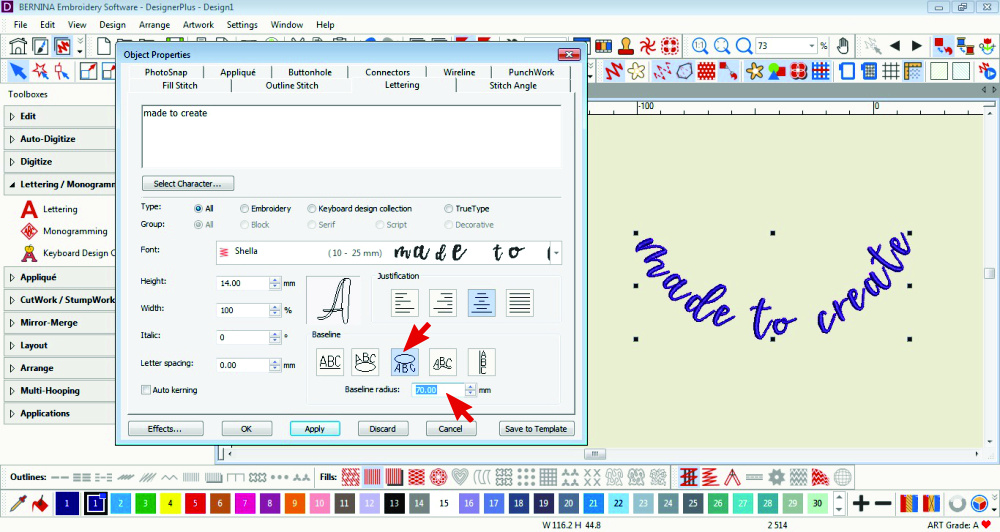 You can curve the wording too.
Choose one of the curve styles and change the curve amount.
A smaller number will create a tighter curve, closer to a circle.
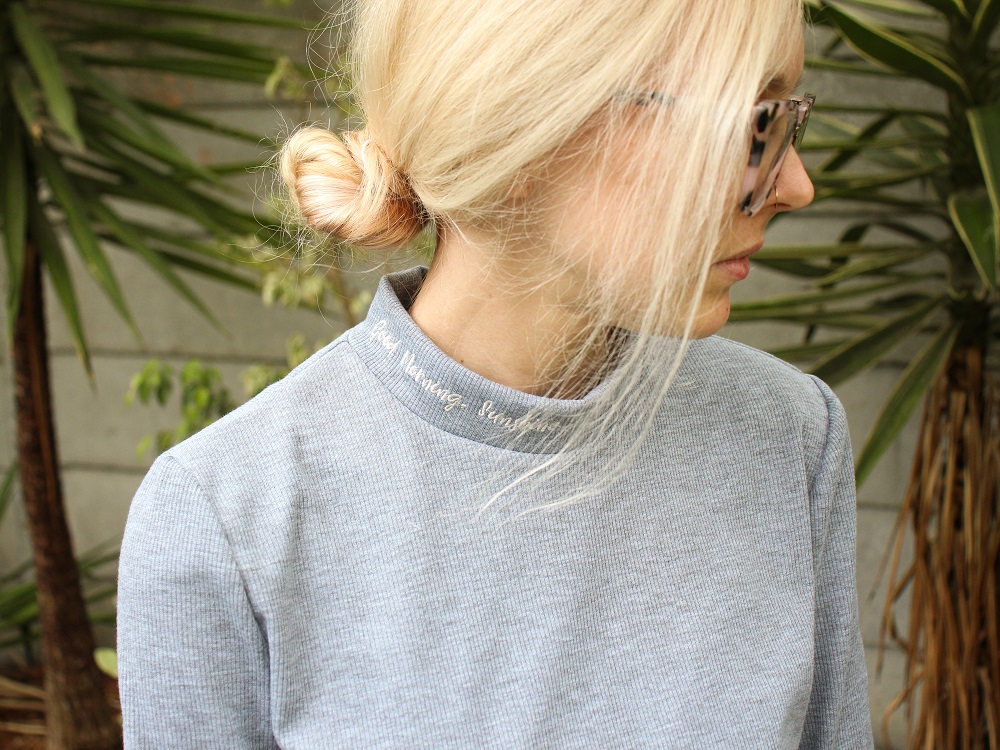
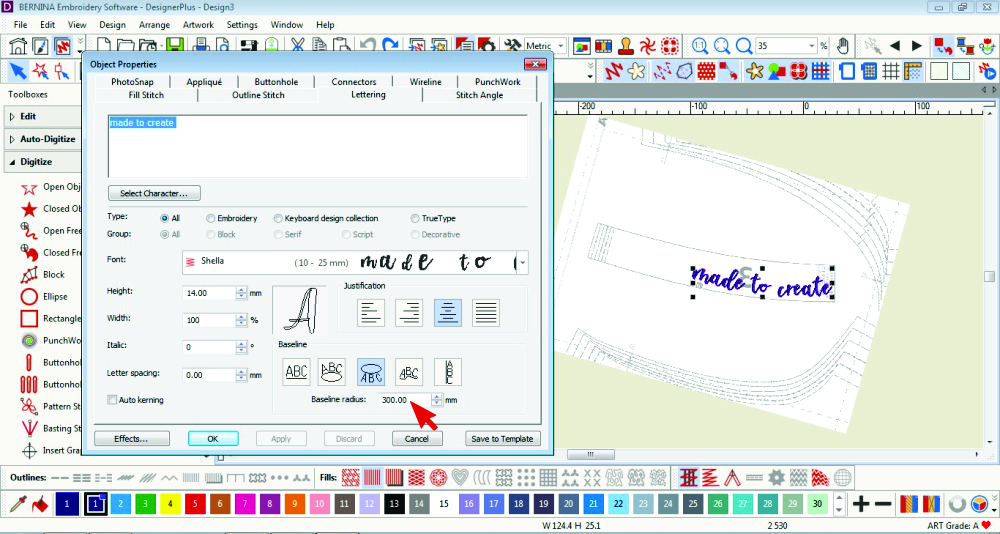 The Neckband of the Vio Top is curved so I curved the wording to match it.
I imported the pattern piece to use as a template. See Tips for how to import a template.
Using the Circle CCW and a curve of 300, I was able to create a similar shaped curve.
Finishing Touches
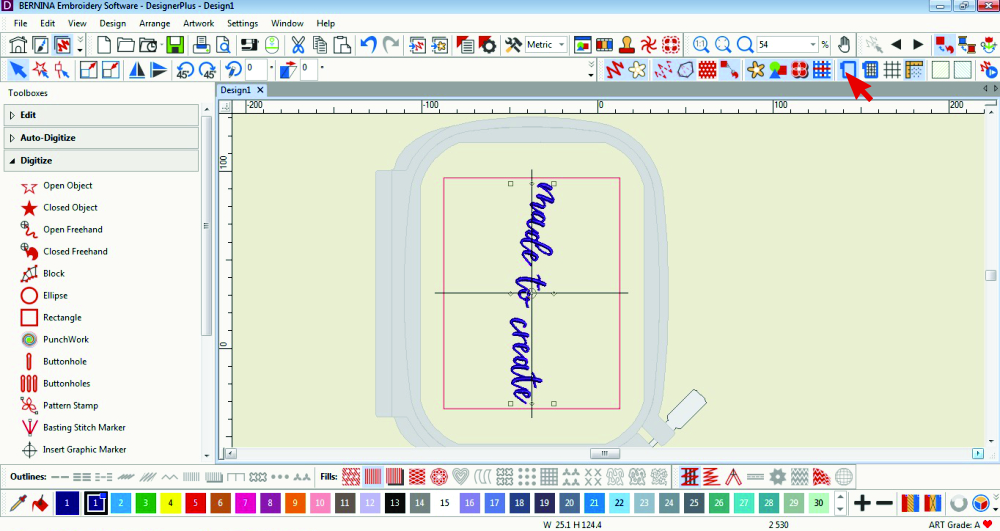 Select the Hoop and rotate the design.
You can right click on the Hoop icon to choose a different hoop size.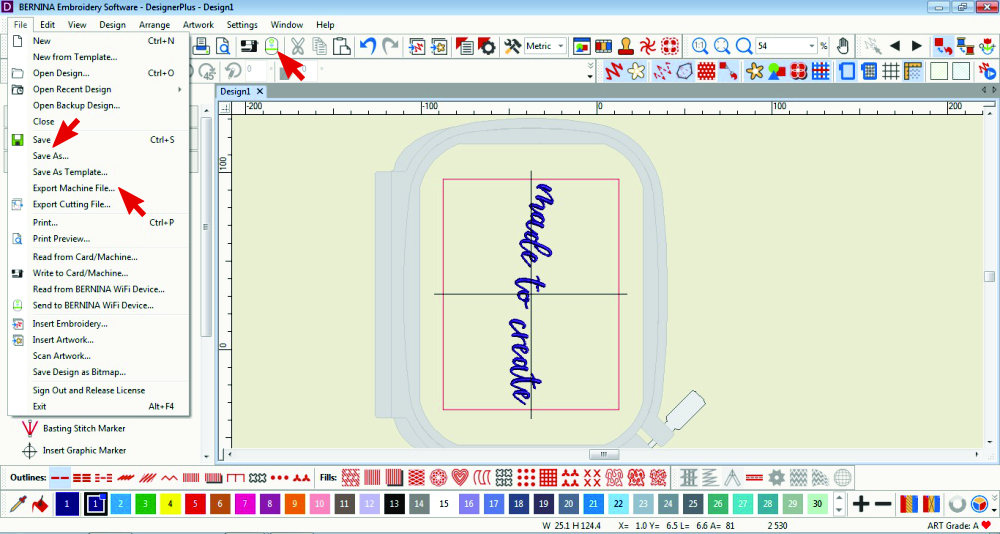 Save, export or send each completed design to your Bernina machine via the WiFi Device.
Embroider
Refer to my previous blog post to see how I embroidered my Vio Top.
Sew Along for the Vio Shirt (free pattern in March)


Tips
- Steps to scan and import a physical document/pattern are available in the blog post Custom embroidery designs for an underbust corset under the heading: How to import a physical sewing pattern in to Bernina Embroidery Software 9
- Steps on how to import a digital .pdf document/pattern are available in the blog post Custom embroidered tulle for lingerie under the heading: How to open a pdf template in Bernina Embroidery Software 9
I would love to see what you make, please feel free to share with me!
Instagram
Facebook
-Hannah-Rose


Super cute idea. I love working with fonts, but I must say I’m disappointed in Bernina Designer Plus V8/V9 in how small the table is to view fonts. Doesn’t make sense when you can view so many more fonts via MicroSoft Word/powerpoint, PhotoShop, Illustrator, NexusFont, and so many other programs. Certainly not fair to those who enjoy digitizing with TT fonts and collect more than “average” number of fonts.