 BERNINA Corporate Blog -
We are now in part 7 of the “Learning to Sew for Beginners” blog series. Do you already have an embroidery machine? Or are you toying with the idea of buying one? An embroidery machine or a sewing machine with an embroidery function is indeed something special! Embroidery gives your sewing projects even more individuality. With embroidery, you can also make products you have bought unique.
Embroidery for beginners
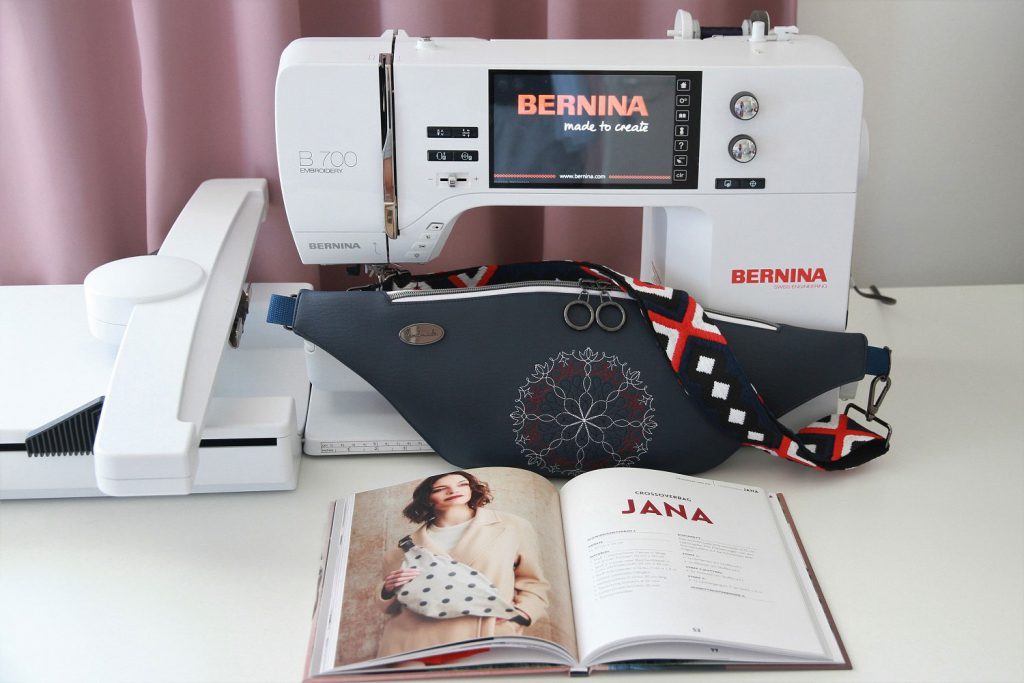
I have had my beloved BERNINA 700 for 3 years and I would never part with it! My favorite thing is embroidering my bags and backpacks, and I would like to share my experience with you. And you have something to look forward to: below in the post, you will find a great embroidery freebie!
What do you need for embroidery?
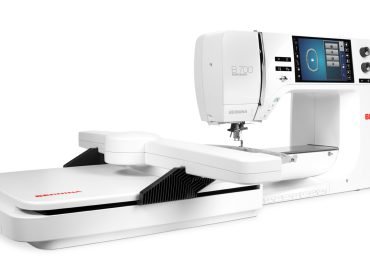
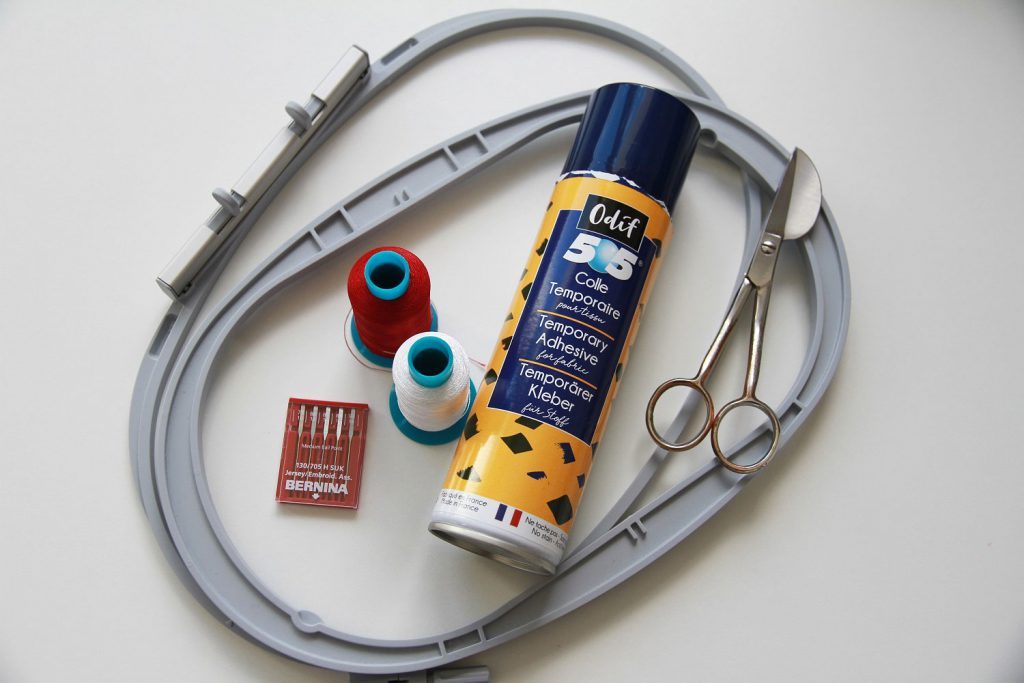
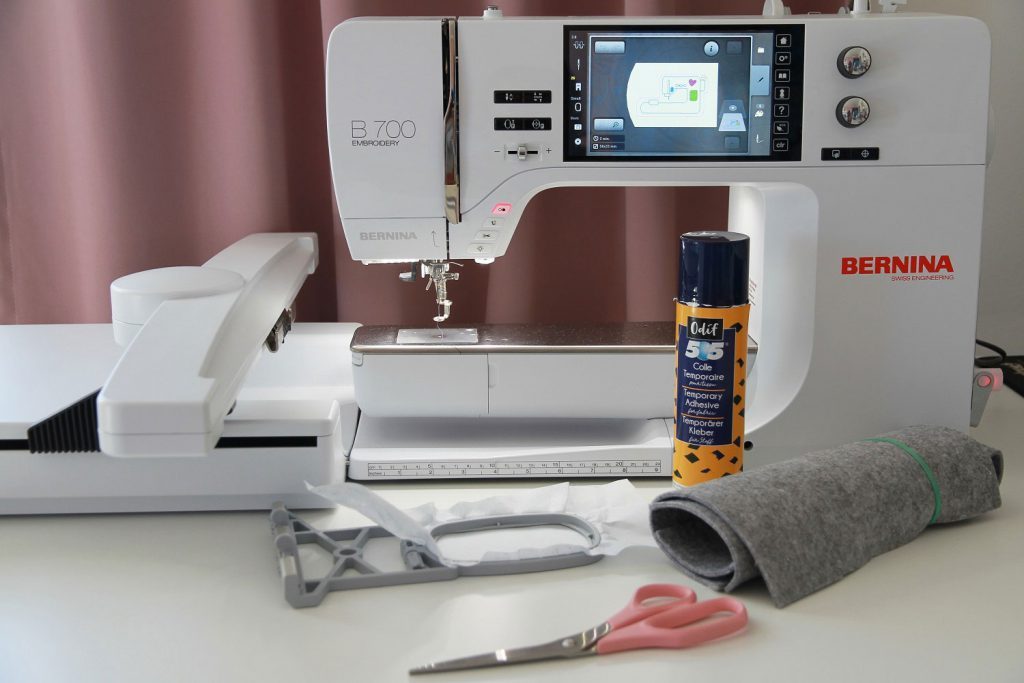
- Embroidery machine or a sewing machine with an embroidery module
- Embroidery hoops
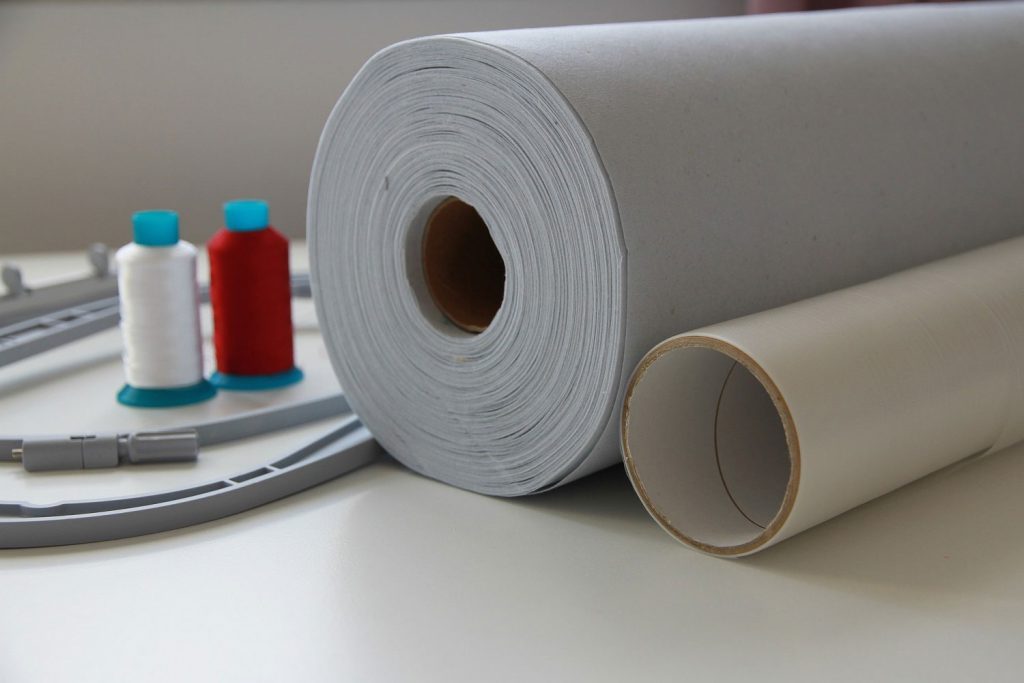
- Stabilizers
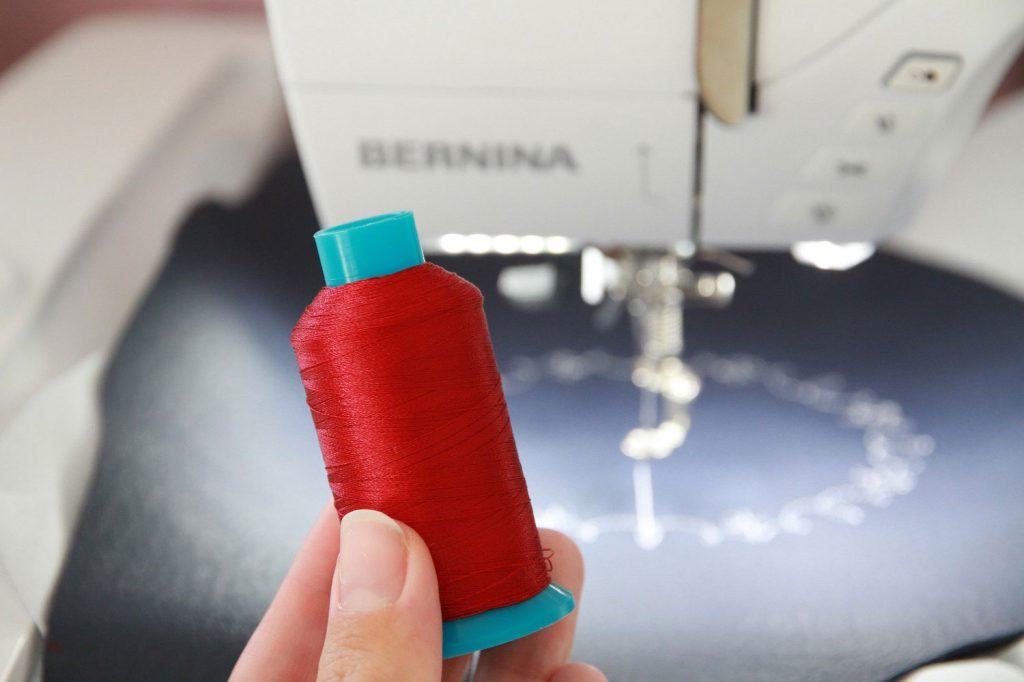
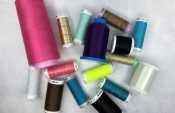
- Embroidery thread (upper thread and bobbin)
- Embroidery needle
- Scissors
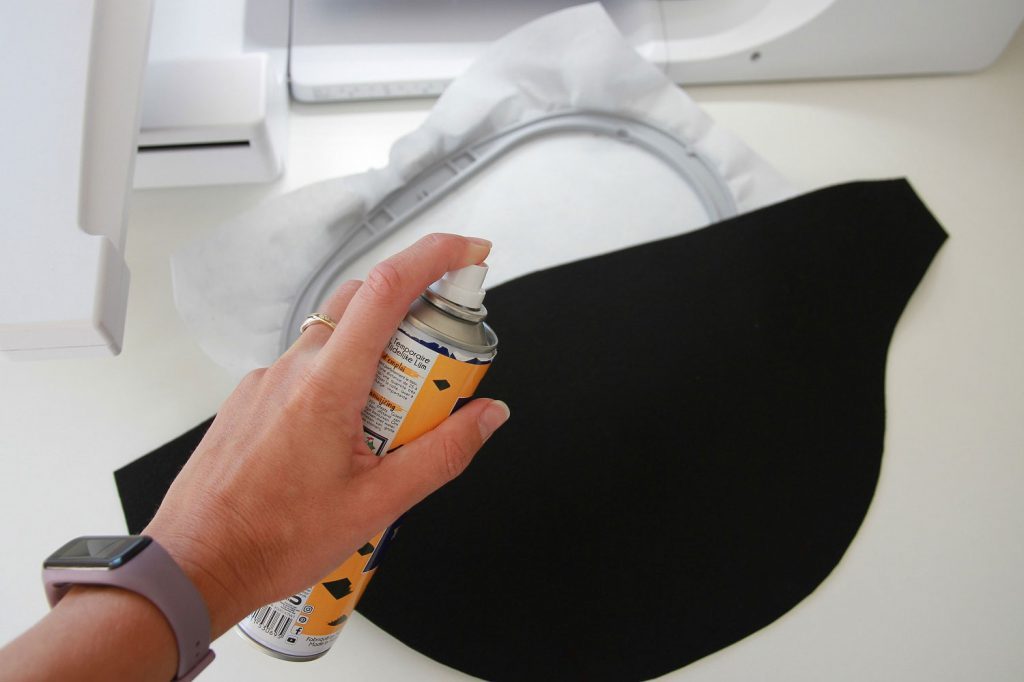
- Spray adhesive
- Optional Avalon
Stabilizers
Depending on which fabric you want to embroider, you must use a specific stabilizer. Because I am only embroidering non-elastic fabrics, I am using tear-away embroidery stabilizer.
Embroidery files
When purchasing embroidery files, always pay attention to the format and size of the file. For BERNINA, you will need the EXP Format.
You are in very good hands with OESD. This company is a subsidiary of BERNINA. You can find OESD embroidery designs at:
You must have a suitable hoop for the desired size of the embroidery. There are some embroidery hoops on the machine. You can find many more here:
Essentially, there are three types of embroidery files: full stitch embroidery, appliqué and ITH.
Full stitch embroidery
In the full stitch embroidery files, the entire design is embroidered entirely with the embroidery thread.
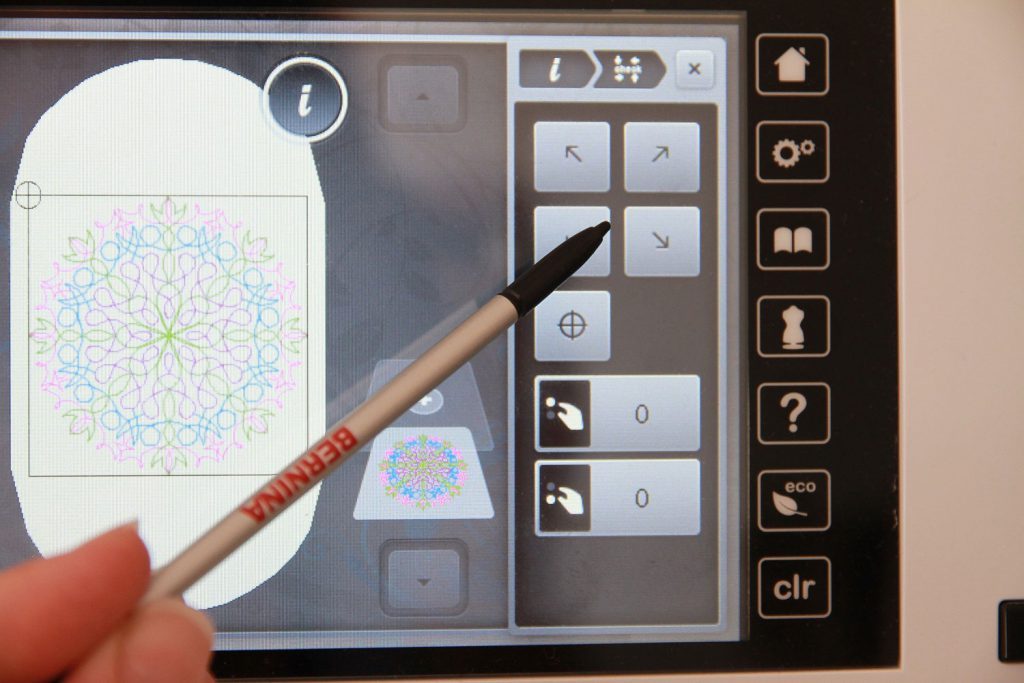
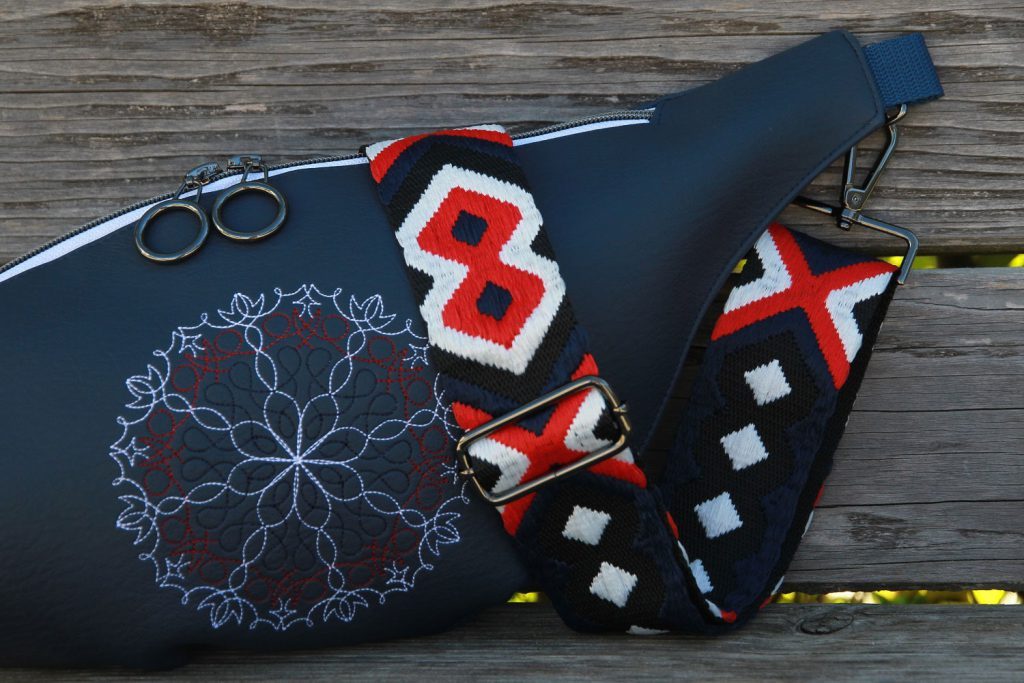
Free “Mandala” embroidery file from Muckiju
Exclusively for the readers of the BERNINA blog, Yvonne from Muckiju – under this label she offers faux leather labels, embroidery files, plotting files & gifts – has created a beautiful mandala embroidery design. Feel free to stop by her site and download the embroidery file for free: Download Muckiju design (in German)
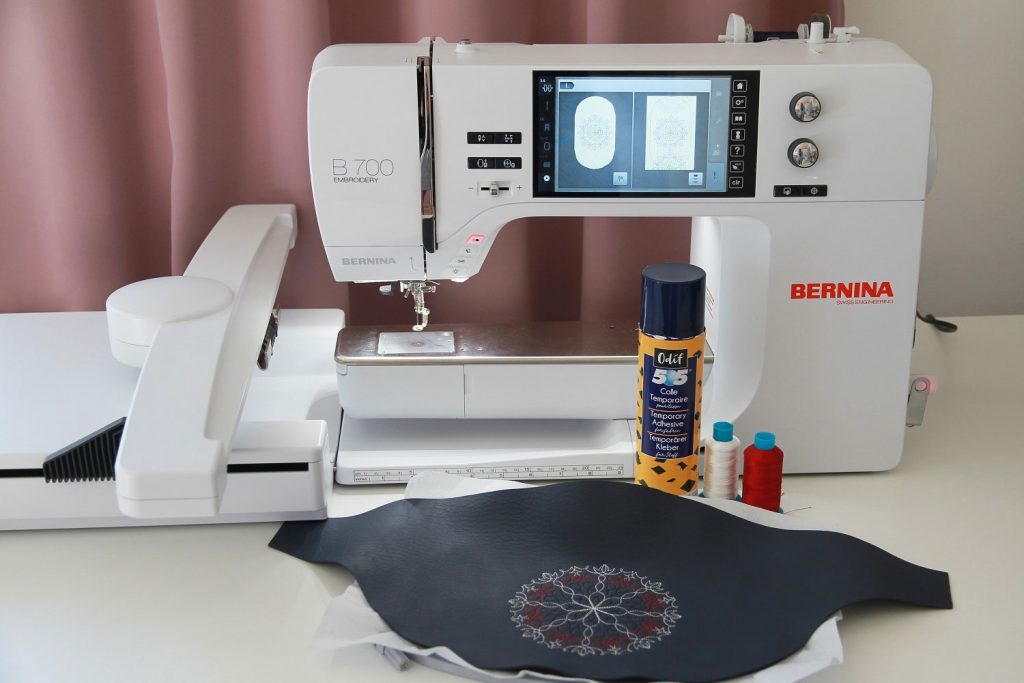
For my bag, I am using synthetic leather, it is wonderful to embroider. Never tighten the artificial leather in the embroidery hoop! This results in unattractive impressions. The stabilizer must be tightly tensioned in the drum.
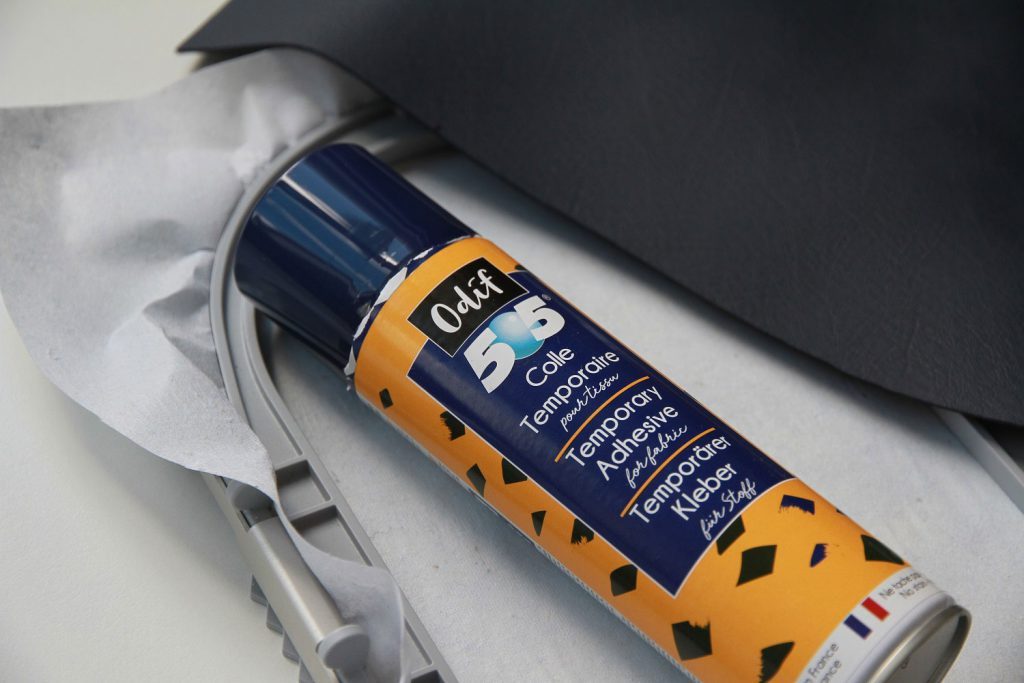
Attach the fabric onto the stabilizer with a spray adhesive.
Before you start embroidering, it is best to check whether the embroidery design is in the desired area. To do this, press the CHECK button on your embroidery machine.
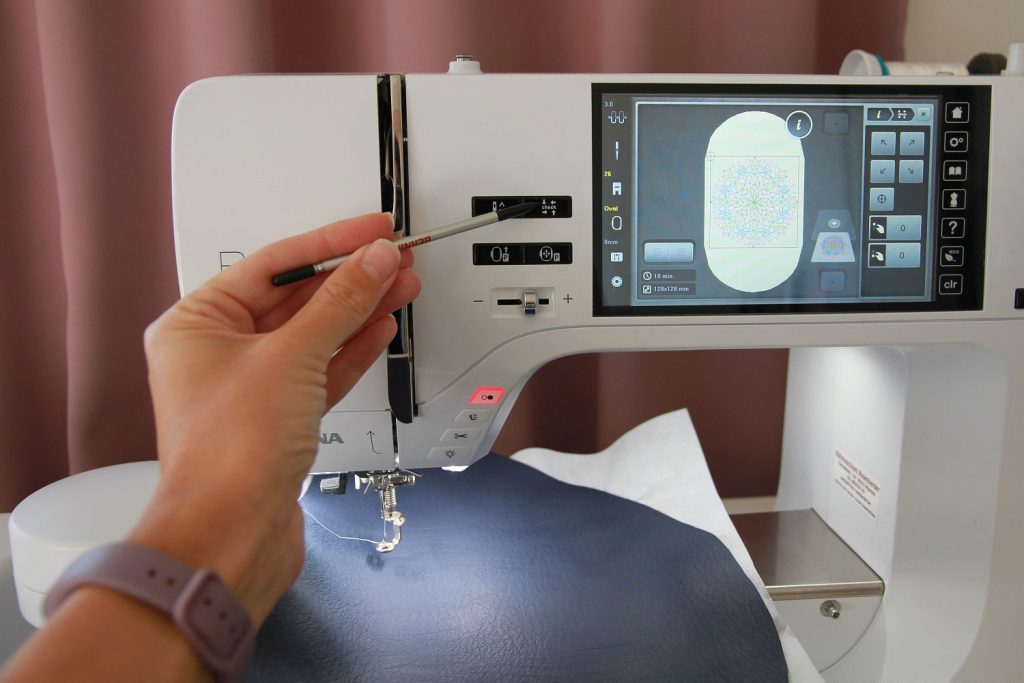
By pressing the 4 arrows, the hoop moves and shows the area to be embroidered.
After the first sequence has been embroidered, the embroidery machine stops. Now you can change the thread color or simply continue embroidering if you want the Mandala to be solid.
Please make sure that the embroidery machine does not “rush”. If the speed regulator is set in the middle, the entire embroidery image becomes much nicer and the individual stitches are cleaner.
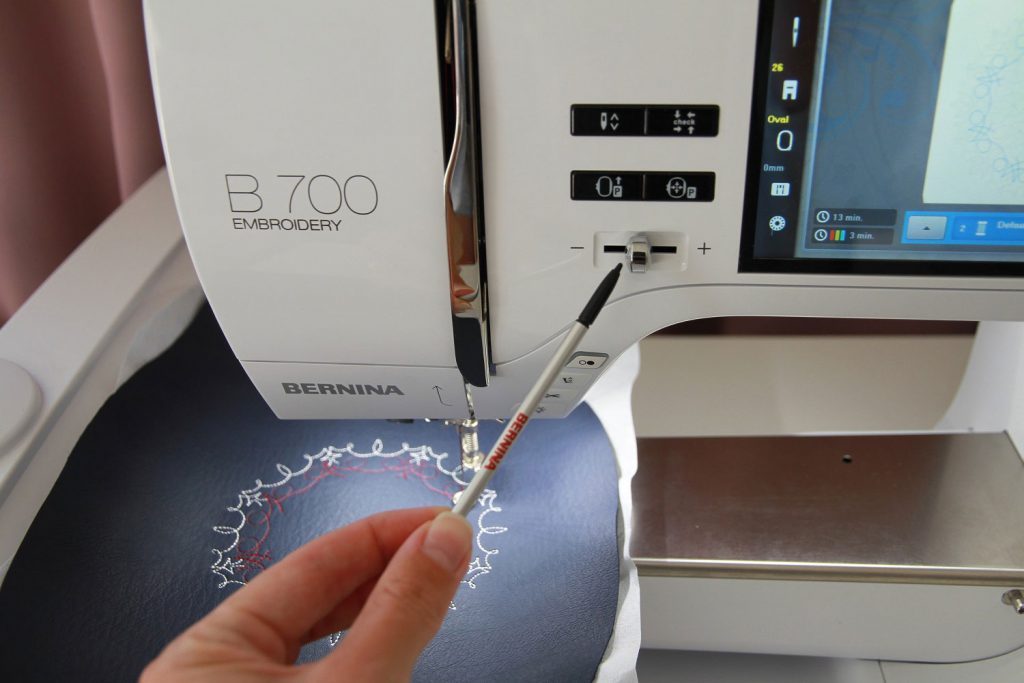
Finally, the connecting thread is cut off with the scissors if the automatic thread cutter has been displayed.
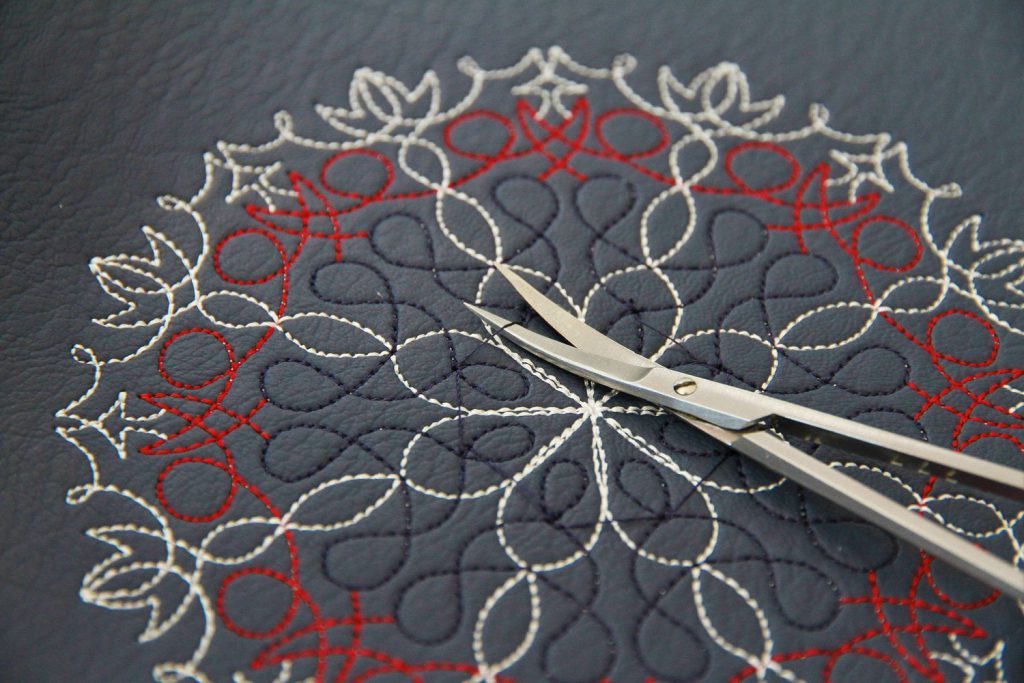
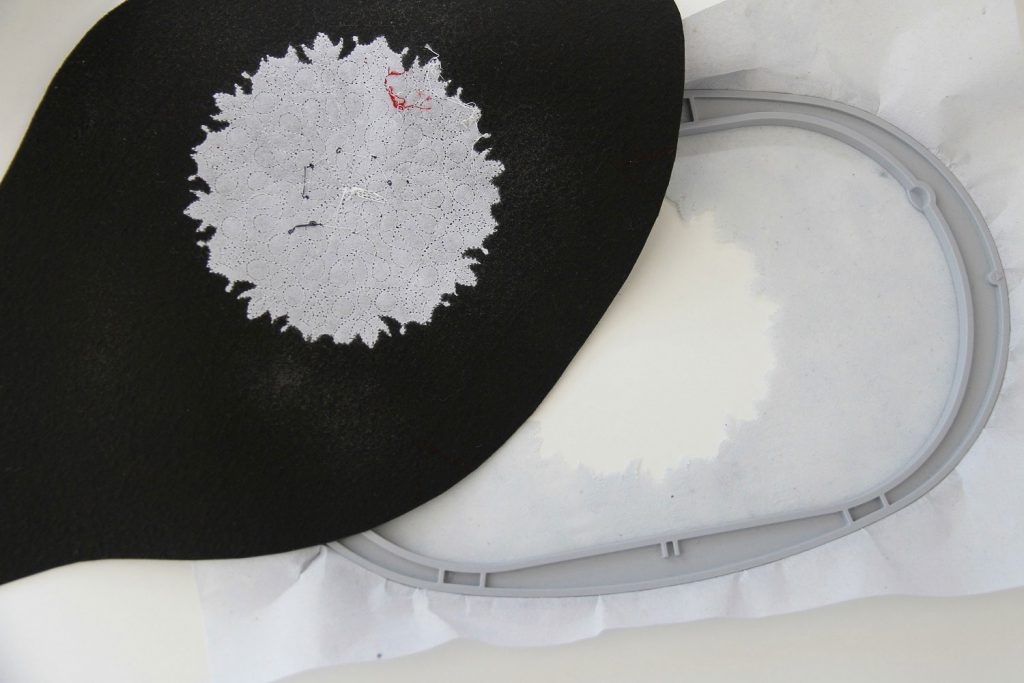
Now the embroidery on the front section of my bag is finished.
Now carefully tear off the stabilizer.
After a while on the sewing machine, my crossbody bag is finished!
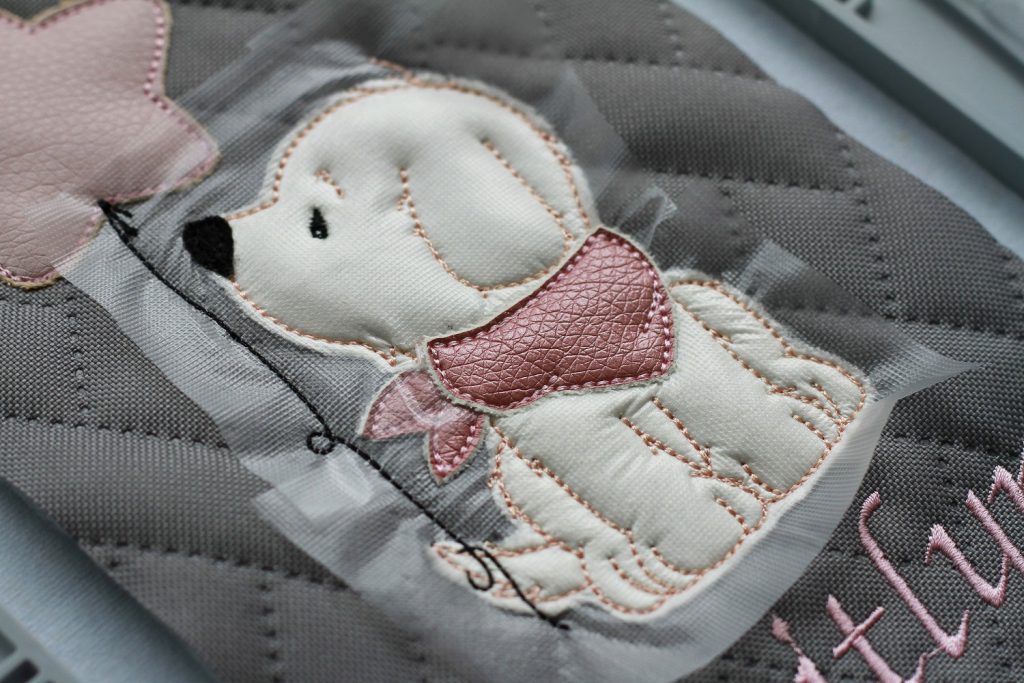
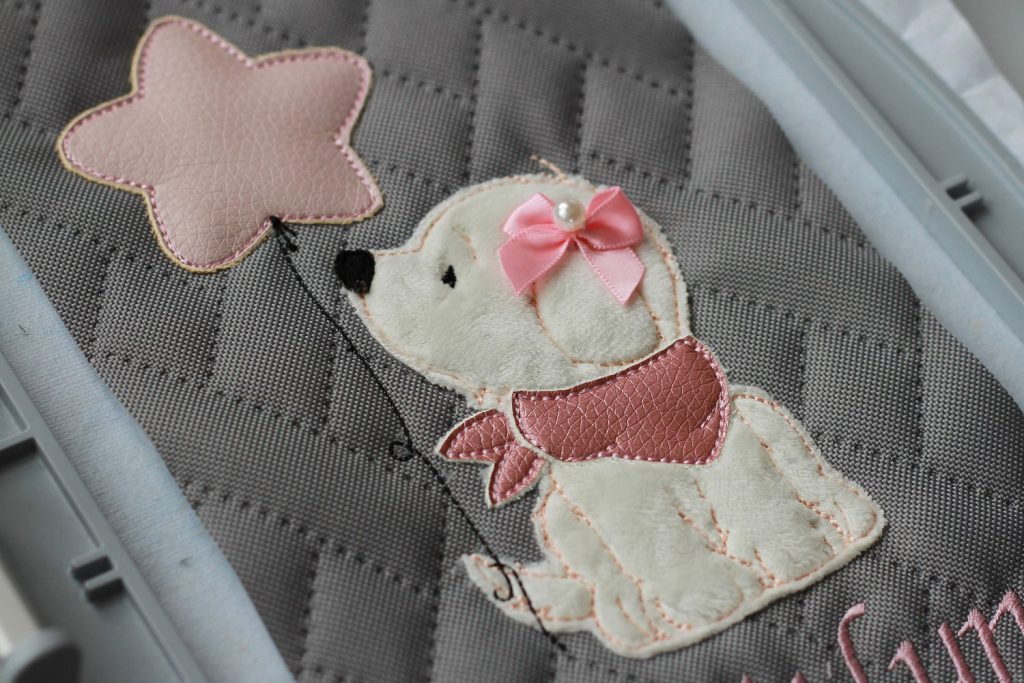
Appliqué
I prefer to use appliqués for sewing projects for children, such as on backpacks, gym bags or handlebar bags. For this, the pieces of fabric are placed one after the other and embroidered on with the machine.
I like to use the plush for the animal appliqués. When embroidering long-pile fabrics, such as plush or Nicky fabrics, corduroy or terry, I recommend that you always use Avalon. Avalon is a water-soluble film that is placed onto the fabric when embroidering.
The embroidery machine embroiders onto the film, thus preventing the embroidery from “sinking into the fabric”.
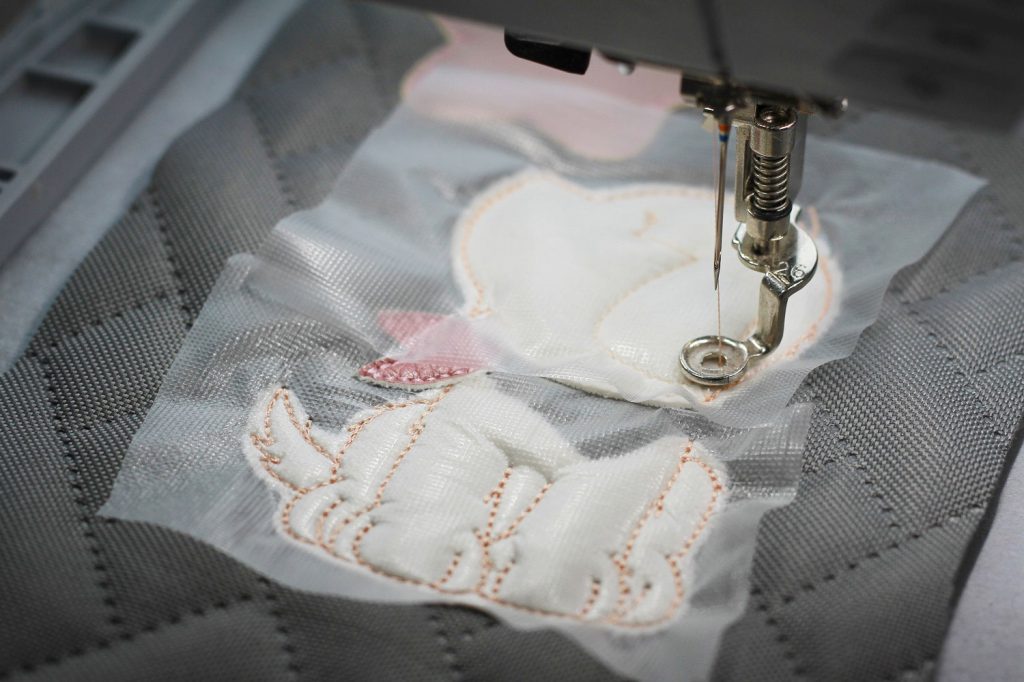
In addition, Avalon prevents the fabric fibers from lying in different directions, resulting in a uniform embroidery pattern.
Finally, the film is carefully torn off.
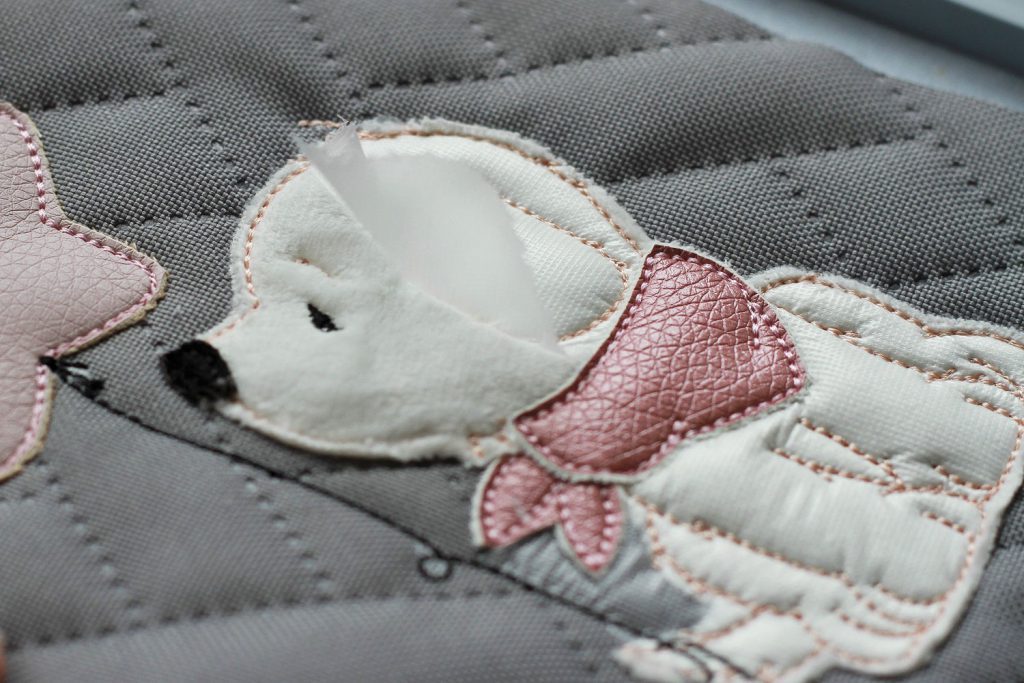
You can simply rinse the remnants with water, because the film is soluble in water.
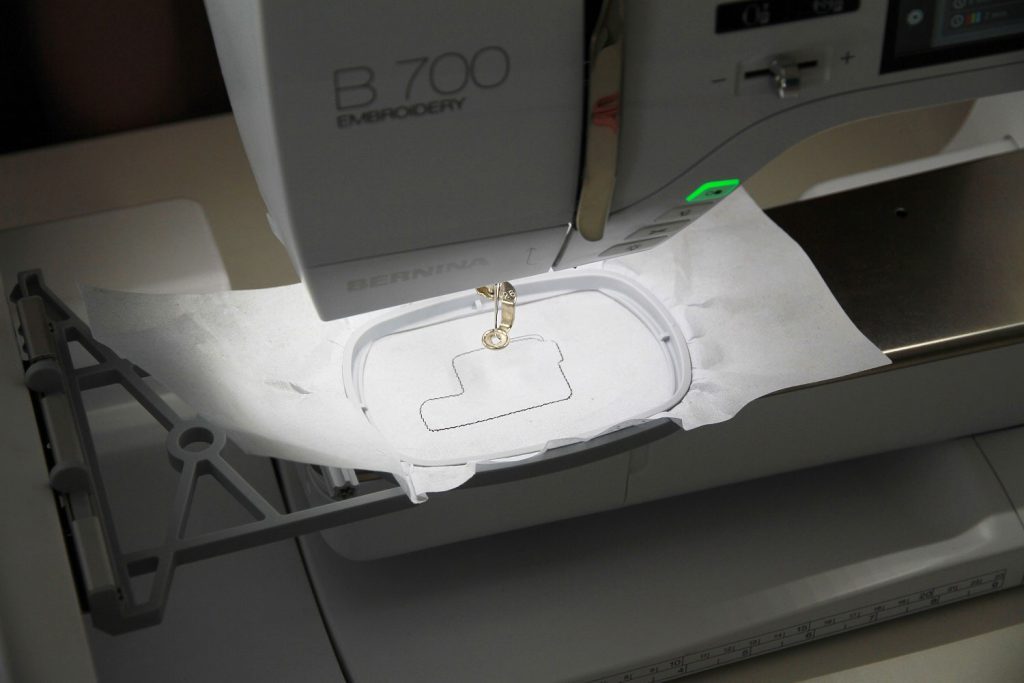
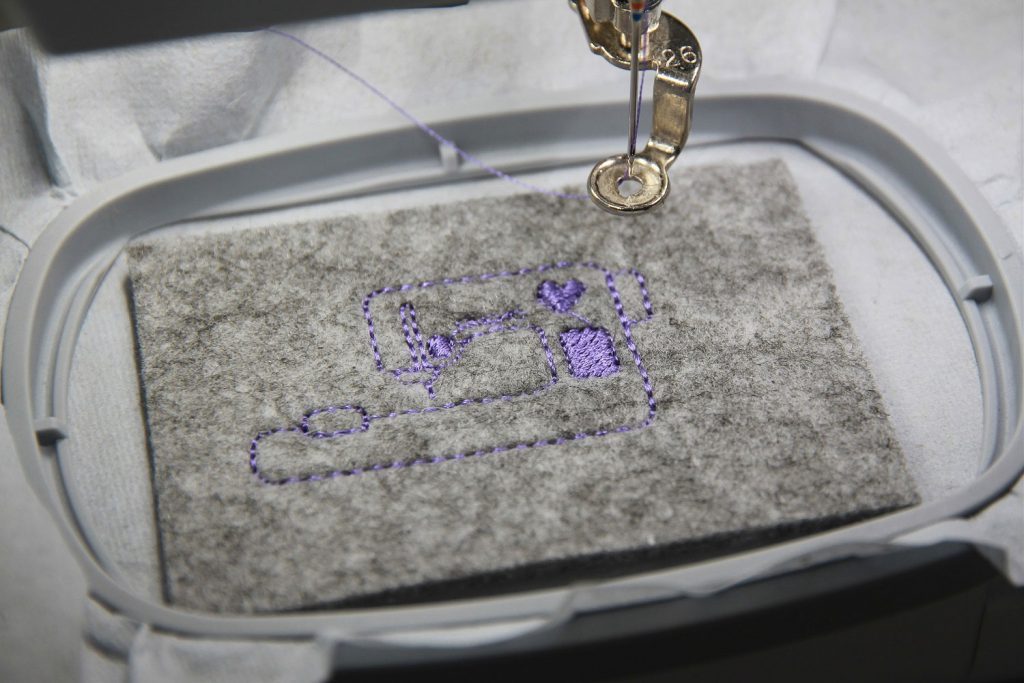
ITH embroidery
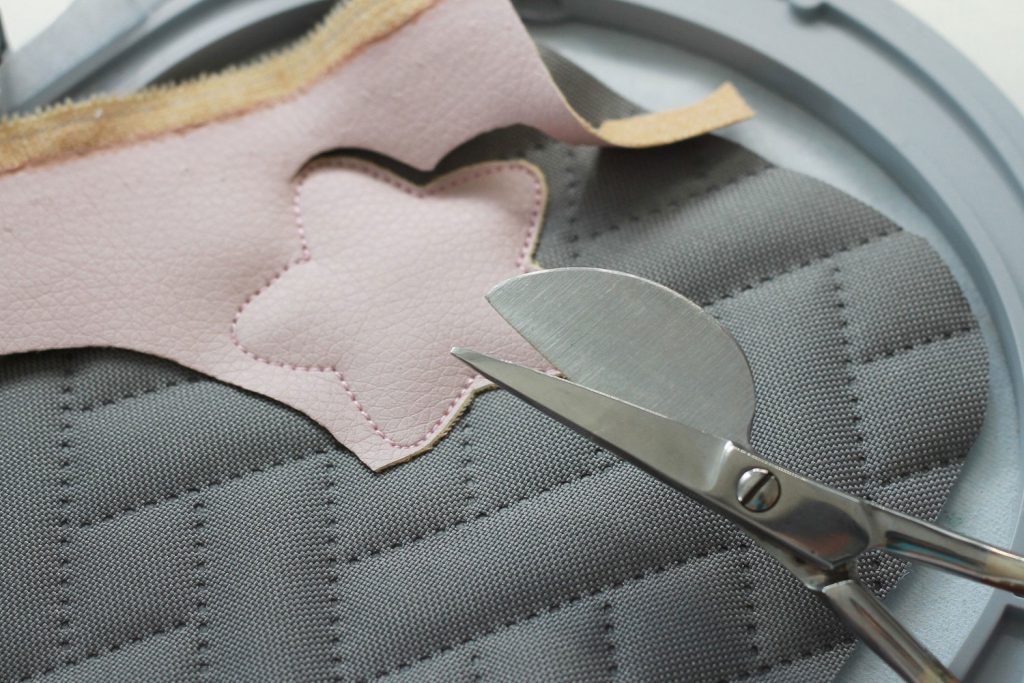
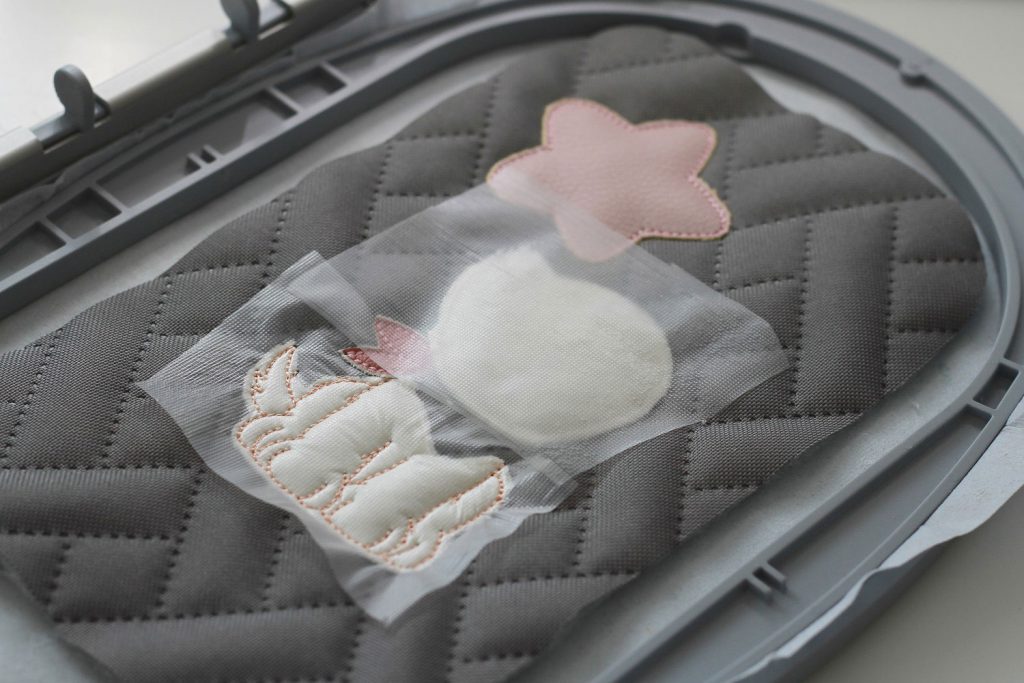
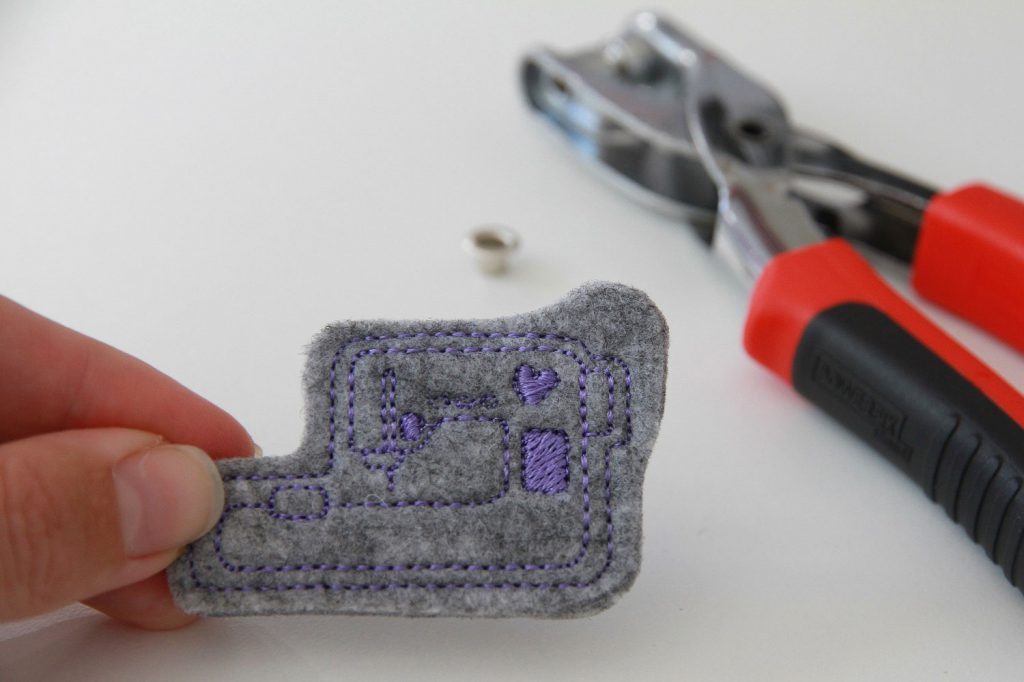
ITH (in the hoop) embroidery files are sewing projects that are made in the embroidery hoop, which means that you do not need a sewing machine. These can be either small projects, such as key fobs, bookmarks, coasters, vaccine pass cases, or parts of large projects (stuffed animals).
I will show you how to embroider a small pendant. For this I use a free embroidery file from Sticktier:
Free Embroidery File (in German)
First, the outlines are embroidered on the stabilizer.
Then you place a piece of fabric on top. I have chosen felt. It is preferable to use fabric that does not fray (artificial leather, cork, vinyl or felt).
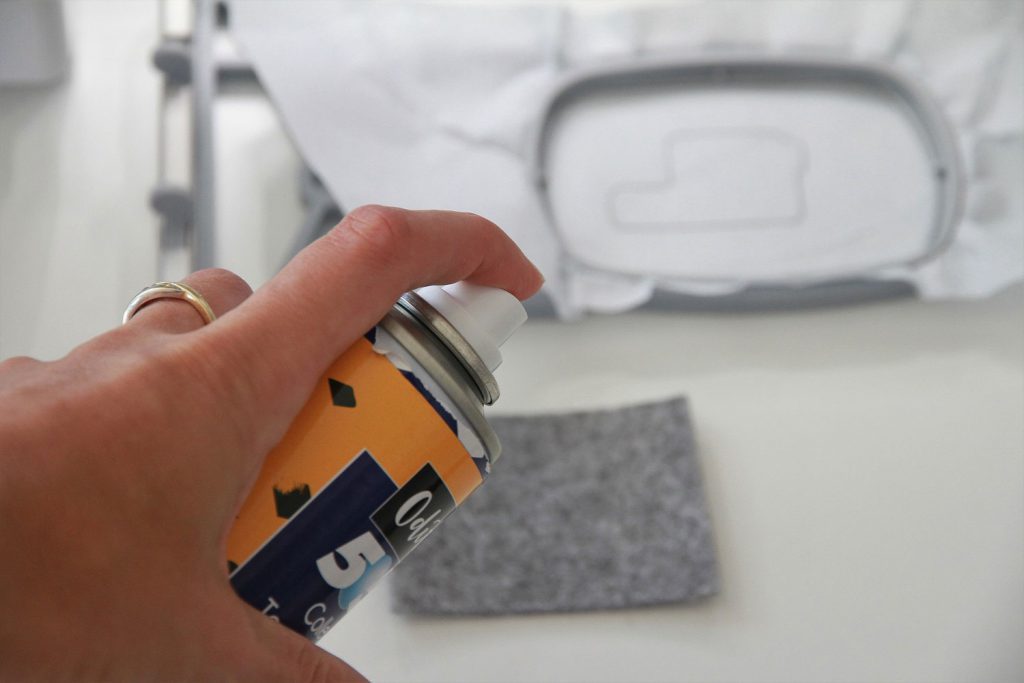
Attach the fabric with the spray adhesive so that it does not slip when embroidering.
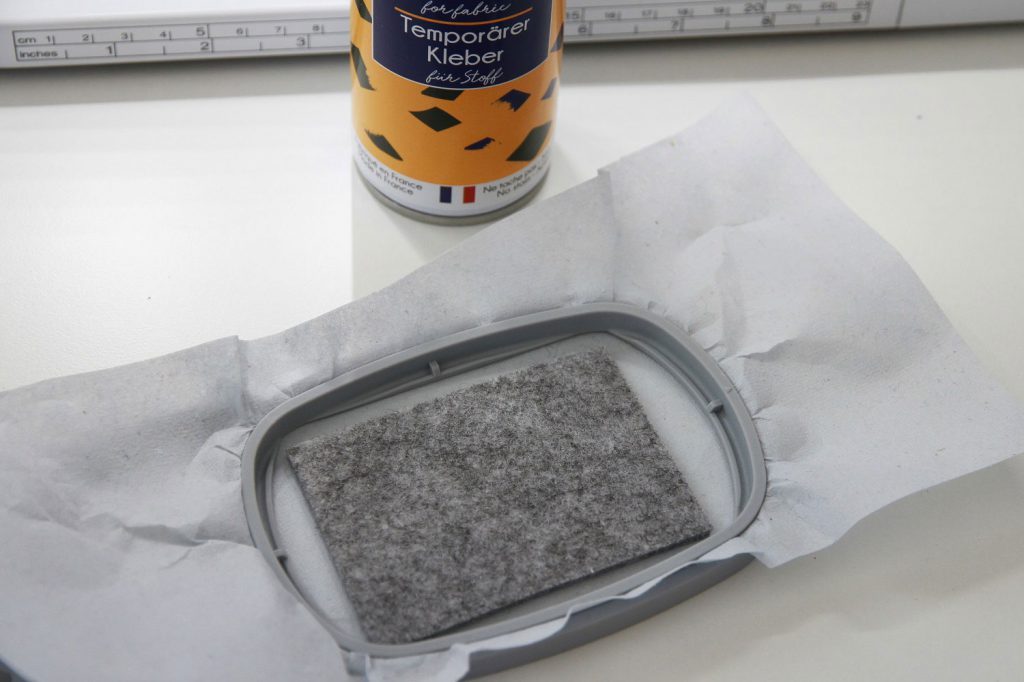
Embroider further steps as normal.
Finally, the back of the pendant is embroidered. To do this, cut another piece of fabric.
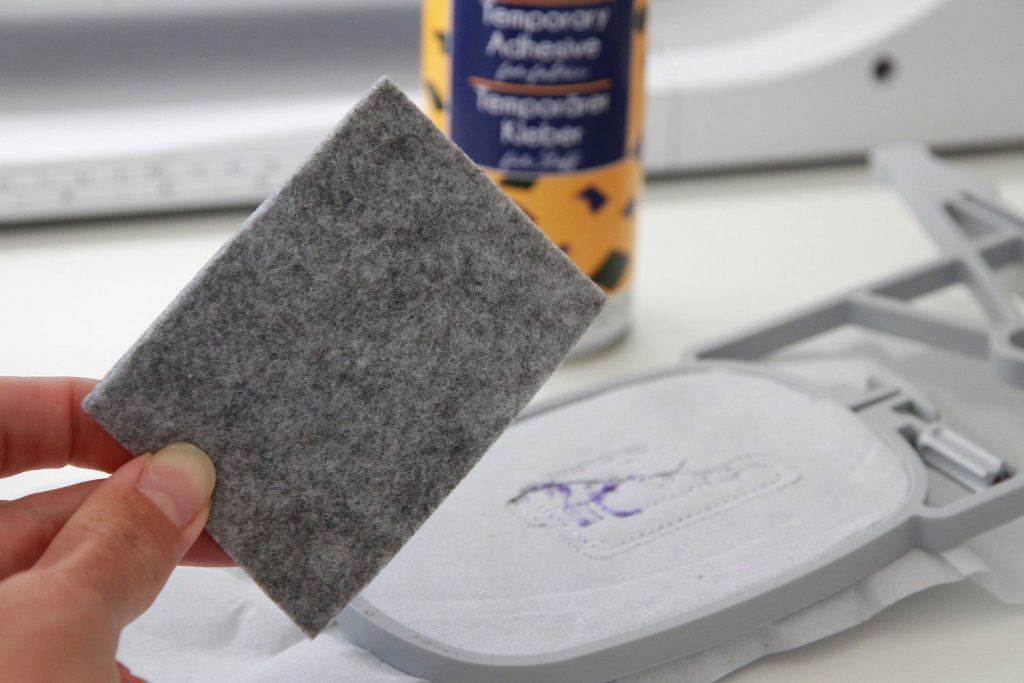
Attach it to the back of the stabilizer.
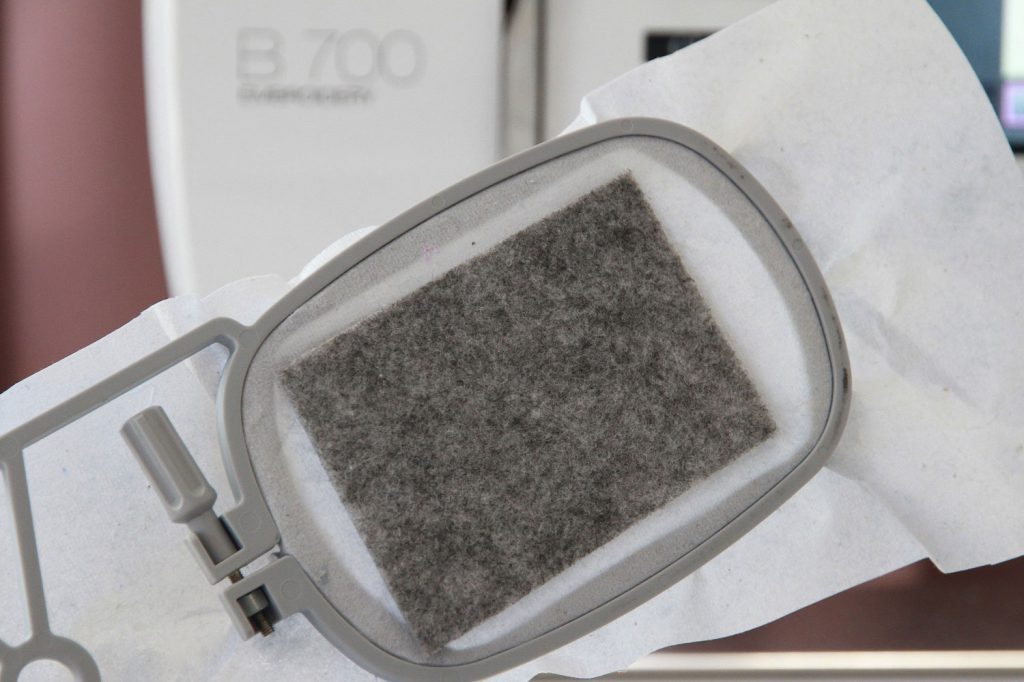
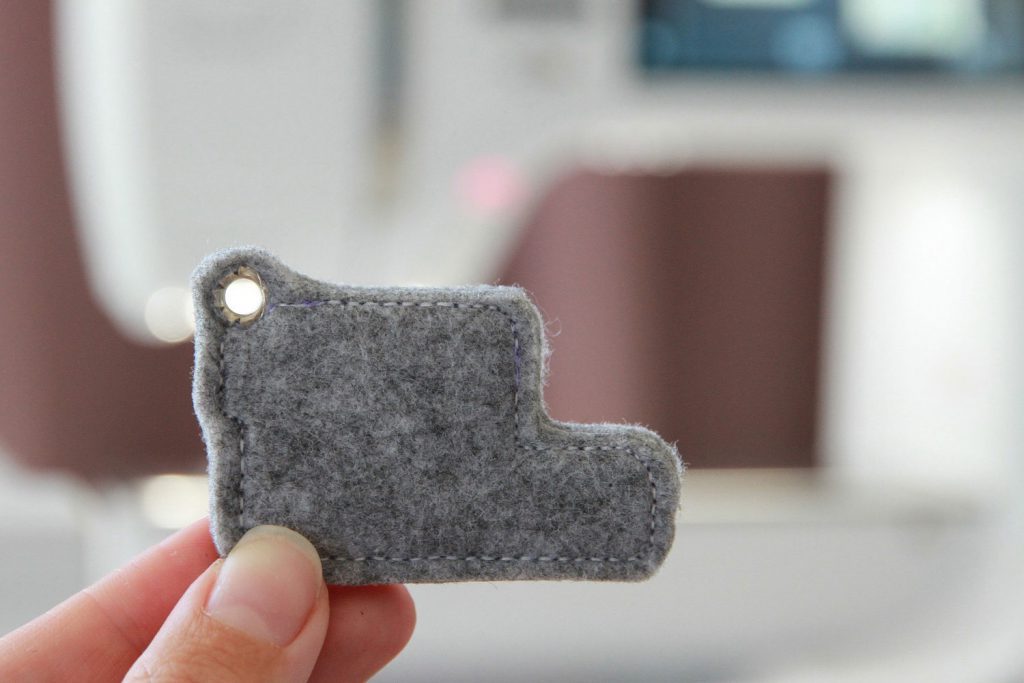
The final step connects both pieces of fabric together. The bobbin thread will be visible on the back, so pay attention when selecting its color. I left the white bobbin thread. Then take everything out of the embroidery hoop, carefully tear off the stabilizer and cut out the pendant.
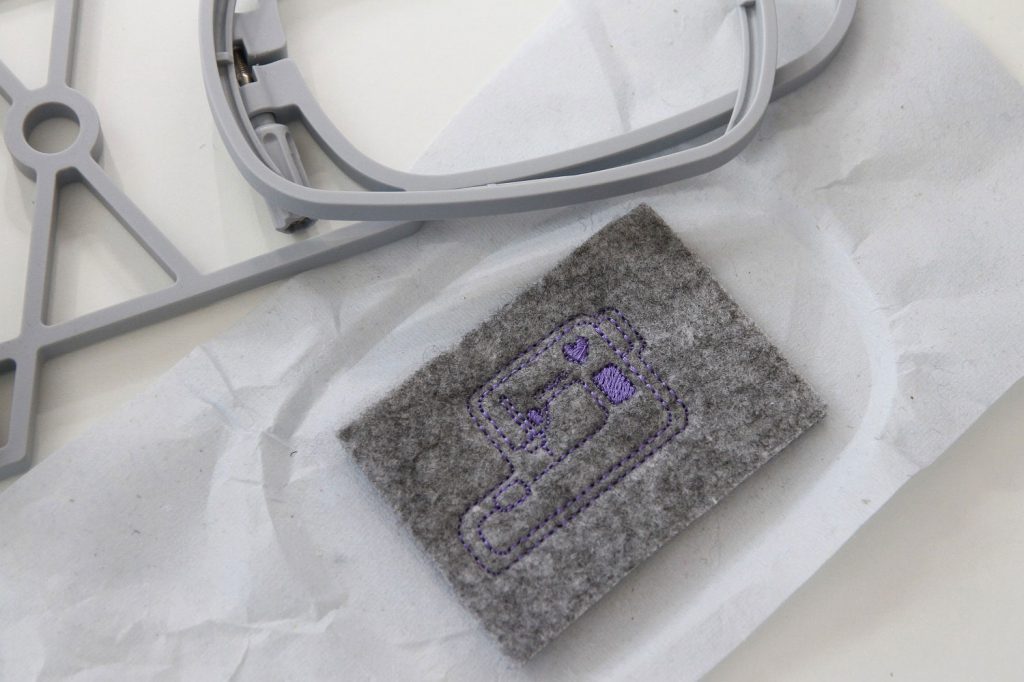
You can attach an eyelet using an appropriate tool.
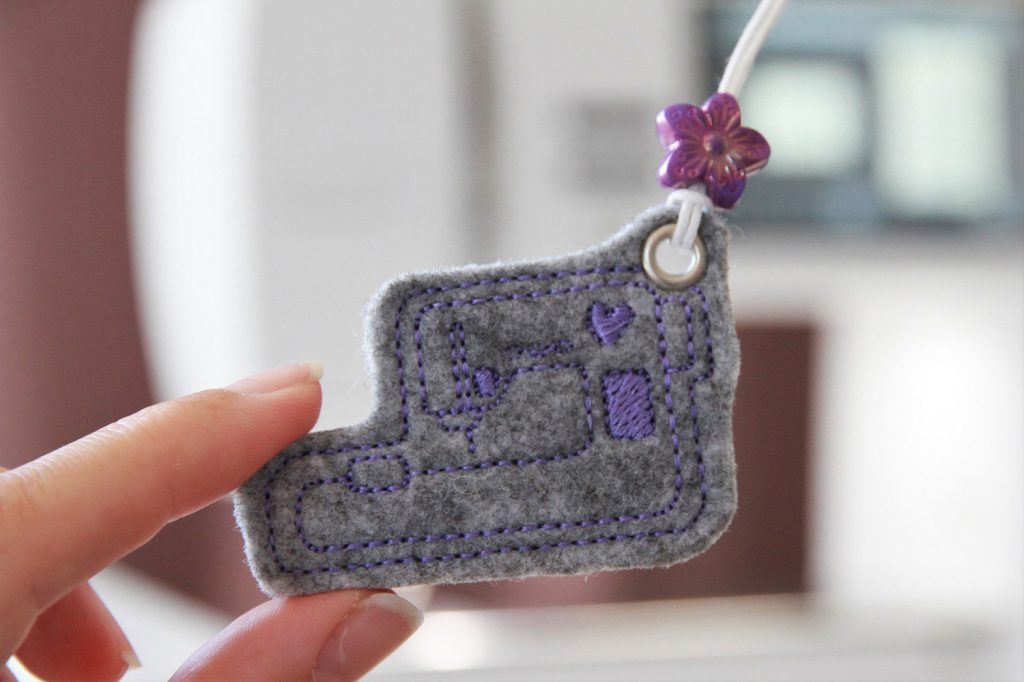
Your cute sewing machine pendant is finished!
I hope you have lots of fun embroidering and much success!
Bonjour. Impossible de télécharger ce magnifique mandala. J’ai fait l inscription dossier. Quand je mets le mandala dans le panier, il est indiqué ce produit n est pas à vendre. Quel est le processus de téléchargement ? Merci d avance de votre aide. Dominique.
Le téléchargement est exclusivement réservé aux membres enregistrés. Après avoir créé un compte et confirmé votre adresse e-mail, inscrivez-vous et revenez à la page du dessin du Mandala. Un bouton gris ” Download ” (télécharger) devrait alors être disponible. La capture d’écran vous montre à quoi ressemble la page après que je me sois inscrit. Le bouton turquoise vous donnera les détails techniques.
Where can I purchase the cute dog applique used above?
Dear Pamela,
It’s from a German designer called Stickwolke, you can buy the design in a set here:
Dog with balloon set
Kind regards, Ramona
Any tips on how to figure out how to download the file. I don’t speak German. Thanks
Dear Mary,
You can use a translation service such as google translate to try and navigate the websites. Both websites require you to put the pattern into your check out cart and go through the purchasing process, but you won’t be charged anything since the designs are free. I guess they will ask you to make an account in order to get the free designs.
Kind regards, Ramona