 BERNINA Corporate Blog -
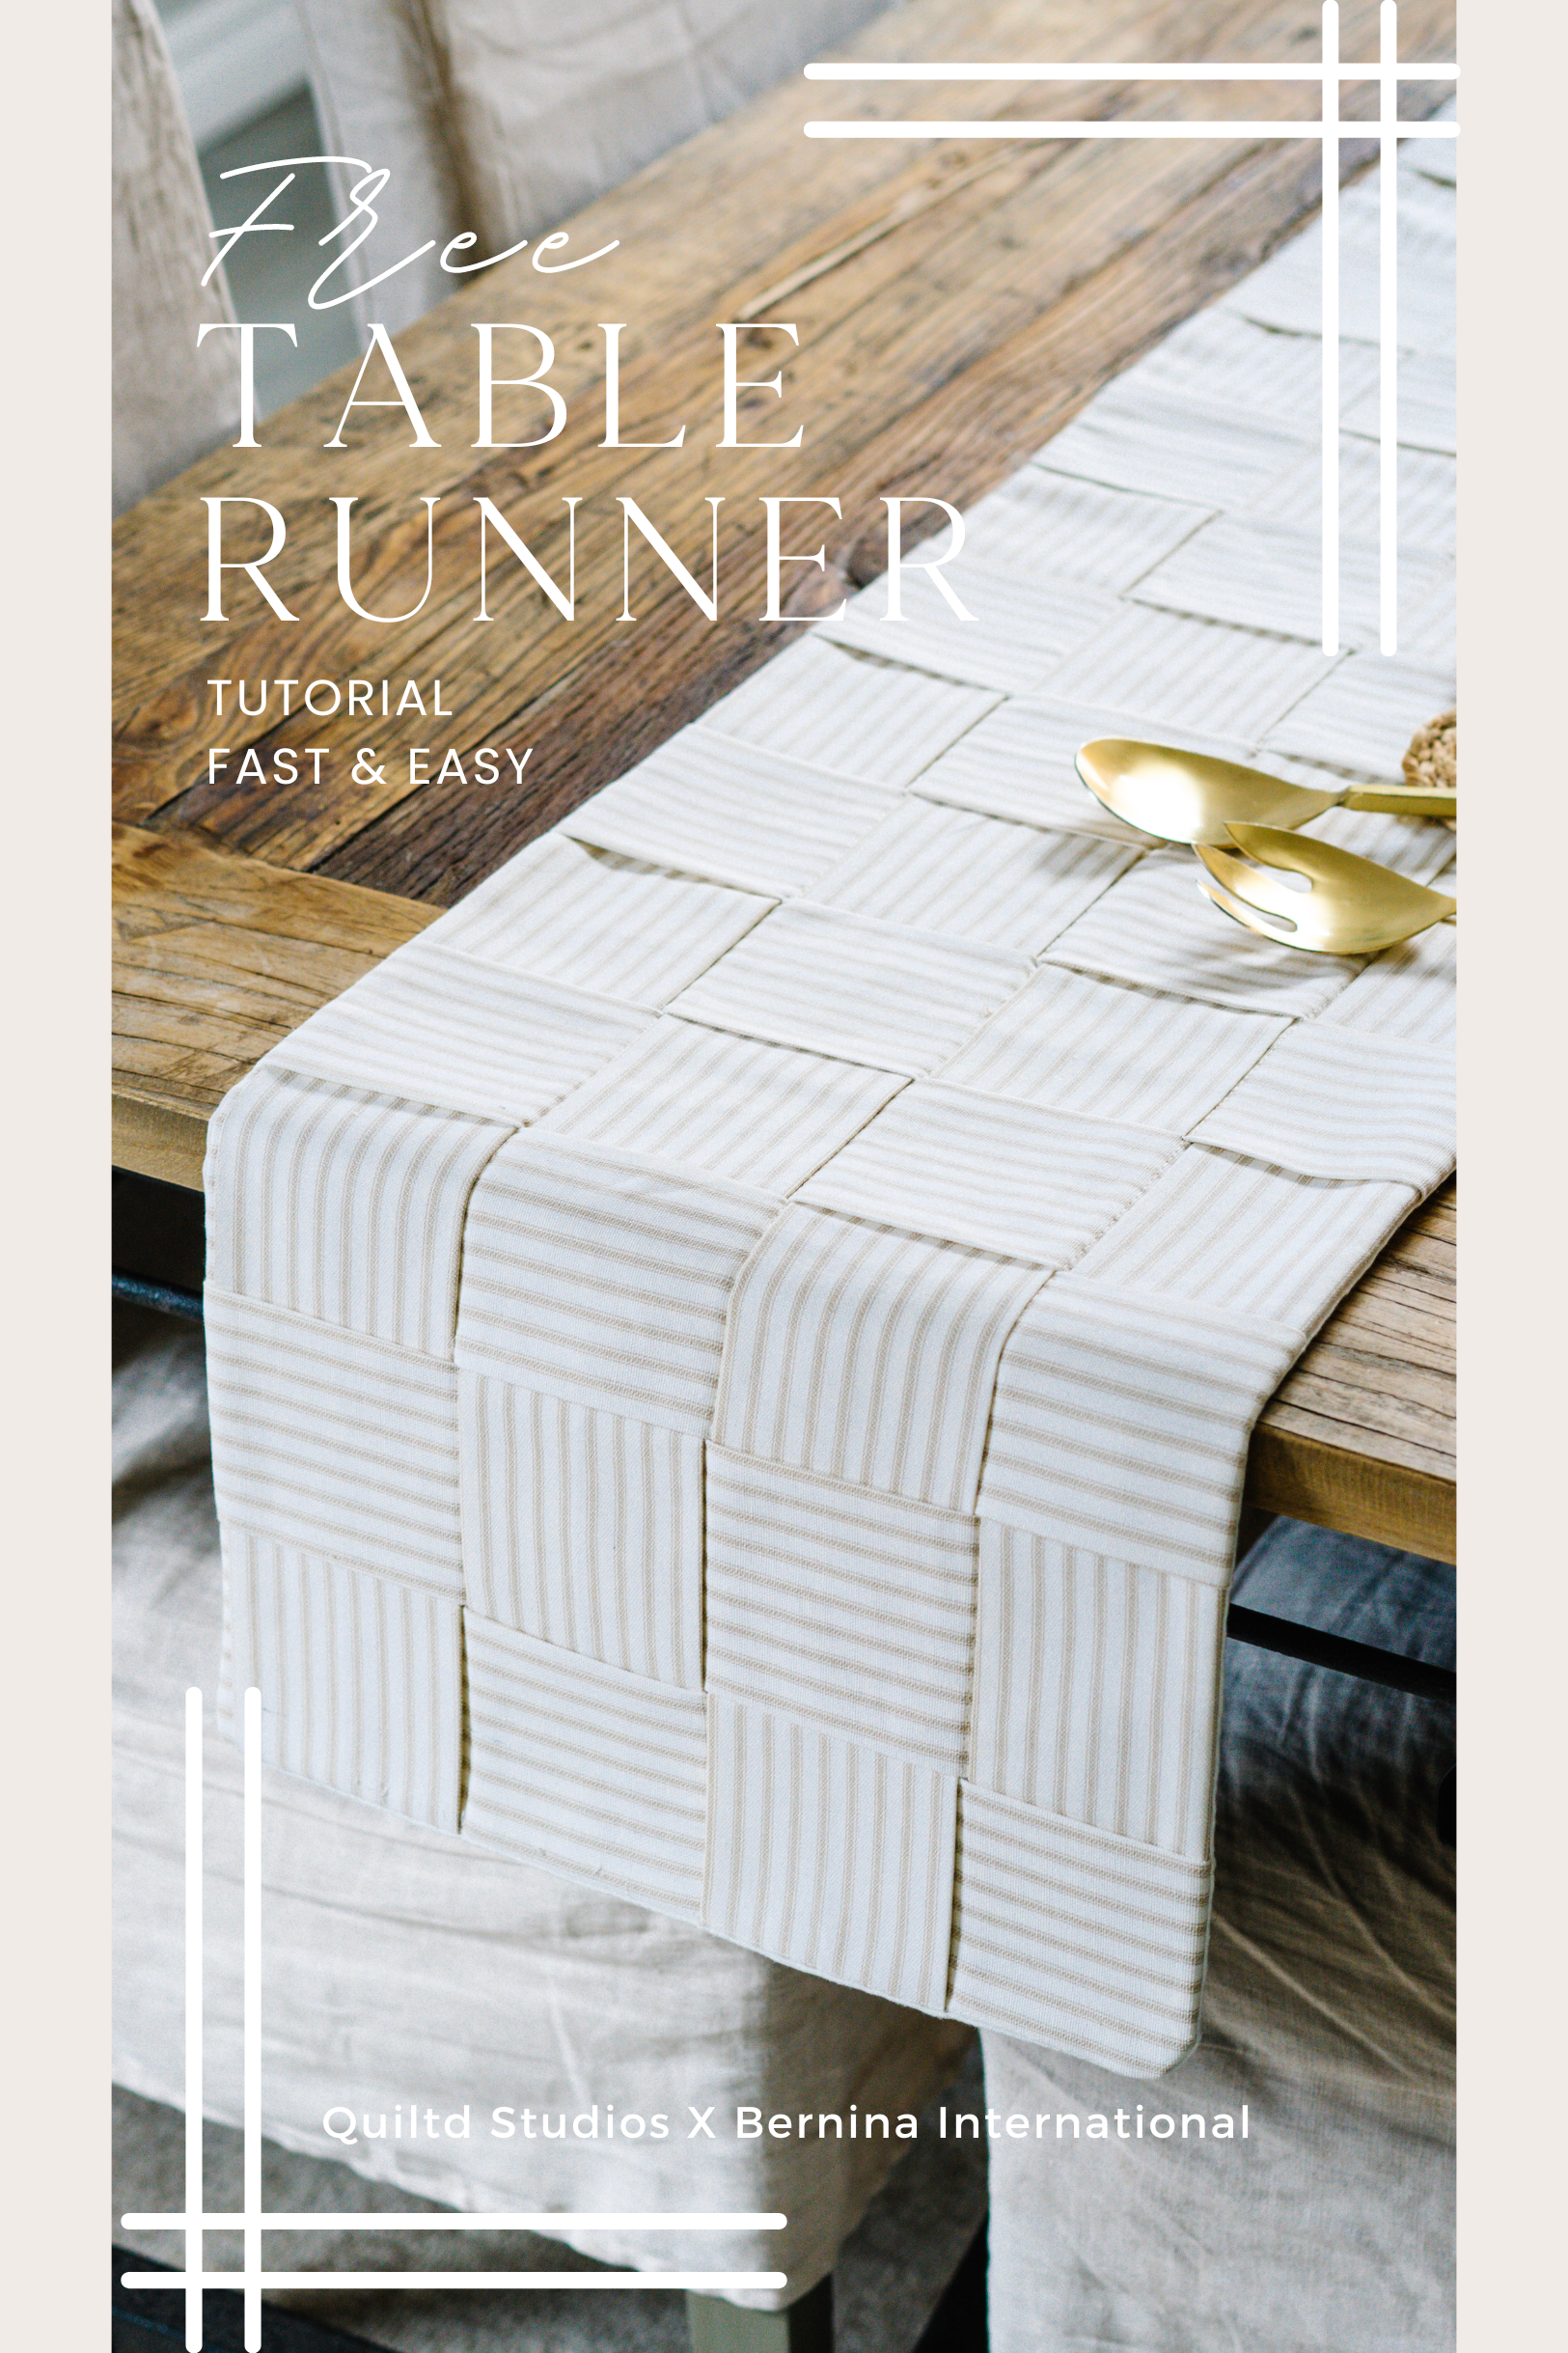
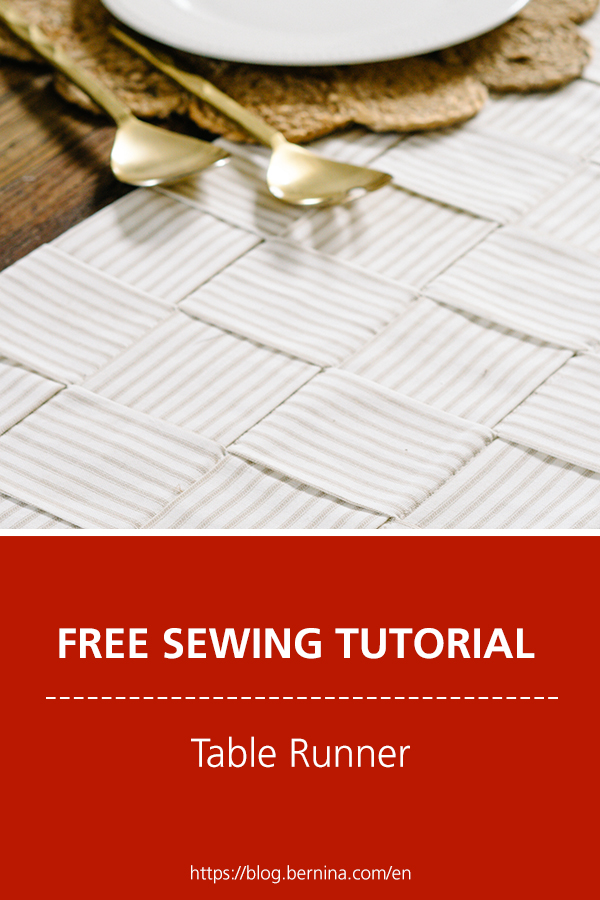
If it’s not obvious by now, I love making custom linens for my home. Pillow covers, quilts, wall hangings, coasters, and now… a beautiful modern table runner!
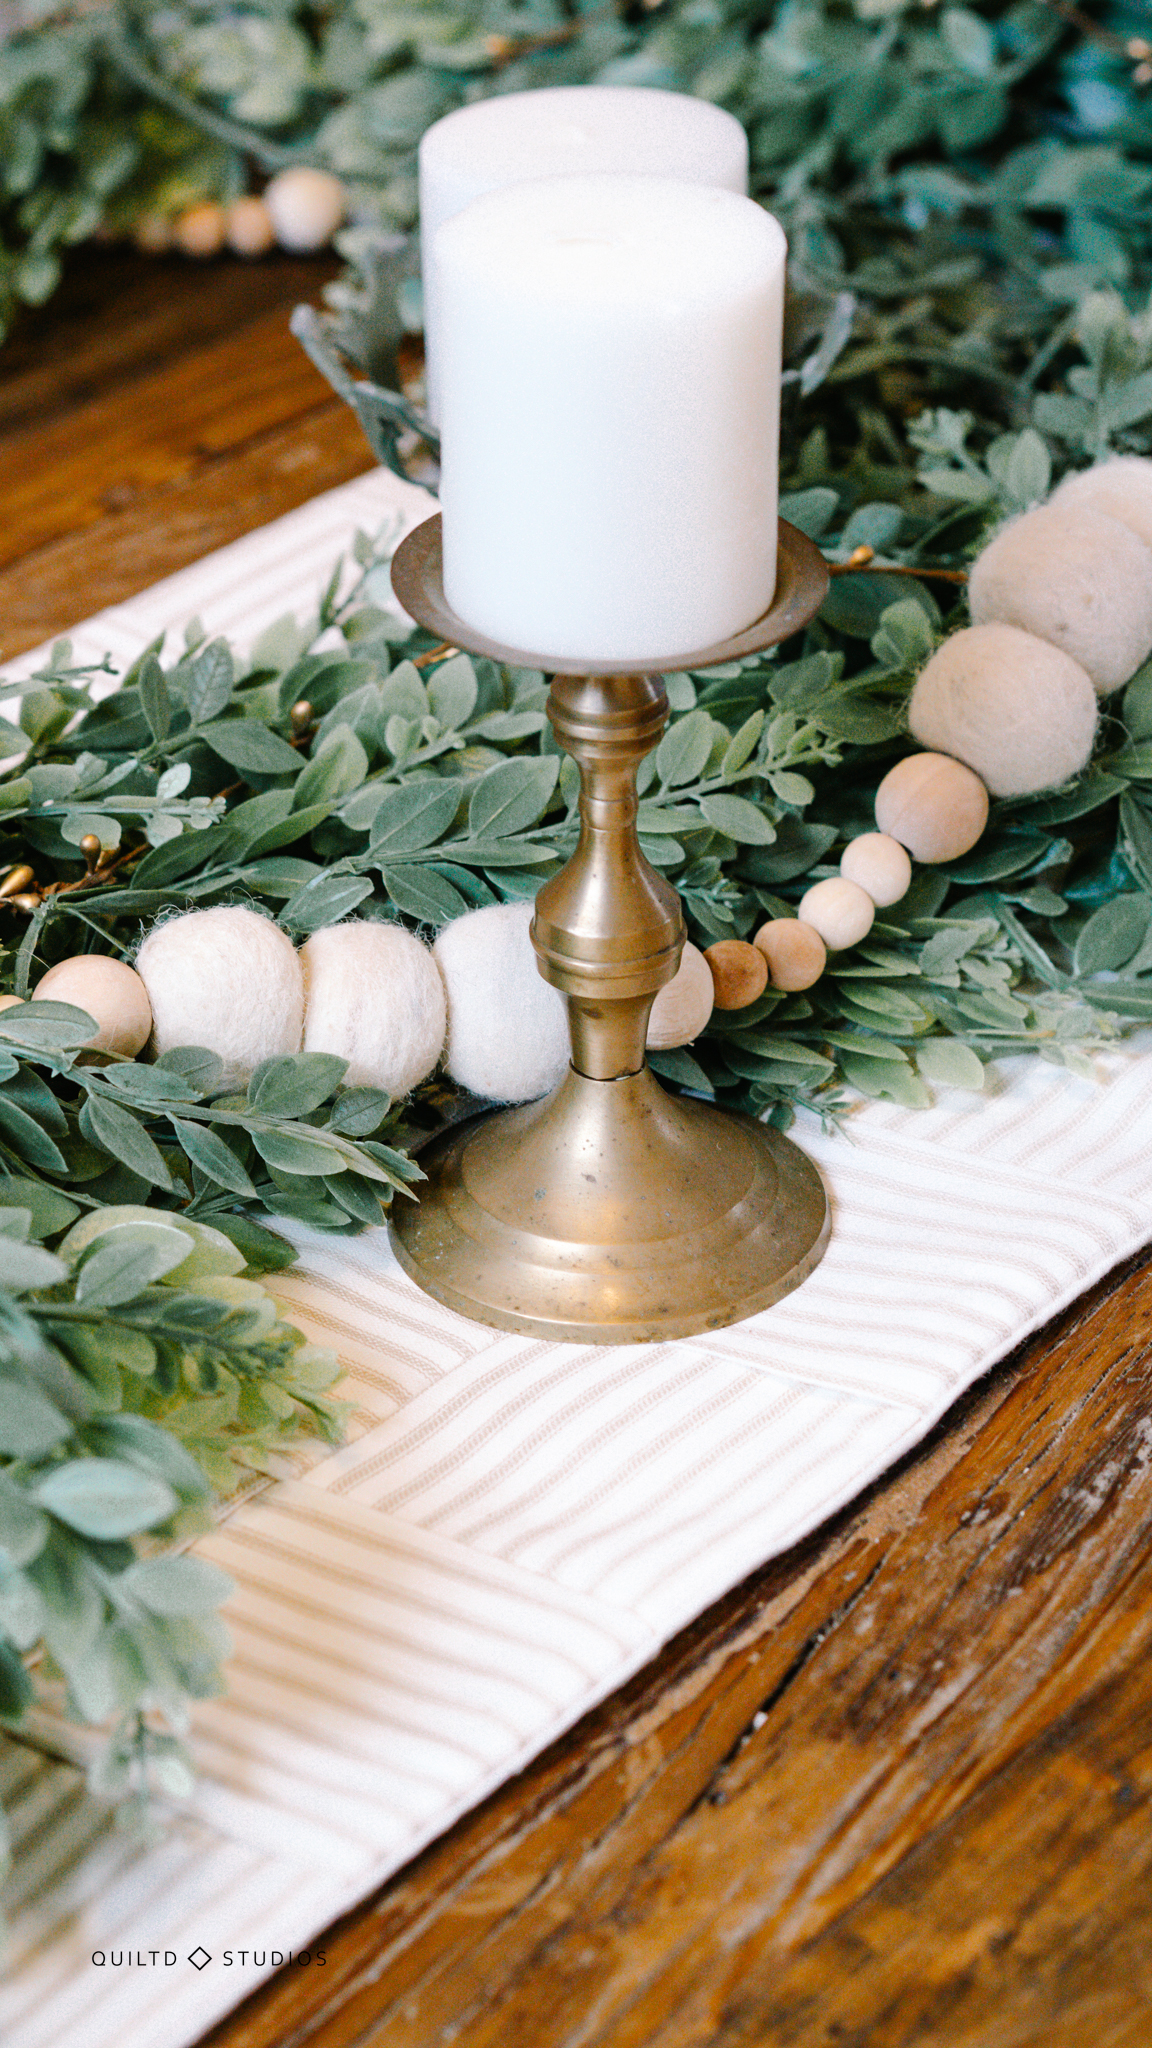
My house has an open floor plan, which means the dining room table is visible from almost every room. I love to display my vintage brass candlesticks and leaf garlands on top of a fabric runner.
I wanted to update my current runner for something lighter, just in time for the Spring season!
Weaving Fabric Strips
One of my favorite fabrics to work with is Ticking Fabric. It has a timeless elegance that pairs well with any home décor.

If you’re curious to learn more about the history of Ticking Fabric (or even learn what it is!) you can read this blog here.
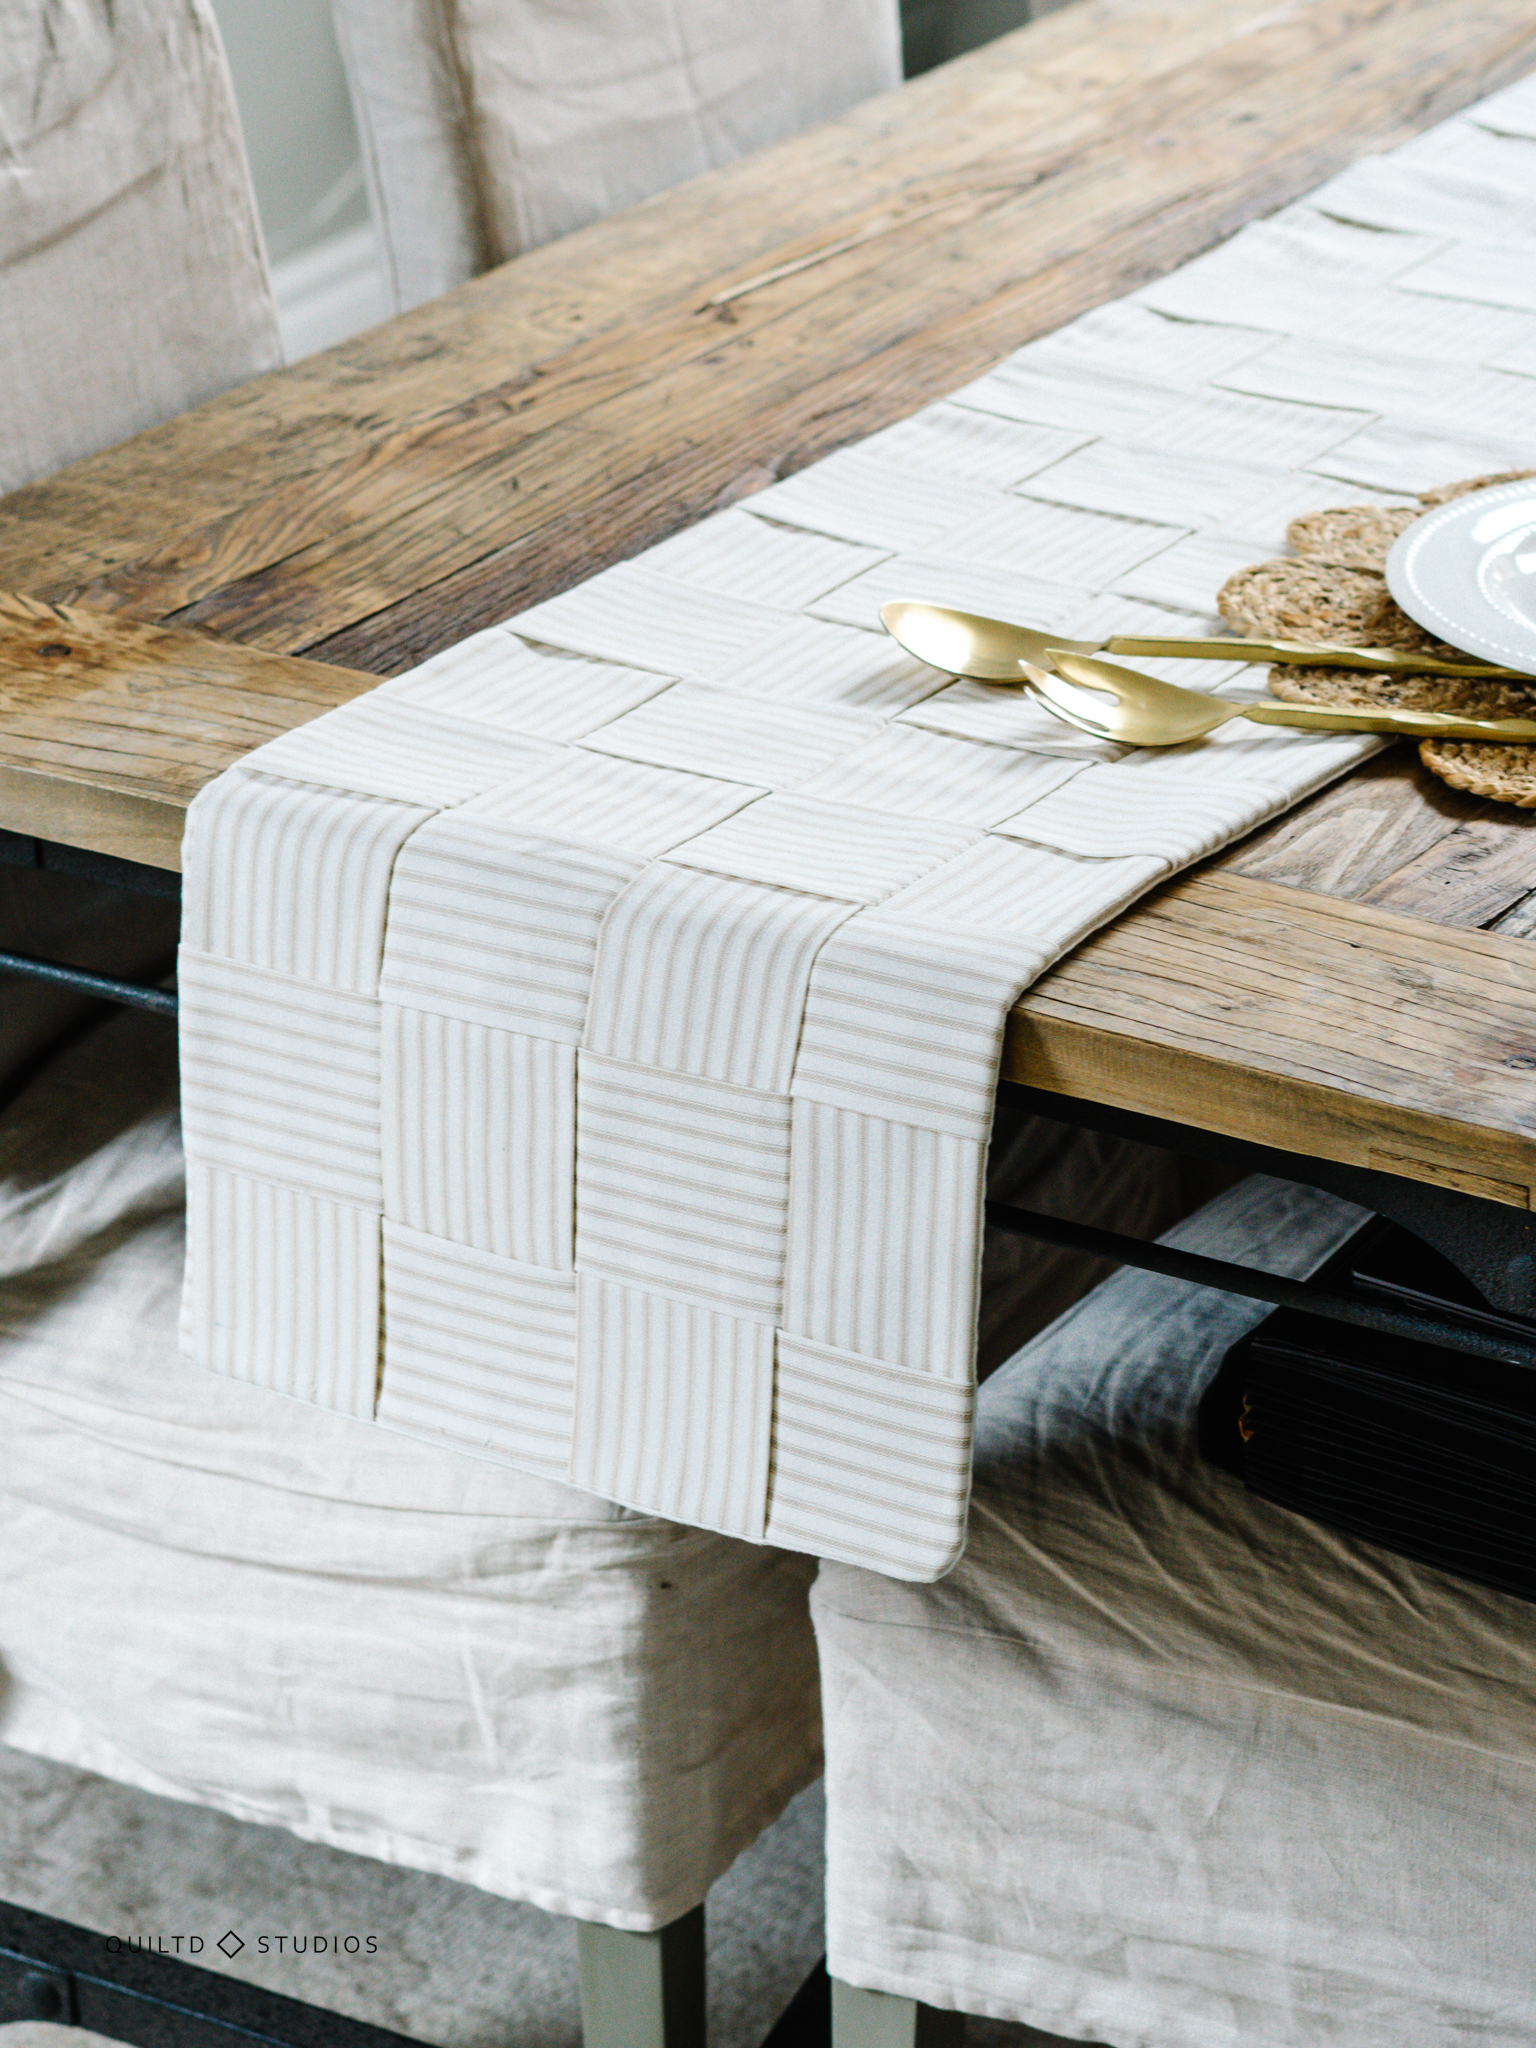
I chose to use a creamy stripe to match my dining room table rug. The fabric that I used is thicker, more like canvas, but still cotton. The backing is a light linen with just a hint of stretch.
A few years ago I saw a quilt block made of woven fabric strips. Ever since, I’ve wanted to design a project that used the same technique.
This woven runner is the perfect beginner friendly pattern. Lots of ironing, nothing too fussy, you’ll love how fast it comes together!
Items Needed:
- 2.5 Yards of Ticking Fabric 57″ wide (you’ll need more for 45″ wide fabrics, also cotton, canvas or linen would work too) for a 72” runner, Sub cut into (8) 7” x 90” strips
- (1) 18” x 93” Rectangle of backing material (I used linen)
- (1) 15” x 93” Rectangle of Fusible Midweight Interfacing
- An iron and ironing board
- Masking tape or pins
Notes:
I used long strips cut sidewise (parallel to the selvage) to reduce visible seams. If you prefer to use less fabric, feel free to cut the opposite way and sew together shorter strips to make strips that are around 90” long.
Custom Sizes: This runner is extremely easy to customize. For a shorter runner, use less strips, For a longer runner, you’ll need more fabric strips. There will be 4 center strips and any number of cross strips (that create the weave). Just reduce (or increase) the number of cross strips and adjust the length of your center strips accordingly.

Preparing the Woven Strips
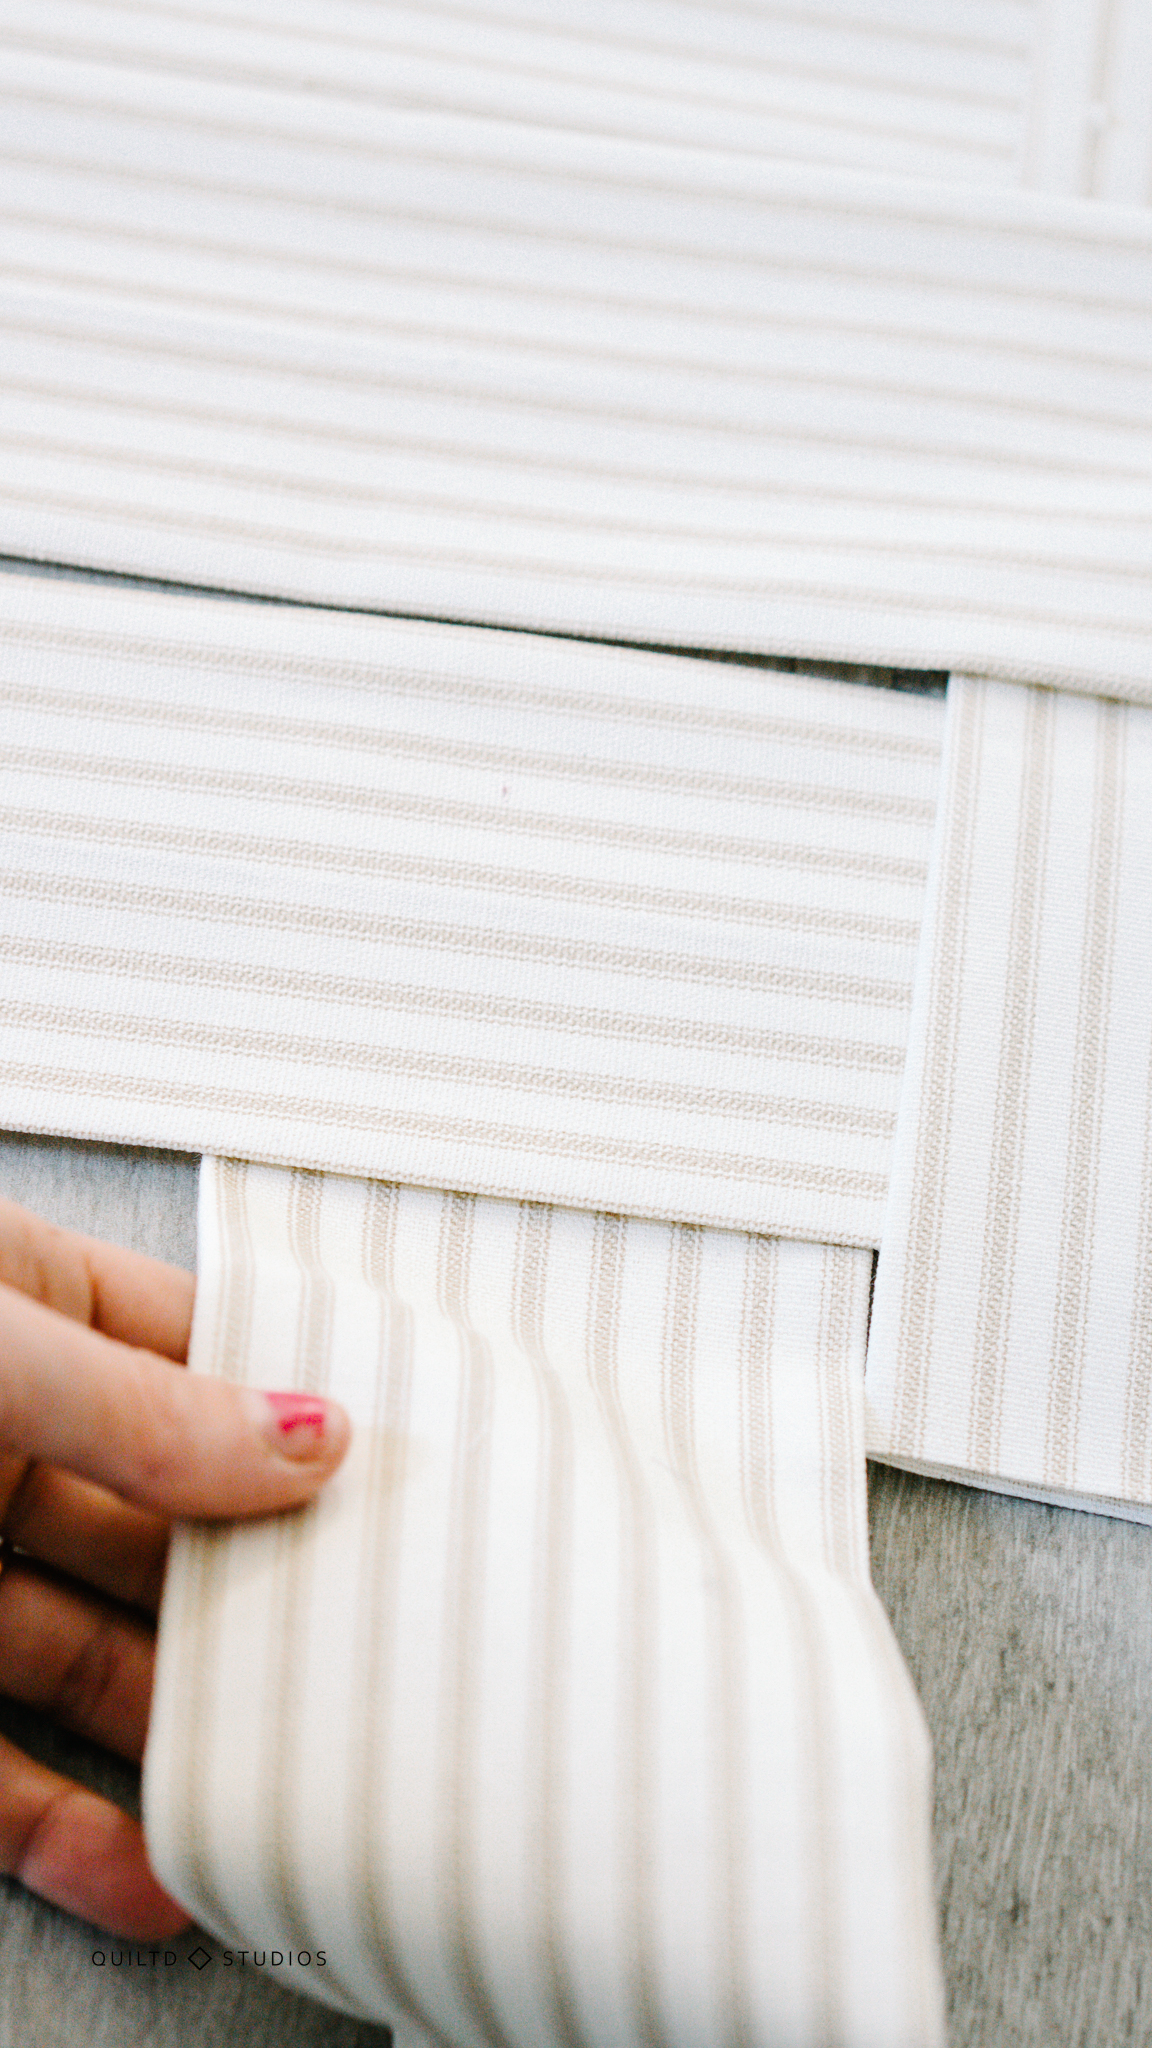
To start, iron all of the strips in half lengthwise.
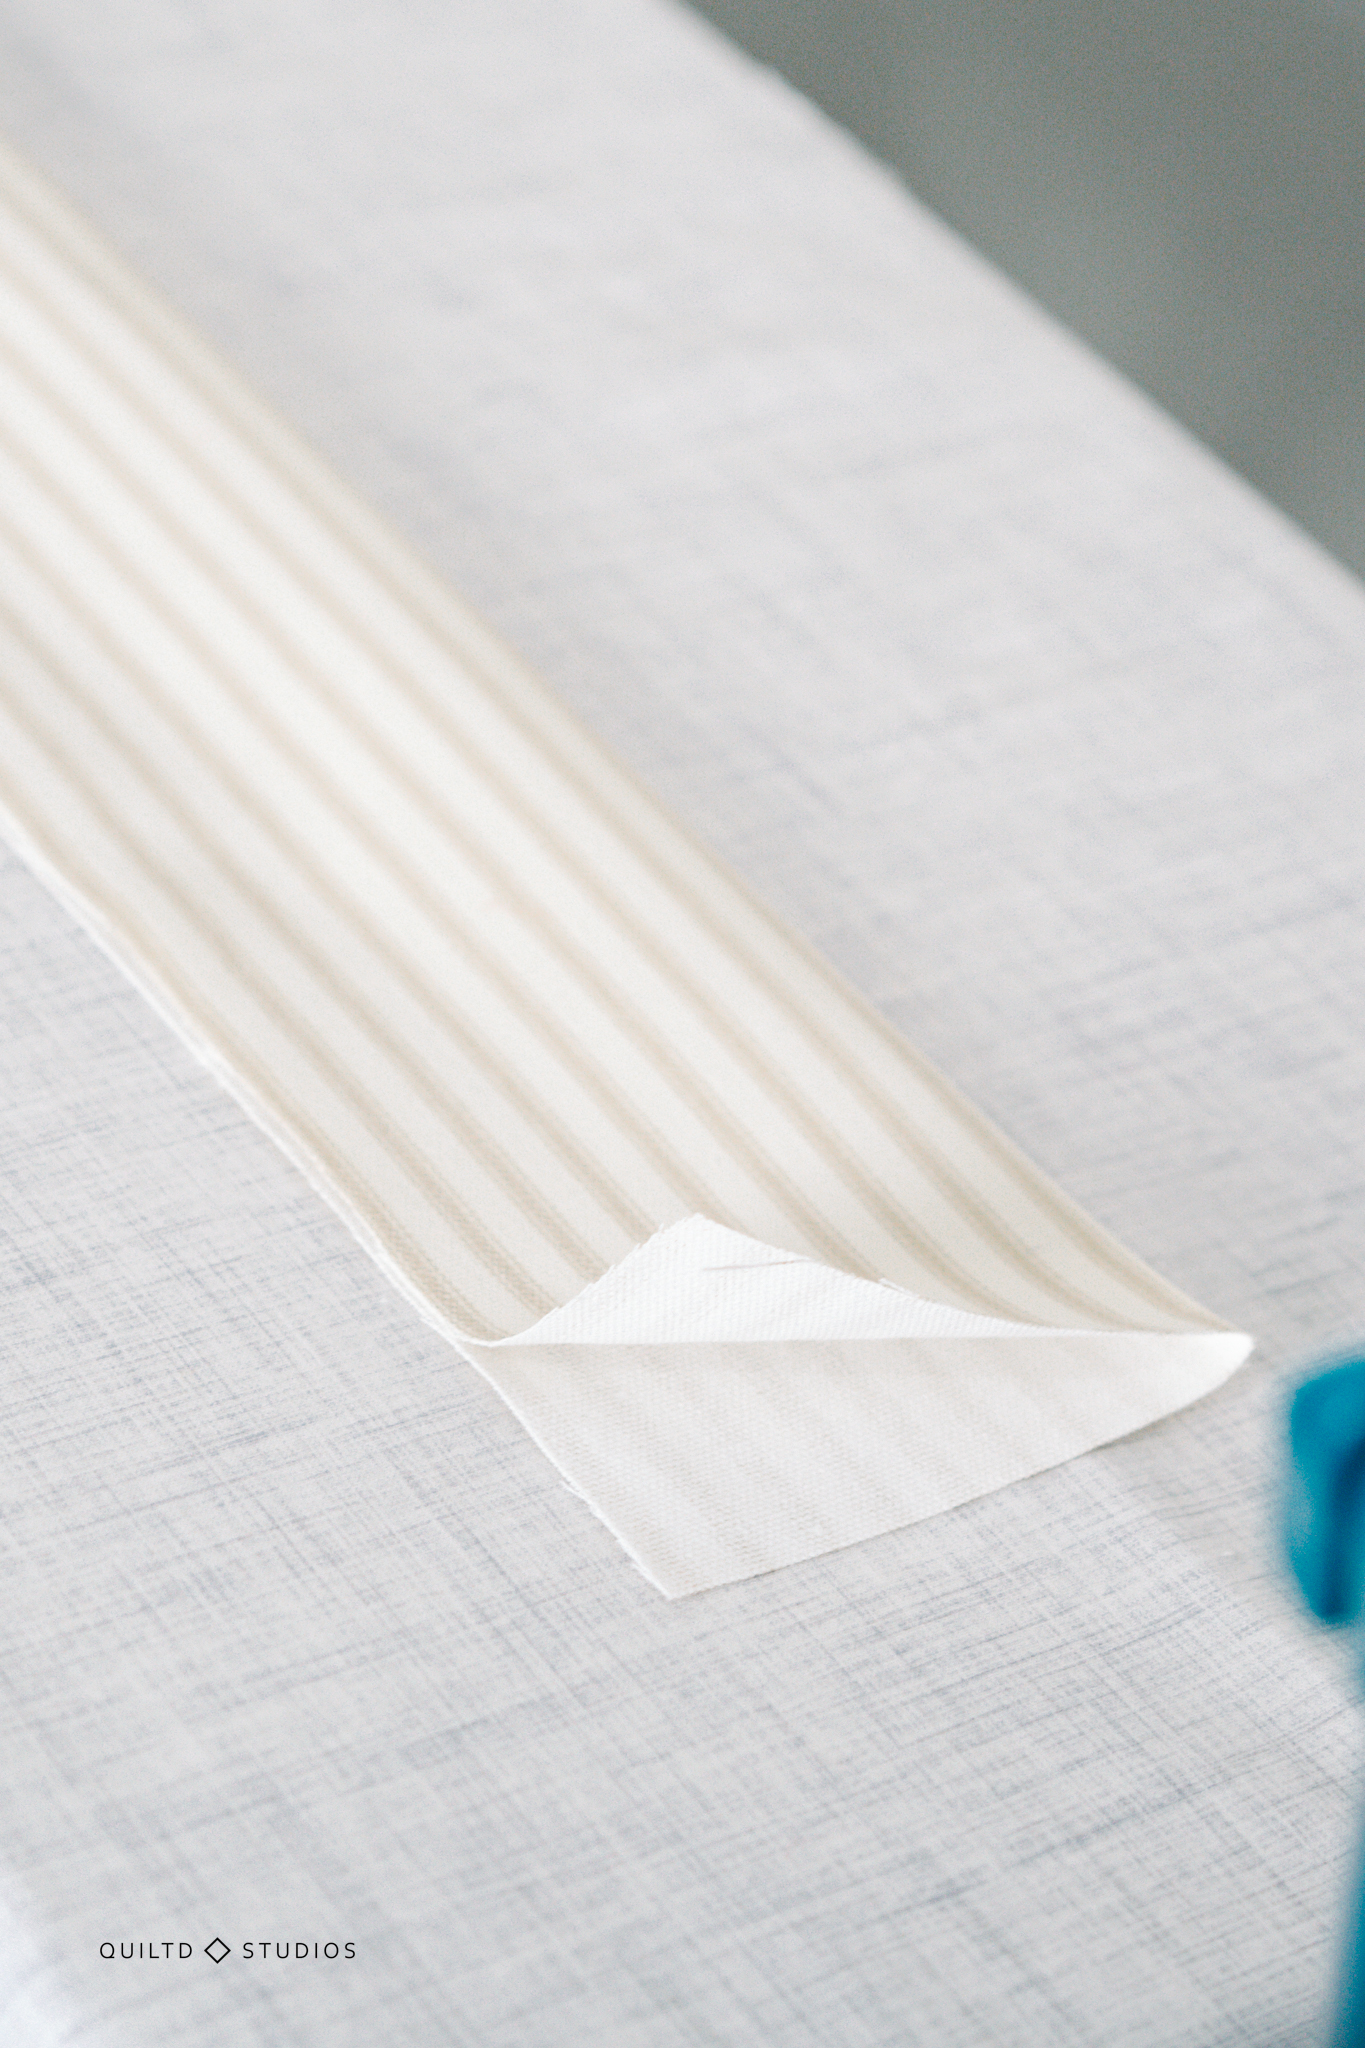
Once completed, iron both sides into the center, outside edges meeting at the iron line that you just created, as shown in the picture.
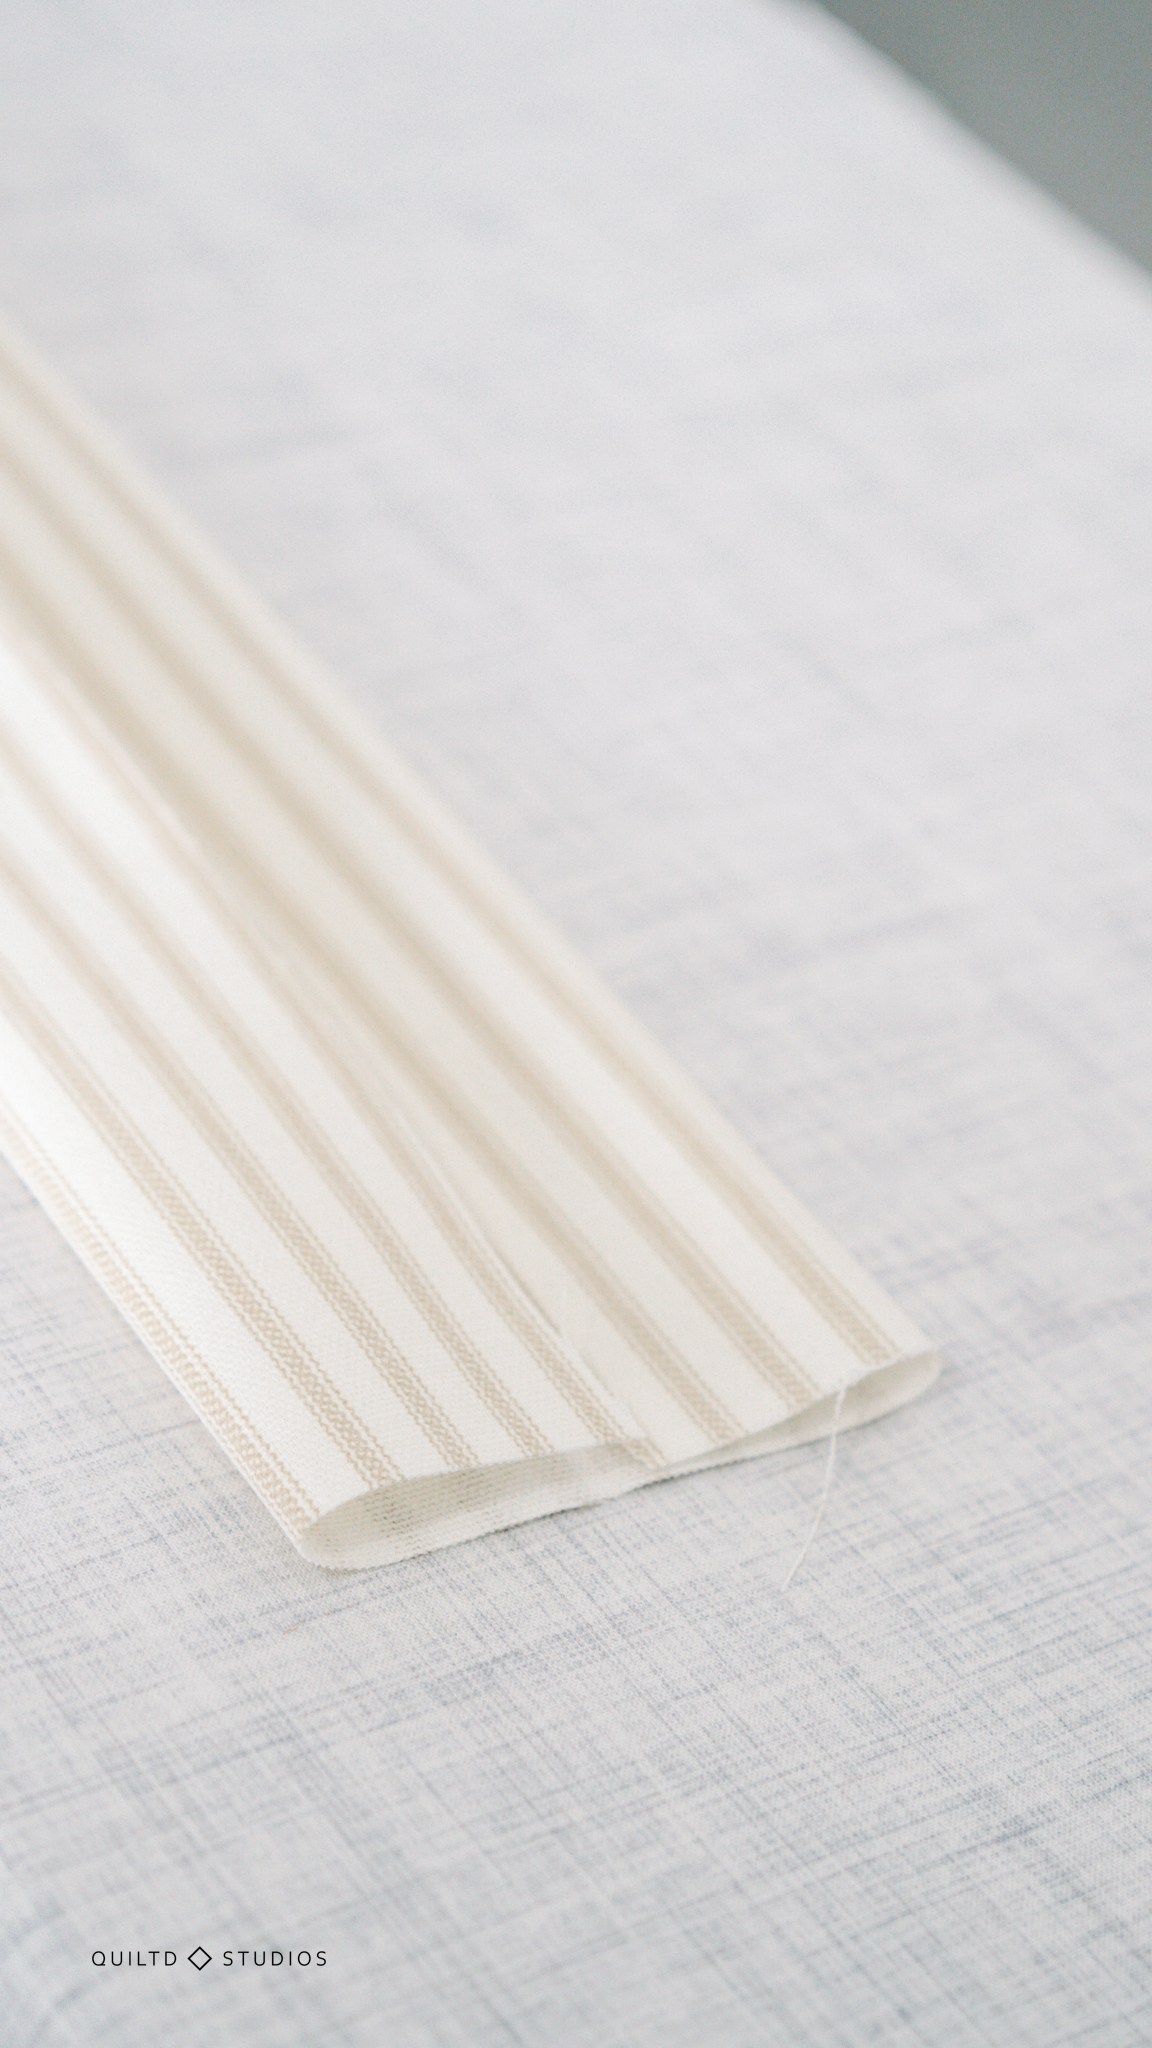
This creates something that looks like single fold bias tape (much bigger than typical and not cut on the bias!!) which we will use to make the weaving pattern.
Repeat these steps for all 8 strips.
Weaving Your Fabric Strips
Note: Learn from my mistakes! Follow the written directions for the easiest assembly rather than the pictures for this section.
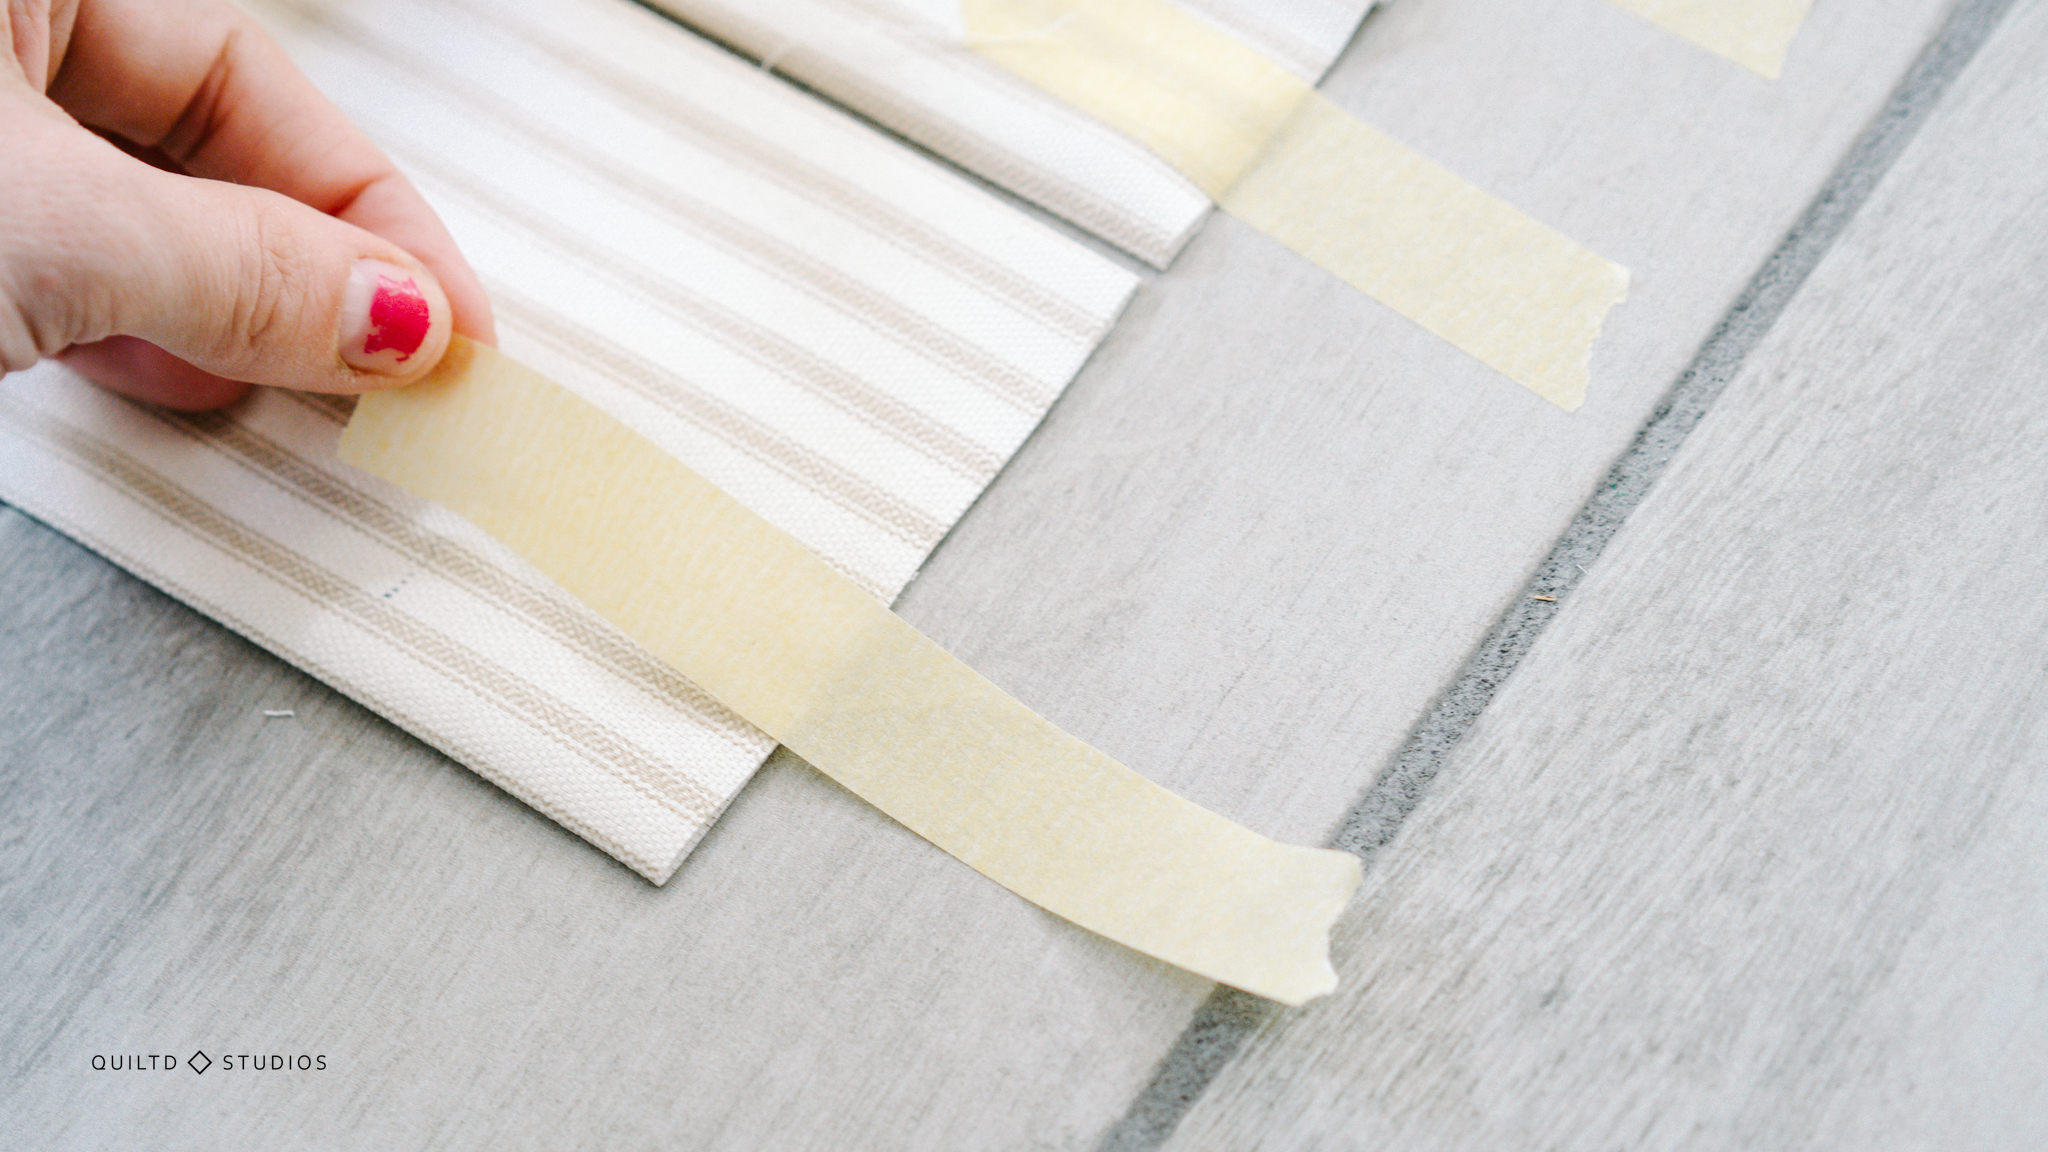
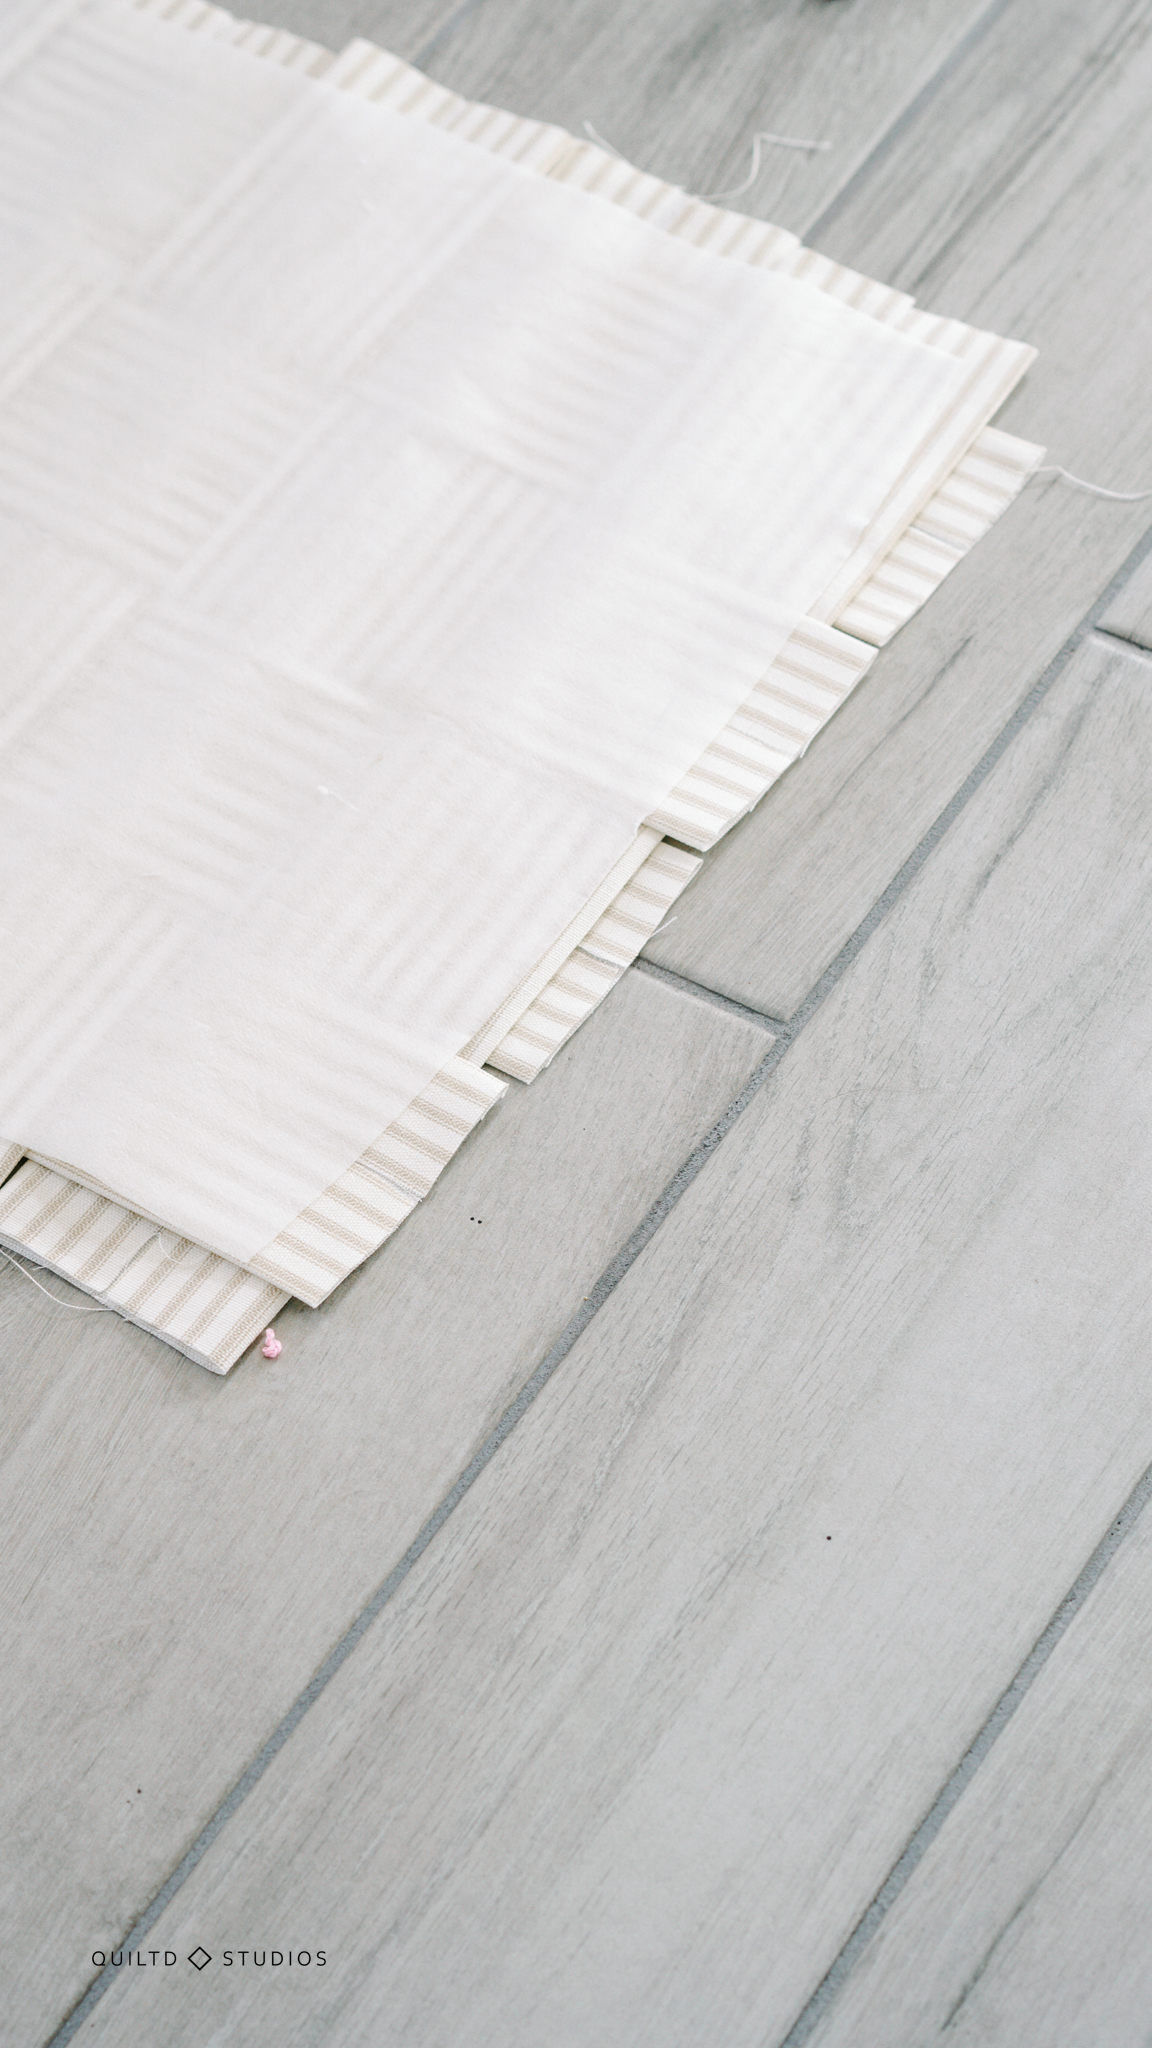
Next we’ll create the long center, lay 4 strips right side down (folded edges up). The long edges should be as close as possible.

Secure these strips with tape or pins on the short edges to make sure they stay taut and in place. (I did mine right side up, but I had to redo it with it right side down, so lay your strips so the folded edges are up).
Creating the Cross Strips
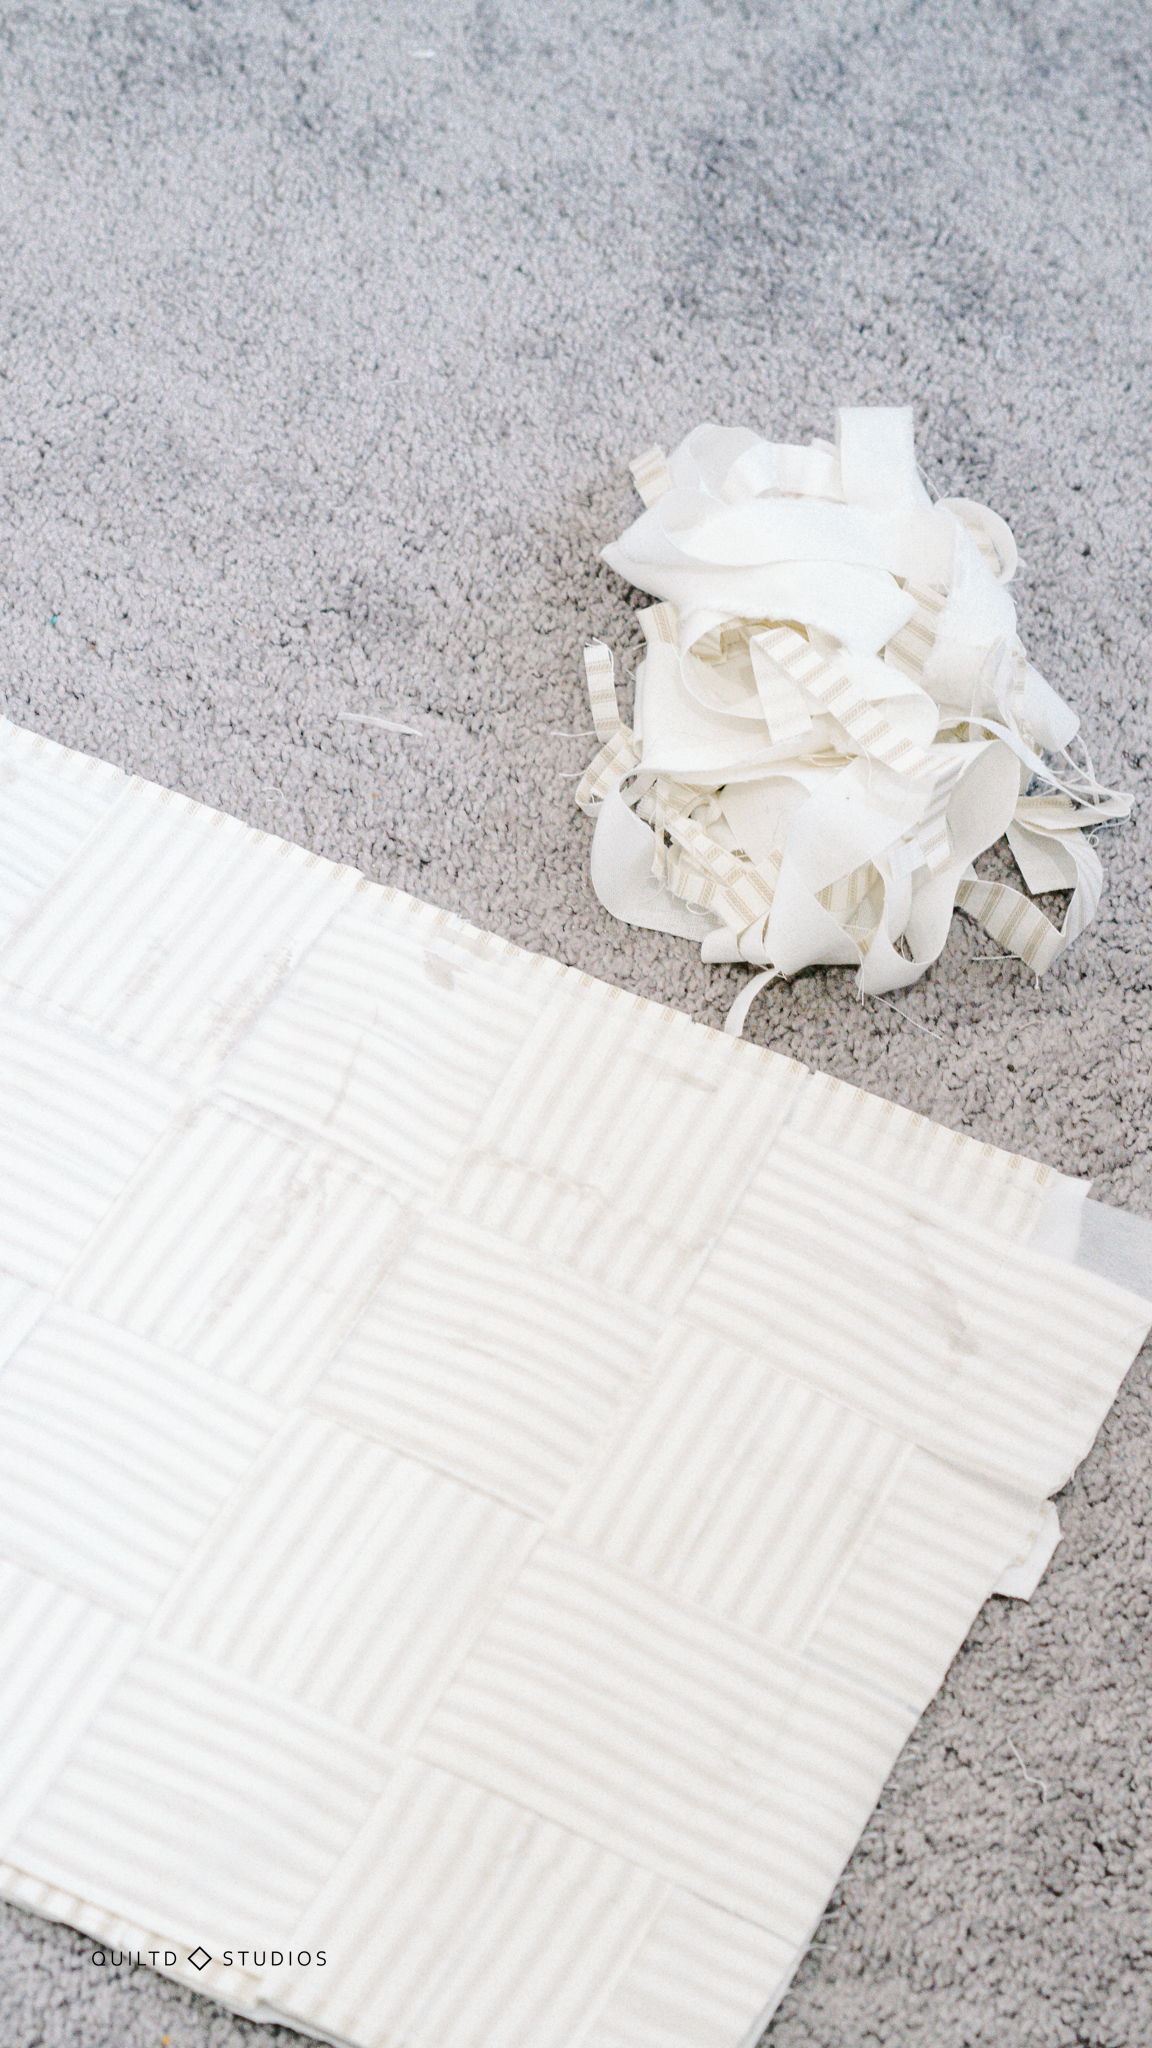
For a 72” runner, we’ll need 21 cross strips. Each cross strip will be 16.5”, Cut (5) 16.5” strips from the four remaining 90″ strips. There will be a few inches leftover from each strip.

Sew these together to make an additional 16.5” strip. In total, there should be (21) 16.5”x 3.5” bias strips.
Weaving the Fabric Strips
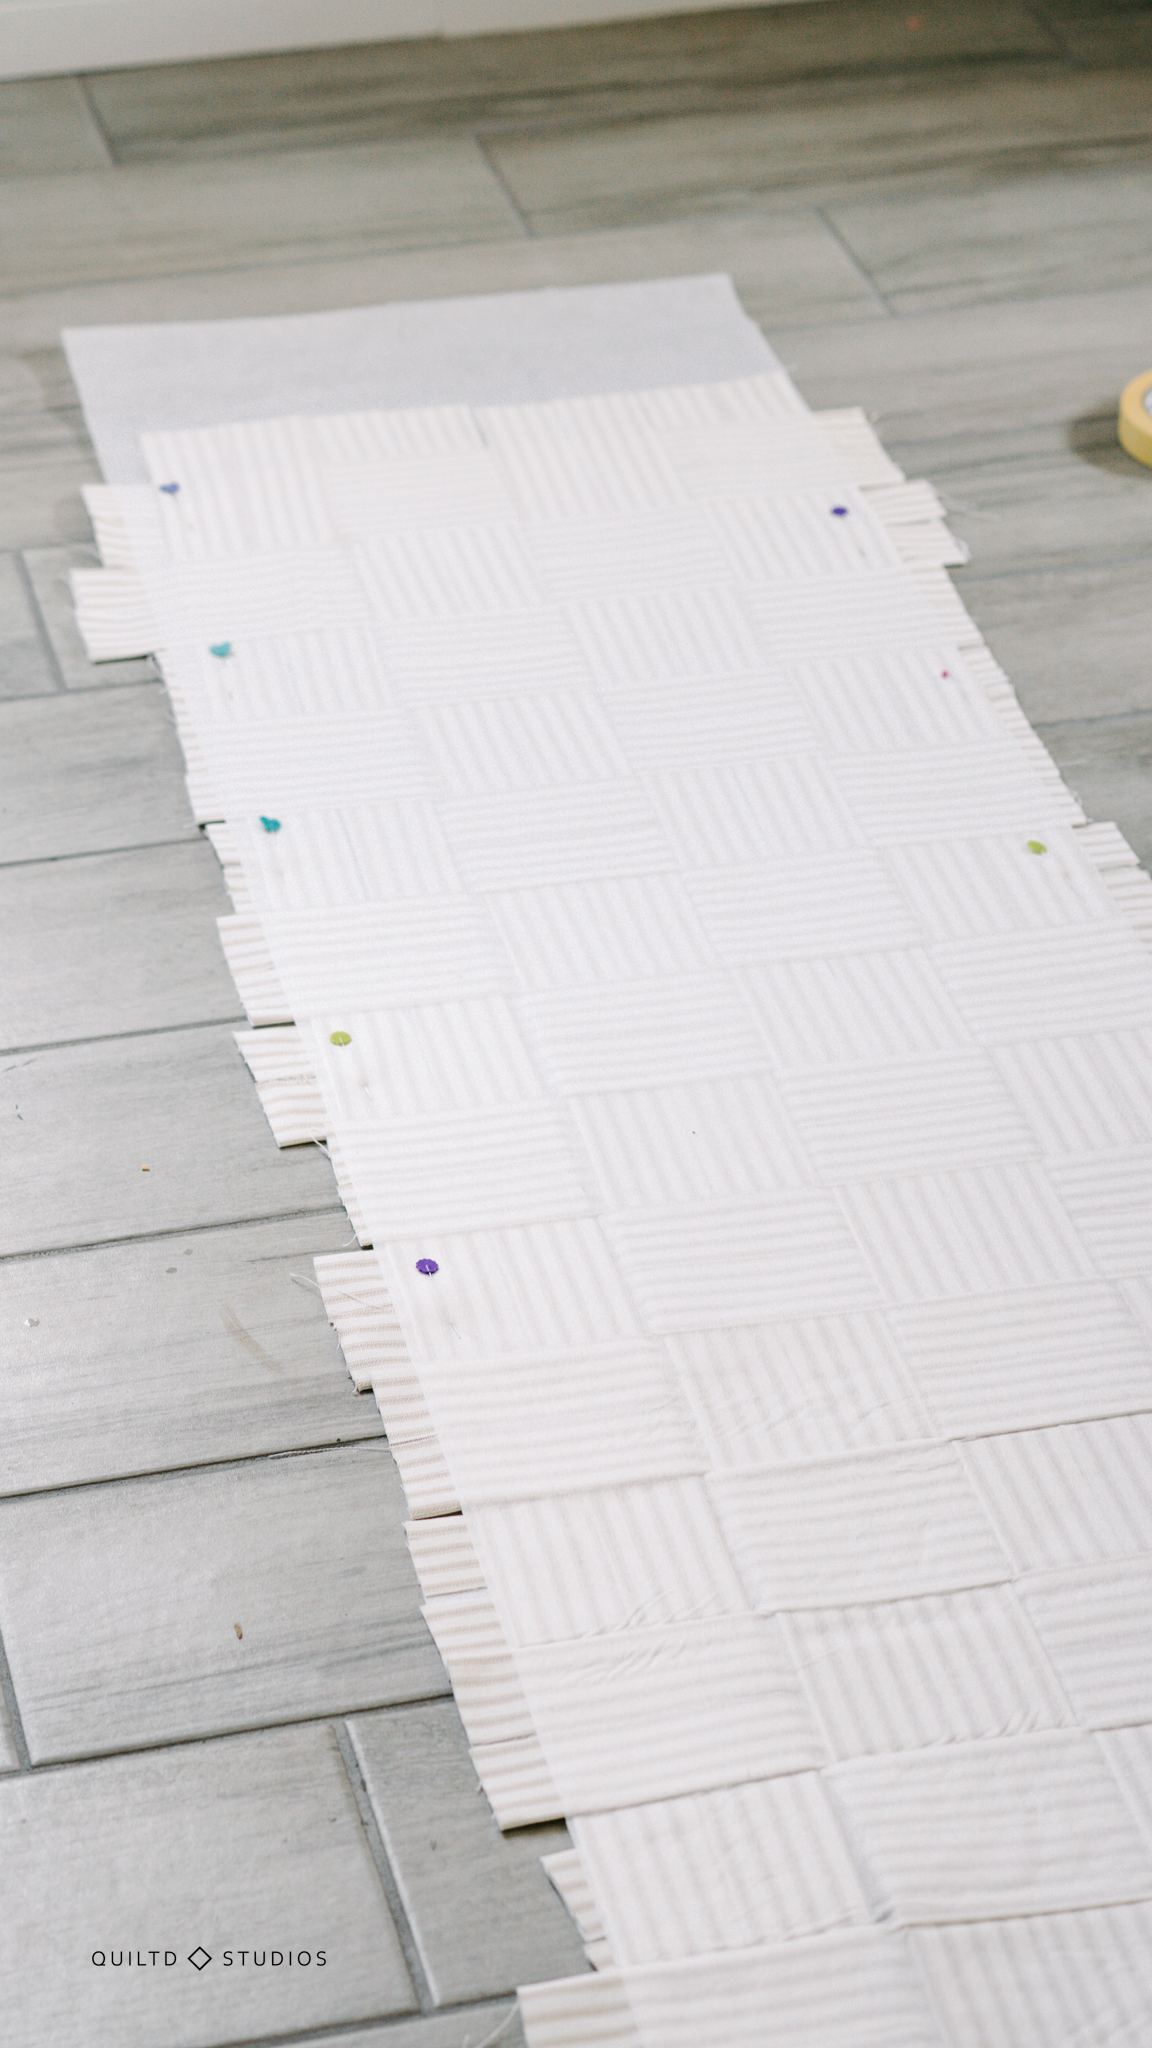
Starting at one edge, carefully weave one of the 16.5” strips over and then under the long taped strips – Over, Under, Over, Under
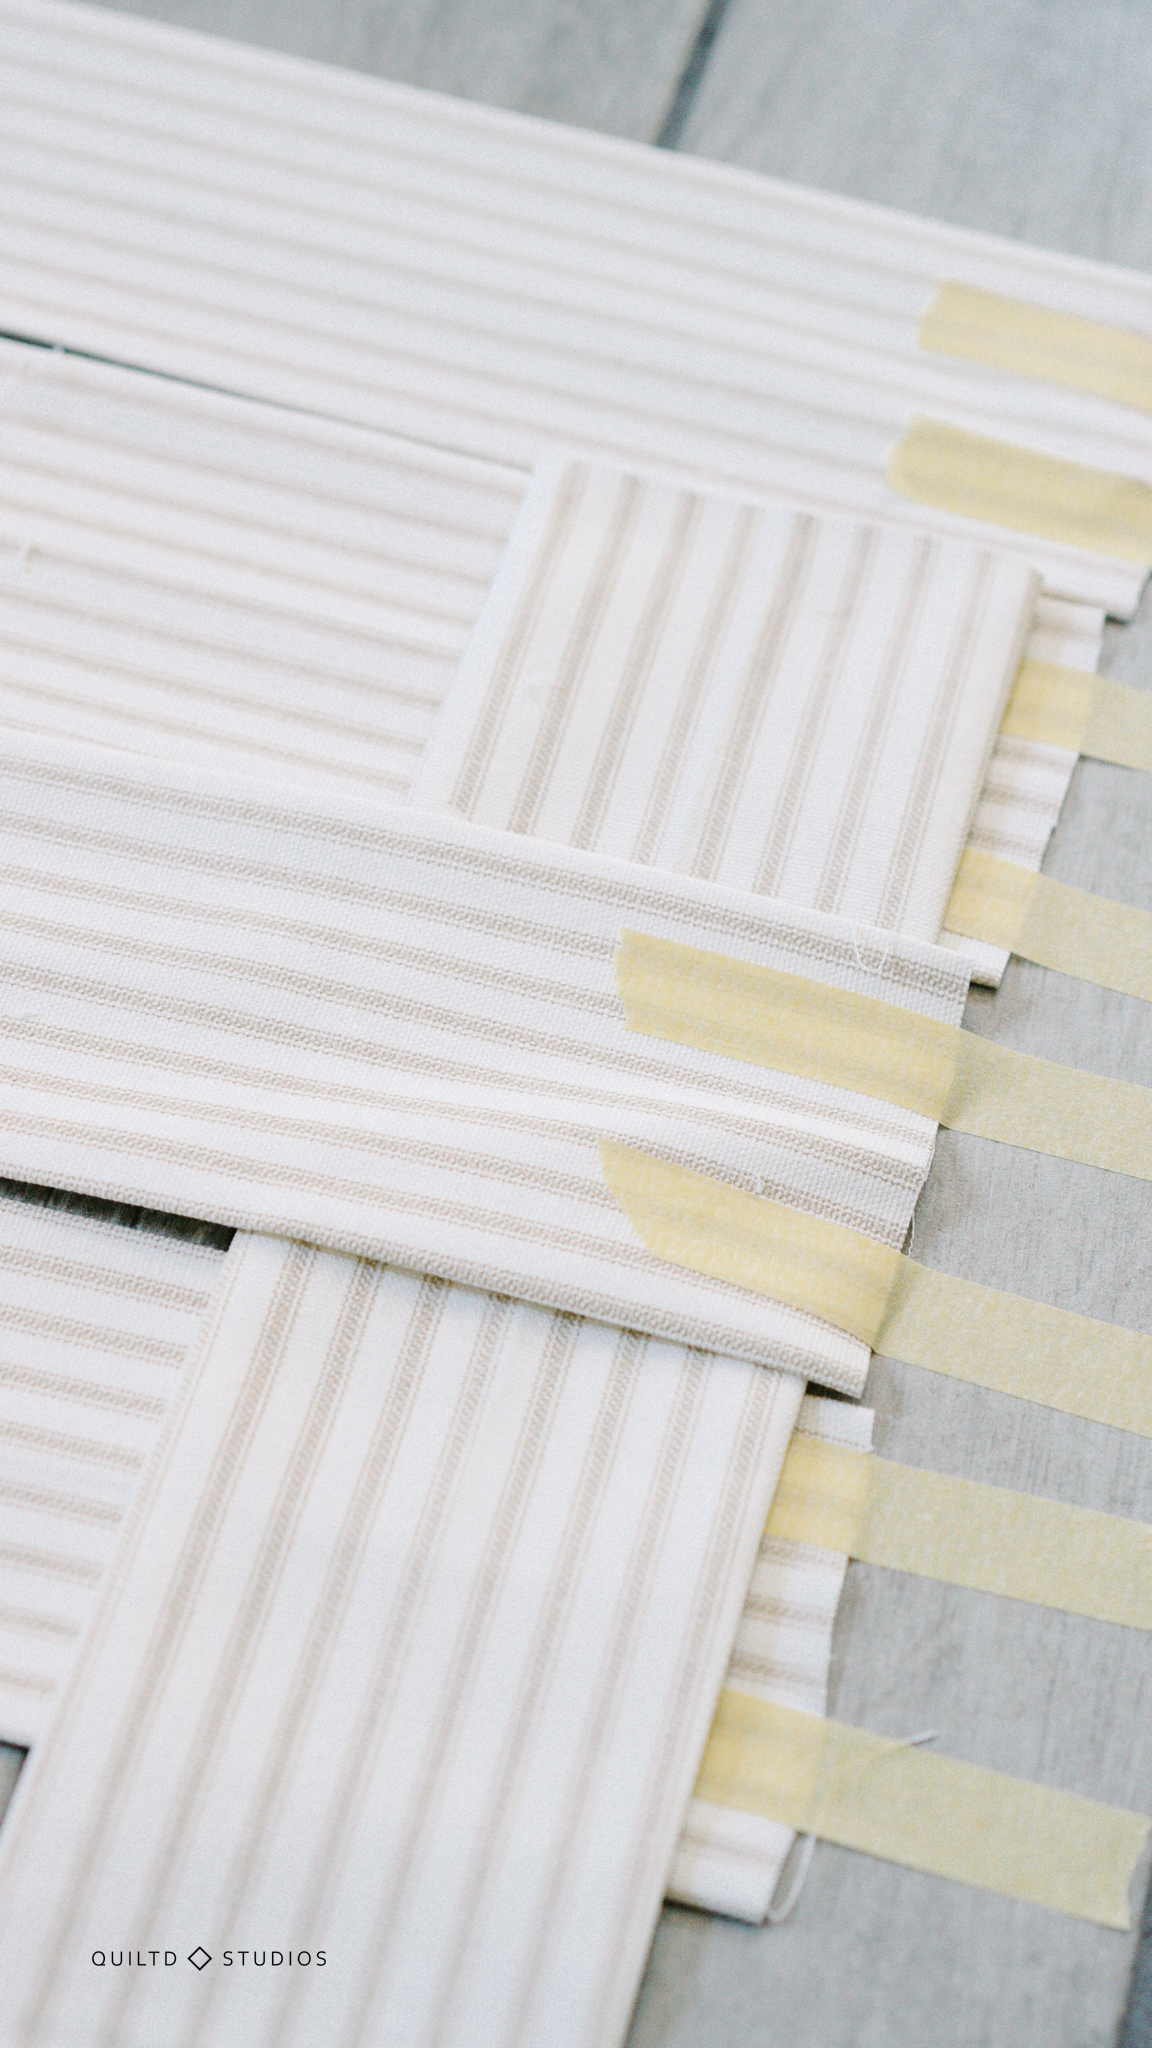
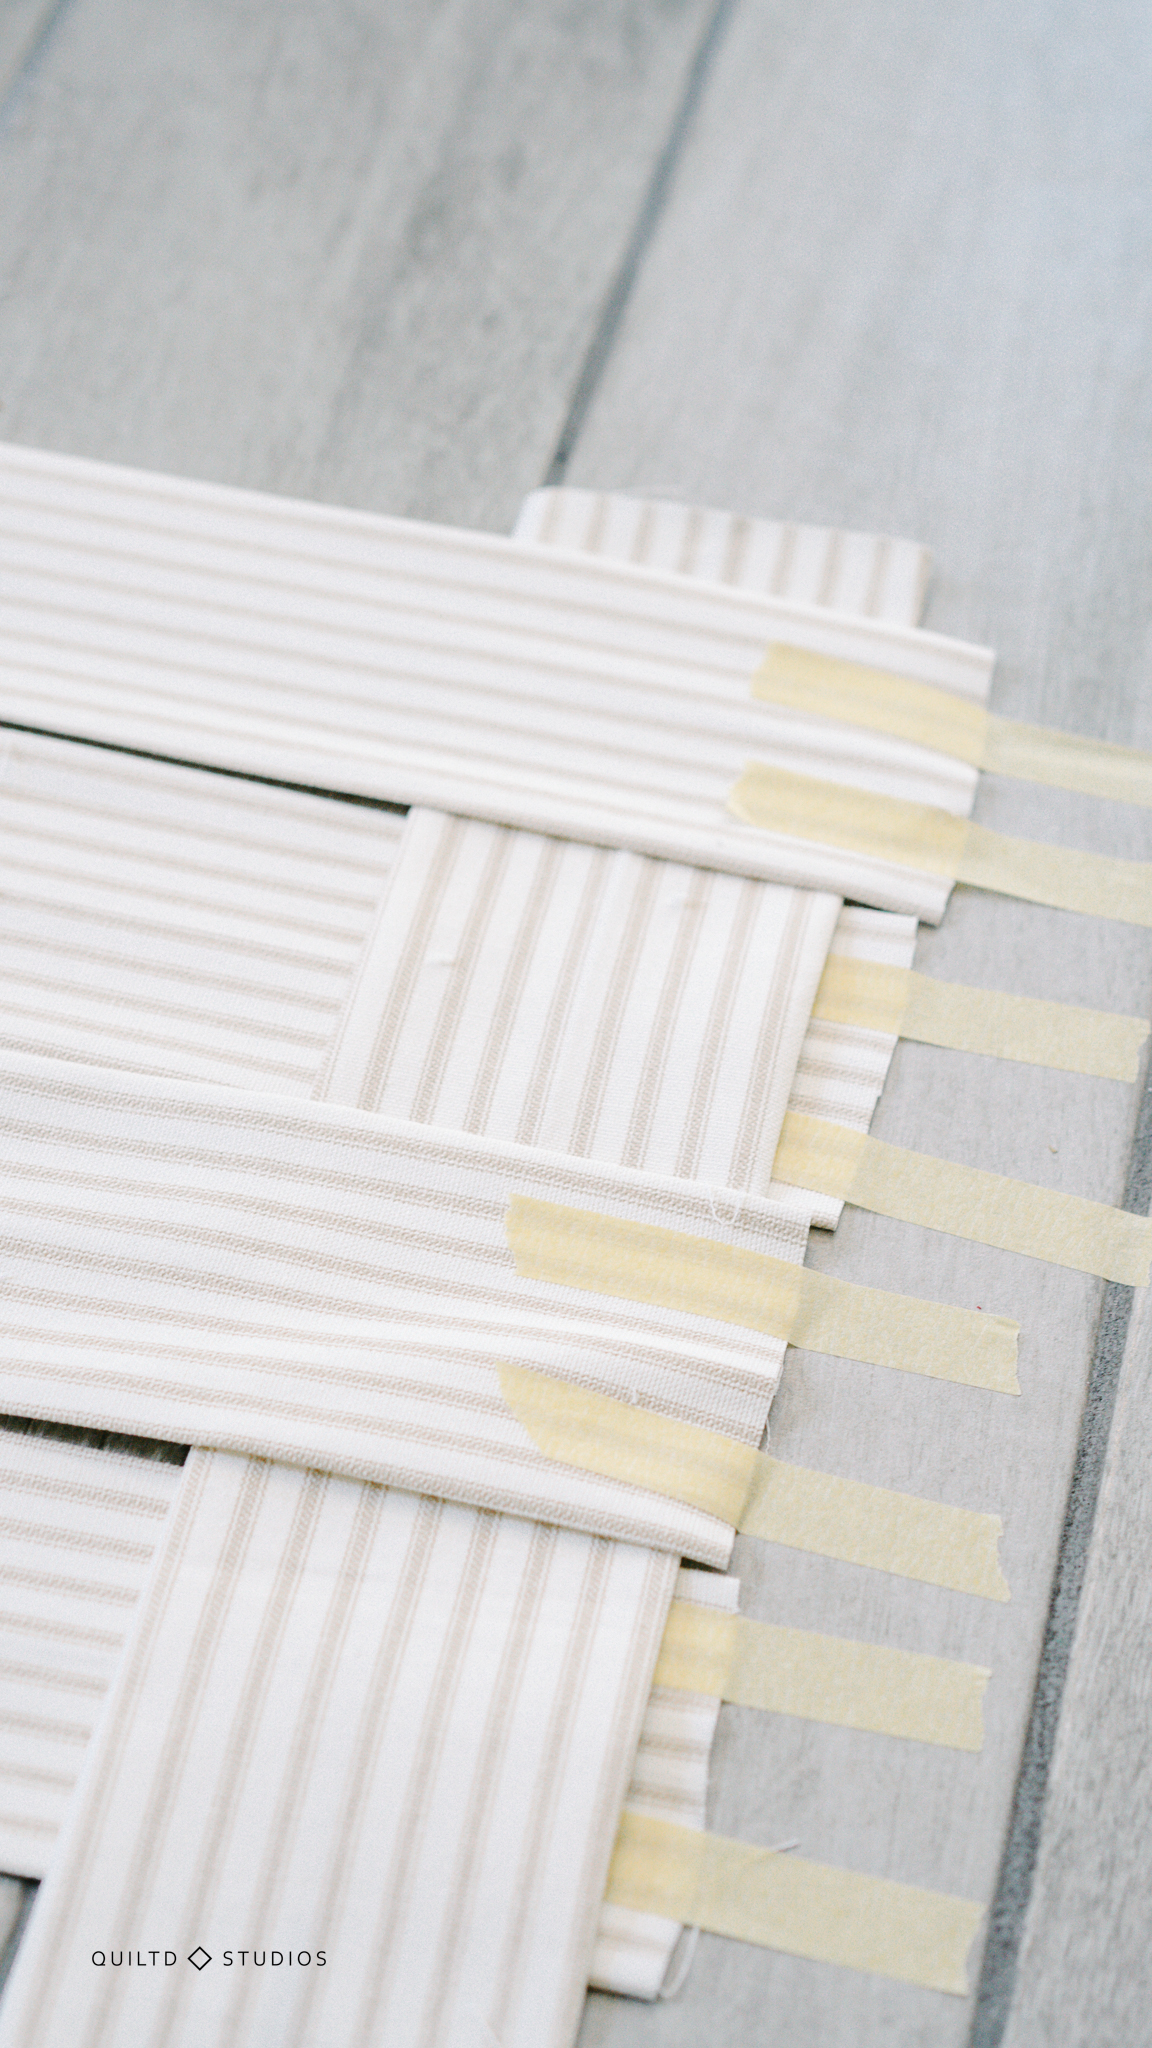
Now repeat with the next strip, reversing the order – Under, Over, Under, Over.
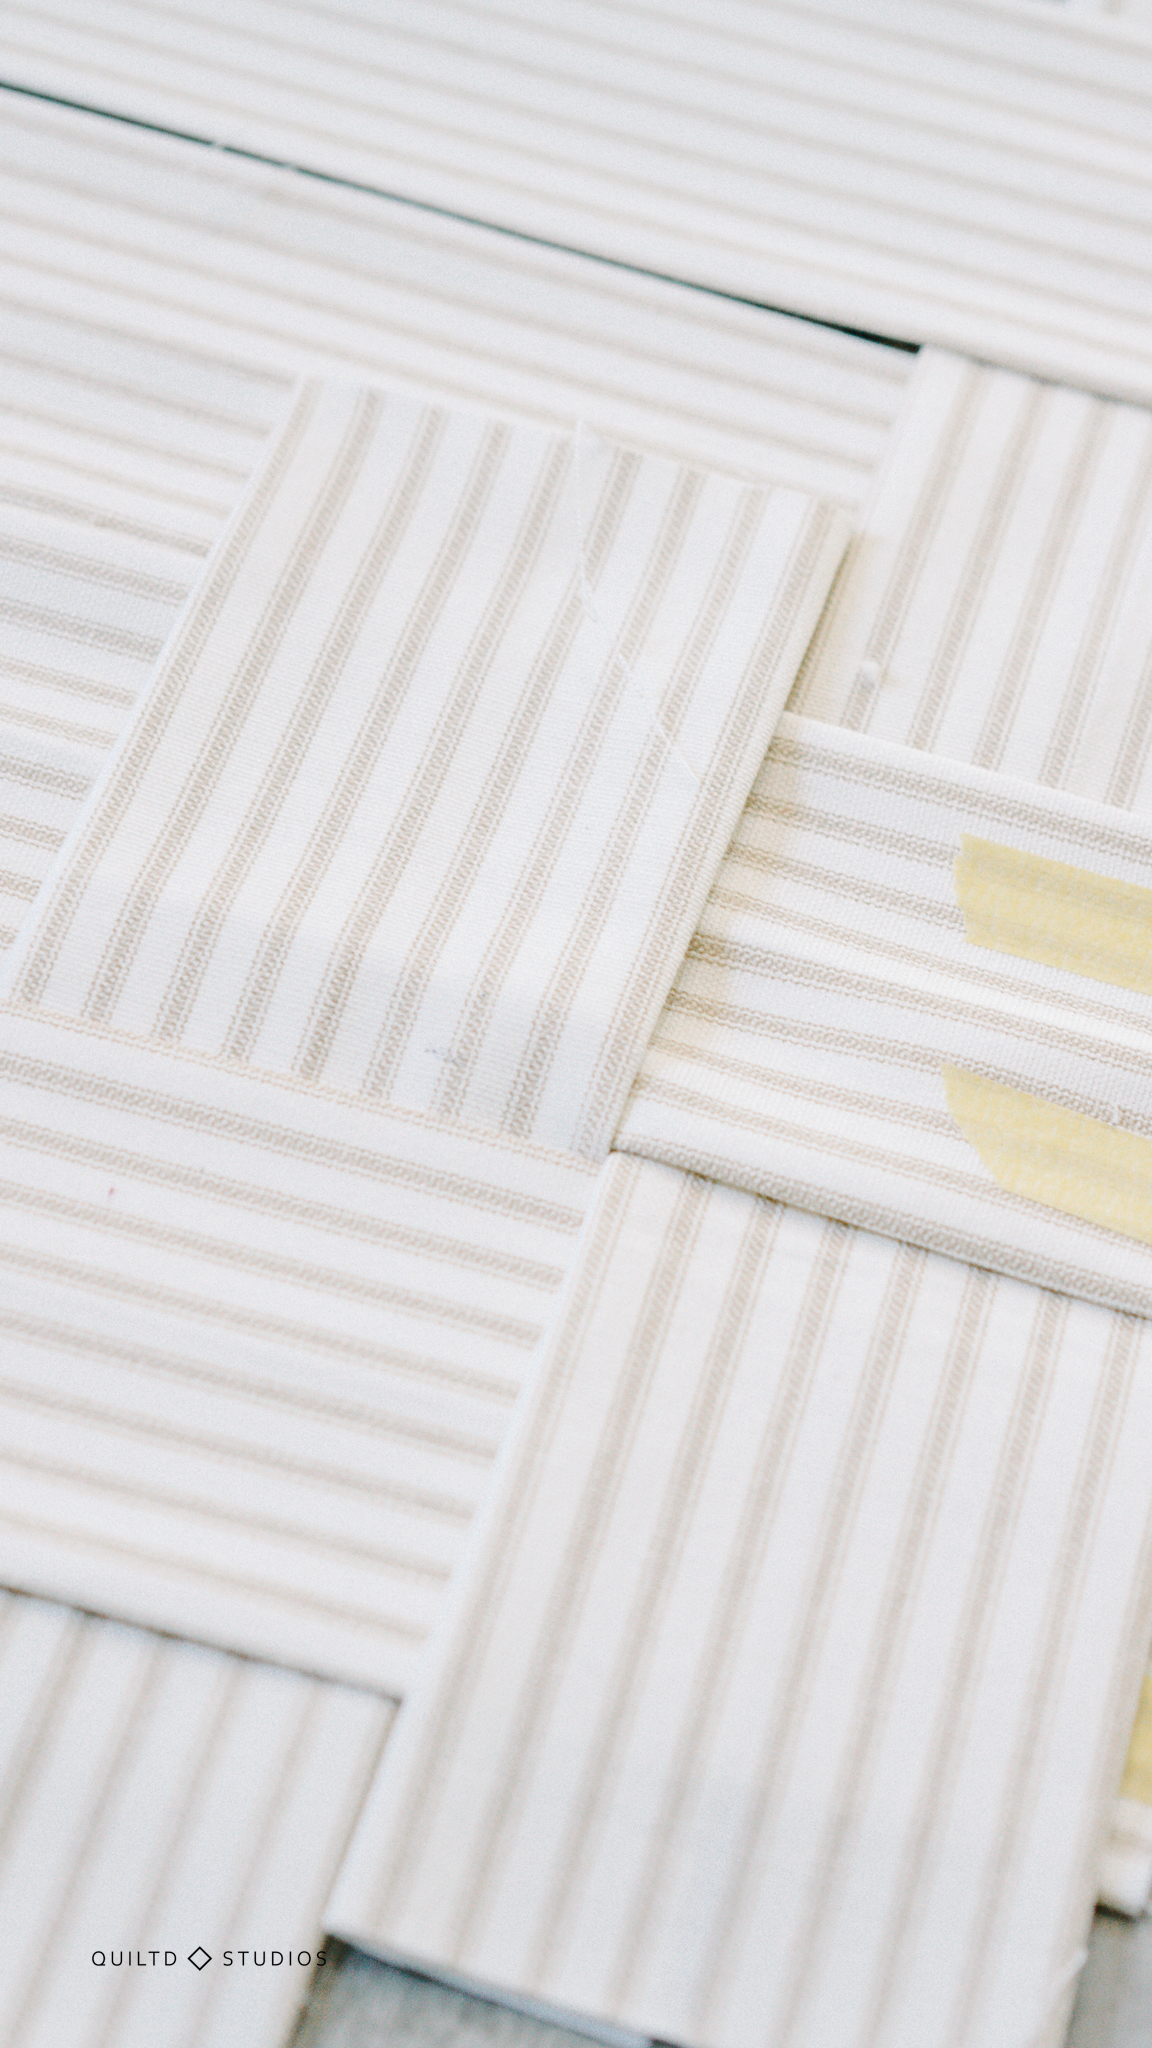

Try to keep each strip as close to the last one as possible.
Repeat these steps until the entire length of the runner has been woven with shorter strips.
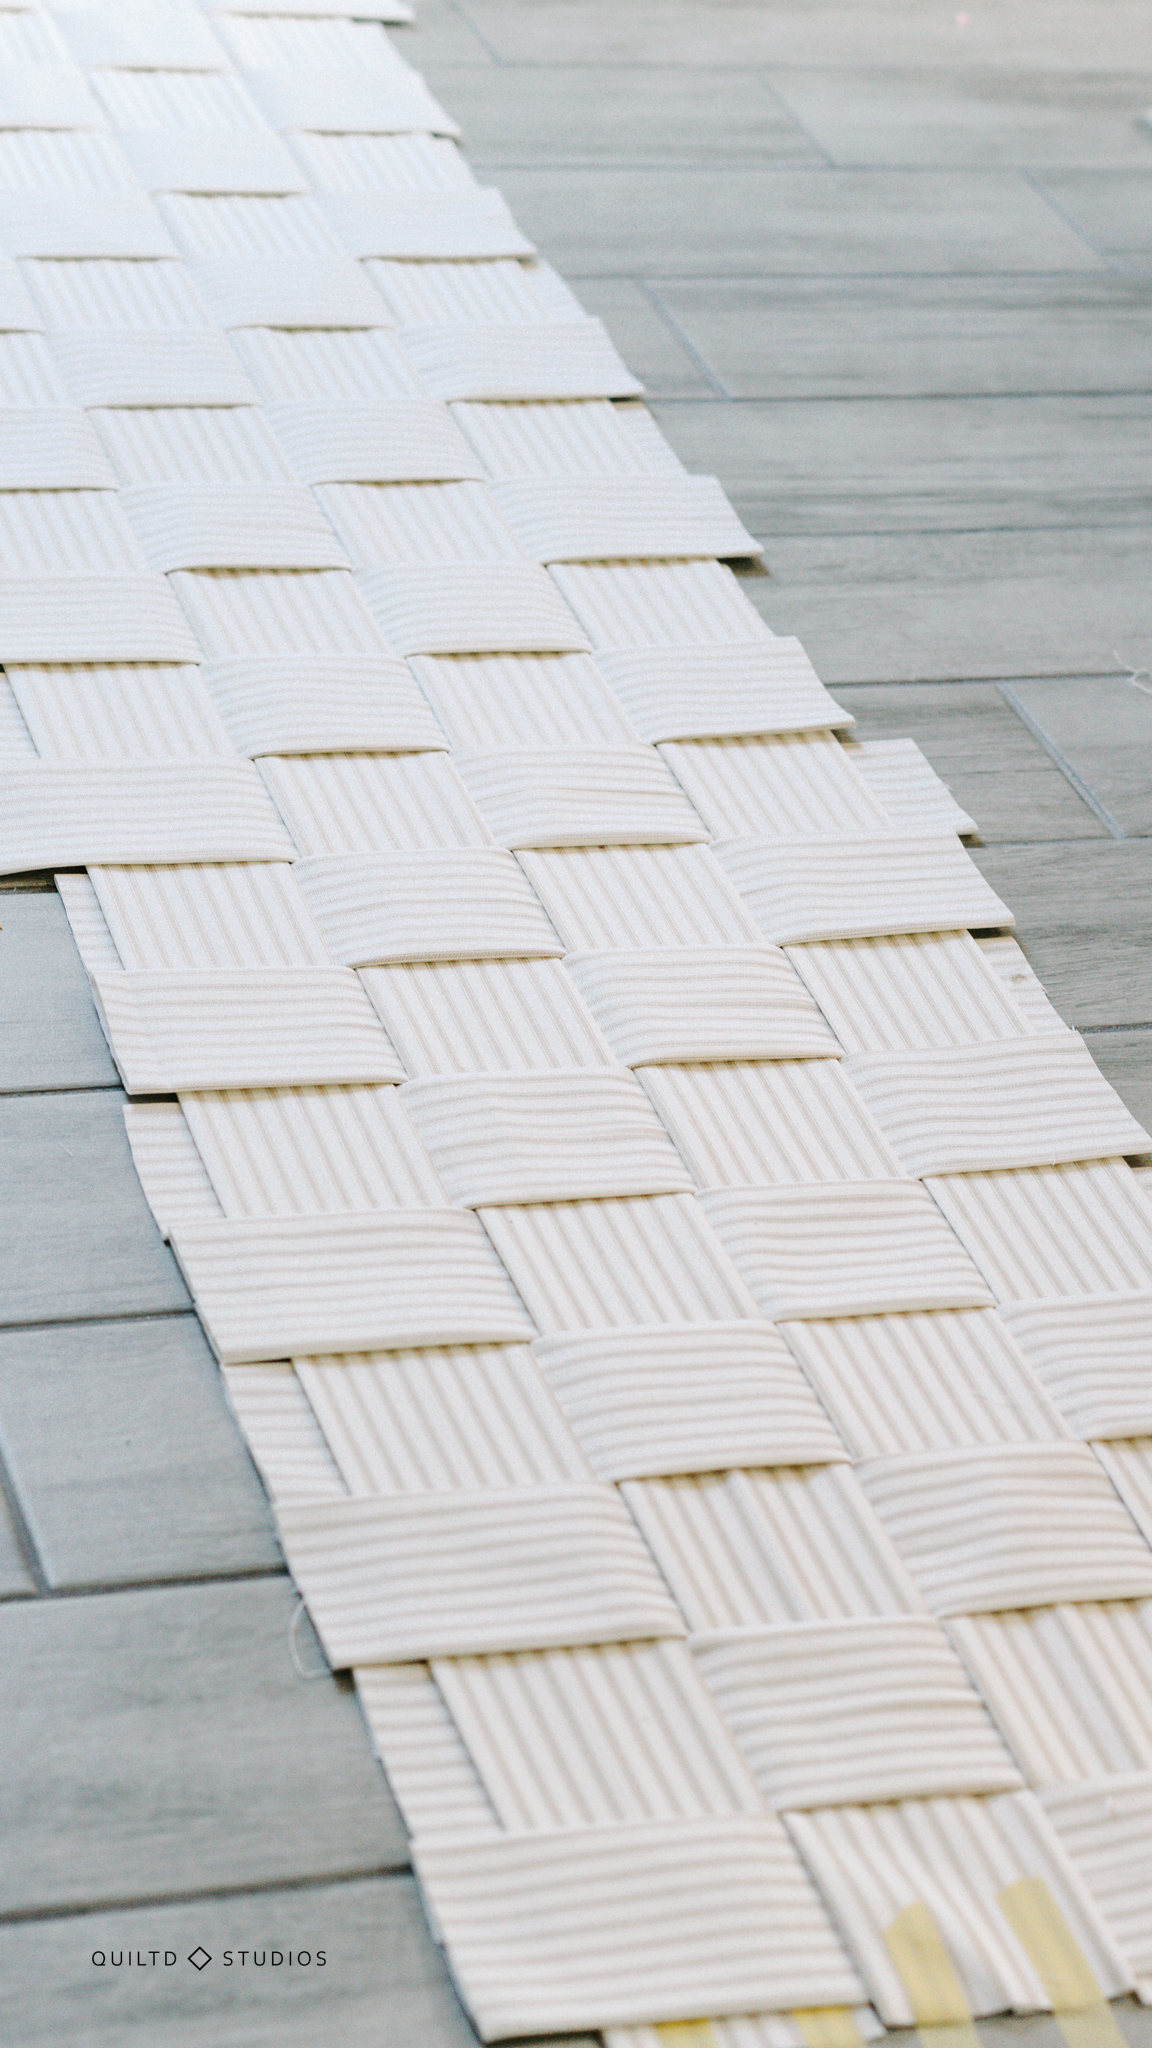
Basting the Fabric Runner
Once everything has been woven, we’ll need to iron on the interfacing.
Pin around the exterior so that everything is secured when you move it. Lay some towels down next to the runner. Very gently move the runner over onto the towels. The folded edges should be up (which you can see in the following picture, I redid!).
I did not use towels (which you can also see in the picture) and I wish I would have! Especially use towels or other heat barriers for wood floors.
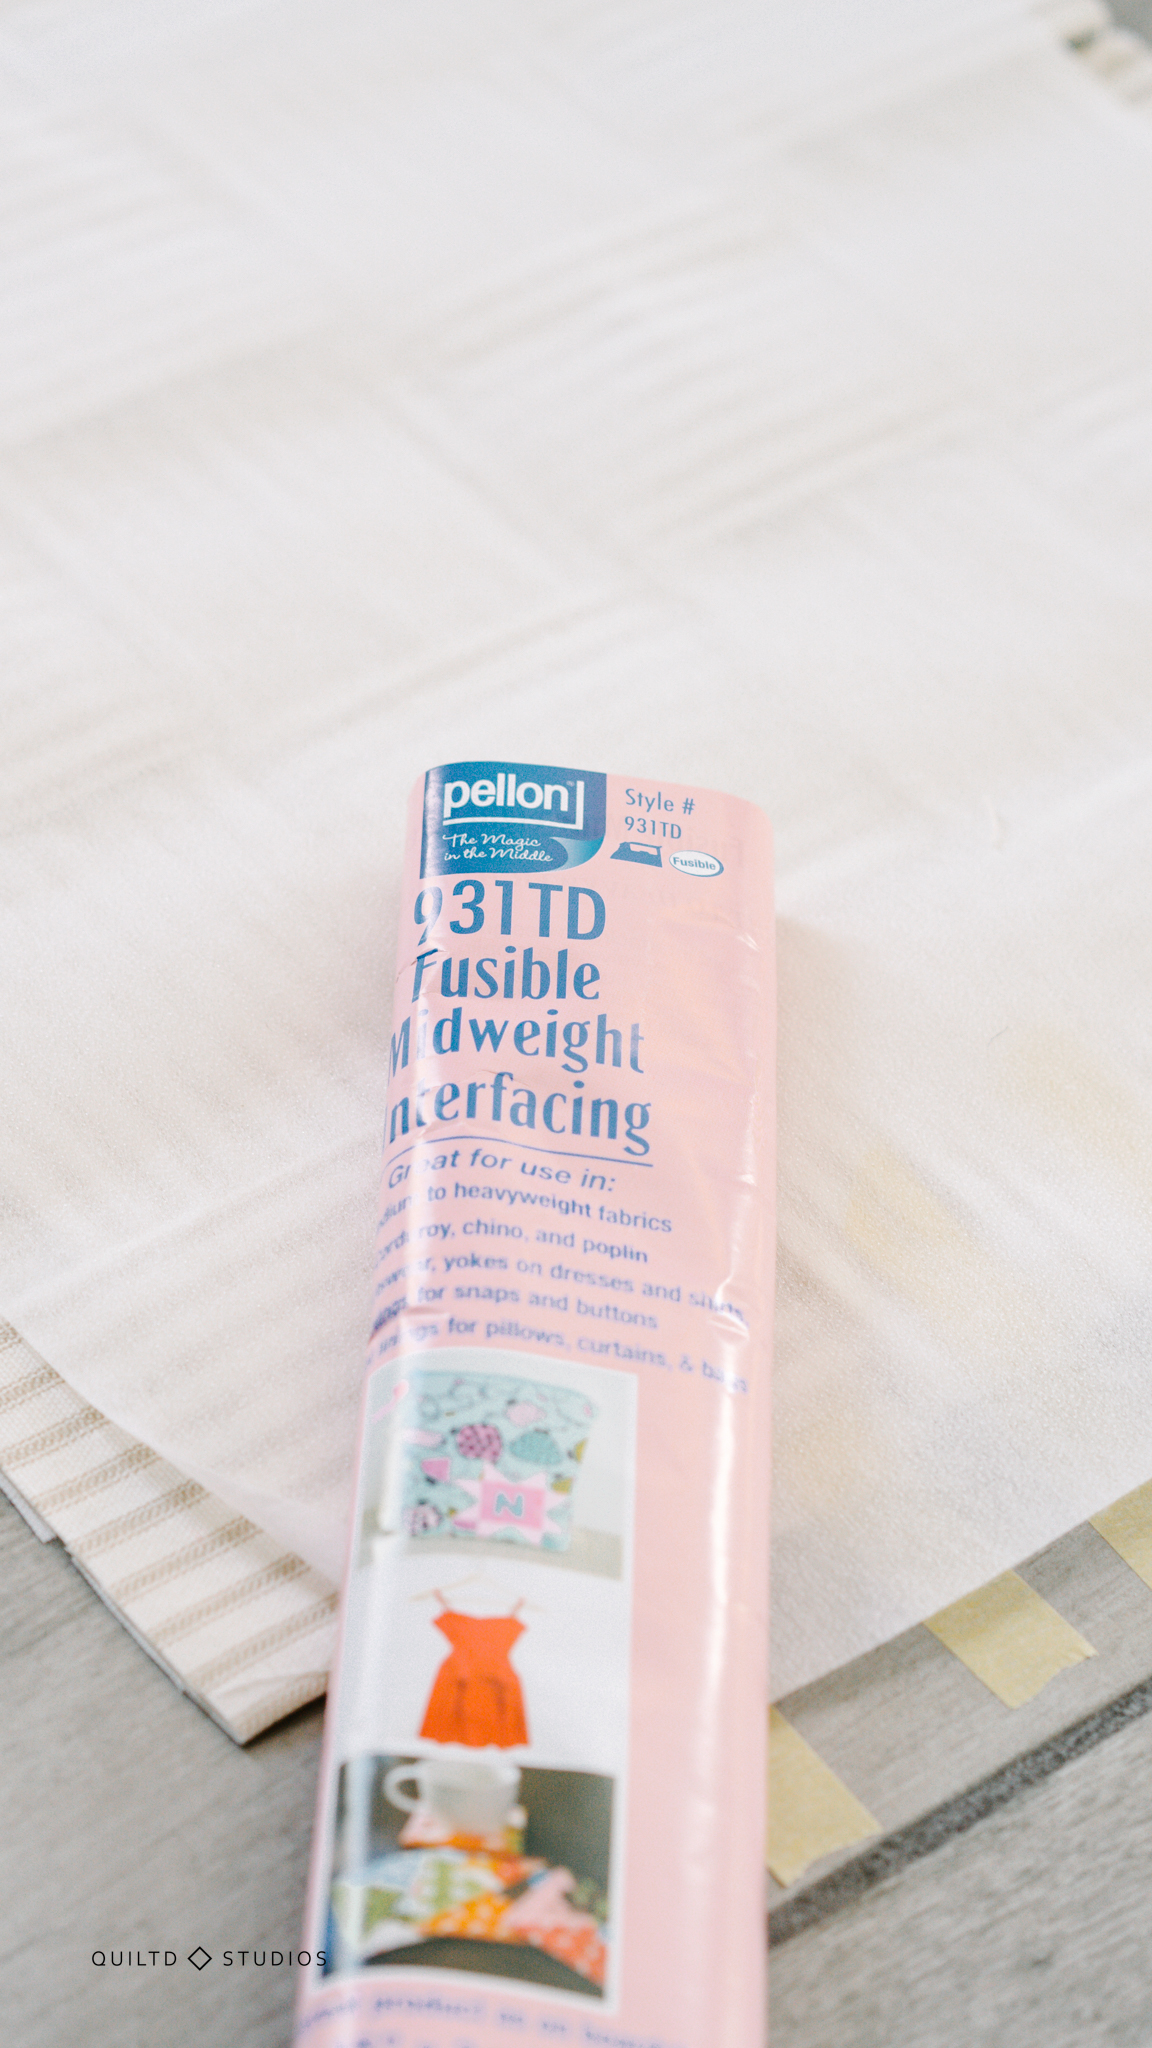
Using a damp pressing cloth (I wet some extra cotton fabric I had lying around) and steam the interfacing onto the back of the runner.

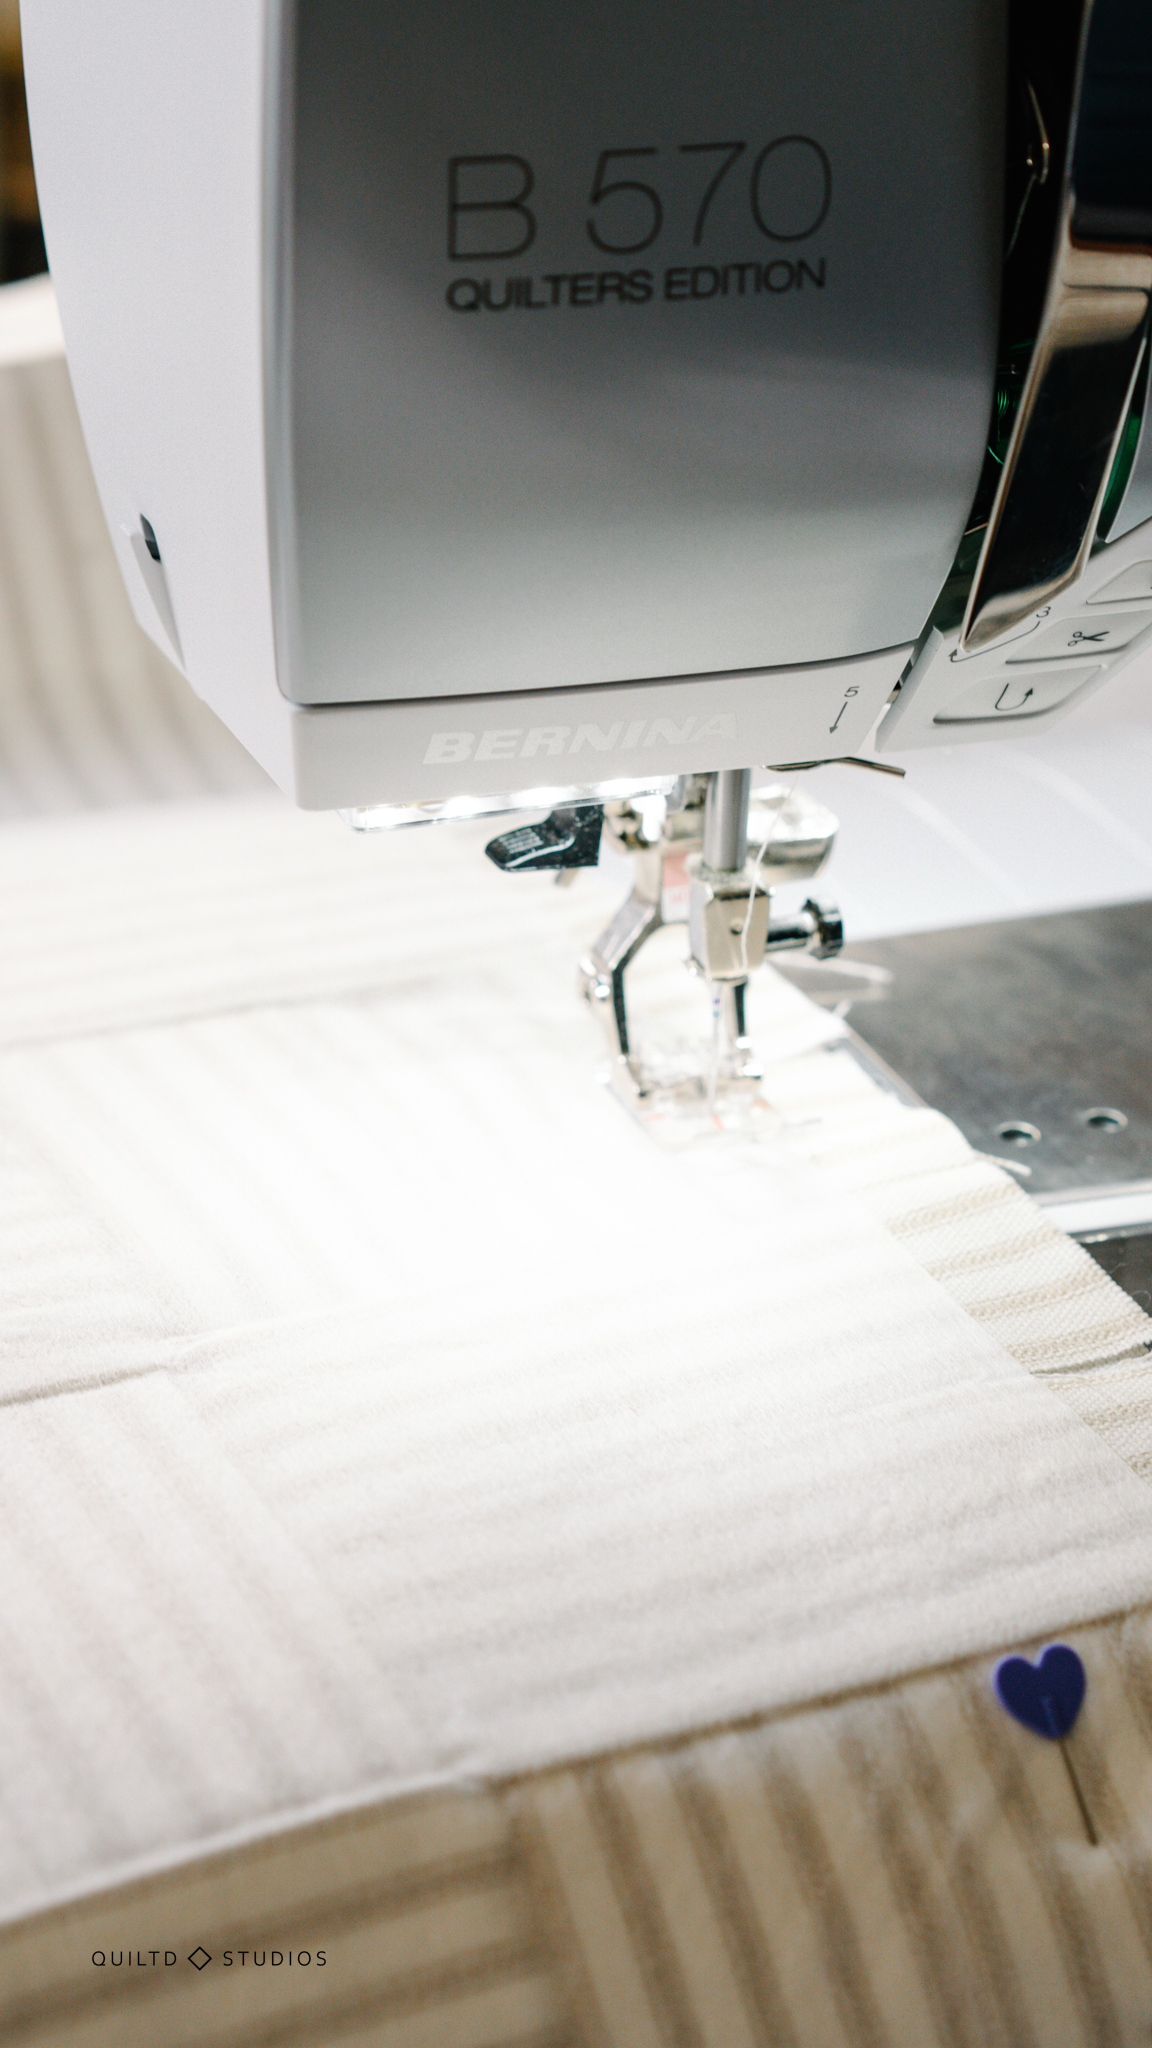
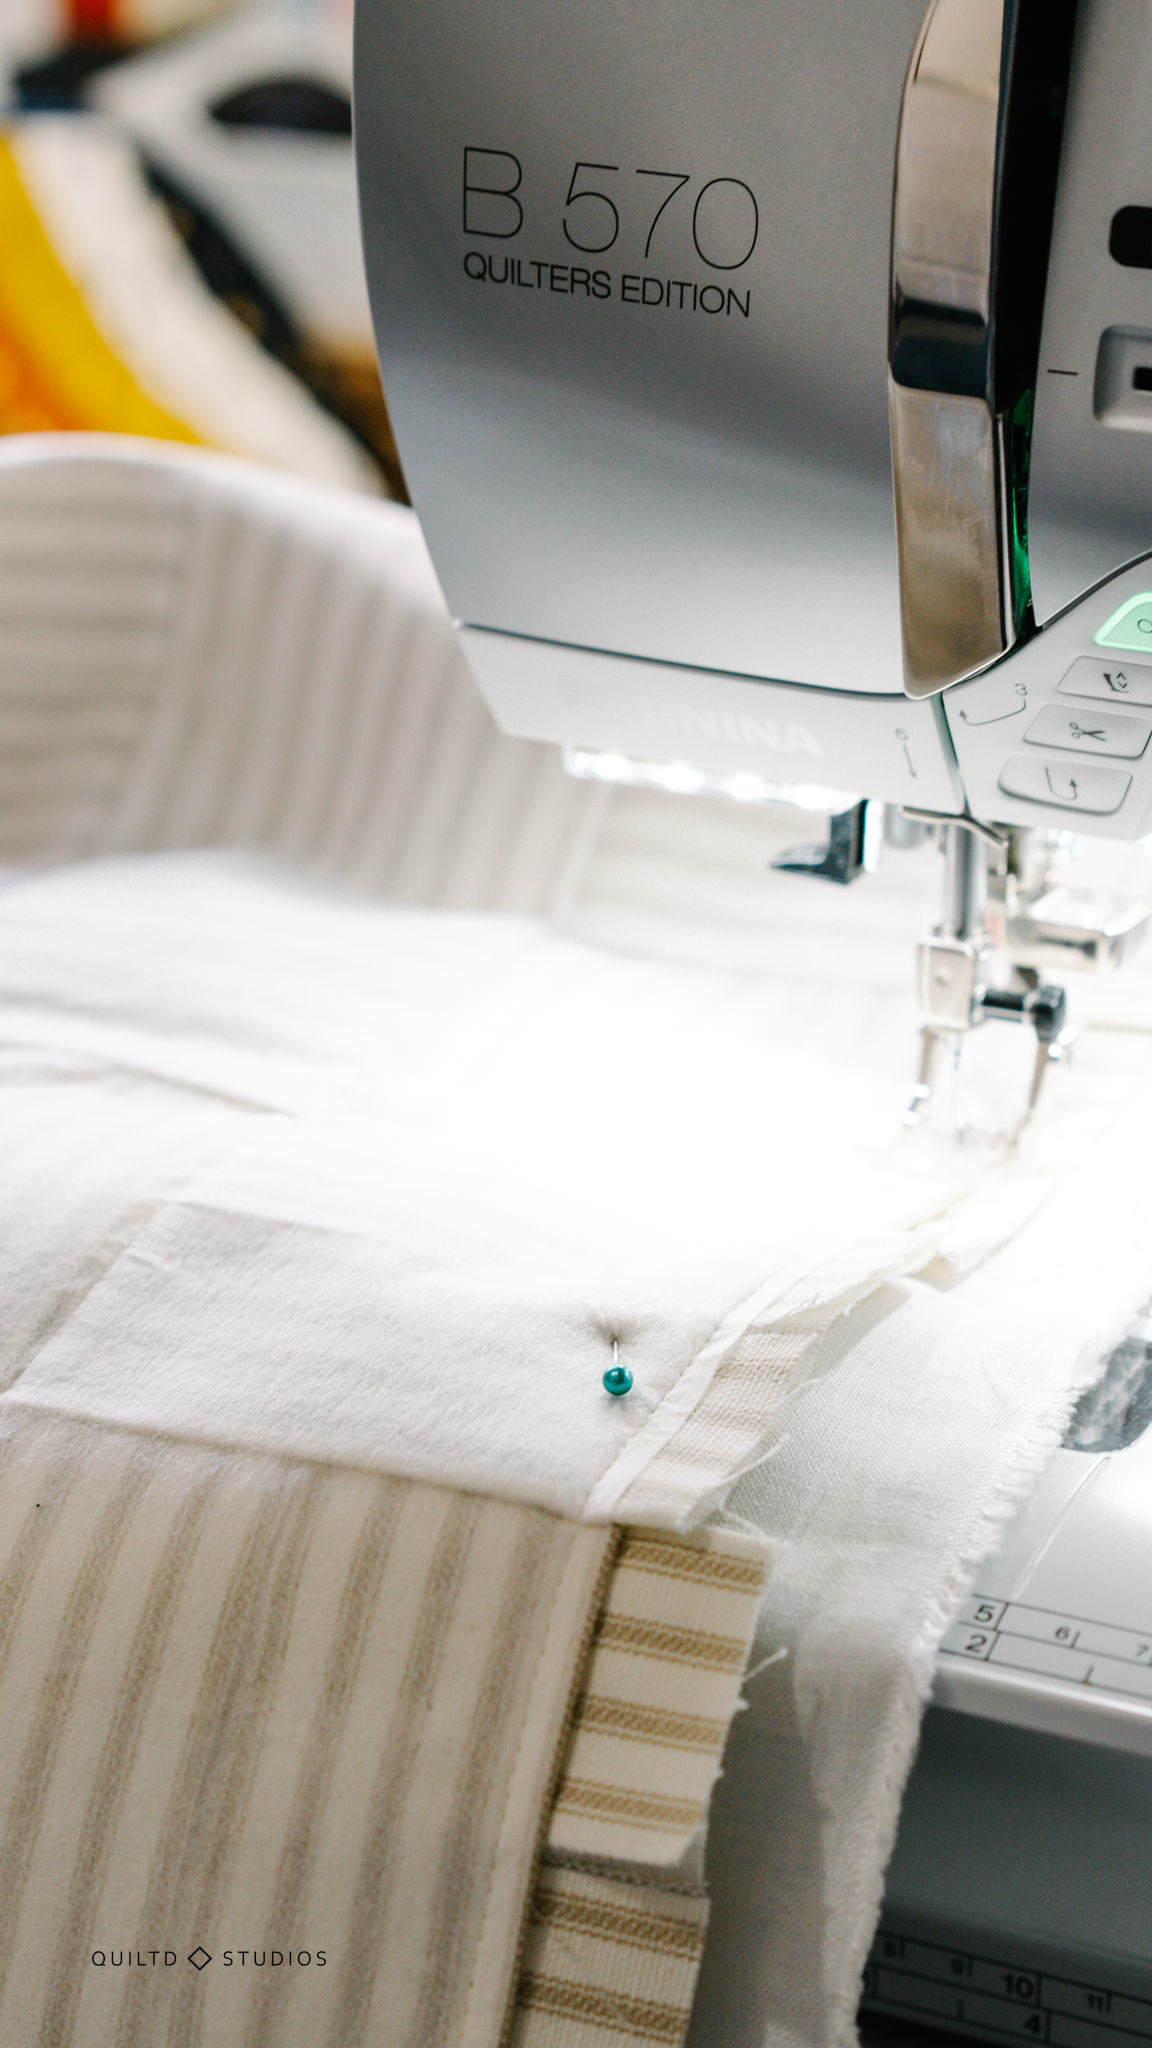
Once you’ve ironed on the interfacing, baste stitch (3-4mm) around the perimeter with a ¼” seam allowance to secure everything together.
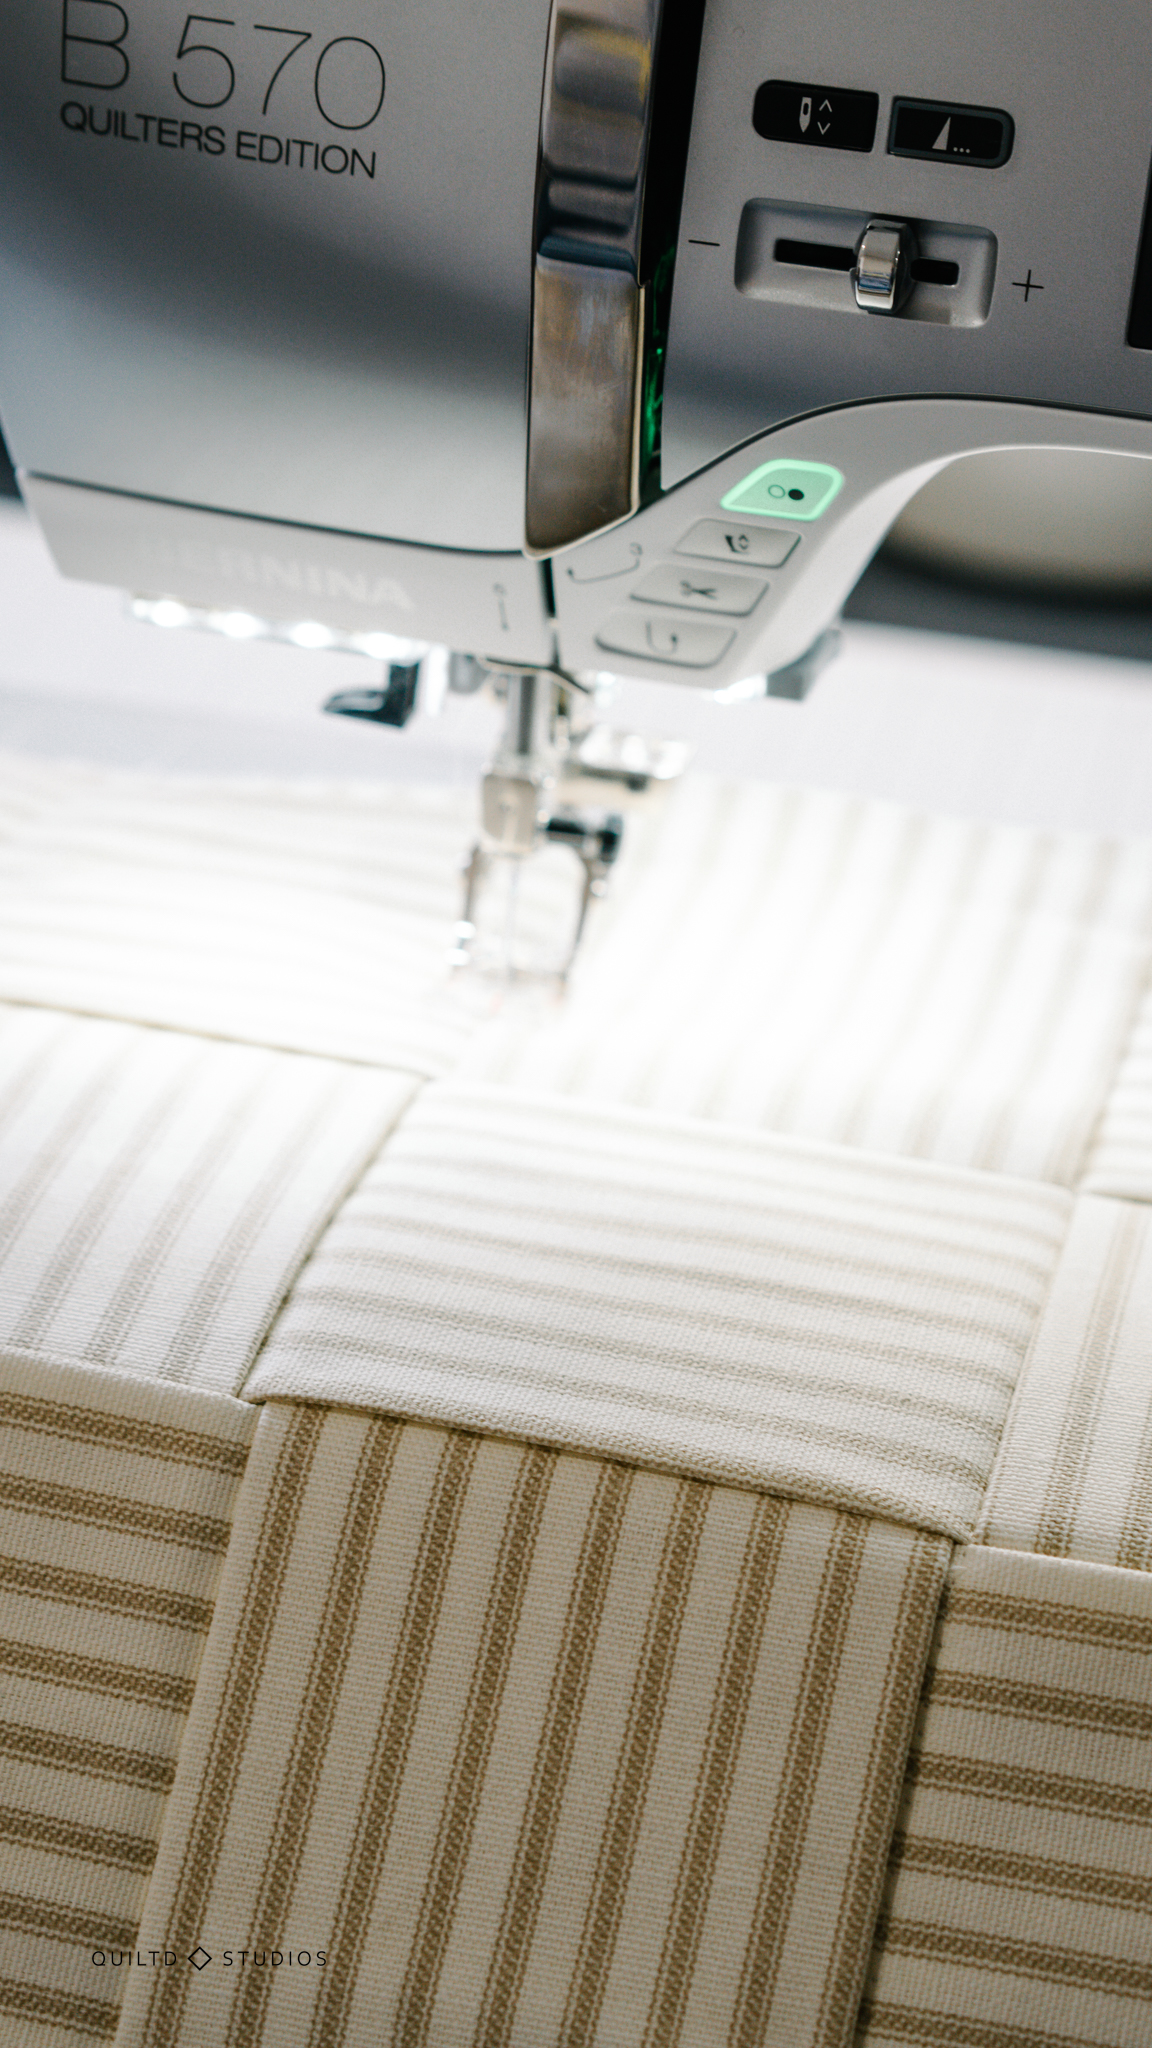
I secured my weave even further by stitching lines down each column, my stitches were hidden in the folds however feel free to stitch it however you wish!
Assembling the Backing of the Runner
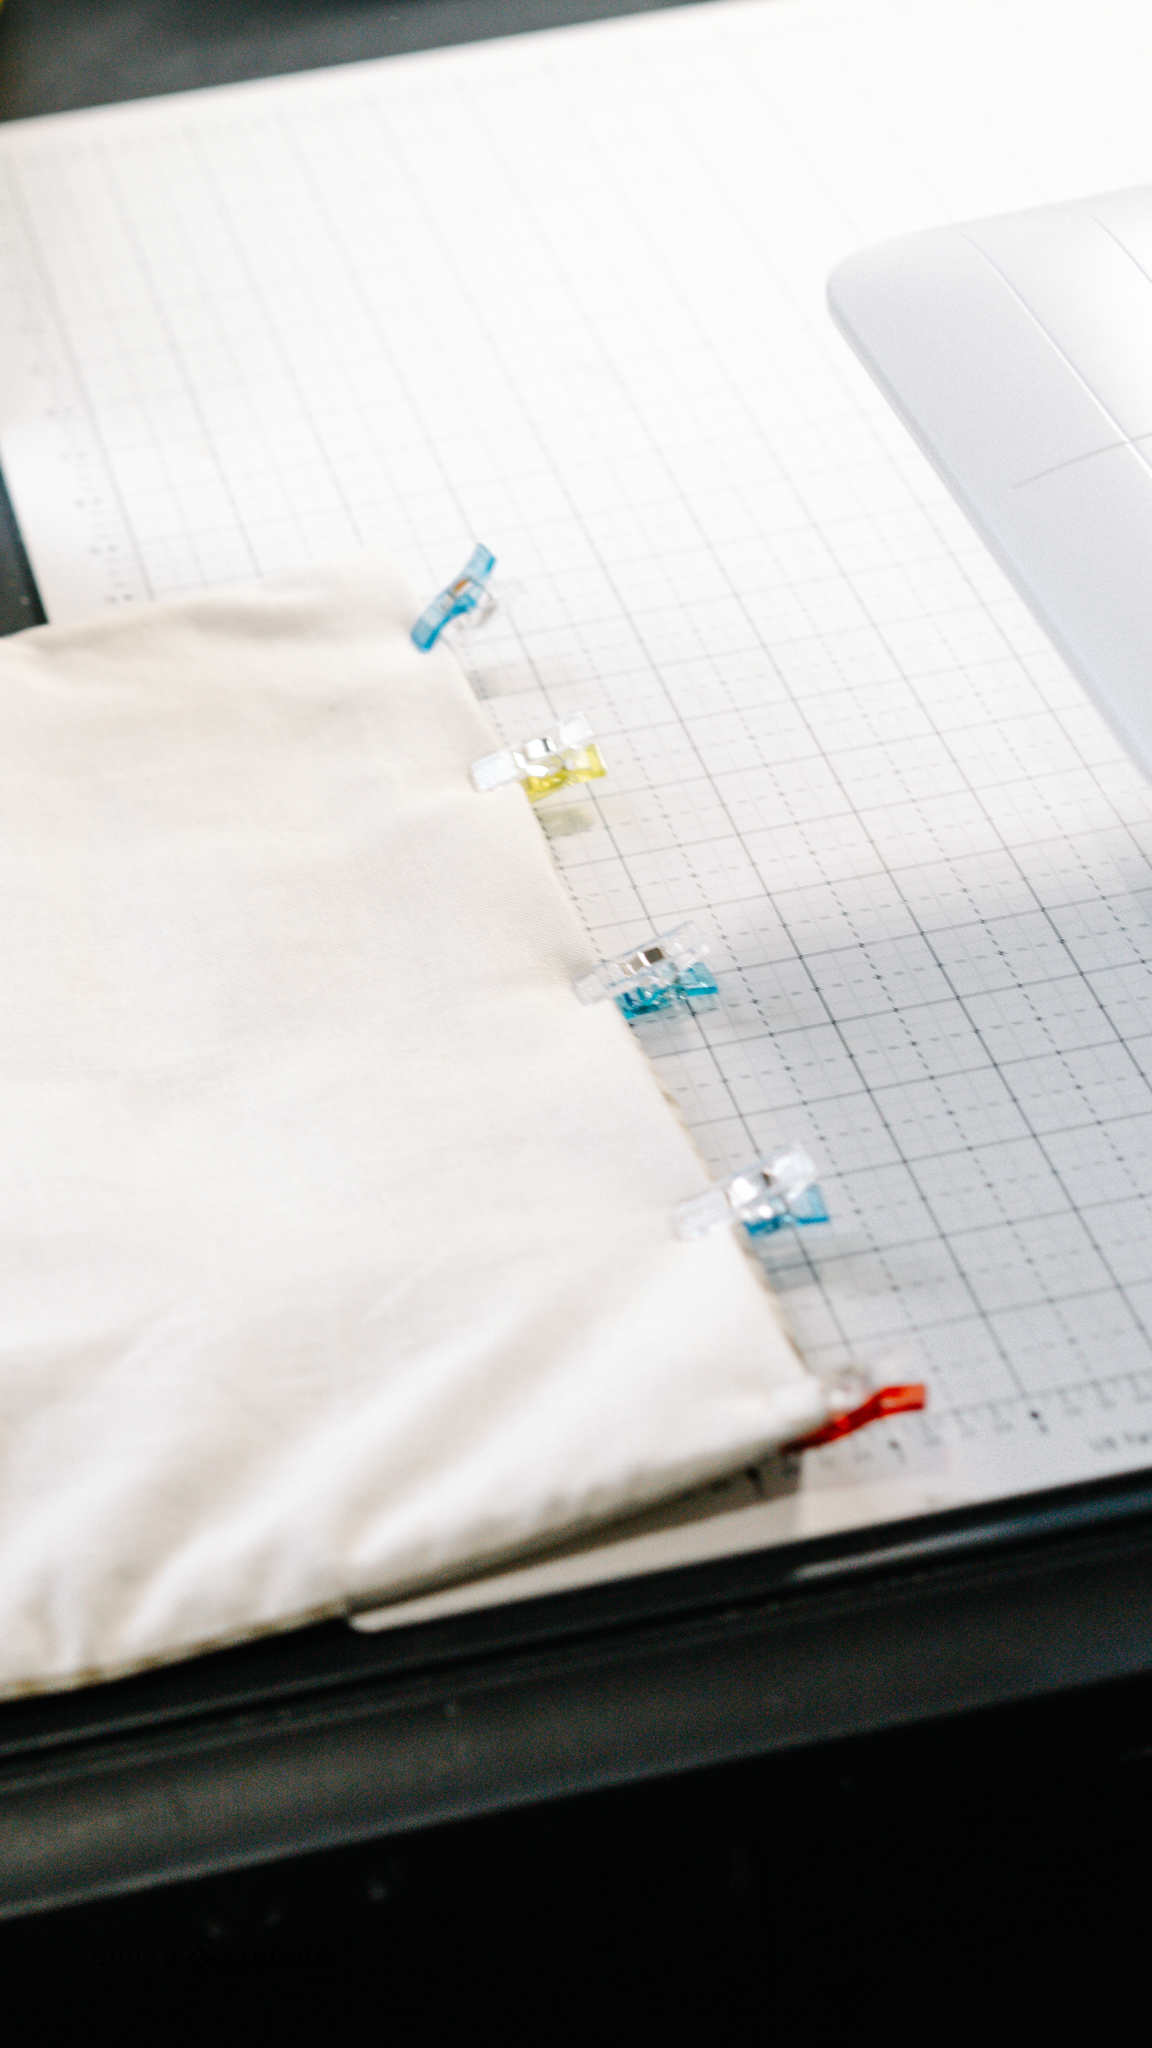
Lay the backing fabric on the floor right side UP and smooth it out. Place the runner right side DOWN and make sure that it’s centered on the backing fabric.

Pin around the perimeter to secure it, leaving one of the short ends open (so we can flip it!).
Finishing the Runner
Take the runner to the sewing machine and following your basting stitch as a guide stitch around the runner leaving an opening to flip it.
When you come to a corner, you can round the corners by sewing a small diagonal line instead of a sharp turn. For sharper corners, when you’re nearing a corner, put your needle down and raise your foot.
Turn the runner so that it’s now the correct direction. Lower your foot and keep stitching. Back stitch at the beginning and end.
Trim the edges to be even, I kept my seams about 1/4″.
Turn the runner right side out, making sure to push out the corners. Fold in the open edge by ¼” to match the rest of the runner and either hand stitch or machine stitch closed.
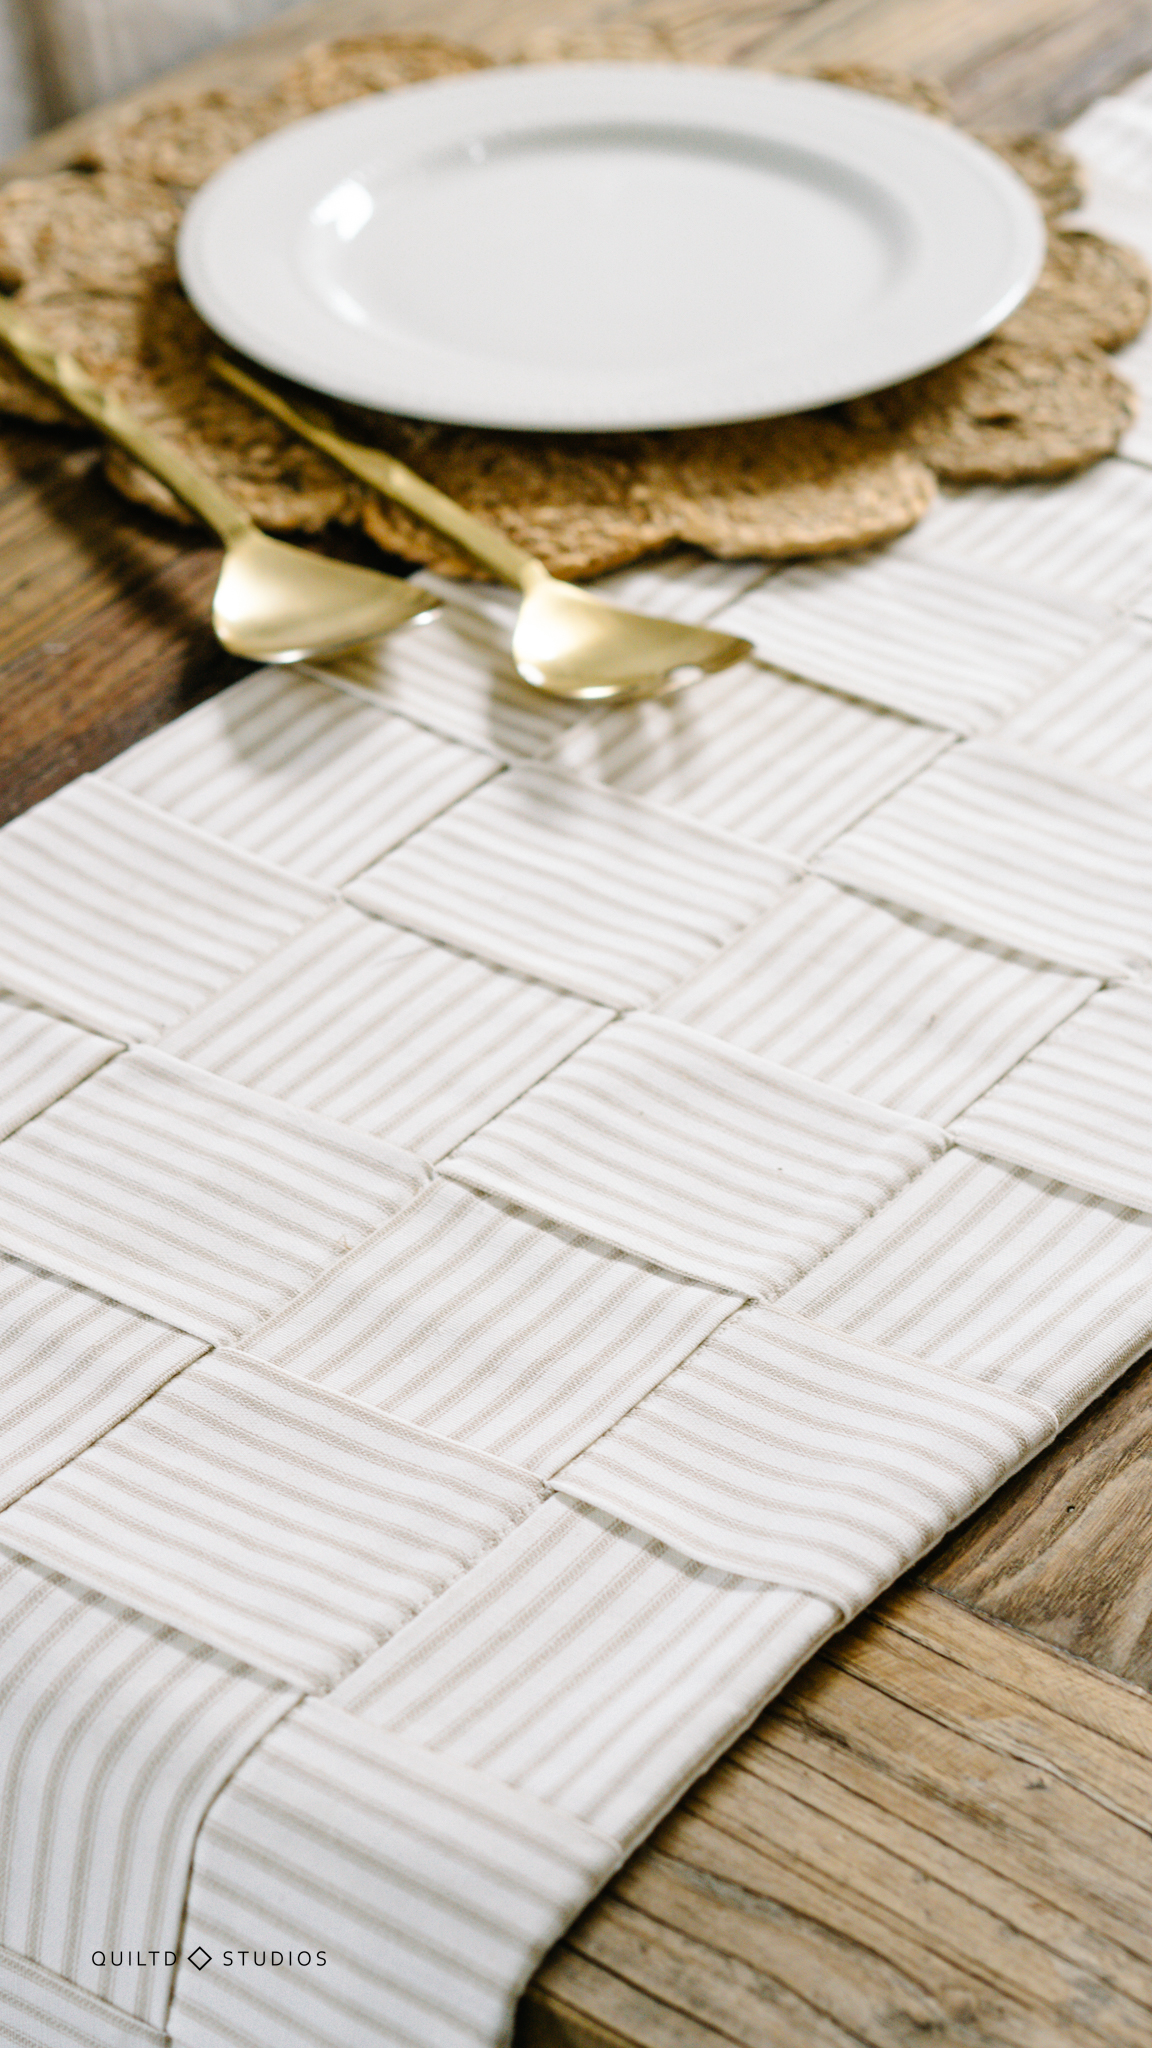
That is it! Your beautiful runner is complete! It’s stylish, modern and the best part? You made it! I wait to see your runners, make sure to tag @quiltdstudios on Instagram so I can see your runners!
This is a pretty project but I can’t figure out how you got 8 strips from 45” wide fabric. 7 x 6” = 42”. I bought two and a half yards and with only six long strips, I cannot make it 90” long. Rather disappointing.
Dear Sara,
She used 57″ wide fabric and wrote that you would need more then 2,5 yards if you have a 45″ wide fabric. This is what she wrote in the material section:
2.5 Yards of Ticking Fabric 57″ wide (you’ll need more for 45″ wide fabrics, also cotton, canvas or linen would work too) for a 72” runner, Sub cut into (8) 7” x 90” strips
Love this! Have to try this when my eye-operation no. 2 is done. Think I try doing a pillow first as Susan Roberts said earlier in the comments. Thank you for a lot of inspiration.
Such a beautiful table runner! For a 72″ table runner, why did you have 90″ strips? Or is it a 90″ table runner for a 6 foot table?
I had extra long strips for taping/seam allowance and in case I needed more room, you can definitely do shorter strips (80″) if you’d like 🙂 I have a 6″ table and my runner goes from edge to edge.
I had so much fun making this table runner. It came out perfect and looks so nice on my kitchen table.
I was surprised how heavy it turned out, but should have thought that realizing I was working with Duck type fabric.
I think it would be pretty in and almost solid or quilting cotton striped fabric too. I am thinking of white with gold or silver running through the fabric would be classy.
Thanks for this fun project.
Wow, what a great project. I like this because of the texture that weaving fabric strips gives you. Plus you can modify it to make it a bit narrower to fit your size table. I guess you did NOT sew the long strips and left them raw edges? Also, calling them “lengthwise strips” instead of bias strips” would help.
Love it! I have a bolt of ticking fabric from previous projects…..this will be perfect! I originally purchased this so I could make a lap size quilt of 5″ squares and put buttons on the corners to attach it together instead of tying or machine quilting!
What a beautiful runner and a really fun project. For those worried about washing, you could sew the fabric into tubes first. My only negative is I wish you hadn’t said you created a ‘single fold bias tape’ because it’s not bias and fabric cut & folded with the grain cannot be used in place of bias tape in most situations. Otherwise, absolutely beautiful project. Thank you for sharing. g
Great idea about the tubes! And I will make the correction now, you’re totally right about the bias cuts!
Your table runner is wonderful! I appreciated the pics and detailed pattern instructions too, along with the fabric choice. I wait to go shopping and check out the ticking fabric. Thank you!
Can’t wait to try this beautiful table runner! Thank you Jess for your tips and excellent instructions! 🌷
Great tutorial & versatile pattern/technique. I might be leary to wash this runner. What is your opinion on gentle machine or hand washing? Prewash the fabric?
I think if you secured the top well by stitching it together and maybe even secured the backing to the top after the runner is completed, you wouldn’t have a problem washing it on delicate, you would just need to iron it really well afterwards. I hope that helps!
This is very lovely and I want to try making it soon. I may make a pillow first though – kind of like a sample. Great pics and tutorial. Thank you for sharing this!
That’s a wonderful idea! You’ll have a share a picture!
Definitely want to give this a try. I feel this technique can be used in a variety of projects. Thanks for the tutorial!
I can’t wait to see it, I think this would be great for all sorts of things. With smaller strips you could make a super cute potholder or a pillow, the options are endless!