 BERNINA Corporate Blog -
I’ll be the first to admit – as someone who primarily sews garments, the decorative stitches on my b79 really don’t get much use in most of my projects. That said, the decorative stitches are so fun to look at, and I really wanted to come up with a way to showcase some of my favourites. I’ve also been meaning to replace my old rectangular placemats with new round ones to fit our new table… perfect excuse!
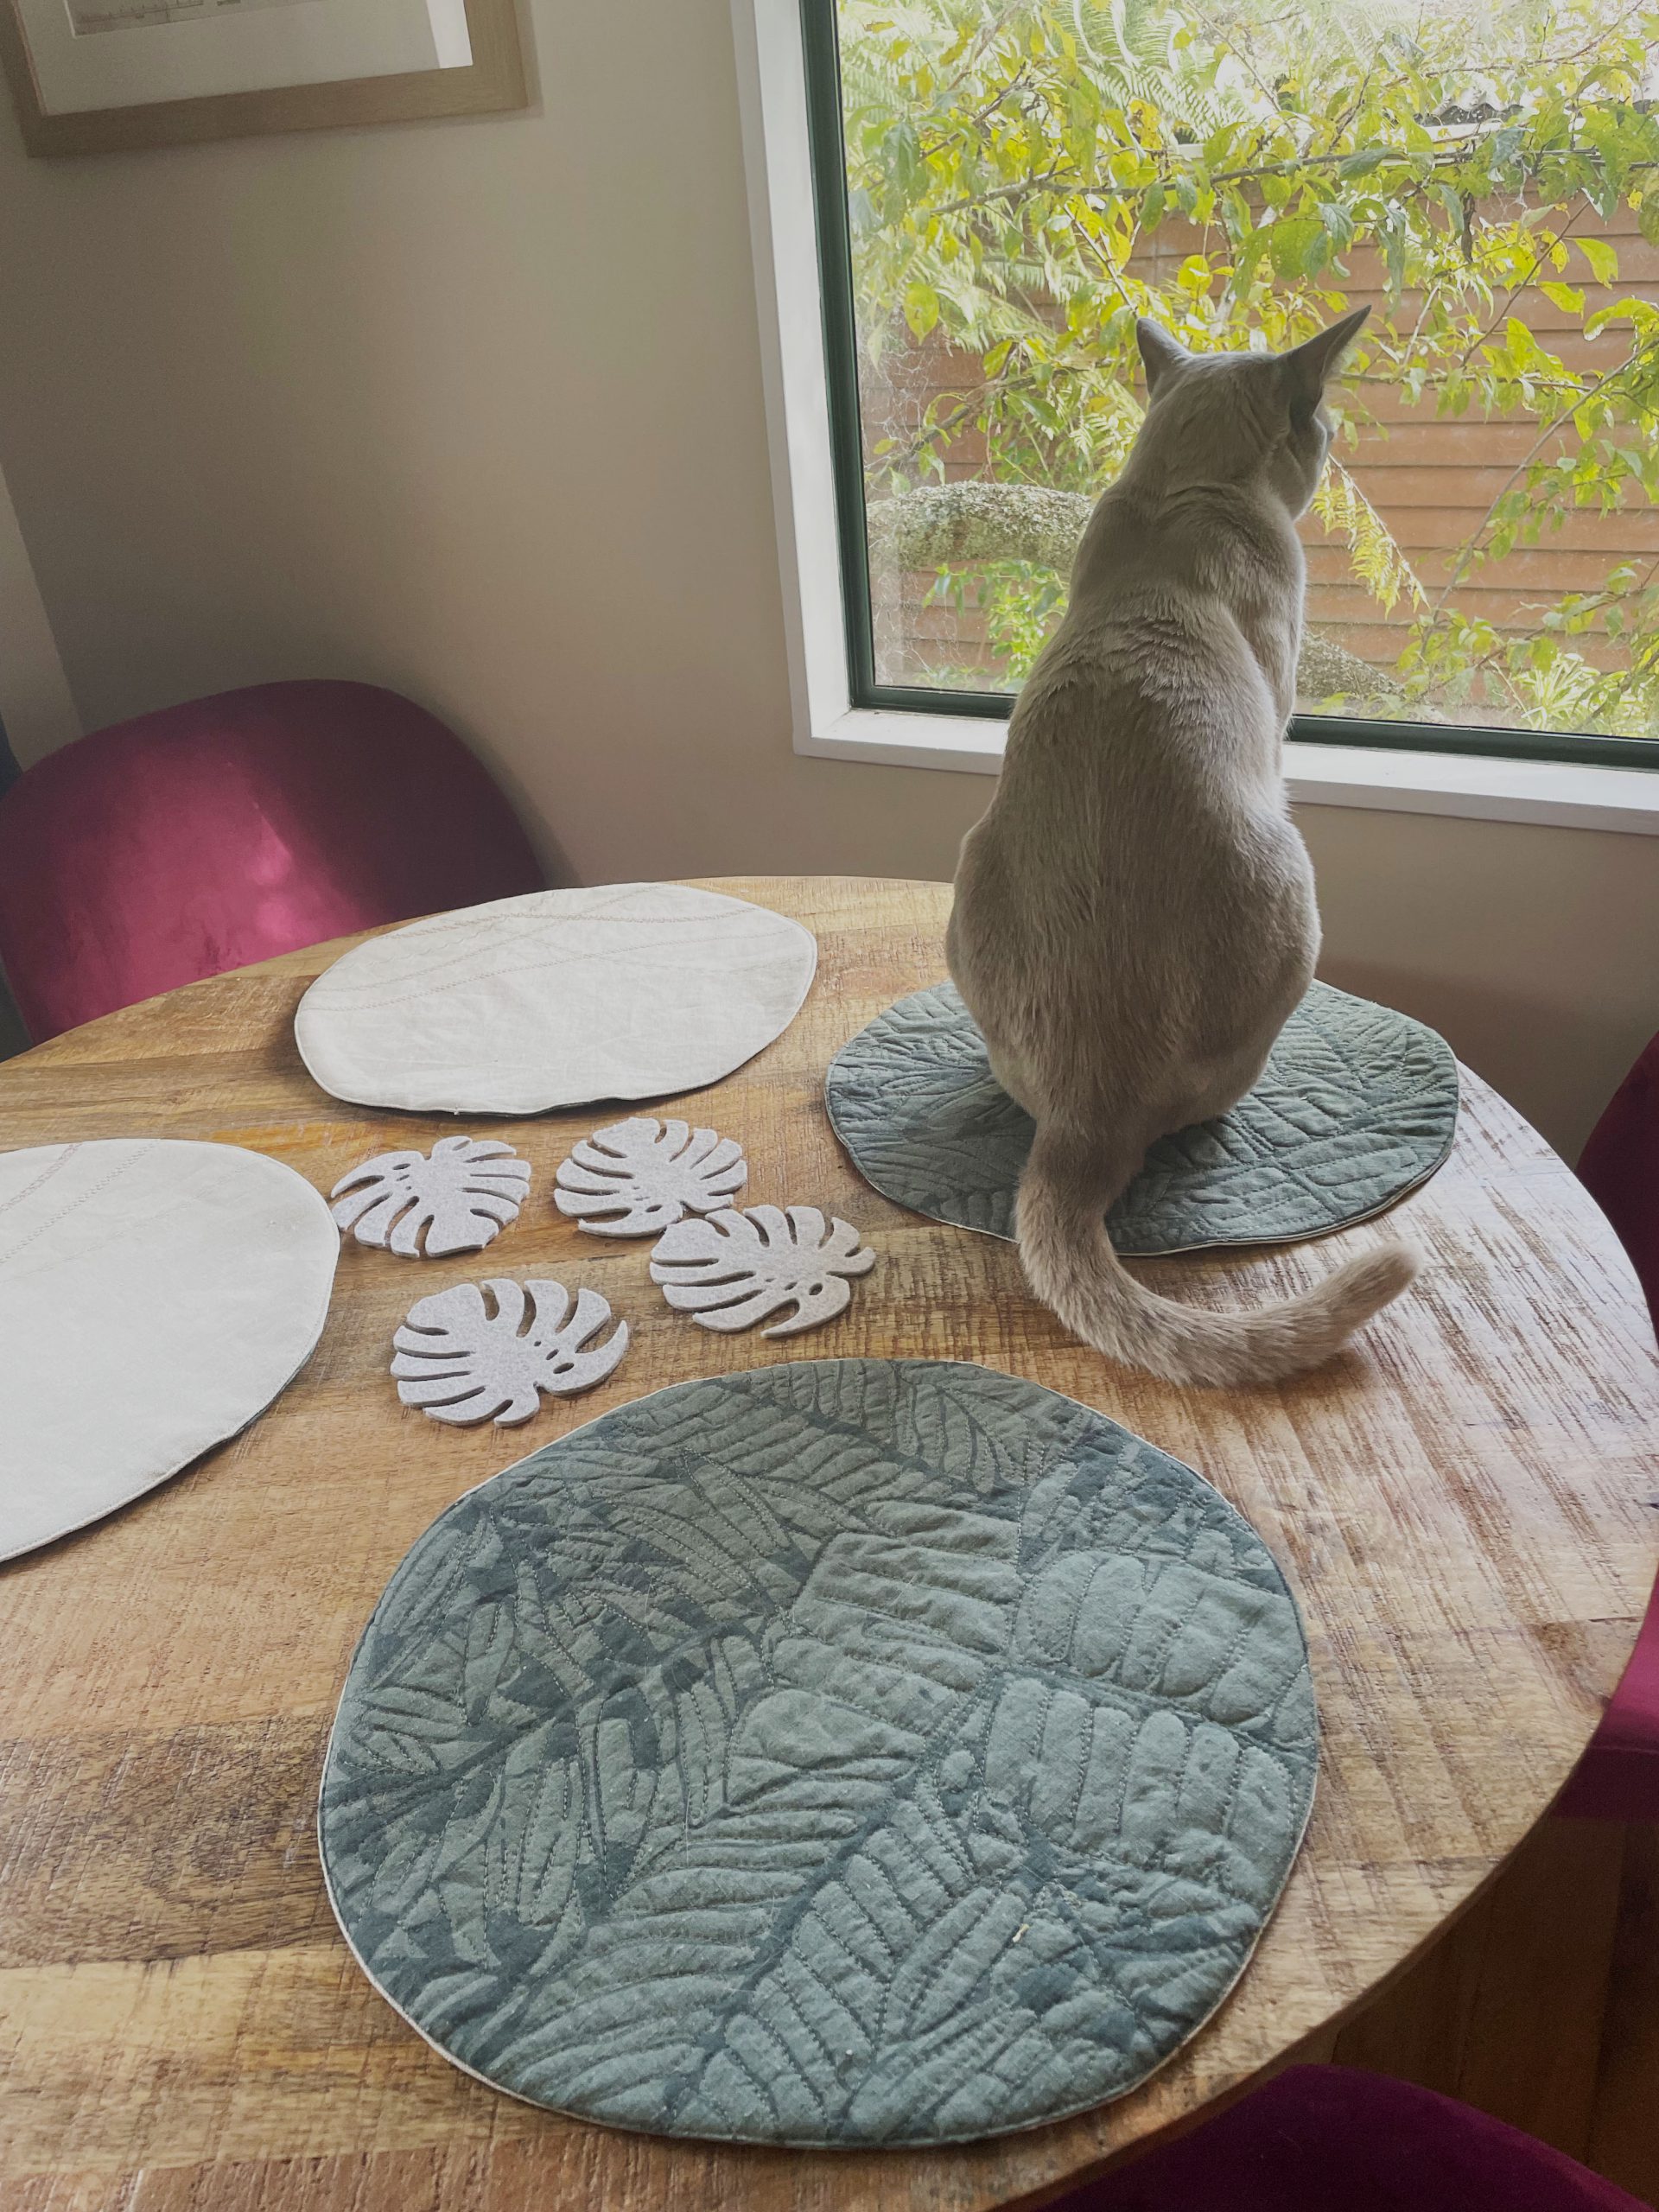
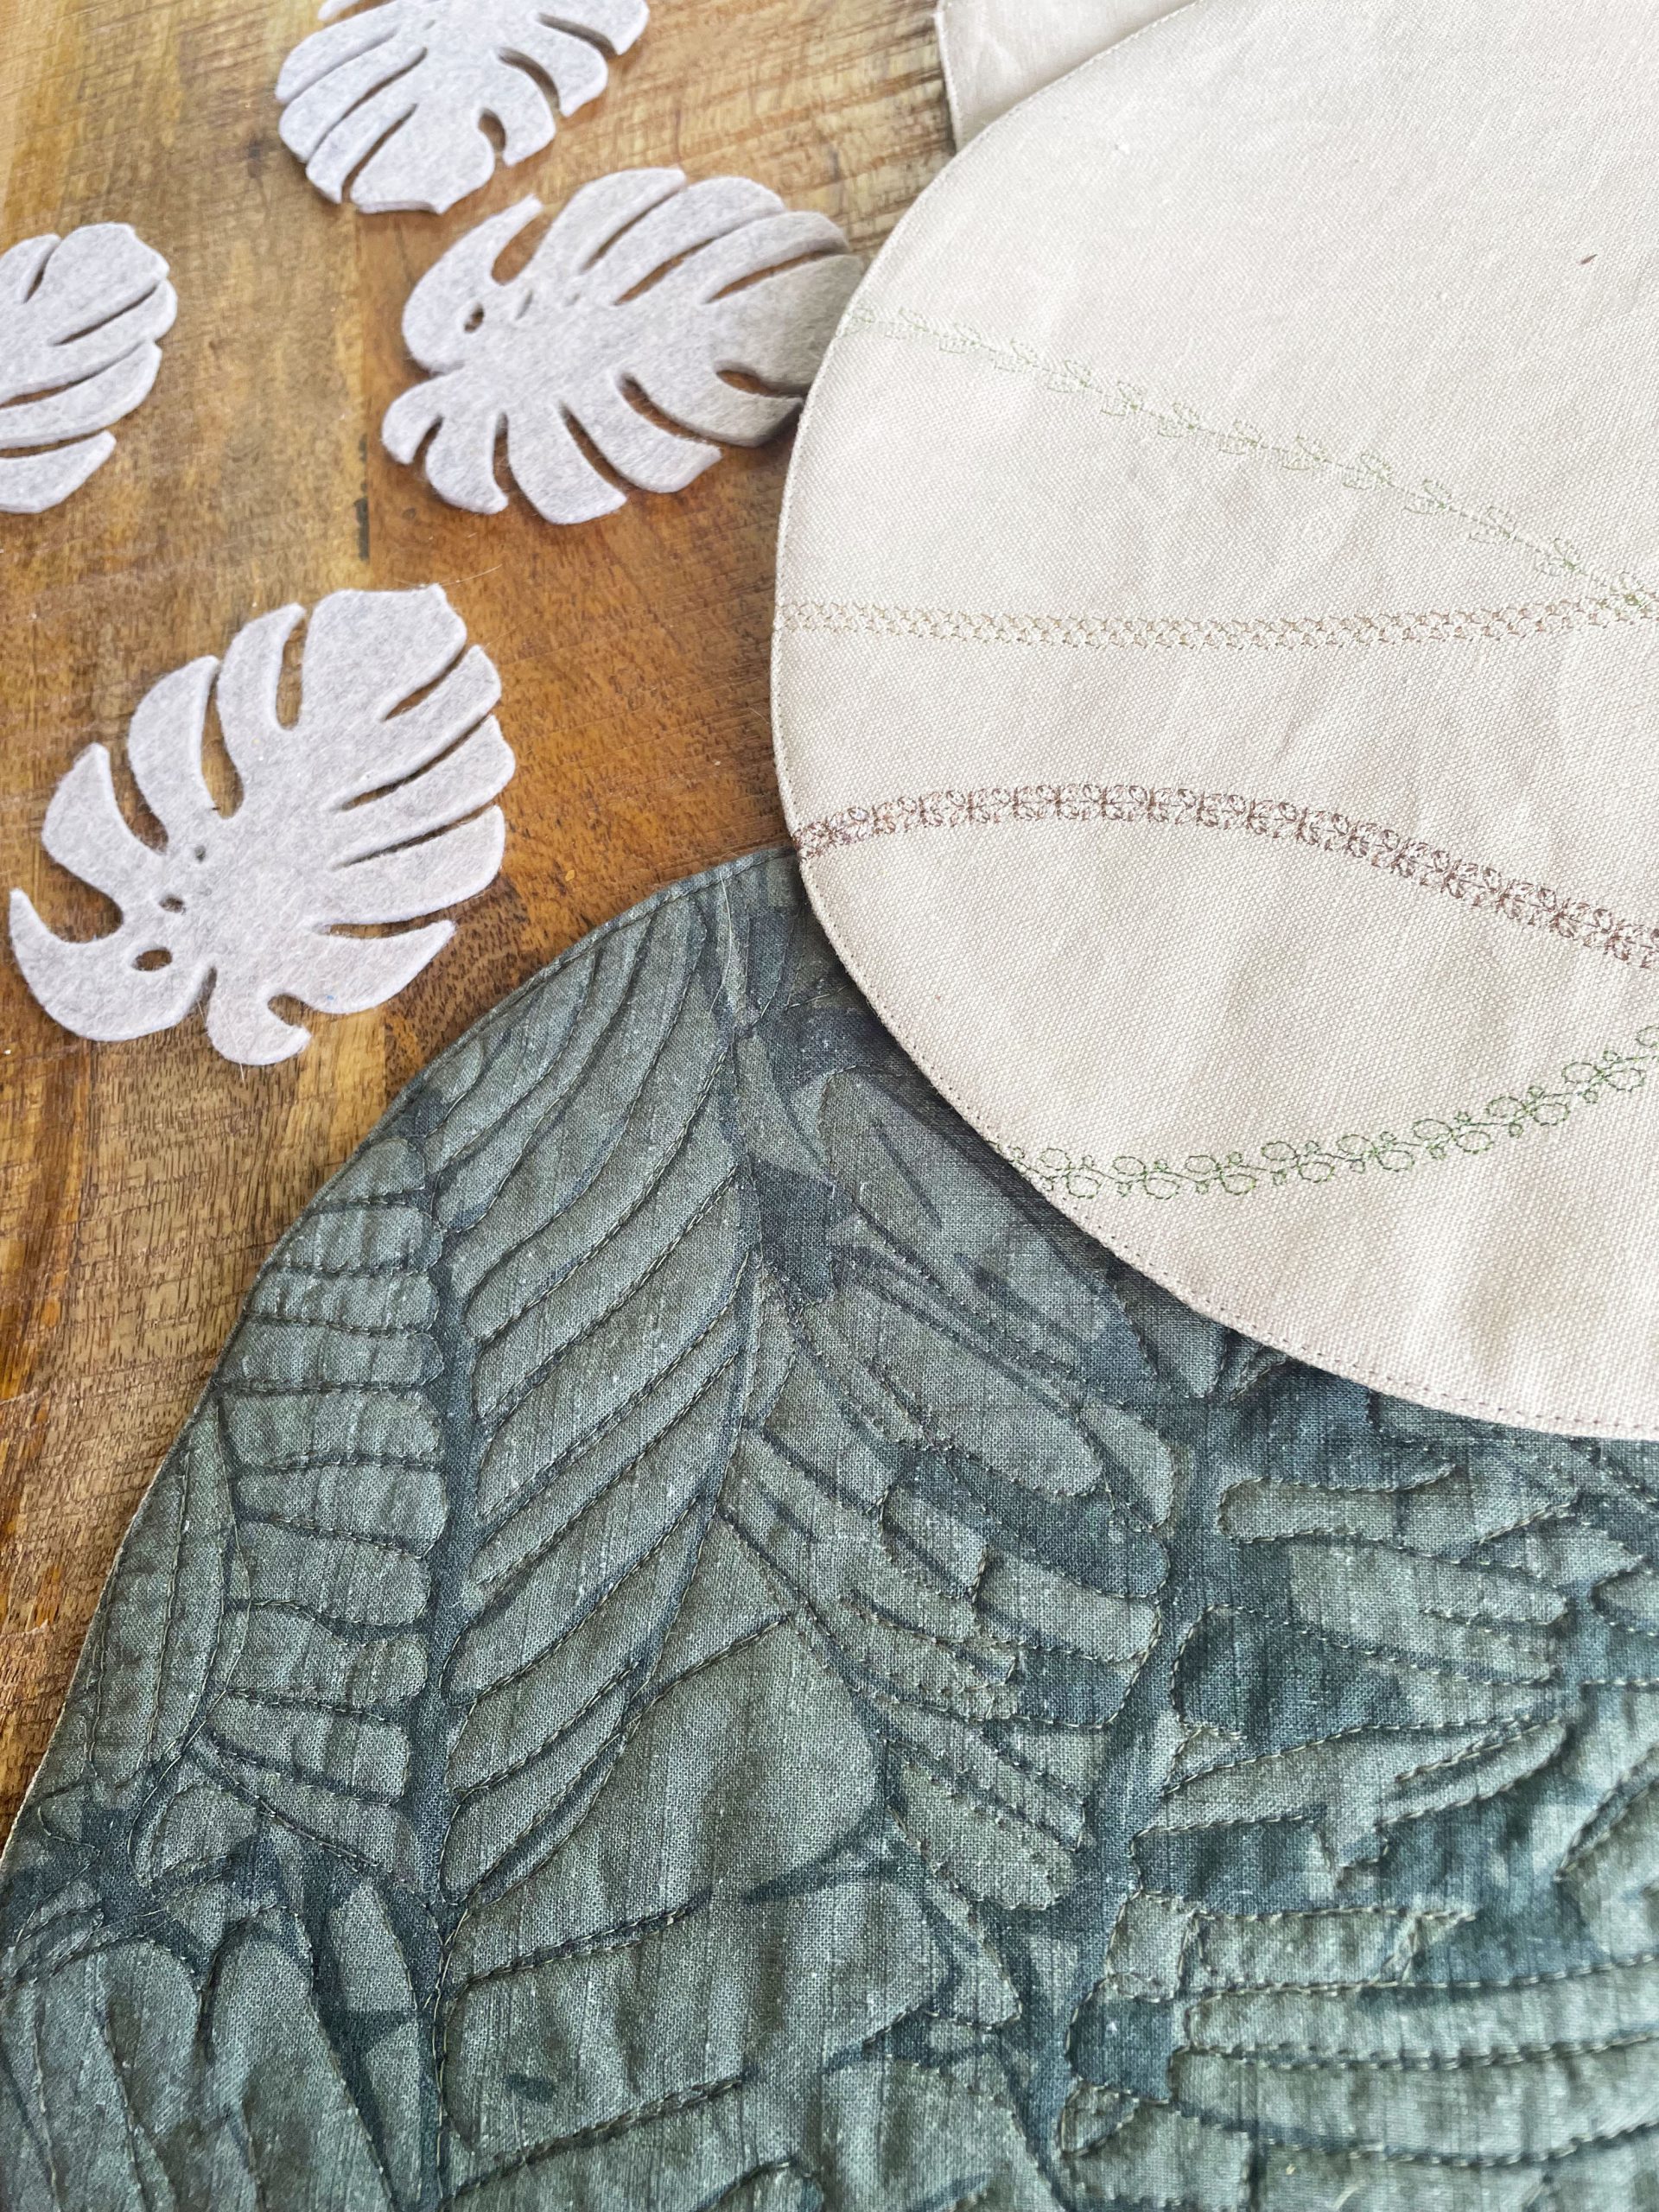
I found loads of inspiration for the placemat idea on Pinterest – this technique is so easy to adapt to your own decor style! Our house has a bit of a treehouse vibe – light wood and sand tones, sage green, and lots of plants both in and outside – so that’s what I went for in my placemats.
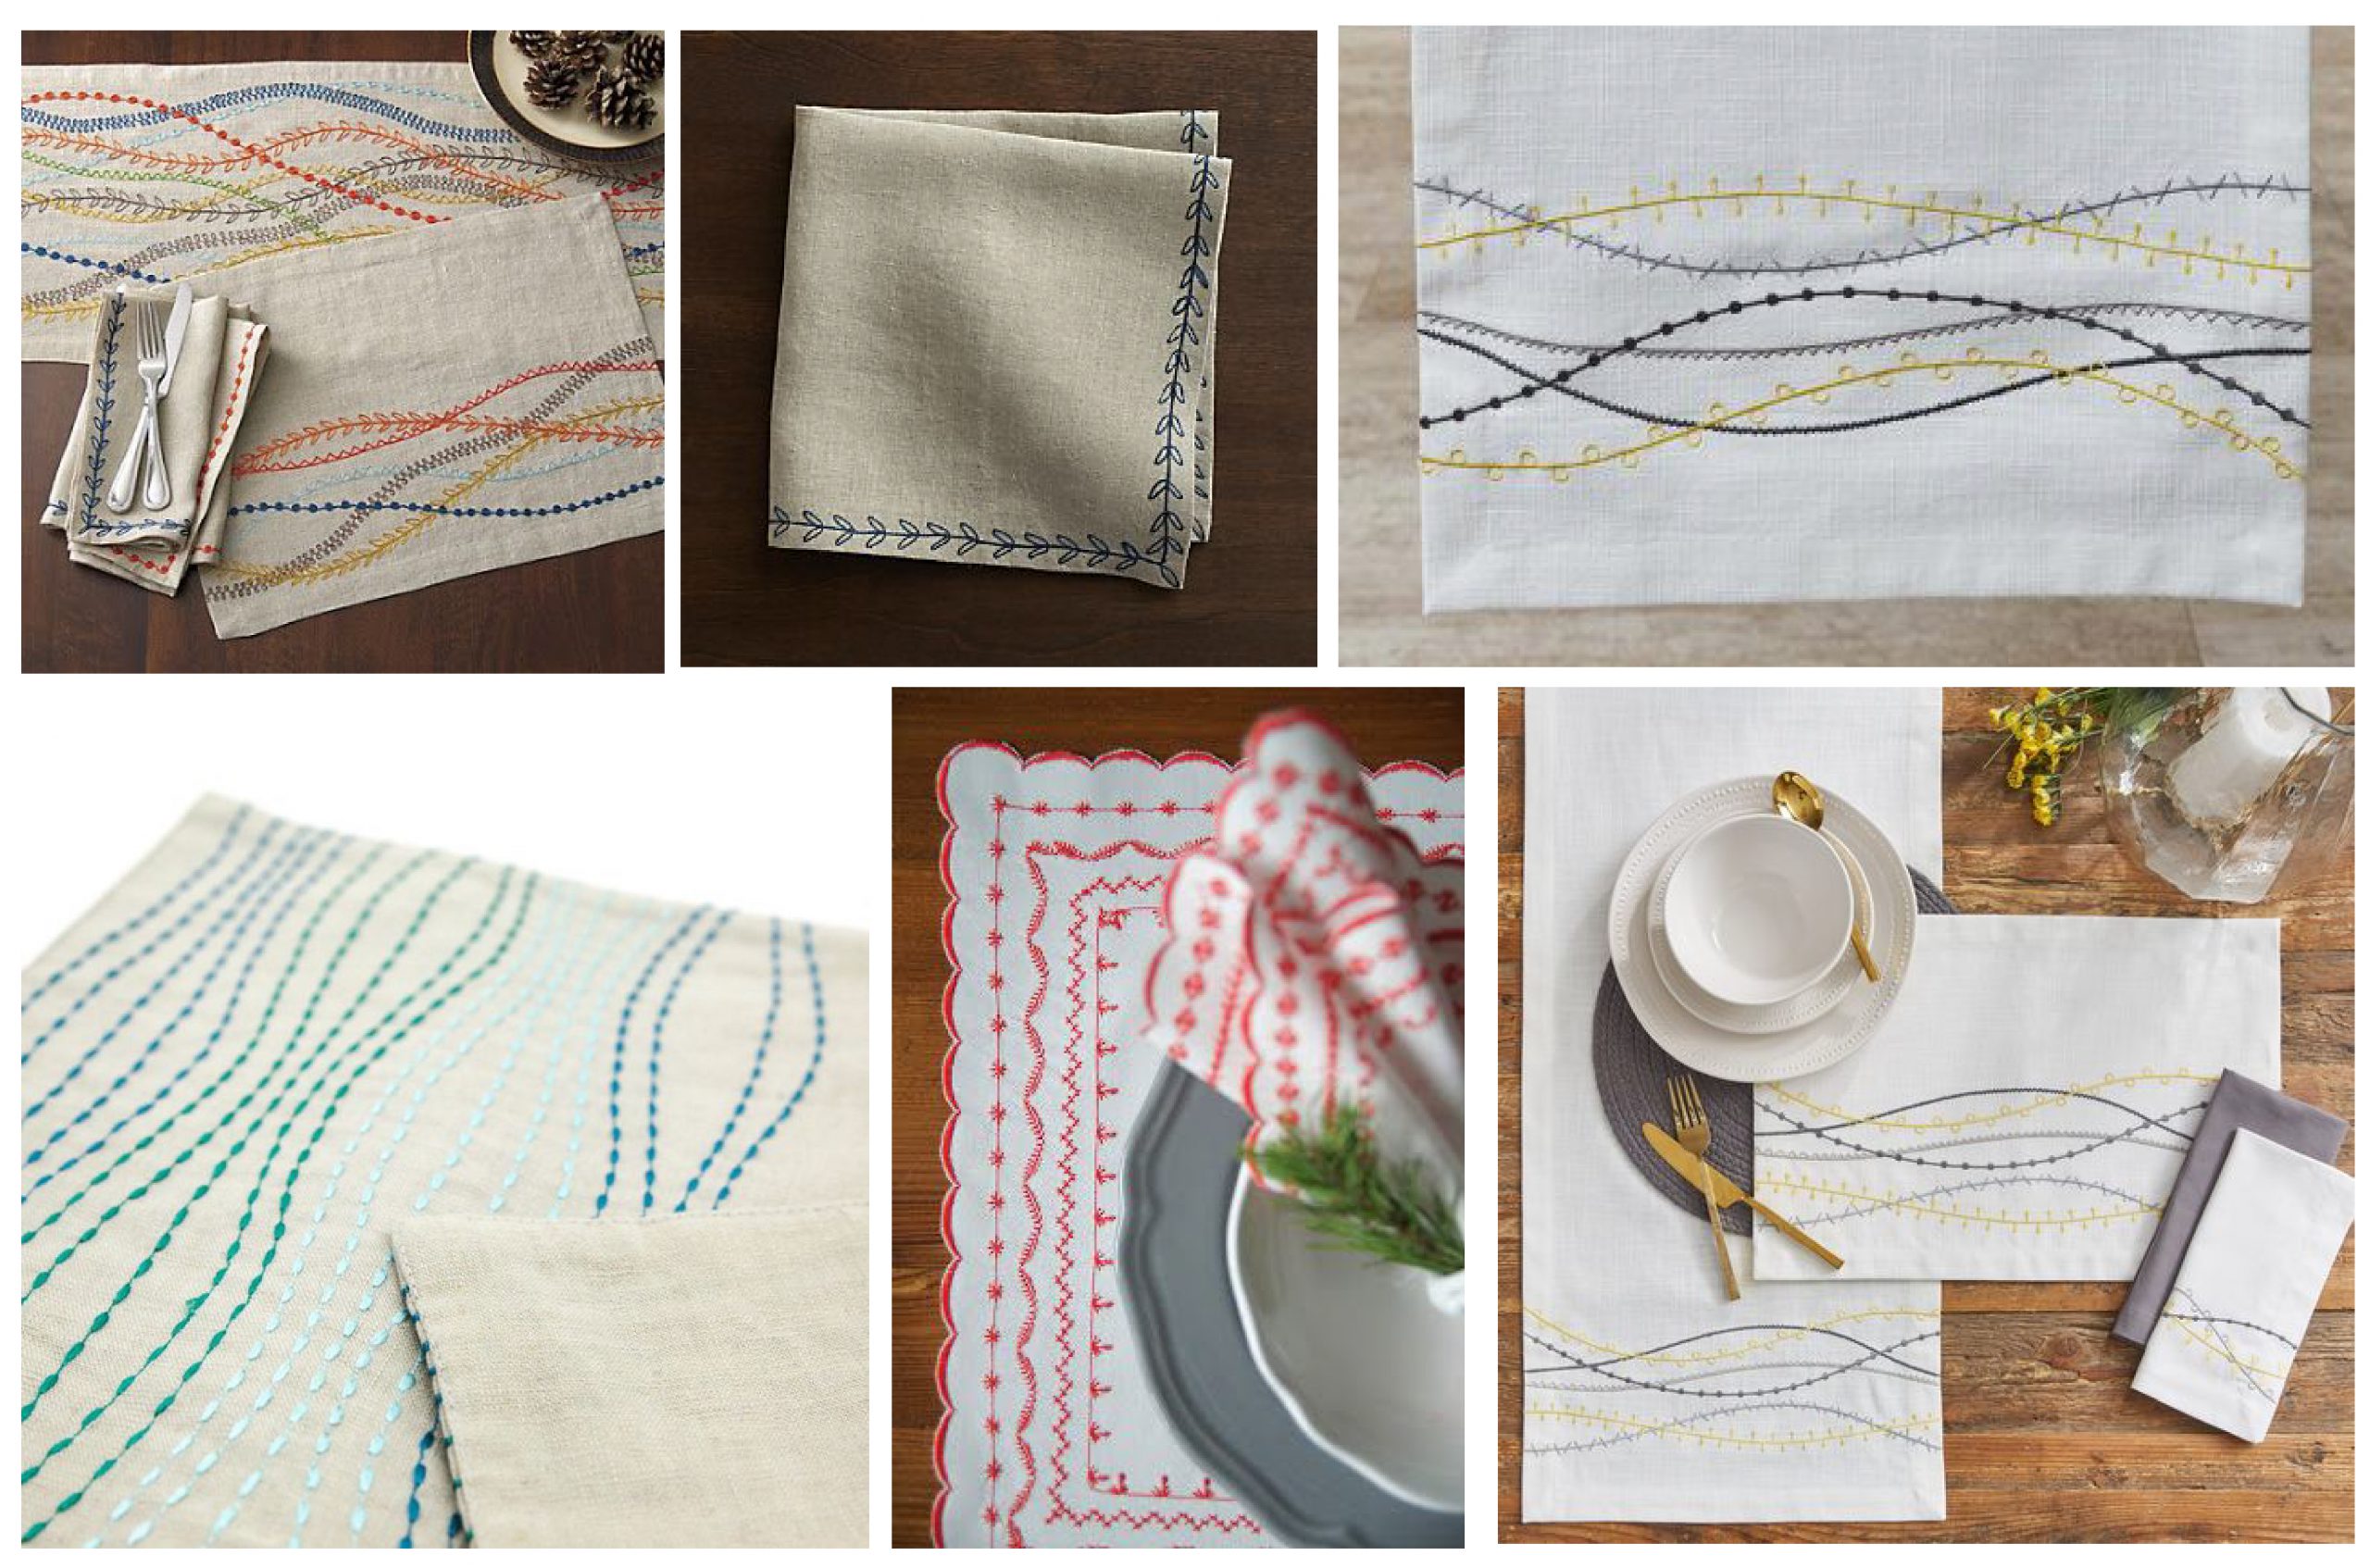
Image sources, left to right: Unknown, unknown, Wayfair, Kain Kain on Etsy, Unknown, Fred Myer. Unknown images are on Pinterest but with broken links.
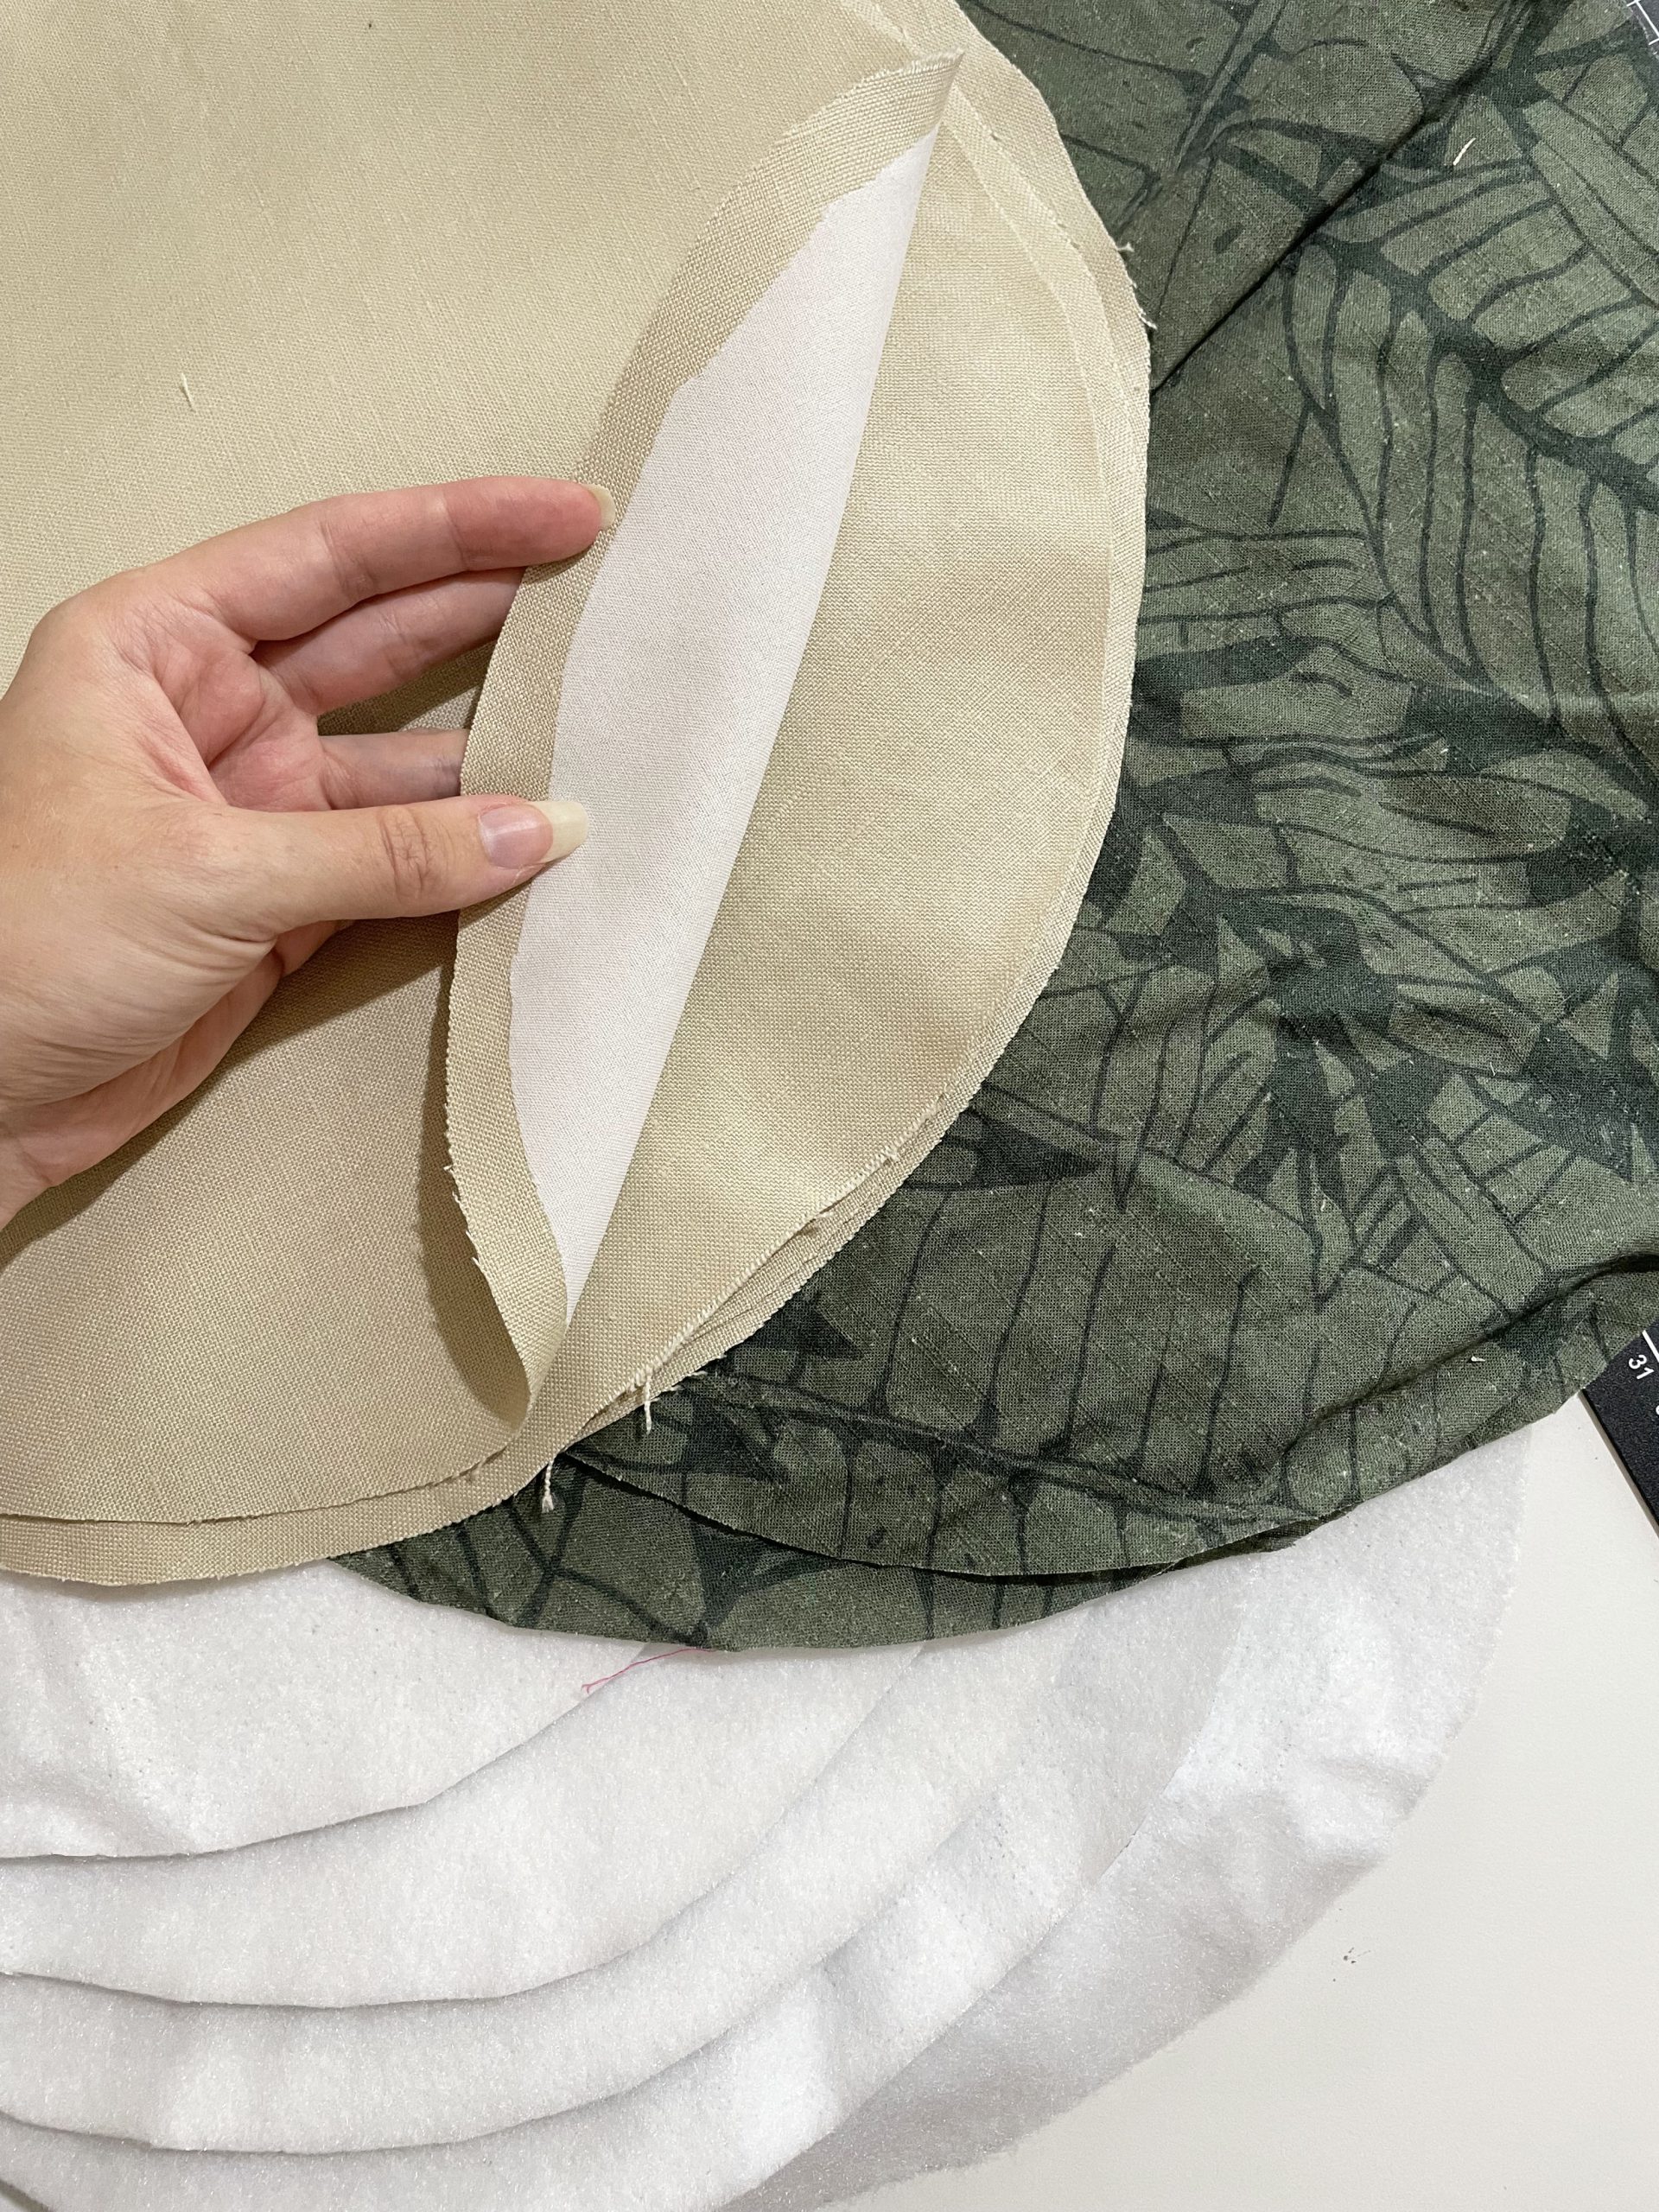
Materials for reversible placemats
- “Outer” fabric – I chose a heavyweight linen and a printed linen/cotton blend
- Interfacing – medium weight iron-on interfacing will provide stability for the decorative stitches
- Batting – I love to use a thermal barrier to protect my surfaces when sewing things like placemats. Mine is called ‘Insul-Bright’ – if you’re less worried about this, some scraps of any quilt batting you happen to have around will work.
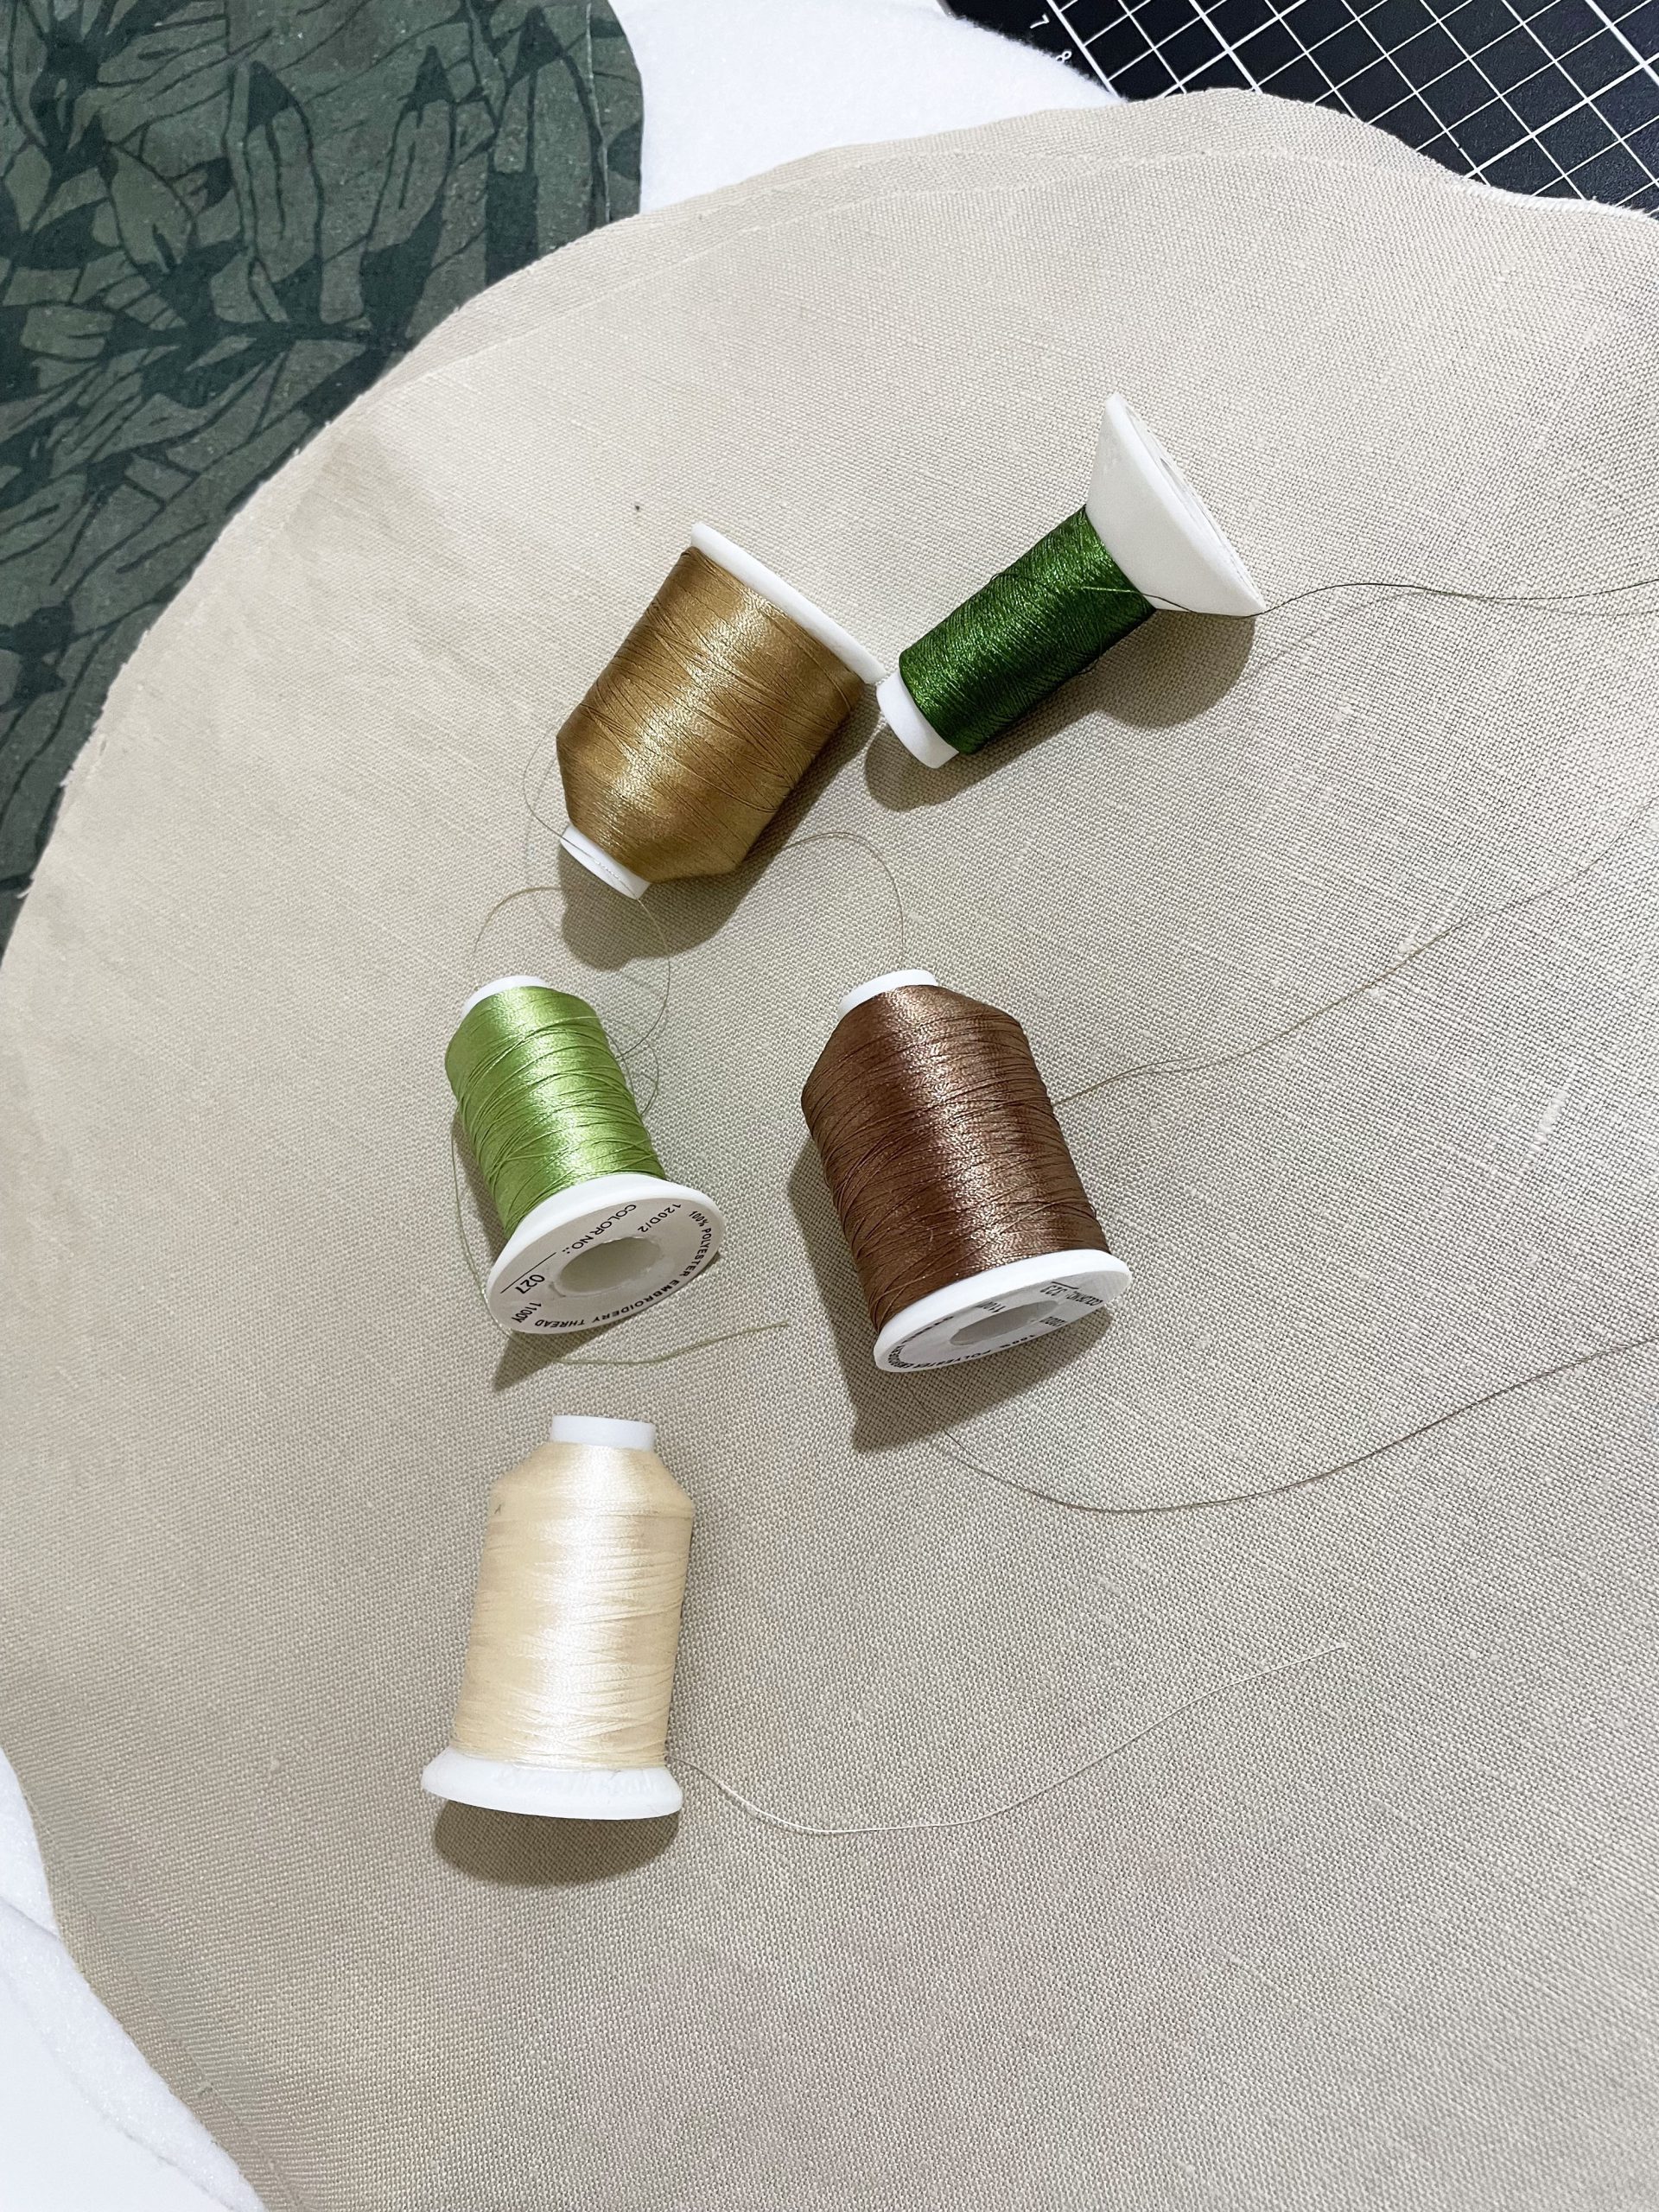
- Thread: I used embroidery thread in five colours for the decorative stitches, plus regular multipurpose thread for the free motion quilting side and for construction
Supplies
- Fabric marking device, such as a Frixion pen, Chaco liner, or tailor’s chalk
- Iron
- Open embroidery foot for free motion quilting
- A machine with decorative stitches you love, like the bernette 79 that I’m using!
First, prep your pieces – I wanted 27cm round placemats, so I cut 28cm round pieces of both outer fabrics (using a 1cm seam allowance) and 27cm round pieces of interfacing and batting. These pieces are cut without seam allowance so they don’t add bulk to the edges of the finished placemat.
Next – fuse the interfacing to the fabric you’ll be using with the decorative stitch side of your placemats. Follow the instructions that came with your interfacing – and use a heavier interfacing if your fabric is lighter weight. We want to create a stable base for the decorative stitches so that everything will lie nice and flat on the finished placemat.
Now the fun begins! Plan out the stitching design on one of your placemats using a fabric marking tool – I’m using a Pilot Frixion pen as the ink will disappear when I iron my fabric, but you can use any temporary marking tool for this. Just make sure you test to make sure your pen won’t leave any residual marks on your fabric! I chose some gently curving lines but the possibilities are endless here. Just keep in mind that some stitches start to distort if you attempt them on too tight a curve.

You can see some of the white ghost marks from the Frixion pen here – It’s important to test on your fabric but on this linen, it comes out in the wash!
Once you’re happy with the pattern, select your stitches and colours and start stitching!
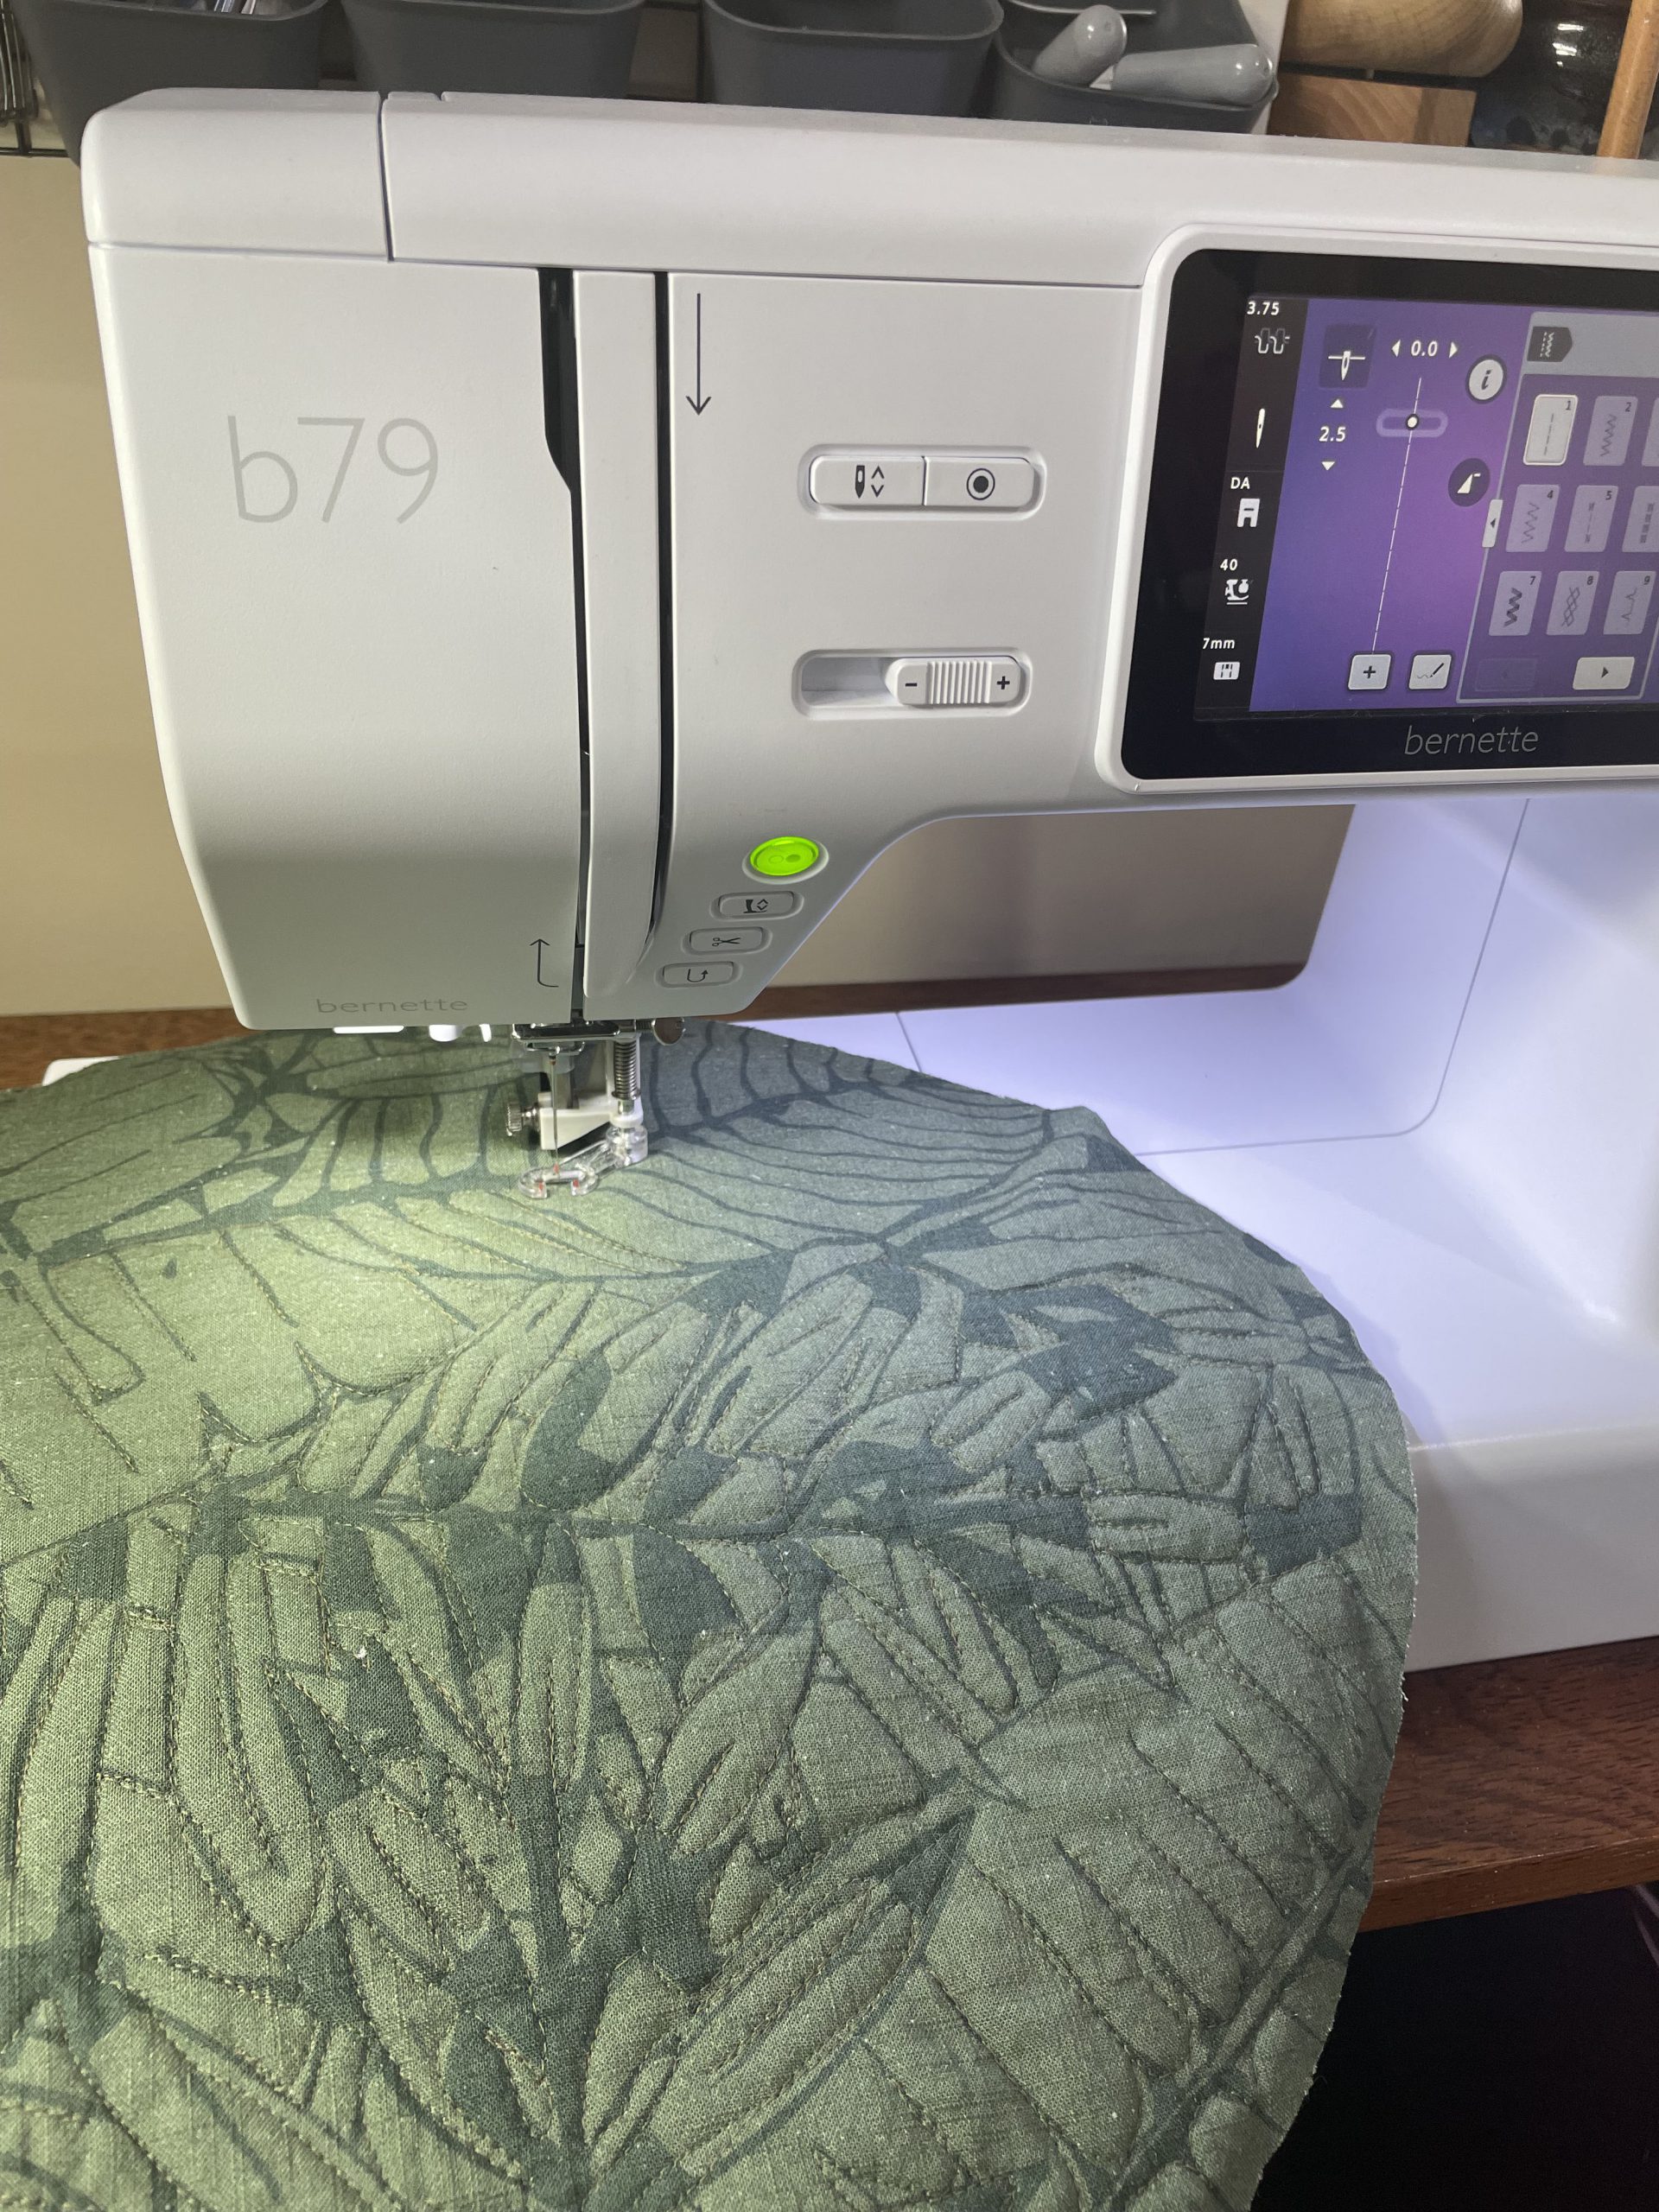
I had just finished an embroidery project with my machine before starting my placemats – one of the features on this machine that has saved me multiple times is the override that keeps you from selecting wide stitches while you still have the straight stitch needle plate in place. SO many needles have been saved by this feature!
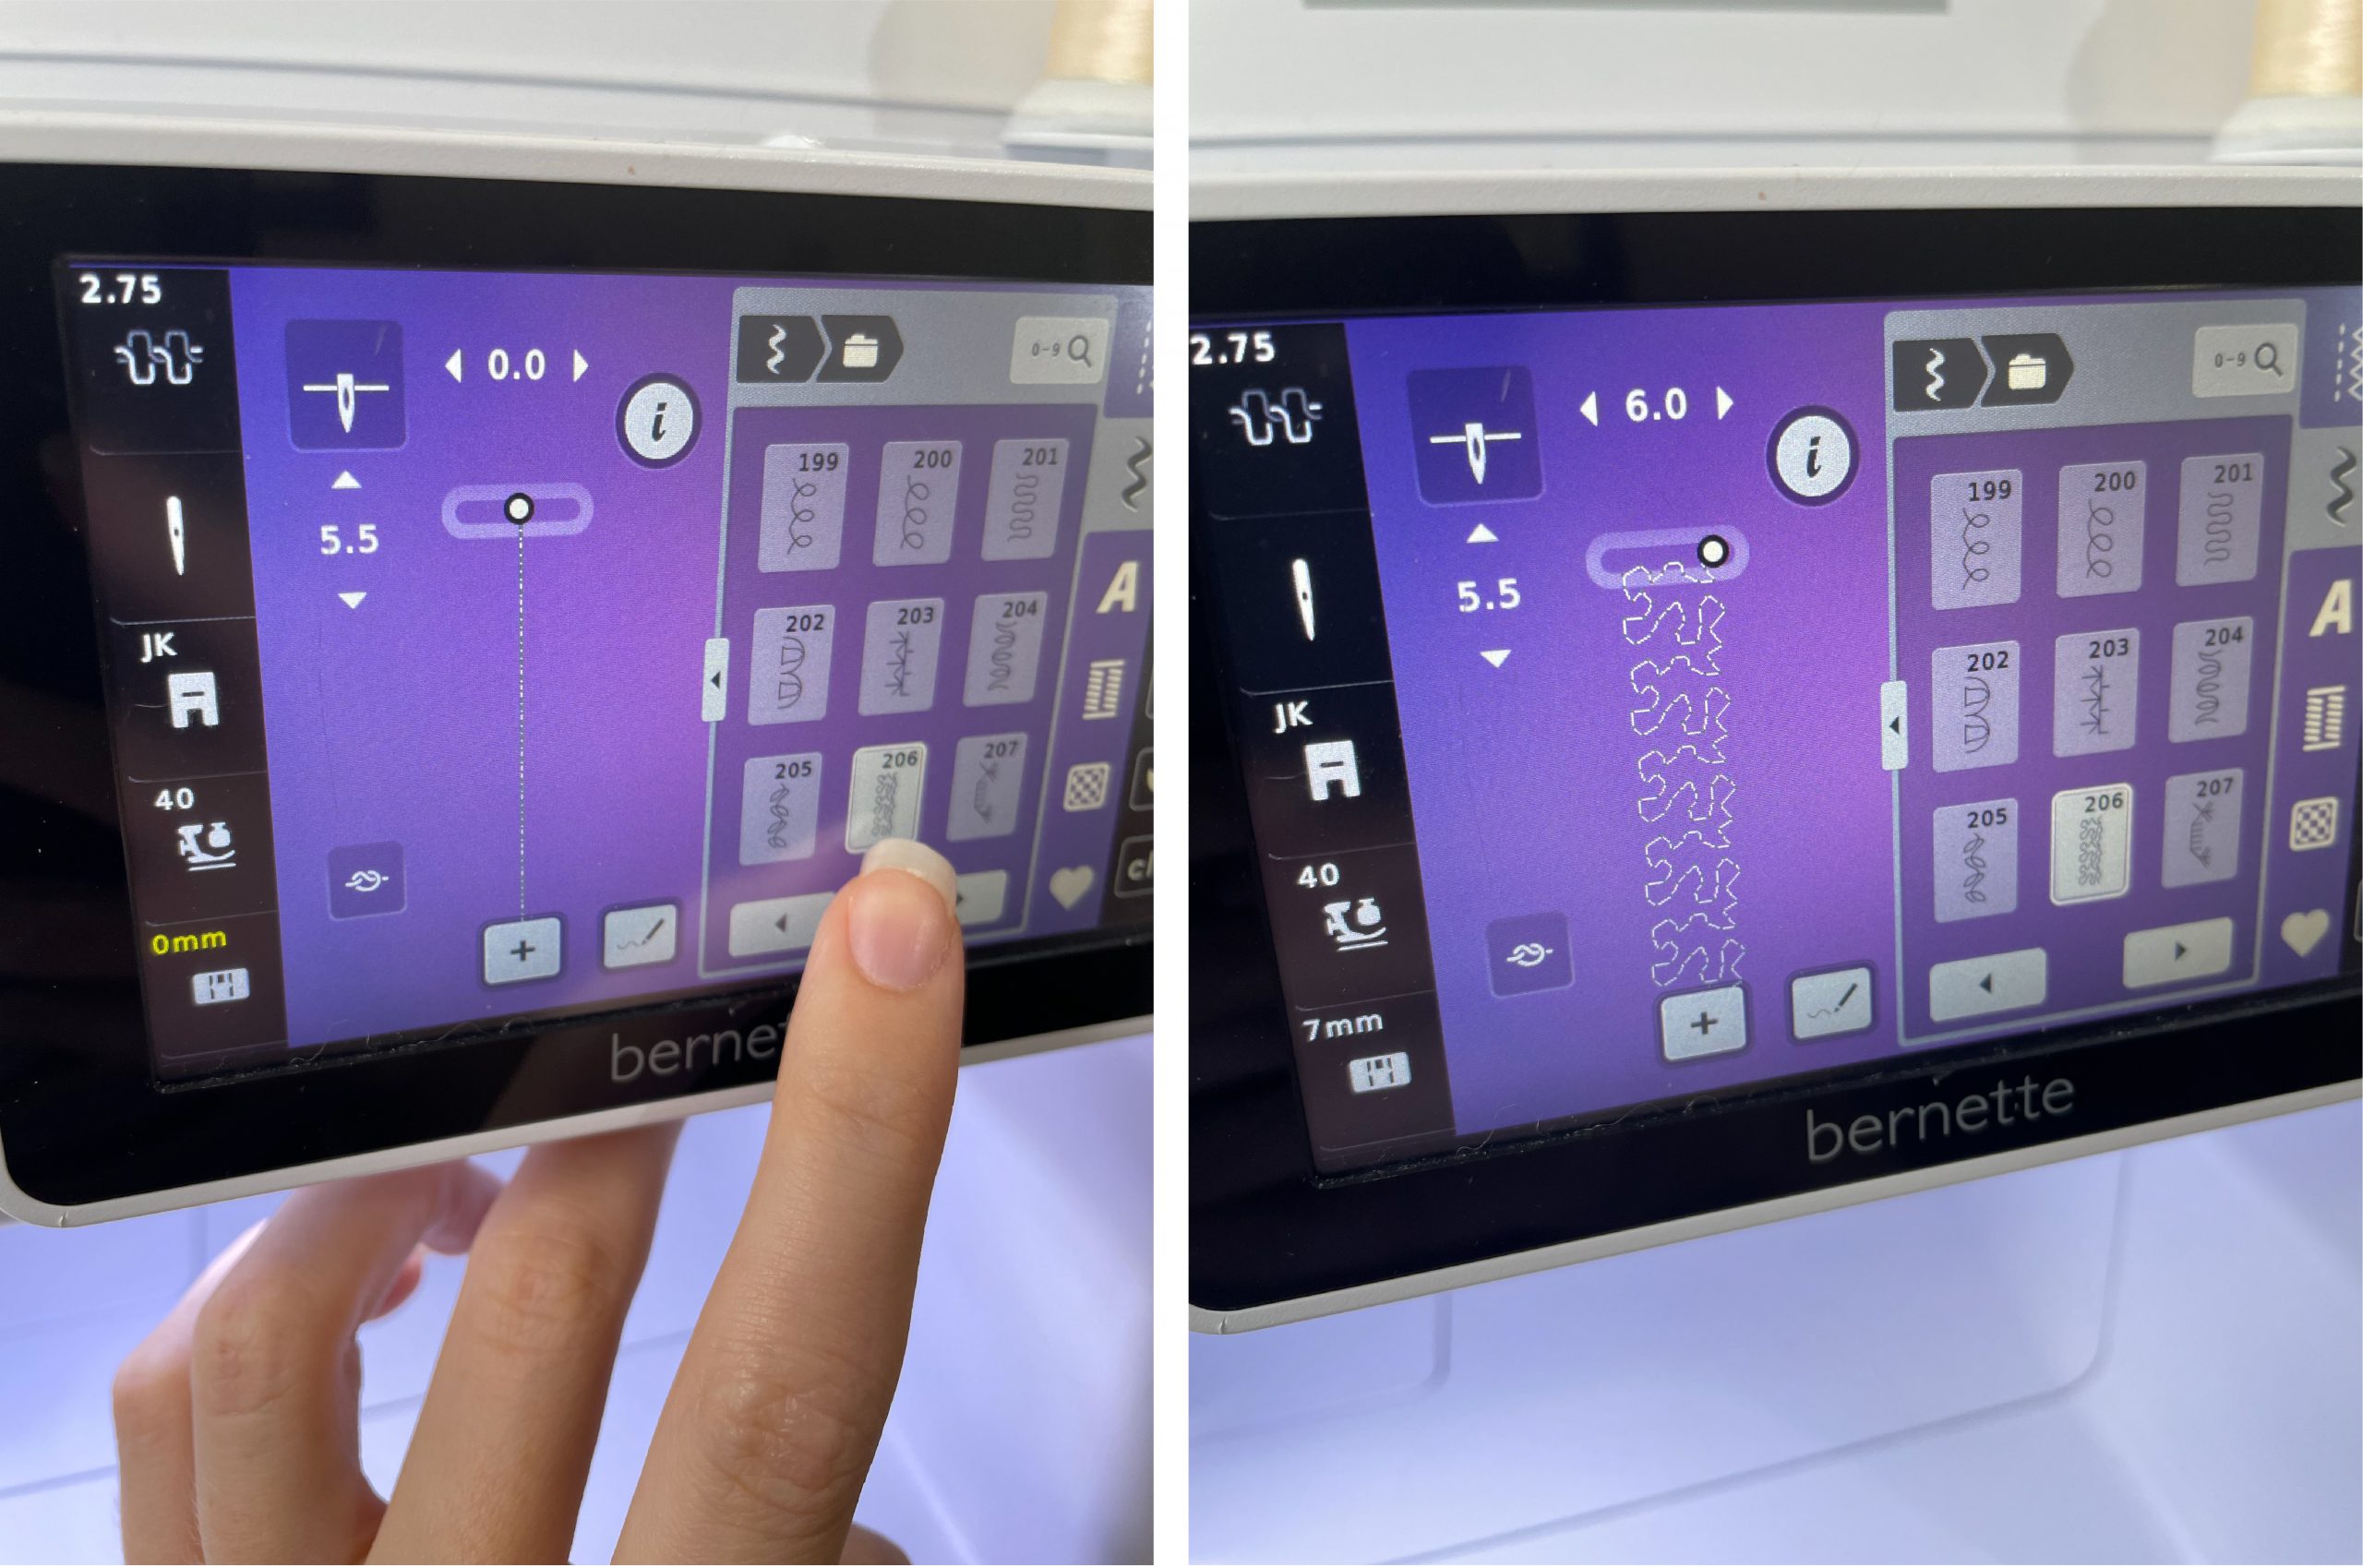
The machine won’t allow you to attempt a wide stitch with the narrow throat plate in place: See the indicator for which one is currently installed in the lower left corner?
I stitched each of my five stitch patterns and colours on the first placemat to make sure I was happy with the design, and then sped the process up for the rest of the set by batch sewing each colour on the rest of the set.
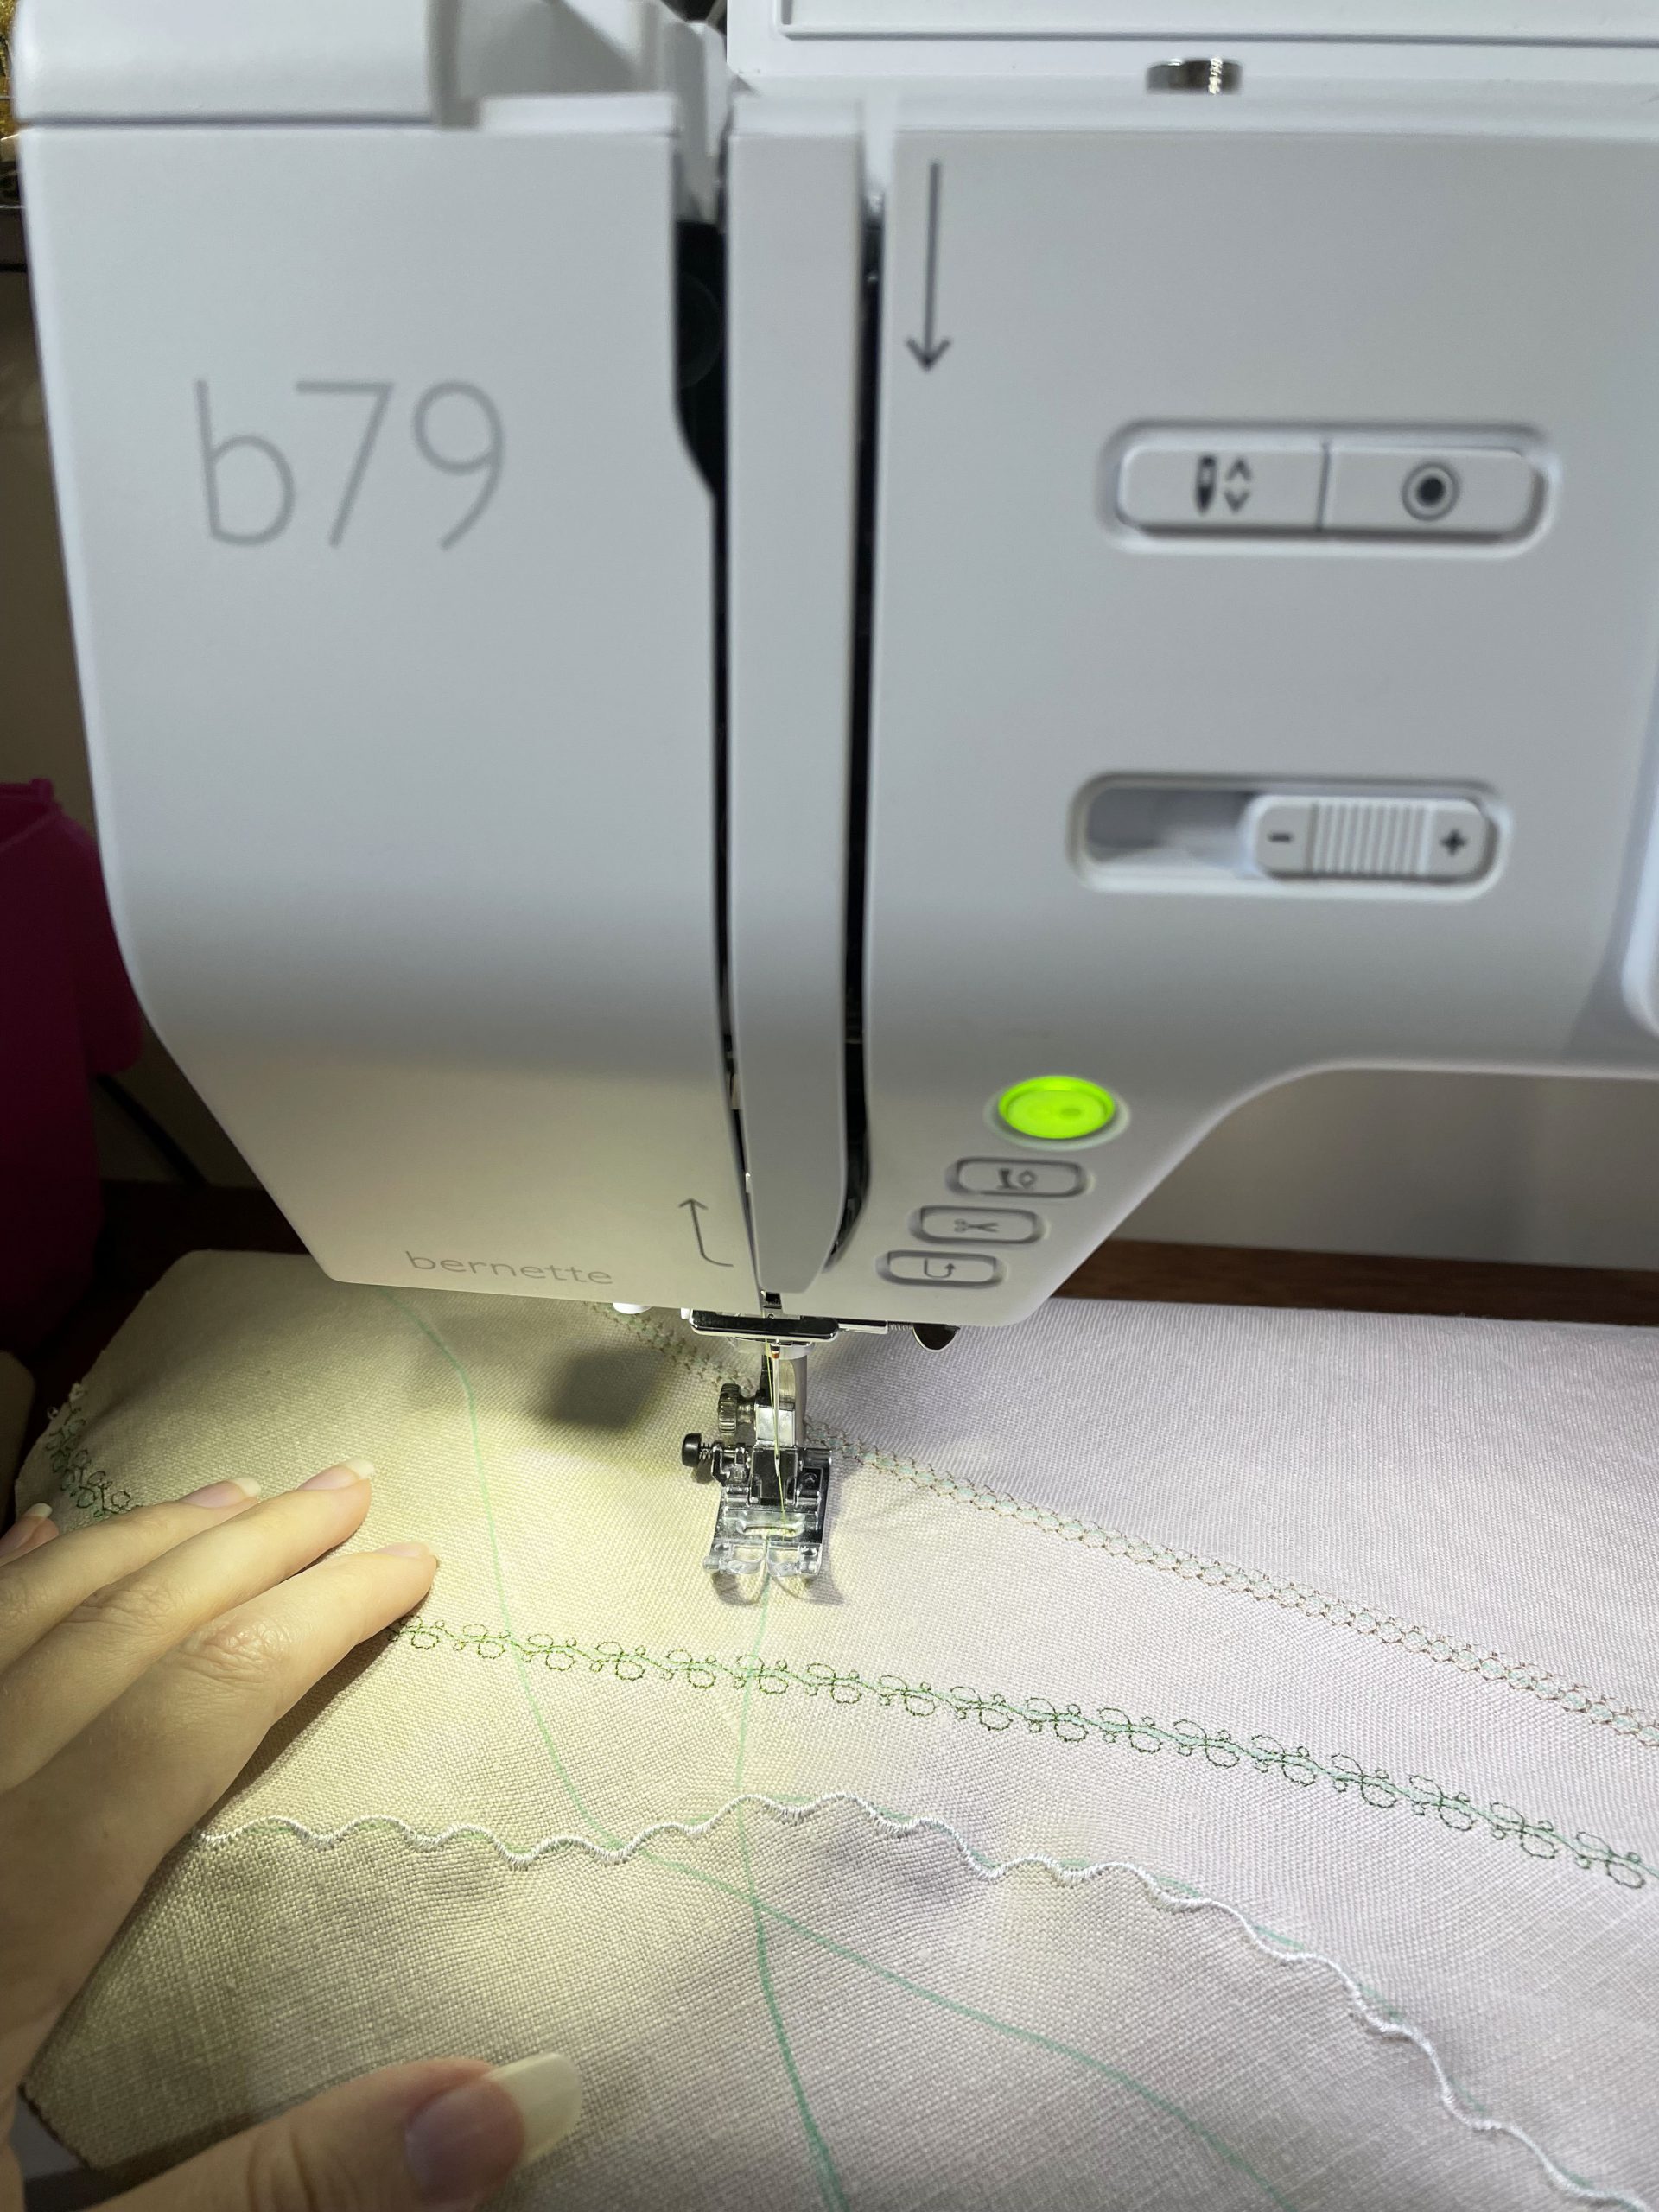
Let your machine control the fabric as it stitches out these decorative stitches – depending on the pattern you choose, your machine may pull the fabric backwards a bit so you’ll want to be gentle about guiding it. Just keep that guide line you drew on track and let your machine do all the hard work.
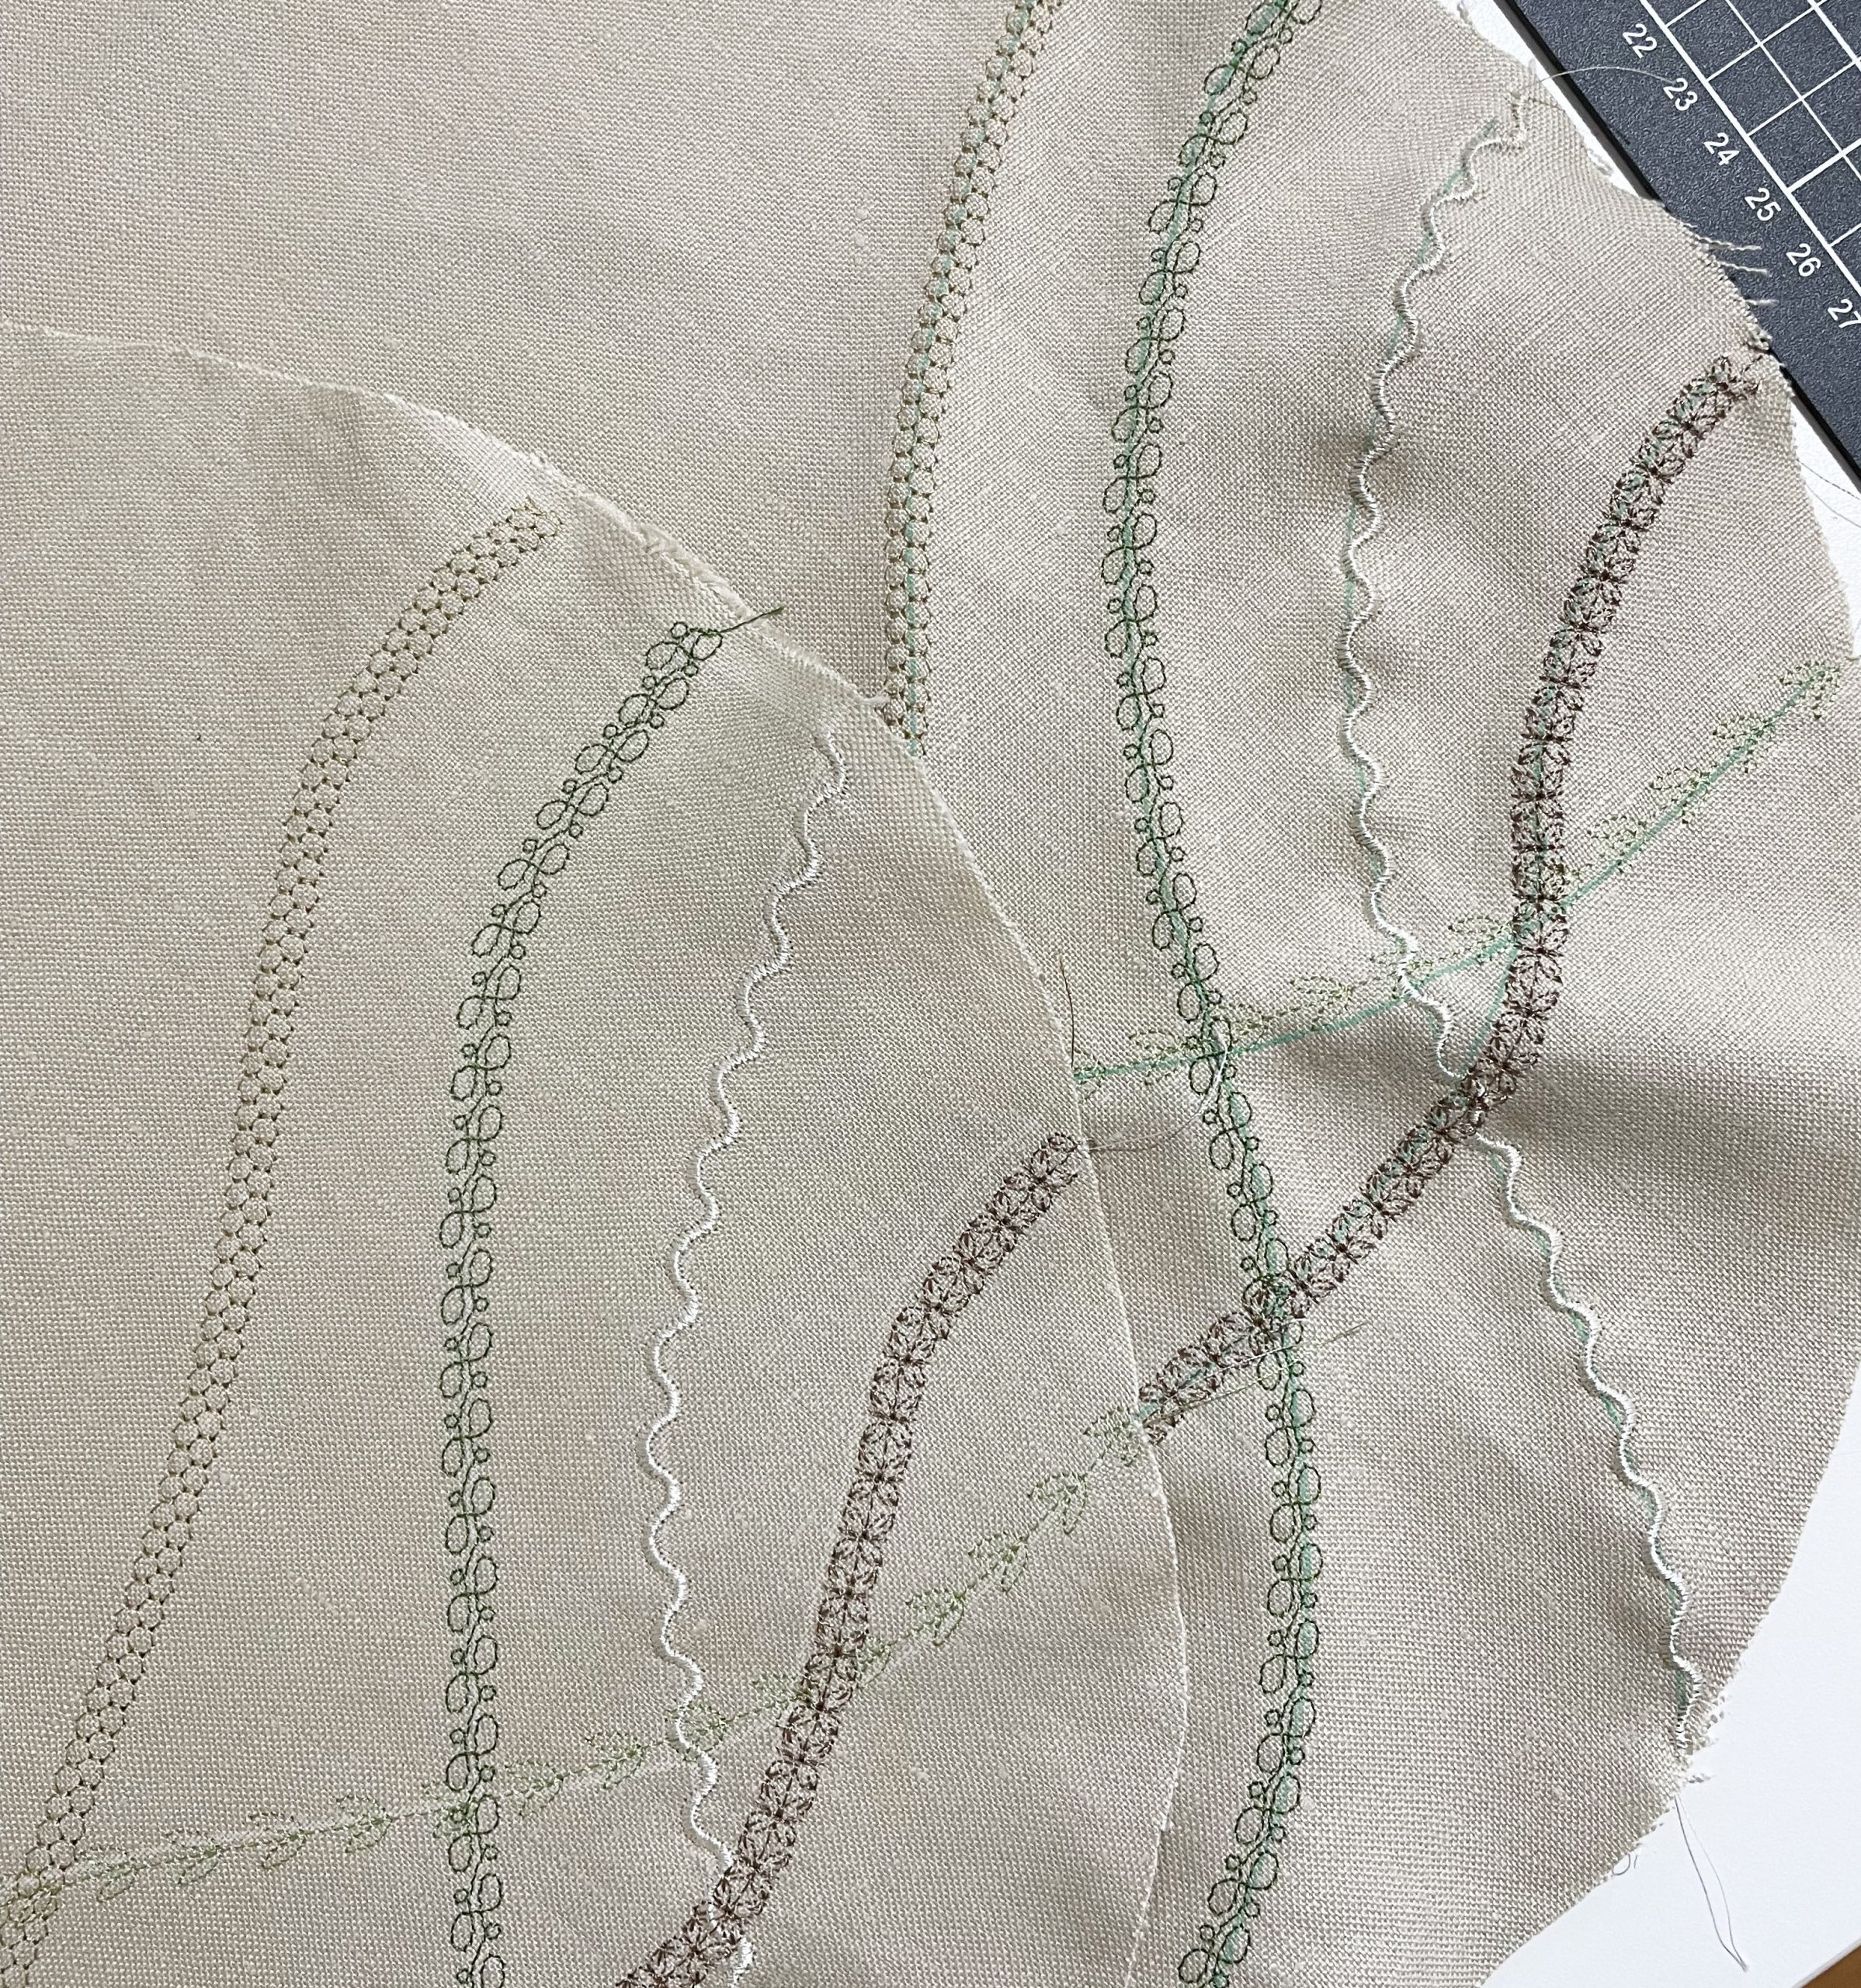
It’s totally okay – even expected- that you’ll get some waviness with decorative stitches, especially those that have a higher density. Don’t worry about this – a steamy press with your iron will settle everything into place. If, however, you get puckers or waves that are too severe to be pressed out, it may be a sign to increase the thickness of your interfacing or test your tension settings. Here’s what mine looked like before and after pressing:
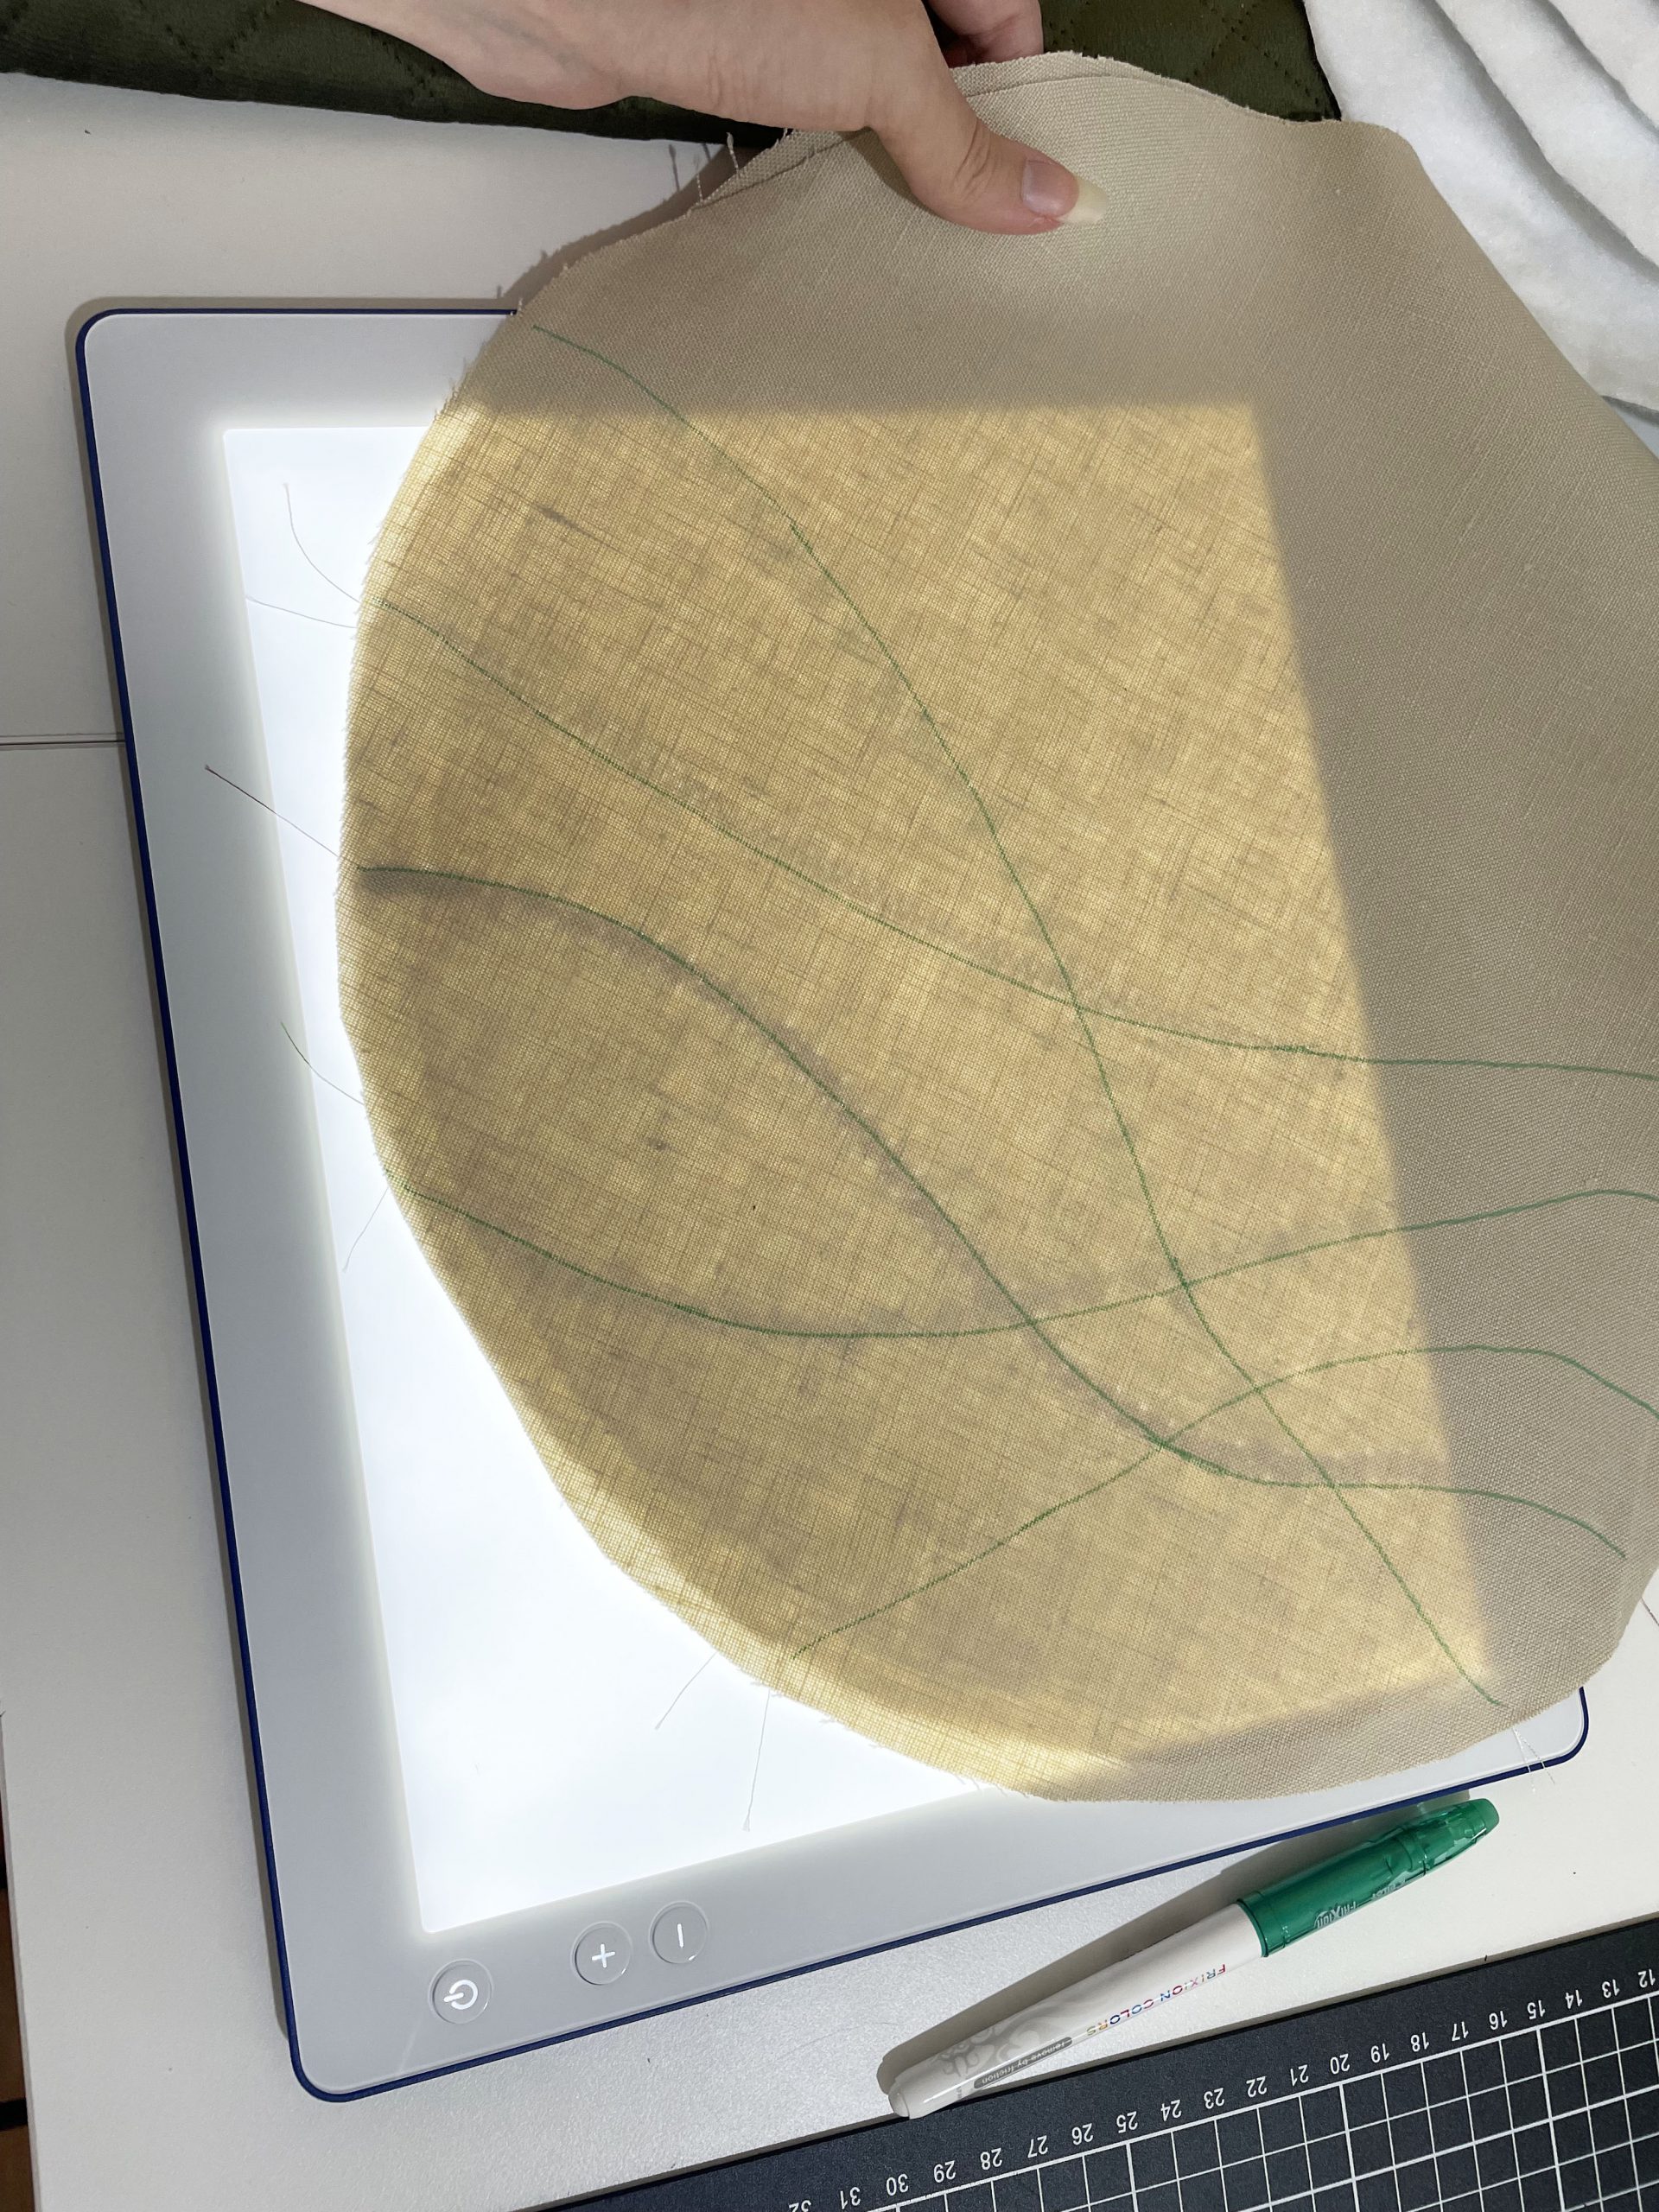
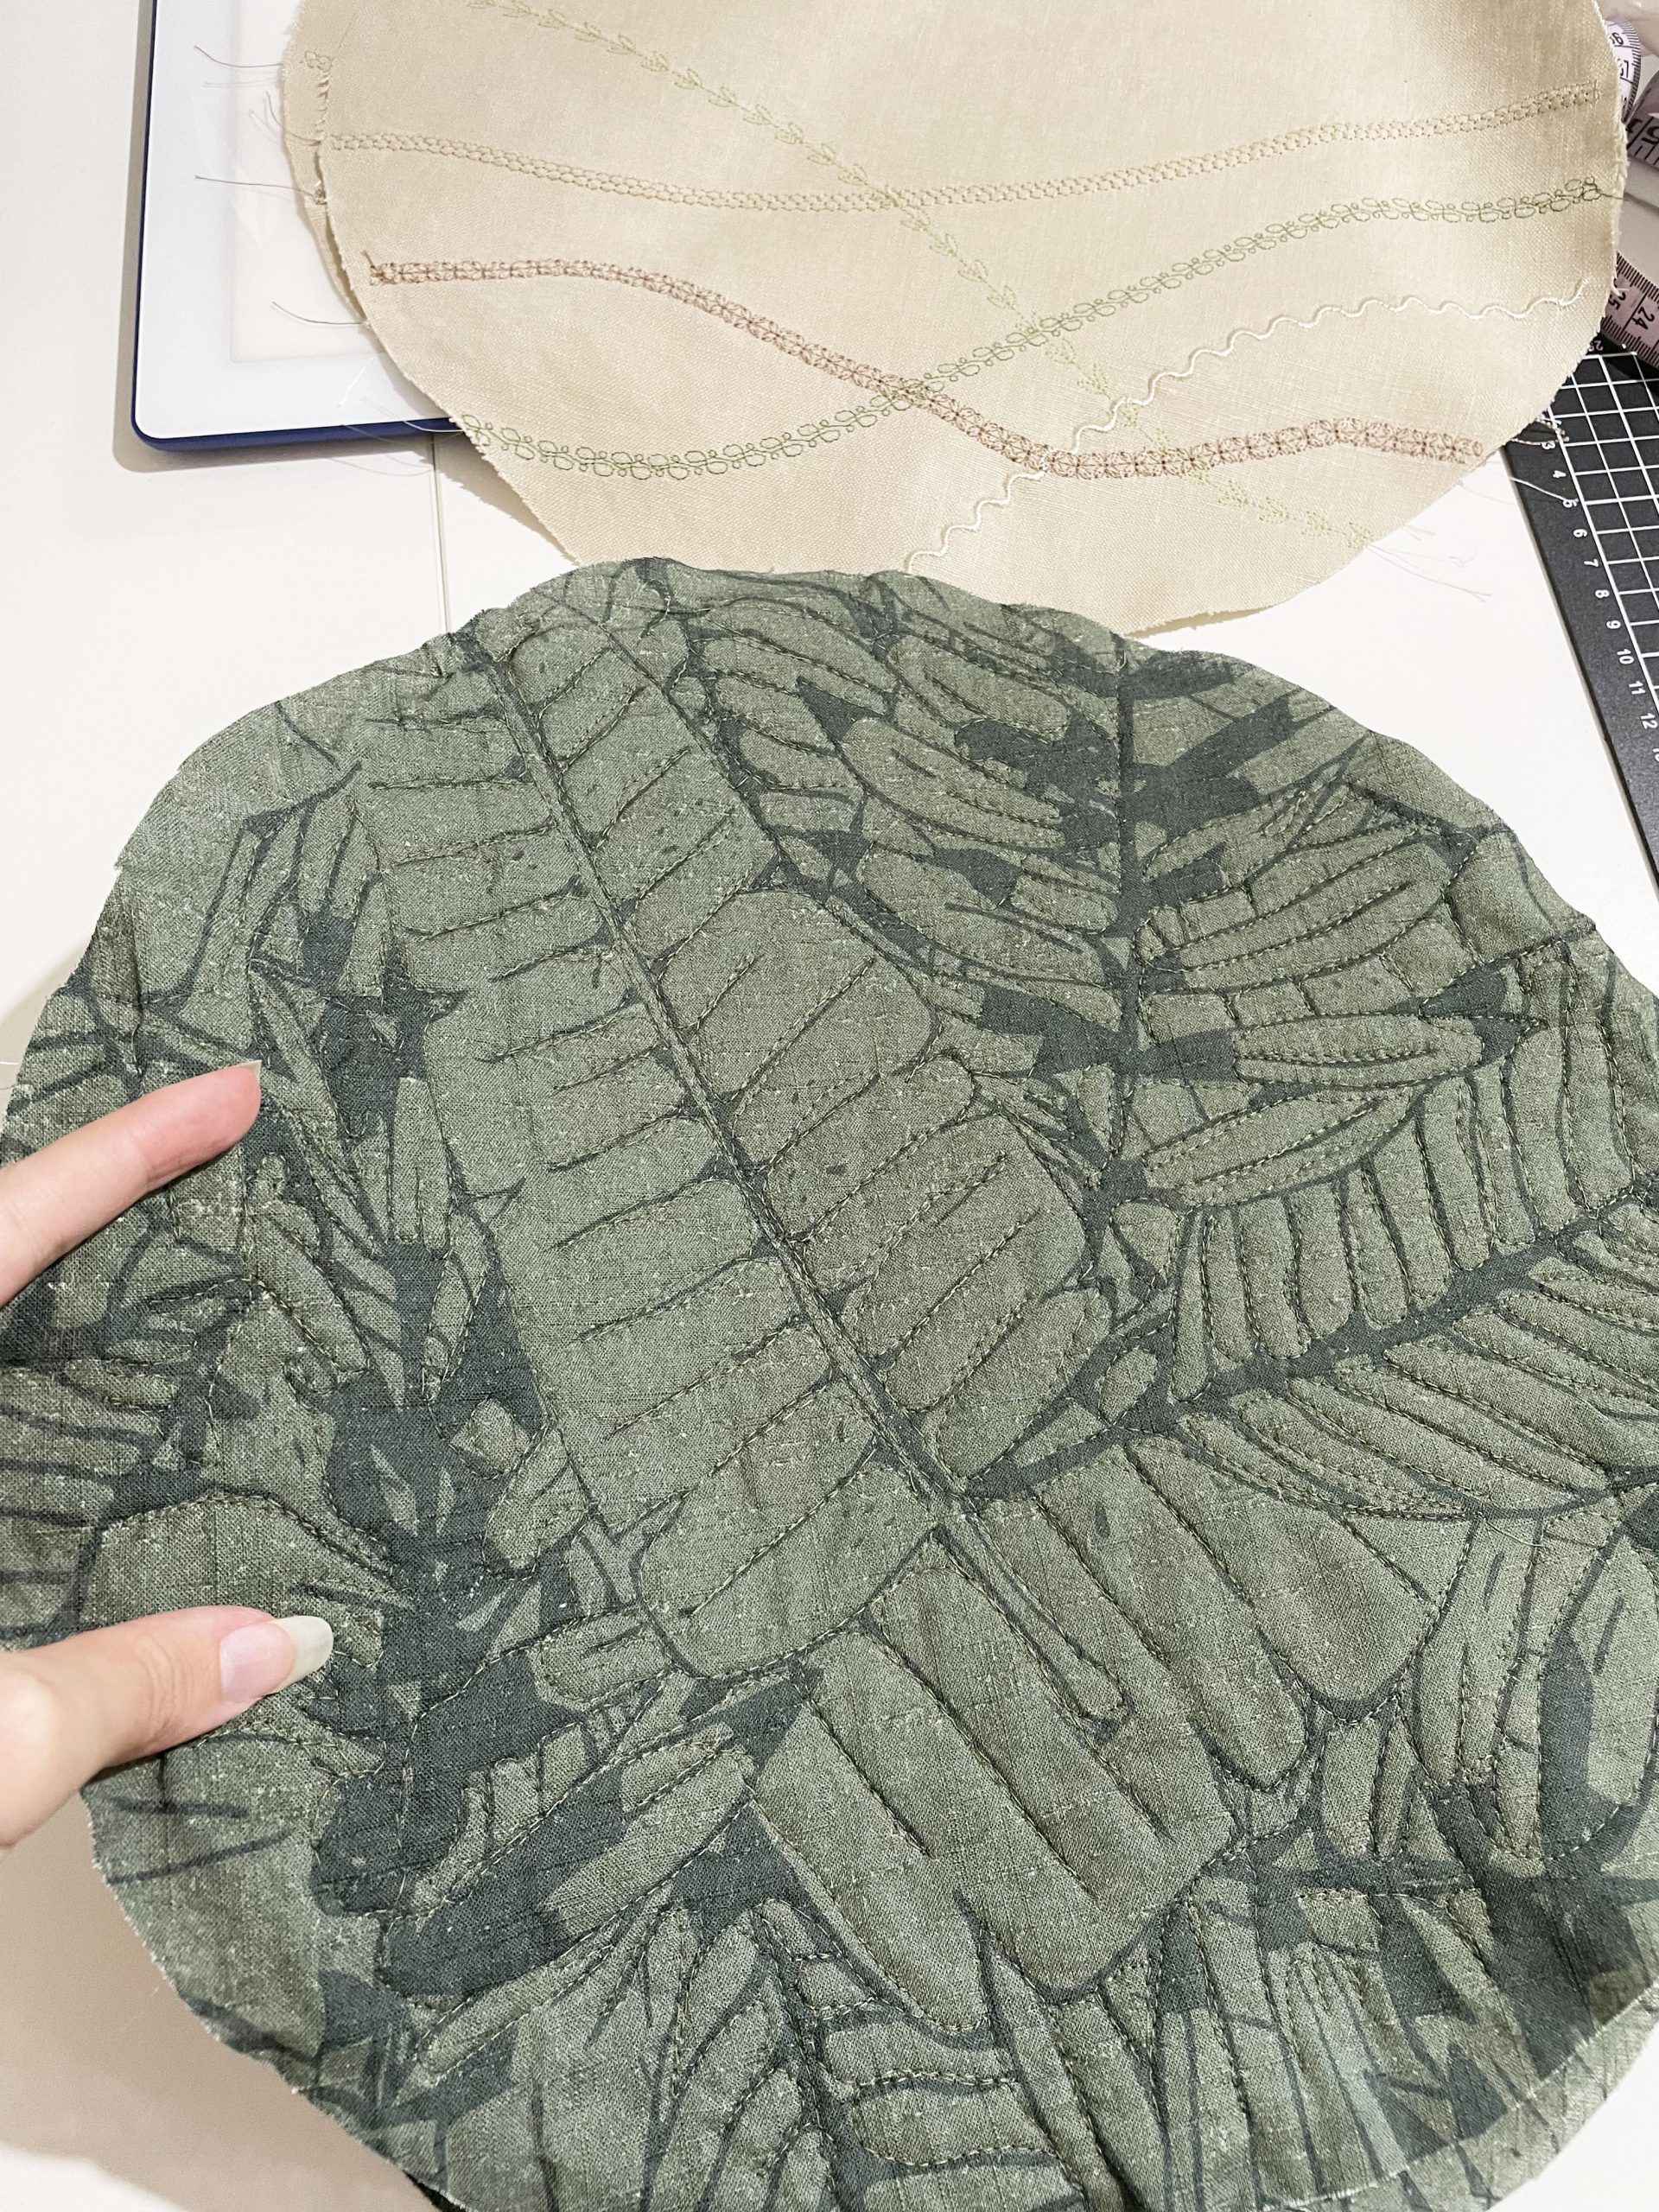
Next, it’s time to transfer the stitch design to the rest of your placemats. You could freehand each one if you like, or create a template with your design so it’s easier to trace – but I chose a quick and dirty method for this. I traced my stitched placemat onto the blank pieces using my light pad. You could also use a well-lit window for this!
Once the decorative stitching side of the placemats is finished (including a good press!), it’s time to move on to the reverse. We need to add a bit of quilting to secure the thermal batting to the fabric so everything stays in place – especially in the washing machine! I was initially planning on some concentric circles for this, but at the last minute I changed my mind and decided to use free-motion quilting to emphasise the lovely textural lines of my foliage print. I’m so glad I did, I think they look fabulous!
The foot used for free-motion quilting with the b79 is RX, and it’s an included accessory with the b79. Don’t forget to drop your feed dogs as well! Pin each piece of fabric to the batting to secure it, and – starting in the middle – begin your quilting. If you’ve never tried free motion quilting before, it’s all about keeping your machine speed and the speed at which you’re moving your fabric consistent.
My last free motion project was around 2013ish (another thing I don’t use much as a garment sewist!) but it was fun to get back into the swing of things with a relatively small and low-risk project, and it’d make a great beginner project too! I just followed the lines created by the print of the fabric until everything looked evenly filled. I will say – my last placemat definitely looks nicer than my first one, but I don’t mind!
We’ve now prepared all the pieces of our placemats – it’s time to stitch them all together. Lay one front and one back right sides together, pin or clip in place, and stitch at a 1cm seam allowance, leaving about 10cm open to turn the placemat right side out. If you stitch with the quilted side up, you’ll be able to use the edge of the batting as a guide. Be careful not to stitch through the batting, we don’t want that bulk in our seam allowance!

Trim excess seam allowance, and then turn each placemat right side out. Press those outer edges with your iron until they’re completely flat – take your time with this step. If you used insulated batting like I did, you’ll likely have to press both sides because the heat of the iron won’t penetrate the batting. You can add some pins or clips to secure the hole you turned them through, and then take them back to your machine for the final step: stitch about ⅛” from the edge to secure the hole, and keep the seam nice and crisp!
If you like, you could add additional topstitching to the completed placemats, but I quite like the clean finish on mine.
That’s it! You now have a beautiful set of new placemats that show off some of those gorgeous decorative stitches! I, on the other hand, am off to think up some ways I might be able to work these decorative stitches into some of my garment projects! Have you added decorative stitches to your garment projects? I’d love to know in the comments!
If you’d like to keep up with me and learn about some of my other projects, you can follow me on Instagram, TikTok, or visit my Blog. If you use this tutorial, please tag me – I’d love to see what you make!


I love your idea of using the decorative stitches in such a way, I also have the issue that I do not get to use them often for garments. But they look timeless and elegant with your placing and color combination, definitely will give this a try.One time I used the lettering stitches to sew along the seam of the facing and lining of a jacket (instead of only stitching the sewing allowance down with a straight stitch). I put the names of all my mothers kids and grandkids into the jacket that I gifted her so she always has them close.The only other time was a decorative hem for a Halloween costume of Velma from Scooby Doo. I used the stitch designer of the B 790 to create a decorative stitch of the glasses she wears and hemmed her skirt. It was a perfect hidden detail 🙂 Would love to hear more ideas from others too!
Thank you Ramona! I LOVE all of your ideas for incorporating decorative stitches into garments! The names in the jacket sounds like a perfect sentimental touch, that’s such a clever idea!