Last year, I became enamoured with the idea of creating machine embroidery on tulle with my bernette 79. The stitched out designs can be used as weightless appliqués or even used as 3D embellishments – both of which I adore!
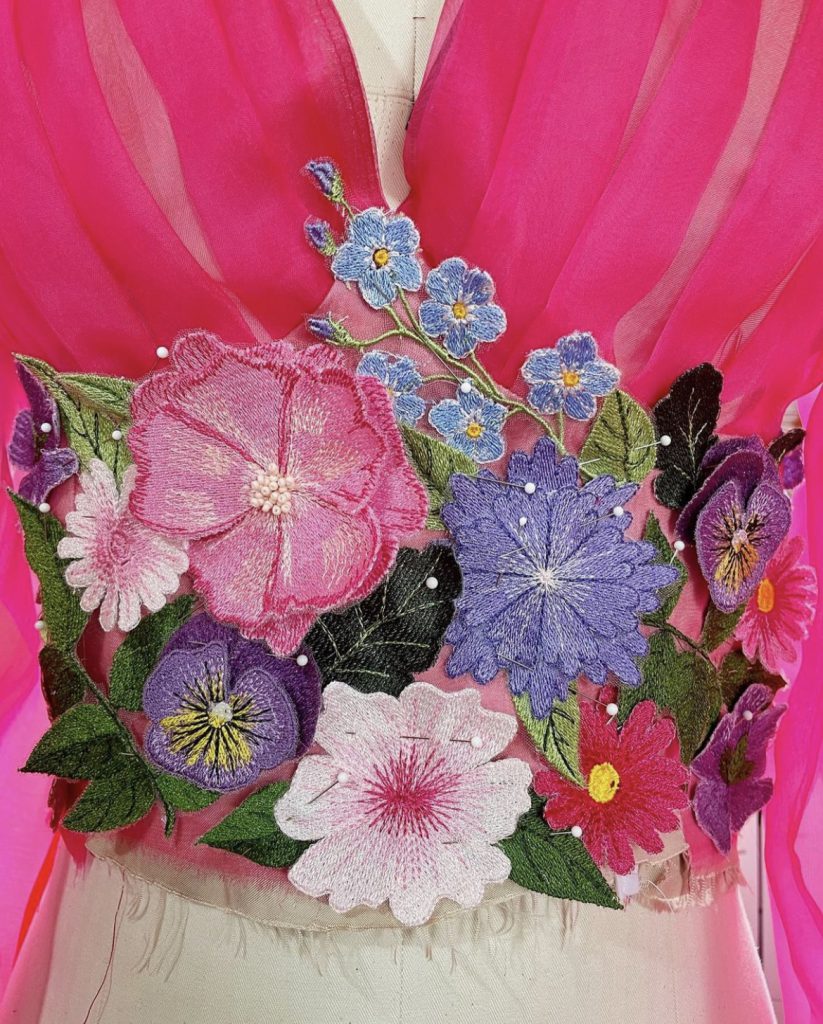
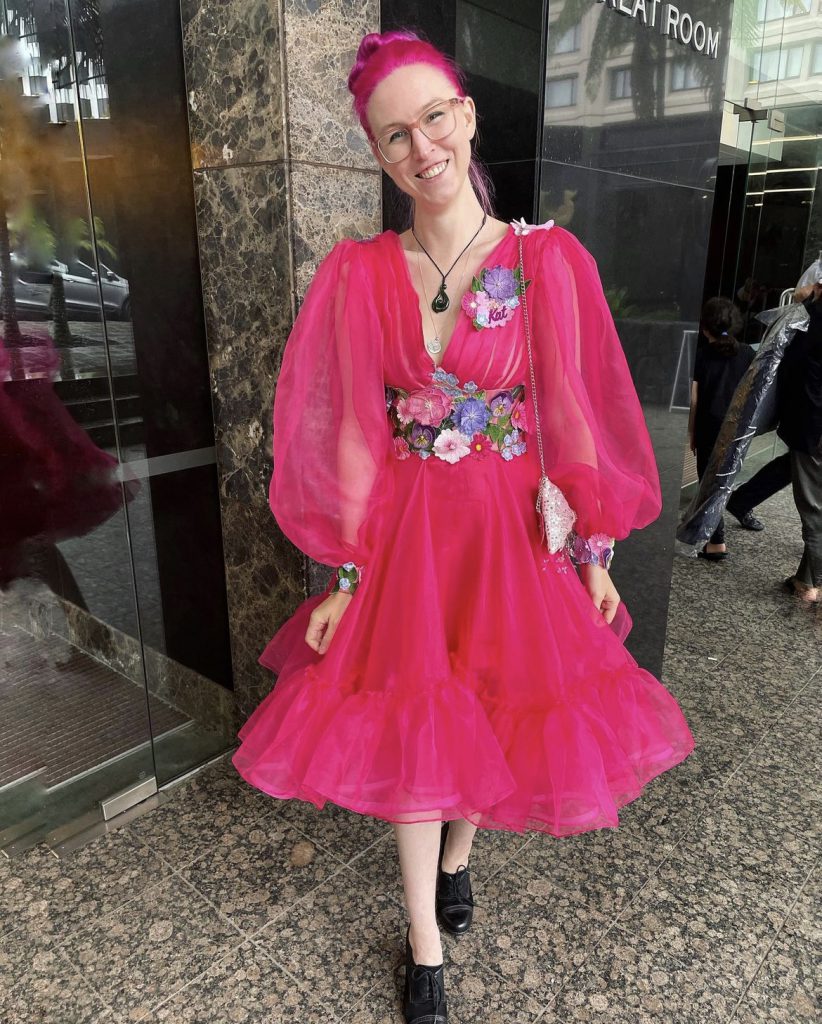
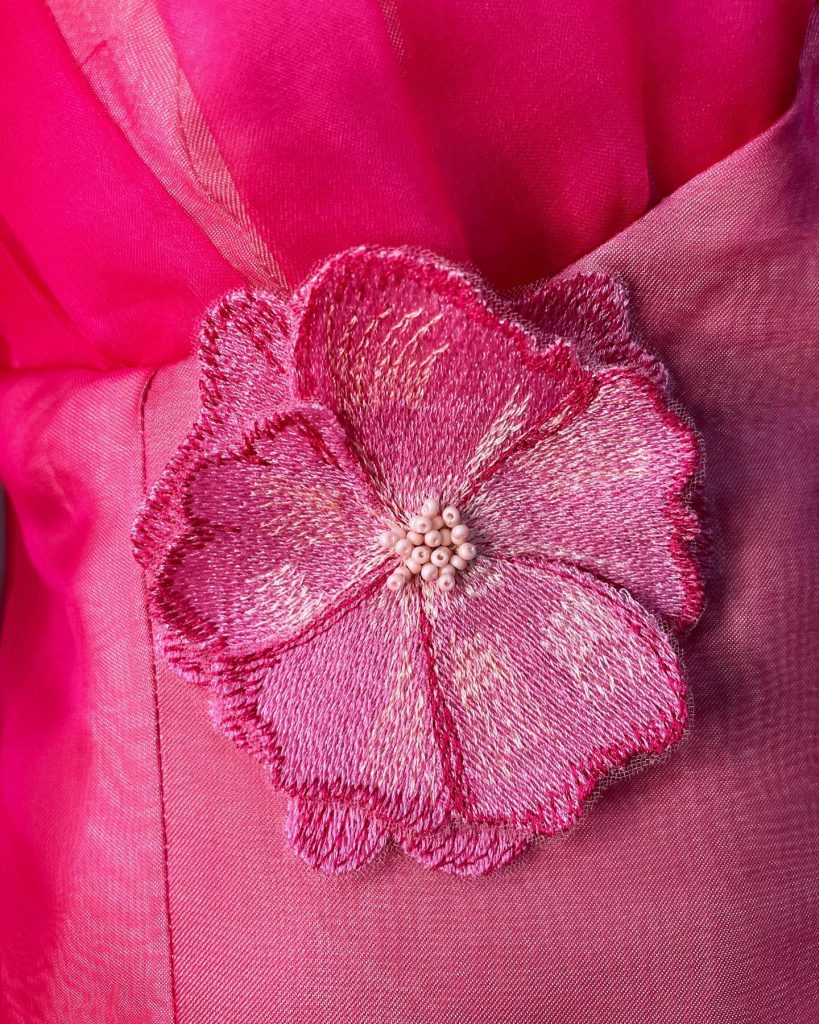
Machine embroidered flowers on tulle, adorning the bodice of my Frocktails dress (scroll down for a photo of the finished dress!)
While freestanding lace is always an option, using tulle as an embroidery base means you’re not limited to freestanding lace designs with solid borders, and if you are digitising your own you can decrease the density so the design isn’t as stiff in its final form. Since tulle doesn’t fray like woven fabric, you’ll be able to trim the design close to the edge, and the tulle will remain virtually invisible.
Supplies to embroider on tulle
- bernette 79, or other embroidery machine
- Tulle – any tulle will work – I like to use a soft nylon tulle or, for finer designs, bridal illusion net.
- Thread – embroidery thread, as well as a 60 wt bobbin thread
- Water Soluble Stabiliser
The biggest single trick I can share for embroidery on tulle is to choose the right stabiliser. You’re not looking for the clear film-type soluble stabiliser that is often used as a topper – this is a white, non-woven stabiliser that feels a bit like a reusable shopping bag you’d get at the grocery store, but it dissolves in water!
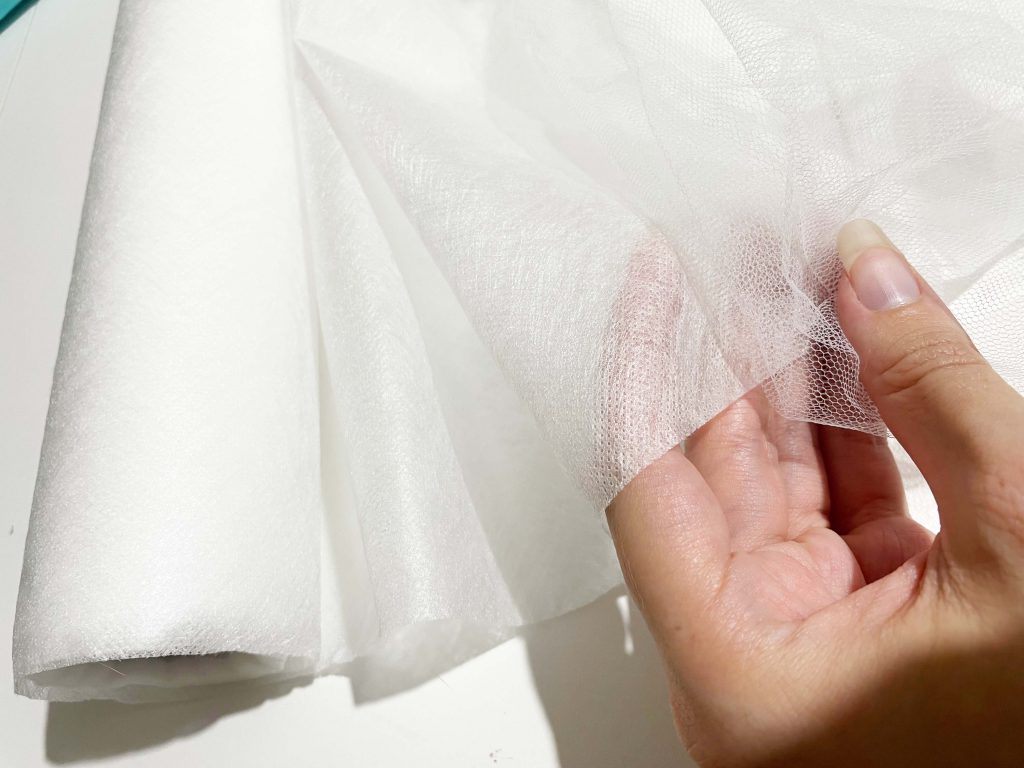
From here, the process is remarkably straightforward. Begin by hooping one layer of stabiliser and one layer of your chosen tulle. Make sure the tulle isn’t stretched in the embroidery hoop, as this can cause puckering.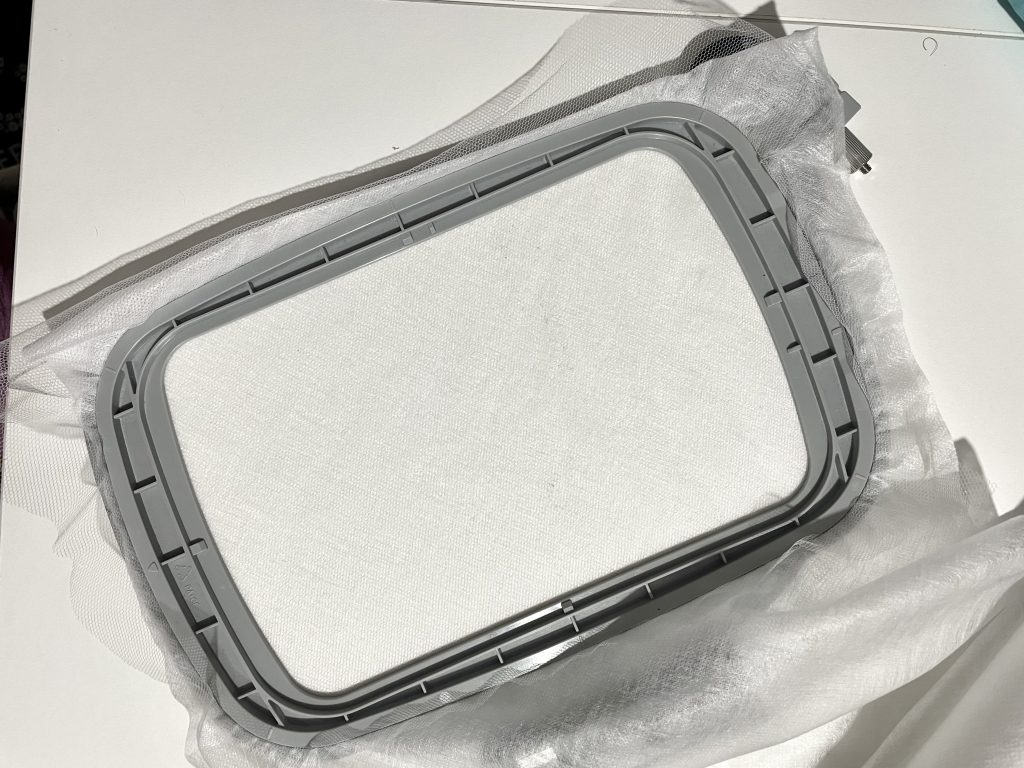
Select a design – I’m using one I digitised, but the wonderful thing about tulle is that virtually any design will work! Try to choose something that is low to medium density – if your design is particularly dense, you can add a second layer of stabiliser. Next, set placement, if desired. I’m cutting my flower out of the tulle after embroidery so placement is less important to me for this project, but if you’re embroidering directly on a garment this will be important!
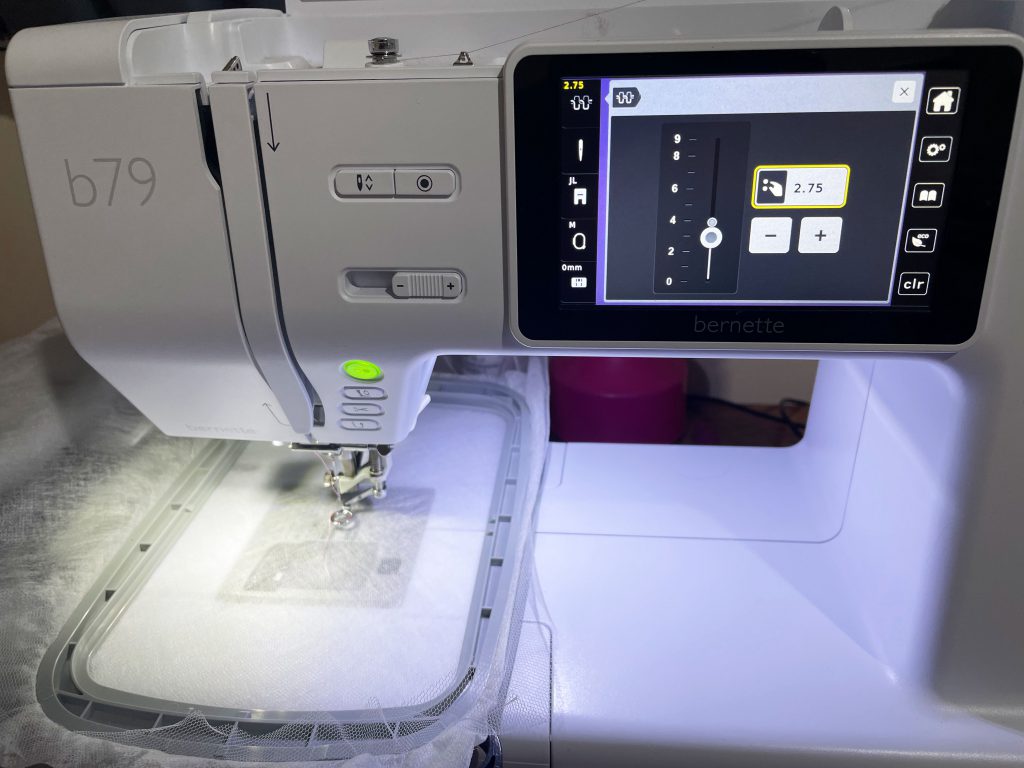
Finally – lower your machine’s tension. I find that a setting of 2.75 worked best for me, but you may need to do some tests. Your goal here is to decrease the upper tension so that the threads wrap to the bottom ever so slightly – this helps keep the edges looking neat so that your bobbin thread colour isn’t exposed. If you’re planning to use your embroidery as a 3D embellishment, you could choose to use a matching bobbin colour as well.
Stitch out the design, following thread changes as needed
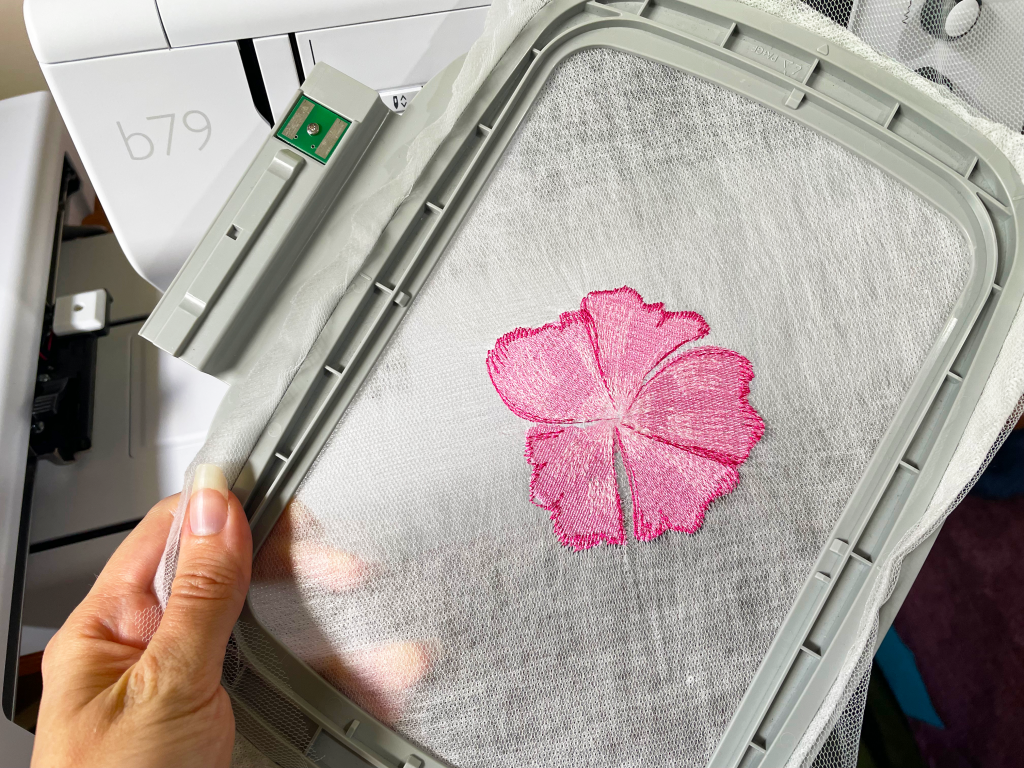
Now the magic happens! Trim your design out (or trim just the stabiliser if you’ve embroidered directly onto a tulle garment) – removing as much excess stabiliser as possible makes the washout process easier. You can trim as close to your design as possible because the tulle won’t unravel.
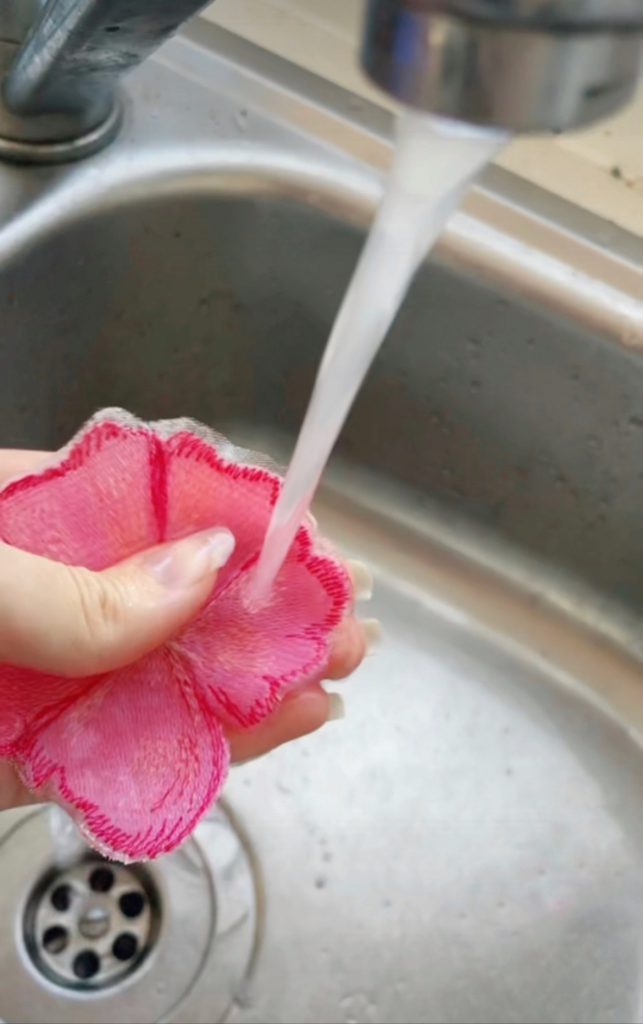
Wash out your embroidery in warm, soapy water. The stabiliser will disappear almost immediately on contact with water, but carry on washing with soap as well as a couple of rinses to get it all the way out. You’ll know if you haven’t quite gotten all of the stabiliser out if it feels gummy as it dries. I like to roll mine in a towel and then lay them out to dry. Once they’re dry, iron them gently from the back to flatten any wrinkles, and you’re done!
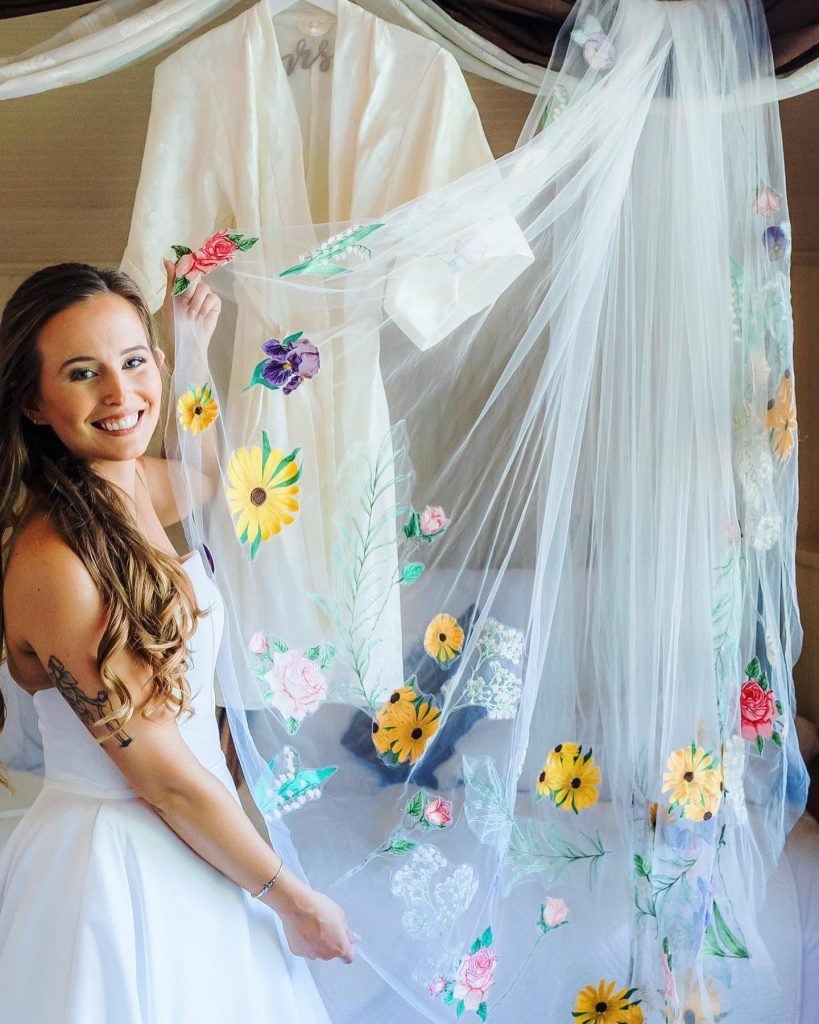
I’ve used two variations of the machine embroidery on tulle technique – first, I stitched flowers on tulle as appliqués for my sister Lillian’s wedding veil:
I enjoyed the result so much that I used the same technique to embroider 3D flower embellishments which I stitched to the bodice of my pink Frocktails dress:
Happy stitching!
You can find more of my projects on Instagram, Tiktok, and my blog.
 BERNINA Corporate Blog -


Very beautiful! I am surprised that the jumbo Bernina hoop fits on a Bernette B79…?
Dear Marie,
It does not, I am guessing she marked the wrong product in her article. Ill correct that. Thanks for spotting!
Ooh Ramona is right, I’m sorry Marie! I must have tagged it wrong. I used the largest of the three hoops that come with the B79 for these projects!
So impressed – your results are absolutely stunning!
Thank you Didge! I’m so happy with how well they turned out, the technique was so fun to experiment with!
So pretty! Nice clear instructions too, such a lovely couple of projects. 🌼🪷🌼🪷🌼
Thank you so much Katie! I had so much fun with these! 🥰