 BERNINA Corporate Blog -
In part 5 of the “Learning to Sew for Beginners” blog series, you can familiarize yourself with a simple first project from my sewing friend Kathi. Eventually you will reach a point where you would like to attempt more complicated sewing projects that involve a proper pattern. In particular, clothing projects involve more than just cutting rectangular pieces.
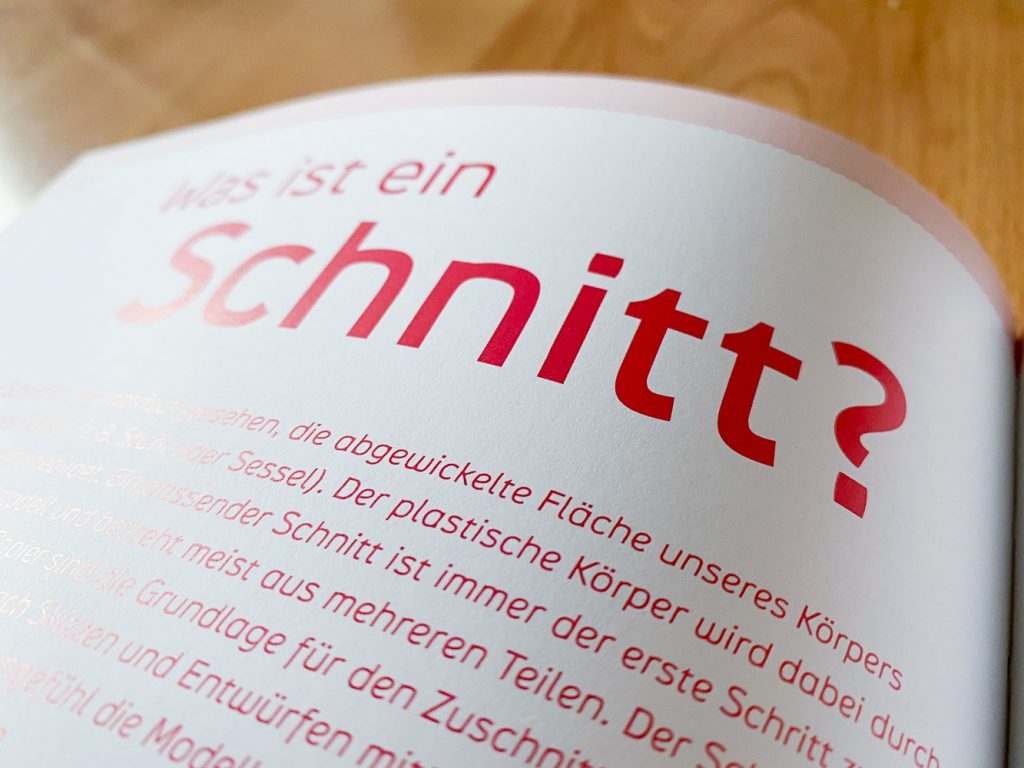
But which types of patterns are available? How do I read a pattern? And what do I do with the individual pattern pieces? You can find the most important answers in this blog post.
What patterns are available?
You can find a paper pattern sheet, for example, in magazines, books or individual patterns, which, in principle, work in the same way, but often differ greatly in terms of their complexity.
The pattern sheets from classic magazines bring with them a number of obstacles. The superimposition of pattern pieces – sometimes from different projects – results in a confusing tangle of lines, which is very challenging, and not just for beginners. For this reason, sewing pattern sheets in books are usually much less complex. Paper patterns that only contain a single pattern section are even tidier.
E-books usually only contain one pattern. However, instead of a paper sheet, you have a digital pattern for printing as a PDF file.
BERNINA Inspiration Magazine
Pattern PDFs are also available in the BERNINA inspiration magazine web shop. In addition, free sewing patterns are usually available in this form, for example here on the BERNINA Blog.
A PDF pattern sheet is usually created in DIN A4 format. You have to print this out in actual size (i.e. without reducing or enlarging) and then trim and glue it together according to the instructions of the respective pattern maker.
TIP
To protect the environment, the pages with the instructions do not necessarily have to be printed out. At the beginning, however, a printout can be helpful so that you don’t lose track.
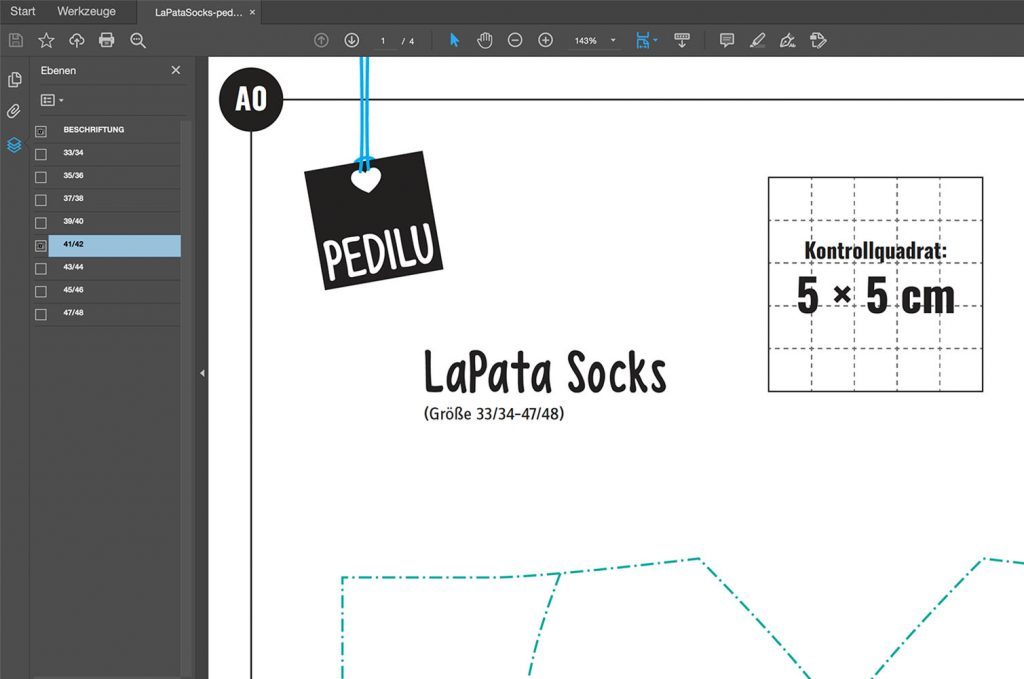
If printing a PDF pattern out and sticking it together is too annoying, you can check whether the pattern is available as an A0 file. This is the case with the patterns from inspiration magazine, for example. This file can be printed using a print service. This eliminates the need for printing, cutting and gluing – however, you cannot get started right away. In any case, use an online service that normally prints CAD drawings. Local copy shops usually only offer very expensive printouts, which would also work well in a picture frame on the wall – but we only need text and lines.
There is another special feature with e-book patterns. A projector file is being included in an increasing number of instructions. This allows the pattern to be transferred to the fabric with the aid of a projector.
SUMMARY: Advantages and disadvantages of various media
Individual paper patterns and e-Books are particularly suitable for beginners. You have a better overview of the pattern than with a classic pattern magazine. With e-books, you have to print the pattern sheet yourself. For individual patterns from paper, books and magazines, the pattern sheet is supplied directly.
How to print and assemble the pattern?
OK. This much is clear: we now know where such a pattern sheet can be found and how we might have to prepare it. So let’s take a look at the whole thing a little closer.
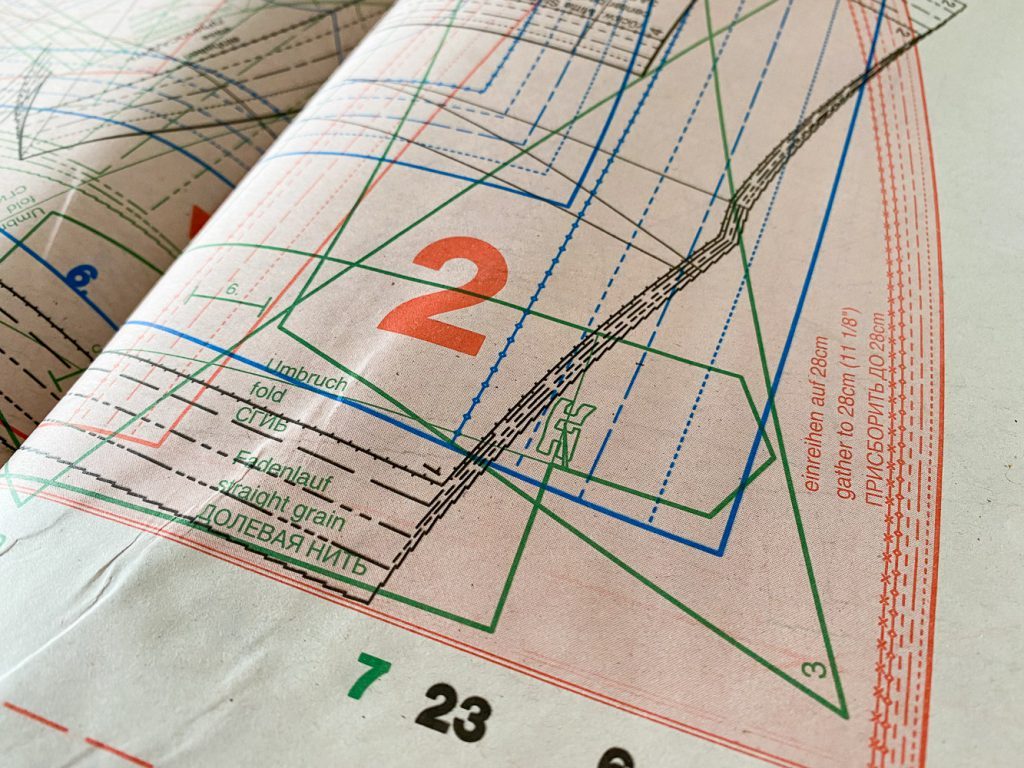
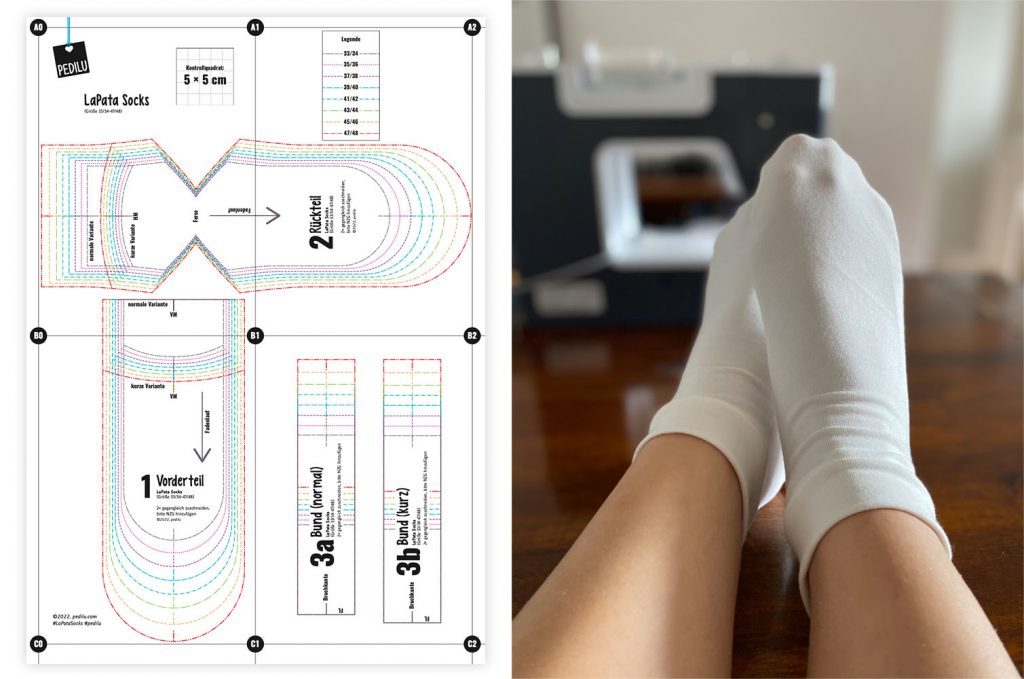
The sheet contains all the pattern pieces you need for a project. Pattern pieces can also overlap in order to save space.
Pattern pieces are named and usually numbered
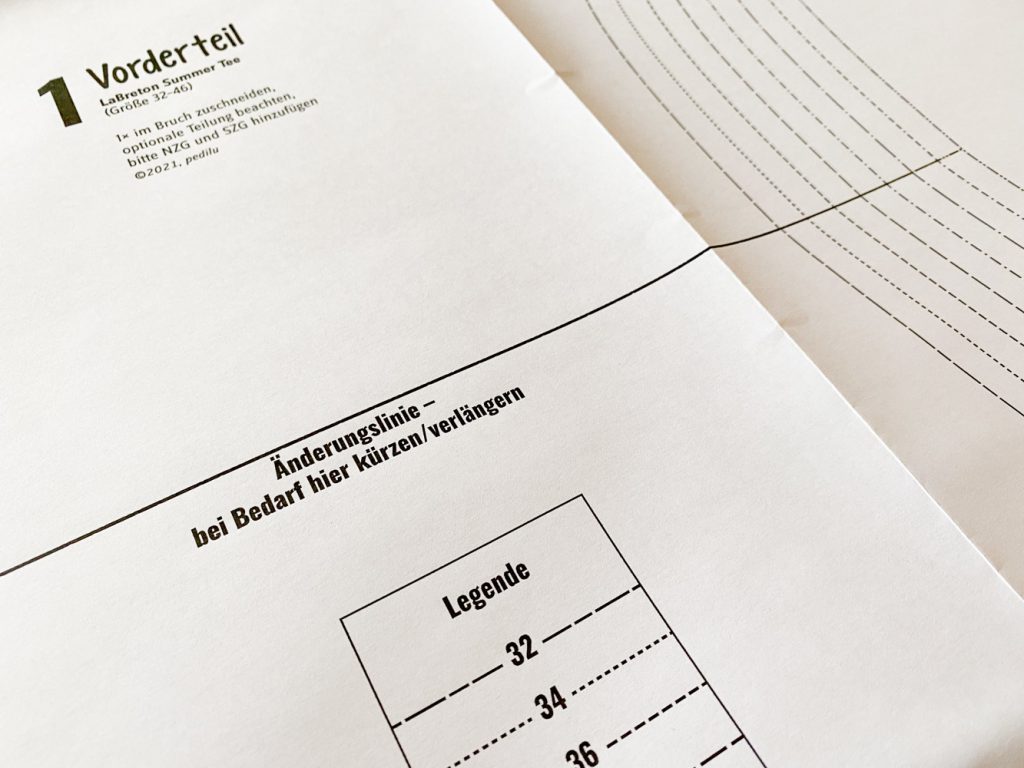
These pattern pieces are always named and are usually numbered. If you don’t have a single size pattern piece or a pocket pattern, other sizes are also slightly offset on the sheet. The different sizes are characterized by different colors or dots. You can find your size either along the line or in an additional legend on the pattern.
TIP
If the individual sizes are dotted differently, you can also print color patterns in black and white (or have them printed) to reduce costs. They are sufficiently different.
A useful gimmick in some e-books is that you can use your PDF viewer to select the size you want displayed and printed. This layer function is helpful if you only want to sew the same size and don’t want to be distracted by the other lines right at the beginning.
Finally, you will find important information or symbols on the pattern pieces that will help you cut the fabric correctly later. A few typical instructions are “place in the thread run”, “cut out in the opposite direction” or “cut out in the fold”. This sounds a little unusual at first, but I will show you when we get to the step where it becomes important.
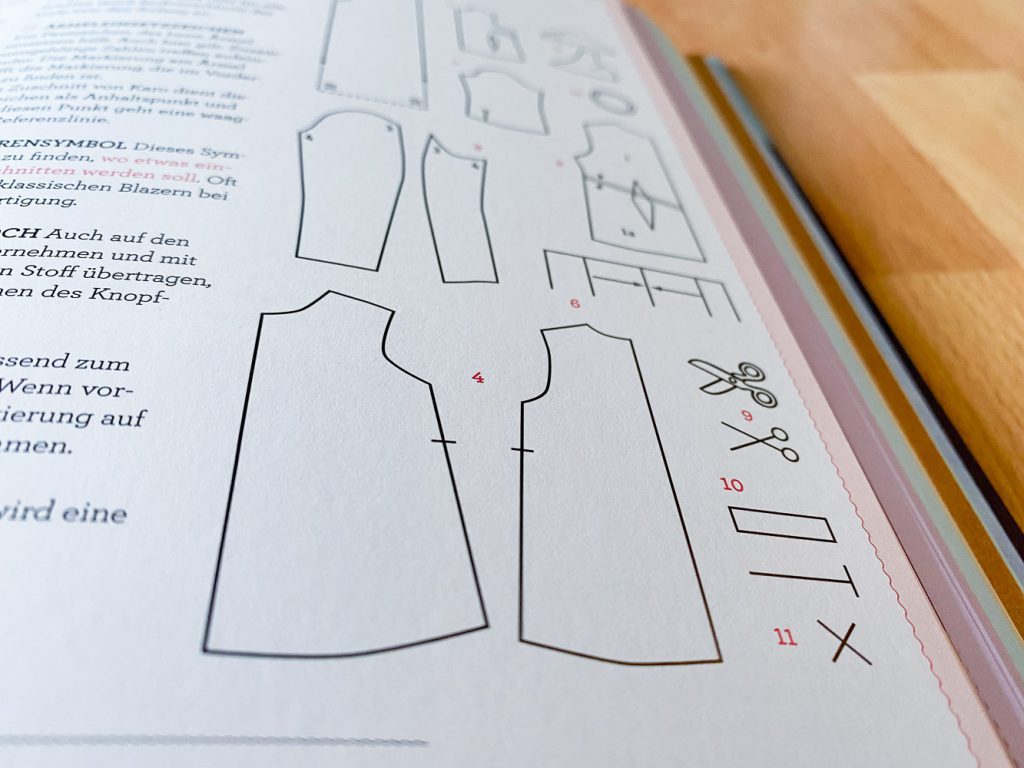
The illustration for pattern symbols is not standardized, but is usually easy to understand. For beginner projects, only the grain arrow and register marks are of interest.
How do you trace the pattern?
As a preliminary work step, you have to trace the required pattern pieces from your paper sheet. For patterns where pattern pieces overlap, you must not cut out the pattern sheet directly, otherwise you will cut out the pattern pieces you will need later.
TIP
Even with a sheet that contains several sizes, you should always trace so that you can sew the pattern again at any time in a different size.
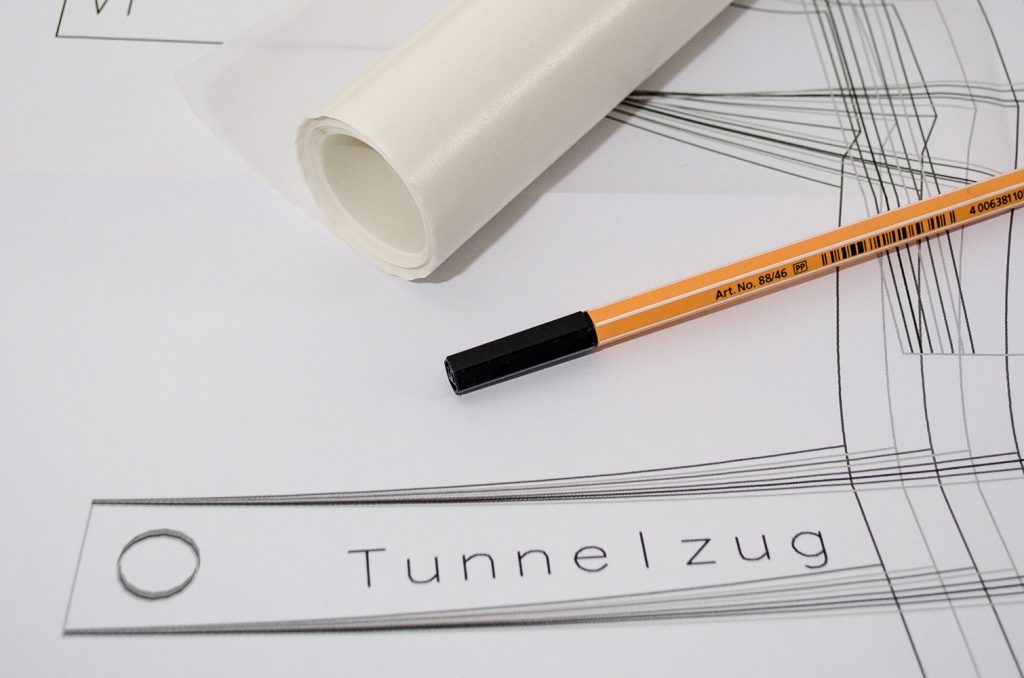
It is easiest to trace with pattern paper. Place the thin, translucent paper onto your template and trace the pattern pieces in your size, including all the markings.
Write down all the important information on the pattern piece. You should also note whether your pattern already contains a seam and hem allowance – and, if so, how much and on which edges – or whether this must be added later. Cut out the pattern pieces with a pair of paper scissors so that you can finally move on to the fabric in the next step.
We’ve made it: it’s time for the fabric!
Let’s get down to business. The paper pattern pieces are placed onto the fabric. But how?
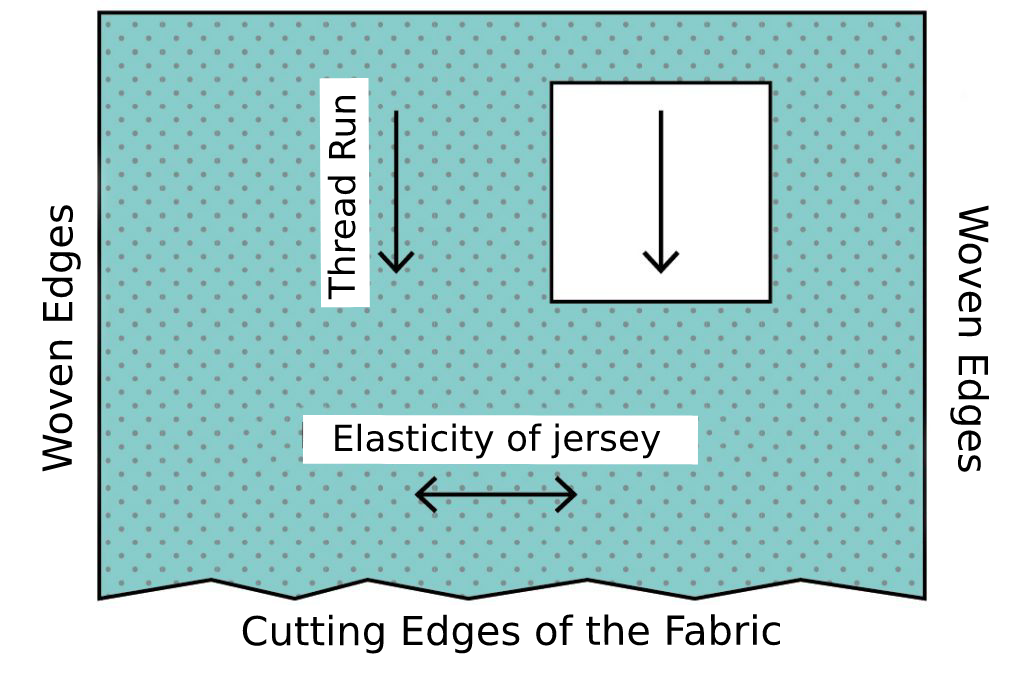
Normally, pattern pieces are placed in the grain, i.e. in the correct direction based on the run of the thread in the fabric. The grain runs from top to bottom when the woven edges are on the side in front of you. For jersey, you can also see small individual stitches that you can use to orient yourself. Since jersey is transverse elastic, you can also use this as a guide.
TIP
Incidentally, pattern pieces are placed on the wrong side of the fabric – i.e. the not so attractive side – so that all the markings are in the interior of the project later on.

Symmetrical sections are often laid out in a fold. This means that your fabric is folded parallel to the grain and your pattern piece ends with the fabric fold edge. A typical example is a front or back of a shirt. Pattern pieces that are laid out in opposite directions are required twice in a mirrored form, for example sleeves – one right and one left. In practice, the fabric is already folded twice if you have previously placed a pattern piece in the fold.
Does the pattern have a seam allowance?
In your instructions, you can find out whether or not the respective pattern already contains seam and hem allowances. This information is essential as you continue on.
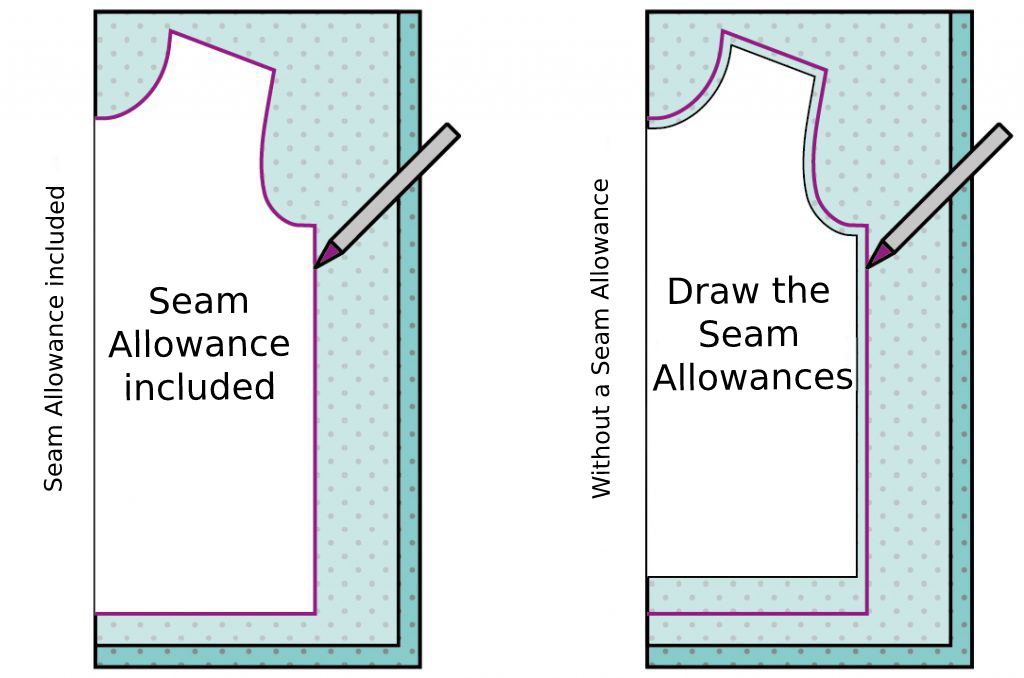
For patterns that already include a seam allowance
Place the pattern pieces onto your fabric, doing your best to avoid waste, and secure them to the fabric with a few pins. You can also use sewing weights that hold everything in place. Draw off the pieces with a sewing marker or chalk pen. Don’t forget to transfer all the markings. The front and back center is generally also useful as a marking.
For patterns without a seam allowance
Place the pattern pieces onto your fabric, leaving sufficient space for the seam allowance around the pieces. Secure it in place with pins or sewing weights. Draw the seam and hem allowances according to the instructions. Don’t forget to transfer all the markings. At the beginning, it can also be helpful to draw the pattern piece directly on the edge, so as to have an guide for the seam line when sewing.
It’s finally time to sew
Cut out the fabric along your marked cut-out line. To do this, use sharp fabric scissors or a rotary cutter in combination with a cutting mat.
TIP
Do not remove the paper pattern pieces from the fabric pattern pieces yet, so that you can keep a better overview.
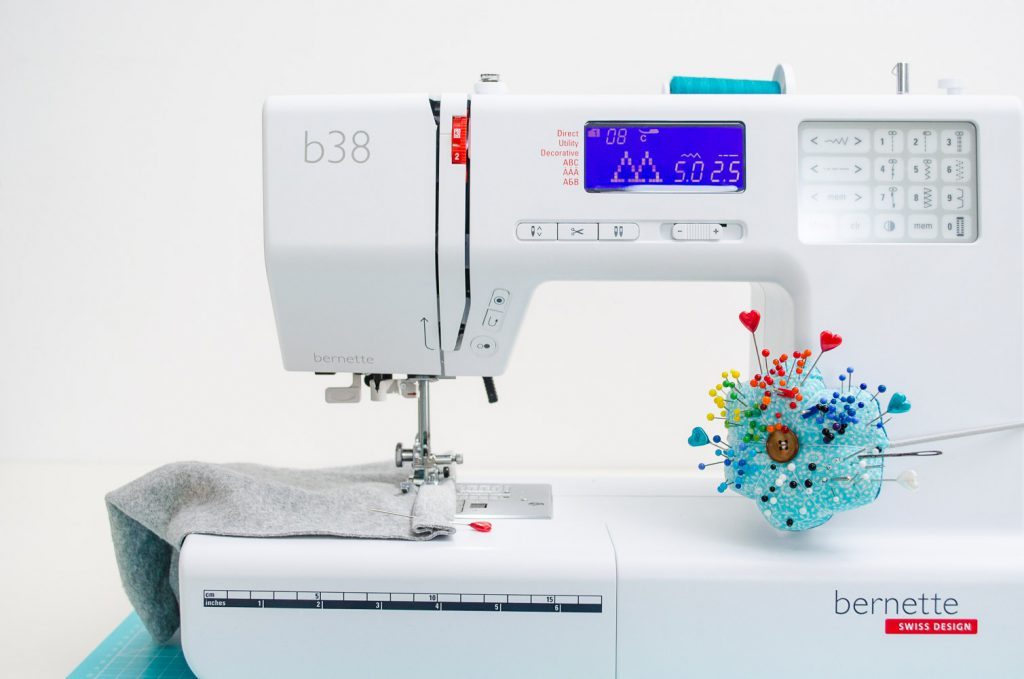
And finally, you can start sewing! Grab the accompanying instructions, sit down at the sewing machine – I’m using the bernette 38 – and follow the individual sewing steps. You will see: If you have prepared everything well, sewing is the greatest hobby in the world!
Have fun with this blog series! Here you can find an overview of all the “Learning to Sew for Beginners” posts.


Hi, you can try the AI pattern grading tool from this link http://www.sixatomic.com Automatically grade patterns to any size, whether it’s a full standard size range or bespoke.