Hello fellow ‘Sail-Along’ sailors, here we go: we are sewing the first block – the starfish! With today’s post, we’ll cover all the details of Foundation Paper Piecing so that even beginners can learn this technique and sew along the Sail-Along. In addition to the step-by-step instructions, there are two video tutorials.
Then, over the next few weeks, we’ll gradually sew the other blocks. We’ll start with the easiest block and gradually increase the difficulty.
Are you ready – or new here?
Are you ready, did you all get your ‘Sail-Away-with-me’ patterns, have you put together your fabrics? Do you know the itinerary and are you ready to start sailing, haha? Then off we go!
If not, that’s no problem either. You can join this quilt-along at any time. If this is the first time you’ve heard about the Sail-Along, read the following blog article in which I summarize the most important information: Welcome to the BERNINA Sail-Along.
We’ll be sewing a quilt together using FPP blocks with nautical designs. The patchwork instructions will appear block by block on the BERNINA blog. Here you will find an overview of all the articles that have appeared so far:
Sail-Along in the BERNINA Blog
There is no time pressure with this Sail-Along. You can follow your own pace and sail along aa you wish. There is only one date to keep in mind: If you want to participate in the final draw, you have to show a picture of your finished quilt top on social media or in the community section of the blog by 07/14/23.
Materials overview – what do you need?
Fabric selection is one of the most important things when making a quilt. It’s super important to choose your favorite fabrics because you’ll be spending a lot of time with them.
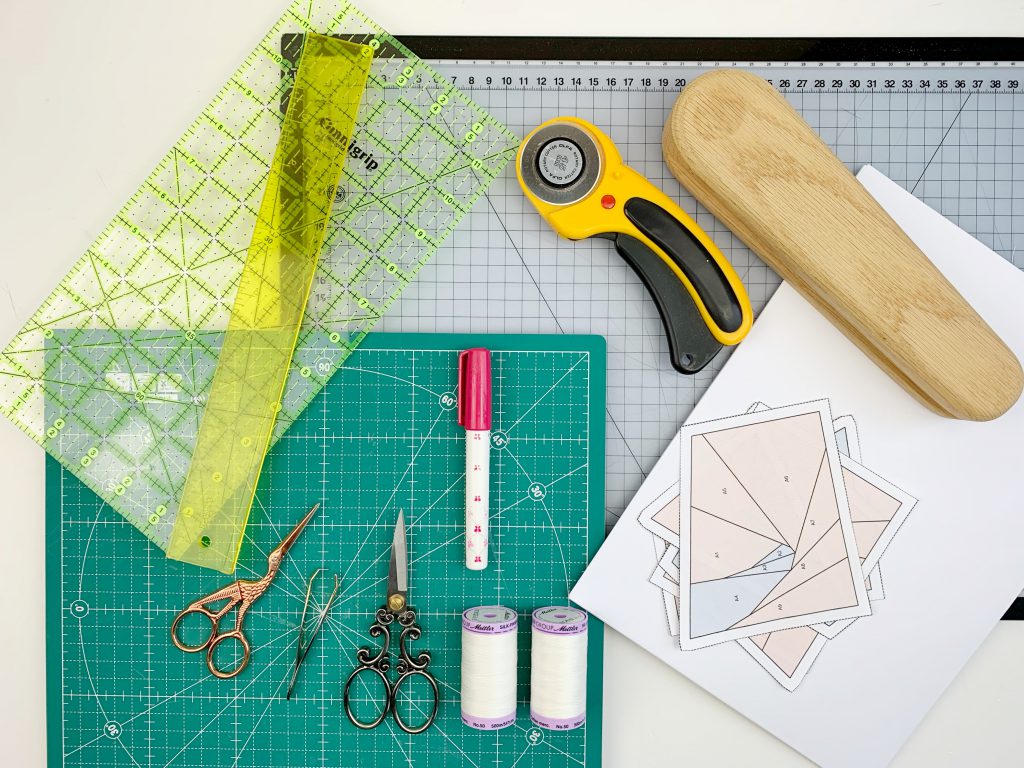
For Foundation Paper Piecing you will also need the following 10 things:
materials needed for foundation paper piecin
1. sewing machine and needles
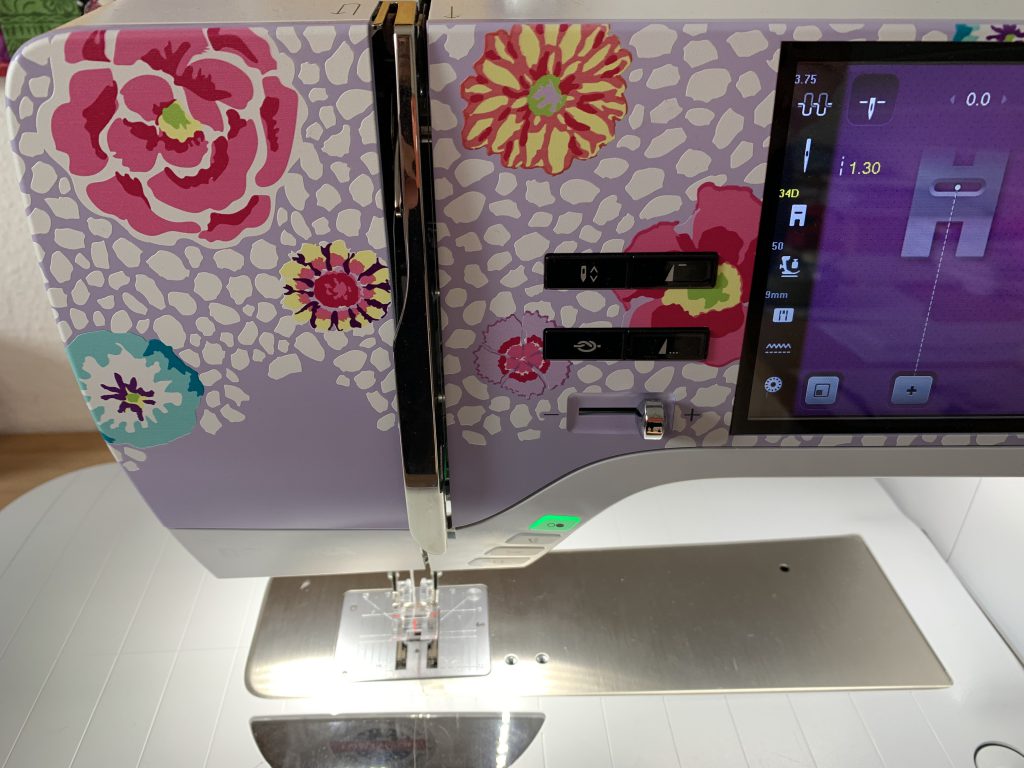
Any standard sewing machine is suitable for sewing “Foundation Paper Piecing” patterns. I use the BERNINA 770 QE PLUS Kaffe Edition. I usually use 70 gauge needles, but 80 gauge needles are also suitable. Change needles more often than usual, as sewing on paper puts a little more strain on the needles than sewing on fabric.
2. iron
Ironing is essential for Foundation Paper Piecing. Pressing gives you nice crisp seams and ensures a perfect quilt block. However do not use steam, as it can distort your paper for fabric. Or it can dissolve the print on your pattern and leave stains on light colored fabric.
3. paper
There are several paper options for Foundation Paper Piecing. Here on my blog I explain all the advantages and disadvantages about the different options in depth. I prefer to use standard printer paper (80 g) here and in general. It is the easiest to get and is usually already in my printer. It is the cheapest and in combination with a fabric glue stick the easiest and most effective option.
4. light box (optional)
A light box is only necessary if you do a lot of Fussy Cutting. Then it’s really easier to place your pattern piece on the fabric.
5. cutting tools: rotary cutter, cutting mat, scissors
You basically can’t have too many cutting mats. In the picture above, you can see a small 12 “x 12” rotary cutting mat that I always keep next to my sewing machine.
Dull scissors are like an ill-fitting shoe, you don’t notice right away what’s bugging you, but over time it just becomes unbearable. Nice sharp scissors are half the battle when sewing.
6. fabric glue stick
Since I usually work with standard printer paper, I really use these fabric glue sticks all the time. It’s much easier to work with than pins. Also, since it is only a temporary adhesive, there is no adhesive residue left on the fabric or on the needle/sewing machine.
7. clear rulers
The options here are really endless. However, a small 12″ clear ruler will do just fine for Foundation Paper Piecing.
8. thread
Of course, in addition to good fabric, it’s important to use good thread for sewing. I use Silk Finish Cotton 50 from Mettler, in either white or cream, which goes with the vast majority of fabric combinations I choose.
9. Tailor’s Clapper (optional, but so great)
This is one of my favorite tools. You iron the segments and then leave the clapper on top, it makes wonderfully flat seams. You can read more about the Tailor’s clapper here on my blog. Of course you can sew the Sail-Along patterns without a Tailor’s Clapper. It just makes your life so much easier.
10. tweezers
These help to remove small pieces of paper.
So now you have a detailed overview of my favorite tools, then we can get started, right?
Here is the first tutorial: we will be sewing the starfish!
This is the fabric selection I chose for the starfish:
Starfish 1-4 are the small size starfish 8 “x 8”
Starfish 1: Starfish: C12983 Chive media Background: C 12985 Marmalade media
Starfish 2: Starfish: C 640 Denim media Background: C 12982 orange media
Starfish 3: Starfish: C12984 orange media Background: C 640 Denim media
Starfish 4: Starfish: C 12983 Black media Background: C 640 Autumn
Starfish 5 (the big one 12 “x 12”) Starfish: C 12983 black media Background: C 12982 orange media
Let’s go….
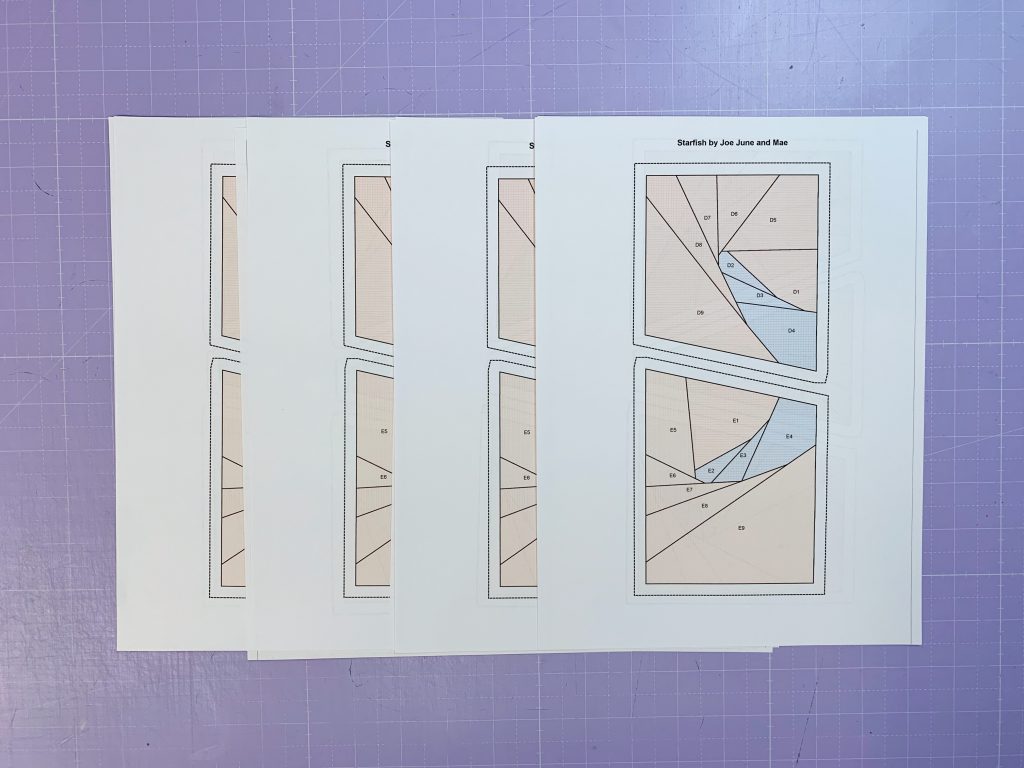
1.There are a total of five starfish to sew for the quilt, four of them are 8 “x 8”. One is 12 “x 12” in size. You will first print out all the lettered and numbered parts of your pattern.
Four of the starfish pattern segments printed
2. Now cut out the pattern pieces along the dotted line. The more precisely you cut out your segments, the easier it will be for you to join the segments later.
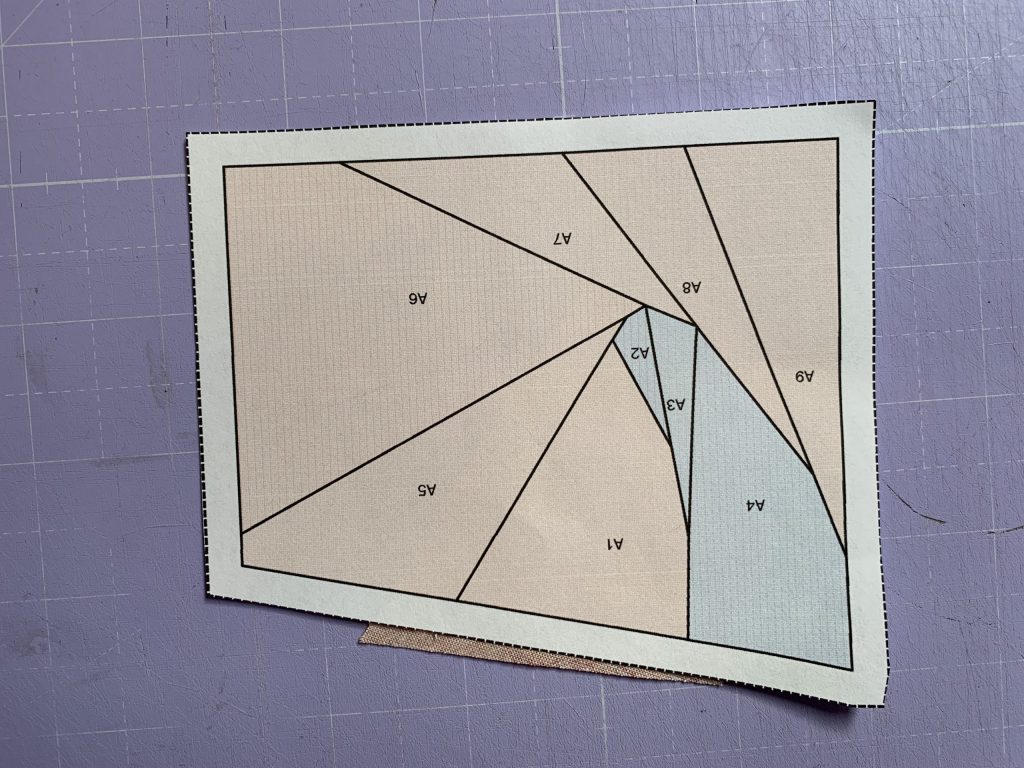
3. It is very important that you understand that the quilt block is created on the reverse side of the pattern!
This fact always leads to misunderstandings. The pattern is not placed on the fabric and then cut out, but the paper pattern serves as a foundation to sew on, the quilt block is created on the reverse side, and therefore also a mirrored image of the segments in front of you!
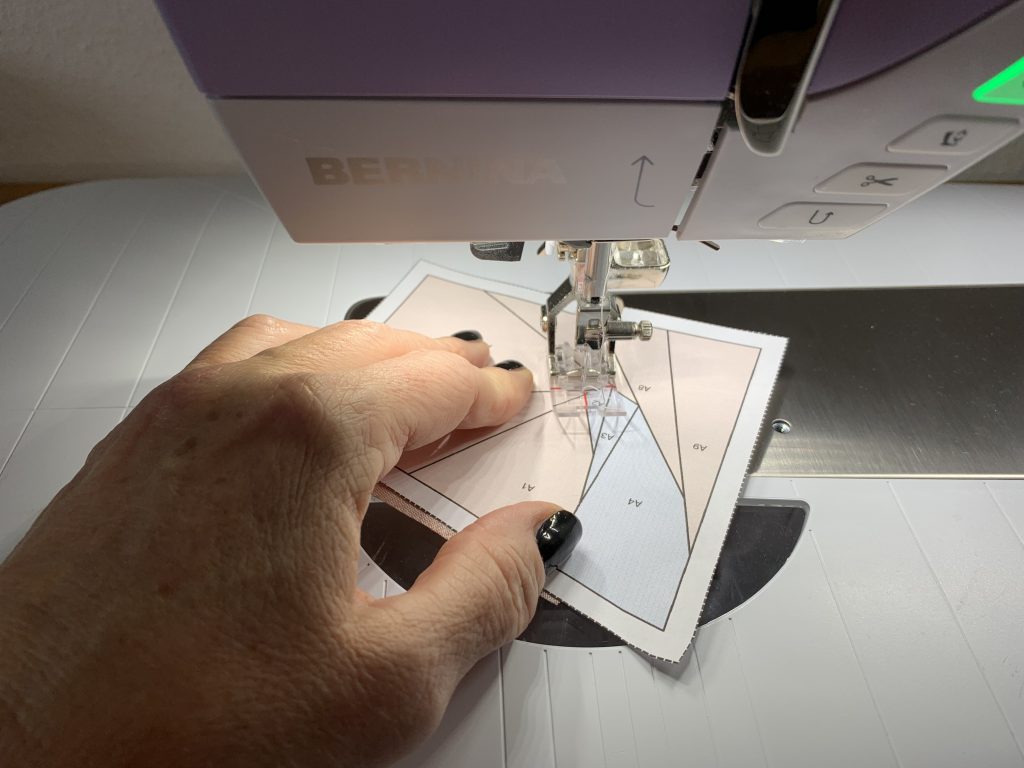
4. Set your sewing machine to a small stitch length. I like to use 1.2 mm or 1.3 mm. The small stitch length makes it easier to pull out the paper when you are done sewing. I also use the reverse feed foot with transparent sole #34D. With this foot, I can sew perfectly on the line.
5. This is how you start:
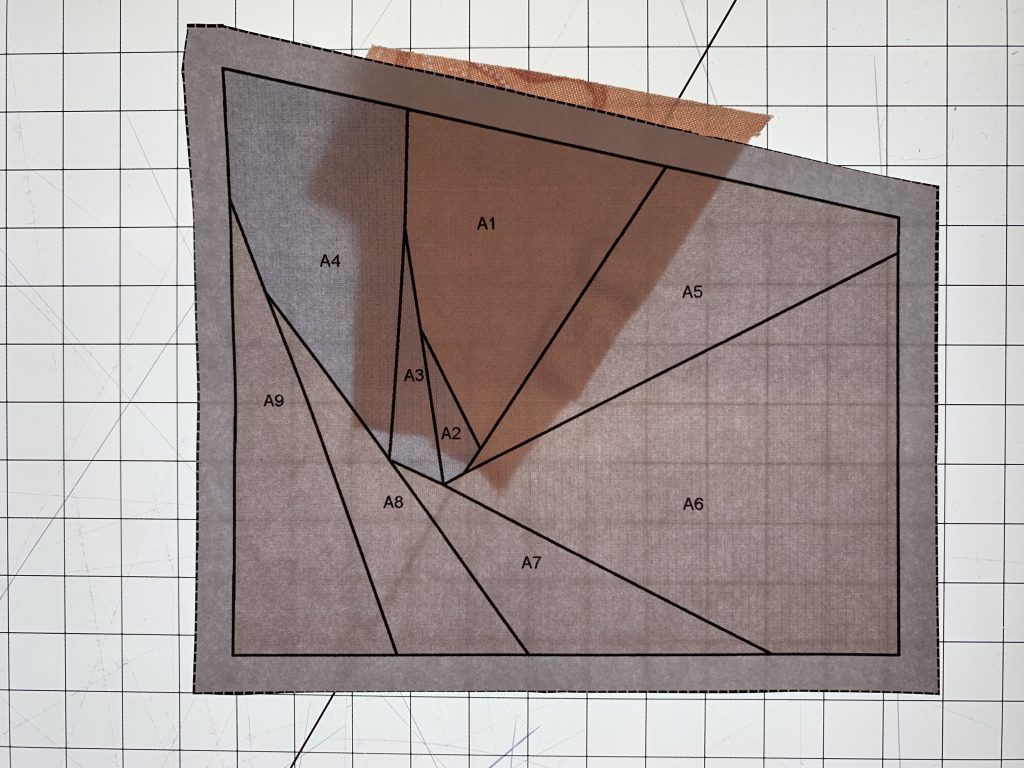
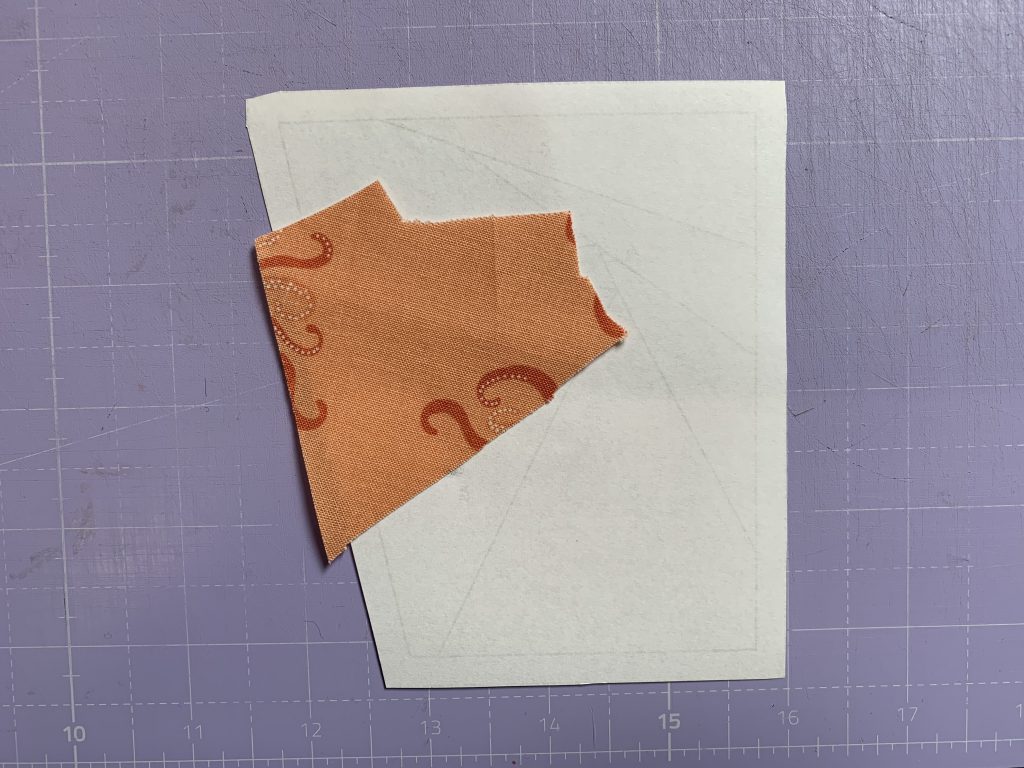
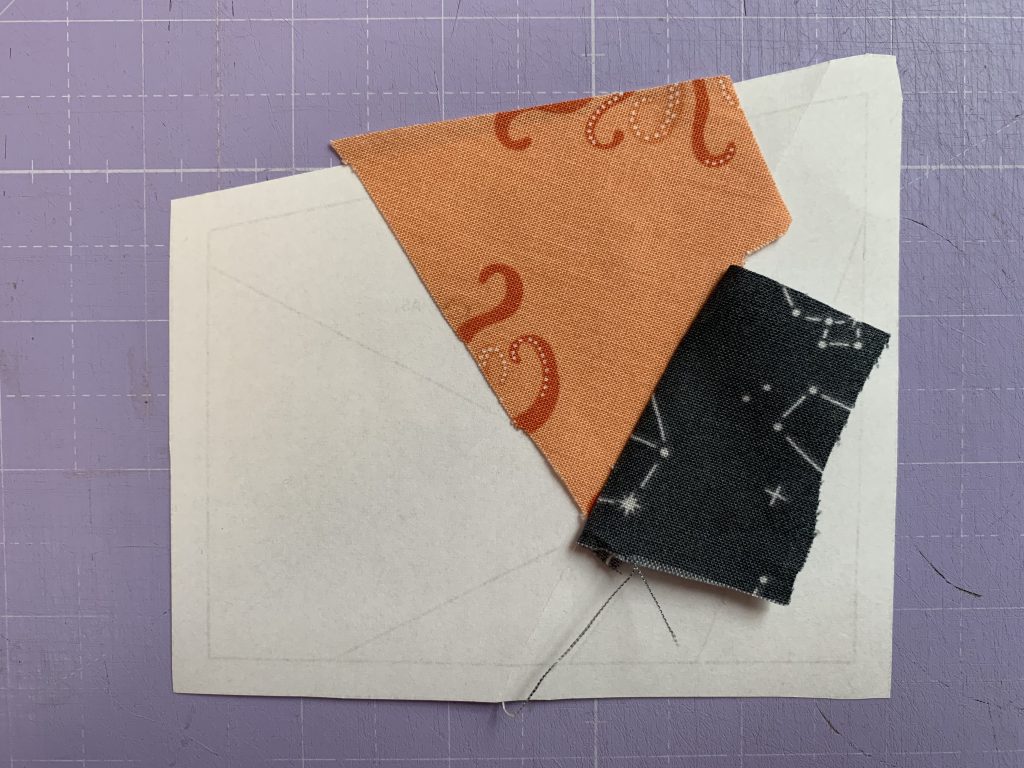
Turn the first segment (labeled A) so the wrong side is facing you. And place the fabric that will cover part 1 with the wrong side on the pattern. This is important:
Wrong side of fabric against wrong (unprinted) side of pattern!
Make sure the fabric covers the entire area of 1, plus 1/4″ to 1/2″ seam allowance. You don’t have to worry about neat edges or grain. This will look like this ( photos below) from both sides.
Now pin this piece of fabric in place or use a fabric glue stick like I did.
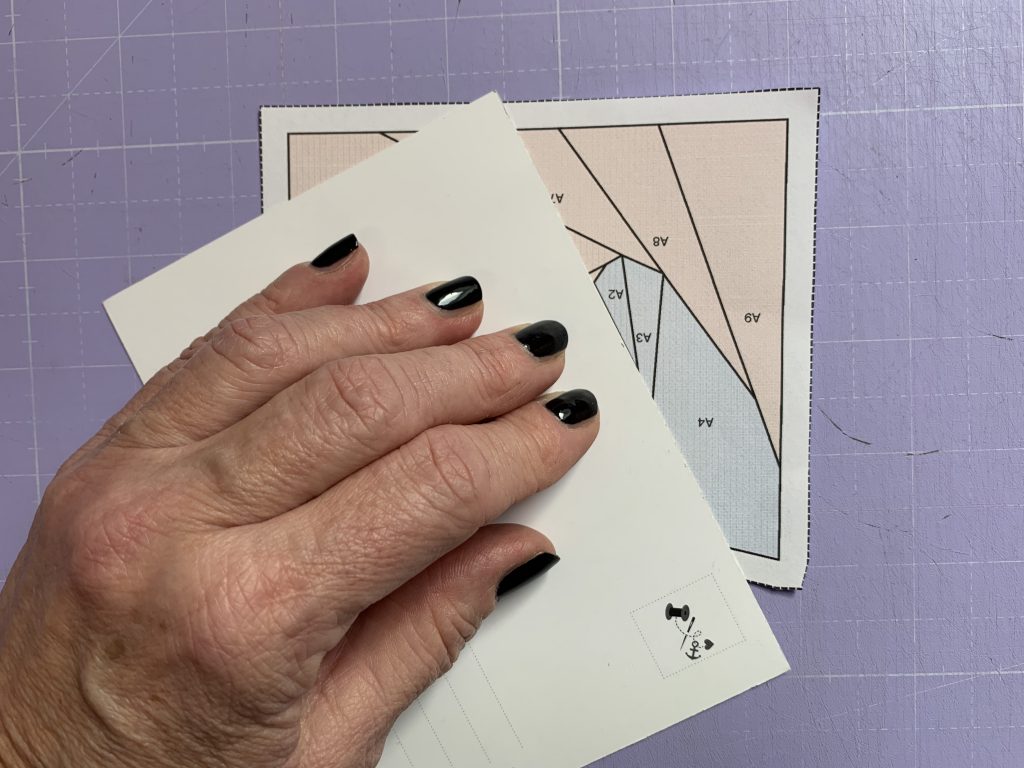
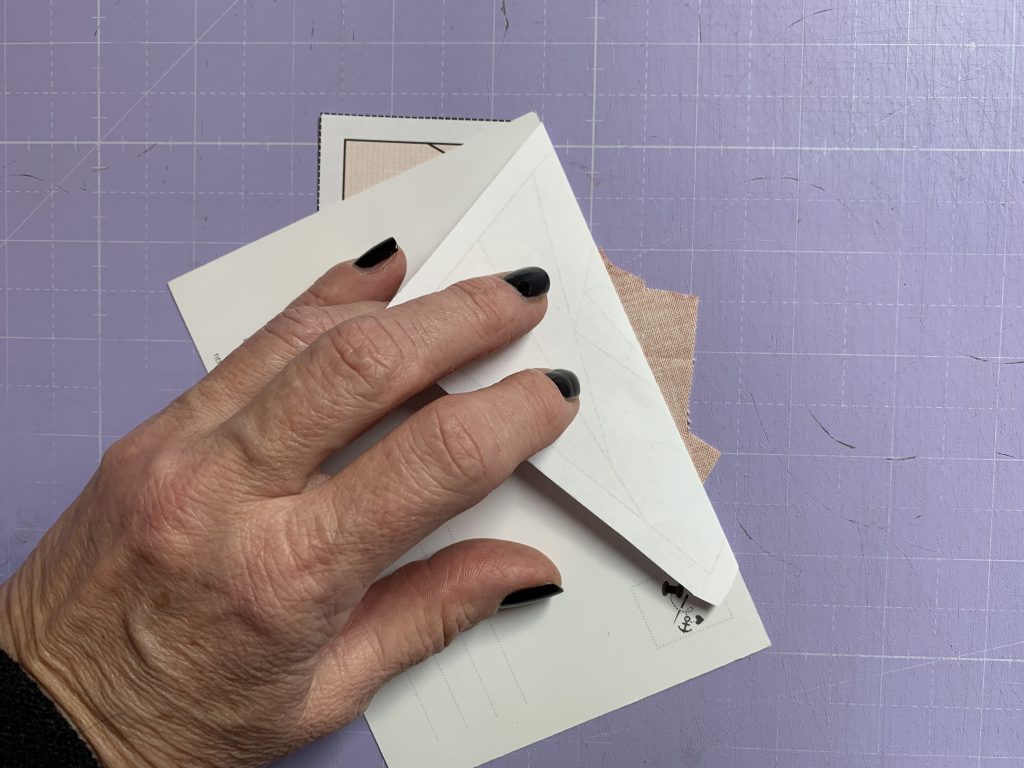
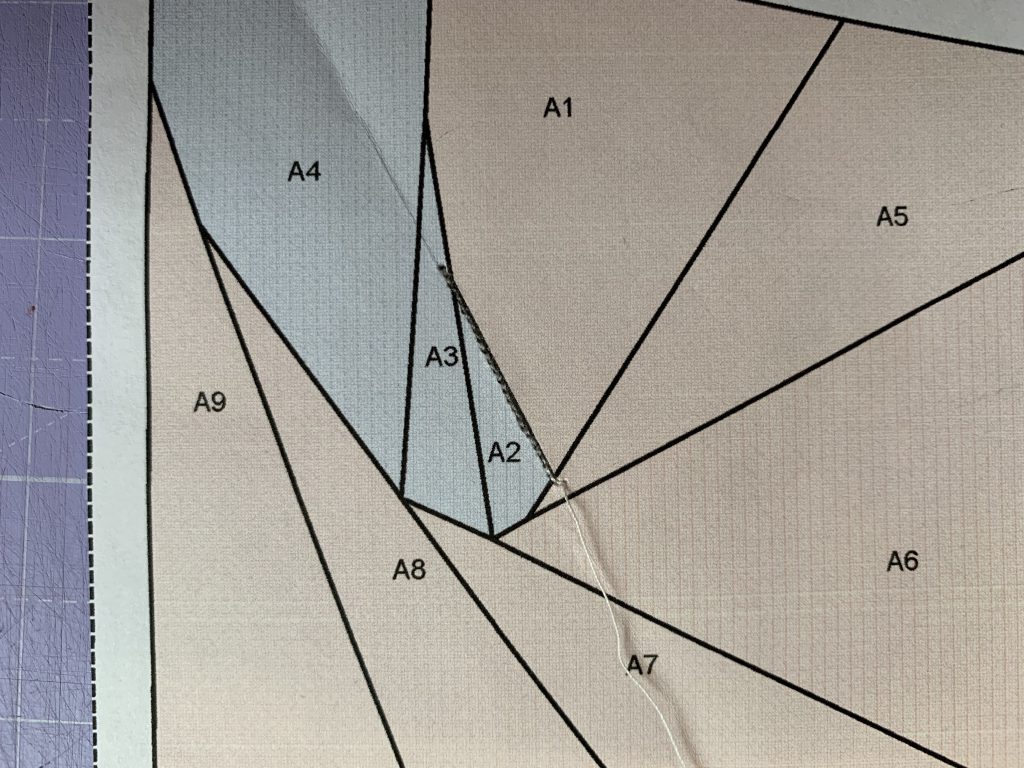
6. Turn the segment so that the printed side faces you. It does not matter if the letters are upside down. Fold the pattern on the line between 1 and 2. It’s best to use a postcard for this, you get a nice crisp fold with it. The line between 1 and 2 is also the line that you will be sewing first.
The printed side is facing you
Take a postcard and fold the segment on the line between 1 and 2.
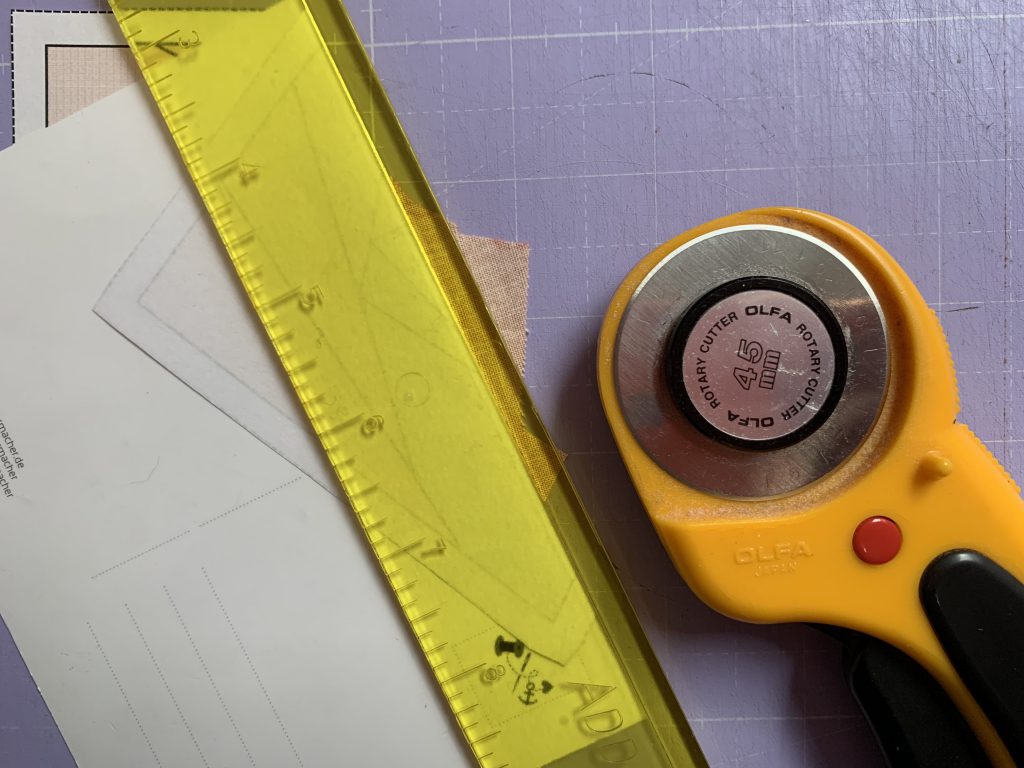
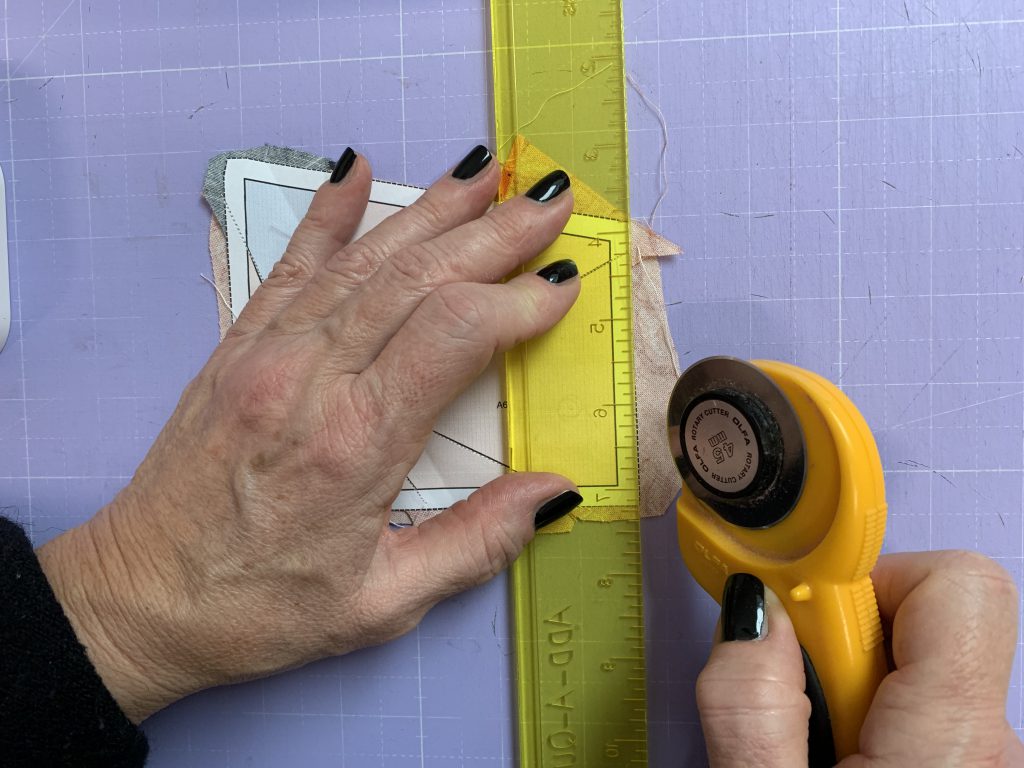
7. Trim the seam allowance to 1/4″. To do this, use the clear ruler and rotary cutter:
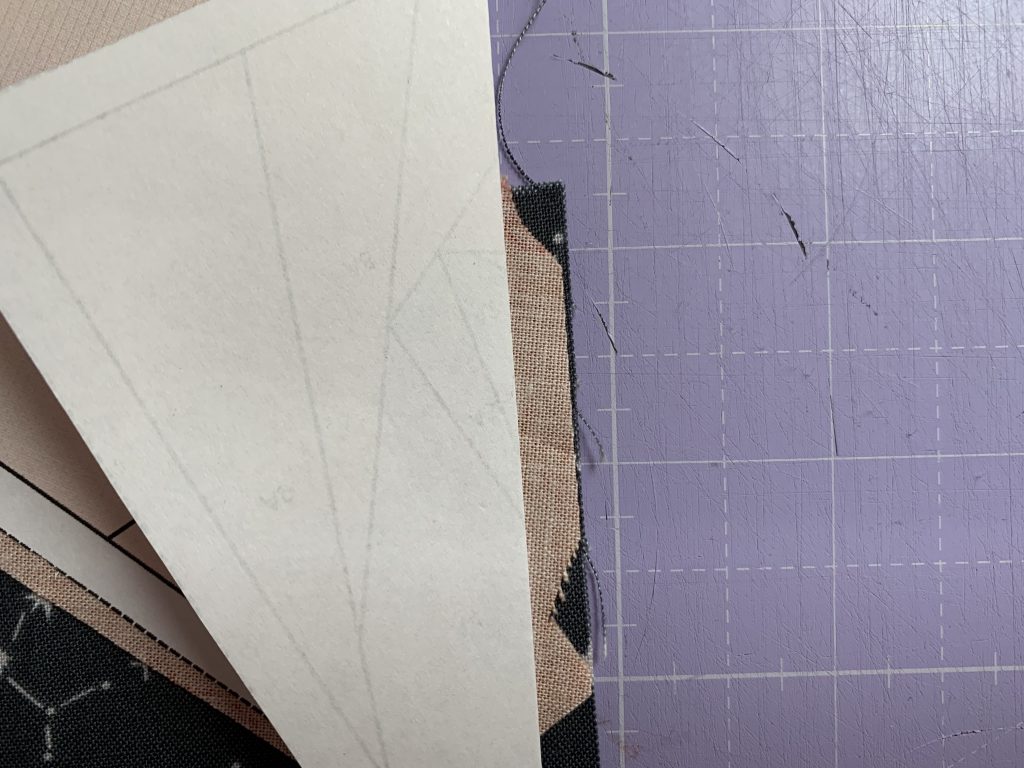
8. Now choose the piece of fabric for the part of the pattern that is numbered 2. Make sure the piece of fabric covers the entire area of 2, plus 1/4″ to 1/2″ seam allowance. Feel free to be generous in the beginning. Later, when you have sewn a few blocks, you can use slightly smaller pieces of fabric.
Place the fabric for part 2 right sides together on top of the first fabric, lining up the edges of the seam allowances:
9. Now sew exactly on the line between 1 and 2. It doesn’t matter if you add a few stitches before and after. The transparent presser foot sole is particularly practical here.
sewing the line between 1 and 2
10. Now unfold the fabric from part 2, so that you see both right sides of the fabric and press, either with the iron or finger press.
11. Continue sewing the same way in numerical order. Next you will sew the line between 2 and 3. Fold along the line between 2 and 3 with the postcard first, and trim the seam allowance. Place the piece of fabric for 3 at the edge of the seam allowance 2 and sew along the line between 2 and 3. Now finish this segment in numerical order.
Sew all 5 segments of the starfish in this way.
Video Tutorial
I created a video showing the steps I just mentioned:
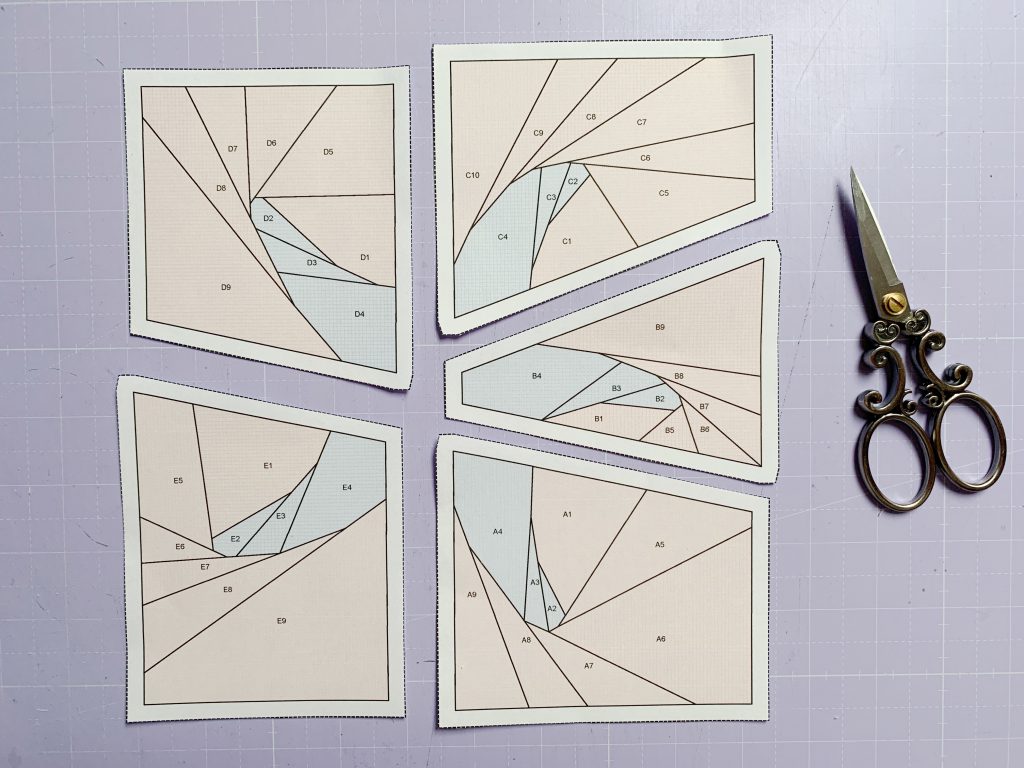
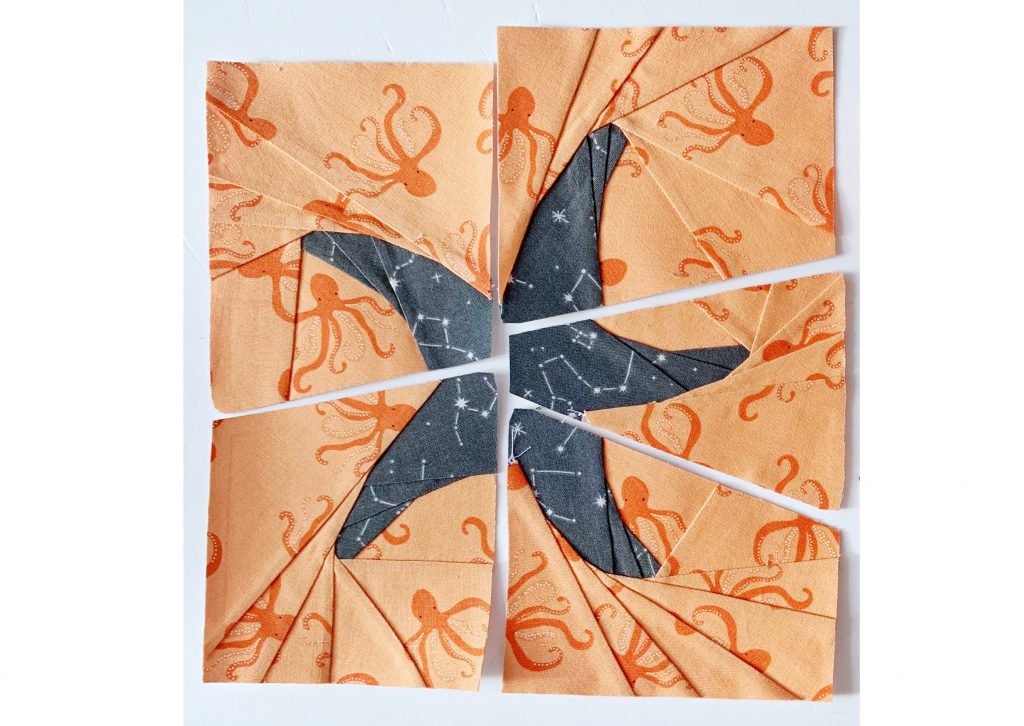
13. Cut the fabric along the outer edges of the individual segments back to the seam allowance line. Lay out the individual pieces as shown on the overview.
All the finished segments:
14. Join the segments in the order described in the pattern assembly instructions. When you join two segments, remove the paper from the seam allowance only and press the seams open. This is where the Tailor’s Clapper comes in handy, it also helps to flatten these seams nicely.
Video tutorial to finish the FPP pattern:
Here is a video tutorial:
And Tadaaa! You did it… the first starfish is done! Onto the next one 🙂
Download embroidery design starfish
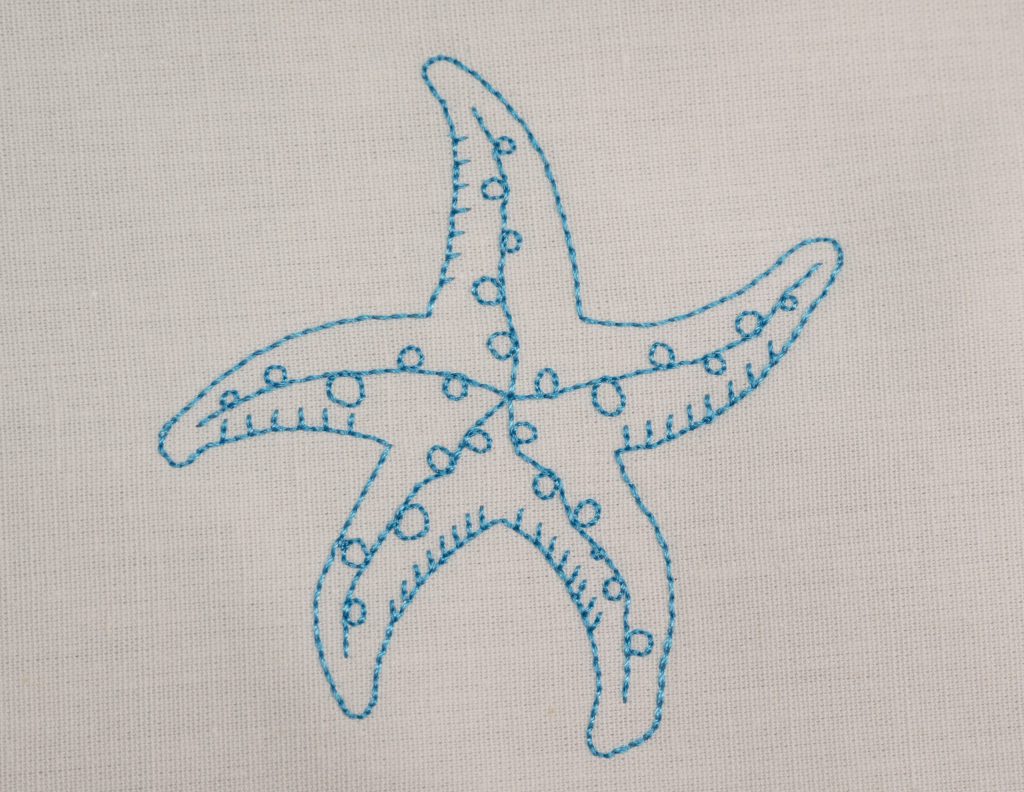
As announced, during the Sail-Along some of the blocks are also available as a free embroidery file. The starfish is the first one! For the embroidery fans among you, this is available as a Bluework embroidery file.
You can download it for free at the following link:
Free download embroidery file starfish
By clicking on the link, a ZIP file will be downloaded to your computer. Unzip it before you transfer the file to your embroidery machine. The design is available in all common file types, from EXP to DST and PES. Even the original ART90 file is included for further processing in BERNINA Embroidery Software 9.
The file has been optimized in terms of embroidery so that it is embroidered with only one thread cut (at the eye of the dolphin).
Maybe you would like to embroider the pretty starfish on the label of your quilt? It measures 75 x 77 mm, so it fits nicely in the Medium embroidery hoop.
Show us your starfish!
How did you get along with the starfish? Did everything work out?
I’m excited to see pictures of your blocks. Show them to me on social media or in the community section of the blog!
On Instagram and Facebook, always use the hashtag #sailawaywithmequilt. In the community section of the blog, don’t forget to select the “Sail-Along” giveaway.
See you again very soon,
Ingrid x
 BERNINA Corporate Blog -


What a gorgeous pattern. Great for all levels of sewists. Thanks
Thank you so much Debbie, that means a lot 🙂
When sewing on the pattern is it necessary to reverse stitch each end? I’ve been doing this so far and just wanted to check if its the right thing to do as I am new to this.
Hey Barbara,
thanks for your question.
No it’s not necessary, because you will stitch over the ends of your seams with the following seams.
Or you will sew all the way through the seam allowance (the one makes on the pattern) , which means you will stitch over those seams as well when joining your segments.
I hop this helps and
happy sewing
Ingrid