 BERNINA Corporate Blog -
Hello fellow sailors,
I really hope you had a lots of fun sewing your starfish quilt blocks so far?
The workshop with Andrea at the Quiltmanufaktur in Frankfurt was a huge success. We had so many motivated sewists who enjoyed sewing the starfish pattern. We had absolute beginners and also some more experienced foundation paper piecing quilters, it was a great experience for everyone.
It is always so fantastic to see the different interpretations of a quilt pattern. The different fabric and color choices just make every quilt so unique.
New color combinations and fabrics inspire me every time as well.
I would like to take this opportunity to thank you so very much for this – of course also for your contributions in the community area of the blog and on social media.
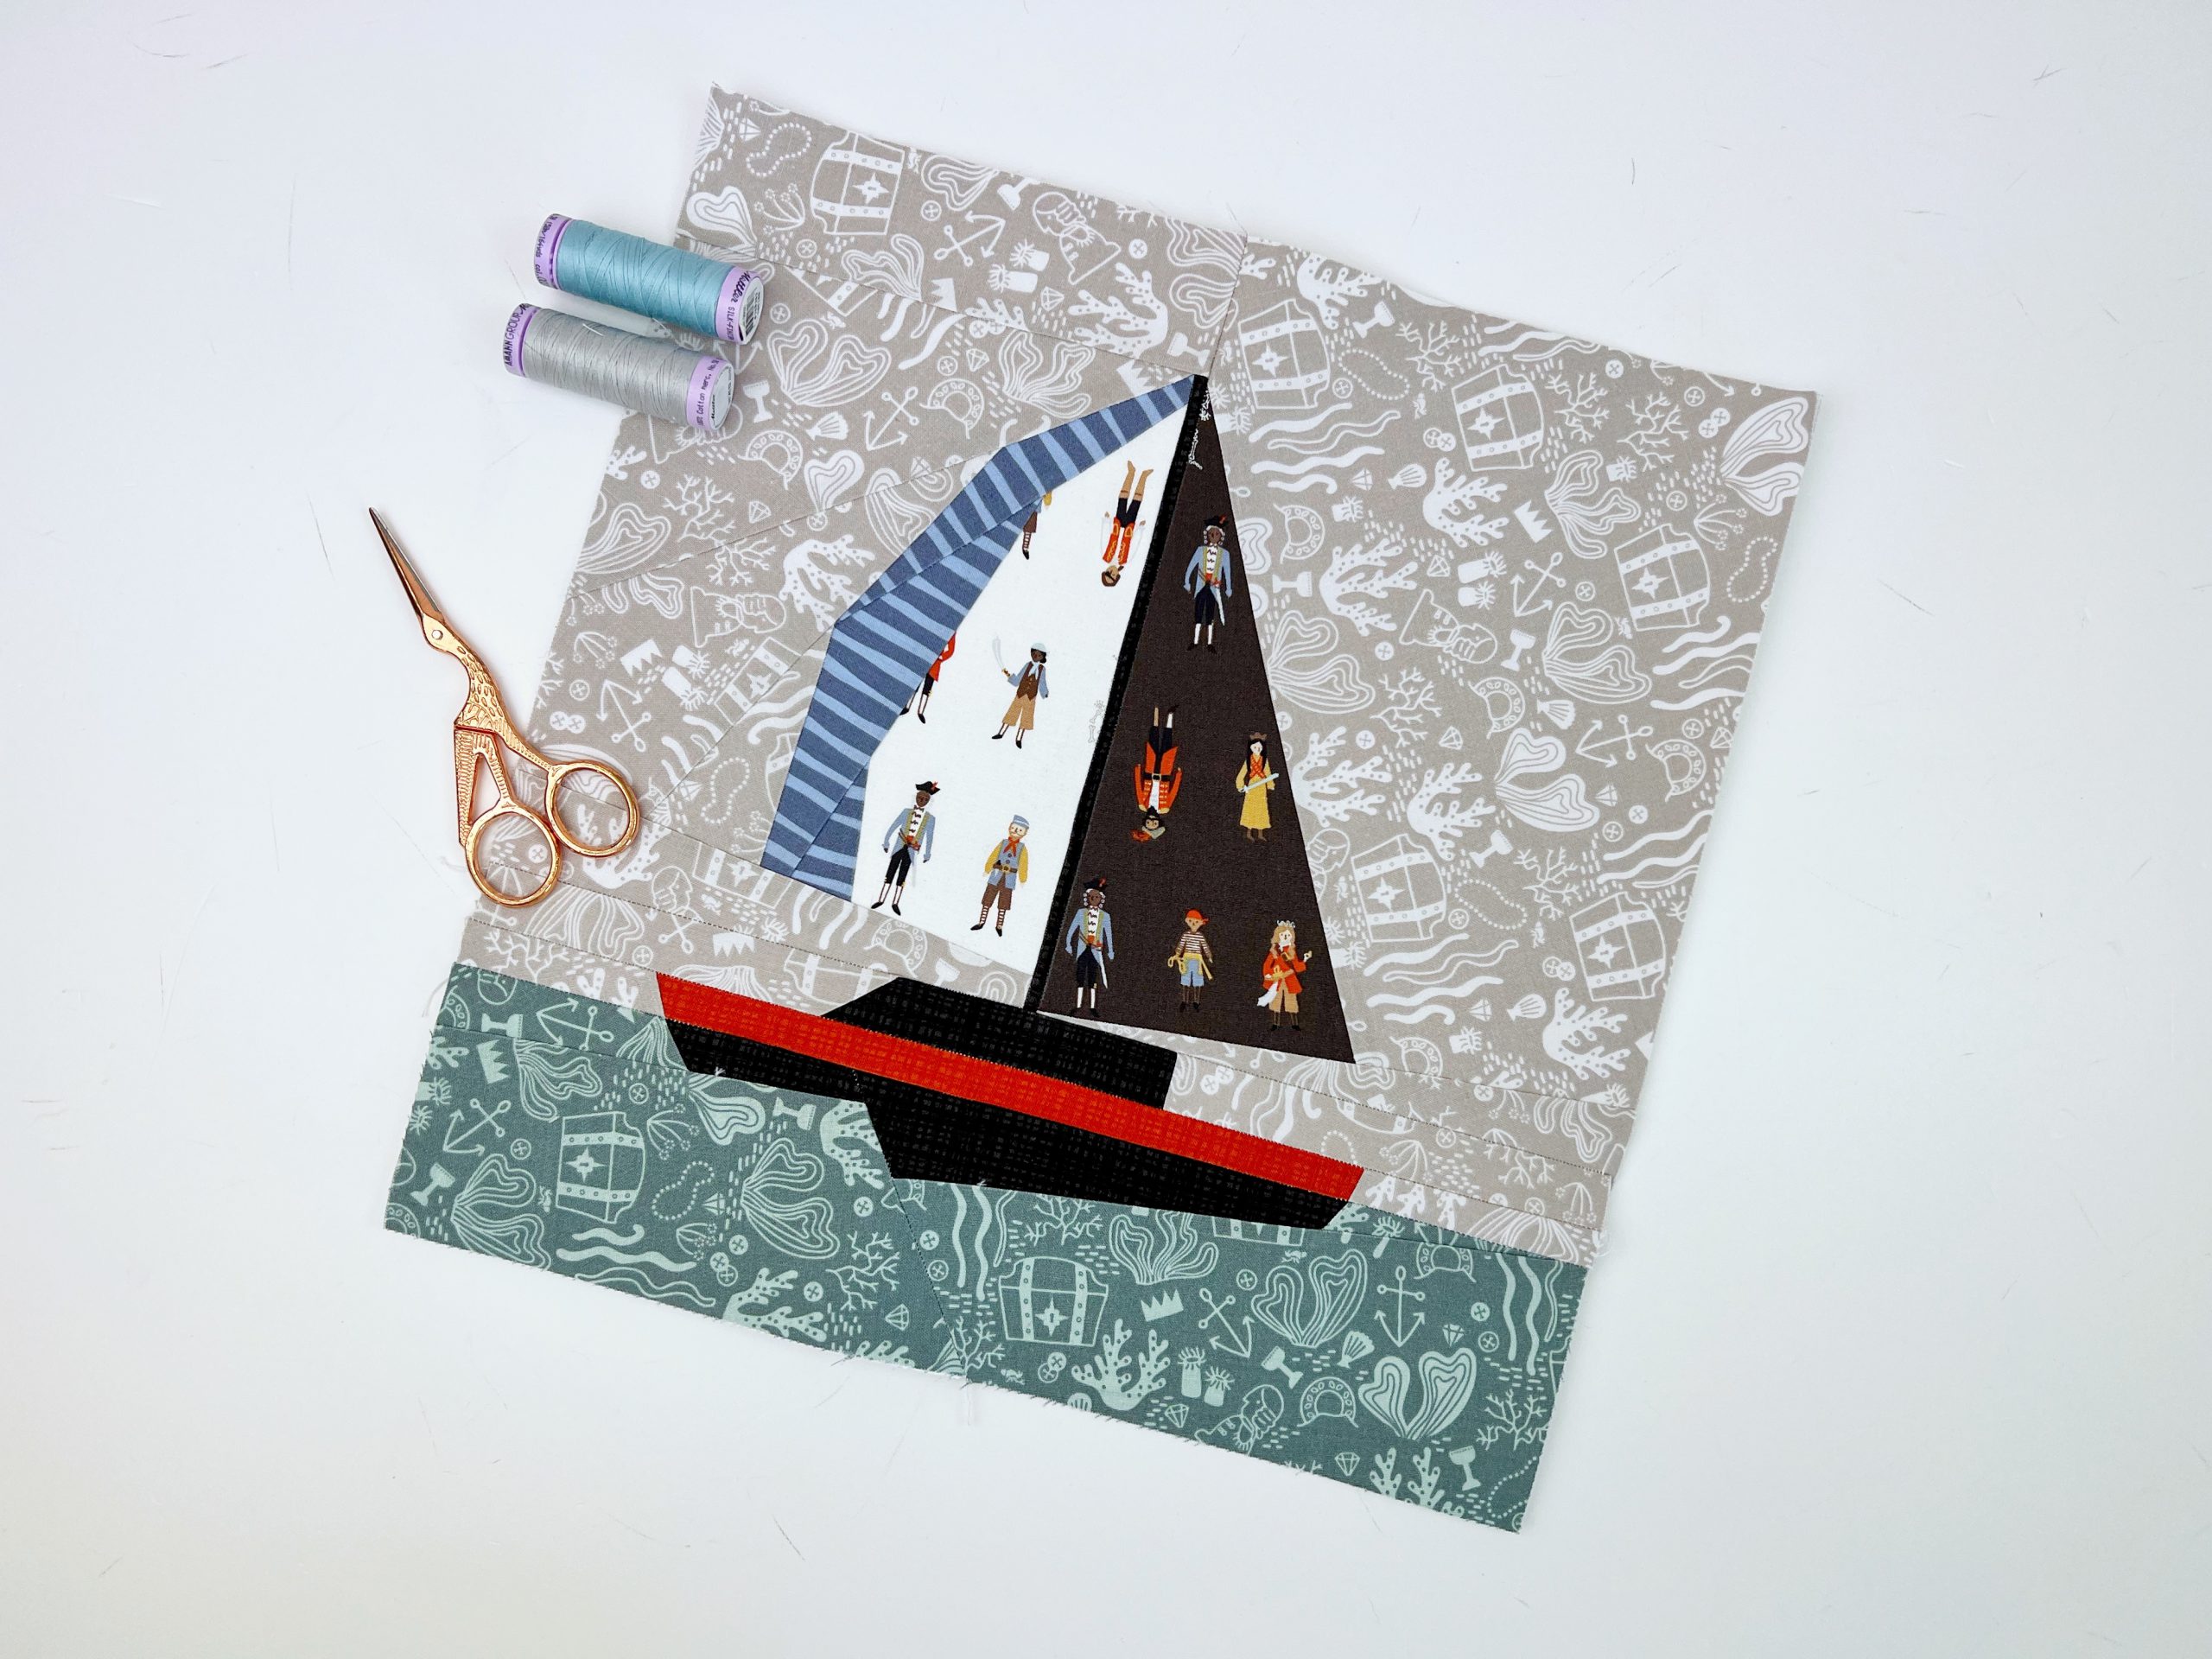
So now let’s sew the little sailboat:
Today we are sewing the next block – the small sailboat. We use the 12″x 12″ size of this quilt block pattern for the full quilt. It will only be sewn once in the “Sail away with me” quilt.
Of course you can sew this sail boat pattern by itself, if you are not participating in the Sail-Along and just want to try out FPP. This pattern comes in several sizes and is super pretty for a pillowcase, beach bag or another sewing project that you come up with. I am sure you can think of many other nautical quilt projects.

Are you new here?
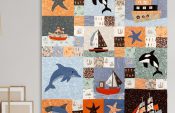
You just read about the Sail-Along for the first time? No problem, you can always come on board and sail with us! Together we will sew a quilt mainly with foundation paper pieced quilt blocks in nautical designs. You will find all the patchwork instructions block after block on the BERNINA blog. Here you can find all the articles that have been published so far:
Sail-Along on the BERNINA Blog
The best place to start is by reading my first Sail-Along blog post, in which I put together the most important information: Welcome to the BERNINA Sail-Along.
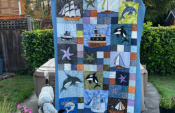
There is no time pressure at all with the Sail-Along. You can follow along at your own pace. There is only one date to keep in mind: If you want to participate in the final draw, you have to show a picture of your finished quilt top on social media or in the community section of the blog by July 14.
Fabrics for the ‘small sailboat’:
Below you’ll find the fabrics I used for the small sailboat. But as mentioned before, you’re free to choose whatever fabrics you prefer.
- C 12982 gray media (background/ sky)
- Cq12982 teal media (water)
- C 12984 denim media (blue stripes in the sail)
- C 12981 off white media (creme fabric for sail )
- C 12981 charcoal media (gray fabric for sail)
- C 610 black media (black part of boat)
- C 610 persimmon media ( rusty-orange part of boat)

Instructions for “small sailboat”
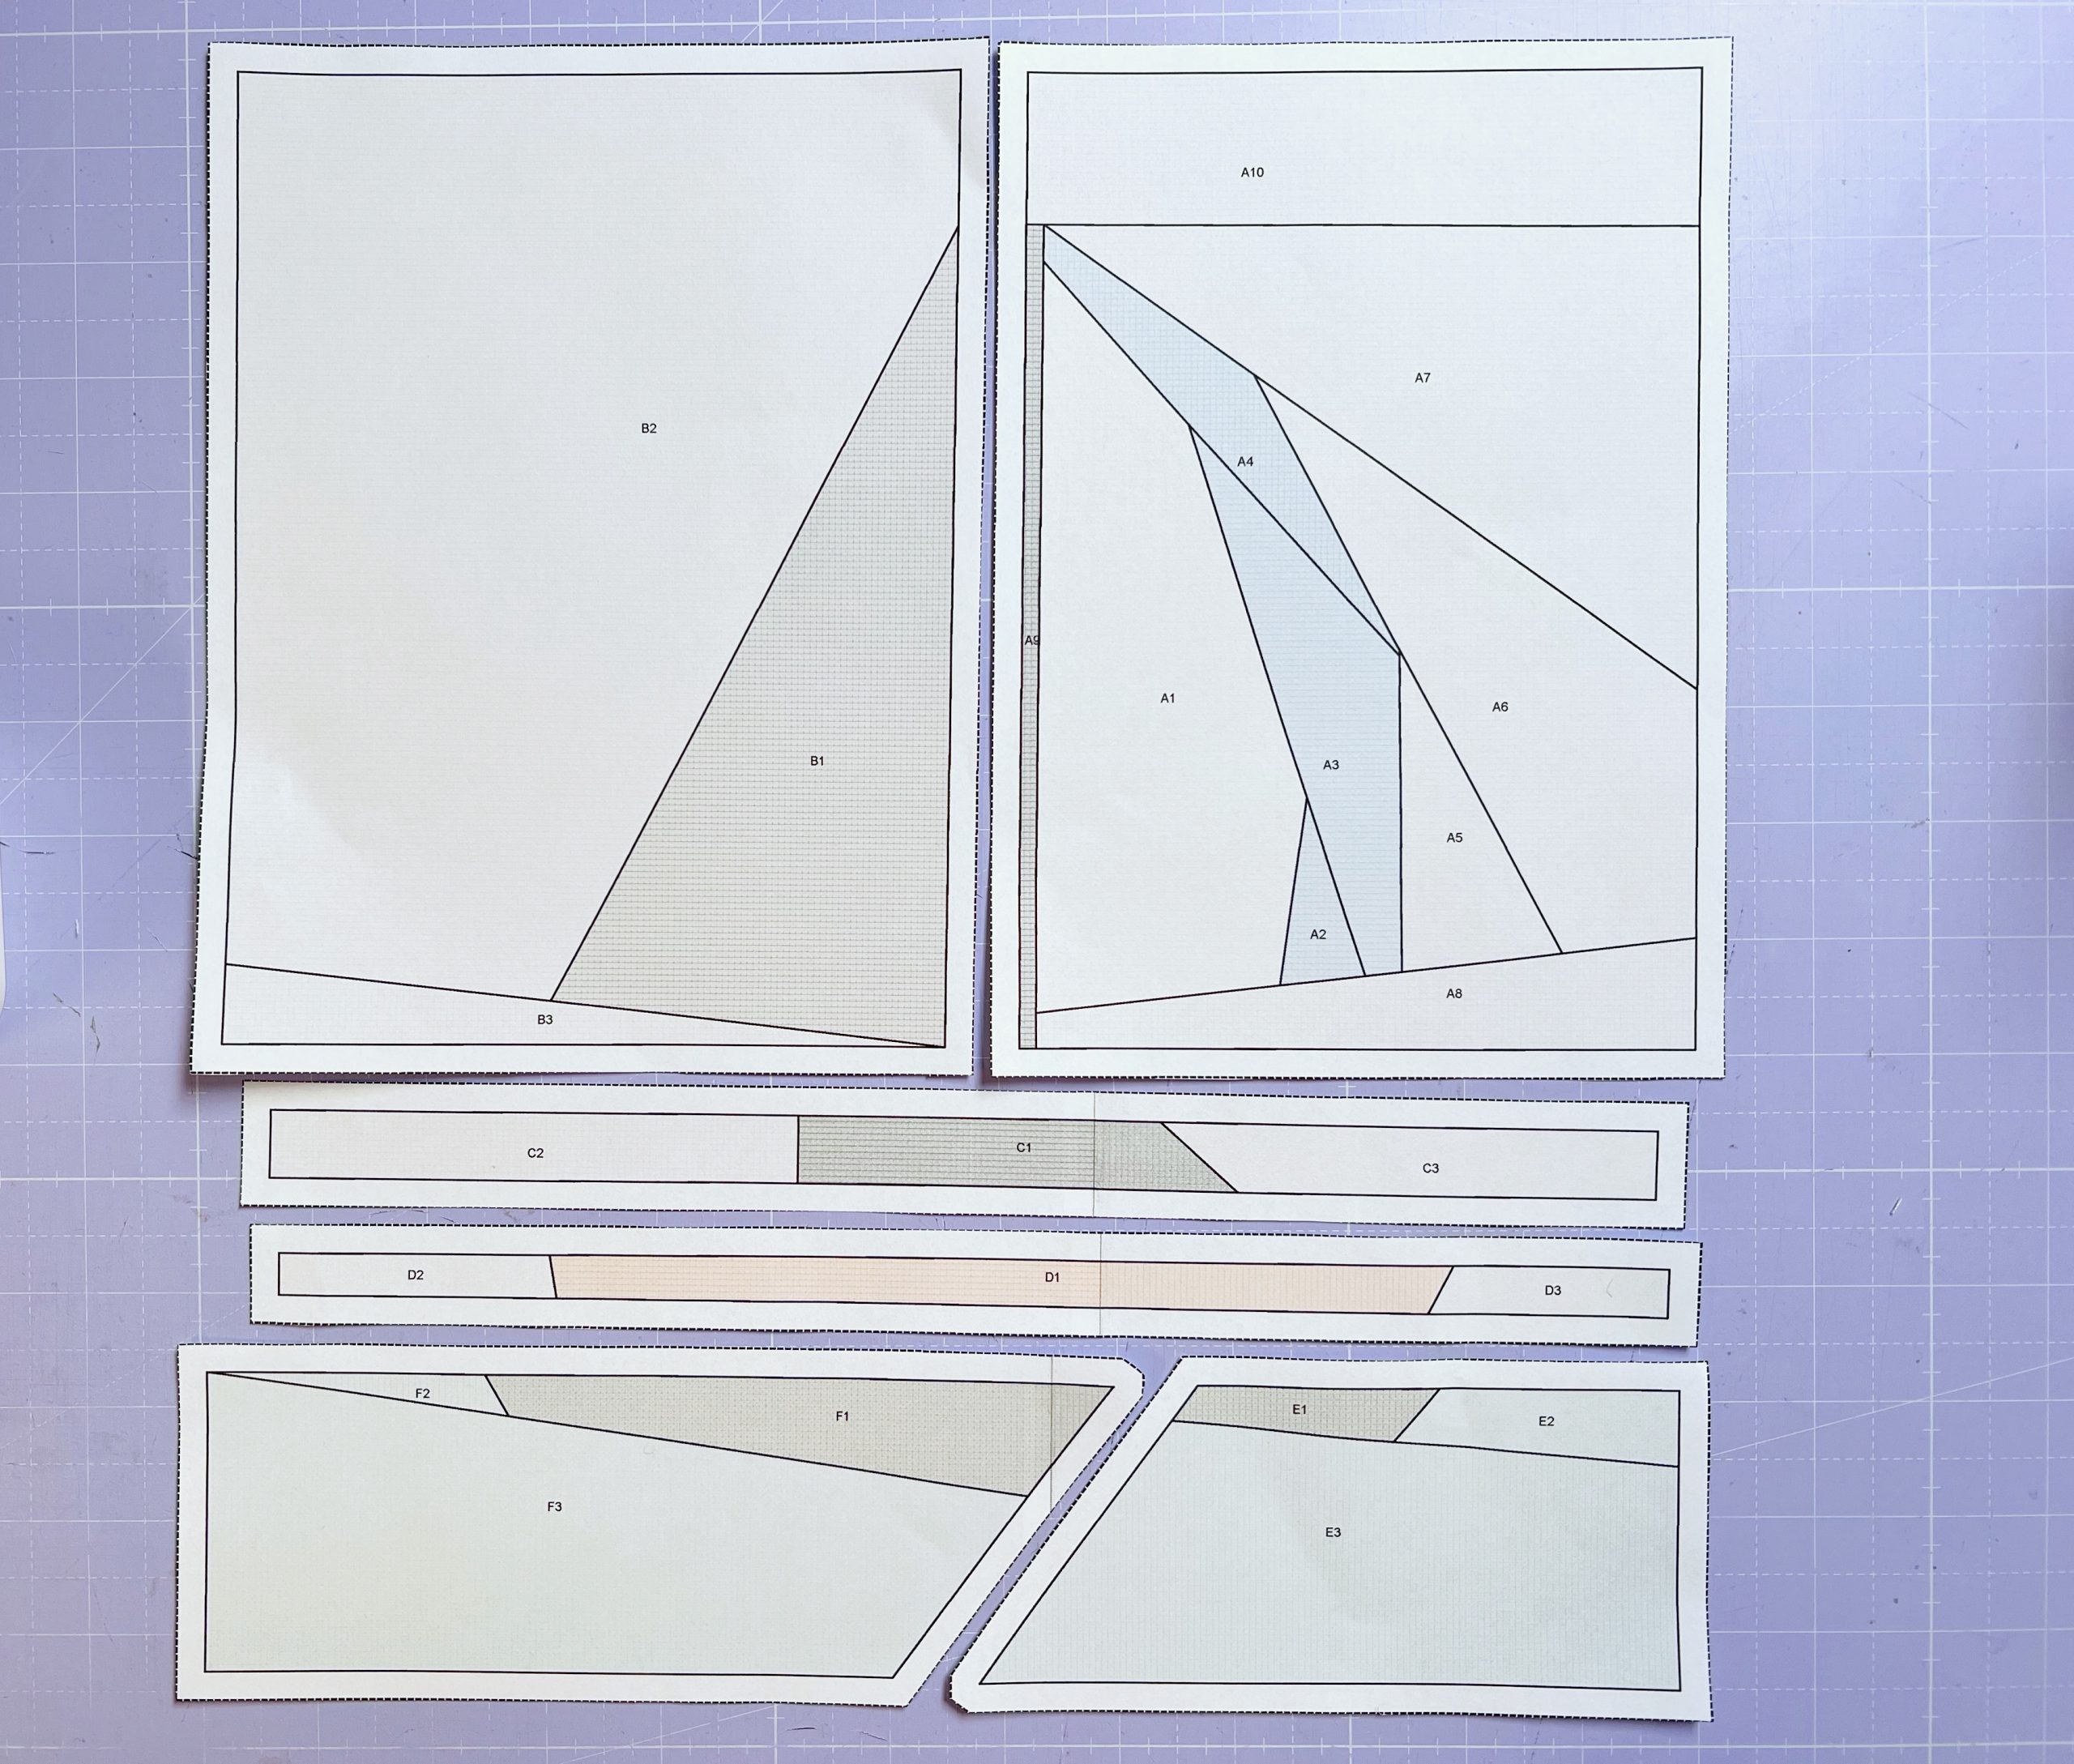
1. Print out the segments of the pattern. As with the starfish, print only the parts of the pattern that have letters and numbers on them, the individual segments of the pattern, there’s no need to print the rest of the pattern. See picture below:
2. In this ‘small sailboat’ quilt block there are some segments that need to be glued together since they do not fit on A4/ letter paper. For this purpose, please use a craft glue, not scotch tape! Since you have to iron the pattern a few times, scotch tape is not suitable at all. It can melt on your hot iron. I had to learn the hard way, haha! If you make the same mistake with your choice of glue, you will have melted scotch tape stuck to your fabric, not great!
Now lay out your pattern pieces as shown in the picture above. I usually do this with all my patterns, it just helps me stay organized.
4. Now sew all the segments the way you did the starfish.
Video-Tutorial
I made another video tutorial for you guys, it shows you again how to sew the block step by step.
Assembling the Sailboat:
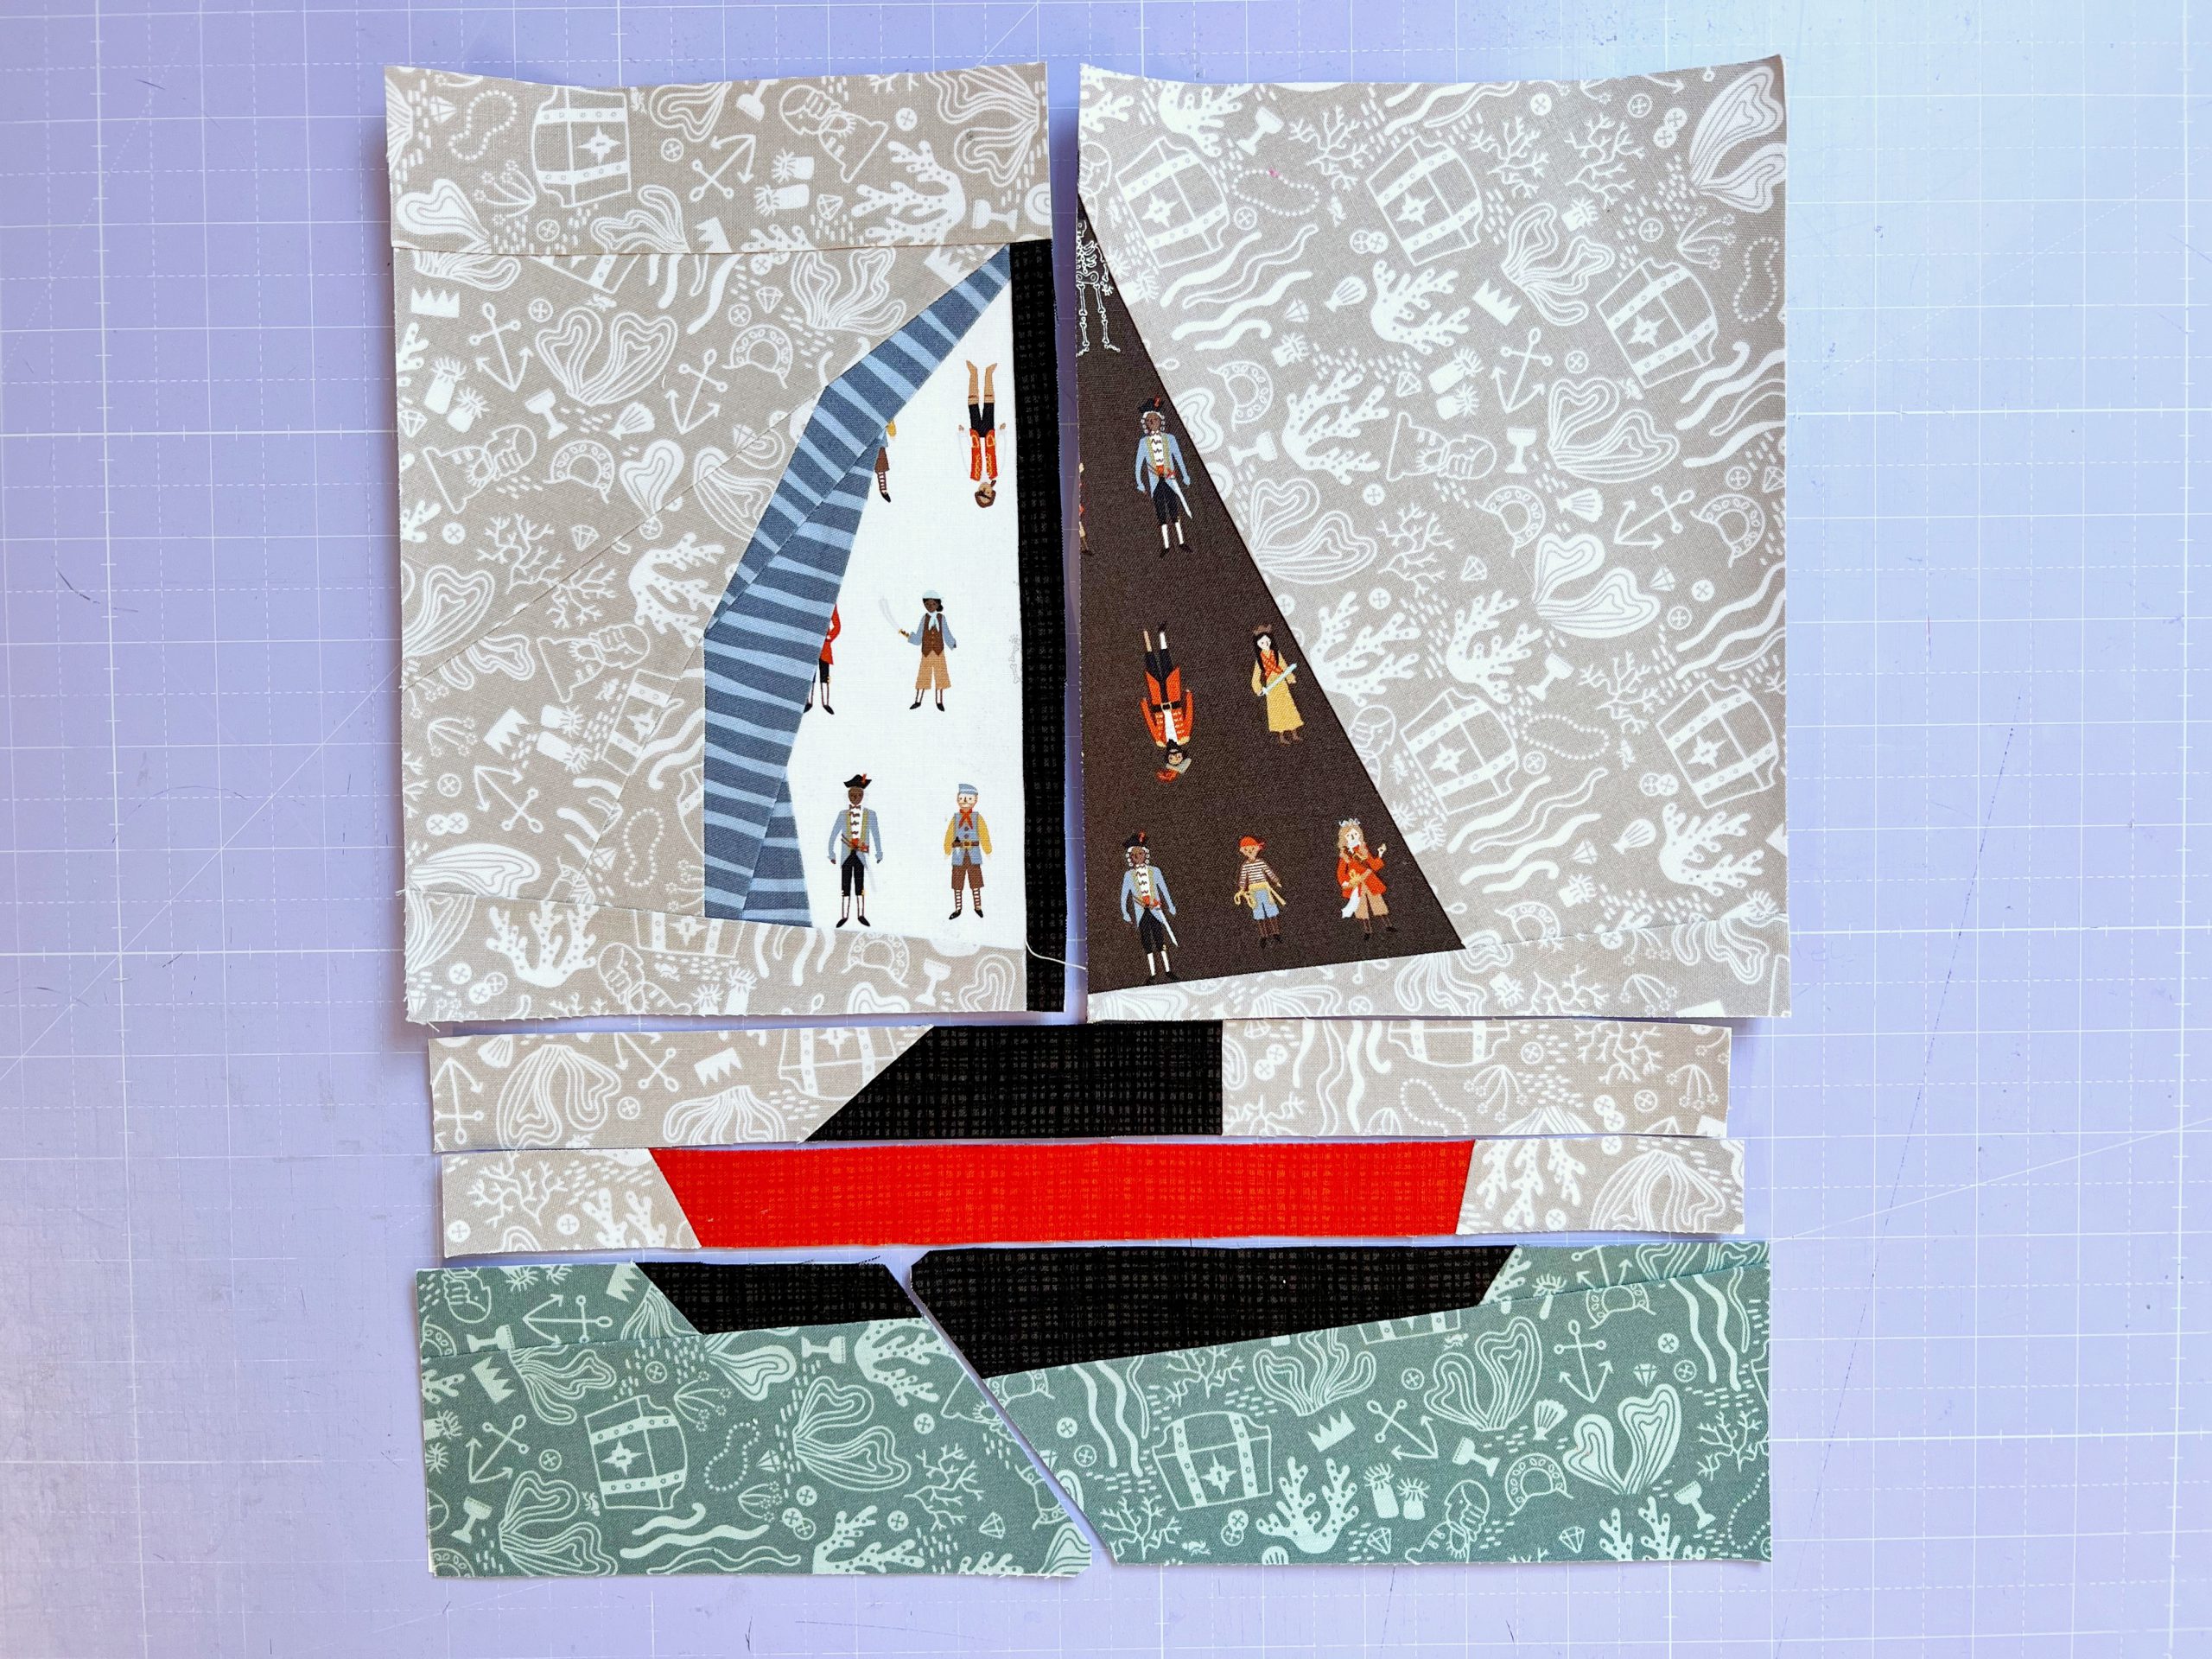
5. Above you can see all the finished segments of the sailboat quilt block. I always lay out the pieces again as they are shown on the overview.
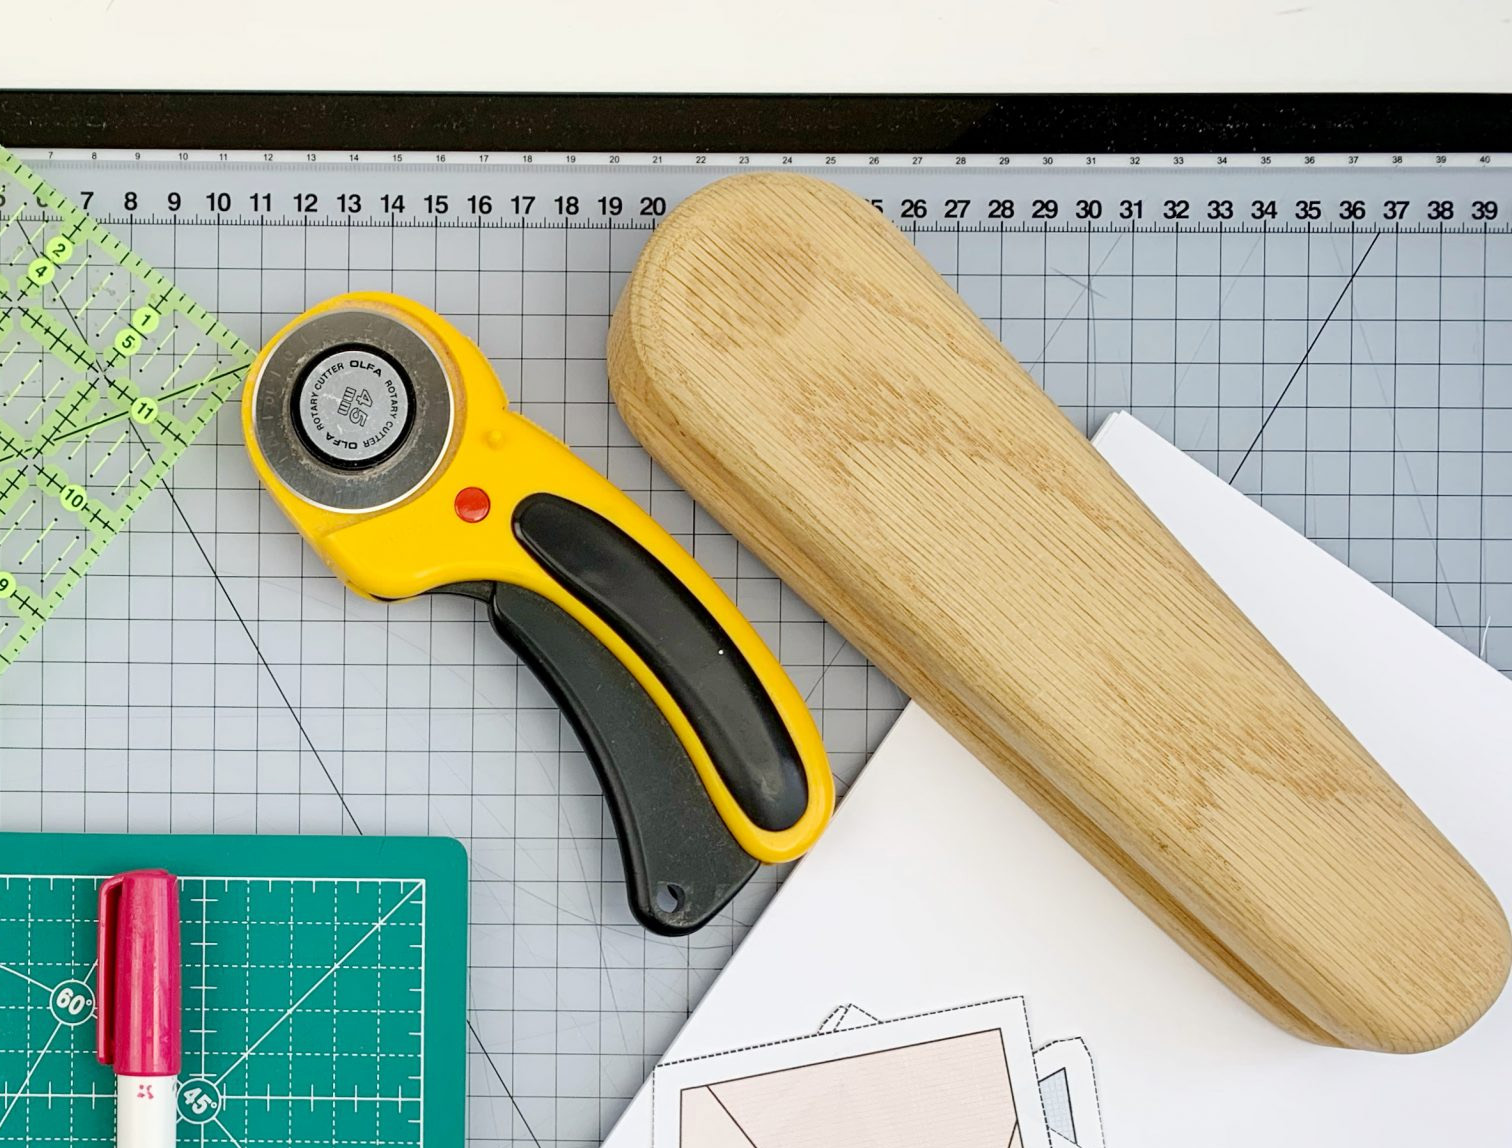
6. Now you join the segments. The order of sewing is part of the pattern and will be found under assembly instructions. As with the starfish: When you have joined two segments, pull out the paper from the seam allowance only. This reduces bulk significantly and makes it easier for you to get flat seams. Always press your seams. Actually I do recommend pressing as often as possible throughout the sewing process. If you have a Tailor’s Clapper, this is the perfect opportunity use it and get nice flat seams.
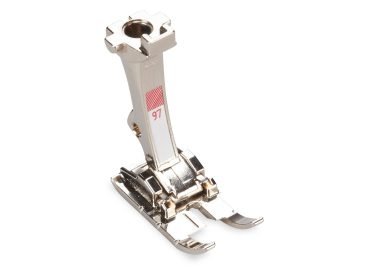
I like to use Patchwork Foot #97D on my BERNINA 770 QE PLUS Kaffe Edition when piecing the segments together. Thanks to the 1/4″ markings on the foot, sewing them together is so much easier.
8. Fantastic, the little sailboat is all done. Well, you see, it’s a lot easier than you thought, isn’t it?
Show me your sailboats!
Did you get everything, are the sails up and are you on the right course? I hope you had fun with your sailboat. If you have any questions, feel free to ask them in the comments.
I’m excited to see pictures of your blocks. Show them on social media or in the community section of the blog! On Instagram and Facebook, always use the hashtag #sailawaywithmequilt. In the community section of the blog, don’t forget to select the “Sail-Along” giveaway.
See you next time,
and as always happy sewing,
Ingrid


0 Responses