 BERNINA Corporate Blog -
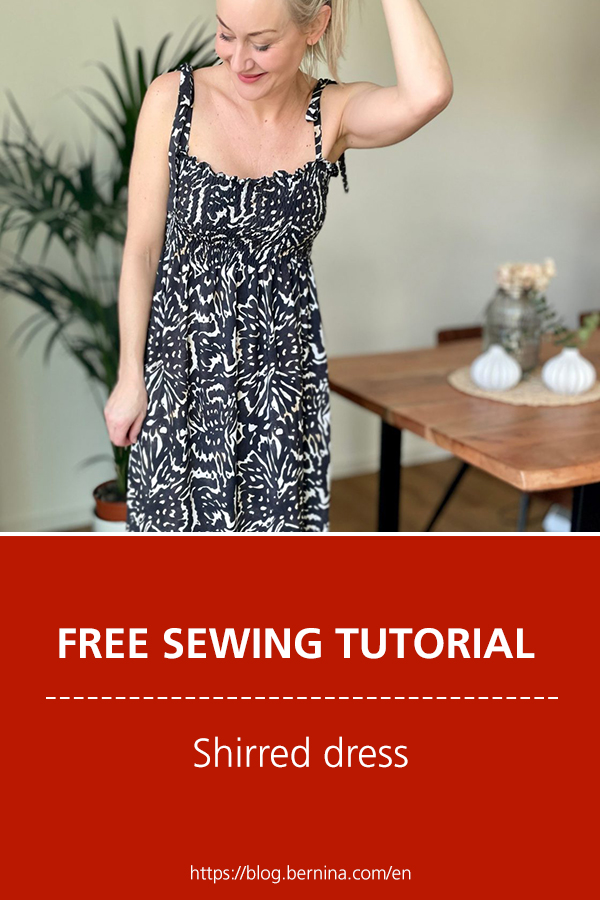
The shirred dress
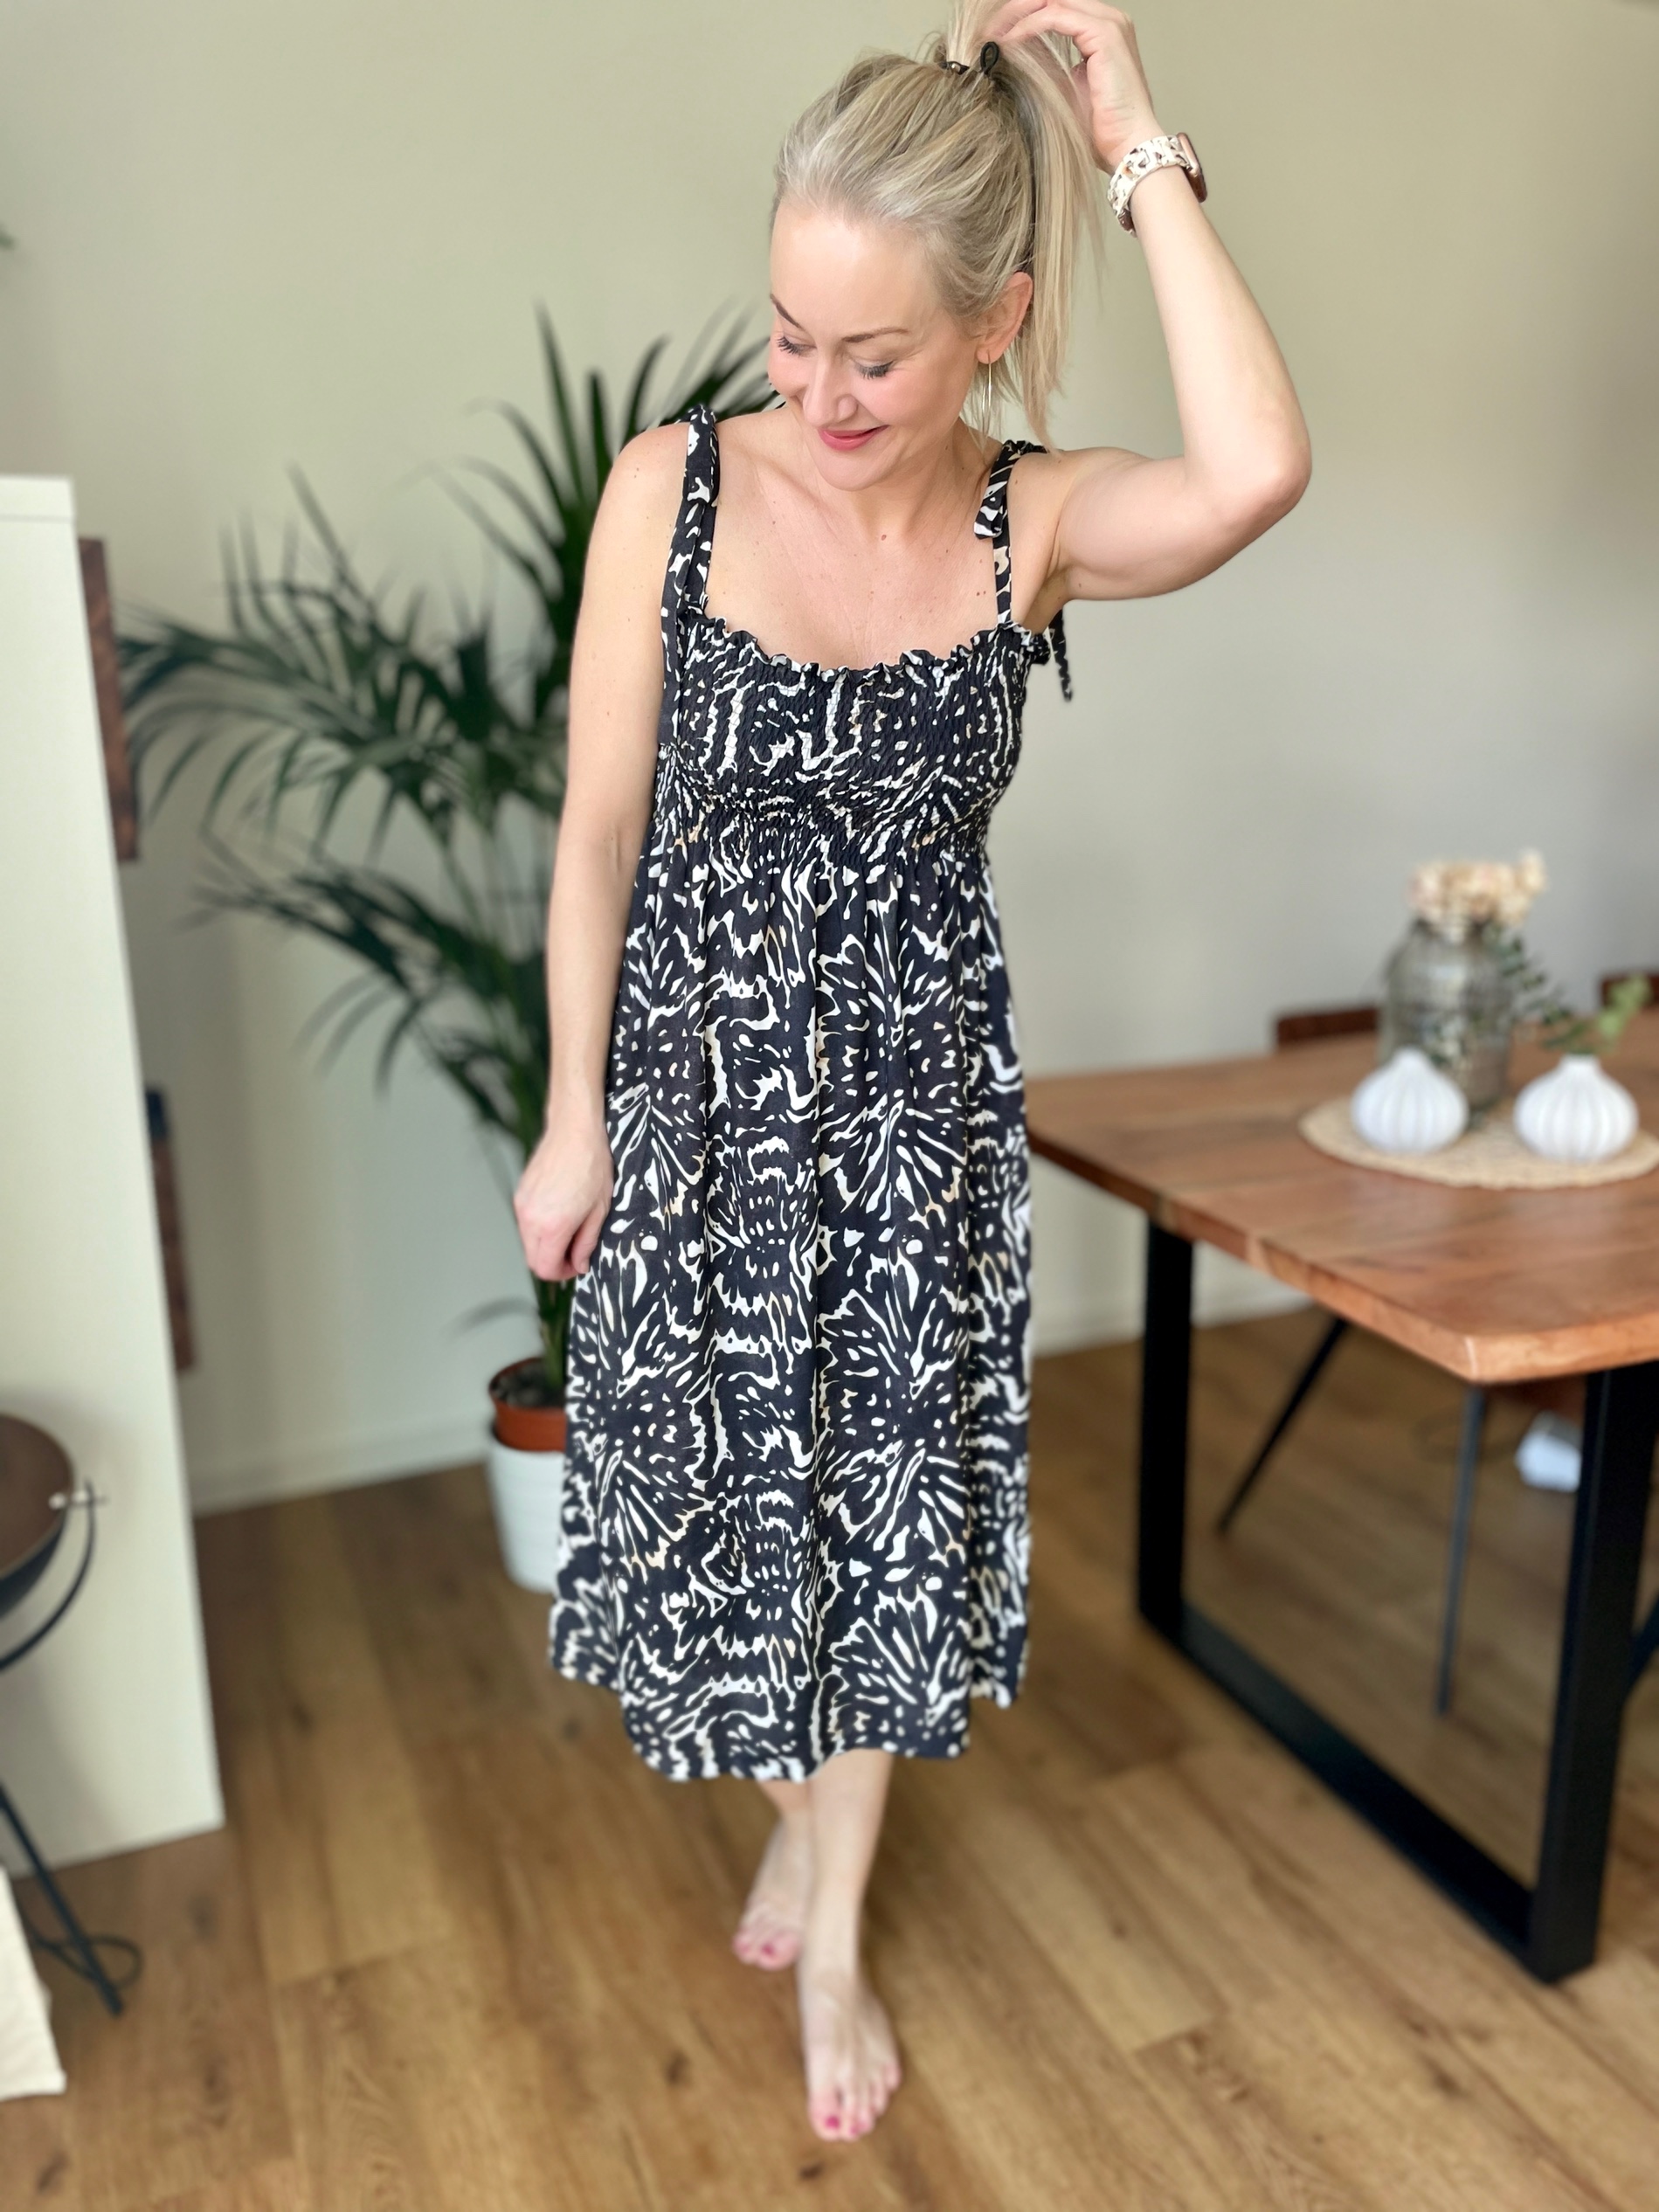
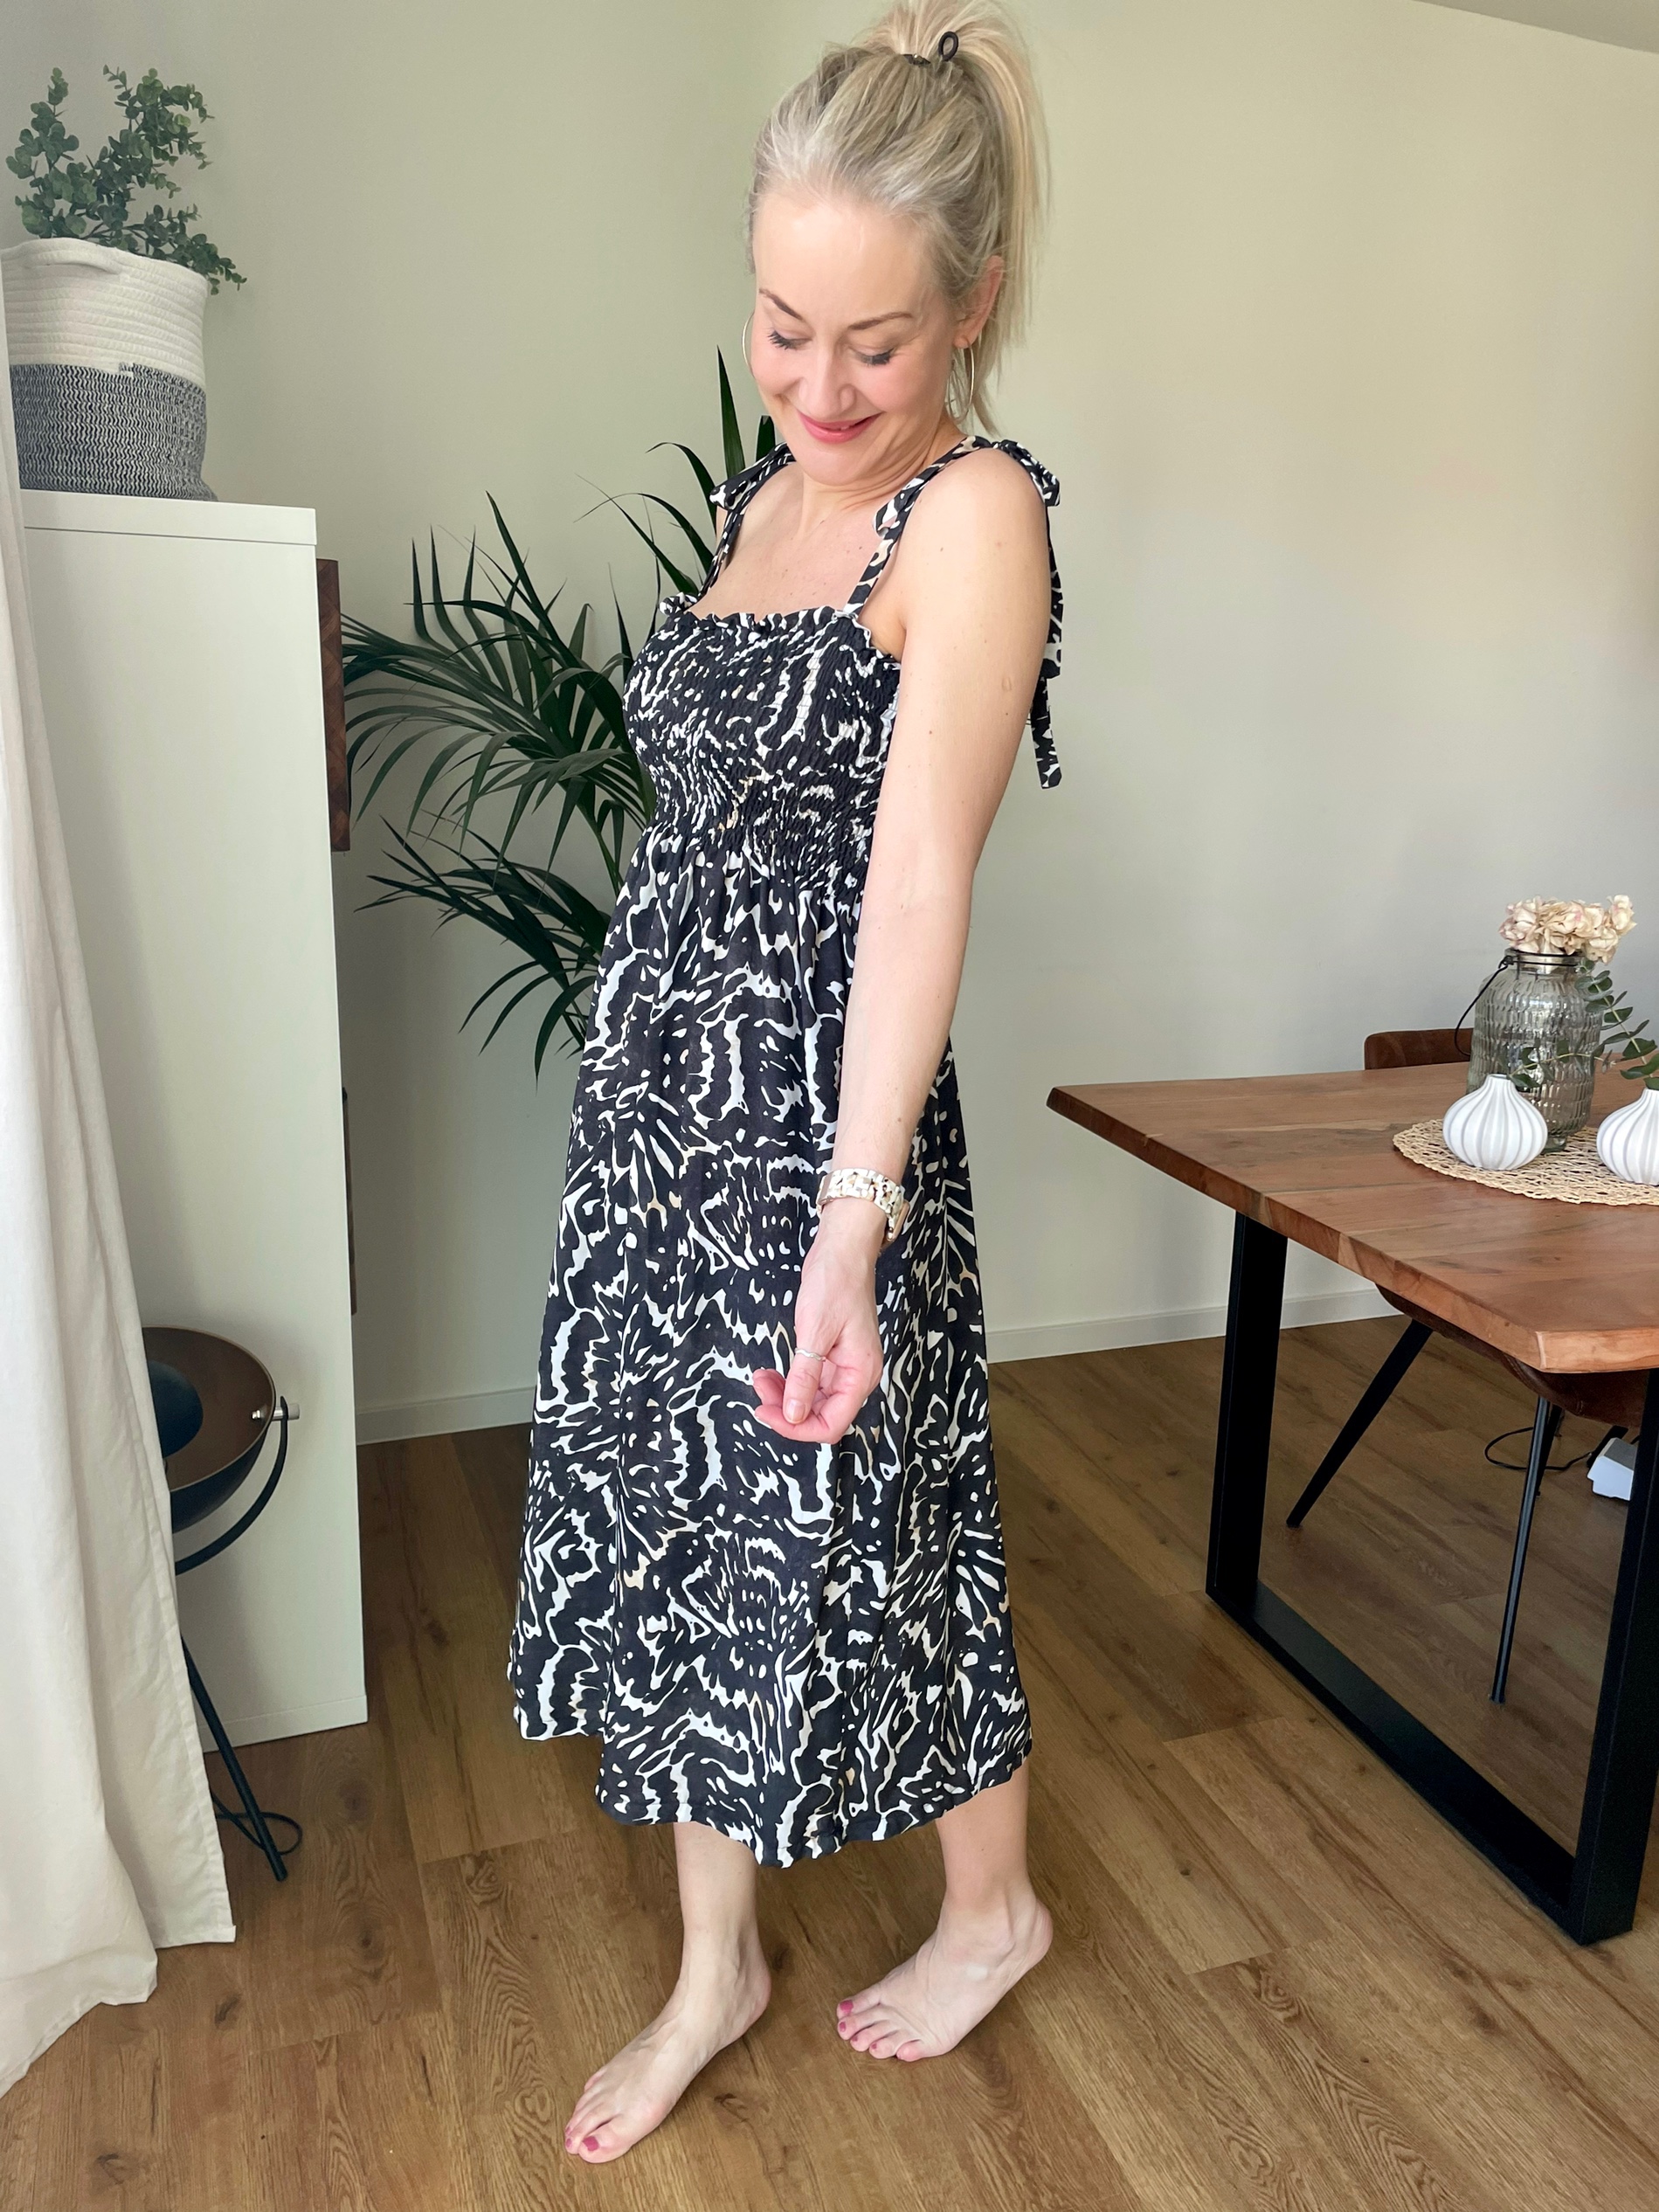
The days are slowly getting brighter and longer and Im getting in the mood for creating some new summer dresses, one of my favourite easy summer sewing go too is the shirred dress.
When it comes to summery style, there’s no faster way to put together a stunning look than with this shirred dress! Easy enough for beginners and completed in minutes – this charming sundress is the ideal addition to your wardrobe.
A shirred dress is the perfect balance for flattering all body types, easily styled, super comfy and floaty for hot days.
I decided on just a straight skirt and to add some shoulder ties to prevent any embarrassing slips!!
What is shirring
You will need to hand wind the bobbin with the shirred elastic, wrapping it around with an even tension, thread the needle with a normal plain thread, set the tension a little loose and stitch length to around 3!
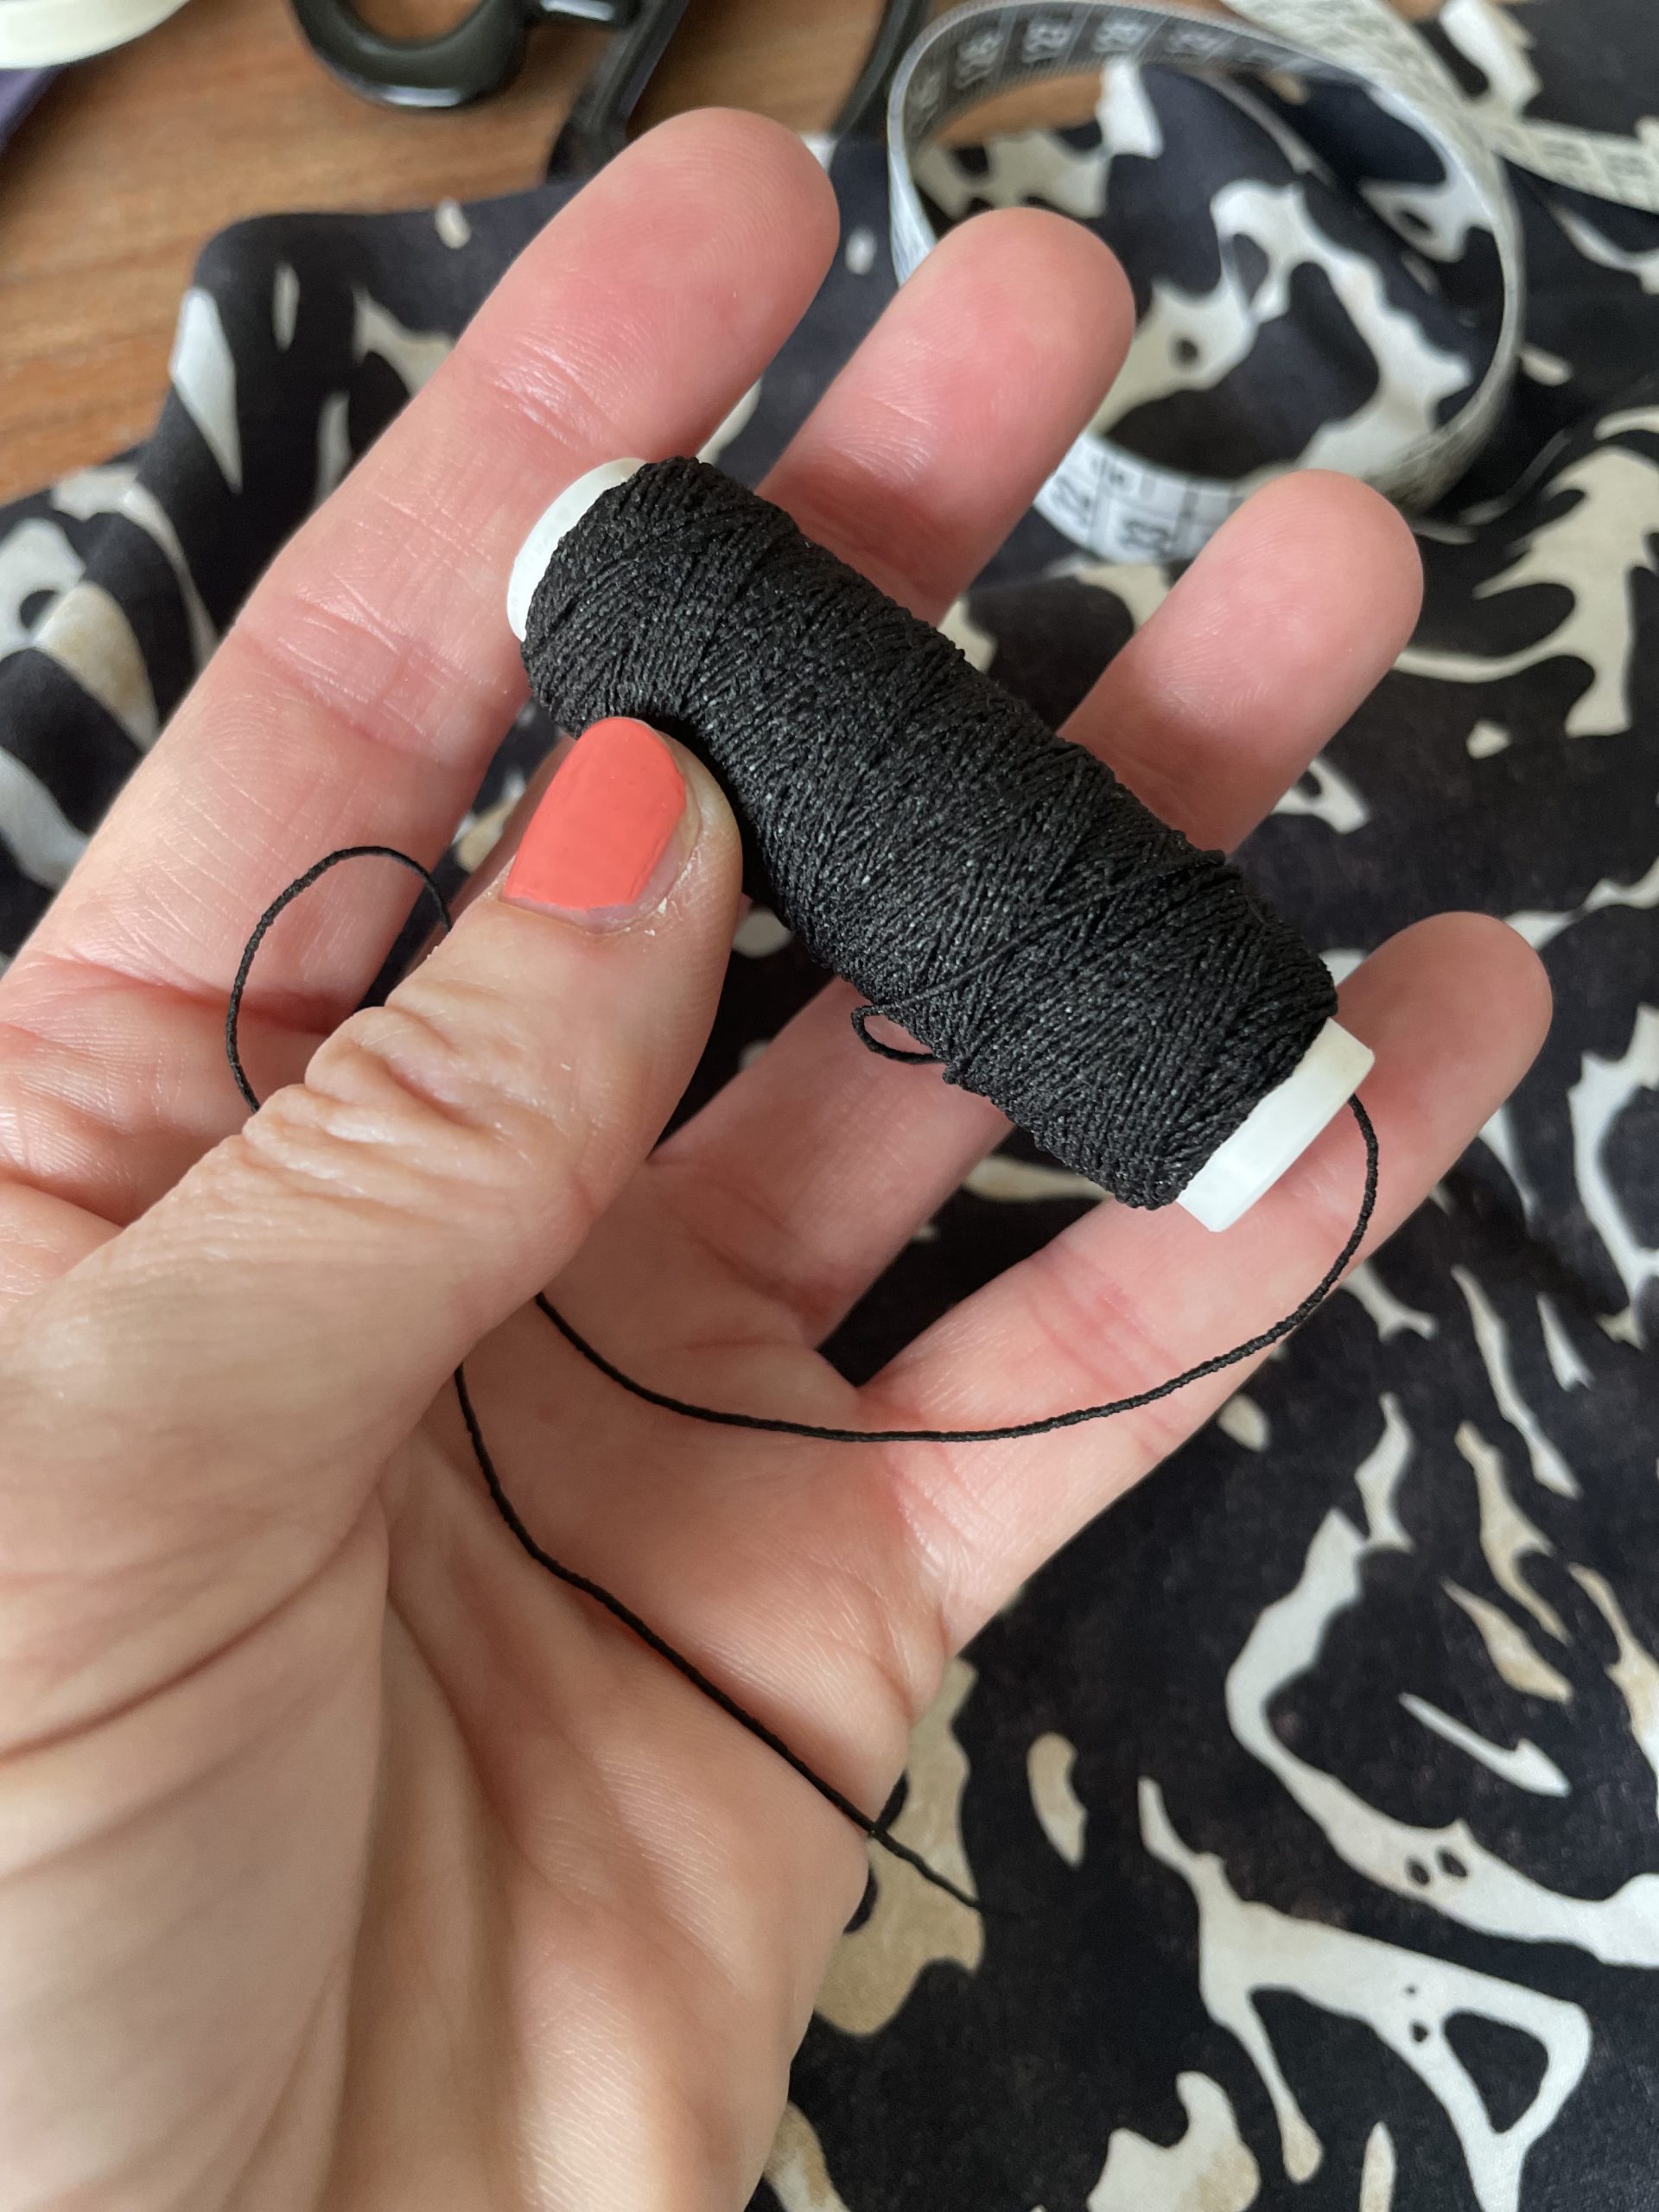
Shirring elastic
Fabric Choice
The best fabric for shirred dresses is medium to lightweight woven. This will allow the dress to move with you, while also providing plenty of give in the areas where you need it most. ( a jersey fabric can also be used, but I personally prefer a woven fabric )
I received a beautiful piece of printed woven fabric from a company in Holland called @verhees. Woven fabrics are perfect for this and the lighter the fabric the more of an effect you will create.
My Viscose fabric choice
How to Shirr fabric
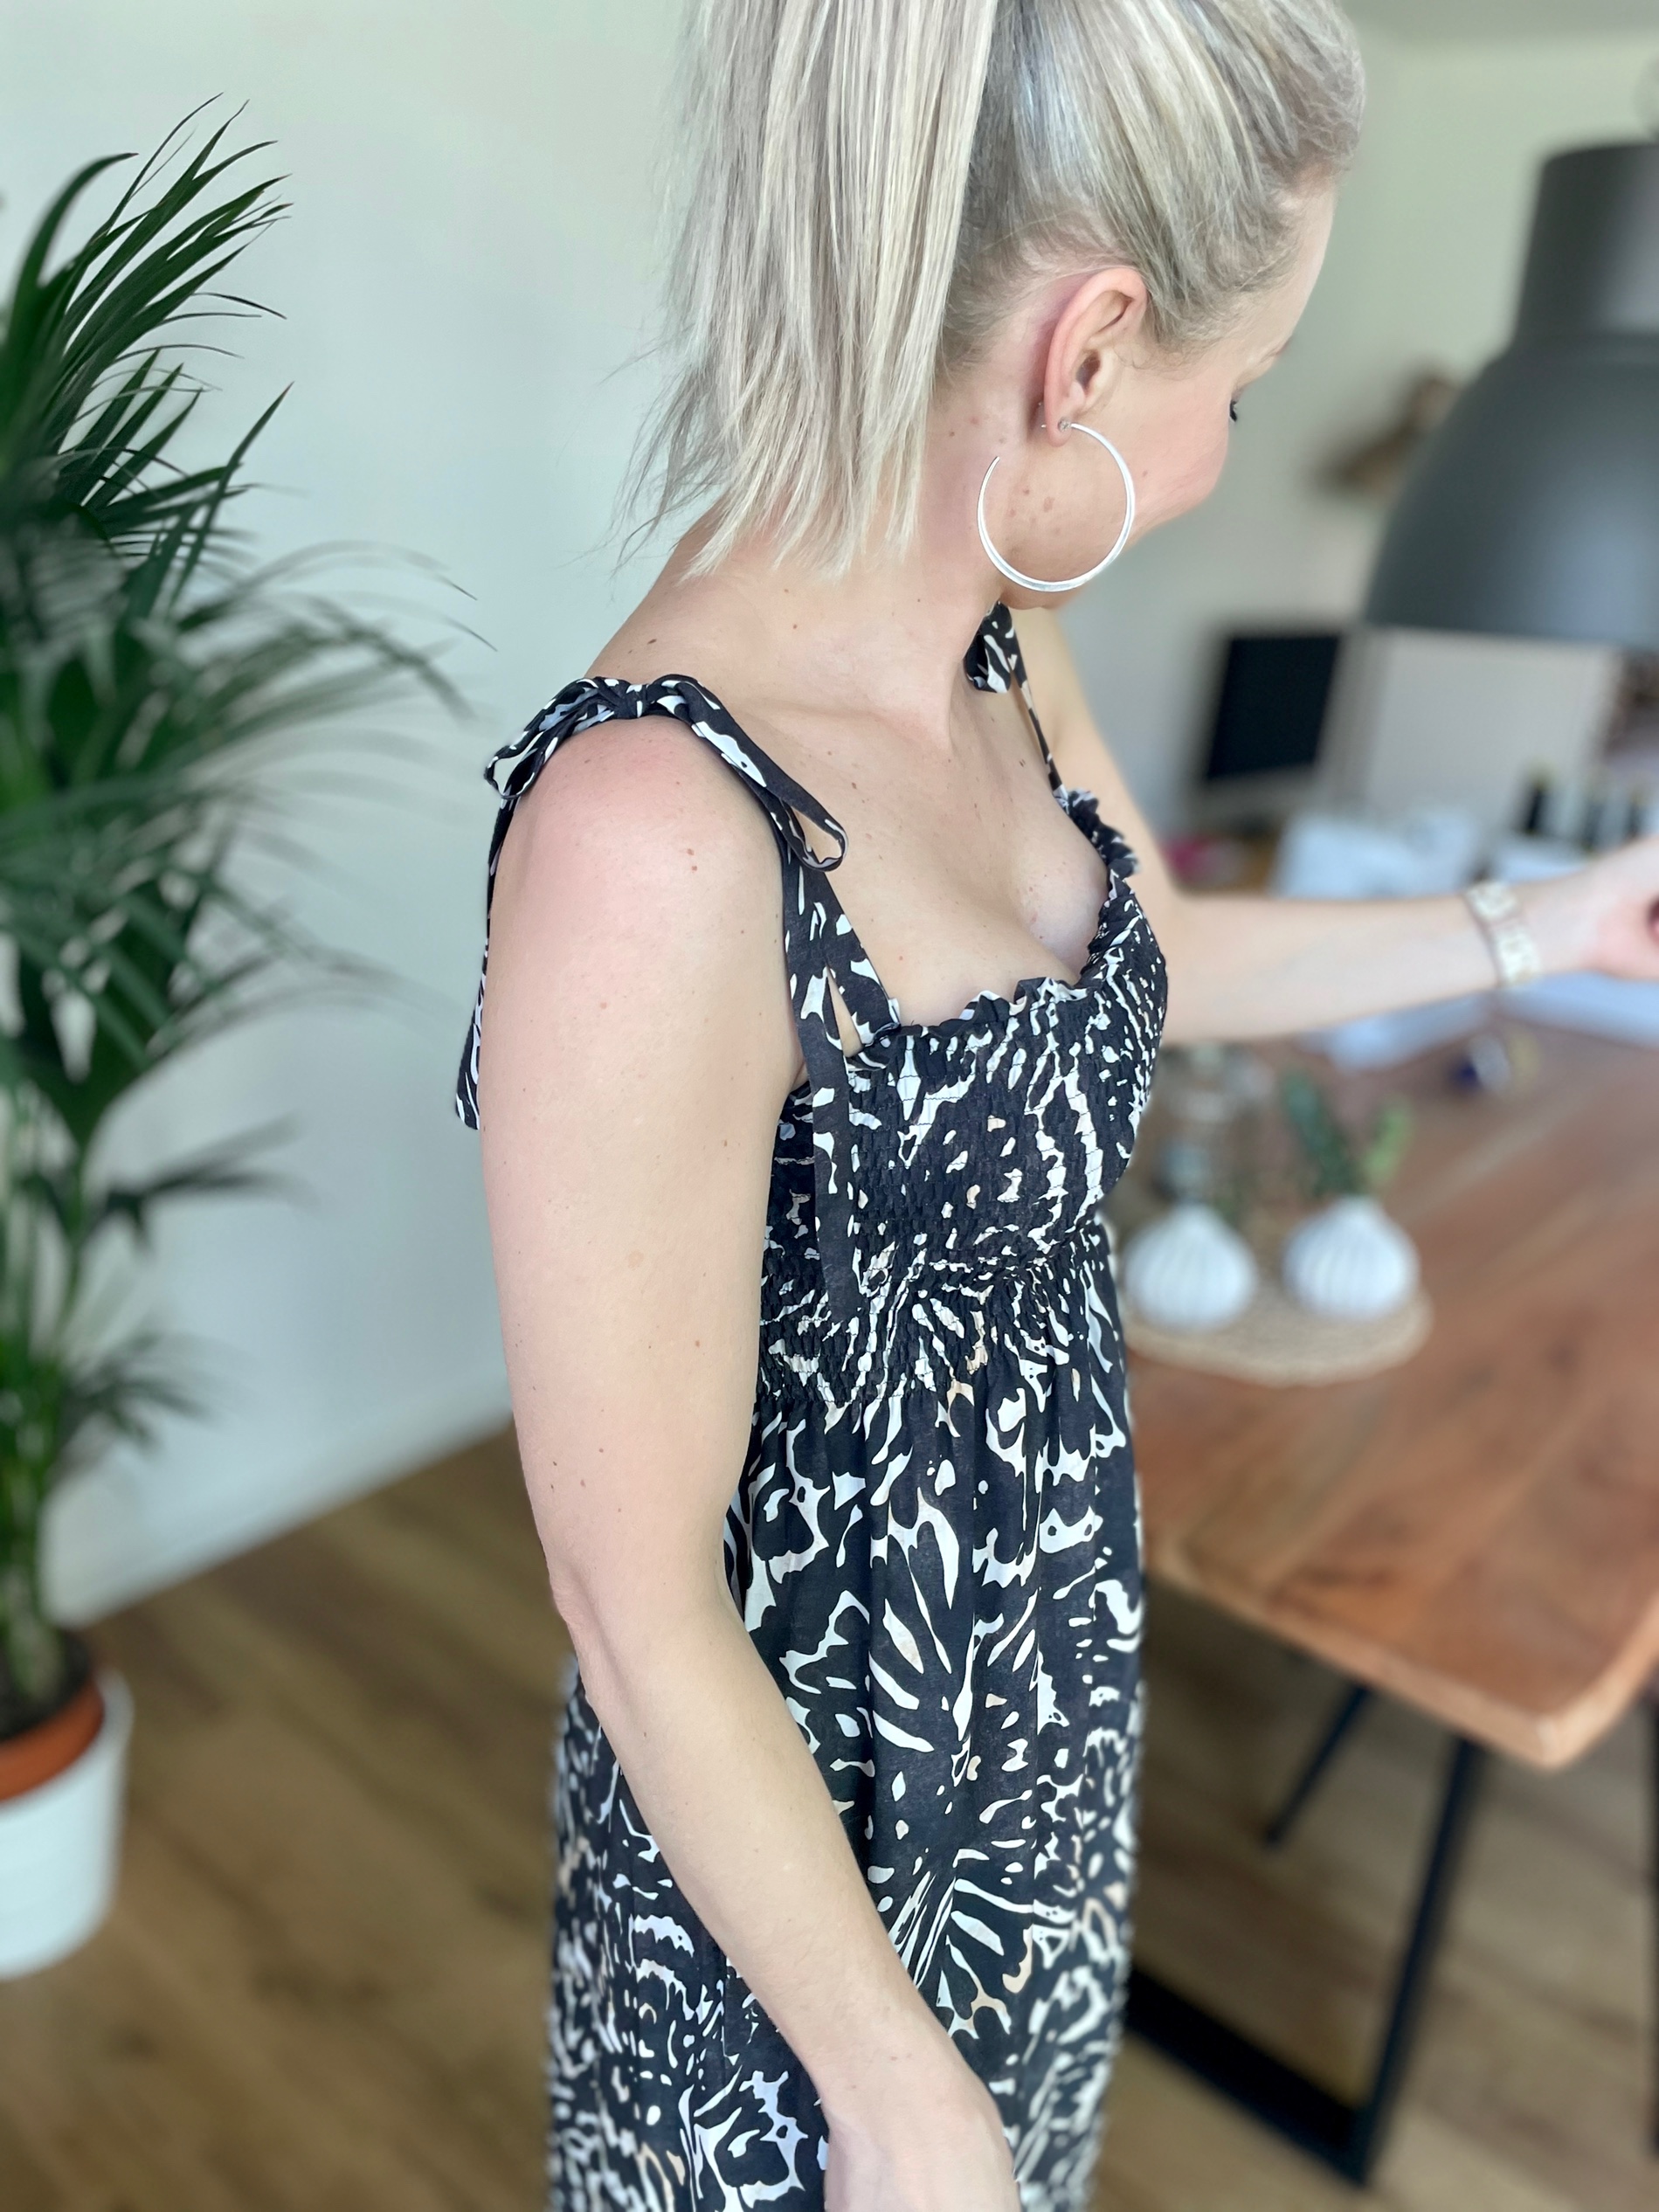
When making this shirred dress pattern I’ve shirred about 22 rows using elastic thread so my dress is shirred the entire bodice down to the waistline. You can sew as many rows as you like to make your dress feel comfortable and fit your own body. For larger chest areas you may need to add more rows than on small chest areas. Also the closer the shirred rows the tighter the dress.
I used my sewing machine foot as a spacing guide between the elasticated rows.
Measurement and fabric usage
For the bust measurement, measure around your entire bust and multiply by 1.5. This is the width of your fabric (front and back).
For the length of the dress I used 1,1 Mt in the length
For the shoulder Ties I cut 4 x 5cm strips with a length of 40 cm.
Sewing your shirred dress
The Bodice
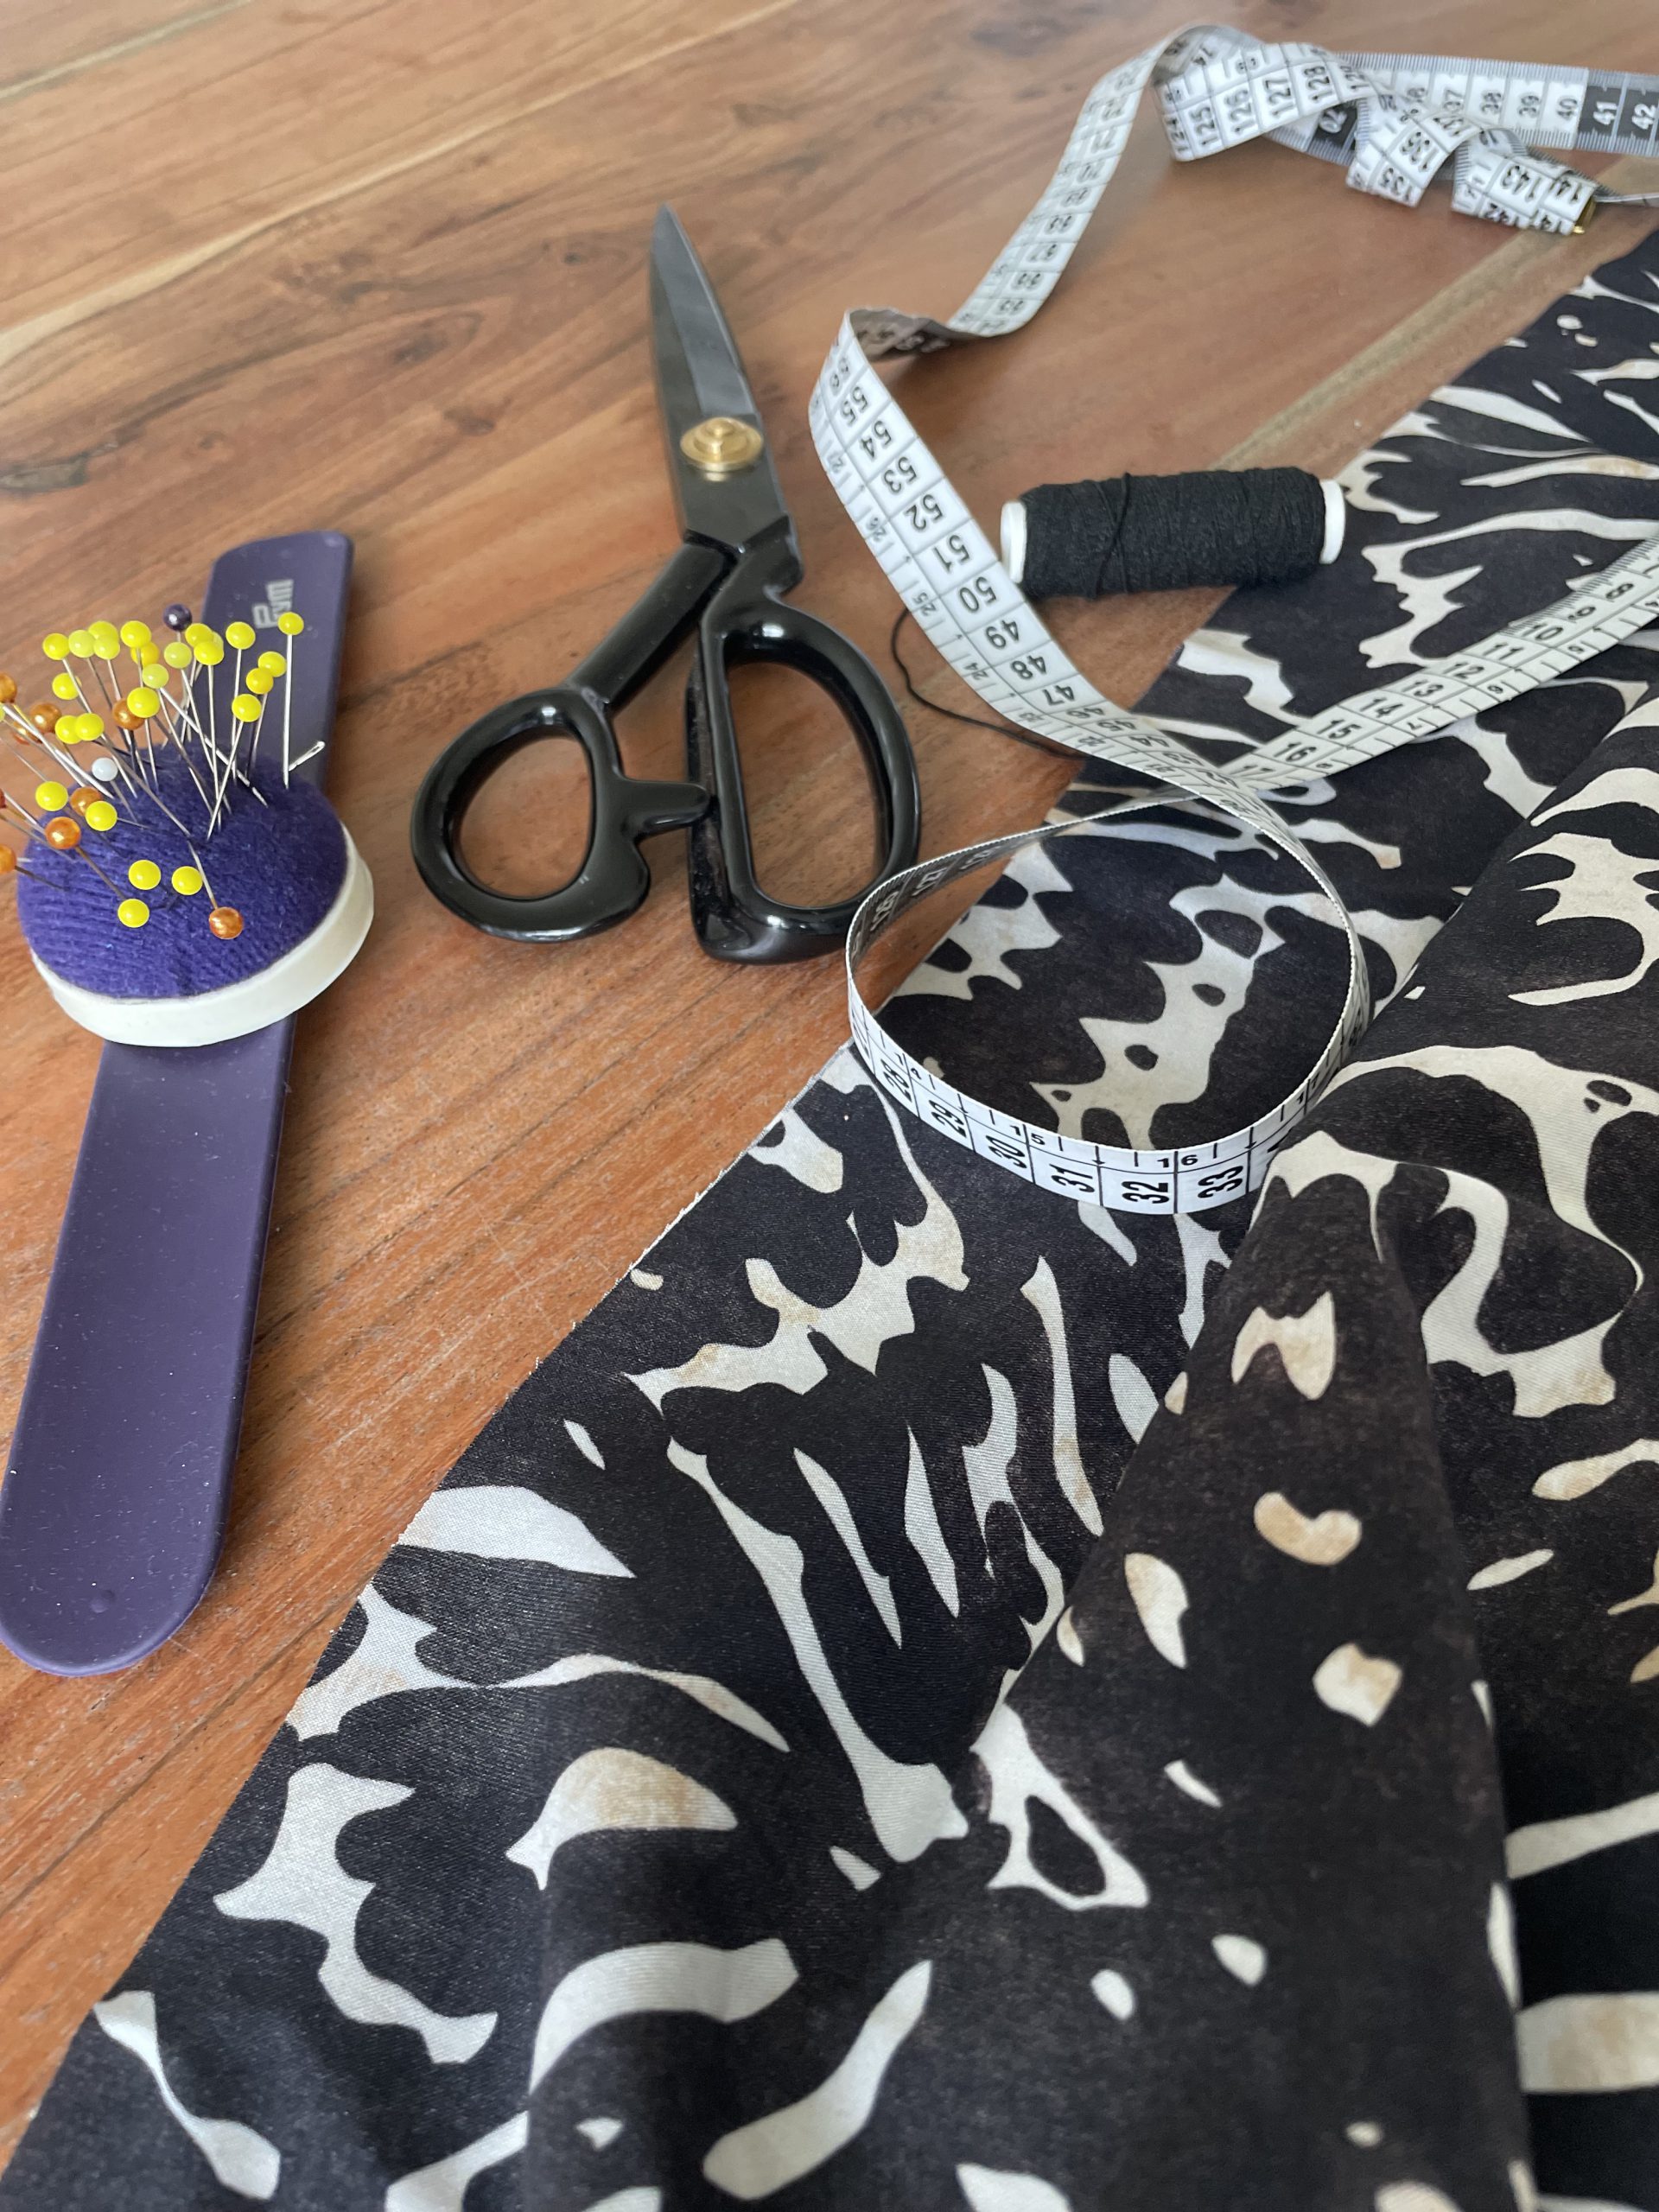
- Firstly cut out your main dress piece and shoulder straps.
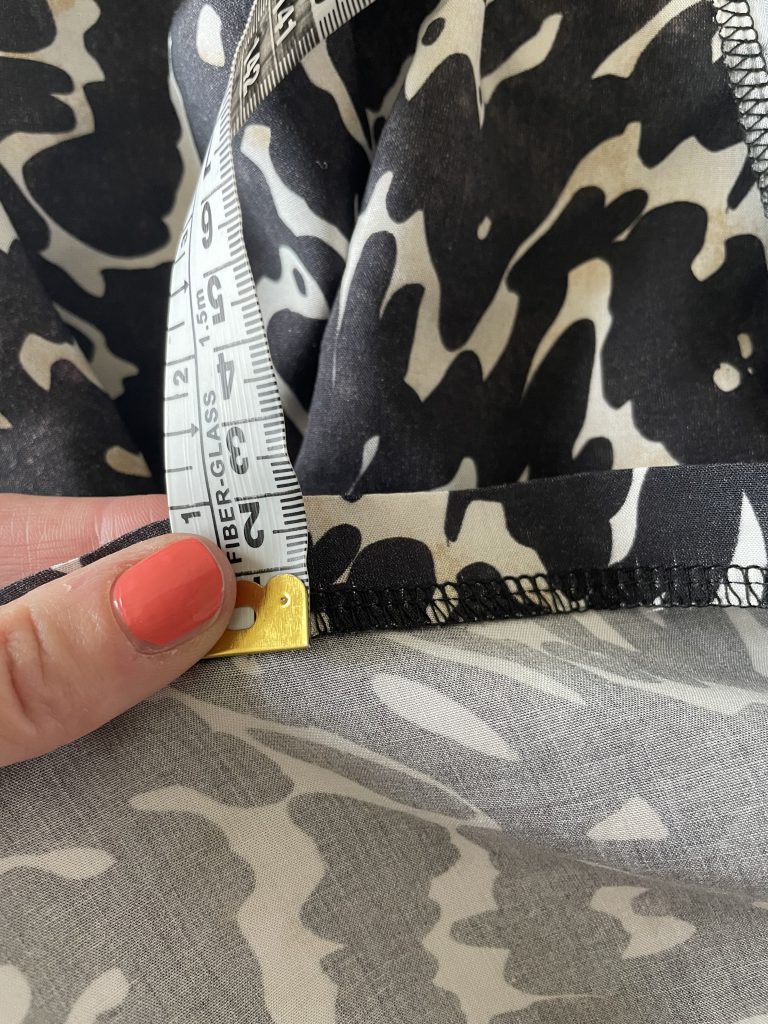
- Overlock the top of the fabric ( the width ) fold the top of the fabric to the wrong side by 2cm, press and pin. ( this is the top edge of the dress)
- Thread your machine and hand wind your bobbin with the shirred elastic

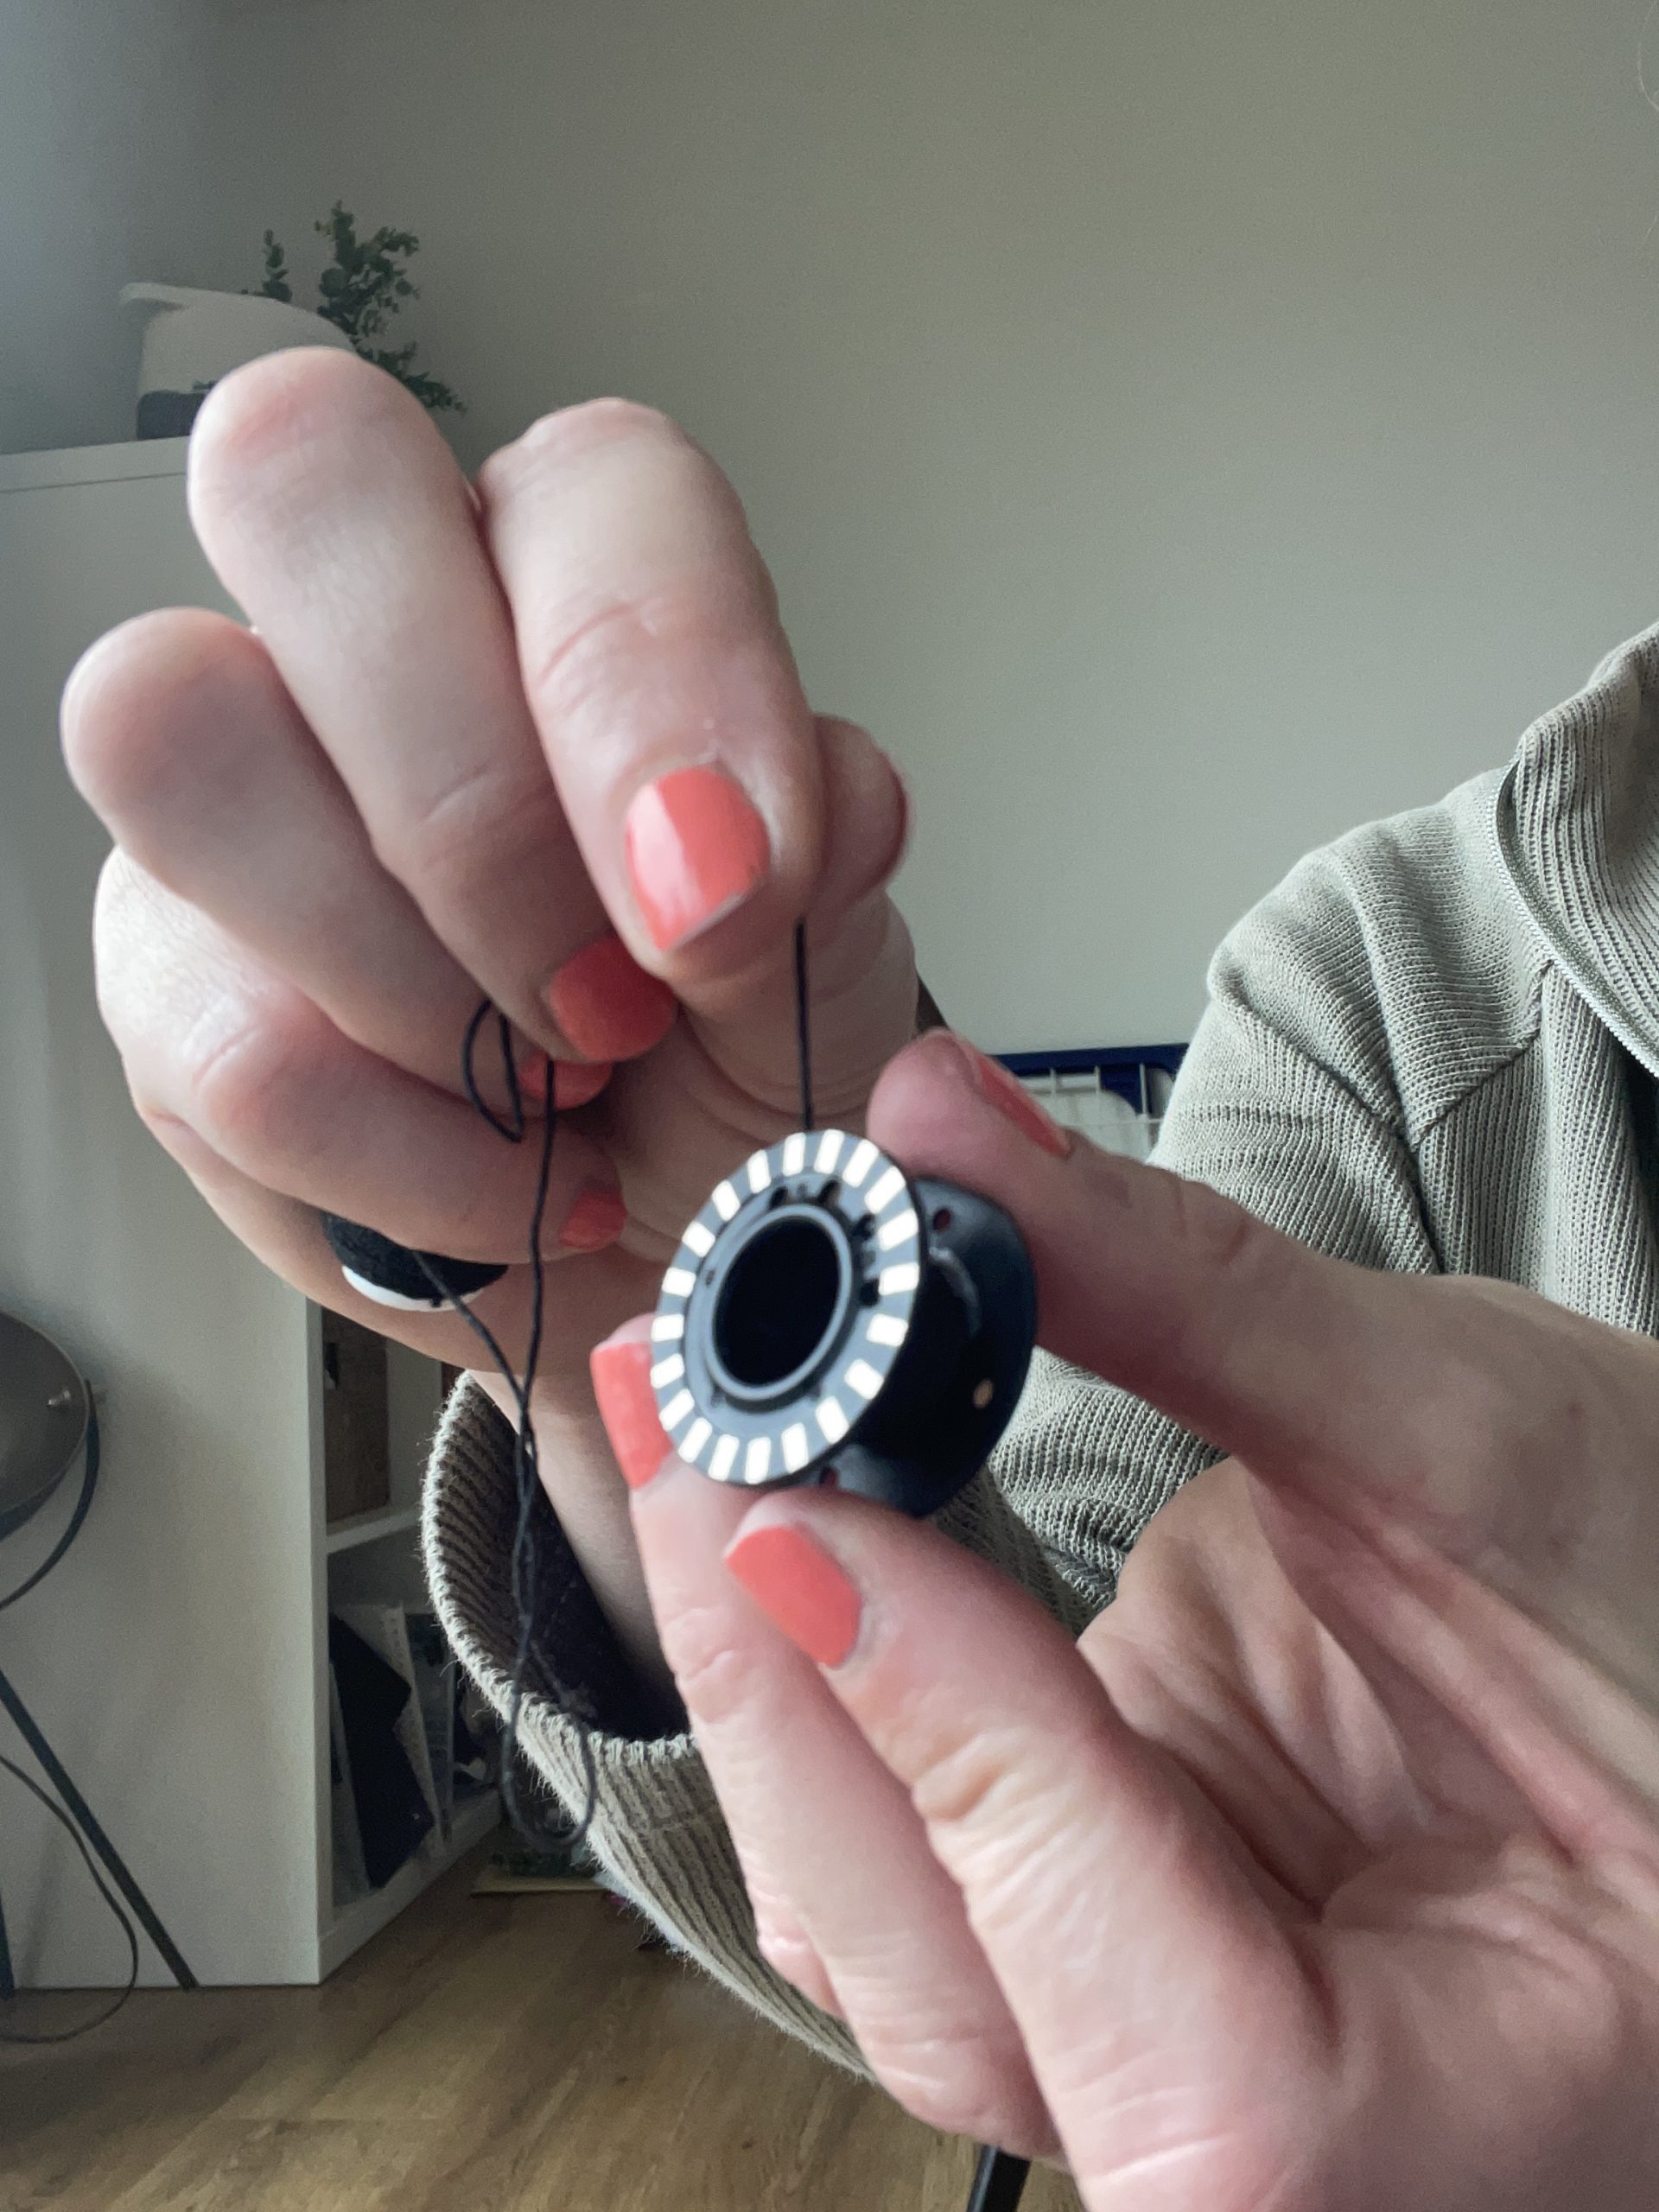
Hand wind the bobbin with the shirred elastic
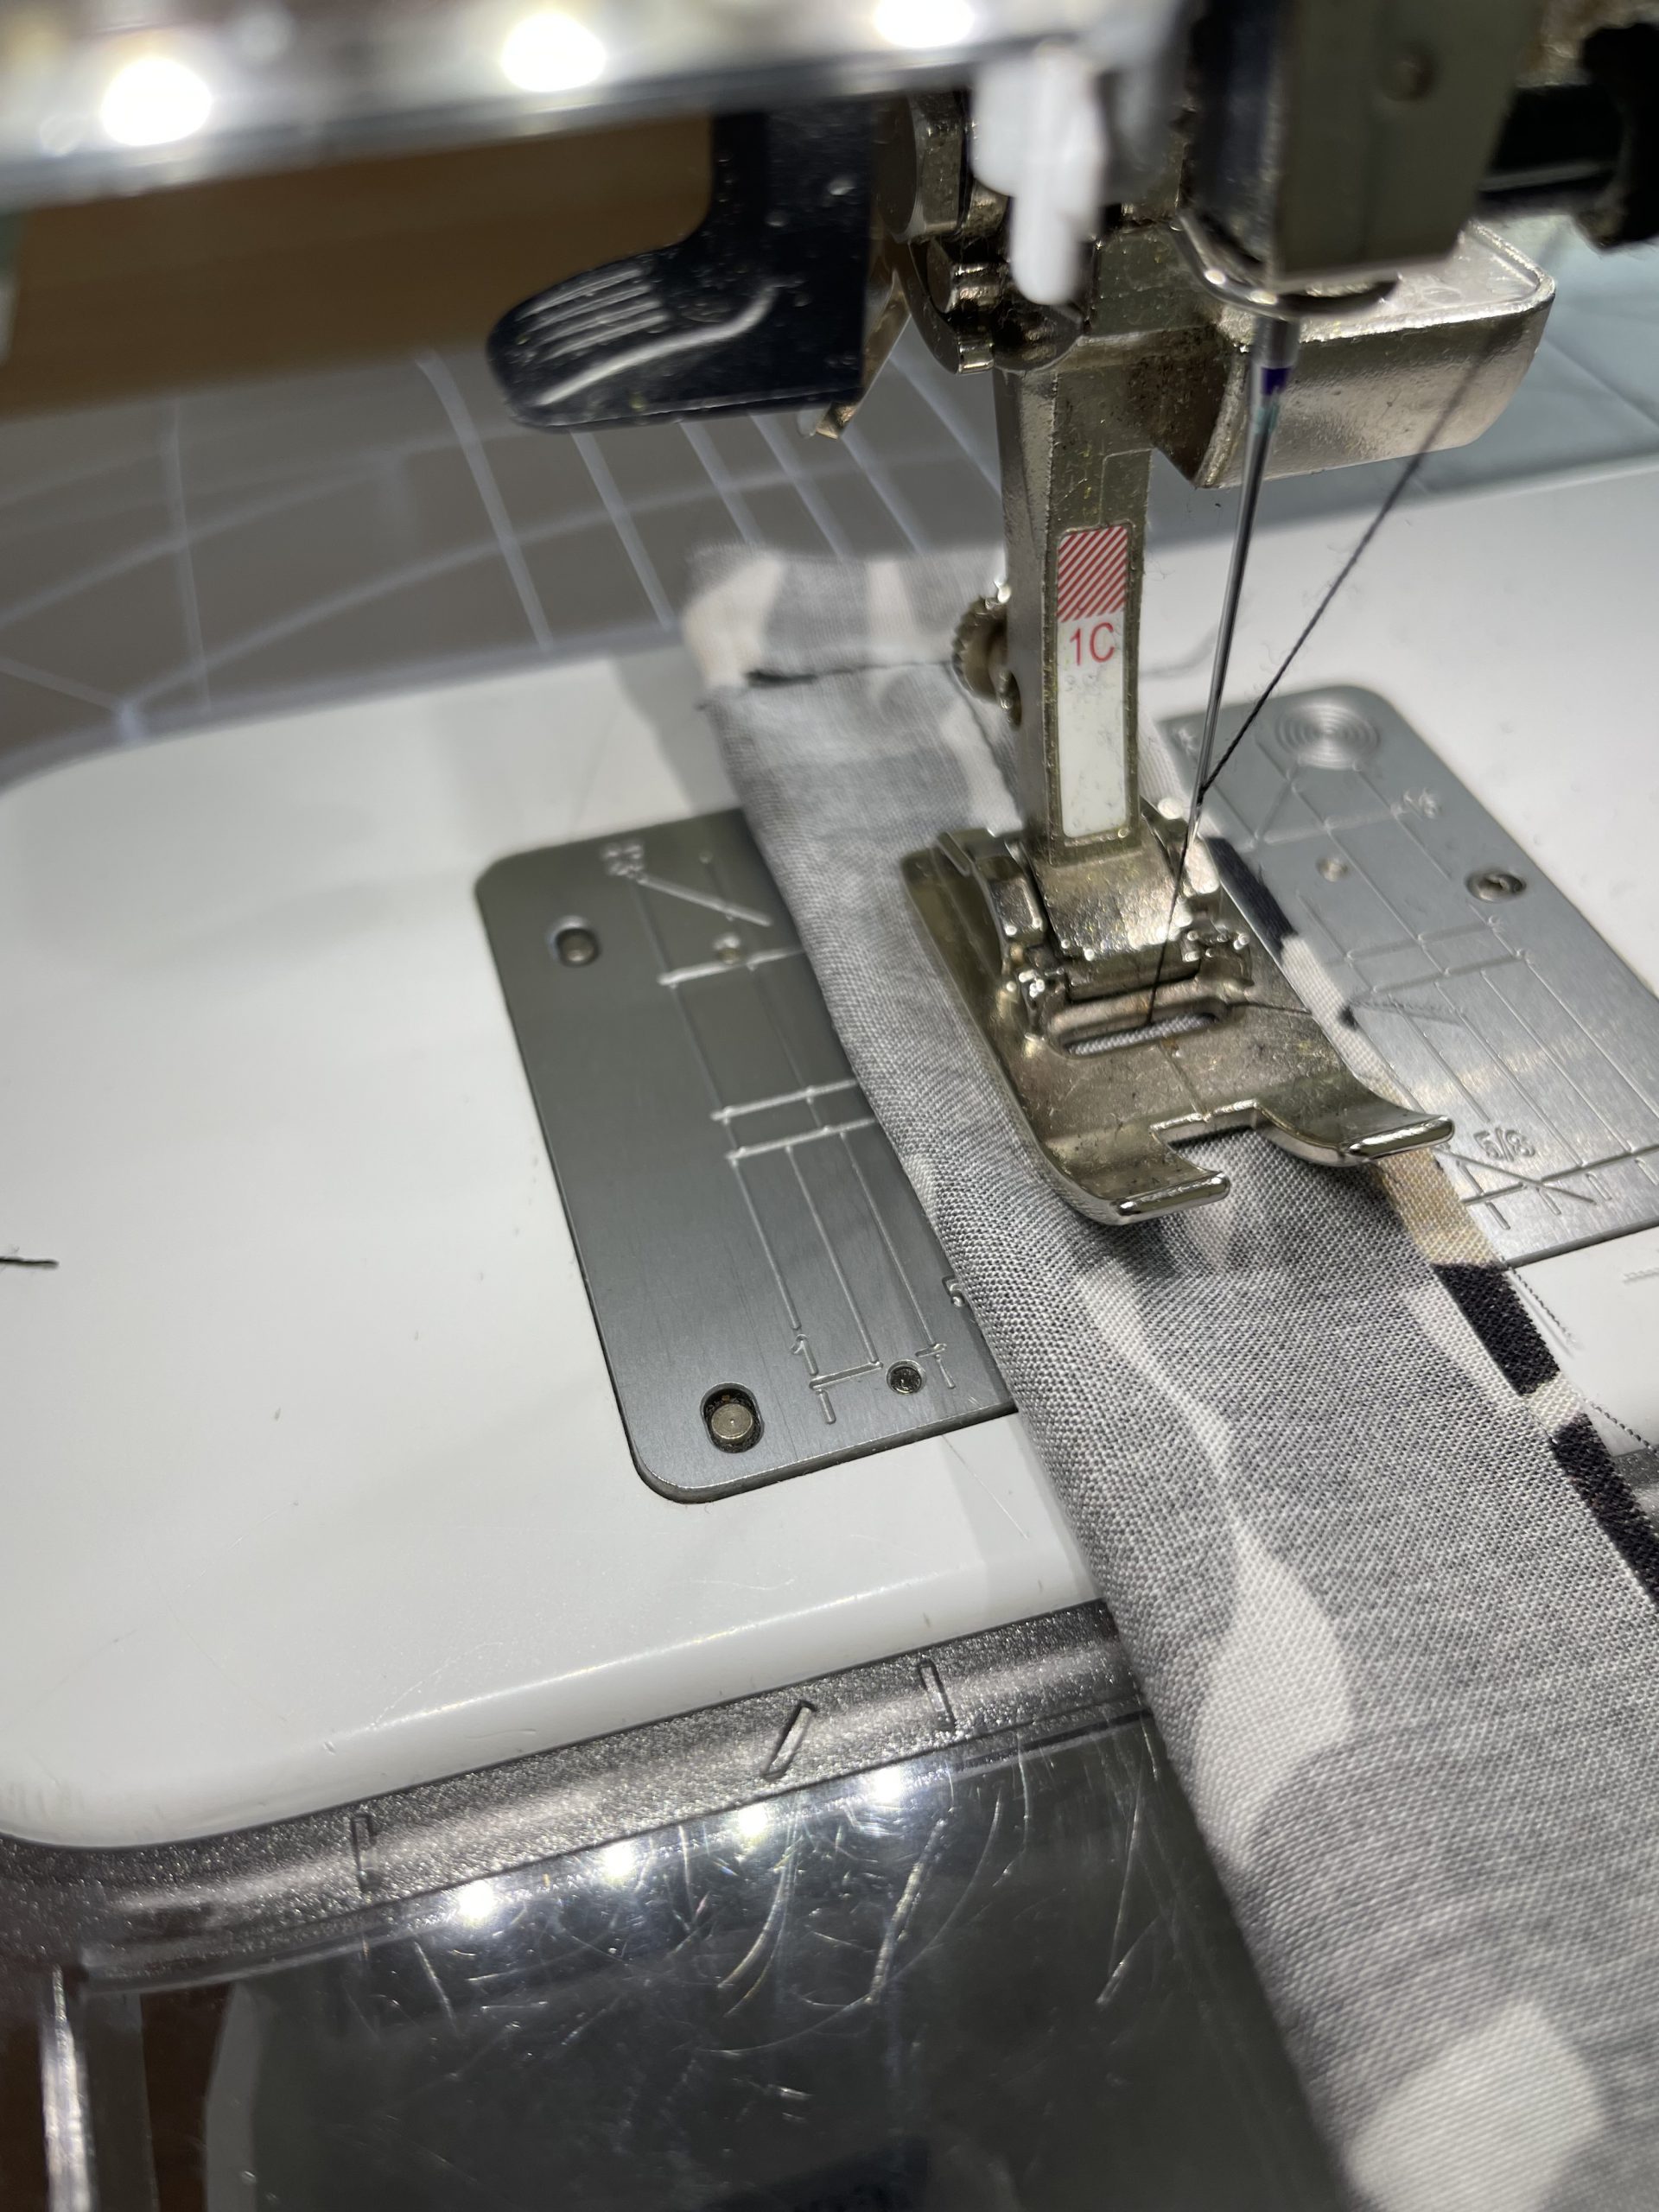
- Sew along the the width of the fabric, 1,5cm down from the pressed edge. Remember to anchor the first few stitches, by sewing back and forth. This will stop the stitches from unravelling.
- Continue sewing rows, using your sewing machine foot width as a guide. ( alternatively you can draw guidelines with Chalk.)

Using my sewing machine foot a width guide between the rows
Soon you will see the fabric puckering and becoming more elasticated. Take your time, checking that you have enough elastic on the bobbin to continue sewing a whole row.
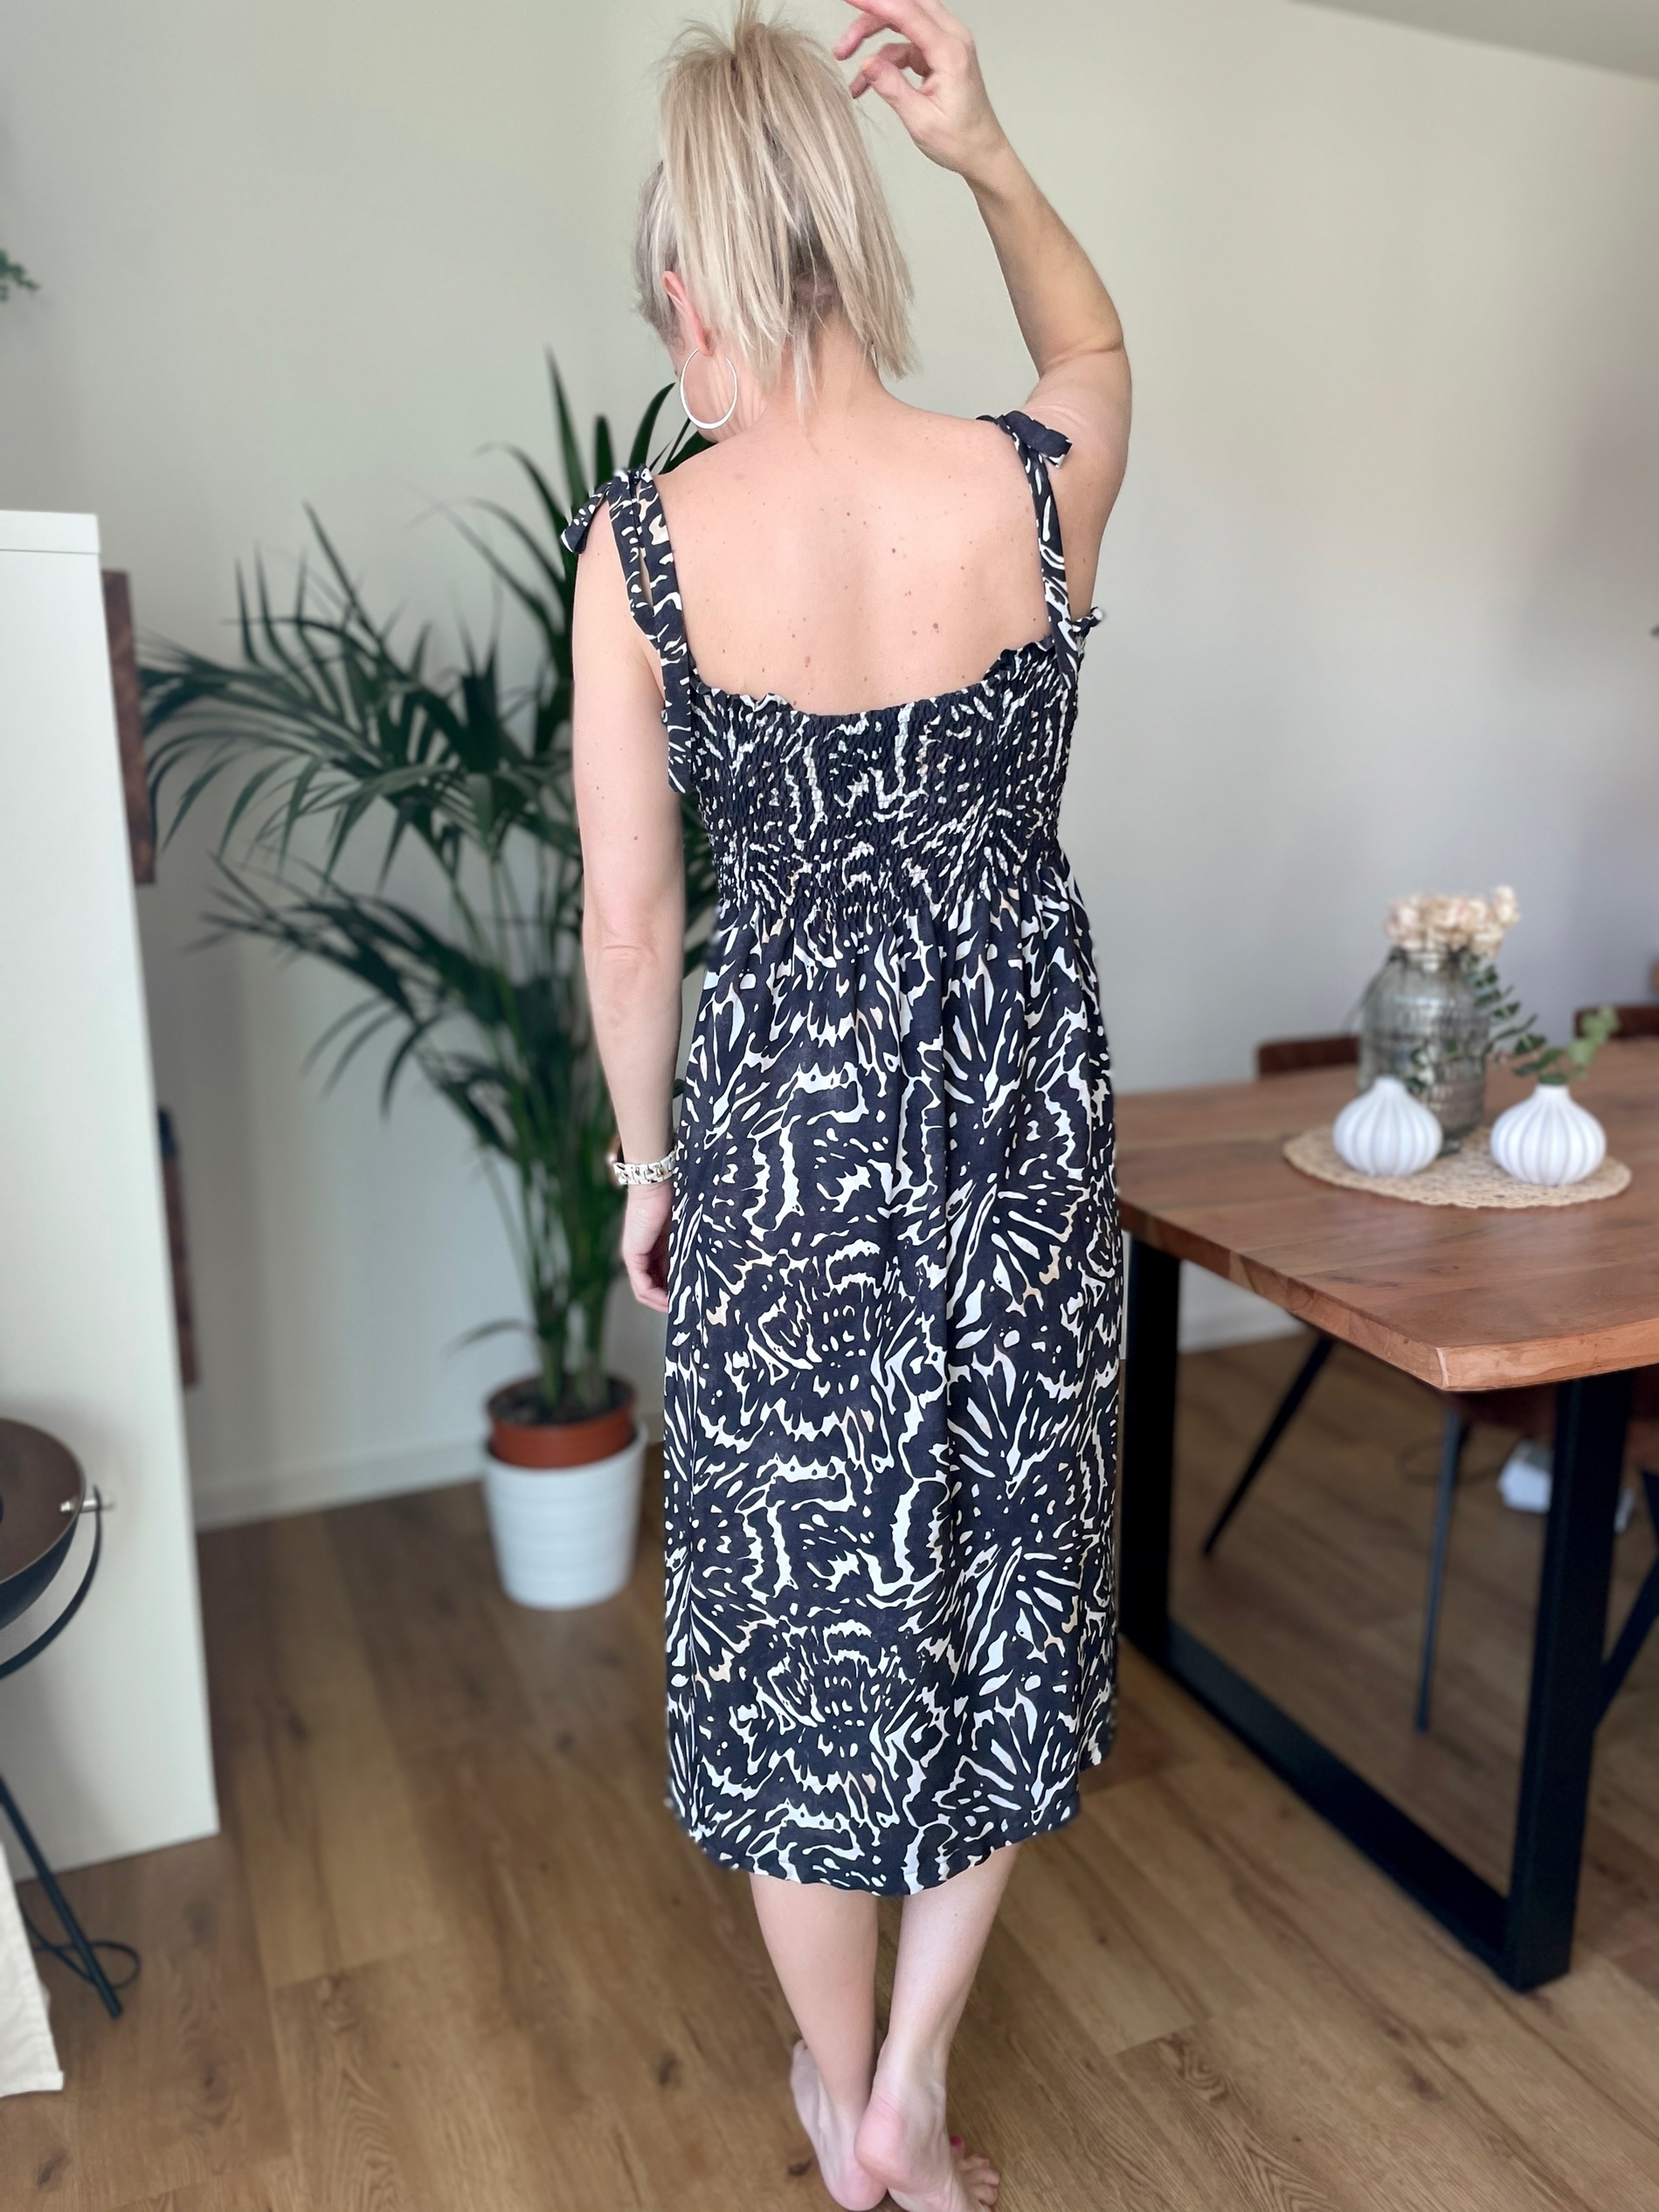
- Sew 22 rows, and try the bodice on. If your would like the bodice to sit lower down then simply add more rows.

The more rows you sew the more elasticated the fabric is becoming.
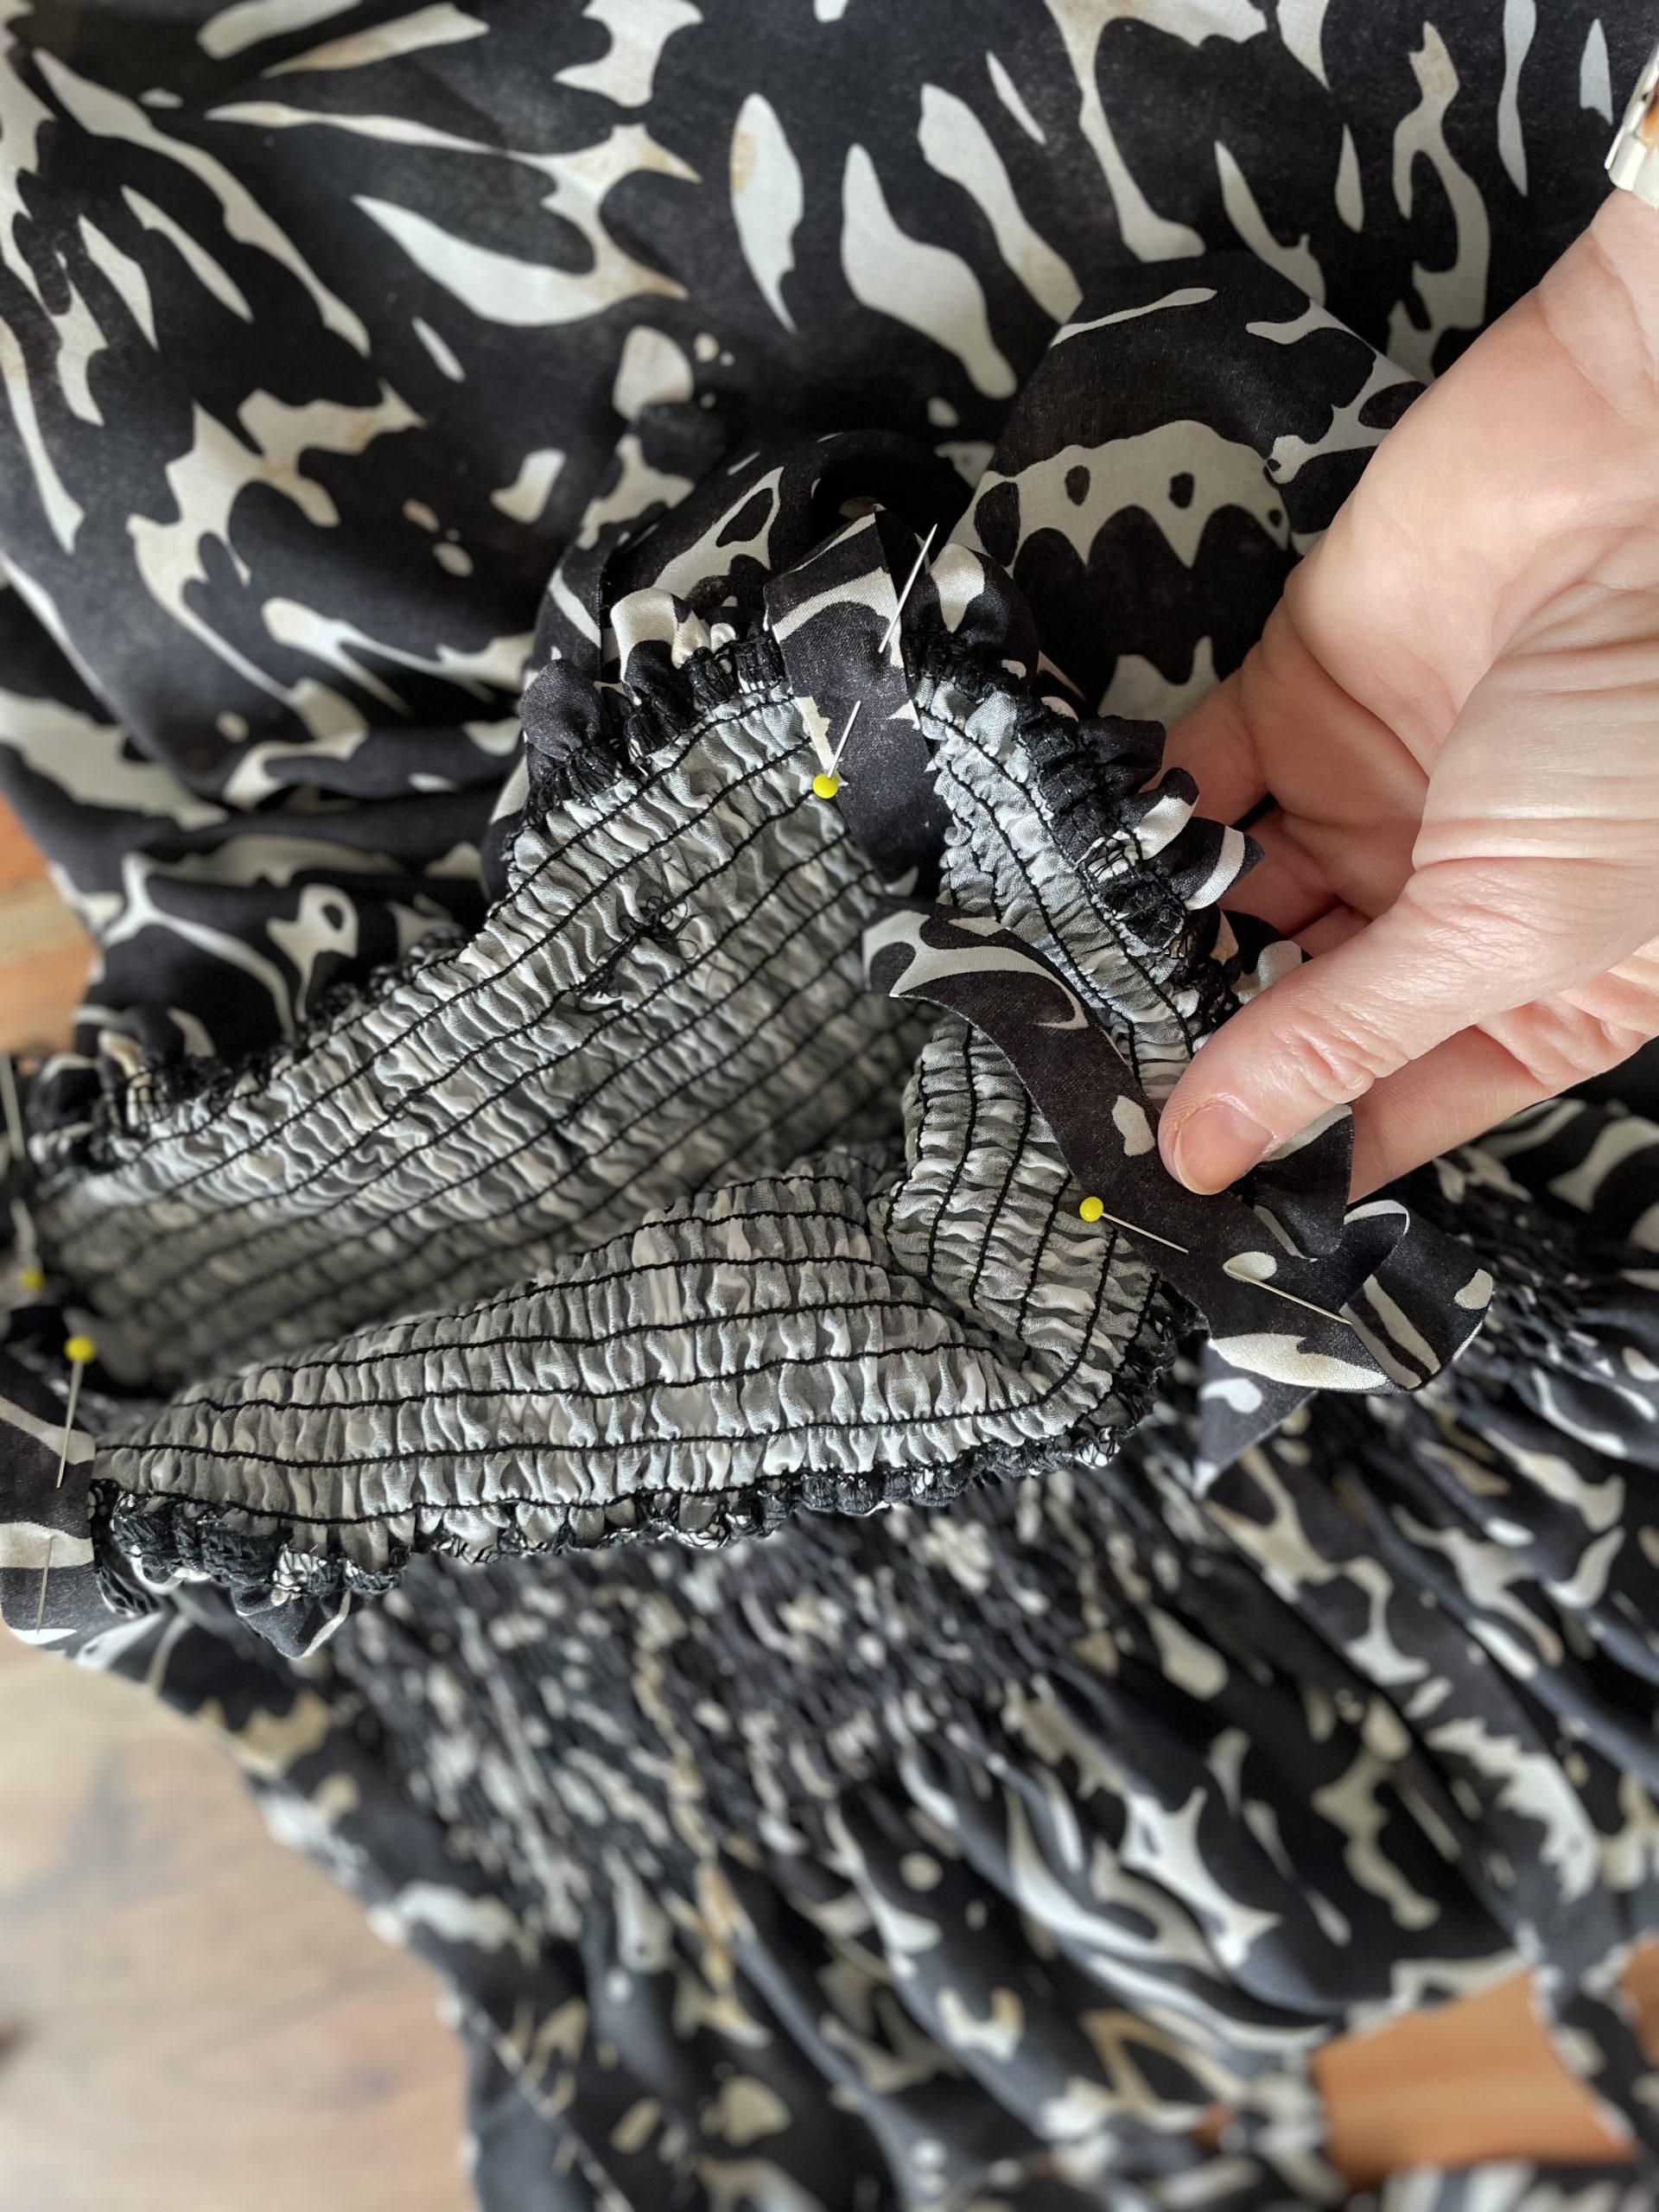
- Once you are satisfied with the fit and depth of your bodice, lay the fabric in half with the right sides facing and line up the shirred rows along the edge. Pin and sew from the top of the dress to the hem using straight stitch. Making sure to catch the ends of each shirred row.
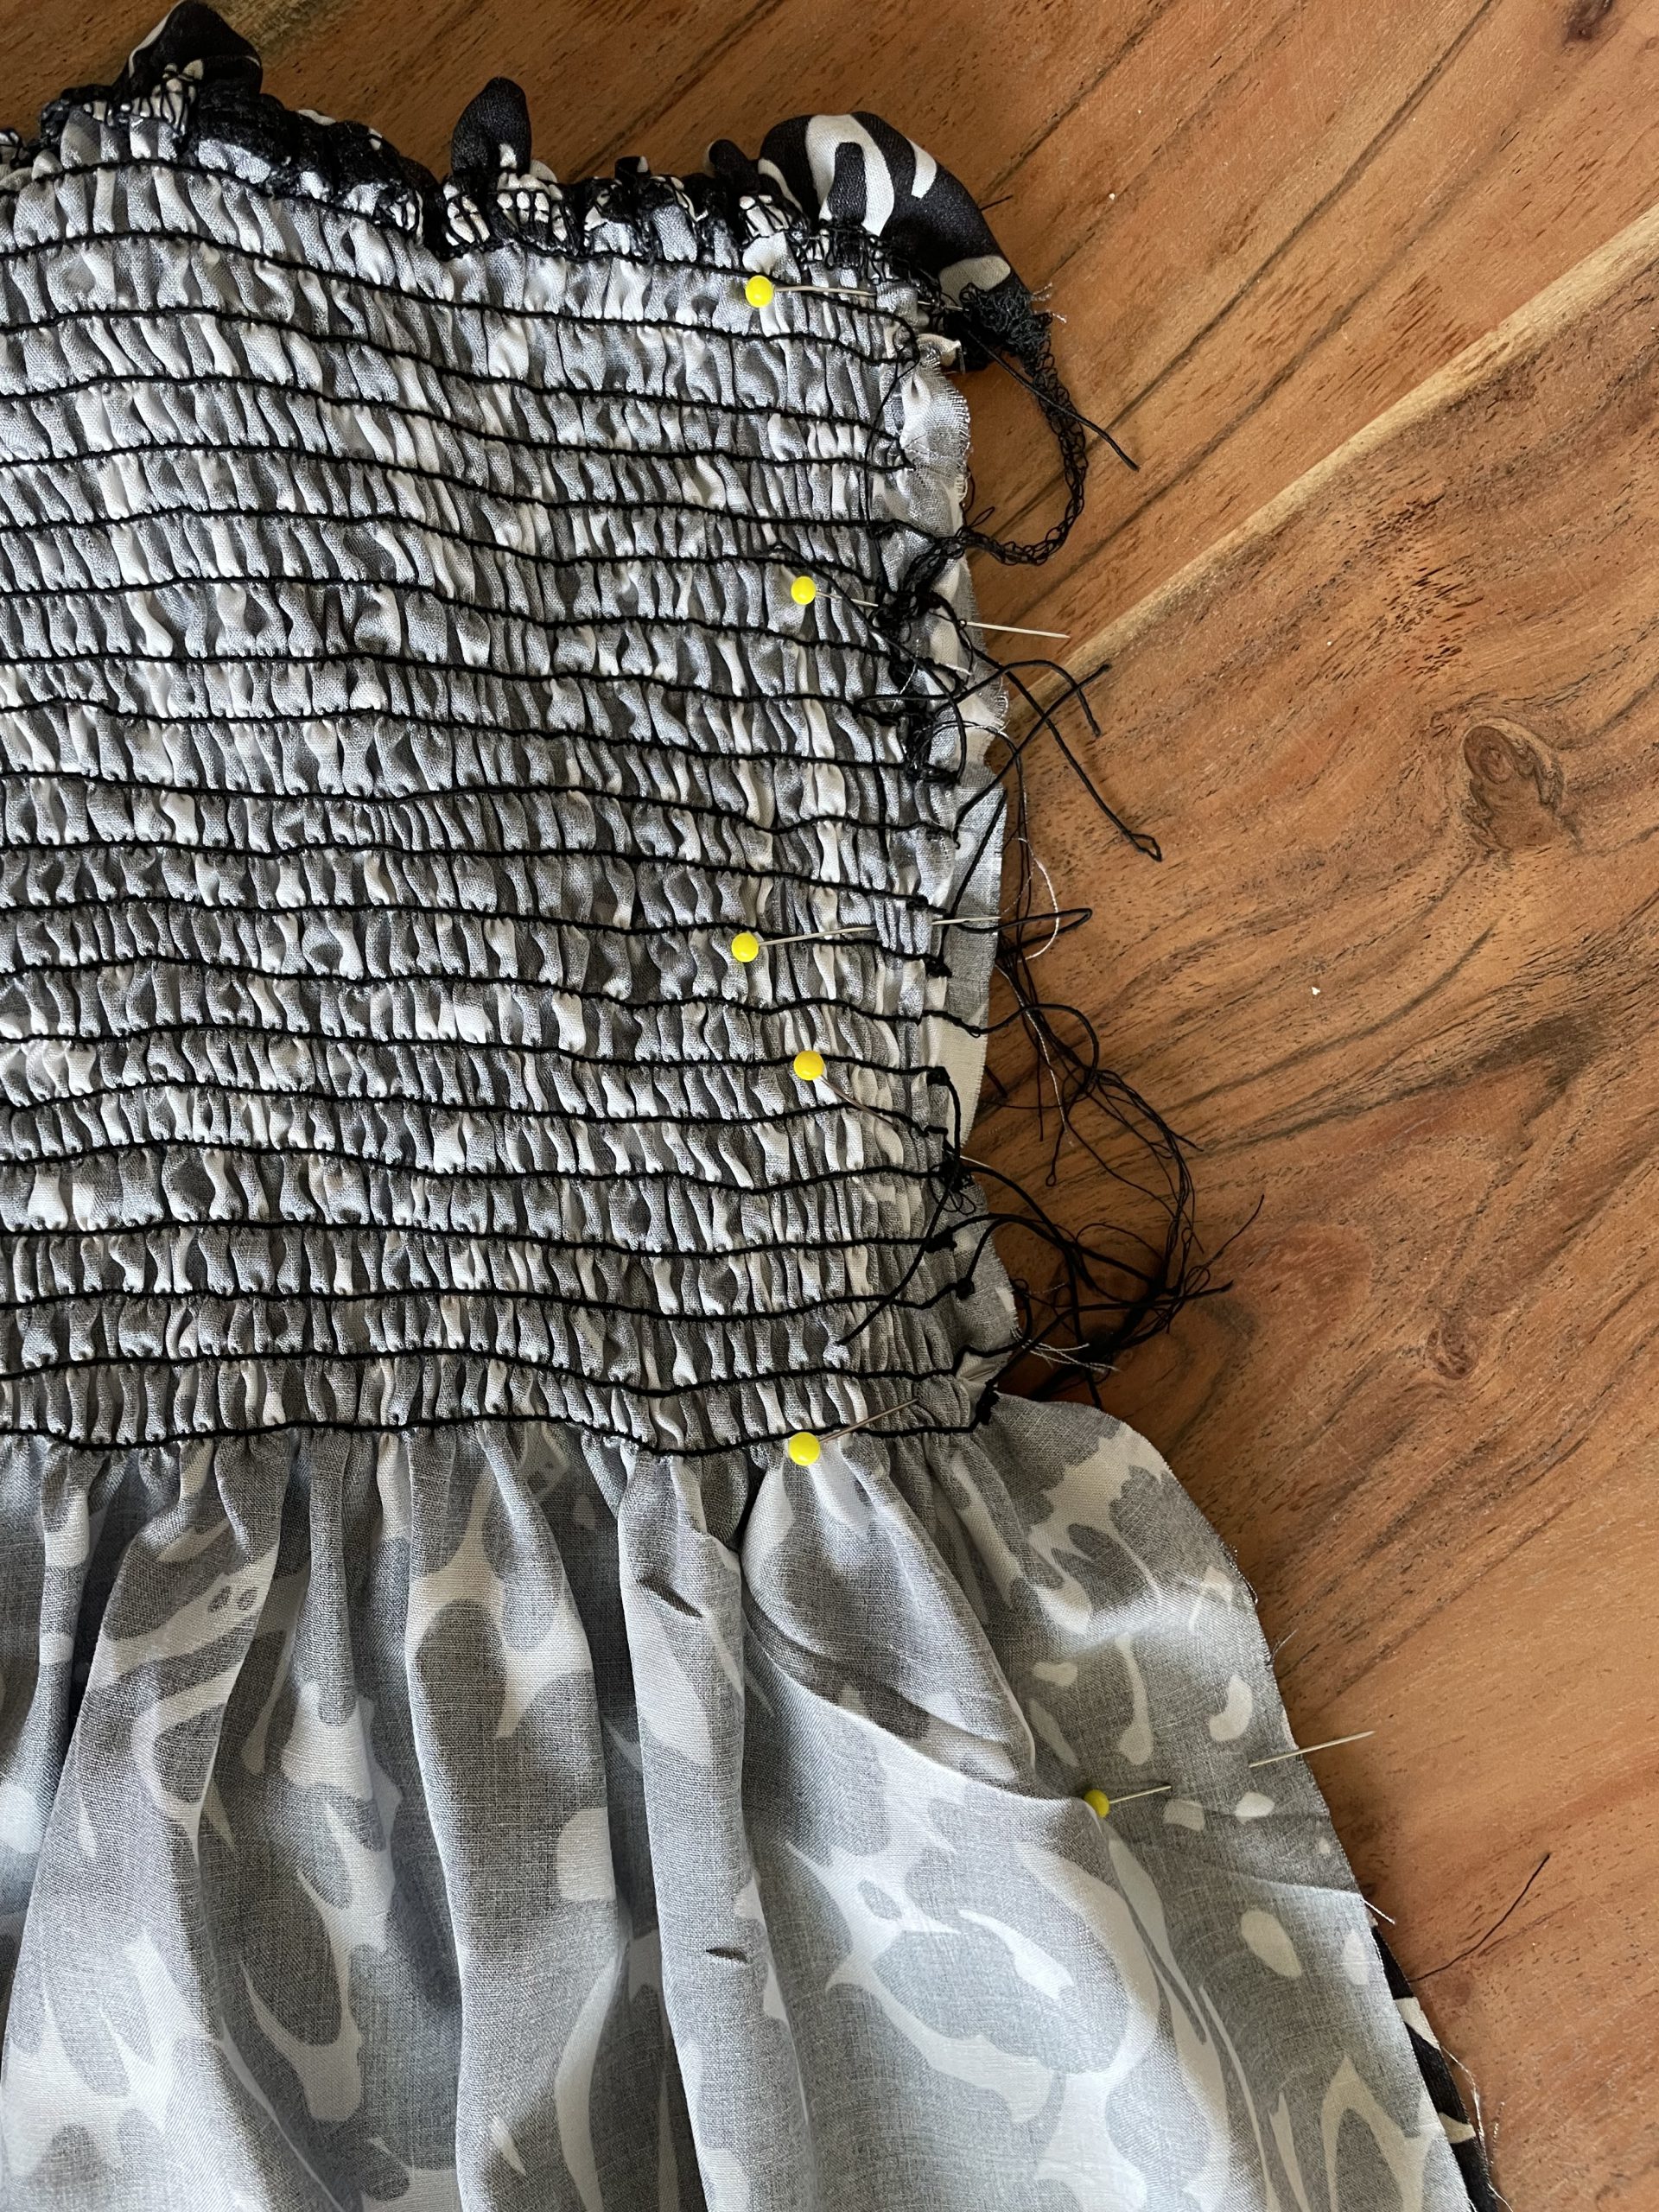
Pinned side edge of the dress
- Neaten of the edge of the seam with an overlock or a zig zag seam.
The straps
- Now we will move on to the straps. The ties can be made to any width you are happy with, I like mine fairly skinny, so I cut 4 strips of fabric 5 cm wide and around 40cm long.
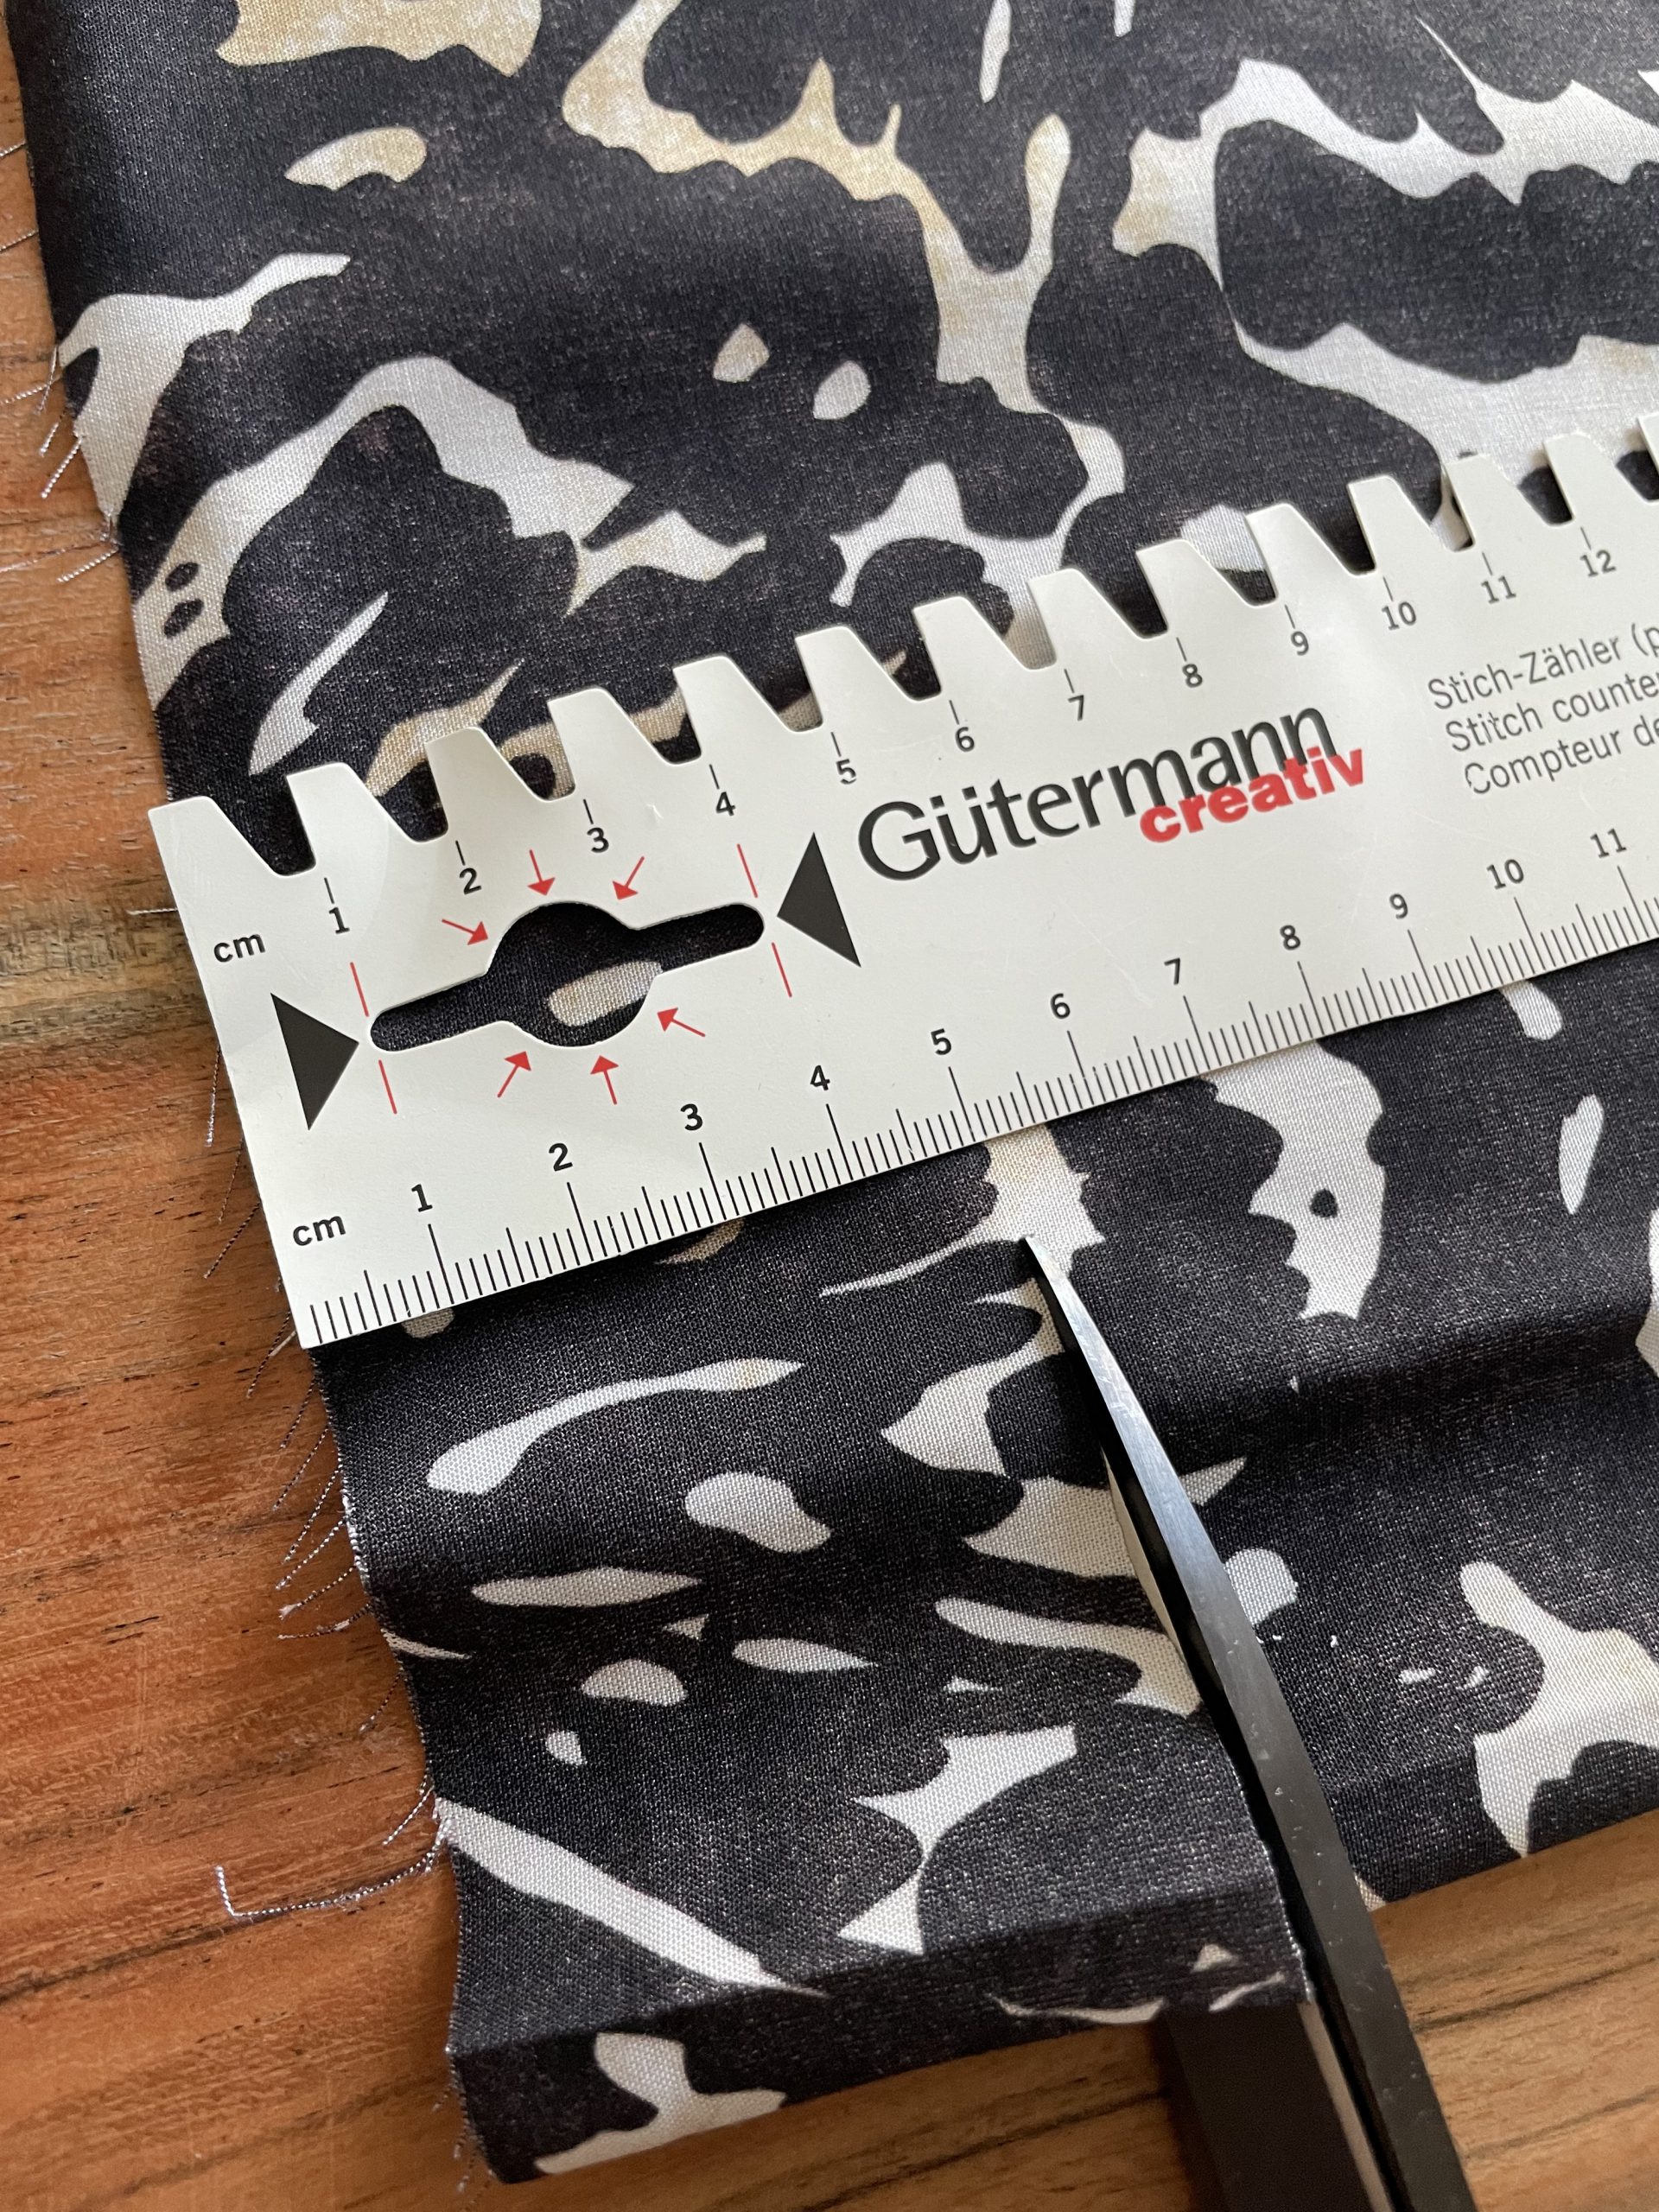
- Fold the shoulder straps in half length ways, right sides together and sew along the top edge and along the longest side of all 4 straps, and trim away the excess
Sewing my straps

Cutting away the corners to create a neat point
Trimming away all the excess fabric.
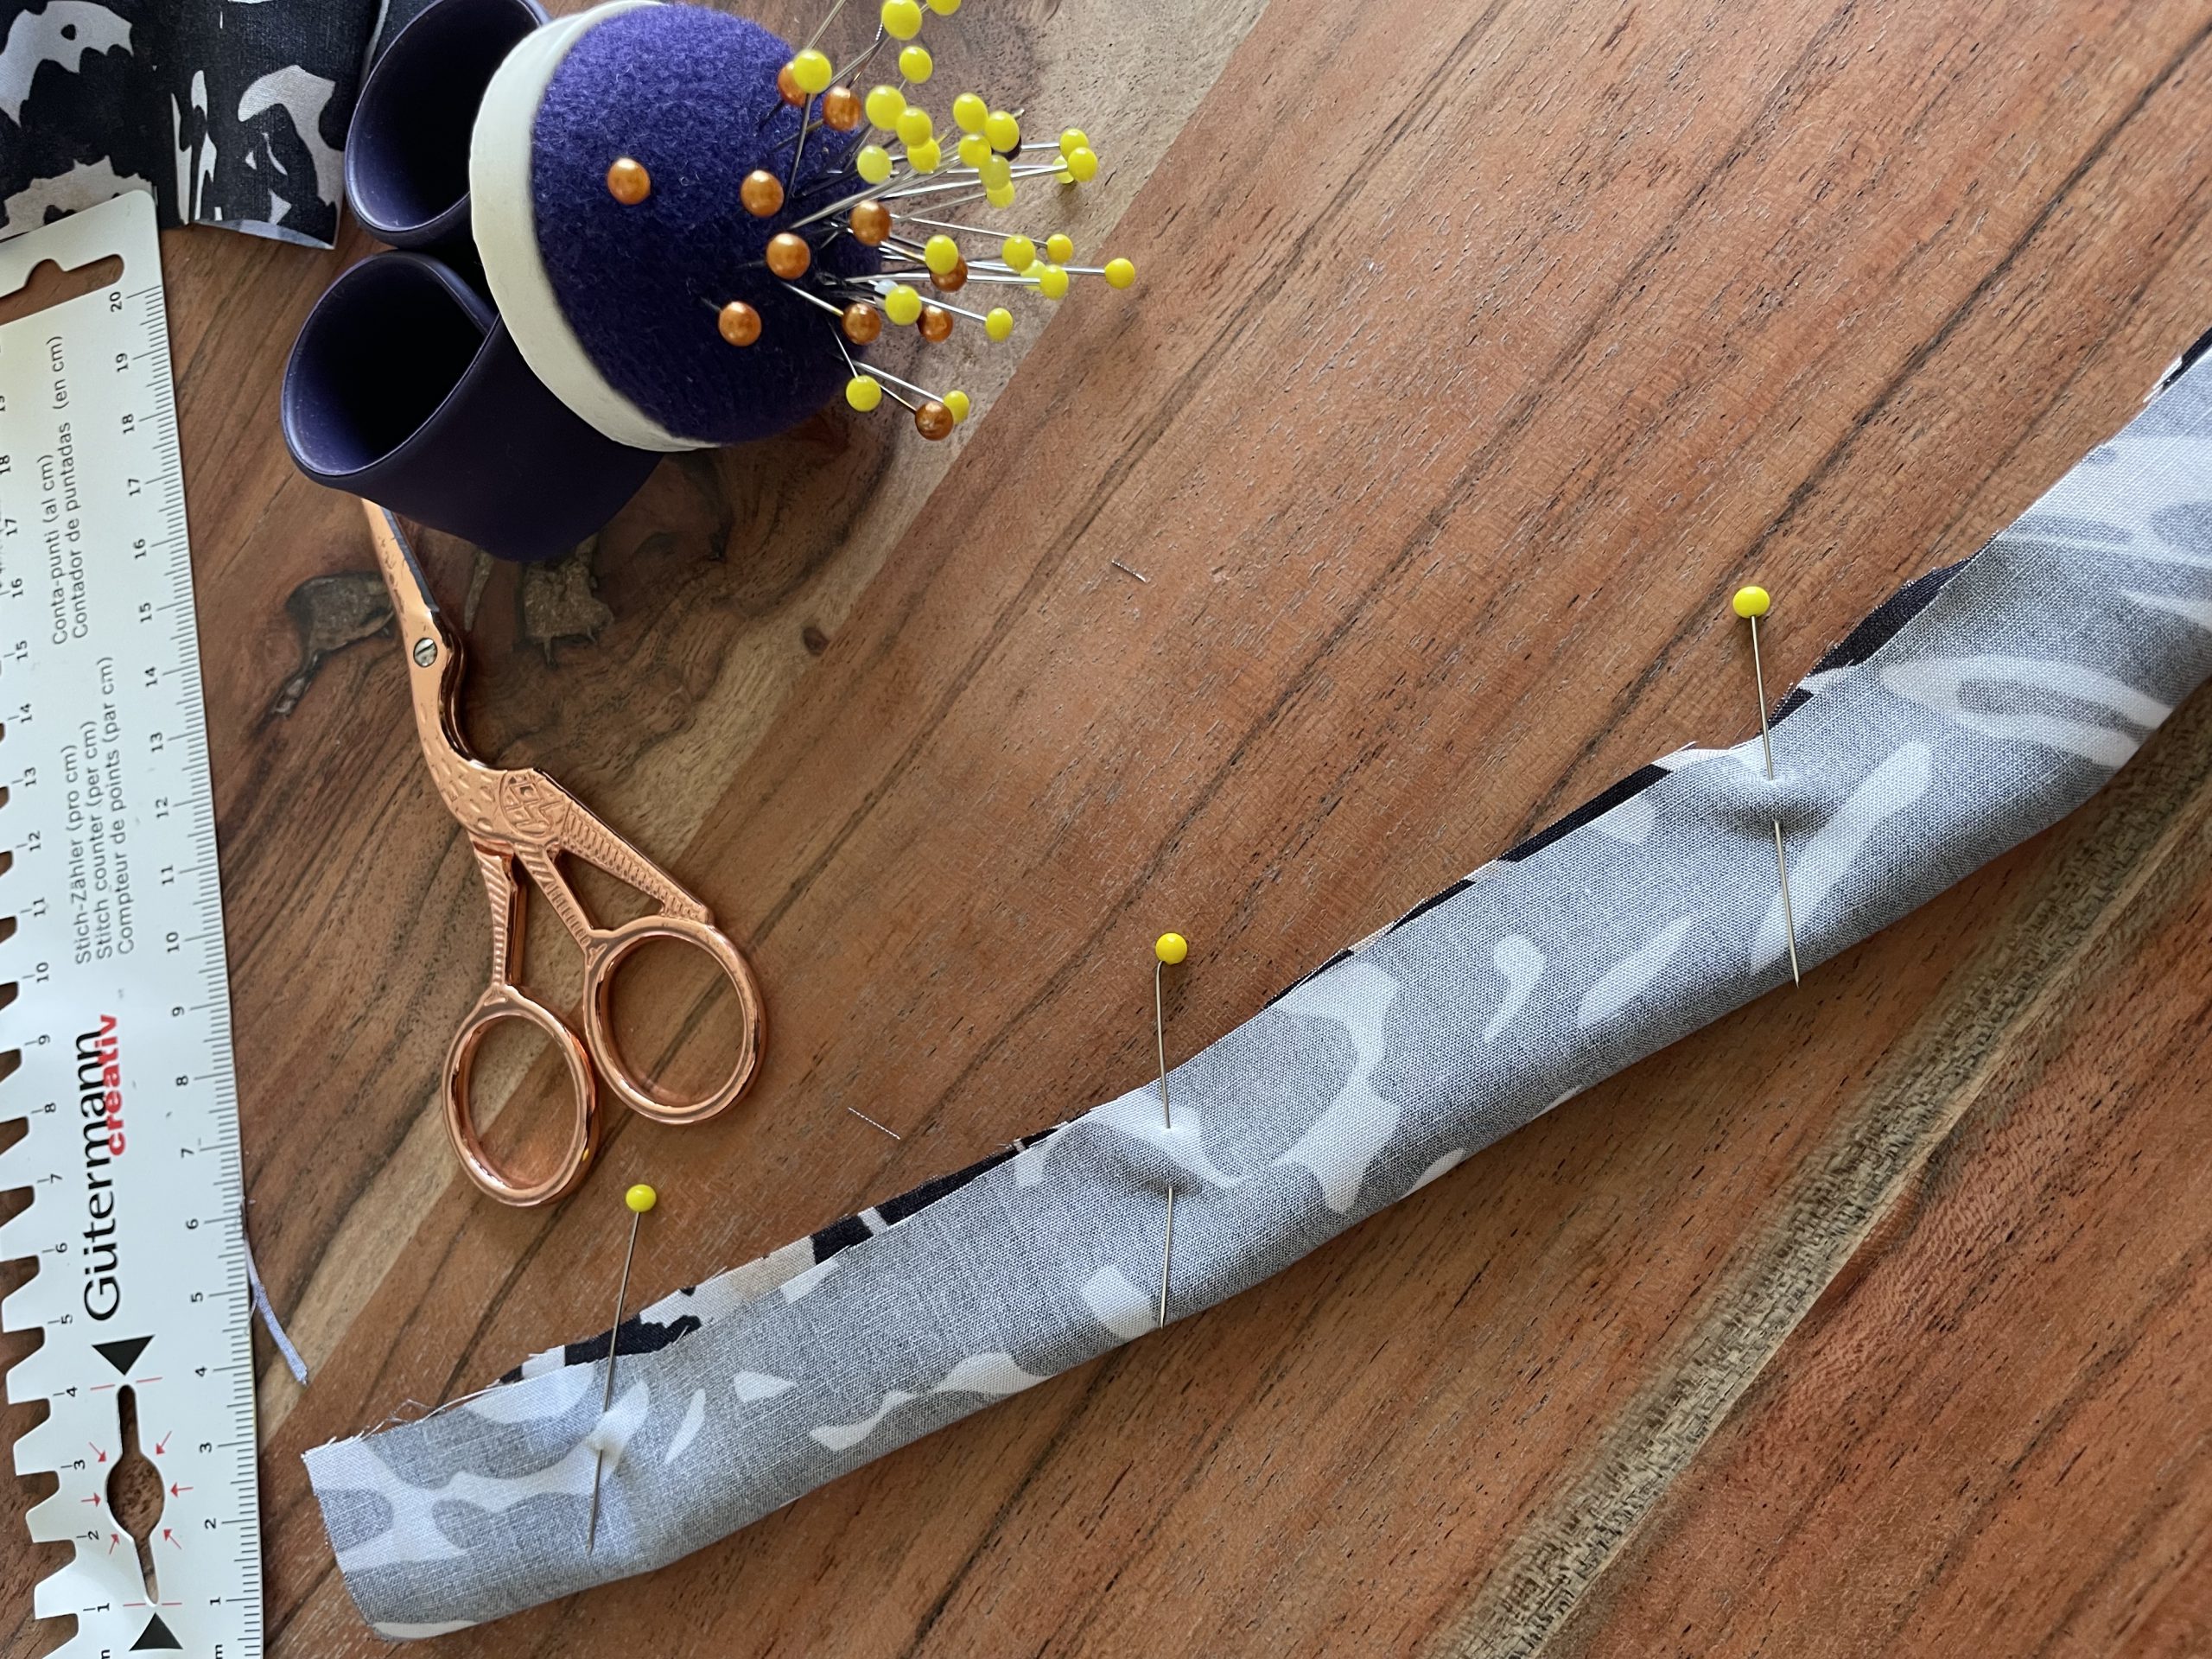
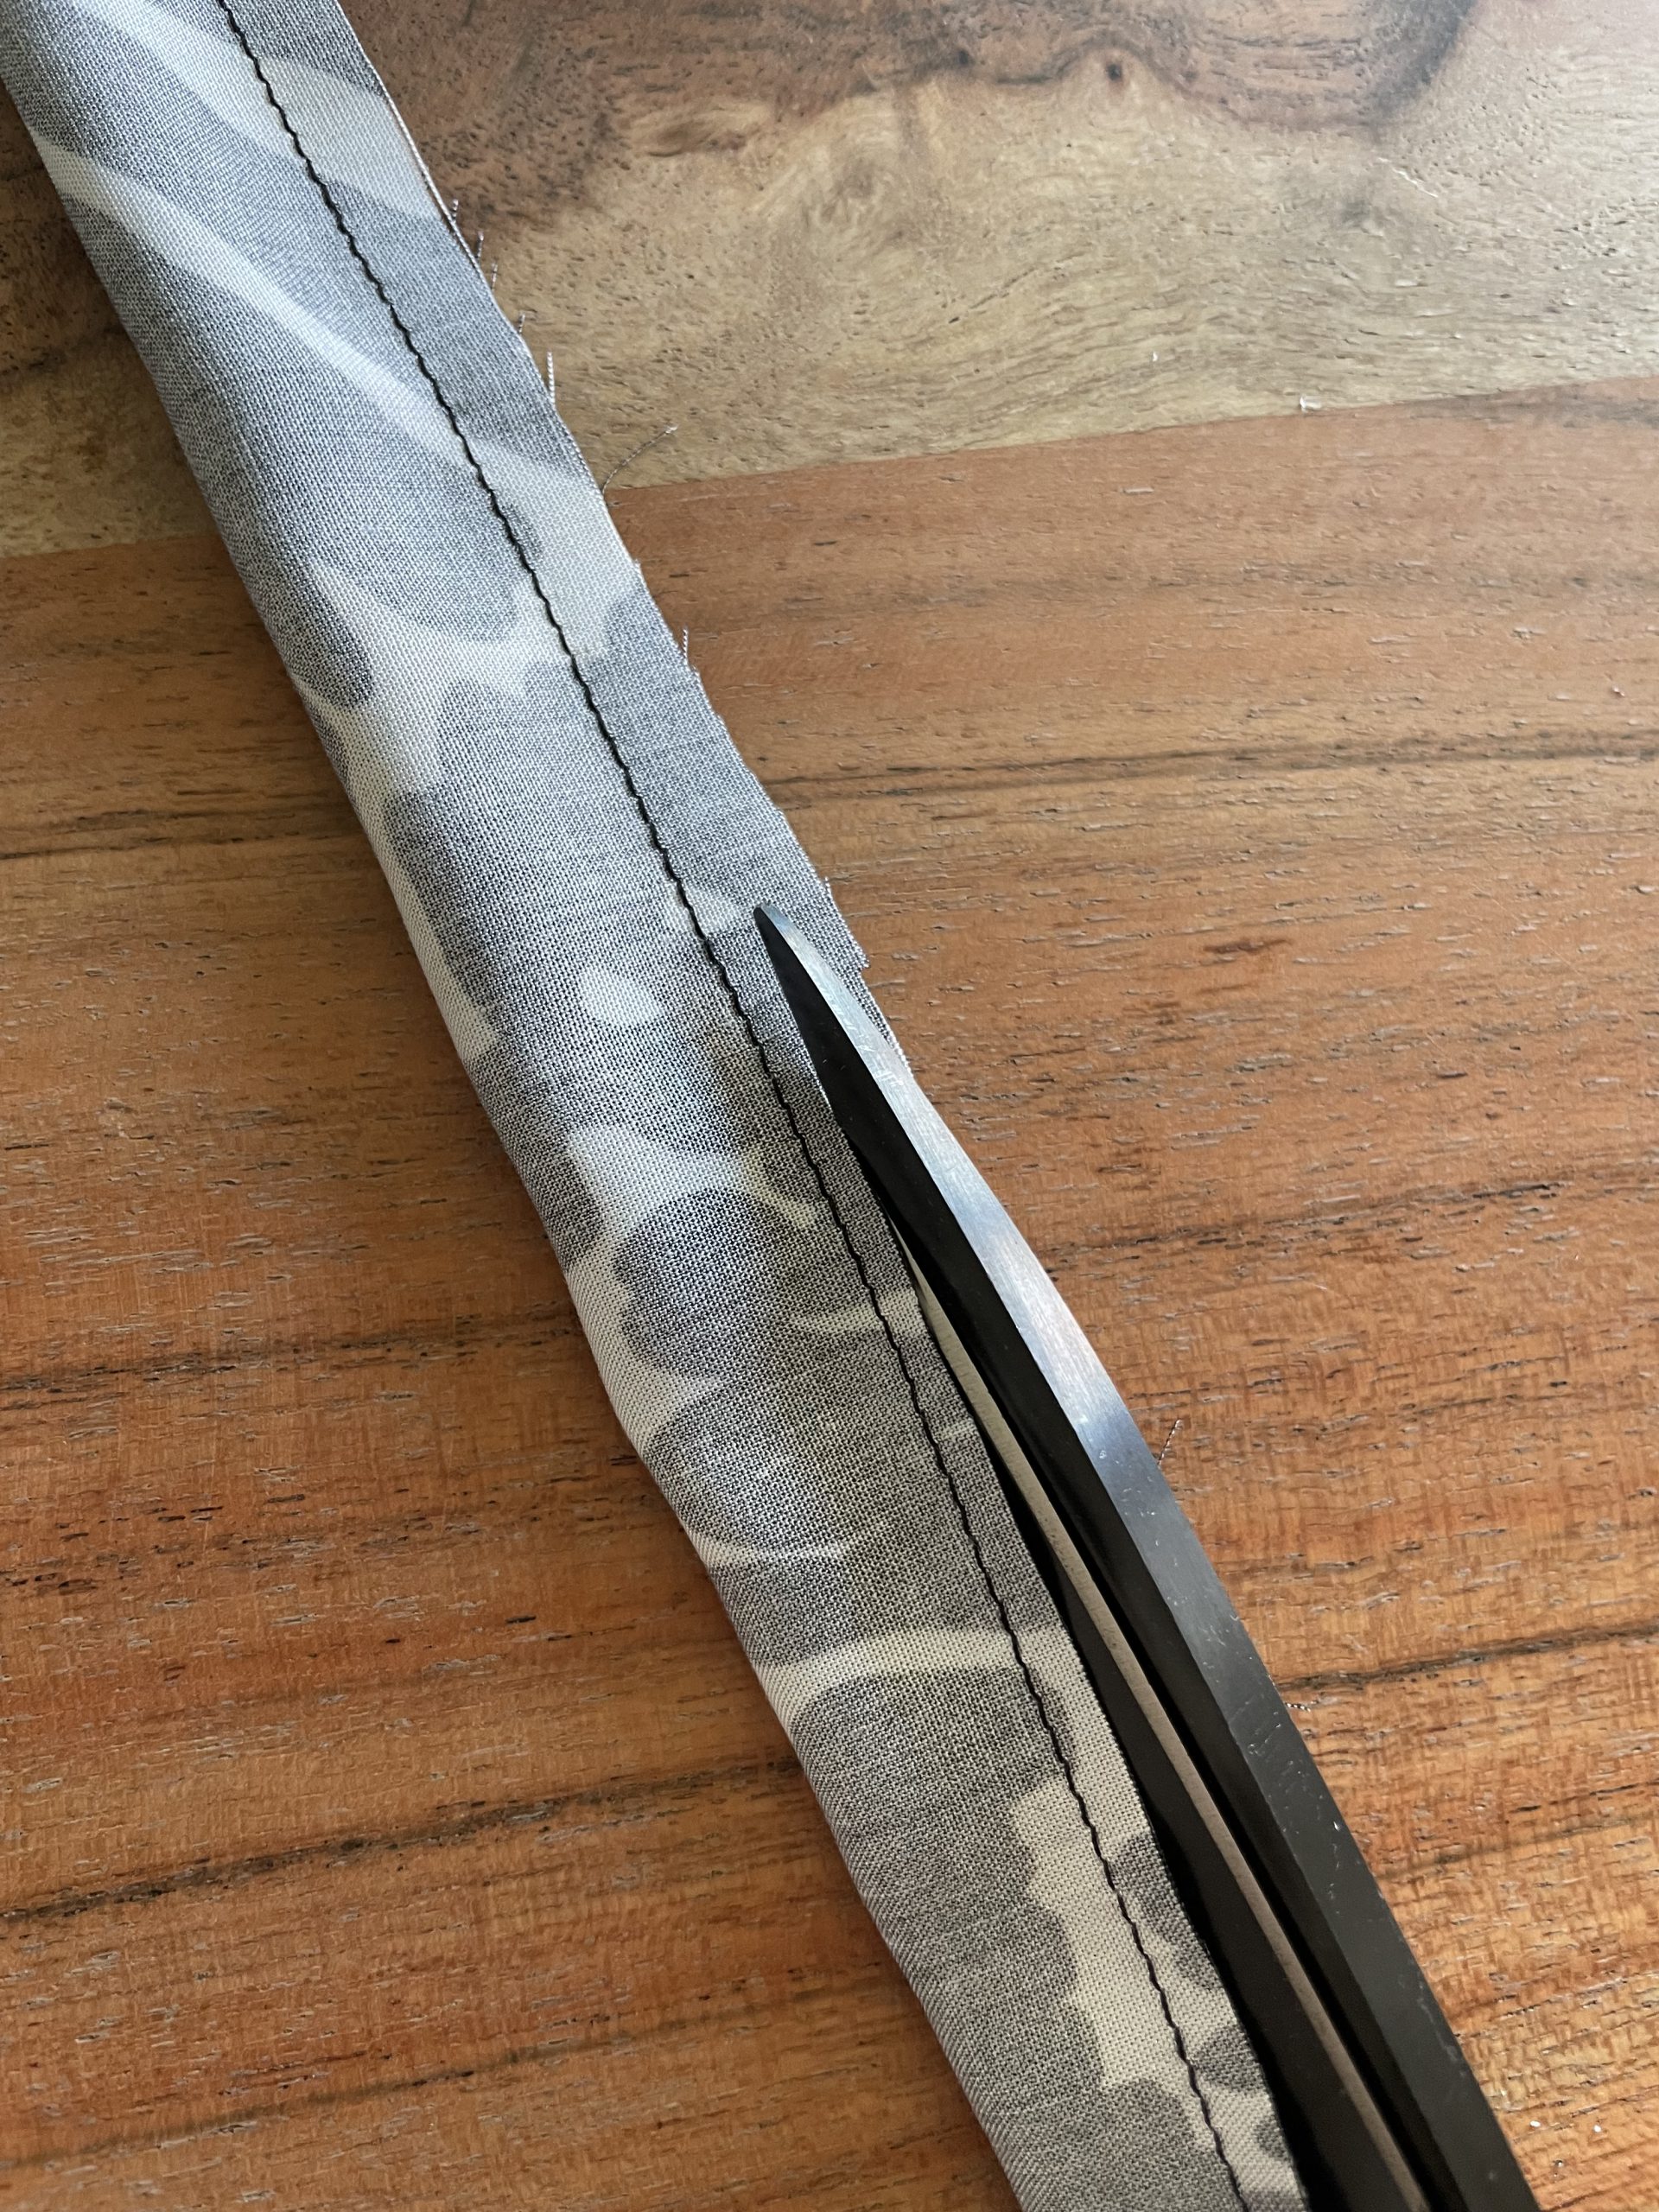
- Using a Turner, turn all the straps to the correct way, press them and position them roughly 8cm away from the side seam, at the front and back.
- Pin them initially to the top of the dress and try the dress on, to make sure everything fits and the straps are in the correct positions.
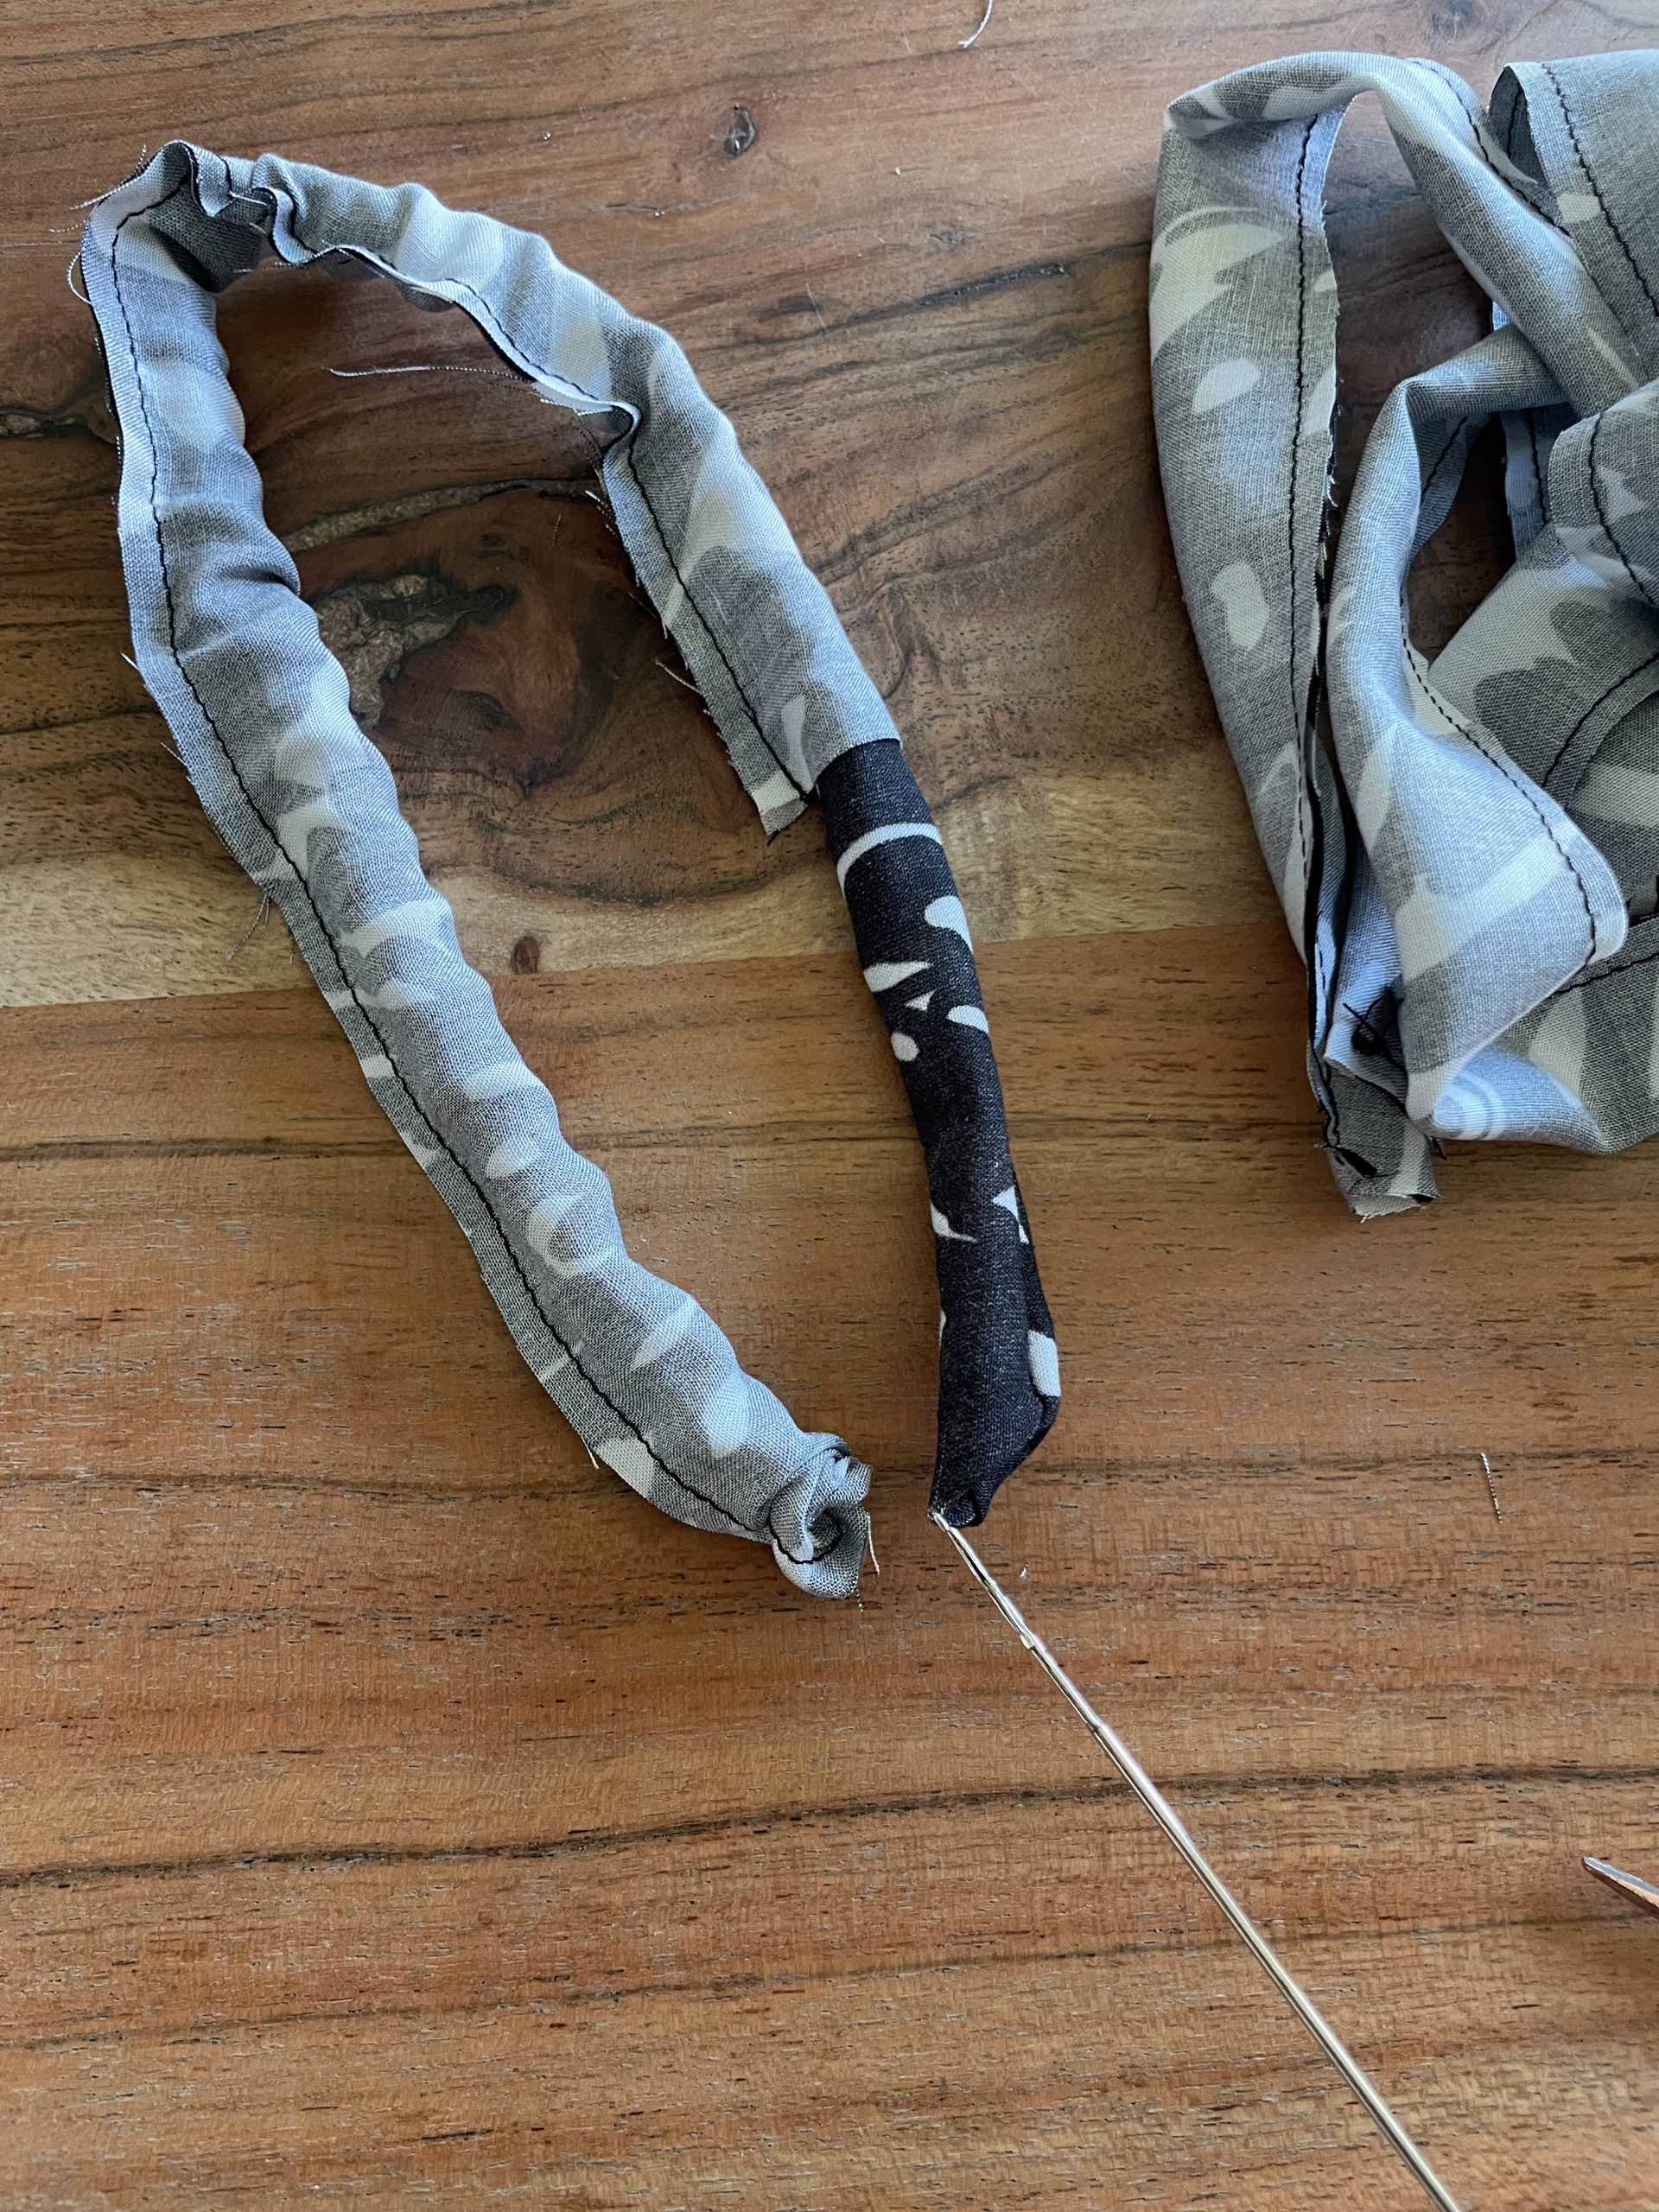
Using a turner, turn all the straps to the correct-sides
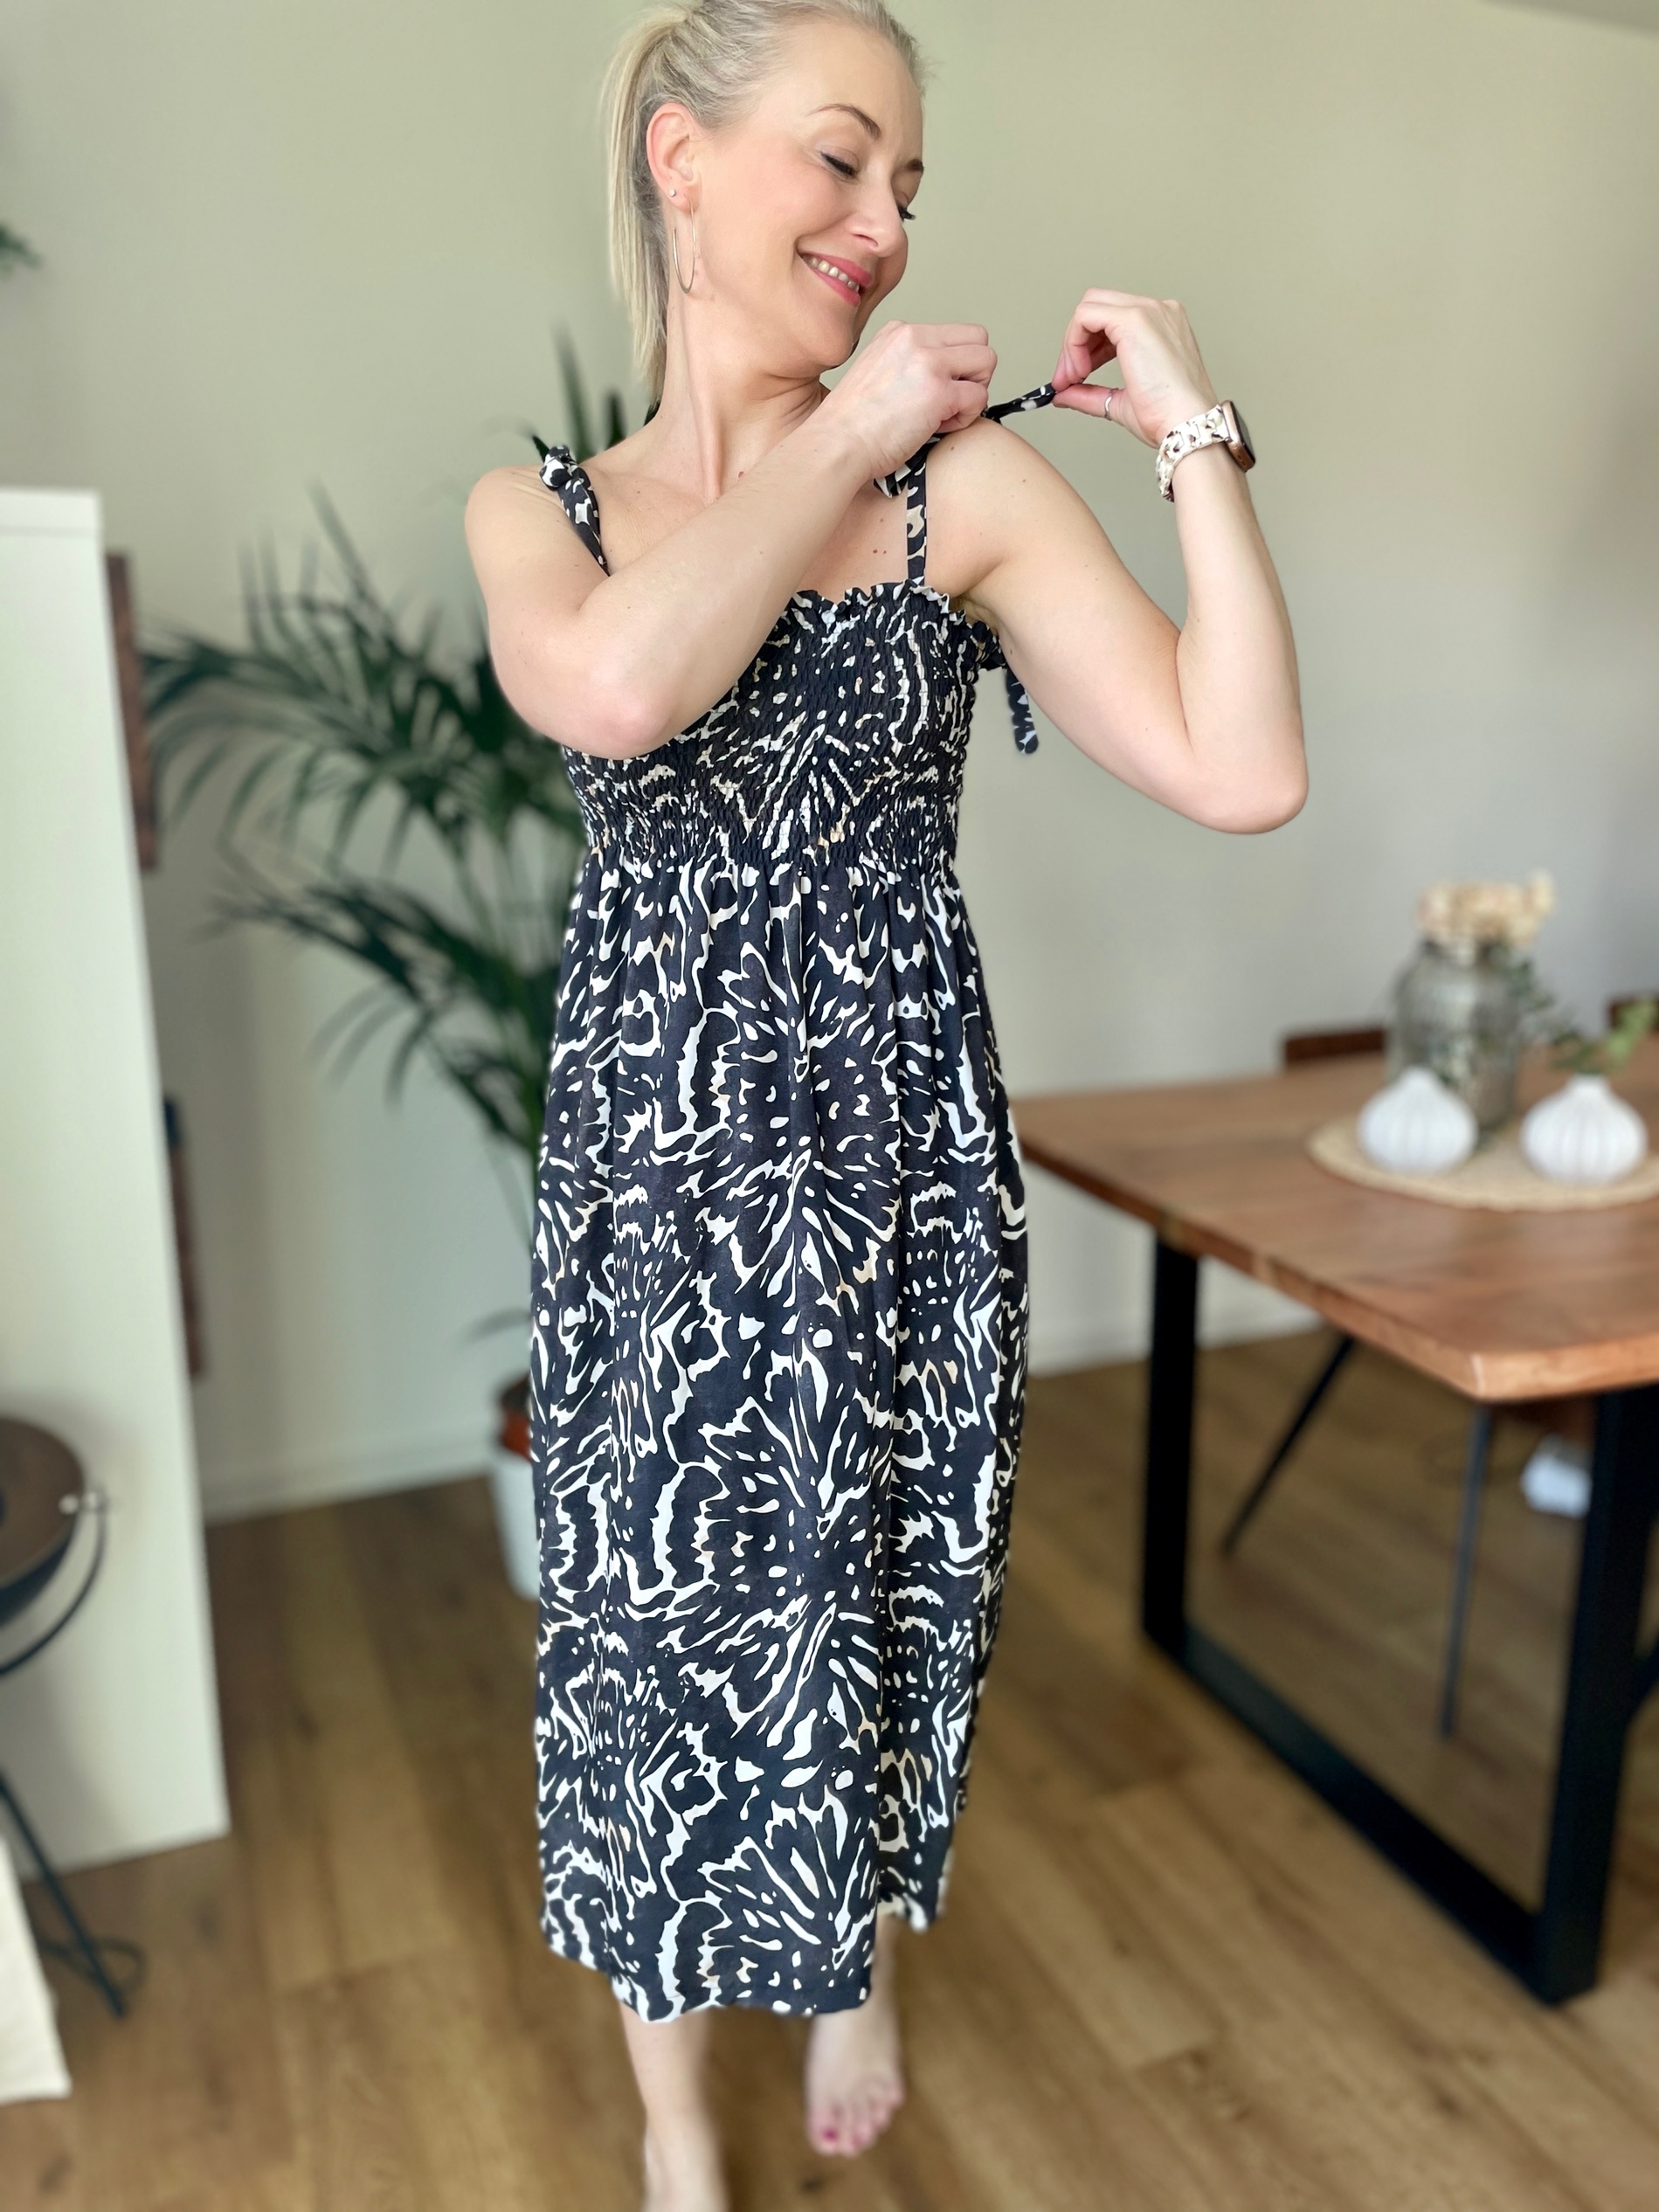
Position the ties and try the dress on before sewing for the best fit
Fold the end of the straps over before sewing to prevent the ends from fraying.
- lastly, finish of the hem edge of the fabric with an over lock or zig zag, press up by 3cm and sew into place.
- Tie your ties into beautiful bows and voila… a new summer dress
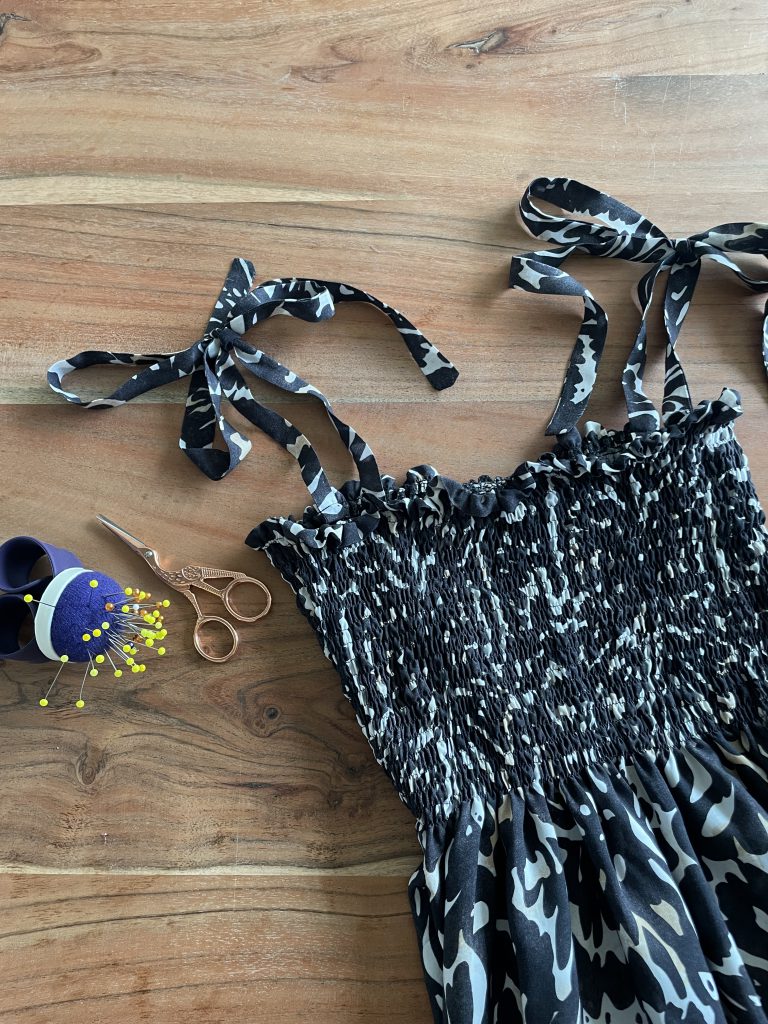

And there you have it, quick easy summer dress…
I hope you have enjoyed my tutorial, please tune into next month, for more reasons to keep sewing!!
Regards
Katie


Do you have to use a different bobbin case to adjust the bobbin tension?
No, it’s exactly the same, but it’s important that you hand wind the bobbin with a little tension on the elastic ..