We have carefully collected exciting tips and tricks from various inspiration magazines and published them on the blog. This tip is taken from inspiration issue 3-21. If you want to read more helpful tutorials, you can find an overview here: “Tips and Tricks”. It’s worth checking back regularly or subscribing to the newsletter to make sure you can learn our experts’ tricks for your sewing work.
Chequered fabrics are currently highly in fashion again, but there are a few things to keep in mind when processing them. With these tips you can manage it successfully!
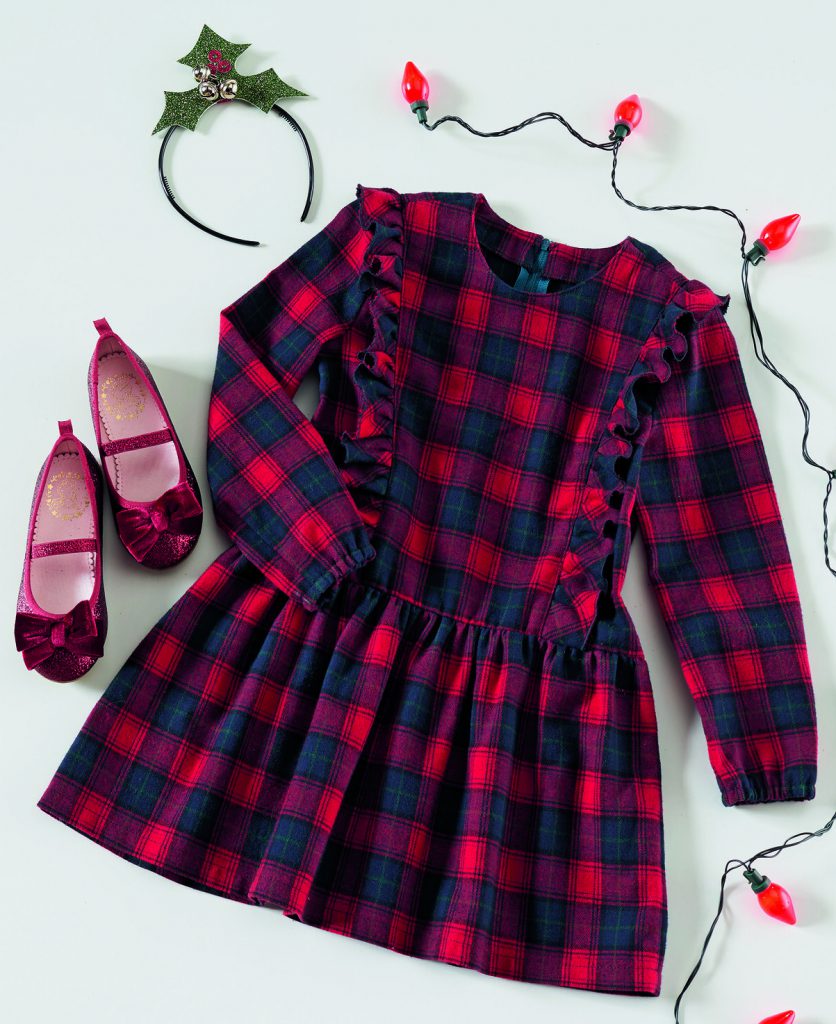
With asymmetrical chequers the fabric yardage requirement is increased. The larger a chequered pattern, the greater the fabric requirement. So in the best case, take the paper pattern with you when you buy fabric or take a generous amount of fabric into account.
How to analyse the chequered fabrics
Is it the same upwards and downwards? Are there any differences to the right and left? With symmetrical chequers, the parts can be turned by 180°. But not so with other chequers which can result in requirement of a higher fabric yardage.
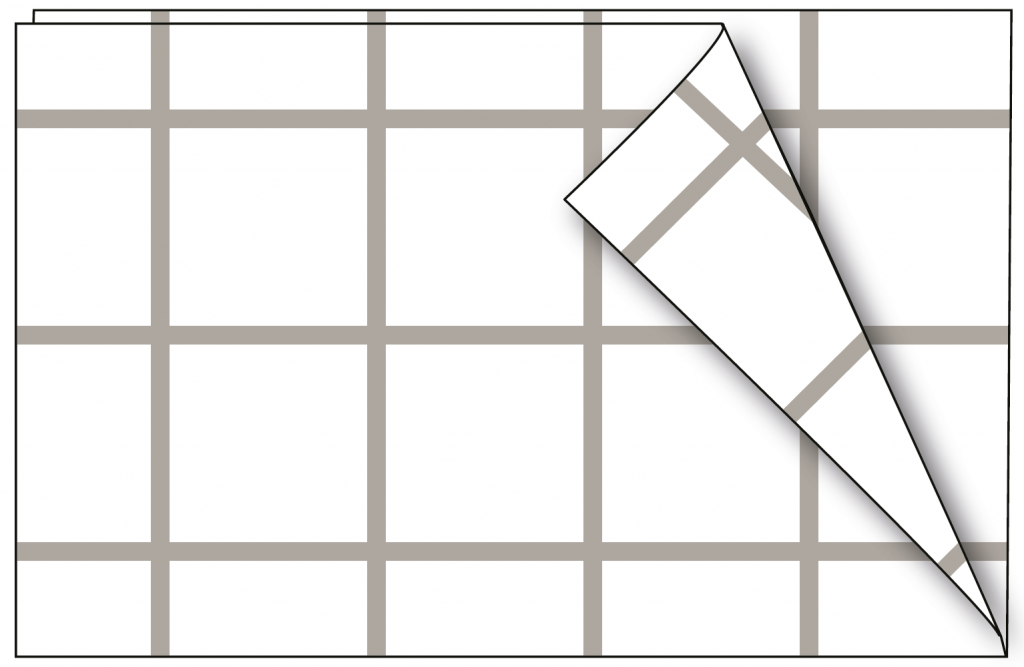
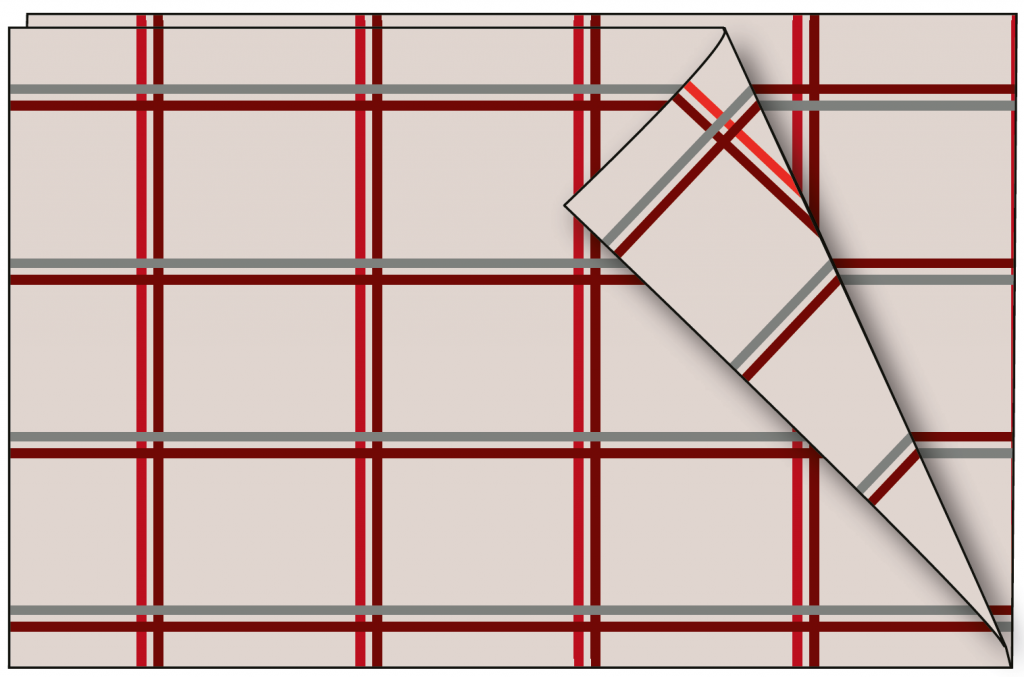
Preparation of chequered fabrics
Place the selvedges on top of each other so that both the horizontal and vertical stripes are aligned. The fabric fold must always lie exactly in the middle of a chequer or on a chequered line. With asymmetrical chequers, place only chequers on top of each other. So that nothing can shift, the chequers are pinned together piece by piece, depending on the fabric, making sure that the stripes meet lengthwise and crosswise. The pins on the wrong side show whether all the lines are correct.
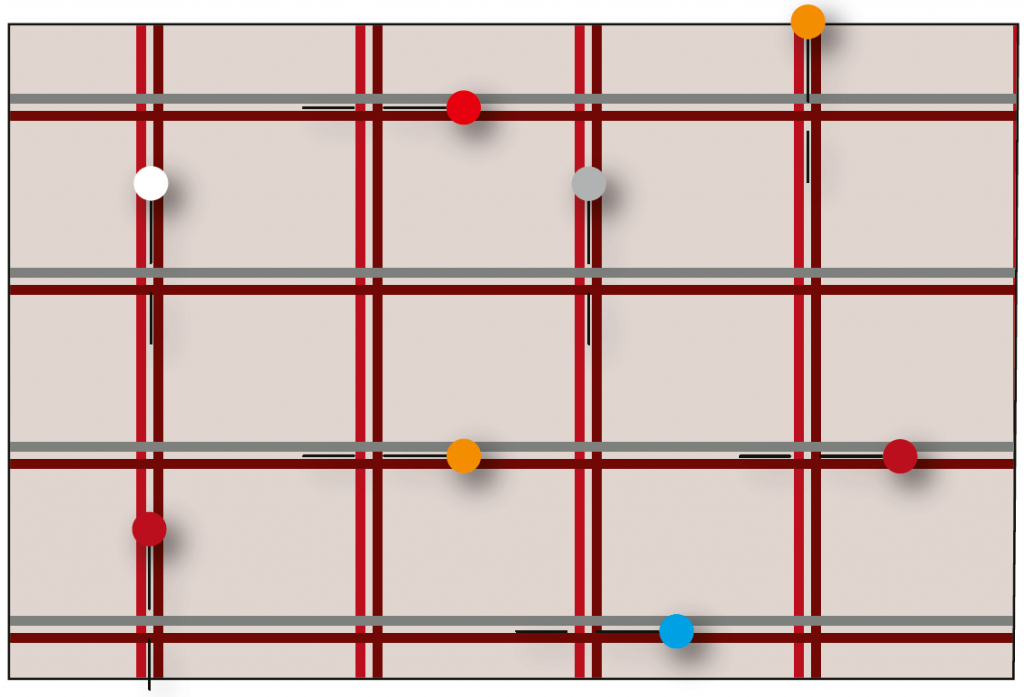
Cutting
To spare fabric – but only with symmetrical chequers – the parts can be turned by 180° unless the fabric has an additional grain direction to the chequers. As shown in the illustration, position the parts so that the hem lines on the front and back are at the same height or, if the hems are of different lengths, all the areas marked with circles on the top part are at the same height. Front and back parts, sleeve centres (draw a vertical centre line if necessary) or collar centres are each in a centre of a chequer, respectively on the same stripe of the chequers.
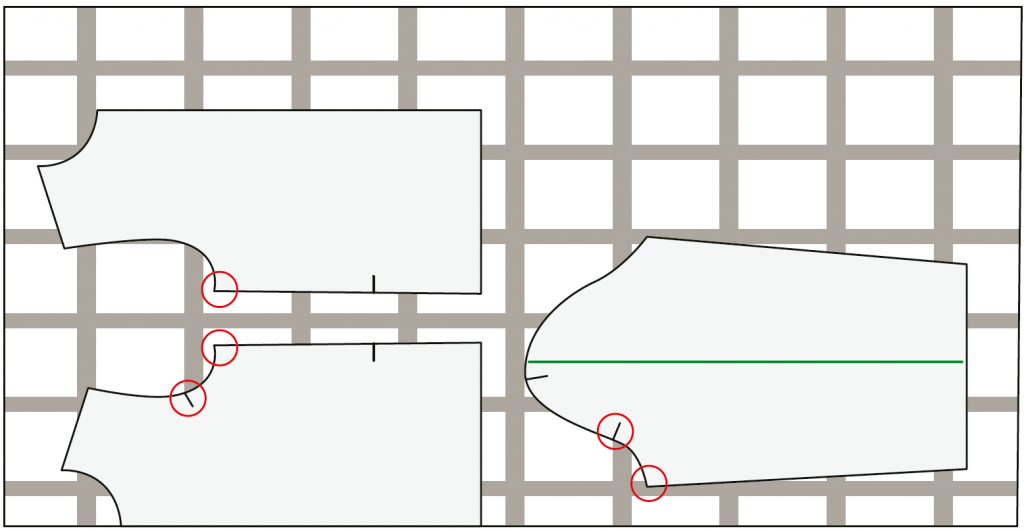
For two-piece sleeves, first place the upper sleeve to fit the front part. The lower sleeve is placed so that the chequers meet again at elbow height and/or hem height. However, the grain must not be changed.
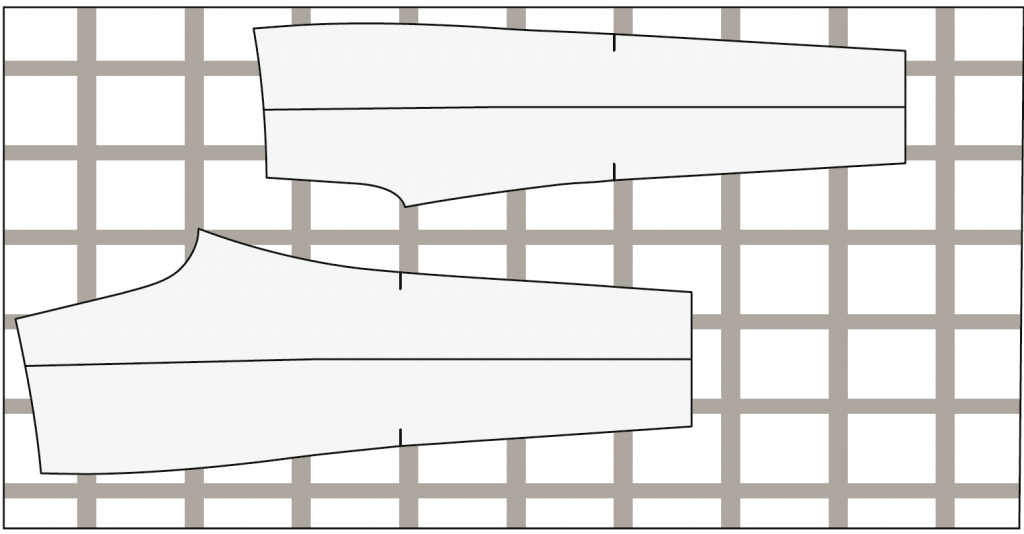
For small parts such as pockets, etc. on which the chequered pattern is to continue, the chequered lines of the base part are copied to the paper pattern and transferred to the pocket pattern part. Then place it on the fabric in this way and cut to size. For trousers, the hem lines are placed at the same height of the chequers. Therefore, the markings for the knee height are generally also at the same height. In lengthwise direction, the hem centres of the front and back parts are also on the same chequers.
Sewing chequered fabrics
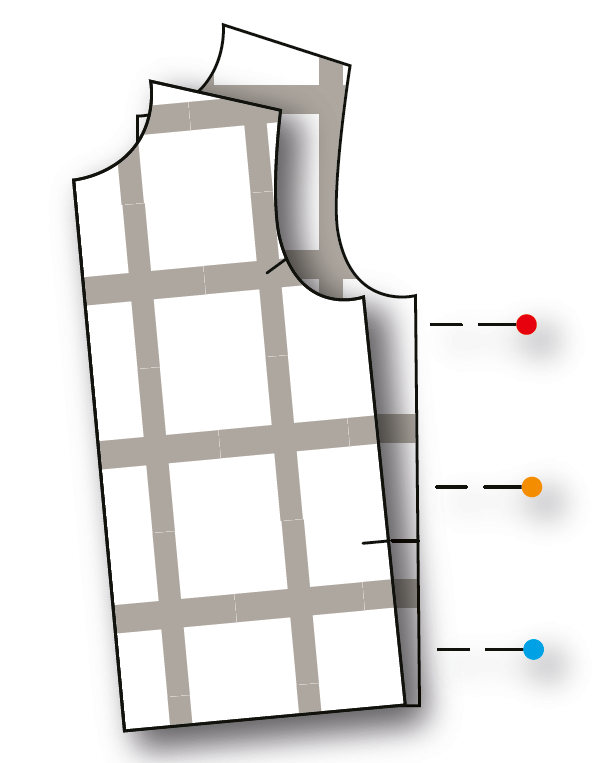
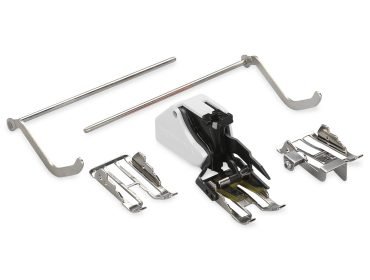
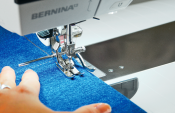
Pin chequered line on chequered line. For the side seam, depending on the fabric, 3–5 pins are enough. When using the Three-Sole Walking Foot with Seam Guide #50 or the Dual Feed, the chequers are not shifted while sewing. After sewing with this foot, the layers are exactly the way they were pinned together.
How does the Walking Foot work?
The exact mechanism guides the fabric through the feed dog from above and from below. The feed mechanism “walks” over the fabric so that it is fed perfectly. The wide gummed toes provide exceptional grip for better and even more regular feed – for forward and reverse stitches. The dual feed mechanism is also ideal for “stick” fabrics such as fur, velvet or leather, and thin slippery materials such as rayon jersey, satin, organza and silk. This instruction video will help you get to know the BERNINA Walking Foot #50.
Additional BERNINA tips for you
You may have noticed that we have already published a few blog posts with helpful tips. These tips are written for various BERNINA inspiration magazines.
Are you looking for a specific topic right now? You’ll find a lot of supporting content on this page. And if the topic you’re looking for isn’t listed yet, check back regularly for the latest tips.
If you have any other useful tricks, feel free to share them below in the comments. Let’s take your sewing experience to the next level! 
Creative regards,
Jasmin
 BERNINA Corporate Blog -

0 Responses