This is the last of this series of 3 all about the Circular Embroidery Attachment #83. It’s such a versatile tool for creatives. Today, I want to discuss Circular Embroidery Attachment #83 and a quilt as you go project and yes this attachment can do both!
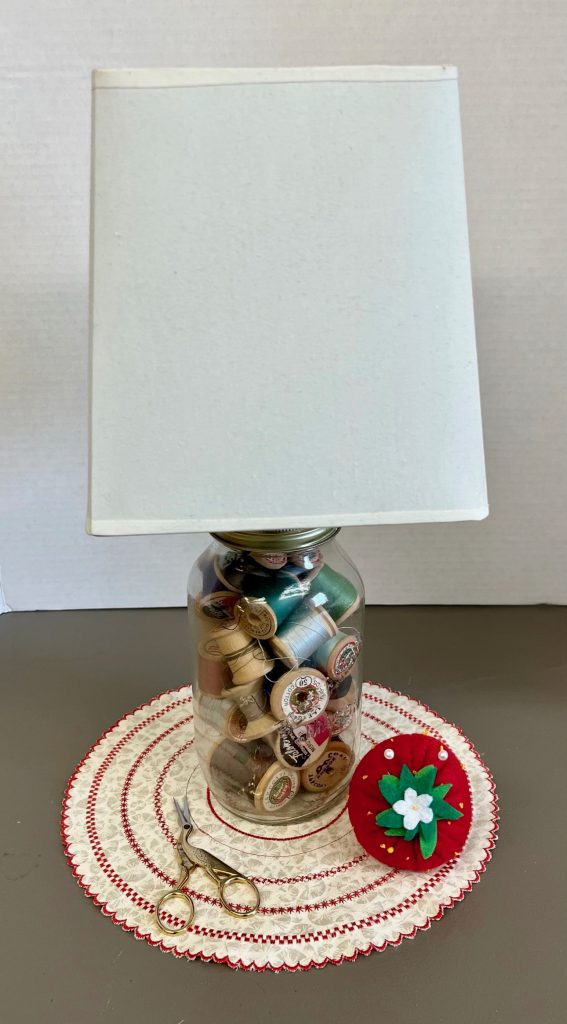
Circular Embroidered Lamp Mat
Materials:
- Cotton fabric 12 x 12″
- Circular embroidery attachment # 83
- Open embroidery foot Open Embroidery Foot #C20
- Heavy weight sew in interfacing
- Decorative thread ( I used red only but many colours could be used)
- Sewing Machine ( I used my BERNINA Artista 200 Sewing Machine)
- Fray check for final edge
- Small sharp scissors
- Decorative stitches
- Refer to Part 1 & Part 2 of this series for use of the Circular Embroidery Attachment #83
Sewing Instructions:
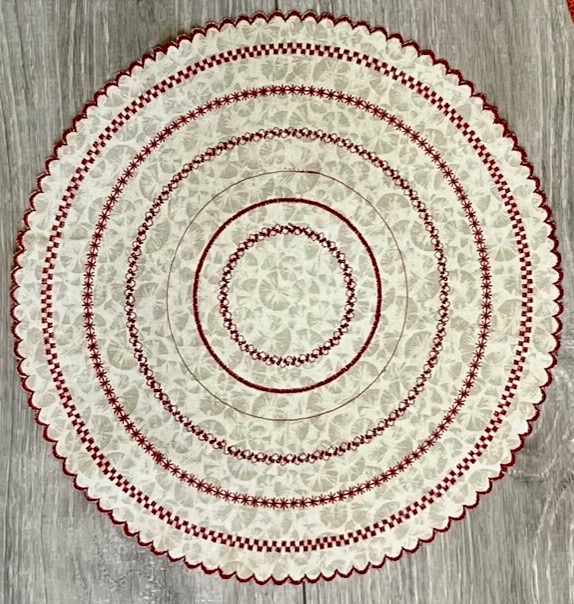
- Place sew in interfaced cotton fabric on Circular Embroidery Attachment #83 just like shown in Part 1 & Part 2 of this series of posts
- Choose a decorative stitch for each round
- Select spacing between rounds & move the pin on the Circular Embroidery Attachment #83 accordingly
- Use the versatile Circular Embroidery Attachment #83
- Fray check on final scalloped edge and trim carefully with small scissors
Just imagine what you can do with lots of variation in colours! Yes you can embroider with lots of creative colours & stitches. Additionally, the attachment is also a versatile tool for creatives in that it can also be used for quilt as you. The next project will show you how.
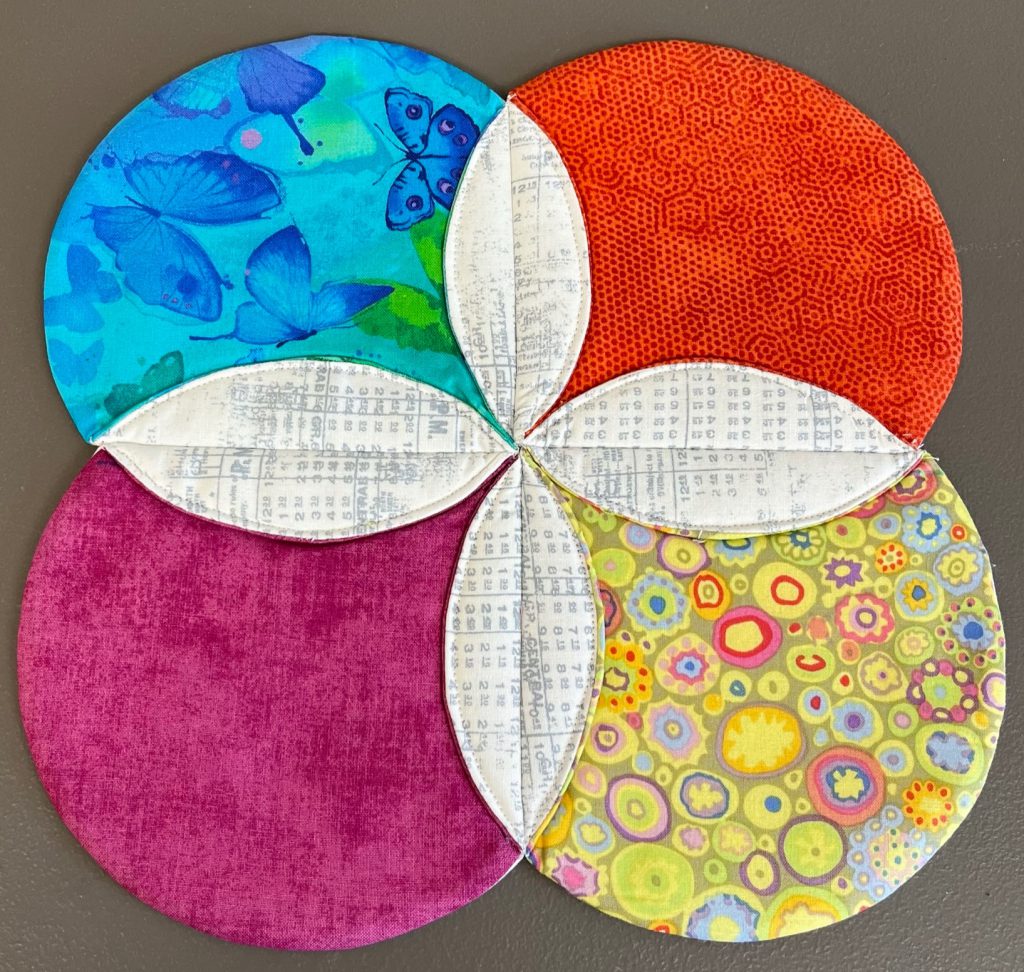
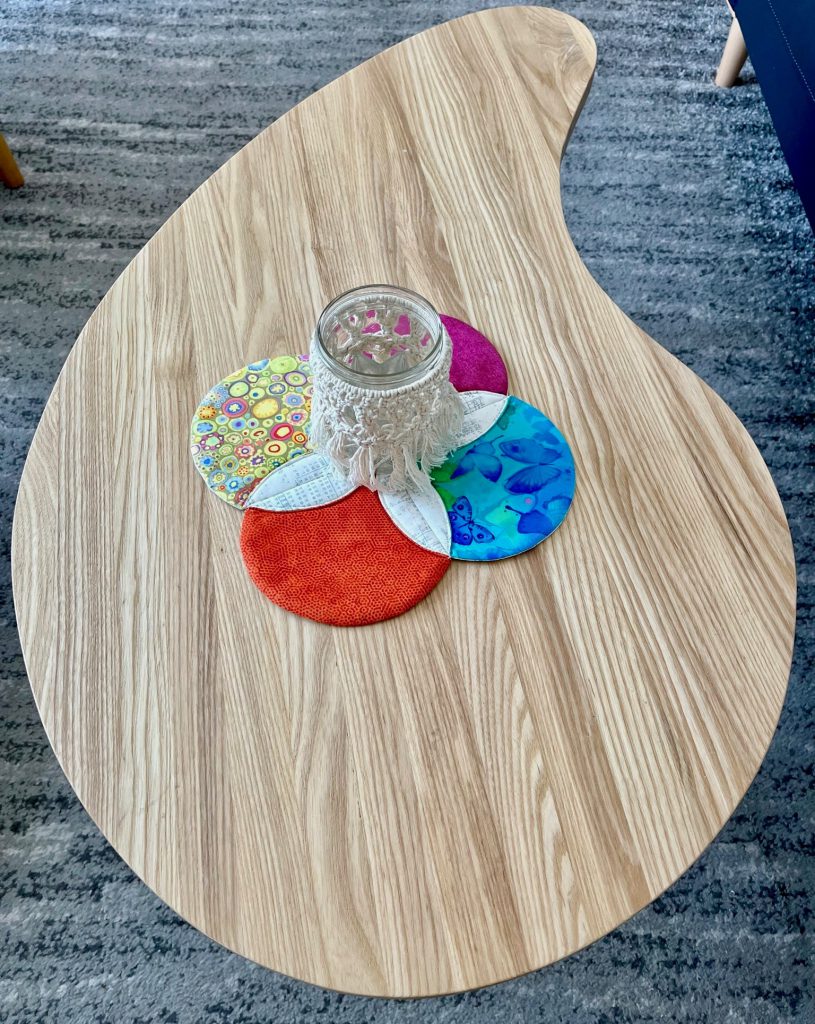
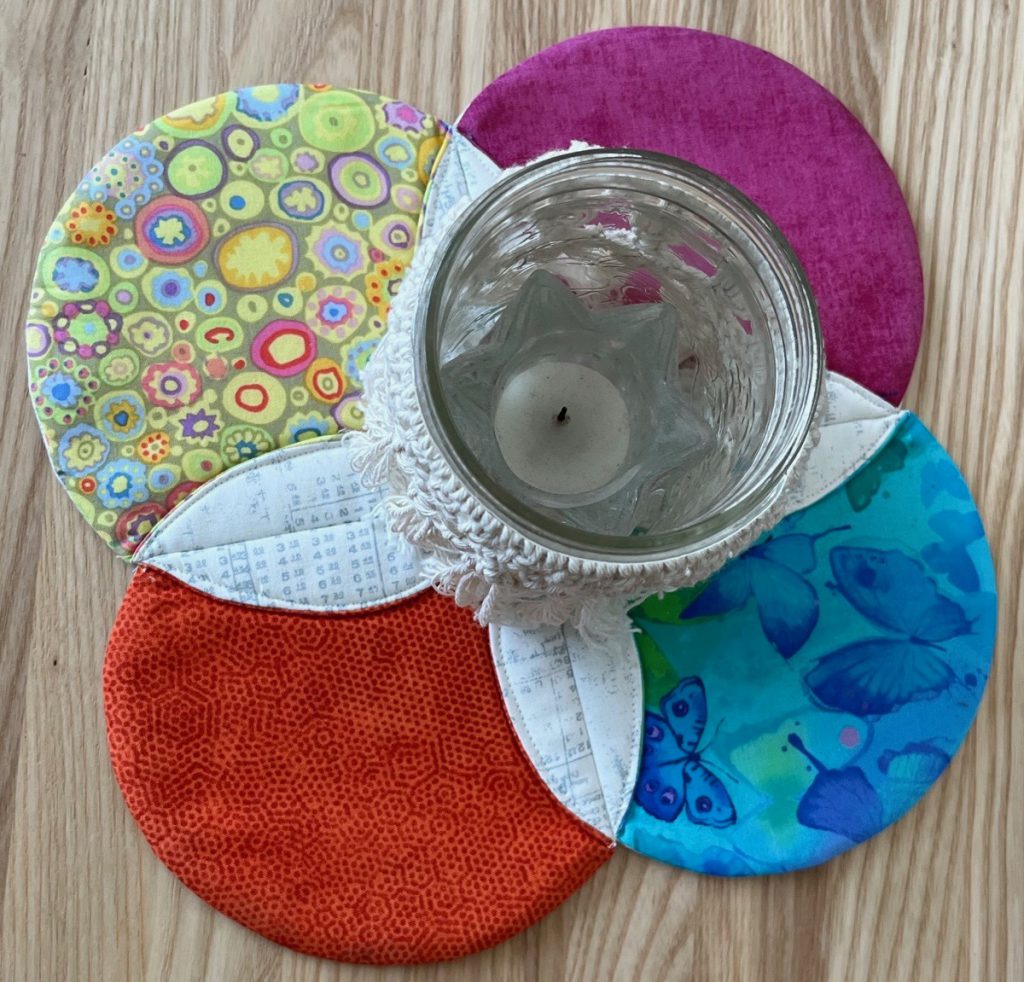
Orange Peel Quilt As You Go Center Piece
Materials:
- 7″ square of 4 coloured fabric
- 4-7″ square of backing fabric
- 4-7″ square of batting
- Thread to match
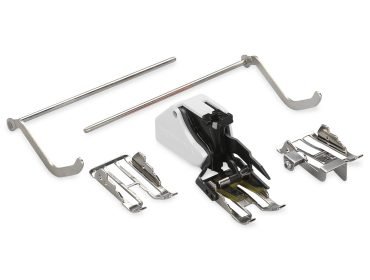
- Three- Sole Walking Foot with Seam Guide Three-Sole Walking Foot with Seam Guide #50
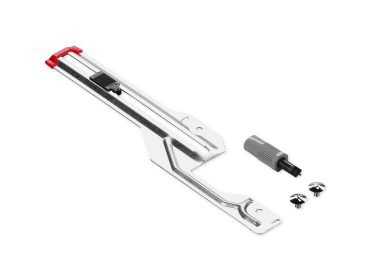
- Circular Embroidery Attachment #83
- Bernina 350 PE
- Reverse pattern foot #1
How to make it:
- Sandwich your squares of fabric coloured side down right side to RS of backing fabric & batting on the bottom
- Using the Circular Embroidery Attachment #83 as shown in the previous posts Part 1 & Part 2, center the square stacks on the pin of the embroidery attachment and stitch with a straight stitch with Reverse pattern foot #1
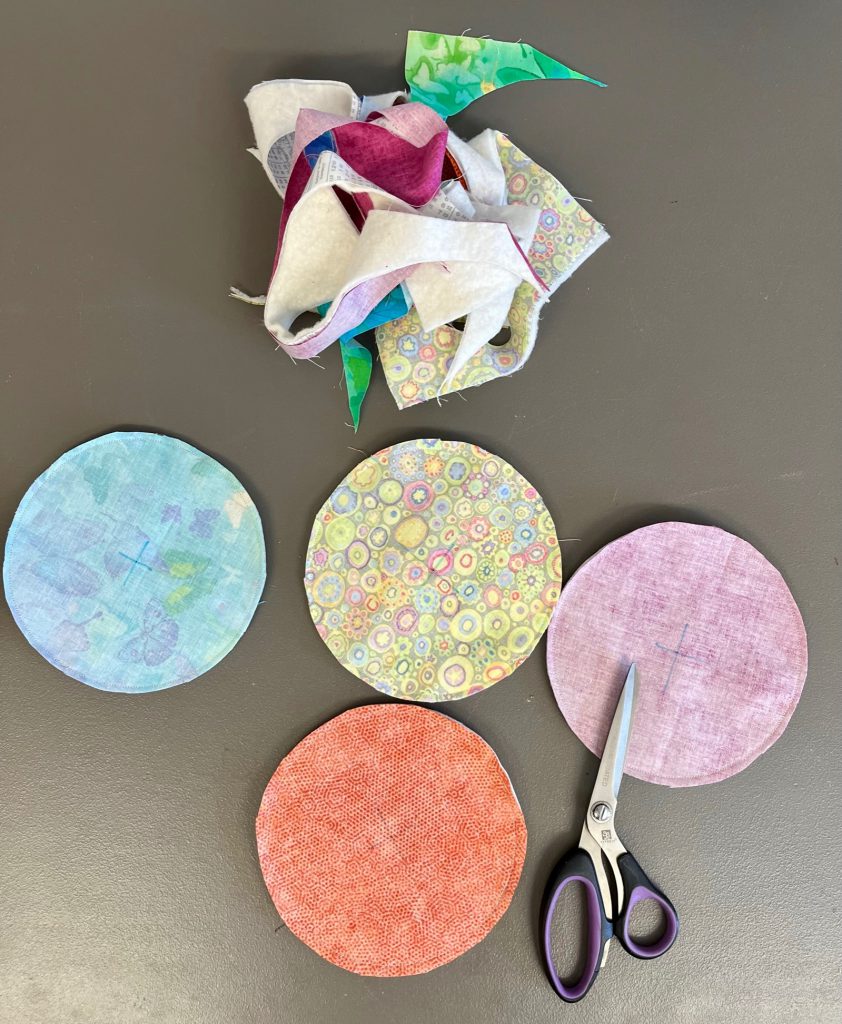
- Stitch out the circle
- Trim the circle close to the stitch line
Getting ready for quilting using the Three-sole Walking Foot #50:
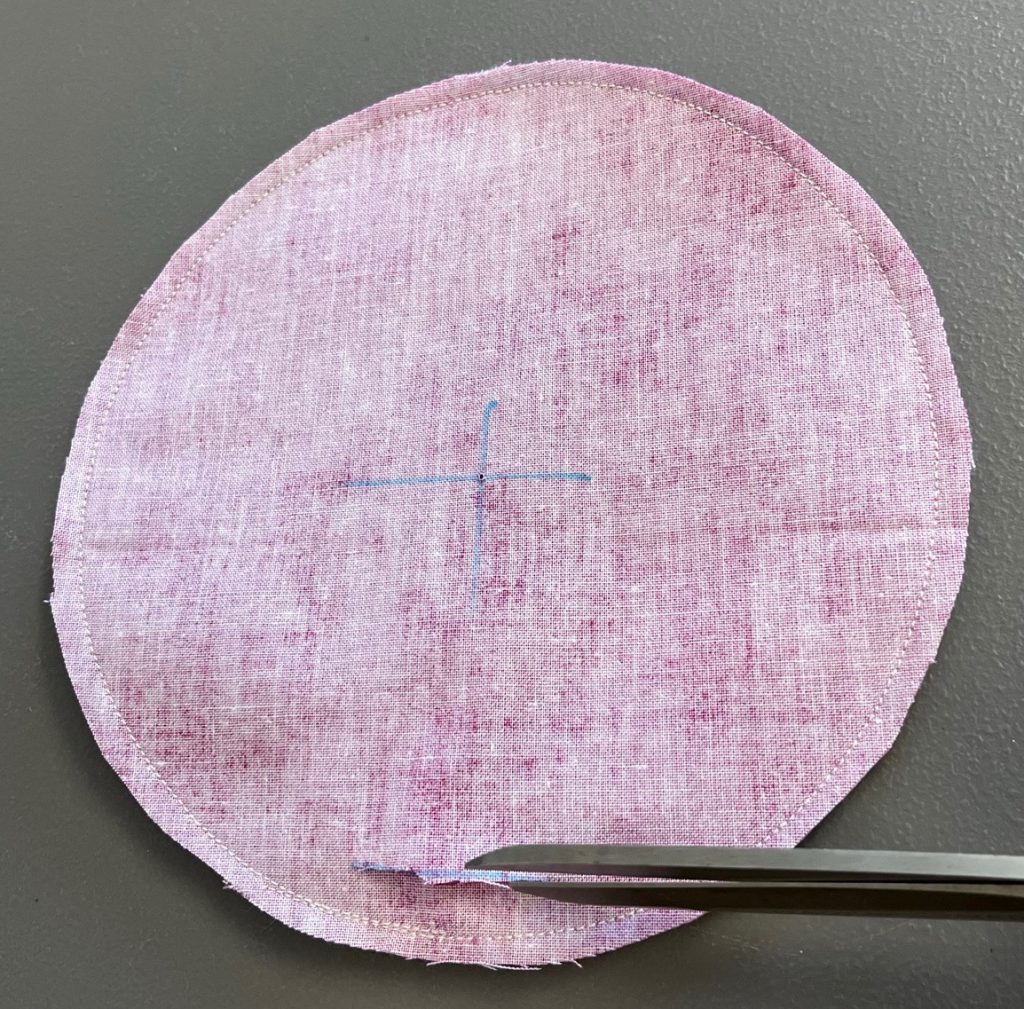
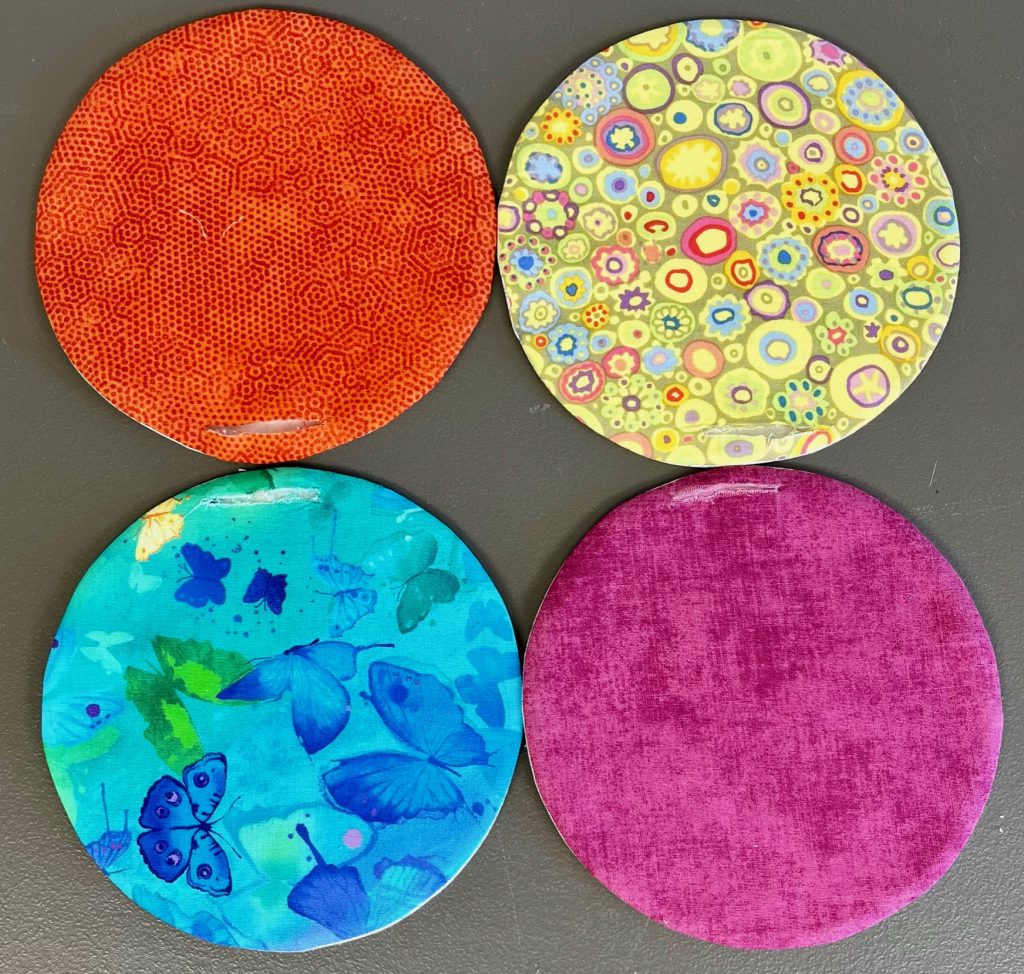
Cut a small slit about 1 1/2″long 1/2″ from the edge on one side as shown, make sure to cut only the coloured fabric, do this for all circles.
Turn all fabric out through the slits cut in the circles as shown.
Measure 1″ in from the center right side where the opening is & draw a line across the circle as shown on all 4 circles.
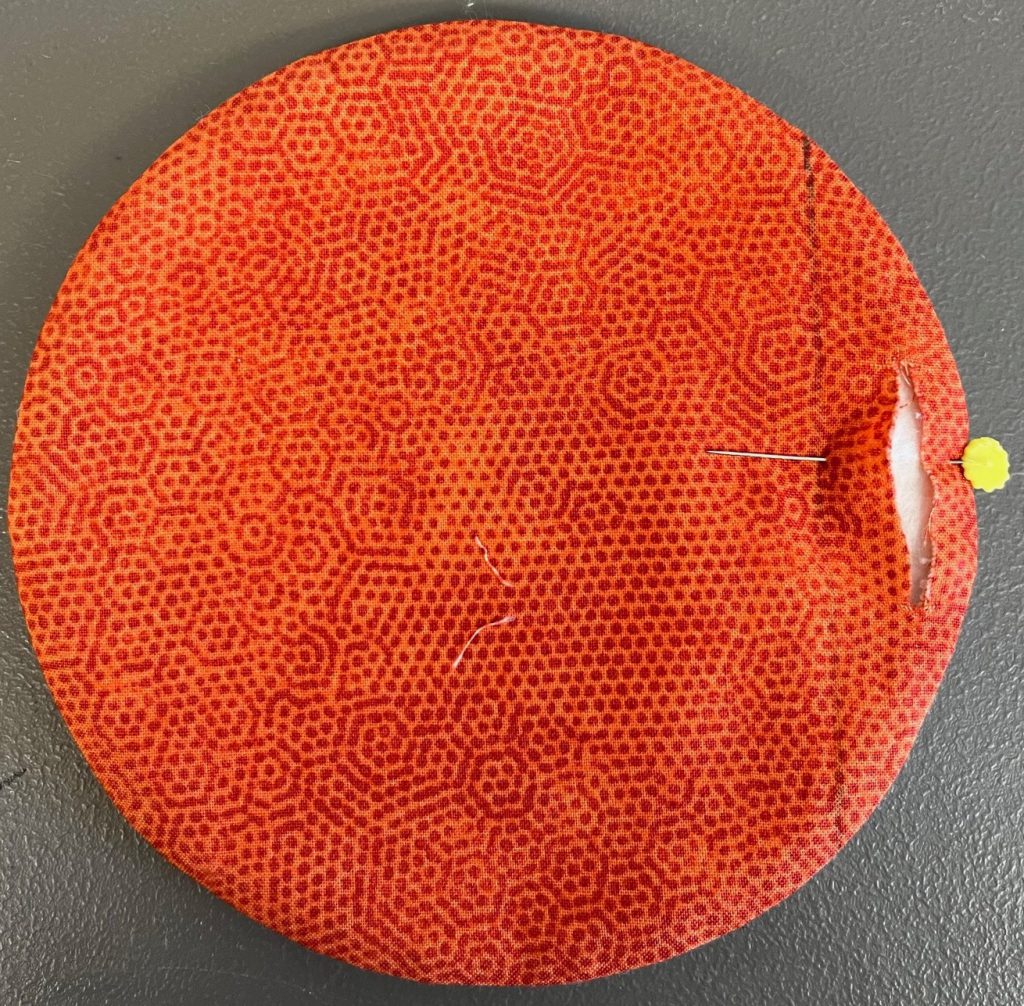
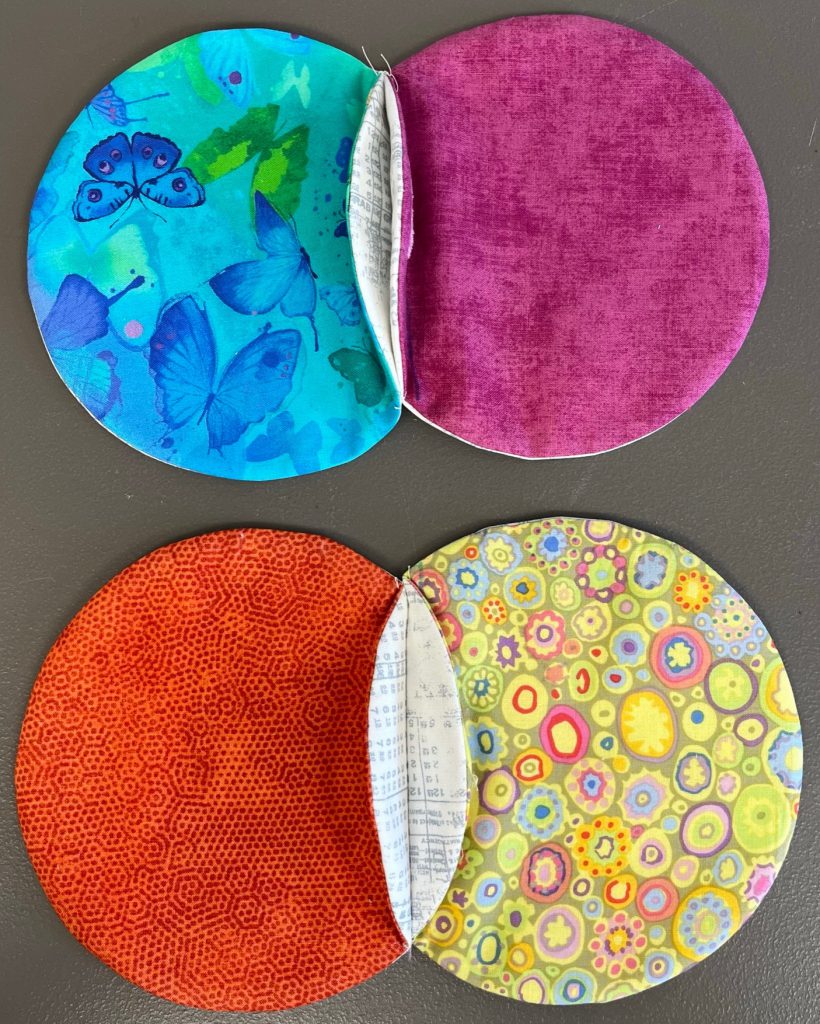
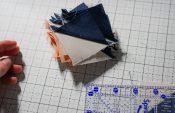
Pin 2 orange peel circles together matching the 1″ lines & edges, pinned with back of fabric to back of fabric
The Quilting:
Quilt the 2 groups of 2 orange peel circles together on the drawn line using a Three-sole Walking Foot with Seam Guide #50.
TIP: change out the sole to the quilting sole as you can see the stitches better.
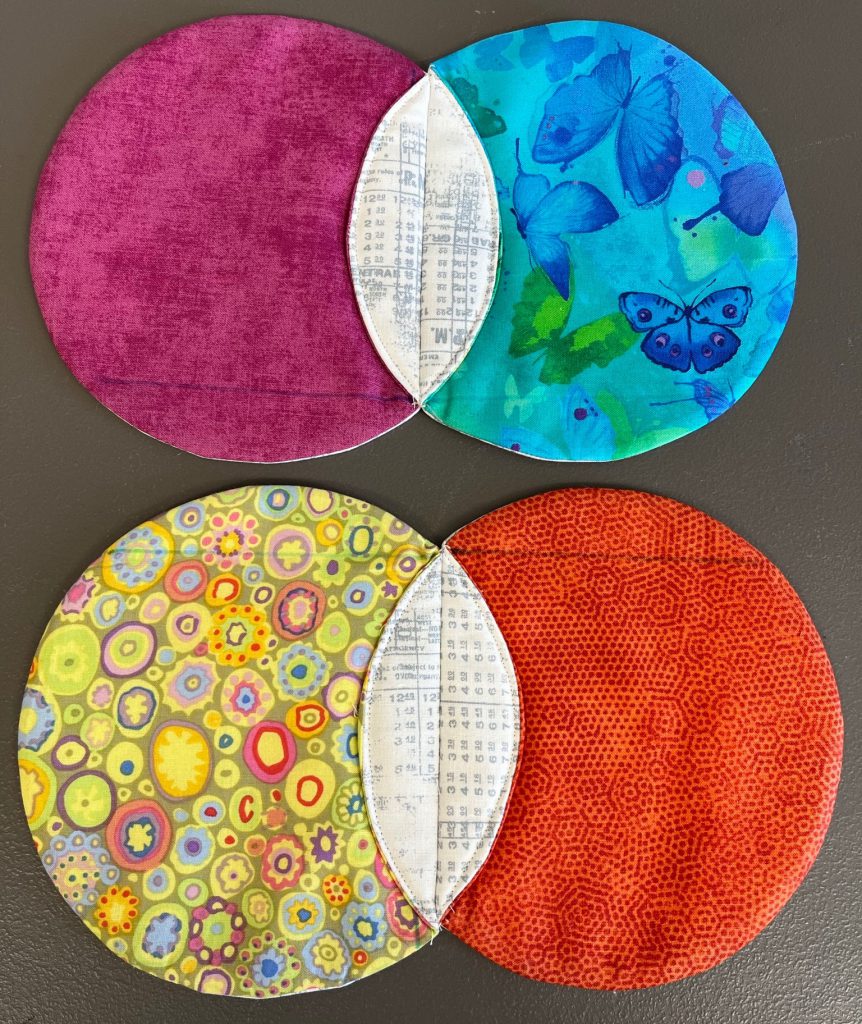
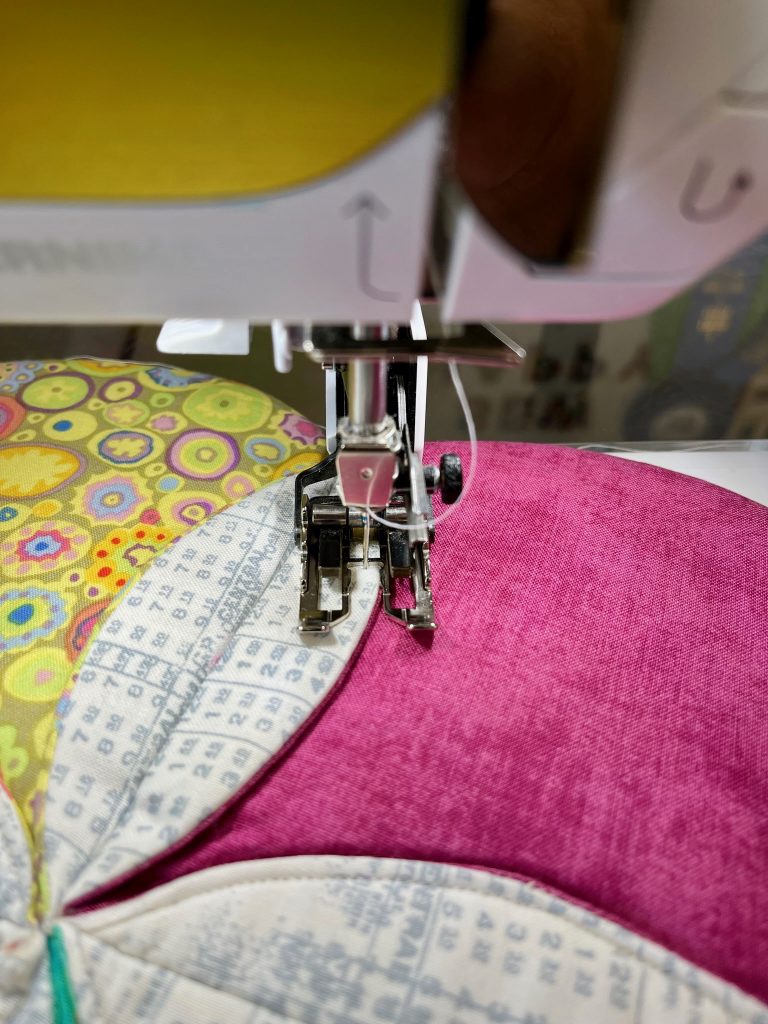
Iron the center peel section flat & sew with the walking foo along the edge of the peel (white as shown) 1/8″ from the edge. Mark the top edge of each set with a 1″ line as shown.
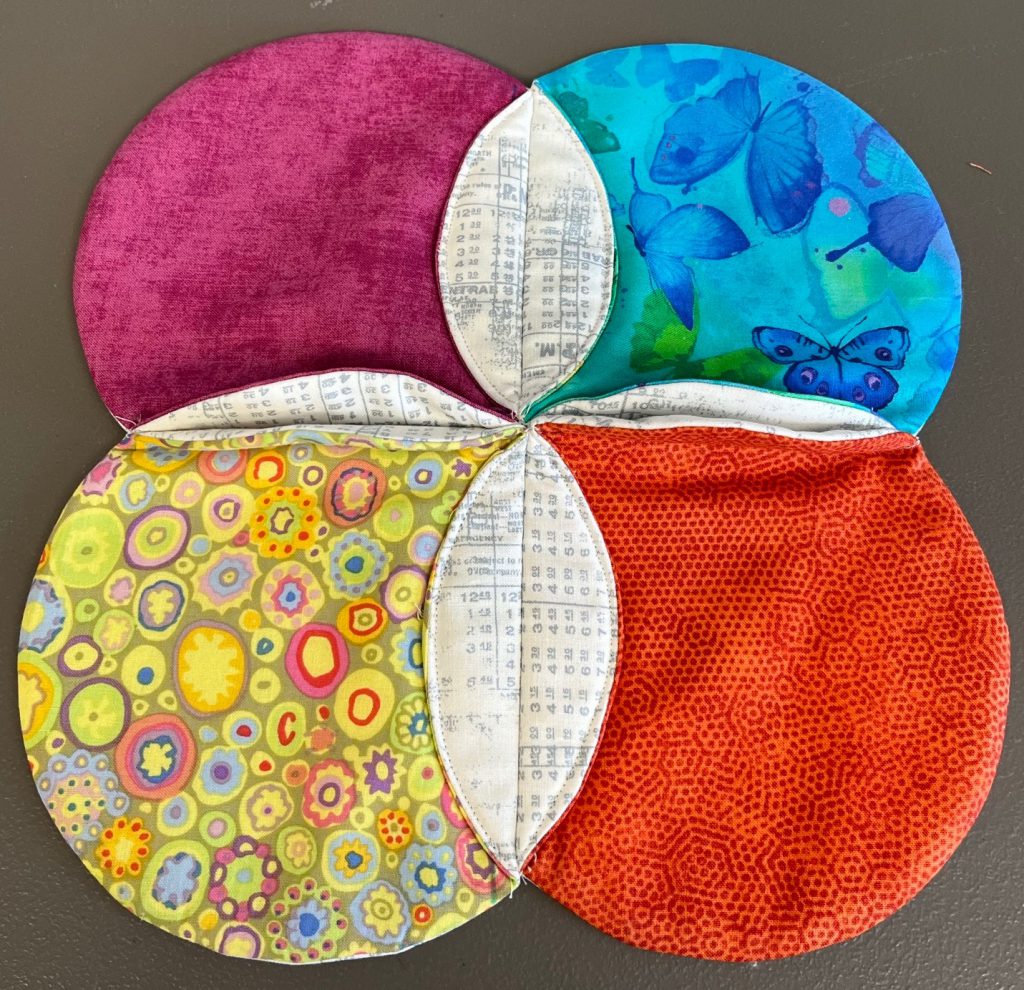
Pin & sew the 2 orange peel sections together back to back insuring the lines are matching & center seam is matched as shown then sew along the marked line with the Three- Sole Walking Foot #50.
Lay the peel flat with an iron again & quilt 1/8″ from the edge and your are done with the quilting
Press & admire your efforts!
If you are interested in more information about making art quilts with circles check out my website here.
By now you can see that the Circular Embroidery Attachment #83 is not just for embroidery and is a versatile tool for creatives, embroiderers, quilters & sewists’ alike. You are now Circle Saavy! I hope you enjoyed this series and will get an abundance of creative use out of your Circular Embroidery Attachment #83.
 BERNINA Corporate Blog -



0 Responses