 BERNINA Corporate Blog -
Good morning to all sewing sailors,
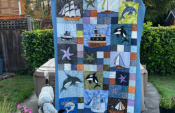
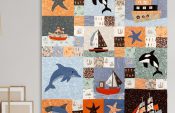
today we will make one of my personal favorite quilt blocks: we are sewing the dolphin. I’m sure many of you have seen dolphins in the wild and know that they are absolutely fascinating animals. I got to see orcas and dolphins playing in the open ocean – it’s really a breathtaking experience.
That’s why I included both of these ocean creatures in my quilt.
I hope I have been able to capture the carefree nature of the dolphin in this pattern.
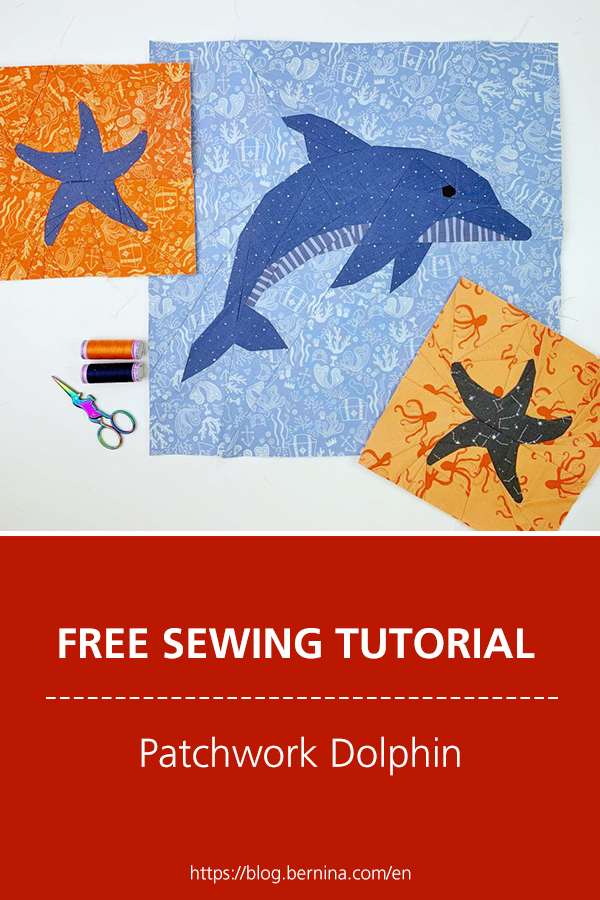
Just because I love dolphins so much, I added this pattern twice in my quilt. If you don’t want to participate in the quilt-along, but would really like to sew the dolphin, you can also buy the dolphin pattern separately.
By the way, there is a free embroidery pattern for the dolphin, just like the starfish. You can find the download further down in the article.
Are you new here?
You read about Sail-Along for the first time? Welcome to the Sail-Along! You can come aboard and sail with us anytime. Together we will sew a quilt with foundation paper pieced quilt blocks with a nautical theme.

The quilt blocks are featured block by block on the BERNINA blog. The dolphin is the third quilt block design, that I will show you today. I’ve already published are the starfish and the small sailboat. Here you can find an overview of all previous articles:
Sail-Along in the BERNINA Blog
The best way to get started is to read my first Sail-Along article, in which I summarize the most important information: Welcome to the BERNINA Sail-Along.
There is no time pressure at the Sail-Along. Basically, you can follow your own rhythm and cruise along at your leisure. There is only one date to keep in mind: If you want to participate in the final drawing, you have to show a picture of your finished quilt top on social media or in the community section of the blog by 07/14.
Now let’s get started!
We’ll sew the dolphin quilt block
Fabric choice
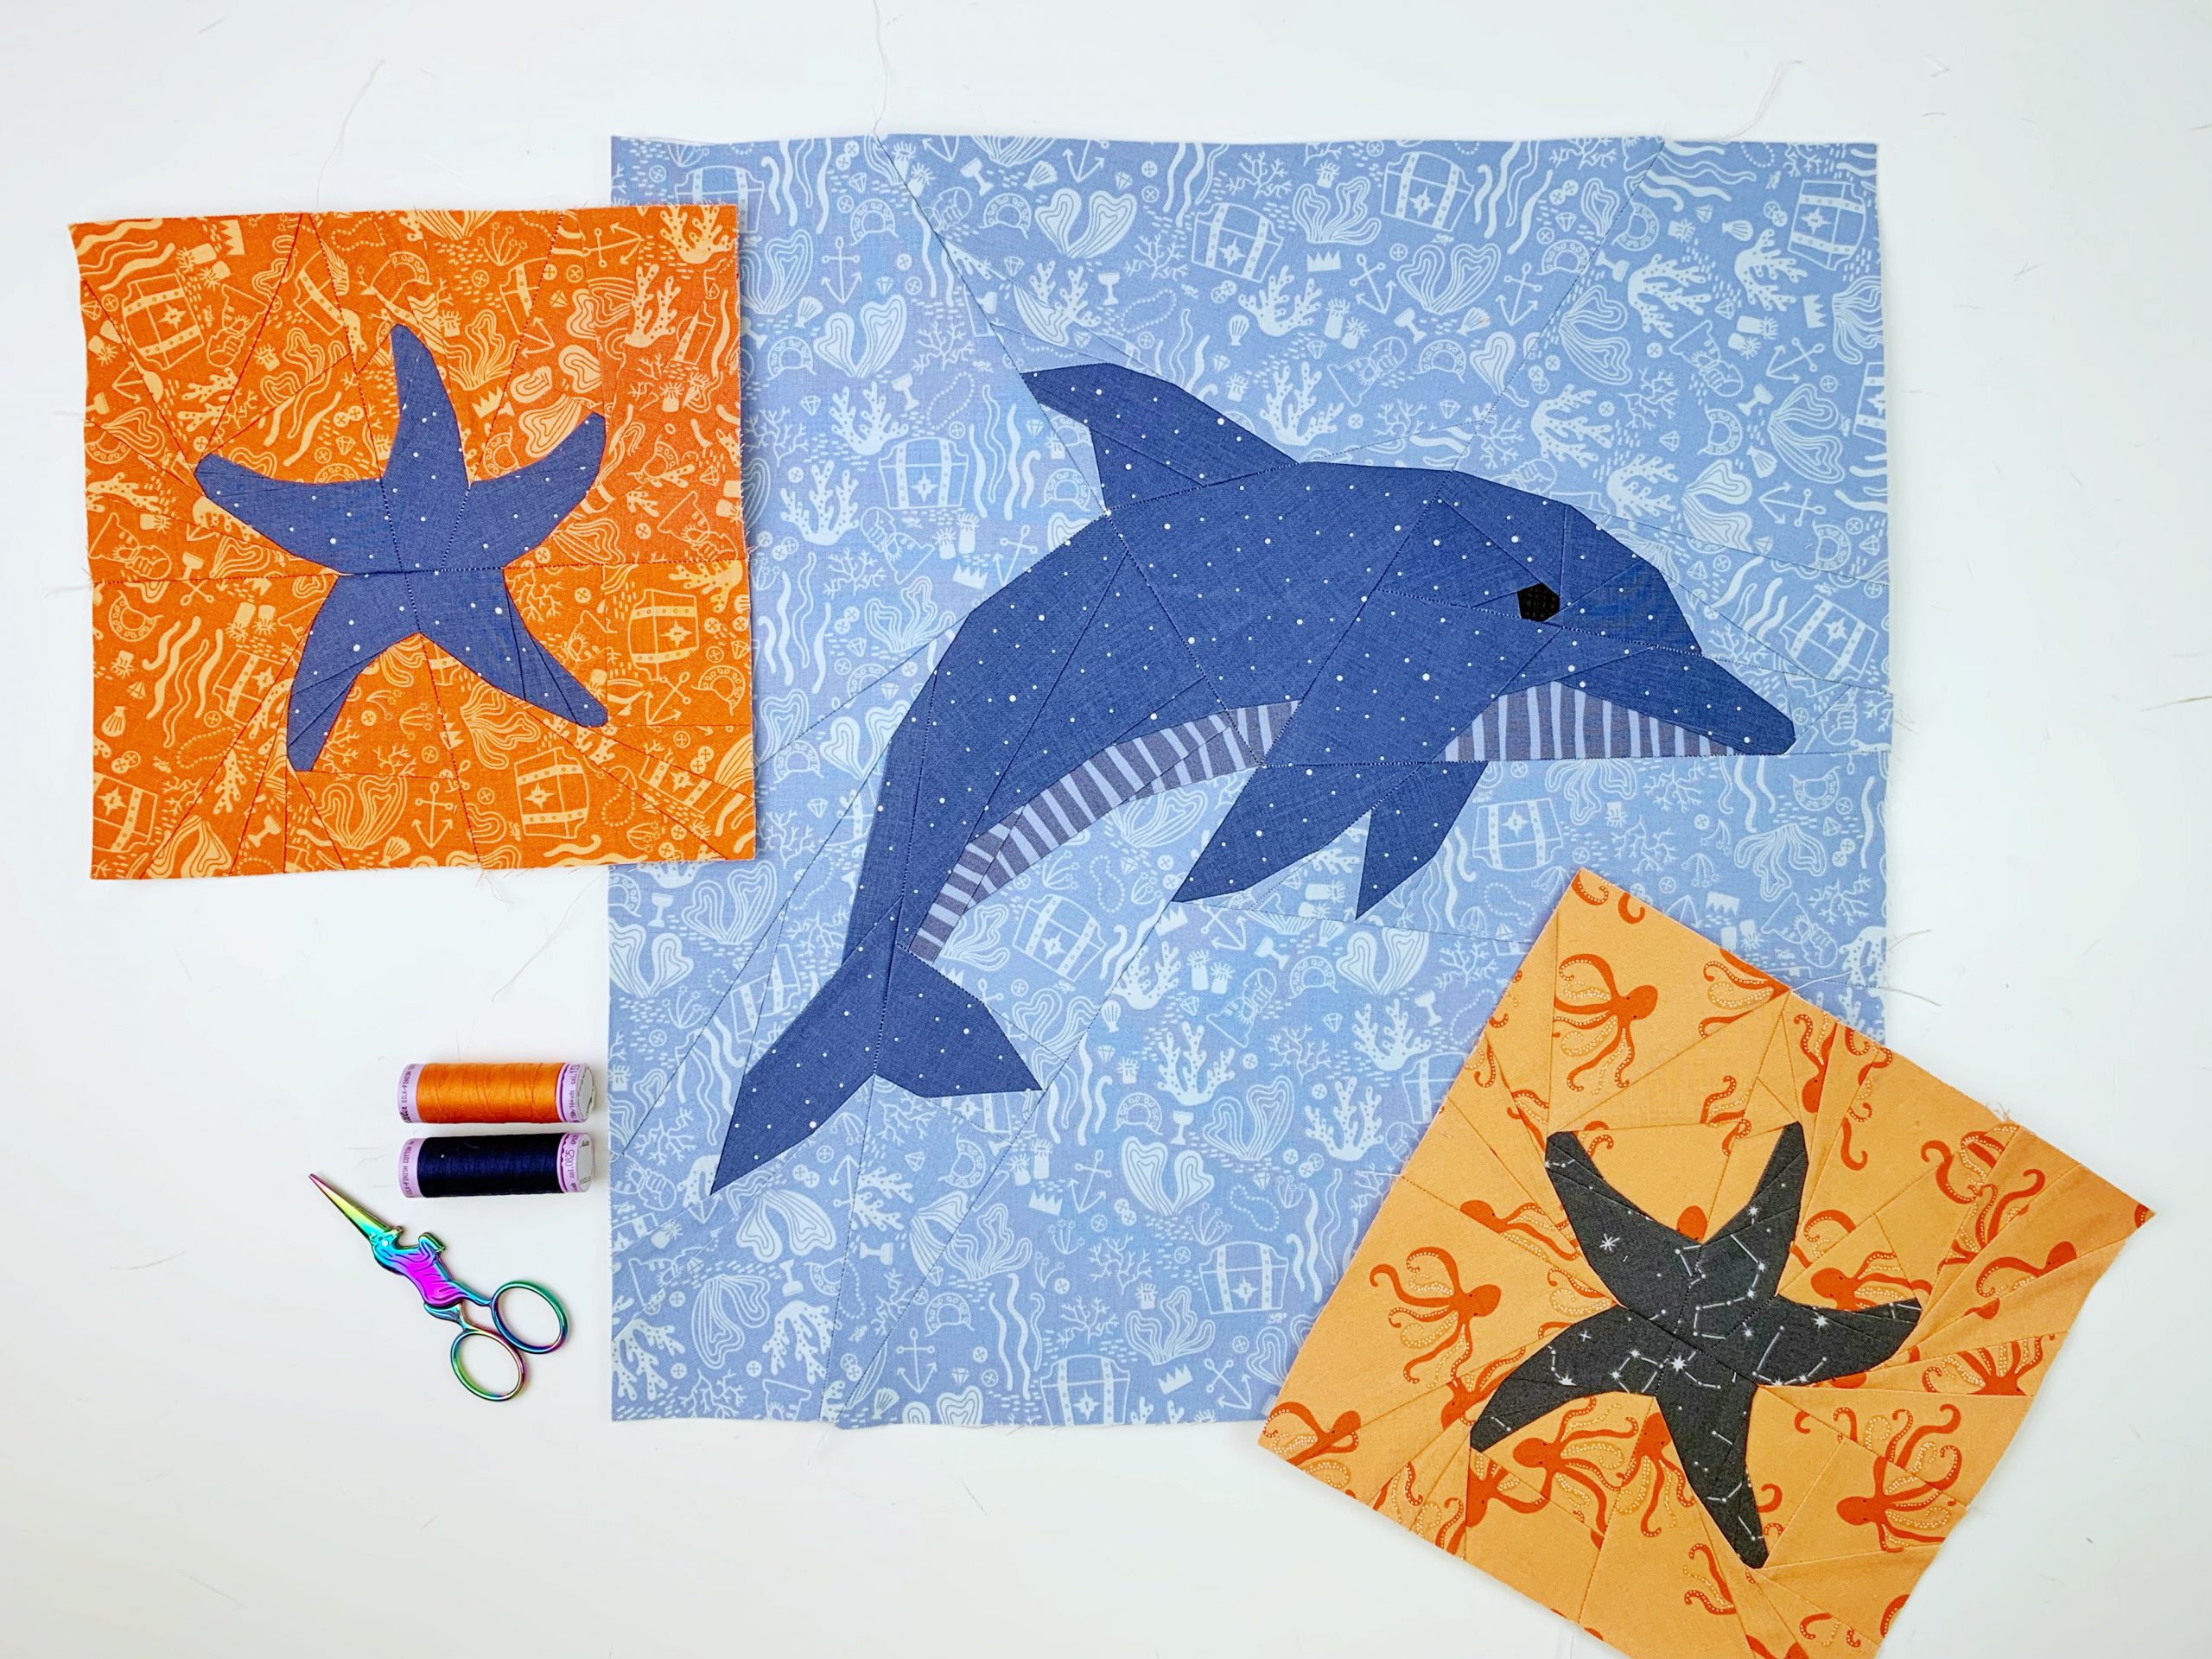
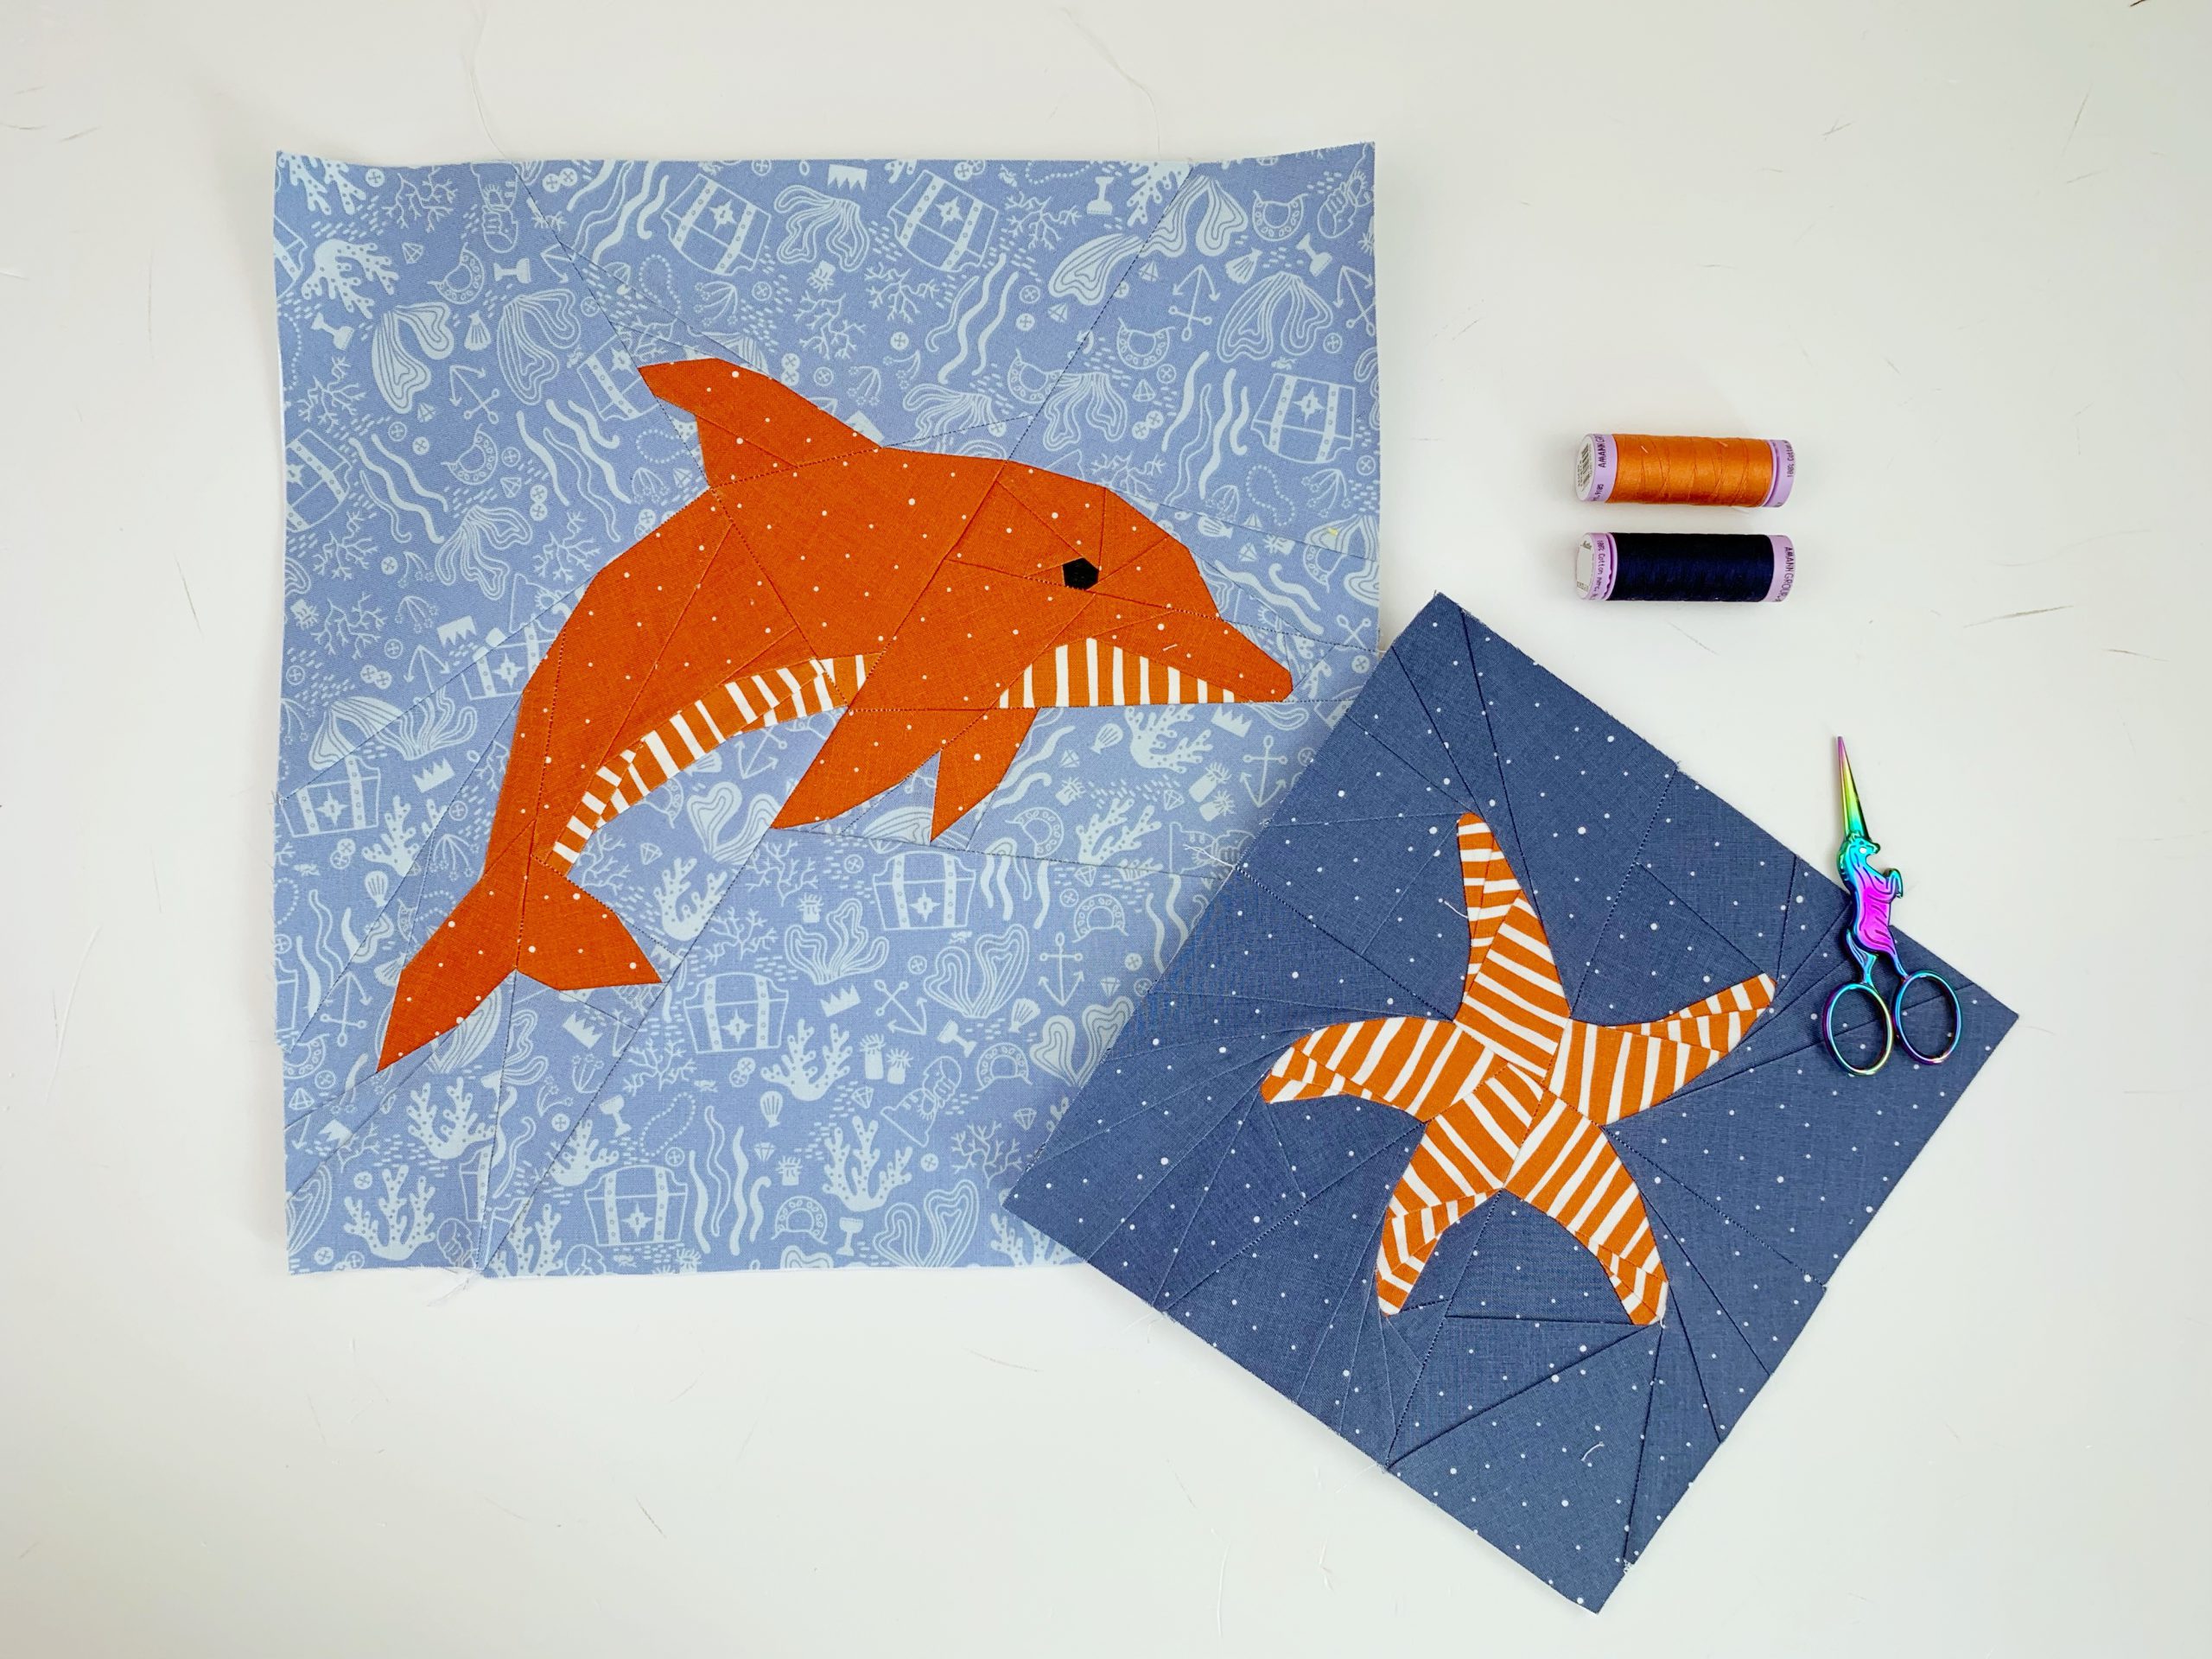
Here is my fabric choice for the two dolphin quilt blocks in the “Sail away with me” quilt. As always in the ‘Sail-Along’ , you are totally free to work with your own fabrics.
12 “x 12” block:
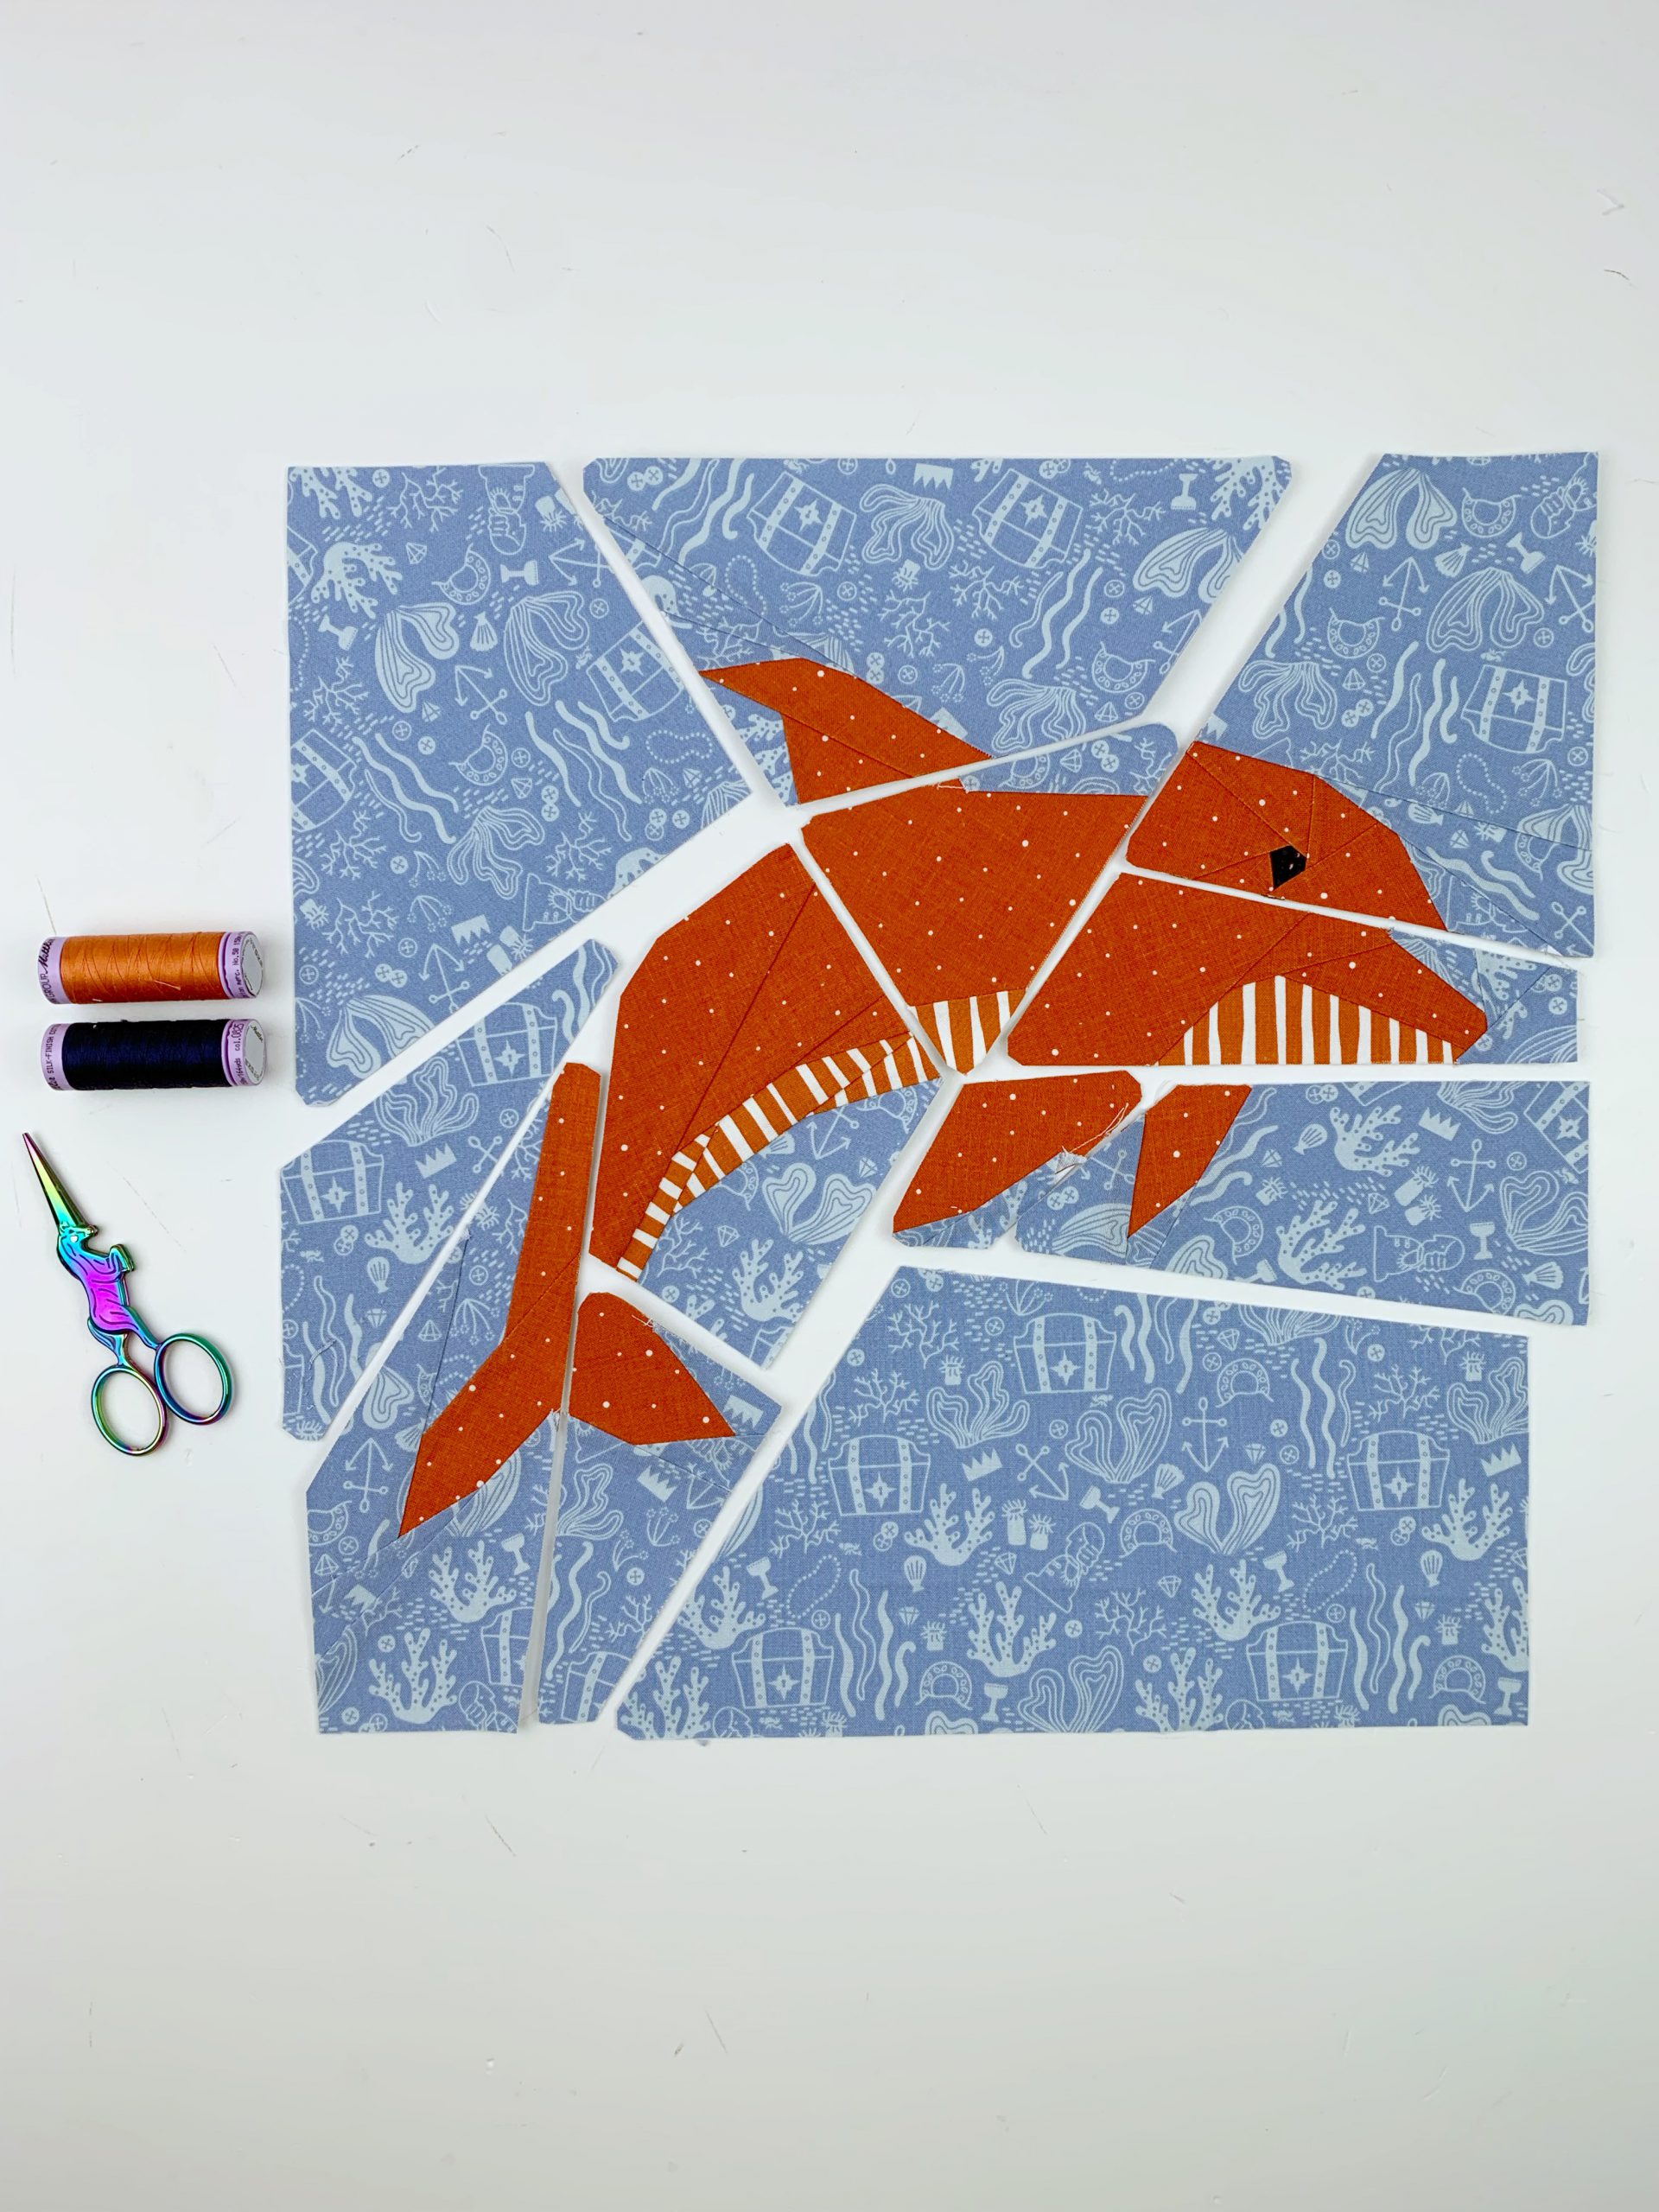
- C12982 Sky media (background)
- C640 Autumn media (dolphin body)
- C12984 orange media (dolphin bottom)
- C610 black media (eye)
16 “x 16” block:
- C12982 Sky media (background)
- C640 denim media (dolphin body)
- C12984 denim media (dolphin underside)
- C610 black media (eye)
the small block:
the large block:
Sewing instructions:
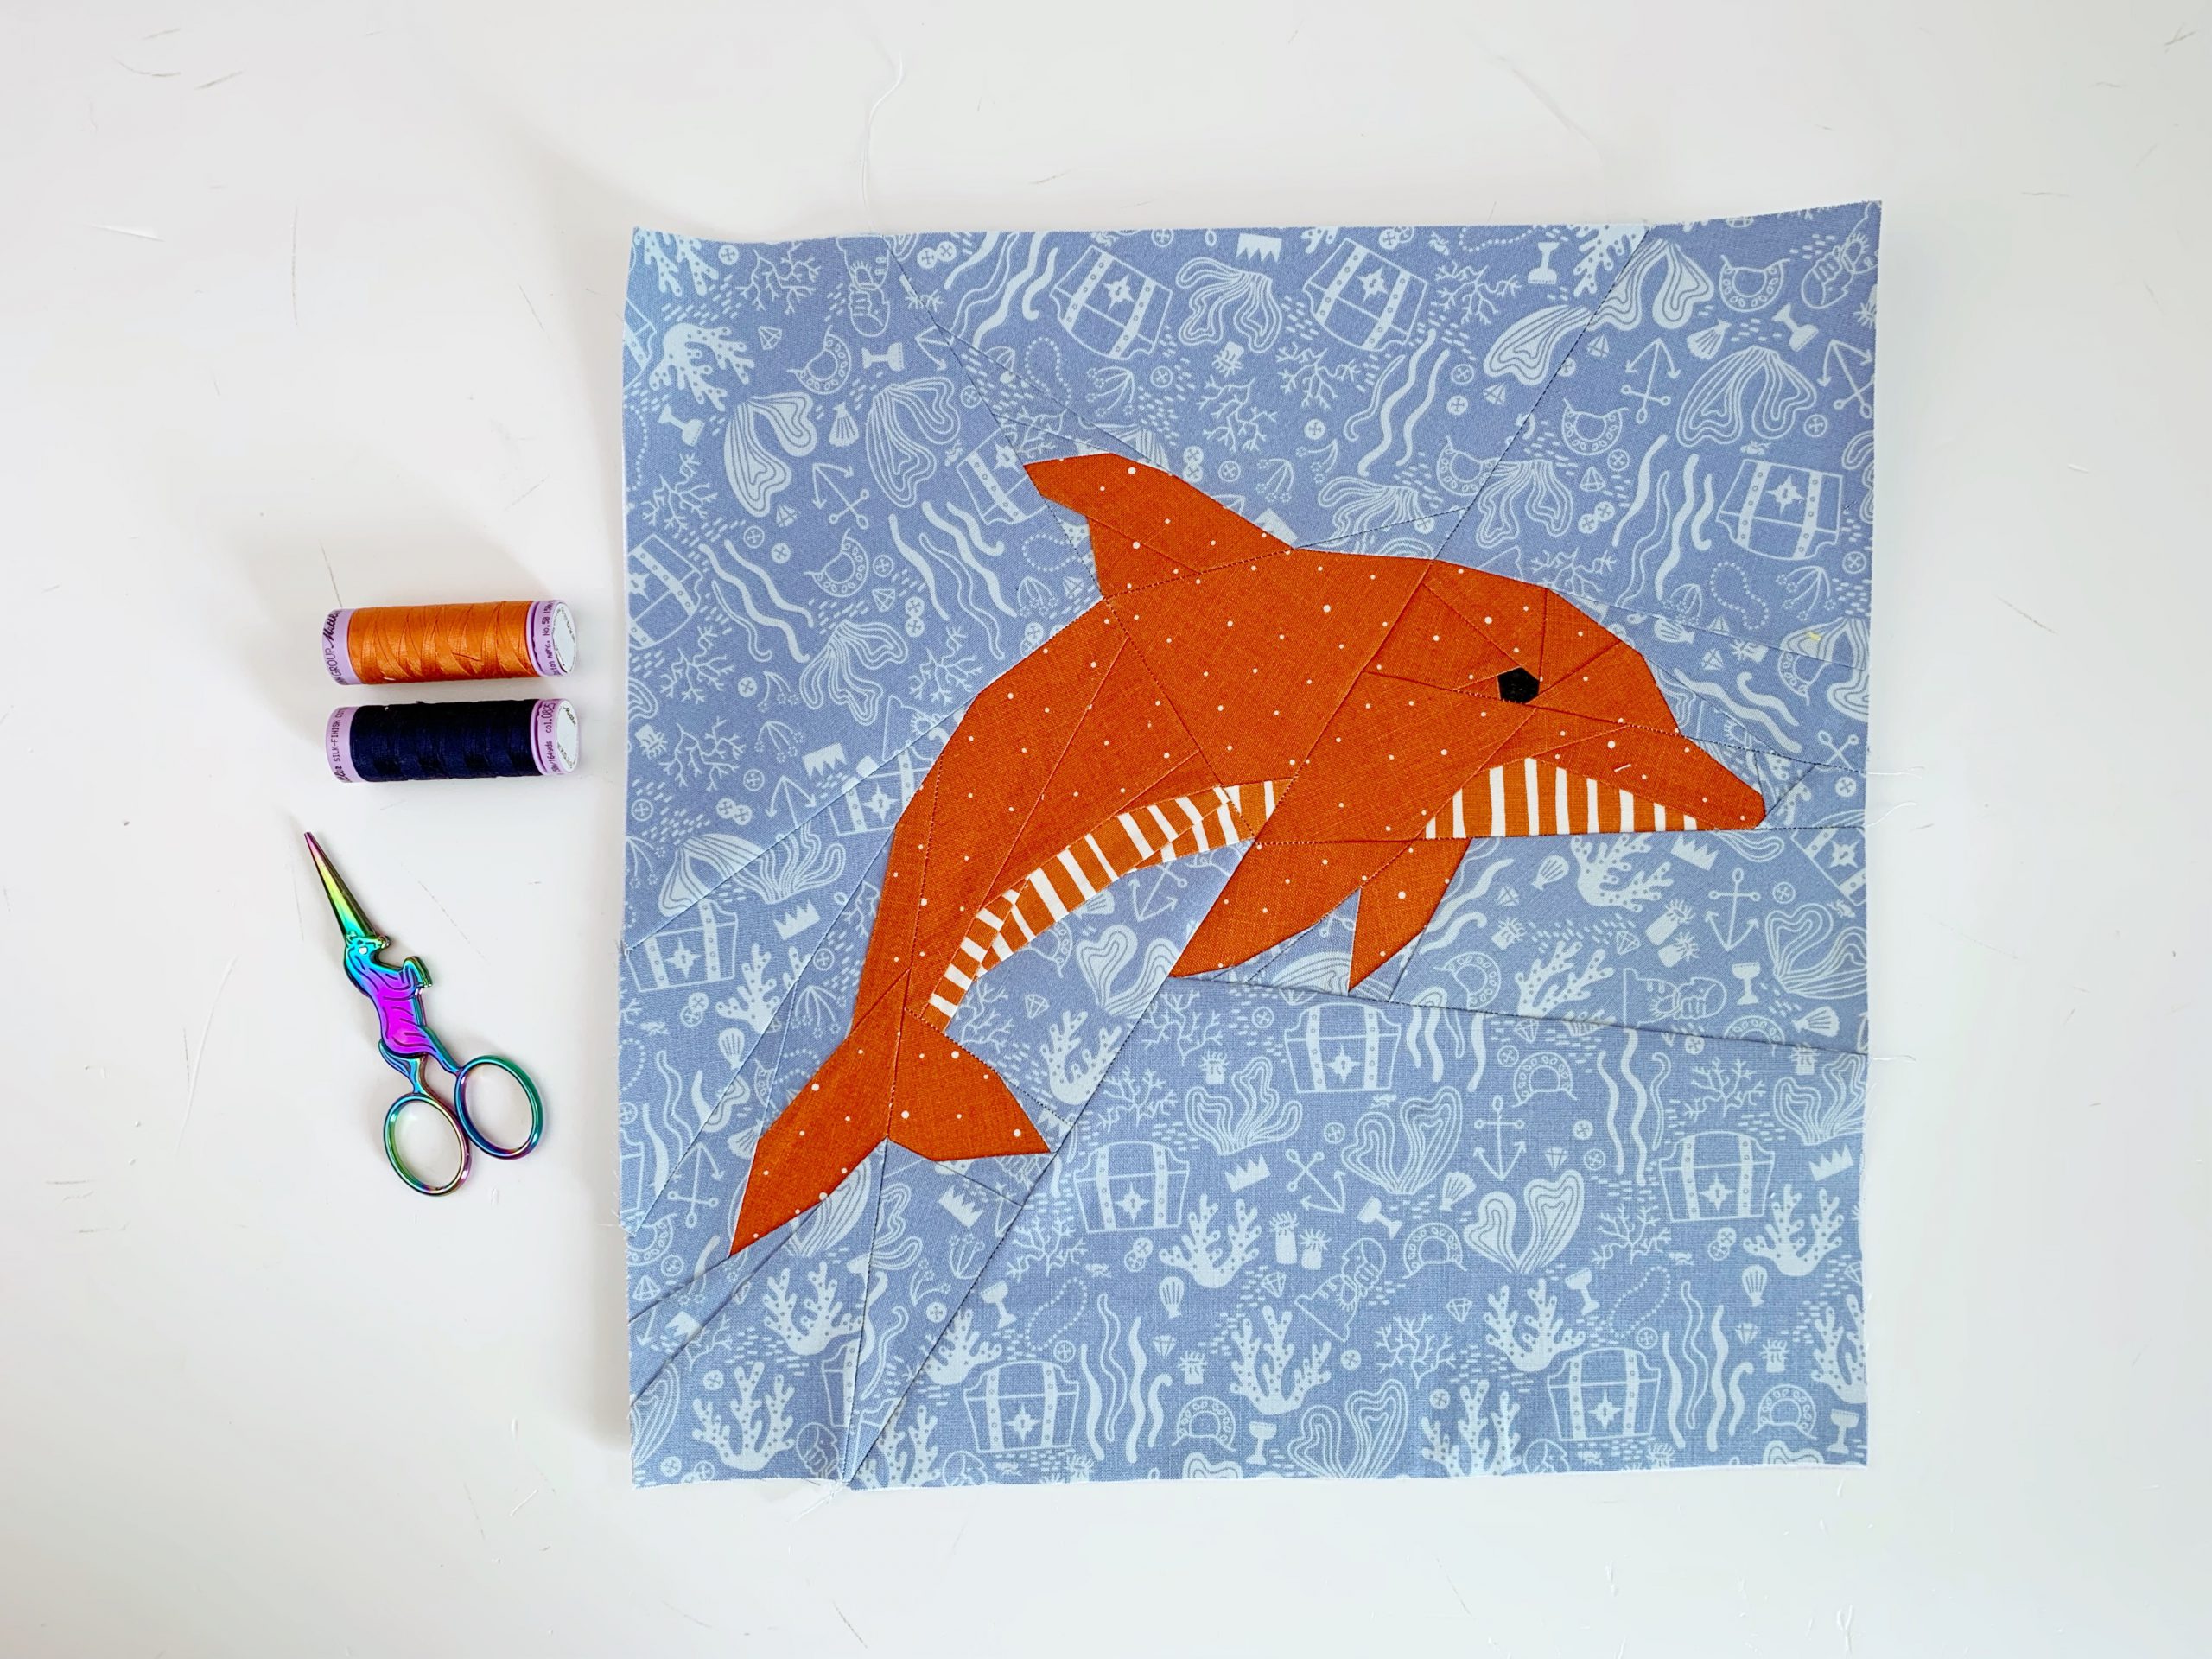
1. As mentioned in the previous blog posts of this ‘Sail-Along’, print only the segments of the pattern that will be sewn. The dolphin is sewn in two different sizes. For the 12 “x 12” quilt block, you will need to glue segments D and G (see photo below). Again, please make sure that you do not (!) use scotch tape. You will need to iron the quilt block a few times. Scotch tape would stick to your iron.
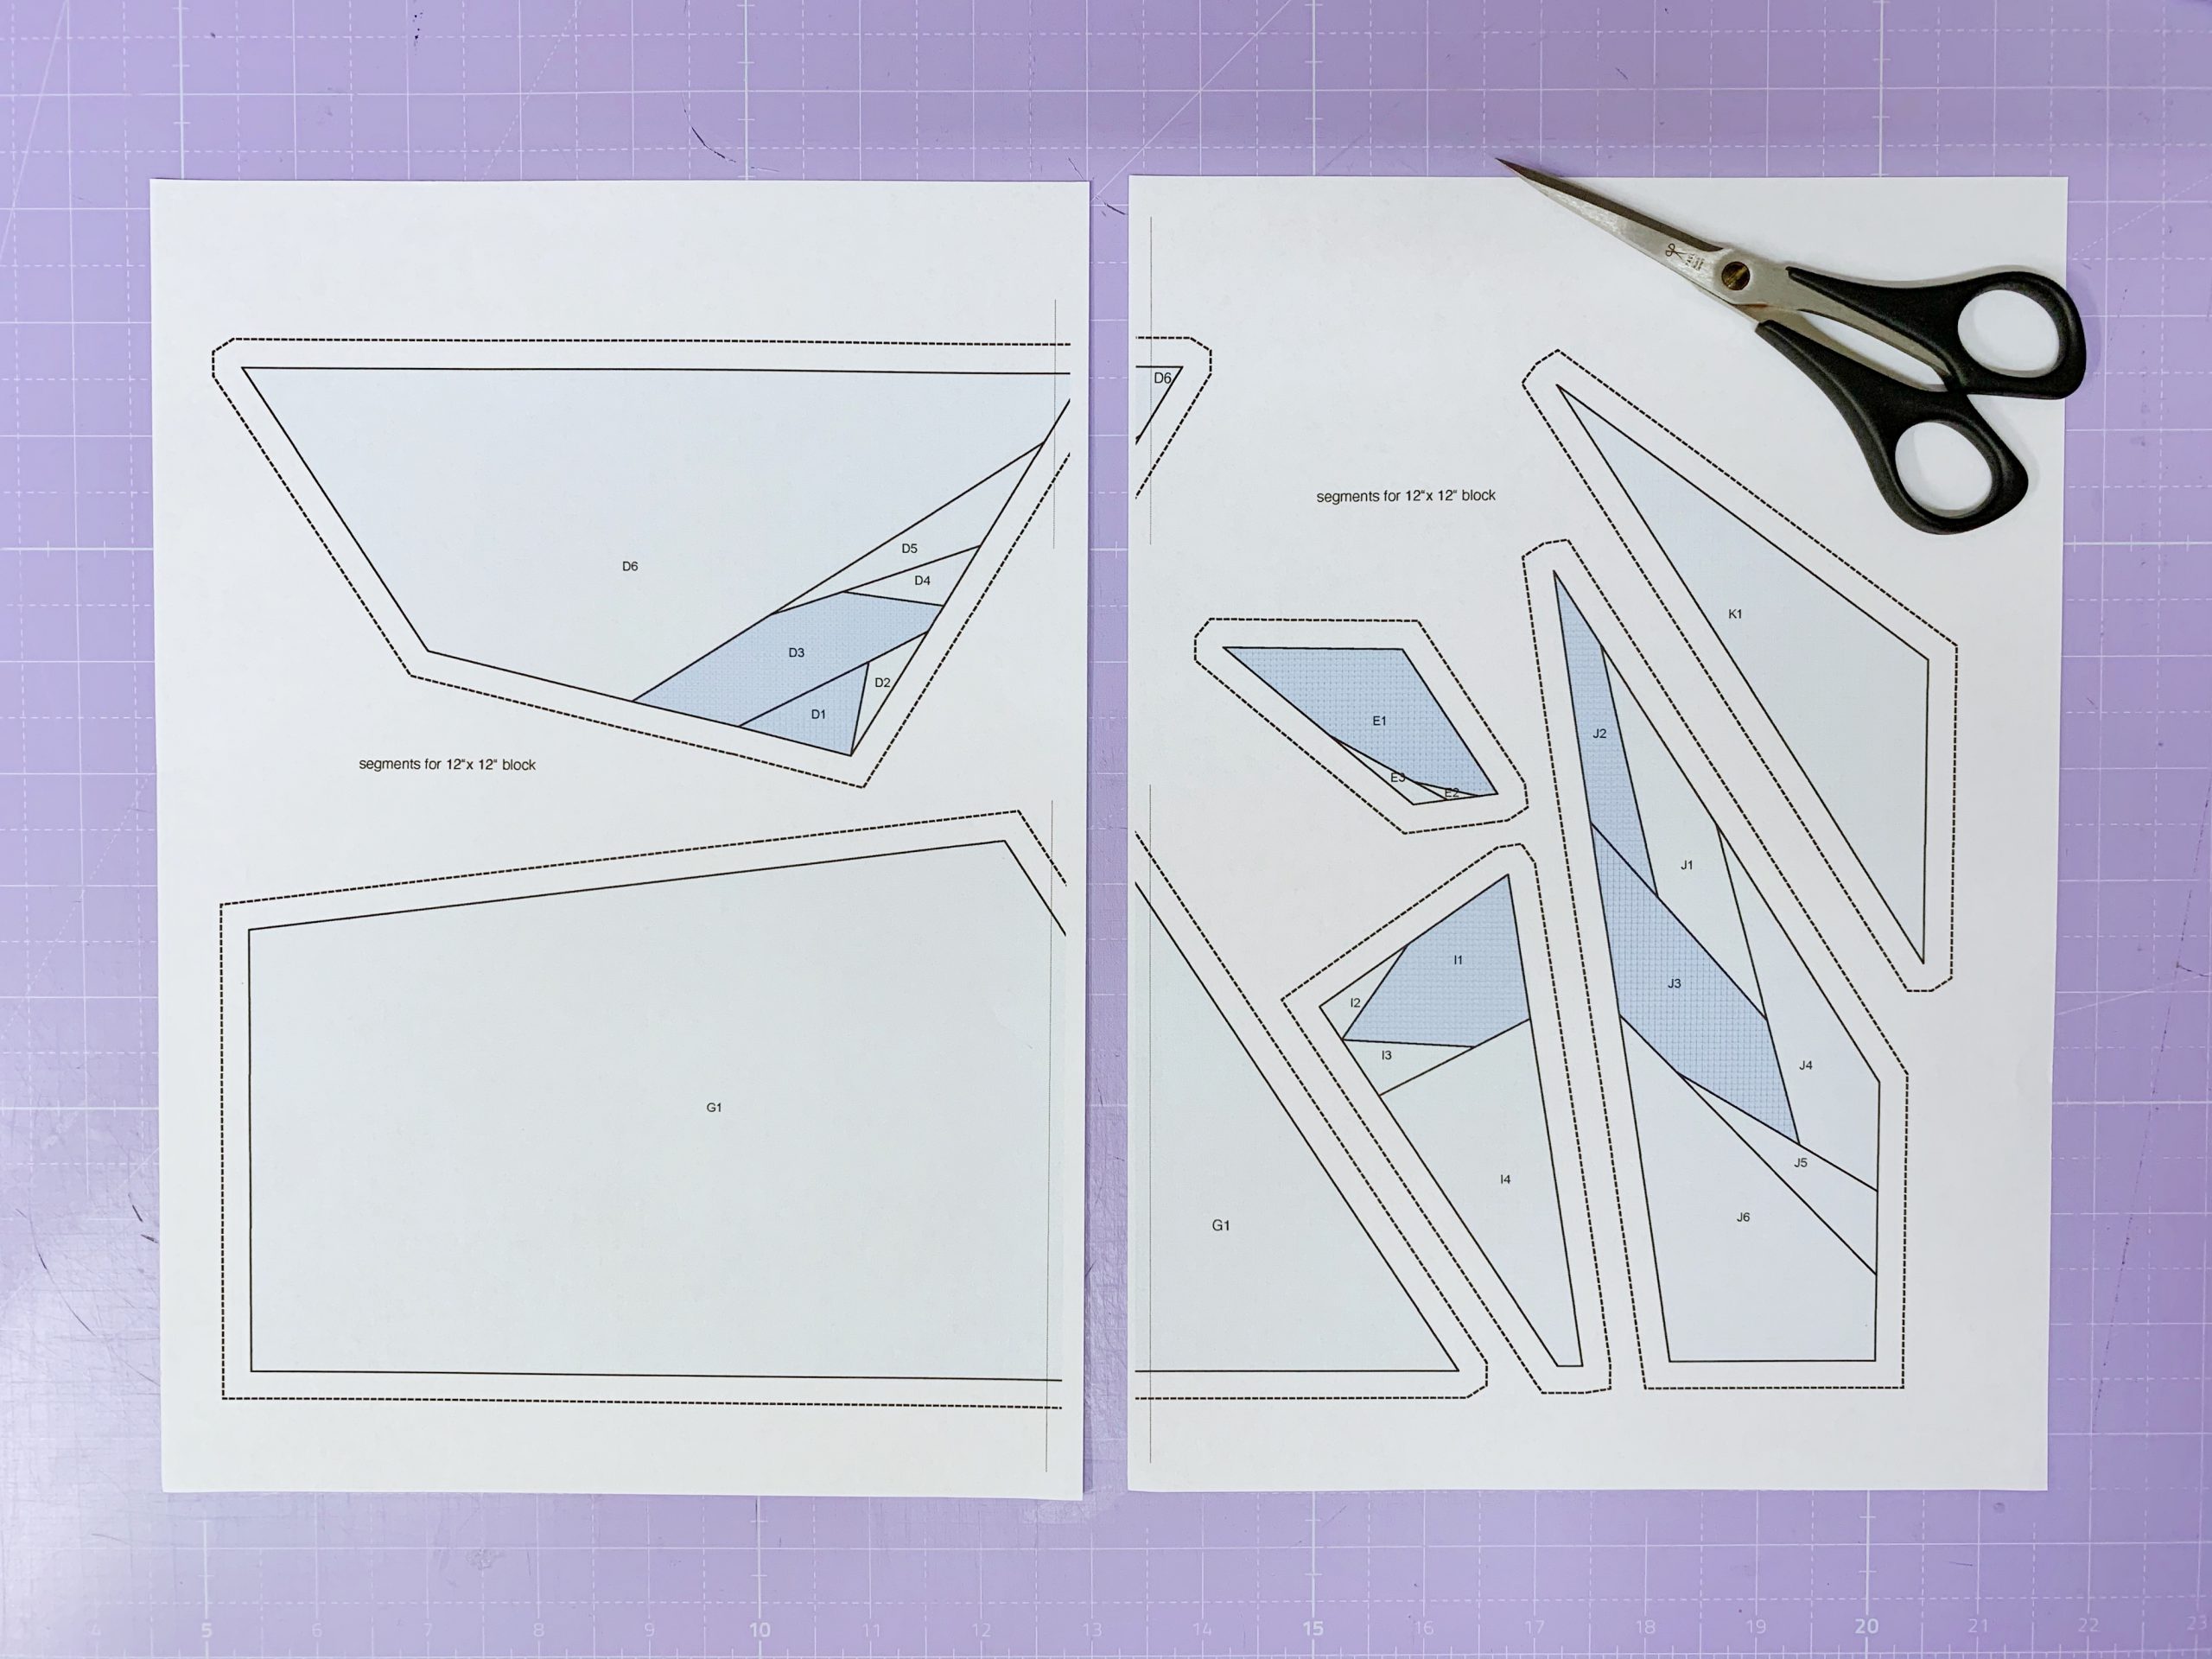
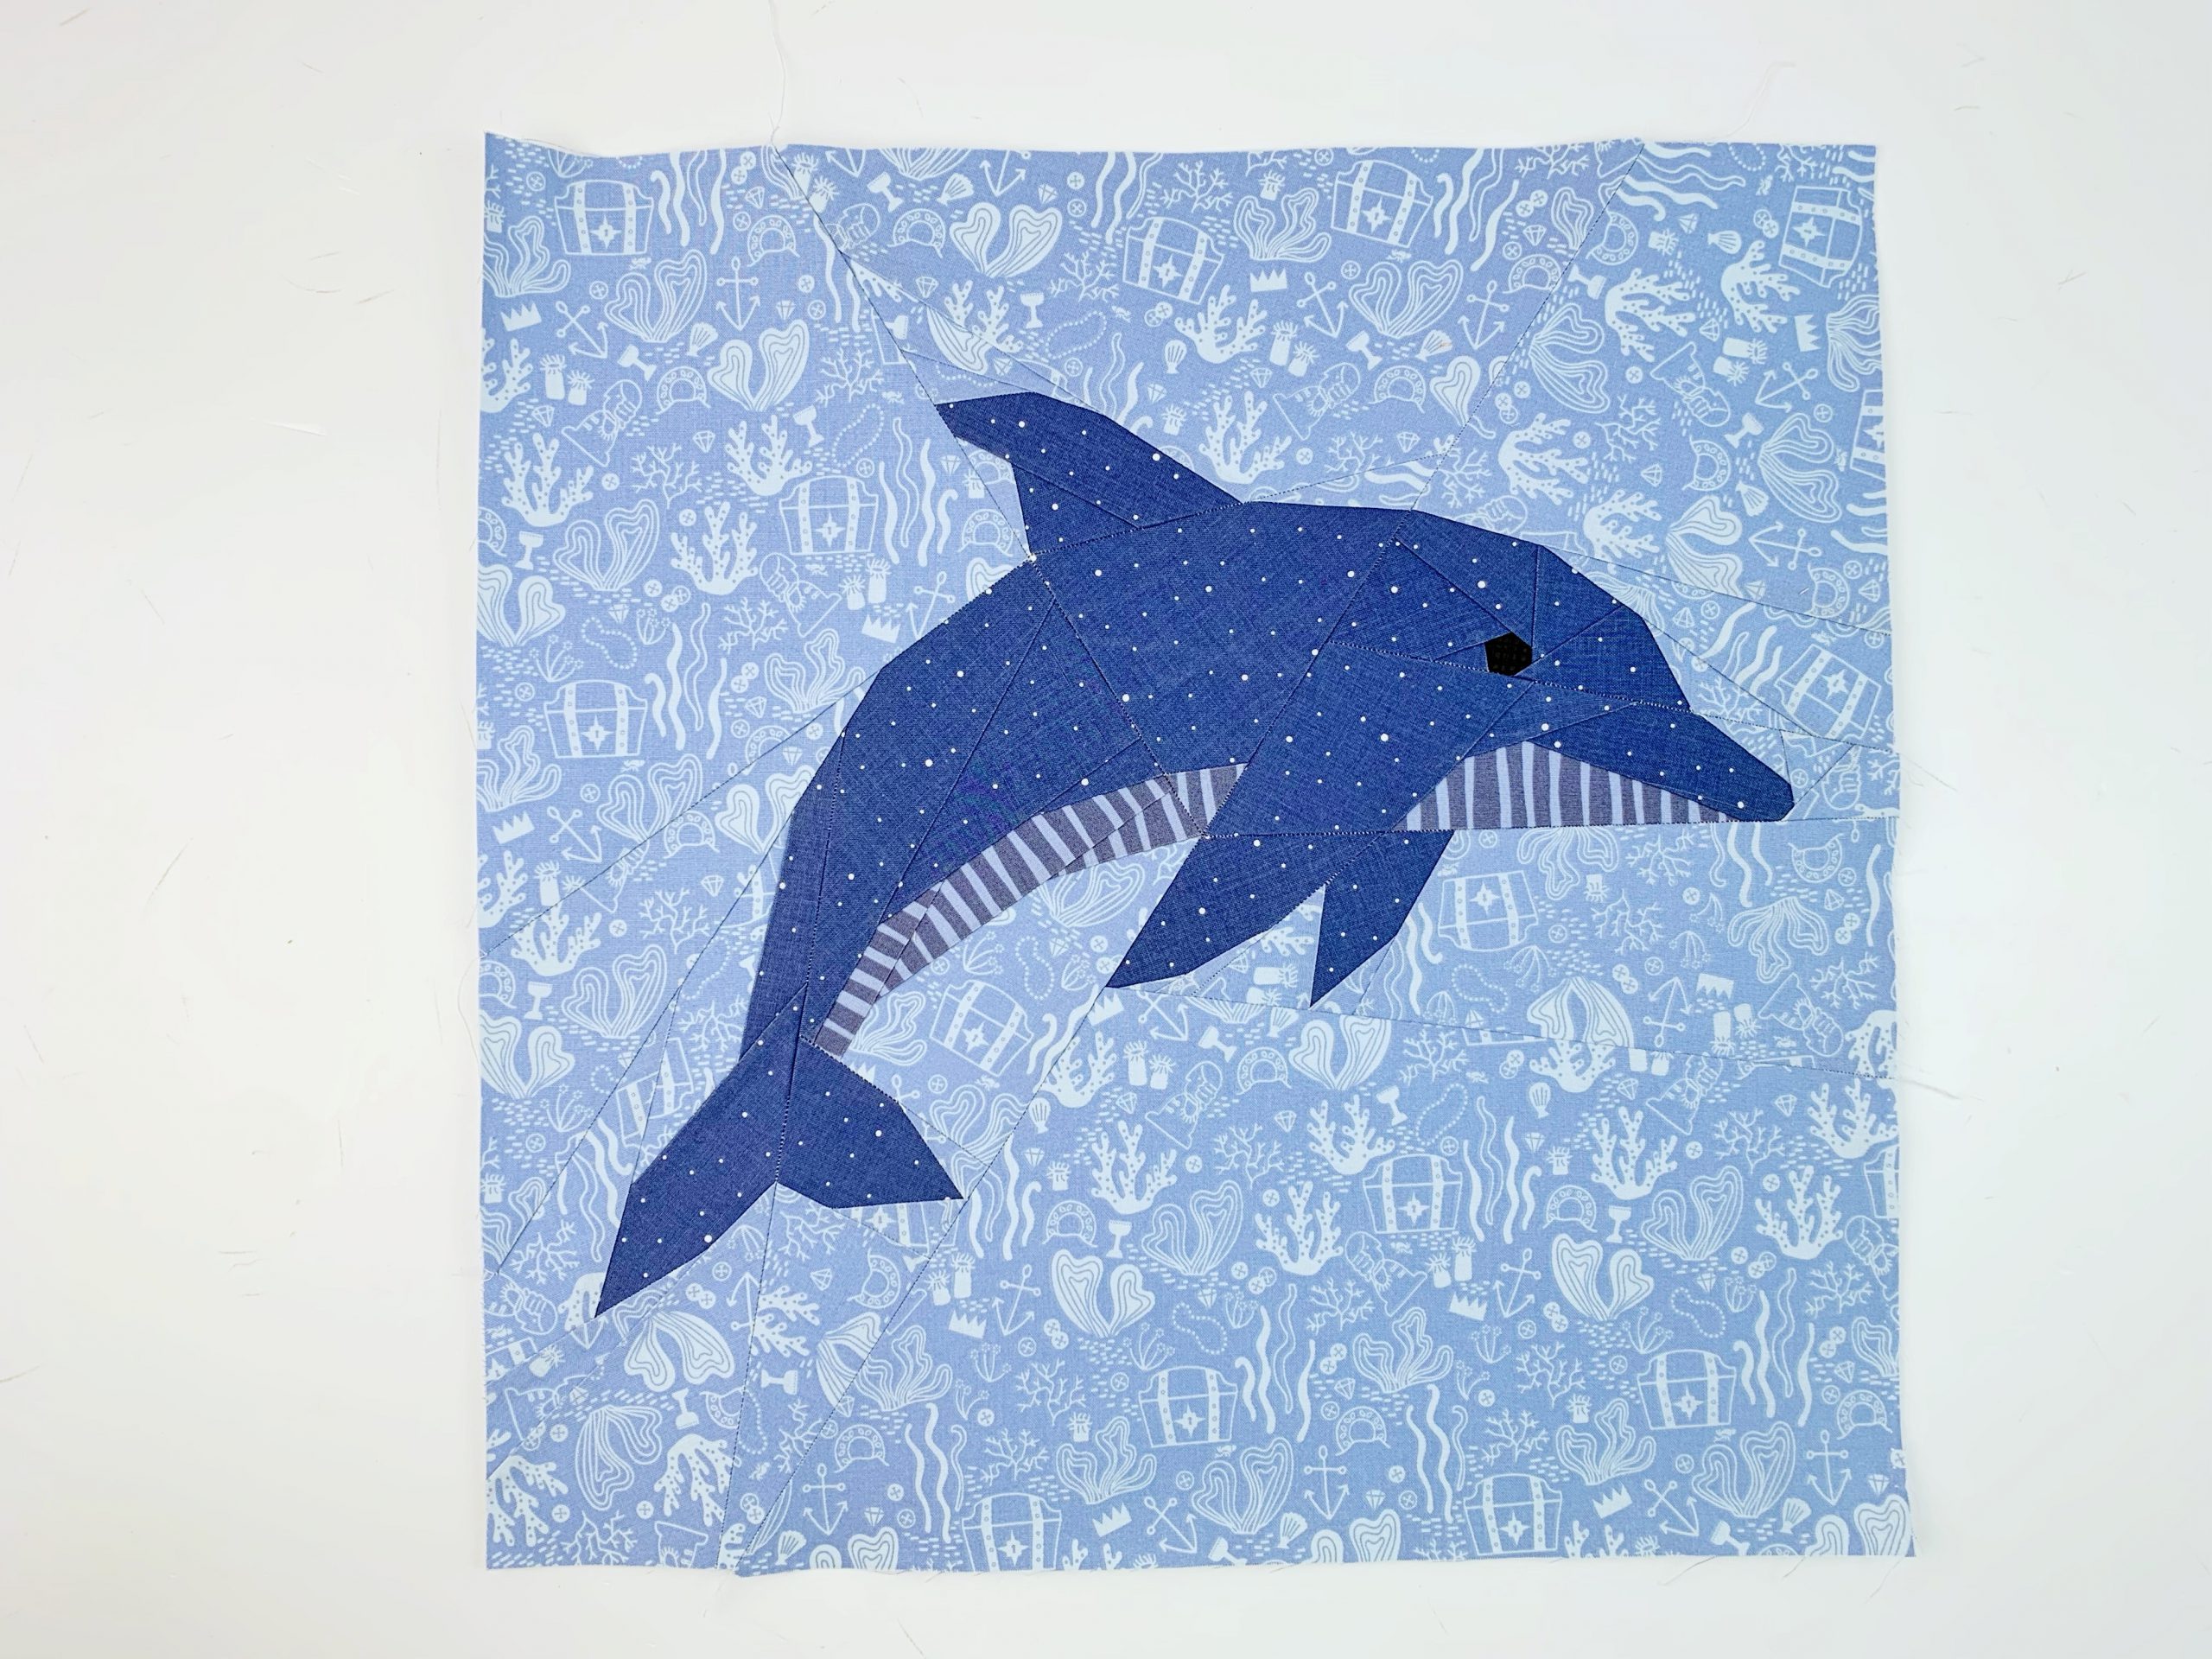
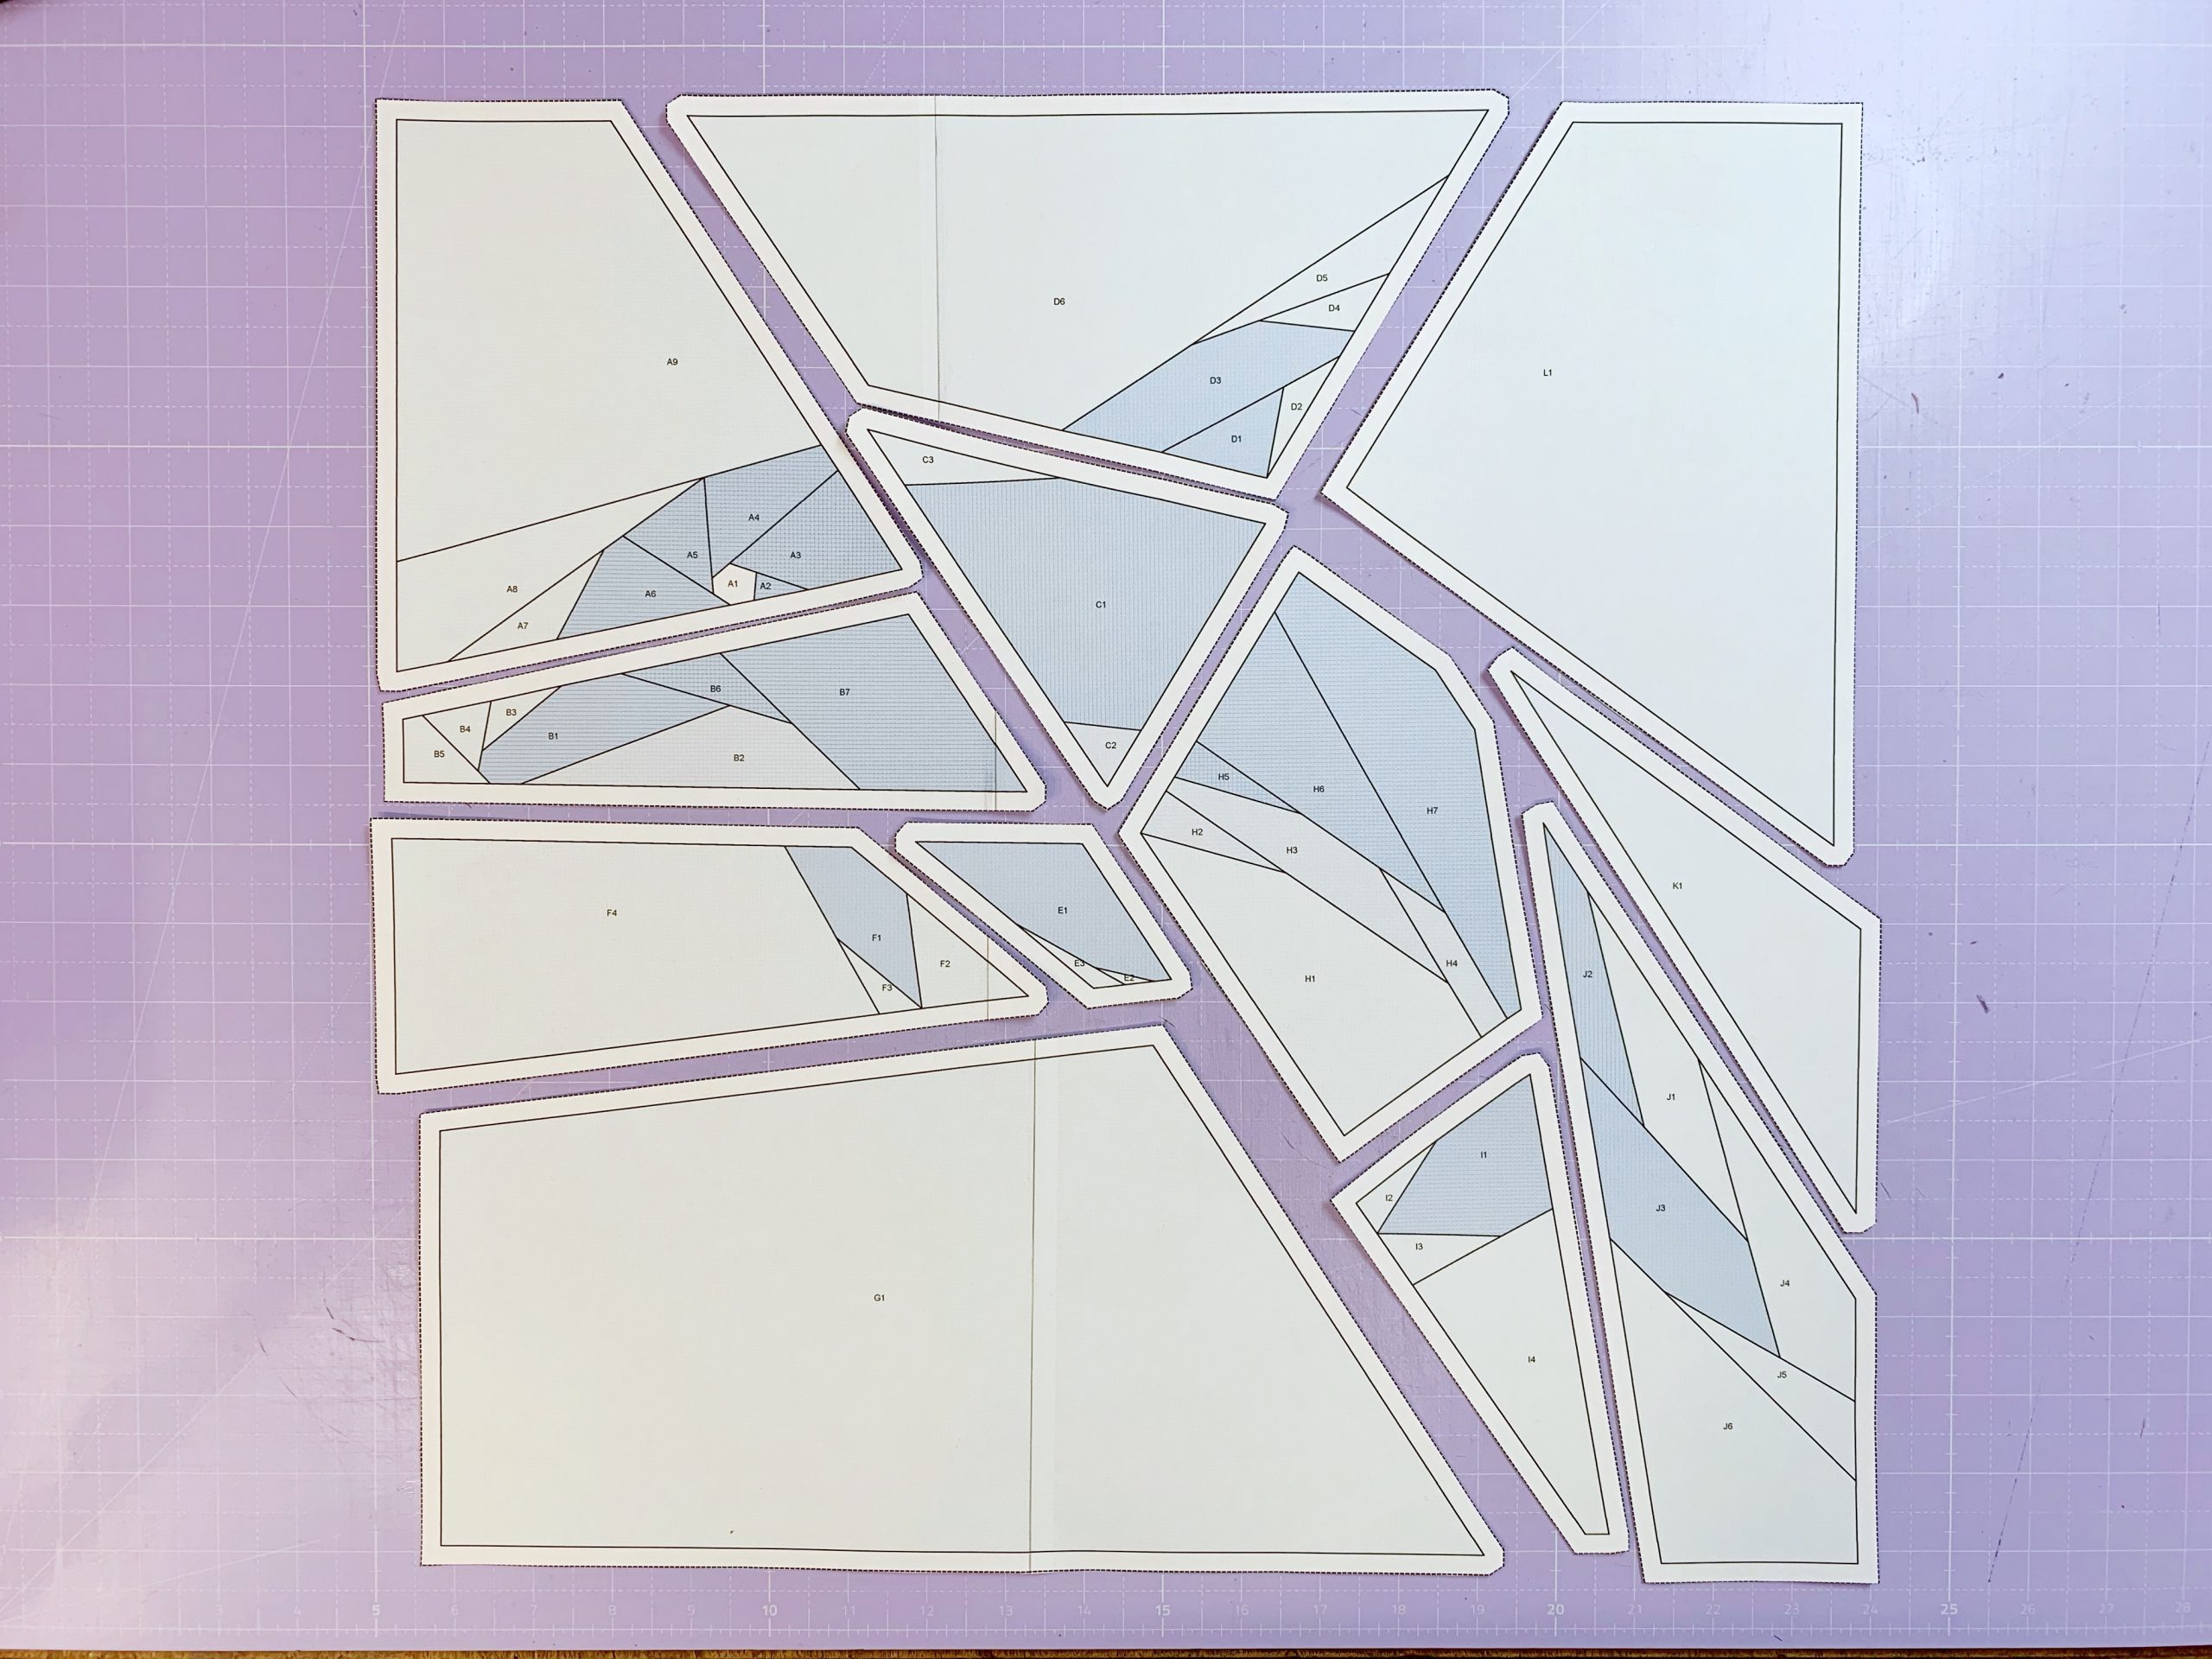
2. For the 16 “x 16” dolphin quilt block, you need to glue segments B, D, F, and G together. Again, lay out the segments as indicated on the numbered overview, this will make it easier for you to keep track.
As you can see, the dolphin pattern has three segments without seams. Segments G, L and K have no seams. If you are working with a fabric glue pen like I am, it means that you only need to glue the fabric for these segments wrong sides together to the pattern pieces. If you are working with pins, you will only need to pin the fabric to the segment wrong sides together.
There are quilters who don’t work with a fabric glue pen or don’t use pins either, but they do sew the fabric to the paper with a seam in the seam allowance. I have tried this as well. But I have decided against it, since it adds an additional seam and only makes taking out the paper more difficult. I just wanted to introduce you to this method as well, you may then decide for yourself which one you prefer.
4. You now sew all the other segments in the order you prefer.
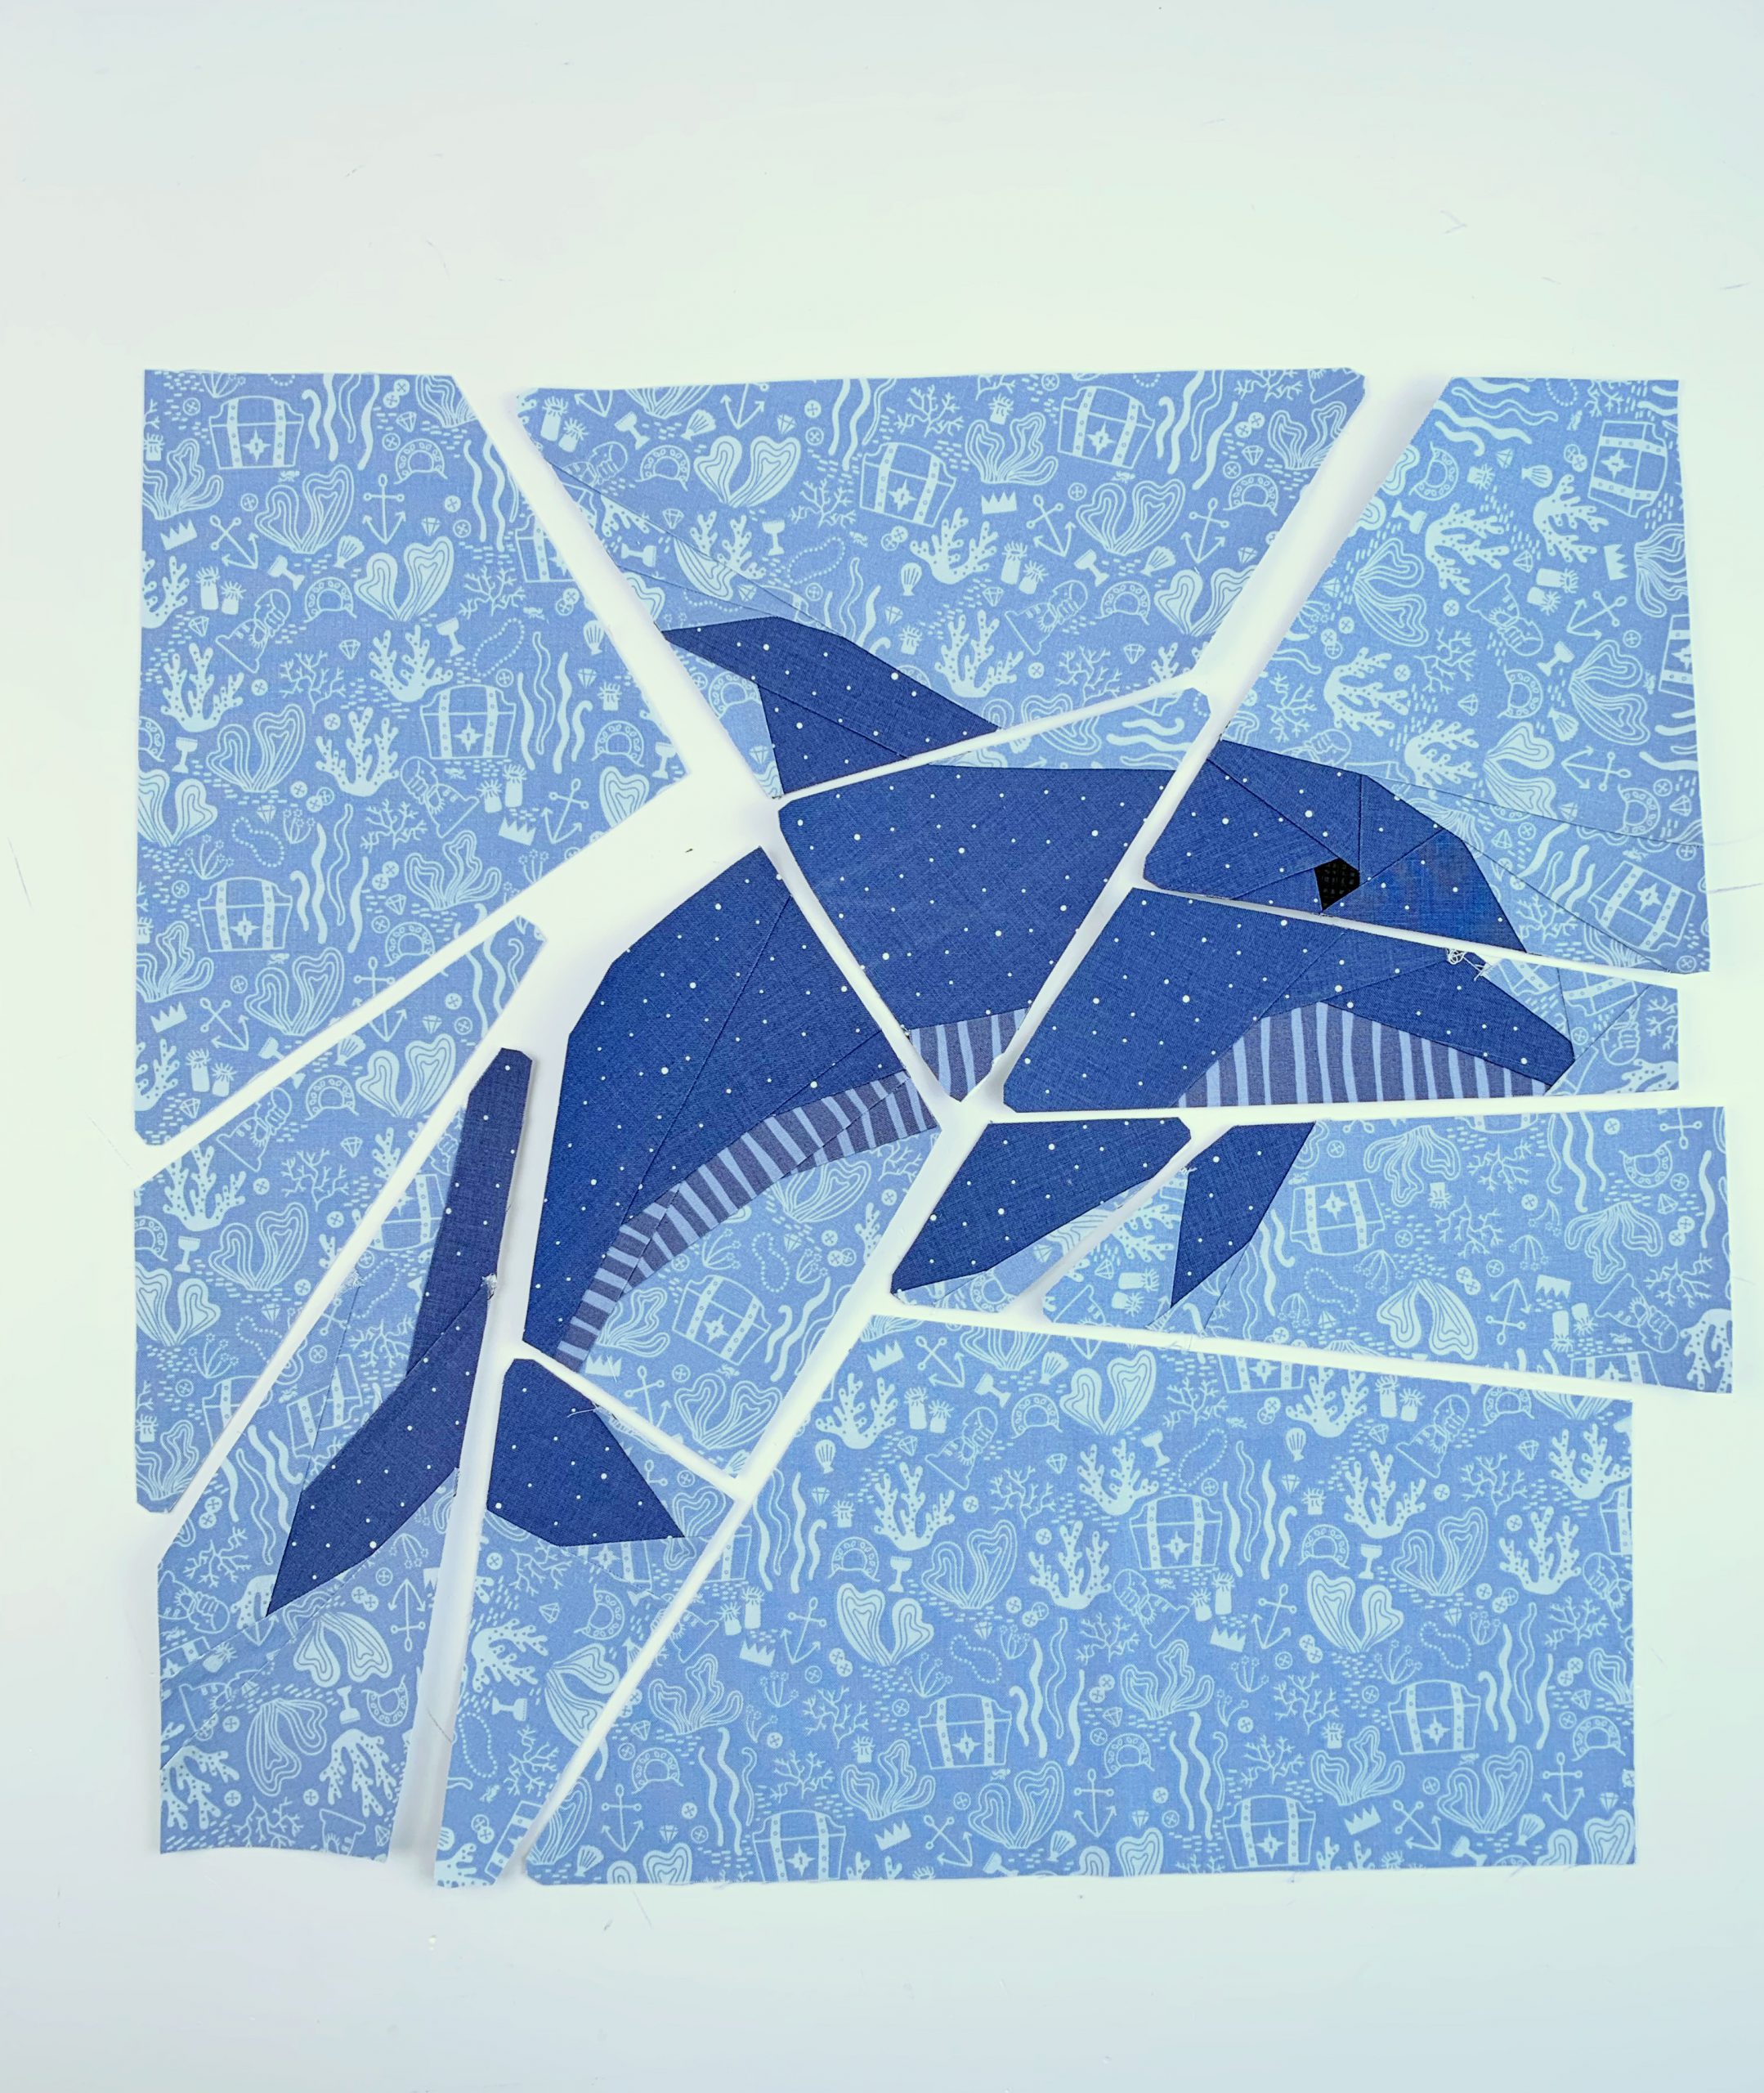
All sewn segments of the 16″x 16″ dolphin quilt block:
All sewn segments of the 12″x 12″ dolphin quilt block
Now join the segments as mentioned in the assembly instructions in the pattern. Again, make sure you remove the paper from the seam allowance and then press the seam allowances open. This will reduce bulk and gives you much flatter seams.
And tadaaa, you did great… the dolphins are happily swimming in the ocean!
And just because the dolphin is so pretty, there is a matching embroidery pattern to go with the quilted pattern.
BERNINA is providing the embroidery file for free as part of the Sail-Along.
This is such a great offer, and I just want say a huge Thank You!
Download embroidery design dolphin
You can download the embroidery file for free at the following link
Free-Download Embroidery File Delphin

Click on the link to download a ZIP file to your computer. Unzip it before you transfer the file to your embroidery machine. The design will be provided in all common file types, from EXP to DST and PES. Even the original ART90 file is included for further processing in BERNINA Embroidery Software 9.
The file has been optimized in terms of embroidery technology so that it is embroidered with only one thread cut (at the eye of the dolphin).
Maybe you want to use this pretty Bluework dolphin as a quilt label at the back of your quilt? It measures about 80 x 70 mm, so it fits nicely into the Medium embroidery hoop.
I will definitely be sewing a bag that shows the dolphin quilt block on one side and the embroidered version on the other.
See you soon
Ingrid
oops made a mistake, on the first one. So i had to make the same mistake on the small one also. Maybe the mistake just made them cuter? I think so 😉
Hello Nina,
Yes! I totally agree, makes them super cute … very well done… love them
Ingrid