 BERNINA Corporate Blog -
Hello Bernina Lovers !
I love gifting people with handmade presents… what about you?
Handmade gifts are so special
My daughter was invited to a birthday party and what a better gift that something handmade especially for the child that throws the party, don’t you agree?
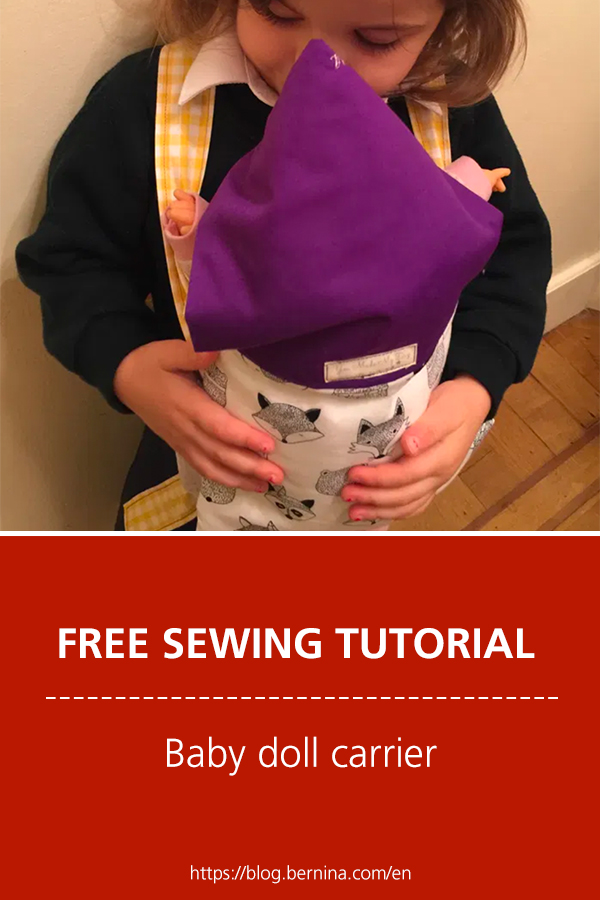
The little girl is turning 4 so I thought that a handmade baby doll carrier would be something that she would like.
And for the special touch, I embroidered her name on the hood, with the letters of my Q570
As with my other sewing tutorials and sewing patterns, I am sharing this one with you so that you can easily make a handmade baby doll carrier for children in no time and specially using fabric scraps 😉
Are you ready to follow this baby doll carrier sewing tutorial?
Here we go!
For this handmade baby doll carrier I used 3 different fabrics but you can use as little or as much as you can.
You can play with different colors for the inside and the outside, the straps, the cap, etc.
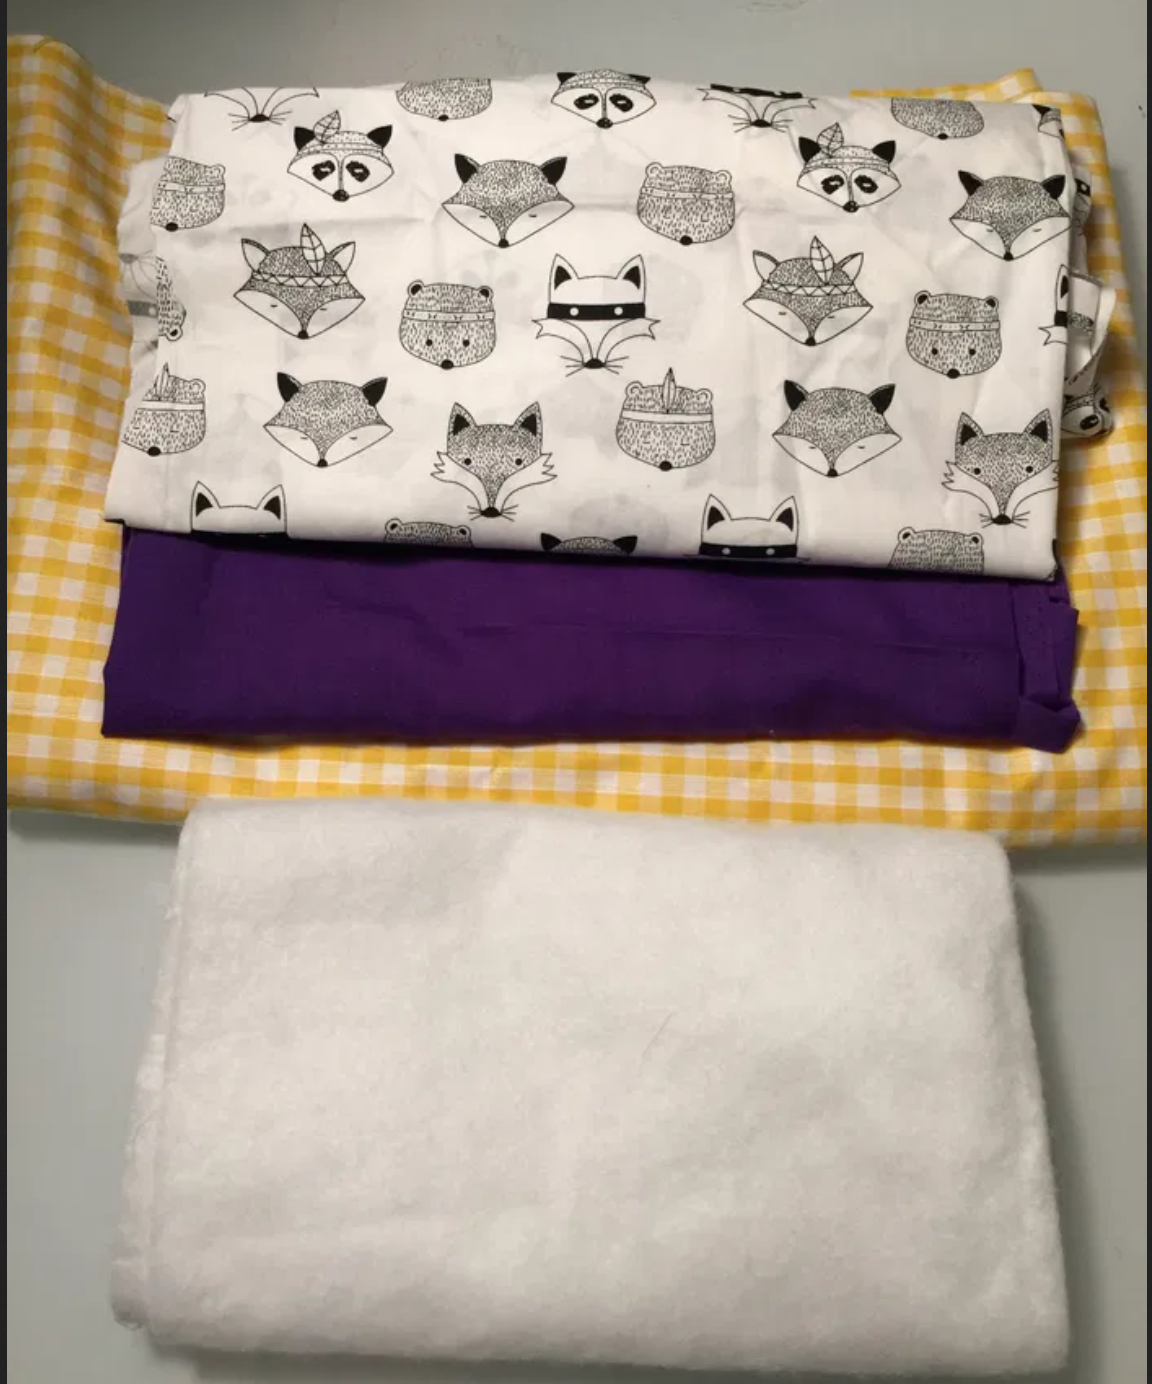
Materials:
Fabric: less than a meter.
If using different fabrics, see below for details
Sewing timing: about 1 hour
Sewing pattern:
Outside Fabric: 1 piece 22 cm X 22 cm (plus sewing allowances)
Outside Hood: 1 piece of 20 cm X 22 cm wide (plus sewing allowances)
Straps: 2 pieces of 100 cm X 8 cm (plus sewing allowances)
Belt: 1 piece of 100 cm X 10 cm (plus sewing allowances)
Inside fabric: 1 piece of 42 cm X 22 cm wide (plus sewing allowances)
Bating: either 1 piece of 42 cm X 22 cm or 1 piece of 20 cm X 22 cm and 1 piece of 22 cm X cm (always add the sewing allowances).
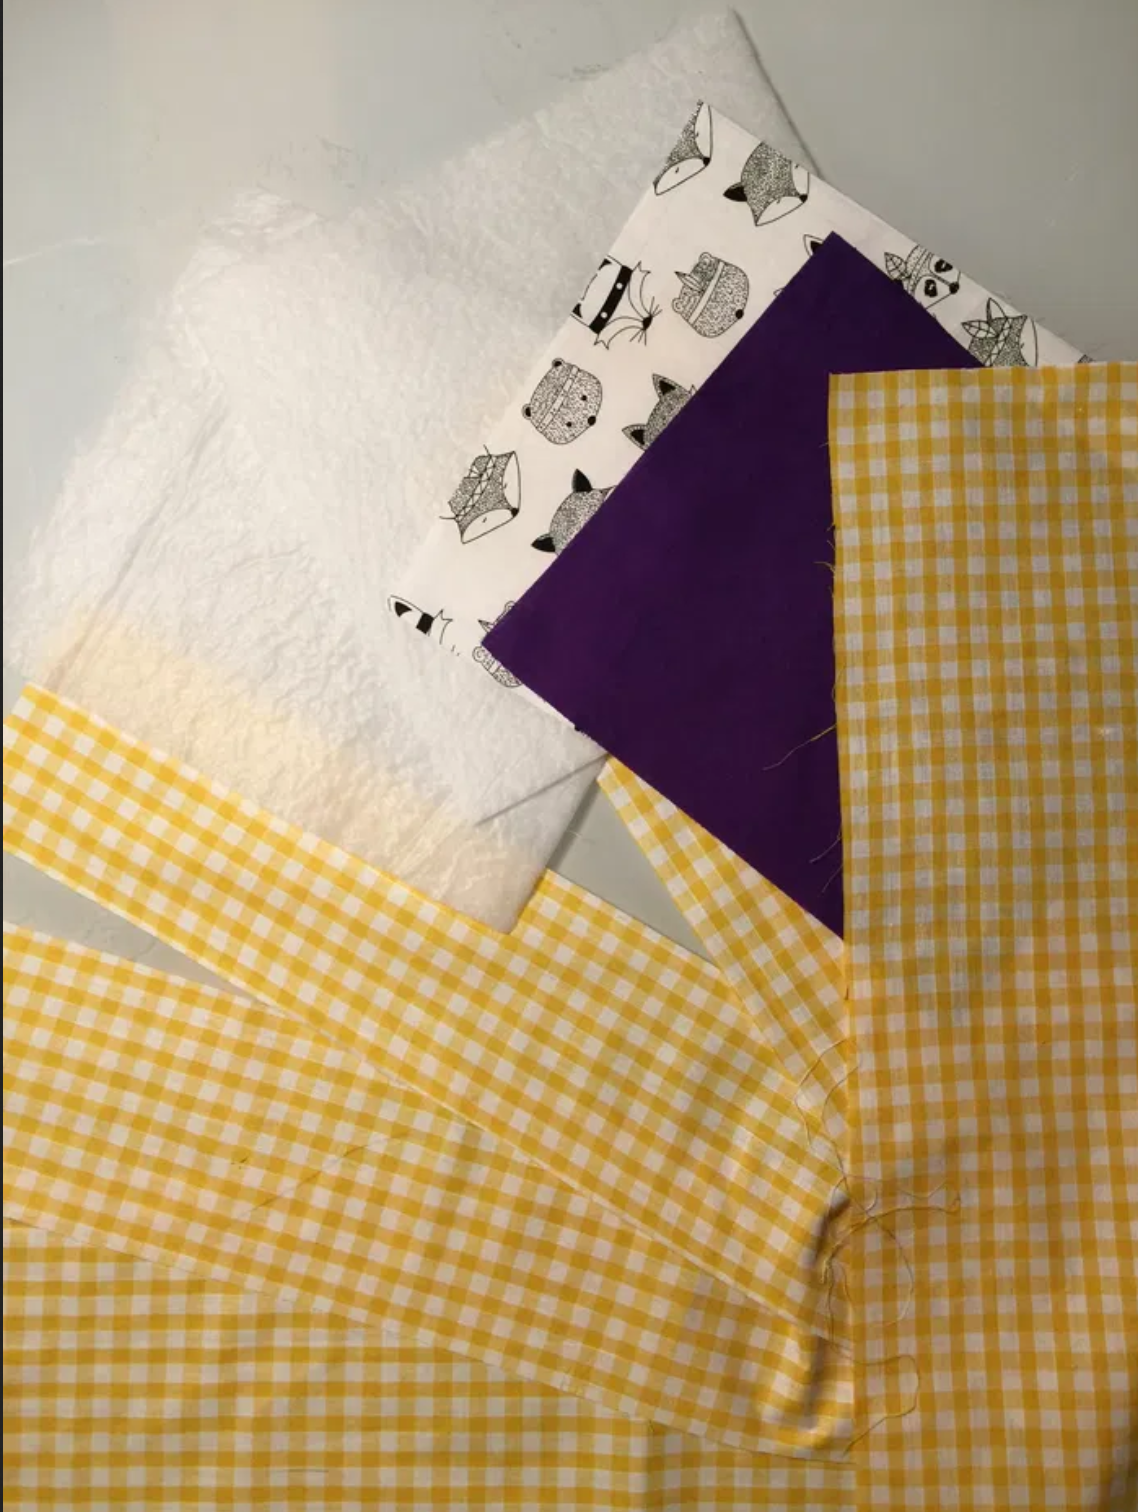
Let’s start with this baby carrier for dolls sewing tutorial.
Once you cut the different pieces as mentioned above, you’ll have 6 pieces of fabric (if using different fabric on the hood and the main body) + 2 pieces of bating (or 1 if you decide to just have one piece. I made it 2 because I like the extra strength the seam gives to that folding part). With the outer fabric of the hood and the bating together, fold them in half (longest side), right sides together.
Sew from one side to the other, respecting your seam allowance (here 1 cm). 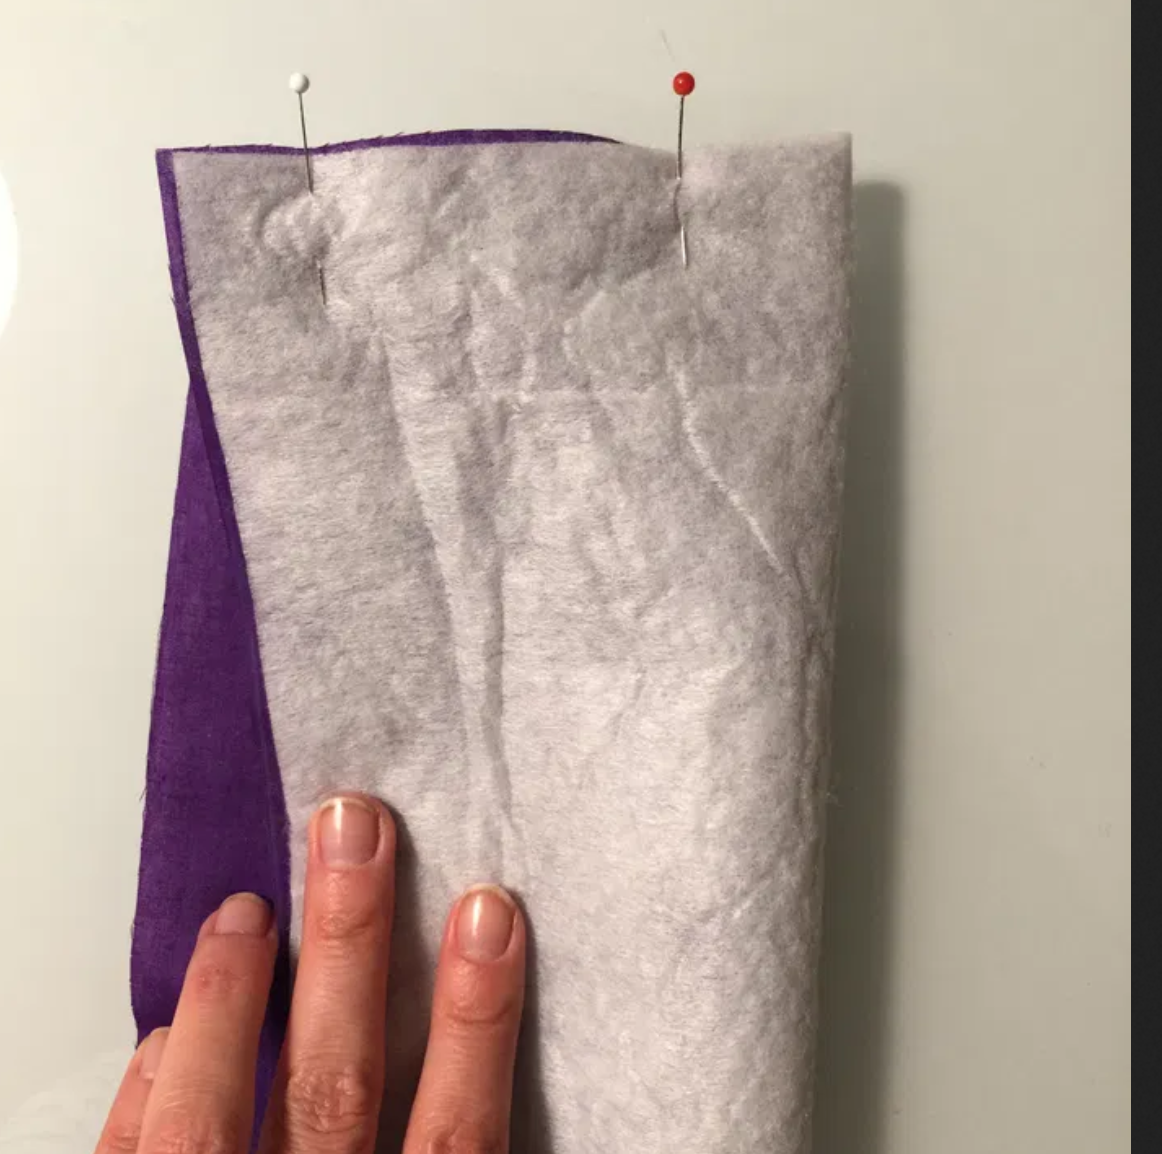

Sew the same way the inner fabric (no bating to add to this one). 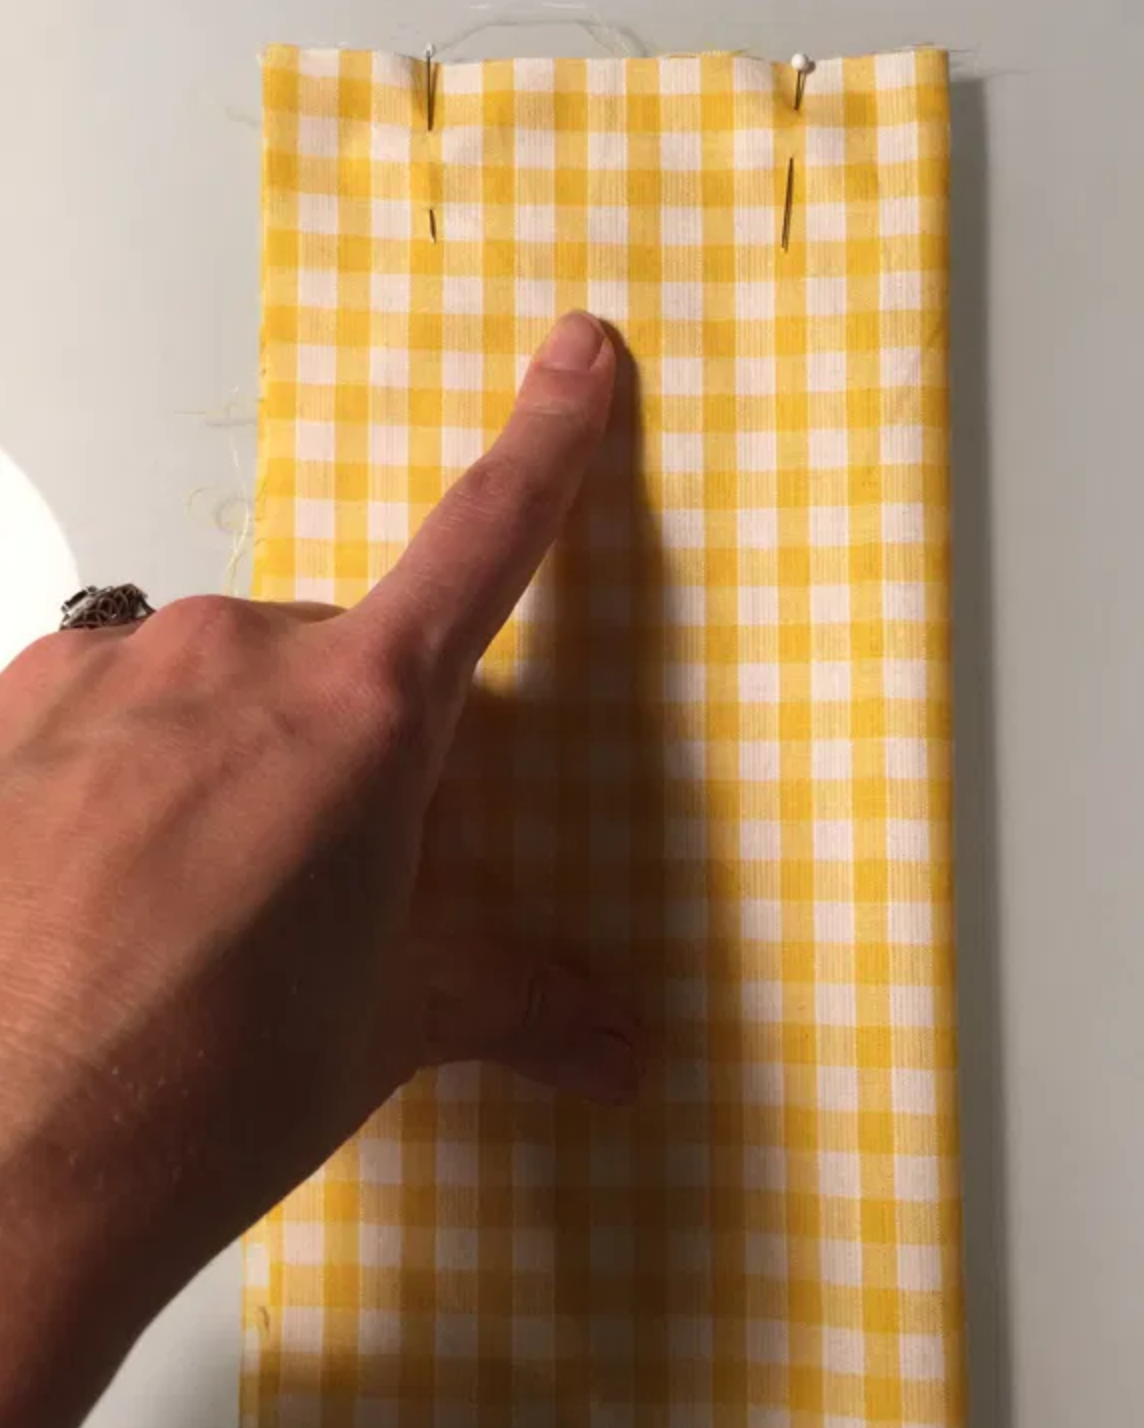
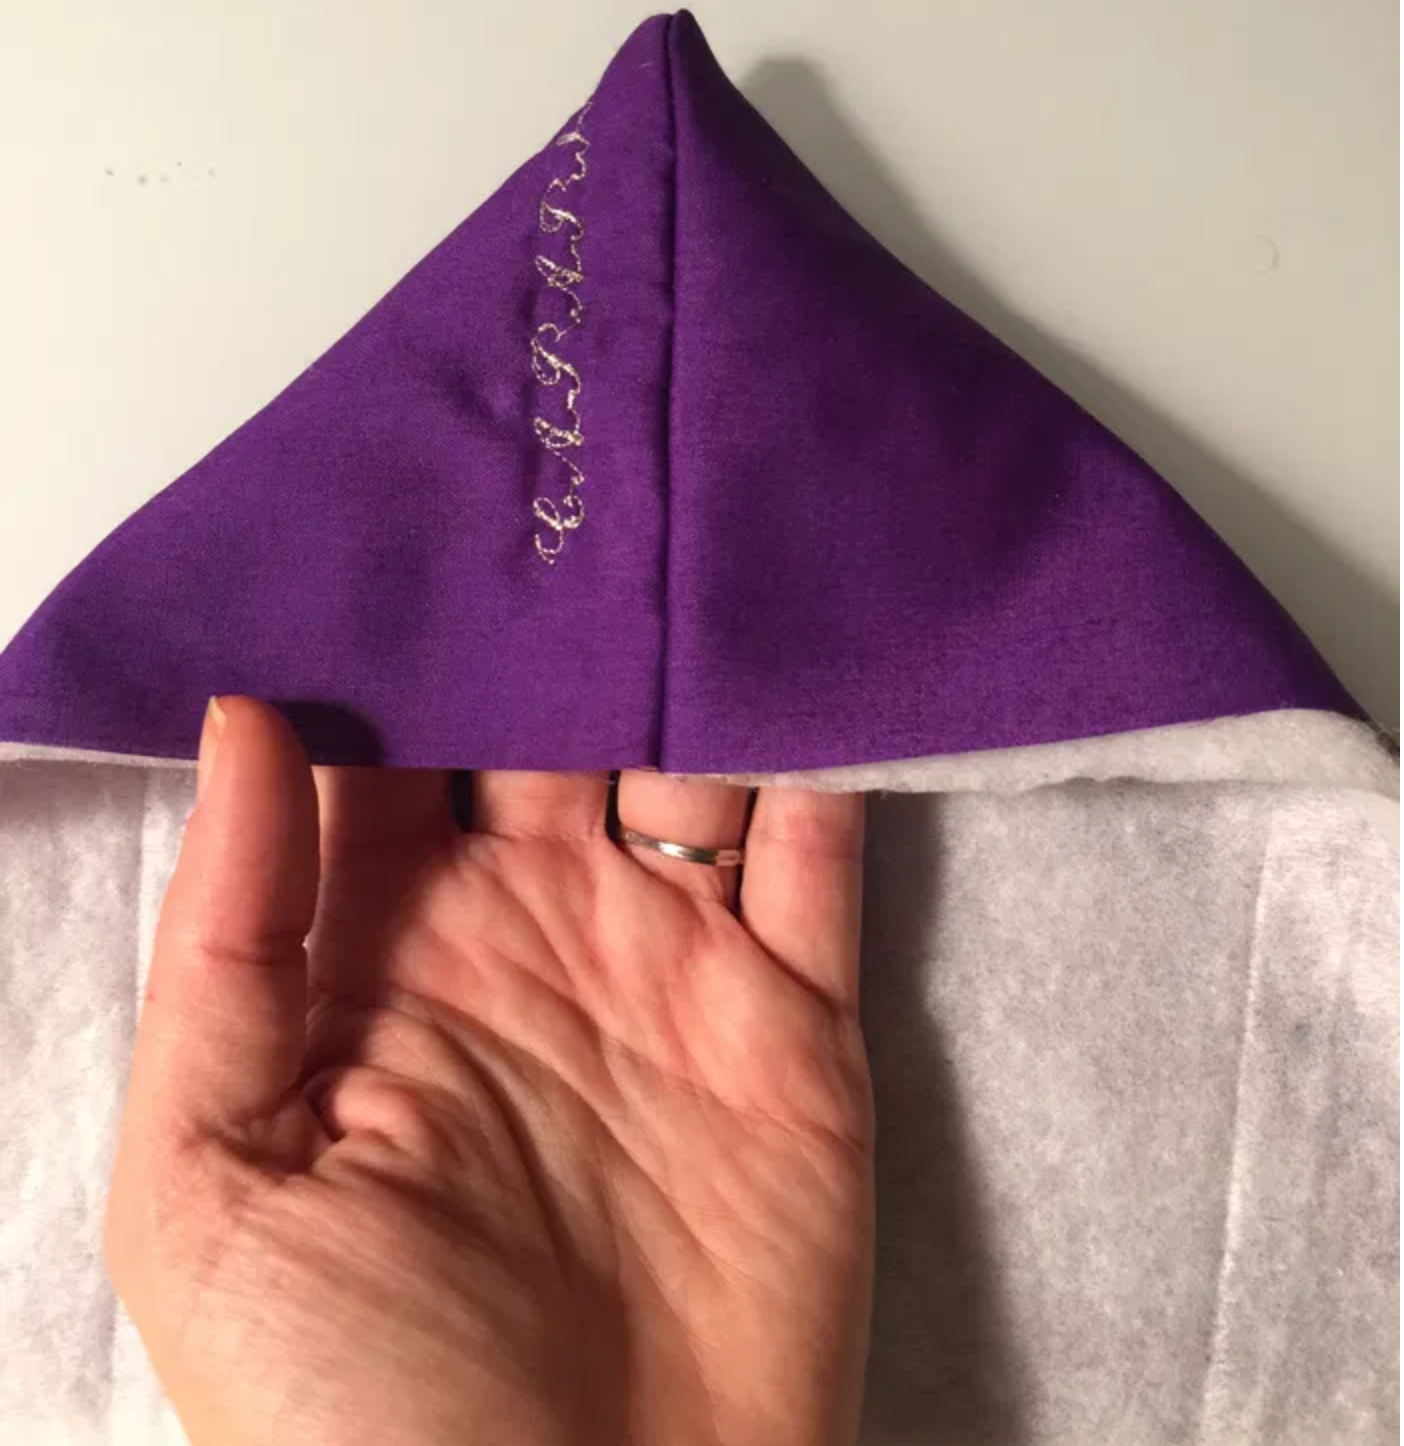
Clip the corner and turn your hood right side out.
Pin the hood and the main body fabric (along with the main body bating) right sides together, and sew from one side to the other.
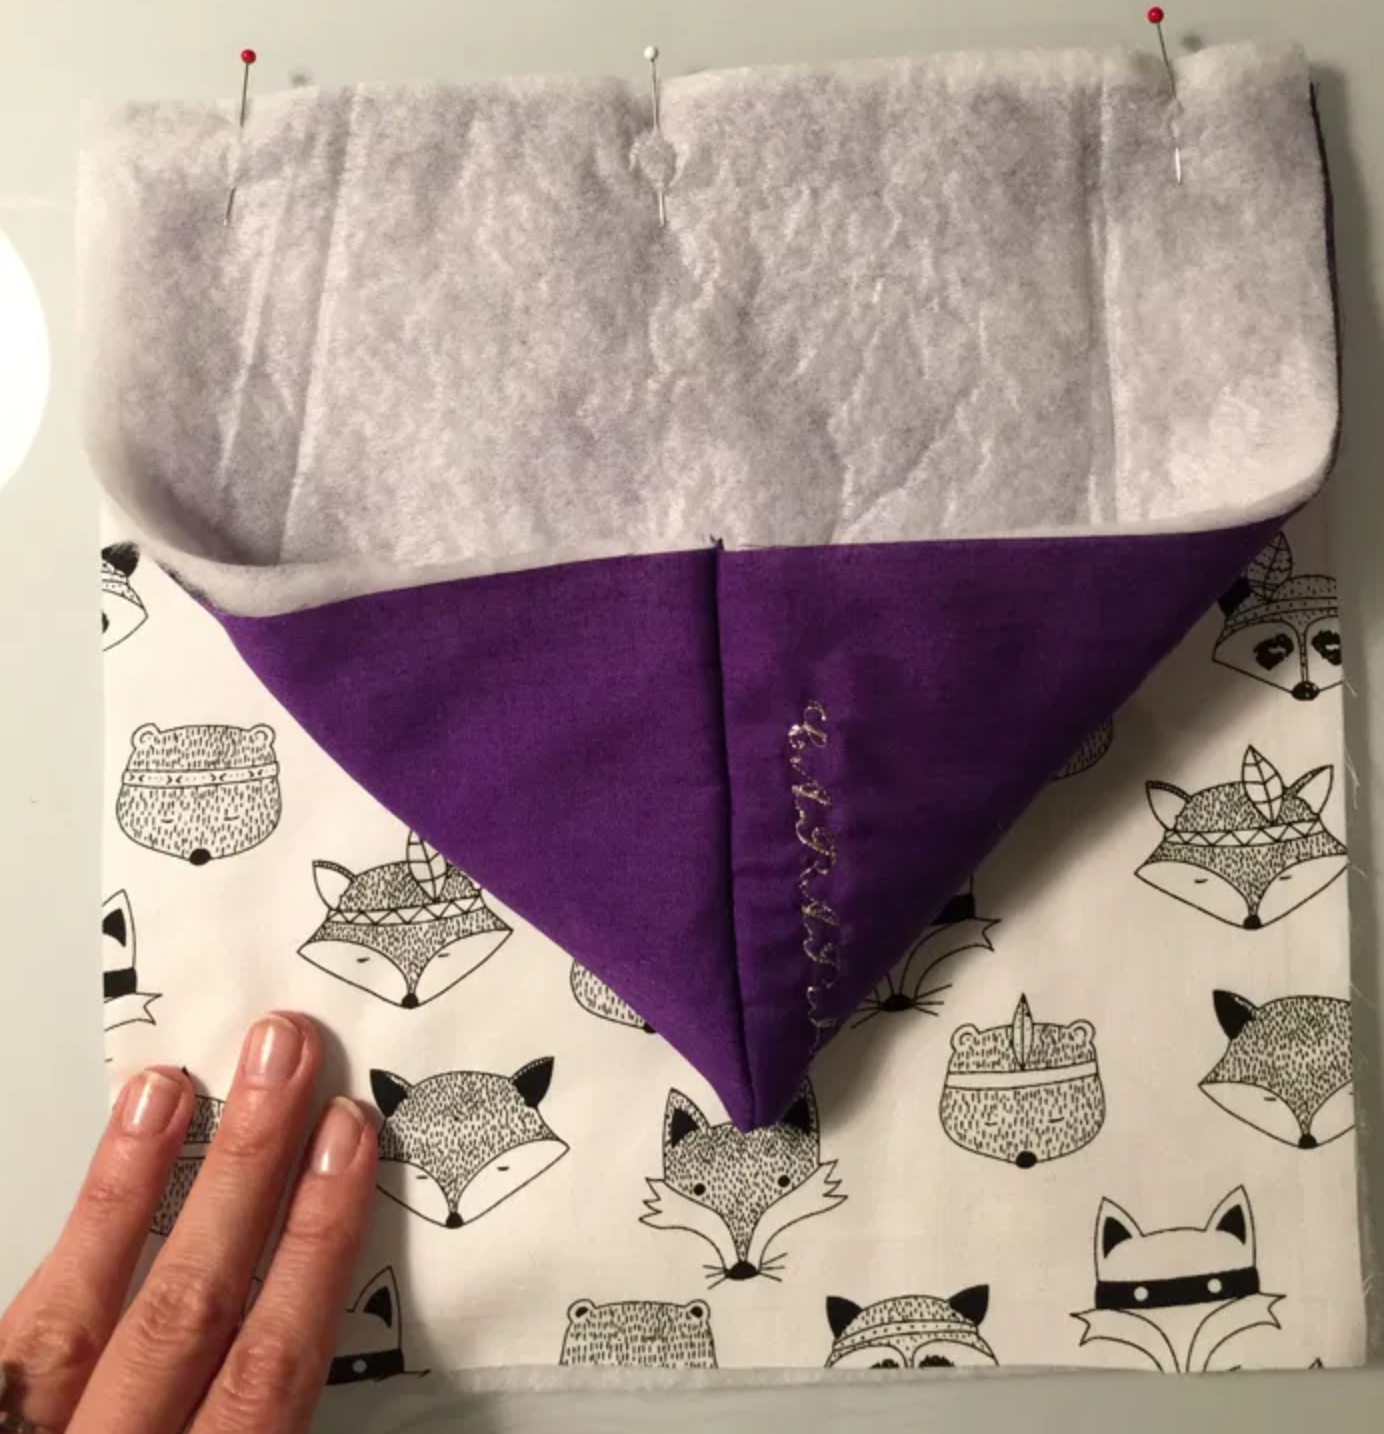
Your baby doll carrier will already look like this! Put these 2 pieces (outside and inside) on the side.

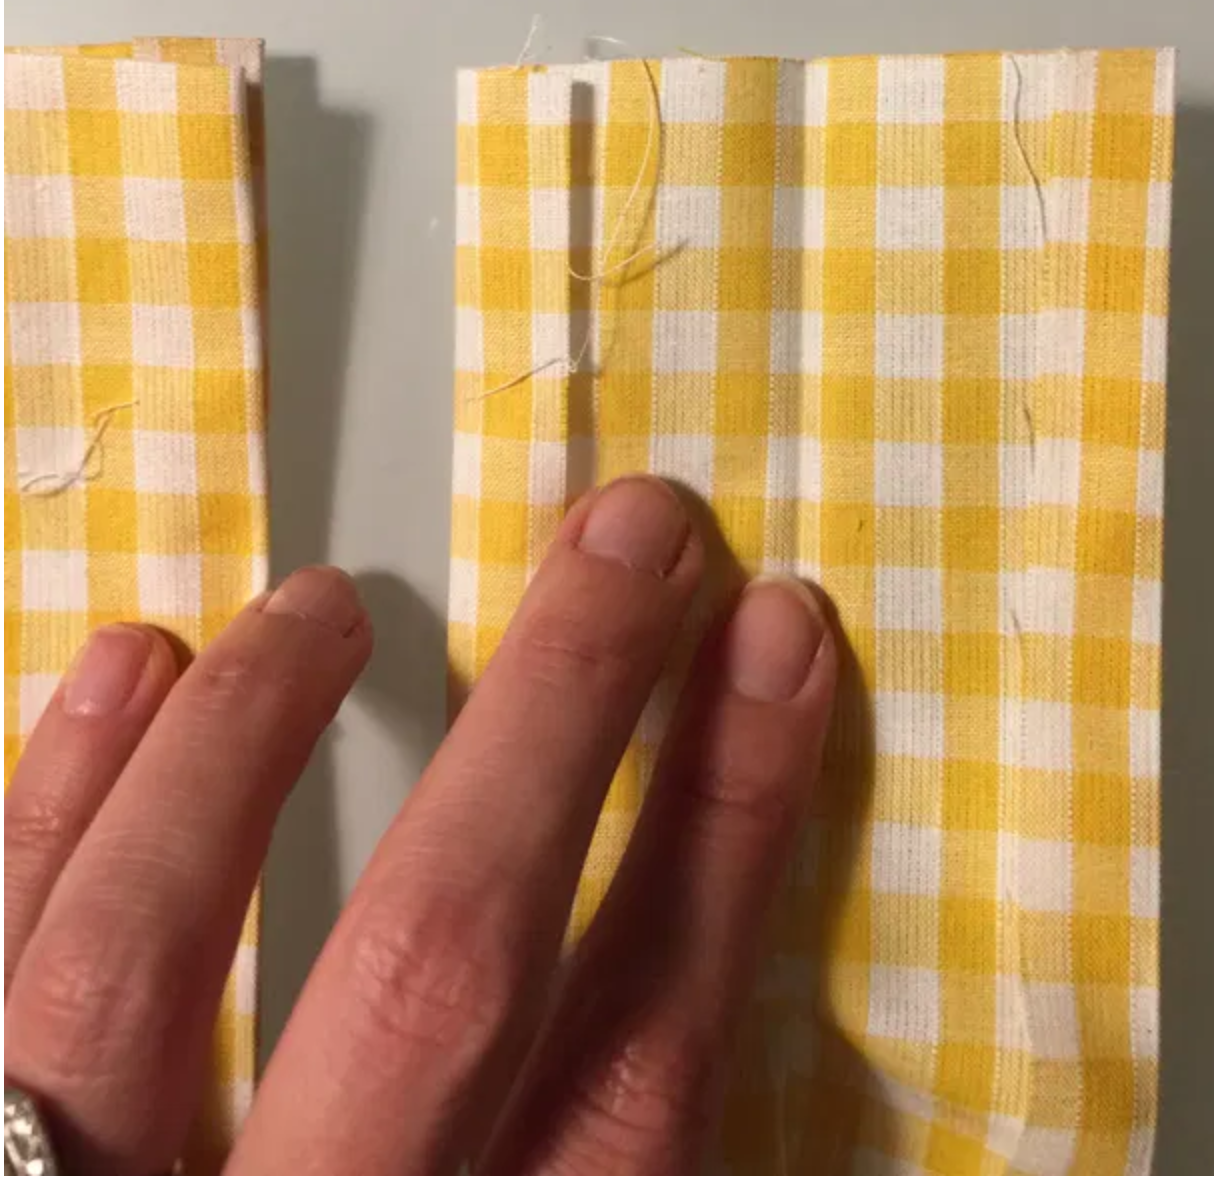
Fold the straps in half with the seams inside. 
One of the side doesn’t need the side seam inside as it will be sewn in between the different layers.
Press the straps and pin them.
Topstich your straps all the way around.
I used a thread that matched the color of the hood.

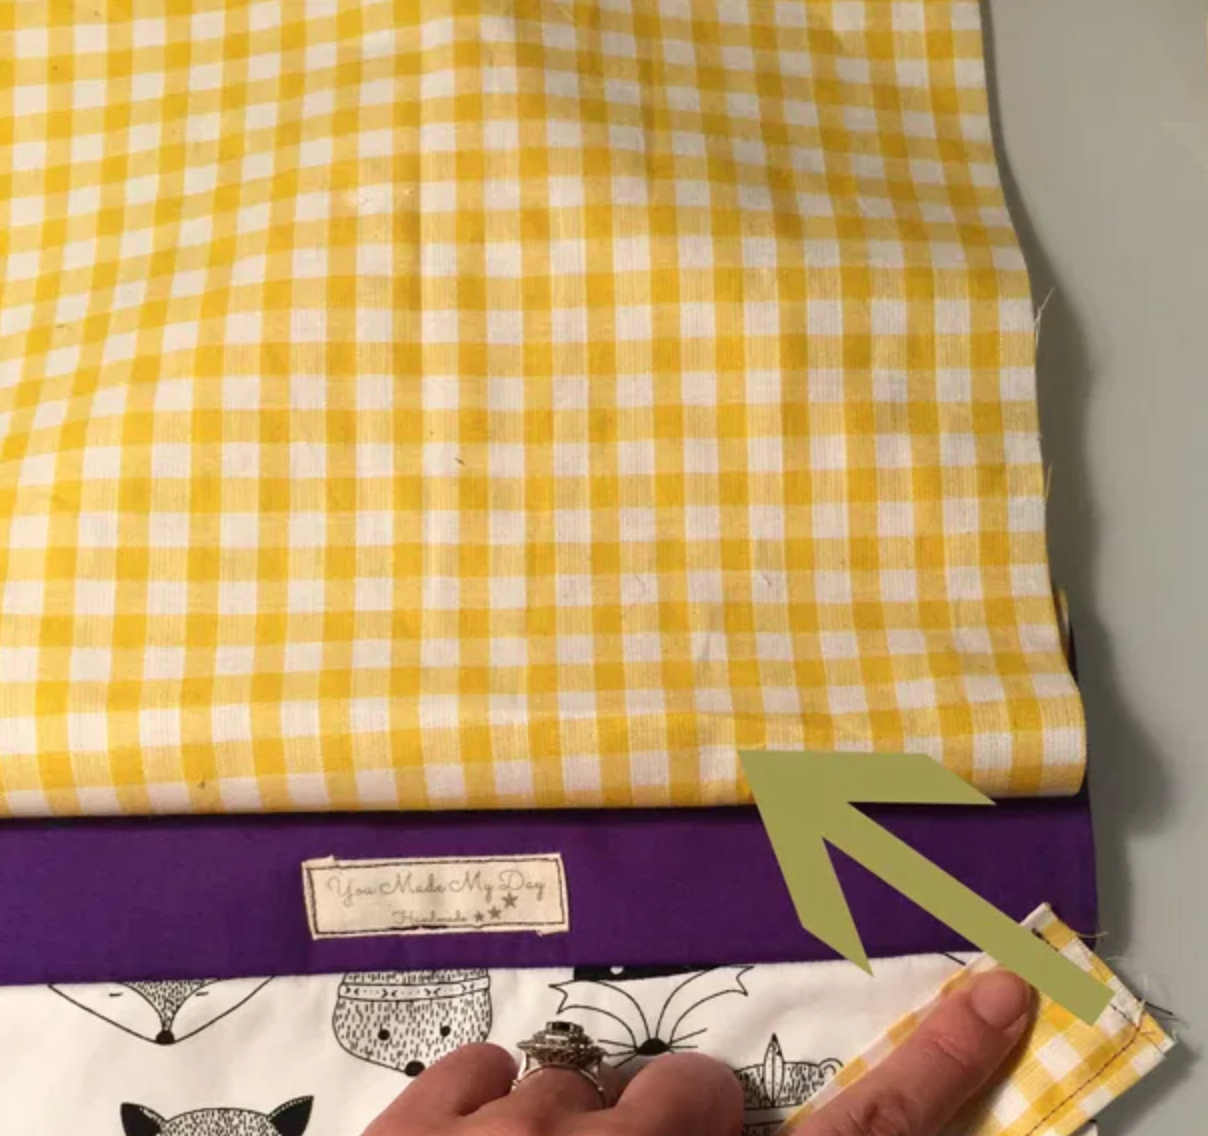
Place your outside and inside of your handmade baby doll carrier right sides together as shown on the picture below. 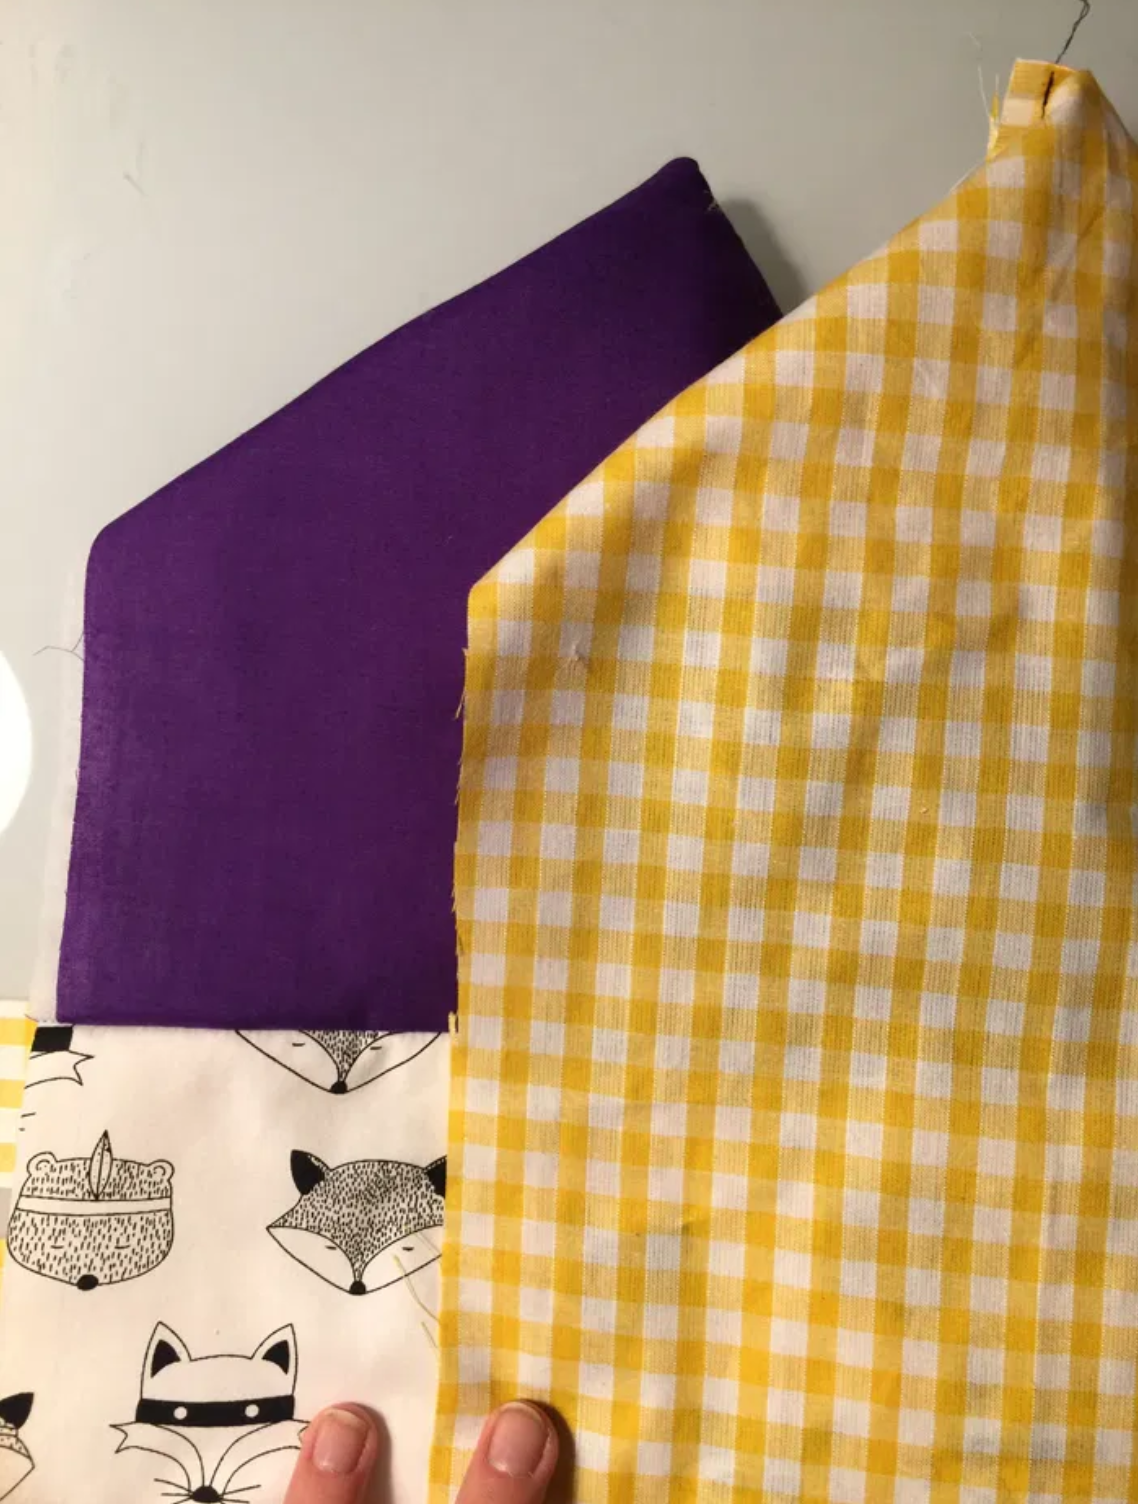
Place your straps in between the two layers. Please note that the straps should upwards as the arrow shows (and not downwards as they look on the picture)
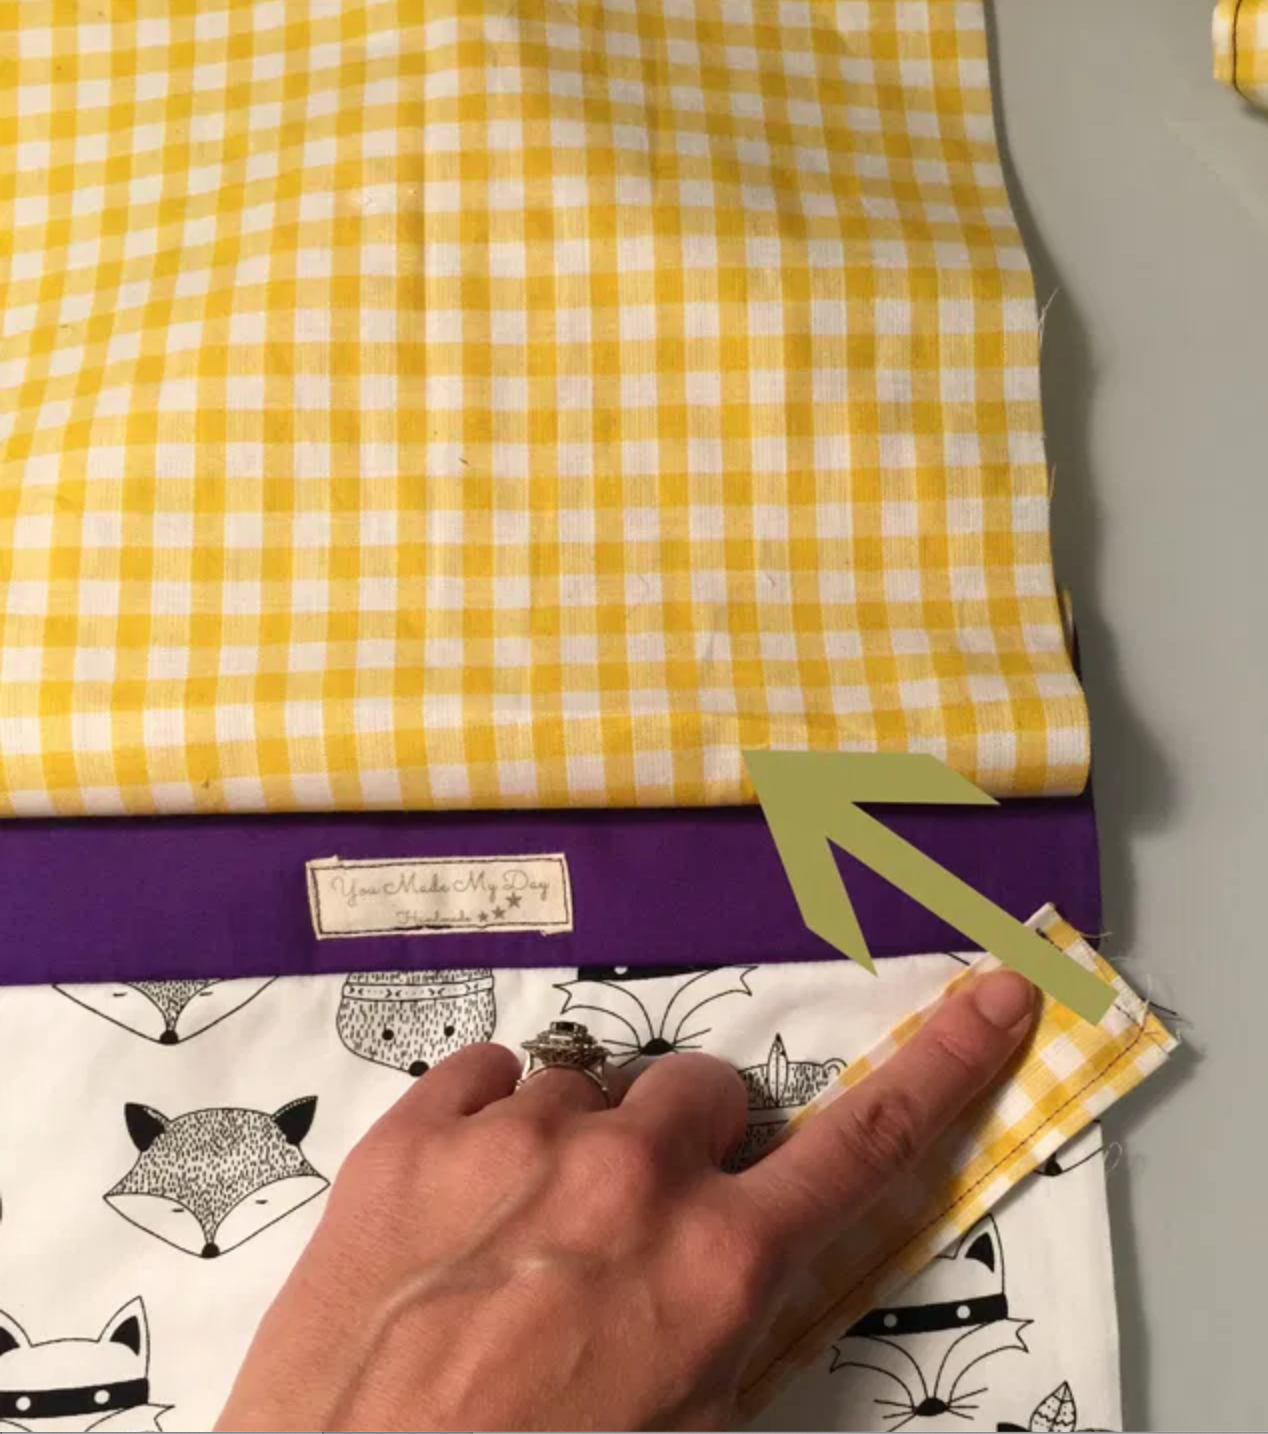
Both straps should go upwards. Make sure that you only pin both extremes and that the full strap is not caught in your stitches. 
Pin everything together leaving the bottom un-pinned. 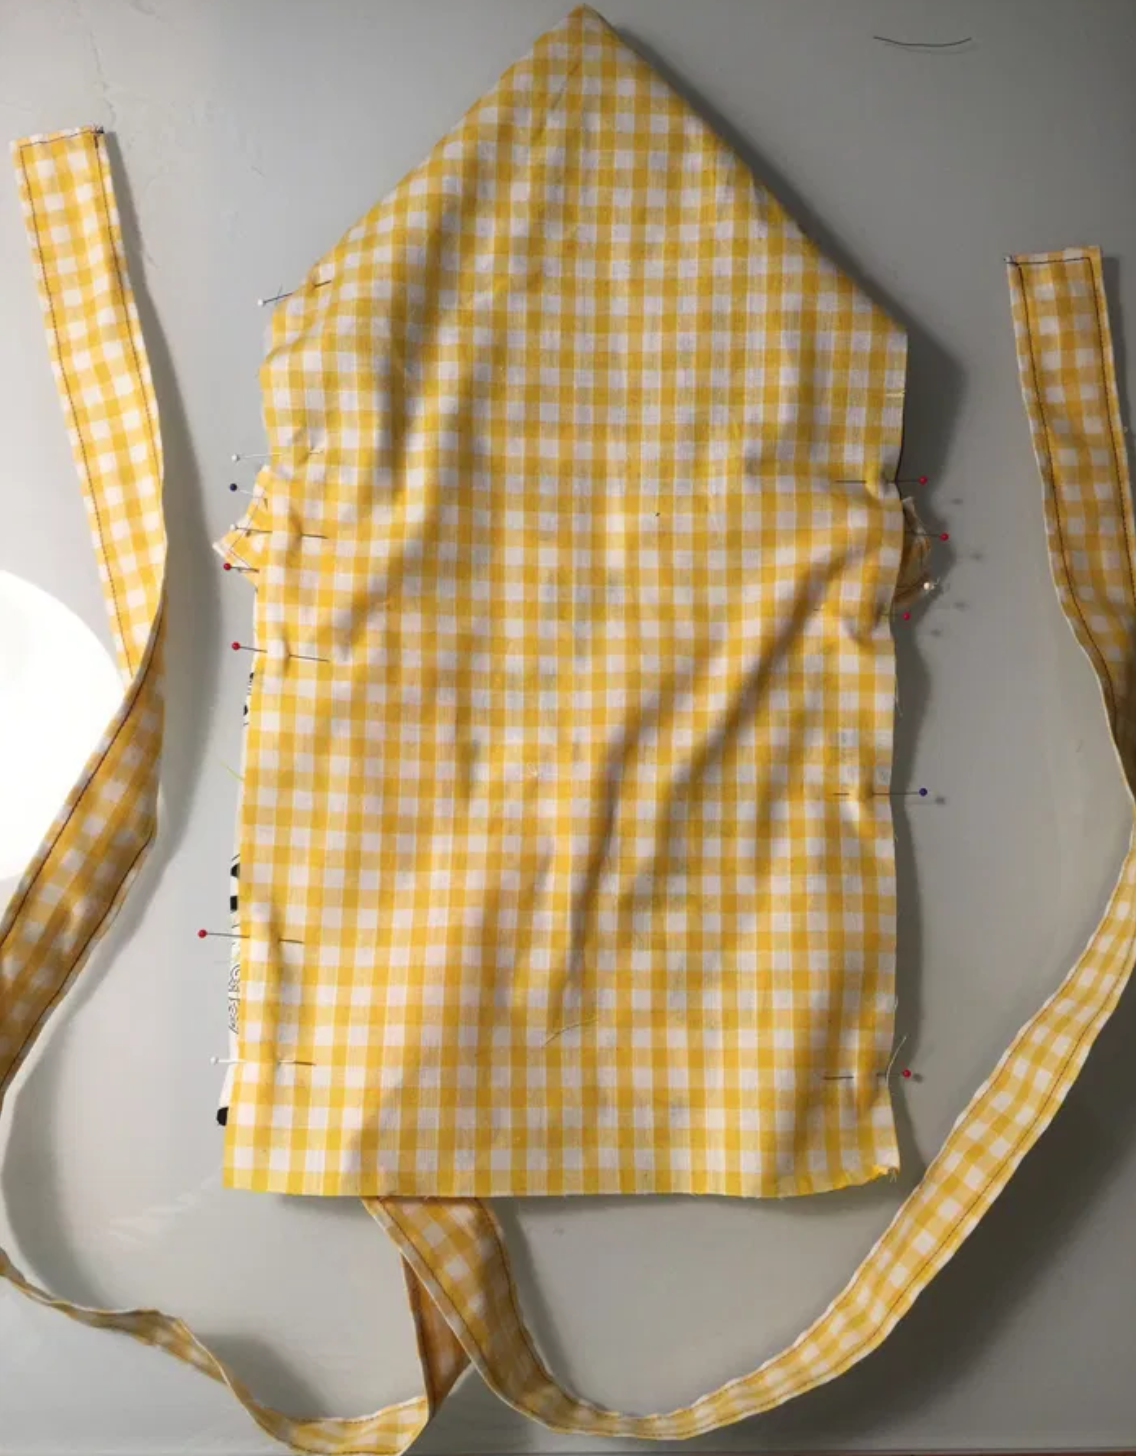
Stitch all around from one side to the other, leaving the bottom open. 
Clip the extra fabric from the straps.
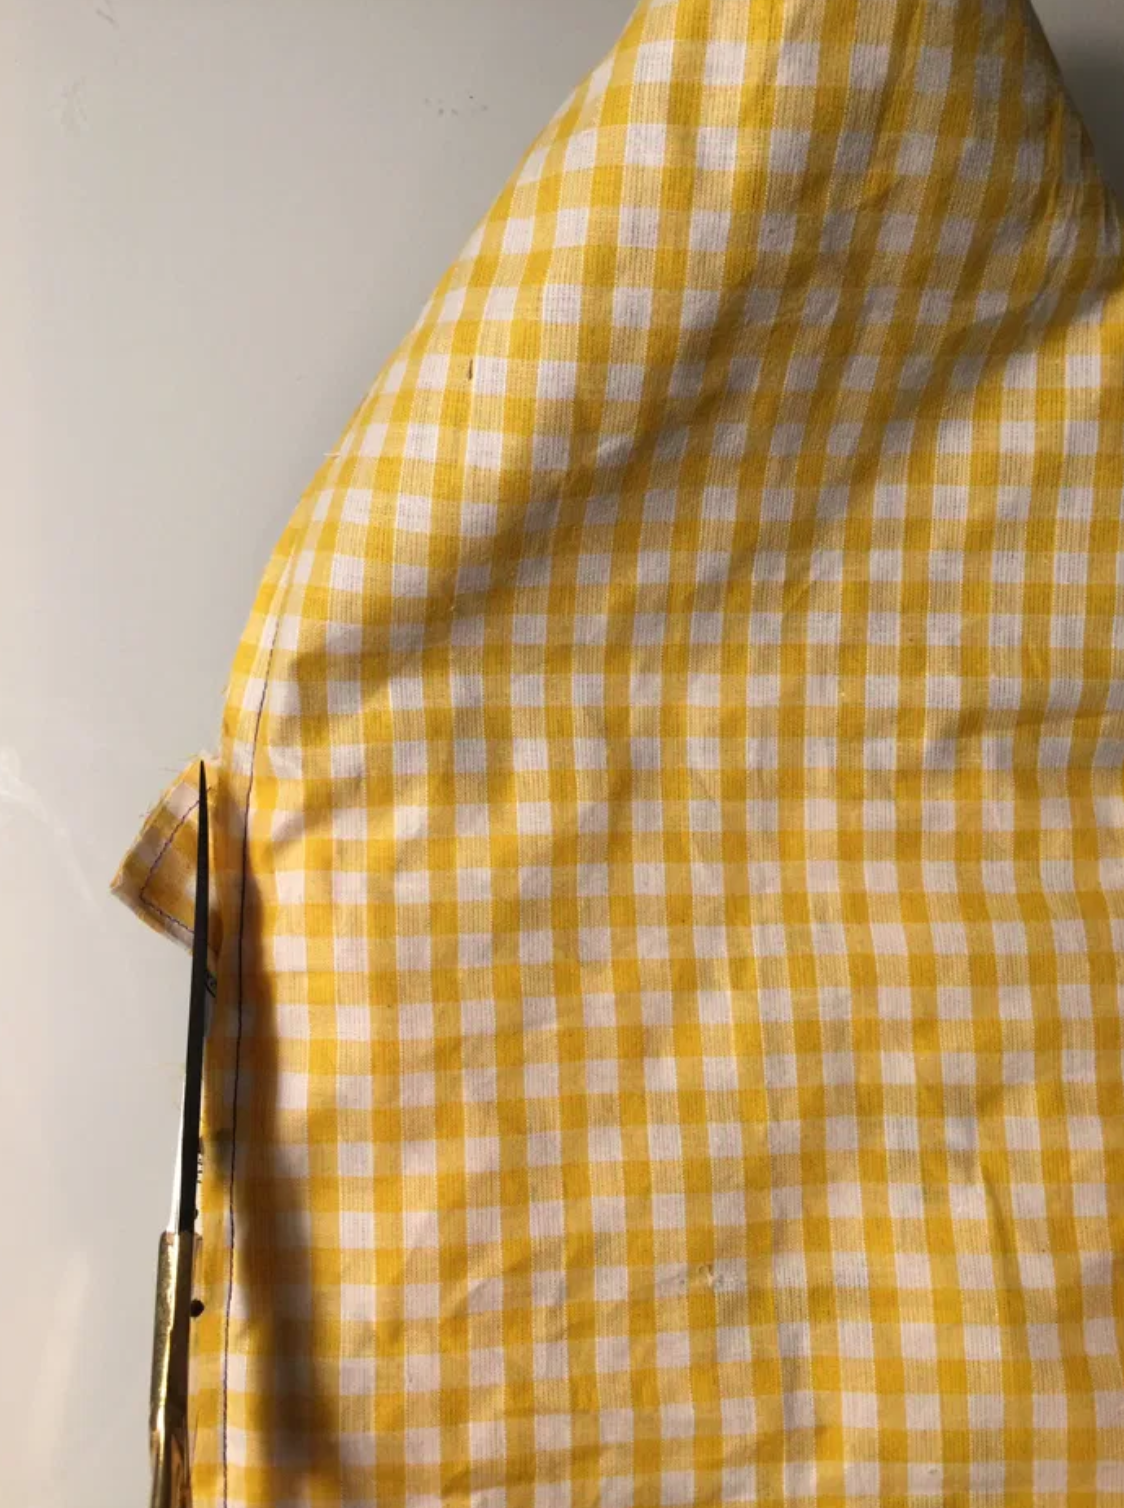
Turn the whole baby doll carrier right side out through the bottom that is still un-stitched. 
Now, fold your belt in two with the seams folded inside. Press and pin the belt to the bottom of the handmade baby doll carrier, taking it in sandwich. Make sure that you place the middle of the belt right in the middle of the handmade baby doll carrier. 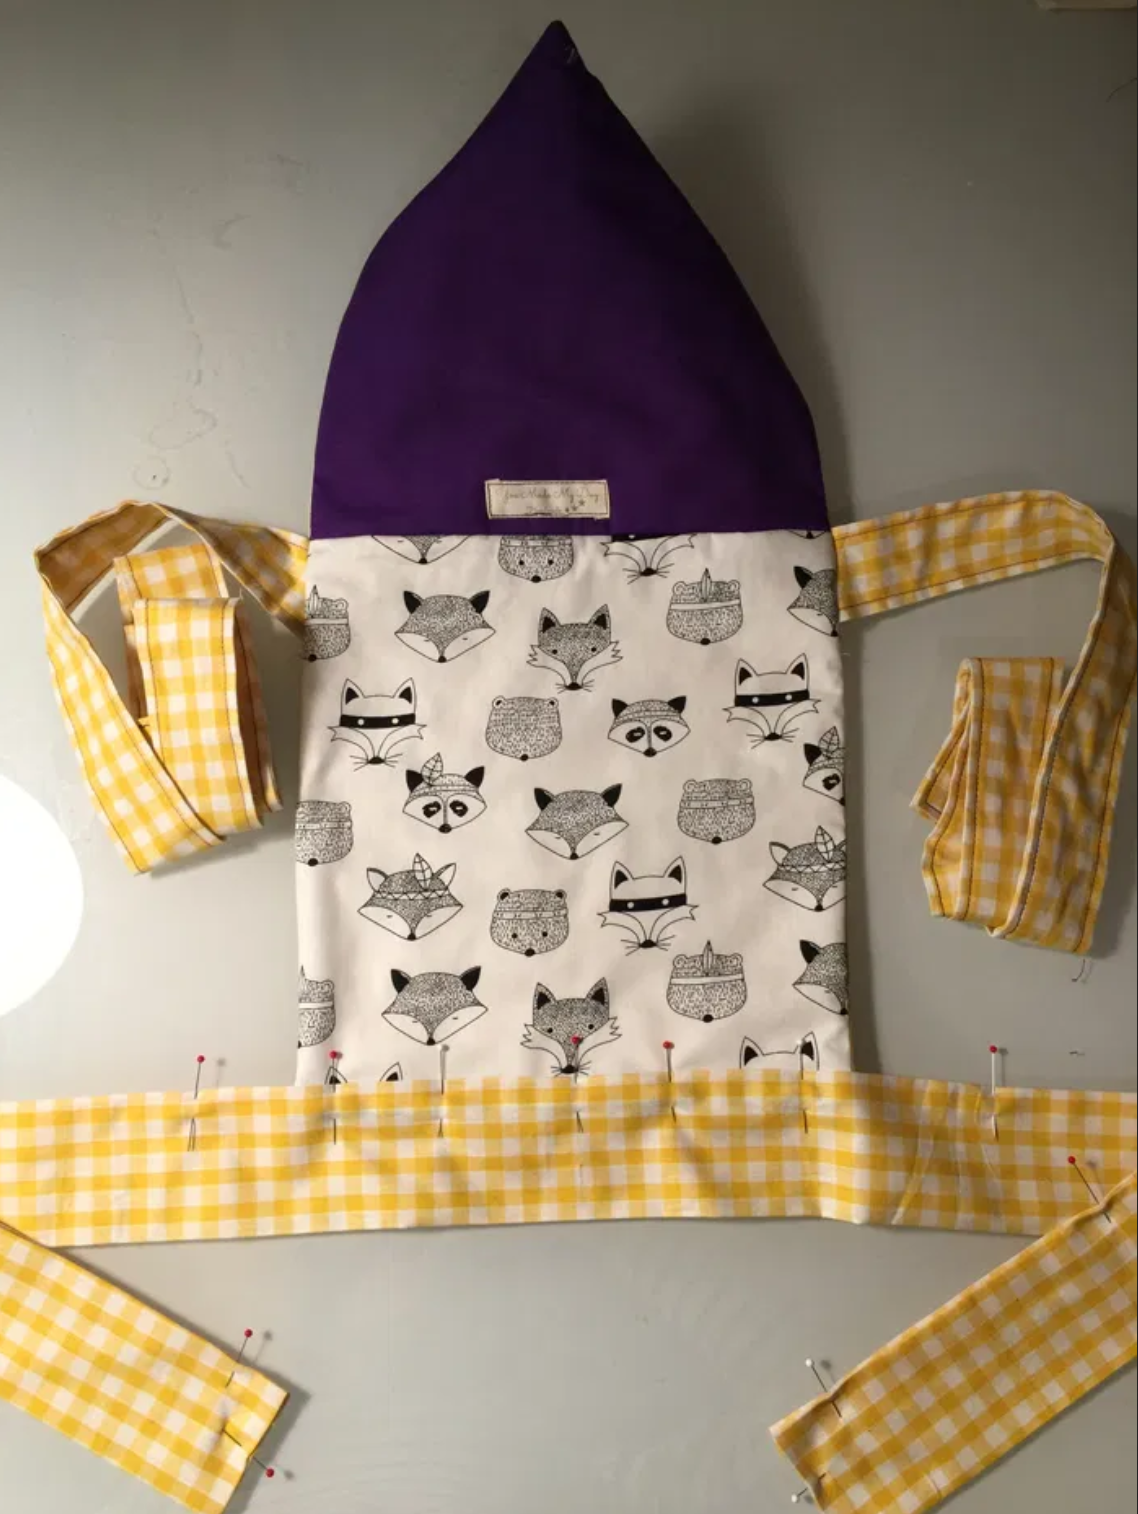

Now you just have to top-stitch the belt throughout, and ta-dah!
Your handmade baby carrier for dolls is ready to go!
This is the inside of the handmade baby doll carrier.
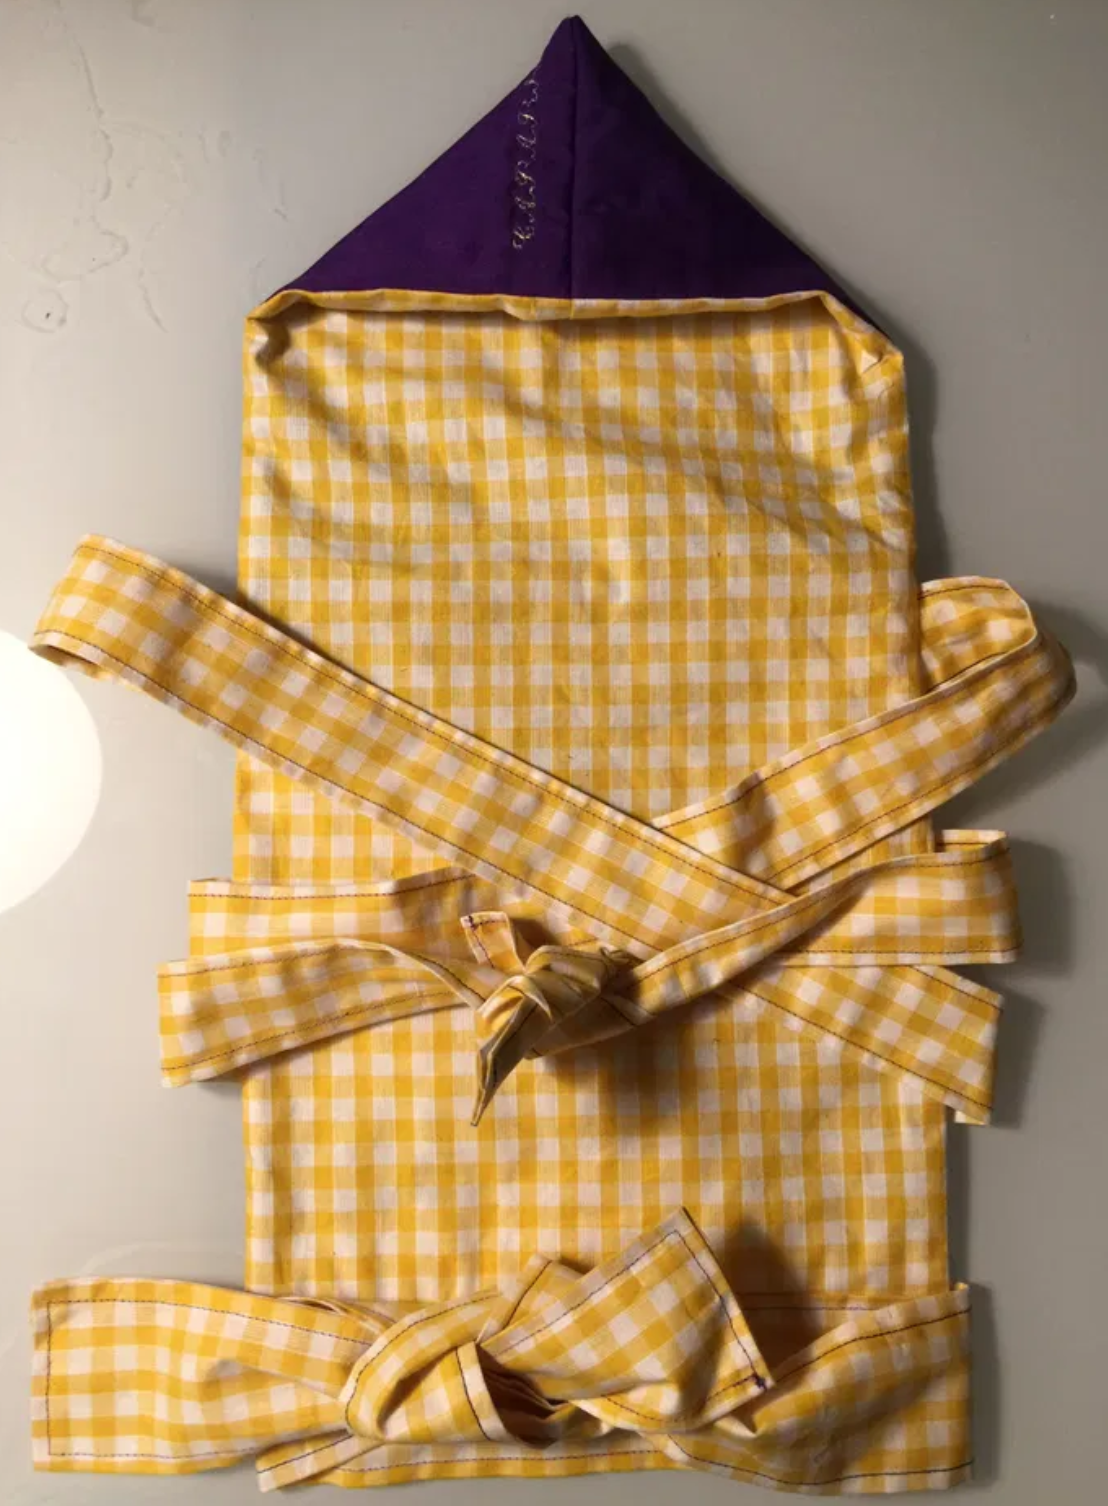
And here is the outside of the handmade baby doll carrier with the hood downwards. 
It wasn’t that difficult, isn’t it? And the baby doll carrier looks so pretty!

Now, the most difficult part of this whole handmade project is to explain your child that this handmade baby doll carrier is actually not for him/her but for a friend, when it’s been already adopted like this… 😉
Well, you can now easily make a second one, don’t you think?
0 Responses