 BERNINA Corporate Blog -
This is truly such a simple baby gift to sew, but it has such a big impact! The deep hems add a luxurious finish, the mitred corners are perfectly polished, and it’s so easy to make with your coverstitch machine!
I don’t have any kids – but I do have a lot of friends with kids, and as an avid sewist I find a lot of joy in making teeny tiny onesies, little leggings, and assorted other very cute gifts for the babies that do find their way into my life. The latest recipient is the soon-to-be little one of my childhood best friend, and I’m very excited to make a little pile of goodies for her new kiddo!
Since I don’t have kids, I really have to rely on the feedback I get from past makes to help me figure out what makes a successful handmade baby gift – so far, I’ve made two merino receiving blankets (this one will be the third) and in both previous instances, the feedback has been that the blanket has been a stand-out winner! One of them even resulted in a request for a second one, hah! It’s such a simple make, so I’ve decided that it’ll be a featured item every time I make a set of baby gifts!
The blanket is super simple to make – a square of cozy fabric (my absolute favourite to use is Merino interlock, if you can find it), some careful pressing, magic mitered corners, and a perfect coverstitch finish is all you need. If you wish, you could even add a machine or hand-embroidered name or design to a corner of the blanket, though I left this particular one blank. Here’s what you need:
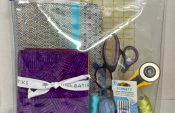
Materials for the mitred-corner receiving blanket
- 1 40” square piece of cozy fabric
- 1 spool matching thread
- Coverstitch machine (I’m using the bernette b68 – we’ll talk more about this below!)
- Ironing setup, preferably with steam
- Scissors
- Hem Gauge or 6” ruler
How to sew the mitred-corner receiving blanket
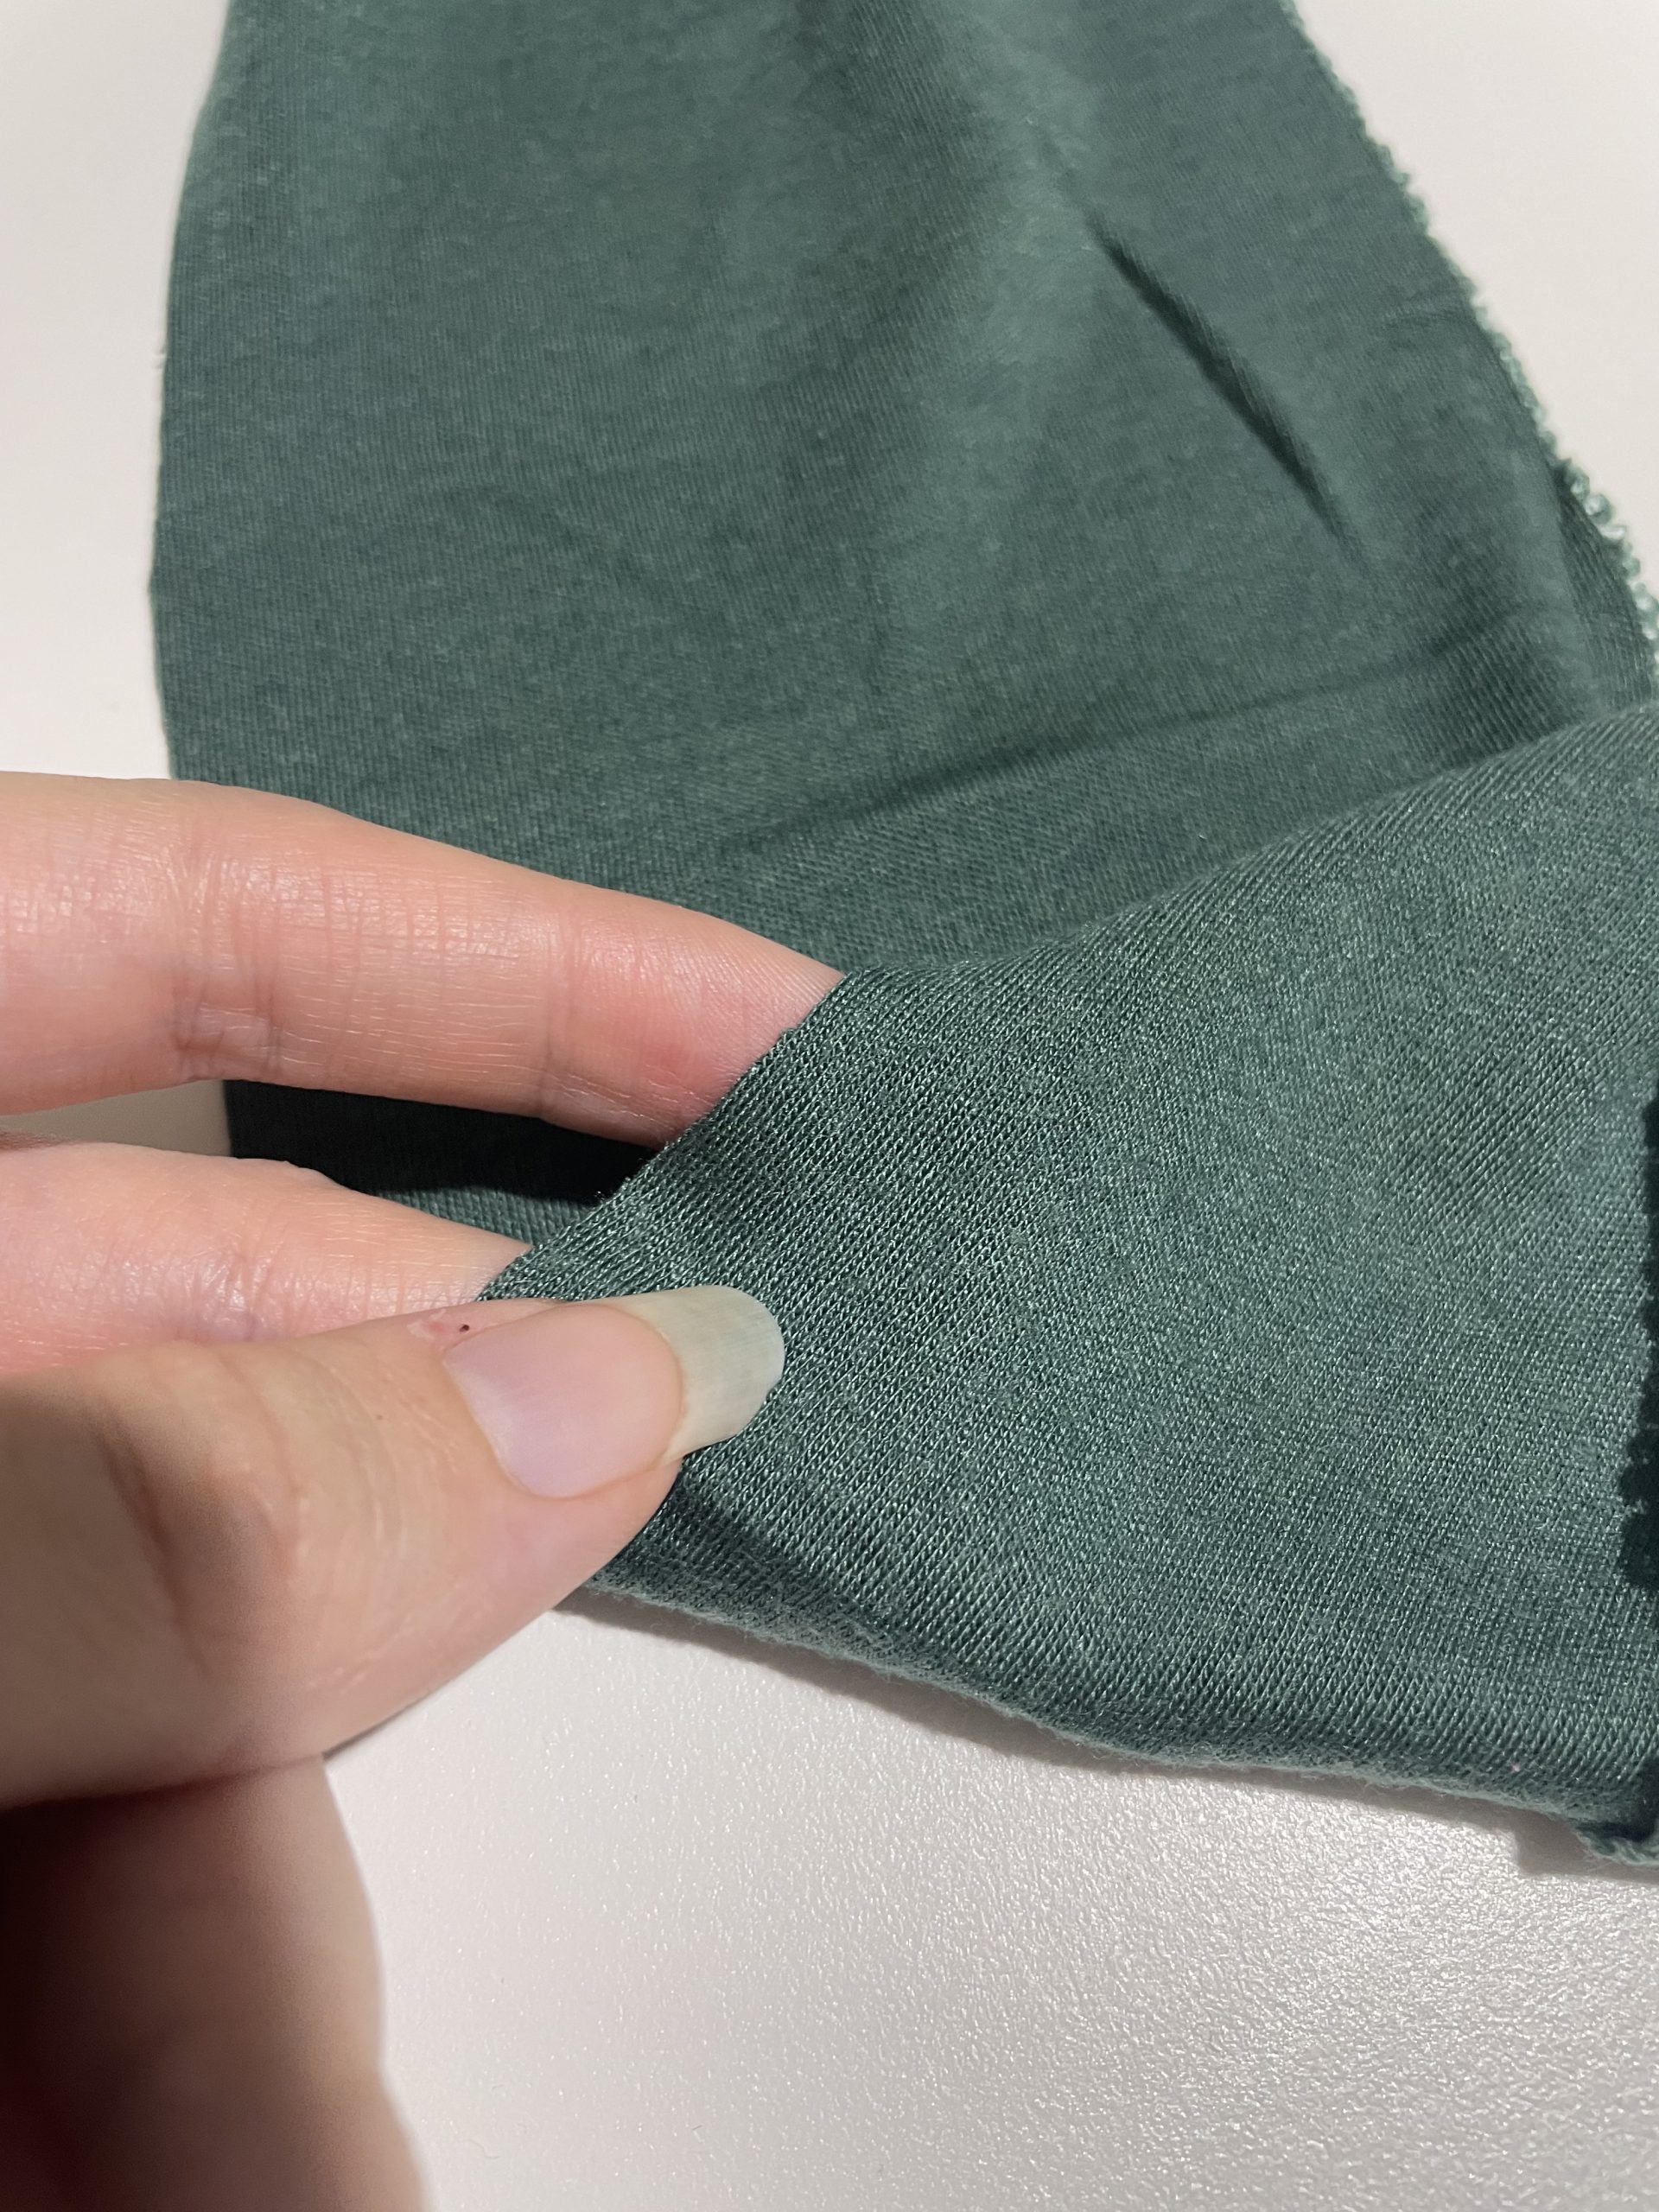
First, cut out your square of fabric, if you haven’t already. My absolute favourite fabric to use for these blankets is Merino Interlock – you may also see it called ‘double jersey’. It appears knit on both sides, instead of having a nubby purl side on the back. It’s reversible, twice as thick as regular jersey, and ultimately SUCH a comfy cozy fabric for babies. It does require gentle washing (cool water, machine wash, cool dry) so consider the recipient as generally easy-care items are best for new parents, but the feedback I’ve had is that the fabric is worth it.
If you’re purchasing in metric, you can get away with a metre of fabric which is technically about 39.4” – use the extra width to make some additional baby goodies! If you’re buying in yards, 1.25 yards is best as 36” won’t allow enough wiggle room for our big hem.
As with folding a square of paper for Origami, you can fold your fabric over on a diagonal to cut the square – just ensure it’s laid completely flat with no distortion, and measure the two cut lengths to ensure they’re both 40”.
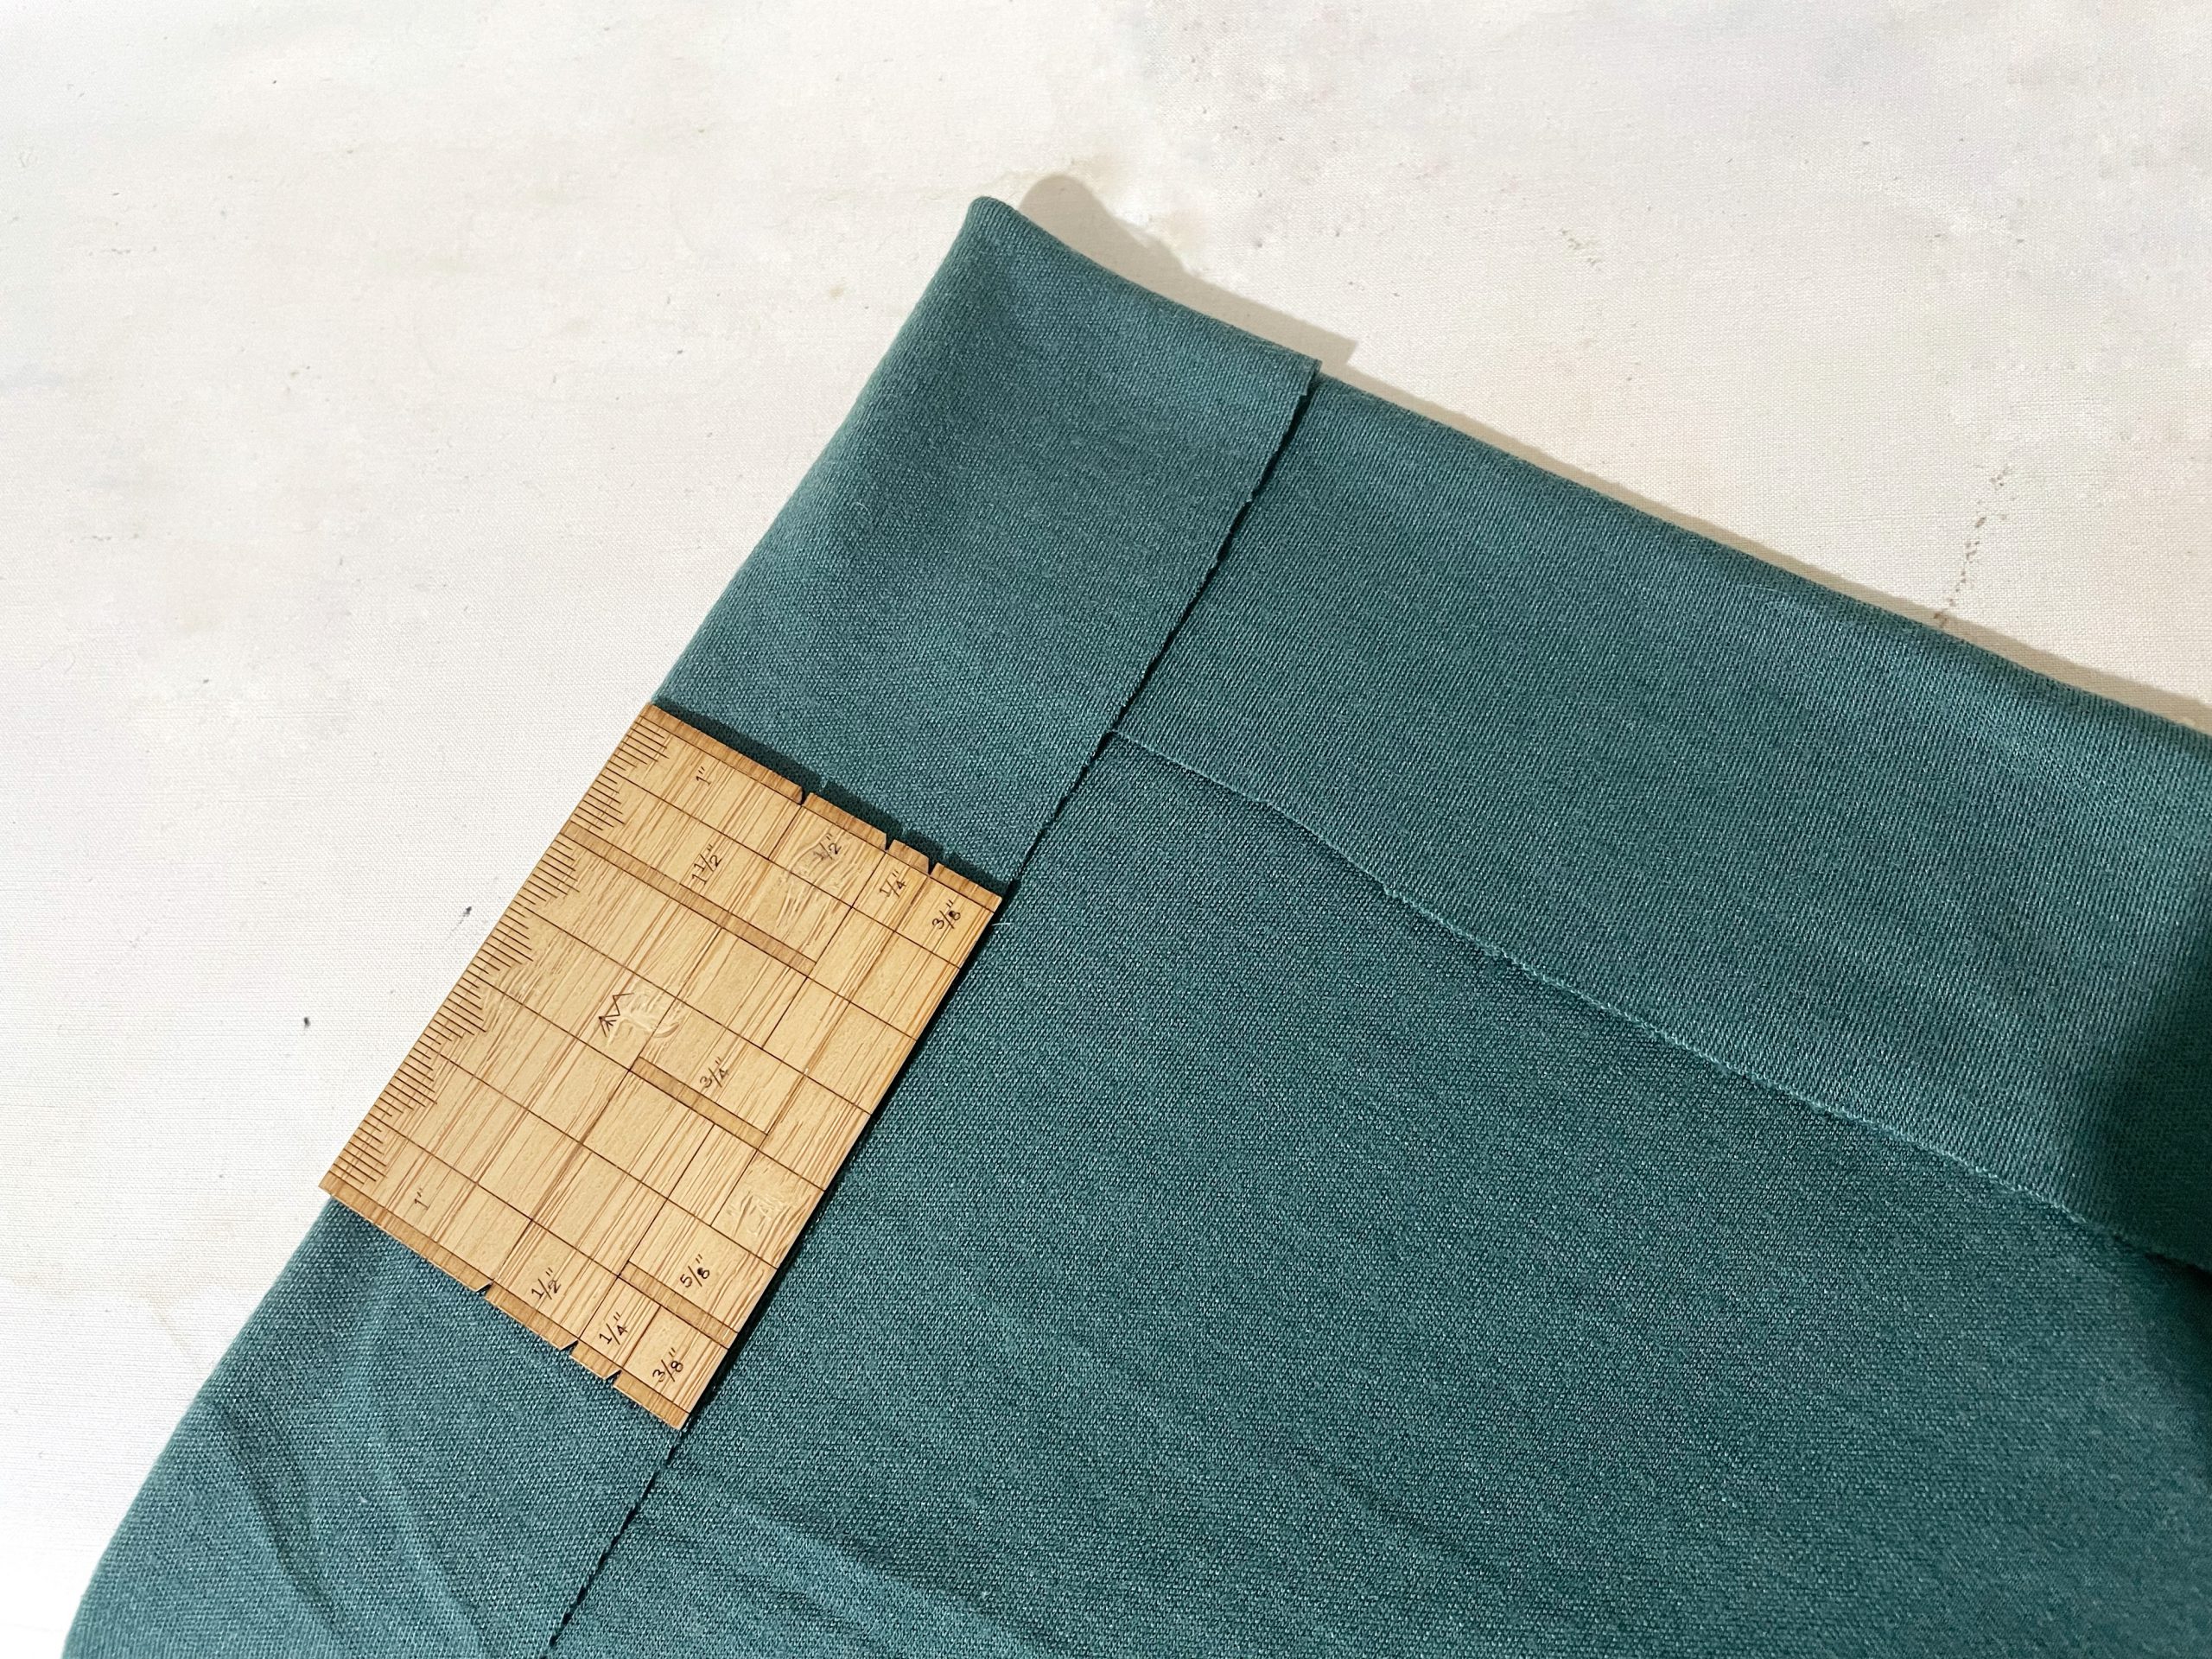
Next, we iron! Take your blanket to your ironing station and press each edge under 2” – using your hem gauge to keep the measurement consistent. Don’t rush this step, that measurement is going to be important later! This will bring the completed blanket’s measurements to 36” square, and give us a beautiful thick, cozy hem. There’s no need to fold under the raw edge a second time – this edge will be caught by your coverstitching later on.
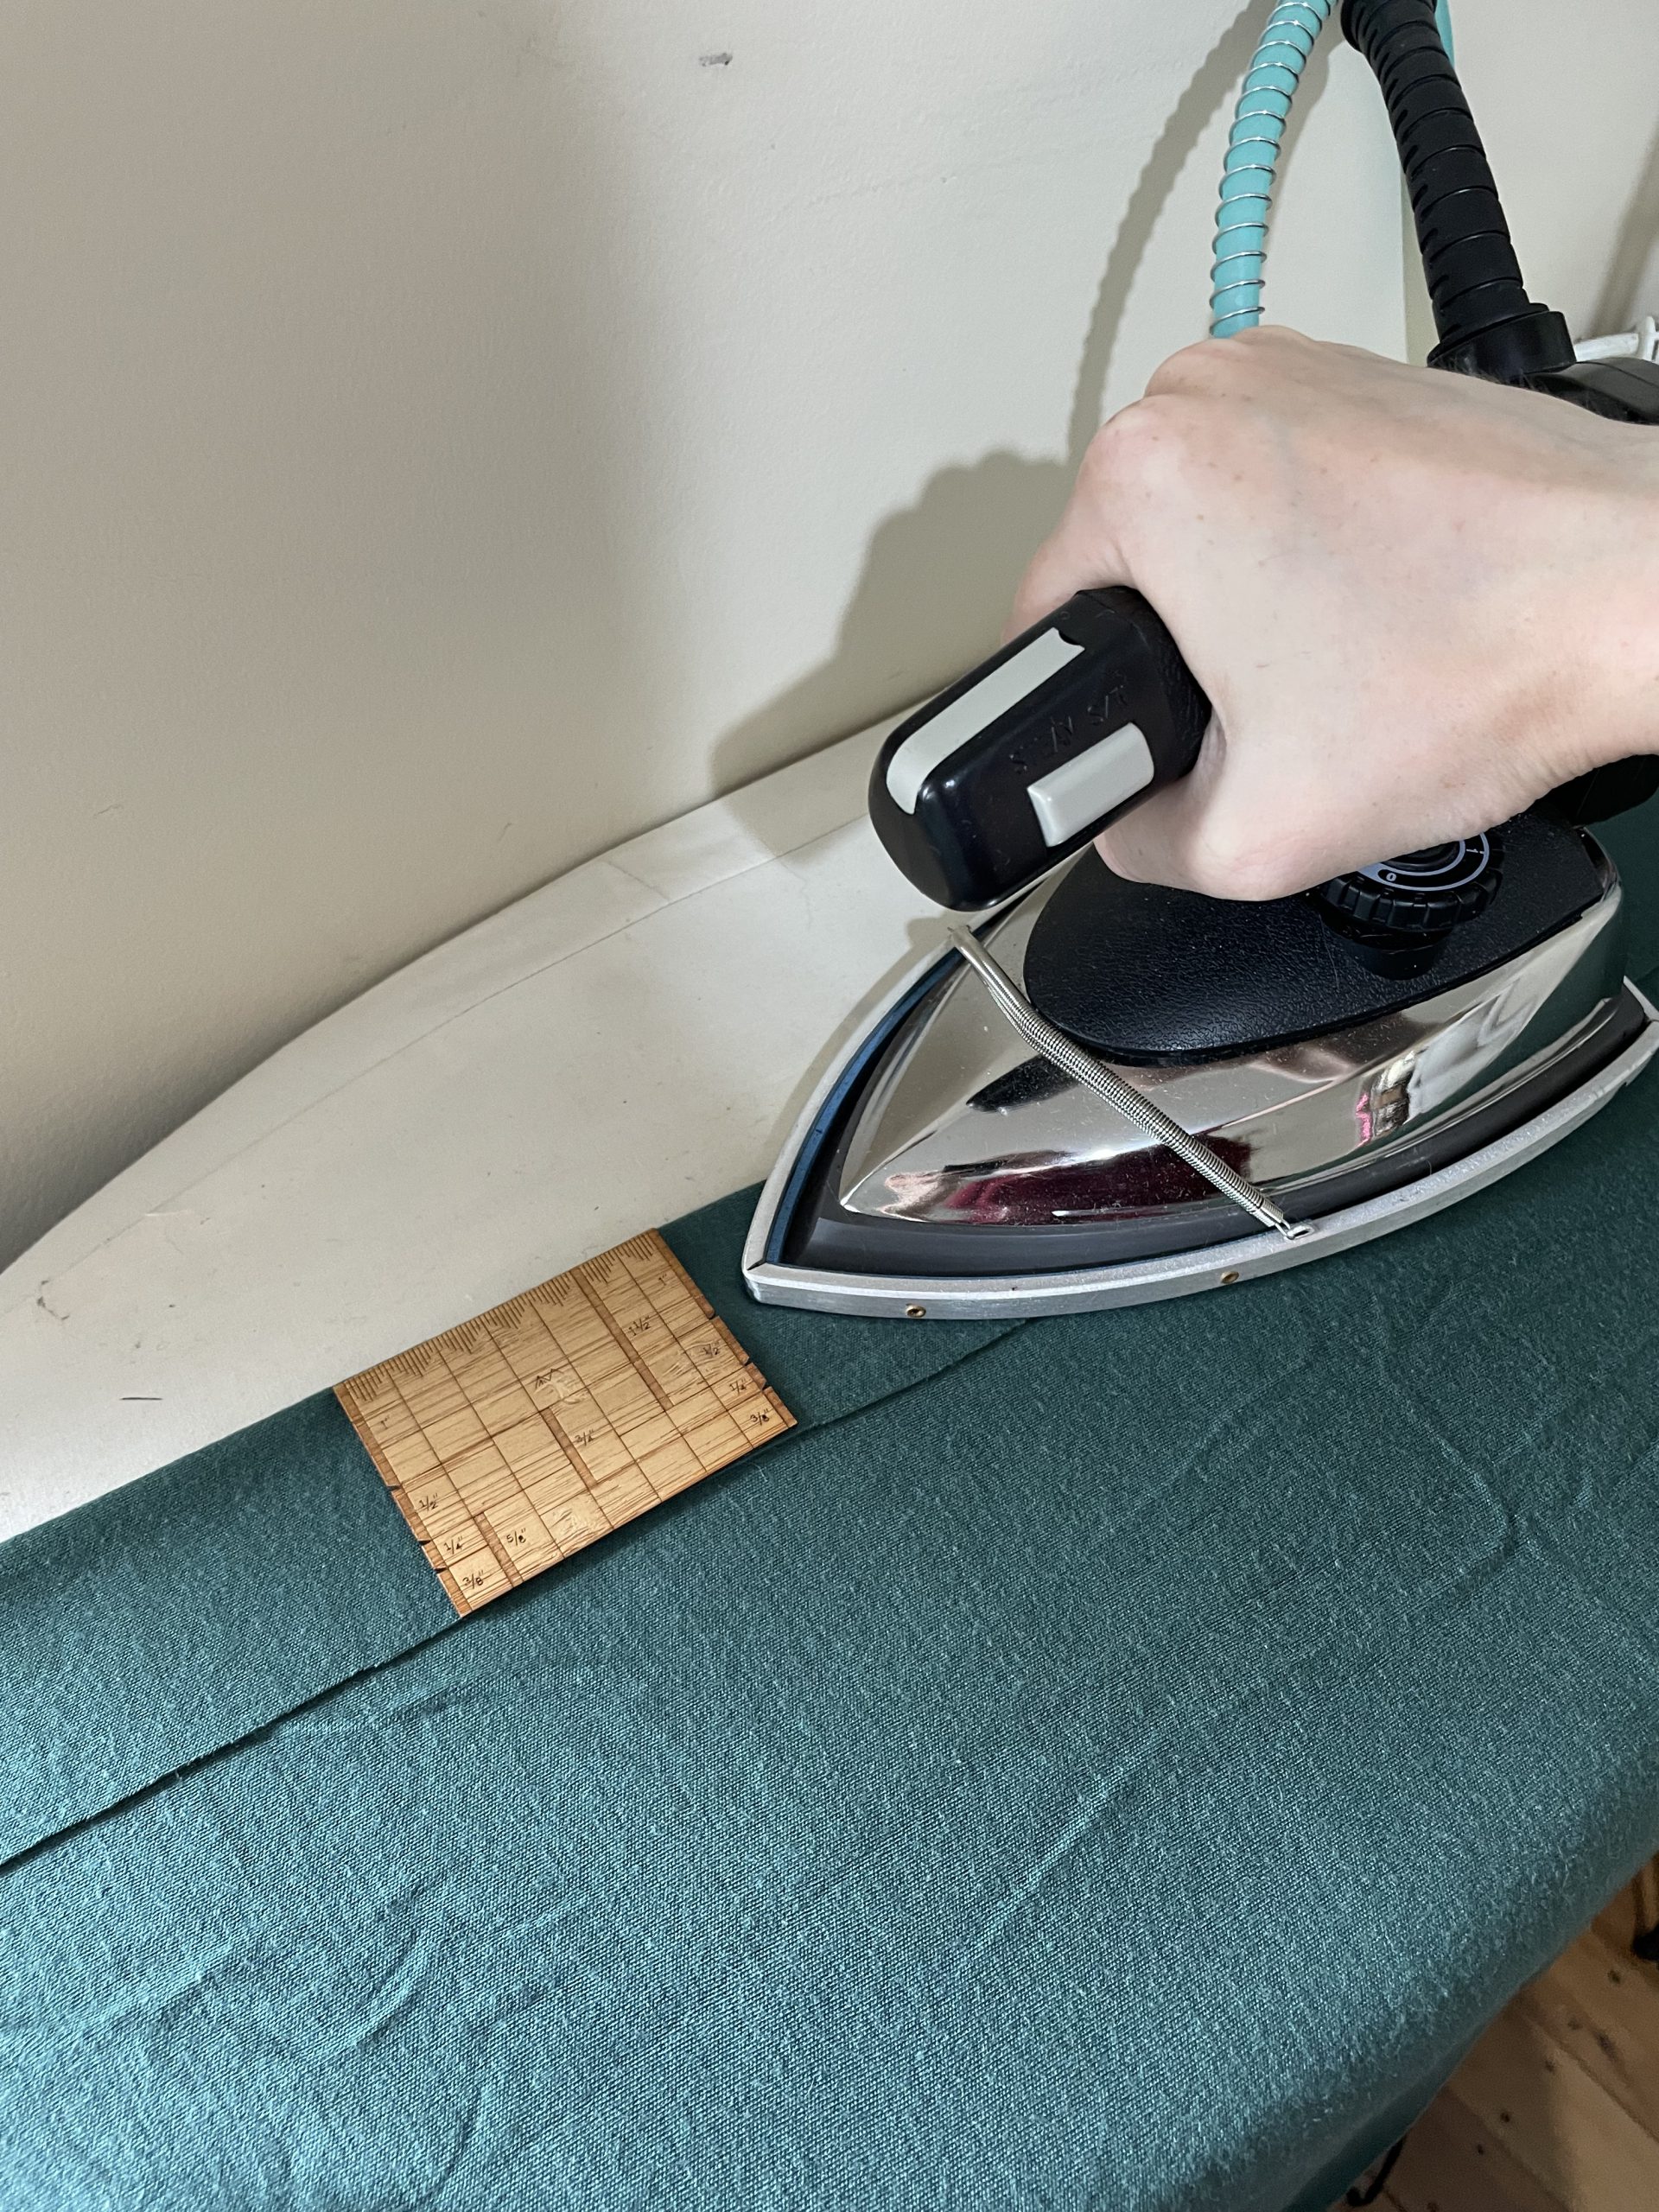
Take your time with the ironing step, and use steam if you can – you’ll want good, firm creases in your fabric to use as guidelines later on.
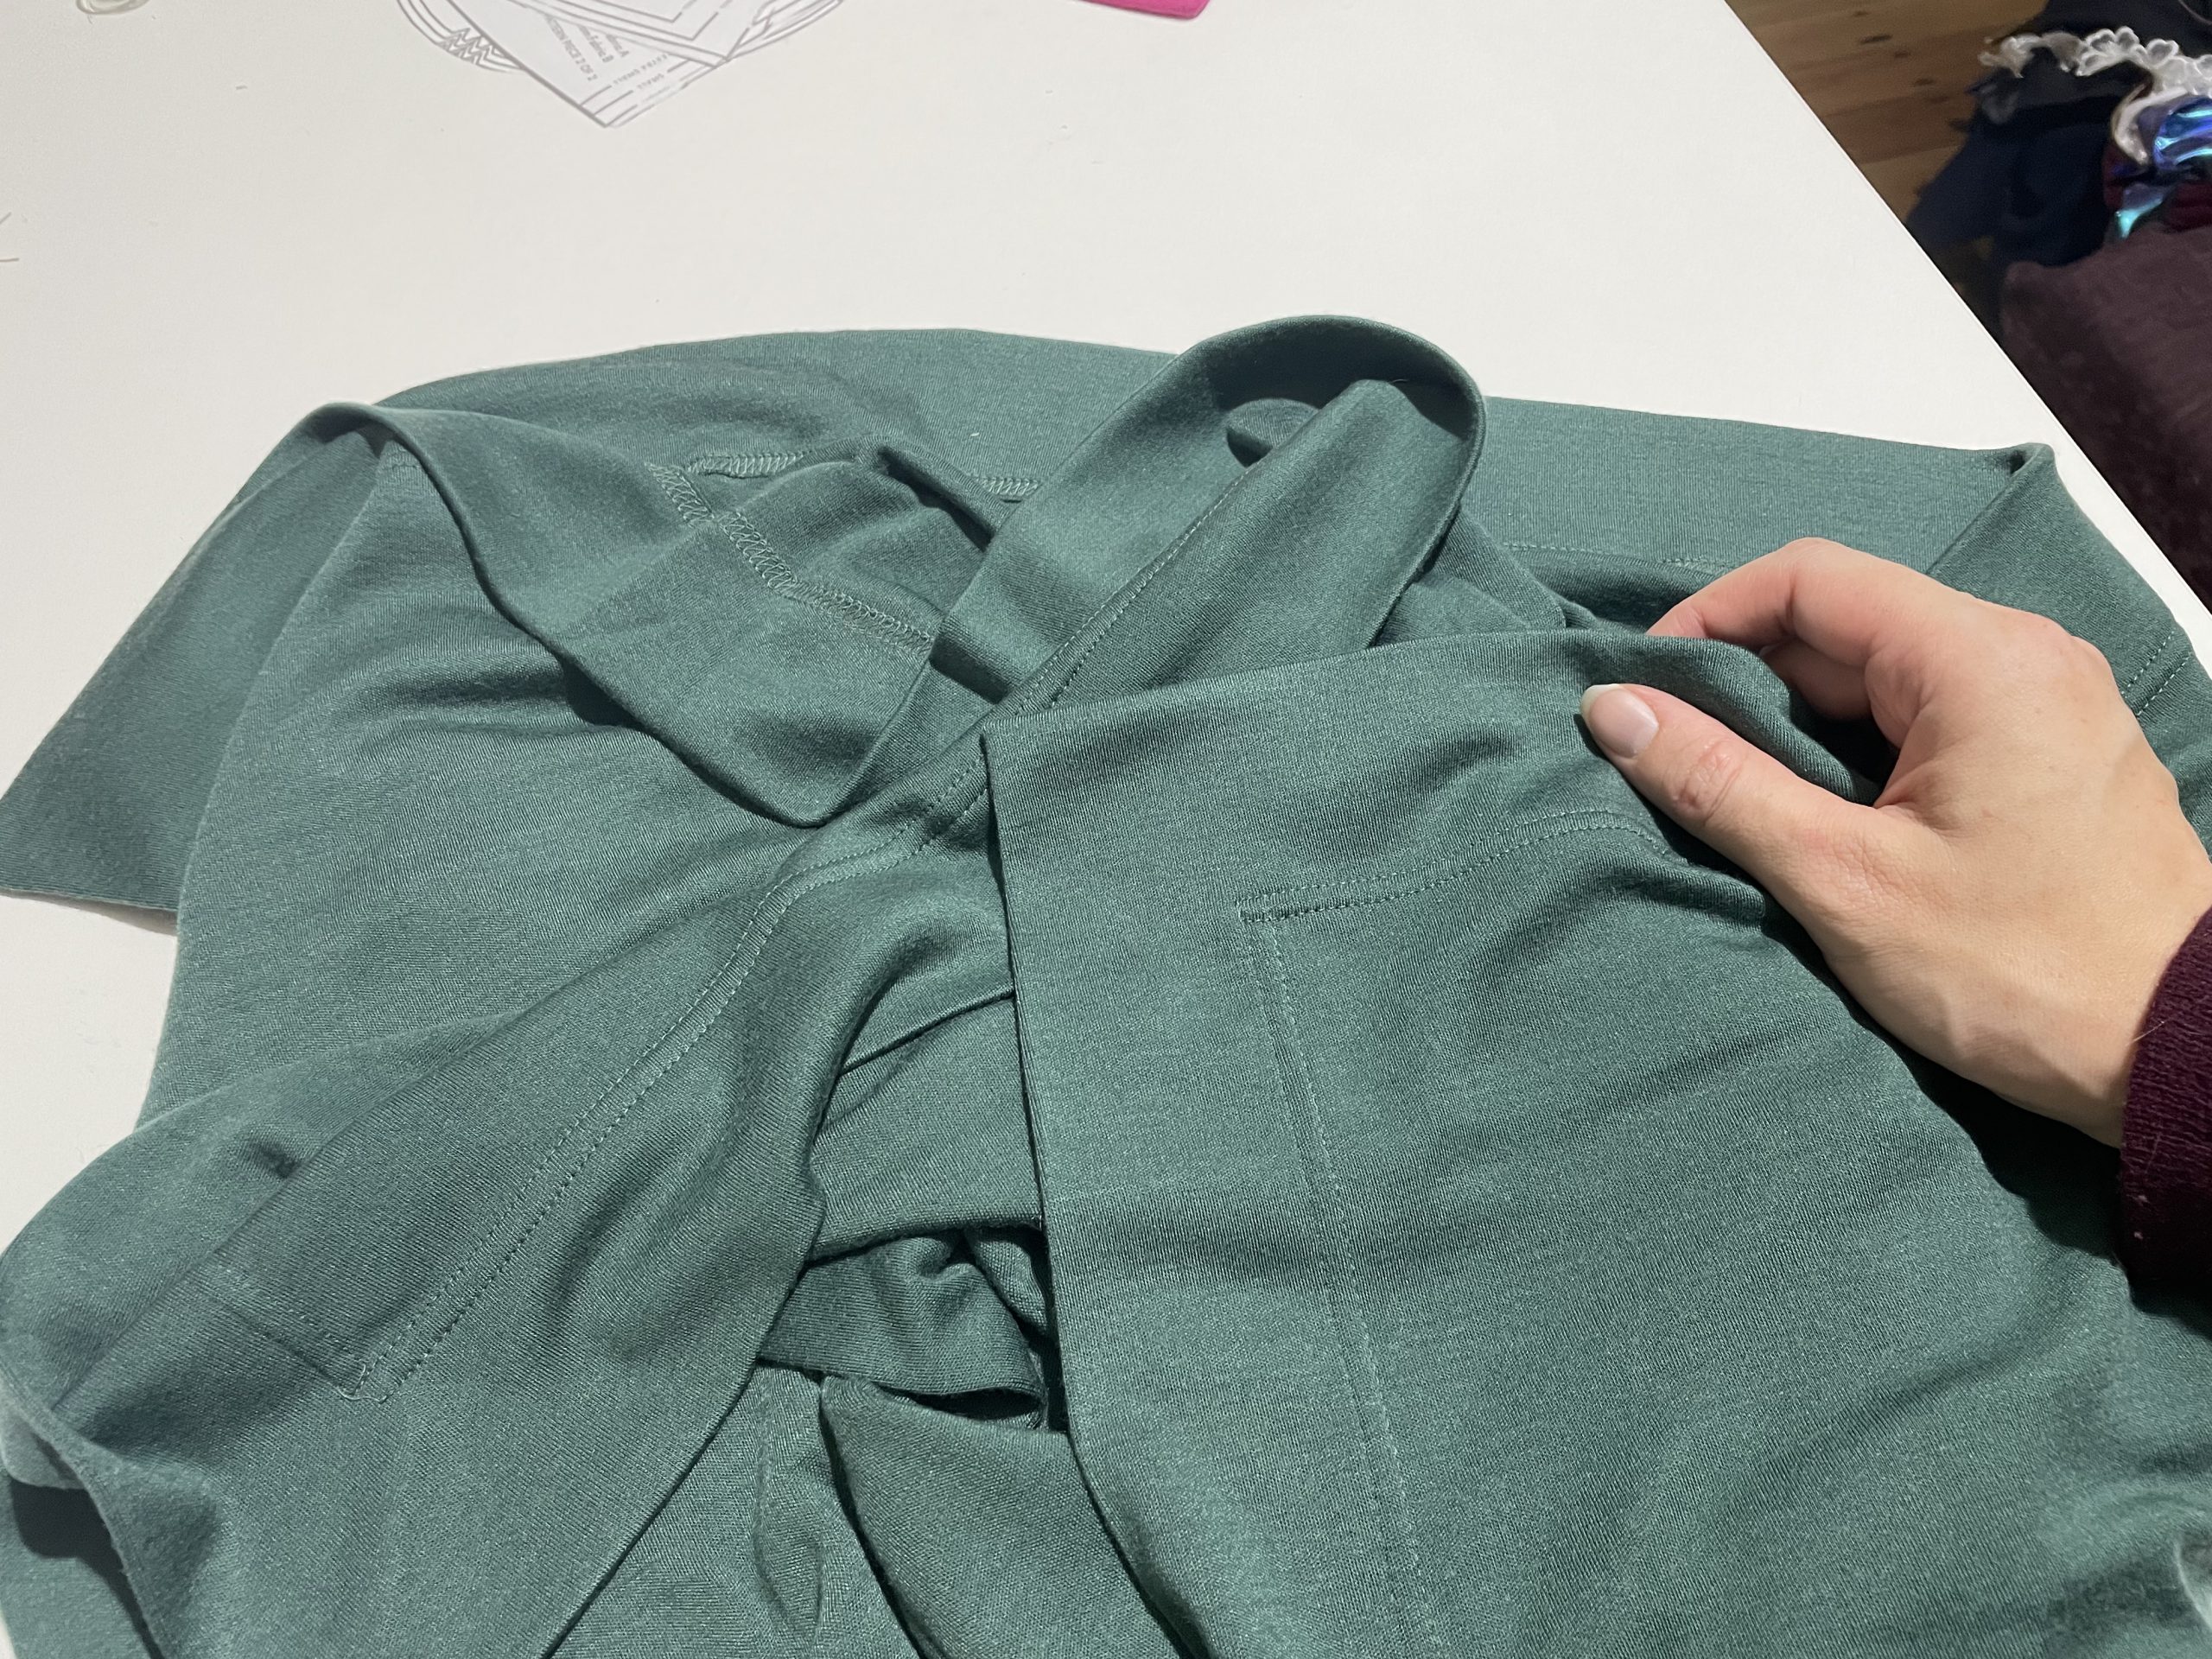
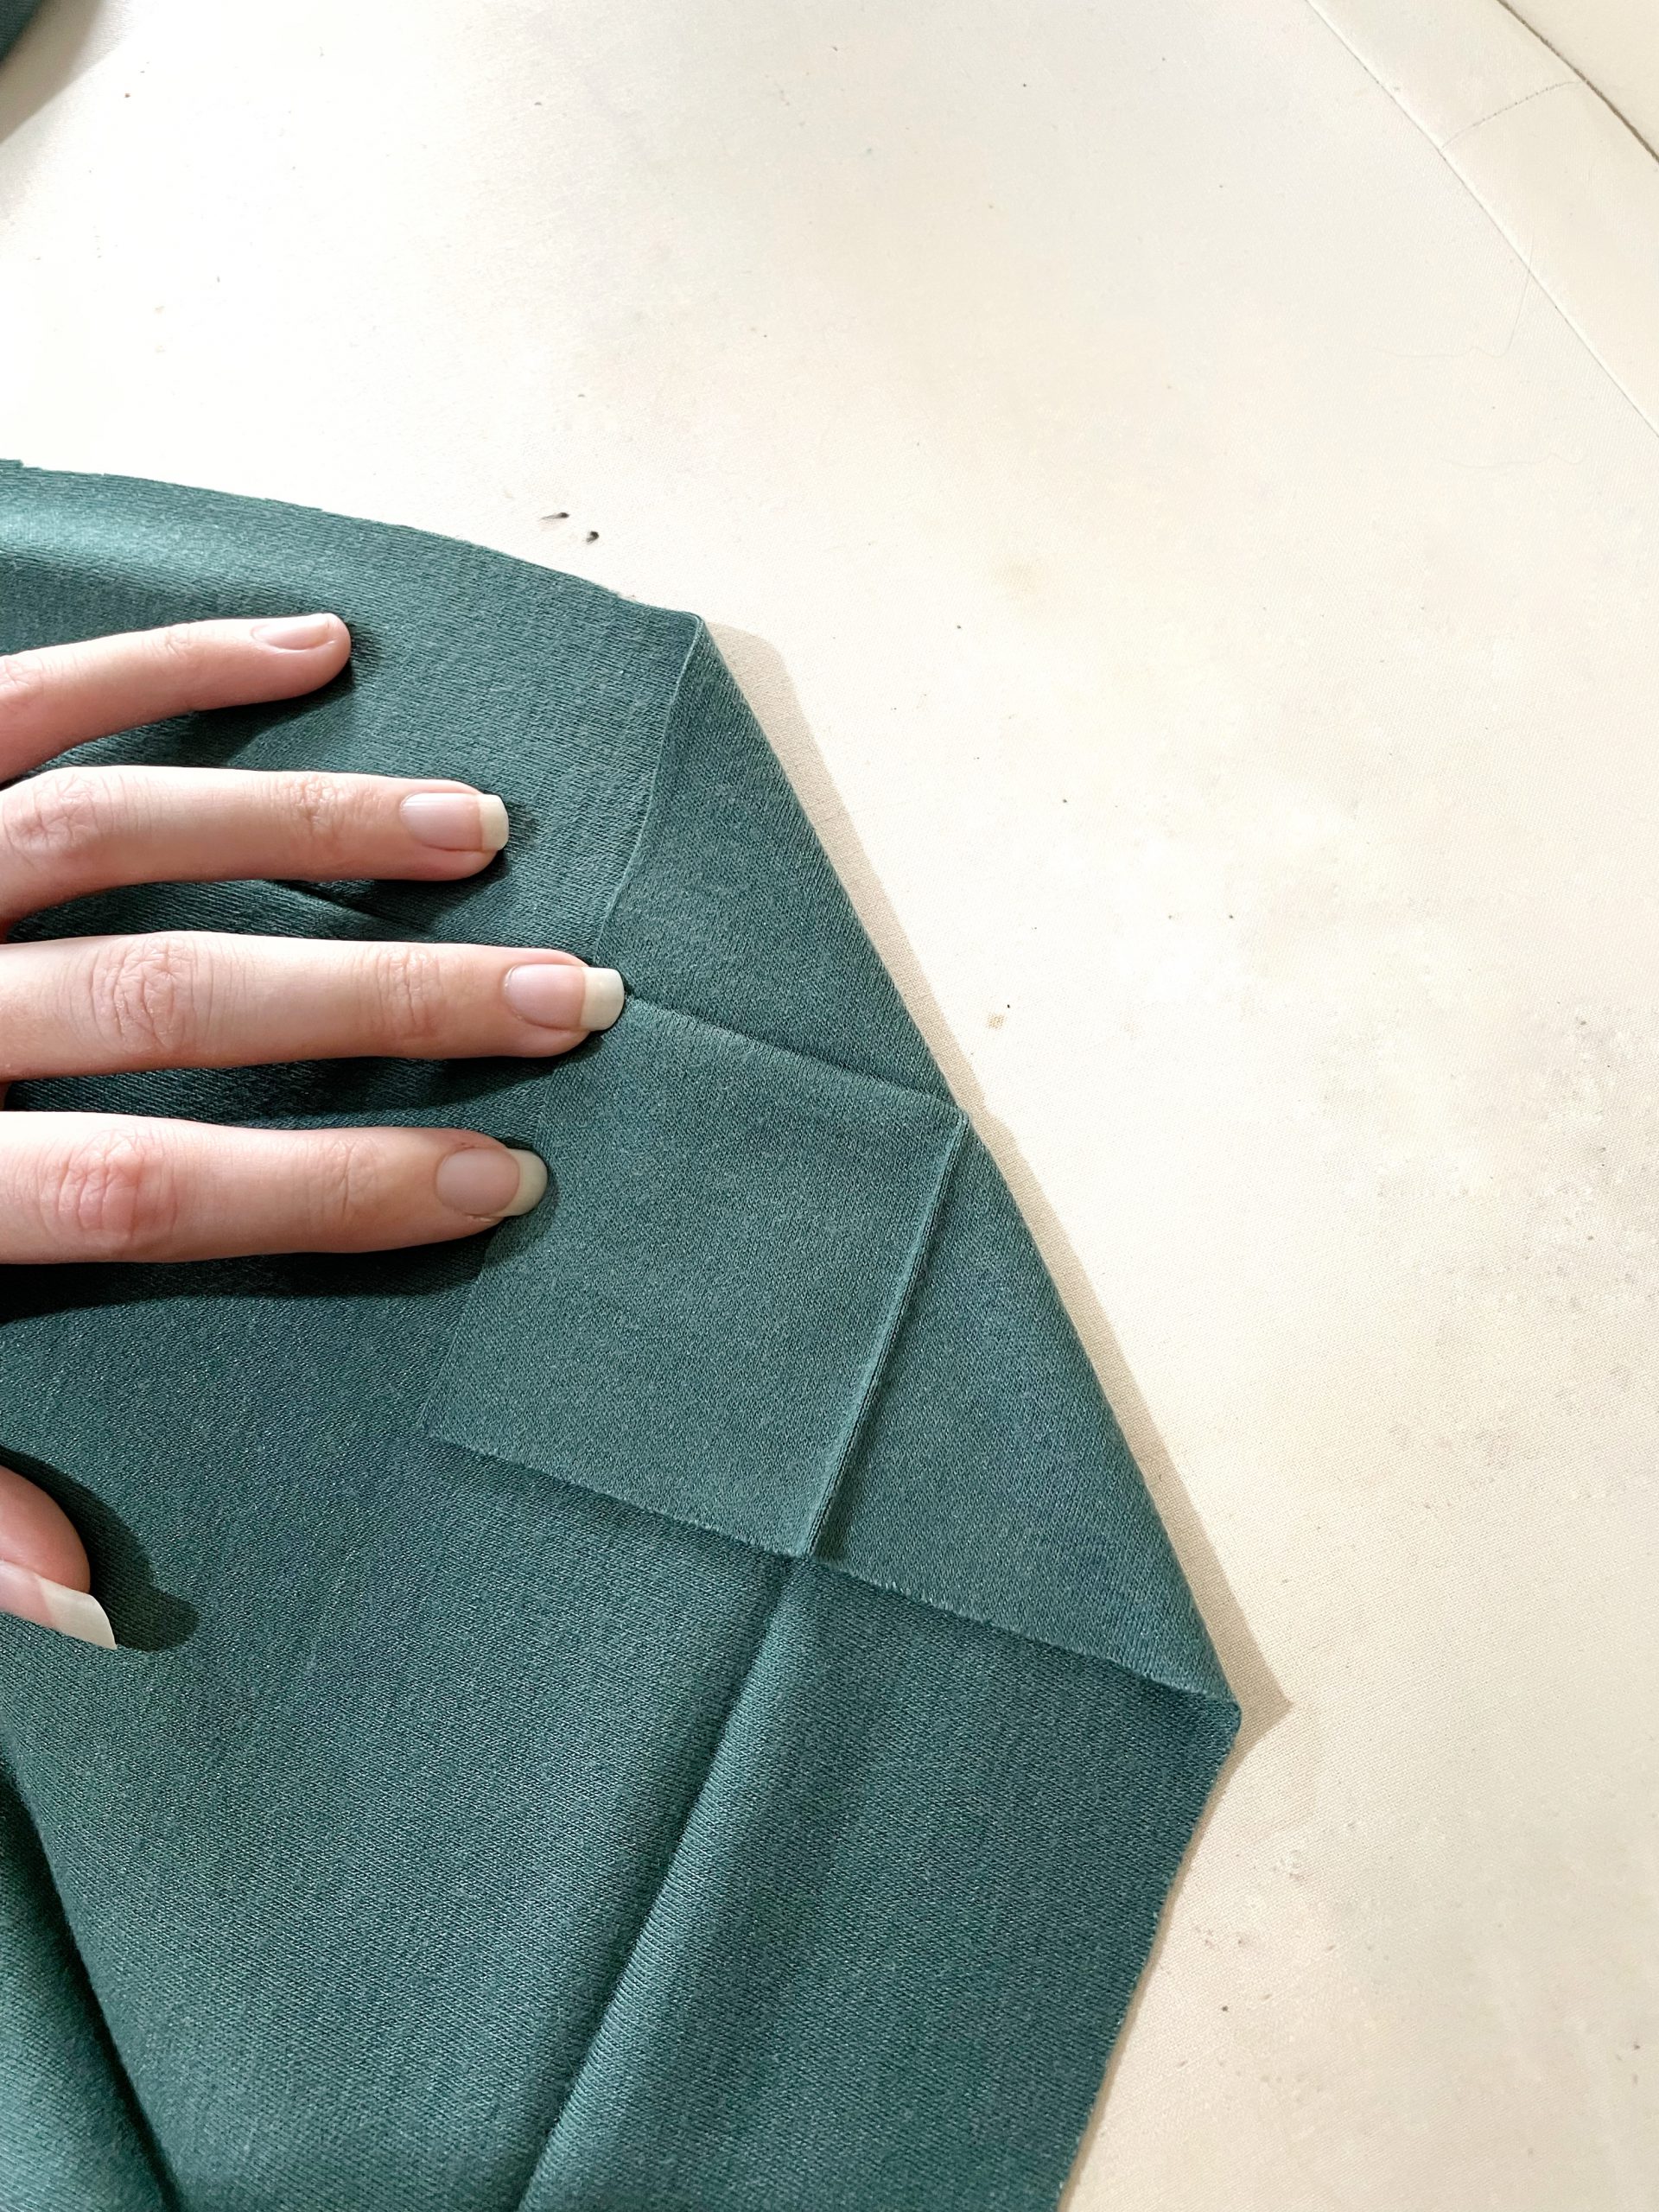
To prepare the mitered corners, open up each folded corner so it lies flat, and fold down the corner of the blanket so that the creased iron lines align, and the point at which they intersect becomes the centre of your new folded edge. Press firmly on each edge, but be careful not to press out the corner guidelines you ironed in the last step.
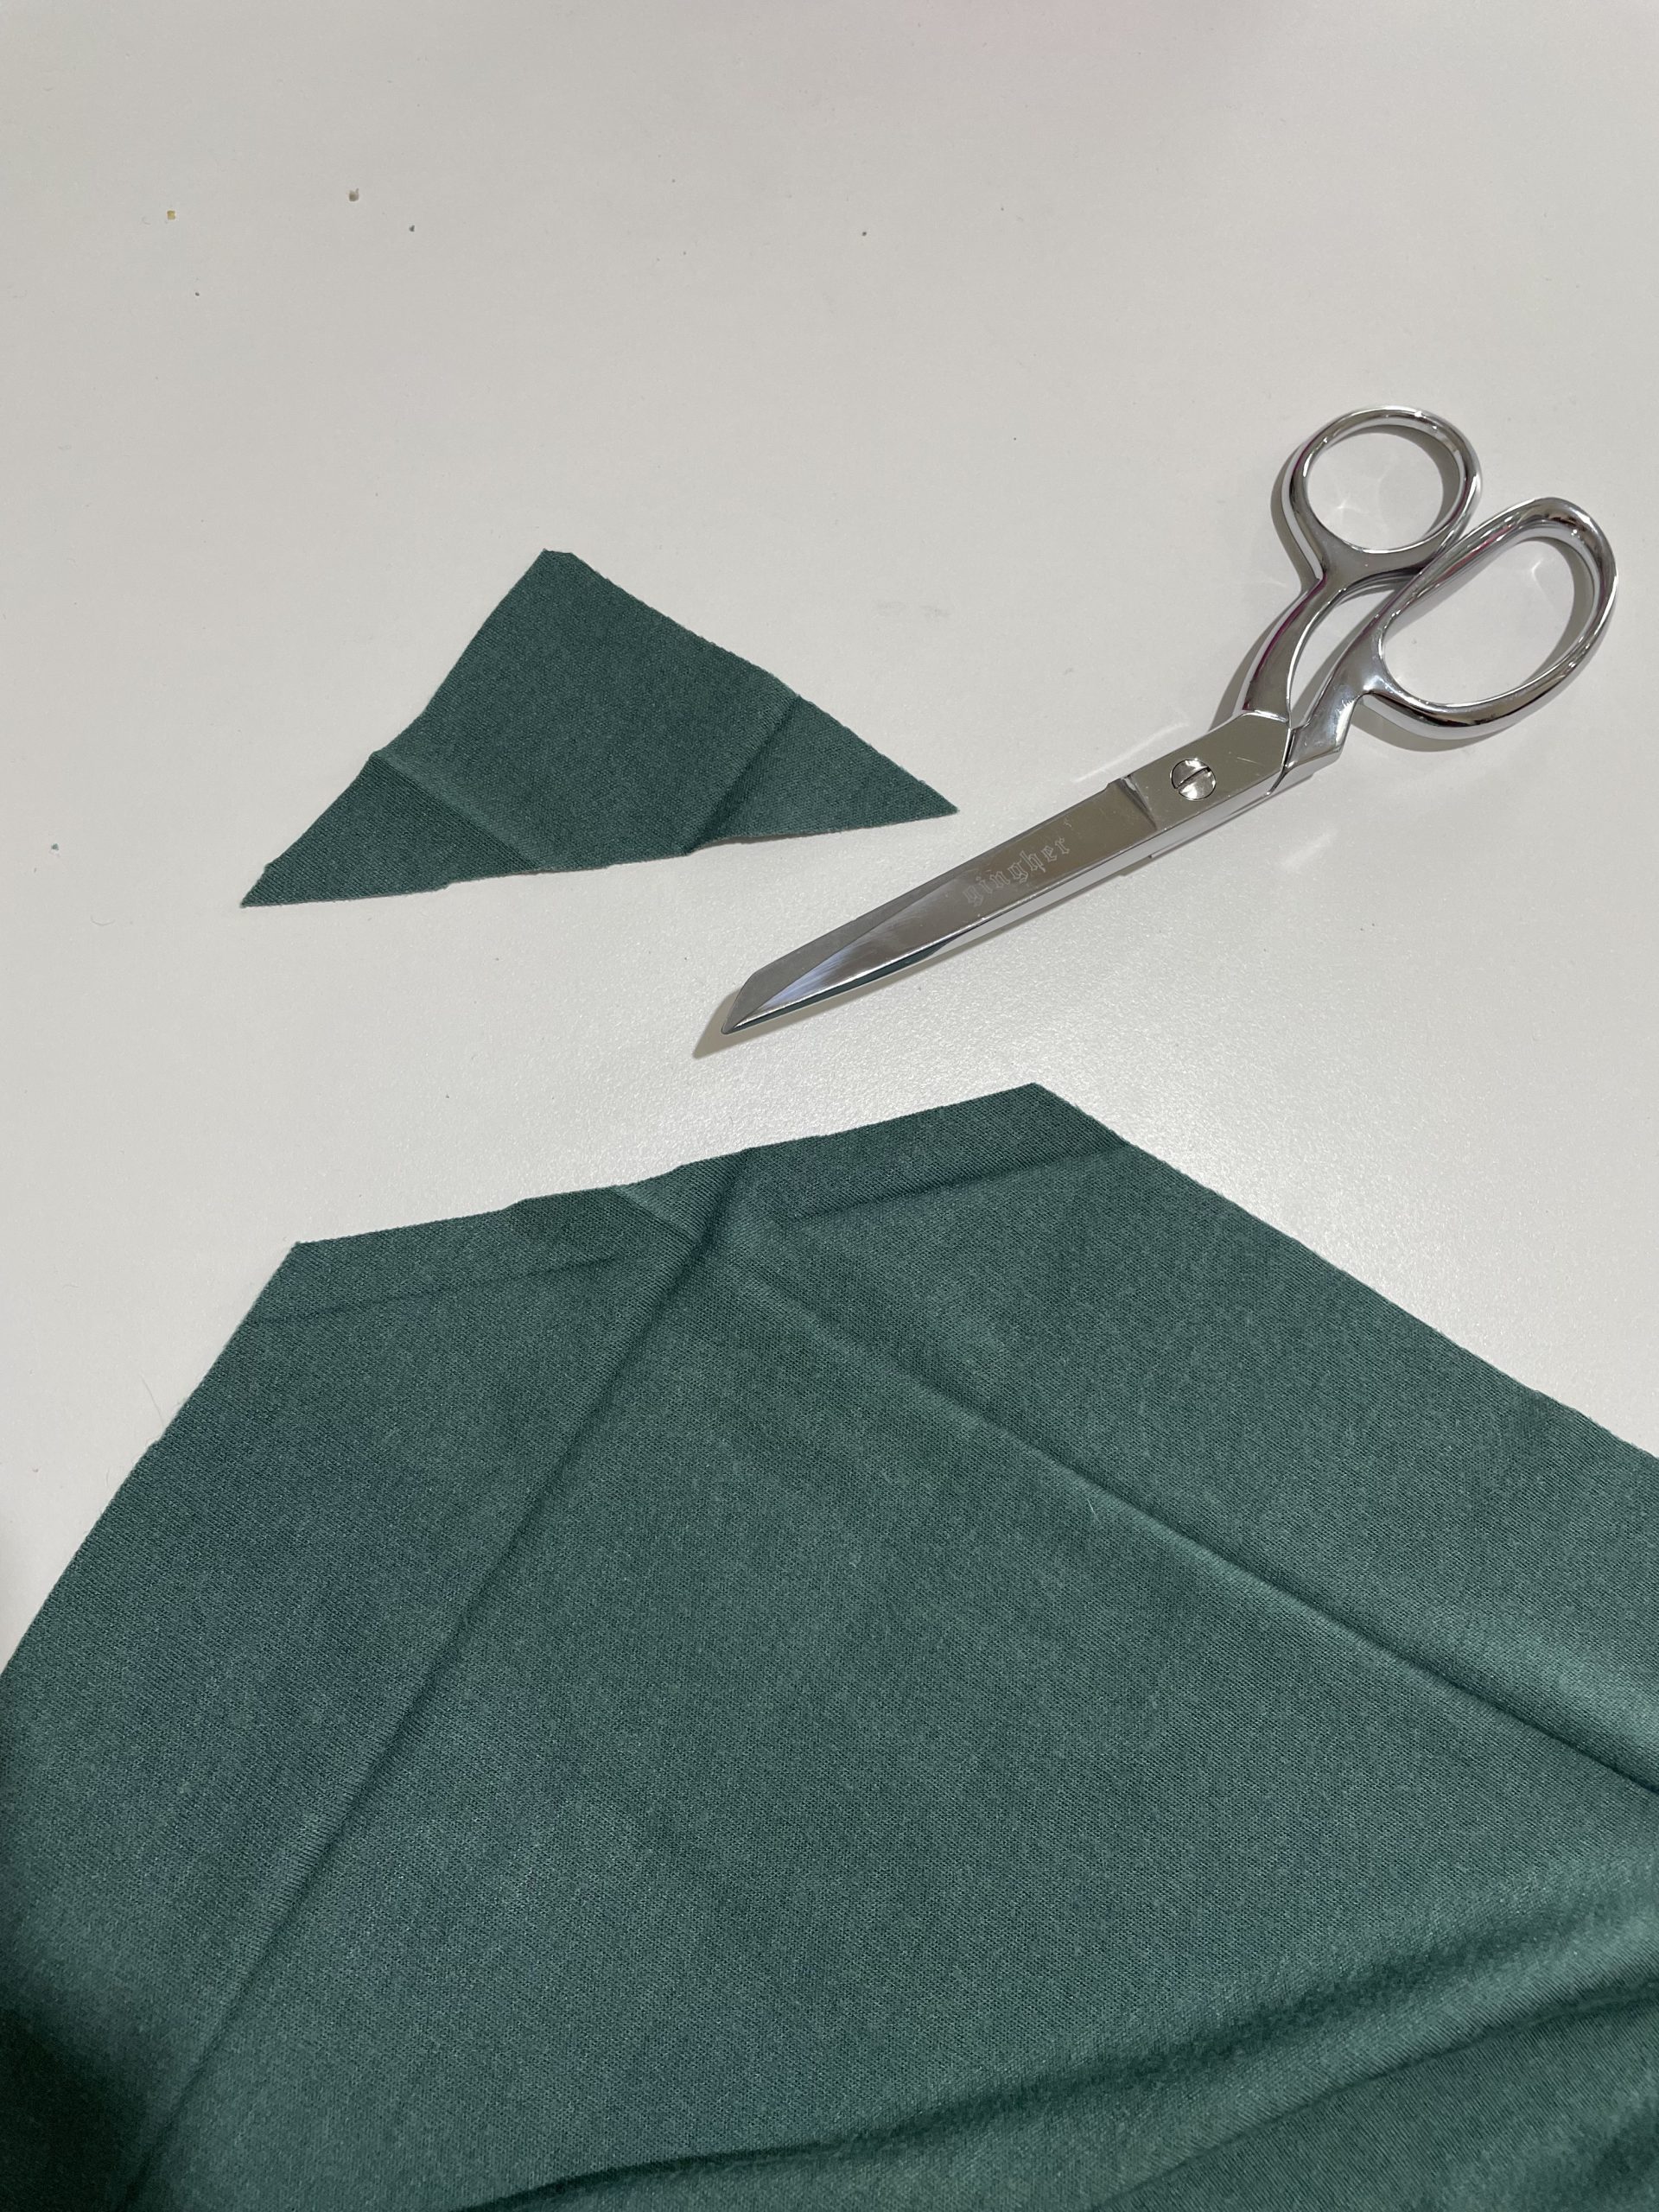
Next – cut off each blanket corner, about ½” above the crease you just pressed.
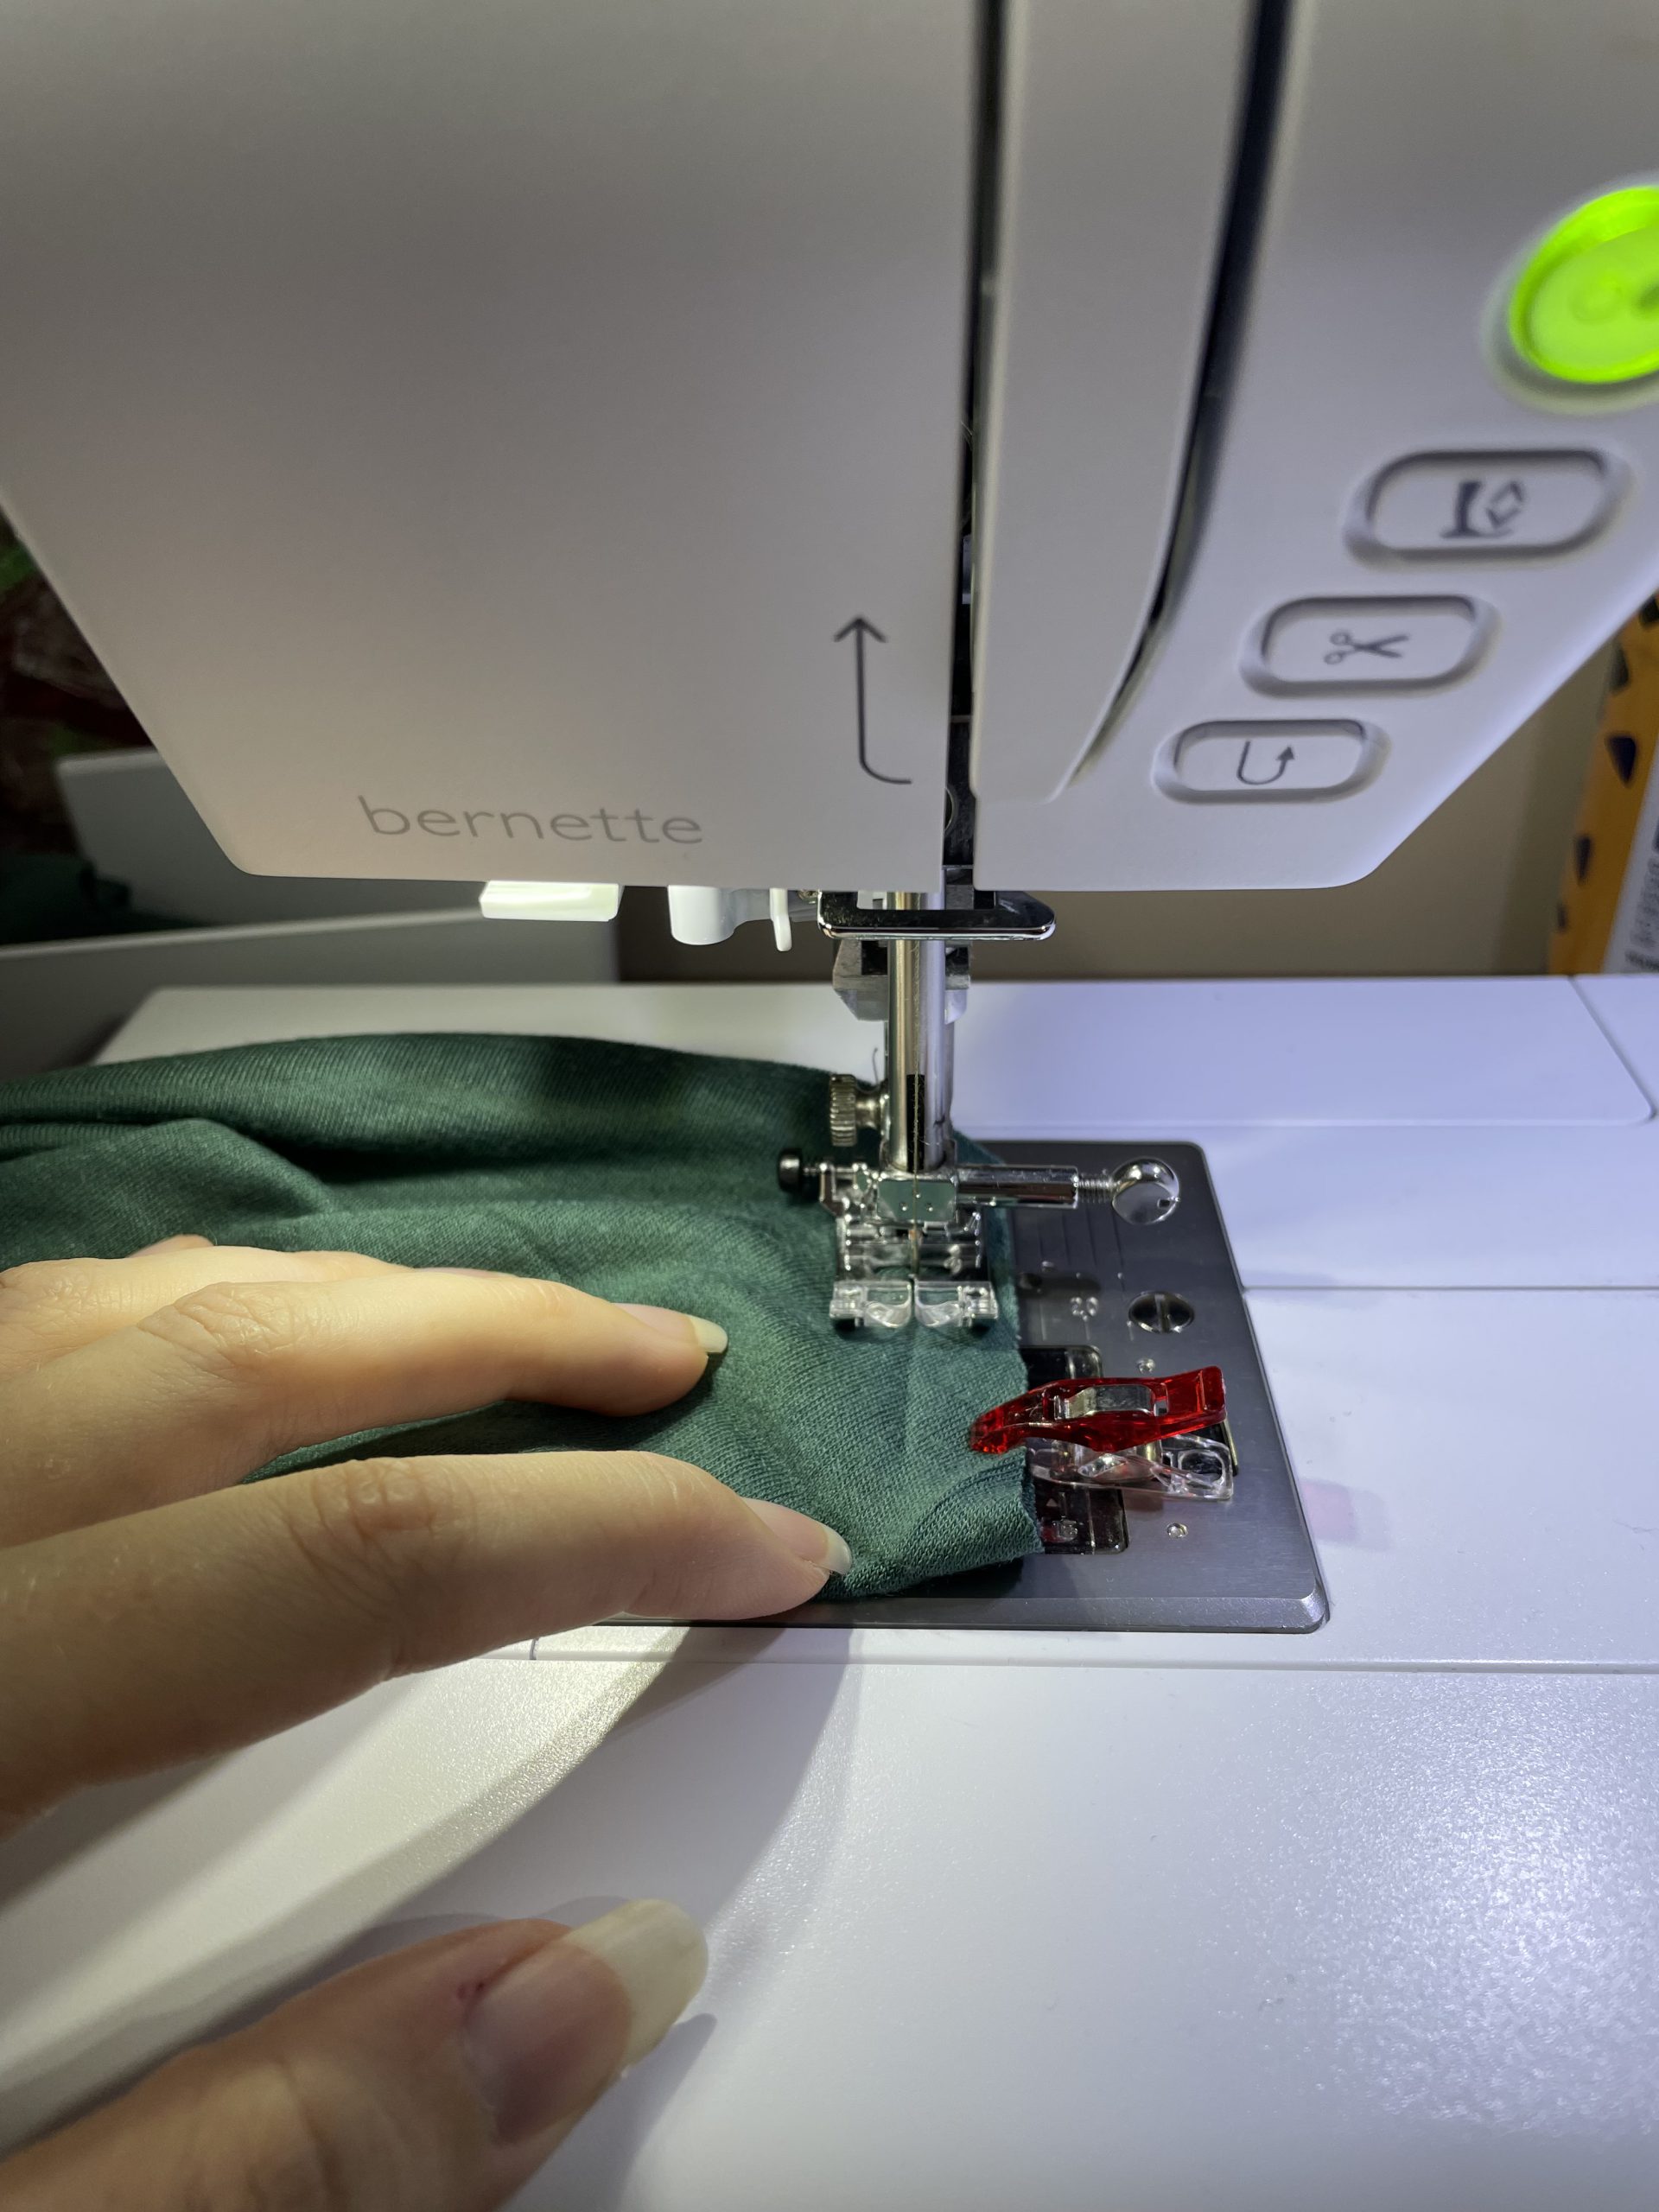
Fold it right sides together, clip or pin, and take it to your sewing machine. Stitch at ½” seam allowance (if you trimmed to a different width above, use that instead – your stitching should fall on top of the crease marks)
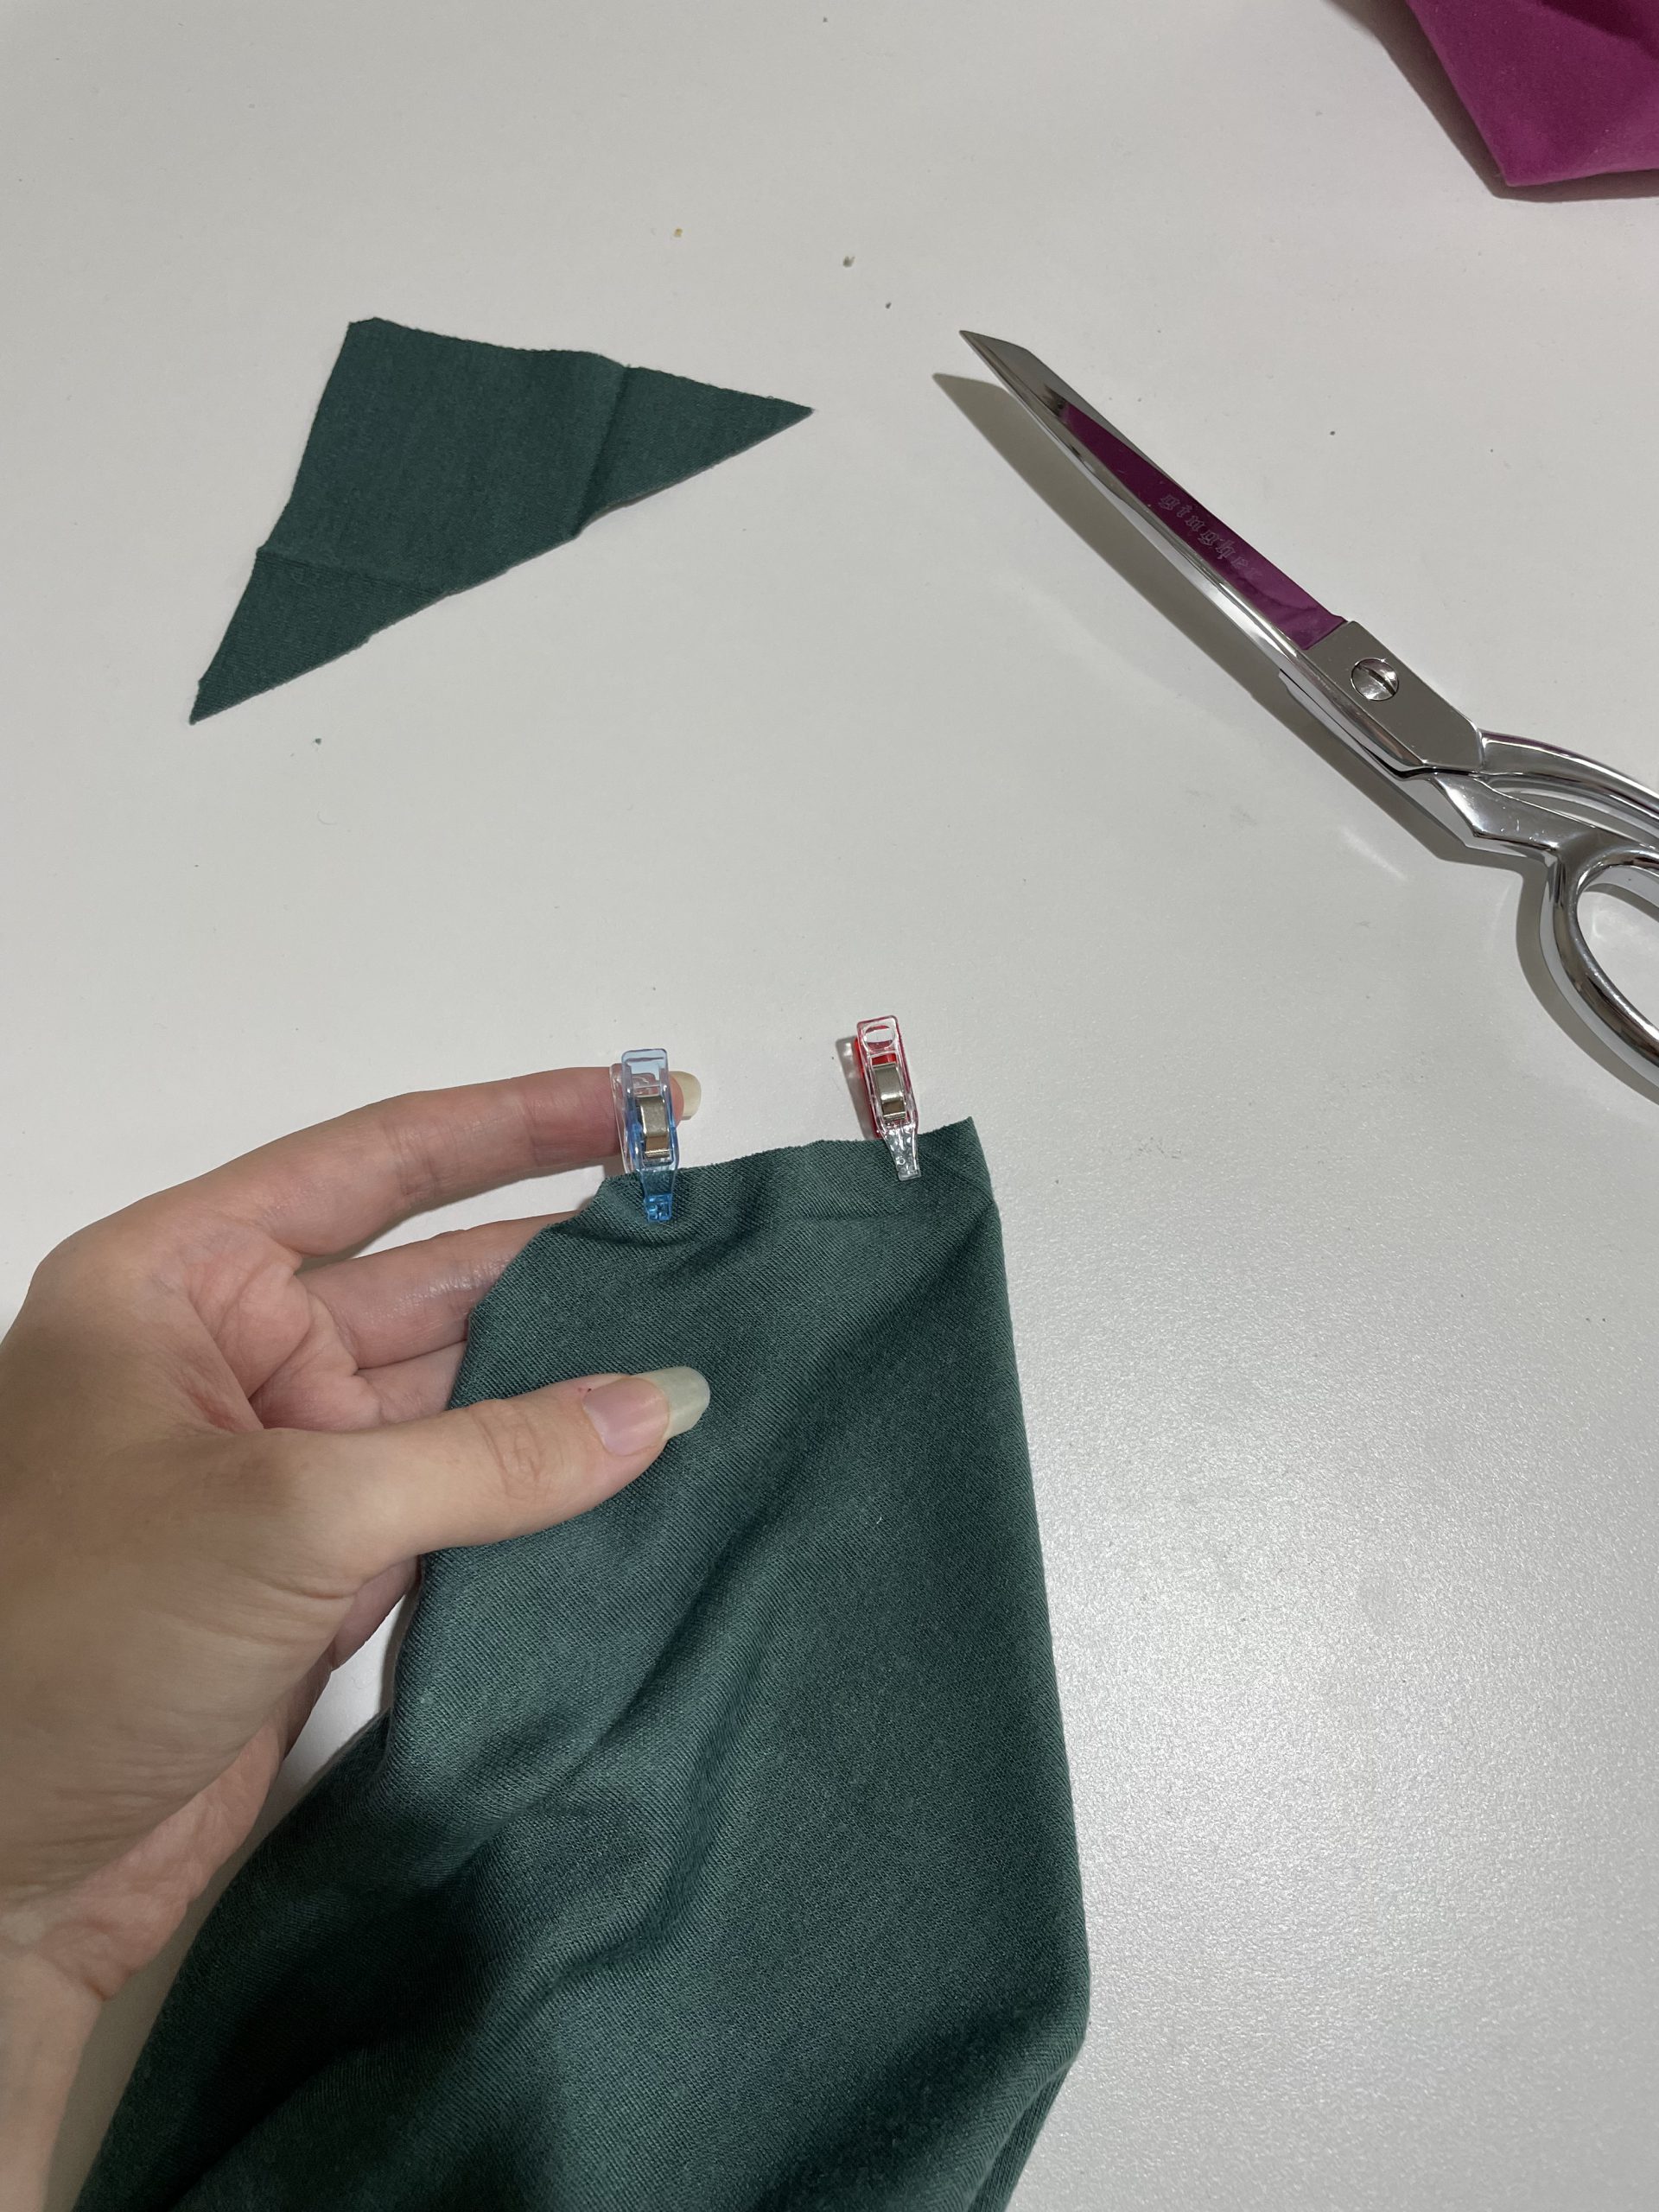
I use a lightning stitch on my bernette b79 – but you can use a small zig zag or even a straight stitch if your fabric isn’t too stretchy. Backstitch and trim threads.
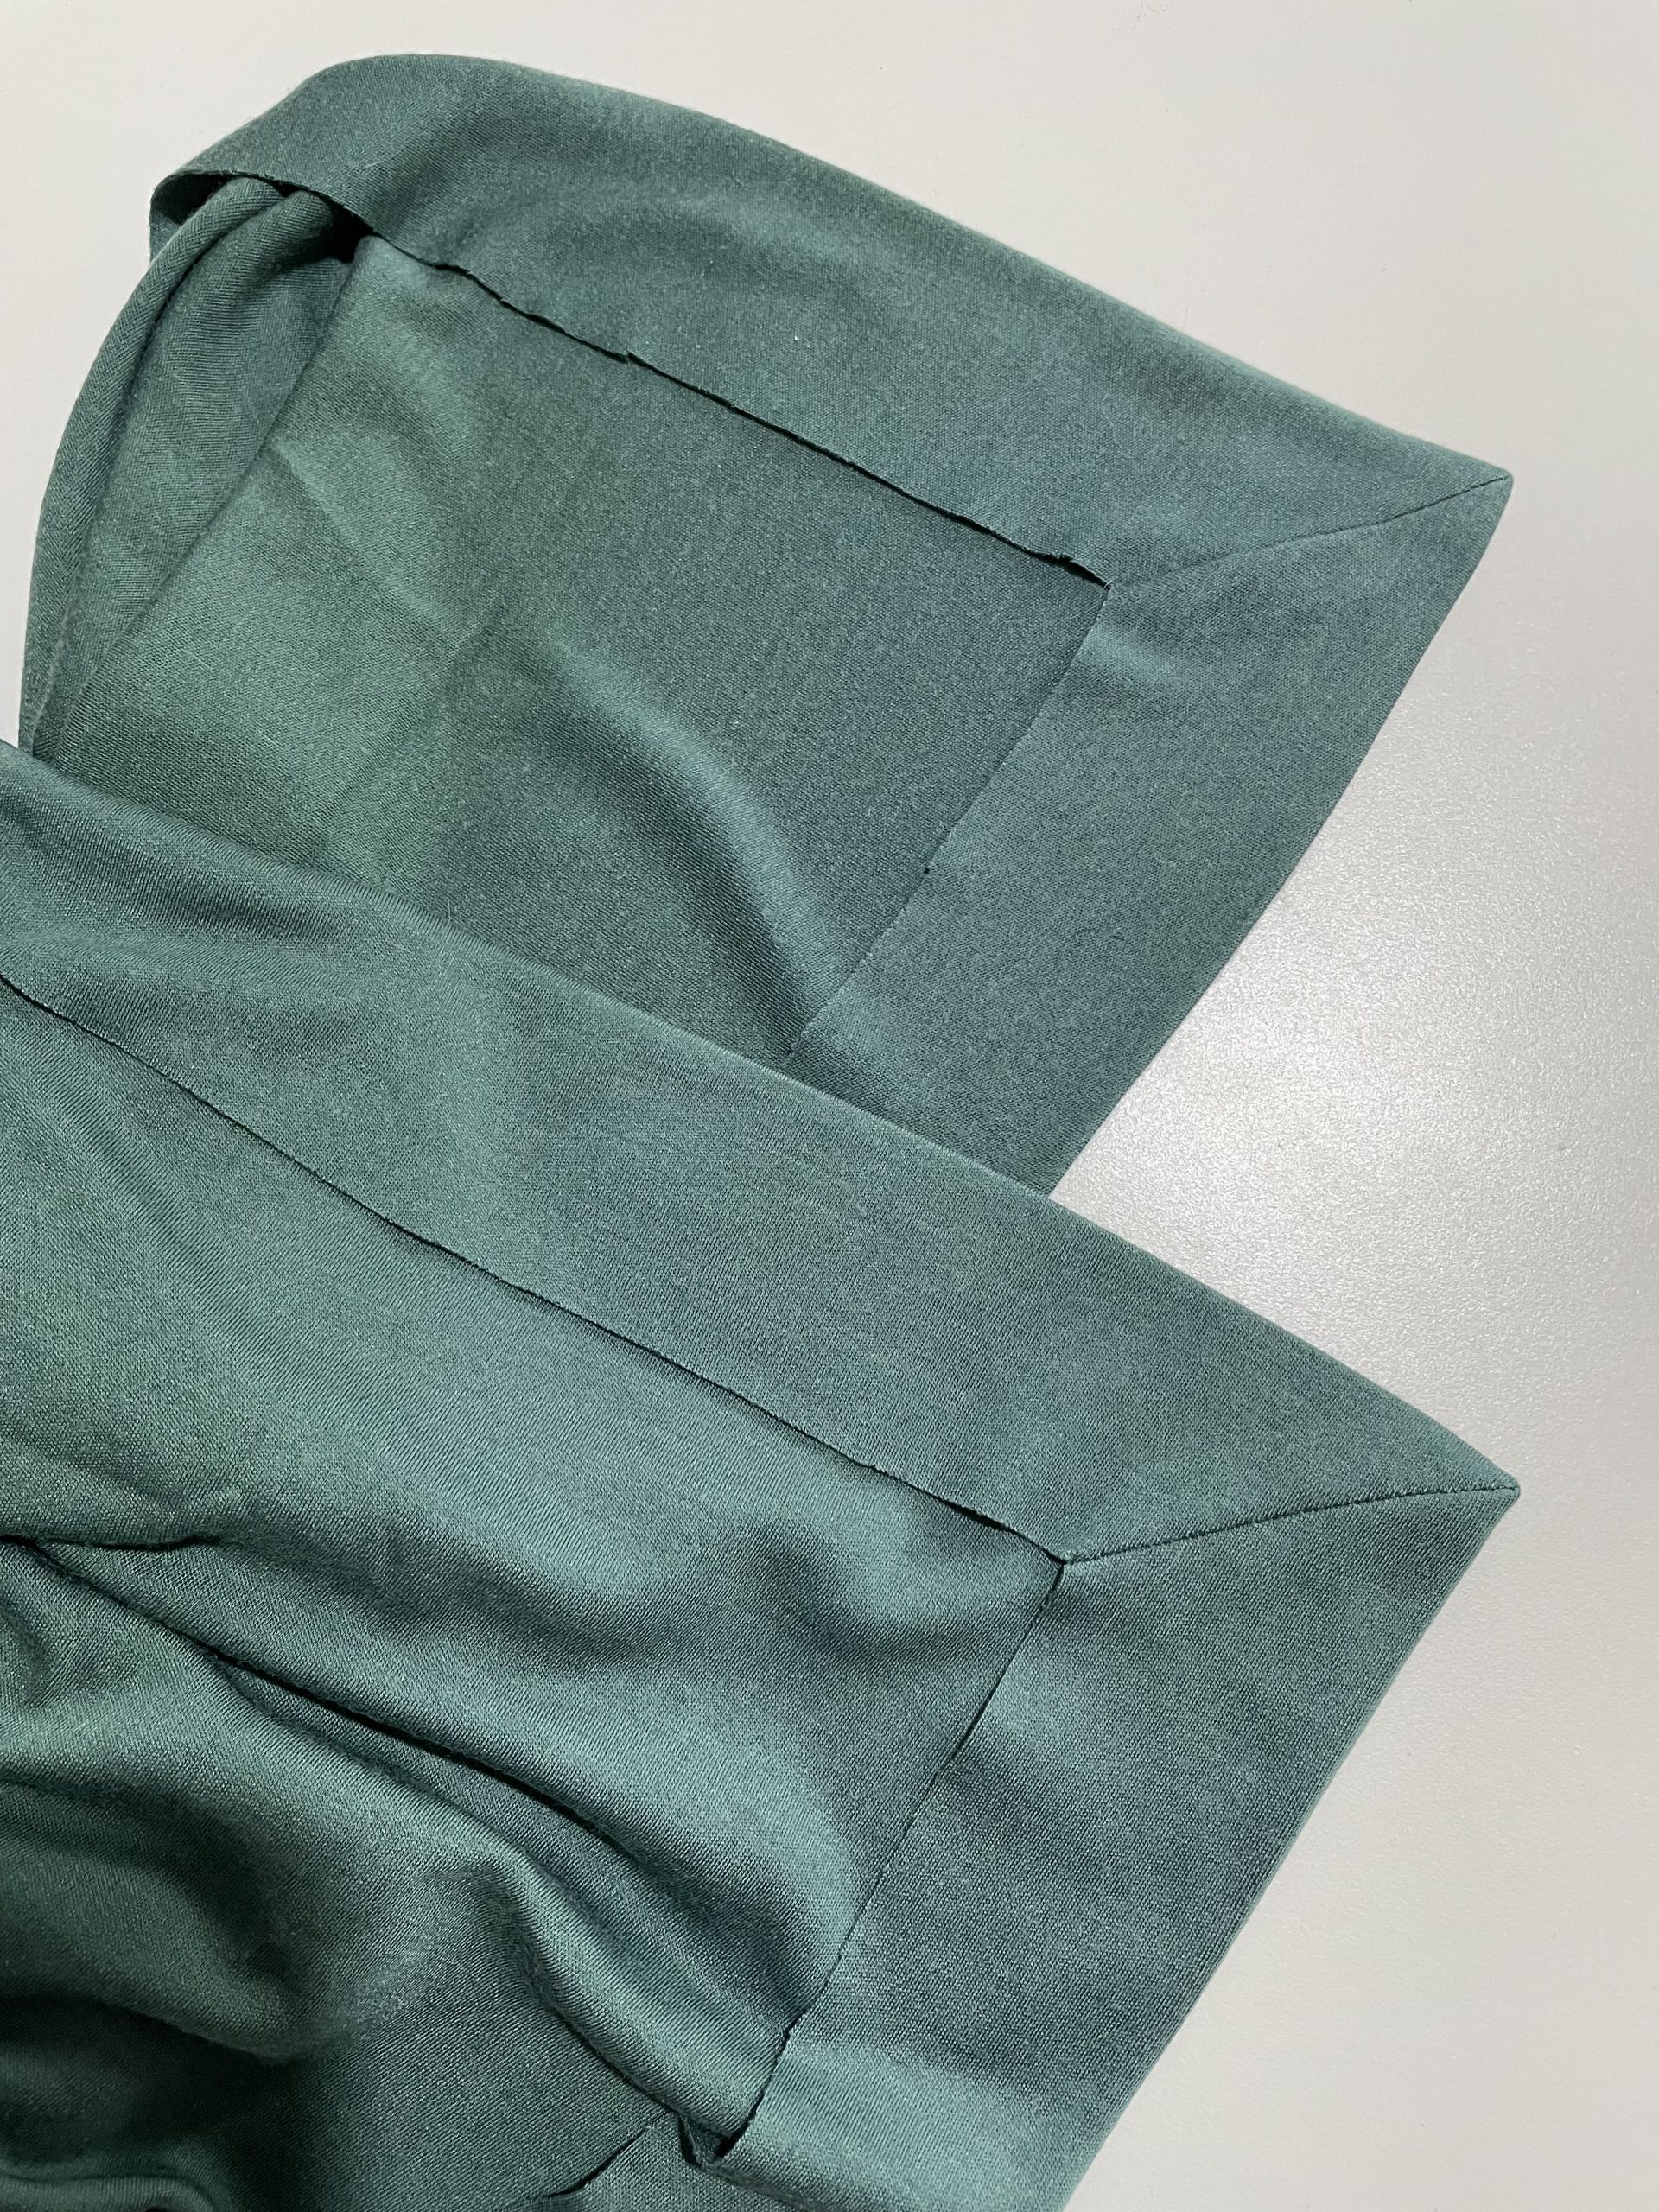
Generally, you’d trim the seam allowance before turning this corner, but for stability and longevity reasons we’re not going to do that here. Instead, open each seam and press it flat with your iron – the corner of the blanket will create this small triangle:

Turn each corner right side out, using your thumb to hold the seam open and flat and the triangle in place – press again.

This trimless method will keep those corners nice and strong, and prevent anything from working its way loose and fraying during the fabric’s hard life as a baby blanket!
Tips for making the most of your Coverstitch
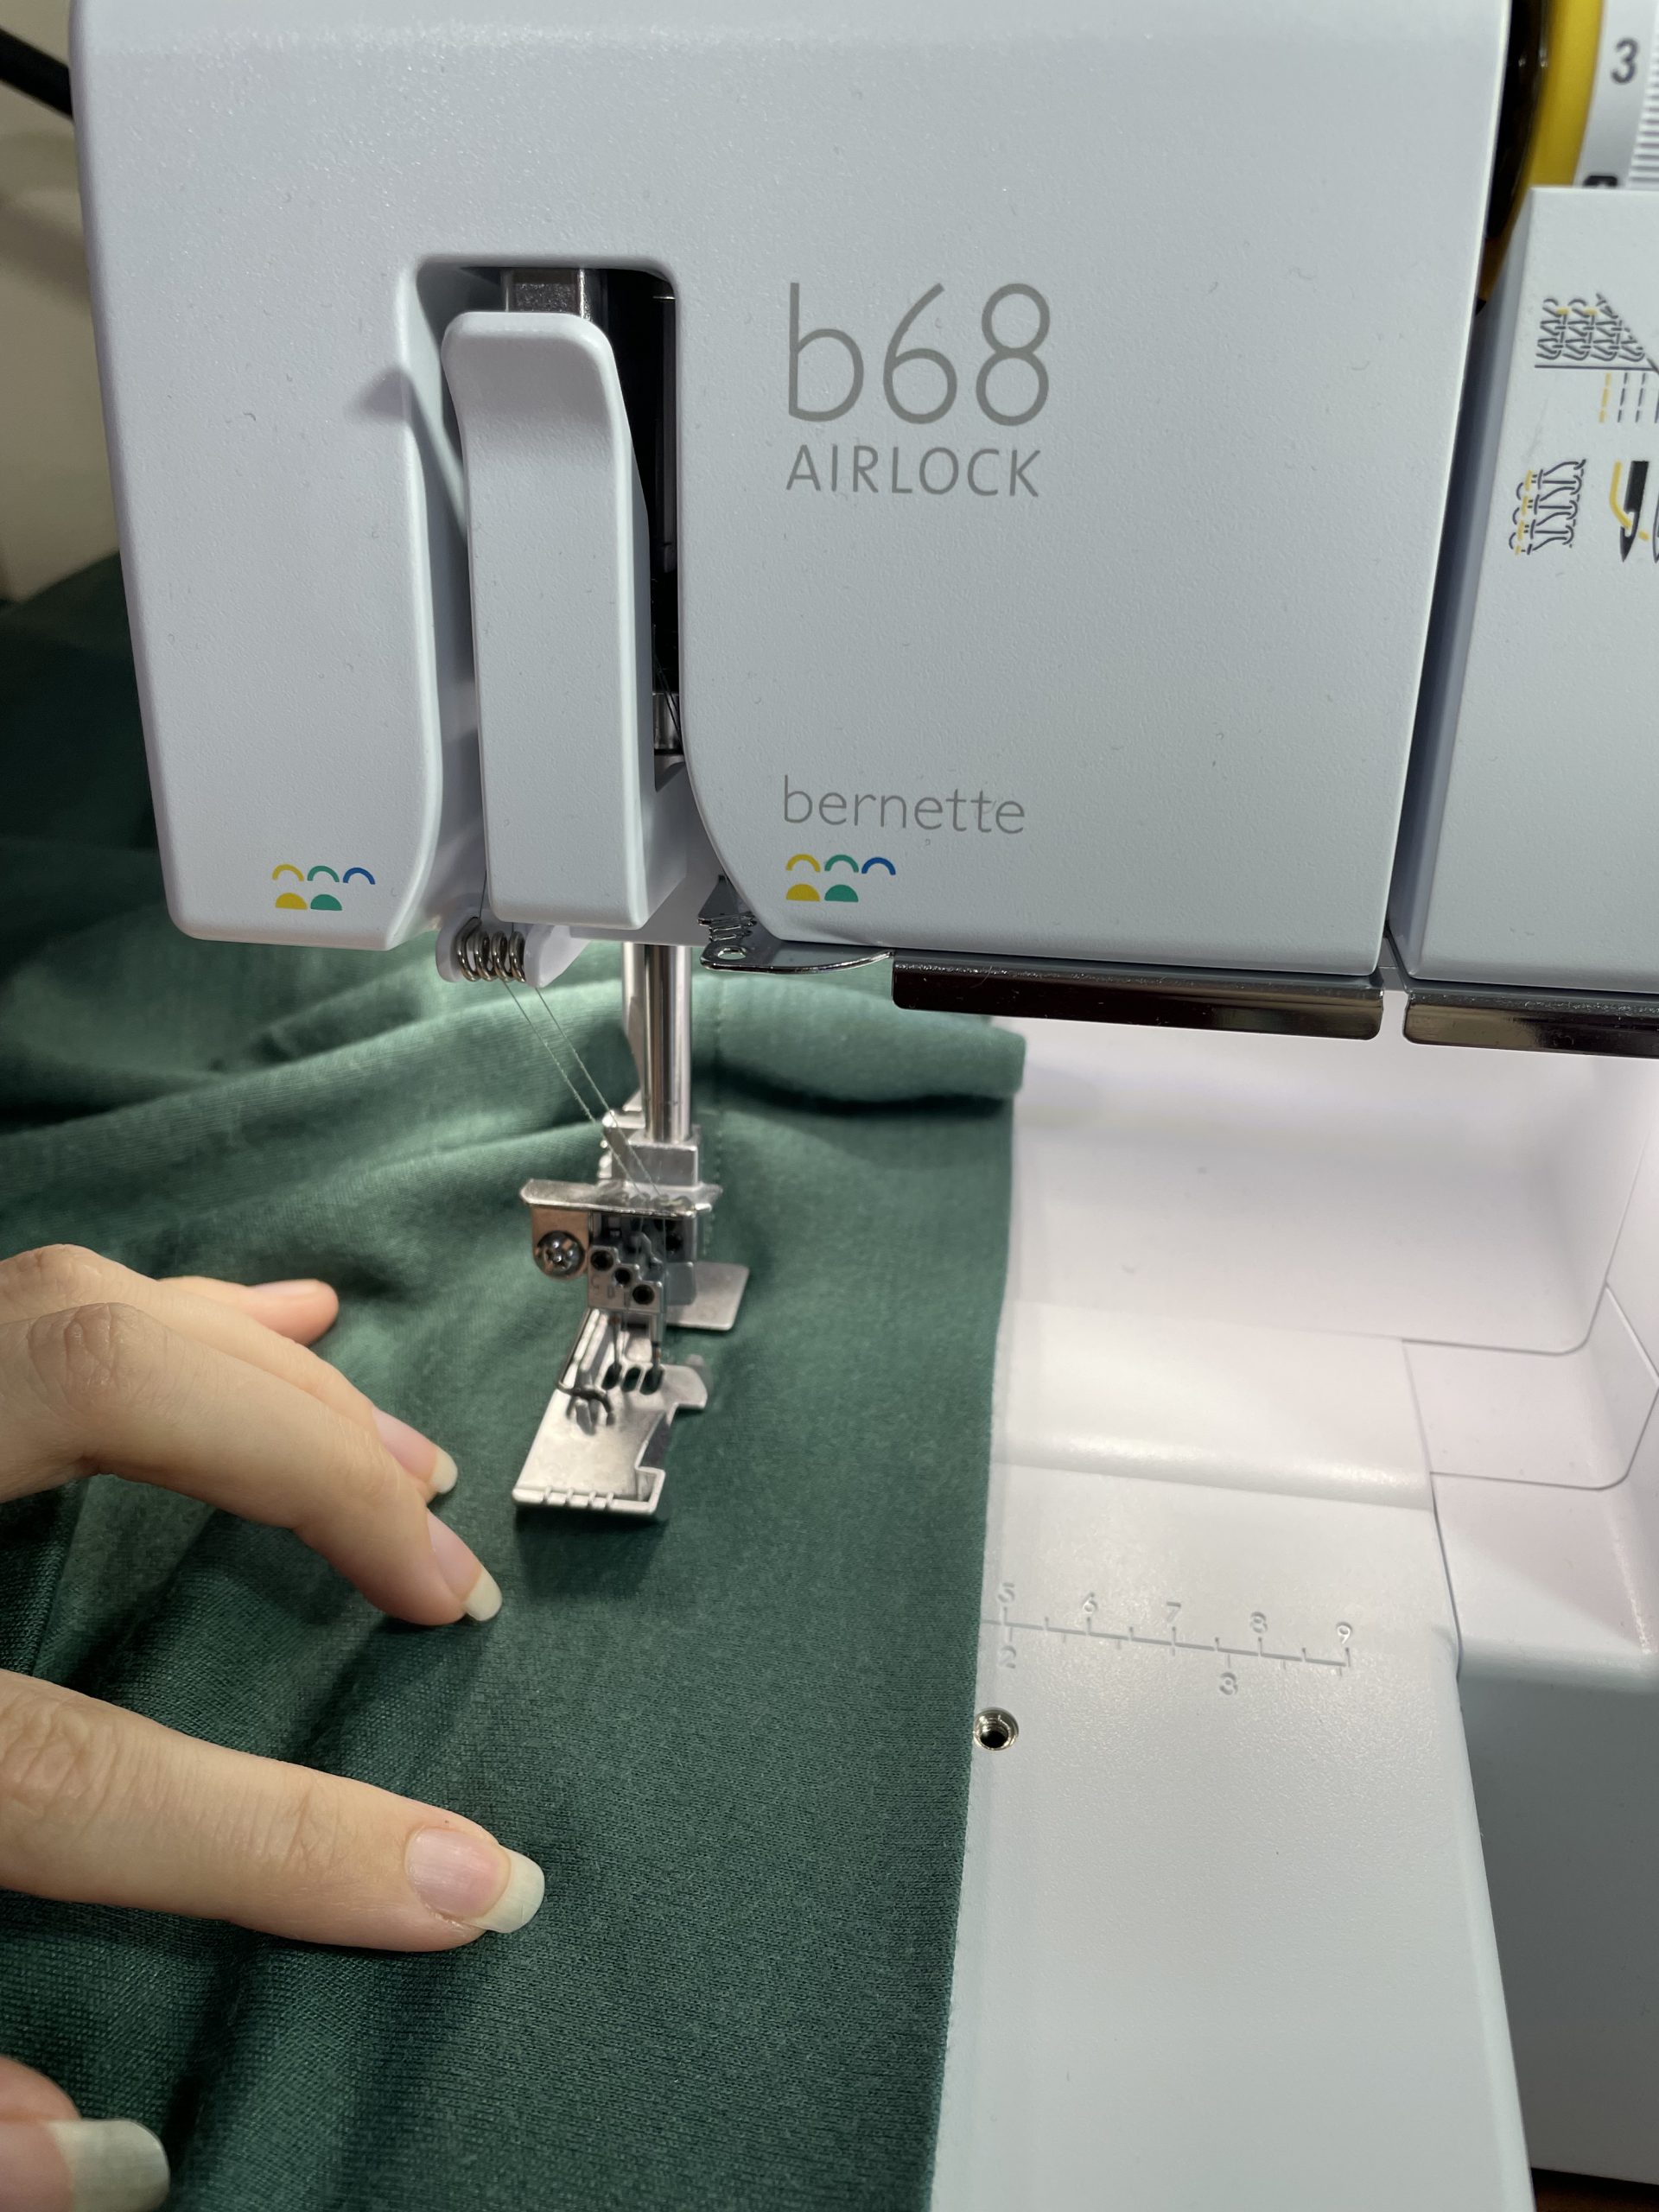
We’re nearly done and we haven’t even used our coverstitch yet! That’s next though. Prep your machine by setting it up for a wide coverhem stitch – start with standard settings and make small tension modifications if required, testing on a piece of scrap fabric. for my b68, I’ve used the wide coverhem stitch and didn’t need to make any modifications to the tension.
I used regular all-purpose sewing thread for this project because it’s what I had available as an exact colour match, but you may also wish to use wooly nylon for greater coverage, or even a fun variegated thread for a pop of colour! Since this blanket’s wrong side will be regularly visible while it’s being used, it’s a good idea to use something that either matches or contrasts intentionally.
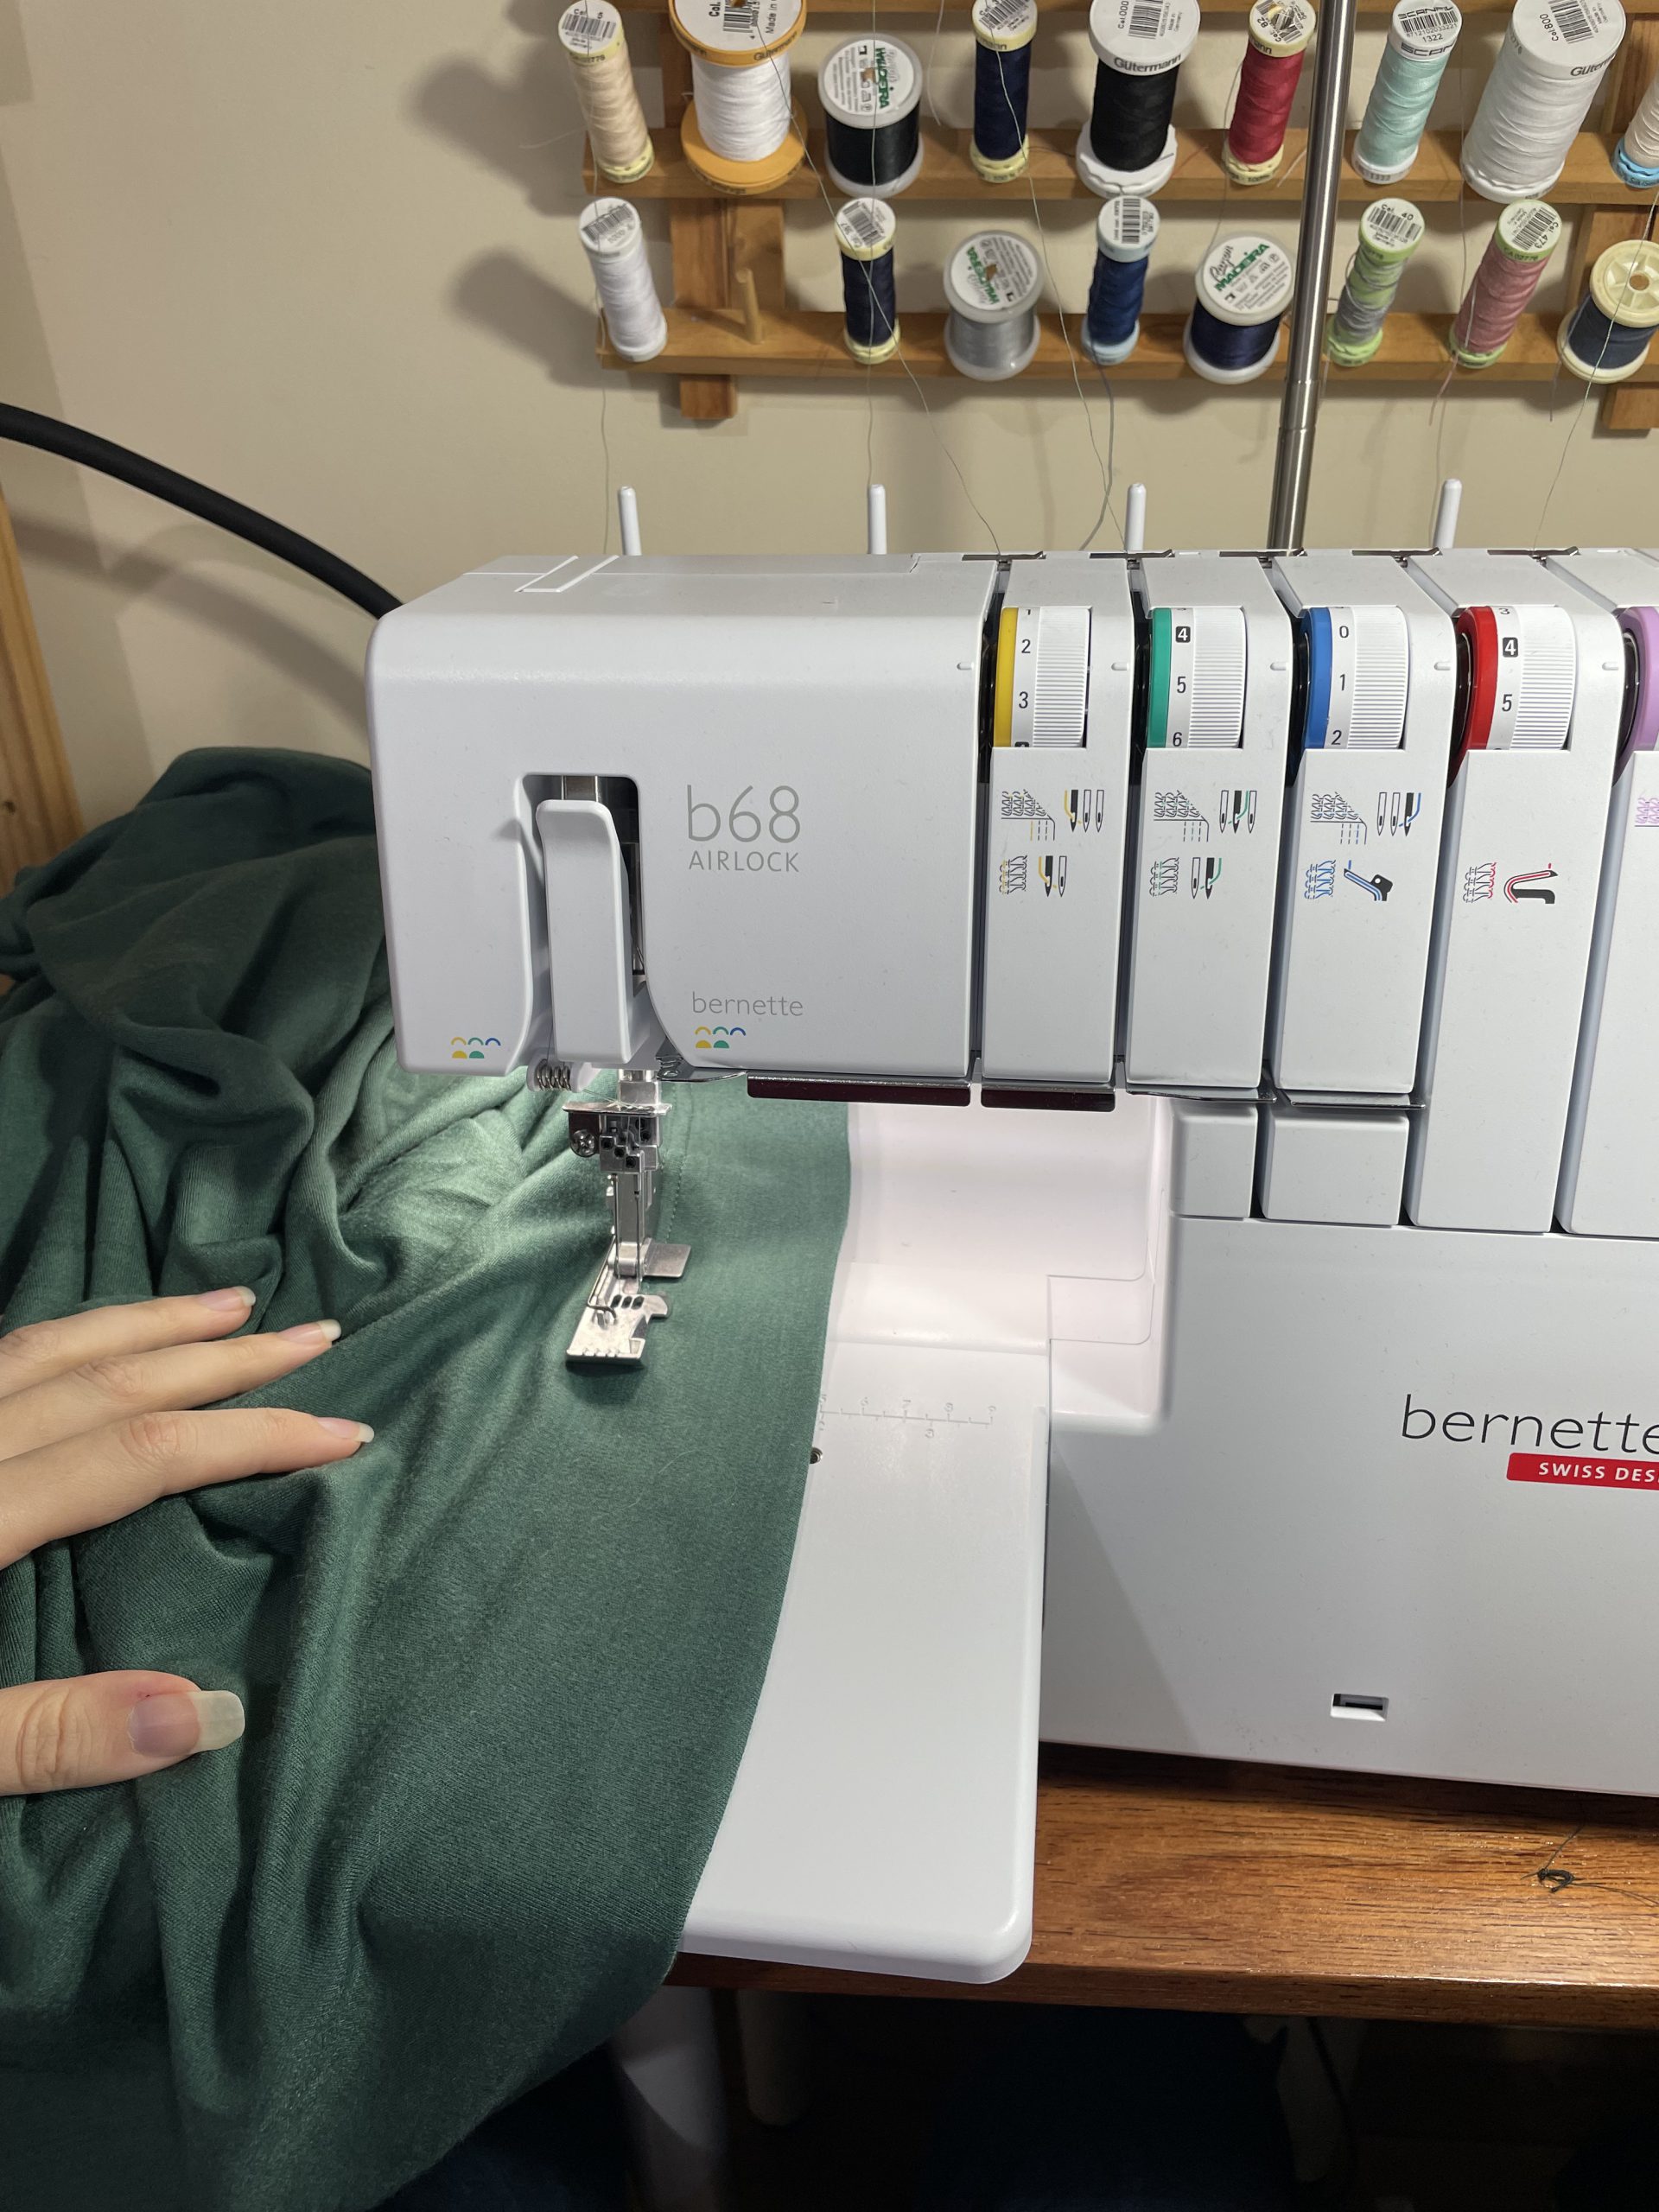
When you’re satisfied with the stitch quality on your scrap fabrics, take your blanket to your machine. I use the extension table with my b68 to help support the project, because we don’t want it to stretch during this step! This is where the accuracy of your 2” hem measurement becomes quite important. You’ll be stitching your blanket from the right side, using the hem guide on your machine (add yourself a bit of washi tape for guidance if your machine doesn’t have a hem guide!) and capturing the raw edge underneath the fabric.
With the b68, the hem guide measures to the center of the stitching area, so I actually stitched at 1 ⅞” so that my raw edge extended to the furthest needle – I find this gives me a better result. Additionally, if you’ve used a thicker fabric like my interlock, you’ll be able to feel the edge of the fabric from the surface which can help you guide the stitching line.
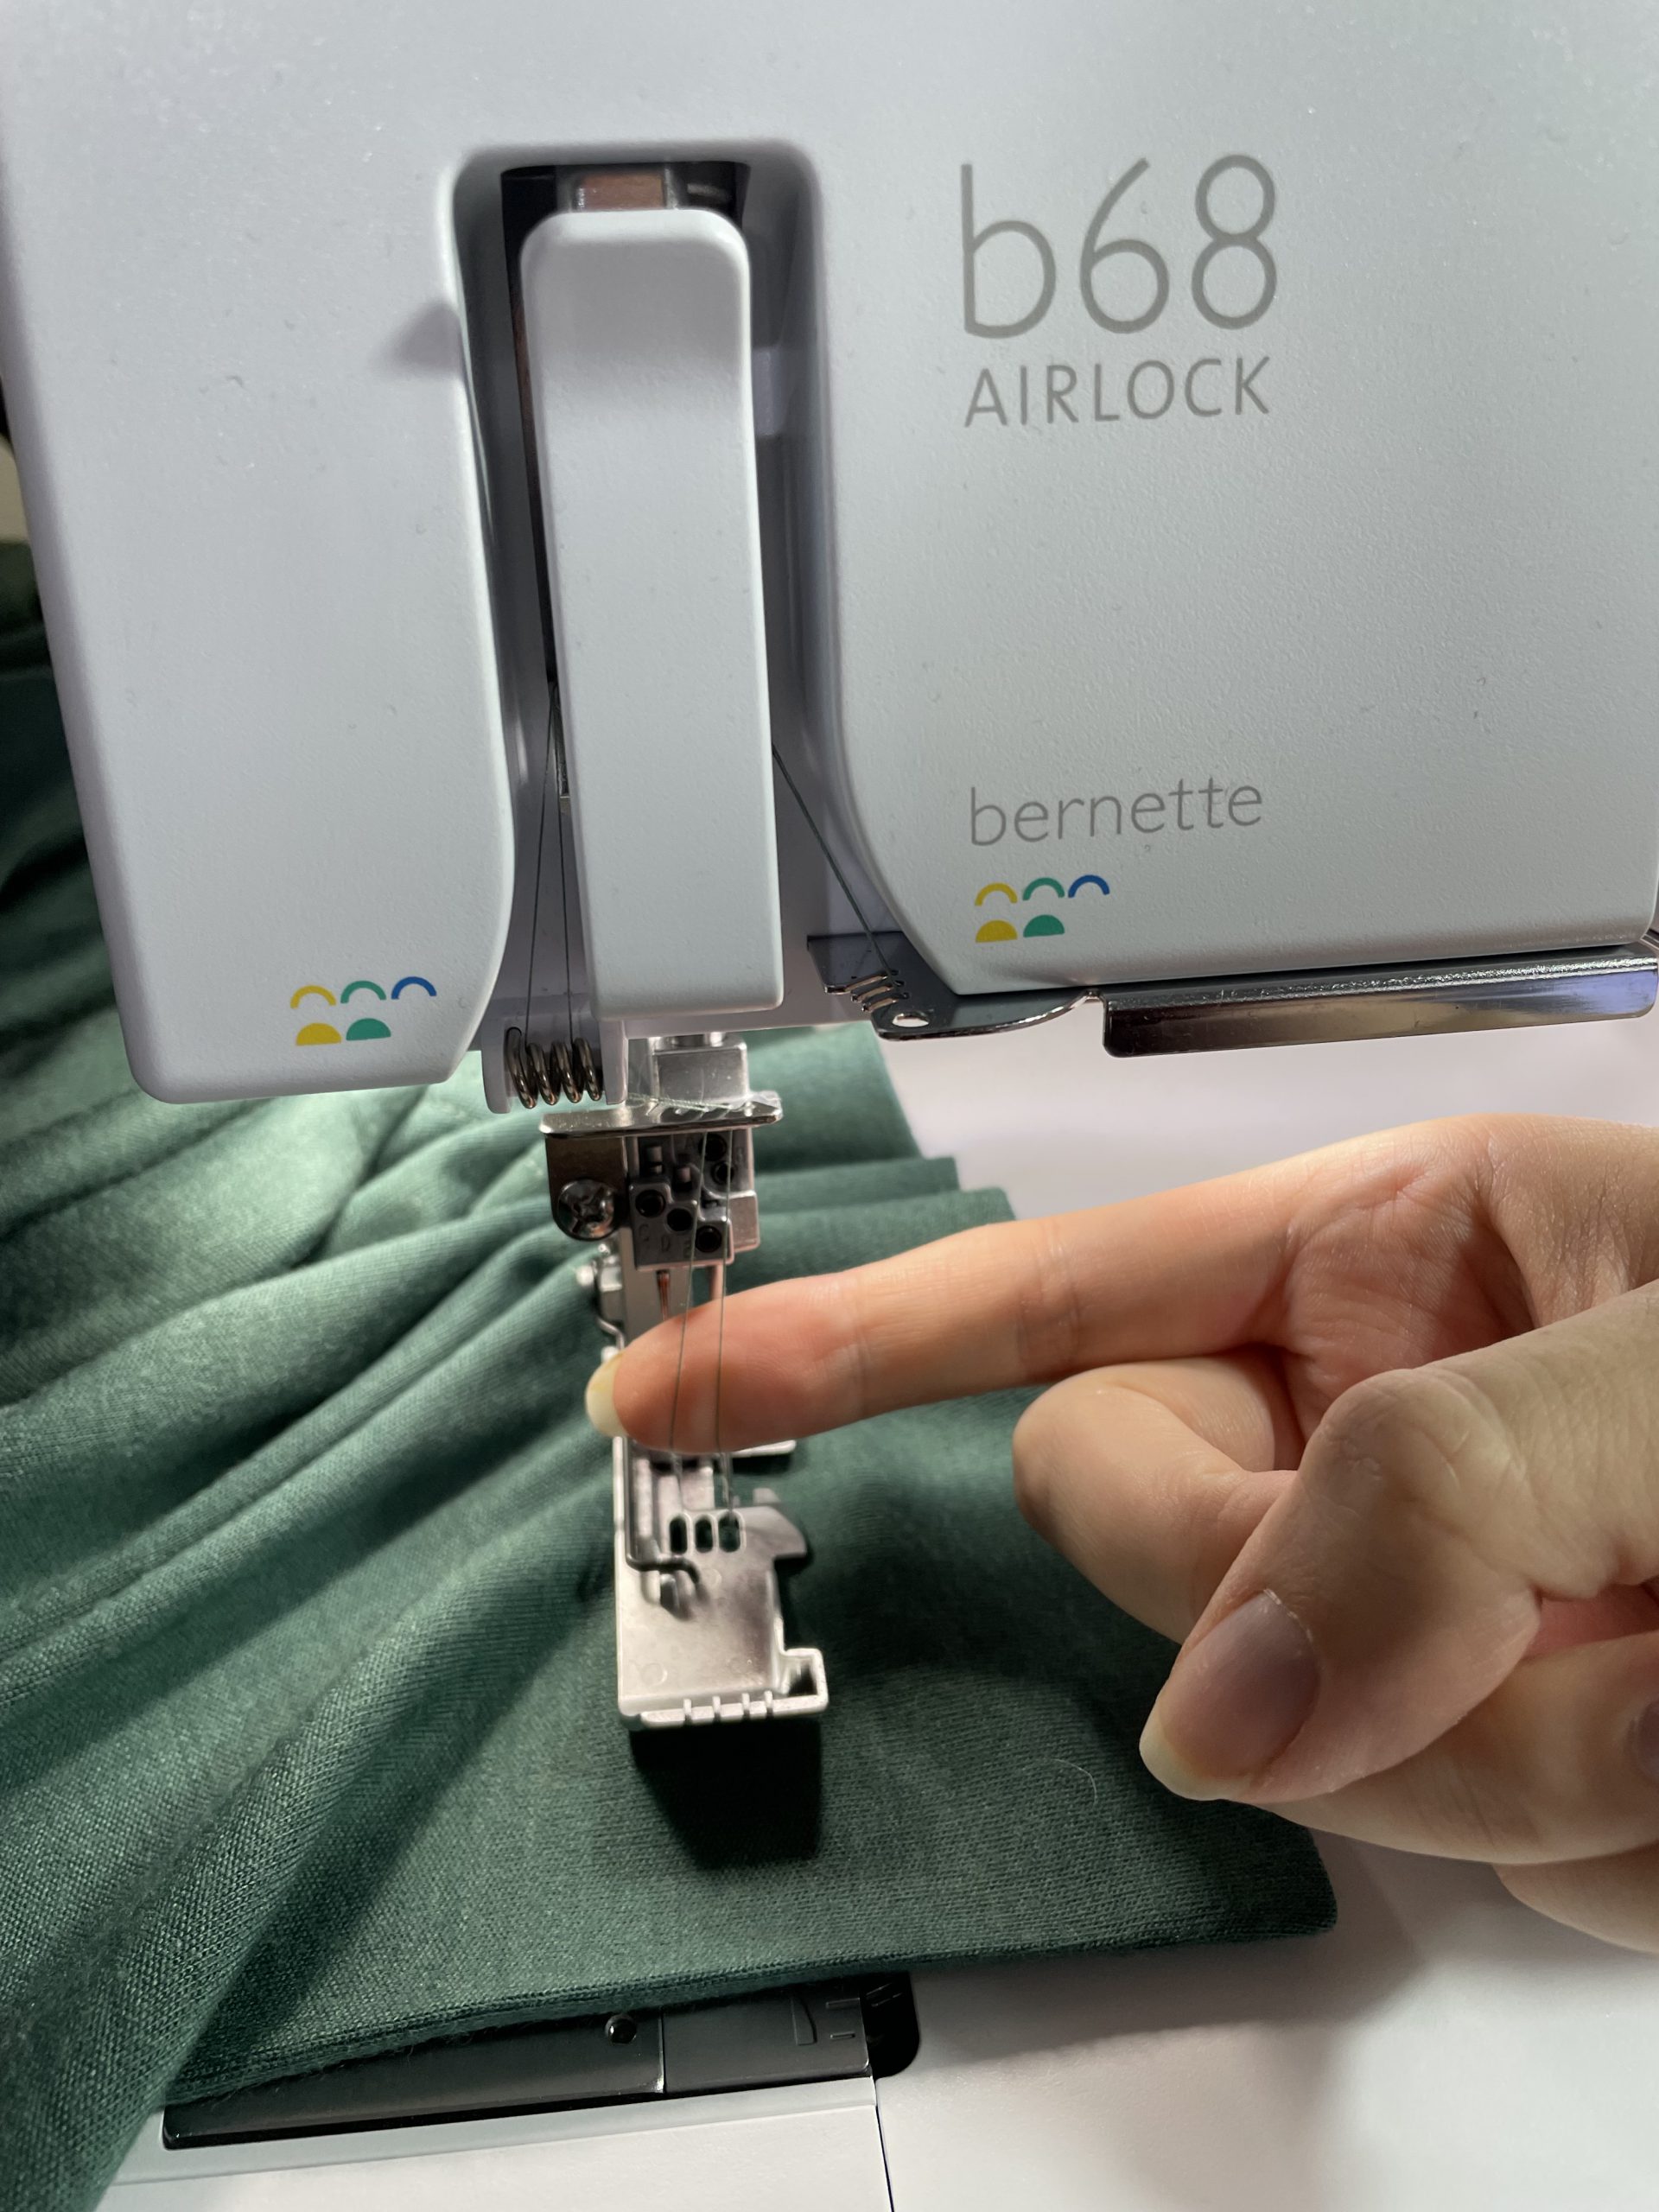
Start stitching at one of the mitred corners, and stitch until you overlap the next mitred corner by about ⅜”. To turn your fabric, first use the flywheel to rotate the needles forward into their uppermost position (don’t rotate backwards!) – then lift the presser foot and poke your finger (or an awl) gently behind the threads but in front of the needles to release a little bit of slack. This will make it easier to turn the fabric without distortion.
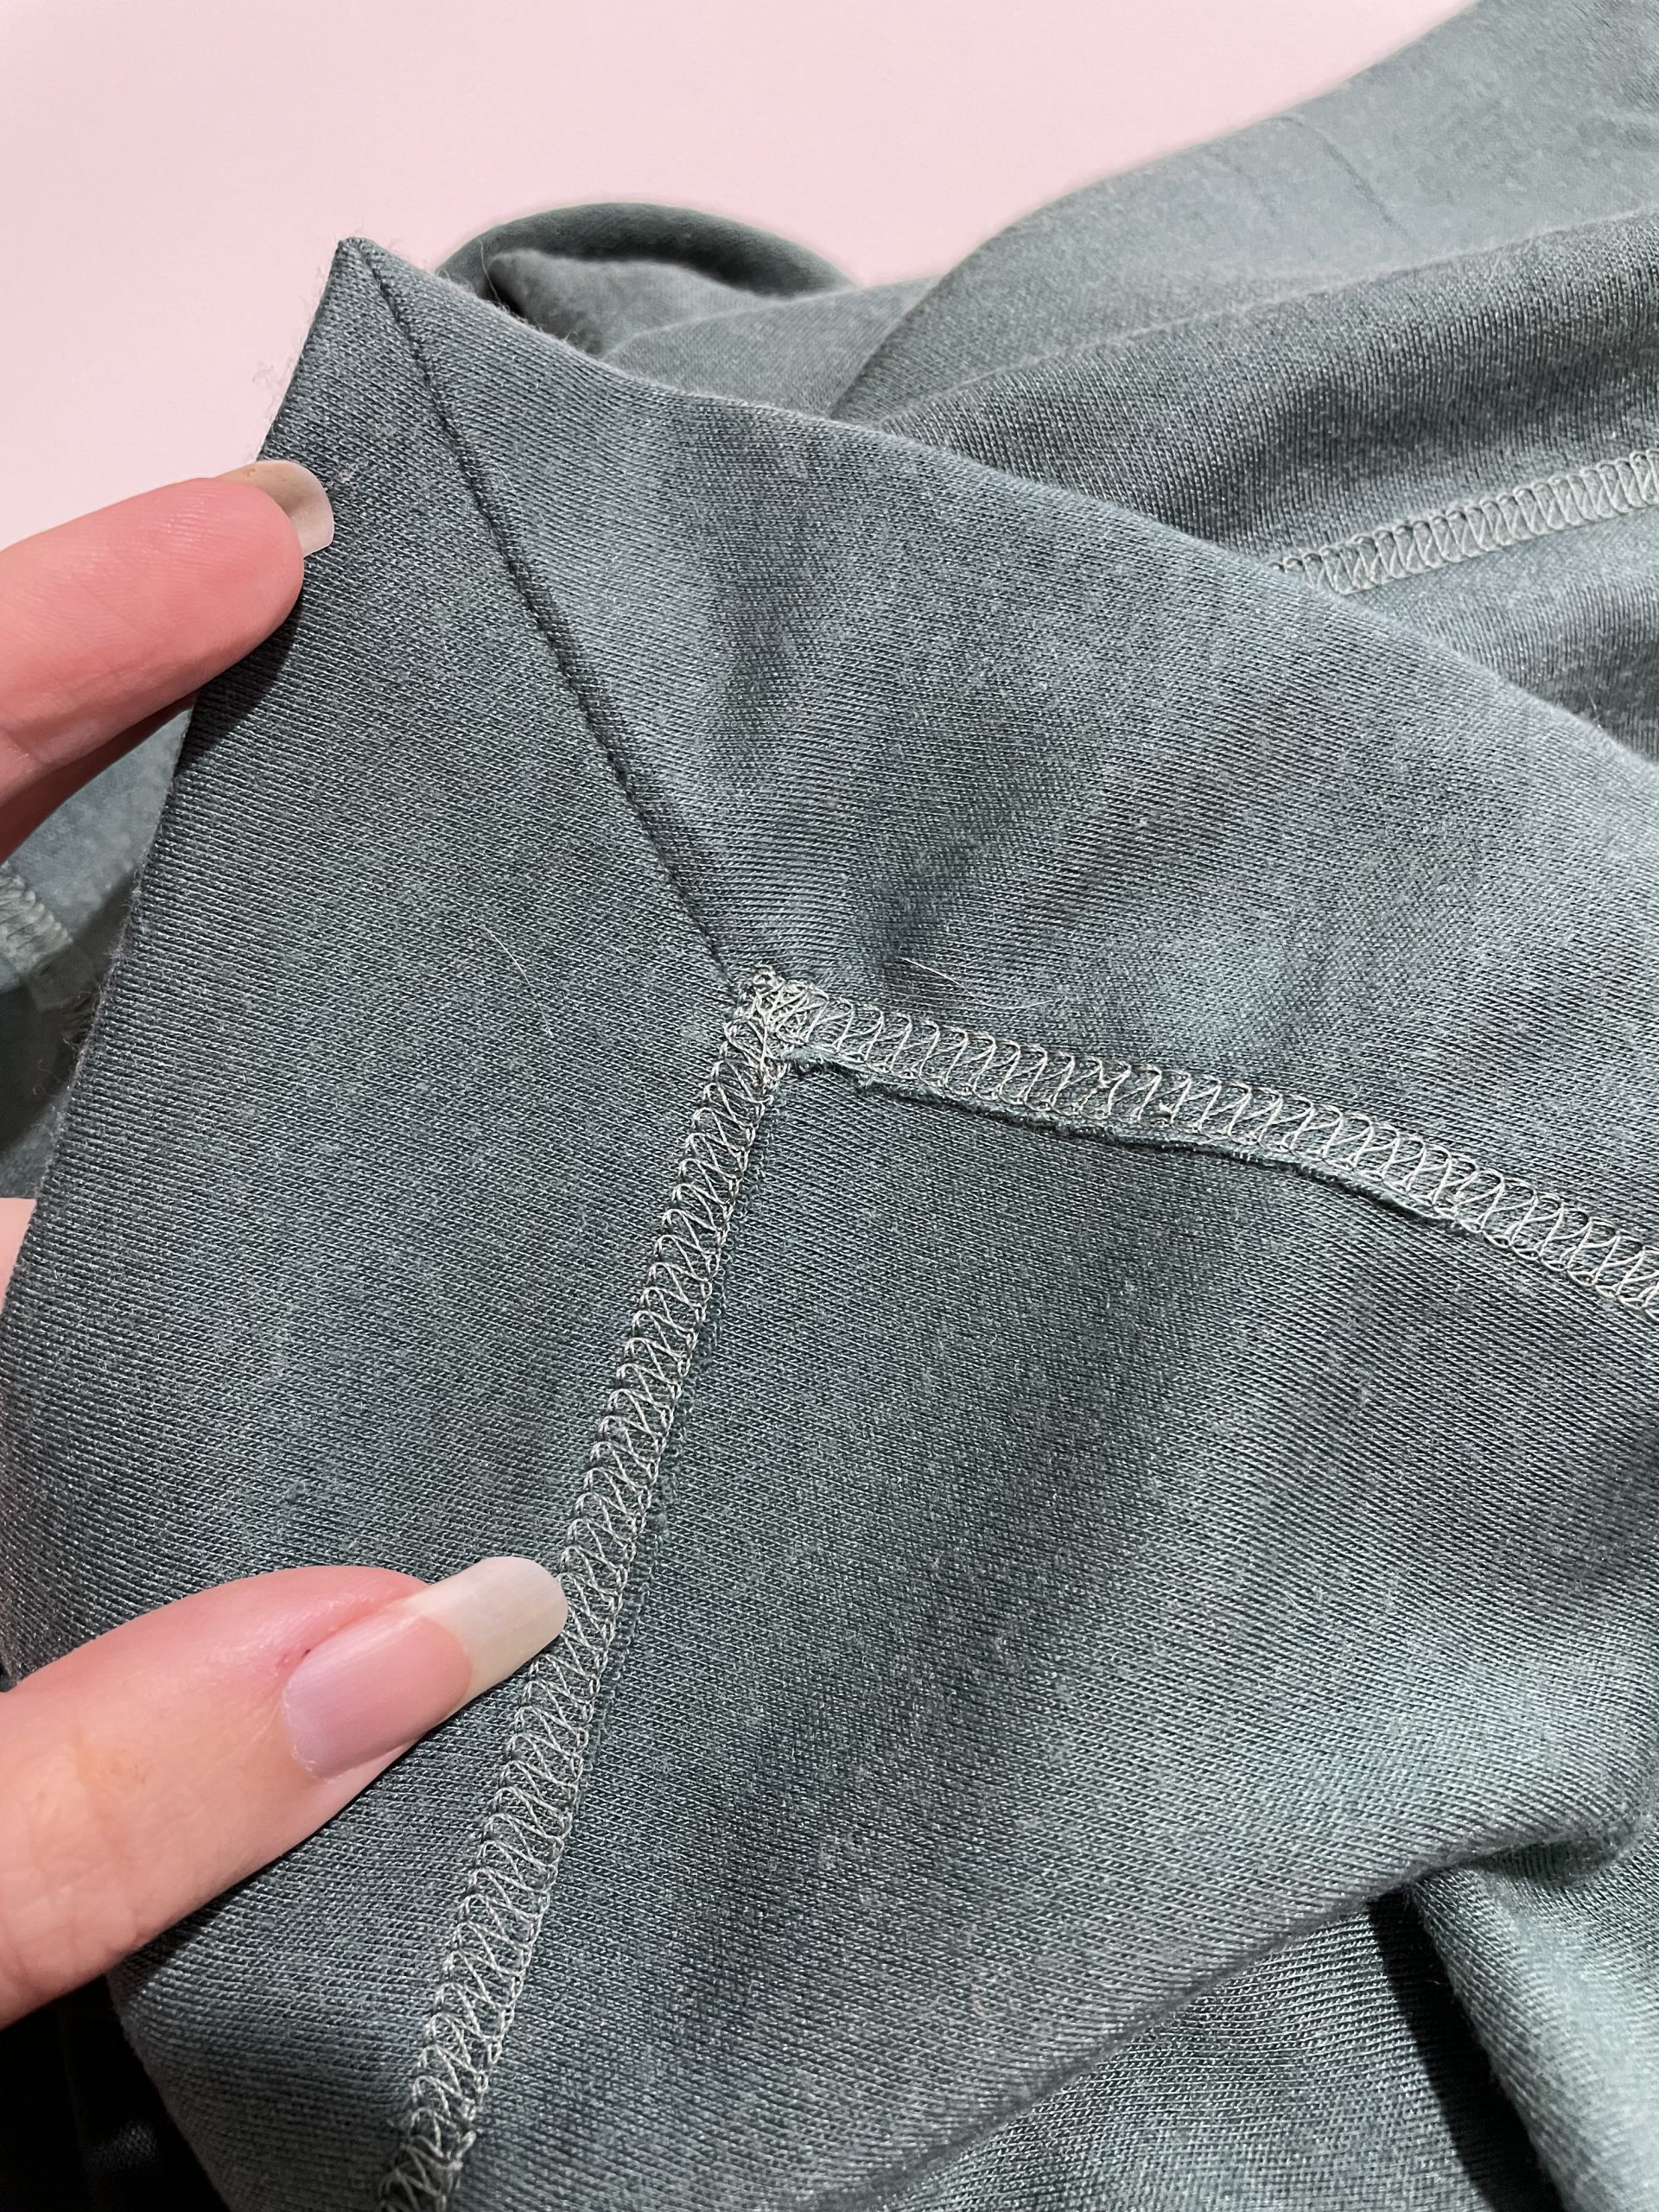
Rotate 90 degrees, shuffling if you need to to release the fabric so it doesn’t pucker. Set the presser foot down, aligning the needles with the outermost row of stitching, and keep on stitching! The resulting corner will have a diagonal thread running through it. Don’t be tempted to trim that thread, or things will start unravelling!
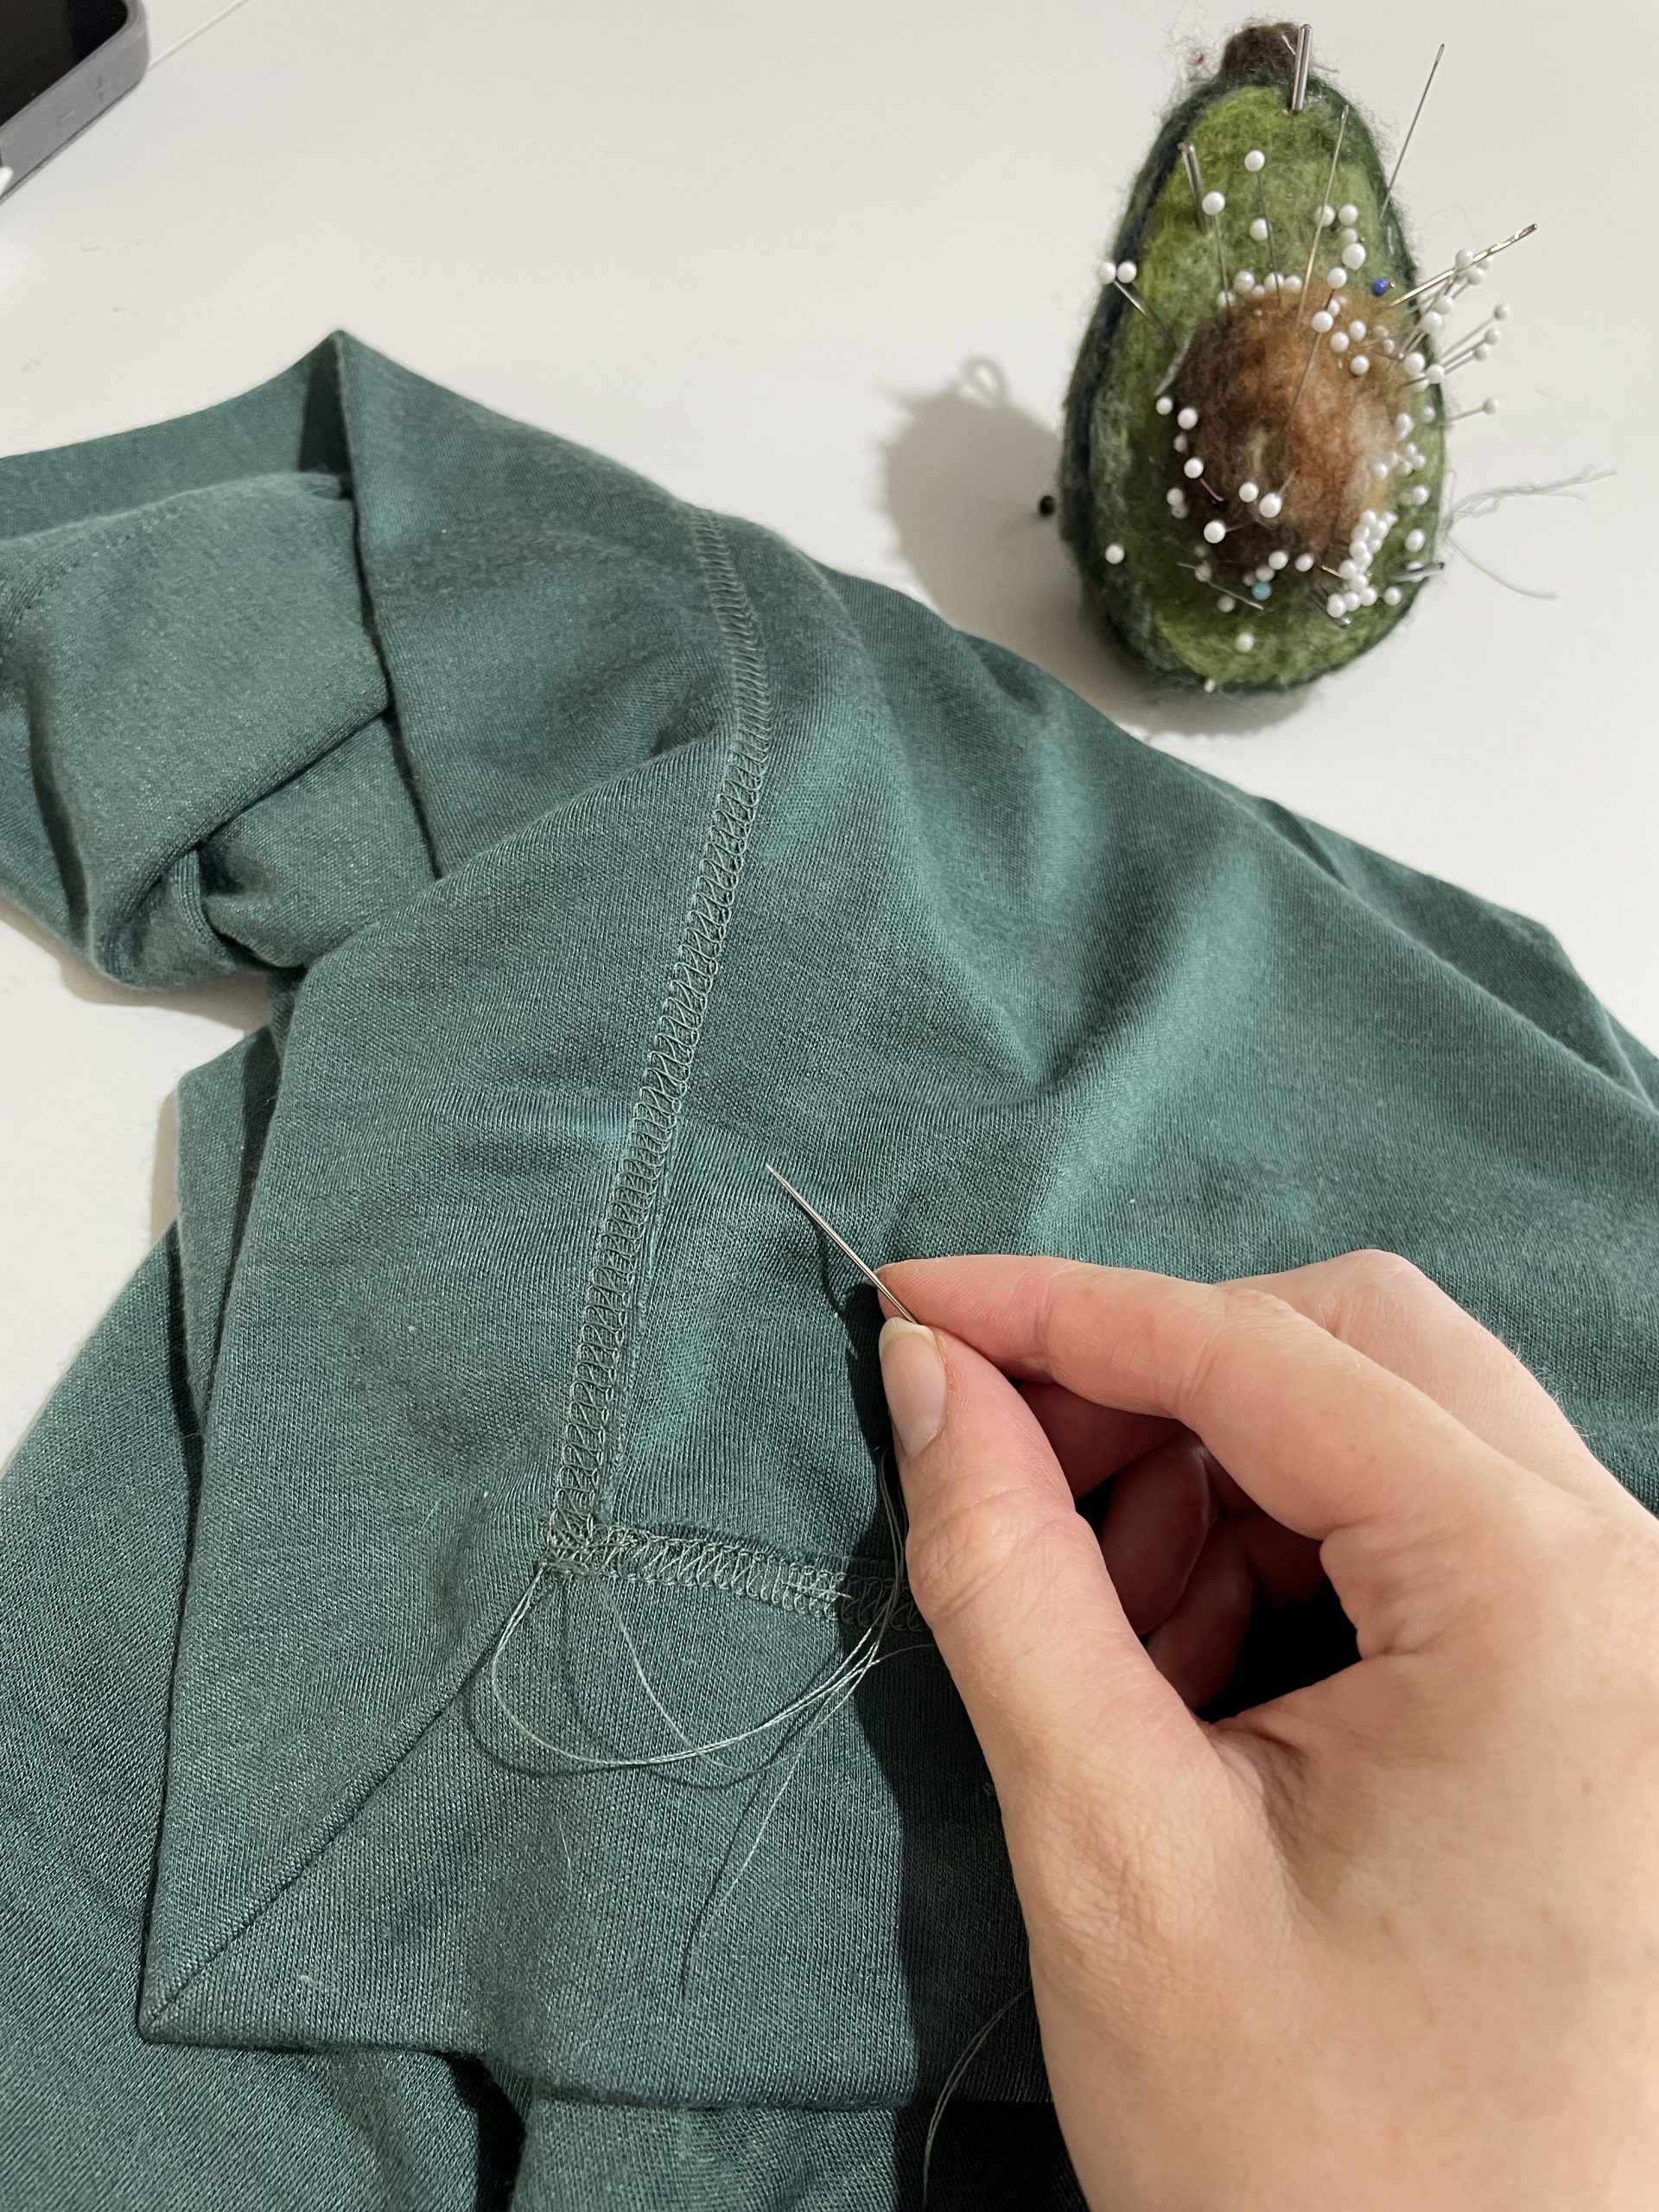
Once you’ve stitched around the perimeter of your blanket, remove it from your machine (cranking back one full rotation to release the threads) and leaving about an 8” thread tail
Pull the threads to the back, tie them off to secure, and weave them in underneath the coverstitching to complete your blanket! I find the angled tweezers that come with the b68 perfect for tugging threads to the back.
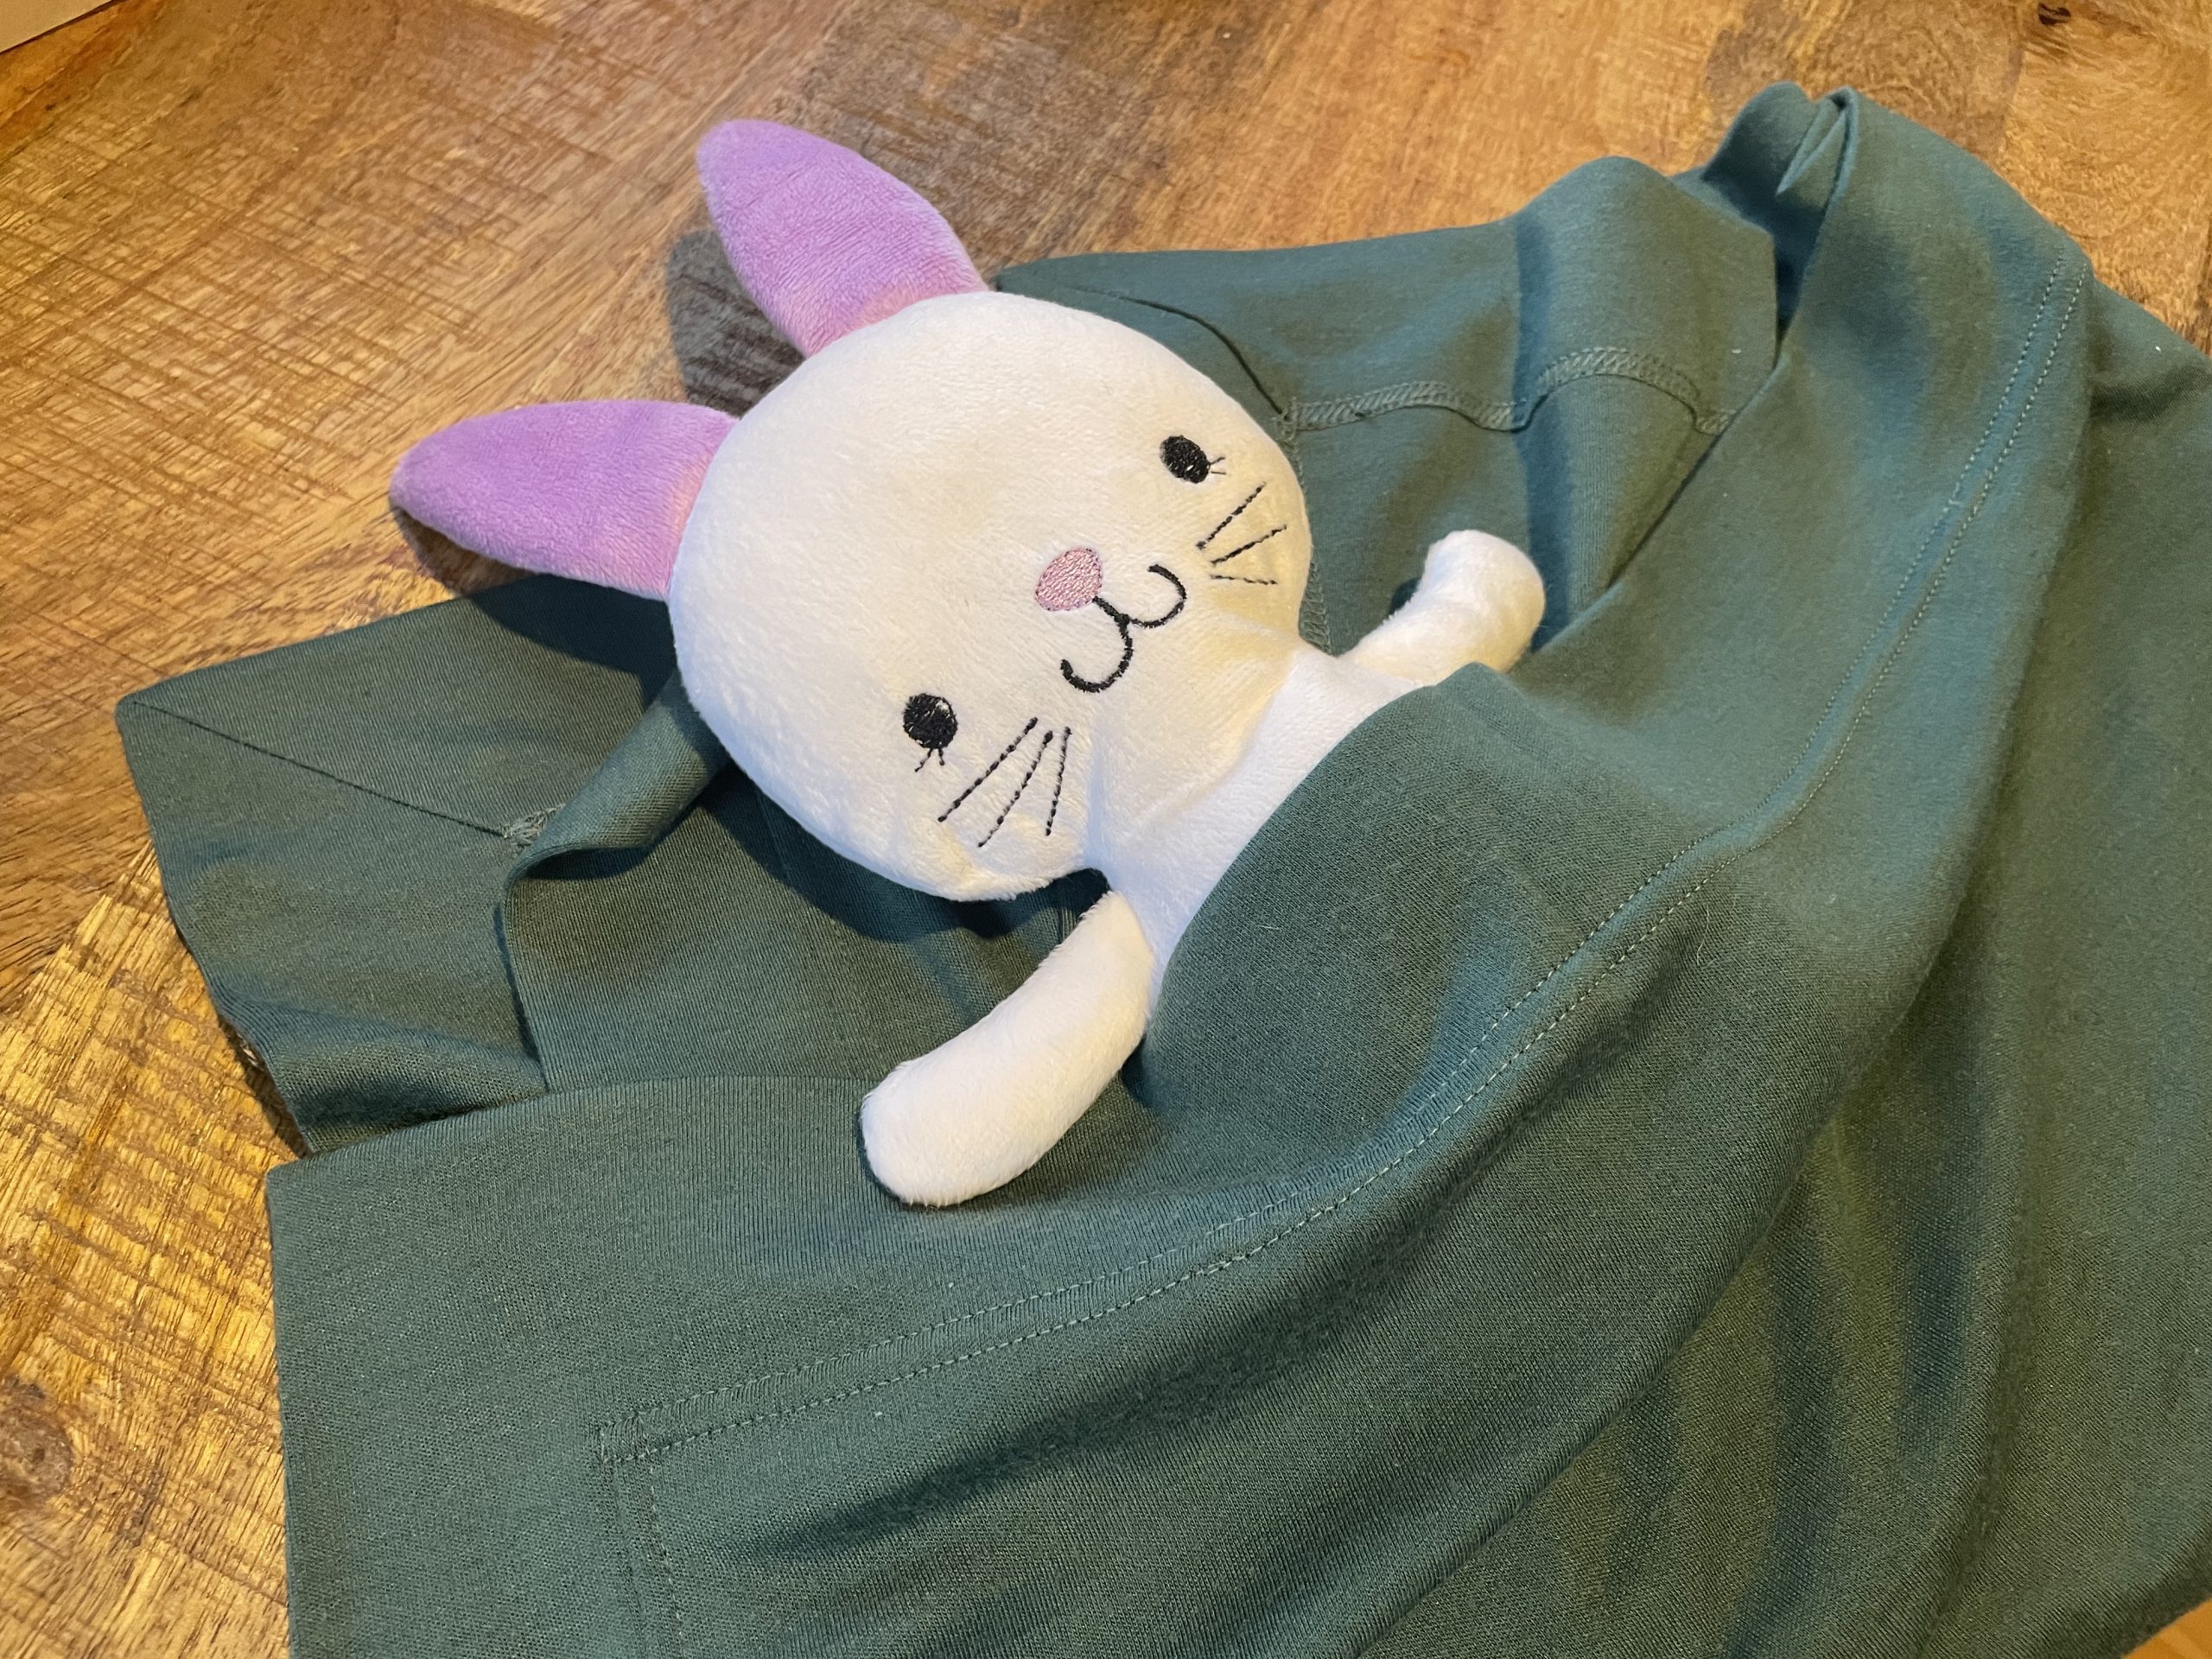
Your blanket will most likely benefit from a final press, but after that it is complete! I’m very tempted to use this one as a lap blanket, as it works perfectly to cover my lap without interfering with the wheels of my office chair, but it is destined for my friend so I’ll have to refrain!
Sometimes the simplest sewing projects have the biggest impact! If you’d like to keep up with the rest of the baby gifts I make for my friend (and everything else!) check out what I’m up to on Instagram, YouTube, and Tiktok (and my blog!) – and please let me know in the comments what your favourite baby gift to sew is – I’d love some extra ideas!


0 Responses