 BERNINA Corporate Blog -
 It has gotten chilly here in Cape Town and it’s only going to get colder!
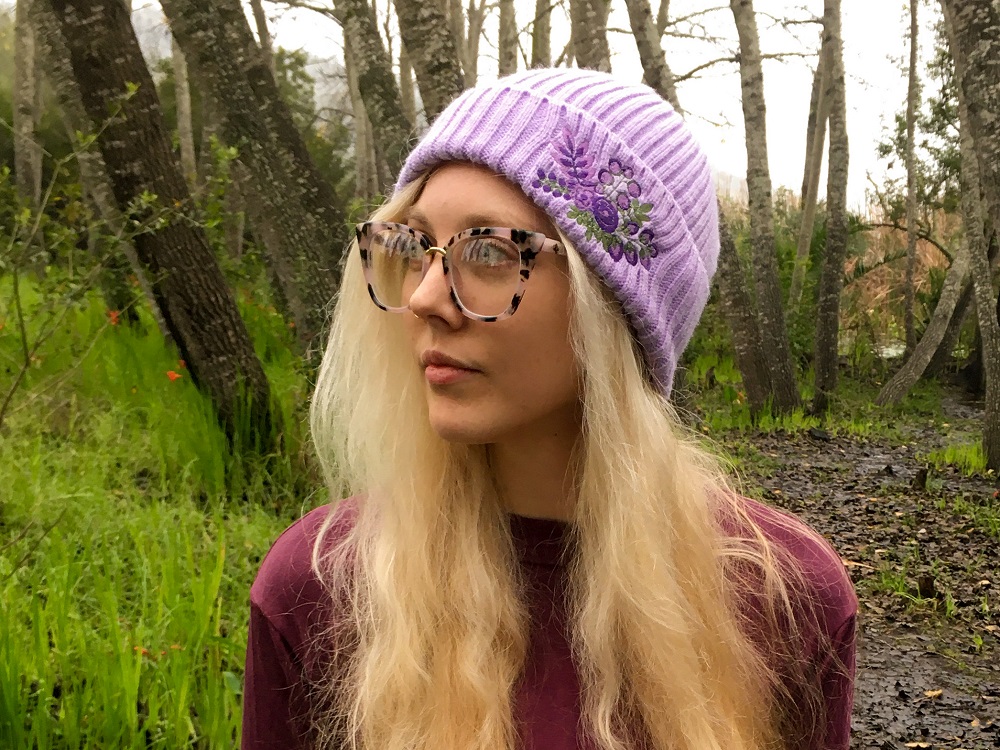
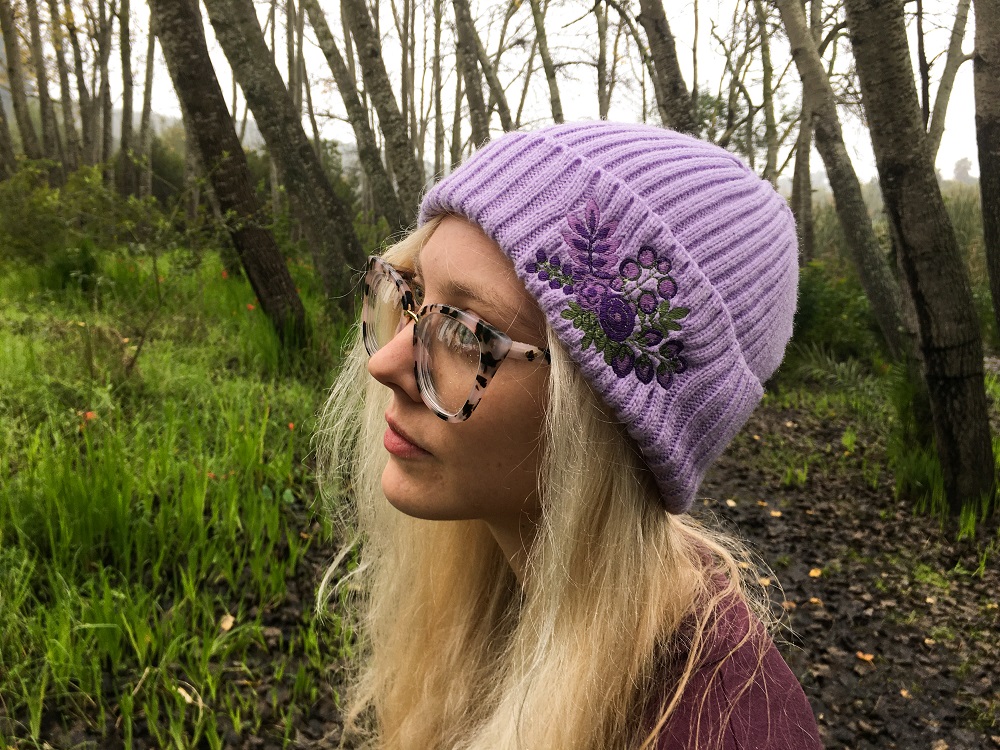
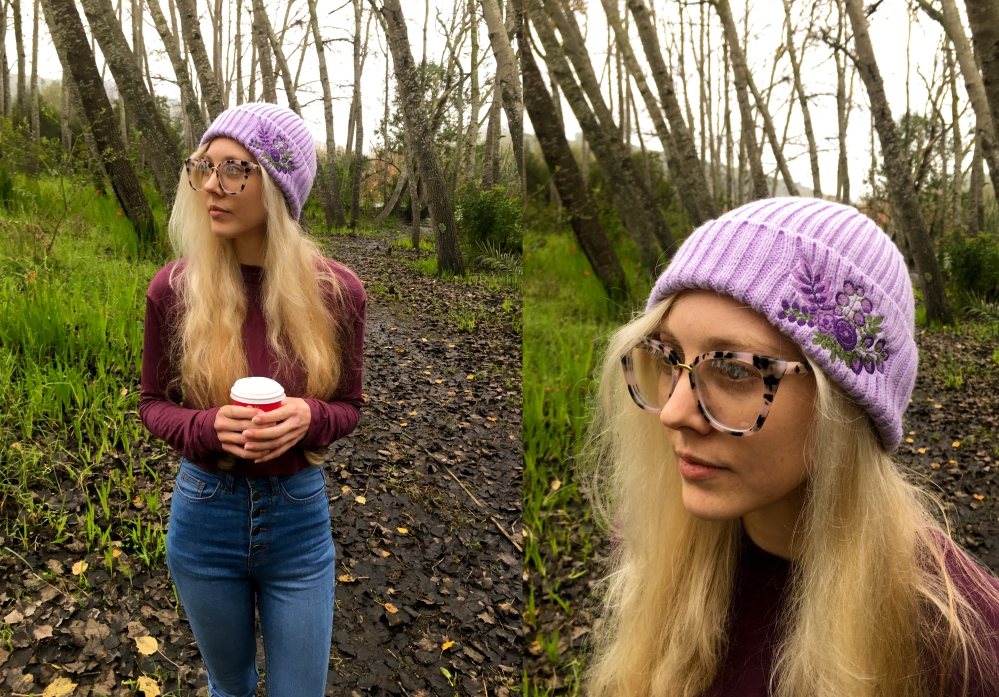
One of my favourite ways to keep warm is with a beanie. Not only are they incredibly practical but they add an extra touch to my outfits. I have a few different colours and textures for a variety of outfits.
Another way to add a personal touch or elevate an old beanie is to embroider it.
My preference, especially when embroidering, is the style of beanie with a folded up brim.
You don’t have to restrict yourself to knitted beanies for this project, you can try it with a sewn fleece beanie or even make your own in a knit or fleece fabric.
What will be needed:
- Bernina Embroidery Software 9
- Embroidery Design (see below)
- Sewing machine (B735)
- Beanie with folded brim
- Embroidery Module
-Embroidery Hoop Medium or Small Embroidery Hoop
–Foot #26
-Embroidery Thread (quantity dependant on your design)
-Cut-away Stabilizer
-Wash-away Stabilizer - Ballpoint needle 75/11
Embroidery Design
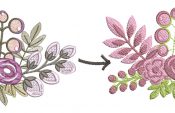
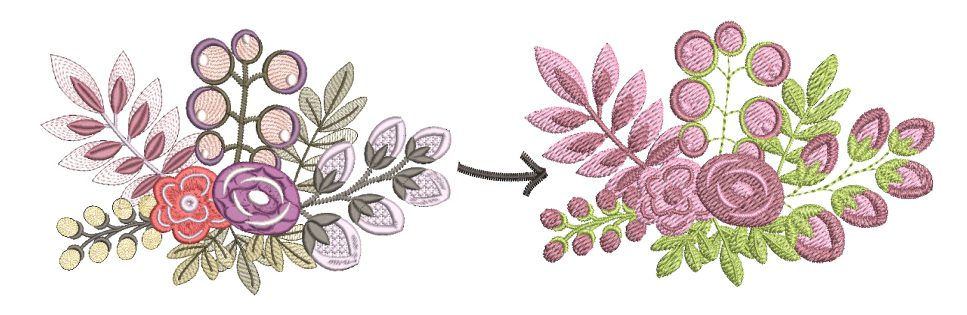 I edited an existing design in the Bernina Embroidery Software 9 to better suit my project.
You can learn more about how I did in in this blog post: Edit a free embroidery design
I used the 120-46 Flowers Design from Issue 1/2020 of the Inspiration Magazine.
They have many free embroidery designs available to download.
 You can find them here: Free Inspiration Downloads.
For help downloading the free embroidery designs, refer to my blog post: Edit a free embroidery design
Hoop Selection
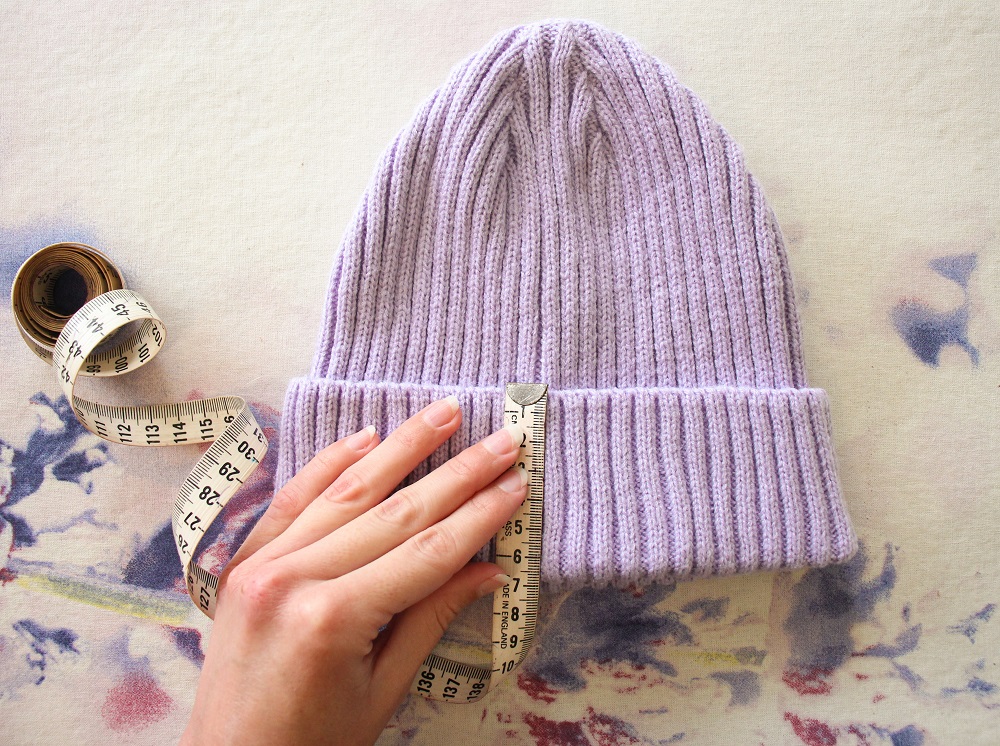 Measure and record the height of the fold of your beanie.
The height of your embroidery design should be about 20mm shorter than the height of the fold.
Decide based on your chosen embroidery design which hoop is best.
For a relatively square design, I would recommend the Small Hoop.
Depending on which way you hoop the beanie, your design can be maximum 72m tall x 50mm wide or 50m tall x 72mm wide
For a wide, rectangular design I would recommend the Medium Hoop.
I would recommend that the width of your design is no longer than 100mm which is the width of the hoop. The stabilizer will hinder the stretch of the beanie, so if your design is wider than 100mm it might cause the beanie to be too tight when worn.
Embroider
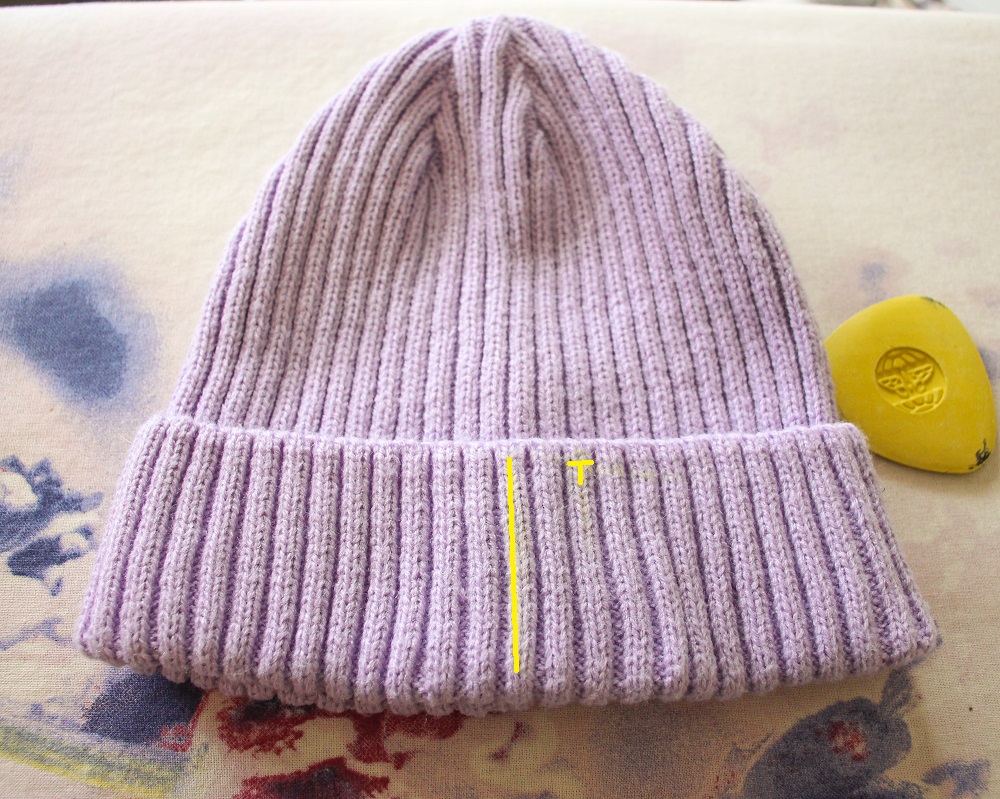 On the brim of the beanie mark the centre of where you would like the design to go.
It may help to mark an arrow pointing towards the edge or the letter T to help remind you which direction the top of the design should be.
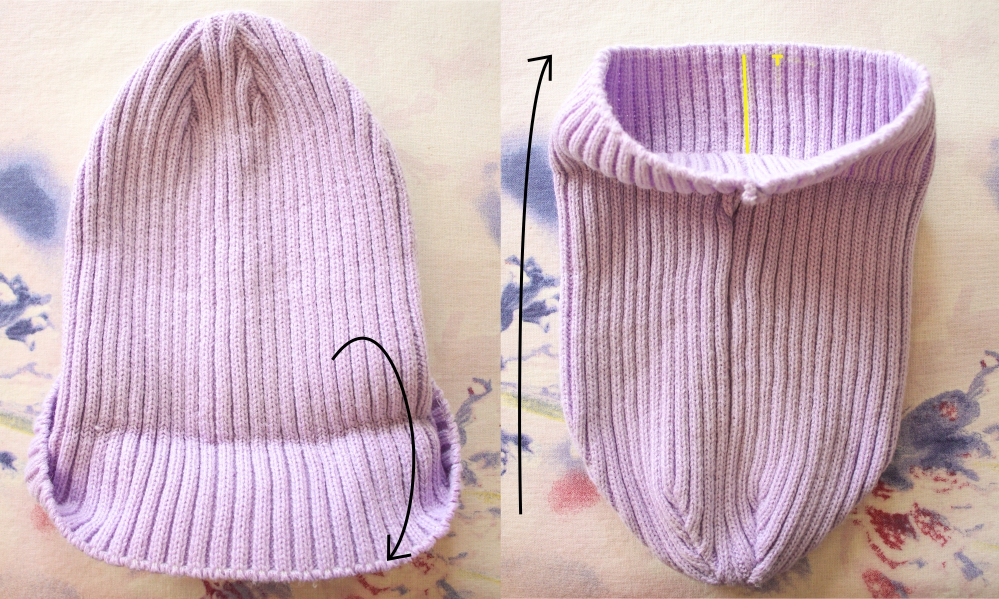 Unfold the brim of the beanie and flip it over so that you can see your markings.
- Hoop the beanie with your stabilizers.
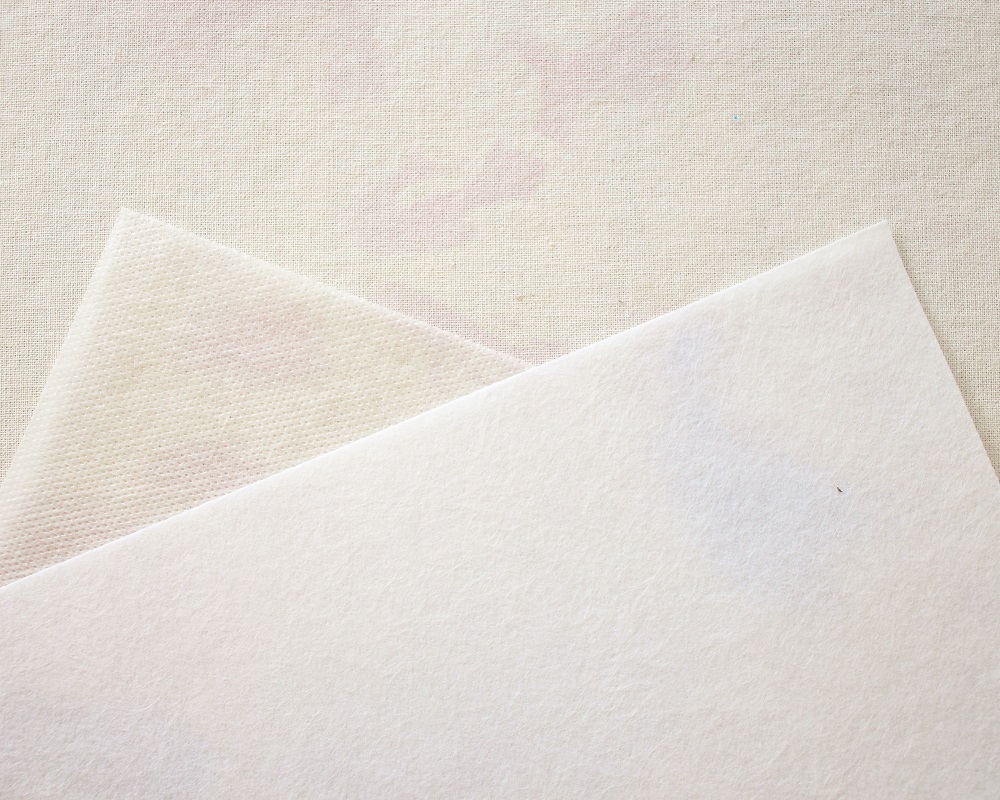 I wanted to use a combination of Polymesh Cut-away as it is thin but durable and paired it with a Wash-away Stabilizer. However I had run out of the Polymesh and therefore used a different cut-away stabilizer.
The cut-away will provide a sturdy base layer (especially for designs with a high stitch count) and the wash-away will prevent the stitches from sinking in to the fabric. Together they should help create crisp, well-defined stitches and the sandwiching technique (along with basting) will minimize movement and distortion of the fabric in the hoop.
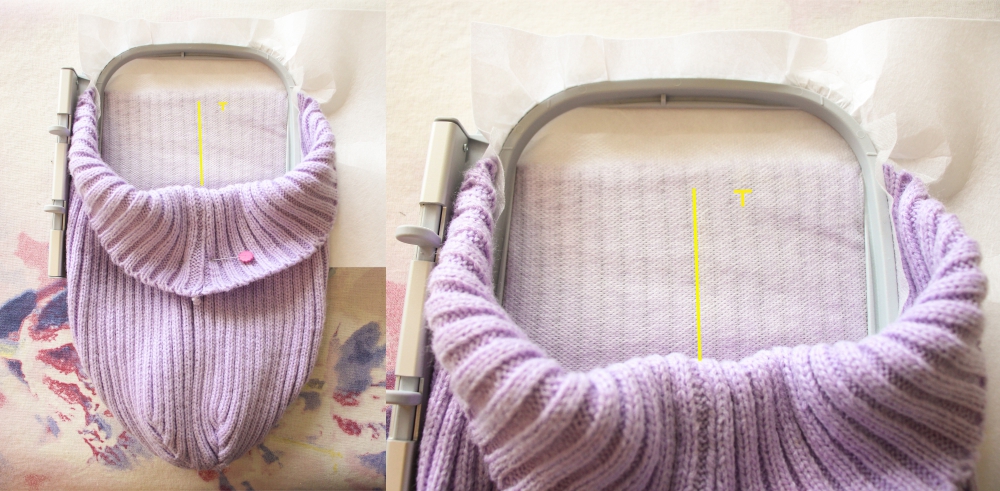 When placing the beanie in the hoop, ensure that the vertical rows of the knit are straight and the fabric is flat, without being too stretched.
Stretch it just a bit so that when worn, the fabric isn’t too noticeably contracted while the rest of the fabric is stretched.
Place the Cut-away stabilizer under the beanie and the Wash-away on top.
The inner hoop will sit inside the beanie.
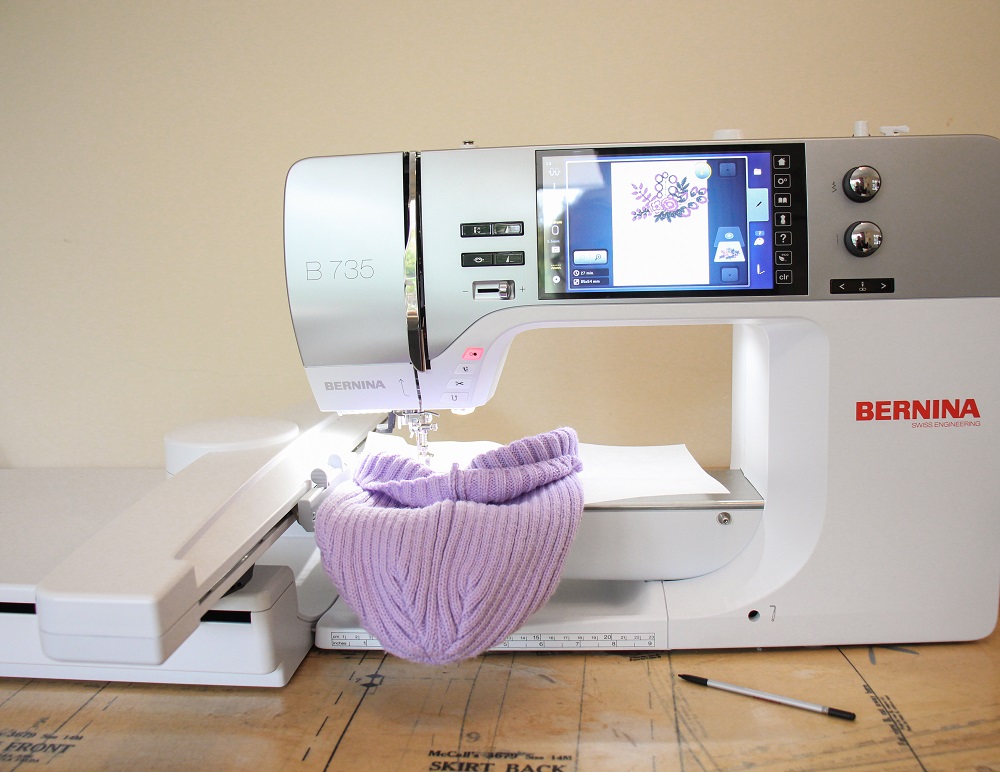 Set up your embroidery machine as per usual and then check the placement of the design.
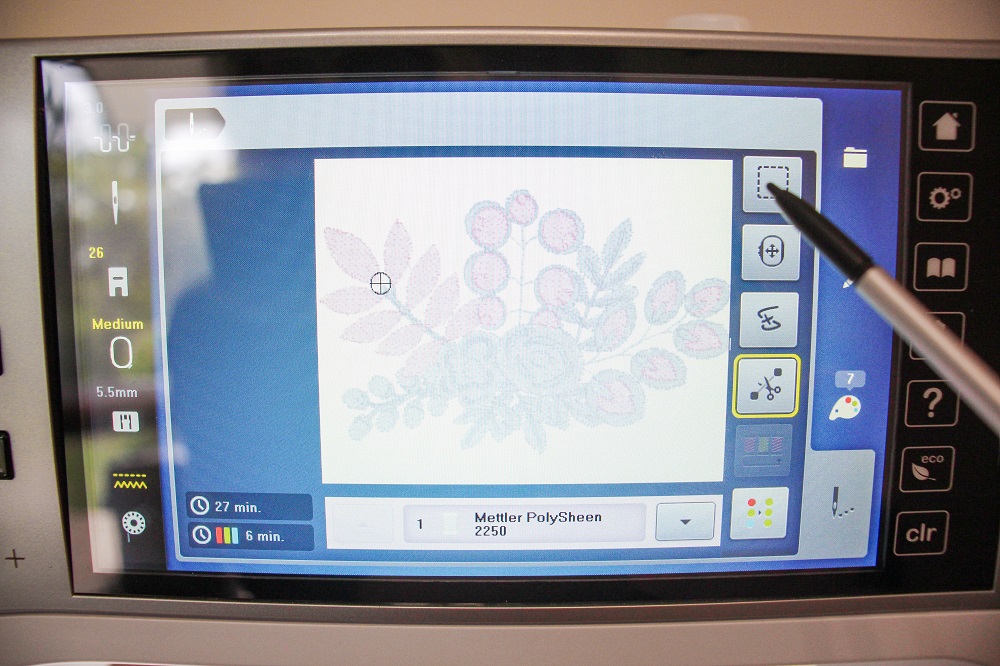 On your machine’s screen, select baste and press the green button.
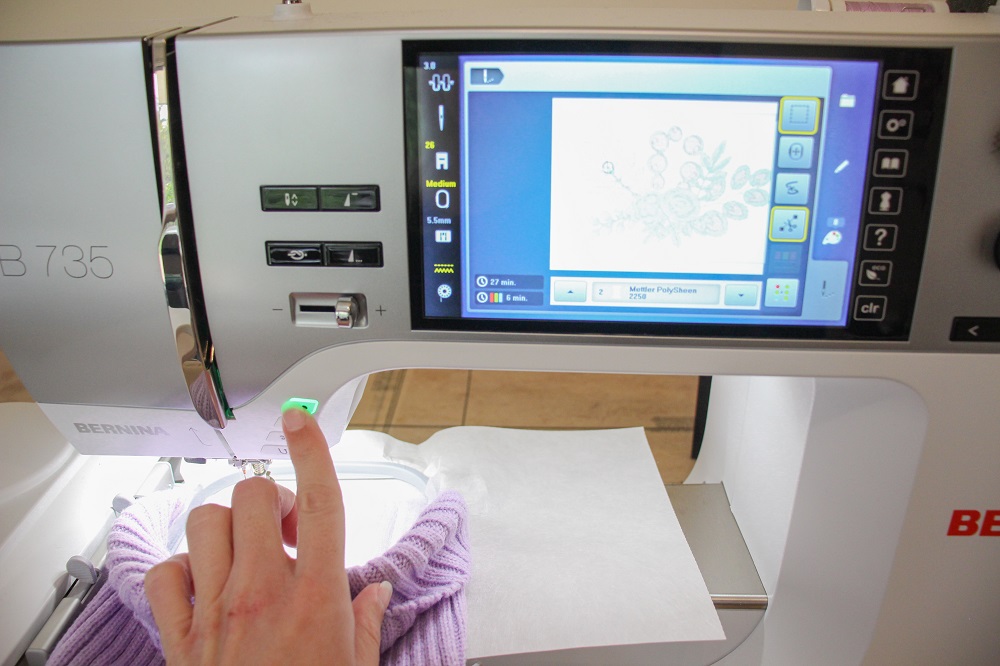 You may need to hold or clip away the rest of the beanie fabric out of the way during the embroidery process.
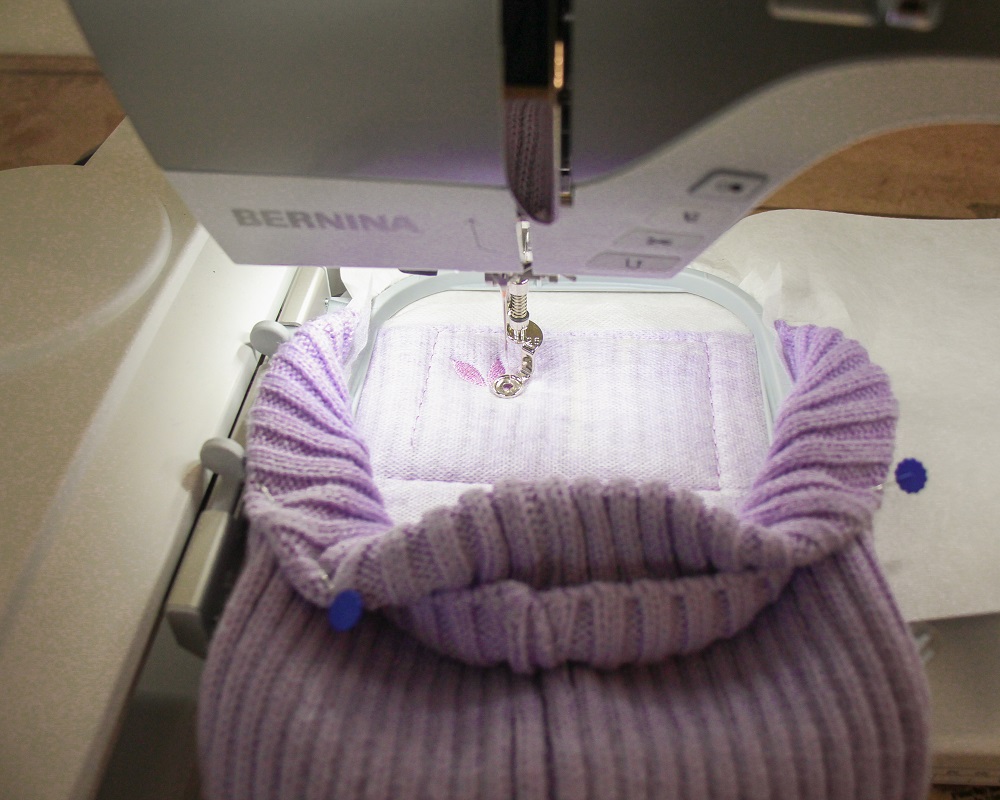 Once basted, go ahead and embroider your design.
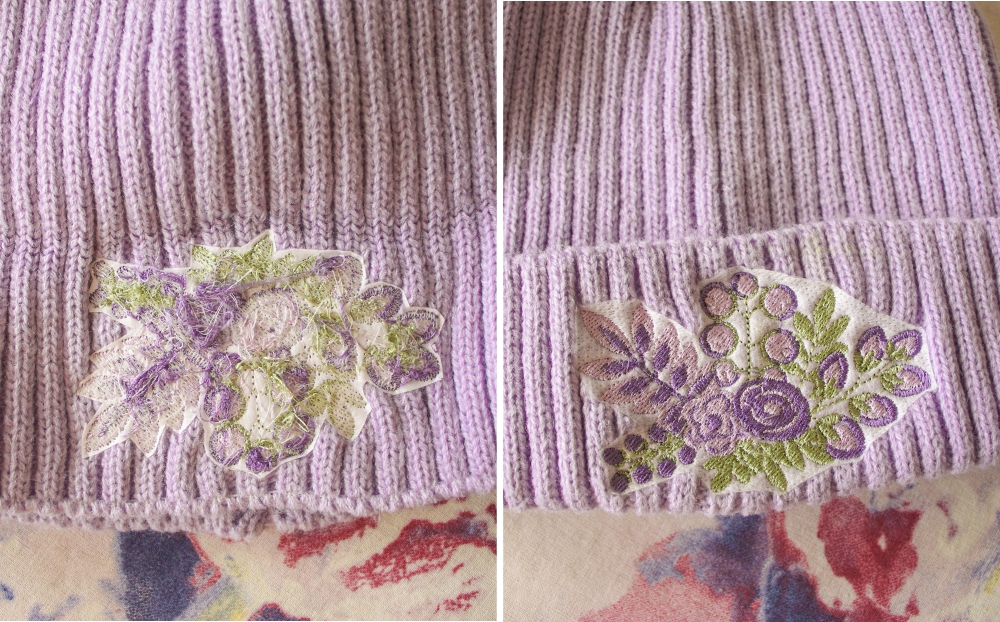 Once you remove the beanie from the hoop, trim away the excess Wash-away Stabilizer.
For Cut-away Stabilizer, roughly cut away the excess, then trim the remaining excess stabilizer close to the stitches.
Please excuse the messy underside, I didn’t realize how weak my embroidery thread was which lead to multiple breakages of the thread.
Rinse or soak the beanie in water.
Refer to the instructions that came with your wash-away stabilizer to know if the water should be warm or cool.
Alternatively machine wash the beanie.

Tips
- Jelena has provided steps in her blog post Sew a Beanie Hat (Simple Pattern) to make your own. I would recommend extending the length to make a folded brim.
- If your beanie is too thick to hoop, you will need to float it. Hoop the cut-away stabilizer and pin the beanie on top with the wash-away stabilizer. Remove the pins once you have basted.
I would love to see what you make, please feel free to share with me!
Instagram
Facebook
-Hannah-Rose


Excellent how to article Hannah!! My daughter-n-law bought Beanie’s for her 4 boys and asked me to put their names on them. I was nervous because I wasn’t sure how it would work out with the stretchy material. But your instructions were perfect, and the stabilizer and needles you suggested worked great. The Beanies turned out beautiful. Thank you so much!!
Hi Irene
Oh I am so glad! Thank you for your lovely comment.
Well done on giving it a go despite the nerves 😉