 BERNINA Corporate Blog -
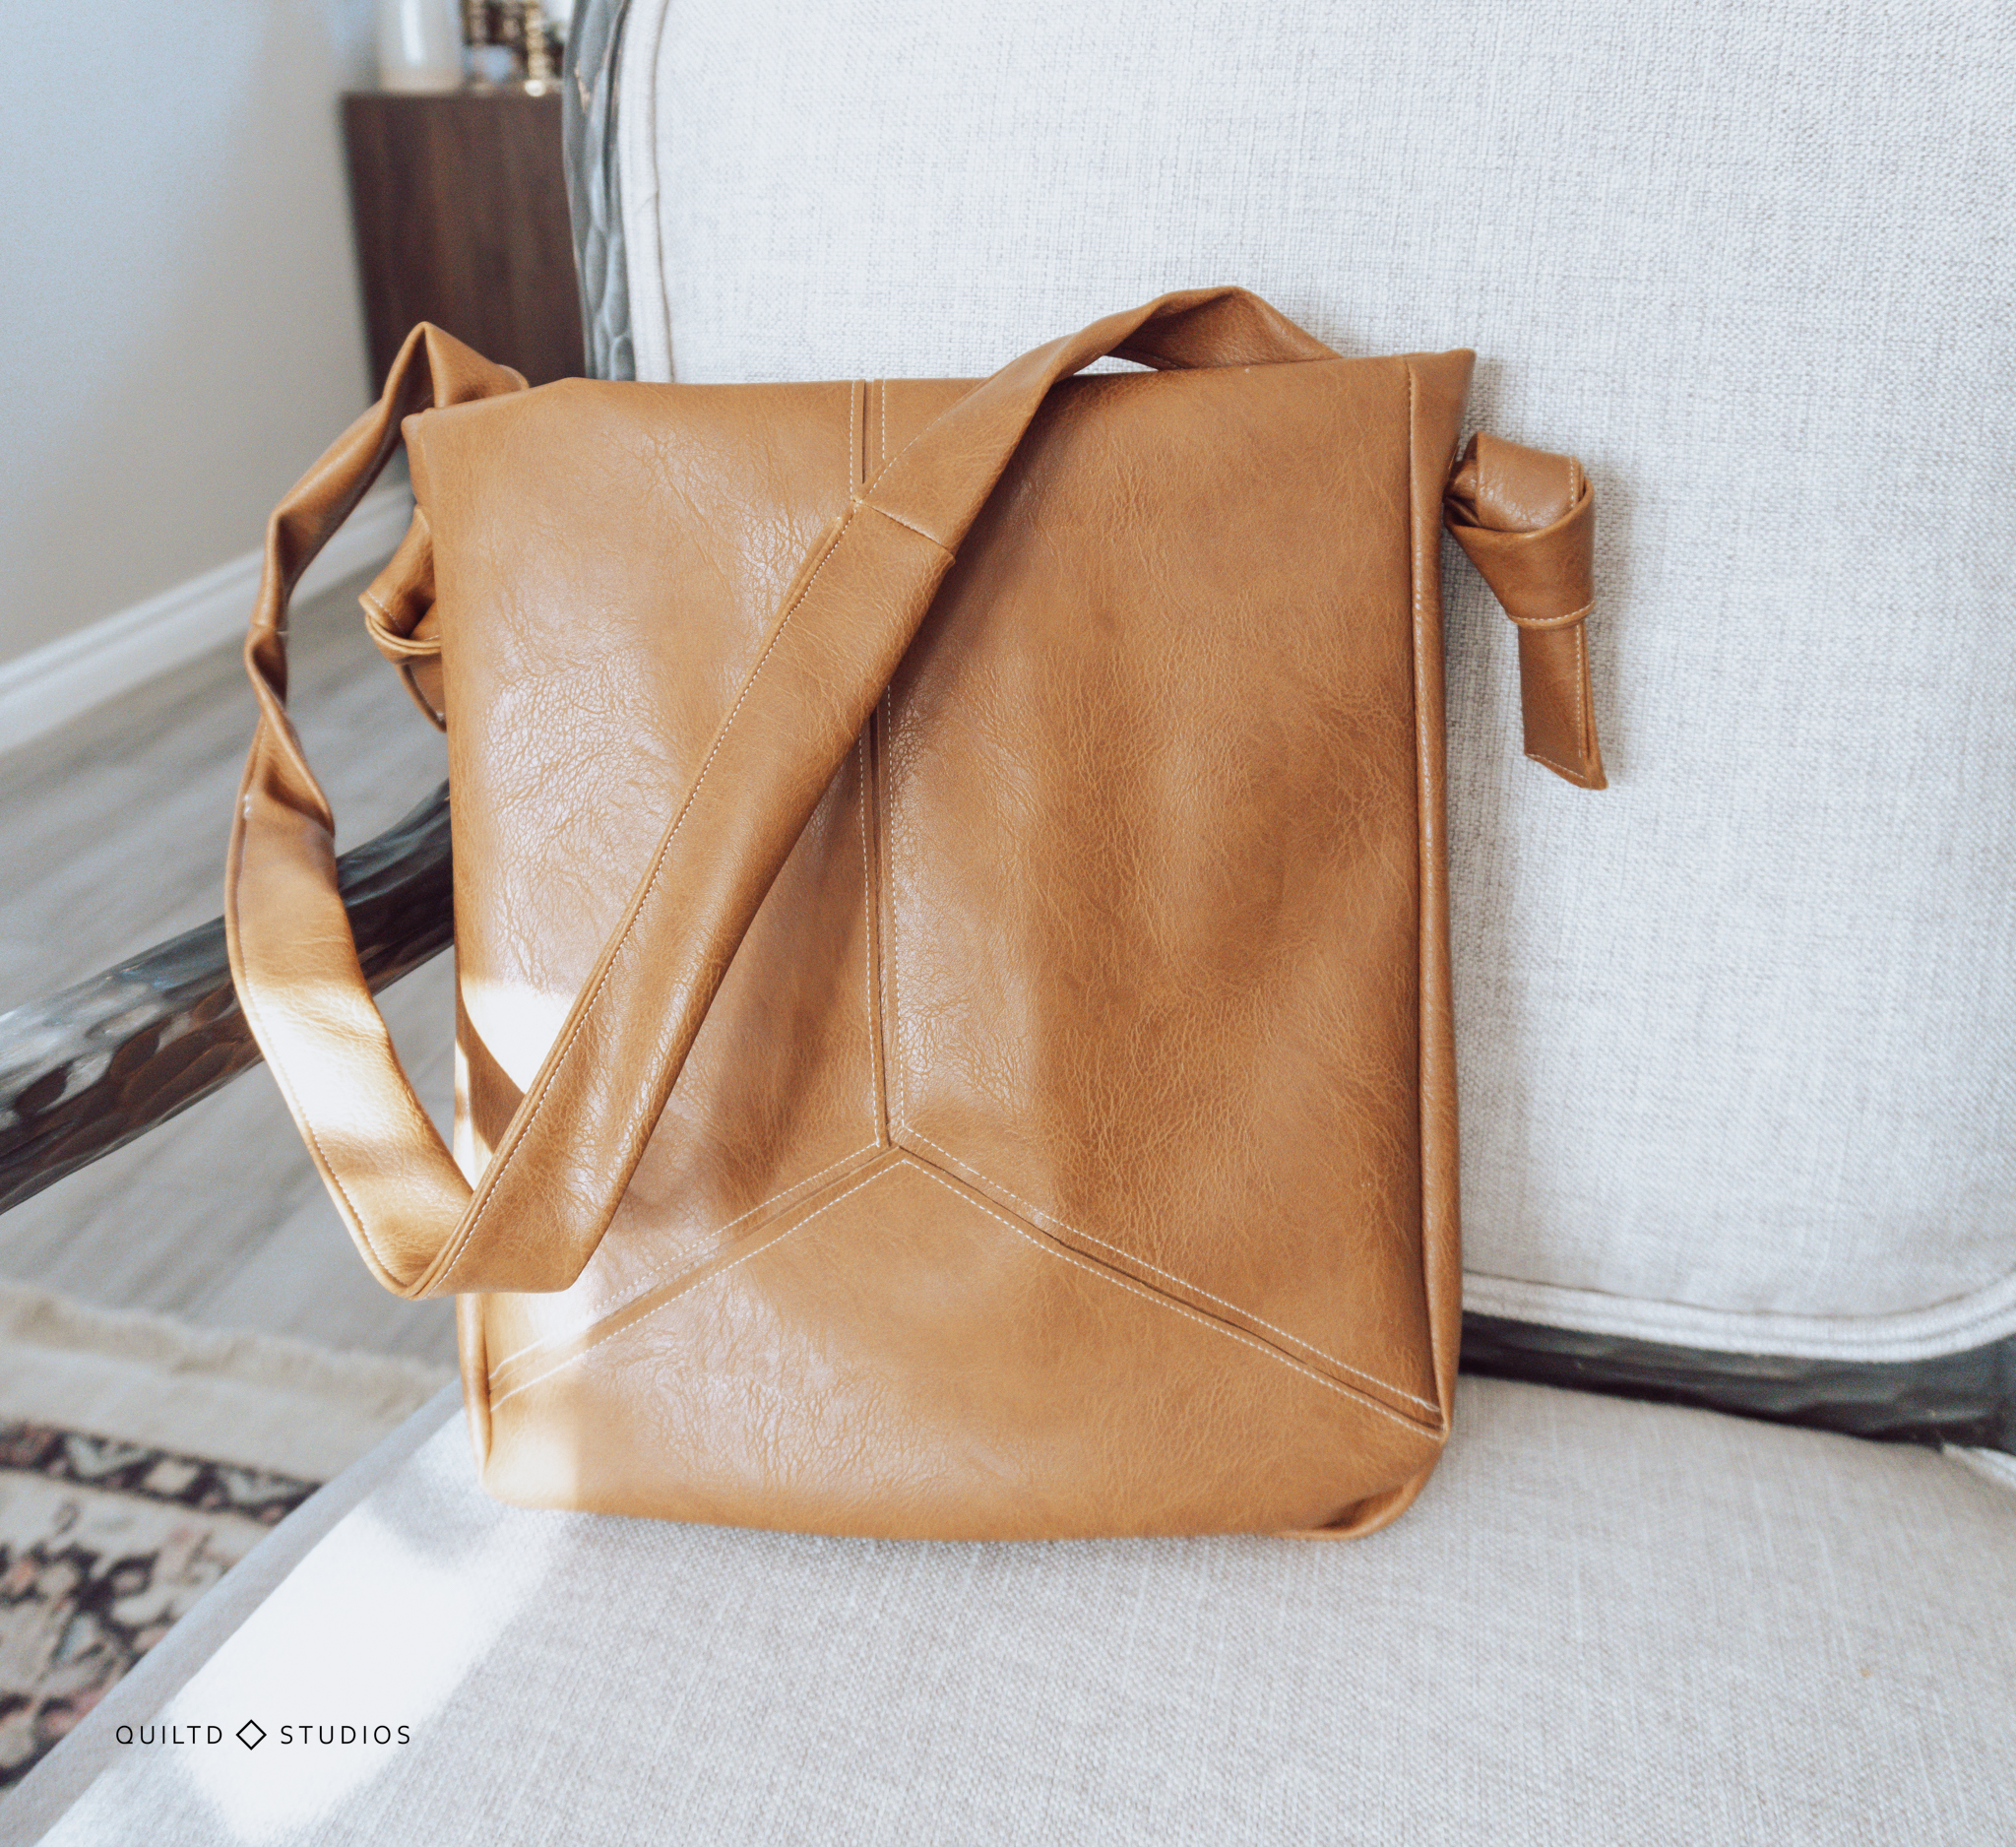
 Let me start off this post by saying I haven’t sewn anything with a template since the sixth grade when I attempted a set of pajama bottoms and one leg was 3 inches shorter than the other.
There’s a reason I’ve been a quilter since!
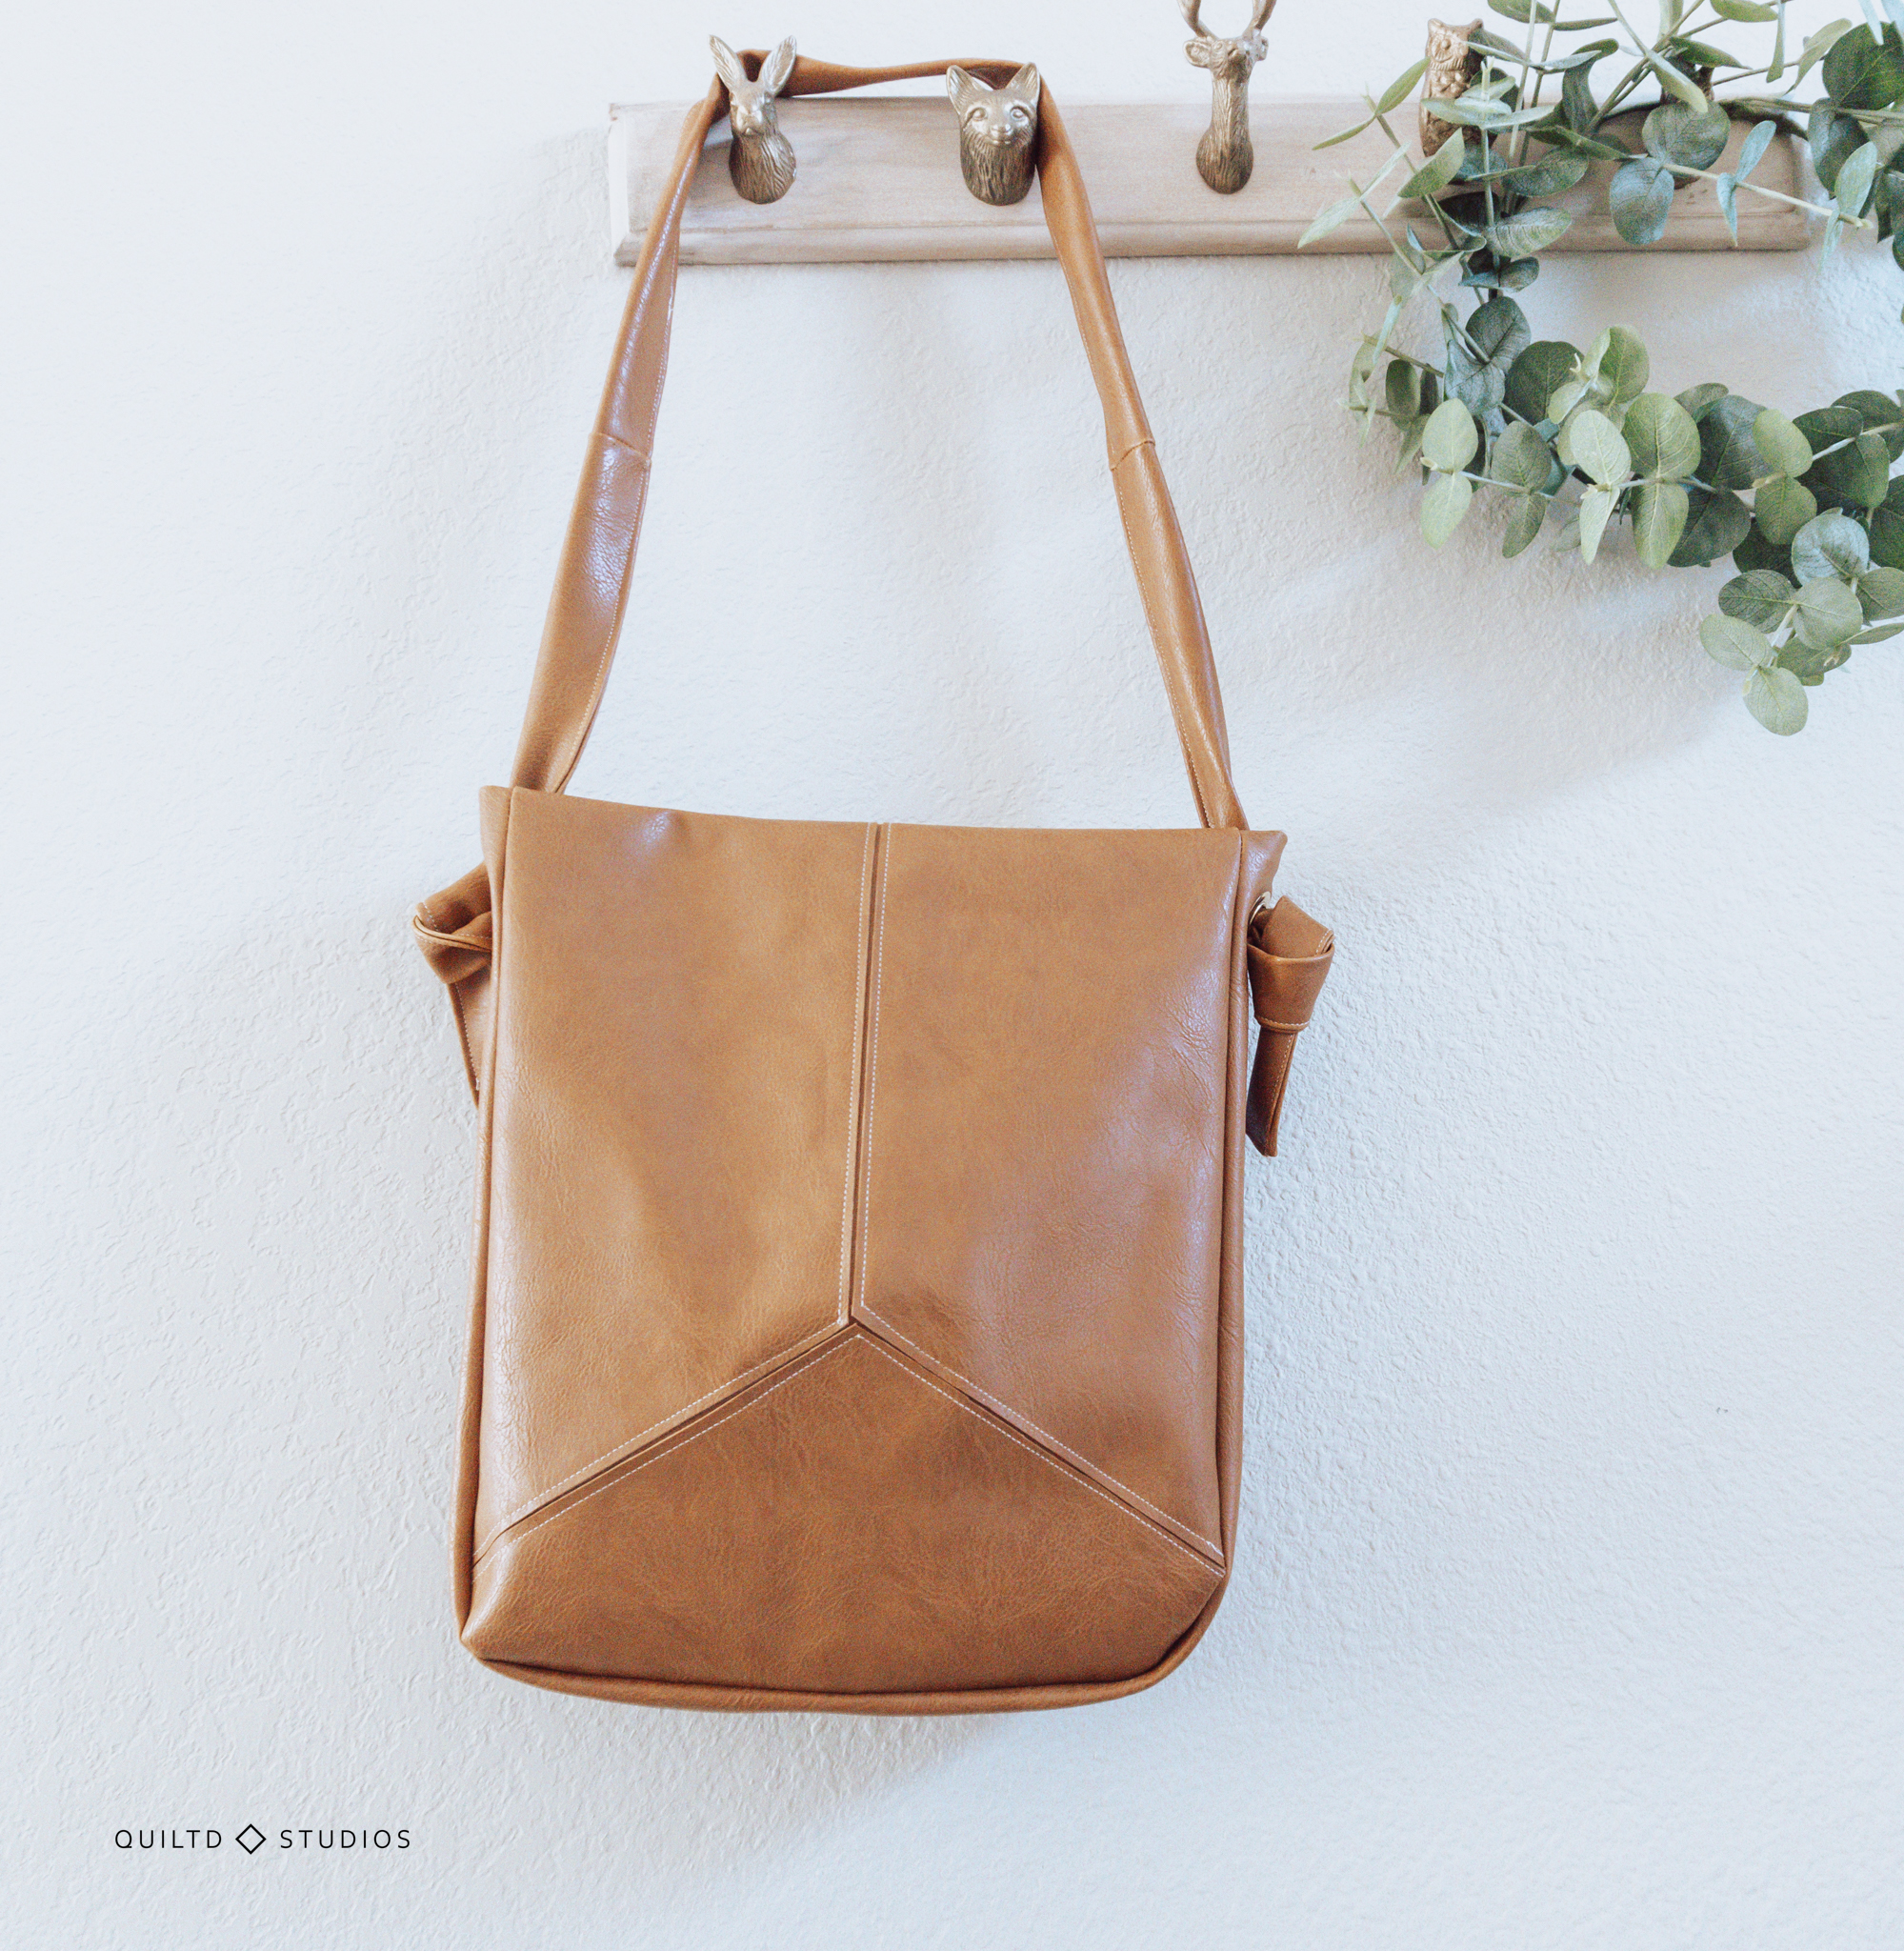
That being said, when I volunteered to make the Klara bag, I knew it would be a stretch. Not literally, because the bag is made of imitation leather but I definitely expected a learning curve.
However, it really was a fun and fast project (one evening should do it!). I made this bag (twice actually), and by the second bag, I was even enjoying myself.
Once I hunted down some Decovil, I was pleasantly surprised at how fast Klara came together.
So let’s dive into making this beautiful bag, make sure to download the pattern this month (for free!) here and follow along with these steps.
Needed Supplies

- Imitation leather – get more than you need if you’re a bag newbie like me
- 1 magnetic clasp – not 100% necessary and I had no idea how to install mine so good luck with that
- 2 eyelets – I’ve never put these in and it was fun! I used smaller ones.
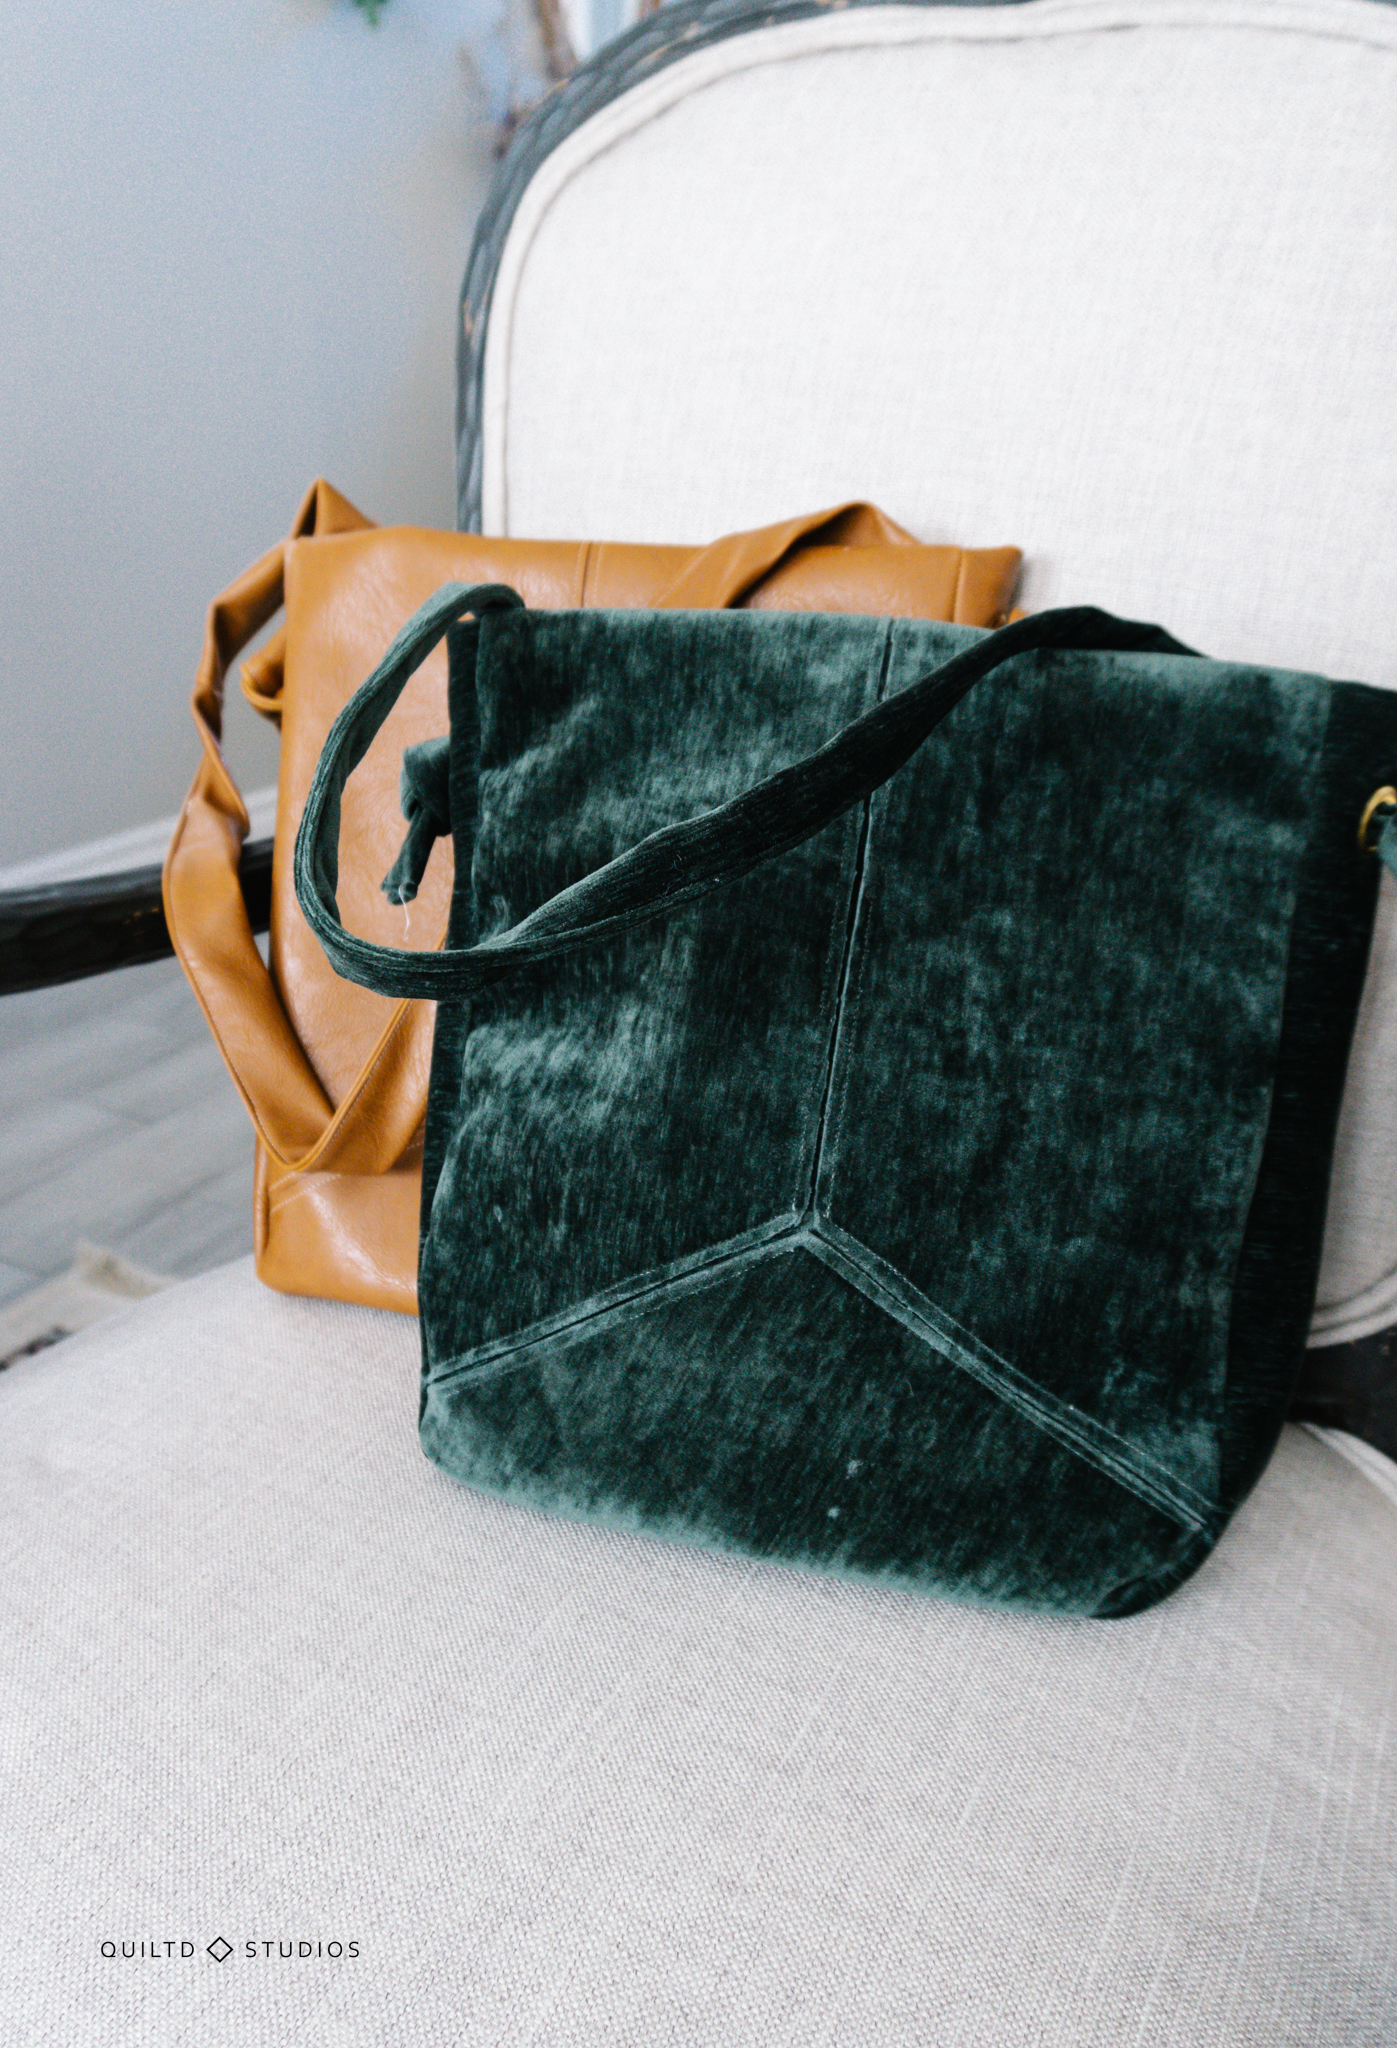
- Decovil – I have lots of stabilizer but this one is definitely the stiffest! I made the green bag without decovil, it’s just less stiff.
- A #53 nonstick foot, believe me, you’re going to want this.
Cutting The Templates
Print those babies out, tape ‘em together, cut around the edges and you’re good to go.
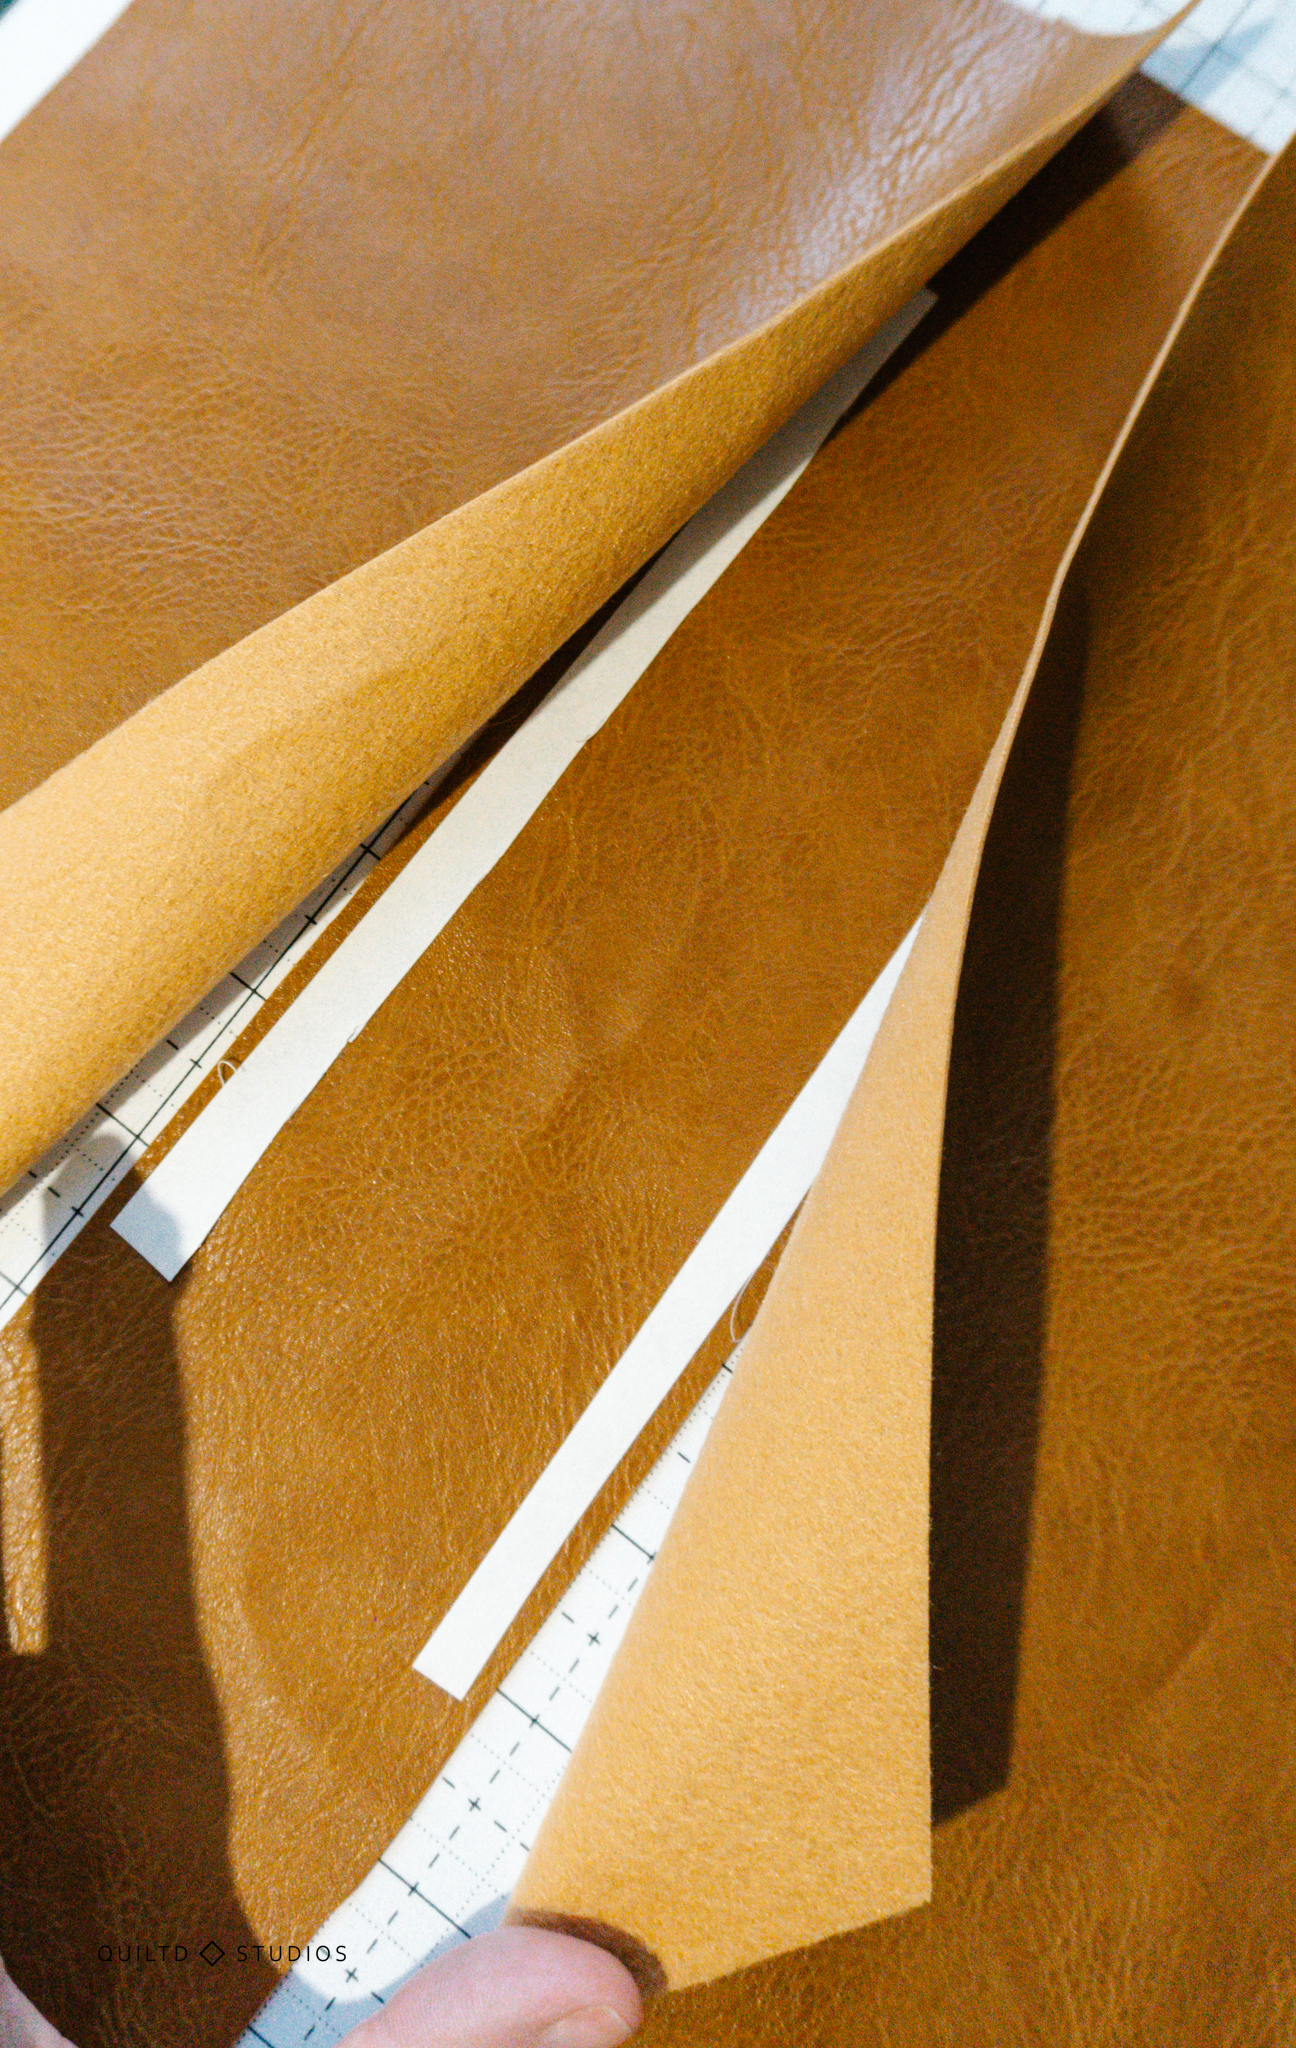
Lay the templates on your imitation leather and cut around each template. I added a random amount of seam allowances (½”? ⅝”? It still all worked out) to almost everything EXCEPT the inner part of the front pieces.
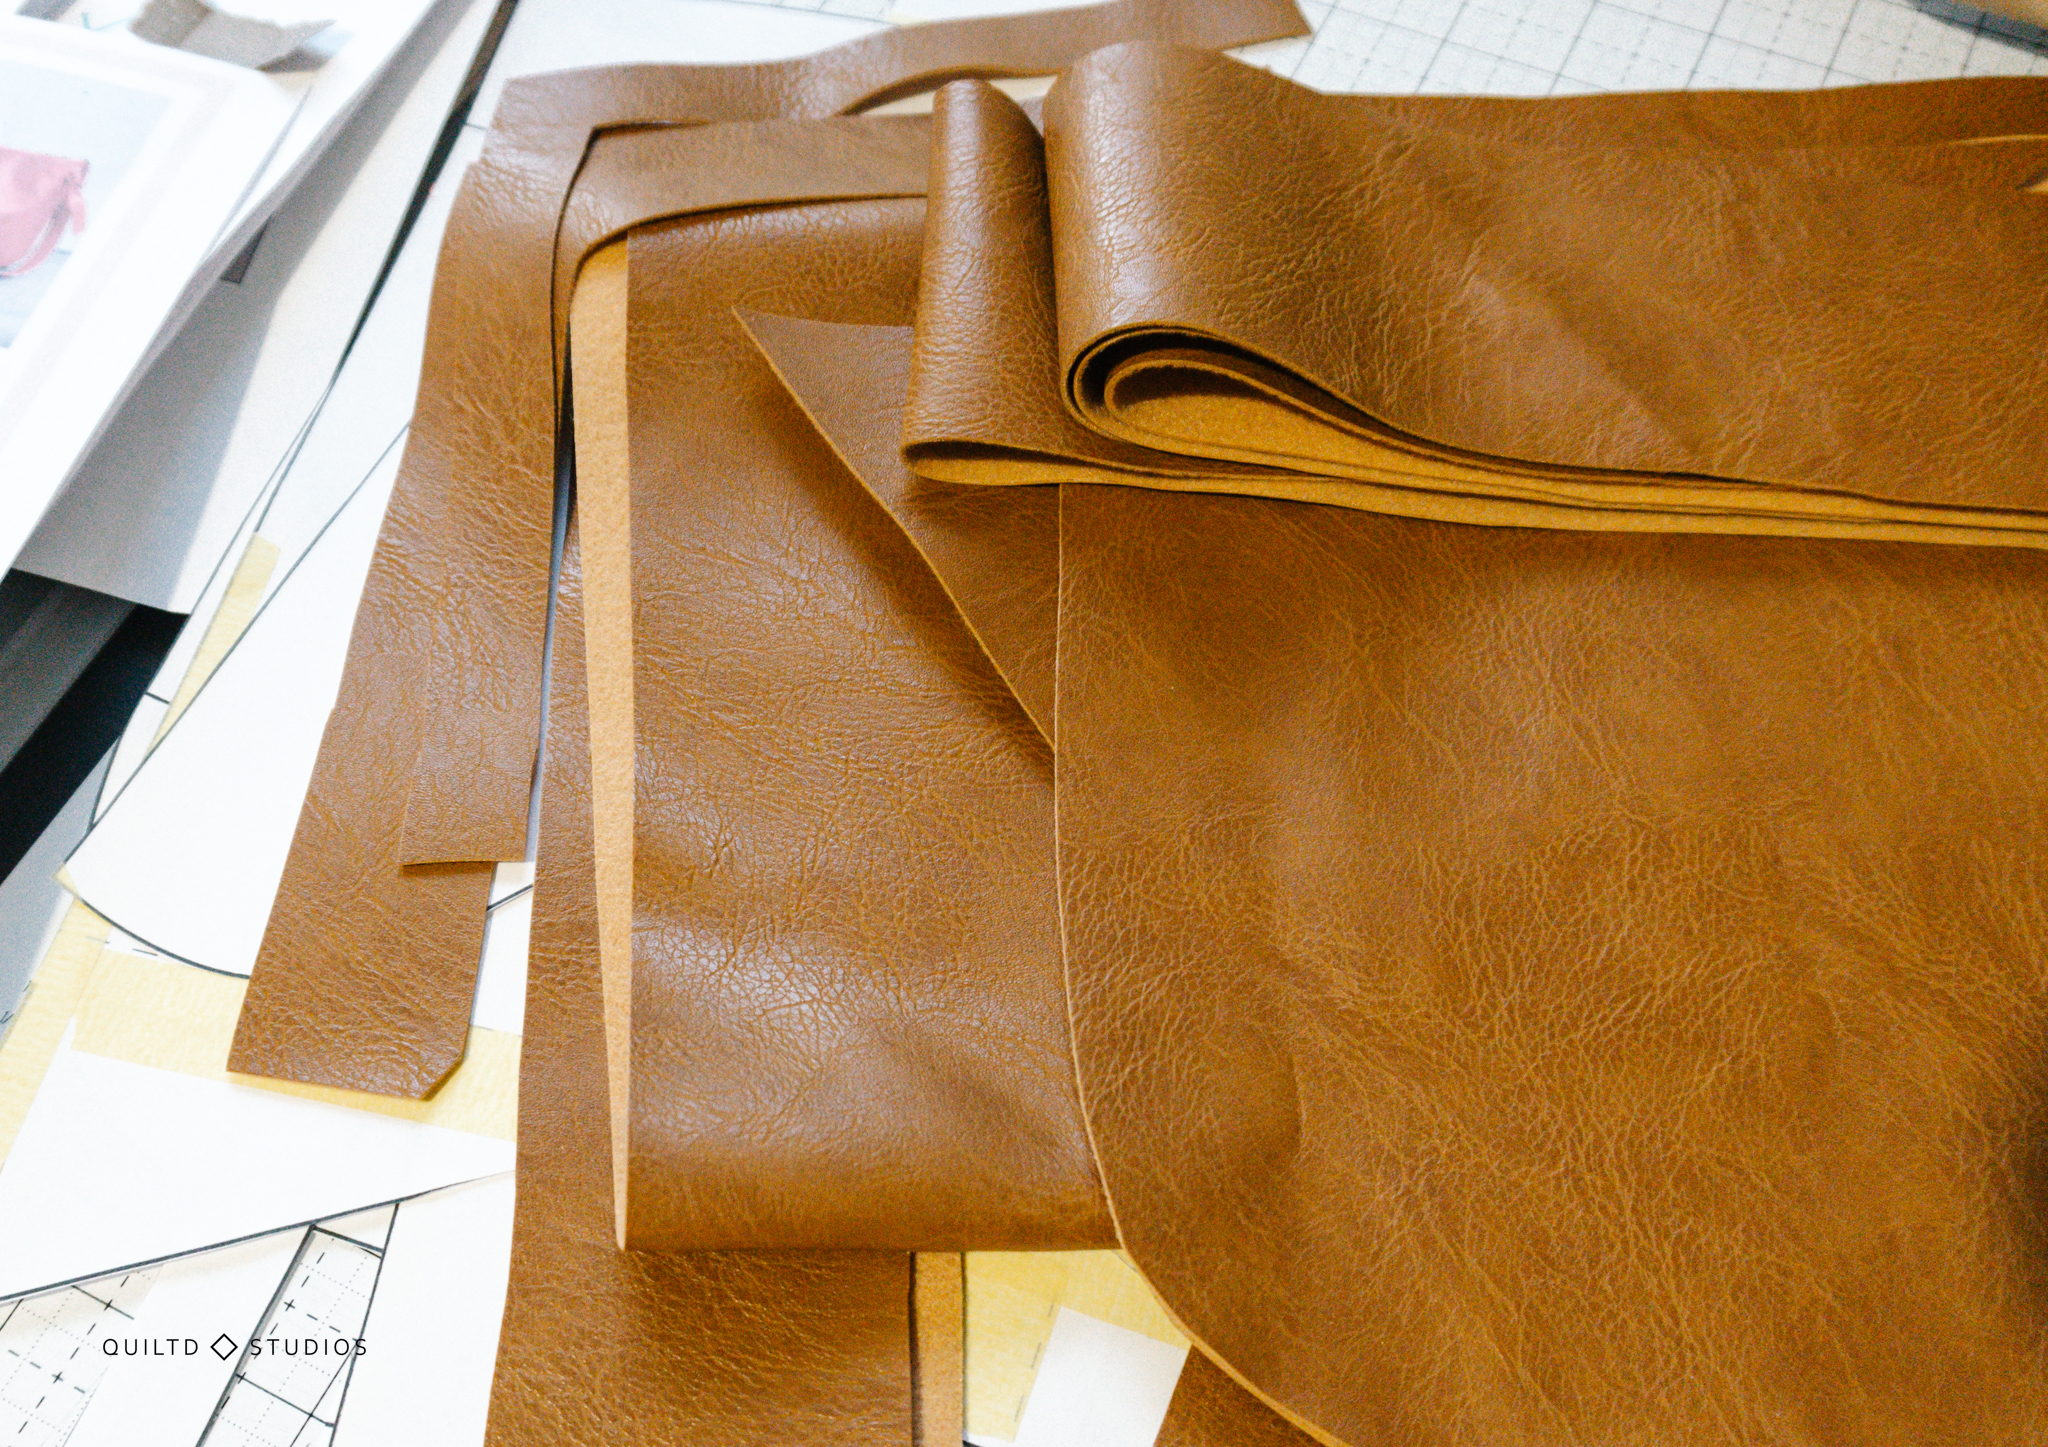
Those meet together without losing any fabric to an allowance (you’ll see what I mean).
And just in case you’re a true beginner like me, here’s a tip, the numbers on the cutting directions correlate to the numbers on the templates. I didn’t figure that out until the end of the first bag (shakes head).
Also cut out a long length for your handle, it was in cm and I was too lazy to calculate it in inches so I guessed on a good length.
Just make sure your eyelets are big enough for the amount of leather you’ll be pulling through (30 minutes later and I finally got mine through, my eyelets were smaller than called for).
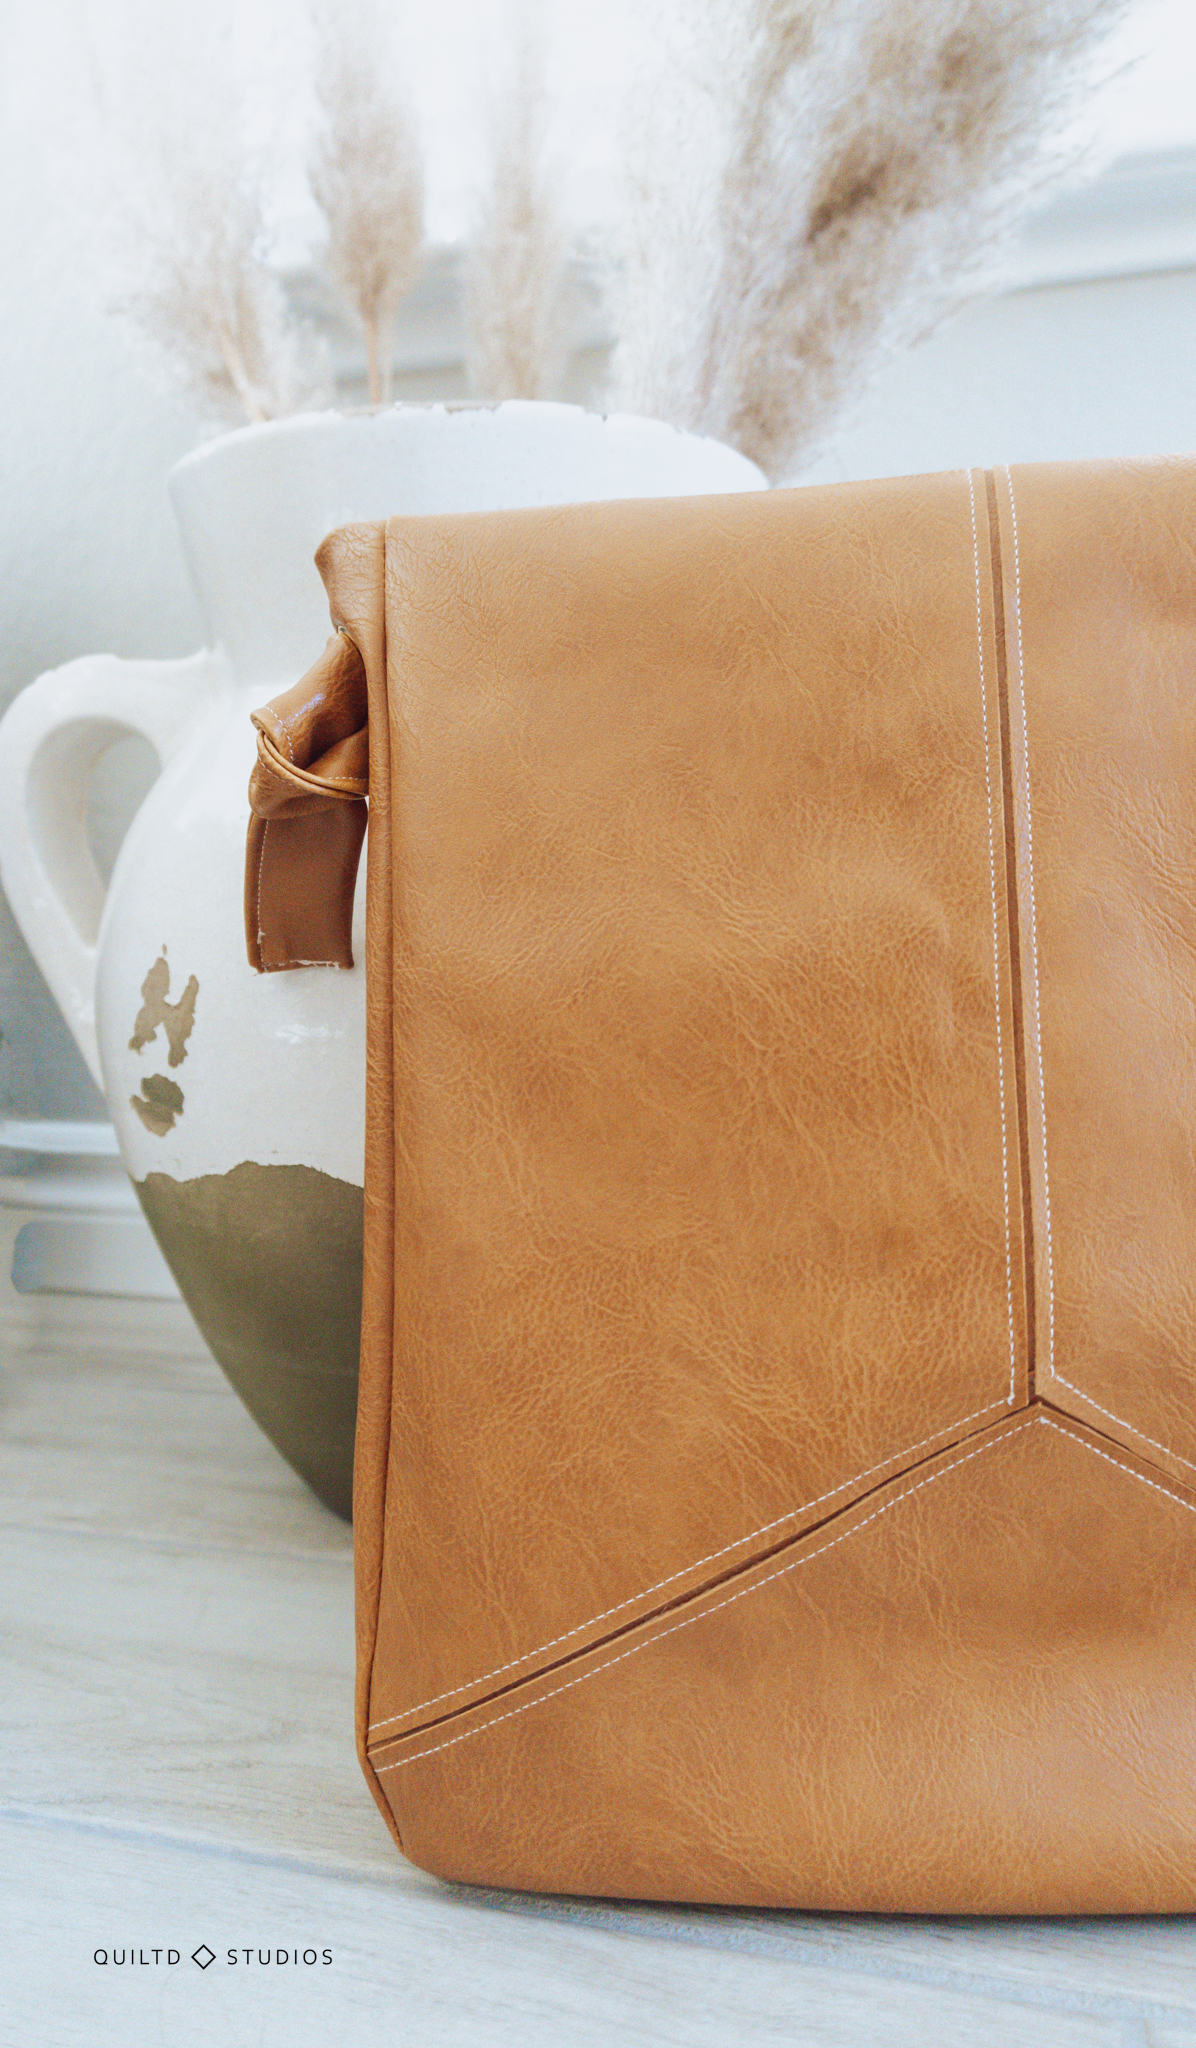
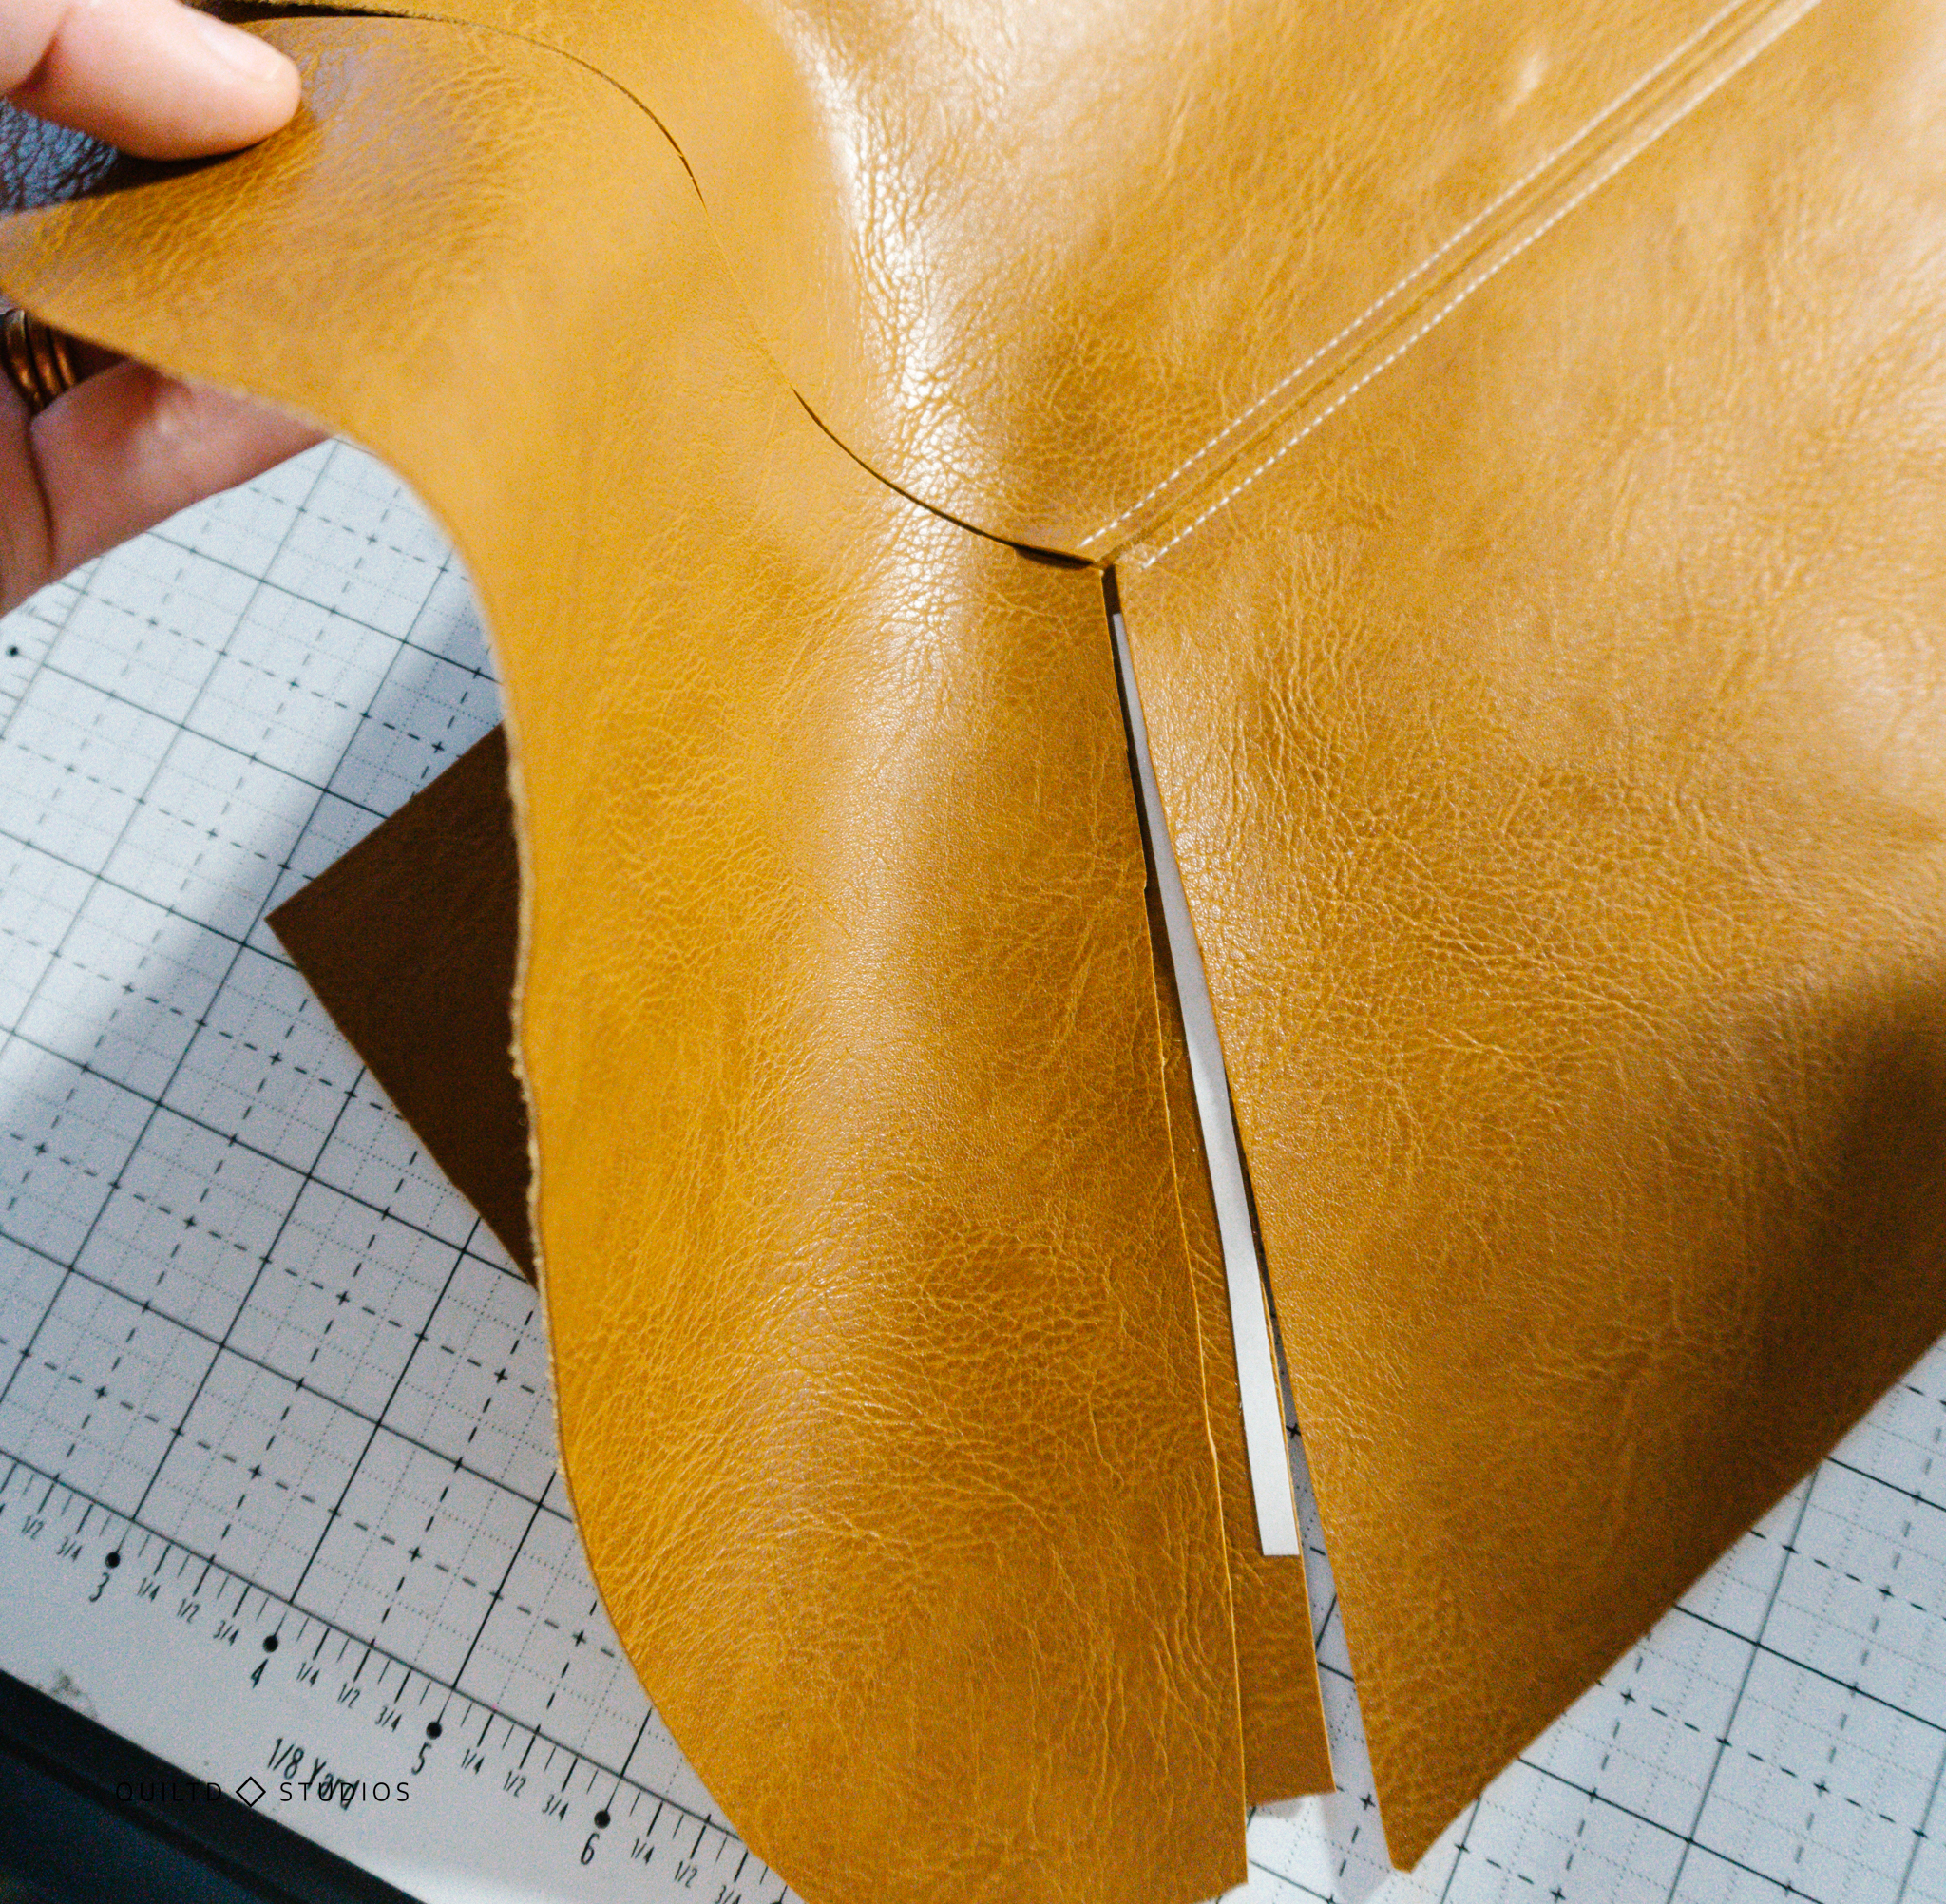
Assembling the Front and Back Panels
The fun part! I actually thought this was the most magical part of the bag. These panels are gorgeous when they’re finished.
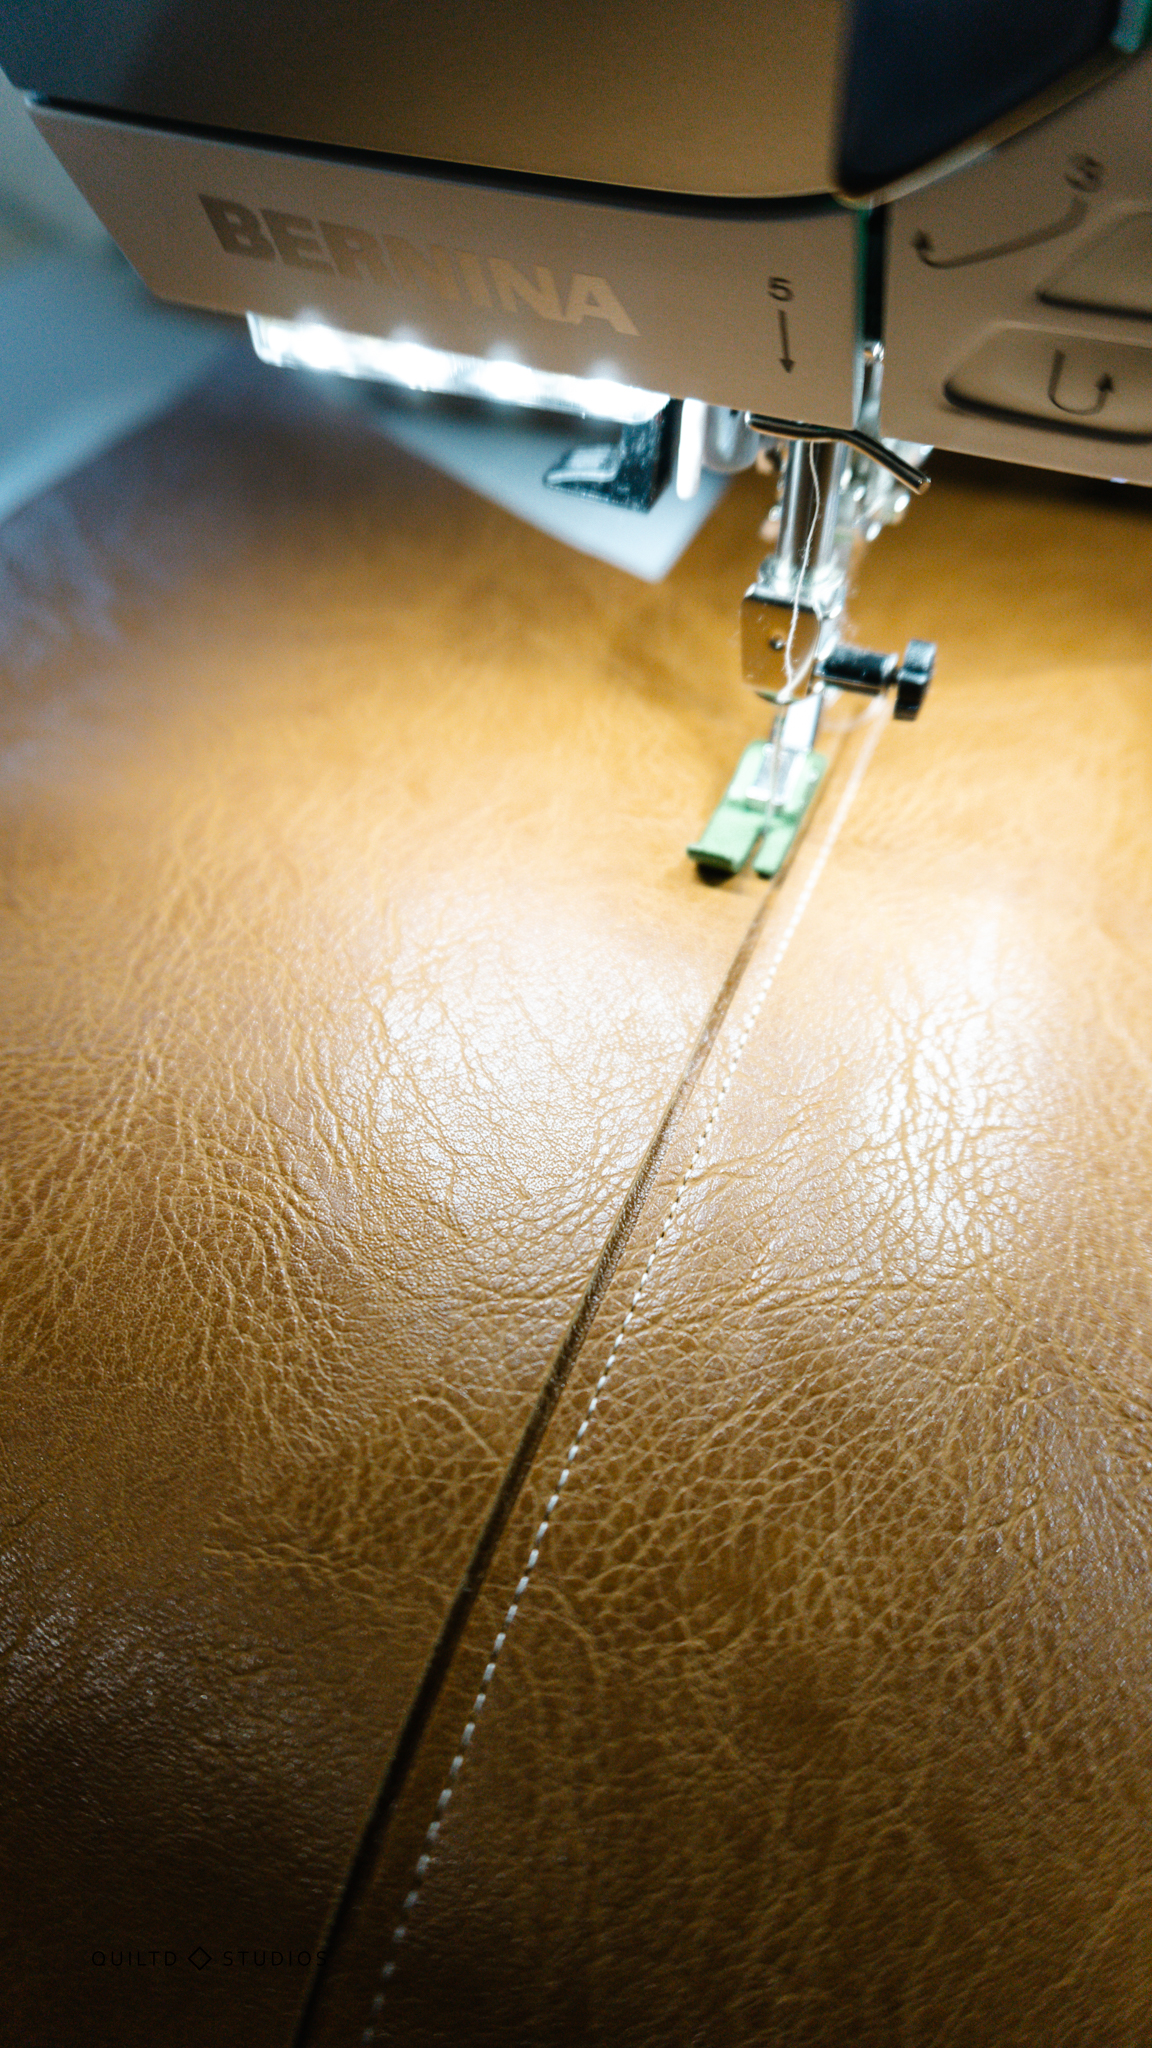
Cut both upper bag’s (template 1) in half lengthwise. Lay one lower flap strip (listed later in the cutting directions, I just cut one (6) template and cut it in half) underneath the part you just cut.


I added wonder tape to baste it in place (wonder tape is wonderful… until I got my needle stuck in it. Learn from my mistakes).
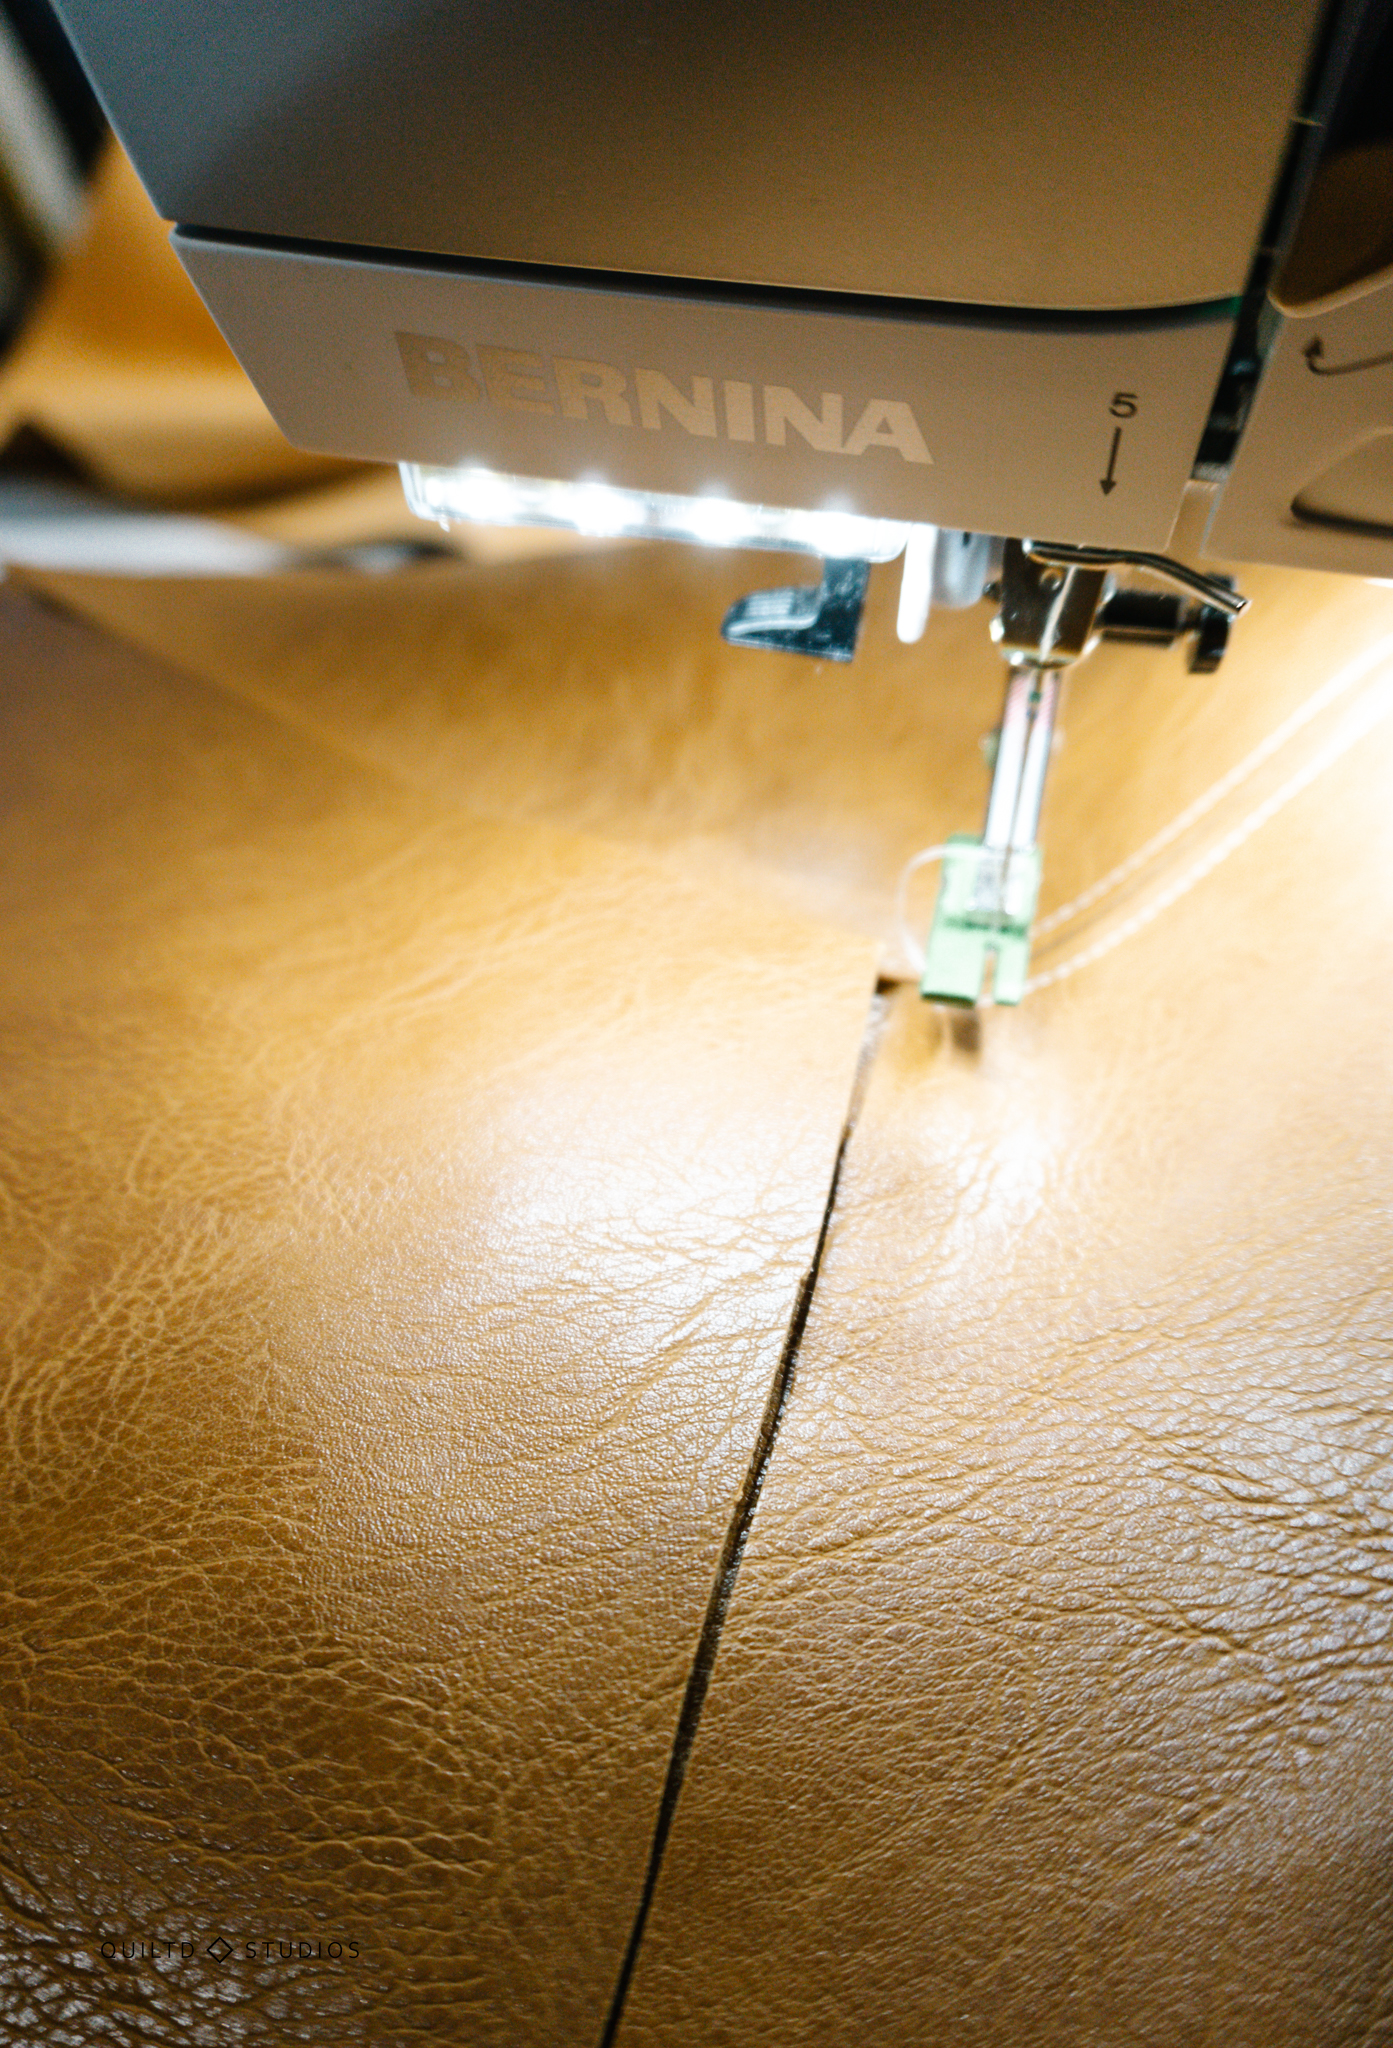
Sew down the line on both sides, my seam was pretty close to the edge, I just followed the side of my #53 foot.
Stick the upside V piece (4) underneath the bottom edges, I used wonder tape to baste it. Sew it on (the directions tell you to sew it on now I believe but I just sewed mine on in the same step as below).
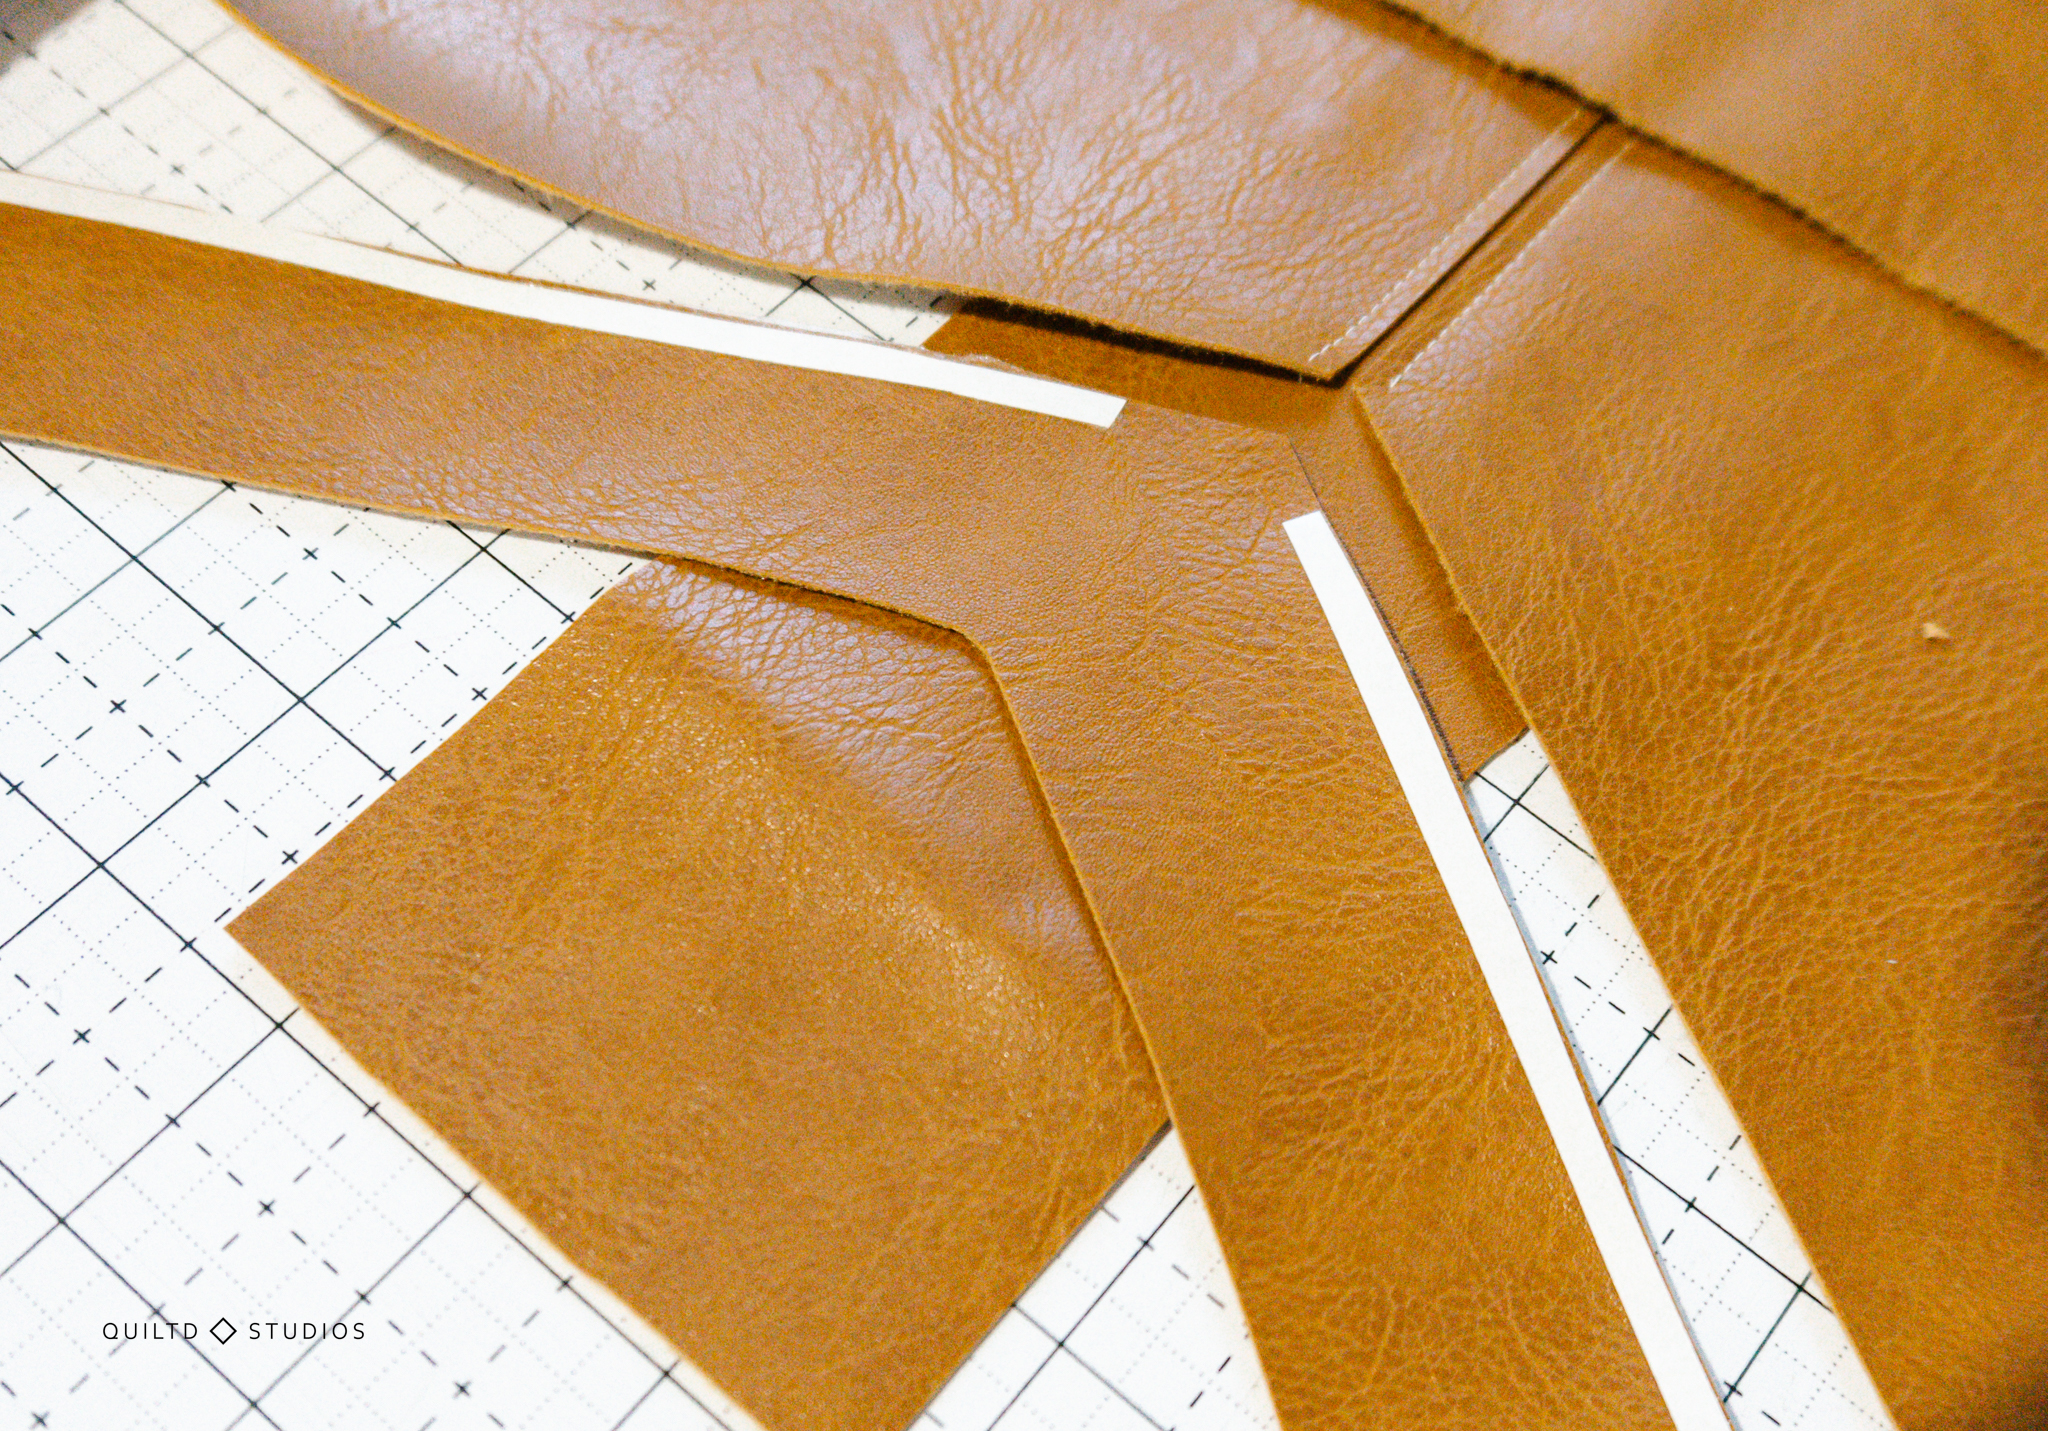
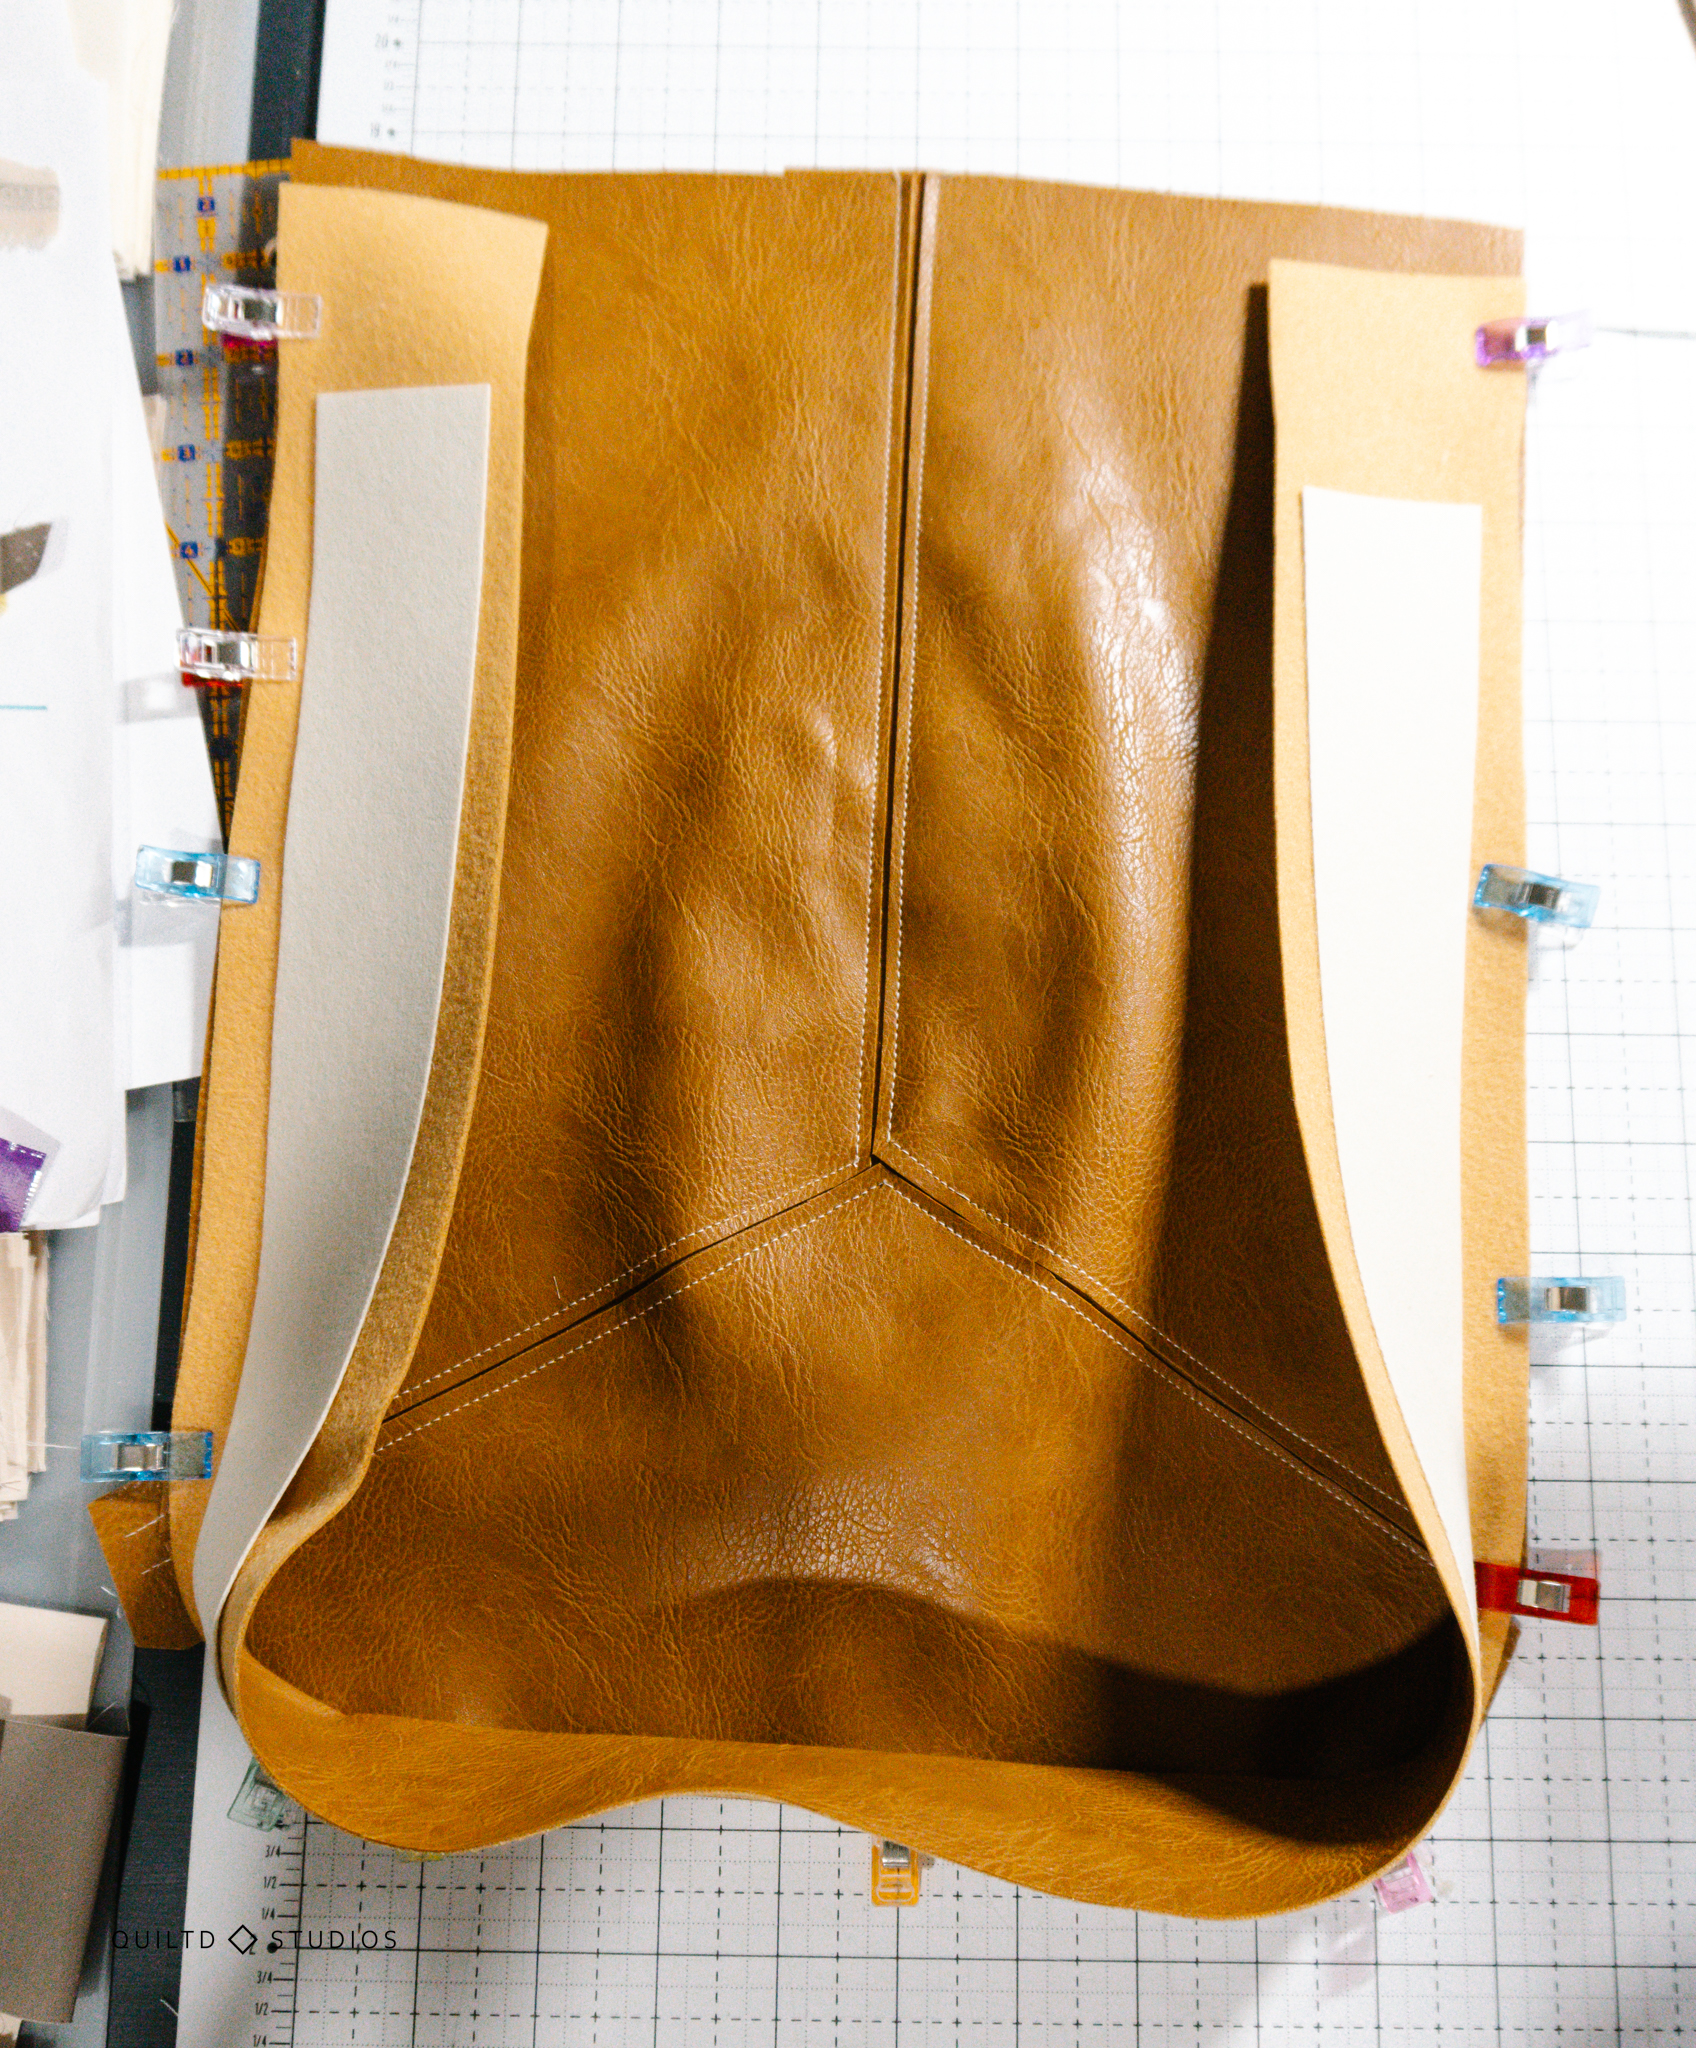
Line up the lower bag (2) on the left side, the right side will not line up because it makes a little bit of a dome (took me 30 minutes of staring at the picture to figure that out).
You’ll sew on the left side first, pick it up and bend it until the right side meets and is mostly flush and then baste and sew on both sides.
Now repeat those steps for the back panel. Aren’t they so cute?!

Making the Outside Bag
Let’s complete this outside bag and then work on the lining.
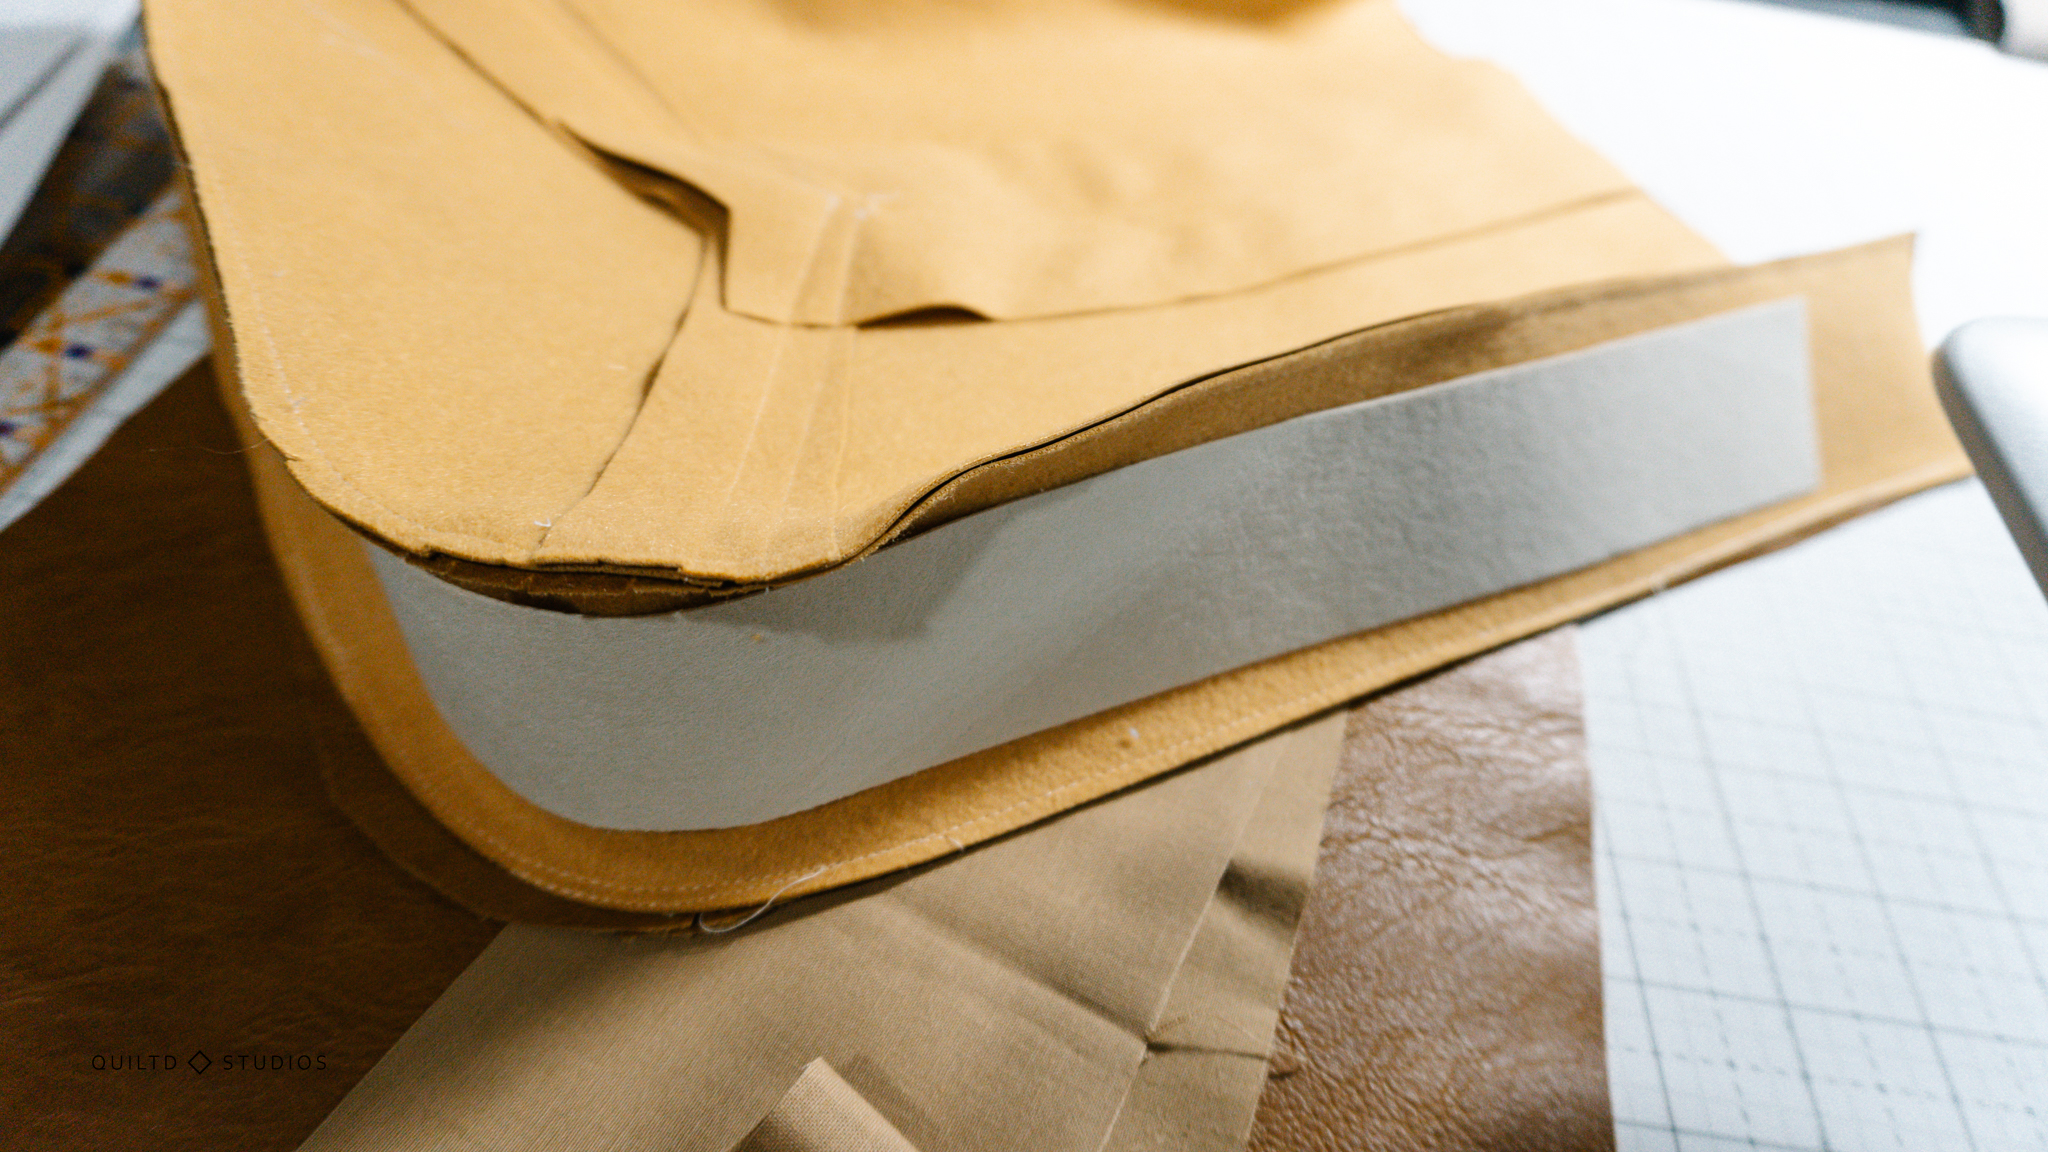
Iron the strip of Decovil to the long side/bottom strip (3) or “bottom of the fold”. 1. My Decovil should have been a bit wider and 2. It took me forever to get this Decovil to stick? Clearly I’m a Decovil novice.
Maybe I did something wrong there, but make sure it’s stuck down well because we’ll be manhandling this thing through a small hole later.
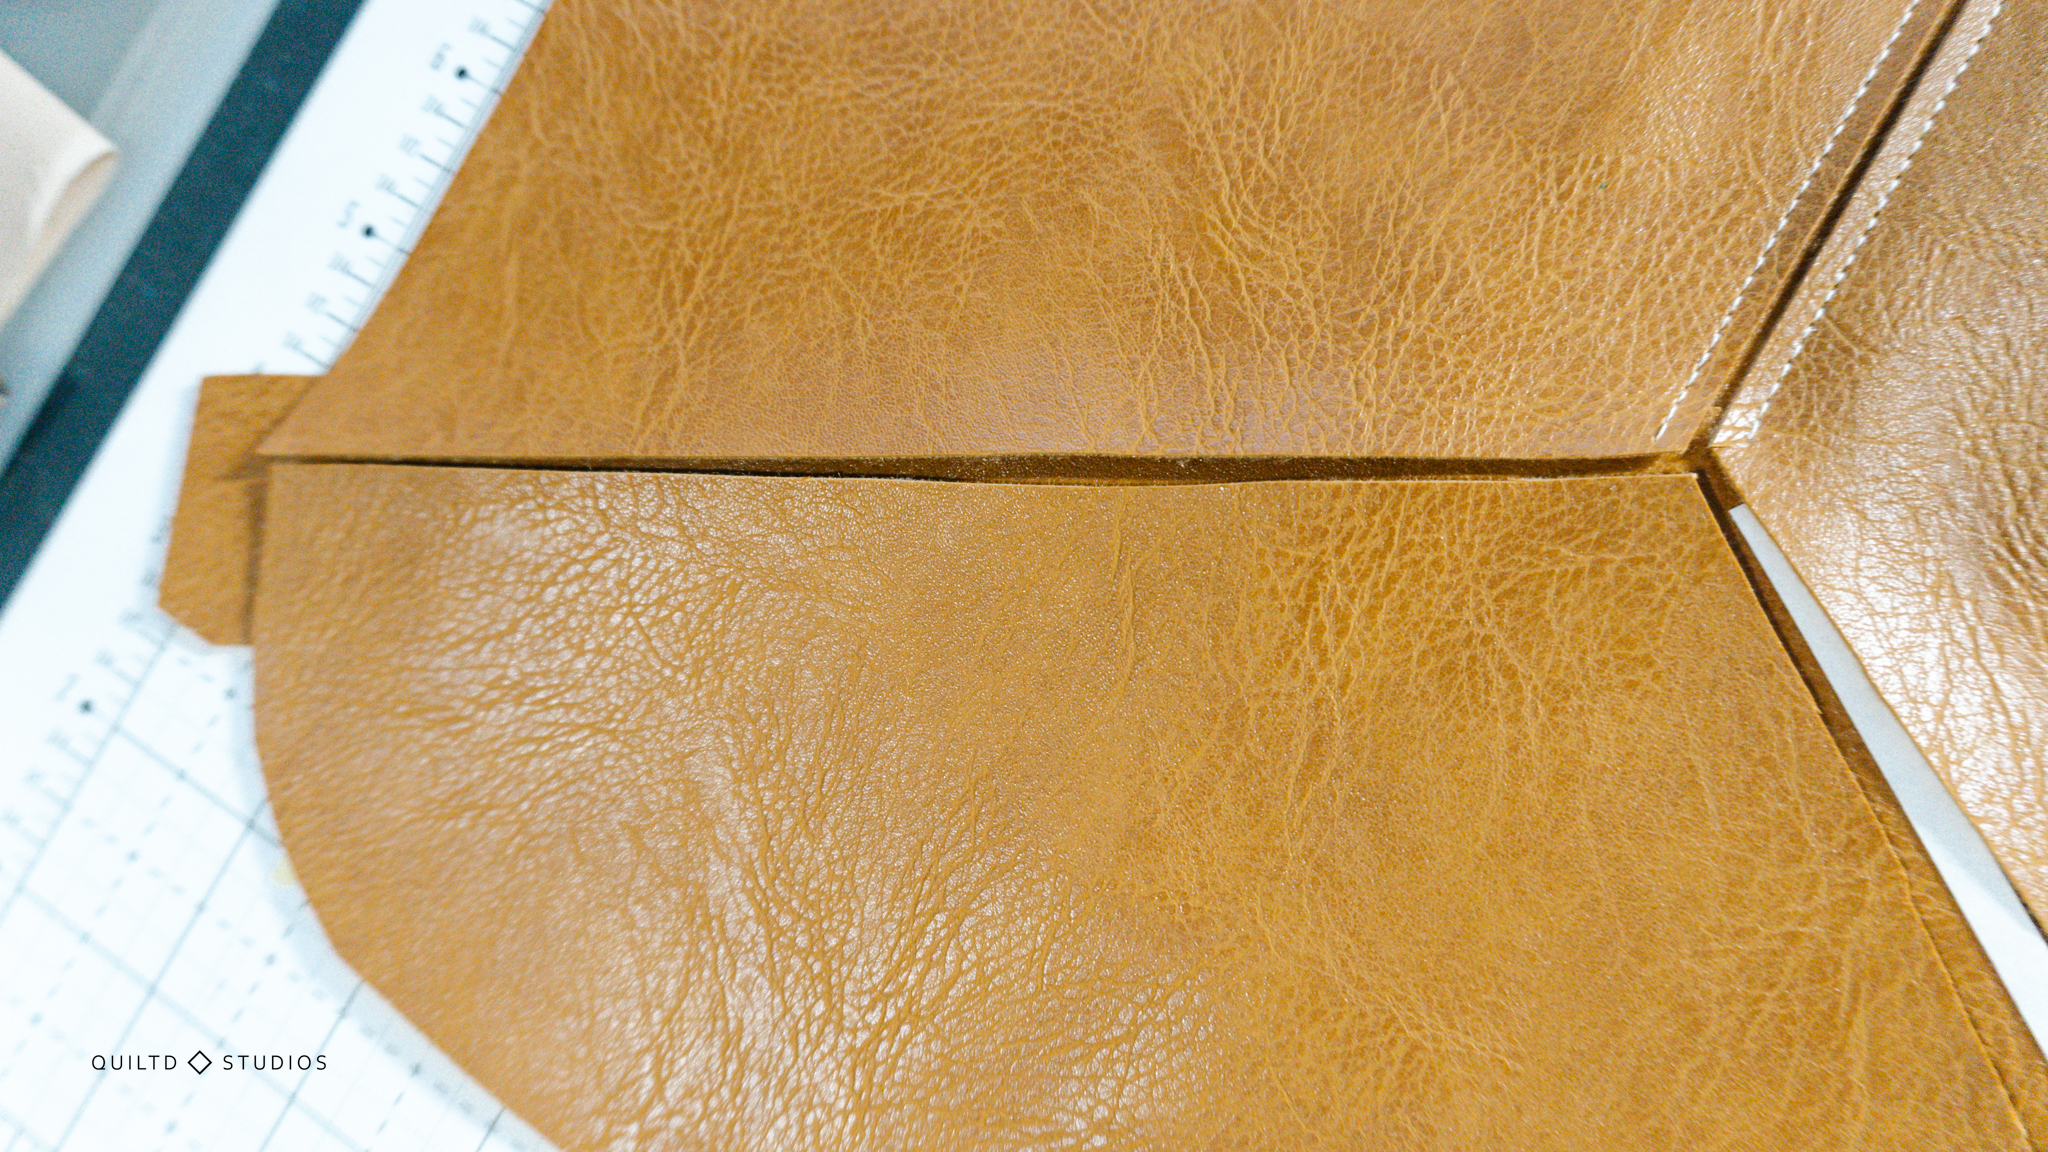
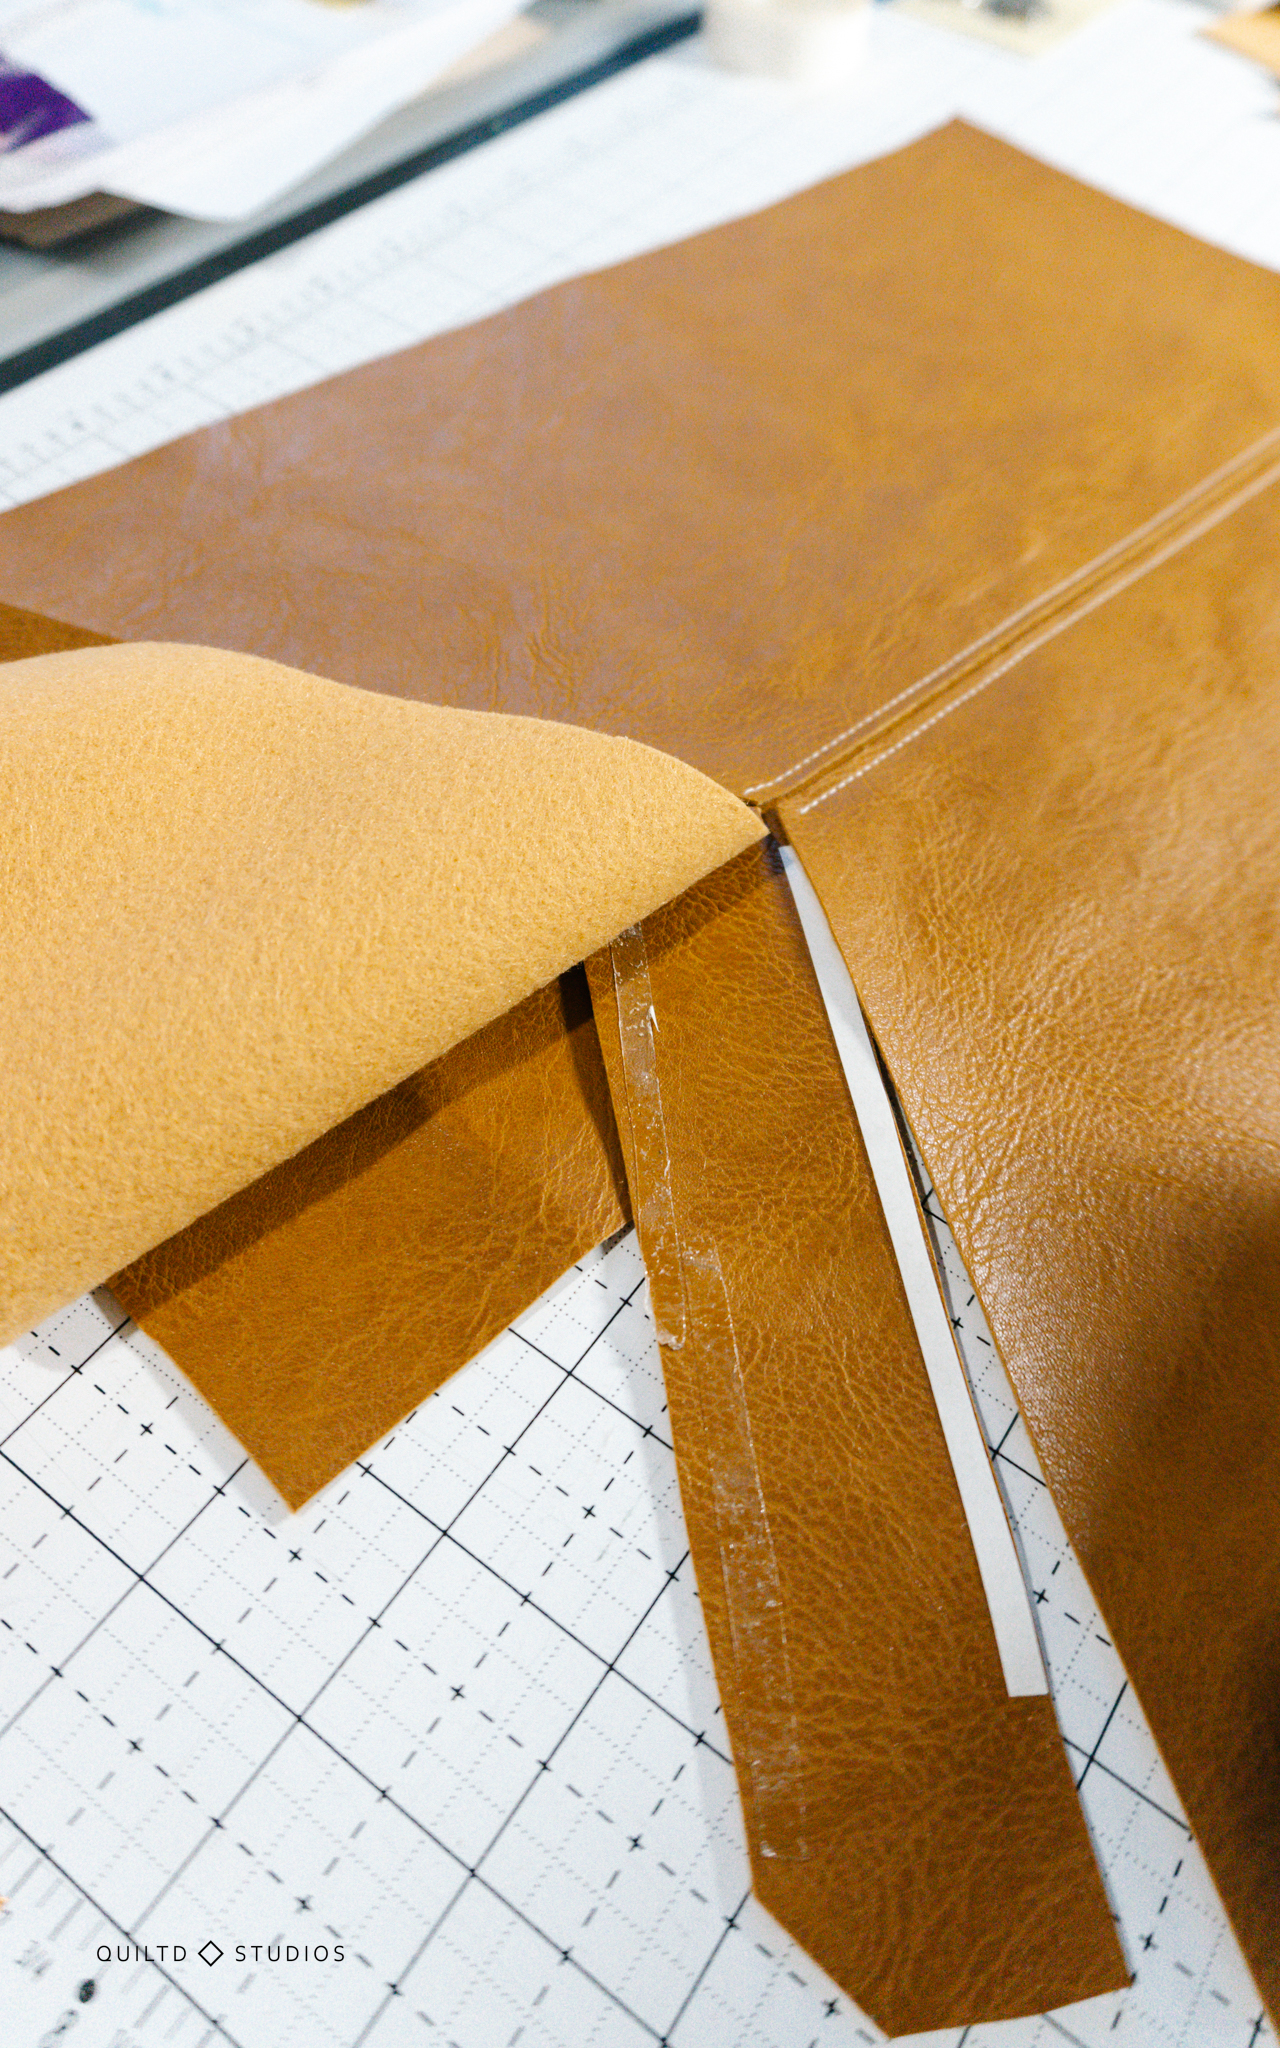
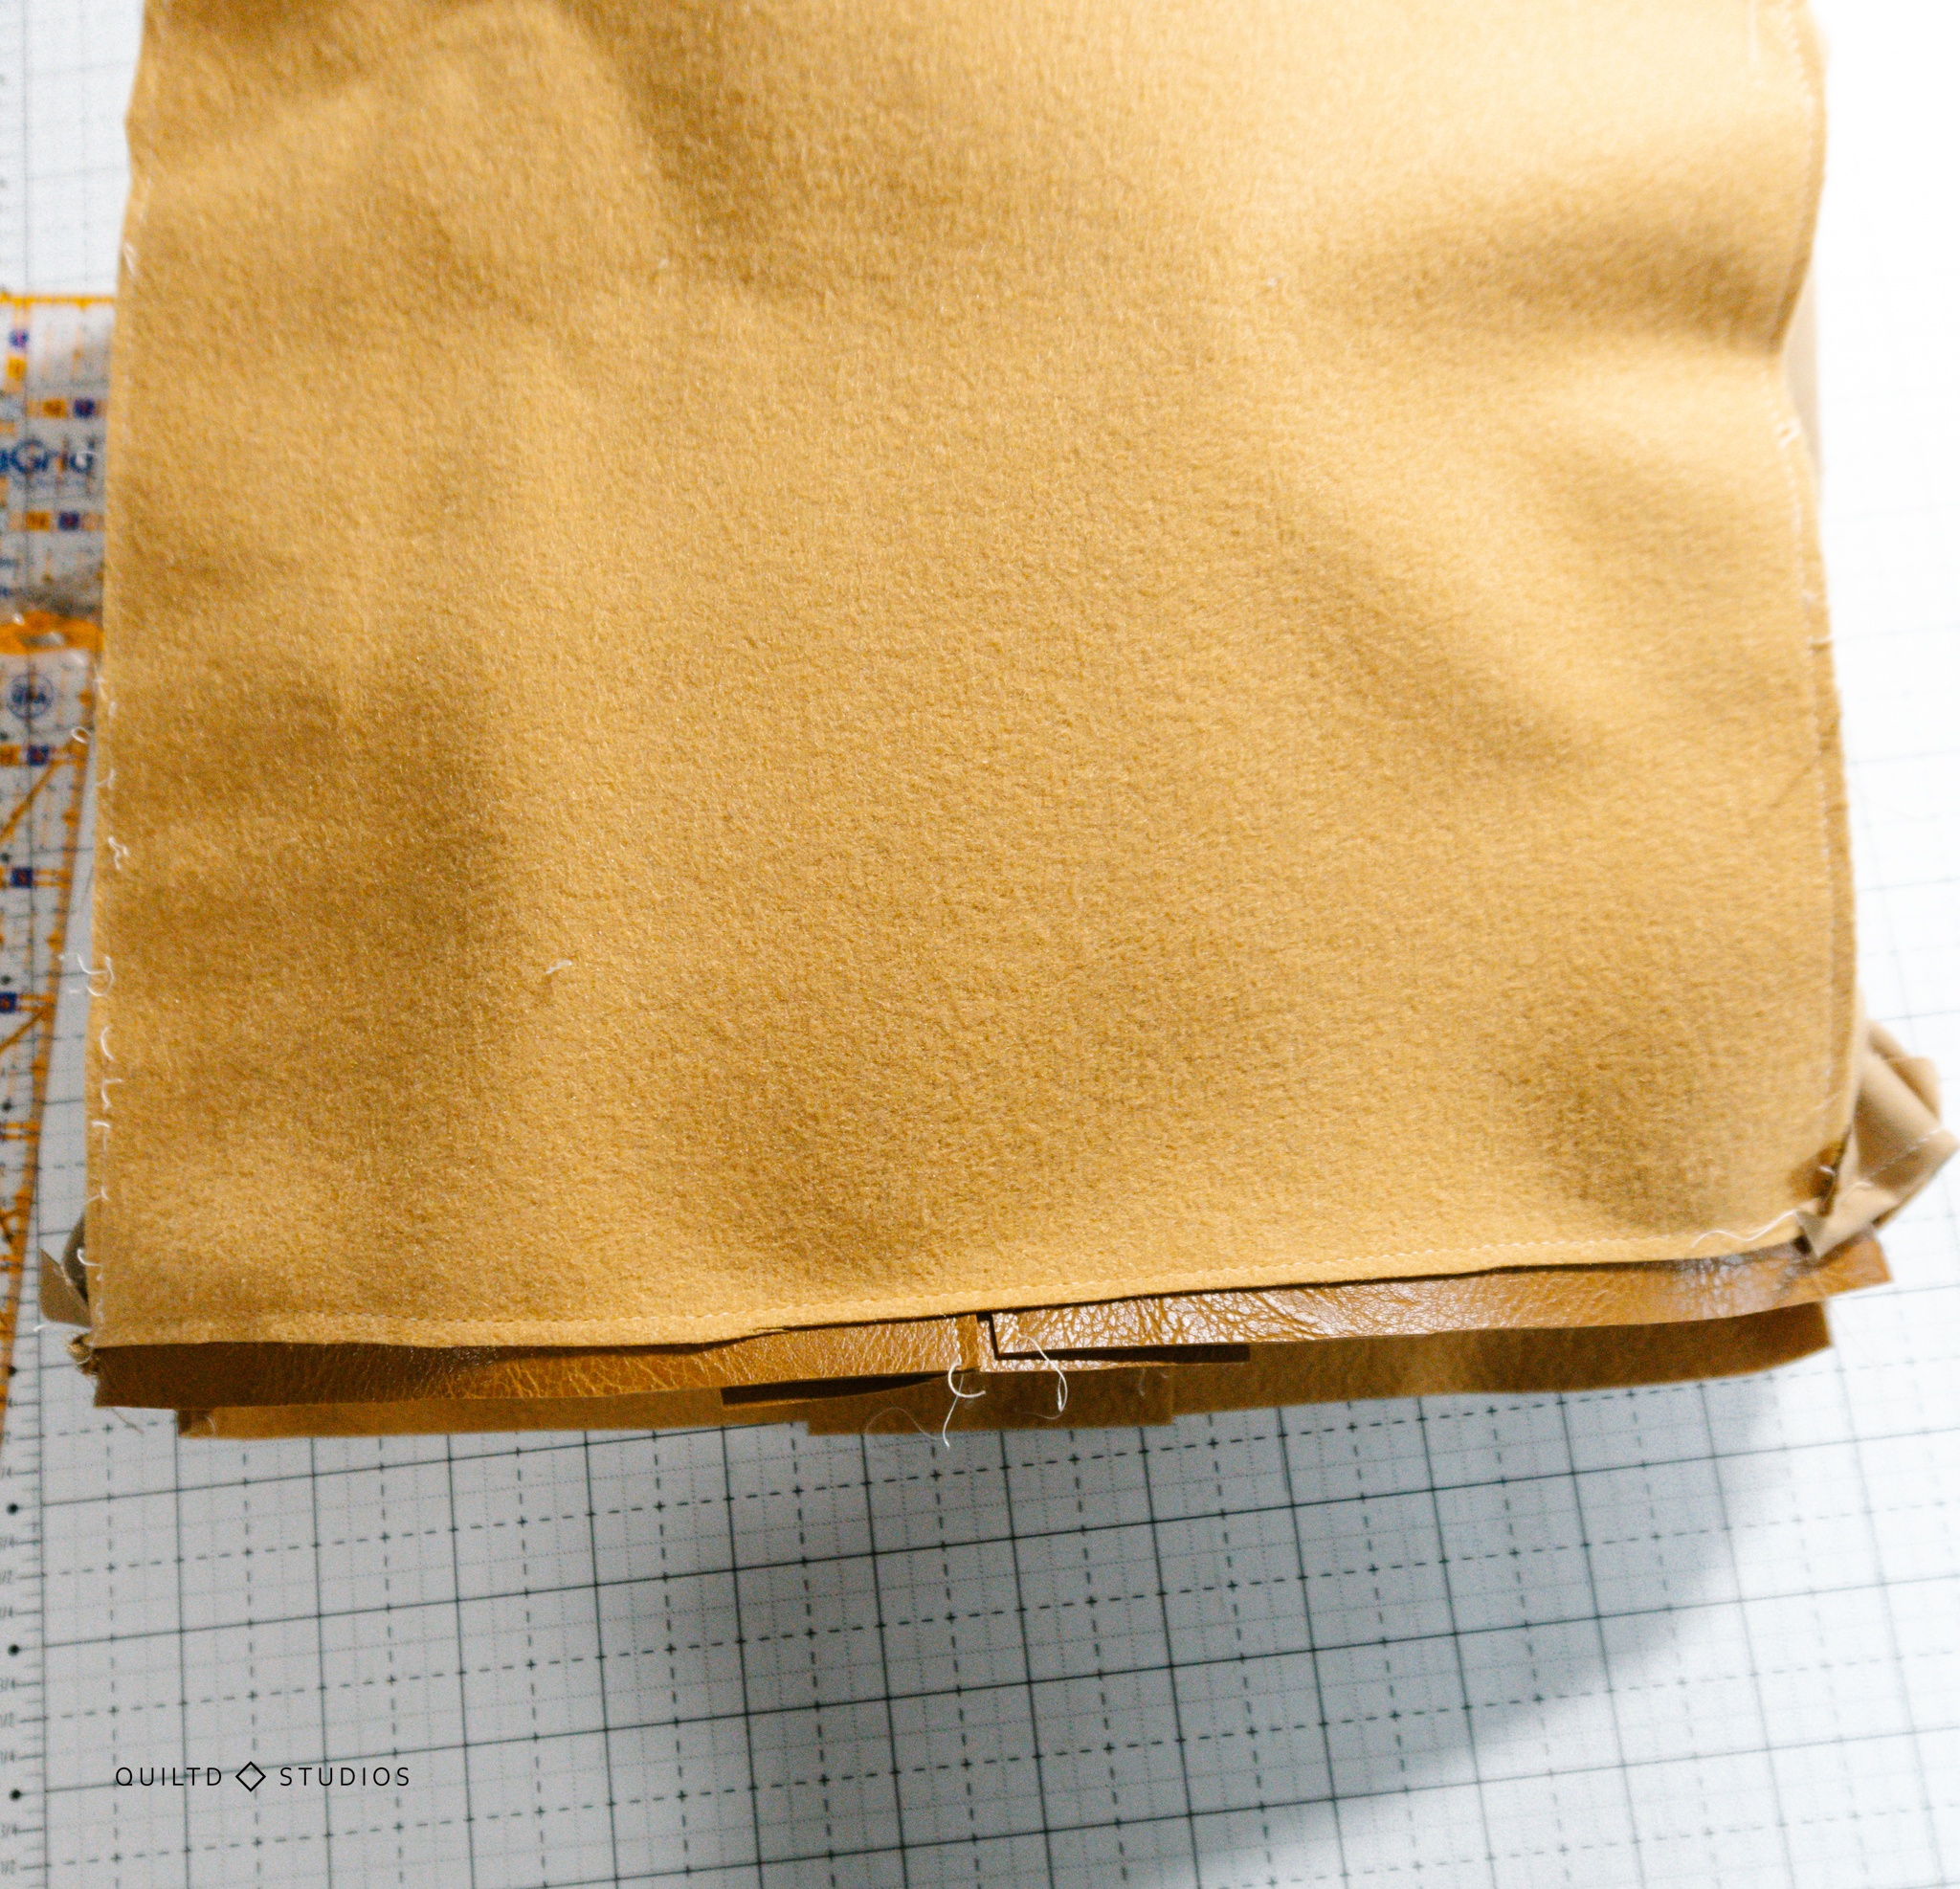
Once that’s ironed on, line up the bottom centers of the front panel, back panel and the (3) strip that’s been Decovilled (I’m sure that’s a word).
Clip the front panel right sides together (RST) with the strip (3) so that the strip is even on both sides.
 Sew around the edges. I ended up making little perpendicular cuts on the curves to help it lay flatter.
Repeat on the back panel, line up the bottom centers and clip and sew RST.
Oh yes, that is a beautiful bag.
The Lining Of the Bag
You’ll assemble this lining in a similar fashion, the front and back panels will be template (5) and the bottom/sides strip will be (6).
Leave a hole on one of the lining bottoms so you can flip the whole bag, and you’ll want it to be big (again learn from my mistakes).
After this step you’ll also probably want to attach your magnetic closure to the insides of the outside bag.
I waited to do this until after the bag was assembled, tried to hot glue it on and promptly peeled it off the imitation leather on the first go.
I think it definitely would have stuck better to the wrong side of the leather!
The Fun Part: Bag Assembly
Yes, I say fun, but it’s that type 2 kind of fun, the fun that involves a mixture of hard work, mild fear, and good old fashioned courage. If I can do this, so can you!
Now we flip the outside of the bag so it’s right side out. It should have that nice leather on the outside.
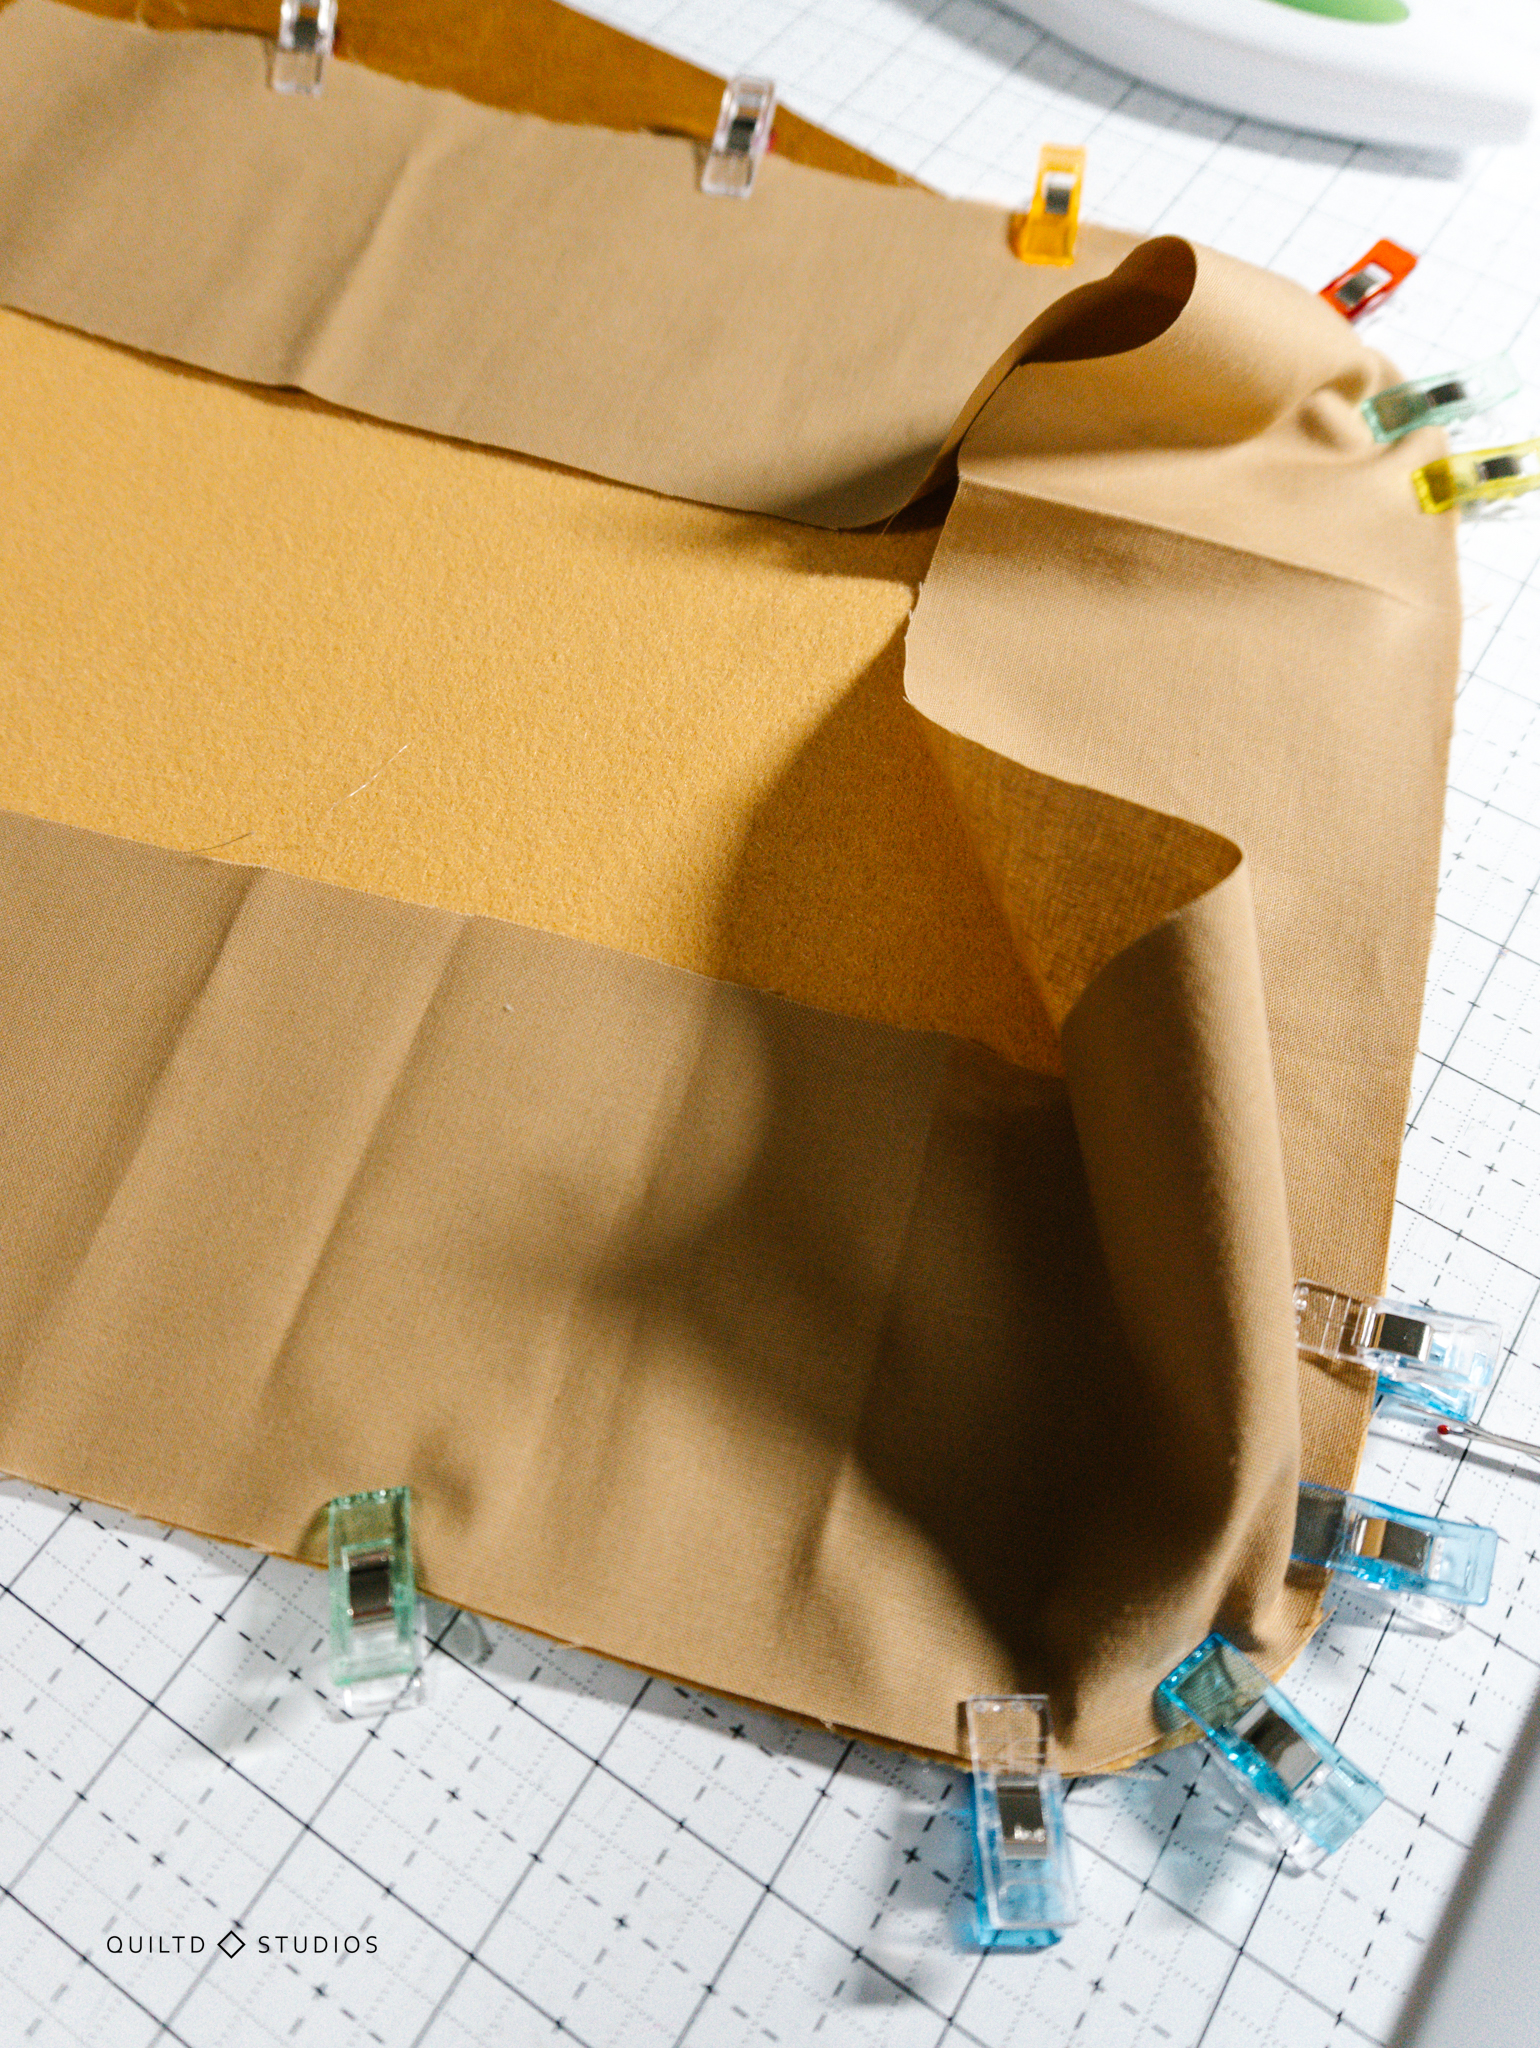
You’ll gently fold the bottom up so that it will fit inside the lining (bag? Pouch? You know what I’m talking about).
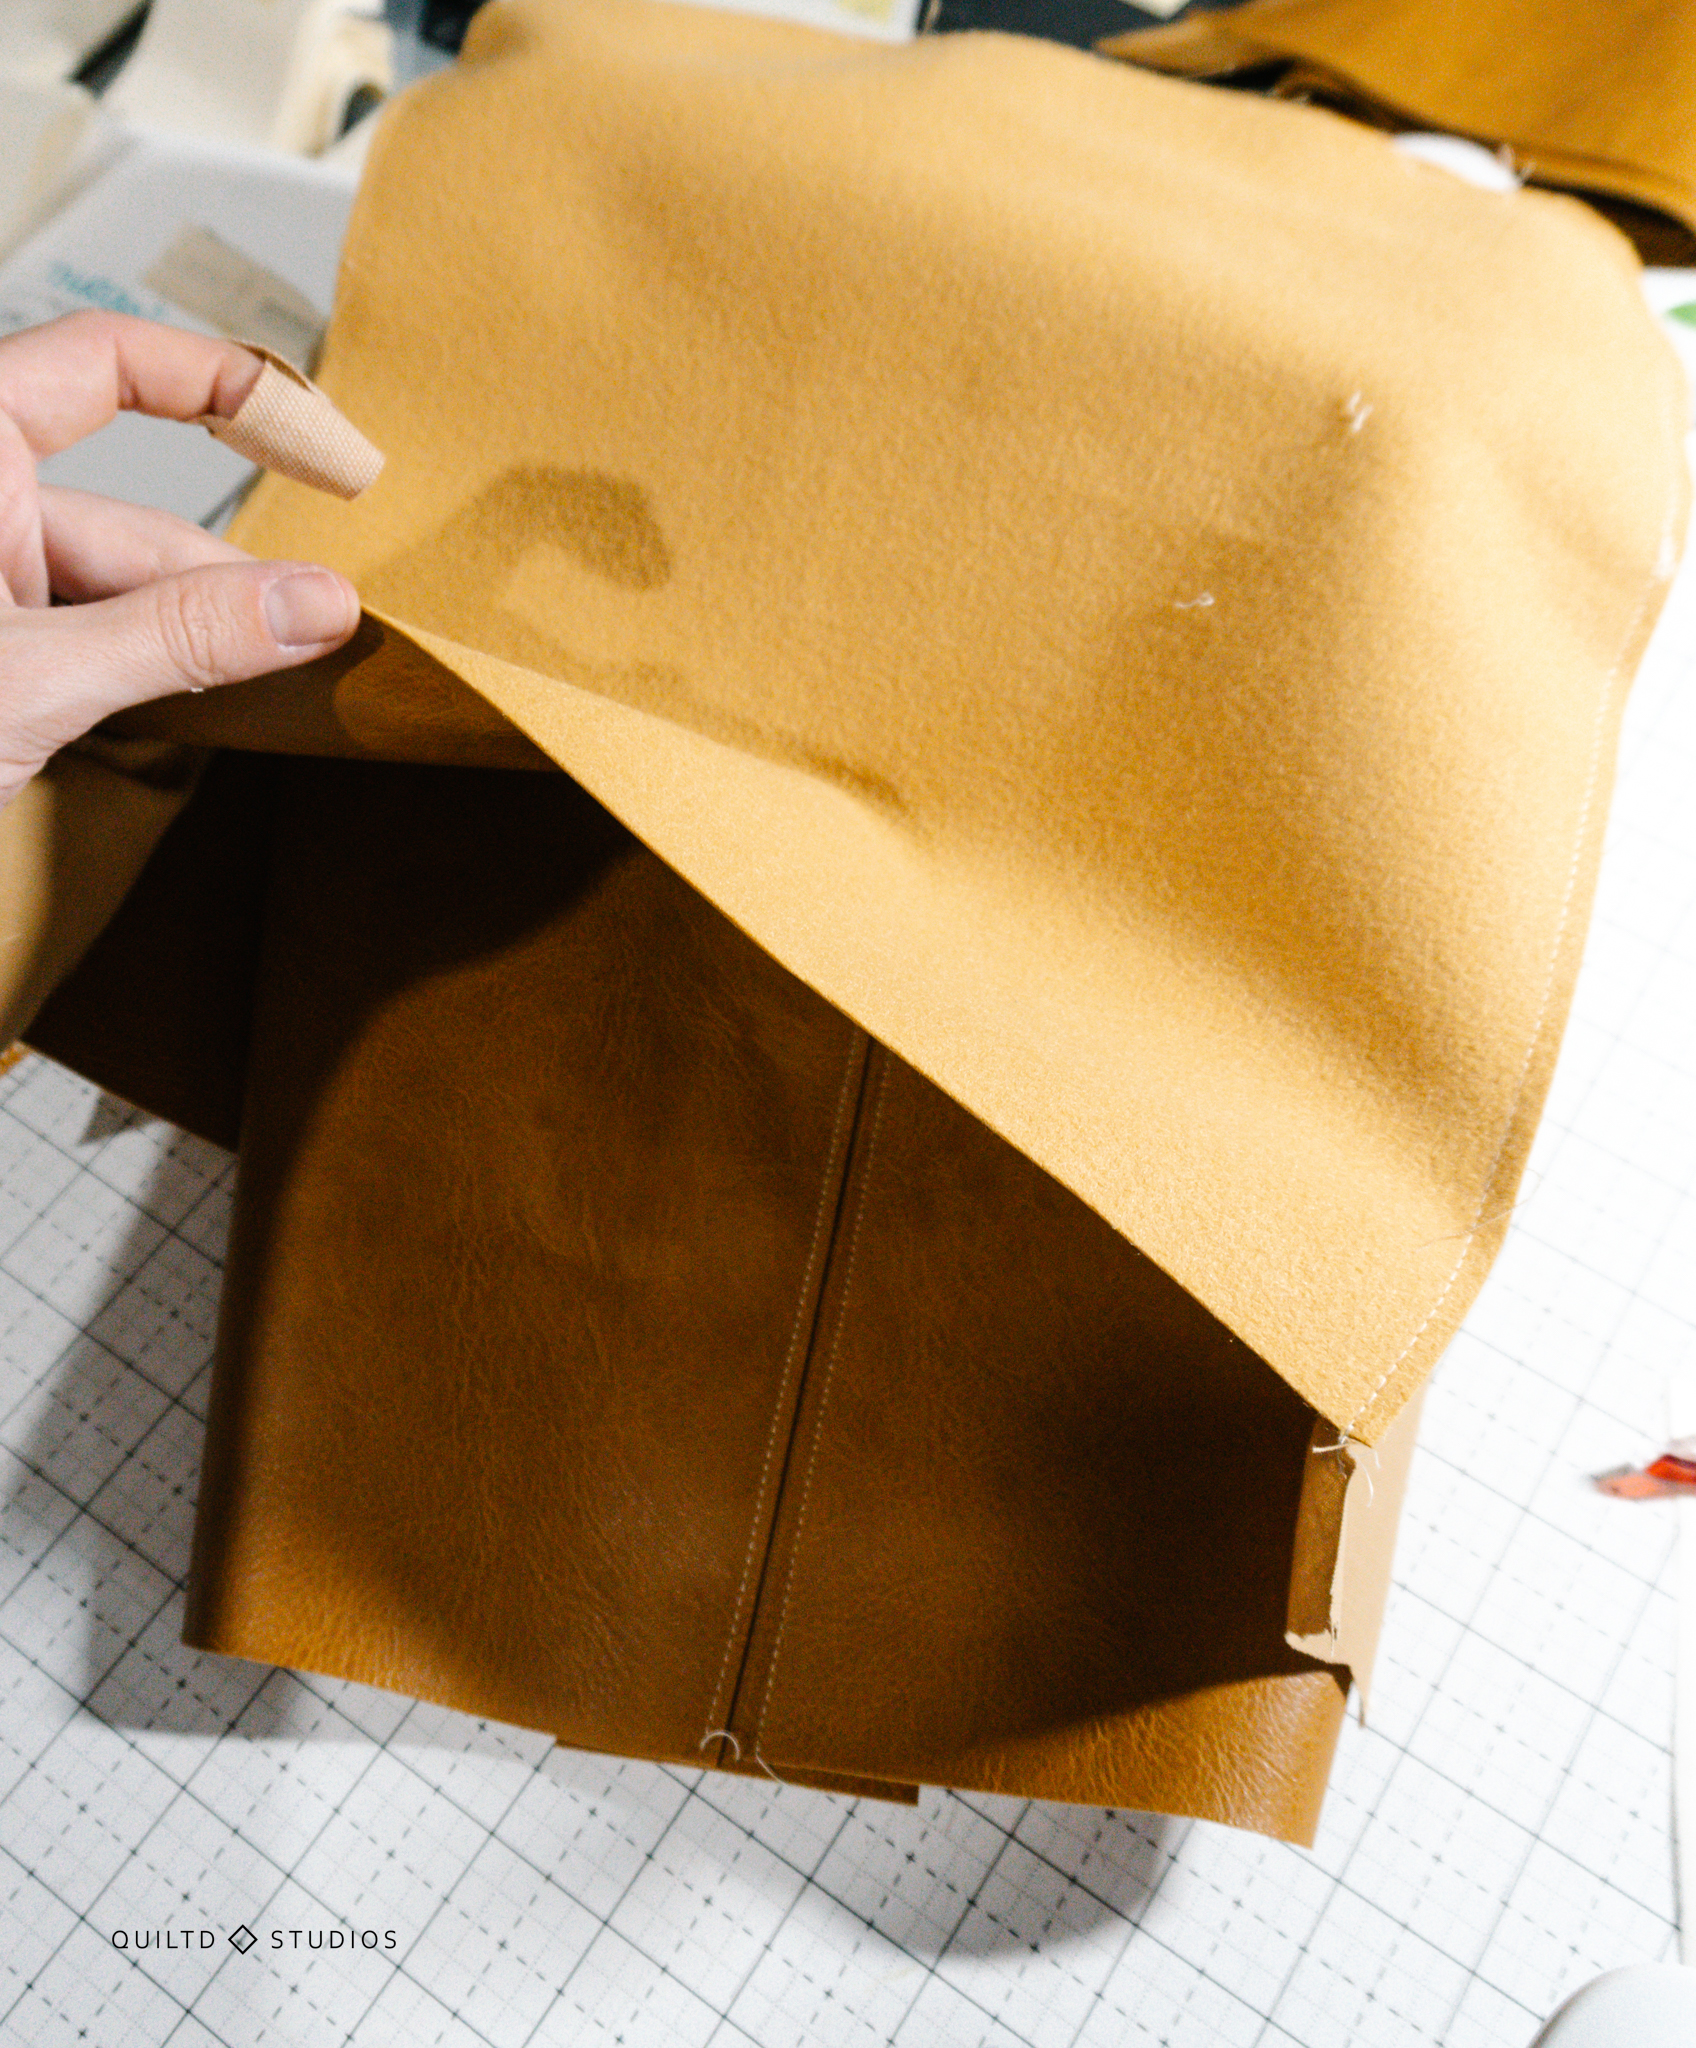
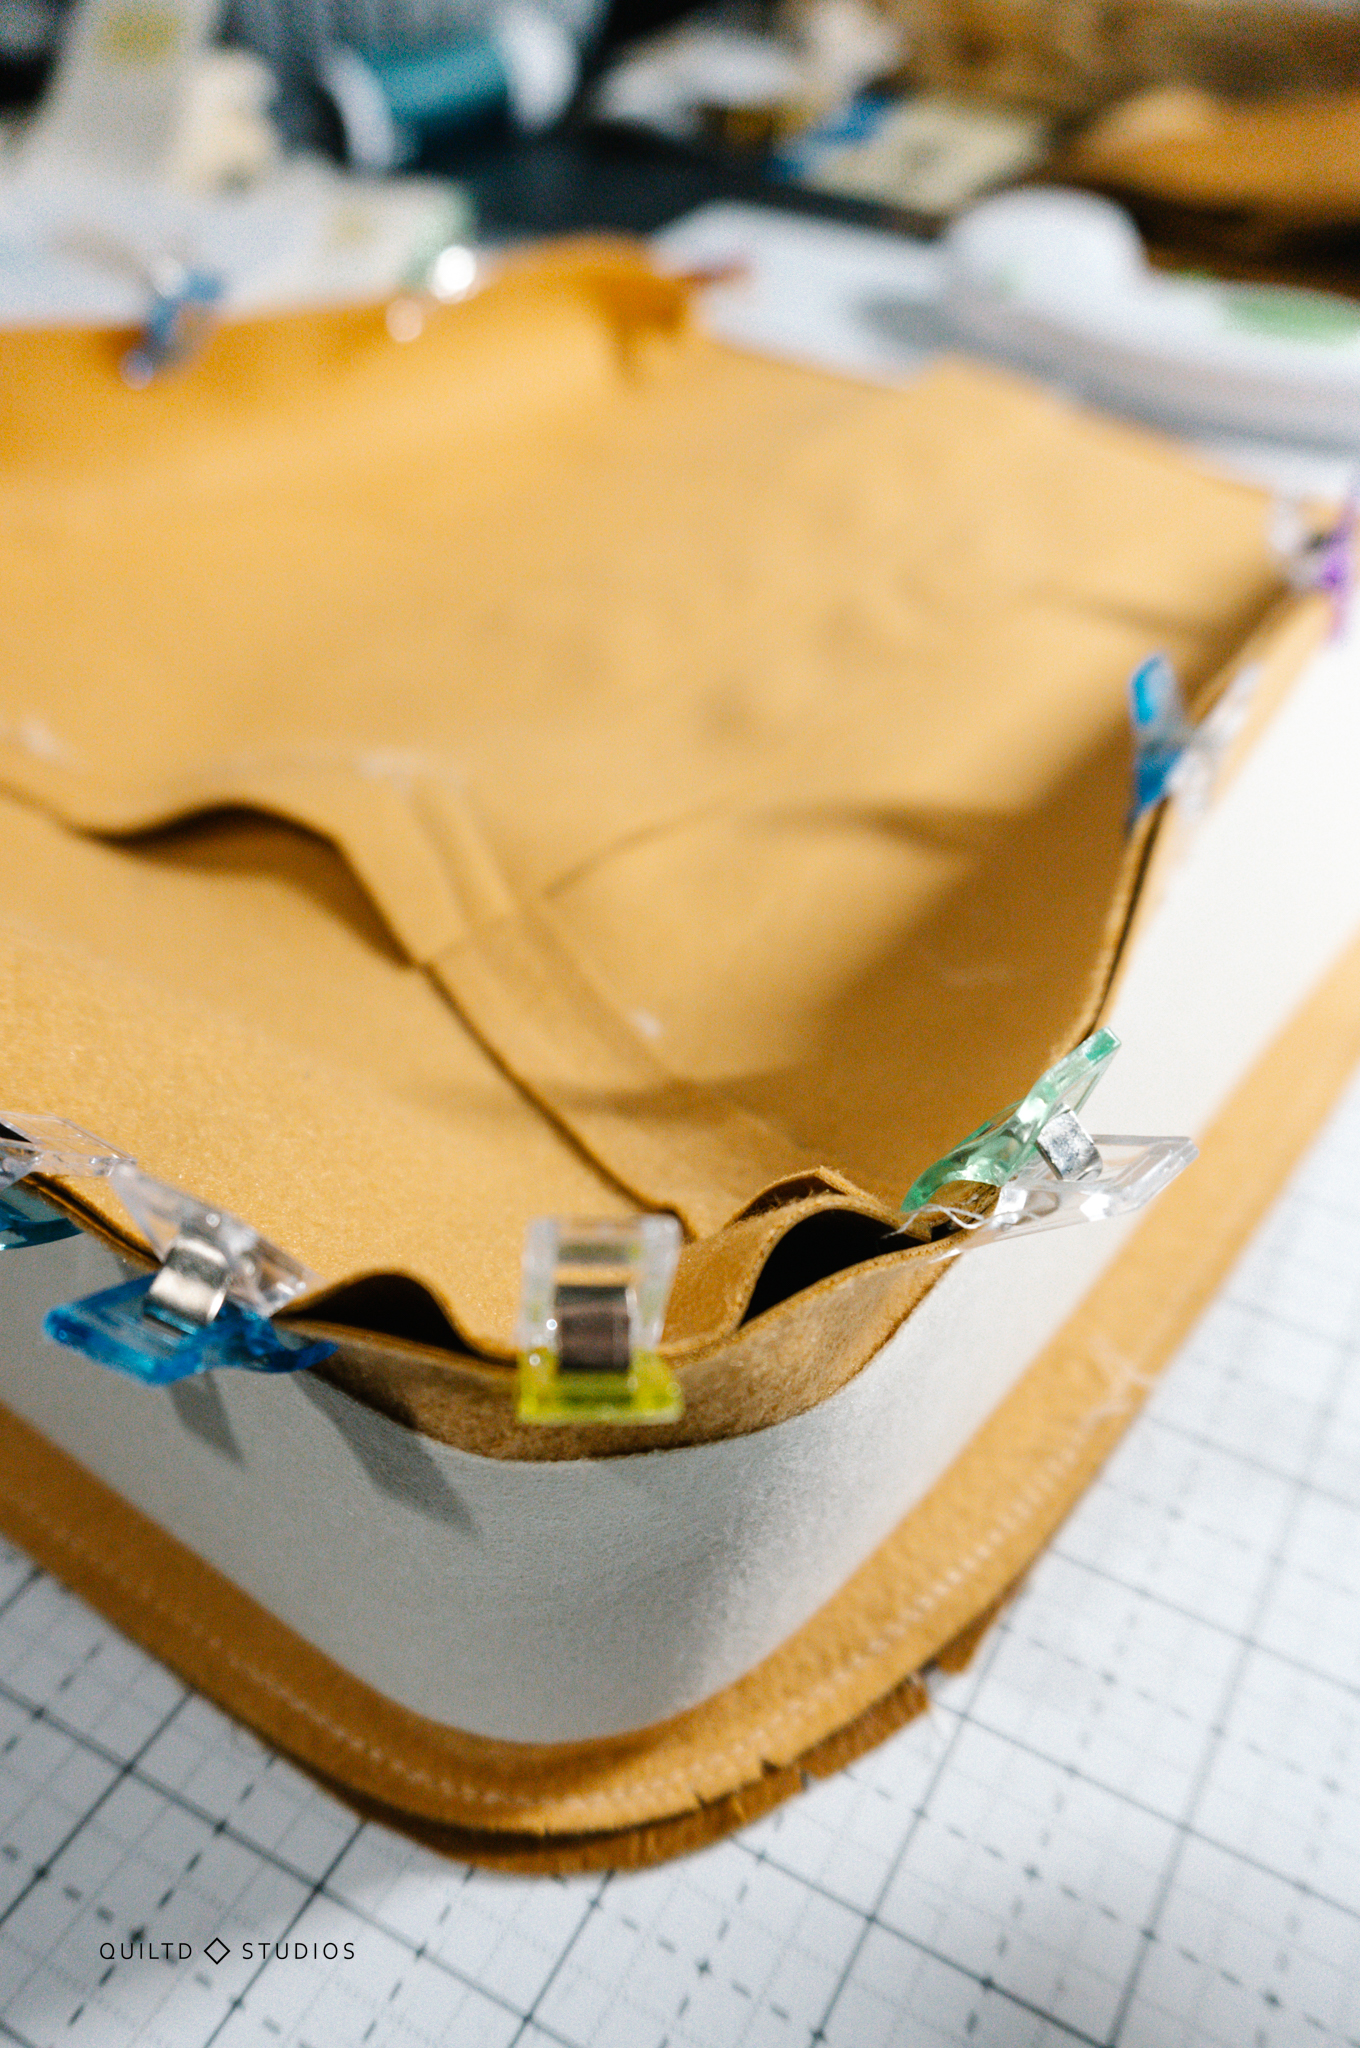
The point is to get the tops of both the lining (wrong side out) and the outside bag (right side out) to line up.
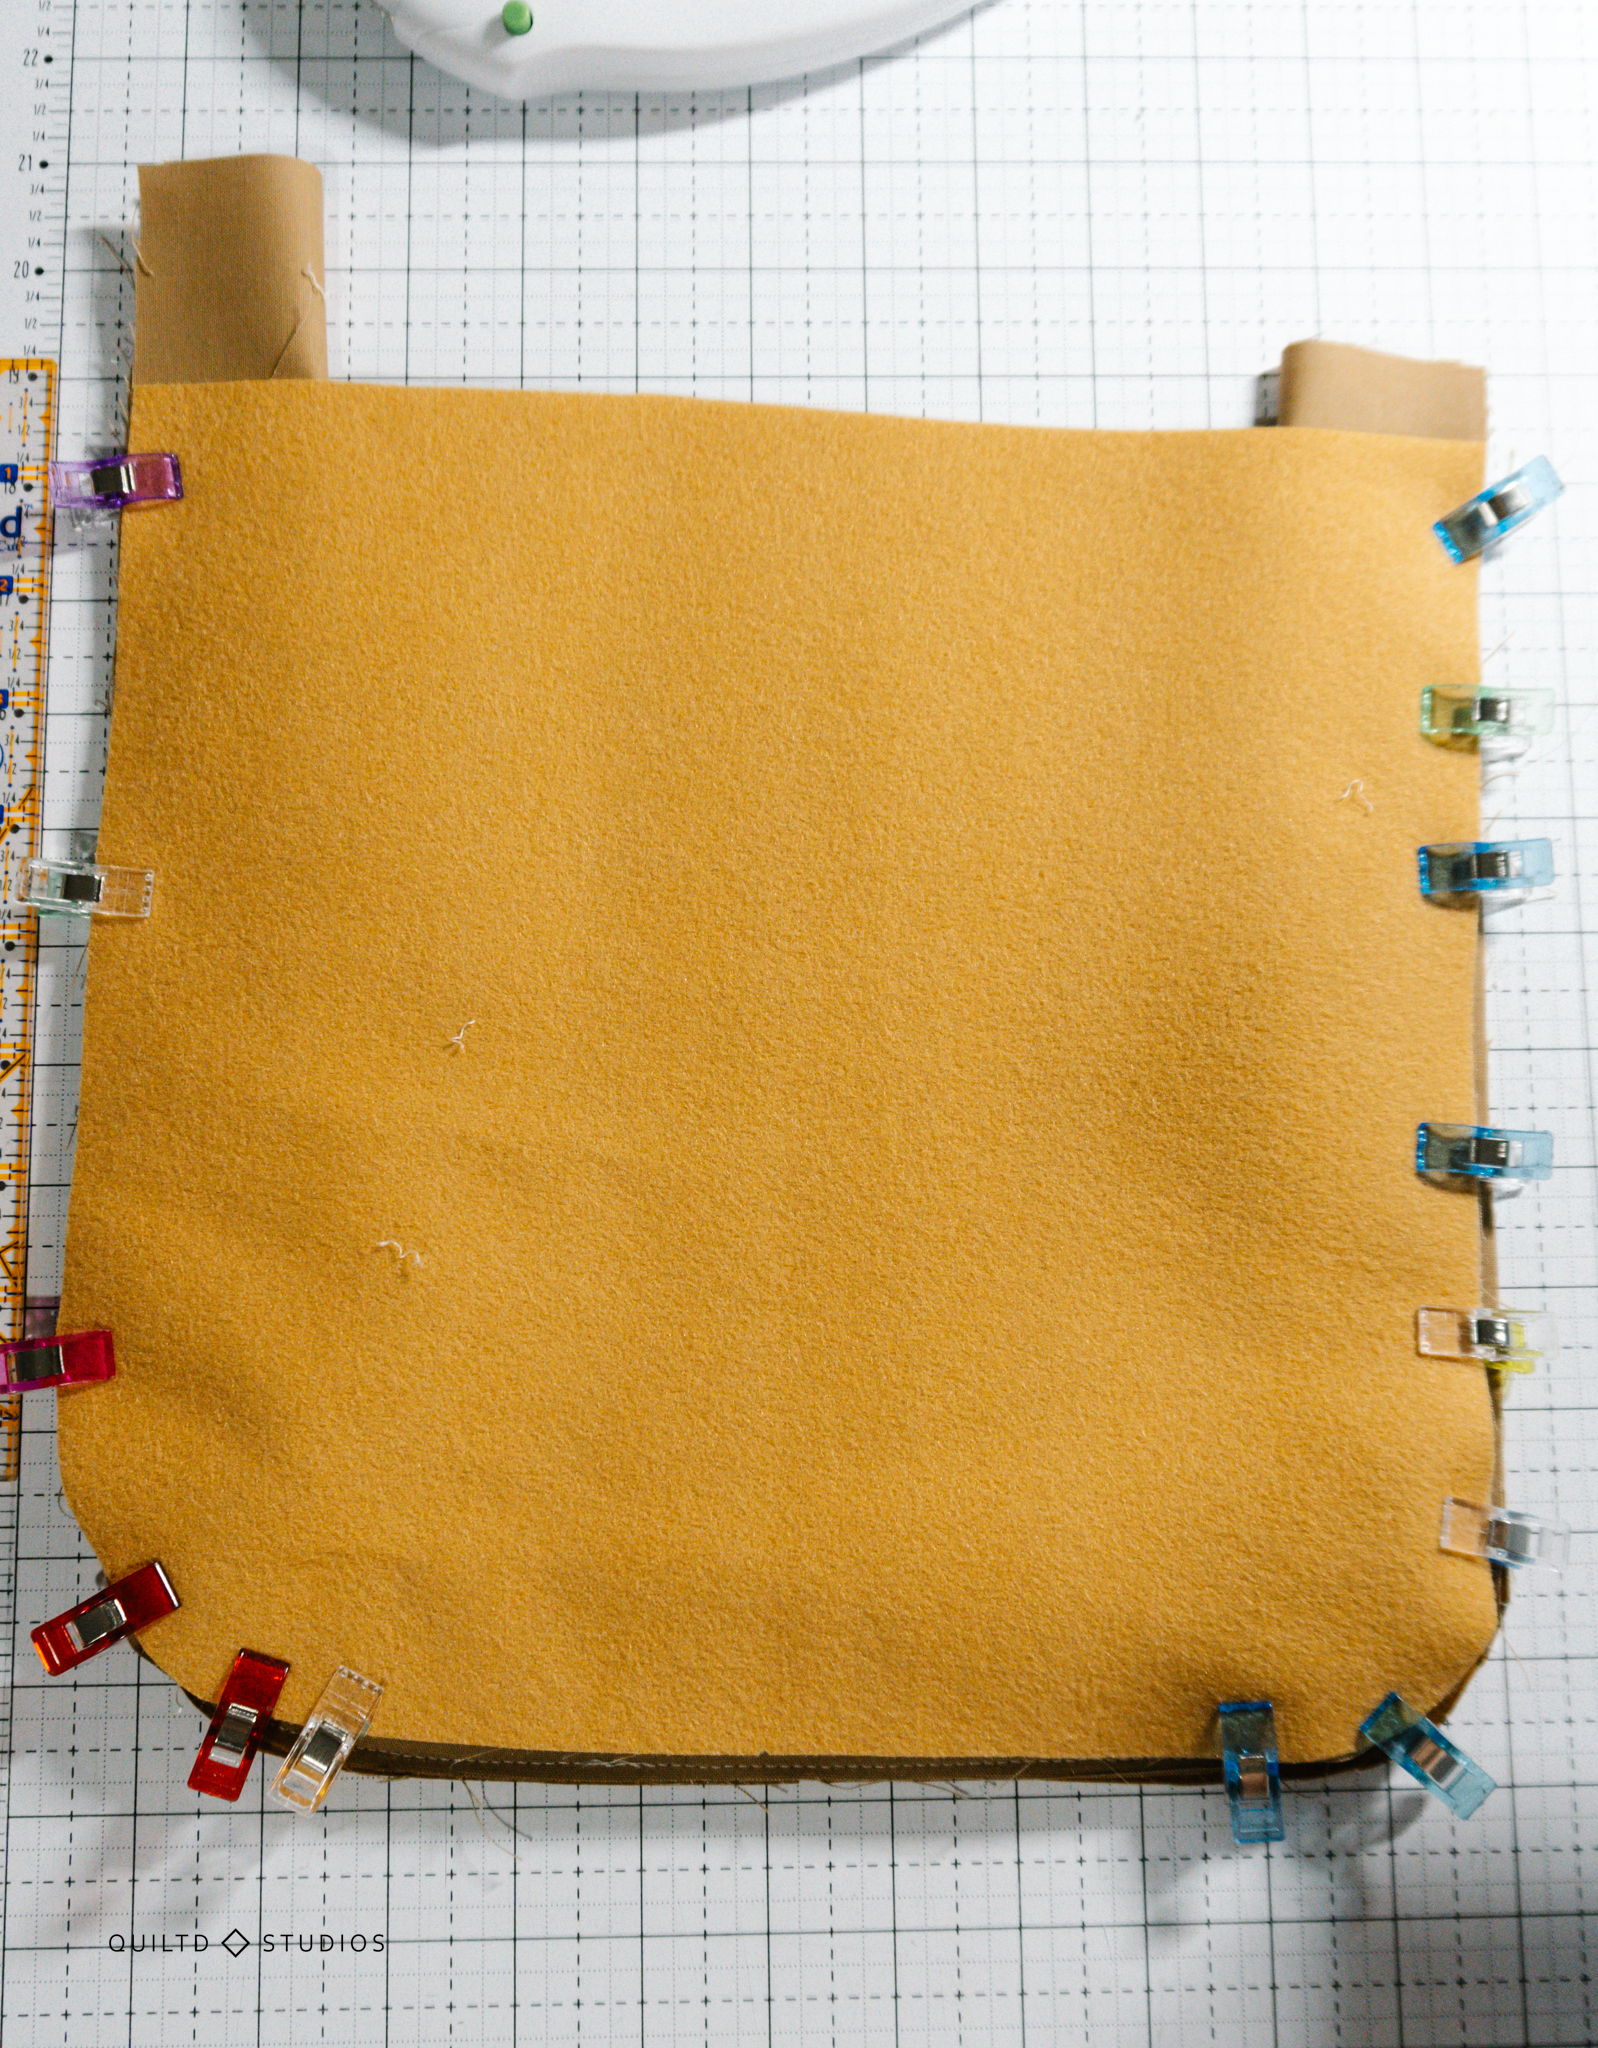
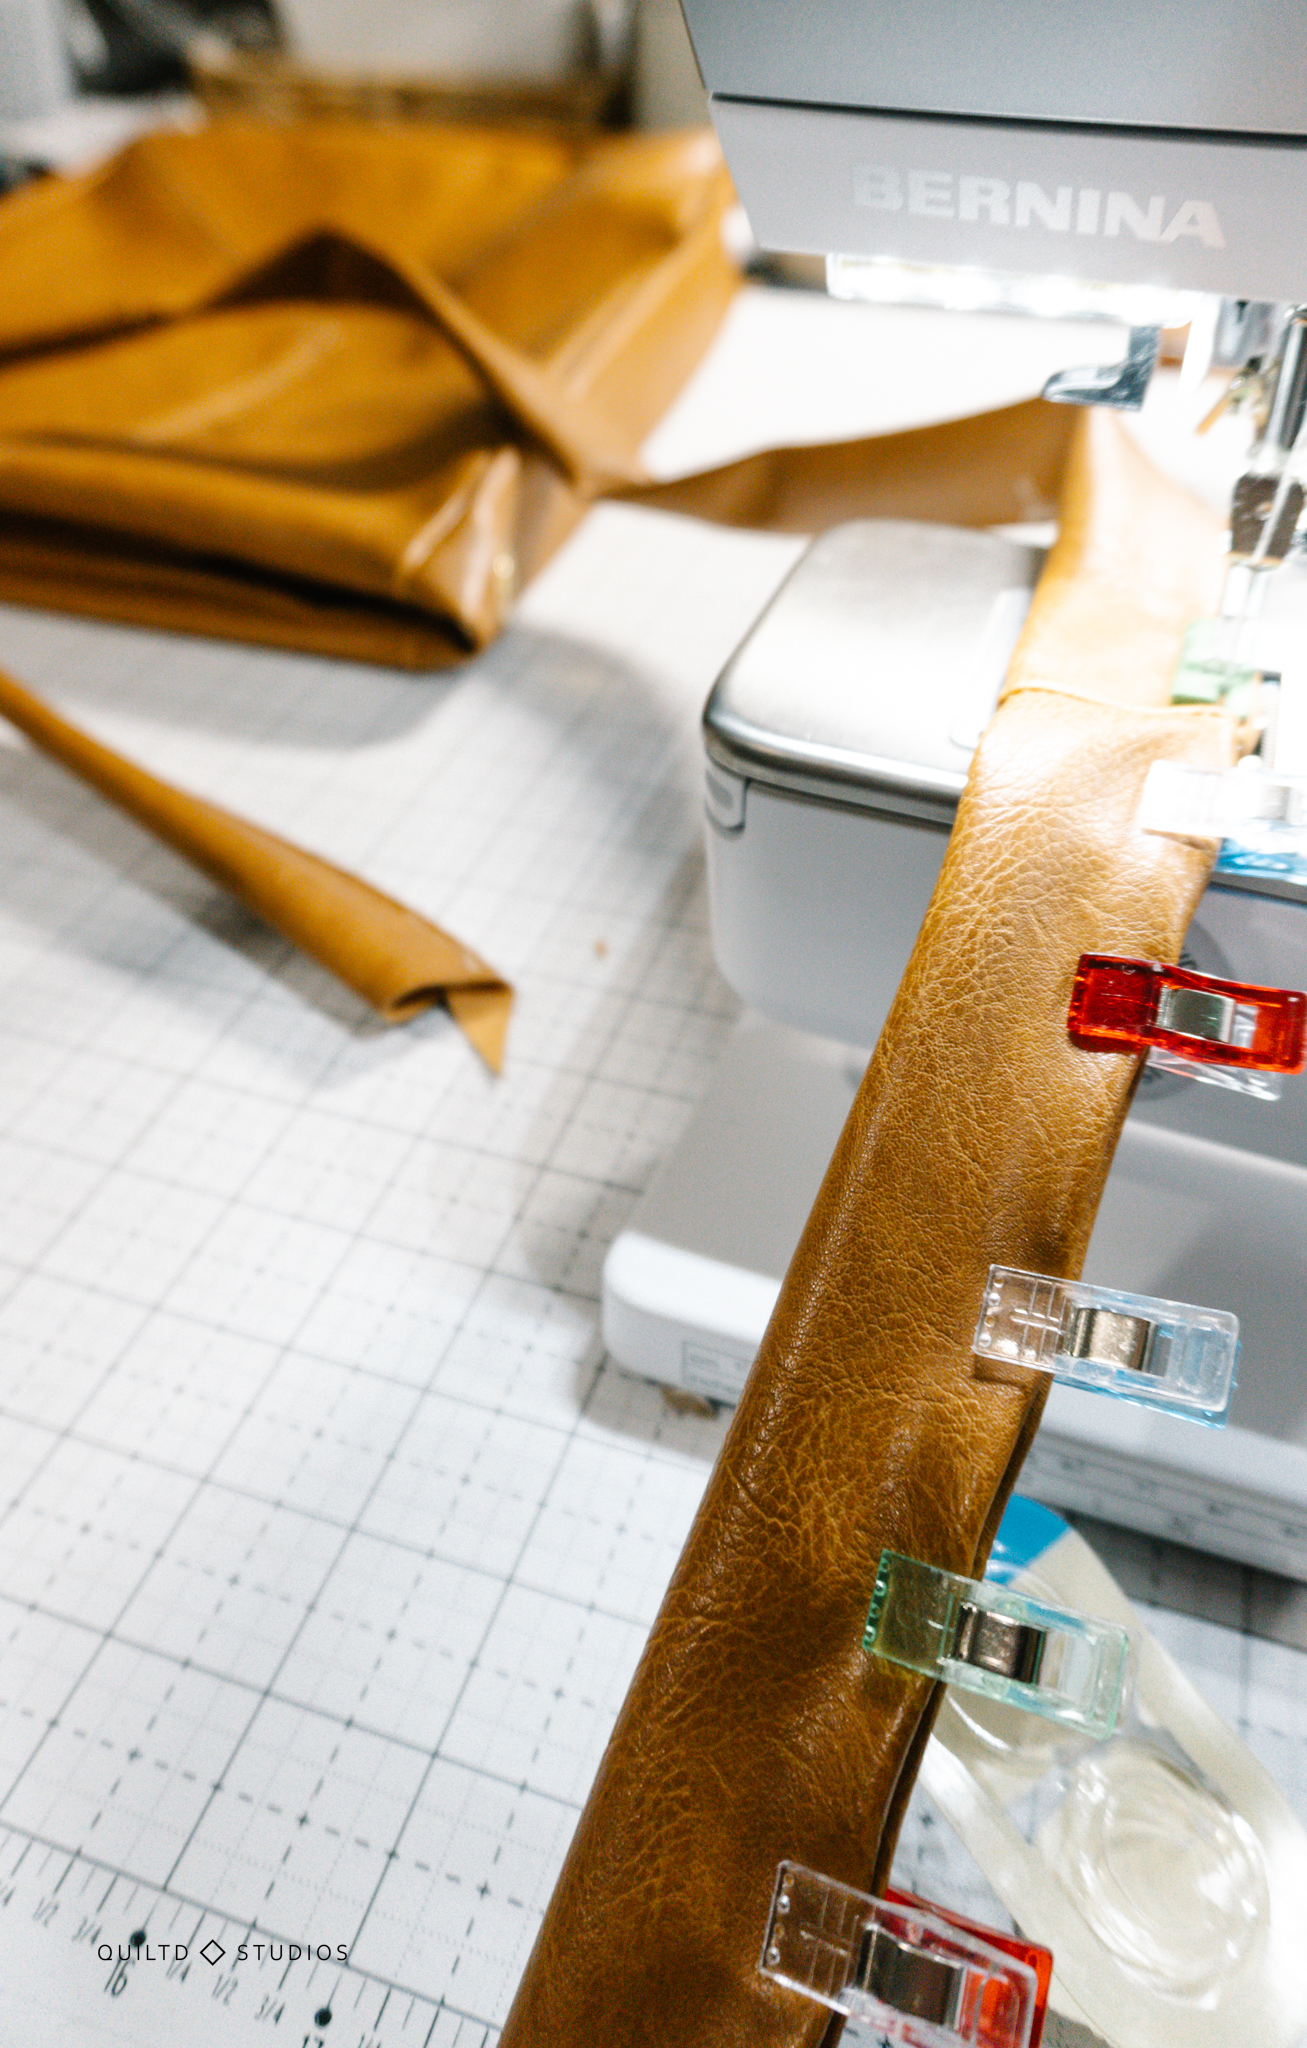
Match up those tops and side seams up and clip, clip, clip!
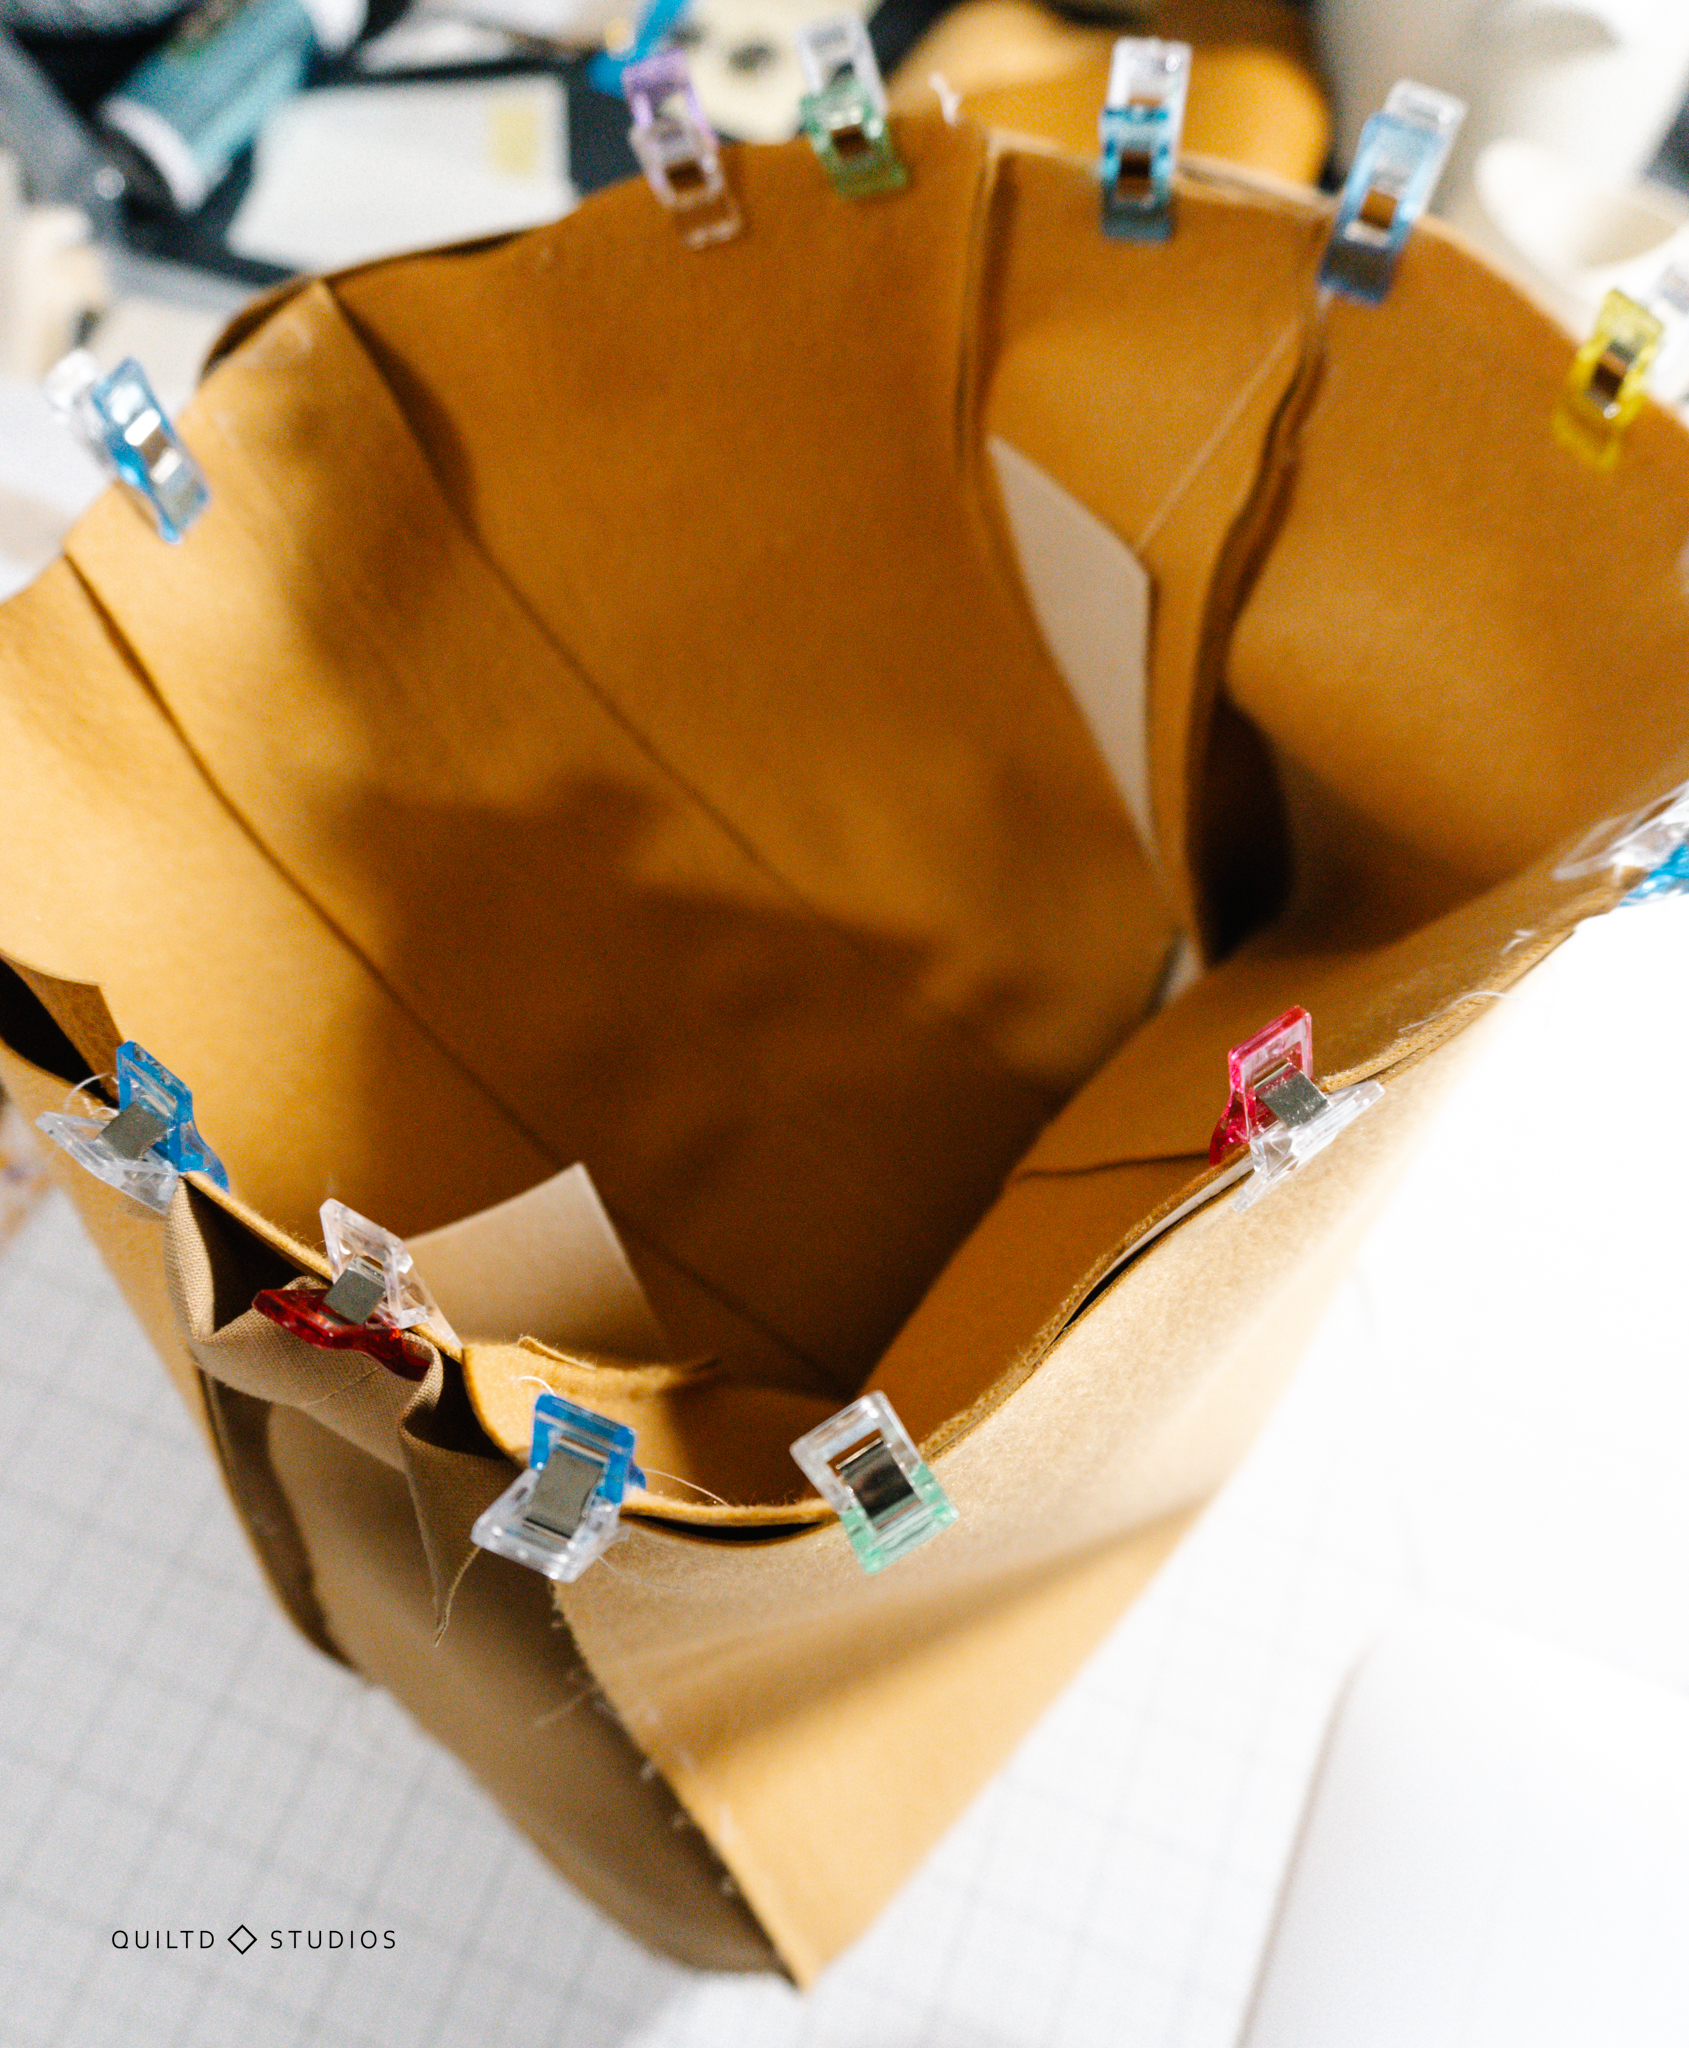

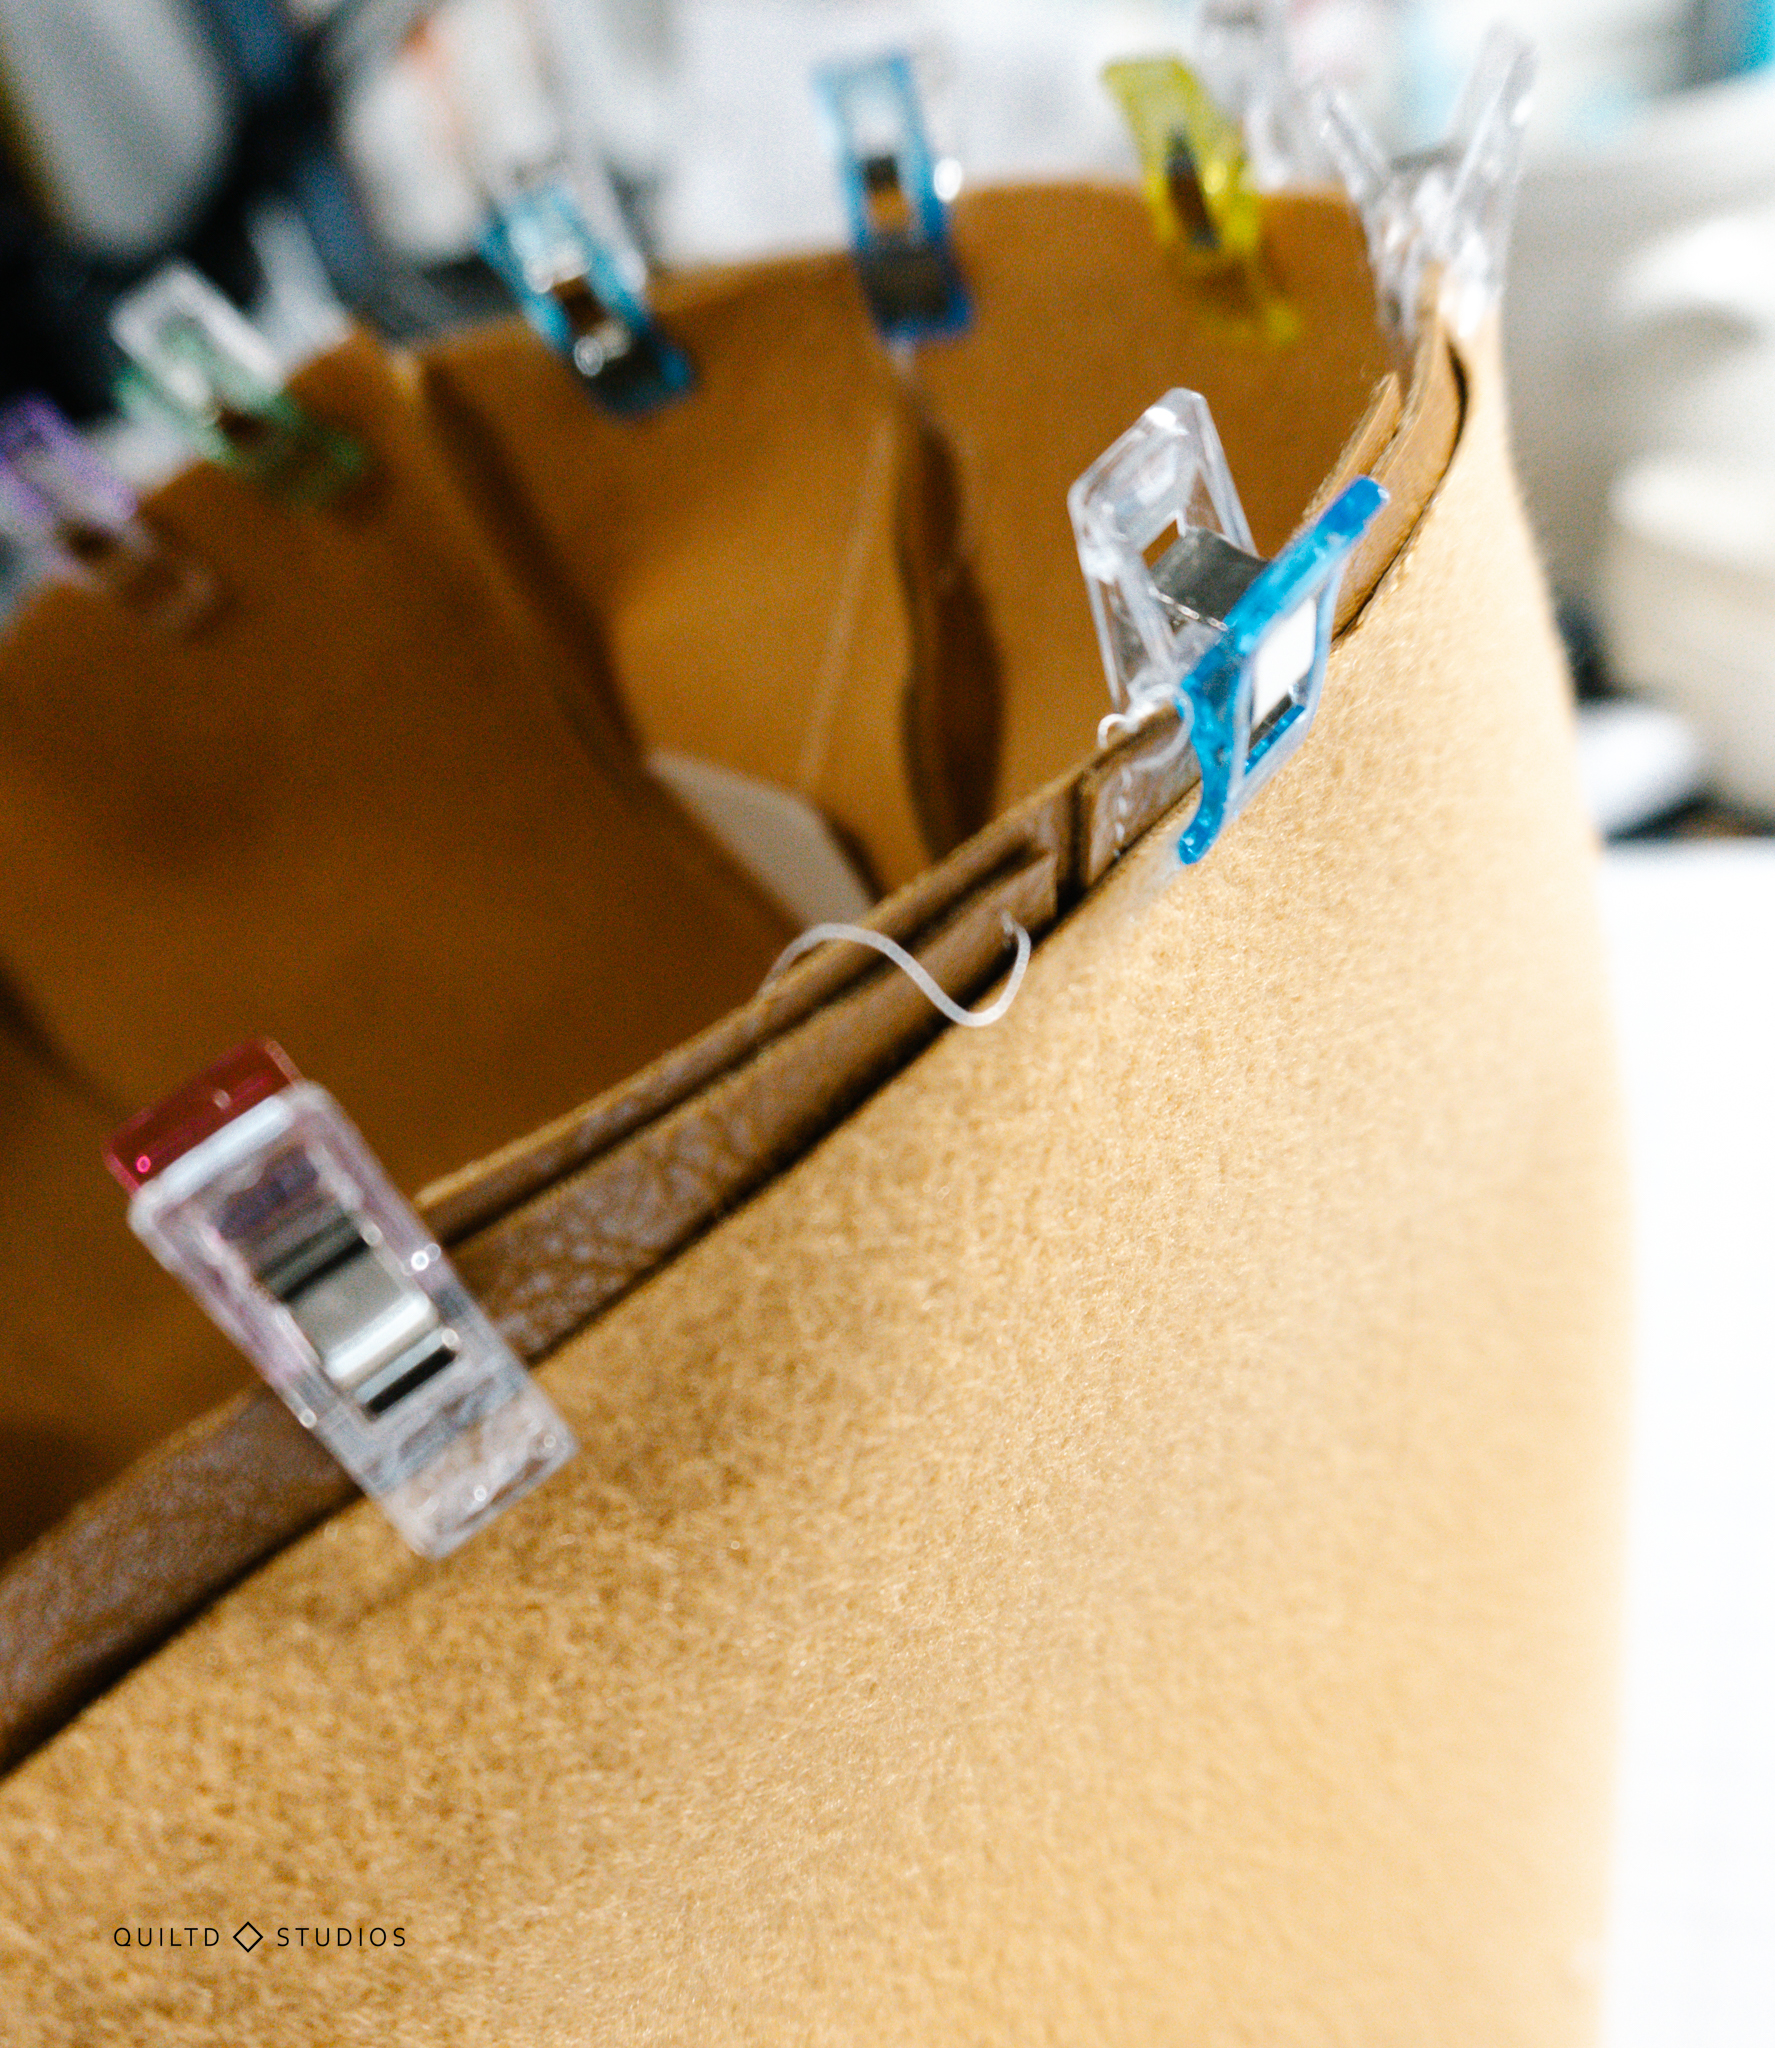
Some of my tops didn’t quite meet up and that’s okay, the seam will get sucked down into the bag so it’s very forgiving.
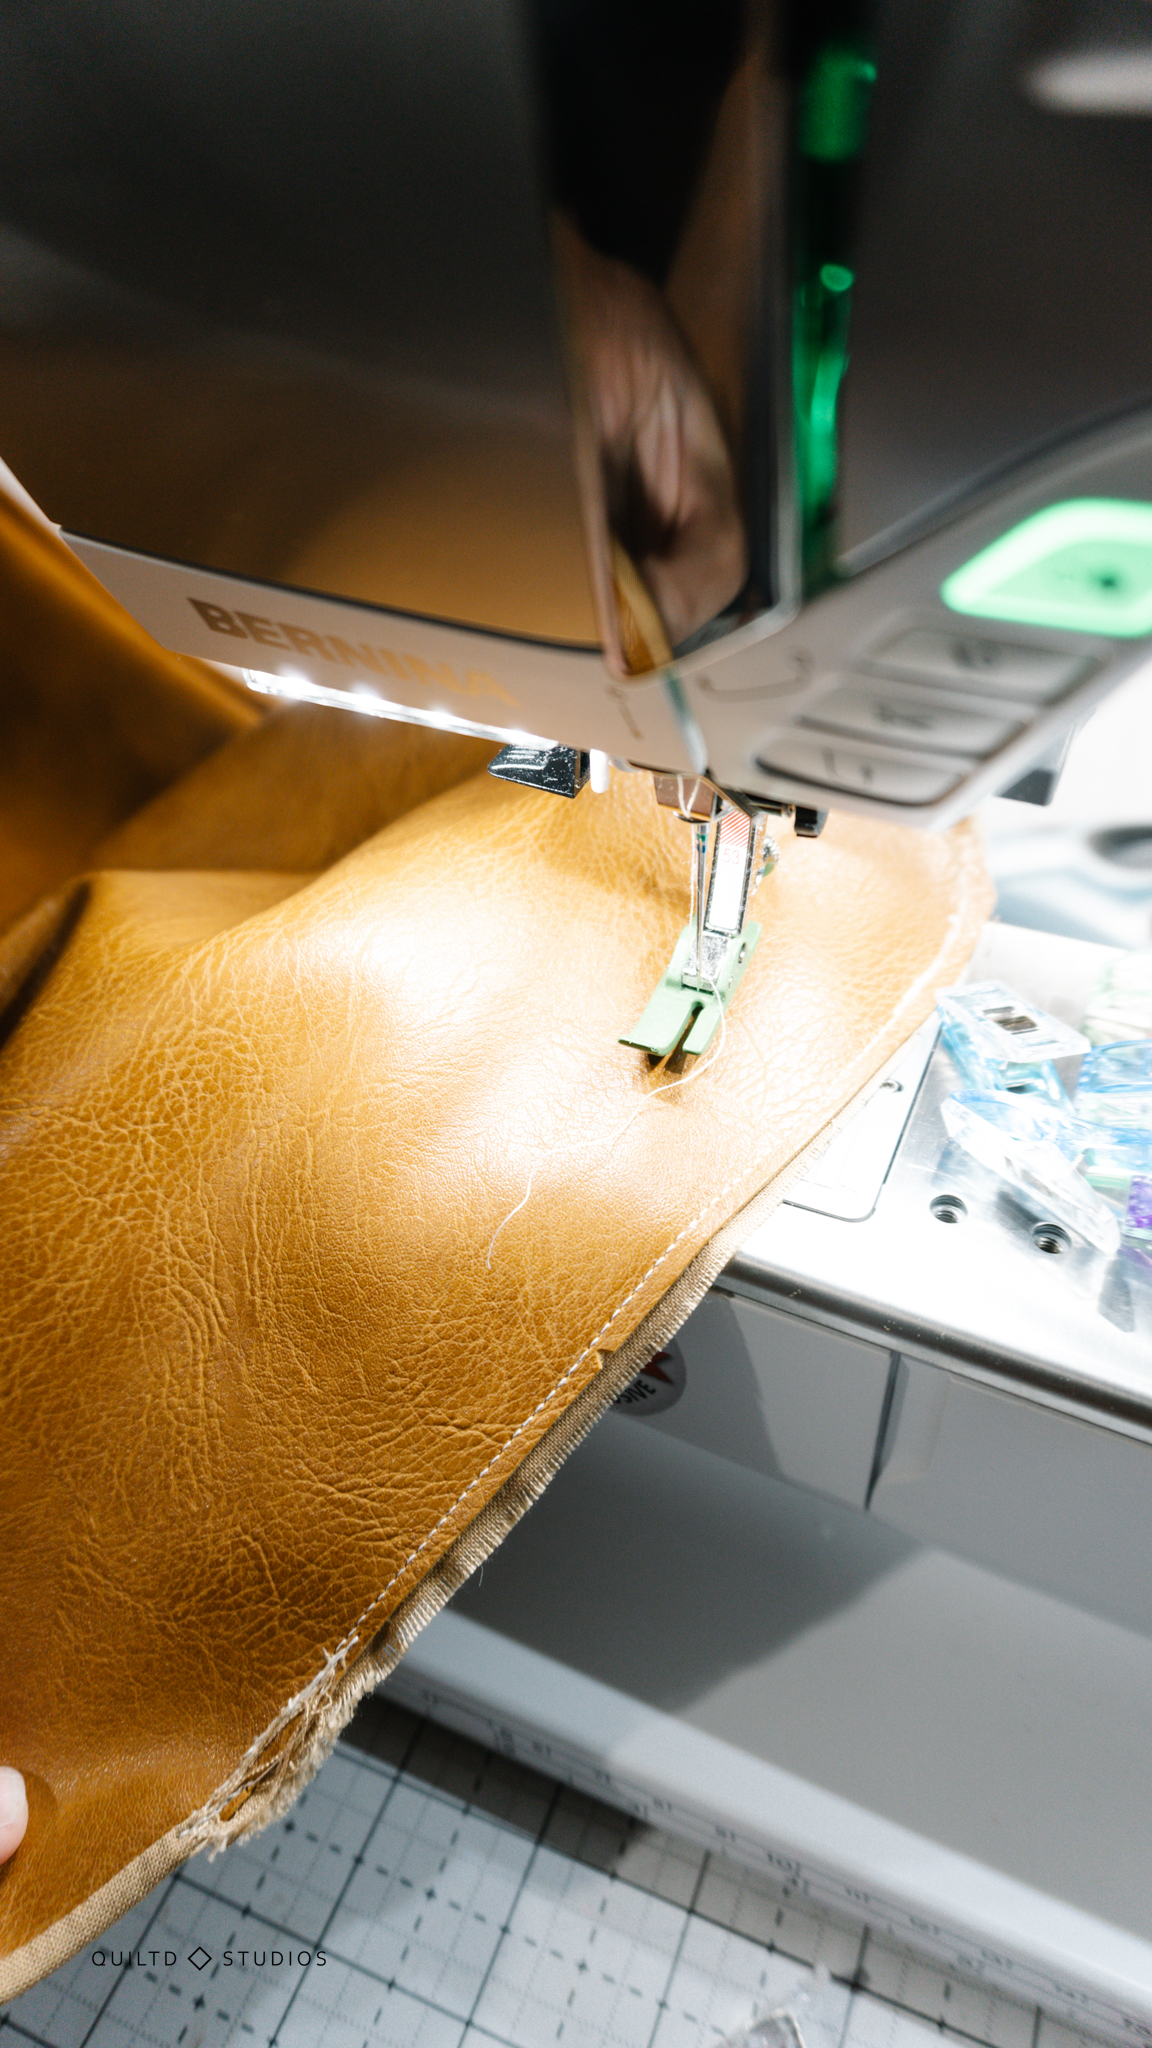
Once you’ve clipped the crud out of it, take it to your sewing machine and stitch around the top.
I took off my tray to make it more manageable.
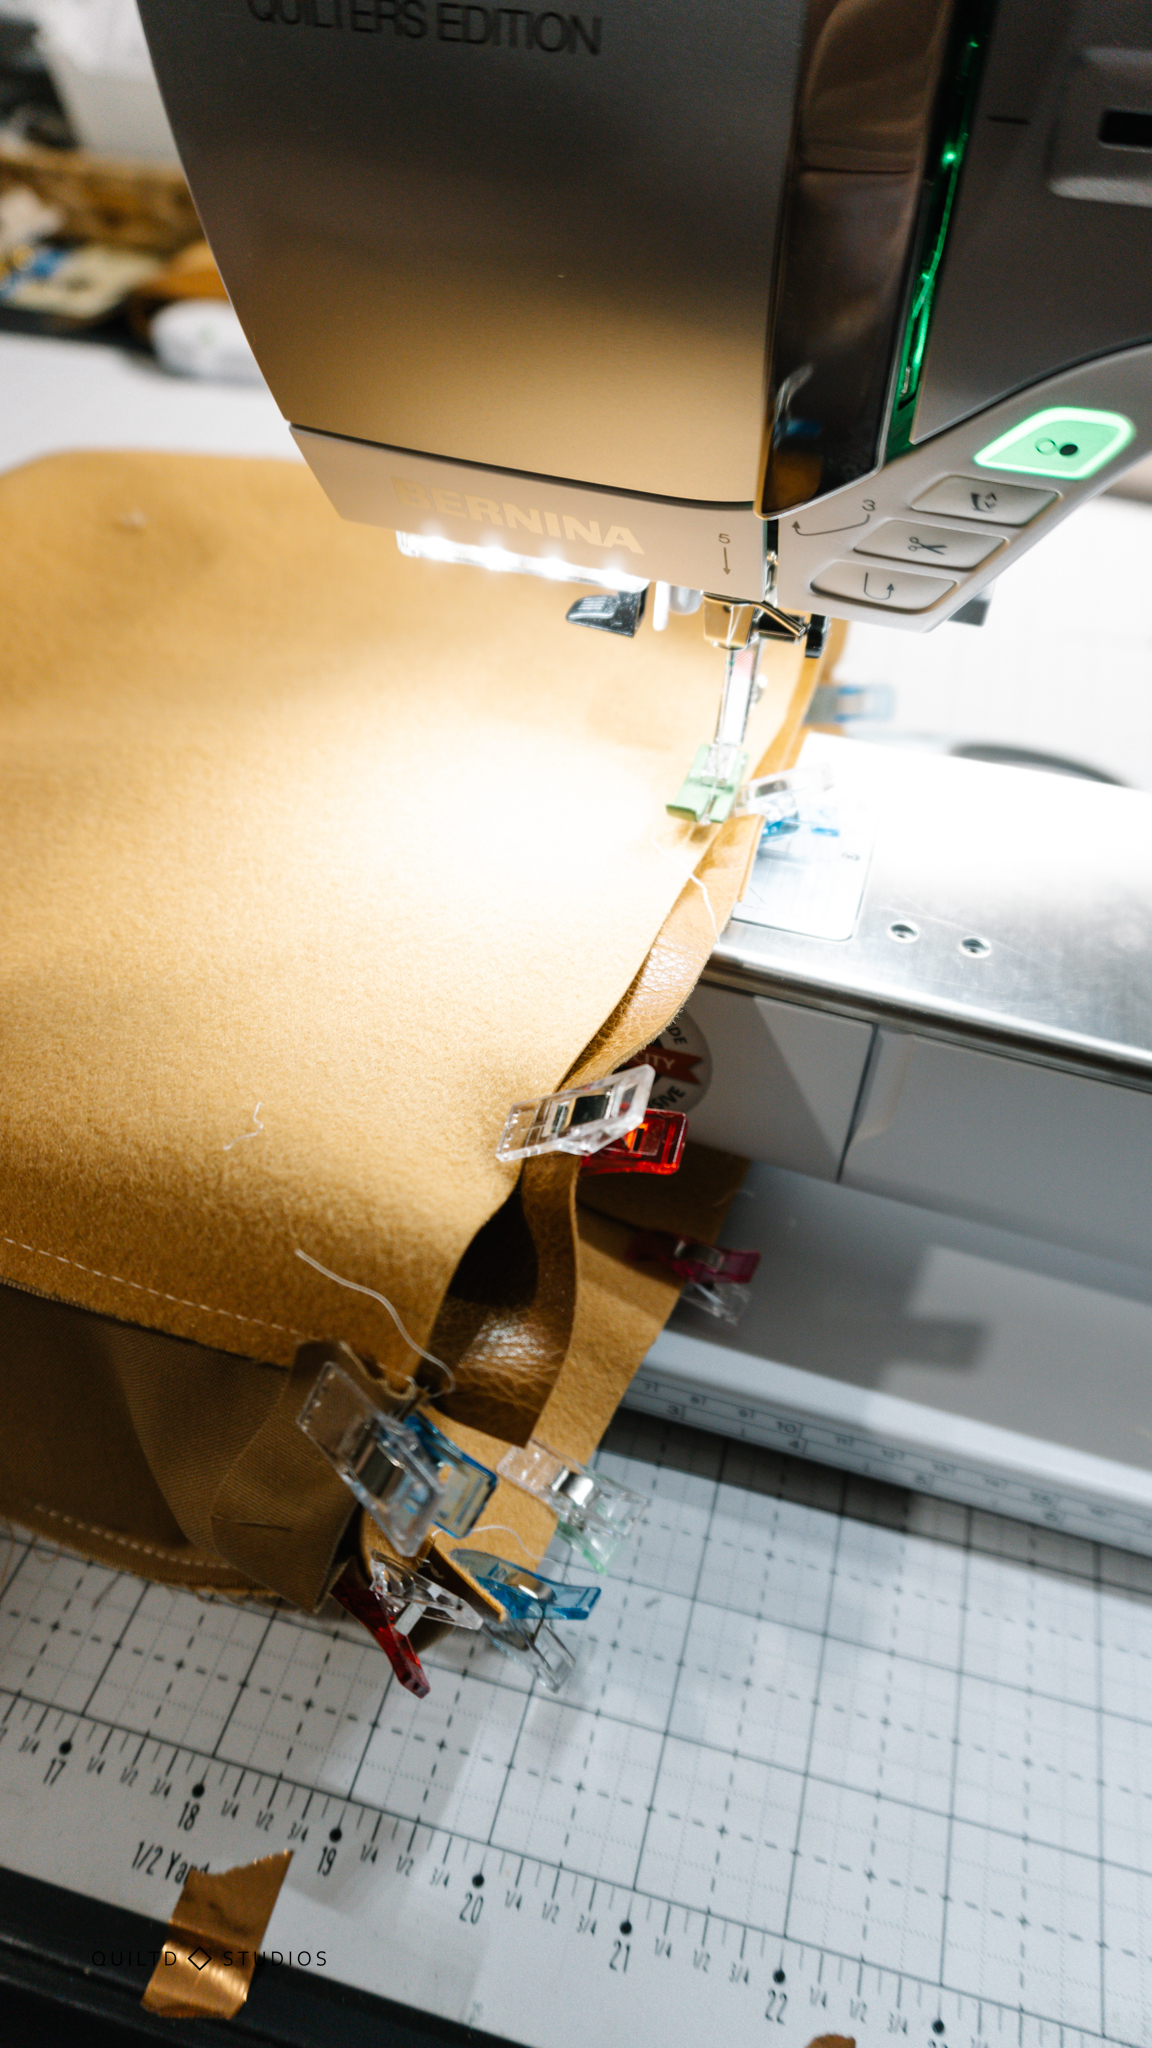
I also lowered my stitch length a little to make it nice and secure.
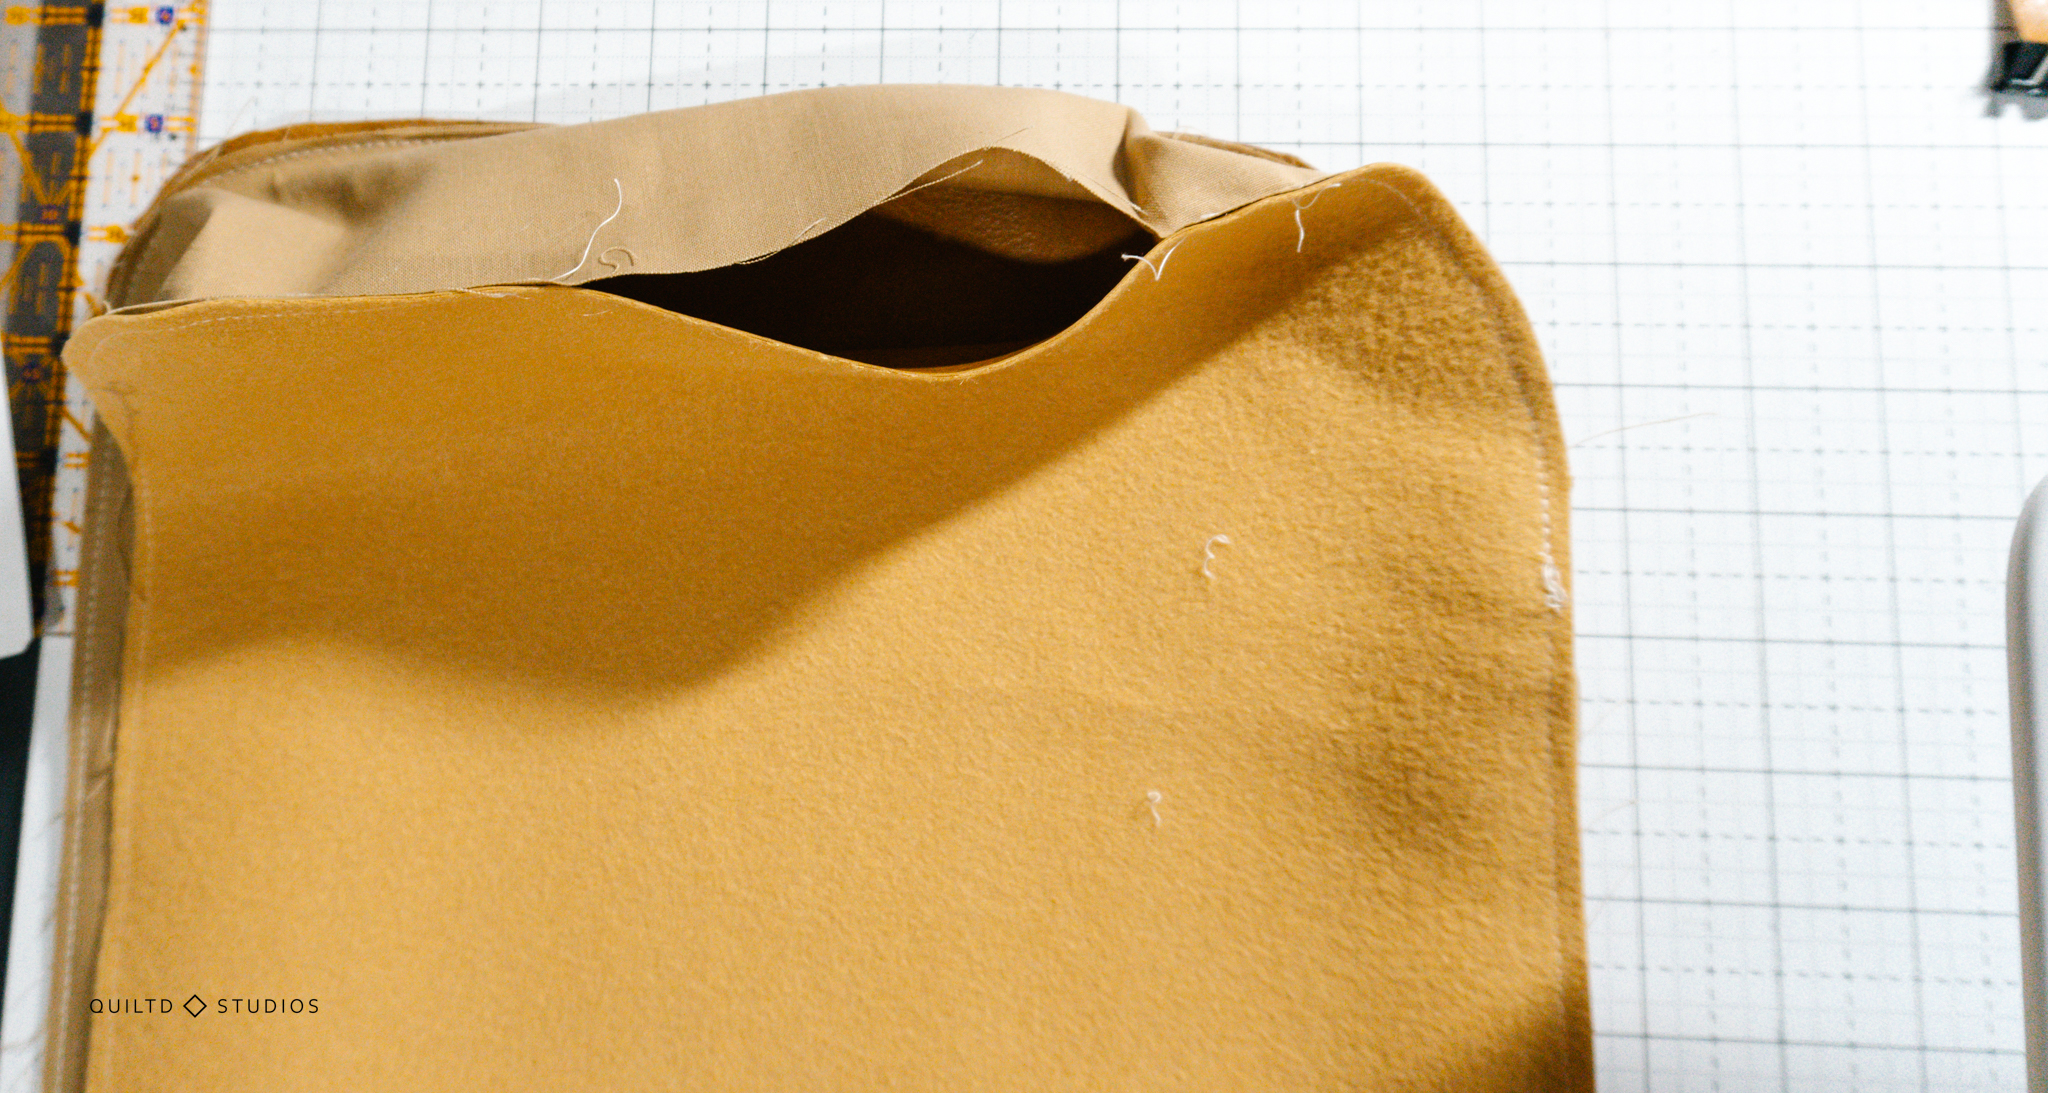
Once you’ve done that, check to make sure it’s stitched all around, no holes!
This is the fun part… pull your bag outside through the hole you left in the bottom of the lining.
And yes I ripped my lining the second time I did this. Aggressive pulling + small hole = ripping. Let this be a life lesson to us all.
Once you’ve pulled that out, shove the little fabric hole bits (in my case: shreds) in and sew the hole shut.
You’ll push the lining down so that it meets the bottom of the outside bag, it will fold some of the top into the bag.
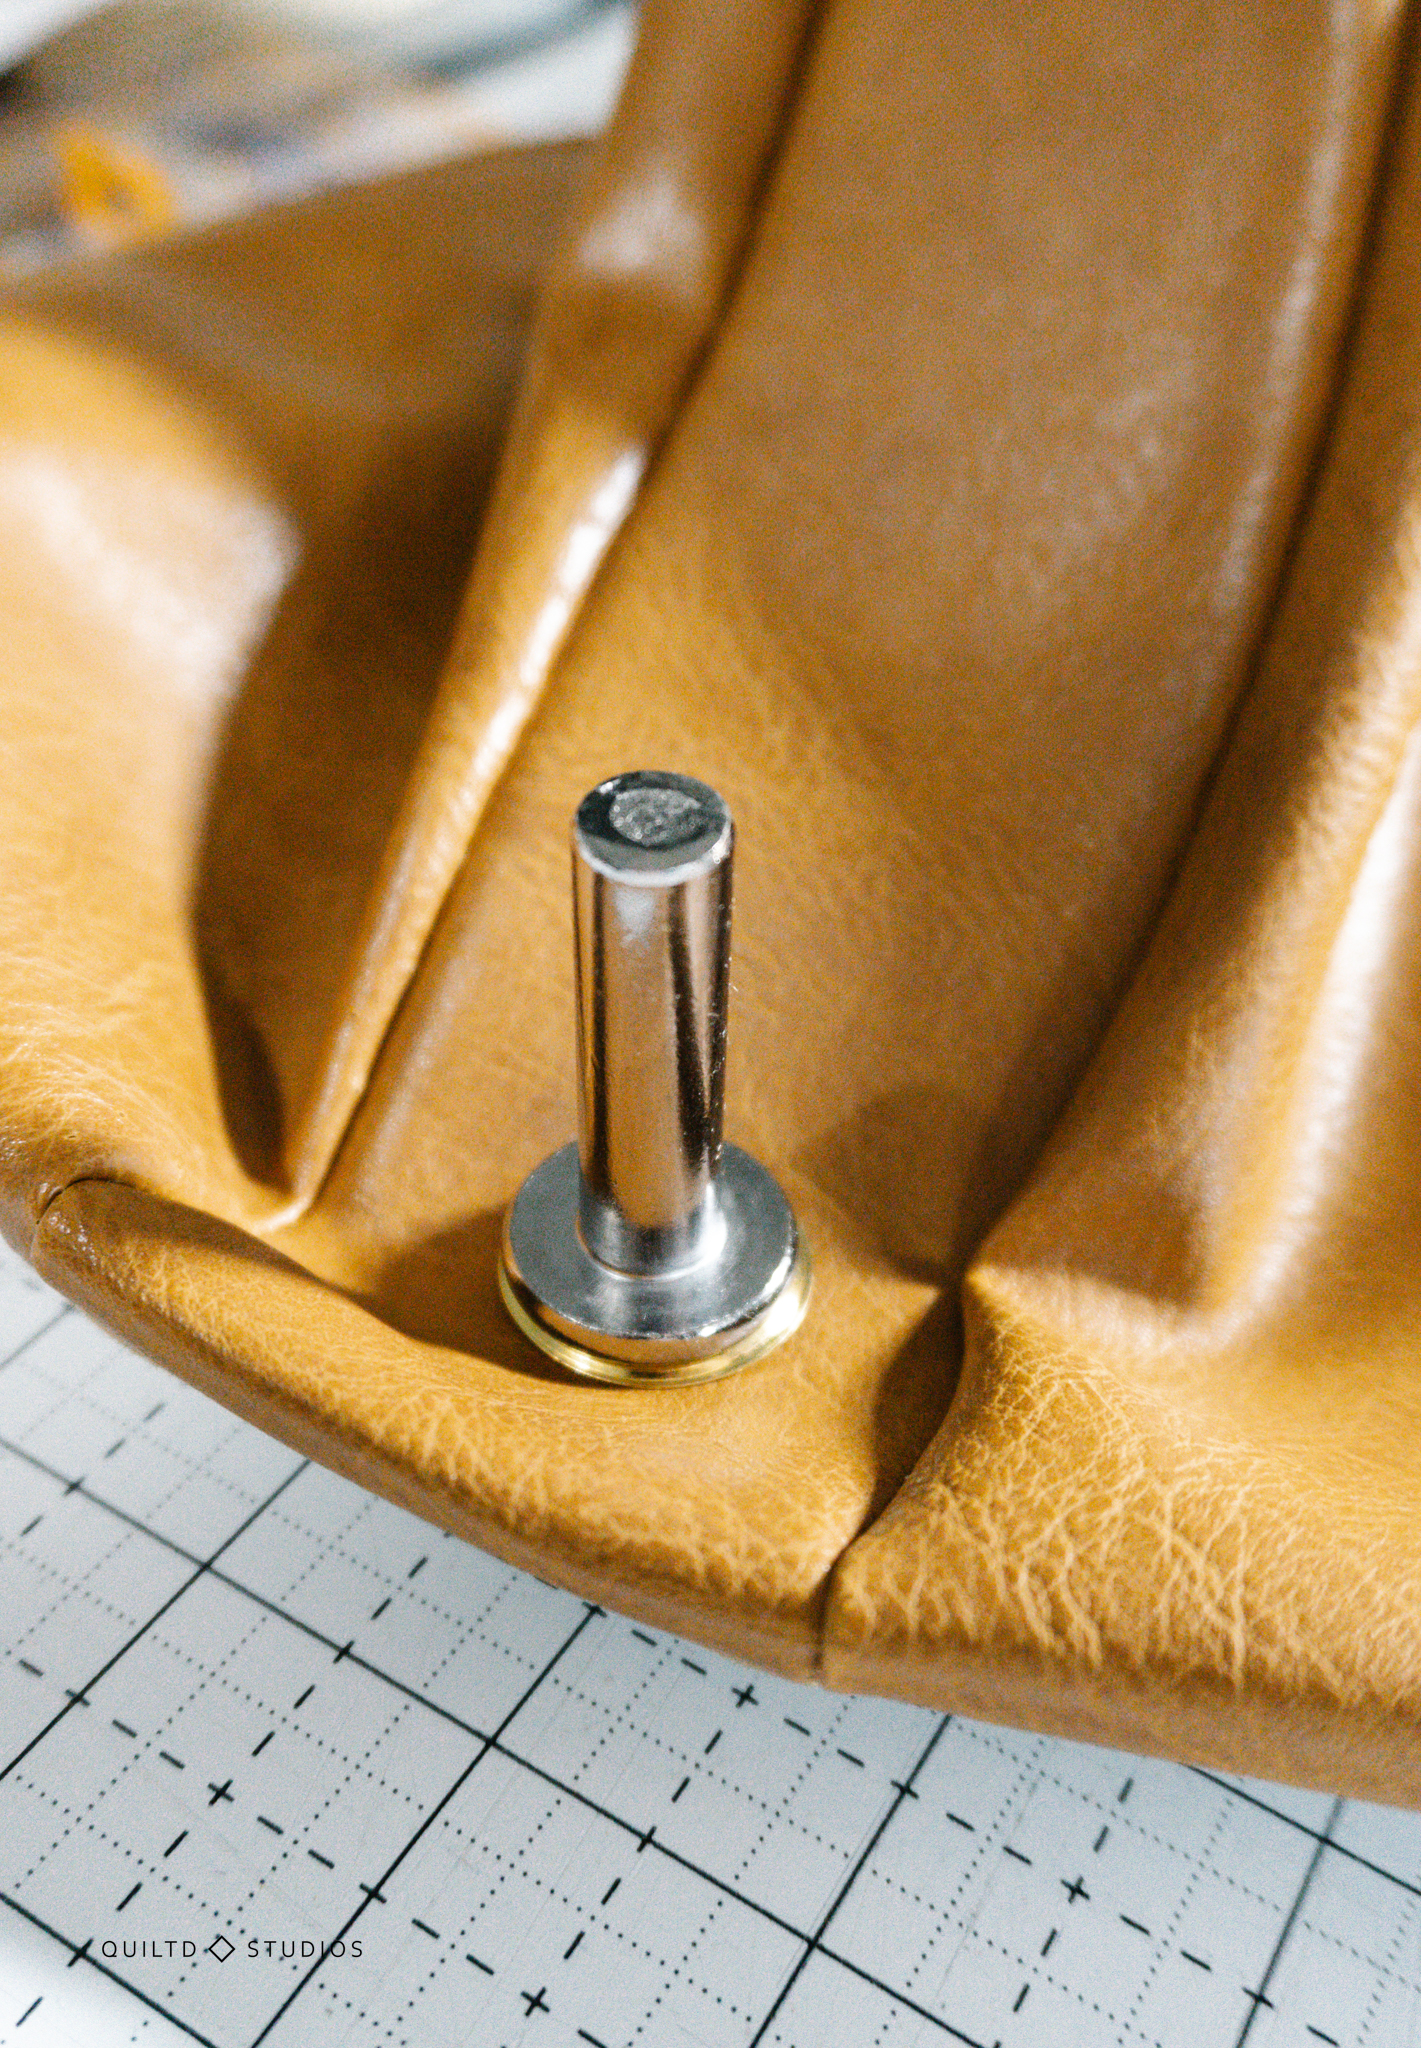
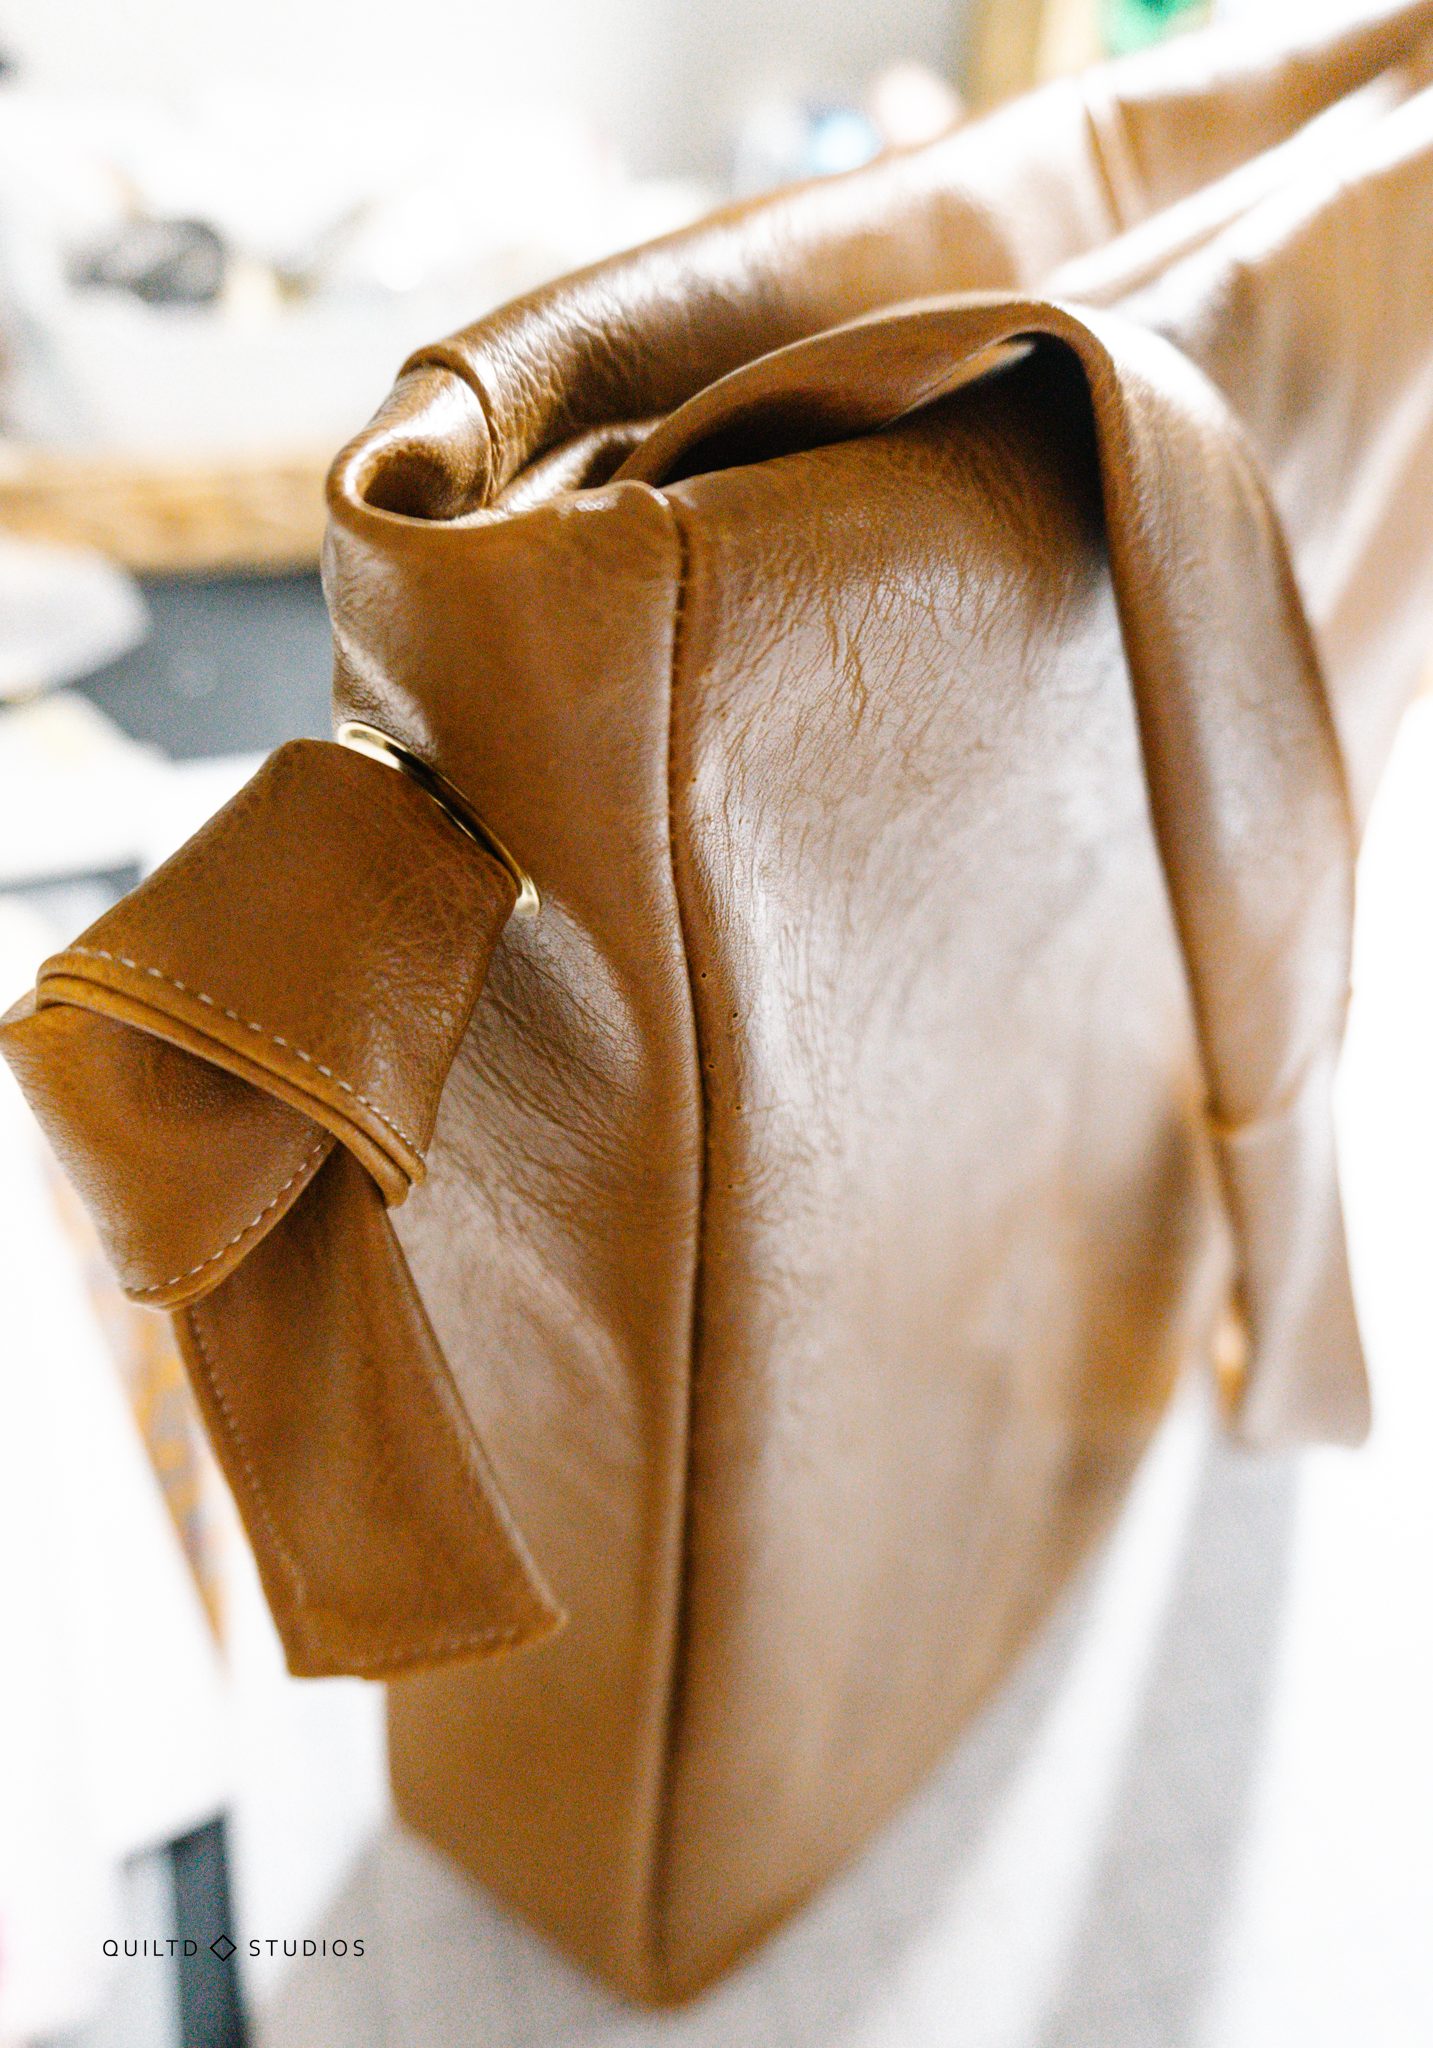
Match up the tops, and install your grommets into both sides. That was also scary, as I’ve never “gromitted” (also must be a word) anything before in my life, but let me tell you, it was extremely satisfying.
Sew your bag handle, I ended up just folding in the edges of a randomly sized strip of leather and stitching down one side to avoid having to pull any tubes of fabric, you do you.
Stick it through the grommets on both sides, tie a know and admire your amazing work!
I told you it was a forgiving pattern, and so fun to make!
I can’t wait to see your Klara bags, make sure to tag Bernina and @quiltdstudios on social media!
Welllllll, im going to be honest about this pattern. It is poorly written. So much is left out for the sewist to “figure out”. Like, when does the magnetic snap get added. Or why do you use a 14mm grommit for a 3.5 cm strap to go through. And yes, i watched the video’s SEVERAL times. My suggestion, don’t squeeze directions for a nice pattern onto one page. Expand on the directions and give us a couple pages.I did finish mine. Gritting my teeth at times.
Dear Nancy,
This pattern is from the inspiration Magazine, so Jessica did not make the decision of choosing a 14mm grommit, she just followed the instructions that come with the pattern. My guess is they chose a 14mm gommet because if you pull the strap through, you make a knot. If the gommet is bigger then 14mm, it is likely to slide through. Since this bag can hold quite a few items, it is important that the knots really hold on, so the gommlet has to be a lot smaller then the strap itself. However, patterns never tells why they decided on a design element, I guess that would be its own complete leaflet. If you wish to attach the strap differently, then you can make your own version.
Yes, I do agree, a video just does not show the complexity of a pattern and how to make one. That is why I love to read instructions, and maybe even compare instructions if I do not understand a step. The original instructions do tell when to add the clasp, but then again, without pictures, it was a lot harder to figure out the assembly. Wish I had the pictures when I made this bag 2 years ago, would have been so much easier!
Im trying this bag but what kind of thread did you use or what kind is suggested.
I used Aurifil cotton thread and it worked pretty well. My thread did break a time or two but other than that, it looked really nice! Good luck!
Thanks!
I thought I’d mention an easier way to cut out the pattern pieces: on the wrong side of the fabric/faux leather/oil cloth material lay out the pieces UPSIDE DOWN! (*Unless the instructions specifically demand them up0side down..**then have them upright) and trace them with a pencil or pen or marker of your choice. Be sure to label the pieces also. It makes a world of difference in ease of cutting and there are no visible pin marks on the fabric/leather. Hope this helps 🙂
I love that, thank you so much for sharing that tip, I am pretty new to more complex bag making (I don’t even know if the Klara bag is considered complex but for me it was! haha) so I appreciate all the wisdom from more experienced sewists!
If you plan to use a chain like I did, place the eyelets a bit higher up then marked. Otherwhise, the clasp is hard to close. Mine just barely fits because I did not think of checking first.
This was a great tutorial. I can hardly wait to make the bag.
Can hardly wait to make this bag. Thanks again for the great tutorial.
I got the blog post. But where’s the pattern? The link in my newsletter said this was it.
Hy Robin,
The link in the newsletter of the red button takes you to the monthly article I publish about the free pattern of the month. The pattern is provided by the inspiration Magazine. To download the free pattern, you click on this link: https://www.bernina.com/inspiration-freebie and you can sign up for the inspiration Magazine newsletter, then sign in and download the free pattern.
Alternatively, if you do not wish to sign up, click on the sentence just underneath the sign up button, and you can directly download a .zip file with the pattern. Hope this helps!