 BERNINA Corporate Blog -
Hello Bernina Lovers!
A few days ago, I published the first part of this school backpack sewing tutorial.
I went through the first steps to make the outside of the backpack.
In this second series I’ll show you how to make the interior pocket and lining to have a beautiful backpack both on the outside and on the inside.
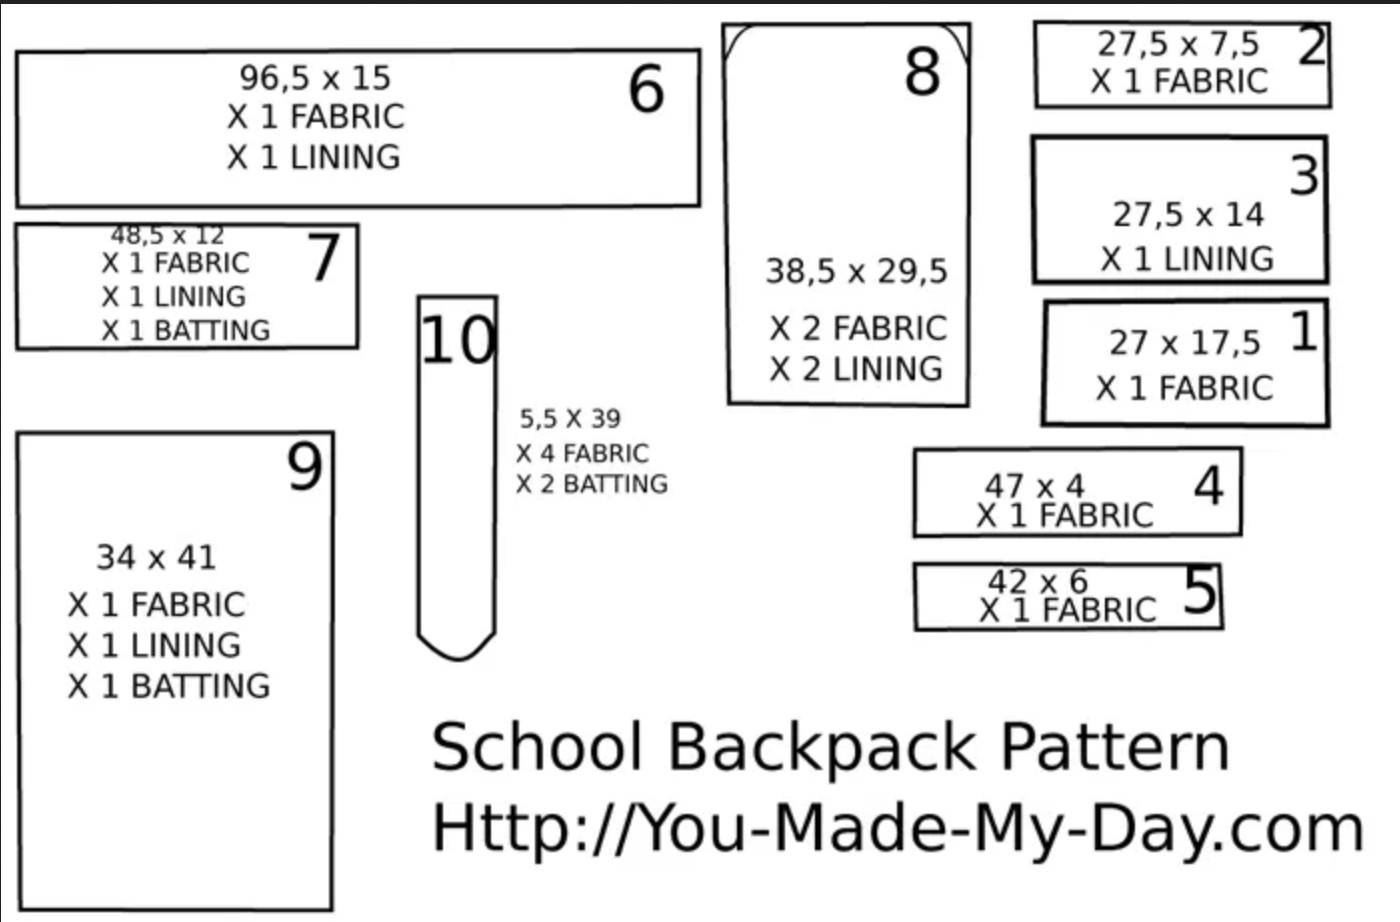
I’ll recall the materials needed:
Pattern
See below the dimensions and pieces needed
Materials needed
Fabric needed: about 1,50 m X 1,50 m for the exterior and interior pocket and about 1 m X 1,20 m for the interior
2 zippers: one of 60/70 cm and the other one 25/30 cm
Batting
Webbing Buckles and sliding bars
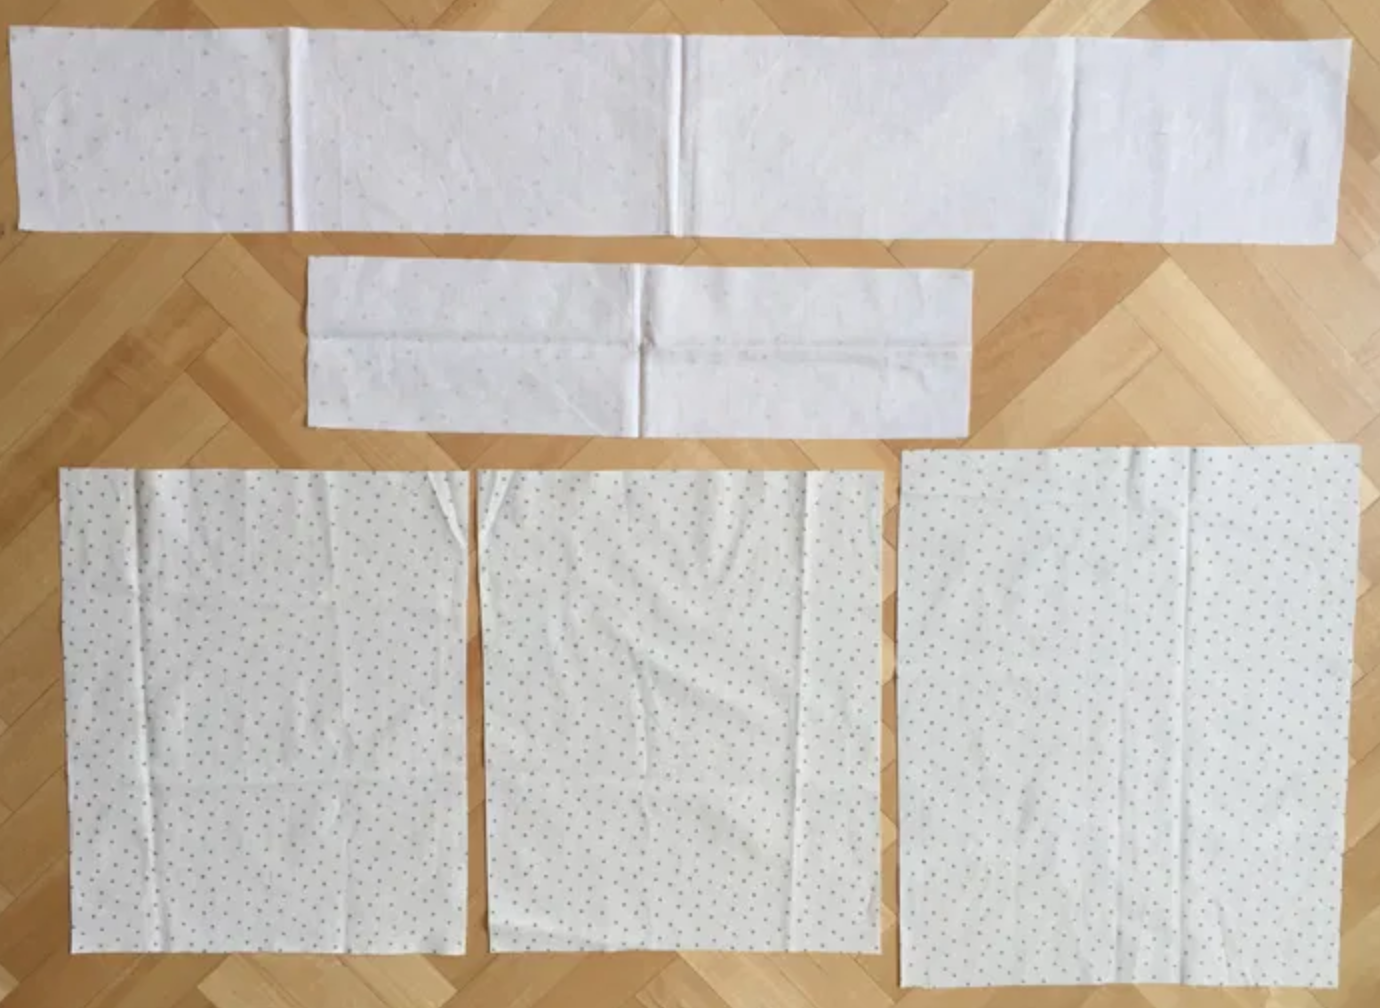
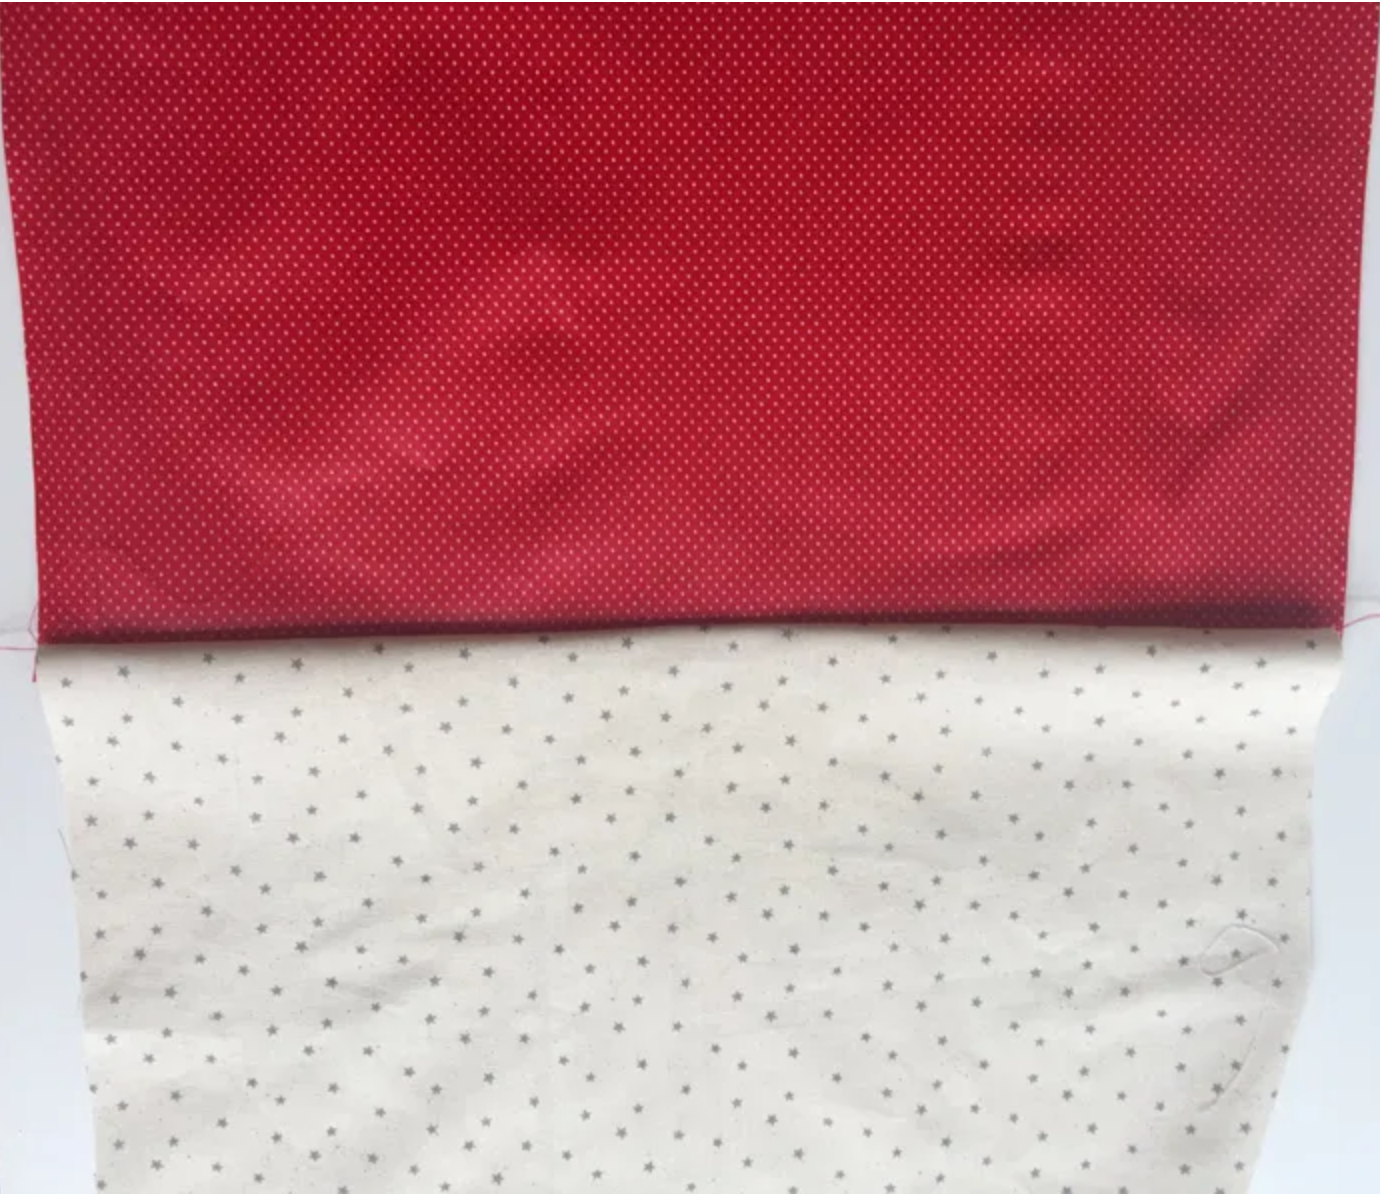
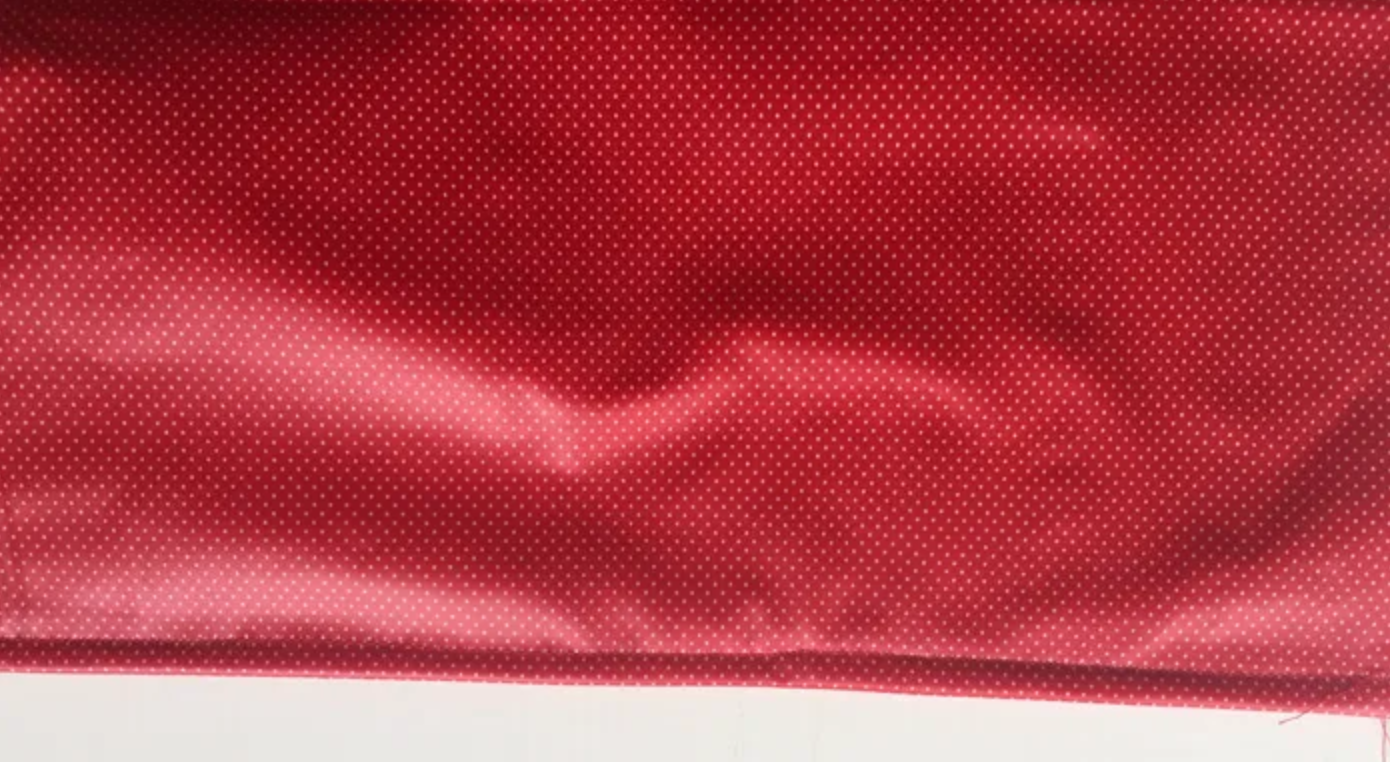
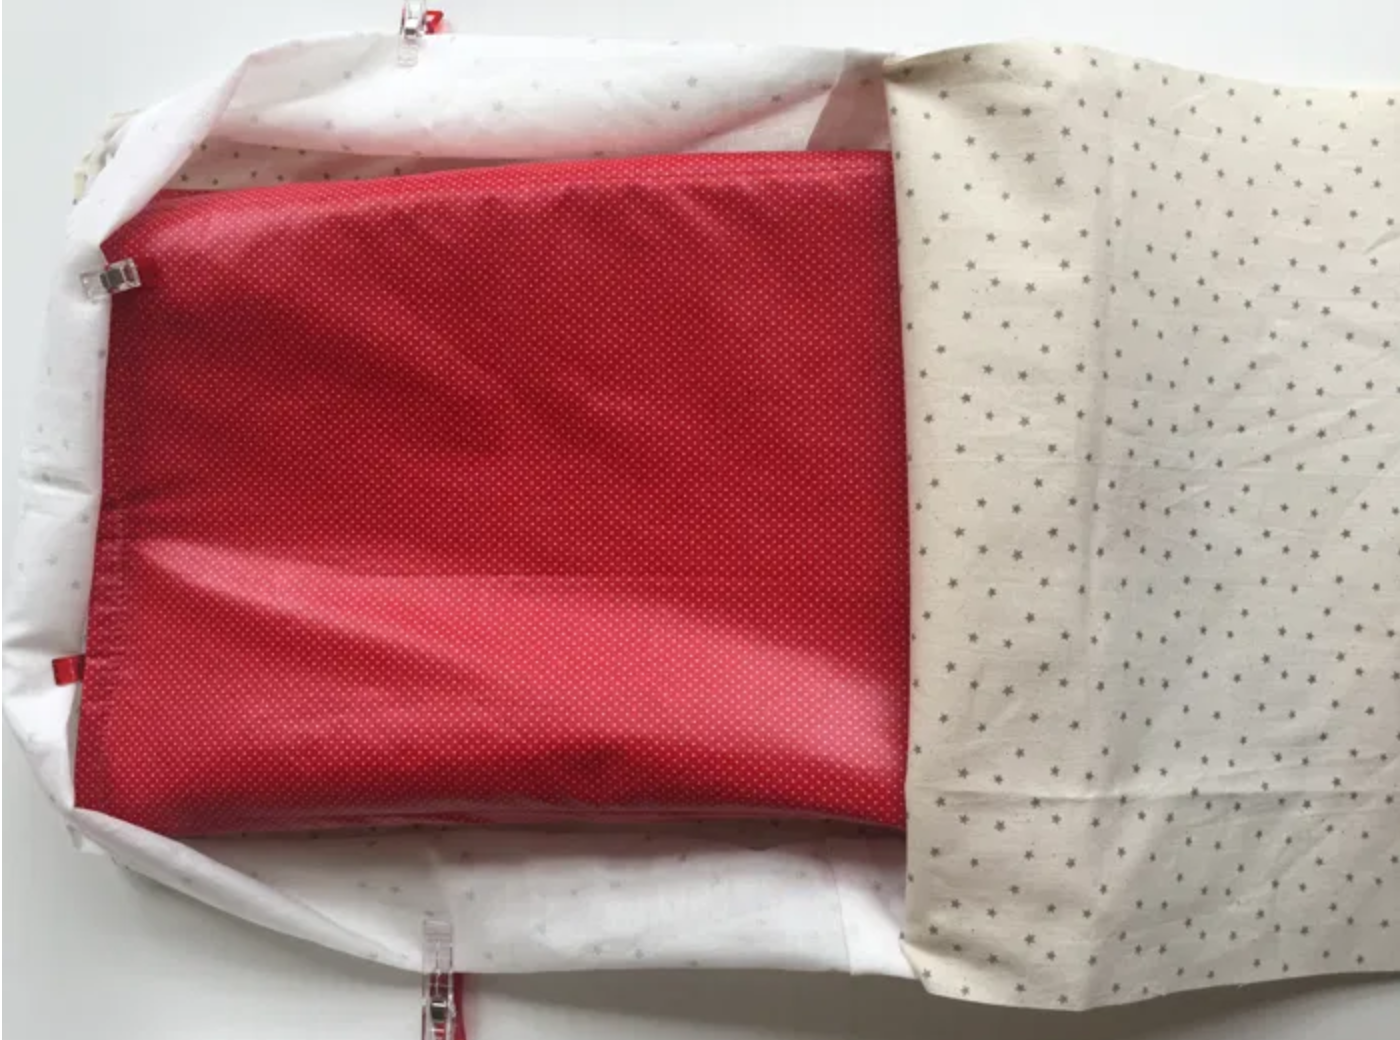
For the interior, I chose a white fabric with stars (I didn’t have enough fabric of the same so I mixed 2 different stars fabric that I had in my fabric stash.)
We resume here from our last sewing tutorial in order to make the interior pocket and the lining of this backpack.
Sewing the interior of the backpack
Sew together the lining and the outside fabric. Right sides together.
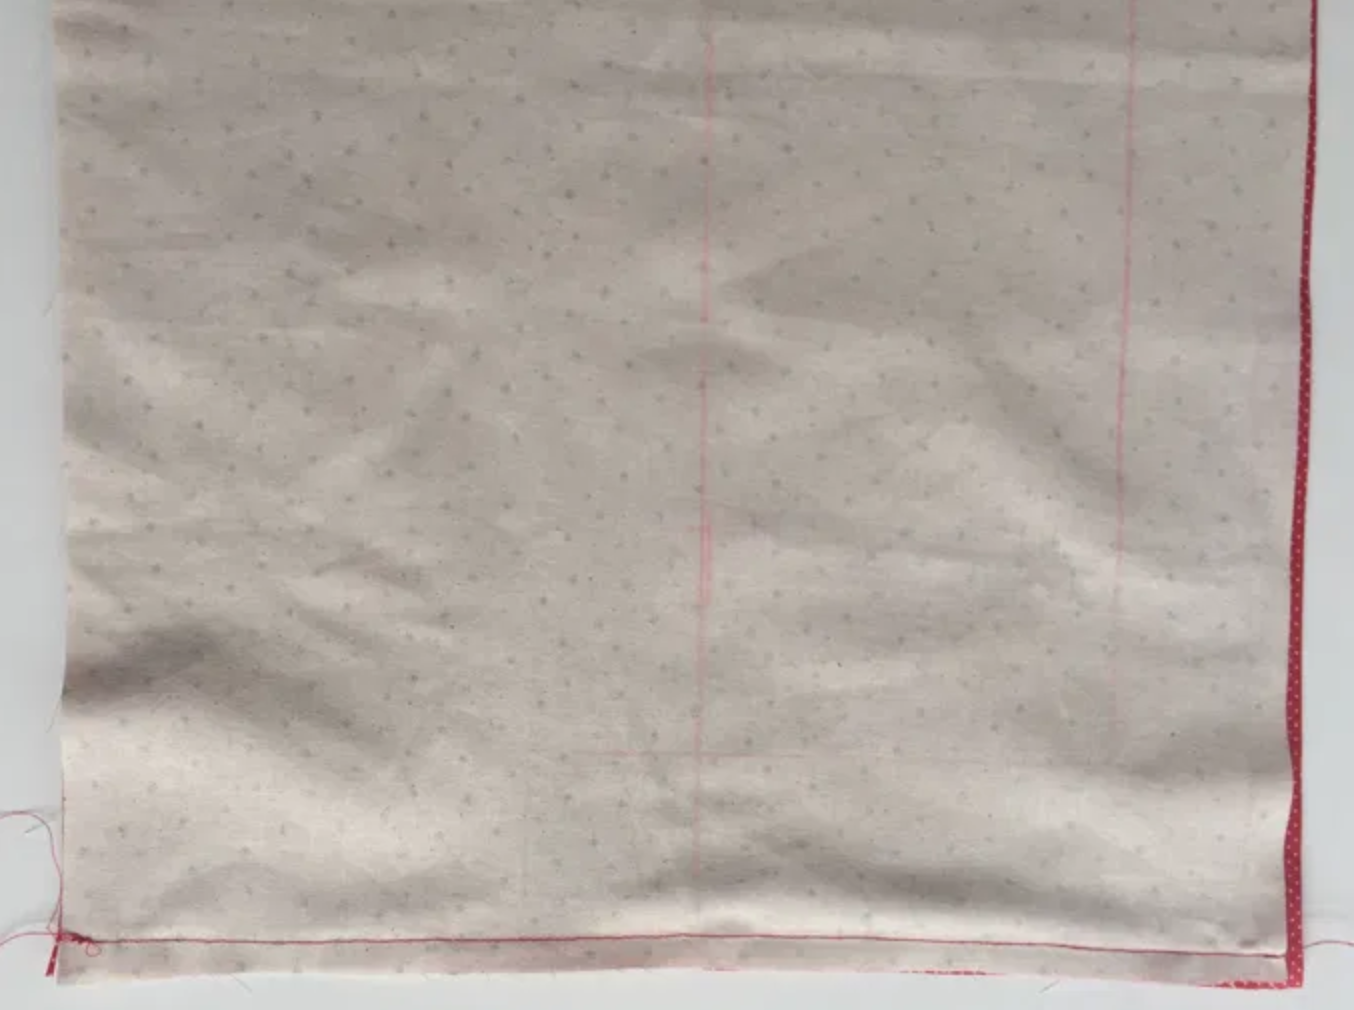
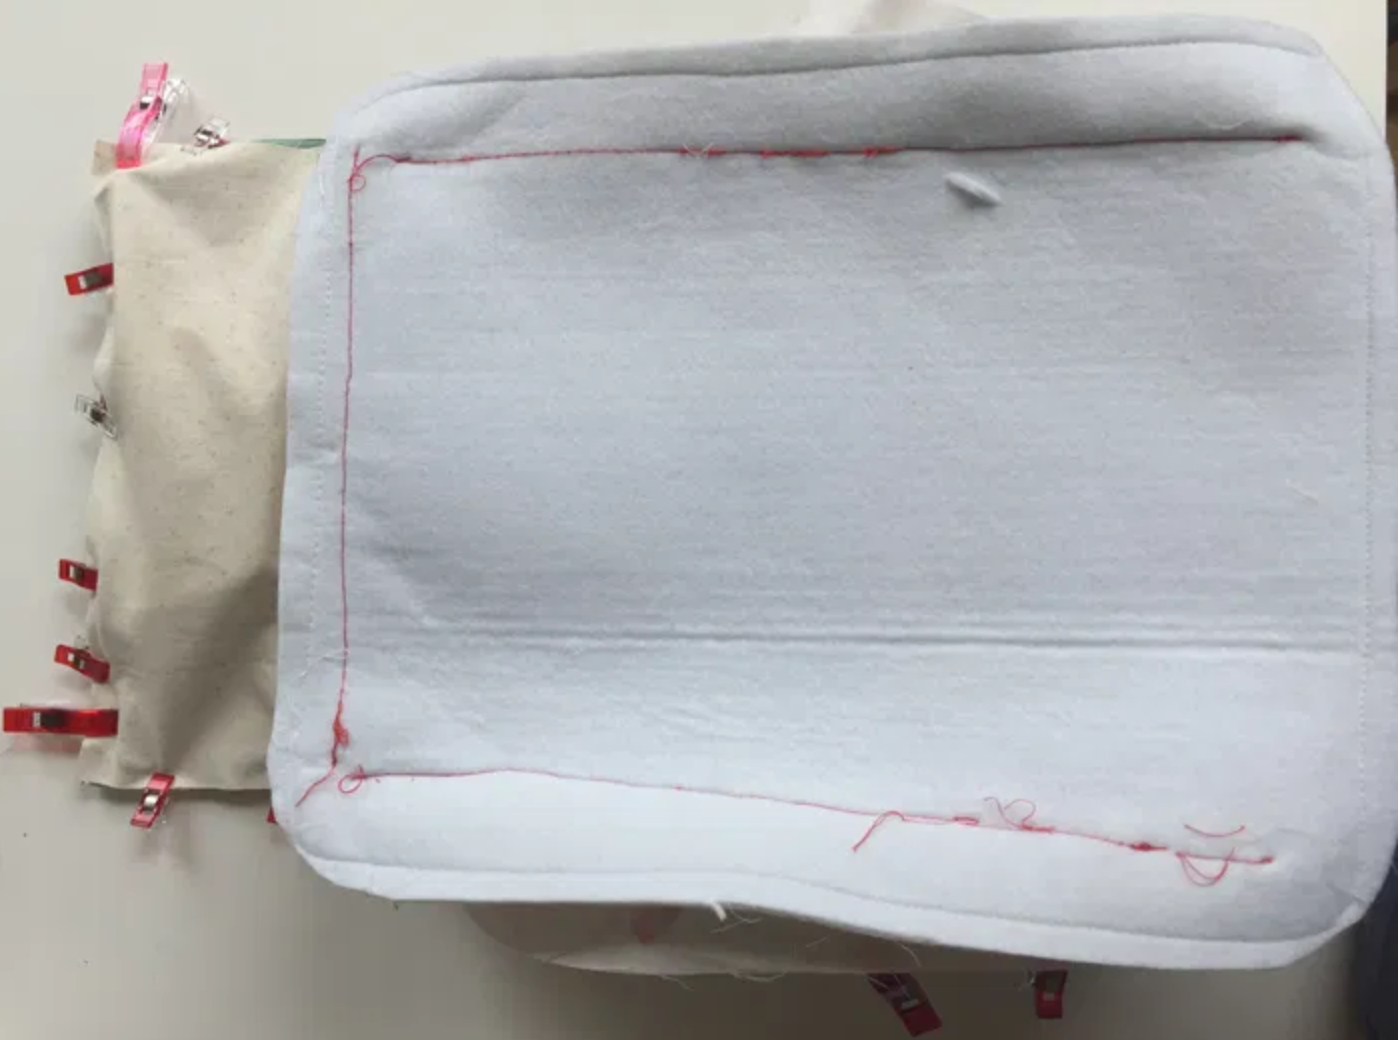
Add the batting in between, fold down and top stitch. 
Top stitch at 5 cm from the side and bottom edges. 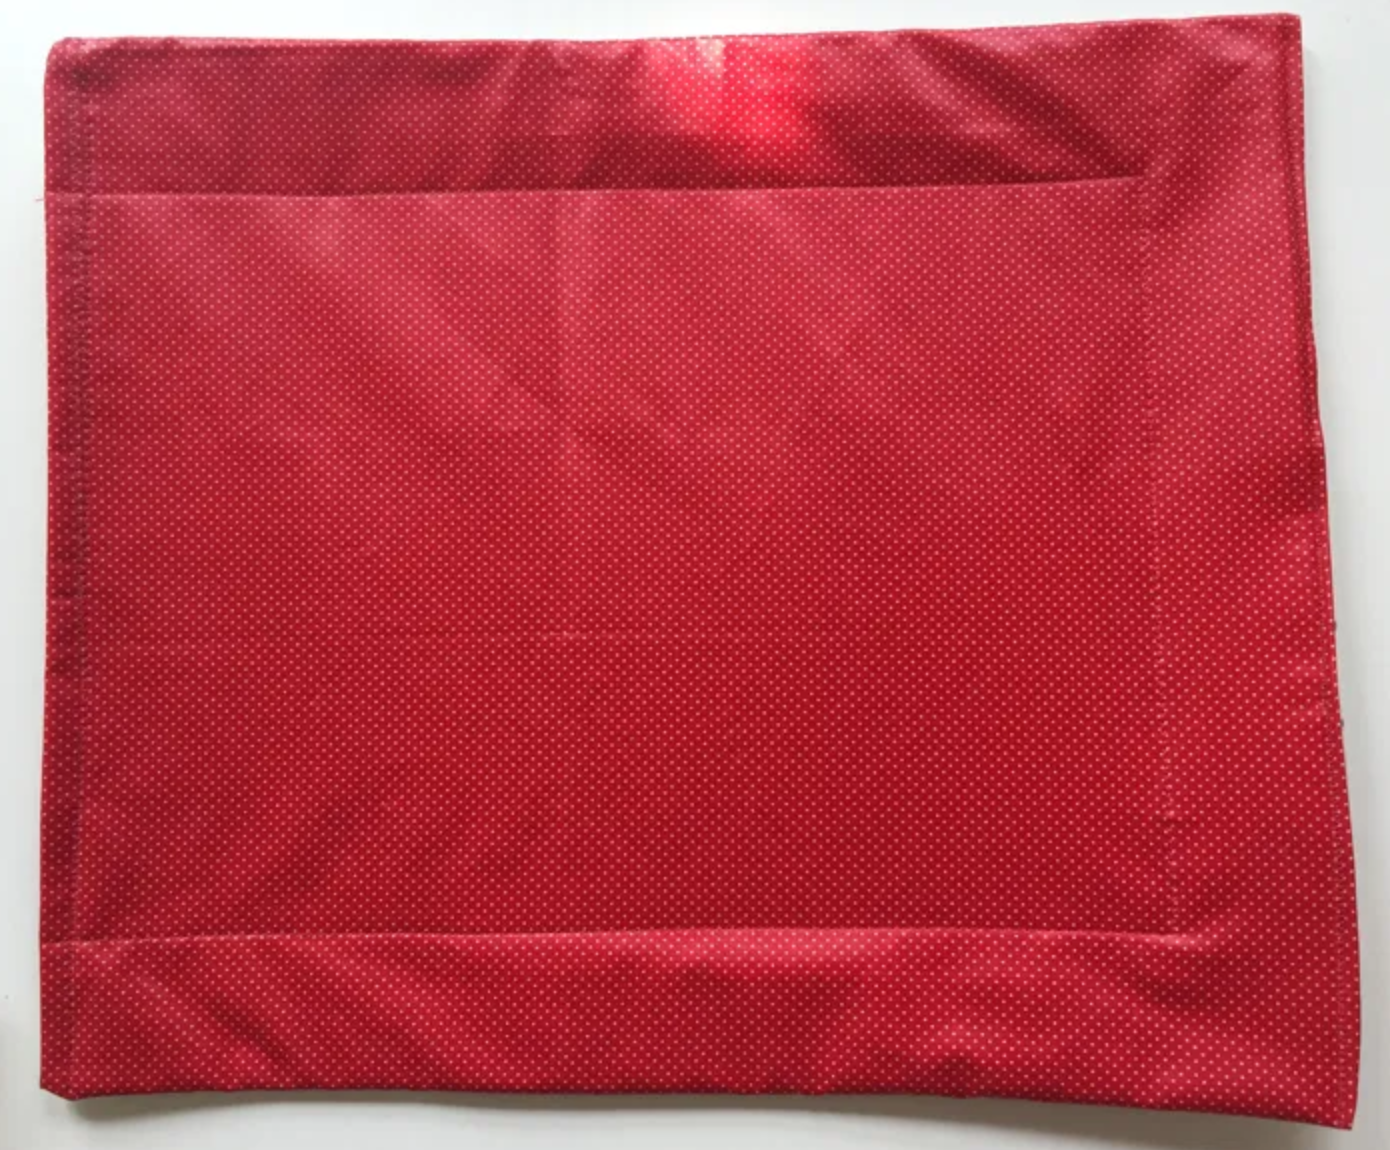
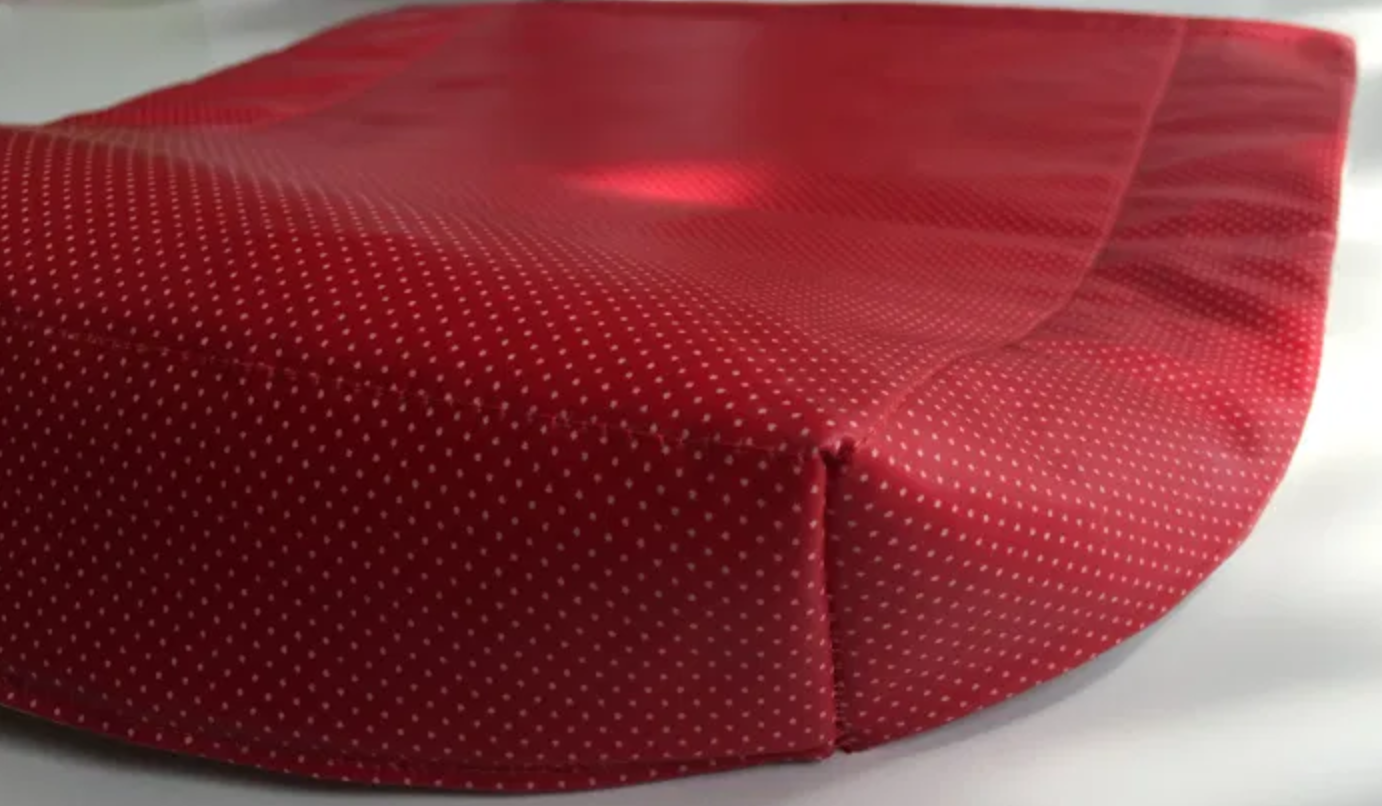
Fold, right sides together, and sew the corners. 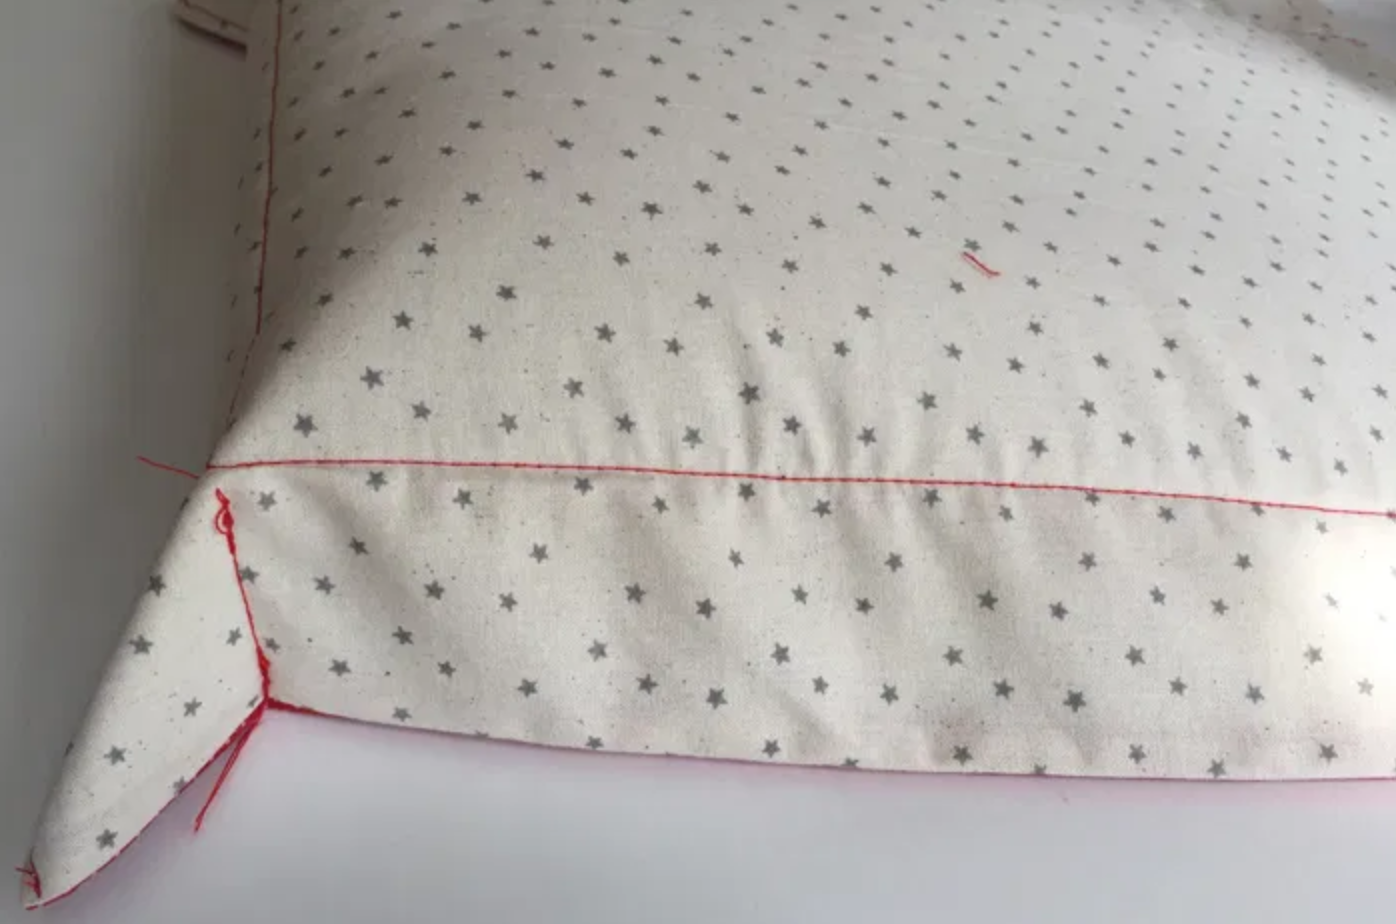
Turn right side out. You can clip the long corners (leave at least 1 cm allowance after your stitches).
Now, sew this inside pocket to the back lining and batting. Top stitch on the edge of the pocket. Piece number 9. 

Then, sew the lining top and bottom of the backpack to the back lining/batting. You can first fold down the edges of the bottom part for a nice finishing.
Turn everything right sides out and put it aside for a moment.
We are almost finished…
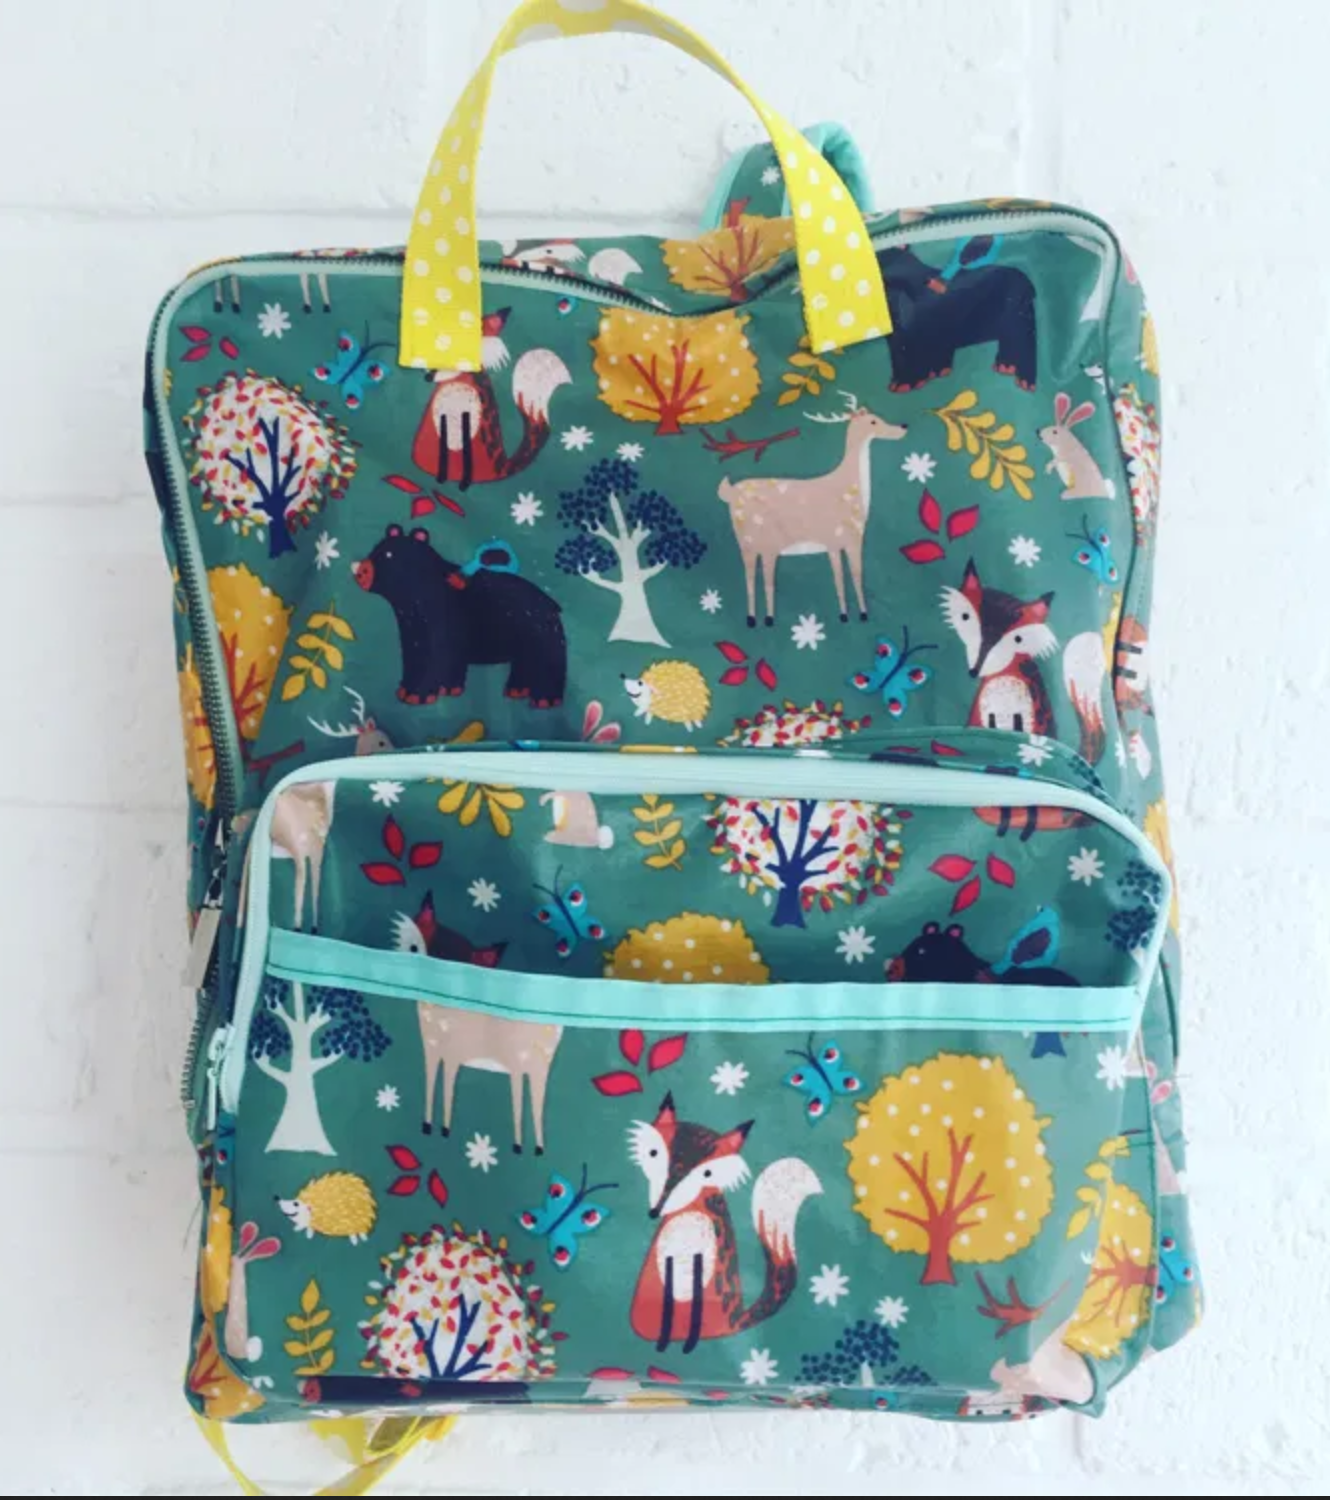
Now, you’ll have to sew the lining to the backpack outside. Pin the right sides together and sew them. Make sure all your handles and straps remain inside. Sew the lining to the zipper so that the finishing is beautiful. 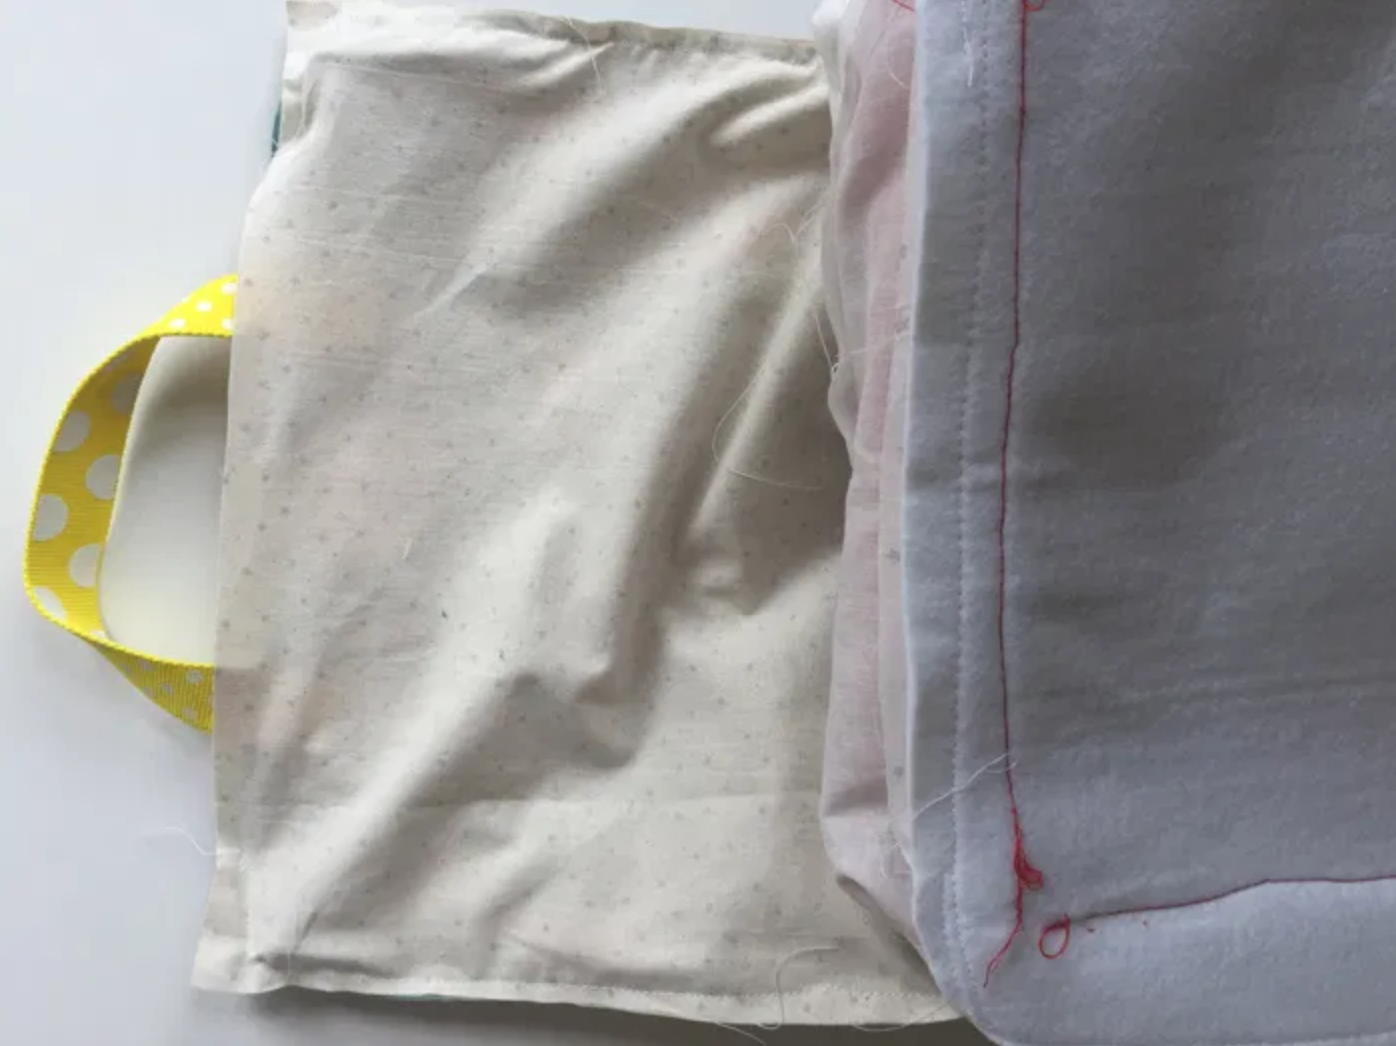
Leave a gap at the top so you can turn the backpack right sides out. 
You can now close the gap you left, with an invisible hand stitch. 
And here you go! Your backpack is finished and lined!

What do you think? Leave your comments below, and if there are any other sewing projects that would like to see explained here don’t hesitate!
0 Responses