 BERNINA Corporate Blog -
New summer top time!
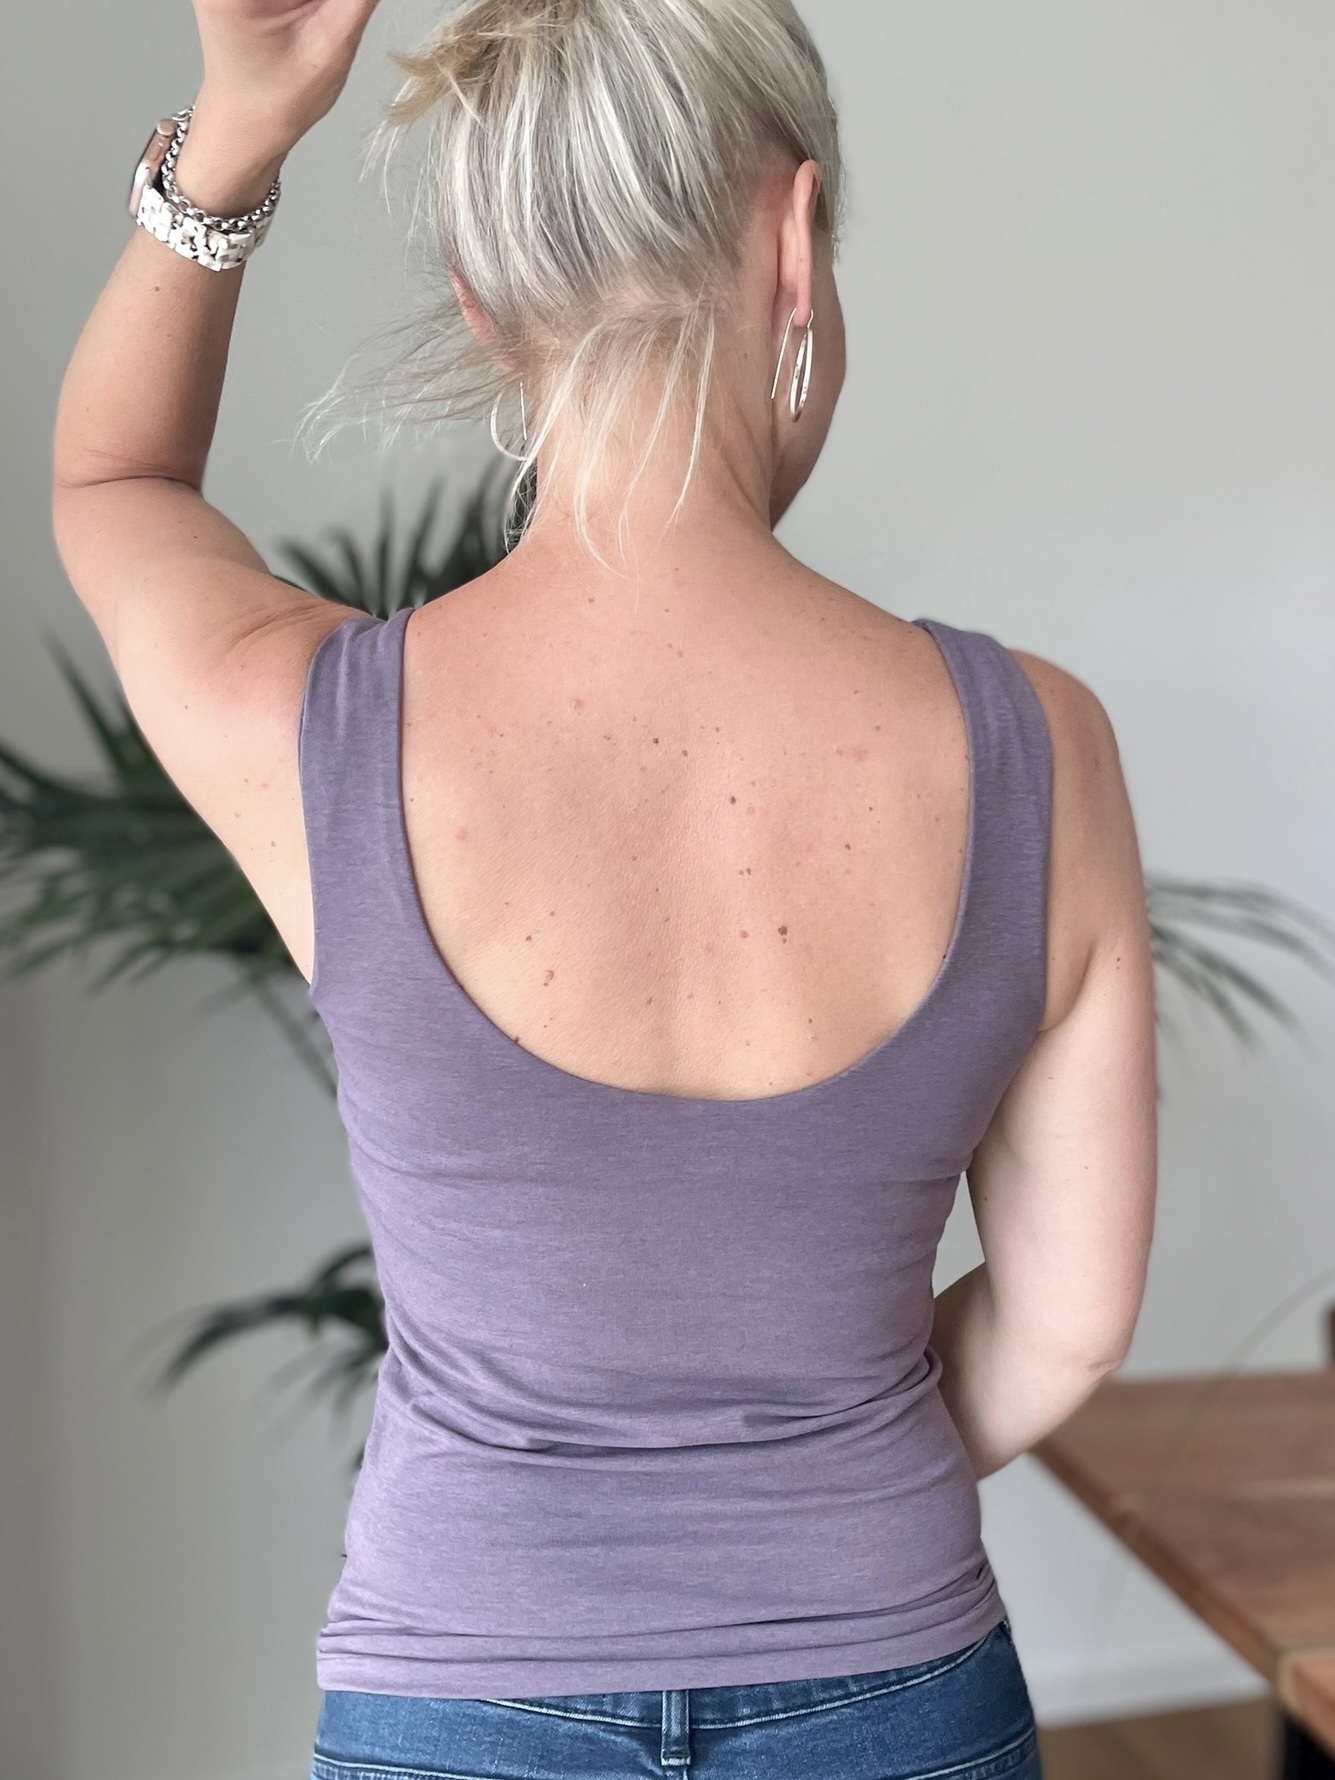
I have been searching for some time, with no avail! for a well fitted, easy simple jersey Tank top that I can wear all through the summer. Perhaps I was being a little too fussy!! I wanted the straps to be wide enough to cover my bra straps and the back and front neckline to be scooped.
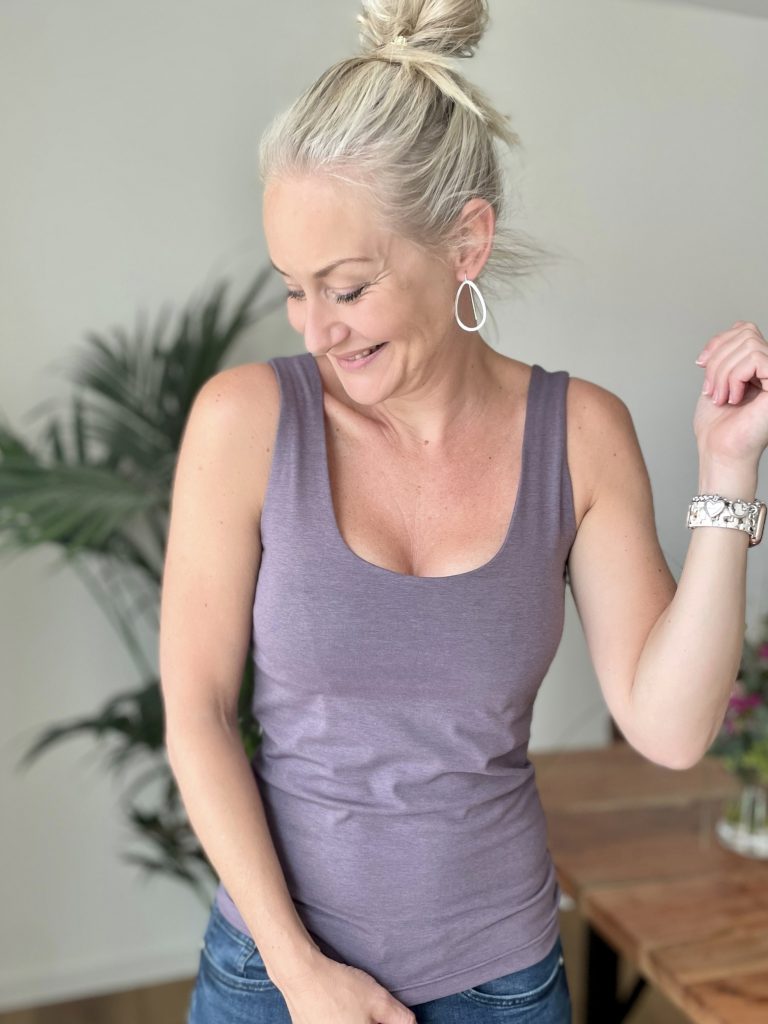
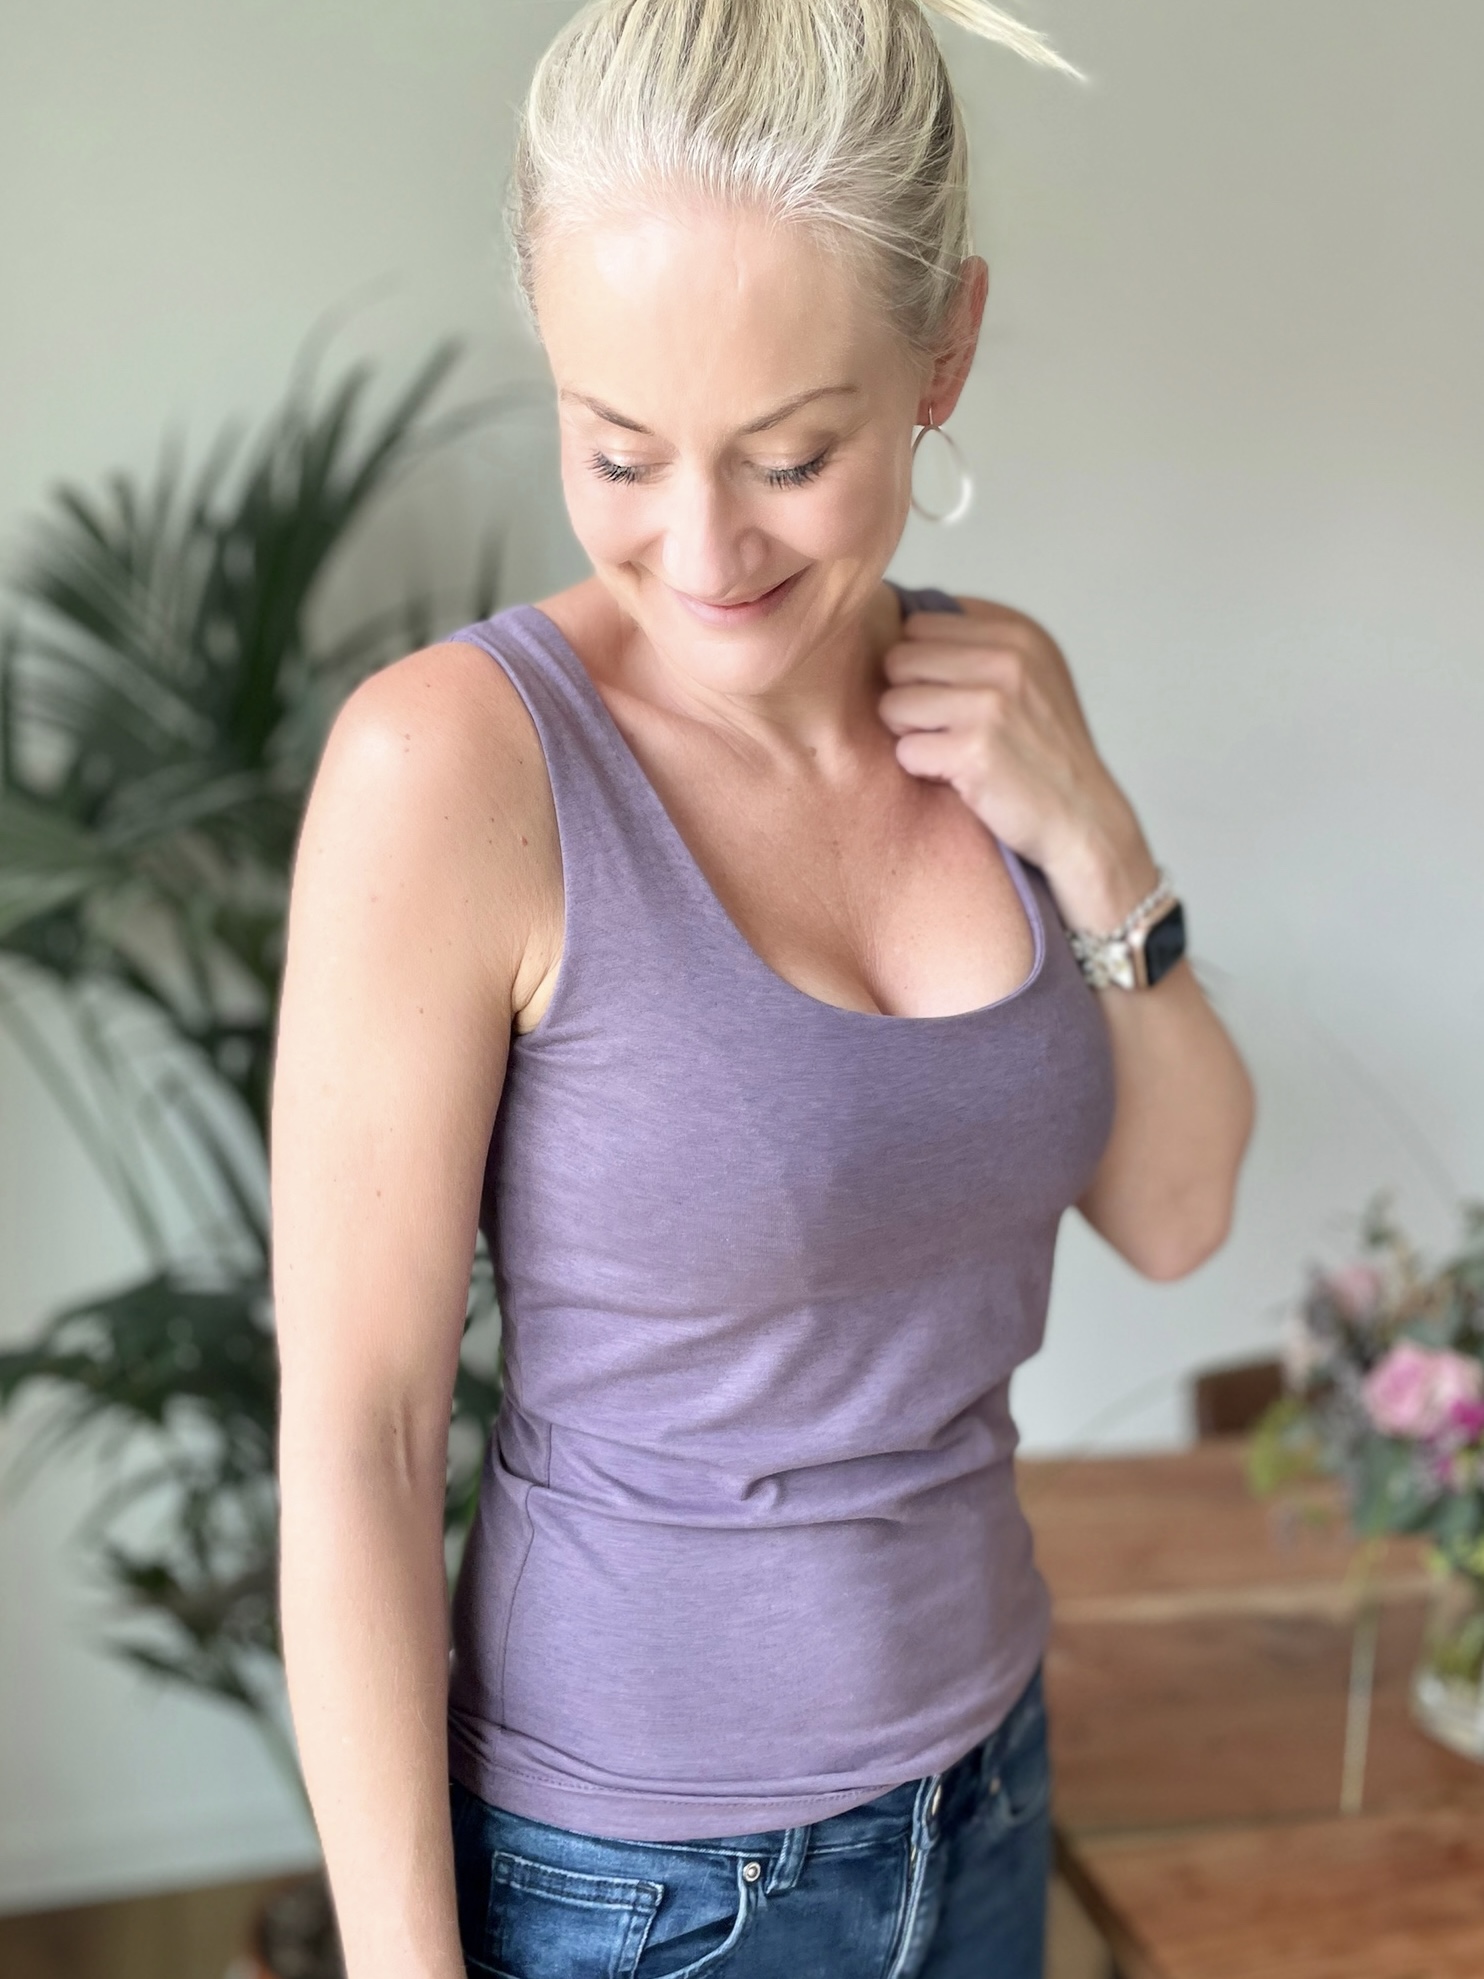
And….. ( a little drum roll!) I FOUND IT!! The marvellous Weiland Tank top from elbe textiles. As my love for this top is so high!! I have decided to create a sew along tutorial.
Pattern
The pattern can be found here if your interested: Weiland Tank Digital sewing pattern
The Weiland is a basic tank crop top, I extended the length as im not keen to show my tummy!! There are two neck versions, a scooped neckline and a a V-neck ( i used the scoop). The pattern is available in a B cup and a combined C/D cup, in sizes A to N.
Fabric
Main fabric,
I used a basic jersey from Der Buntpsecht shop, a medium to heavy stretch fabric is recommended with 40% + stretch and good recovery, 2 way stretch (fabric needs to stretch both horizontally and vertically.)
Lining,
I used the same fabric, For extra support, an extra layer of powermesh or a sturdier knit, such as ponte is recommended.
My fabric choice, a heather coloured cotton jersey
Let’s get started!
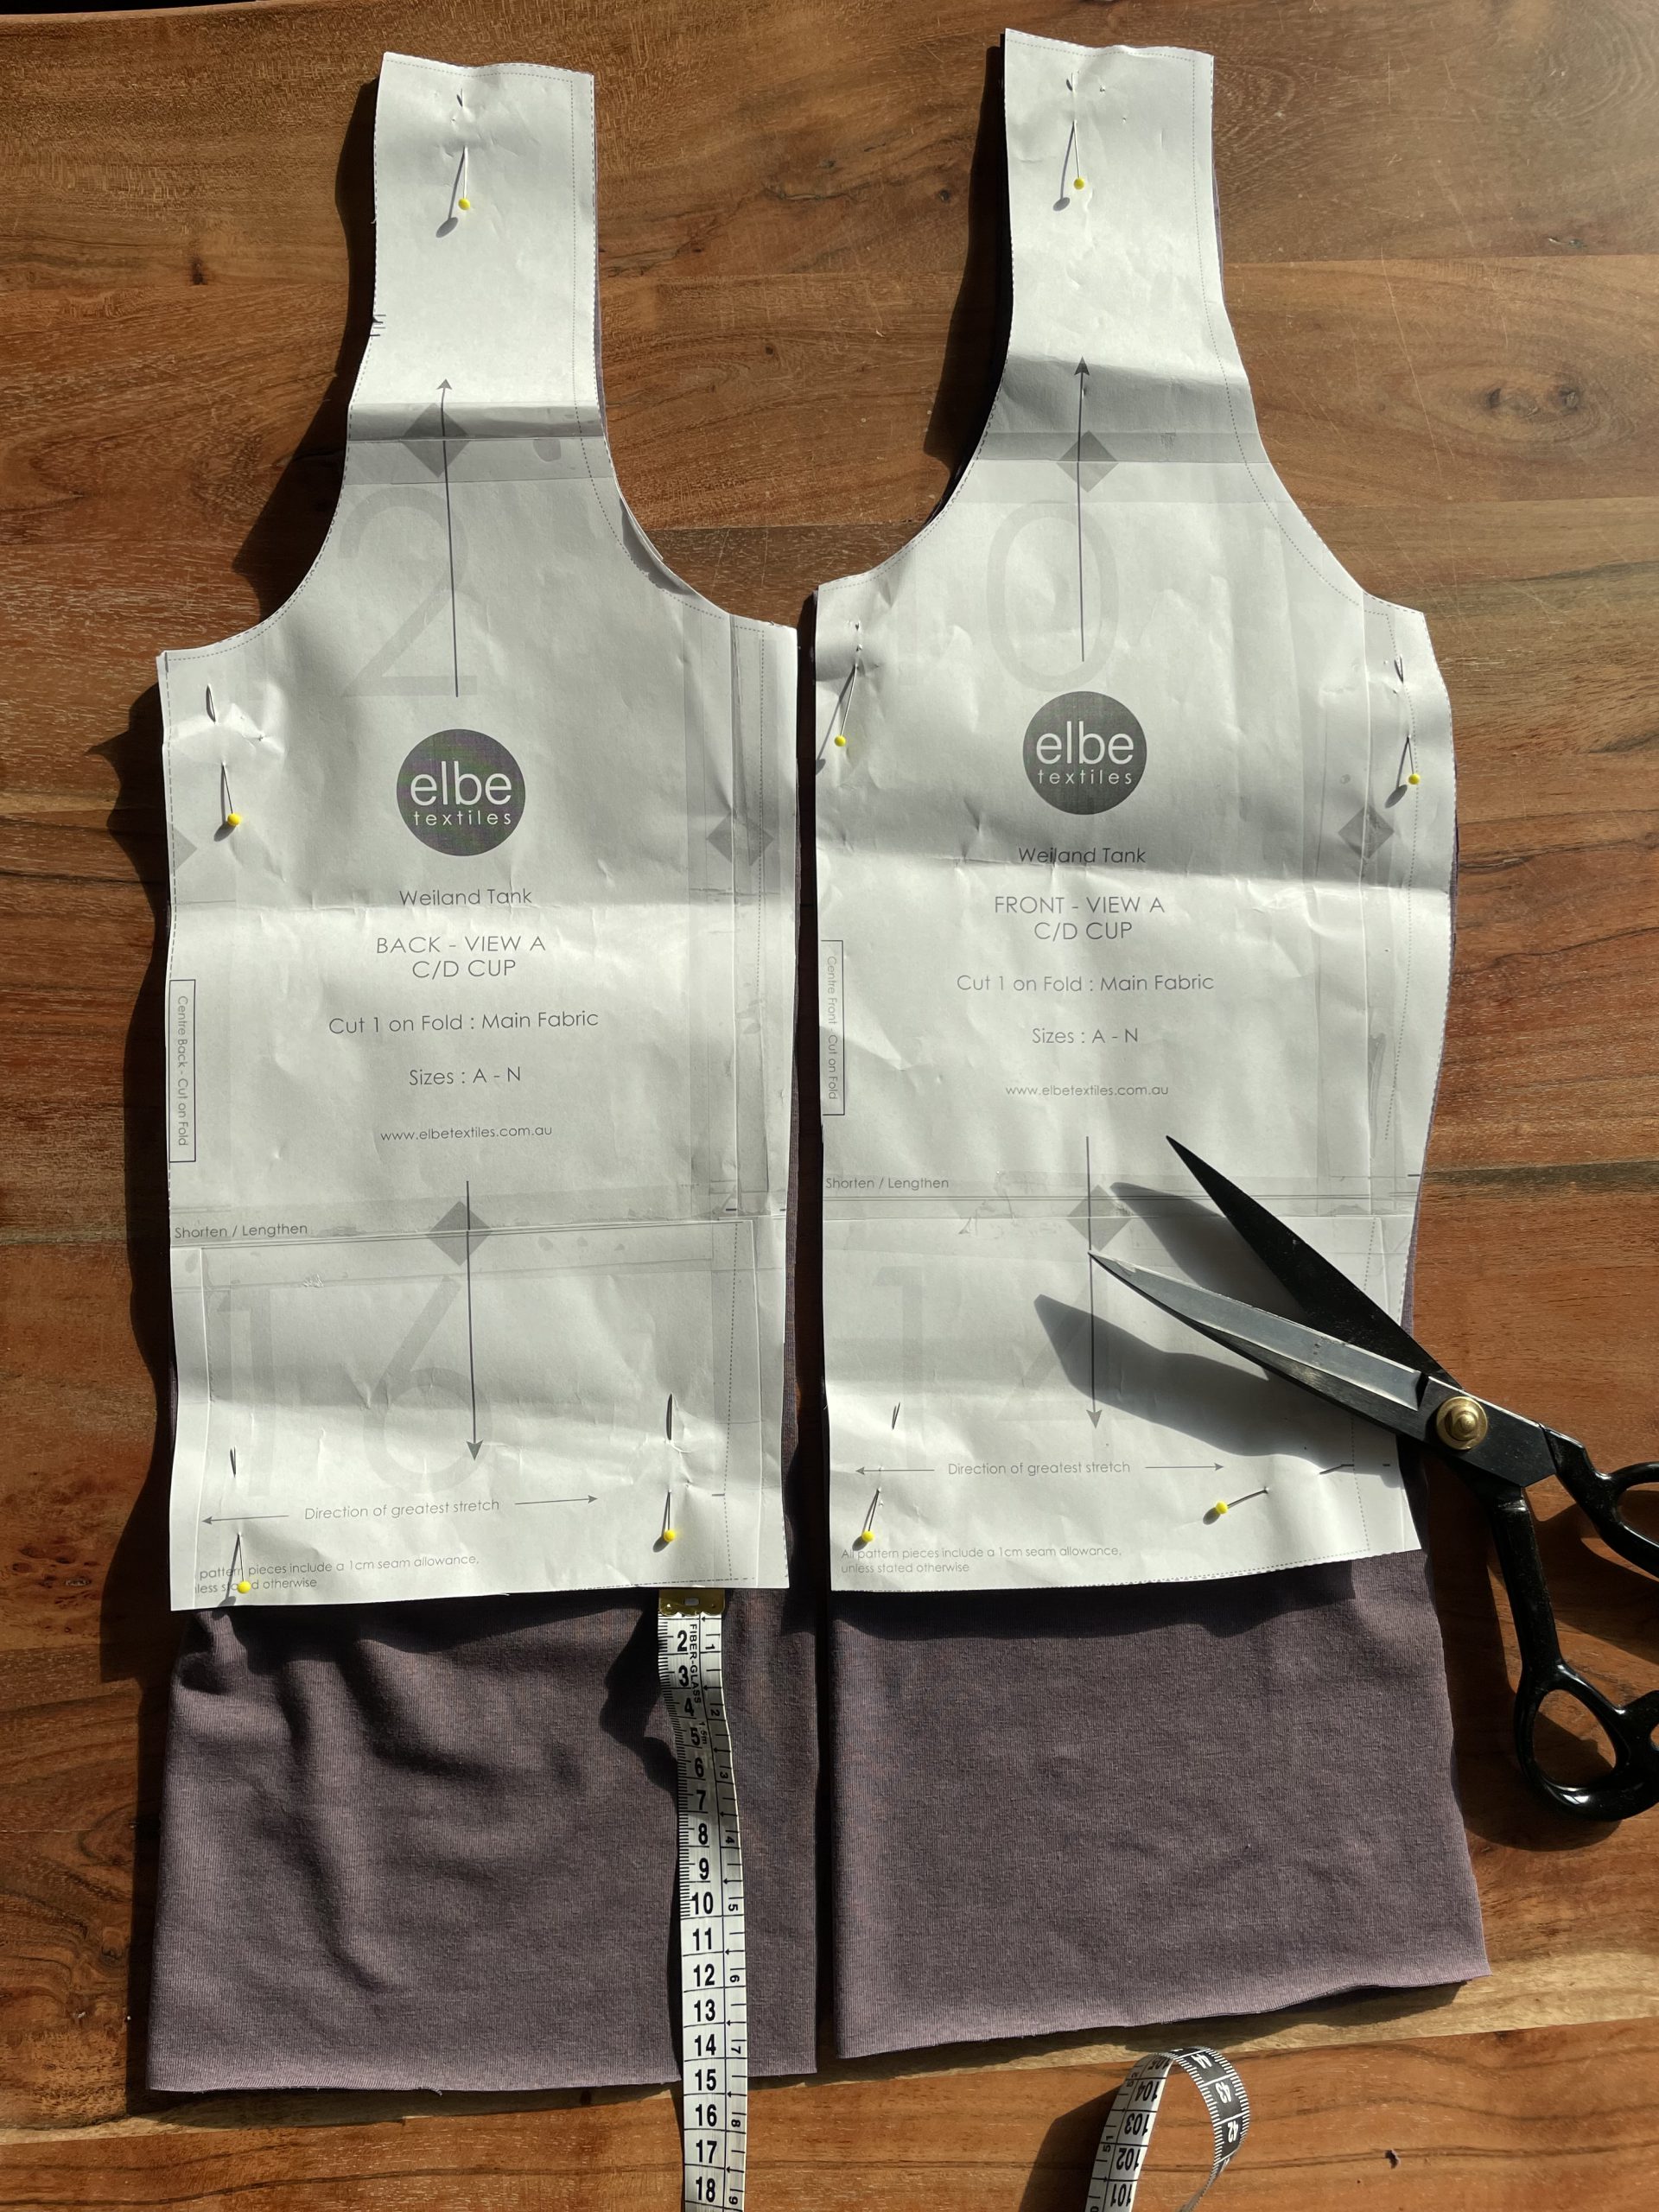
Before printing the pdfs make sure you choose the pattern with your cup size, stuck them all-together, measured myself and cut the pattern pieces out.
Id highly recommend using a twin needle for the hem and a jersey stretch needle for topstitching.
For the majority of the top you can use your overlock machine, a zig zag / stretch stitch or an overlock stitch on your sewing machine will also work.
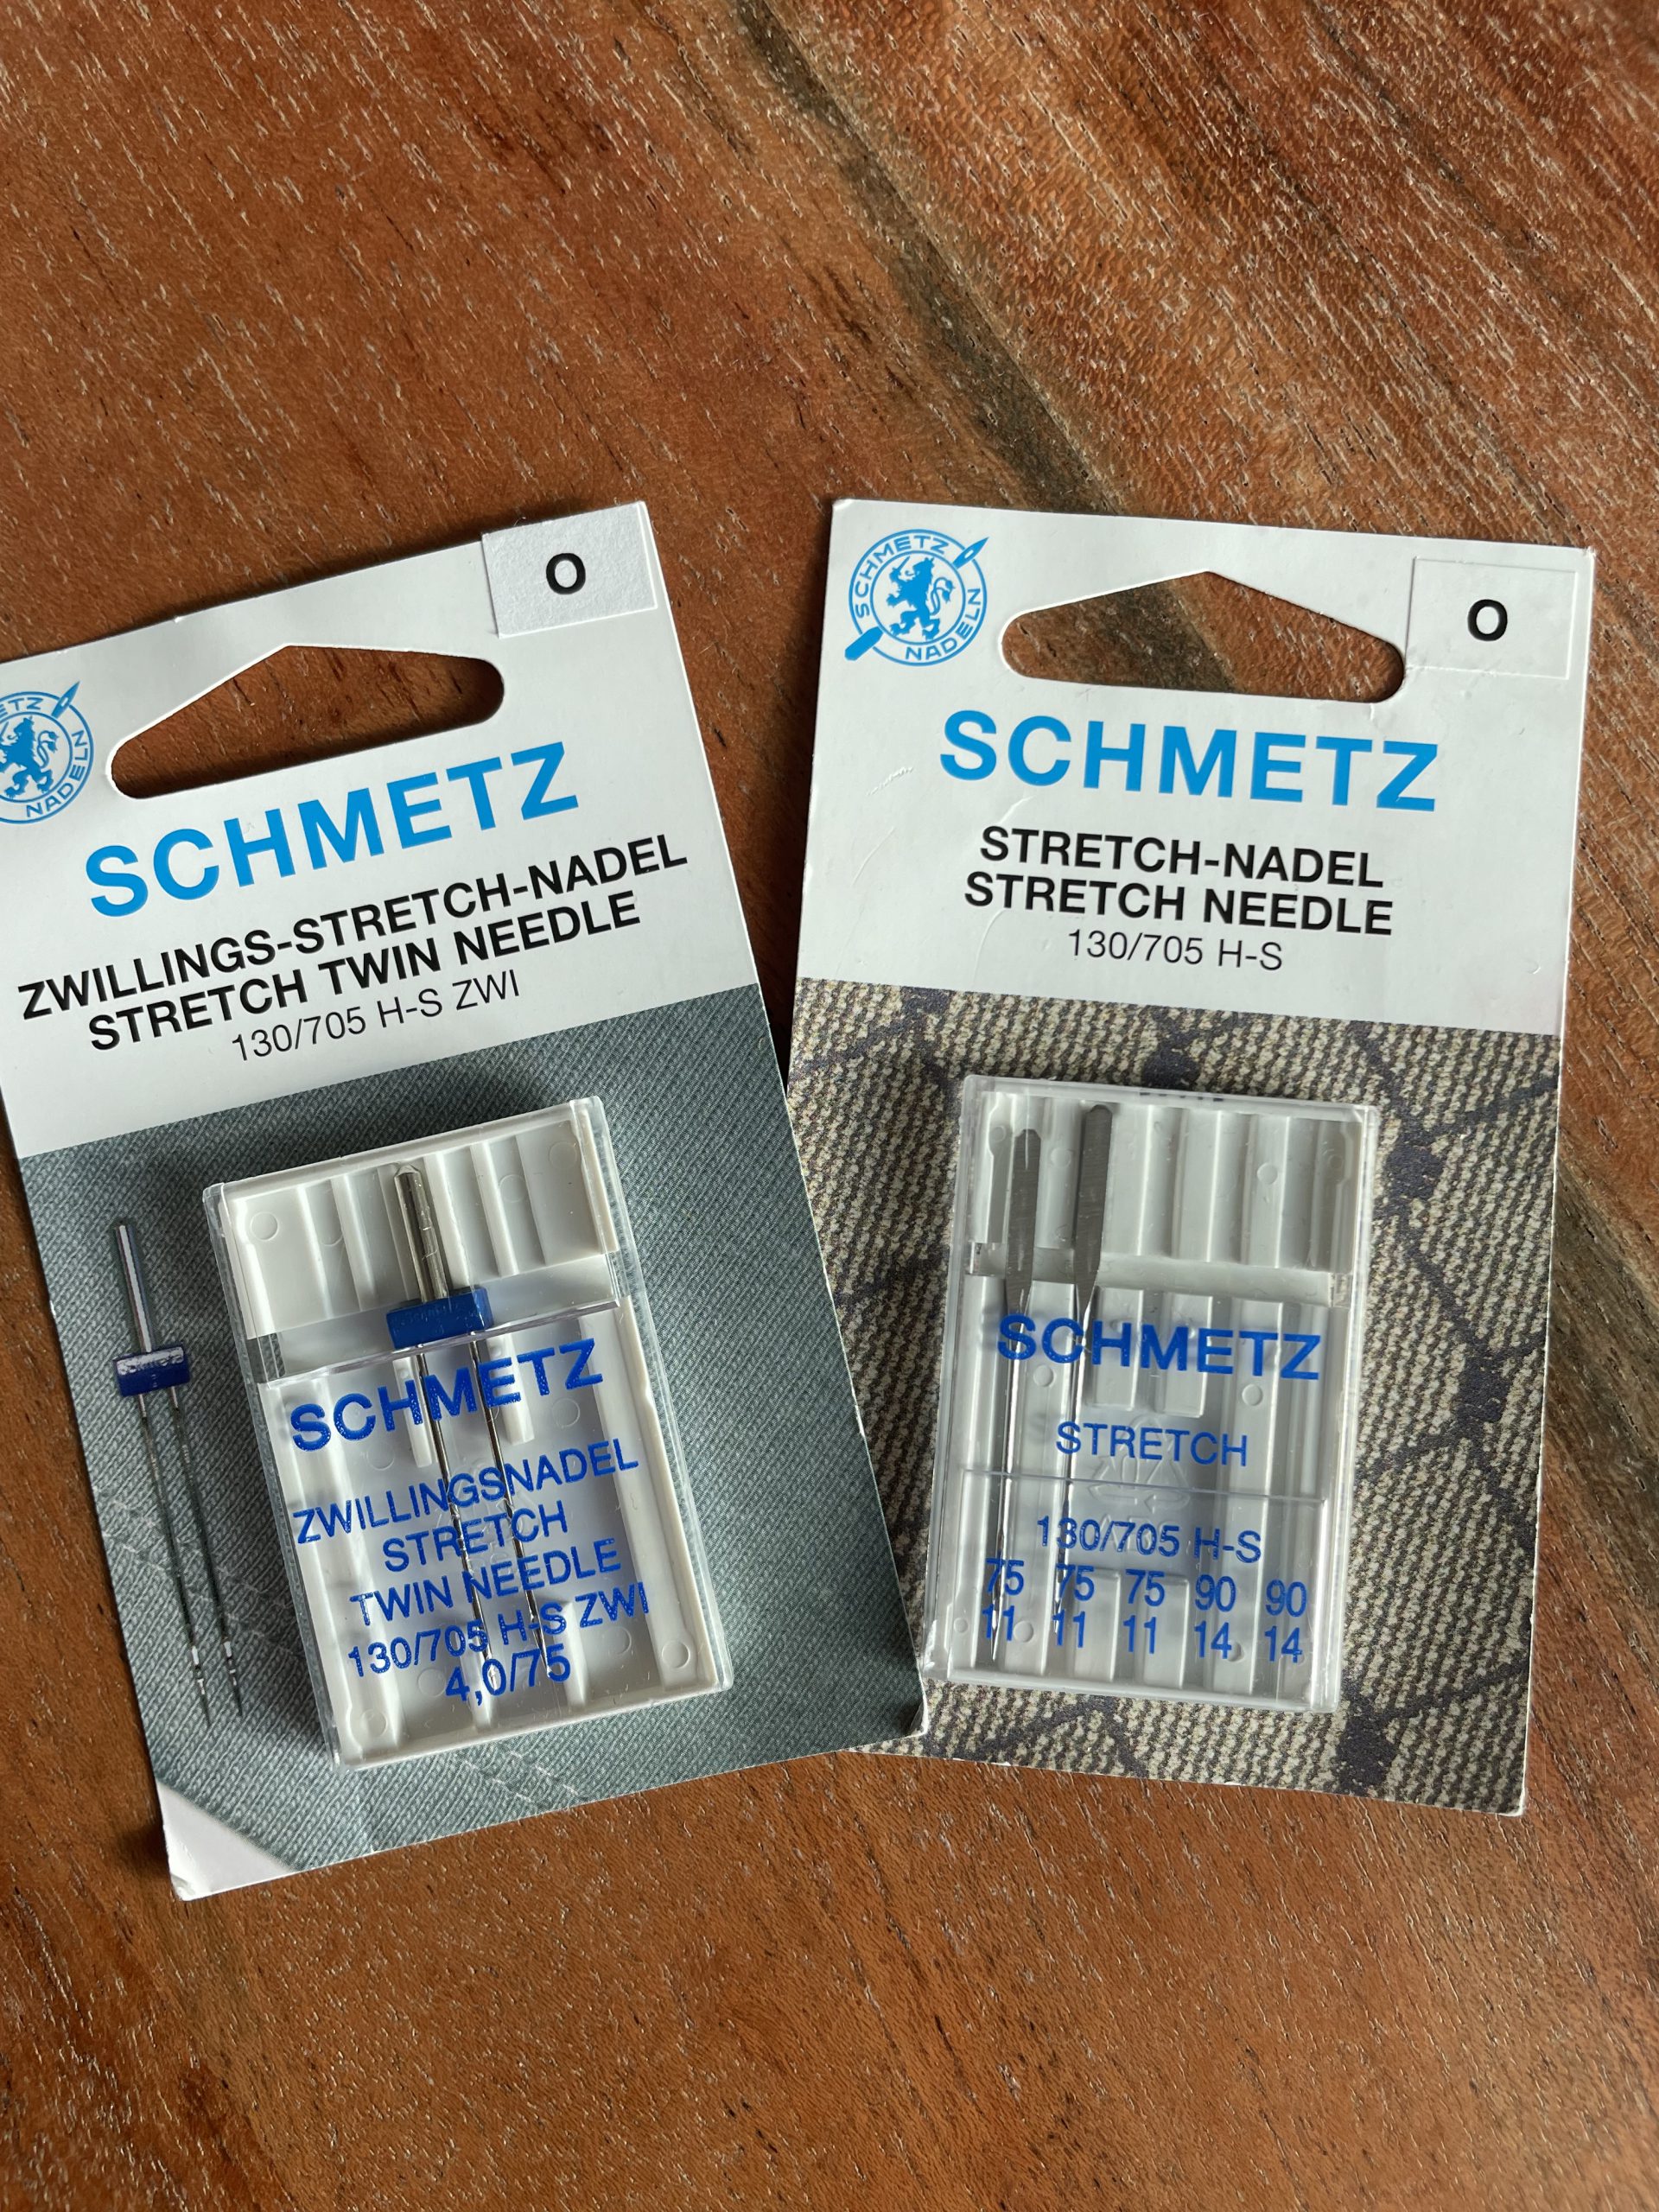
recommended needles
Adjustments to the pattern
I added 15cm to the top length, this is simply because I am a little too old and reluctant to show my midriff! I added the 15cm to the bottom, as I was planning to add so much, I decided not to add the 15cm through the middle of the pattern as my bust and waist fits well with the side seam shape as it is.
The width of the lining has also been reduced , I didn’t want to add an elastic to the hem of the lining so I needed it to sit a little more snug around the body.
15cm added to the hem of the front and back pattern pieces
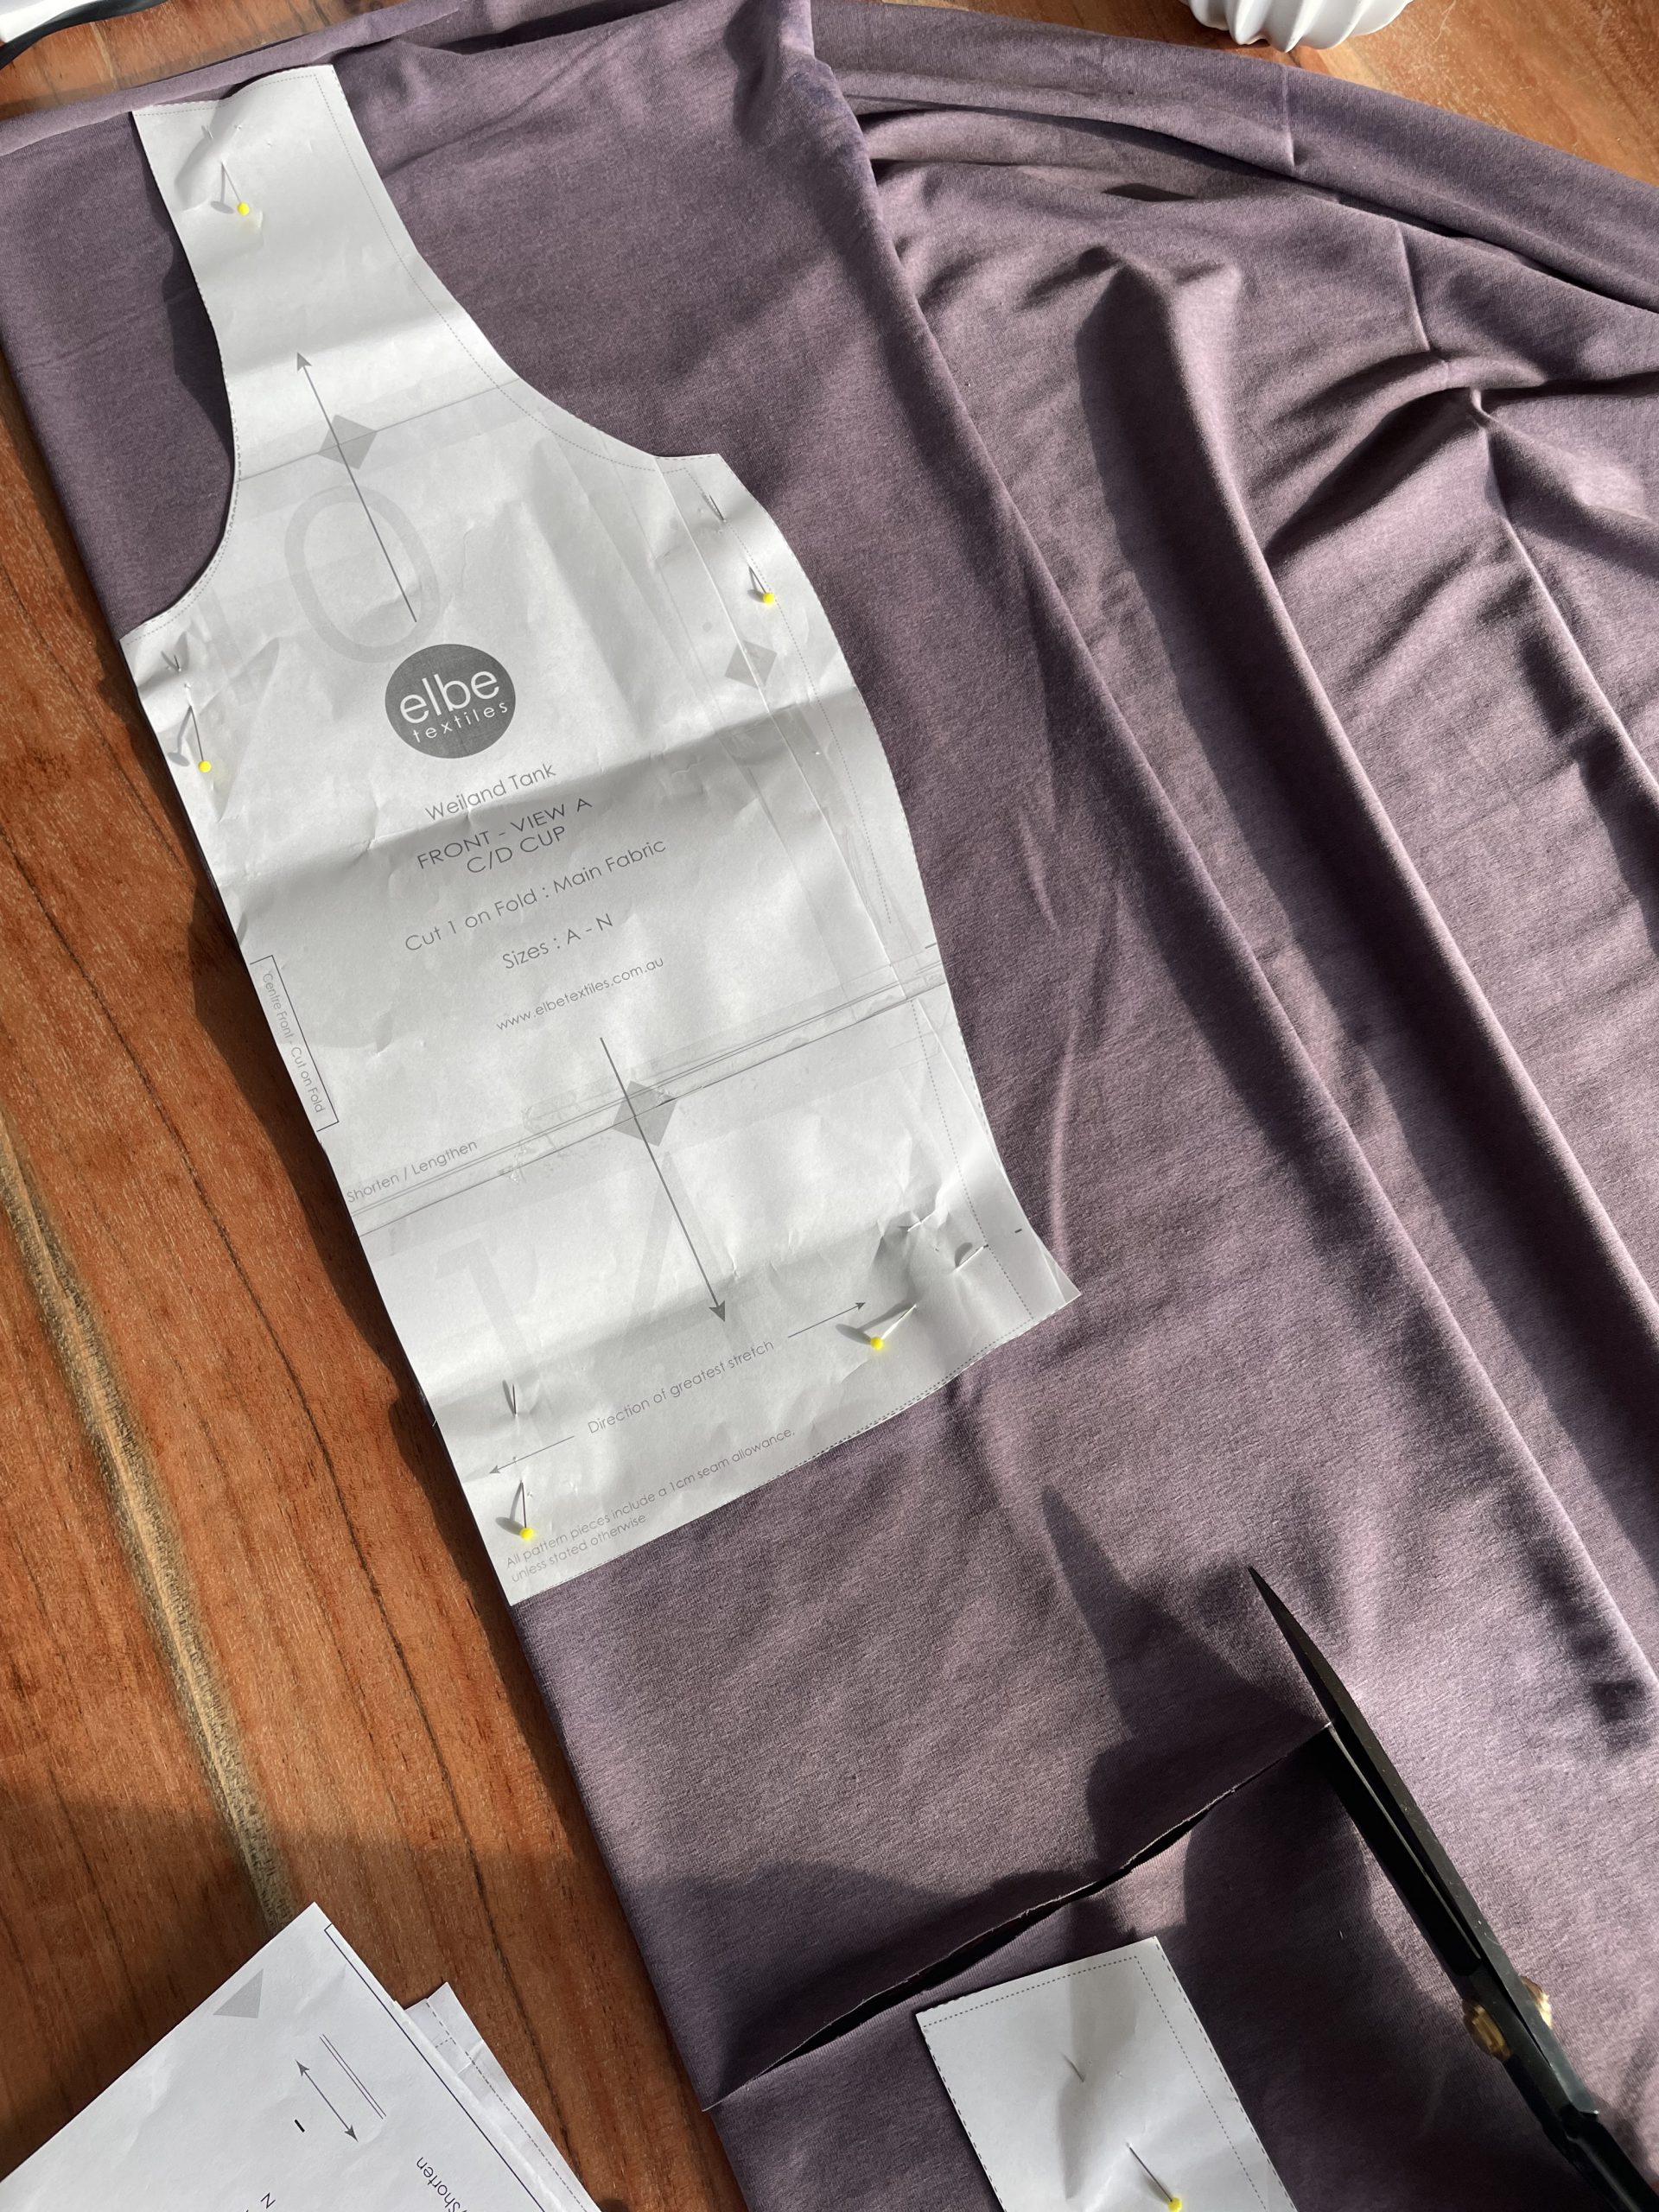
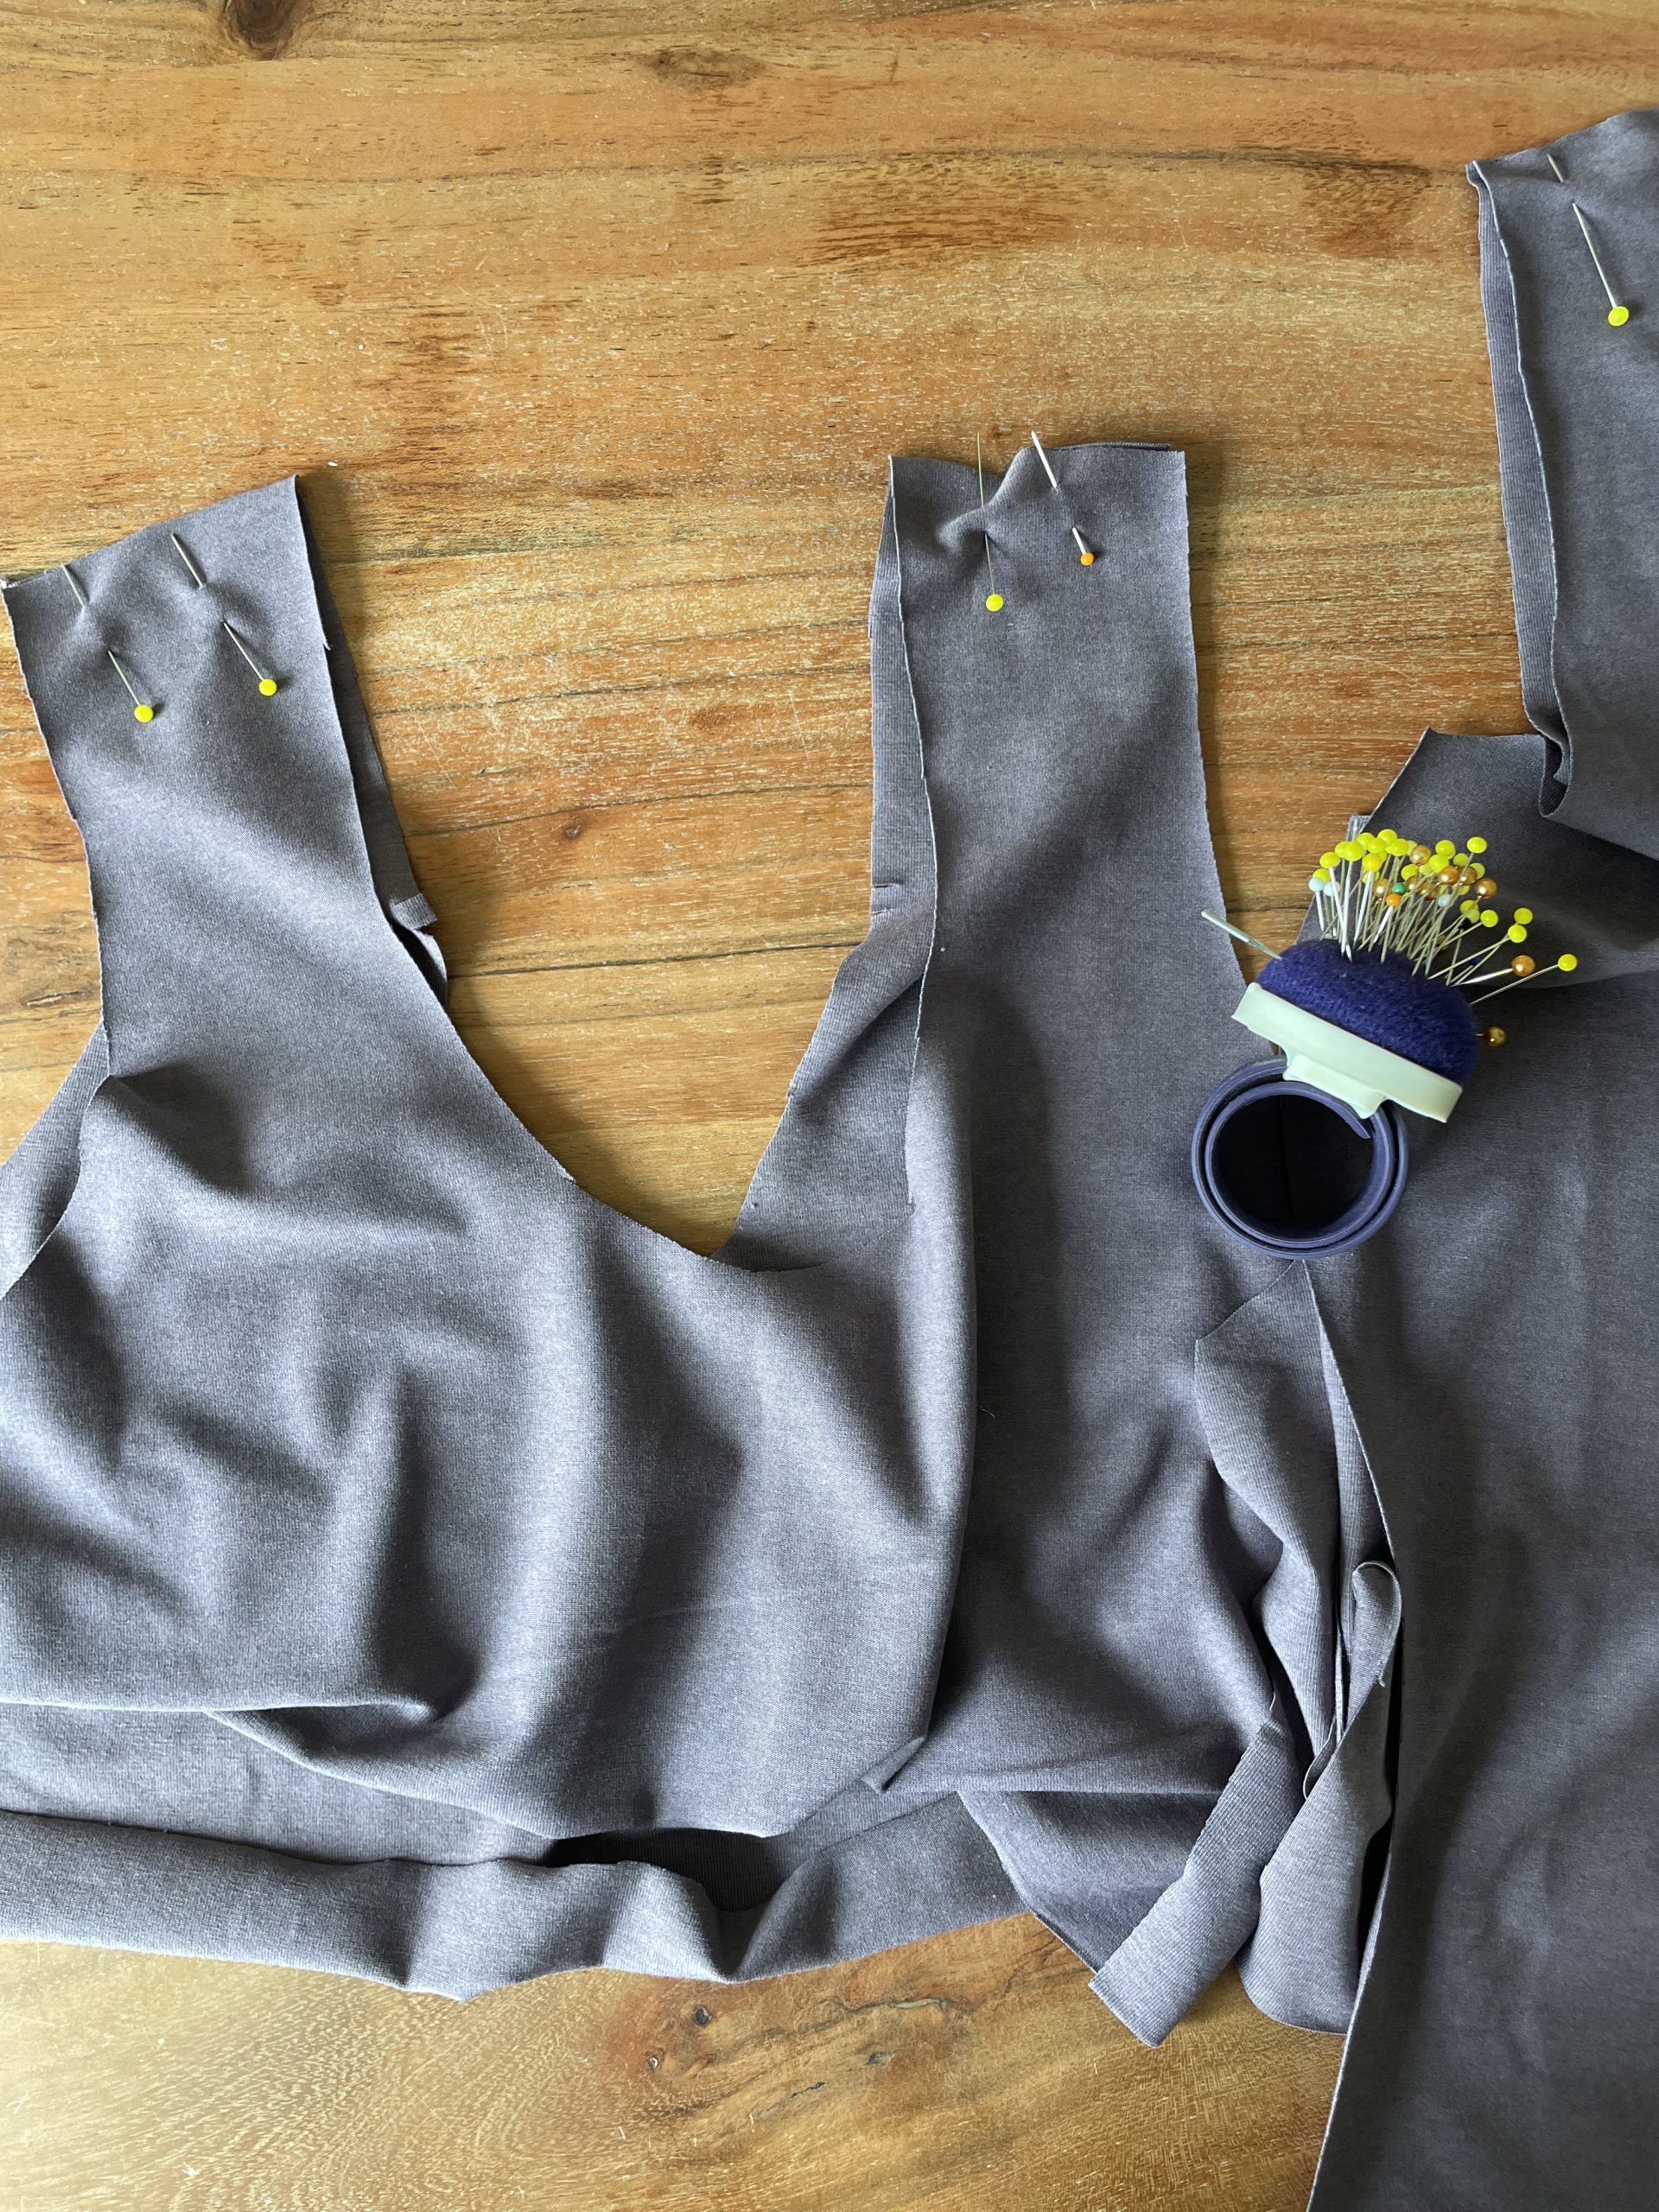
Cutting out my pattern pieces
Sewing the Top
First step, lay the top front and back right sides together and pin and sew the shoulder seams. Repeat for the lining.
Next pin and sew your side seams of both the outer top and the lining.
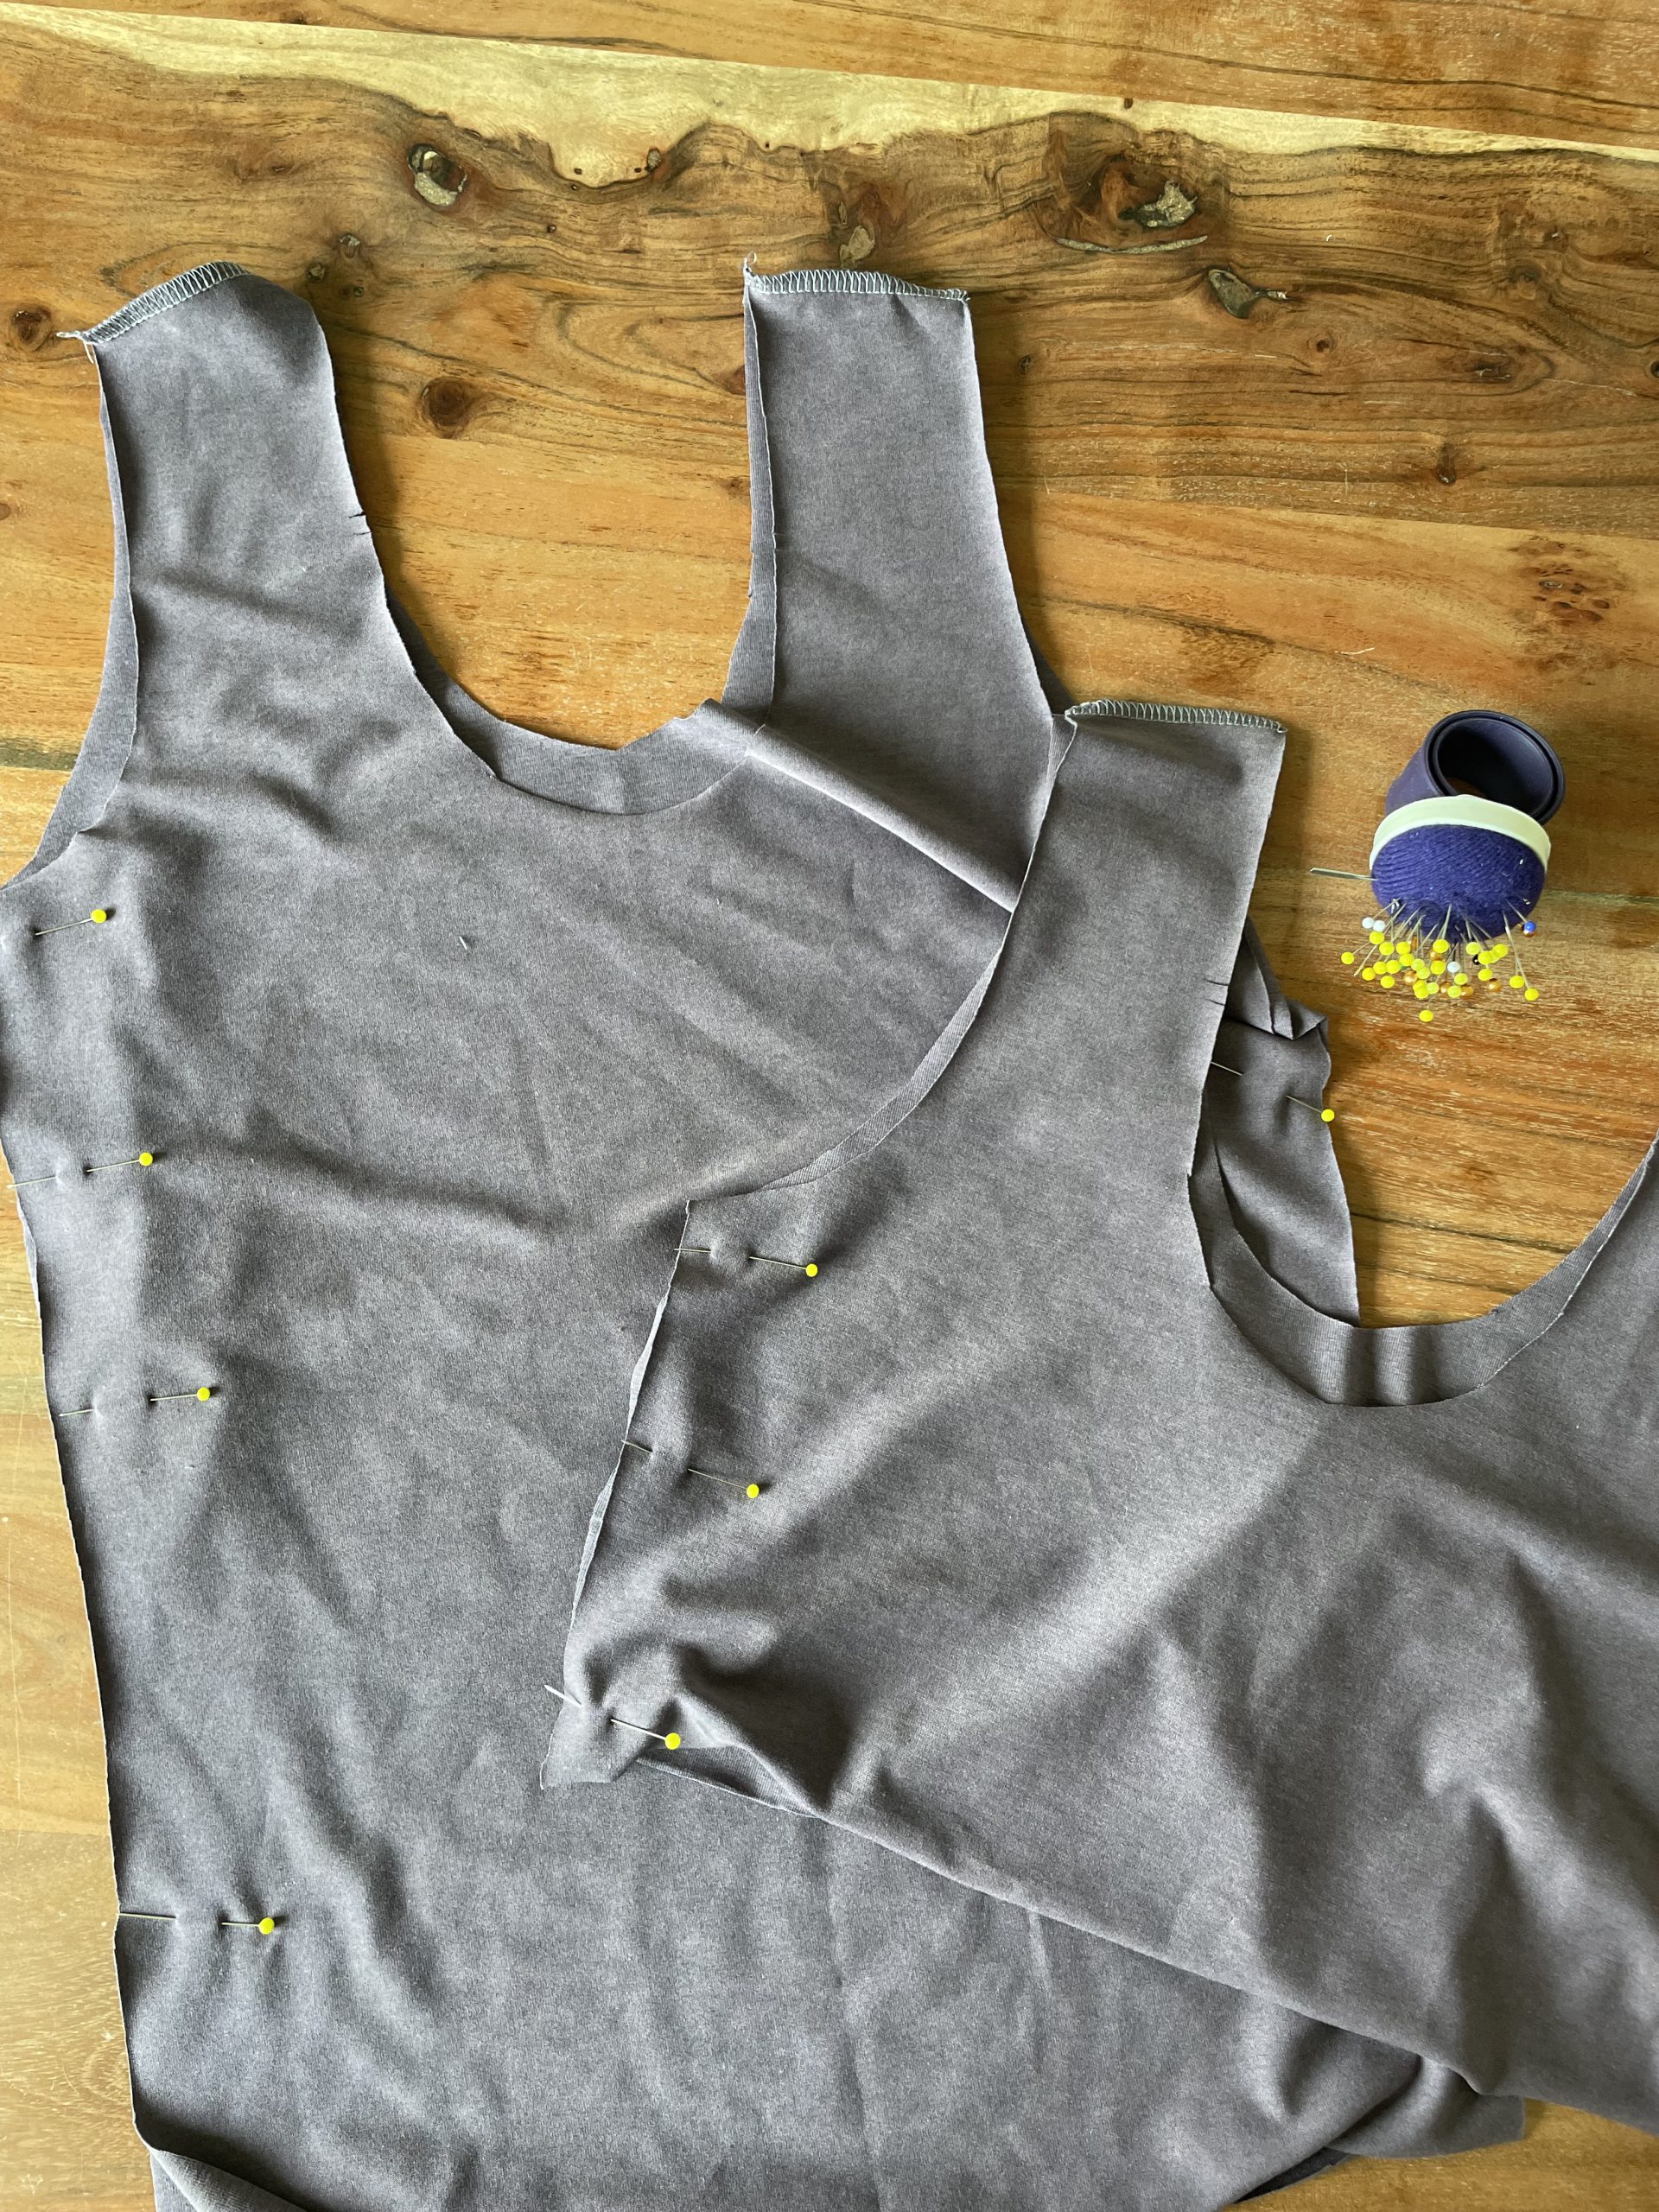
Side seams pinned and ready to be sewn
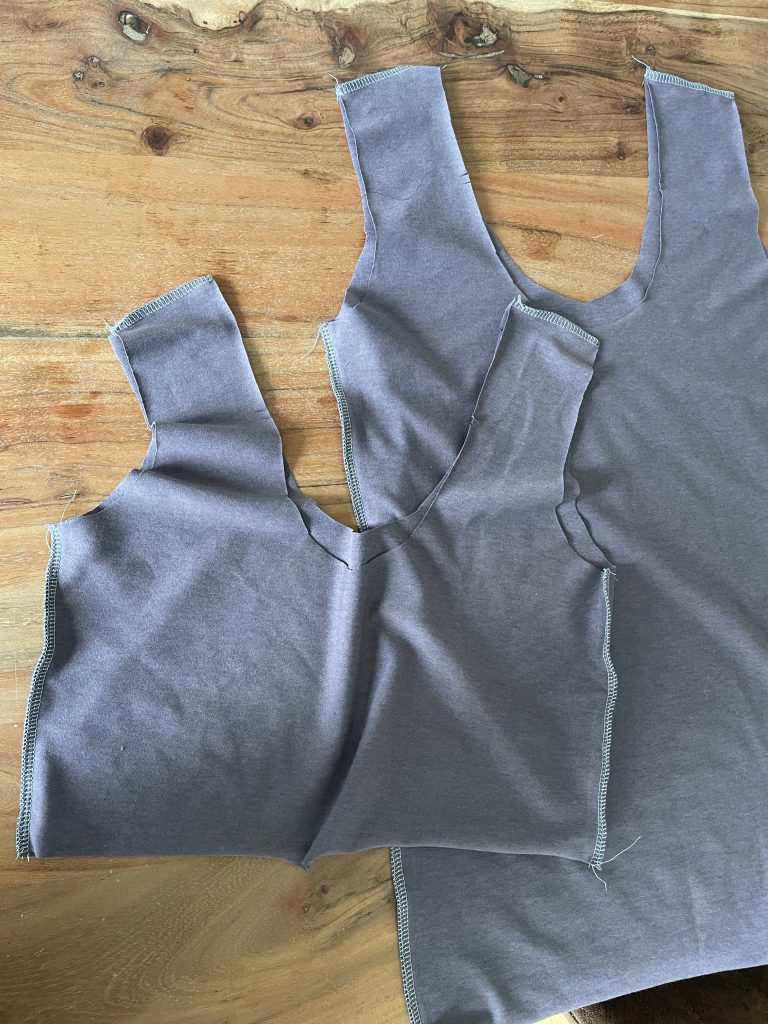
Over locked side seams
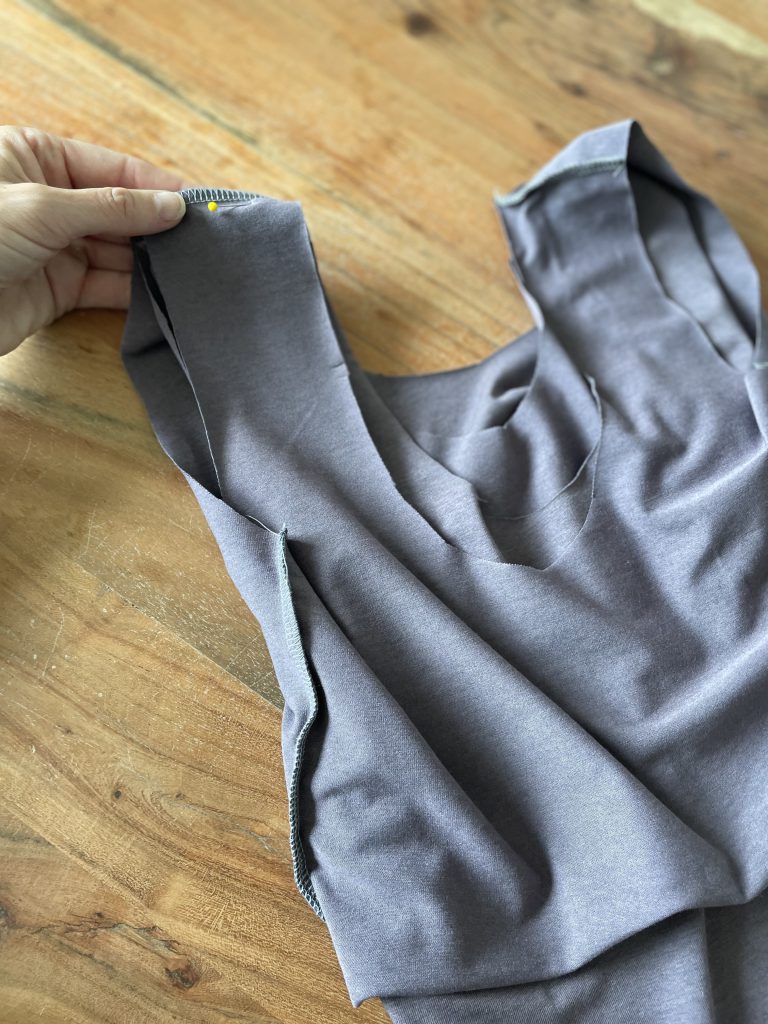
Turn your main body to the correct side and pull the lining over, therefore the right sides are facing and the shoulder seams line up. Be very careful that you have marked your back pieces with the 2 slits. This will help you to orientate the back and the front of the top.

Align the back lining and body main using the markings on the neckline.
Matching the shoulder seams
Pin the lining and the main fabric necklines together and sew.
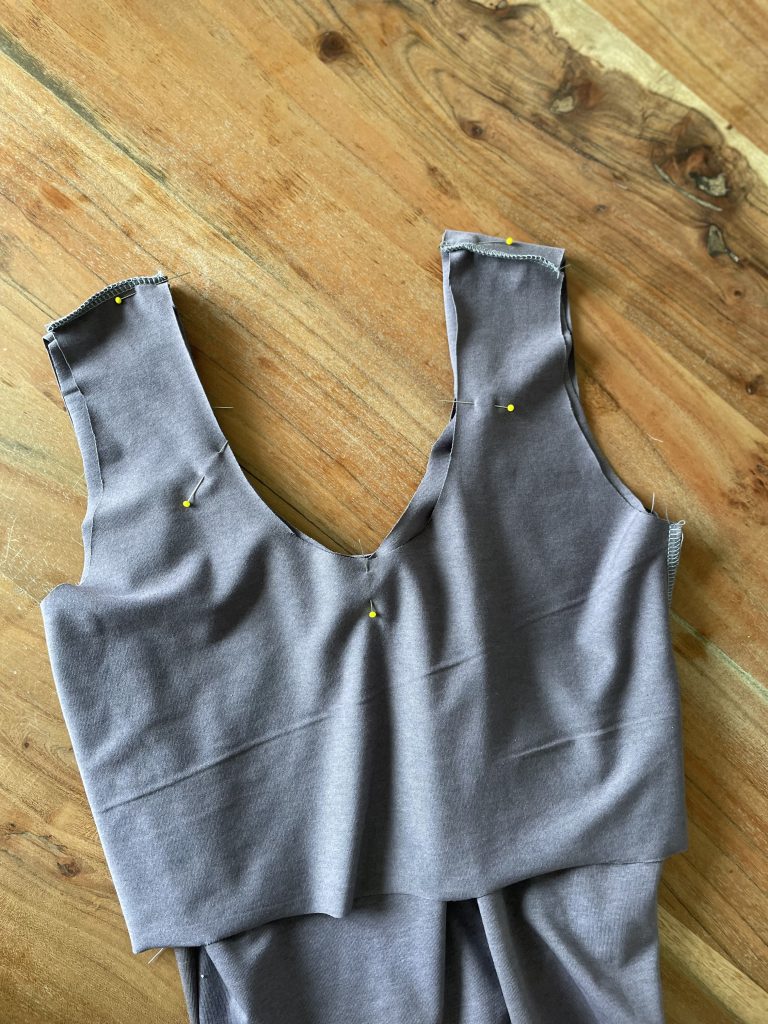
Pinned Neckline
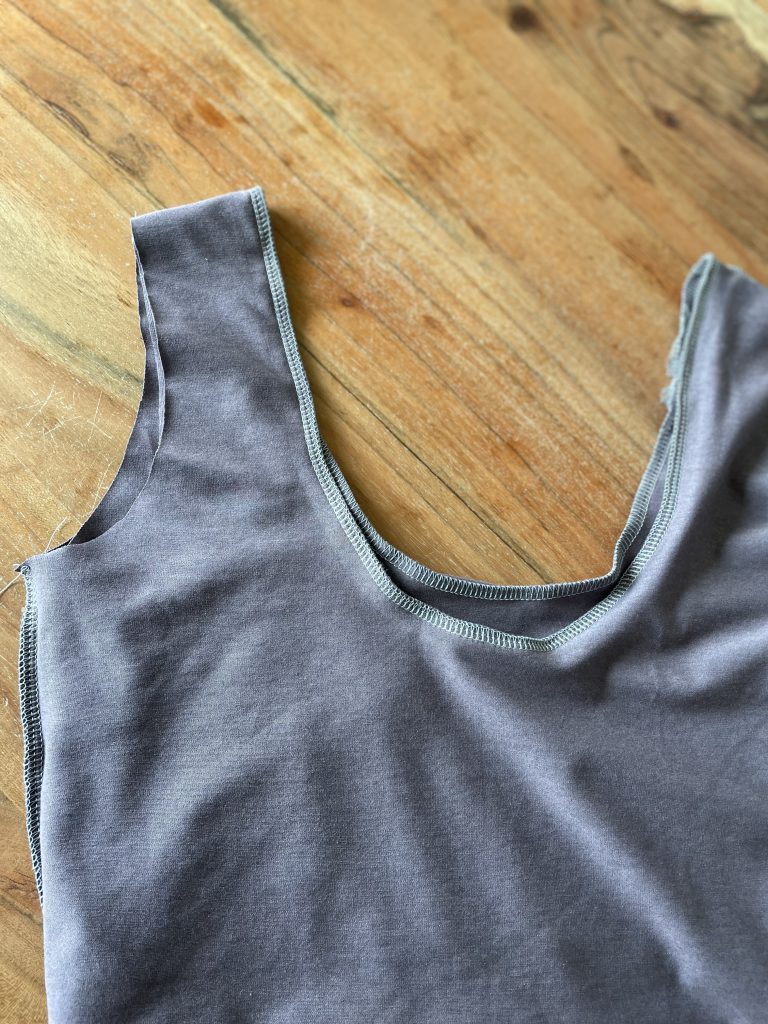
Sewn with the overlock
Top stitch the lining to the seam allowance so the top neckline doesn’t roll out when worn.
From the right side of the top, pull the lining up, fold the seam allowance towards the lining and topstitch using a 3,5 stitch length
Top stitch where the pin is, the seam allowance to the lining at the neckline.

Top stitching
Finished seam
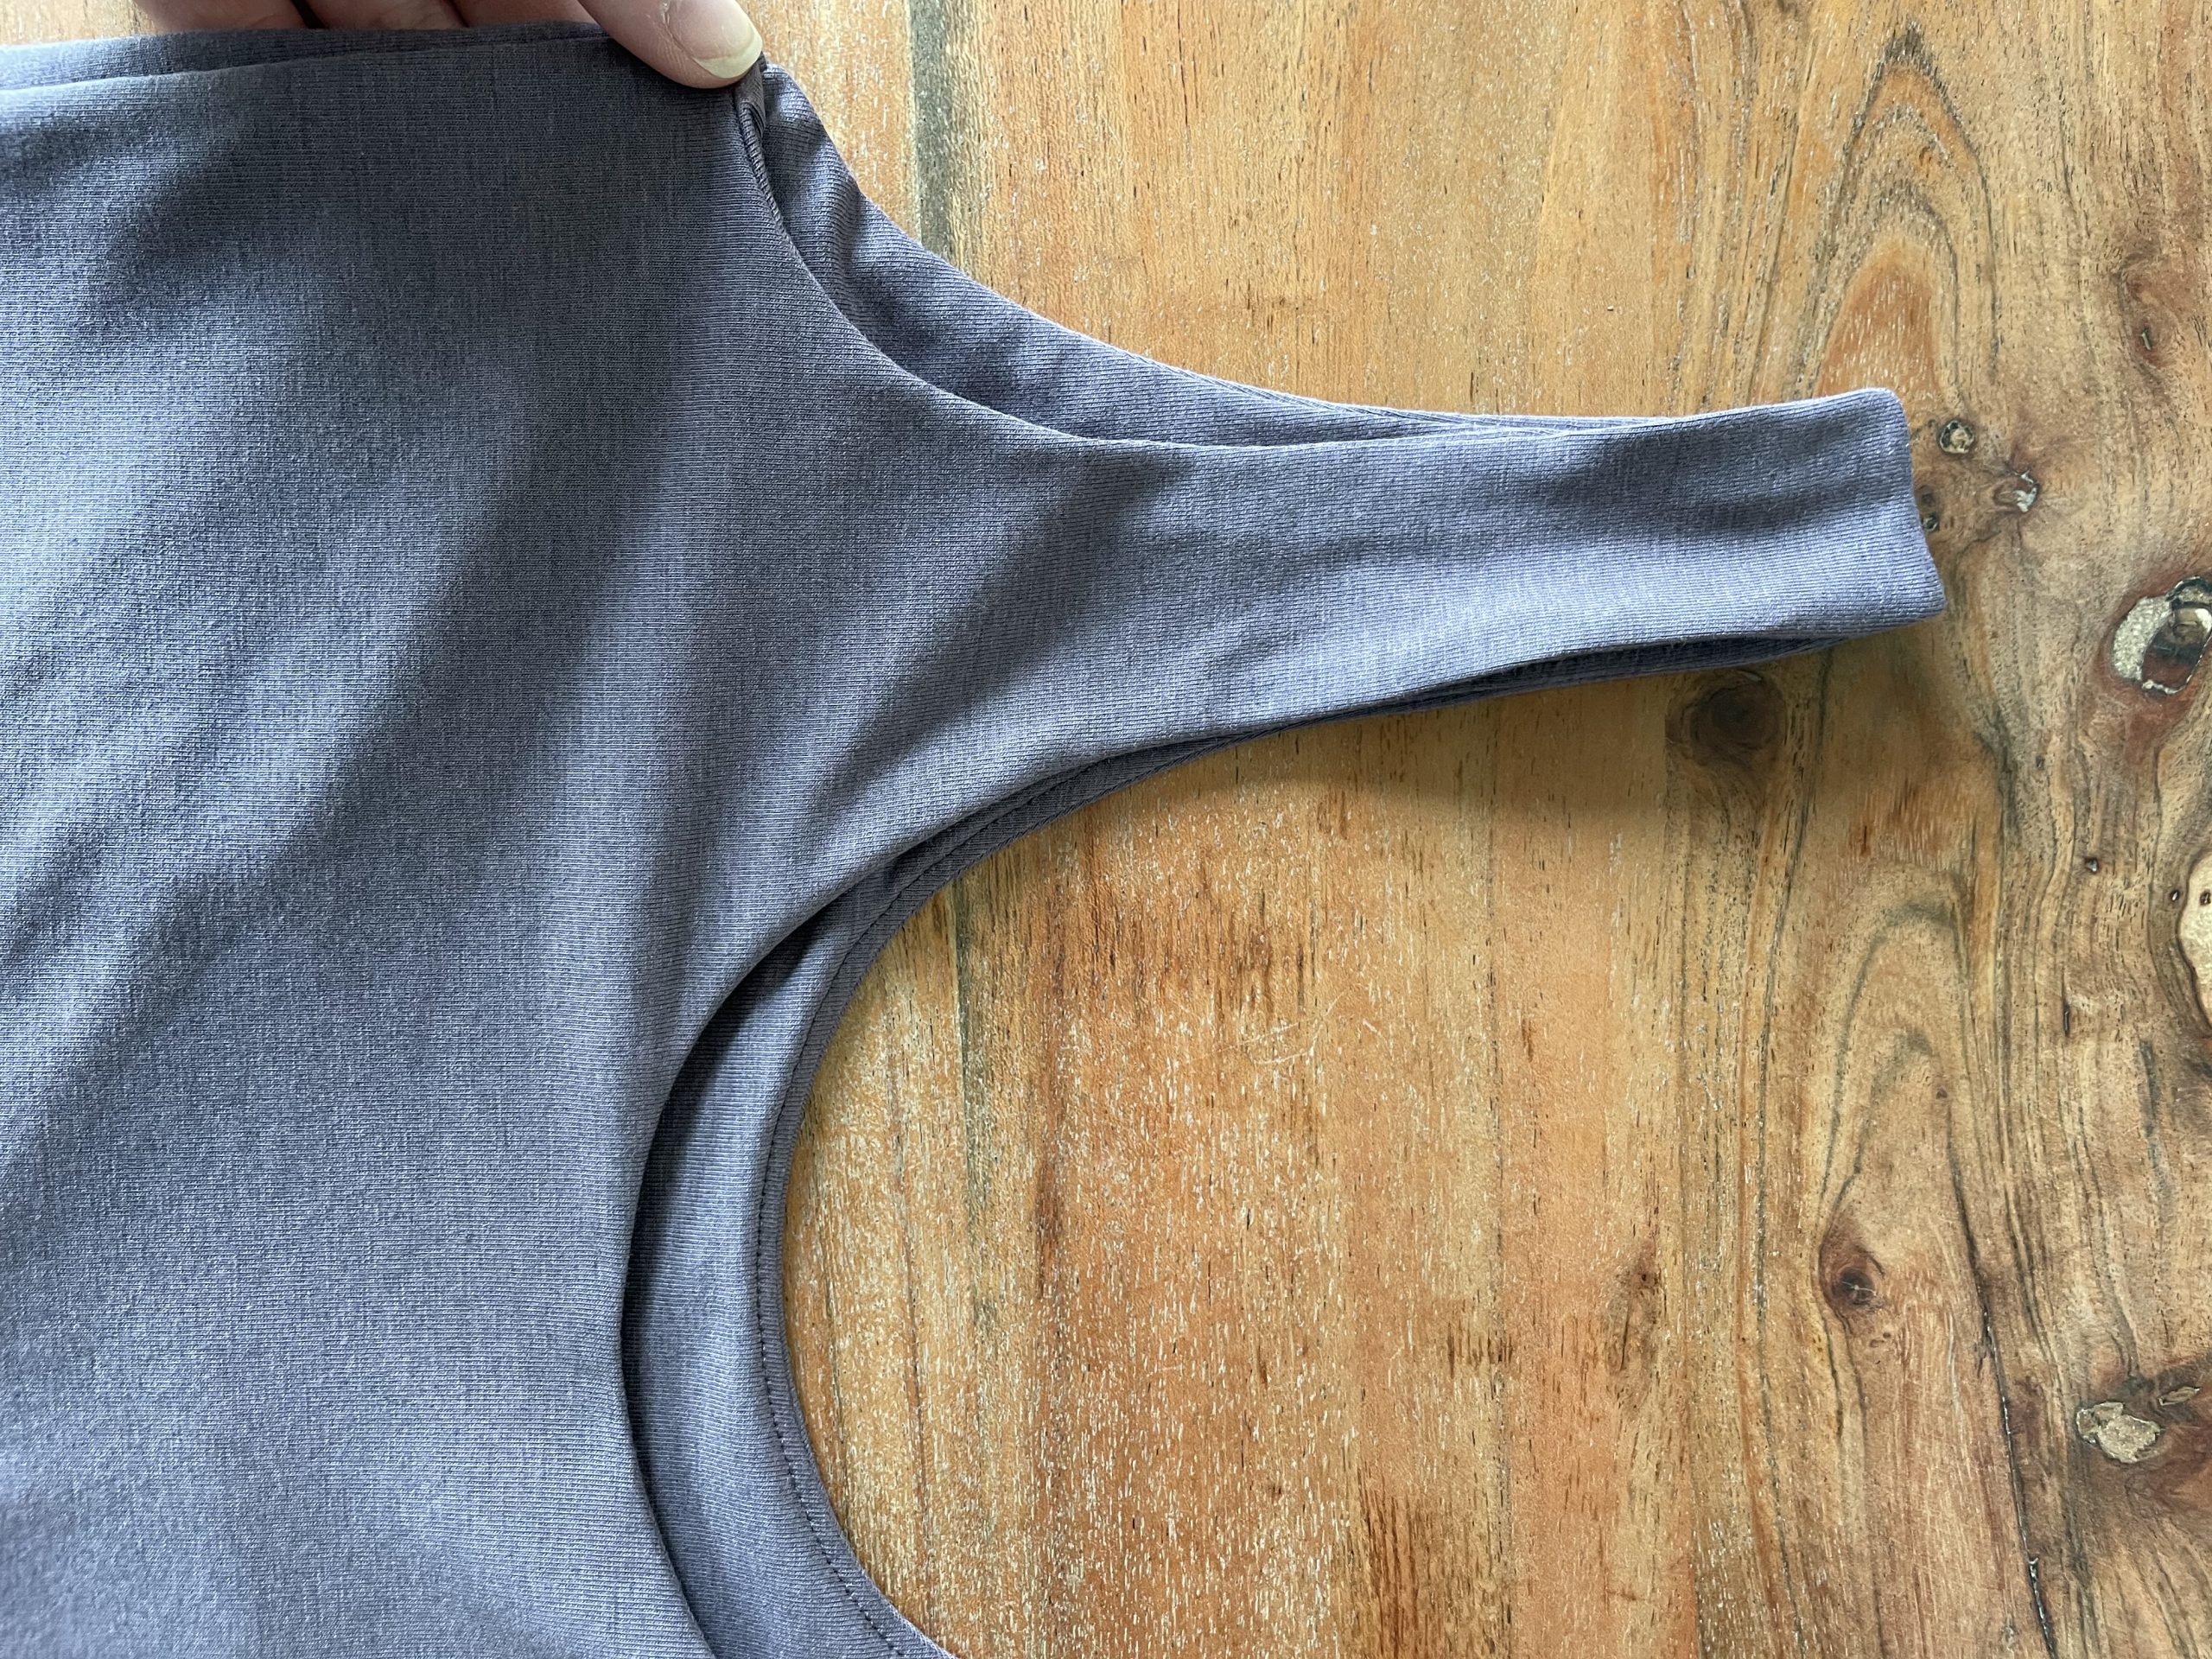
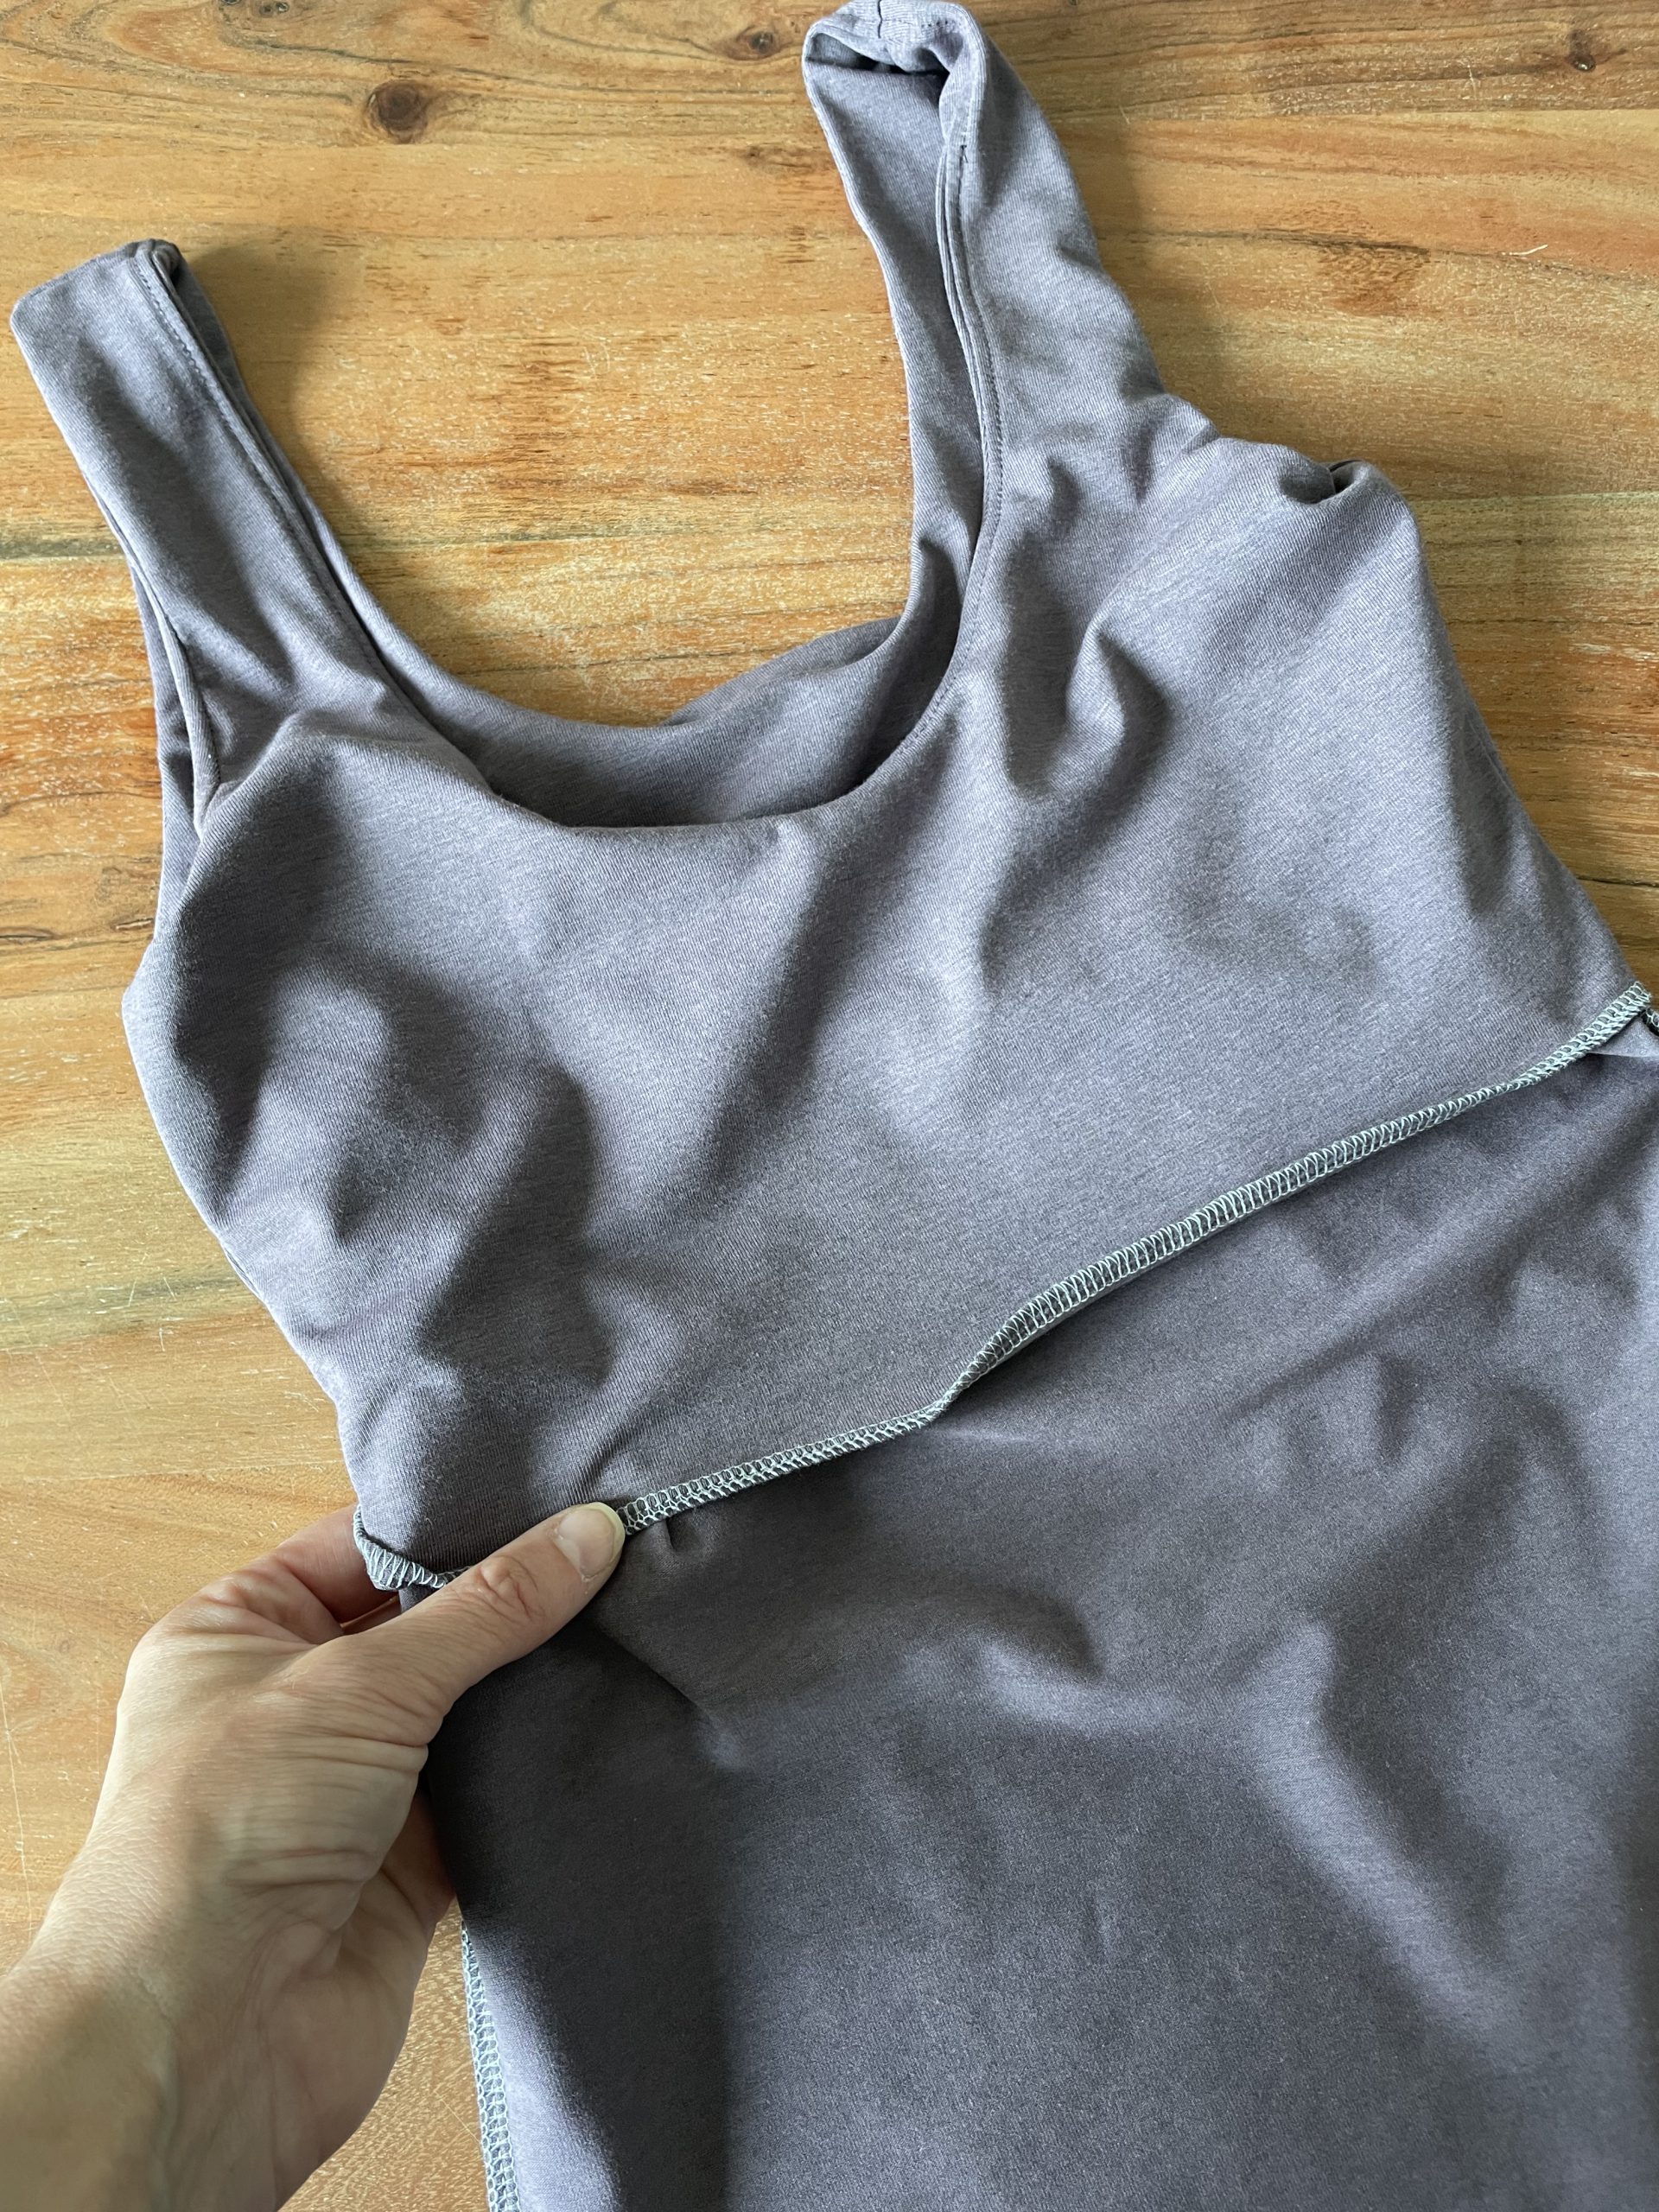
Sewing the armholes
There are 2 methods for sewing the armholes, the first is the burrito method or the method I am going to show you below:
- Turn the top to the right side.
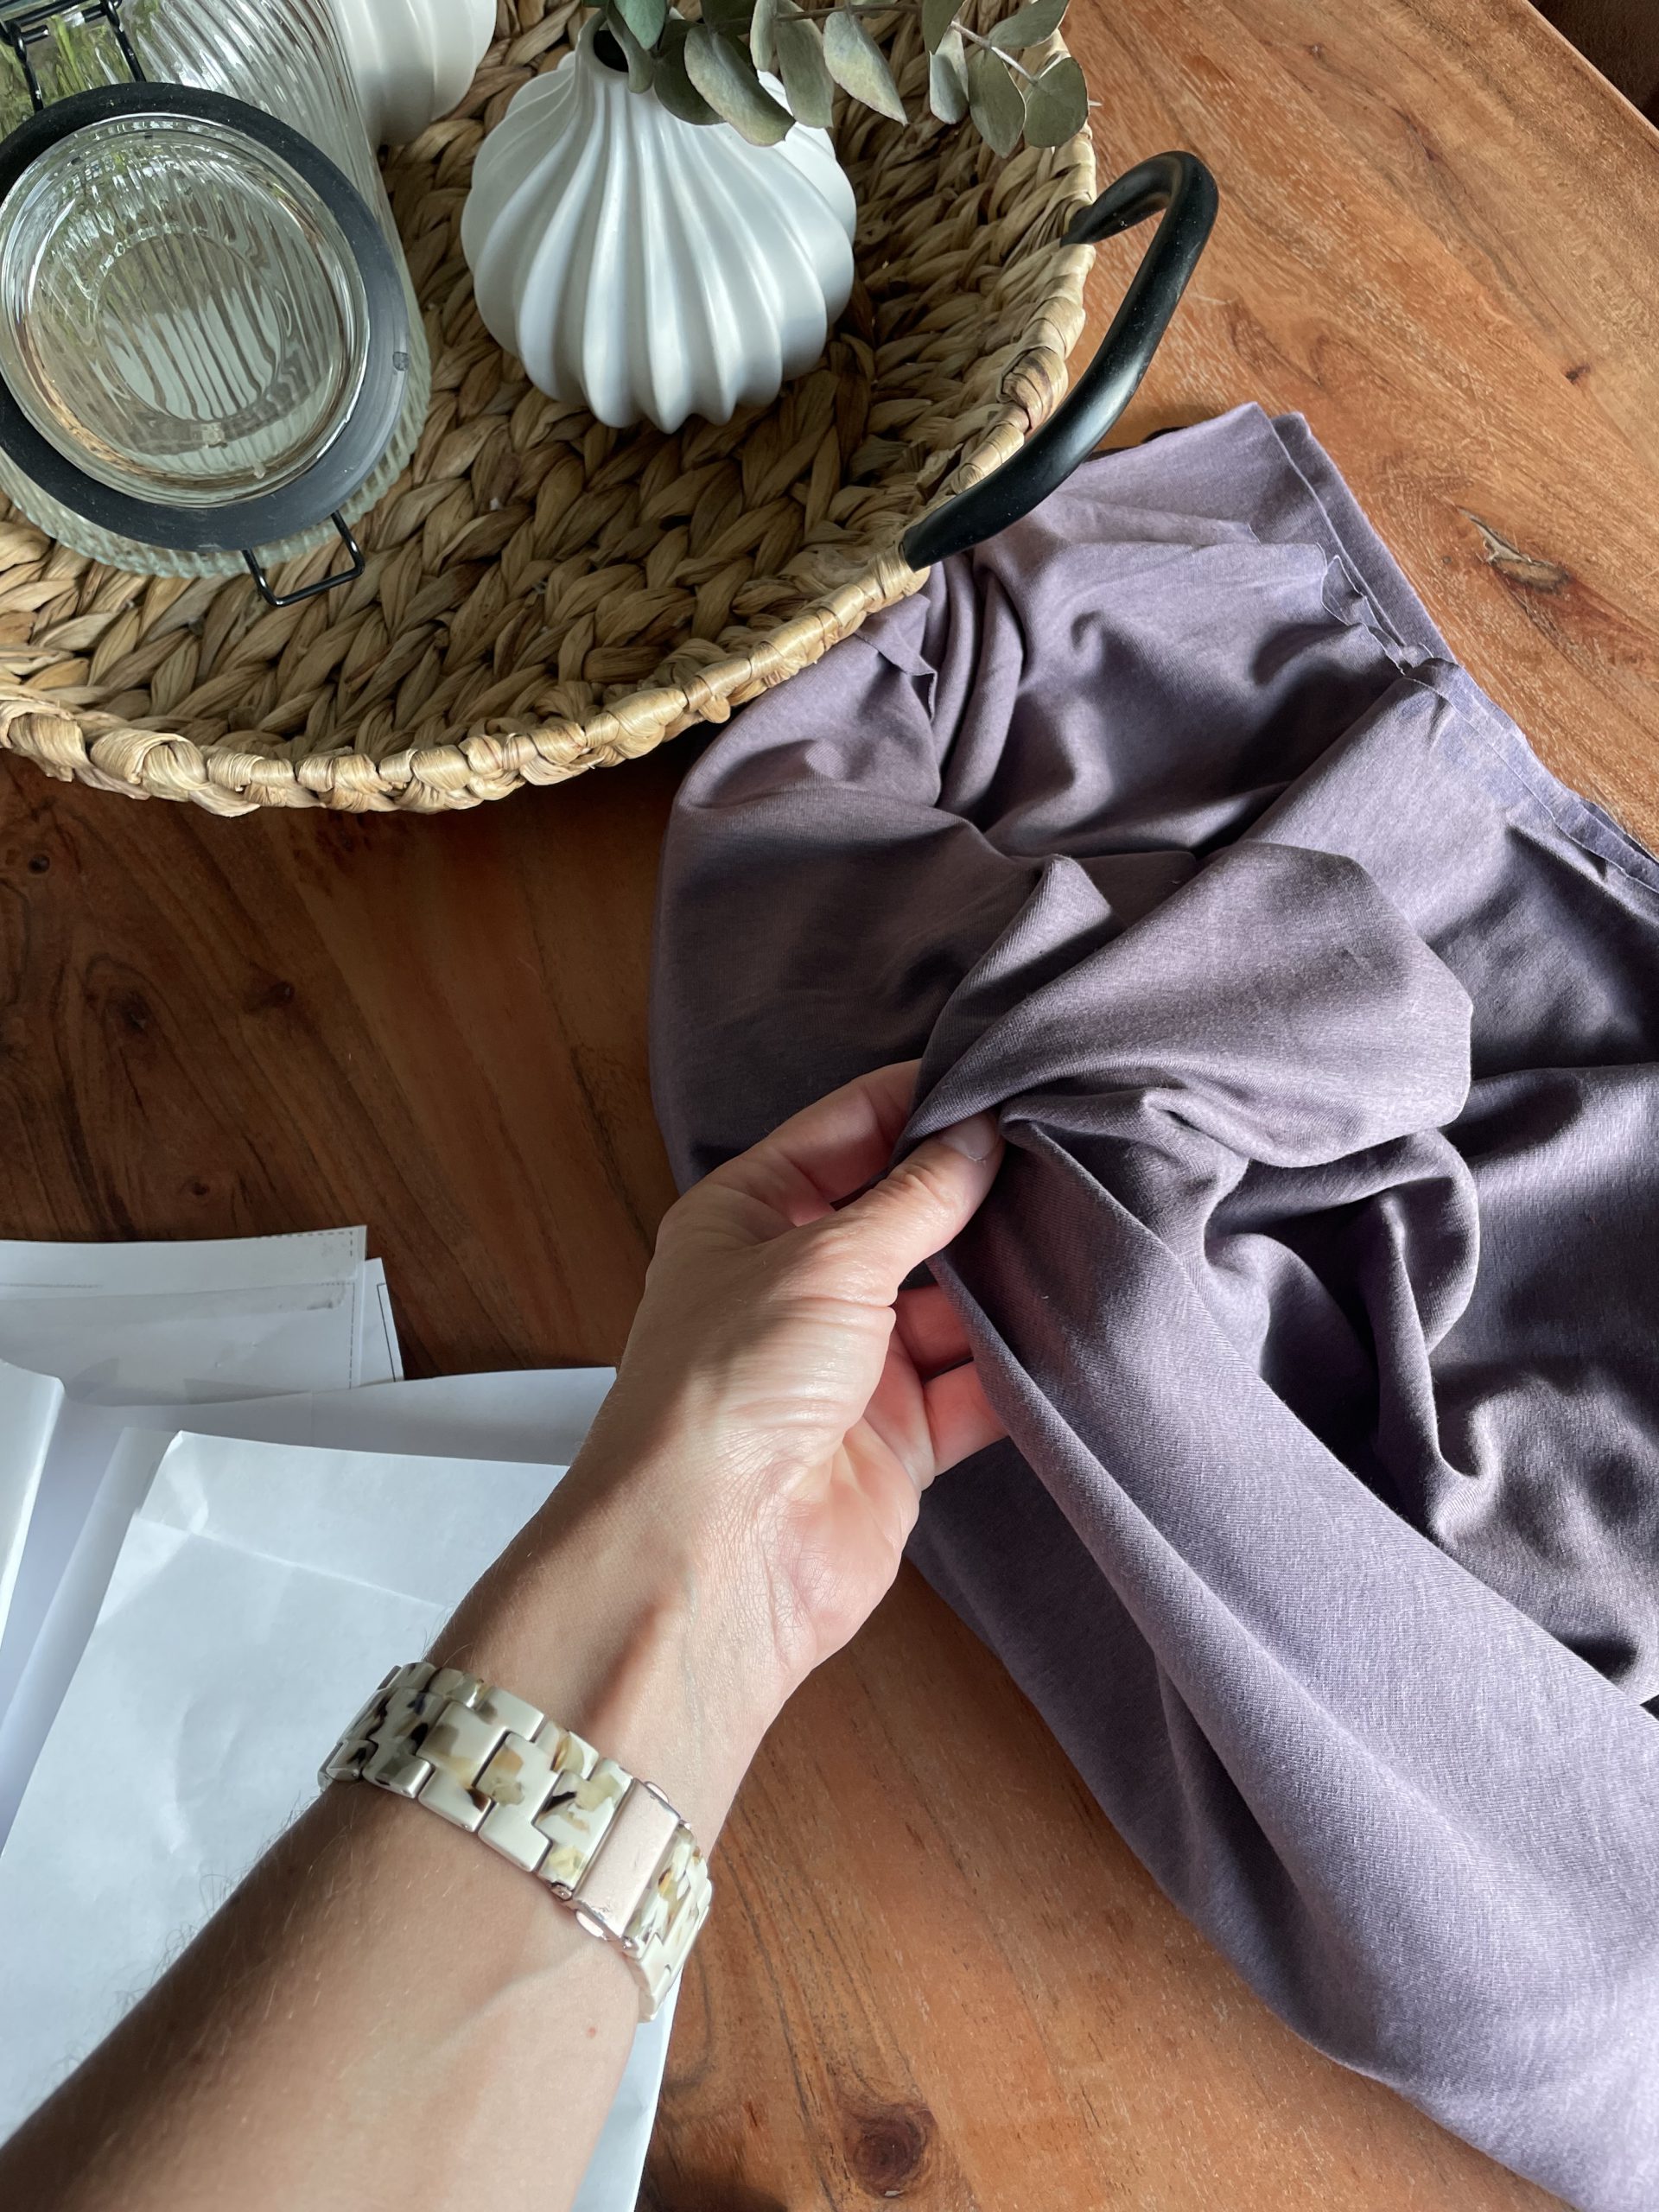
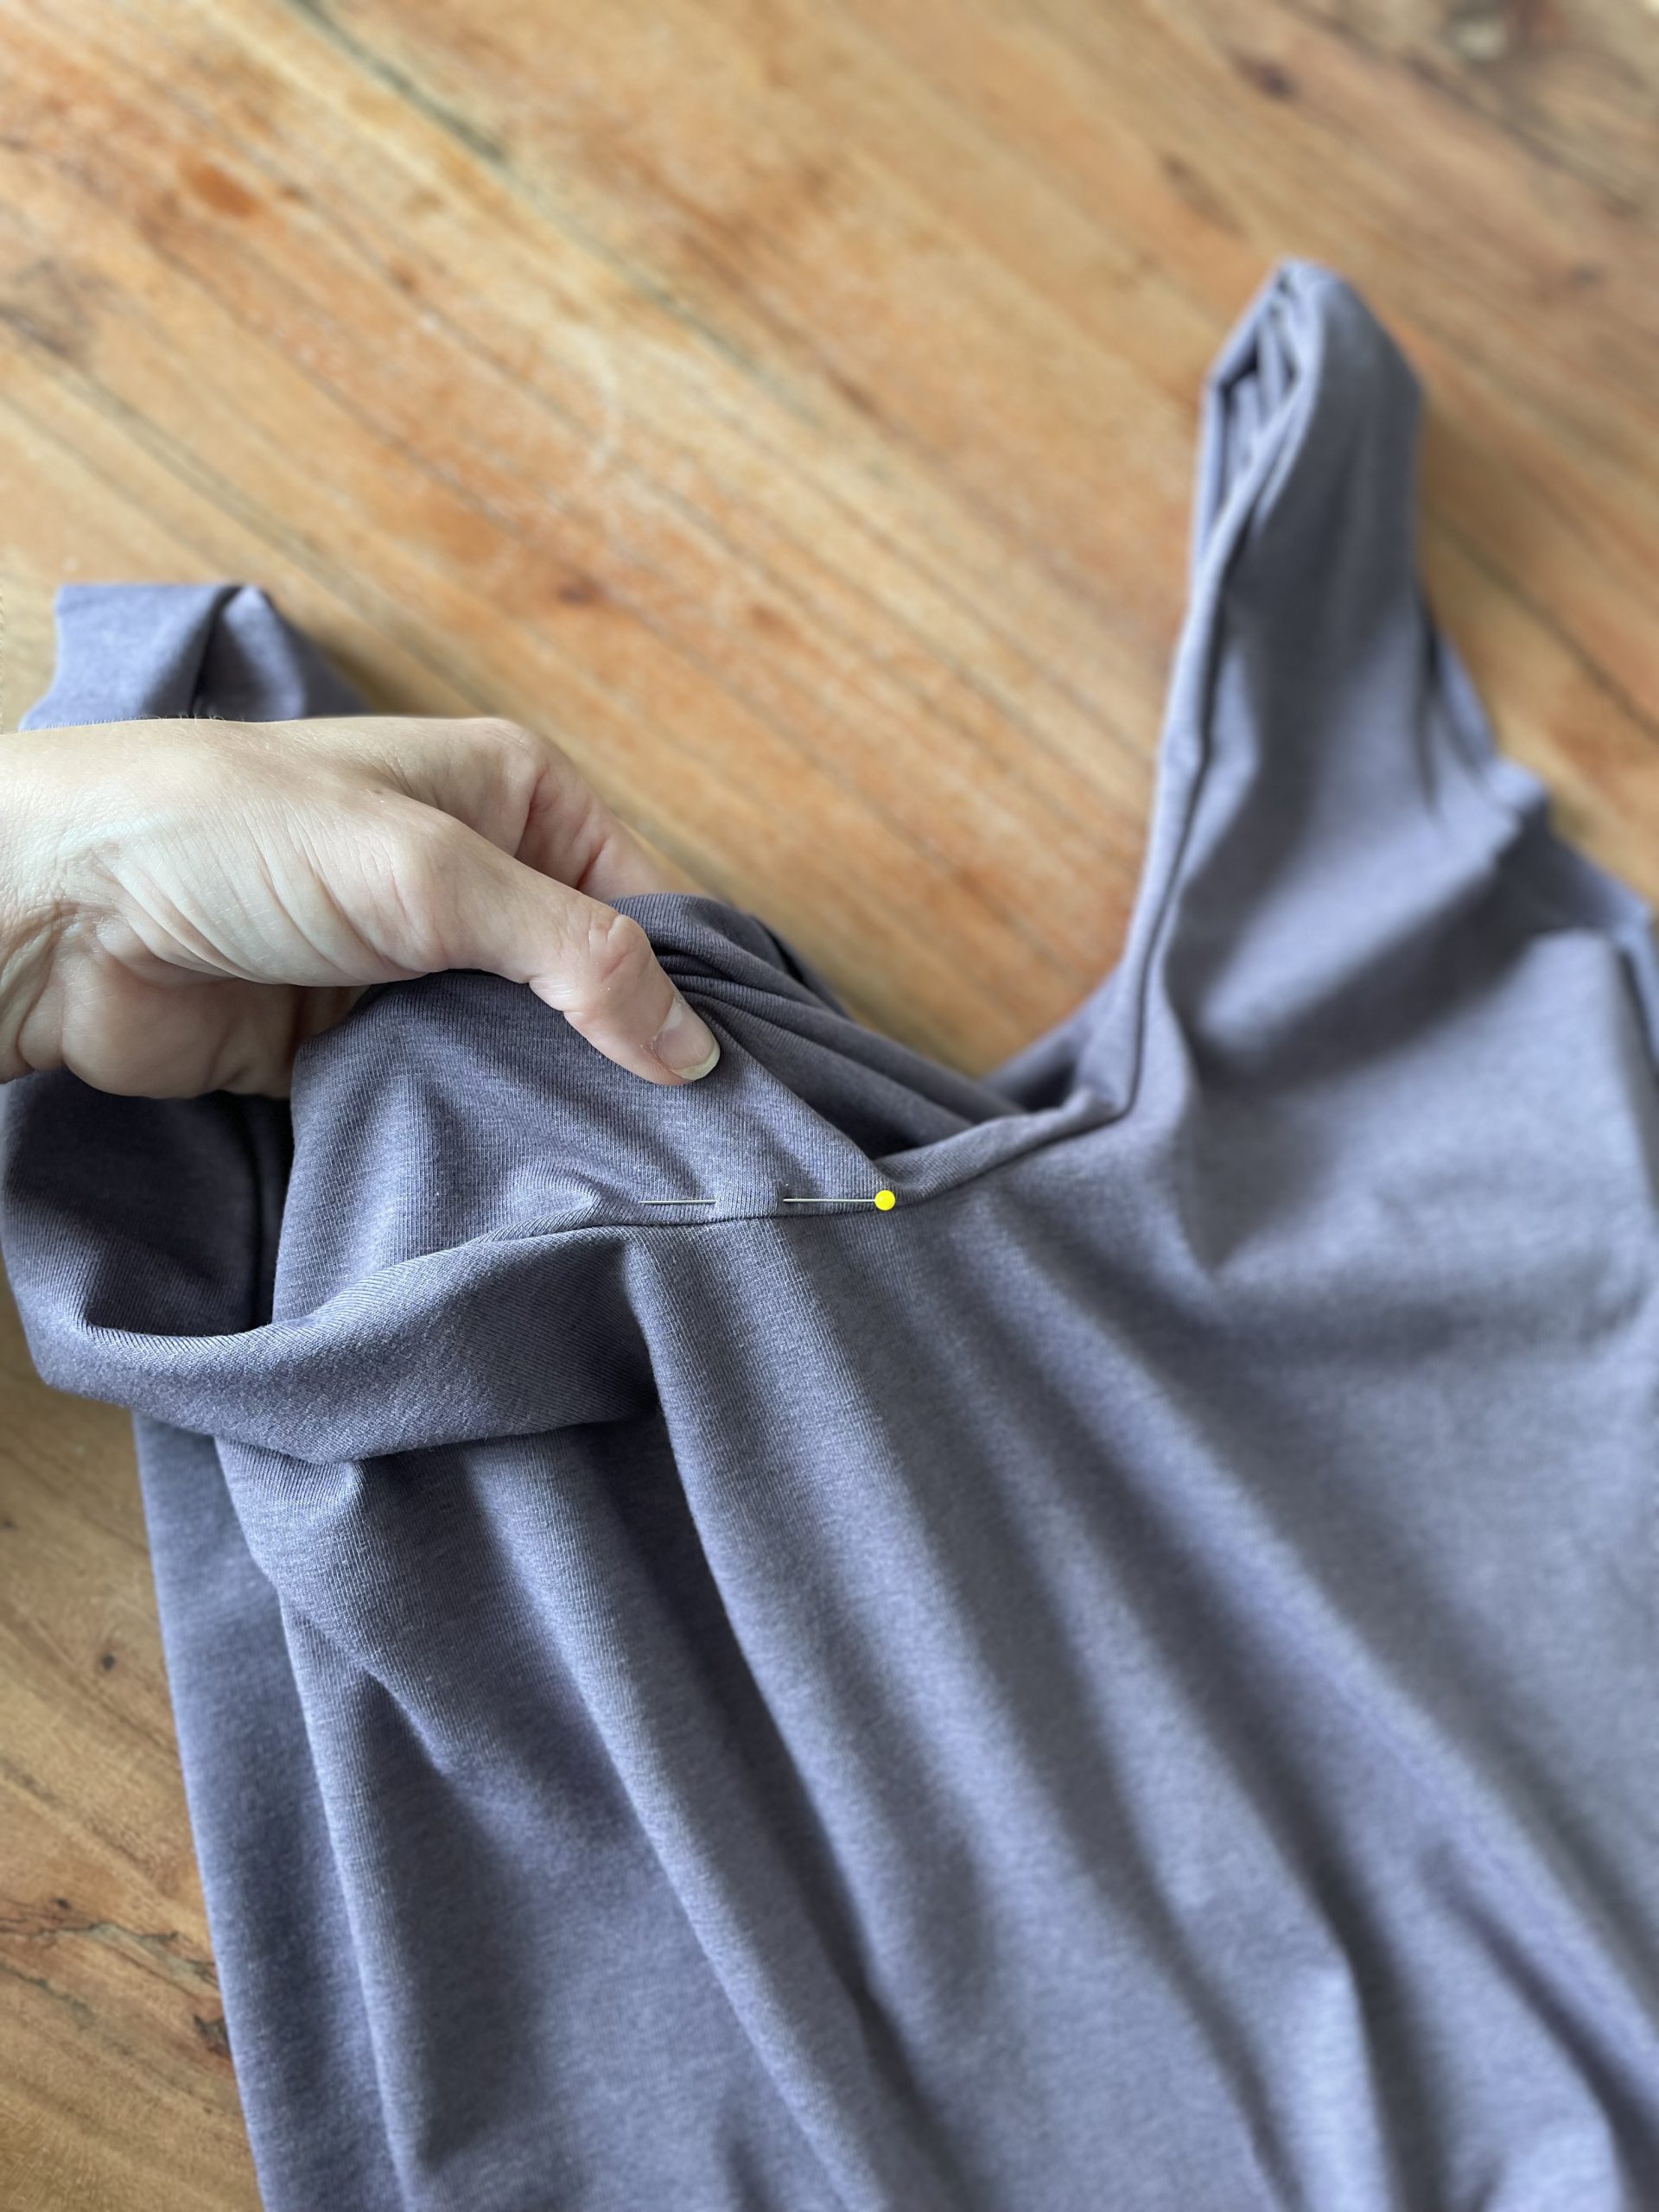
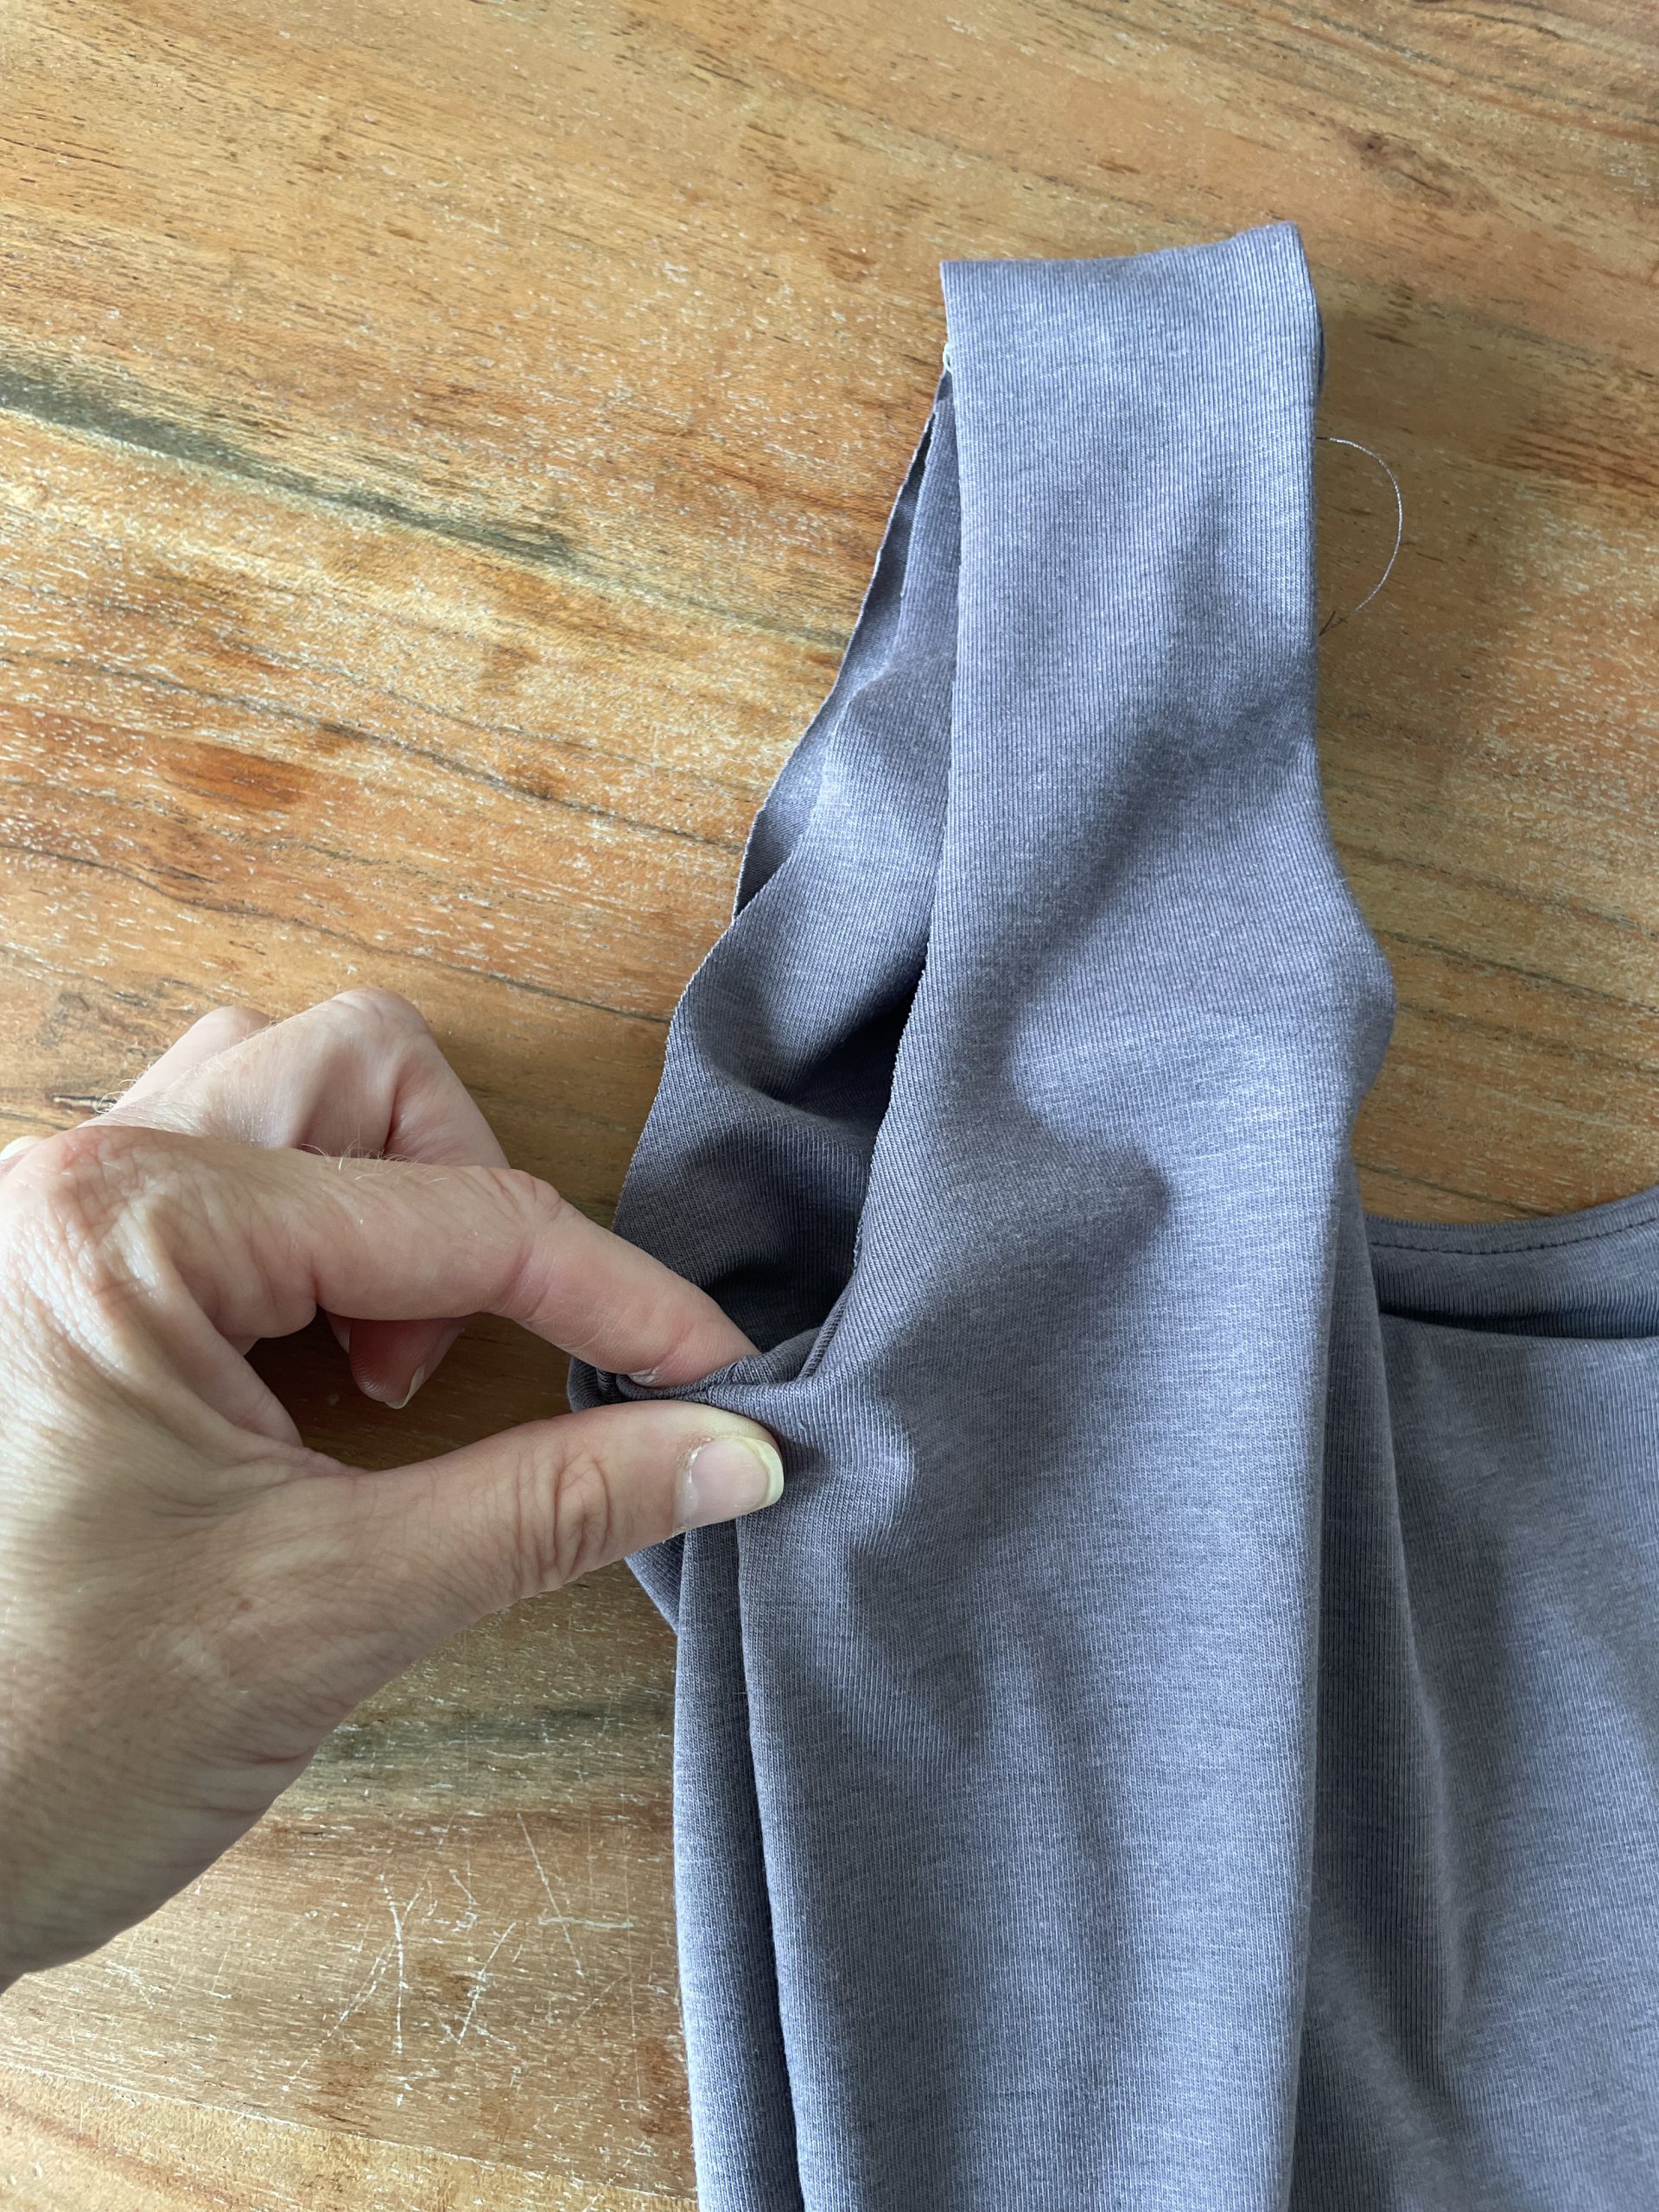
- At the under arm seam fold the lining and the top inwards ( how the seam will look after sewn) and pinch with your fingers
- Slide your other hand in-between the top and the lining and grab the seam we just pinched with our fingers.
- Holding it tight turn the top inside out and pin the seam securely.
- This method will be created in 2 parts.
- Pin and sew from the underarm seam to the shoulder seam.
- Next, turn the top to the correct way and repeat for the other half of the same armhole.
- Now repeat for the second armhole and press.
creating the seam from the correct side of the top
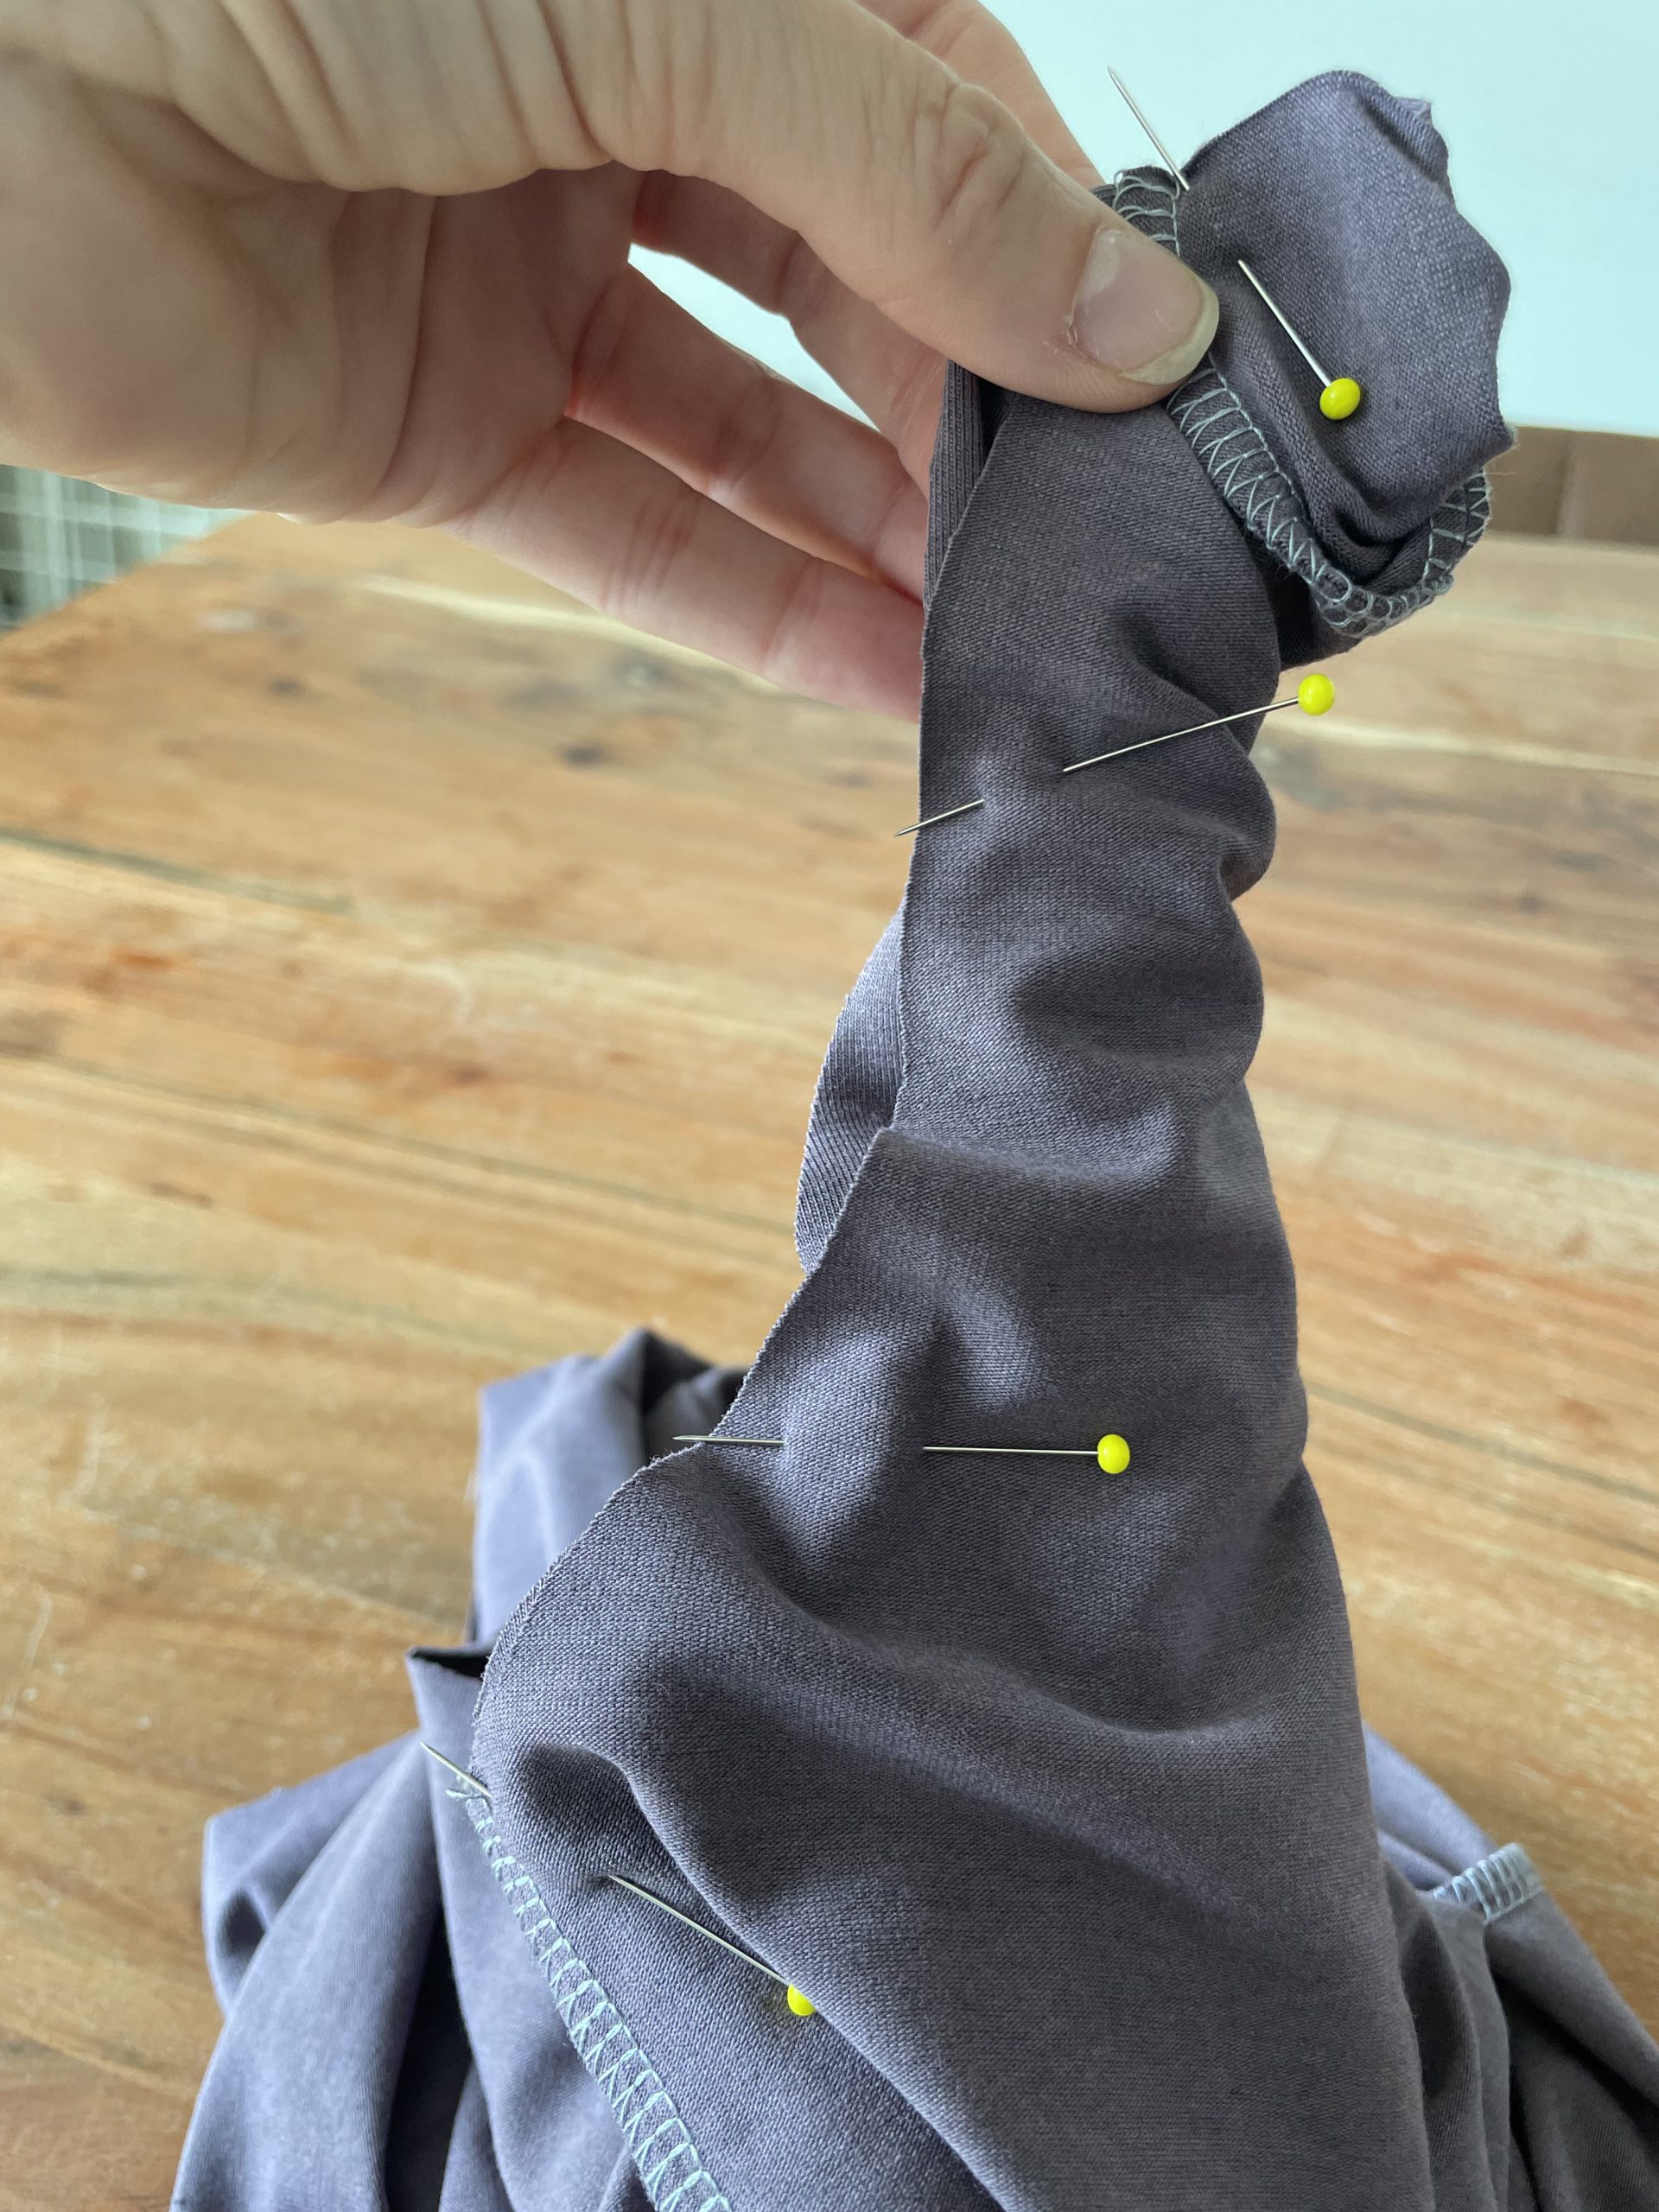
Pin and sew from the underarm seam to the shoulder seam.

First half finished. Now repeat the above steps to close the rest of the armhole
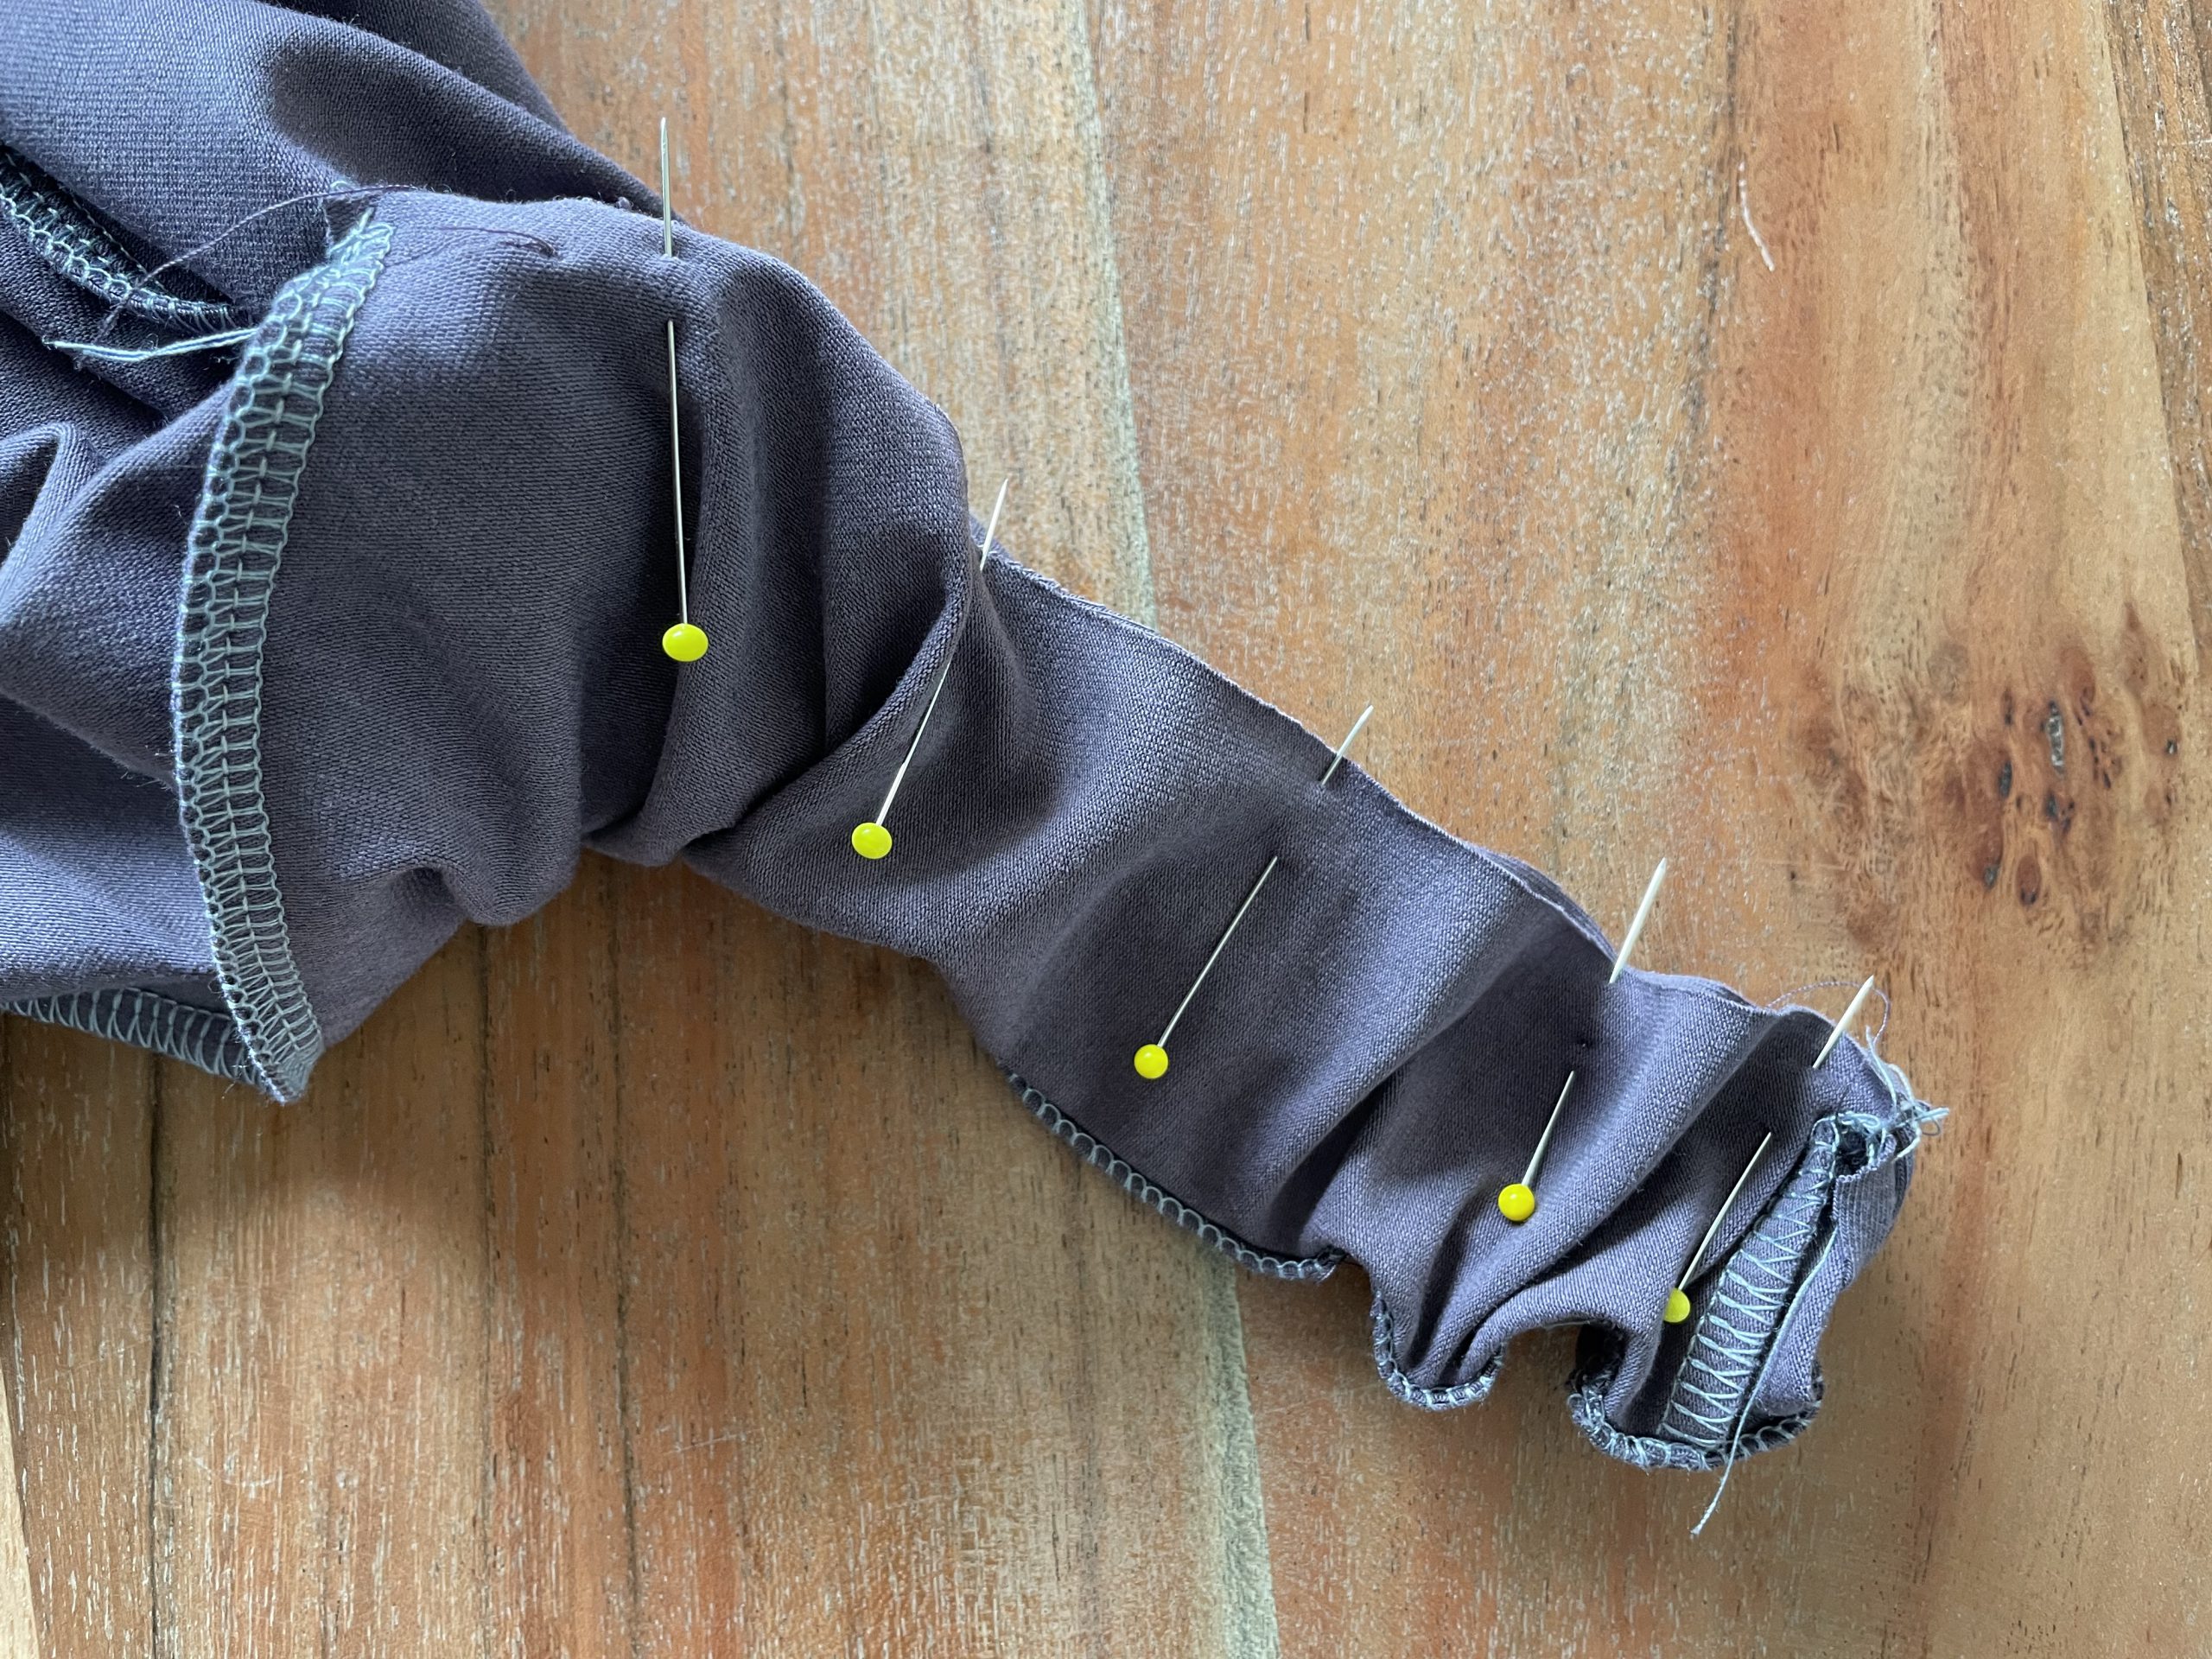
second half pinned
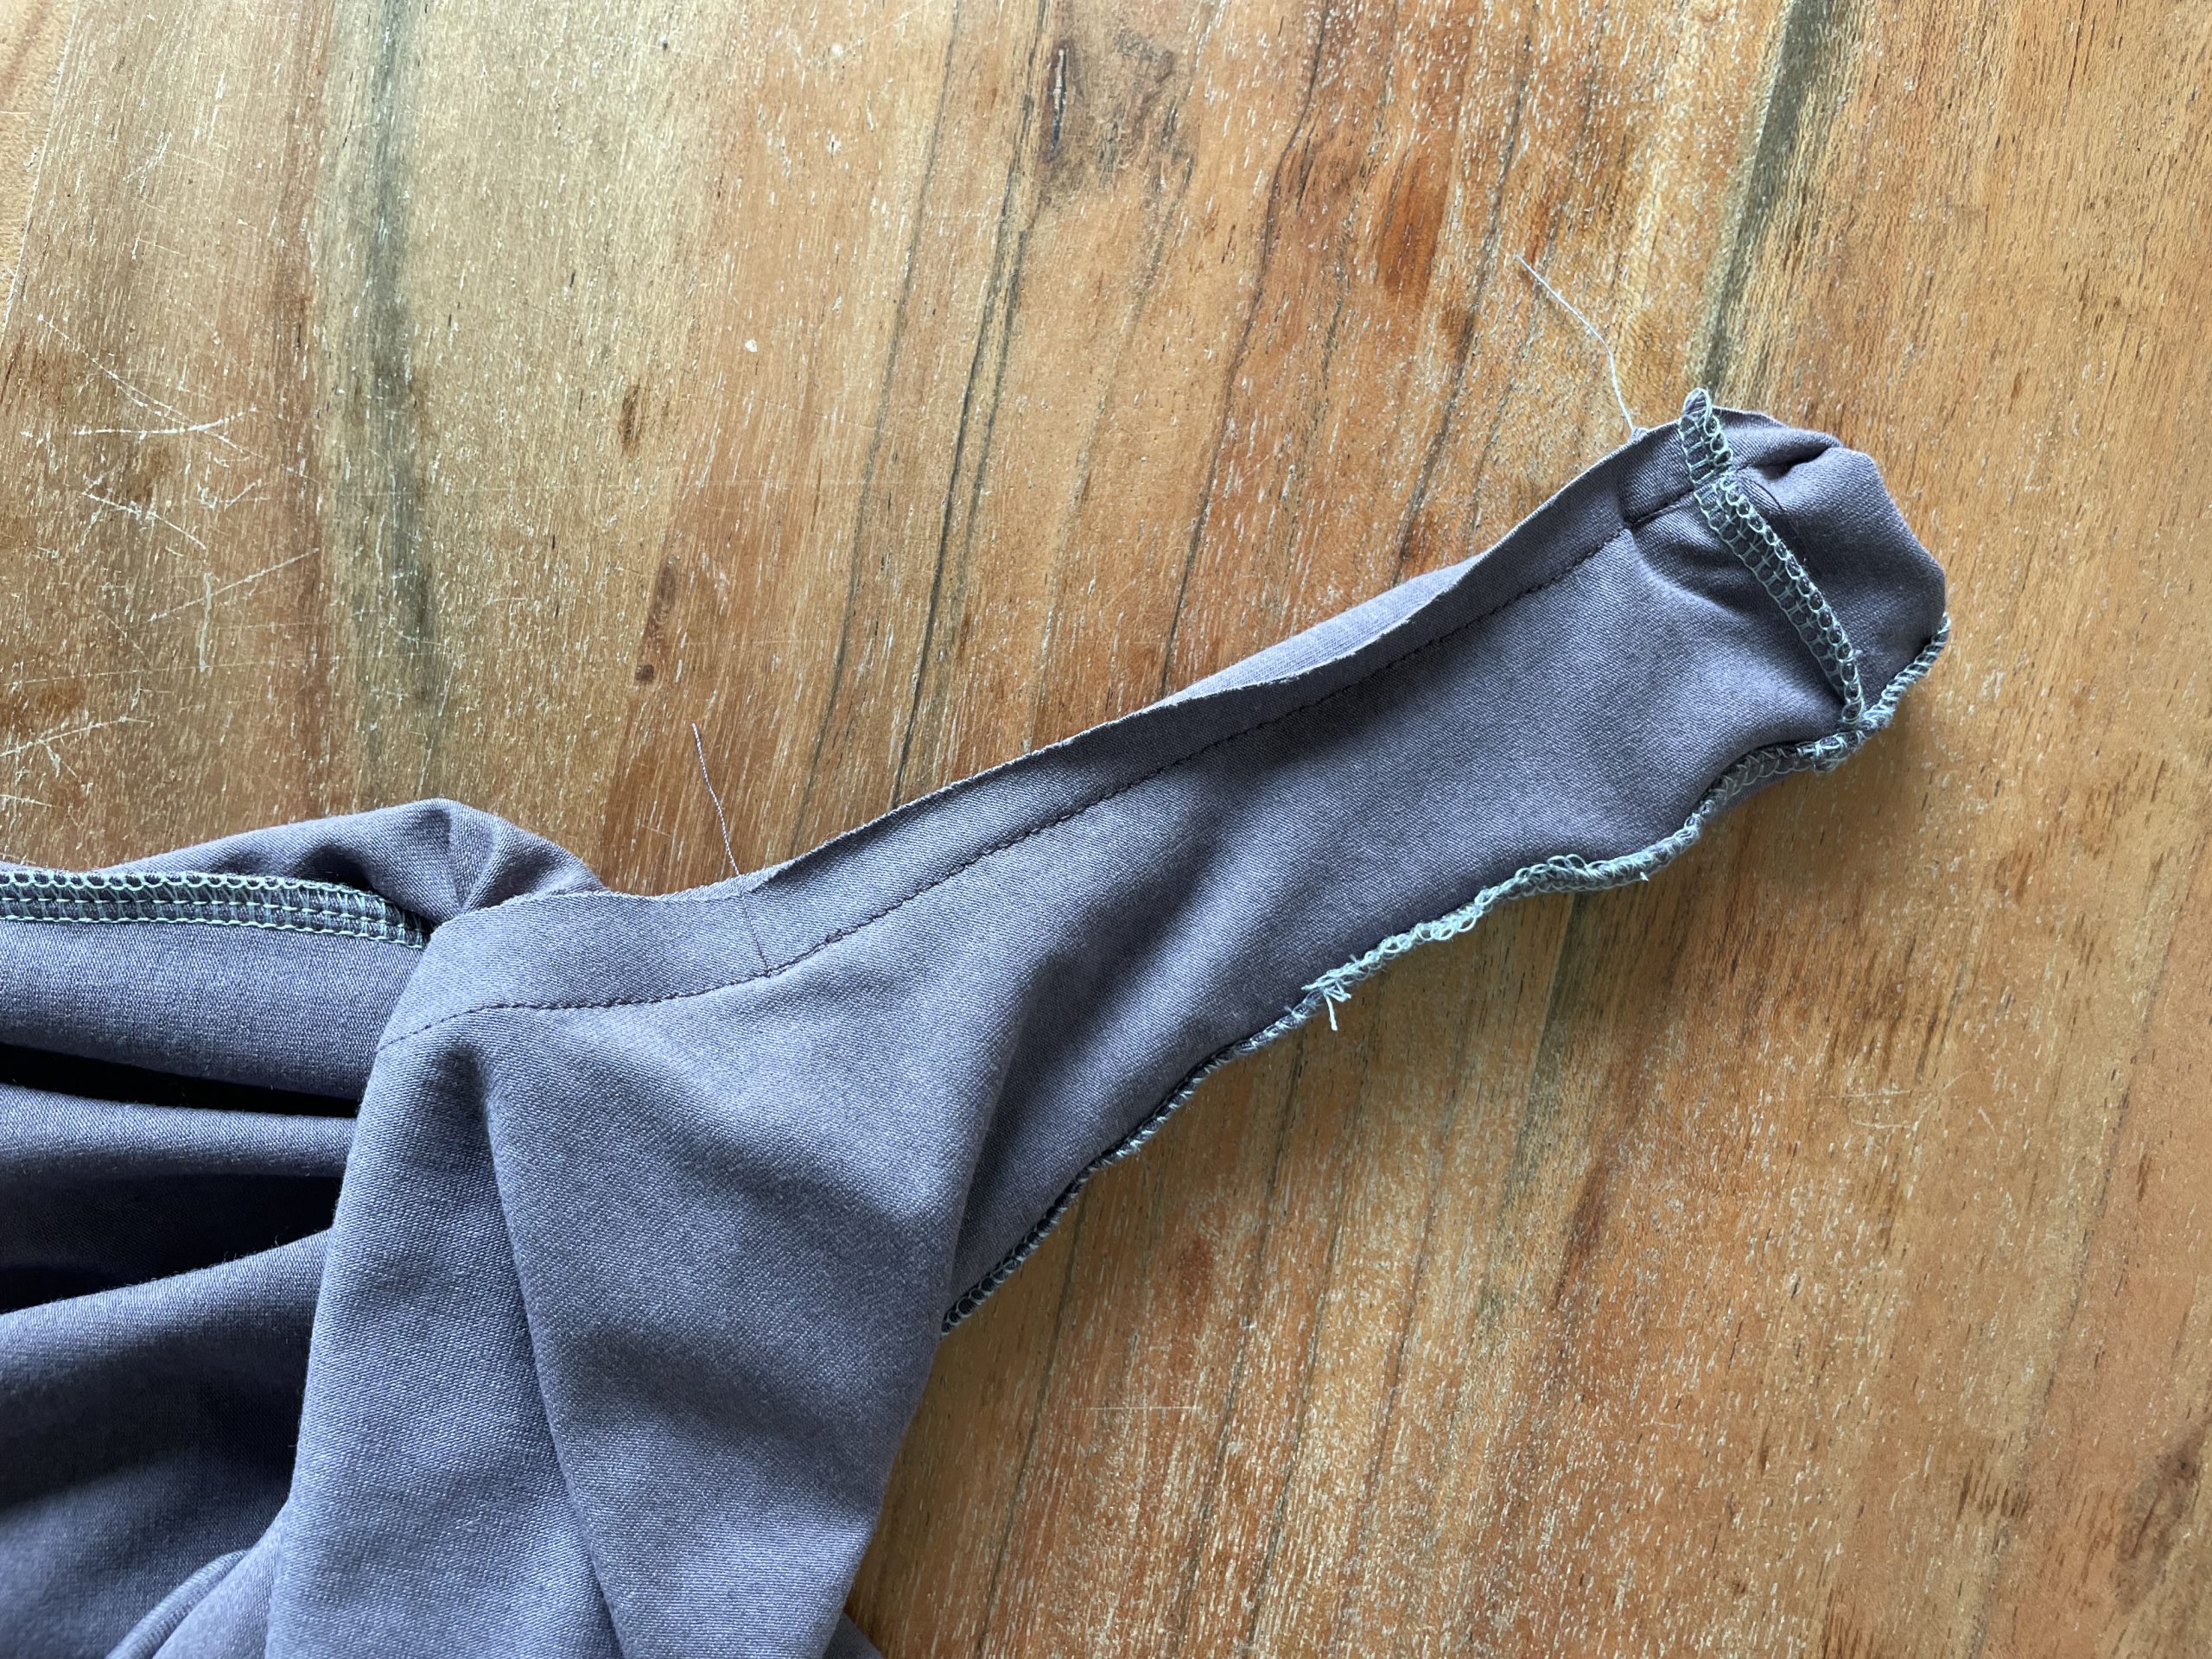
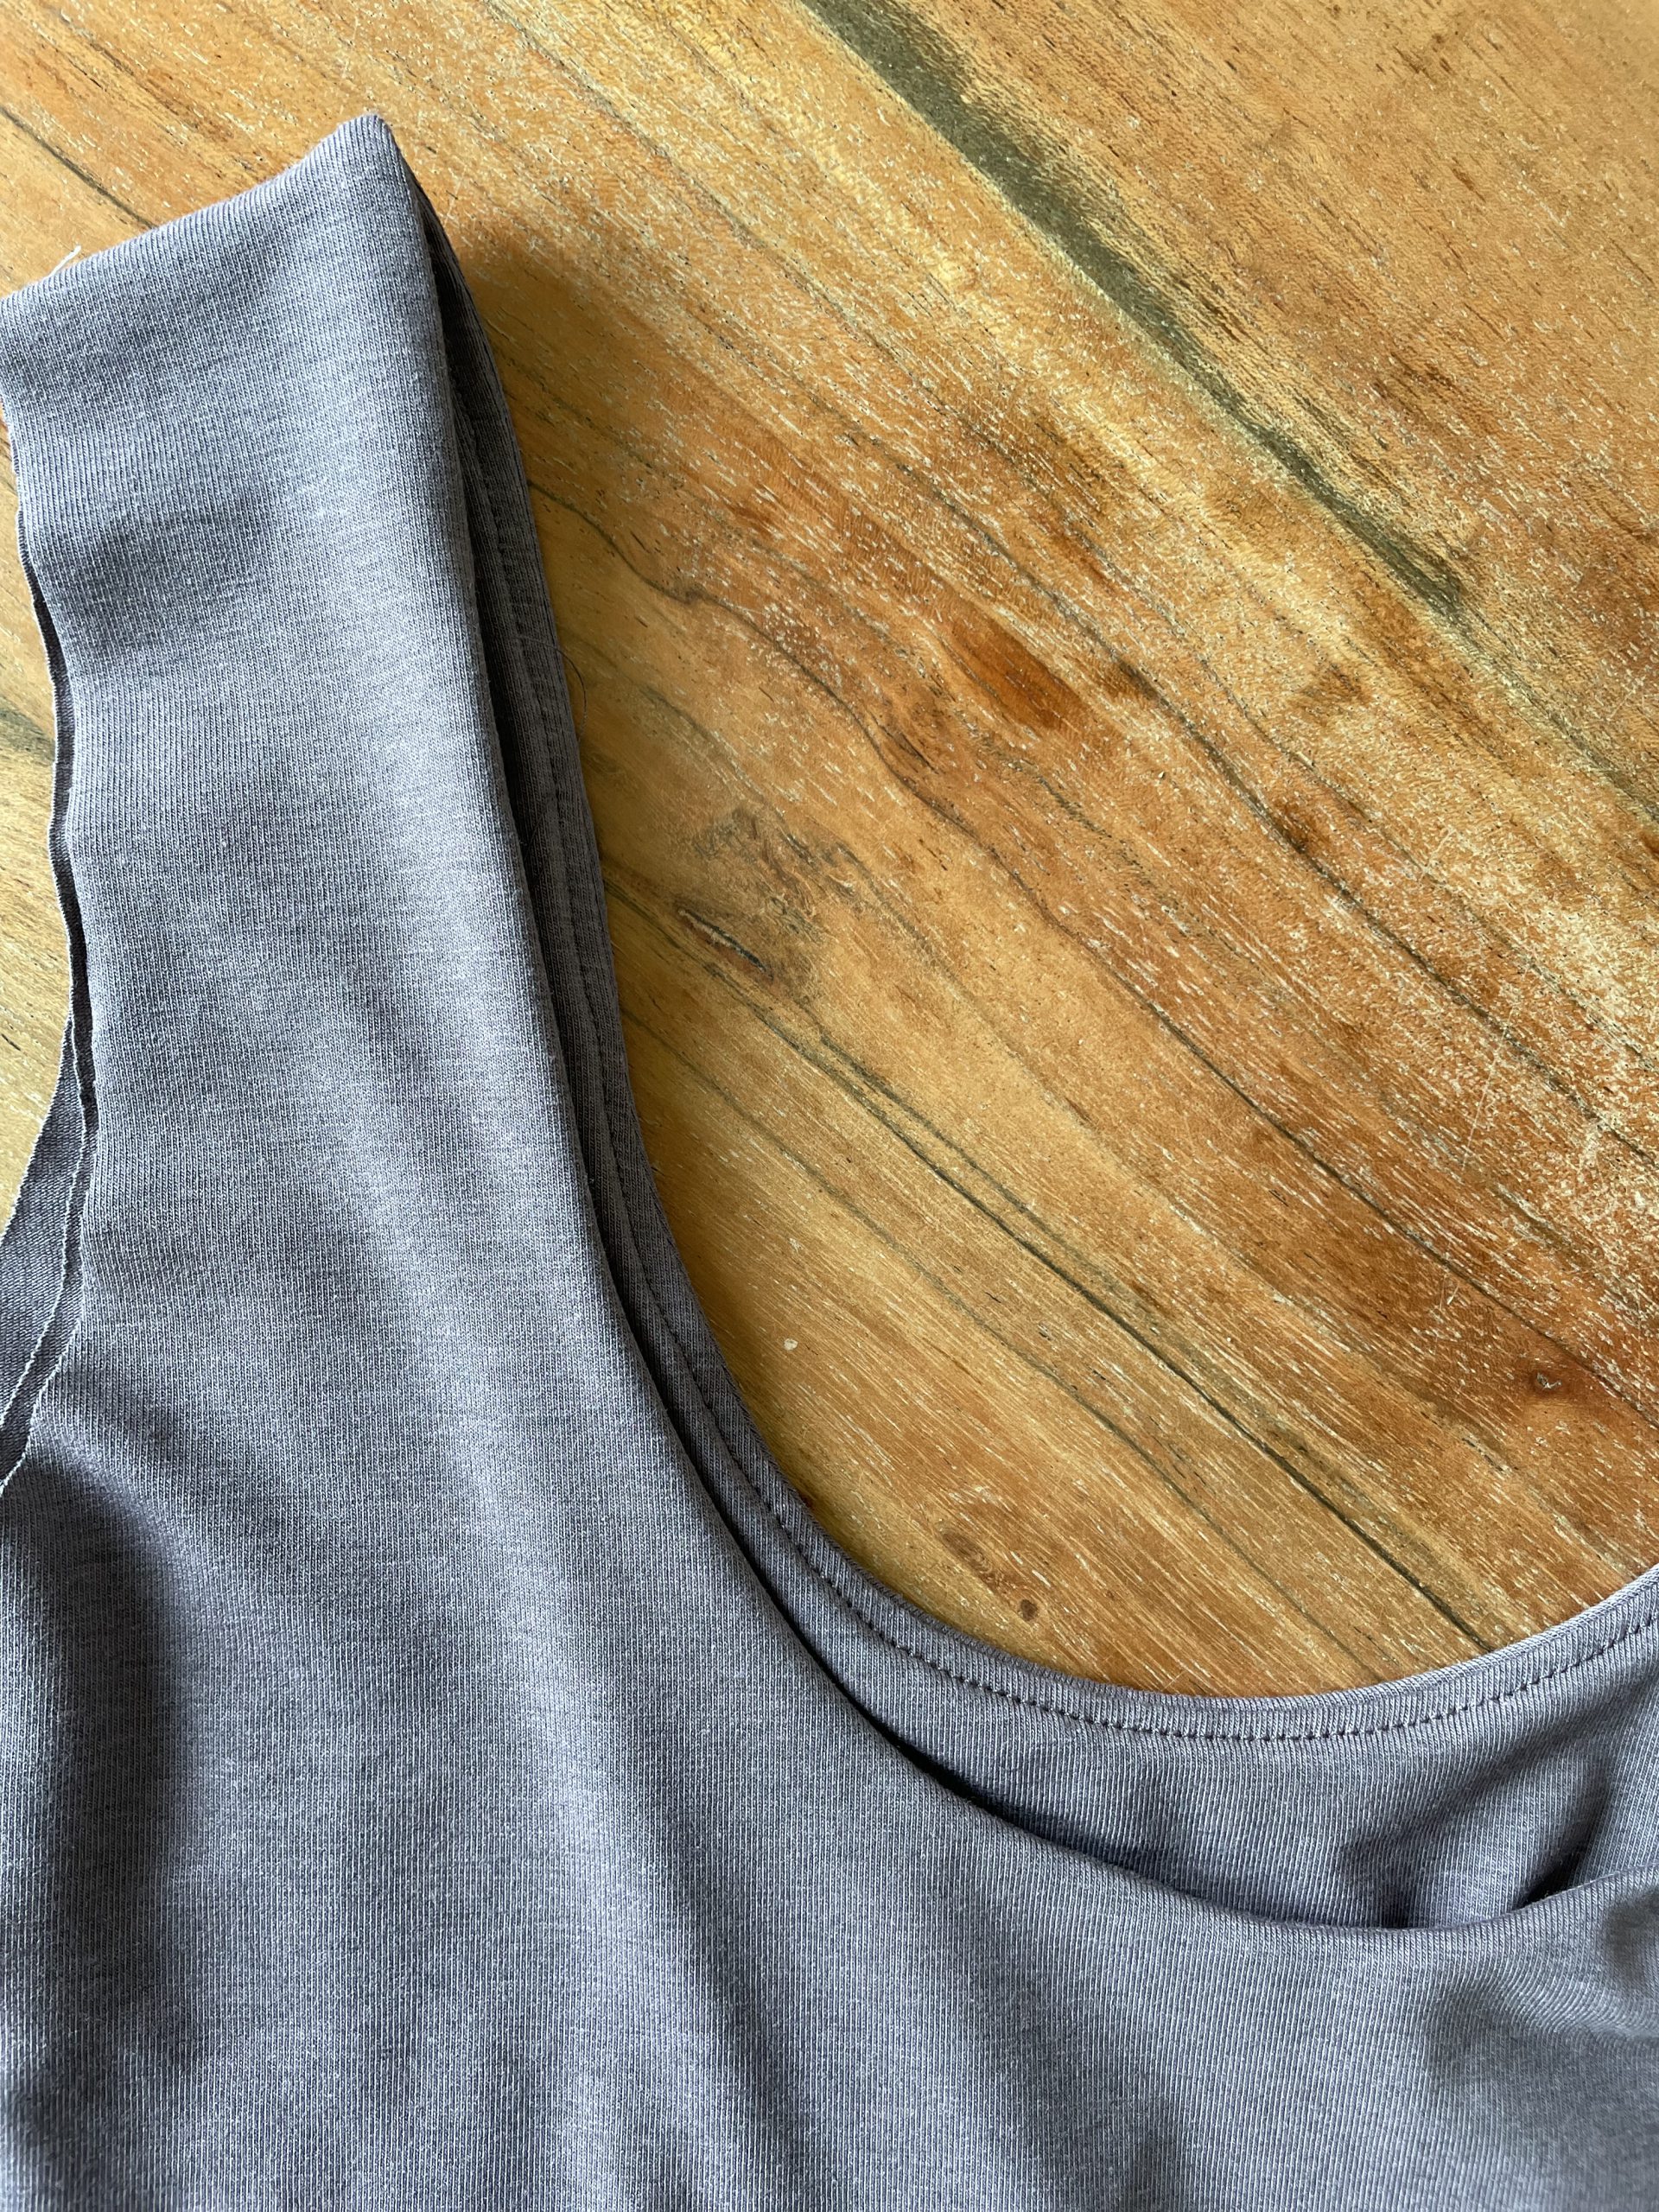
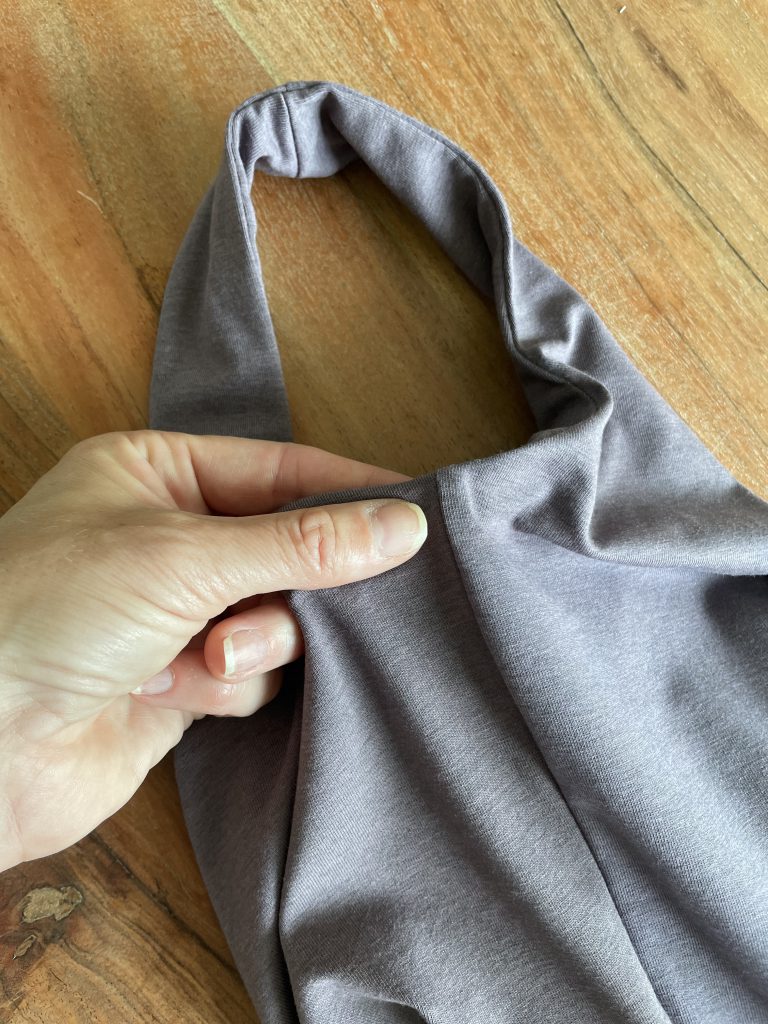
Next pull and turn the shoulder strap to the correct side
Press neckline and armholes flat
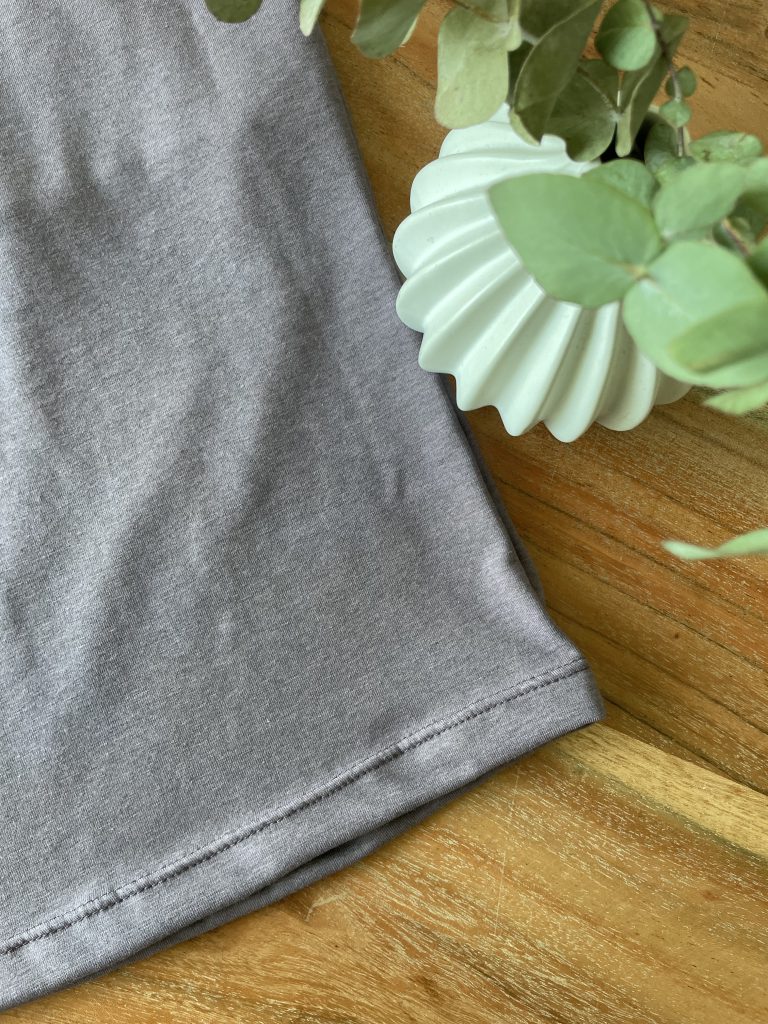
Hemming
Once you have pressed
neckline and armholes, you are ready to Hem.
The instructions of the pattern include how to add an elastic to the hem of the lining. As I have used a lightweight jersey the elastic may be visible when worn so I overlocked my lining hem.
Overlocked Lining Hem
Twin needle hem
For the main body of the top, I pressed the Hem the wrong side by 2cm and used a twin needle on my sewing machine to secure.
Katie Tip!
Just a small tip! to prevent the the lining from rolling out under the arms, I have sewn into the side seam under the arm a few stitches through the outer and lining of the top.
Finished….

Enjoy wearing your new Tank top and keep making new colours to match every outfit idea!!
Until next time..
Katie @eversewme


Thanks I really enjoyed your explanation of how to make the tank top and I think the length is just perfect,