 BERNINA Corporate Blog -
Hey everyone
This is part 2 of my elastic series. If you want to check out part 1, where we had a look at wide elastic, fold-over elastic, picot and piping elastic, head over here.
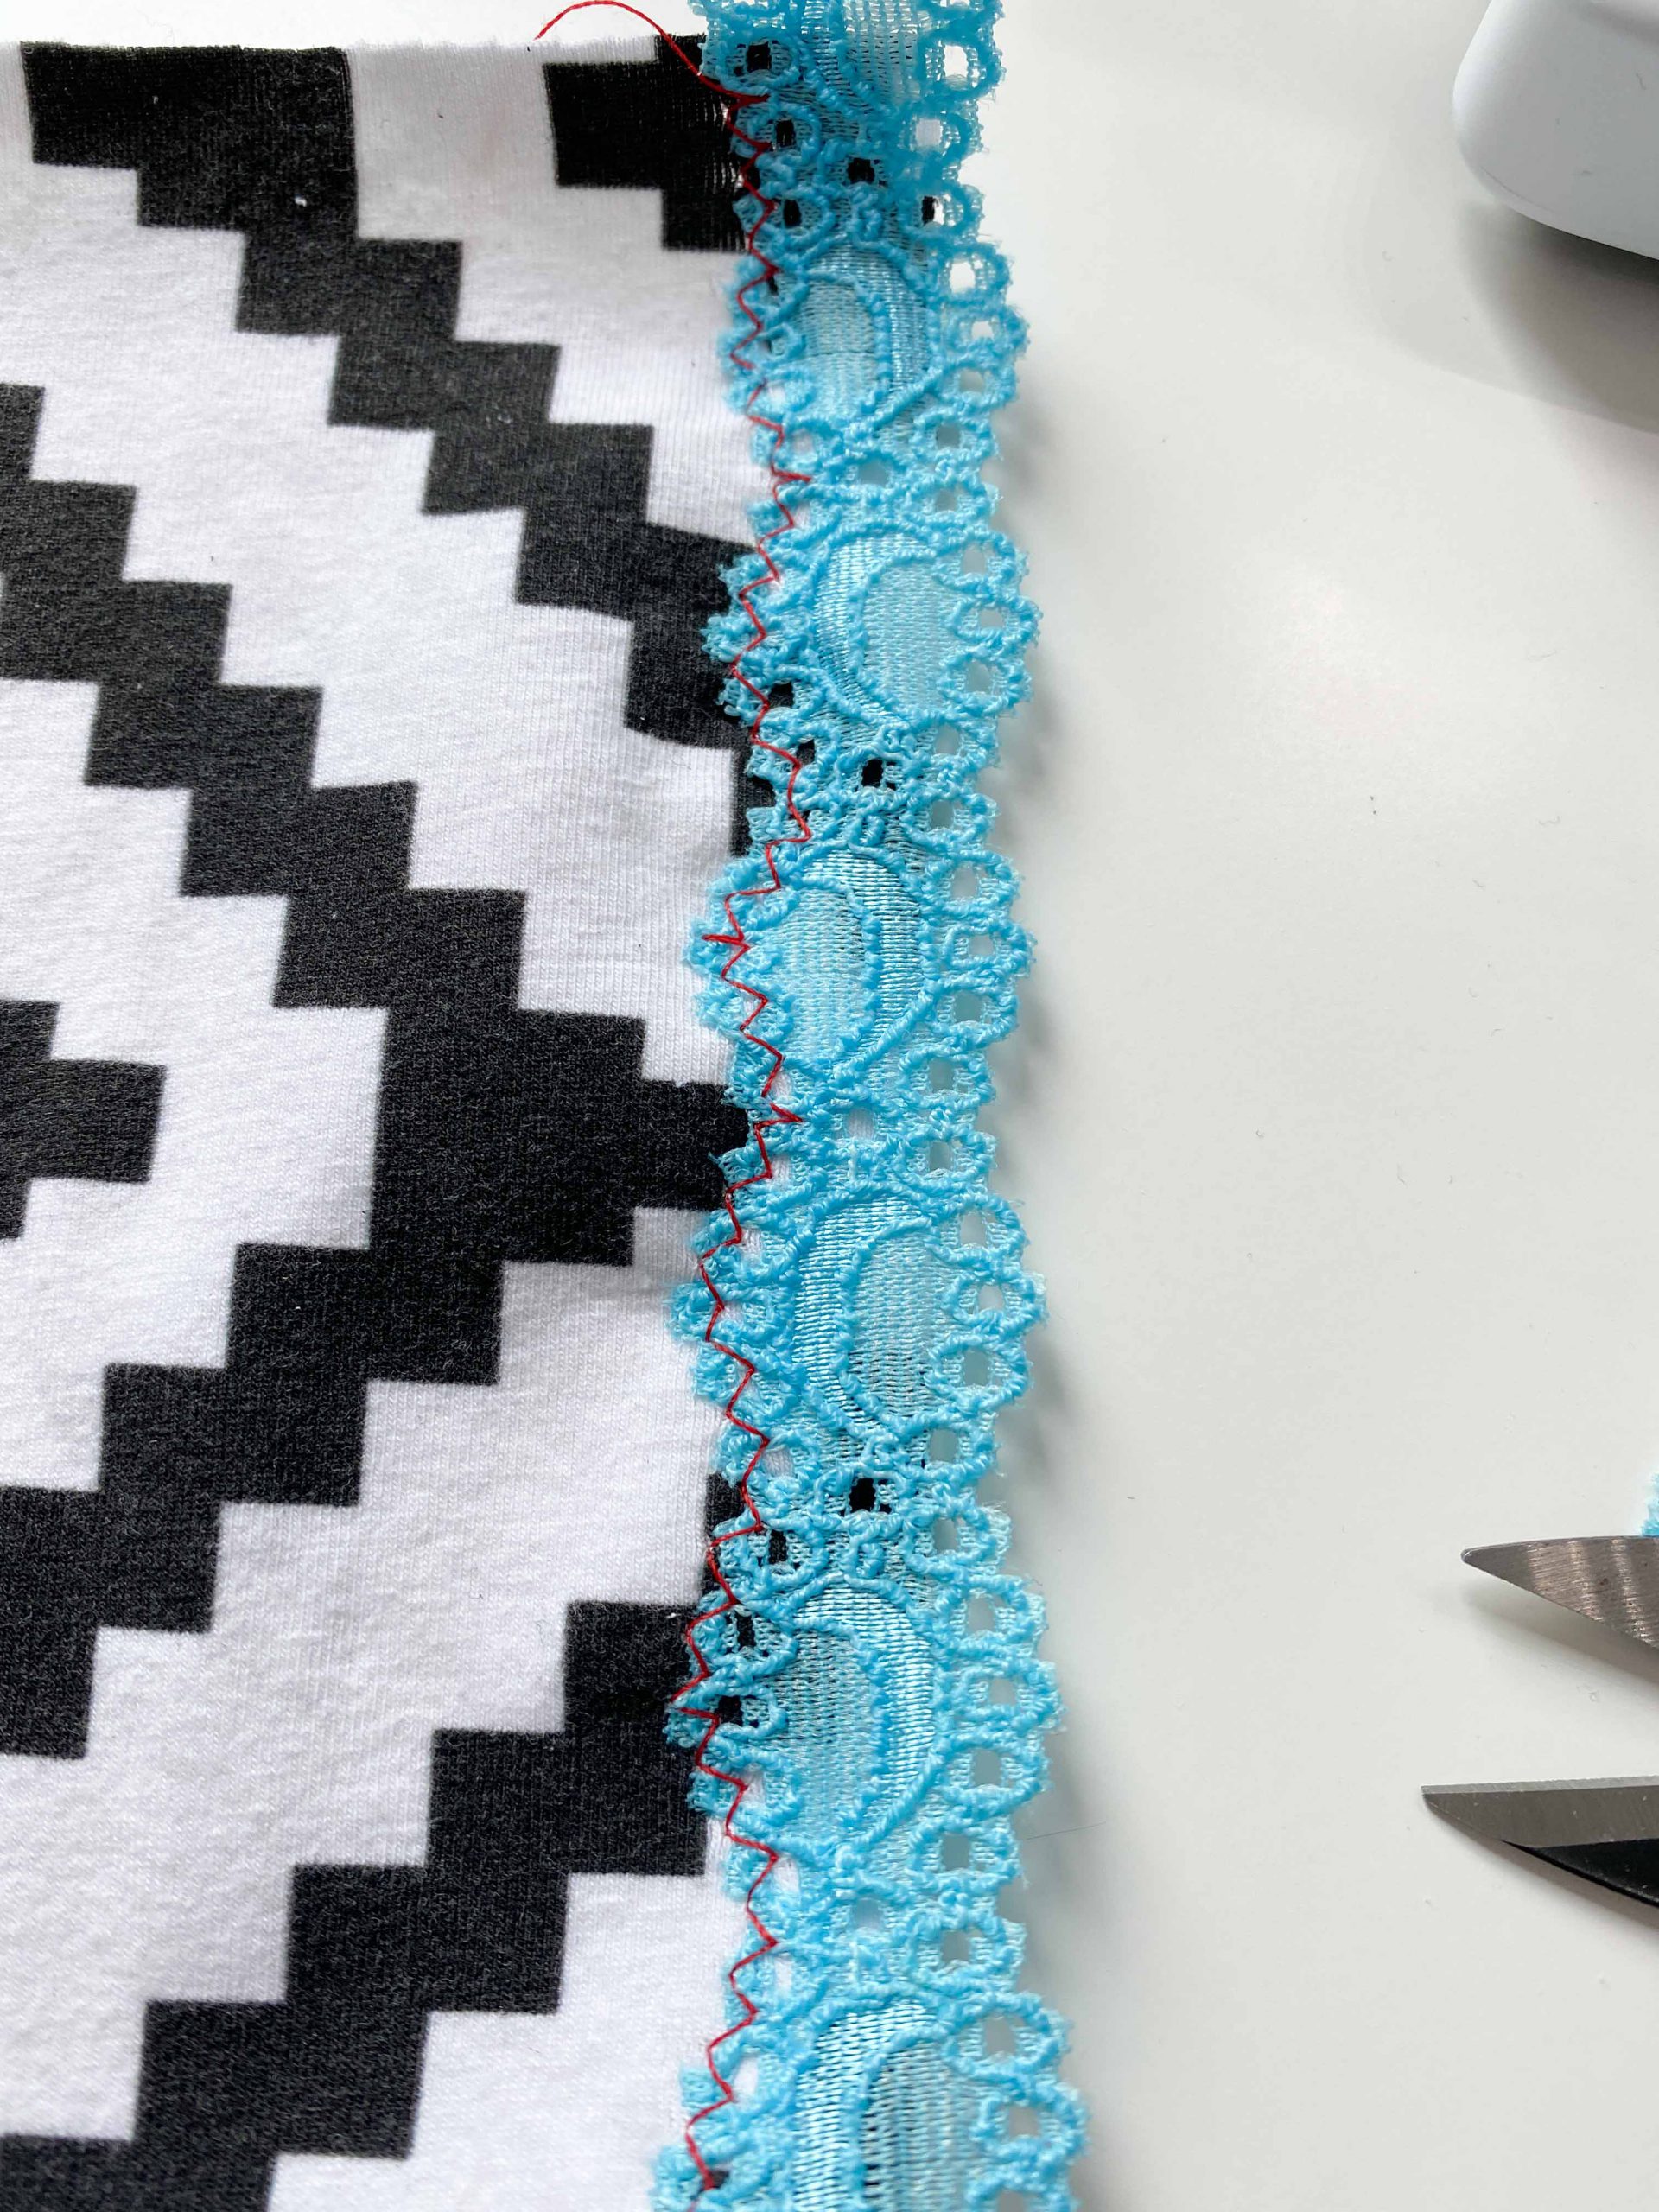
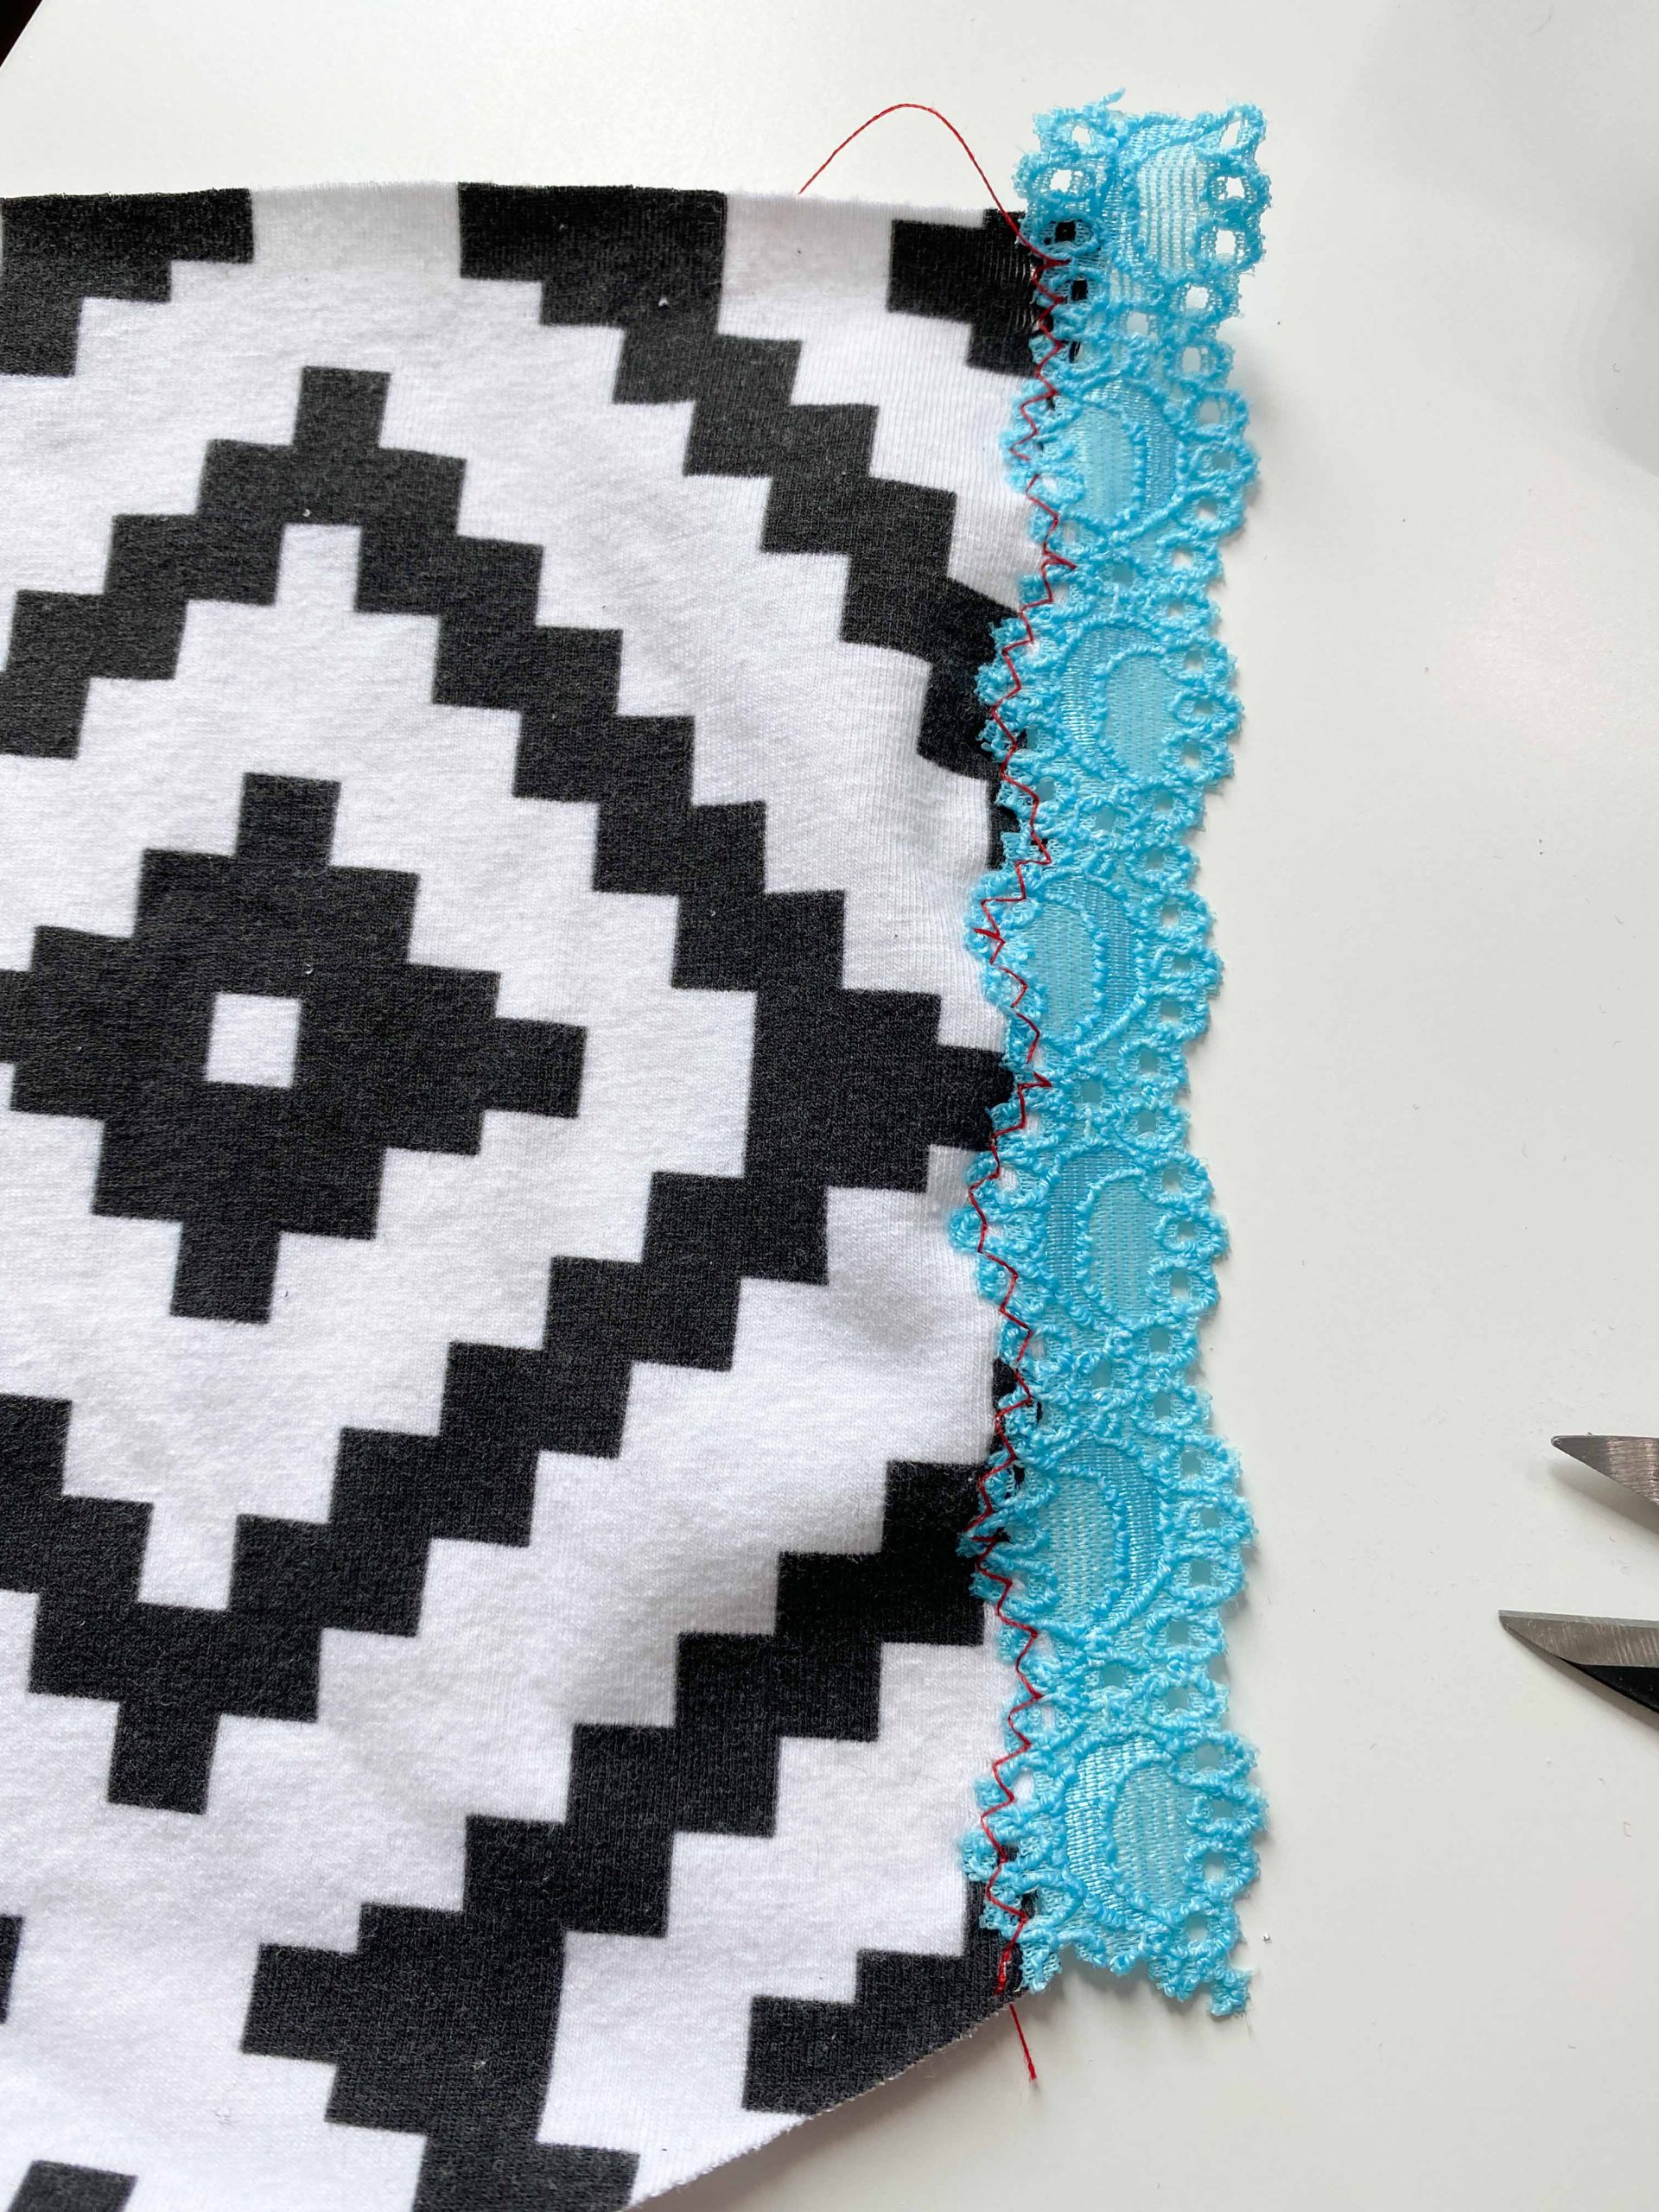
Stretch lace trim
I am not much for pinning but when sewing with stretch lace trim I use pins to attach the scalops to the fabric. You can also baste your lace to the fabric. Lay your lace with the right side up to the right side of your fabric and then sew your zigzags following the scallops of the lace. you may want to set your needle in a down position and lift your presser foot between the scallops to get a neat effect.
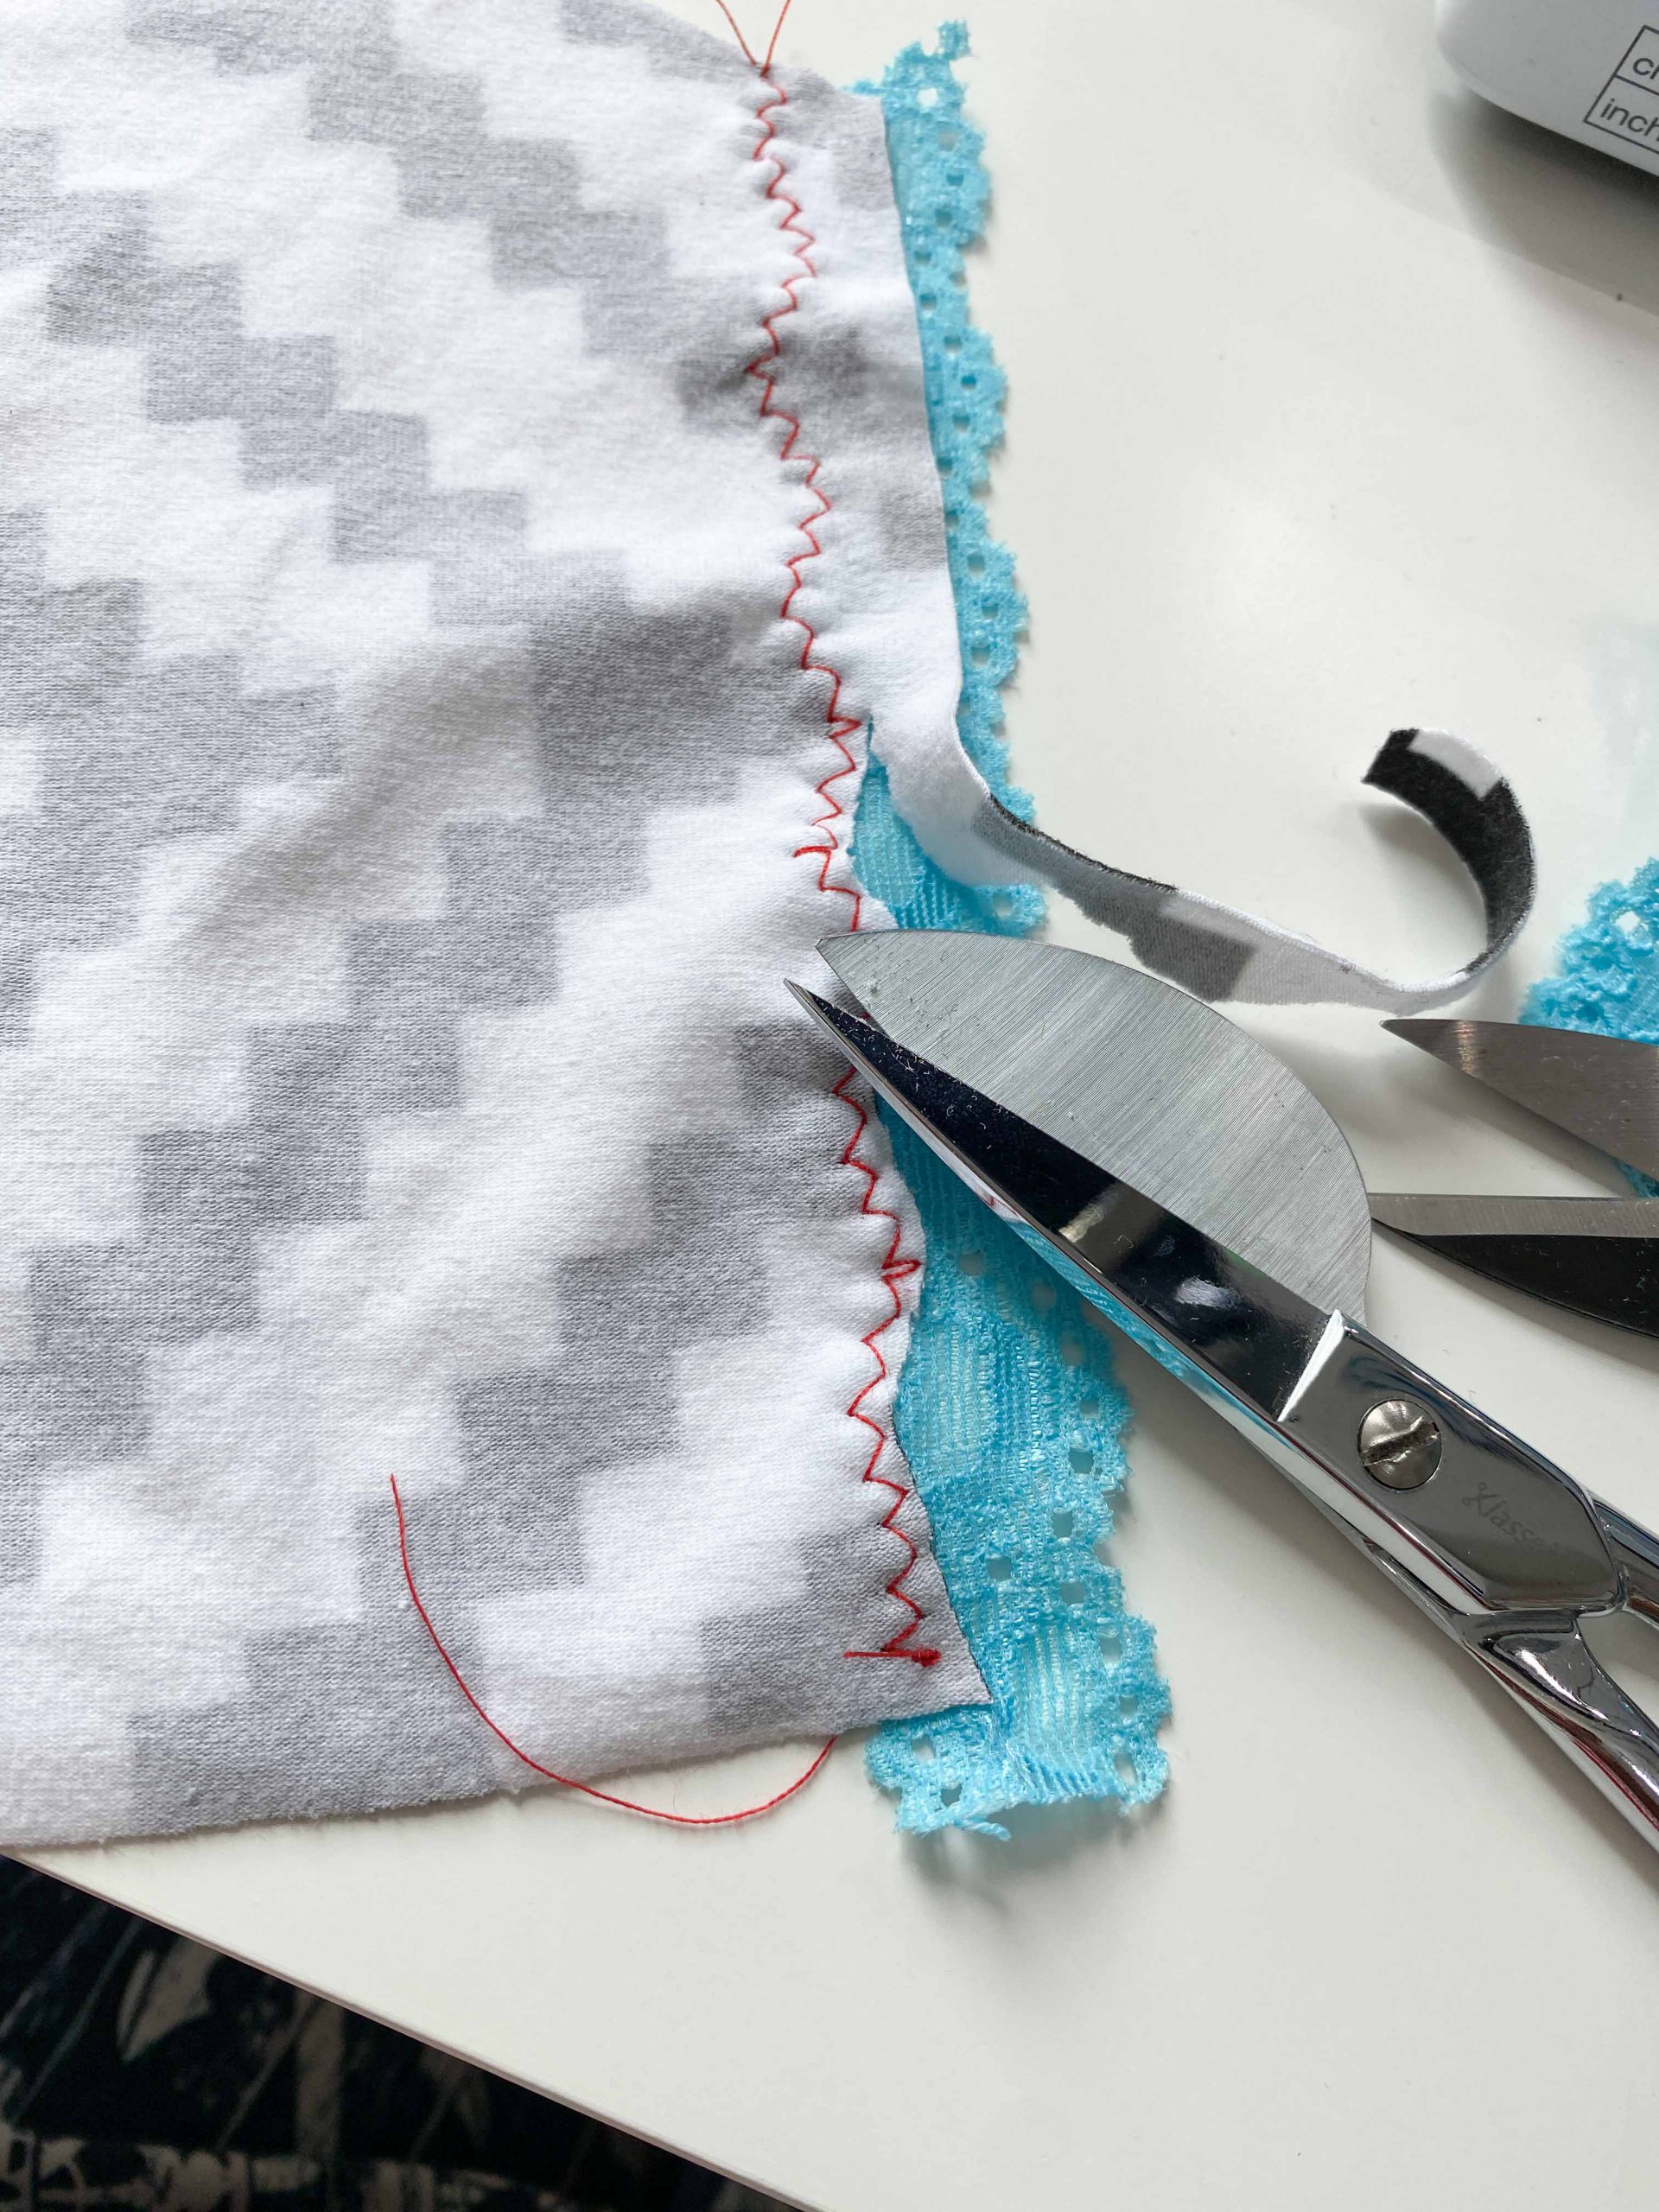
Turn to the back and trim away the seam-allowances.
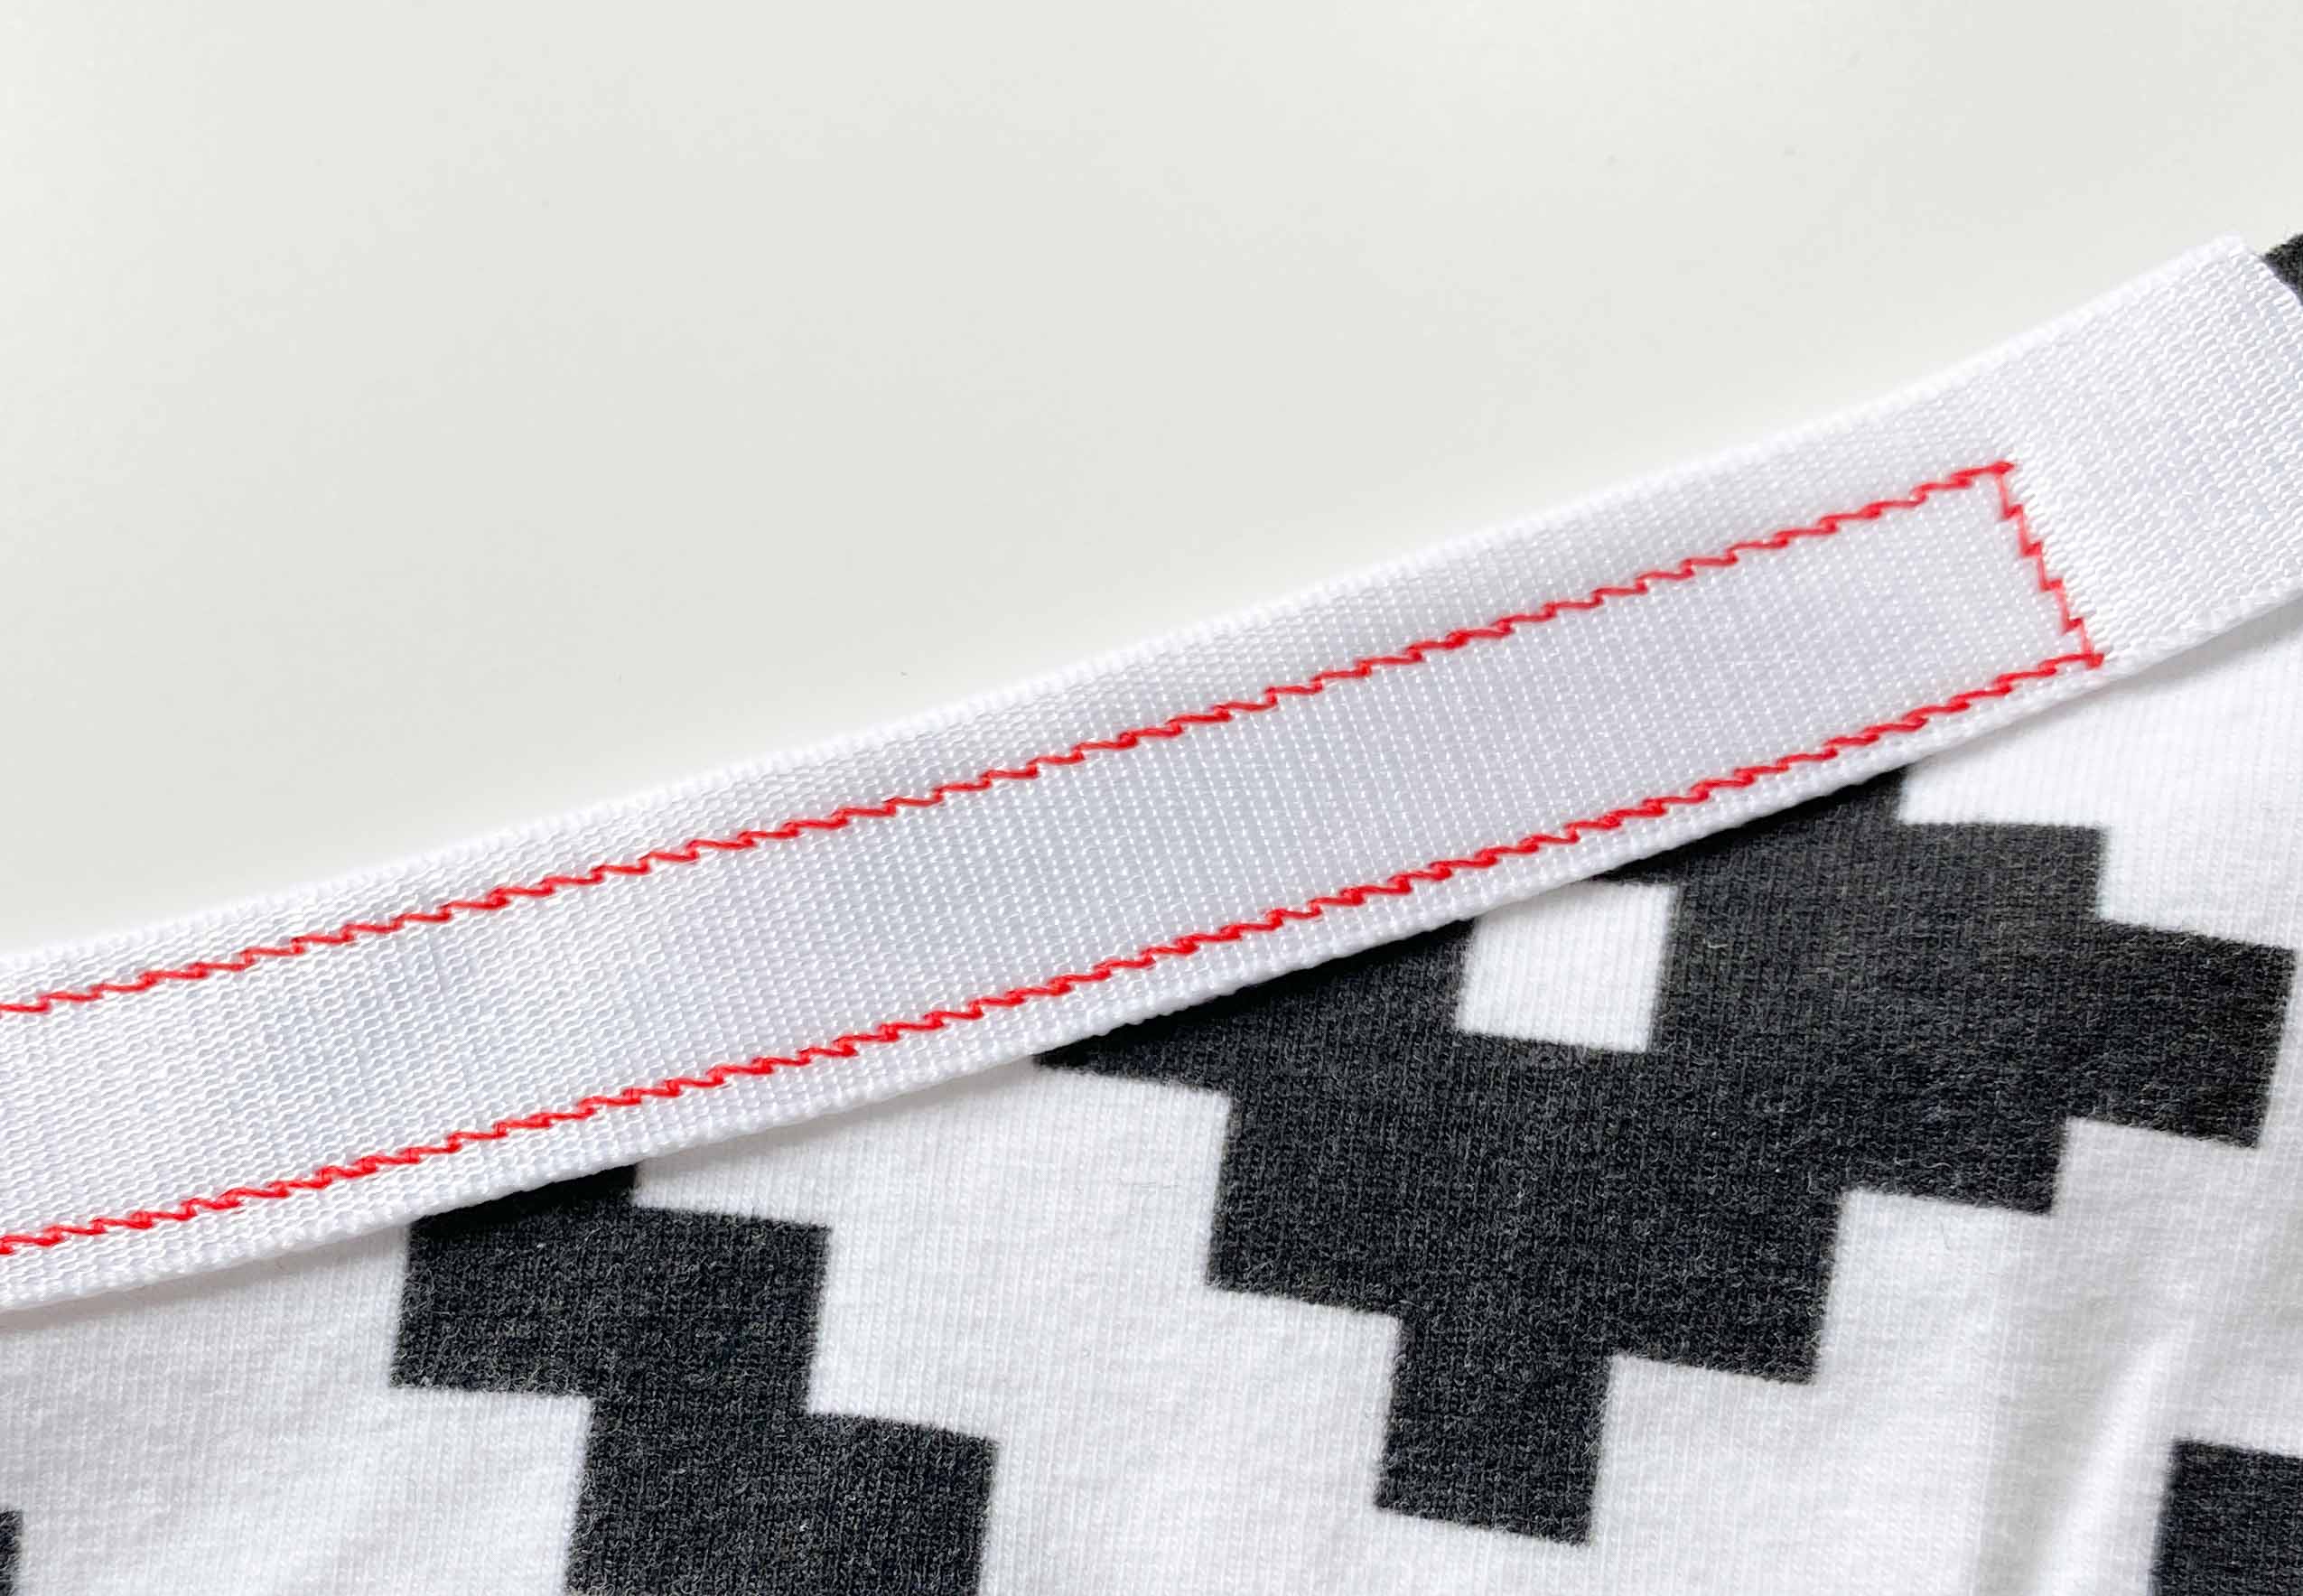
Strap elastic
If you’re sewing perpendicular to the elastic you can just use a regular straight stitch.
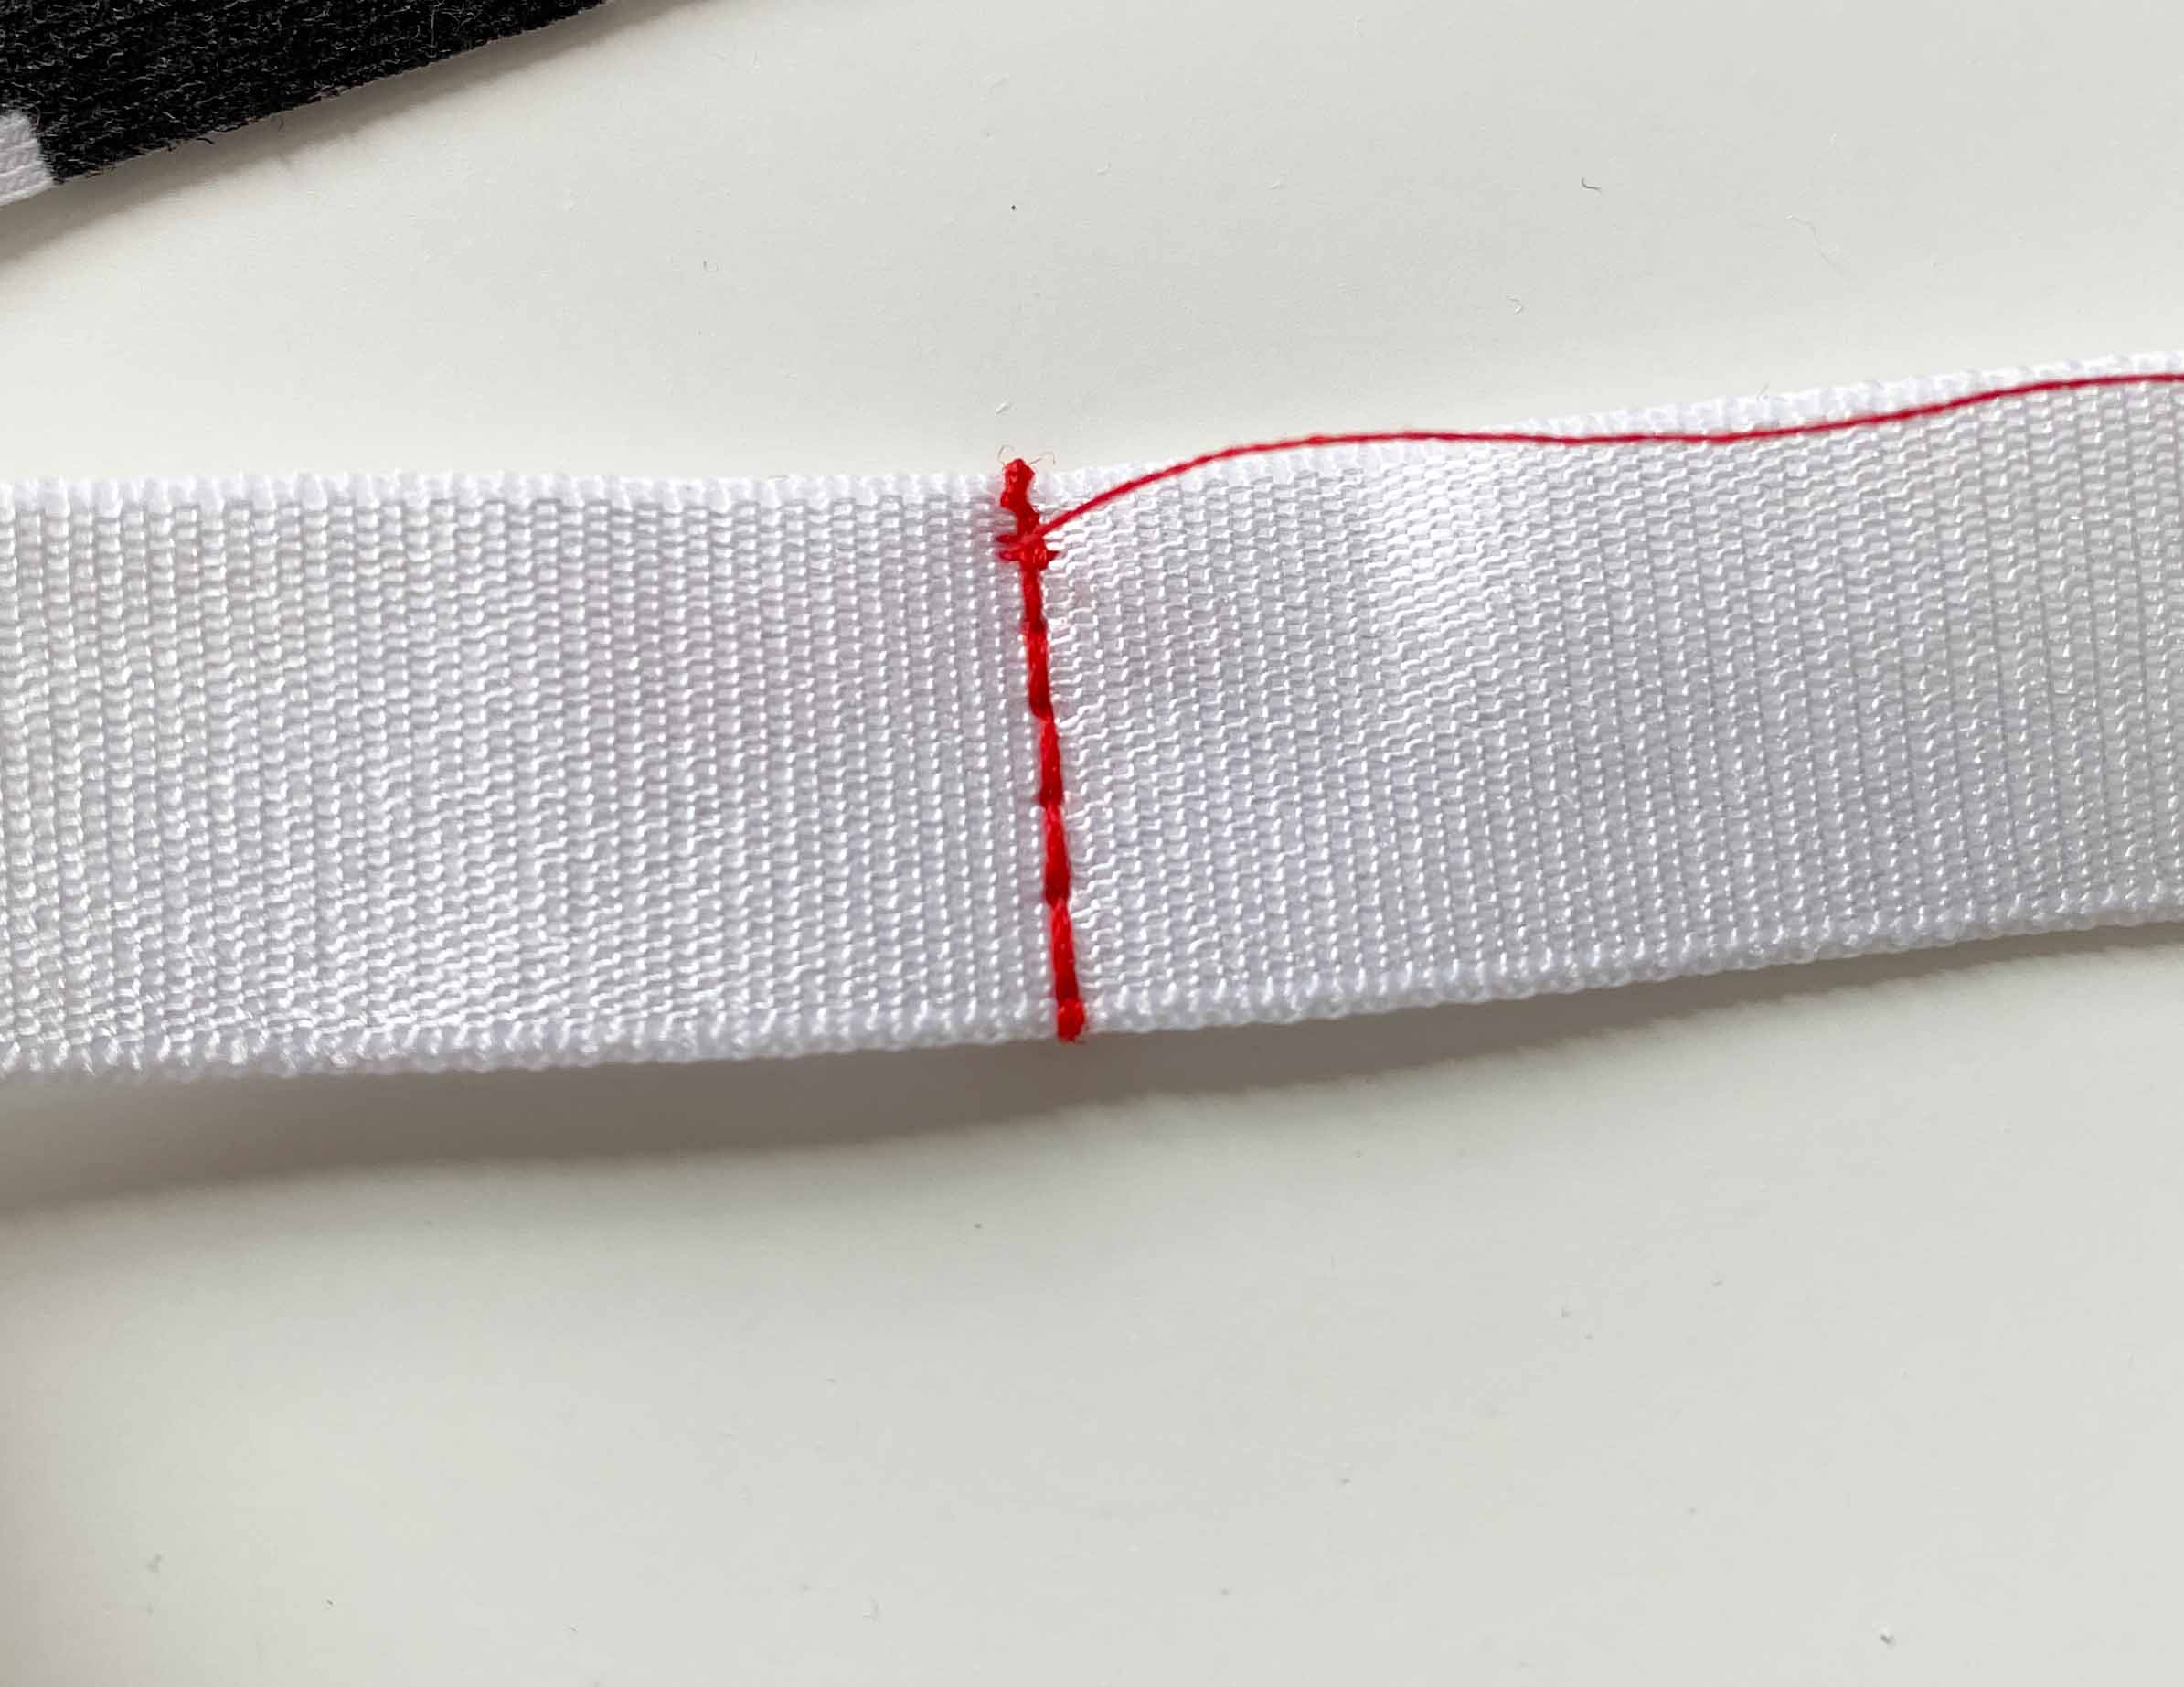
If your sewing in the direction of the elastic (stretch) you will need to use some sort of stretch stitch. I tend to use the lightning stitch.

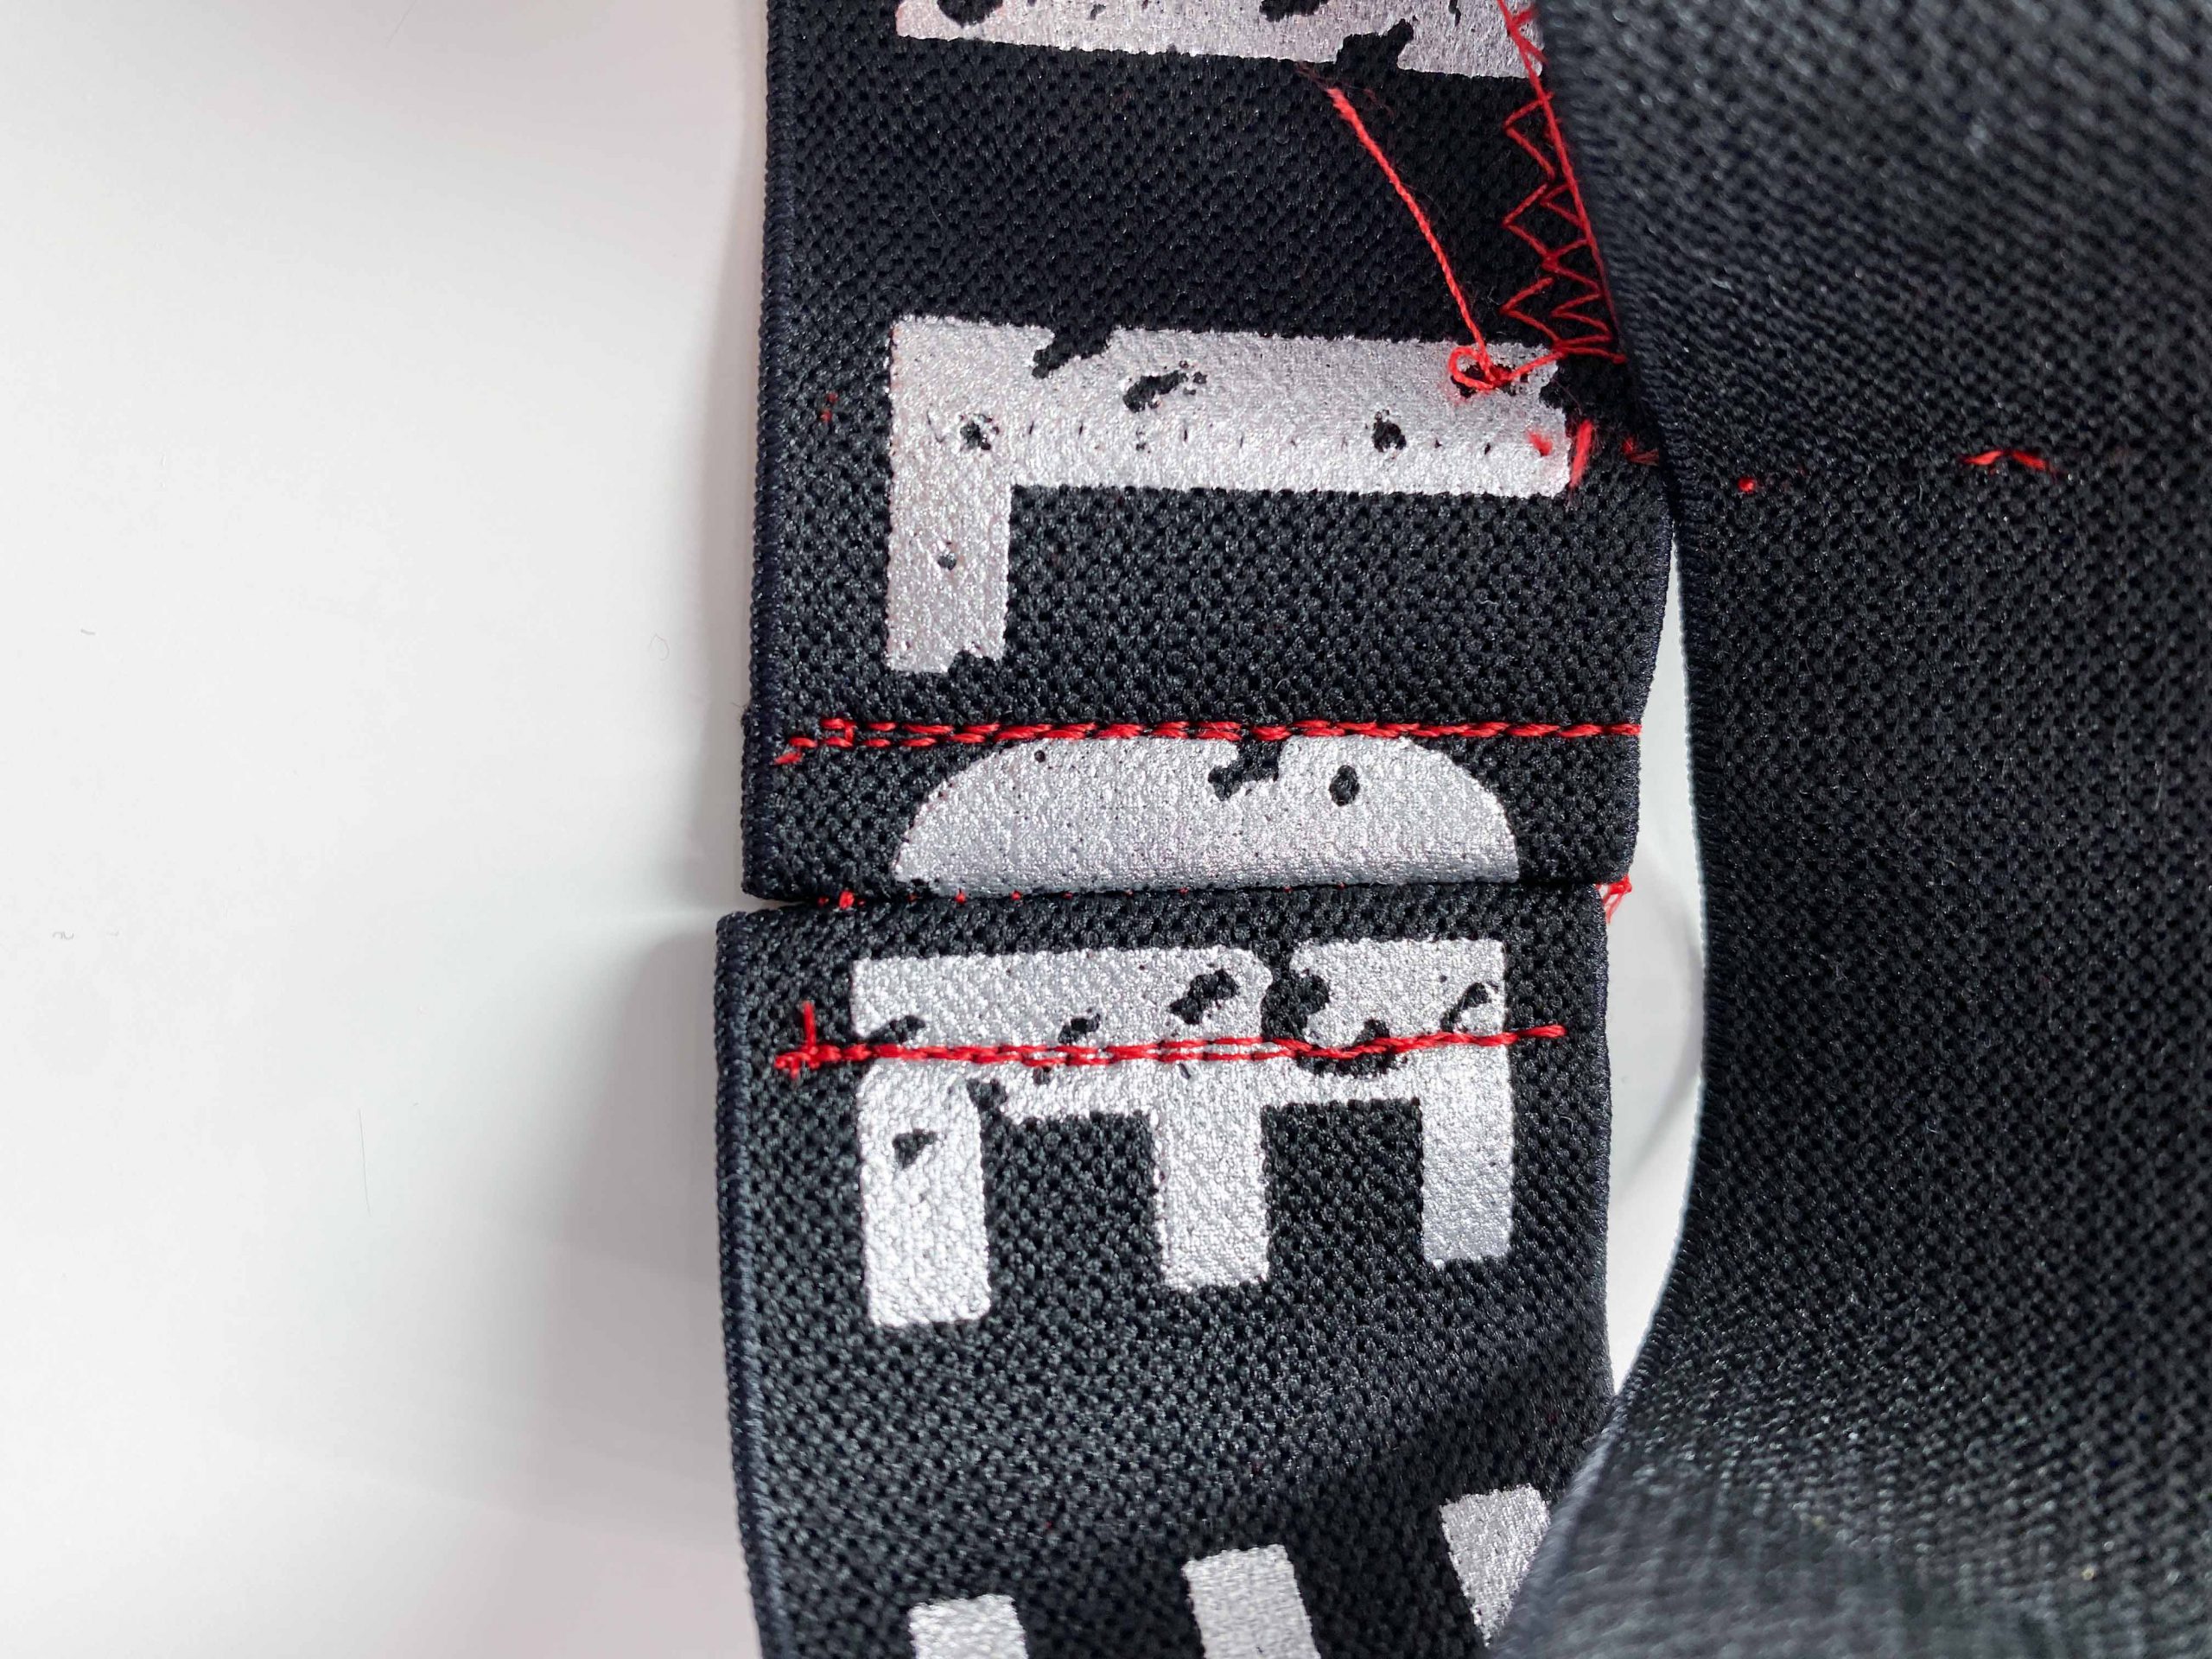
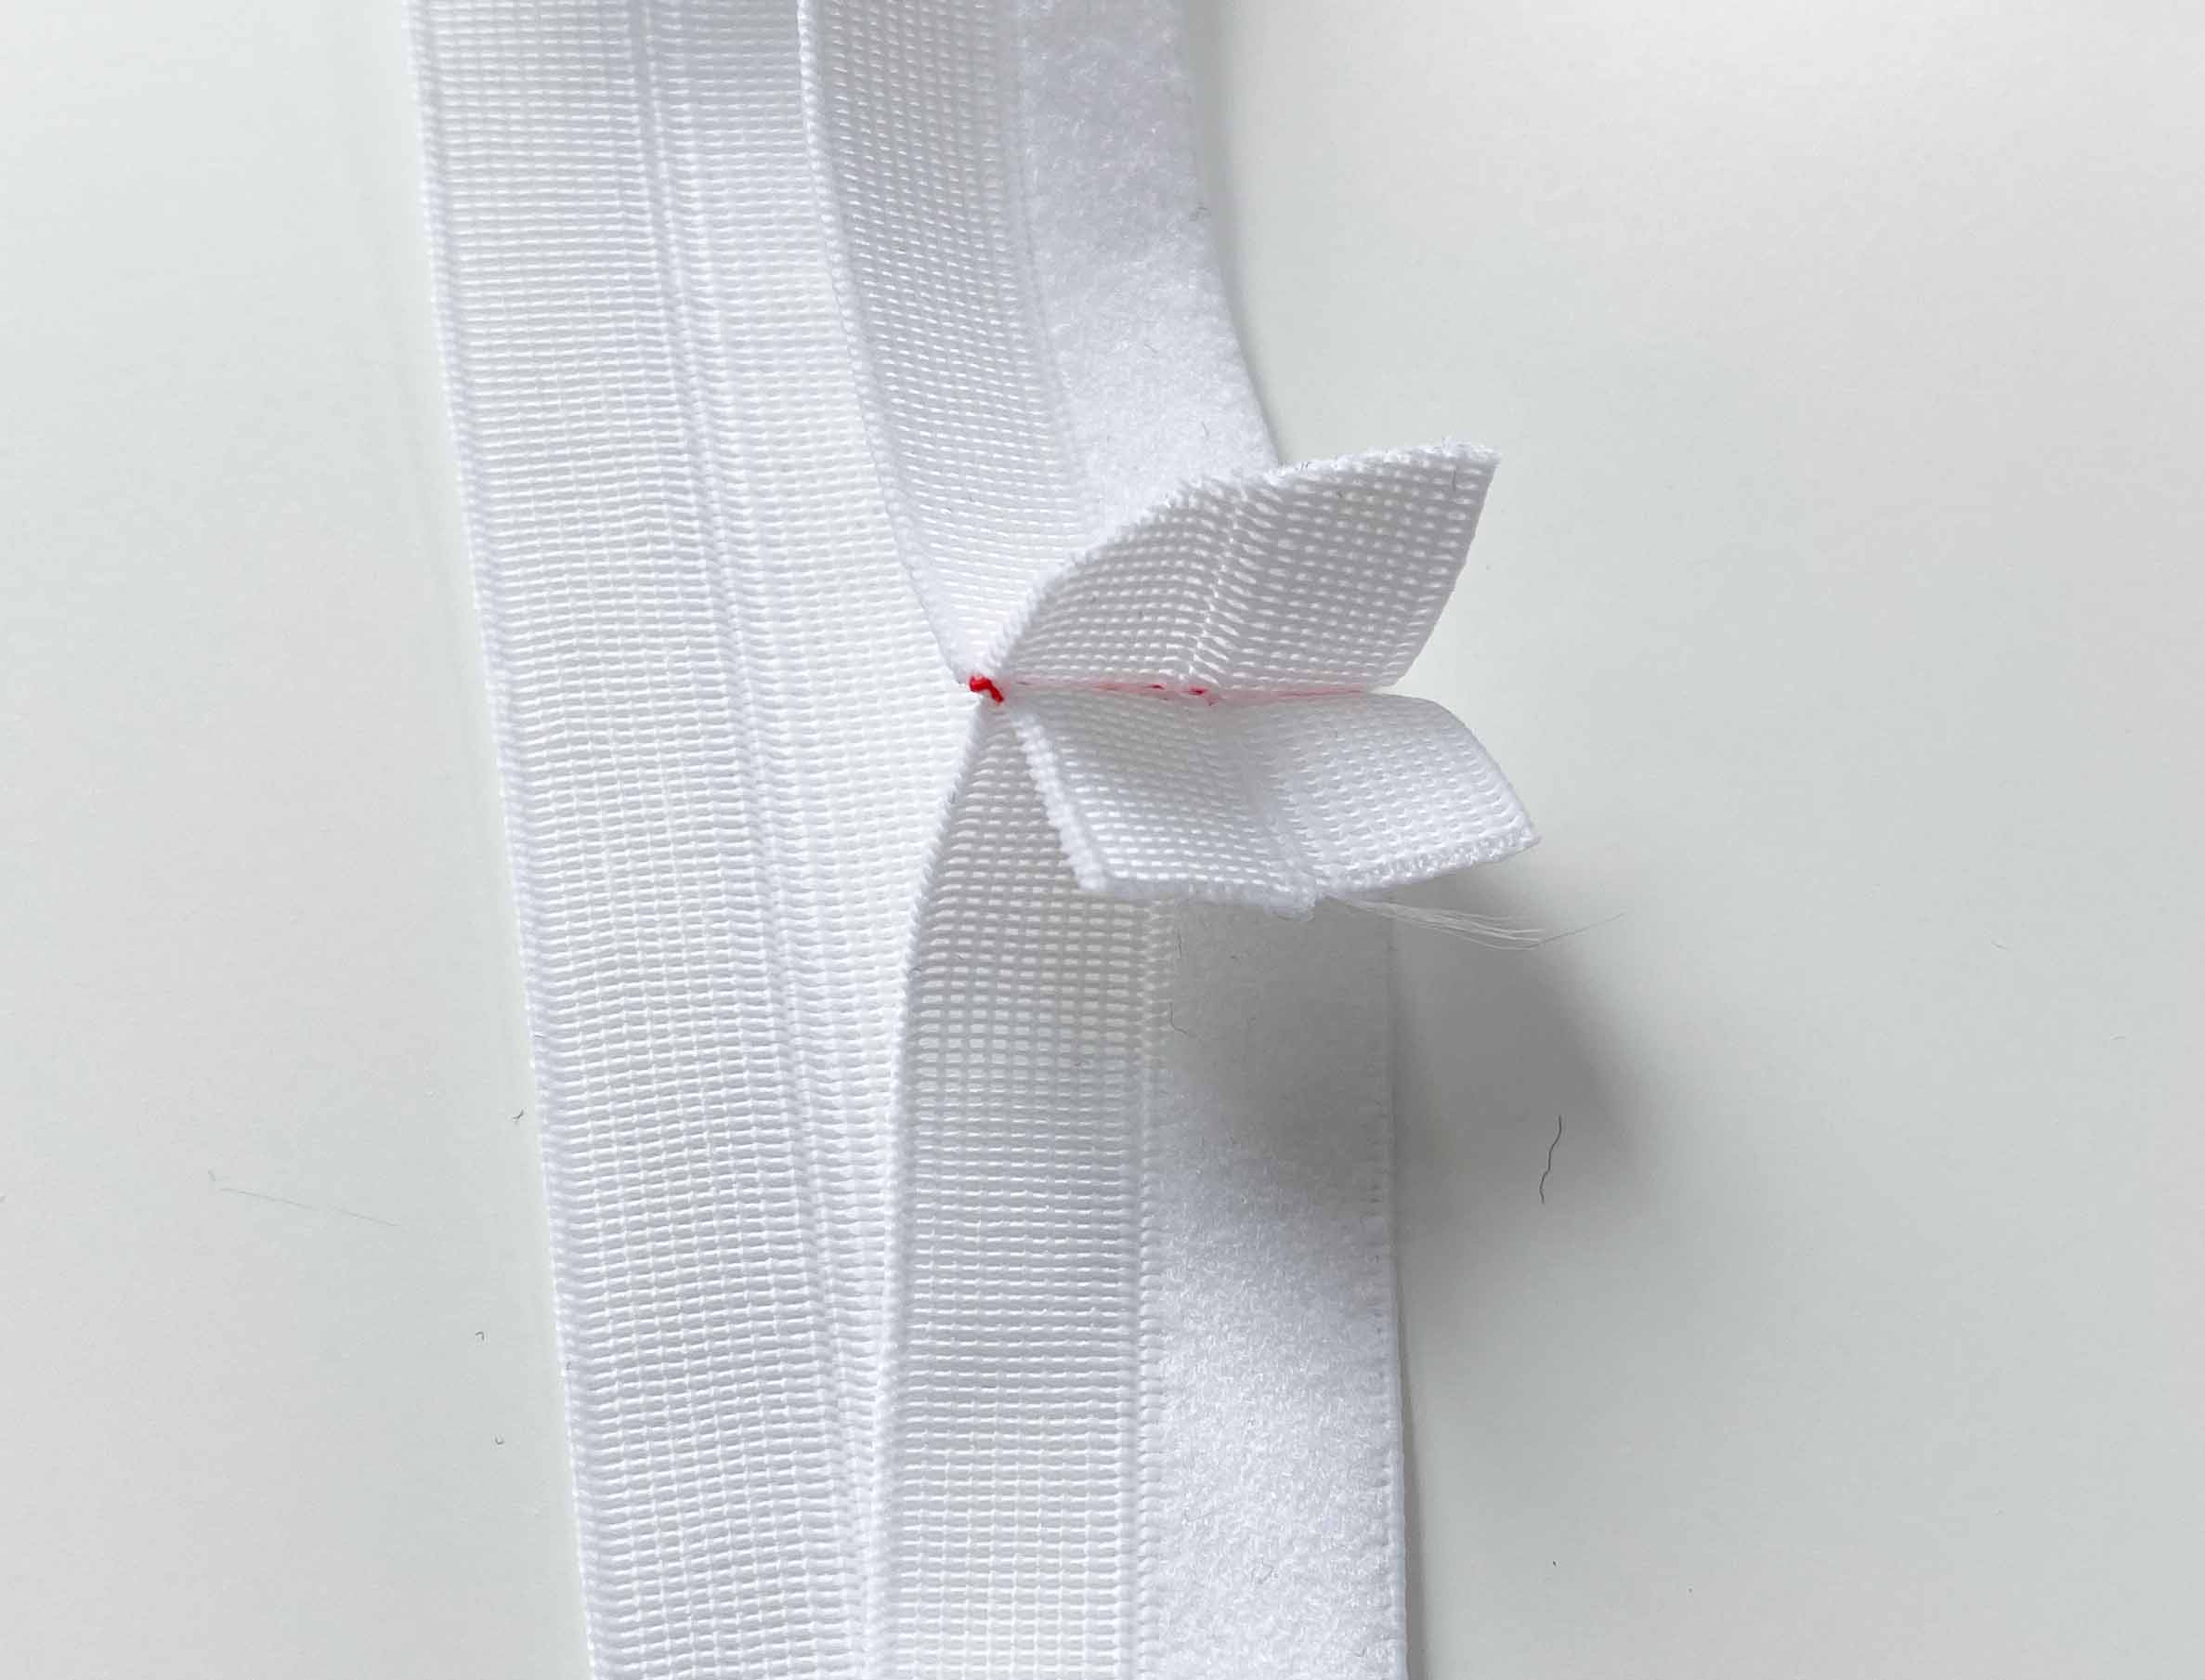
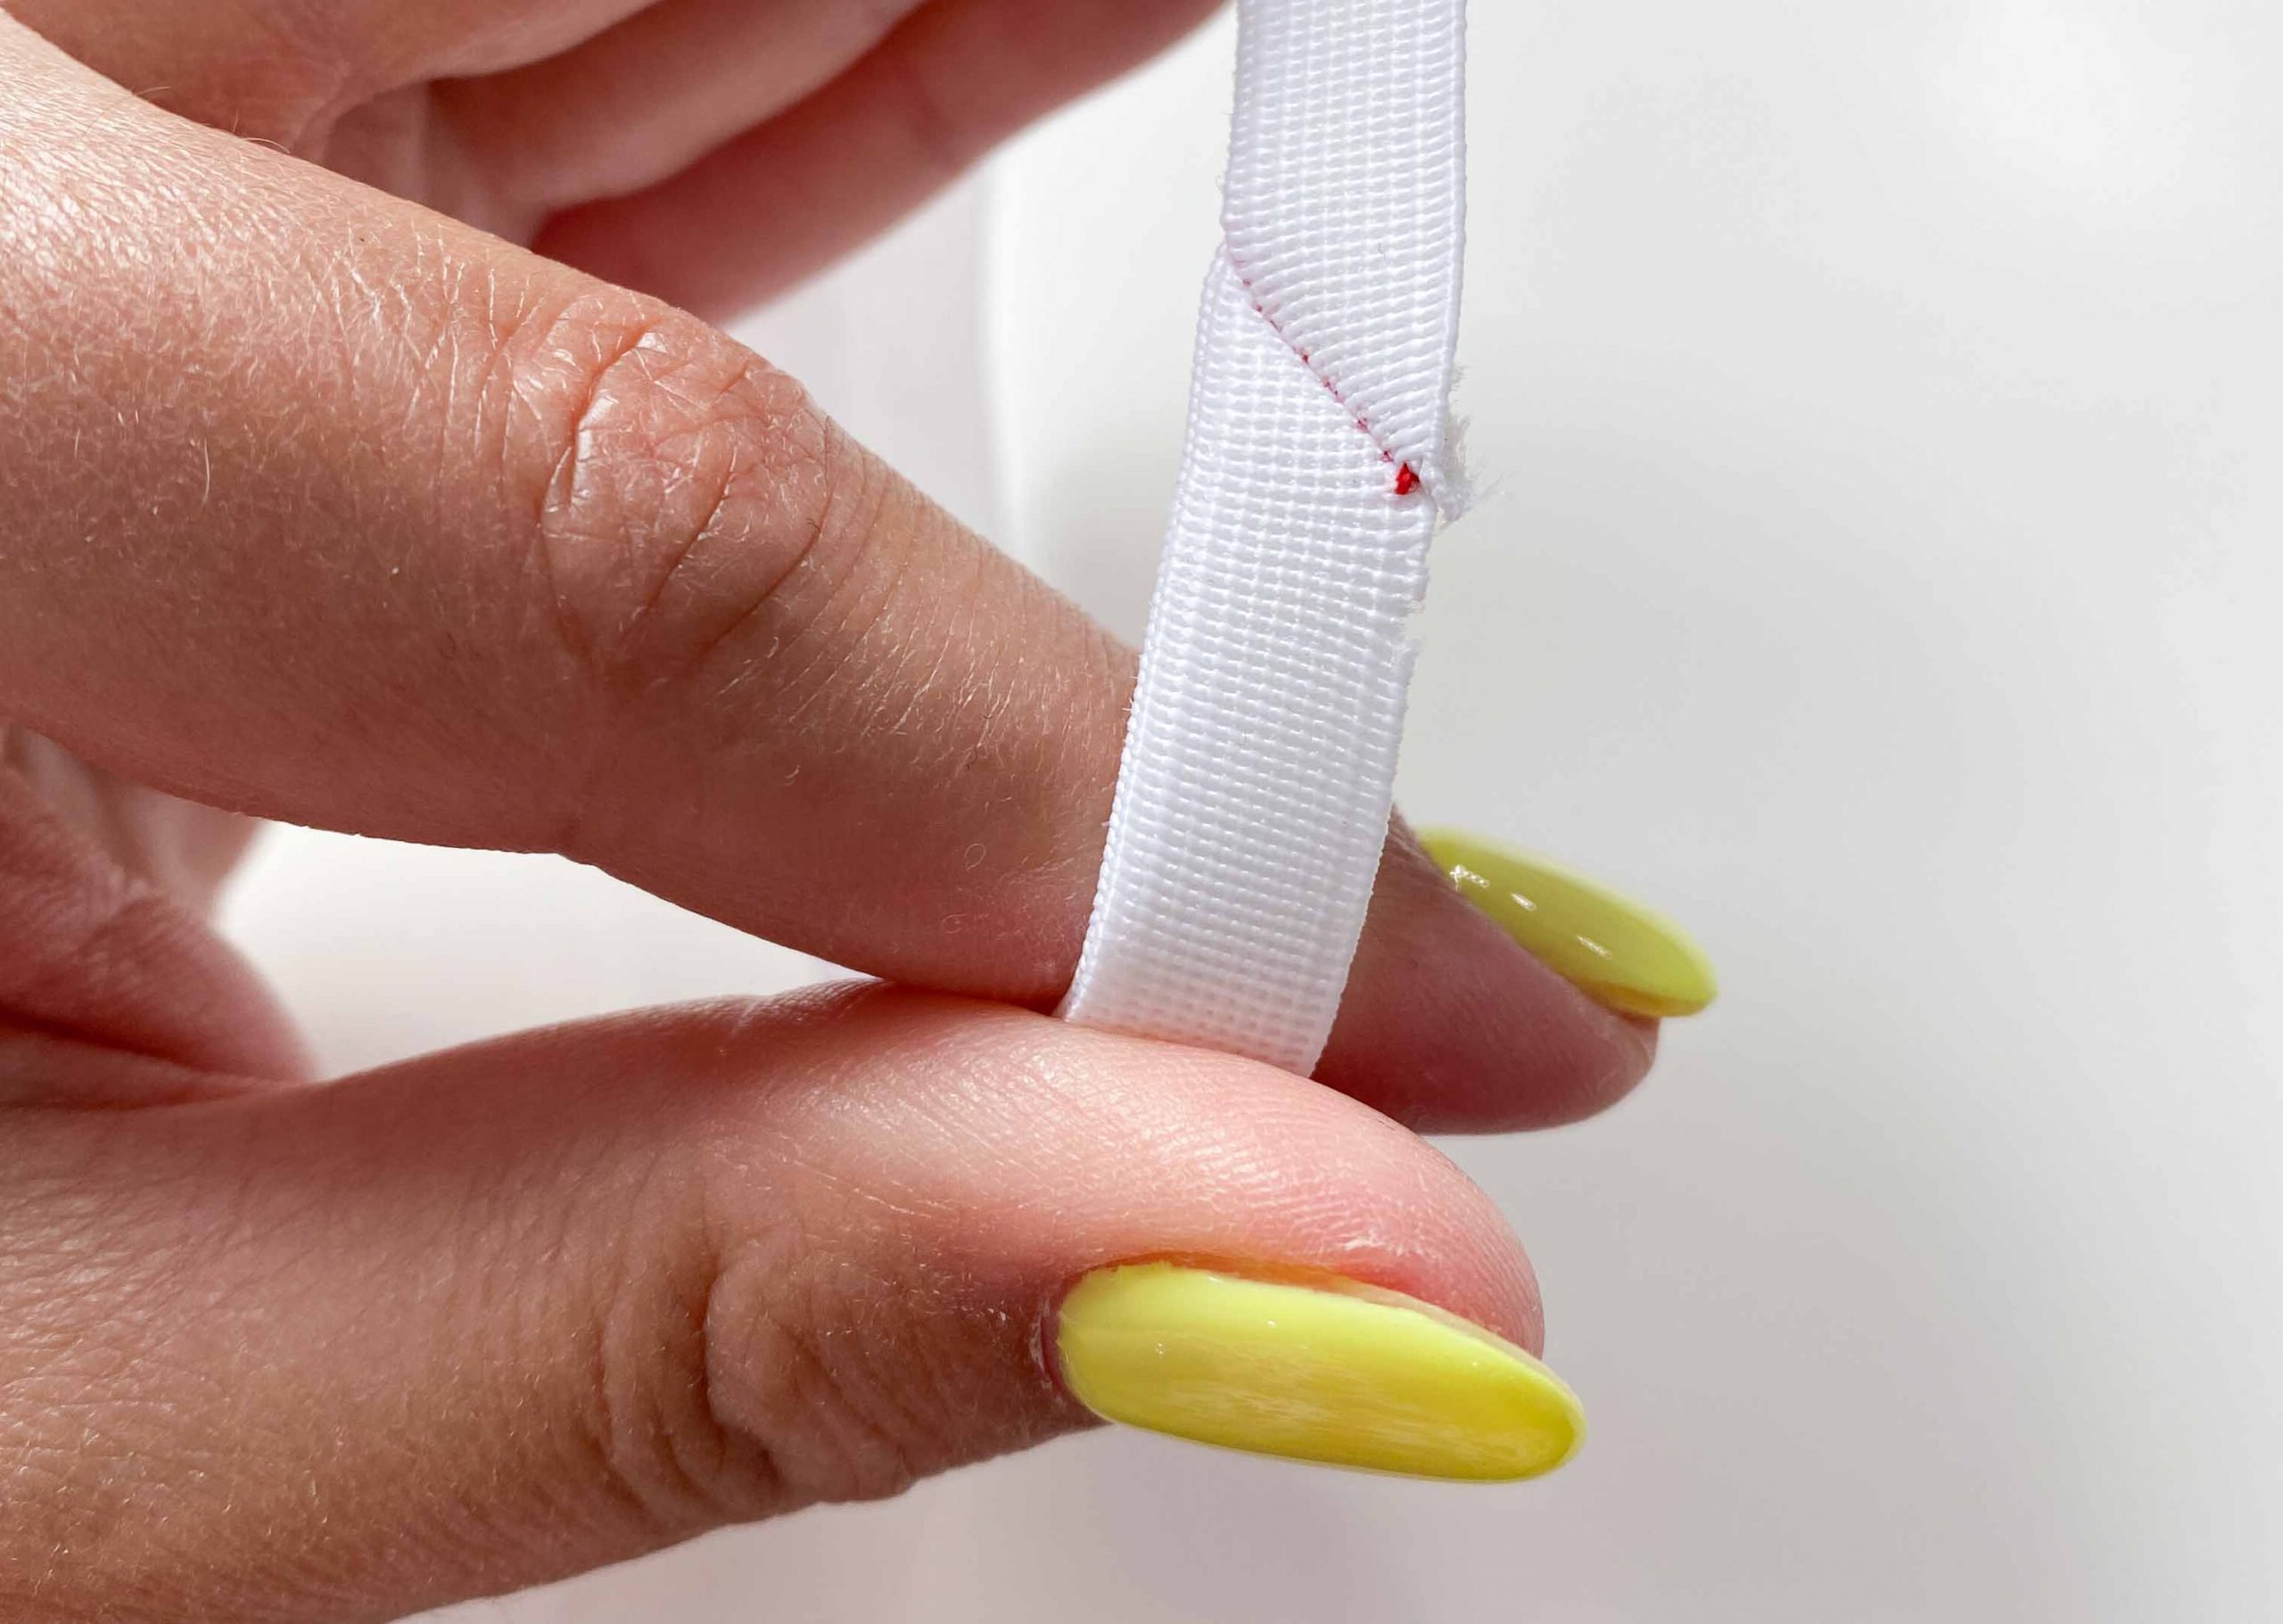
Sewing elastic “on the round” or closing the elastics
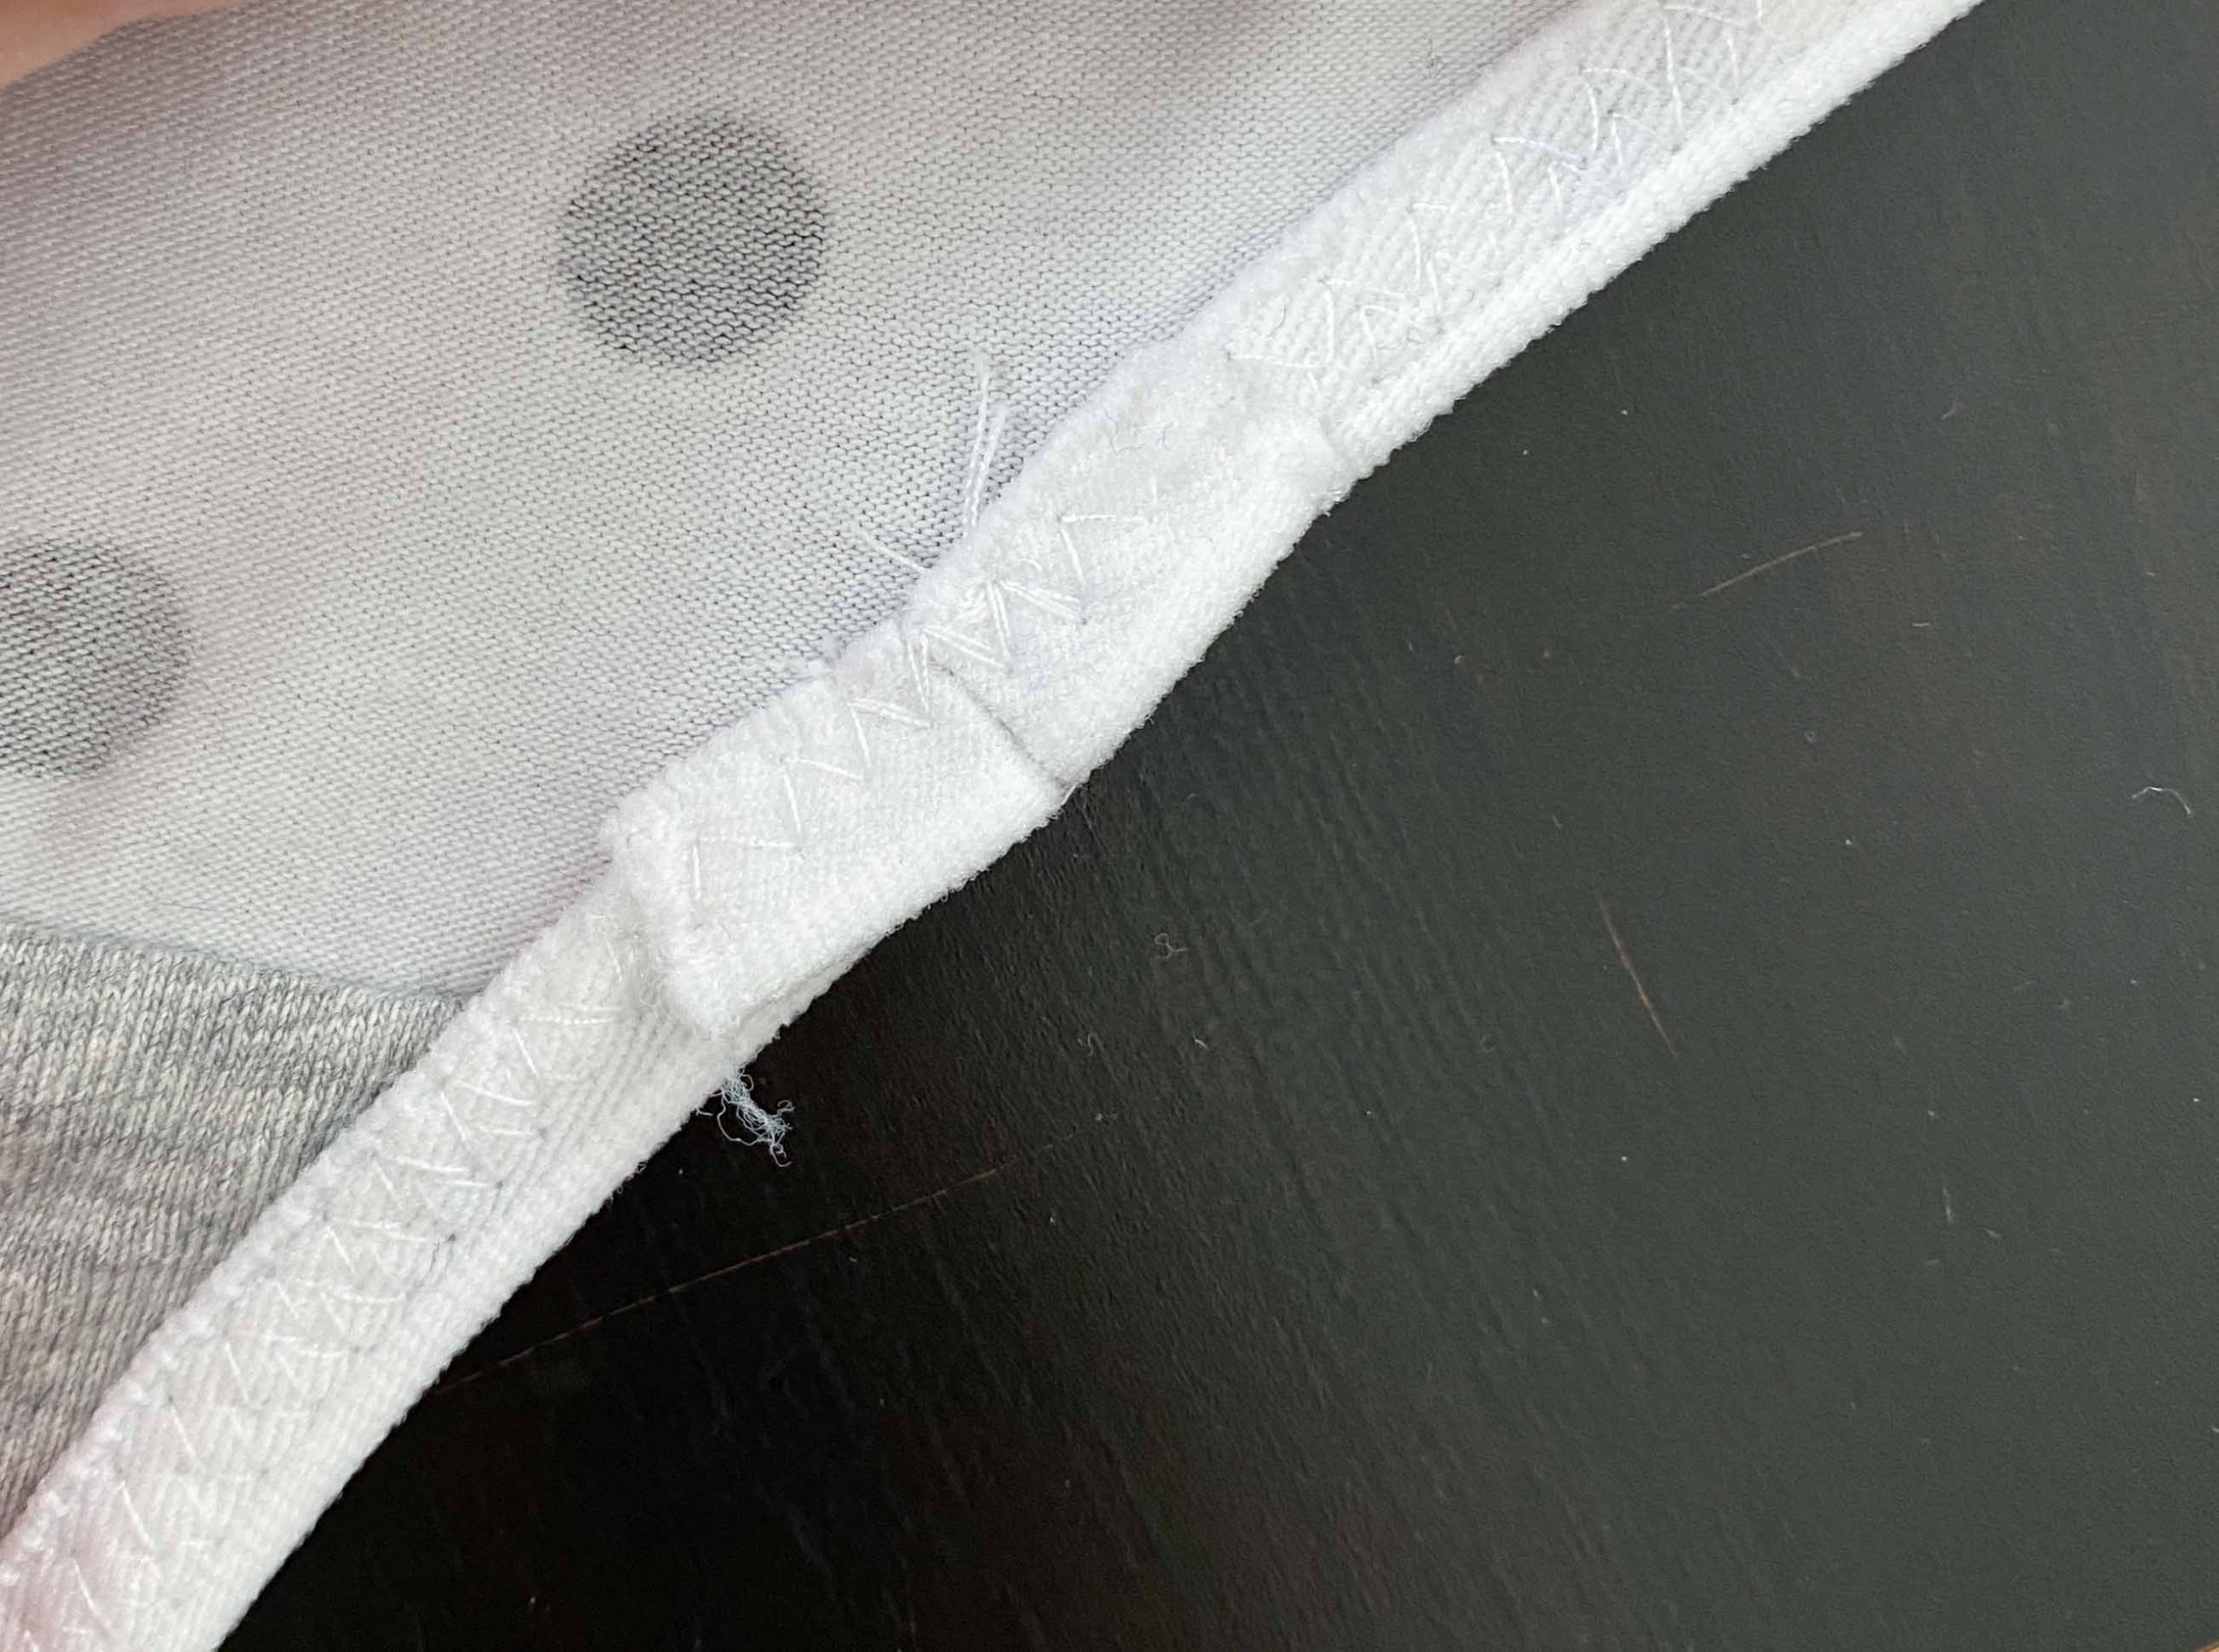
Wide elastic
Use a straight stitch or a narrow zigzag to finish the seam. Distribute the seamallowances to each side of the seam and stitch a vertical line on each side. This will keep everything nice and flat.
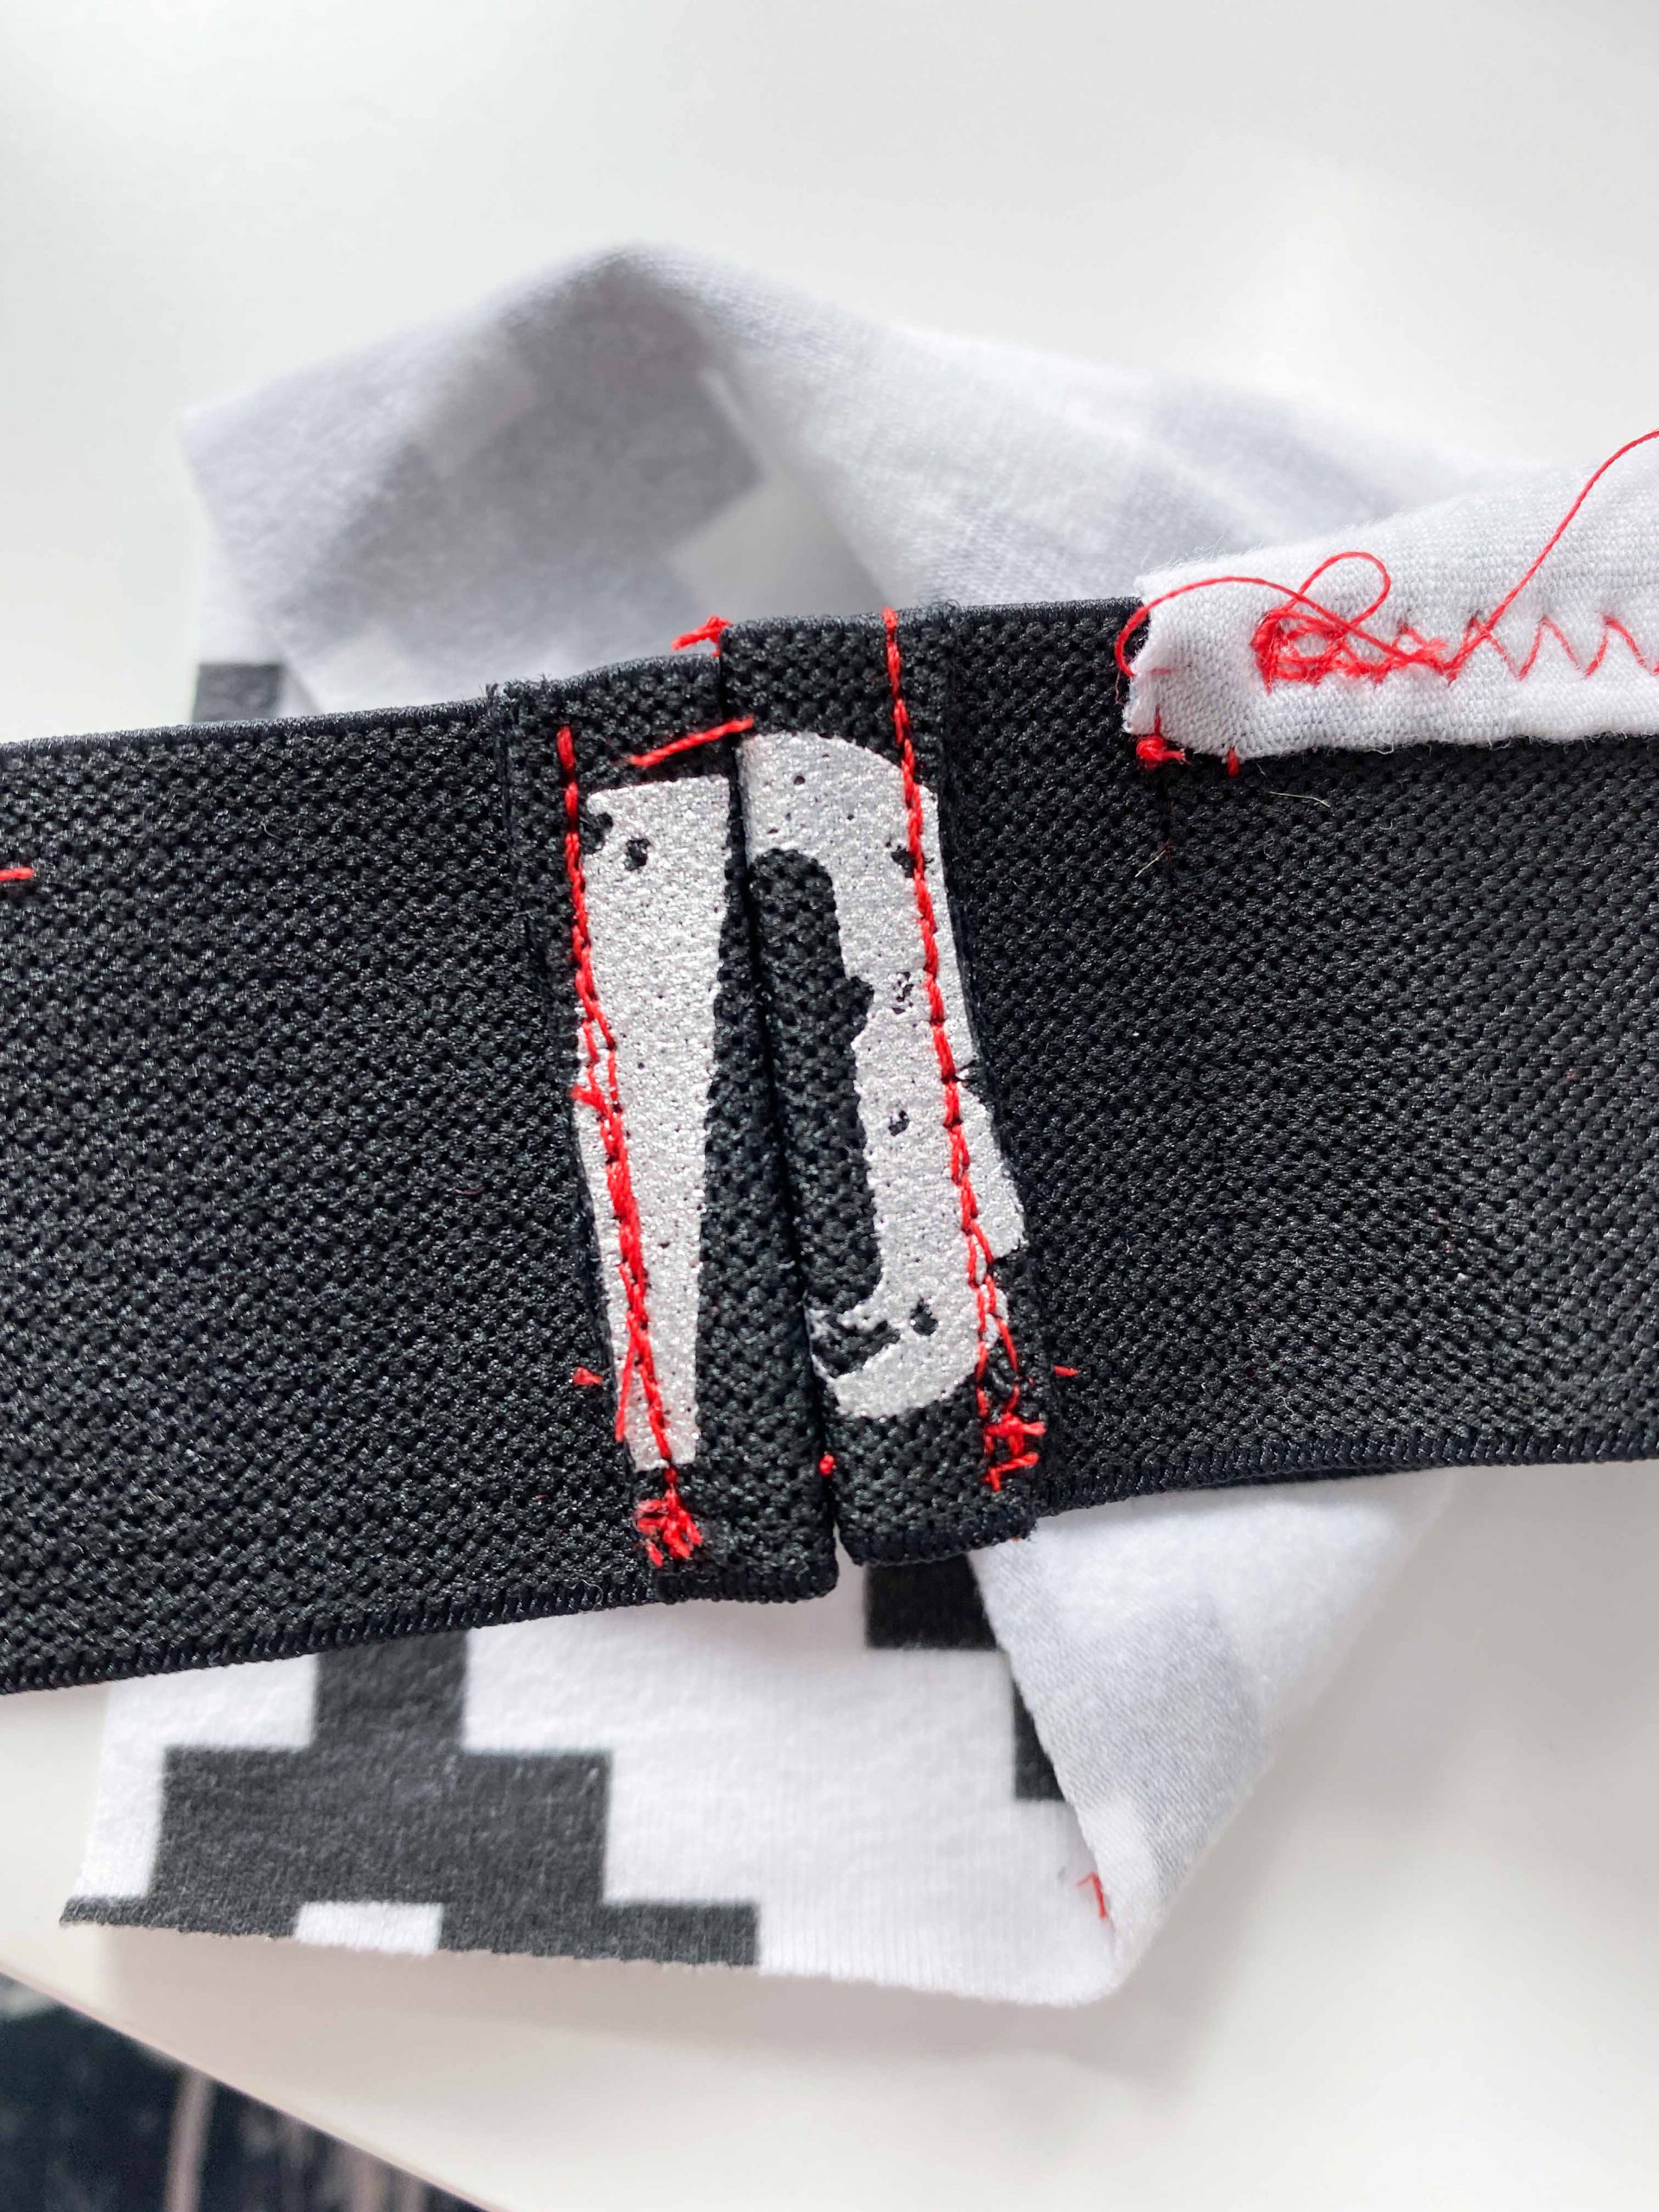
FOE
Method 1
Close the FOE with a straight or a angled seam (like you would on bias binding) and then attach it to your fabric. This is a good method if you already know how long your elastics need to be.

Method 2
Sew the FOE to the fabric the first pass but leave the ends open, so you can close the “loop” after your first pass (same closing as method one). Stitch the second pass. This method is good if you don’t know how long your elastics need to be.
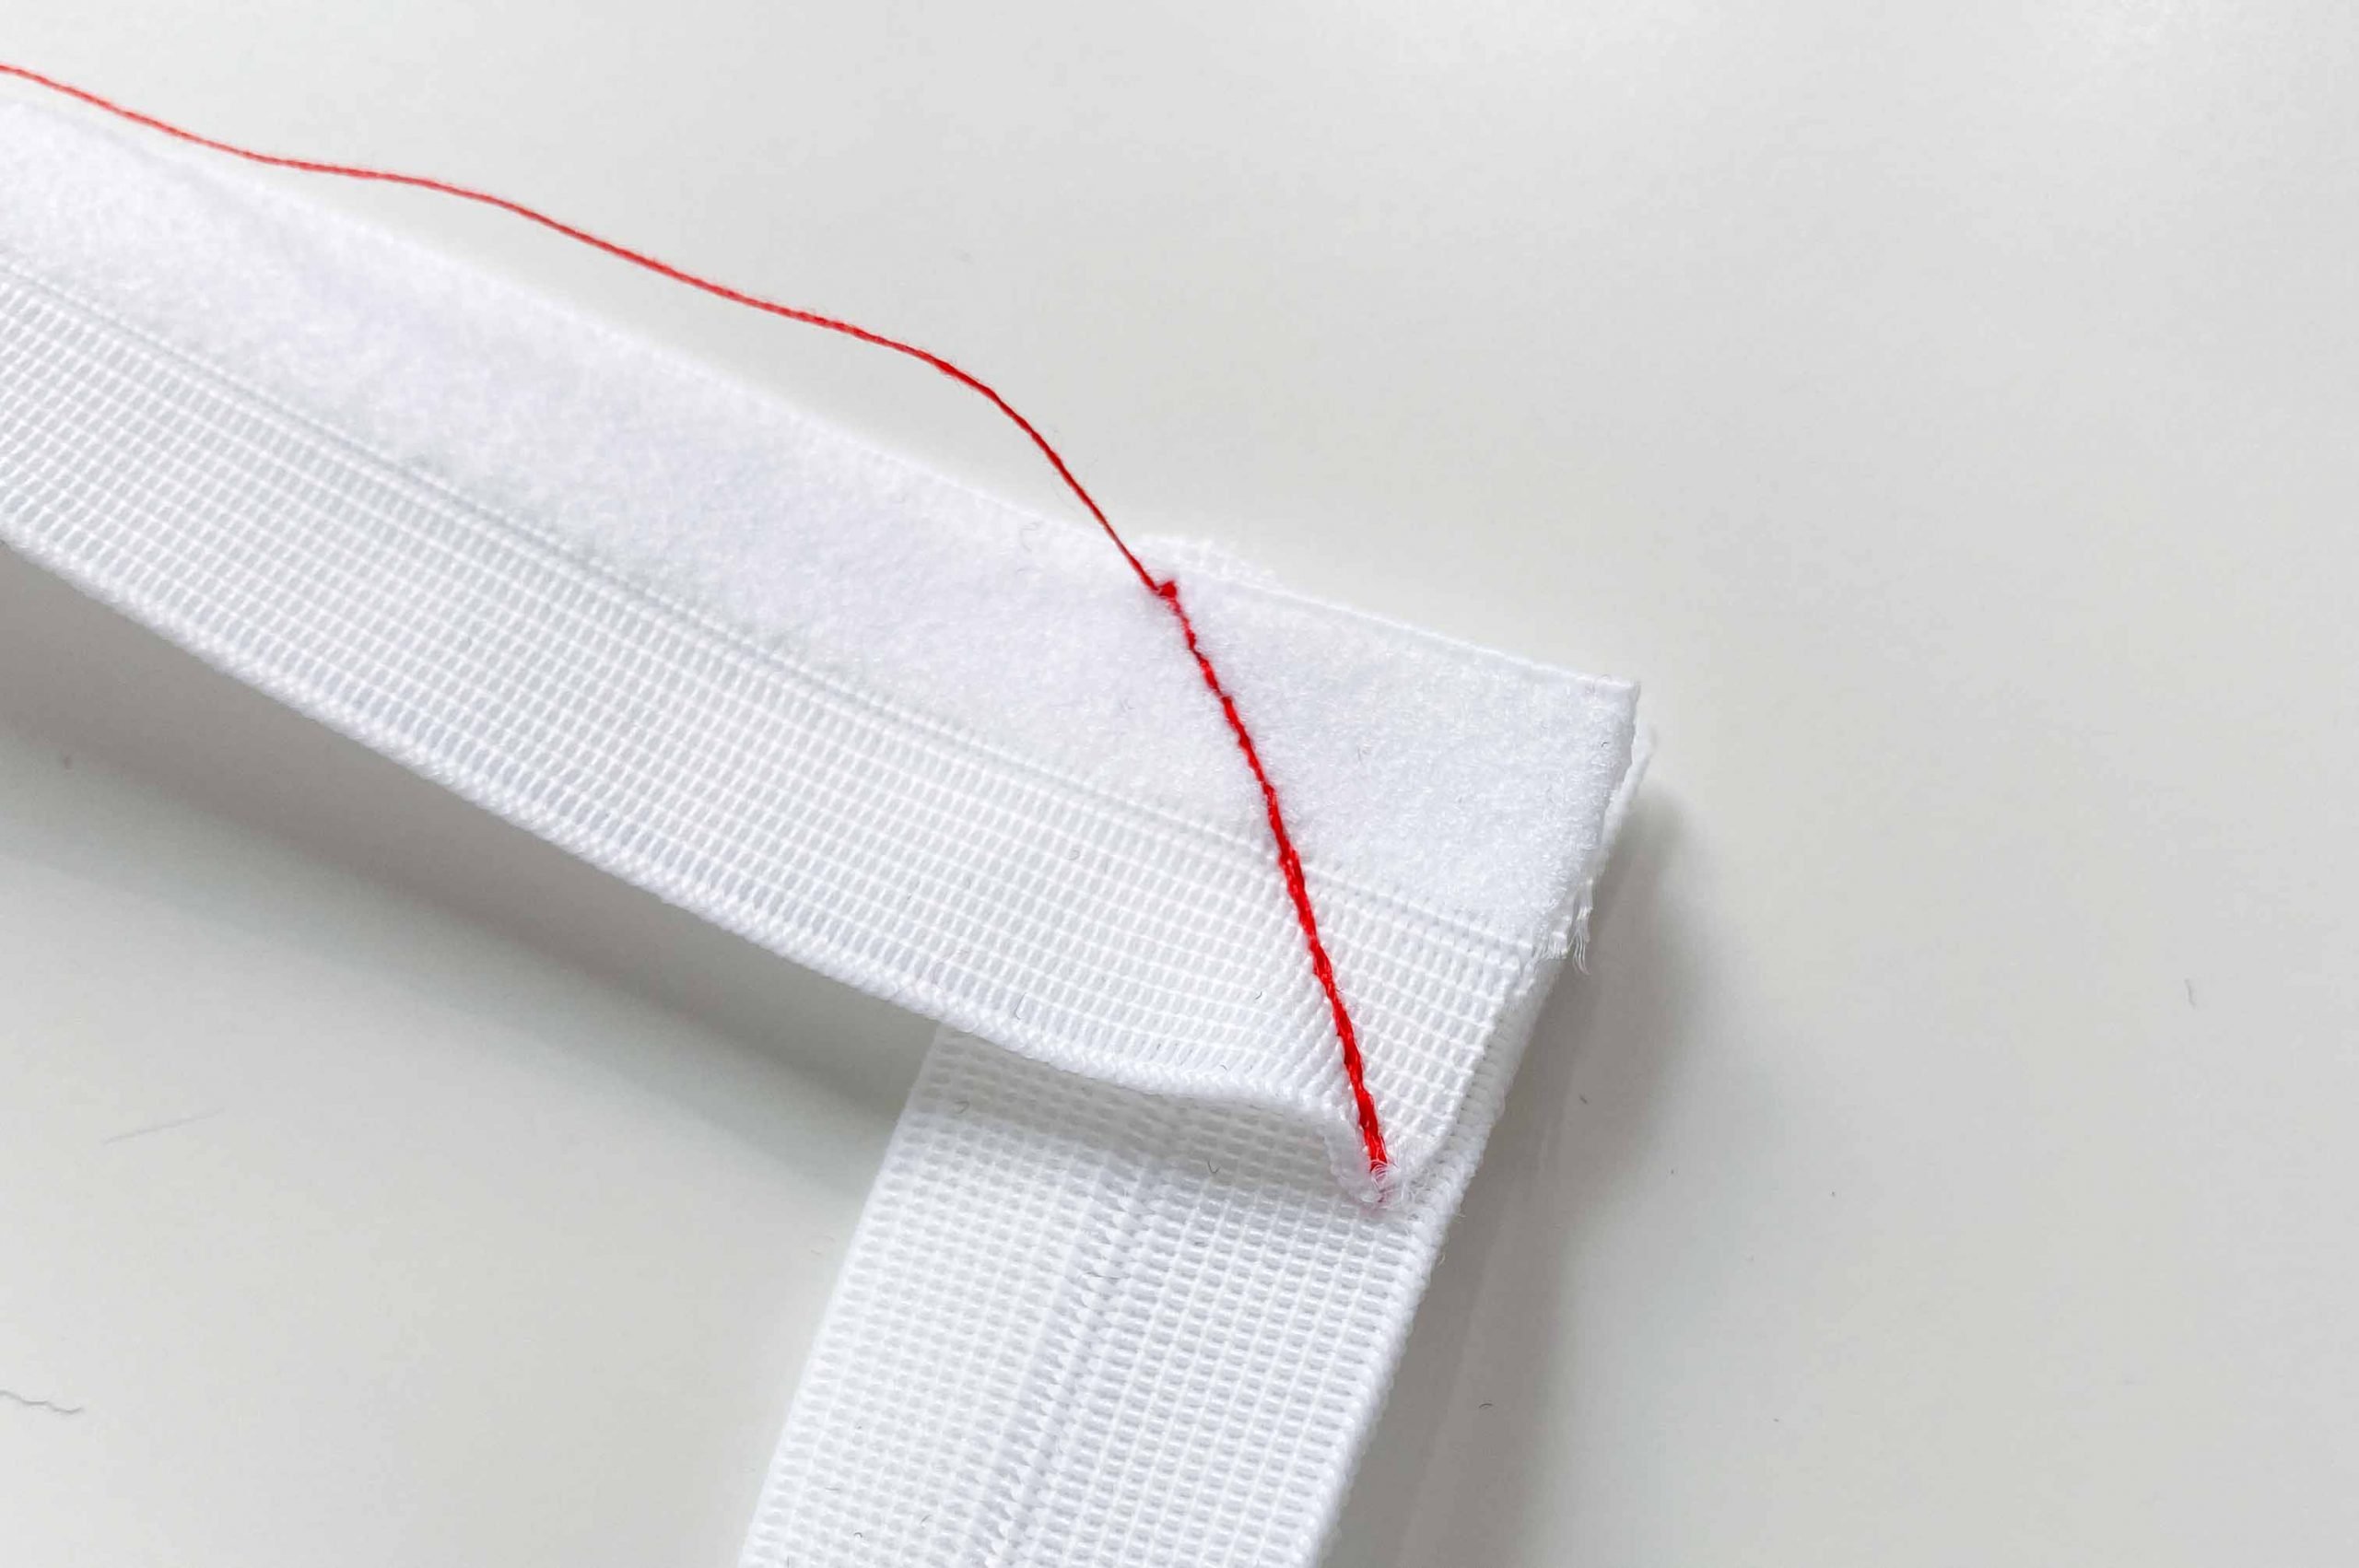
Picot-, Piping or regular elastic
Sew the first pass leaving a bit of elastic at the start and end overhanging so you can close the loop after the first pass. Close, fold to the inside and then sew your second pass.

Stretch lace trim
Whatever looks best with the kind of stretch lace you chose…
I hope this helps. If you’re just starting out your underwear making journey you might want to check out my posts on starting bramaking and sewing matching undies. You can also check out my bramaking tips for beginners.
In the meantime, happy sewing and see you on my Instagram @heart.pleat
Nadine
Materials Used (the link will take you directly to the product)
- Wide elastic: BWear
- Fold-over elastic: Spitzentraum
- Fold-over elastic with pattern: BWear
- Picot elastic: BWear
- Narrow Picot elastic: Spitzentraum
- Piping elastic: BWear
- Regular elastic: Spitzentraum
- Swimwear elastic: Emerald Erin
- Stretch lace trim: Spitzentraum – out of stock
- Strap elastic: BWear

0 Responses