 BERNINA Corporate Blog -
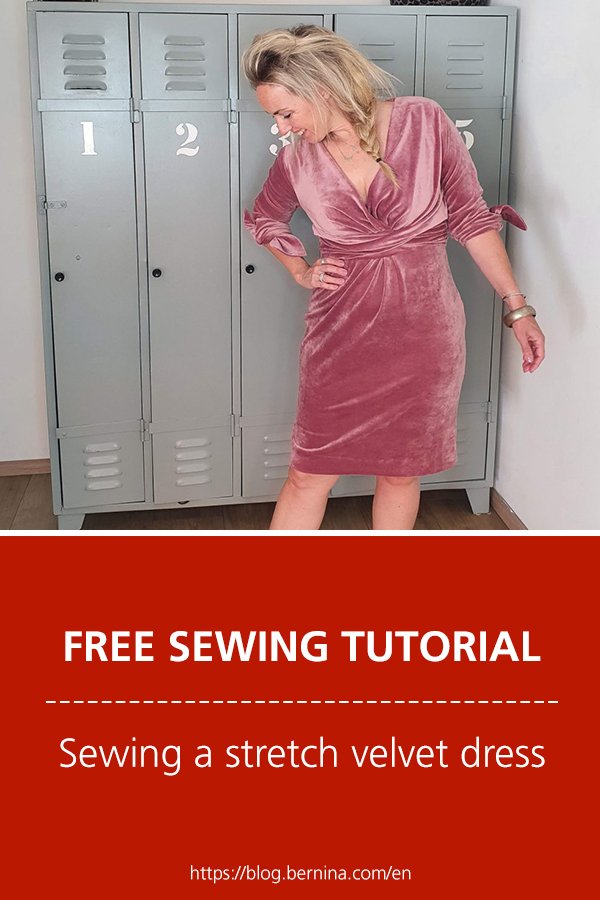
Time to shine in a stretch velvet dress

Ideas and tutorials for your next sewing adventure
Subscribe to the BERNINA Blog Newsletter
If you love to sew you don’t want to miss the chance to receive the latest content from our authors directly into your mailbox.
Sign up for the blog newsletter
Klik hier voor de Nederlandse blog
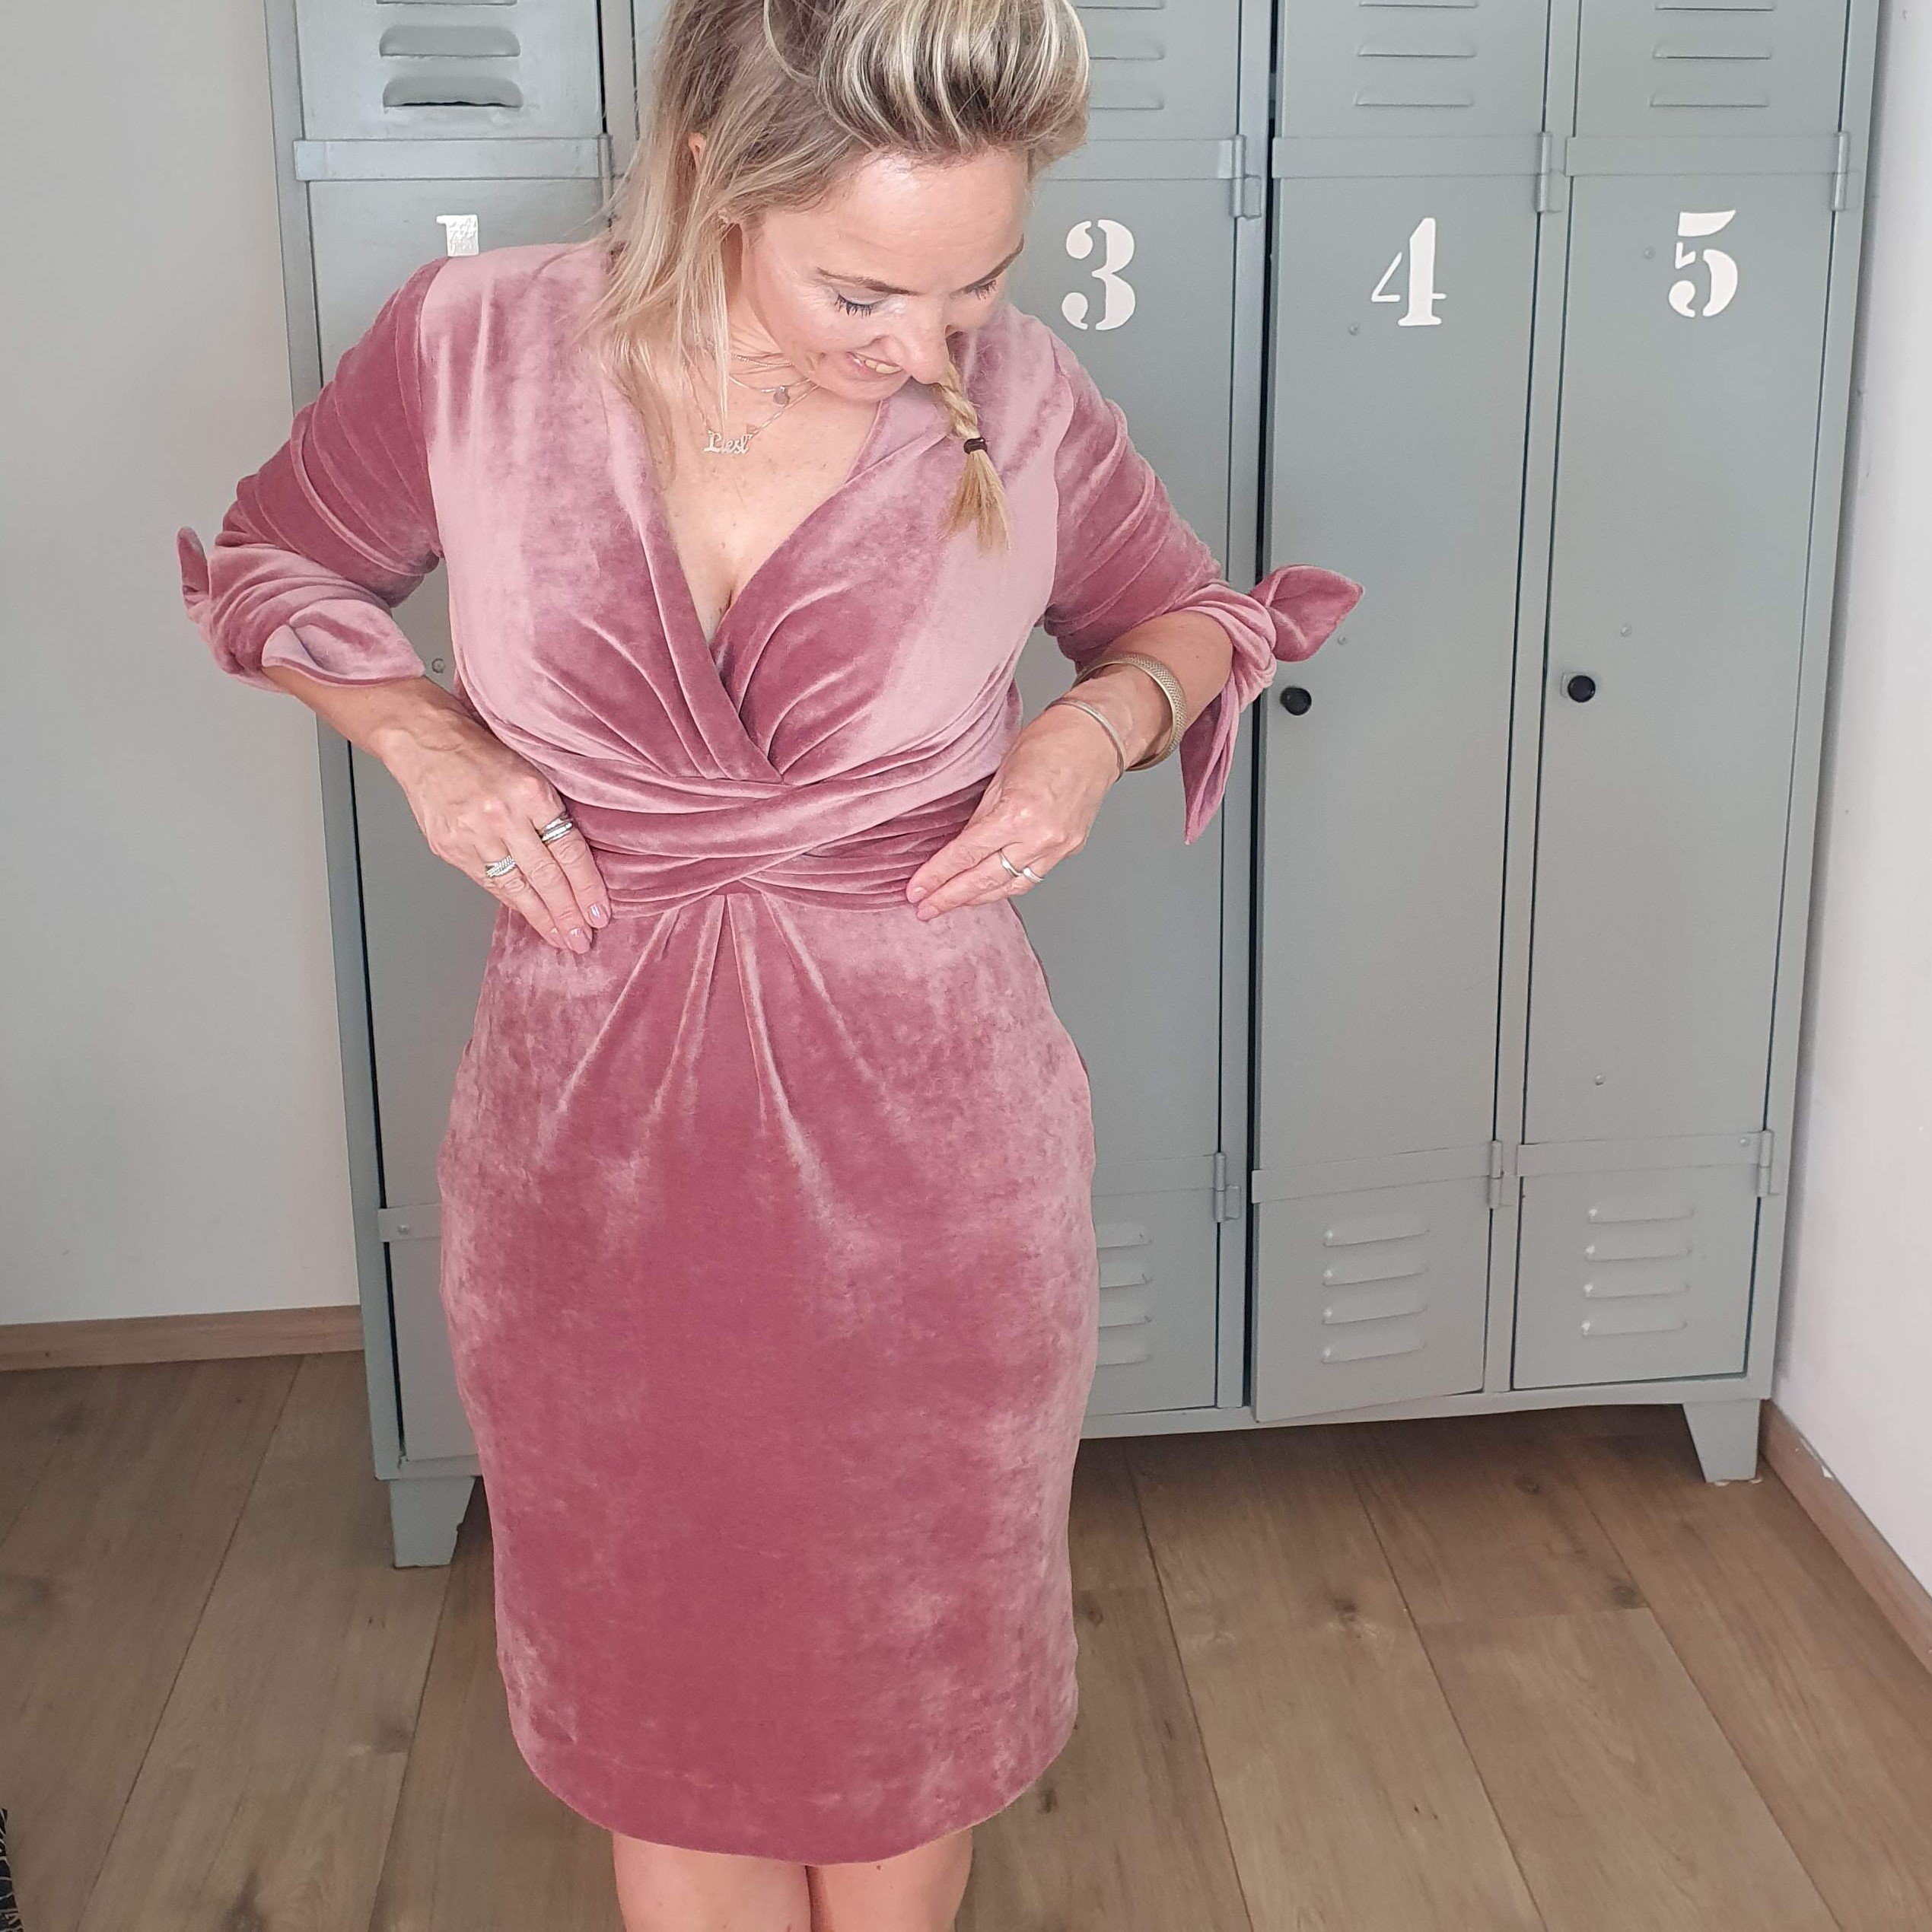
Will velvet ever go out of style? It’s a fabric that always finds its way back into my wardrobe. I love the way the light plays with this fabric. Time to shine! This stretch velvet dress fits perfectly with the BERNINA 590 Crystal Edition
Tips for working with tricky velvet can be found in my previous blog. Click here to read it.
Timeless velvet
A few years ago I made a beautiful Victorian inspired sweater with a big bow, twenty years ago in my student days I wore a purple velvet blazer and way back then my sisters and I all had a velvet sweater. My brother too, come to think of it, quite normal in the late 1970s. It was my favourite sweater back then and it was bright red! For the Time to Shine capsule wardrobe I go for a beautiful old pink stretch velvet fabric that was waiting in my fabric stash.

The pattern
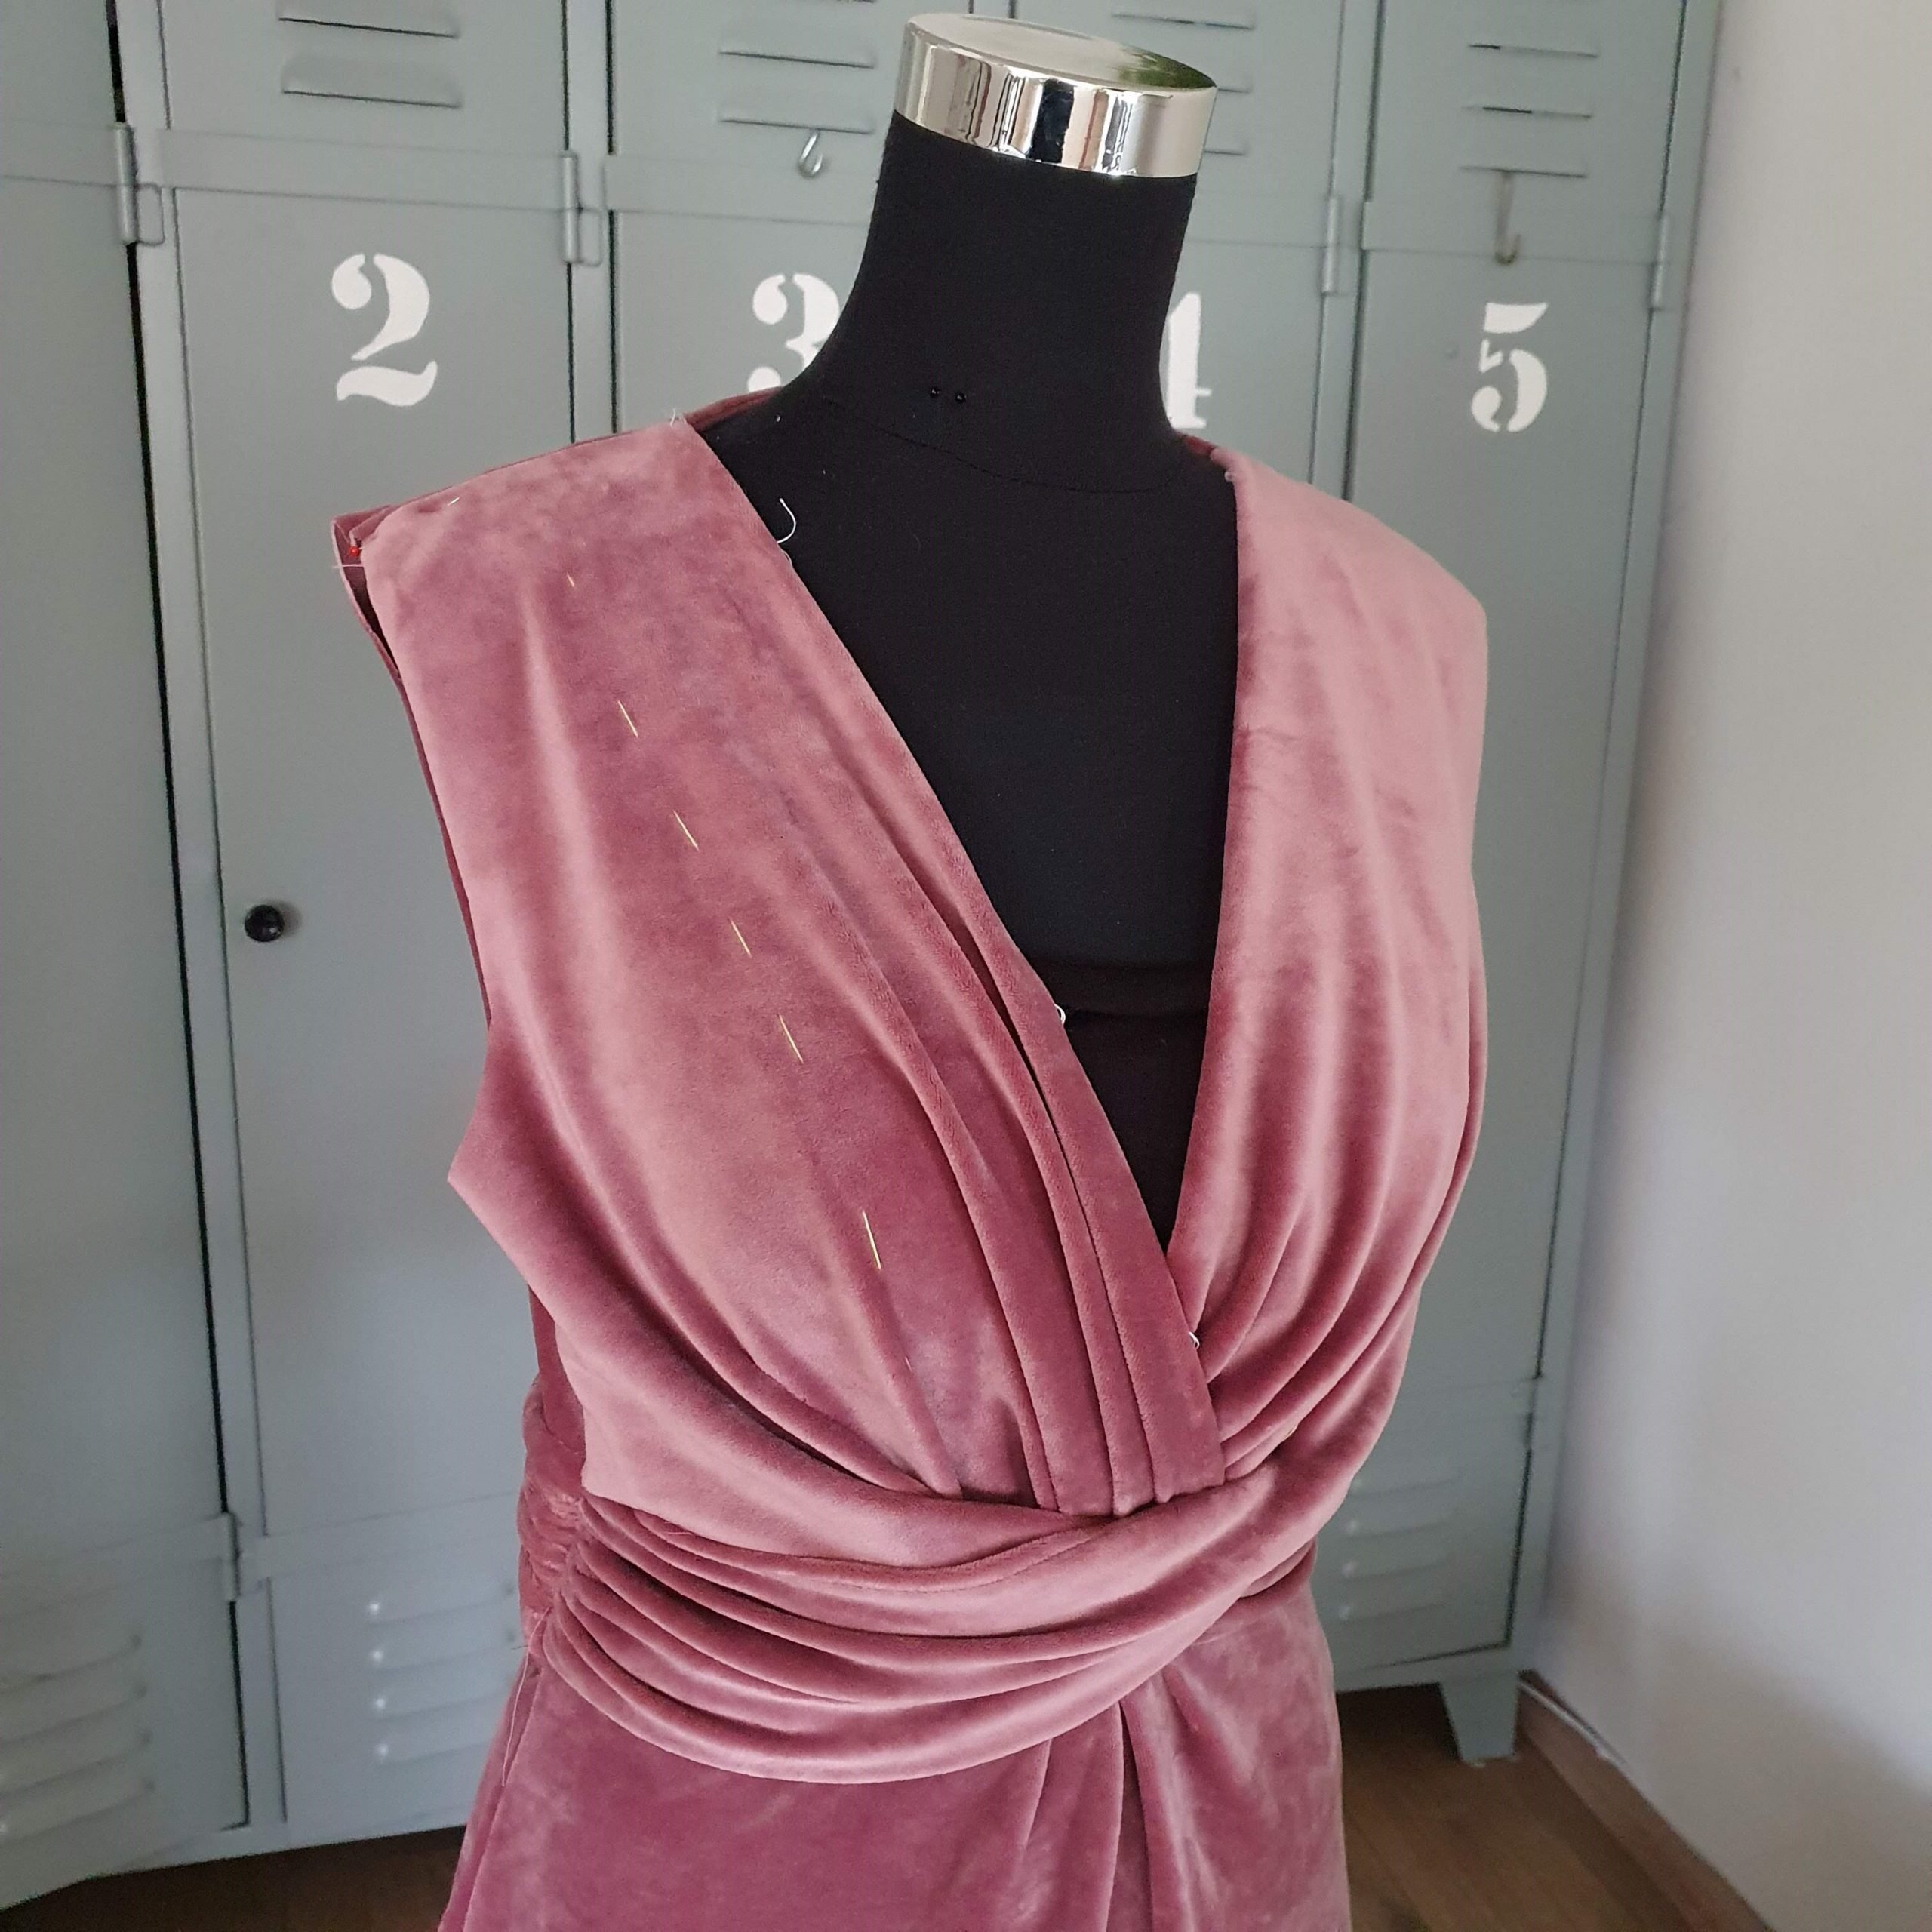
The pattern is from Knipmode (dress 26, November 2015) and this magazine has been folded open on this page for some time. In other words, this was one dress that was on my to-sew list. Although the velvet fabric might be a bit thick for the many pleats and bow details, I went for it anyway. With winter in sight, the thickness of the fabric also makes it a warm dress and the stretch of the fabric makes it even more comfortable. Classy and comfy! I chose to omit the zipper in the back seam, there is enough stretch in the fabric and no zipper needed.
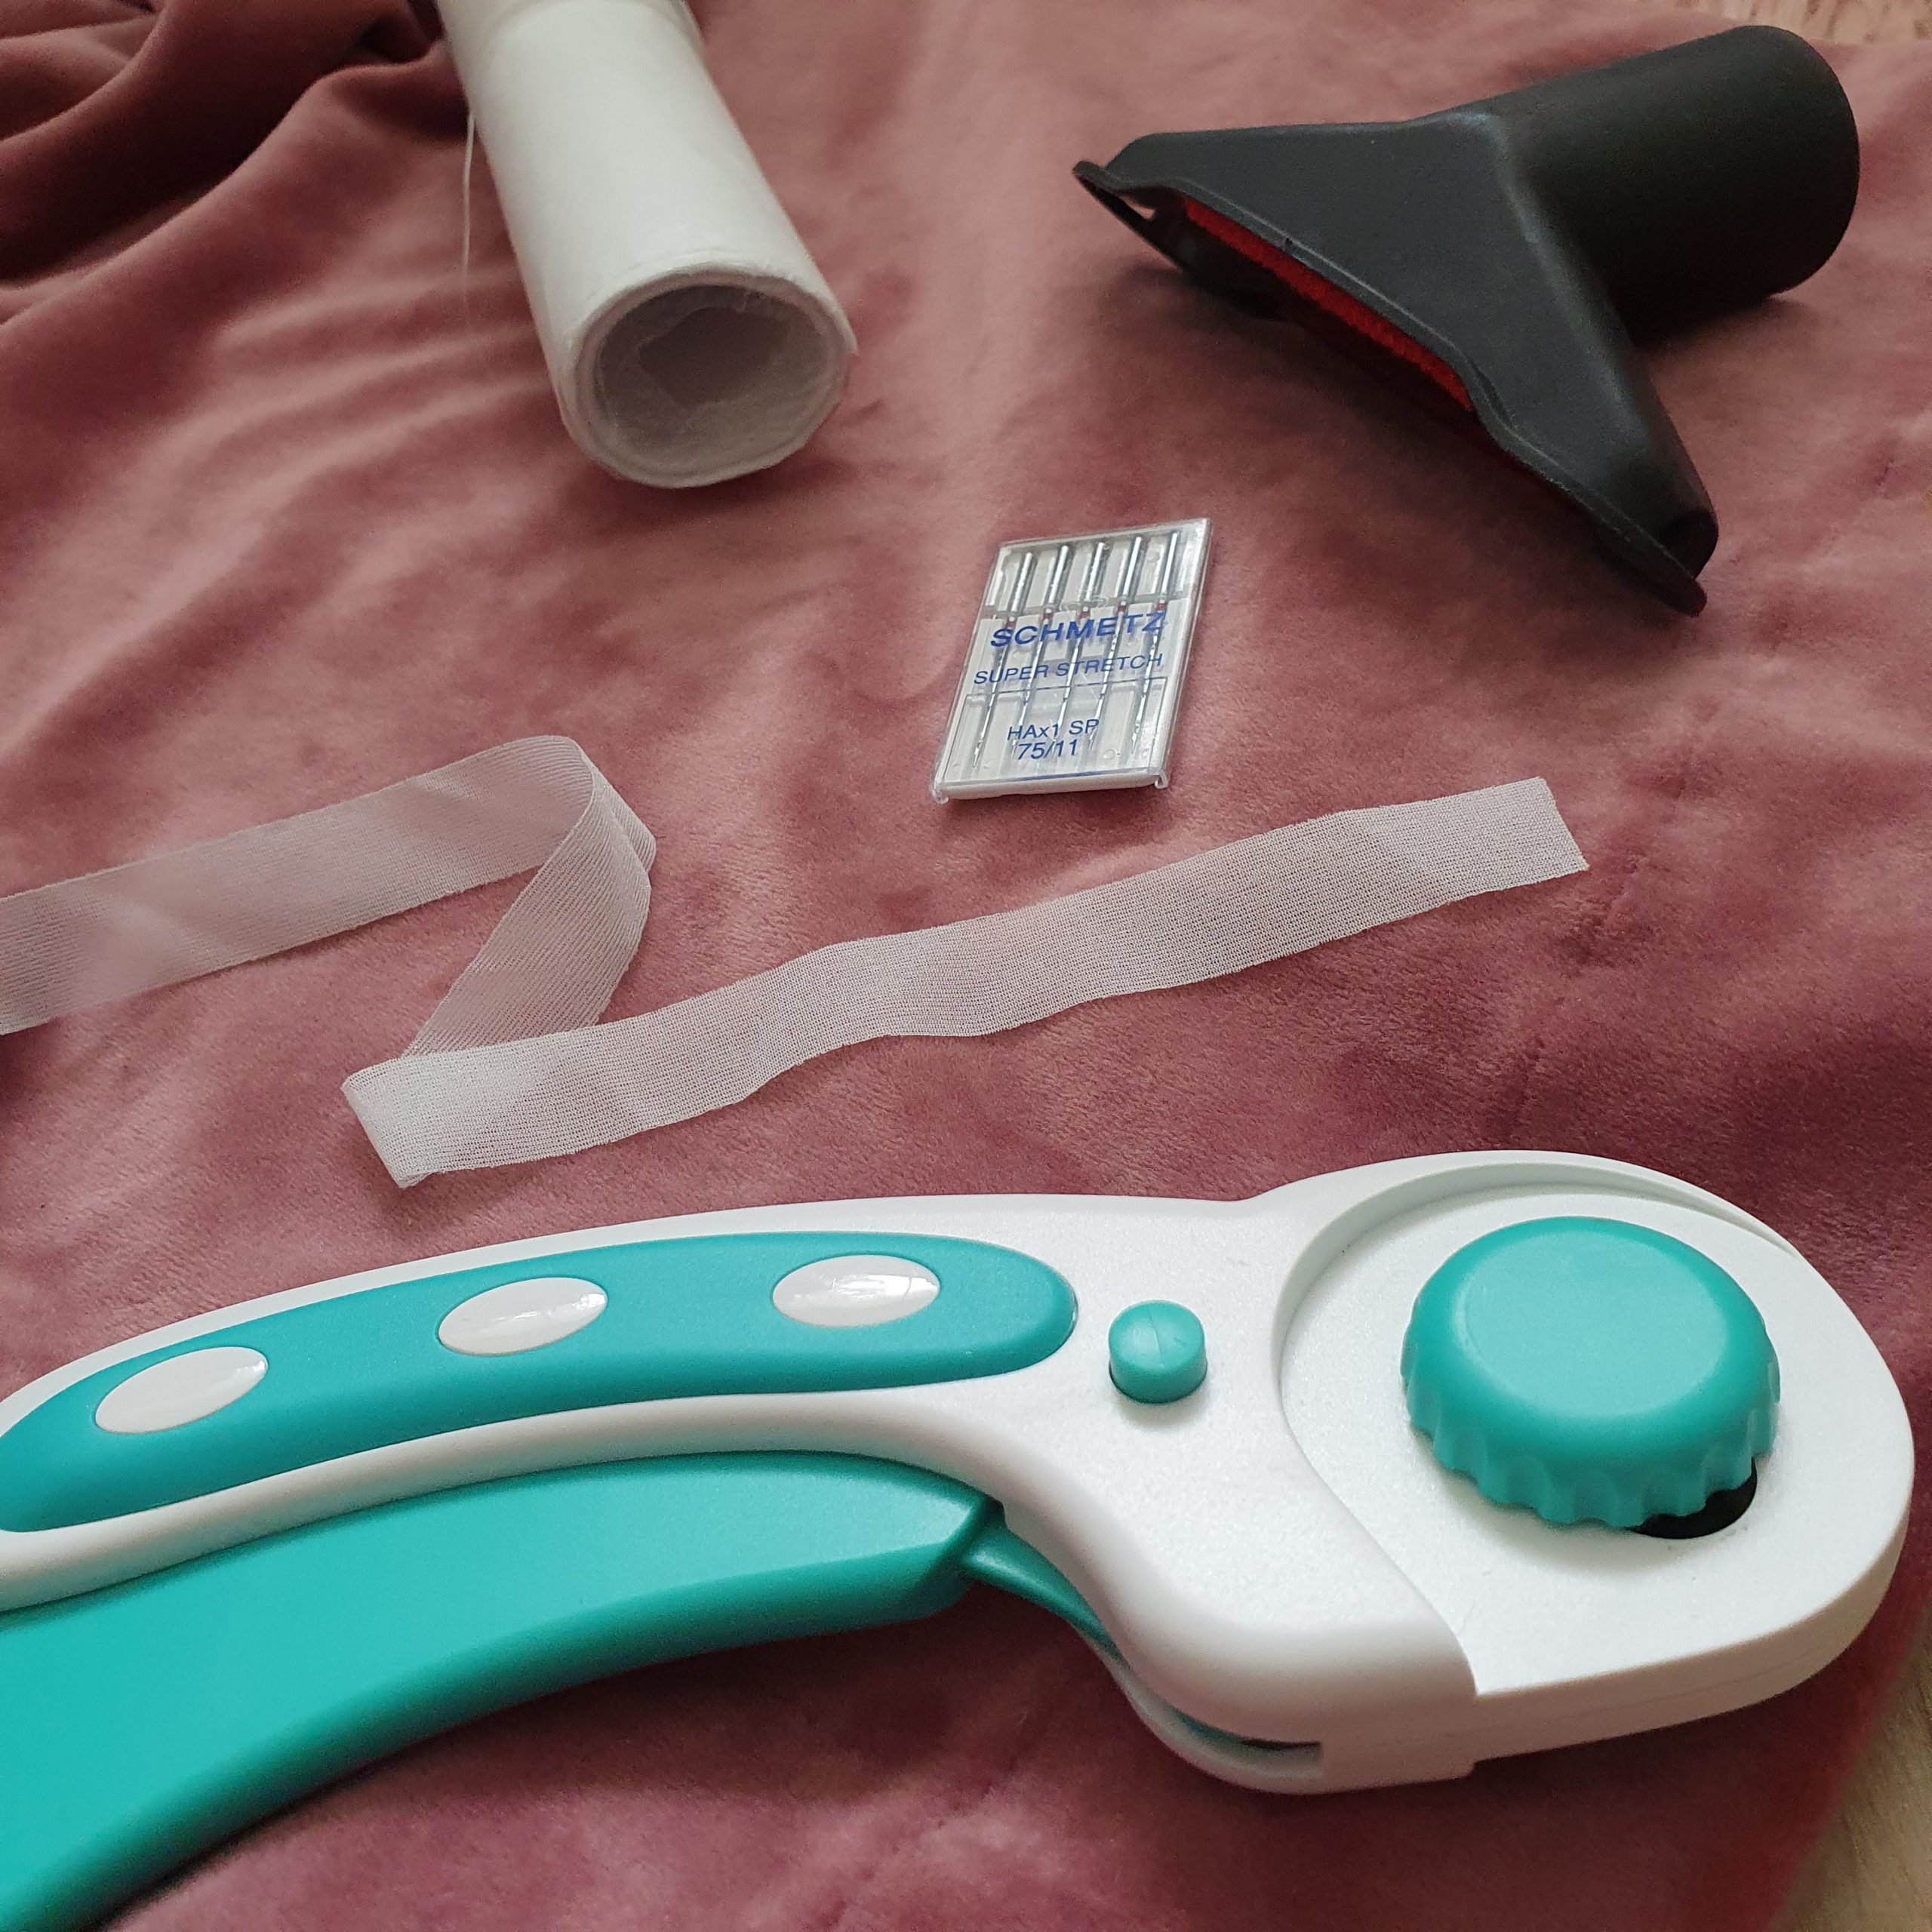
After cutting the pattern, which I did as much as possible with the rotary cutter, I basted the important marks. The top of the dress has pleats at the front, a crossover / wrap effect with straps that are gathered at the sides. I copied the markings for the pleats on the pattern pieces with basting thread. I used two colours of thread. One to mark the folds and the other to mark the outside line to avoid confusion. In the stretch velvet fabric, the basting thread tends to come out quickly, so keep long loops when basting.
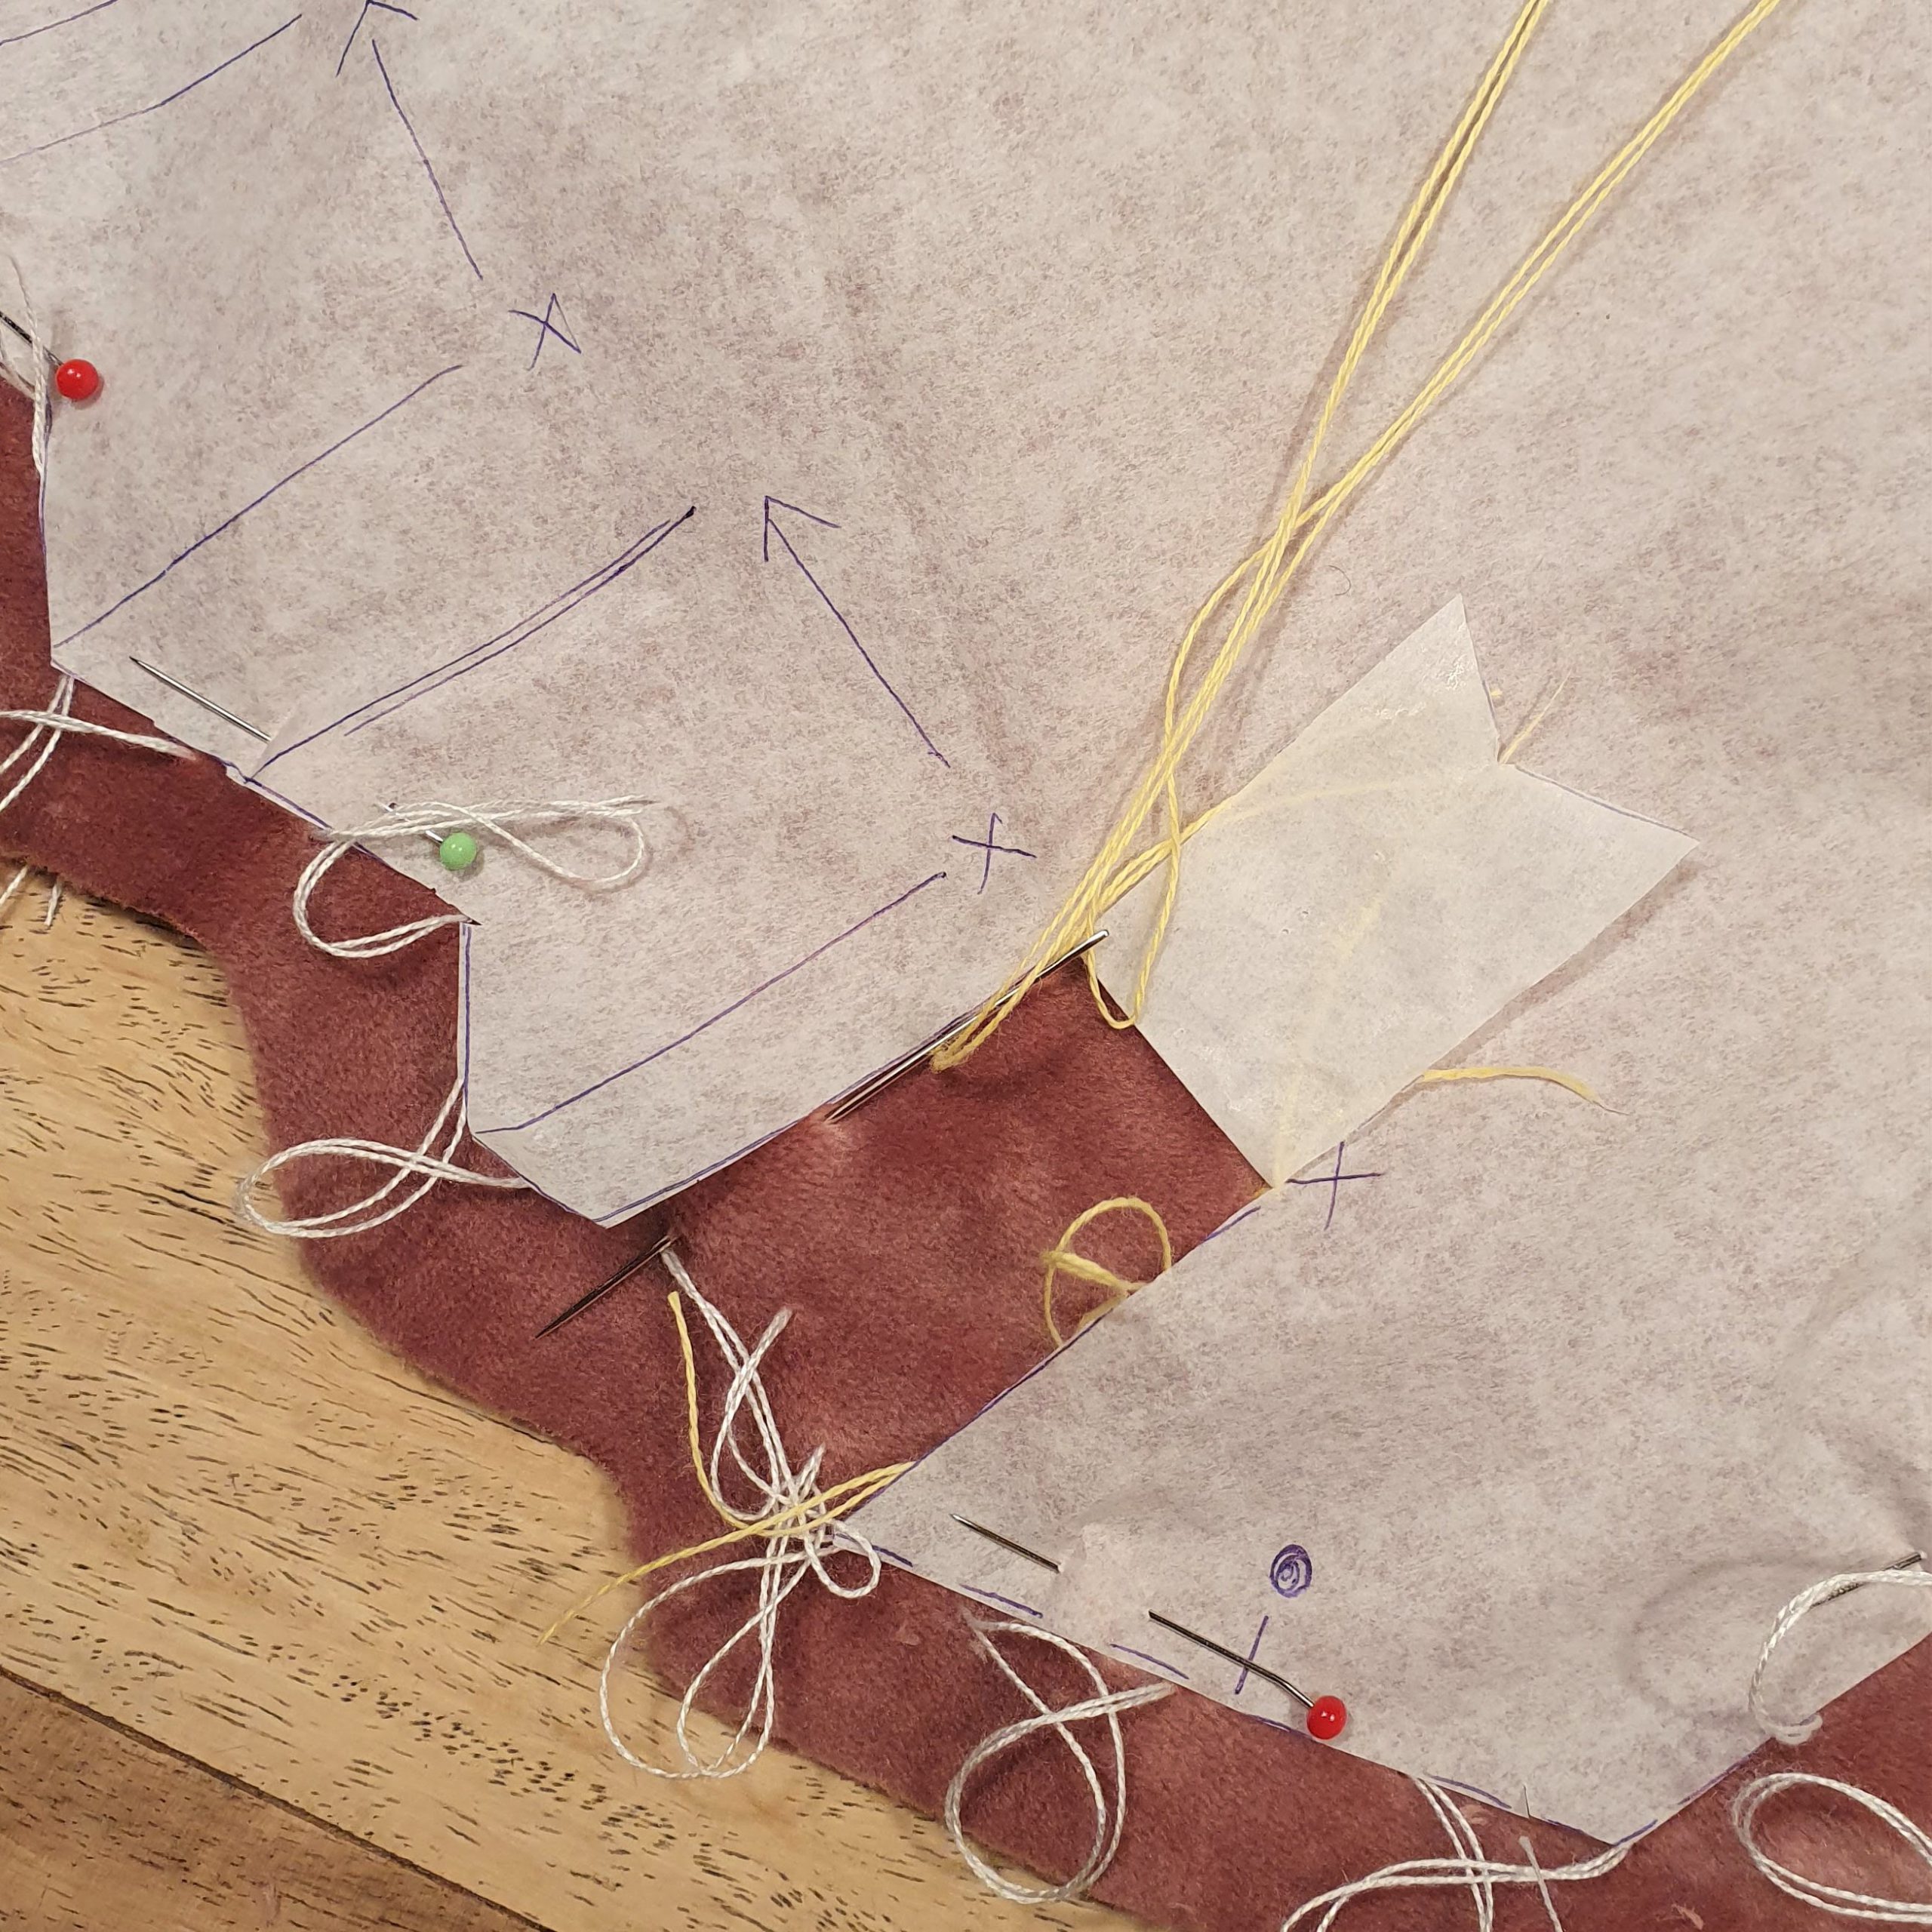
Two colours of thread. Yellow for the folds, white for the outside line
You can also do this with a washable/fading marker

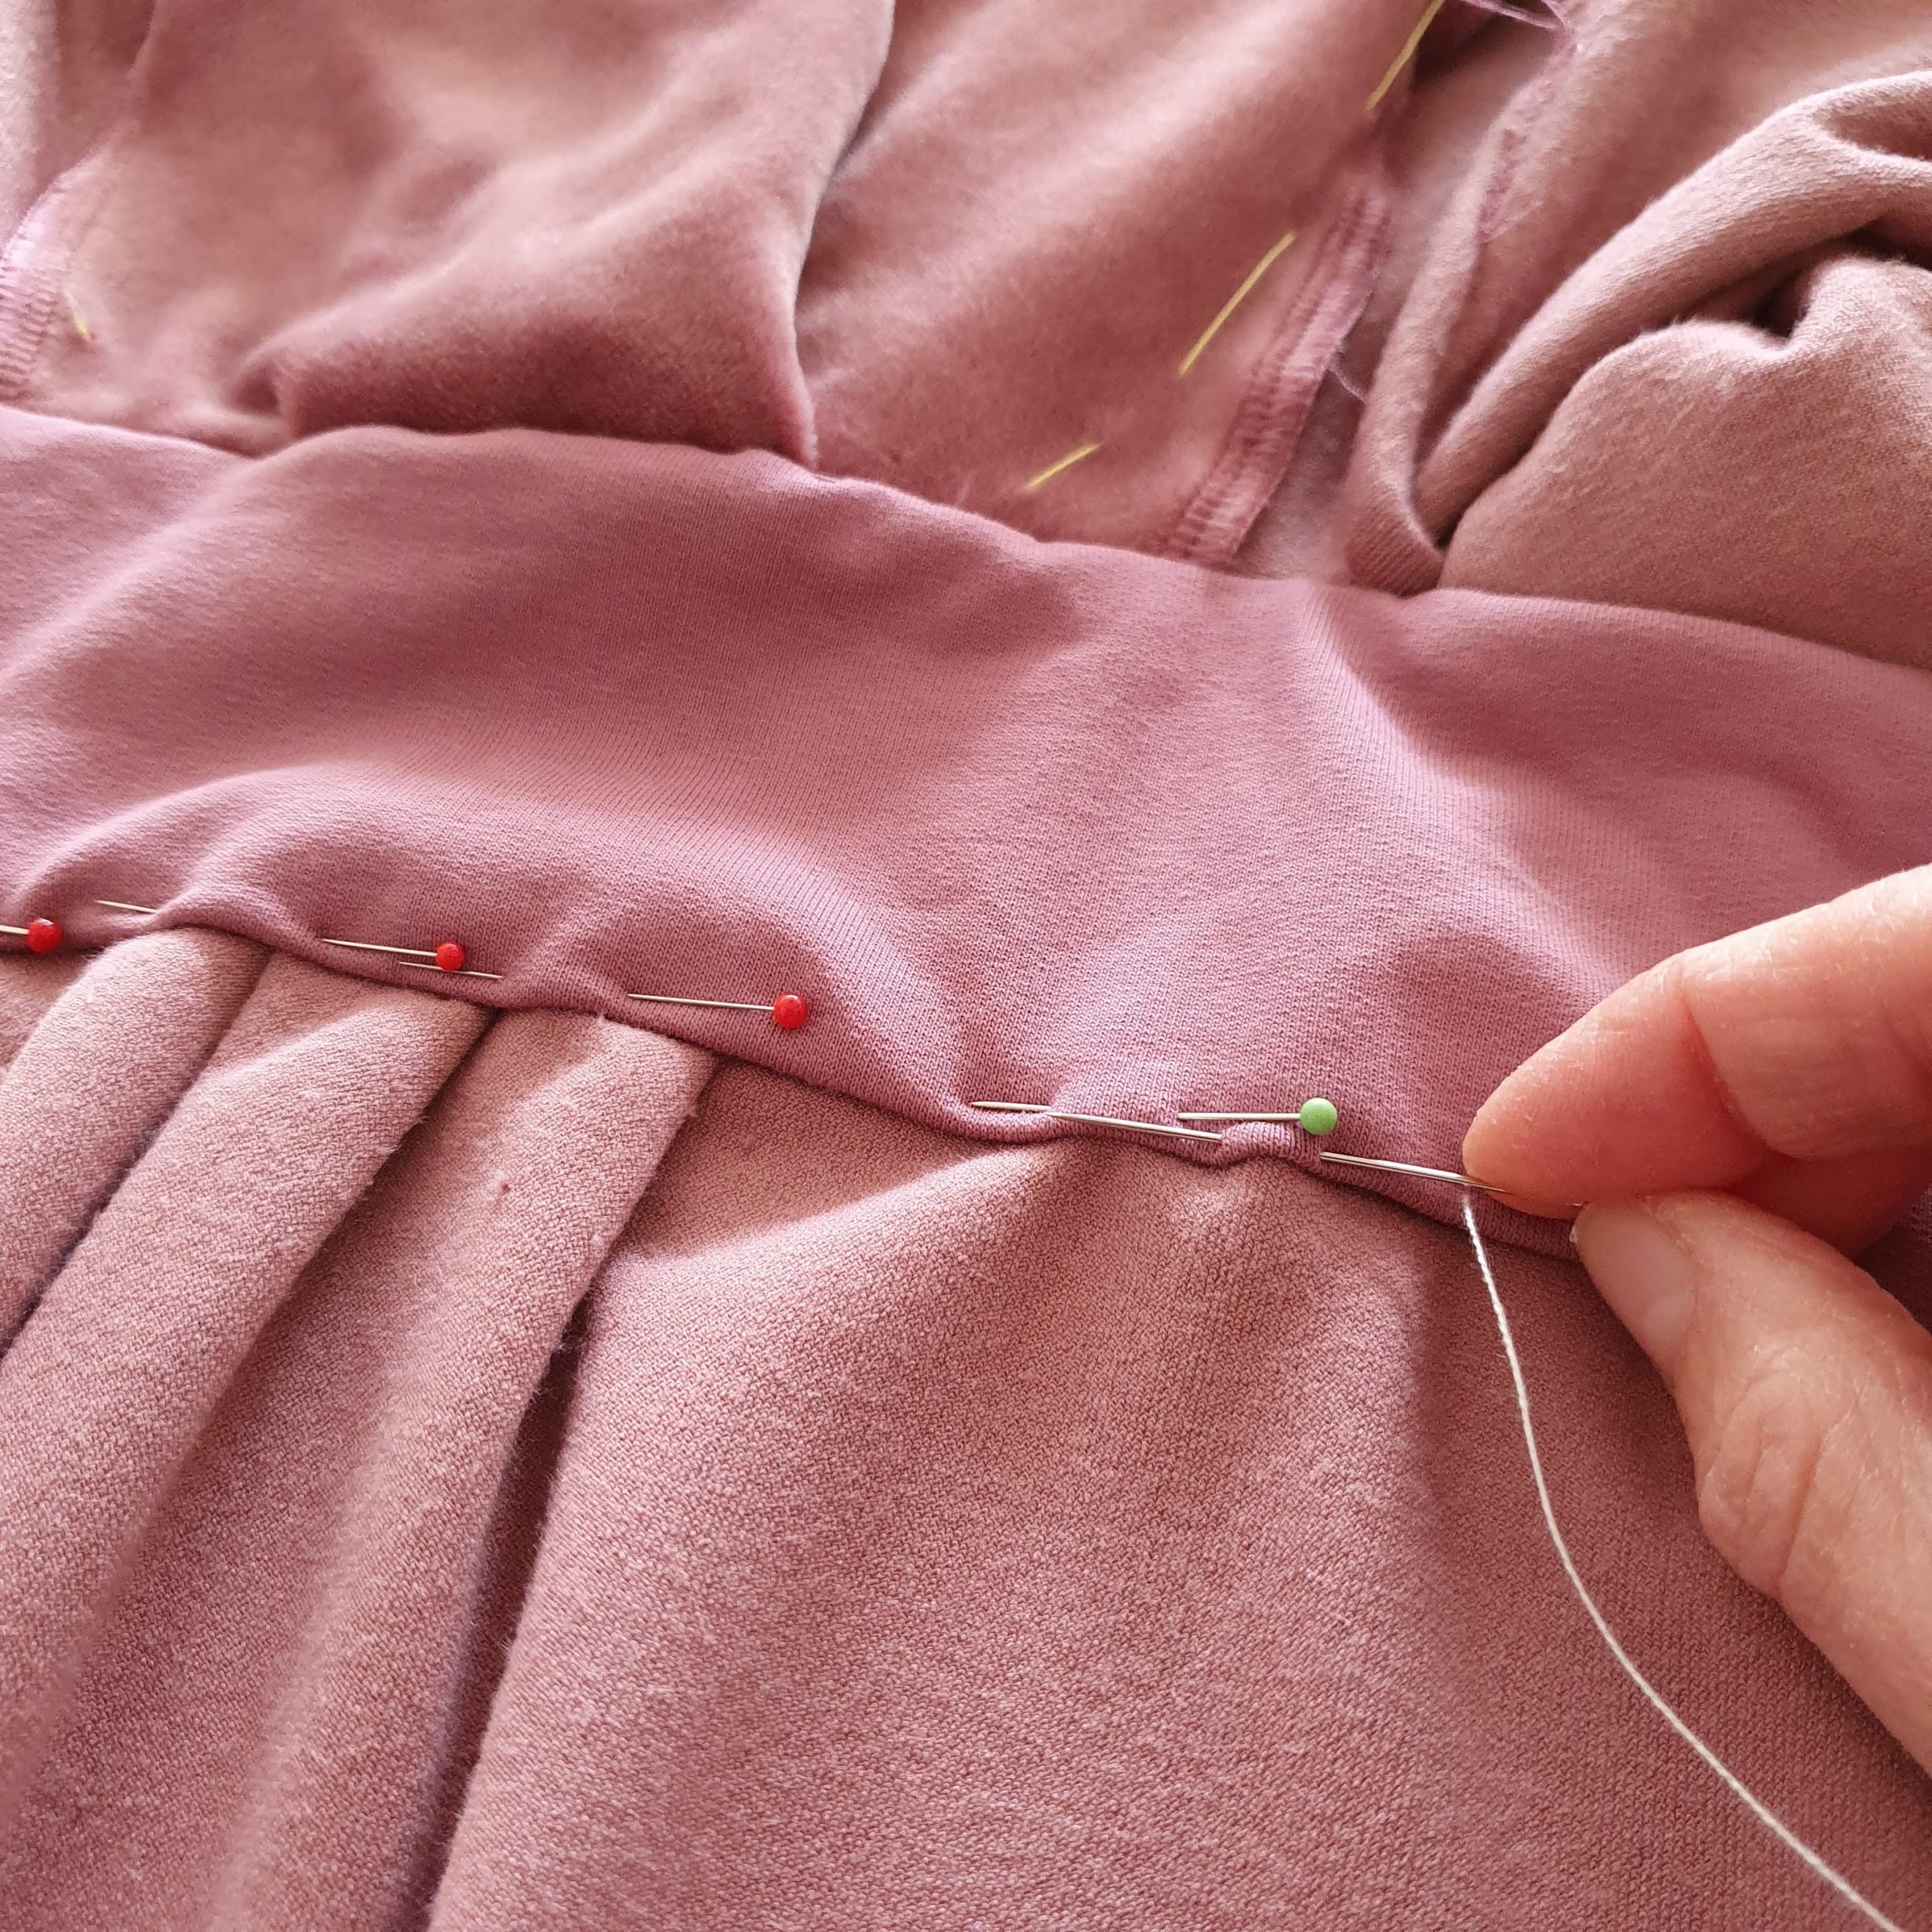
Pin pleats and then baste again before stitching it
After the pleats, gather the side of the band that will be crossed
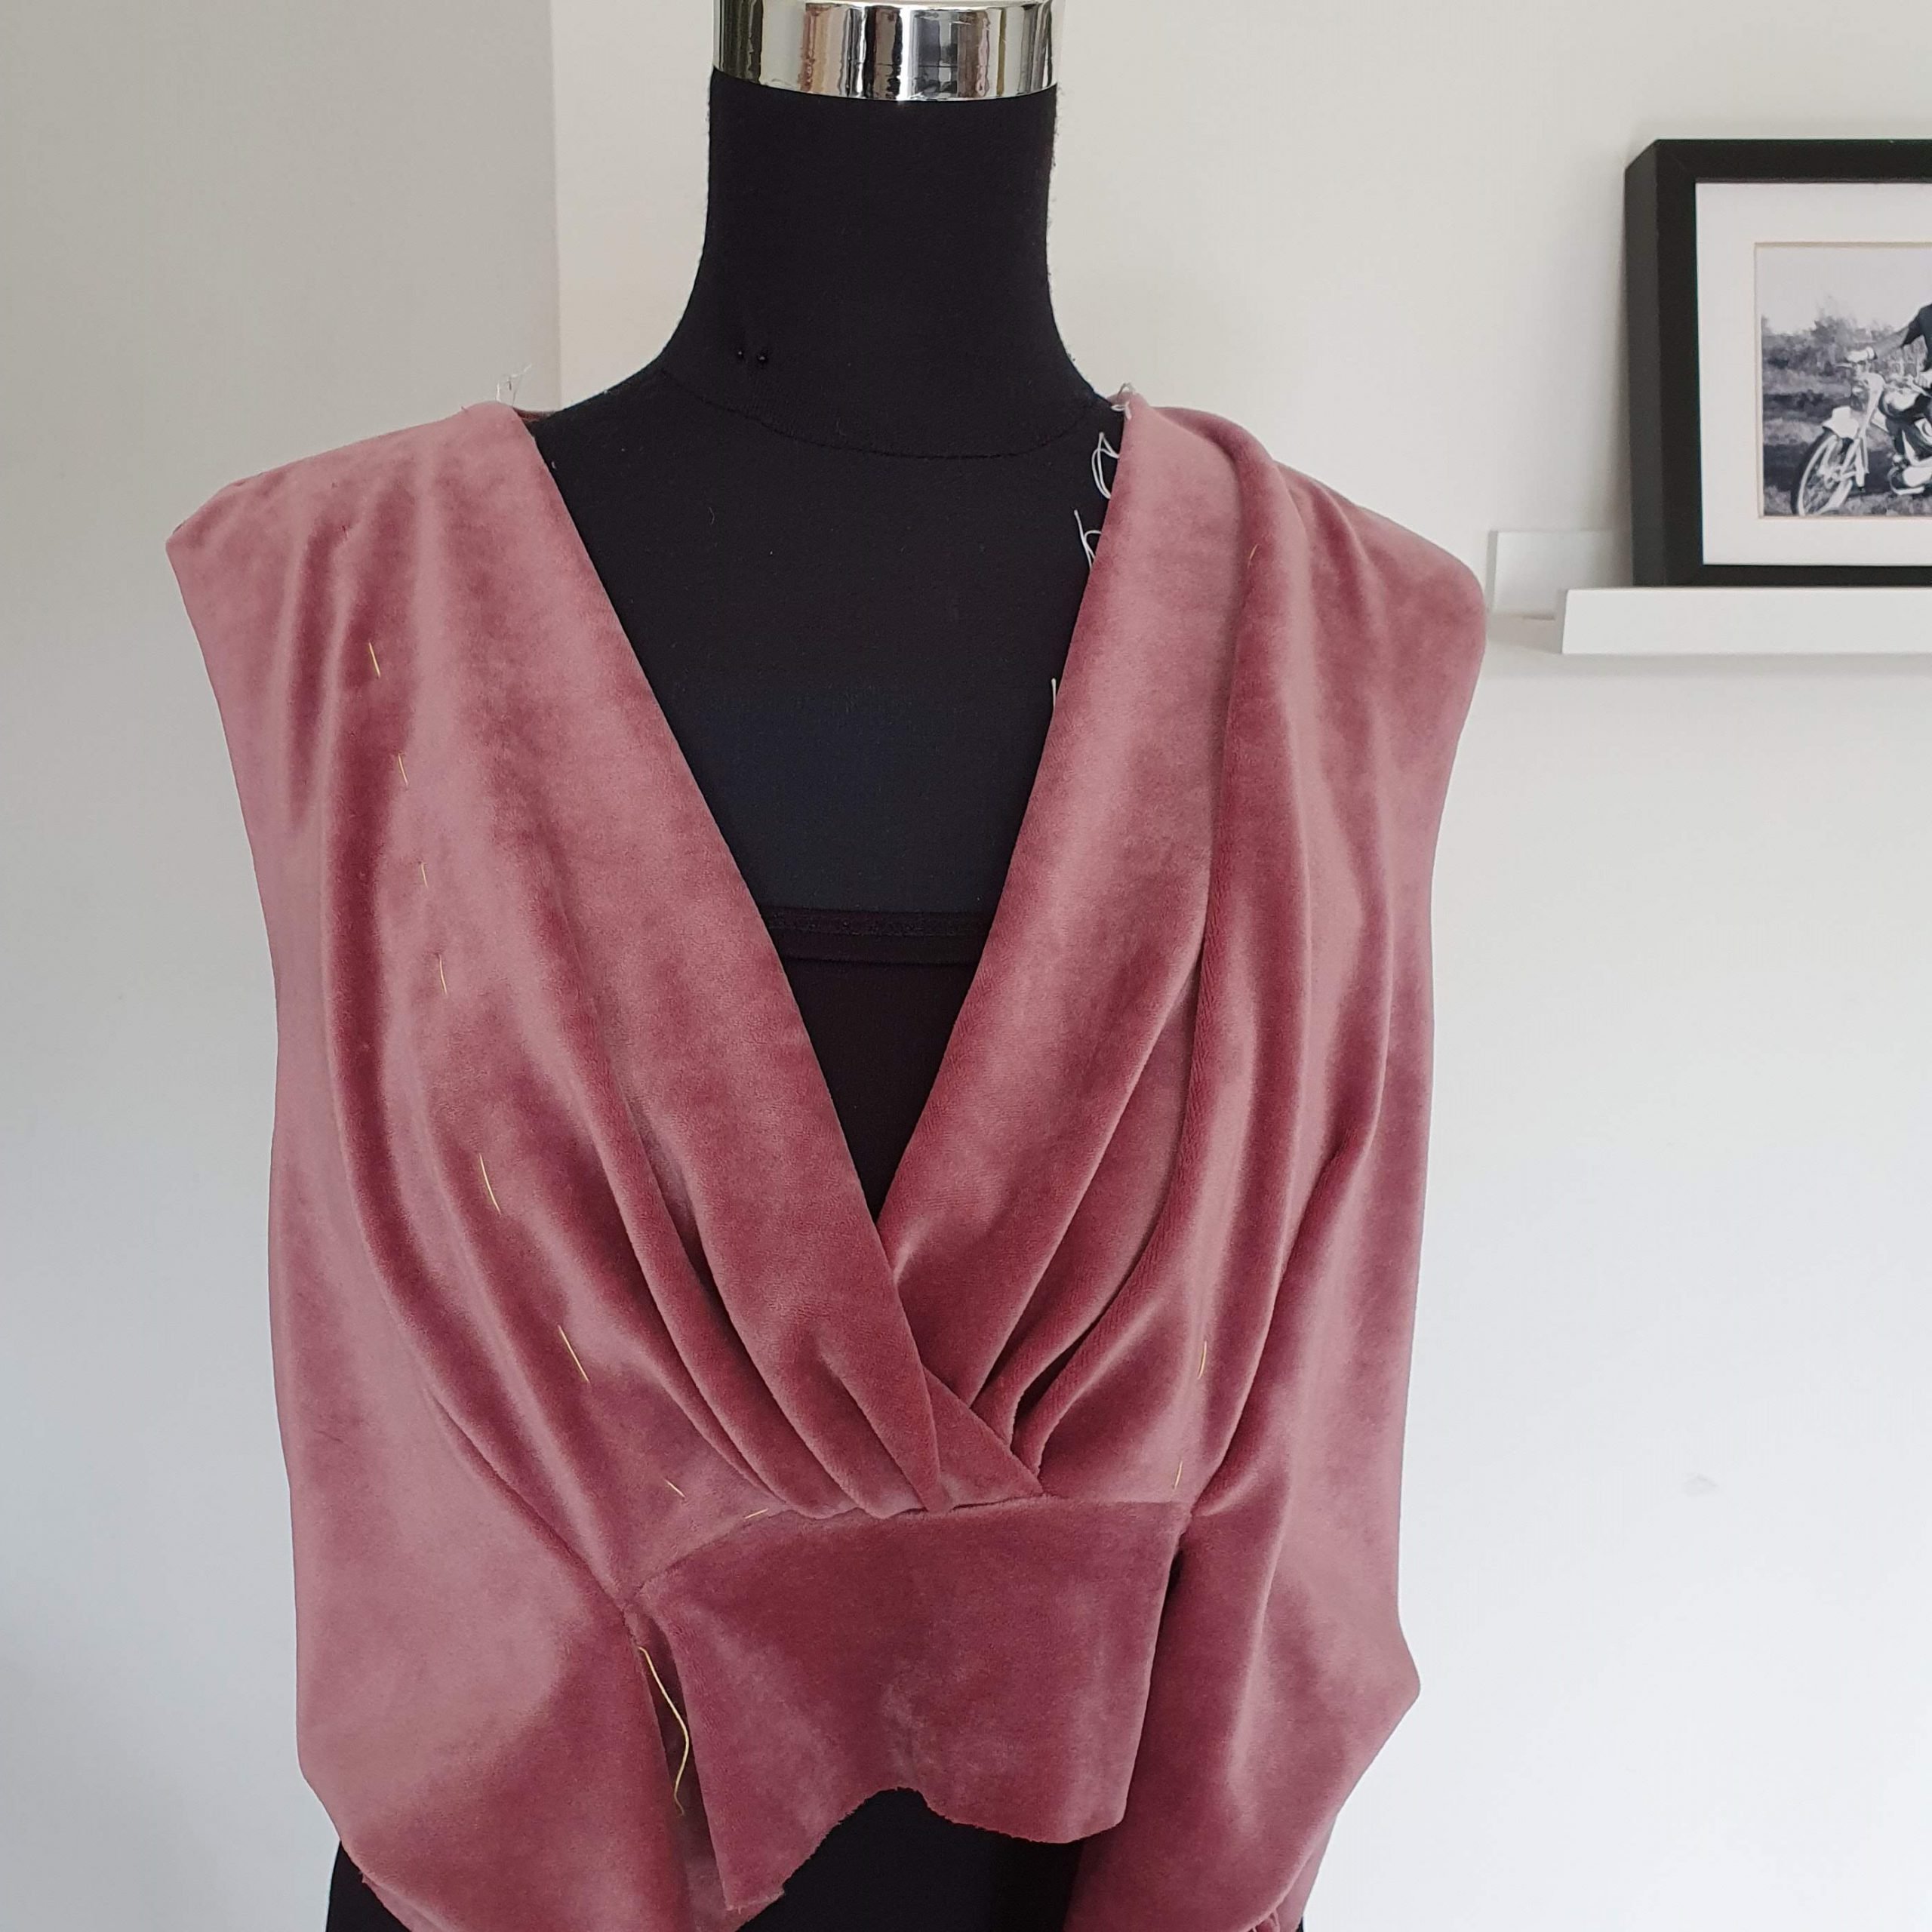
The pleats are attached to the waistband, the straps that will be crossed are still hanging loose here.
Pleats and gathered waistband
There are pleats not only at the top of the dress, but also at the skirt part and at the waistband at the back. The waistband connects the top of the dress to the skirt part of the dress. The pleats of the skirt are first pinned again and then basted. The pleats in the waistband are first gathered in the middle. Then both parts can be attached to each other.
Pleated skirt part
Skirt parts attach to the waistband. No folds at the front.

Back waistband has small pleats by gathering it in the middle.

Back: Top and skirt with the waistband in between
The waistband is neatly finished on the inside. I chose to do this with jersey fabric. This fabric is thinner, otherwise it would be a lot of thick fabric in that spot. The inner waistband is machine stitched at the top. The bottom is first secured with a basting thread, after which you can sew it on the right side of the velvet by stitching exactly in the seam. Stitch in the ditch
Waistband on the inside finished with jersey in the same colour.
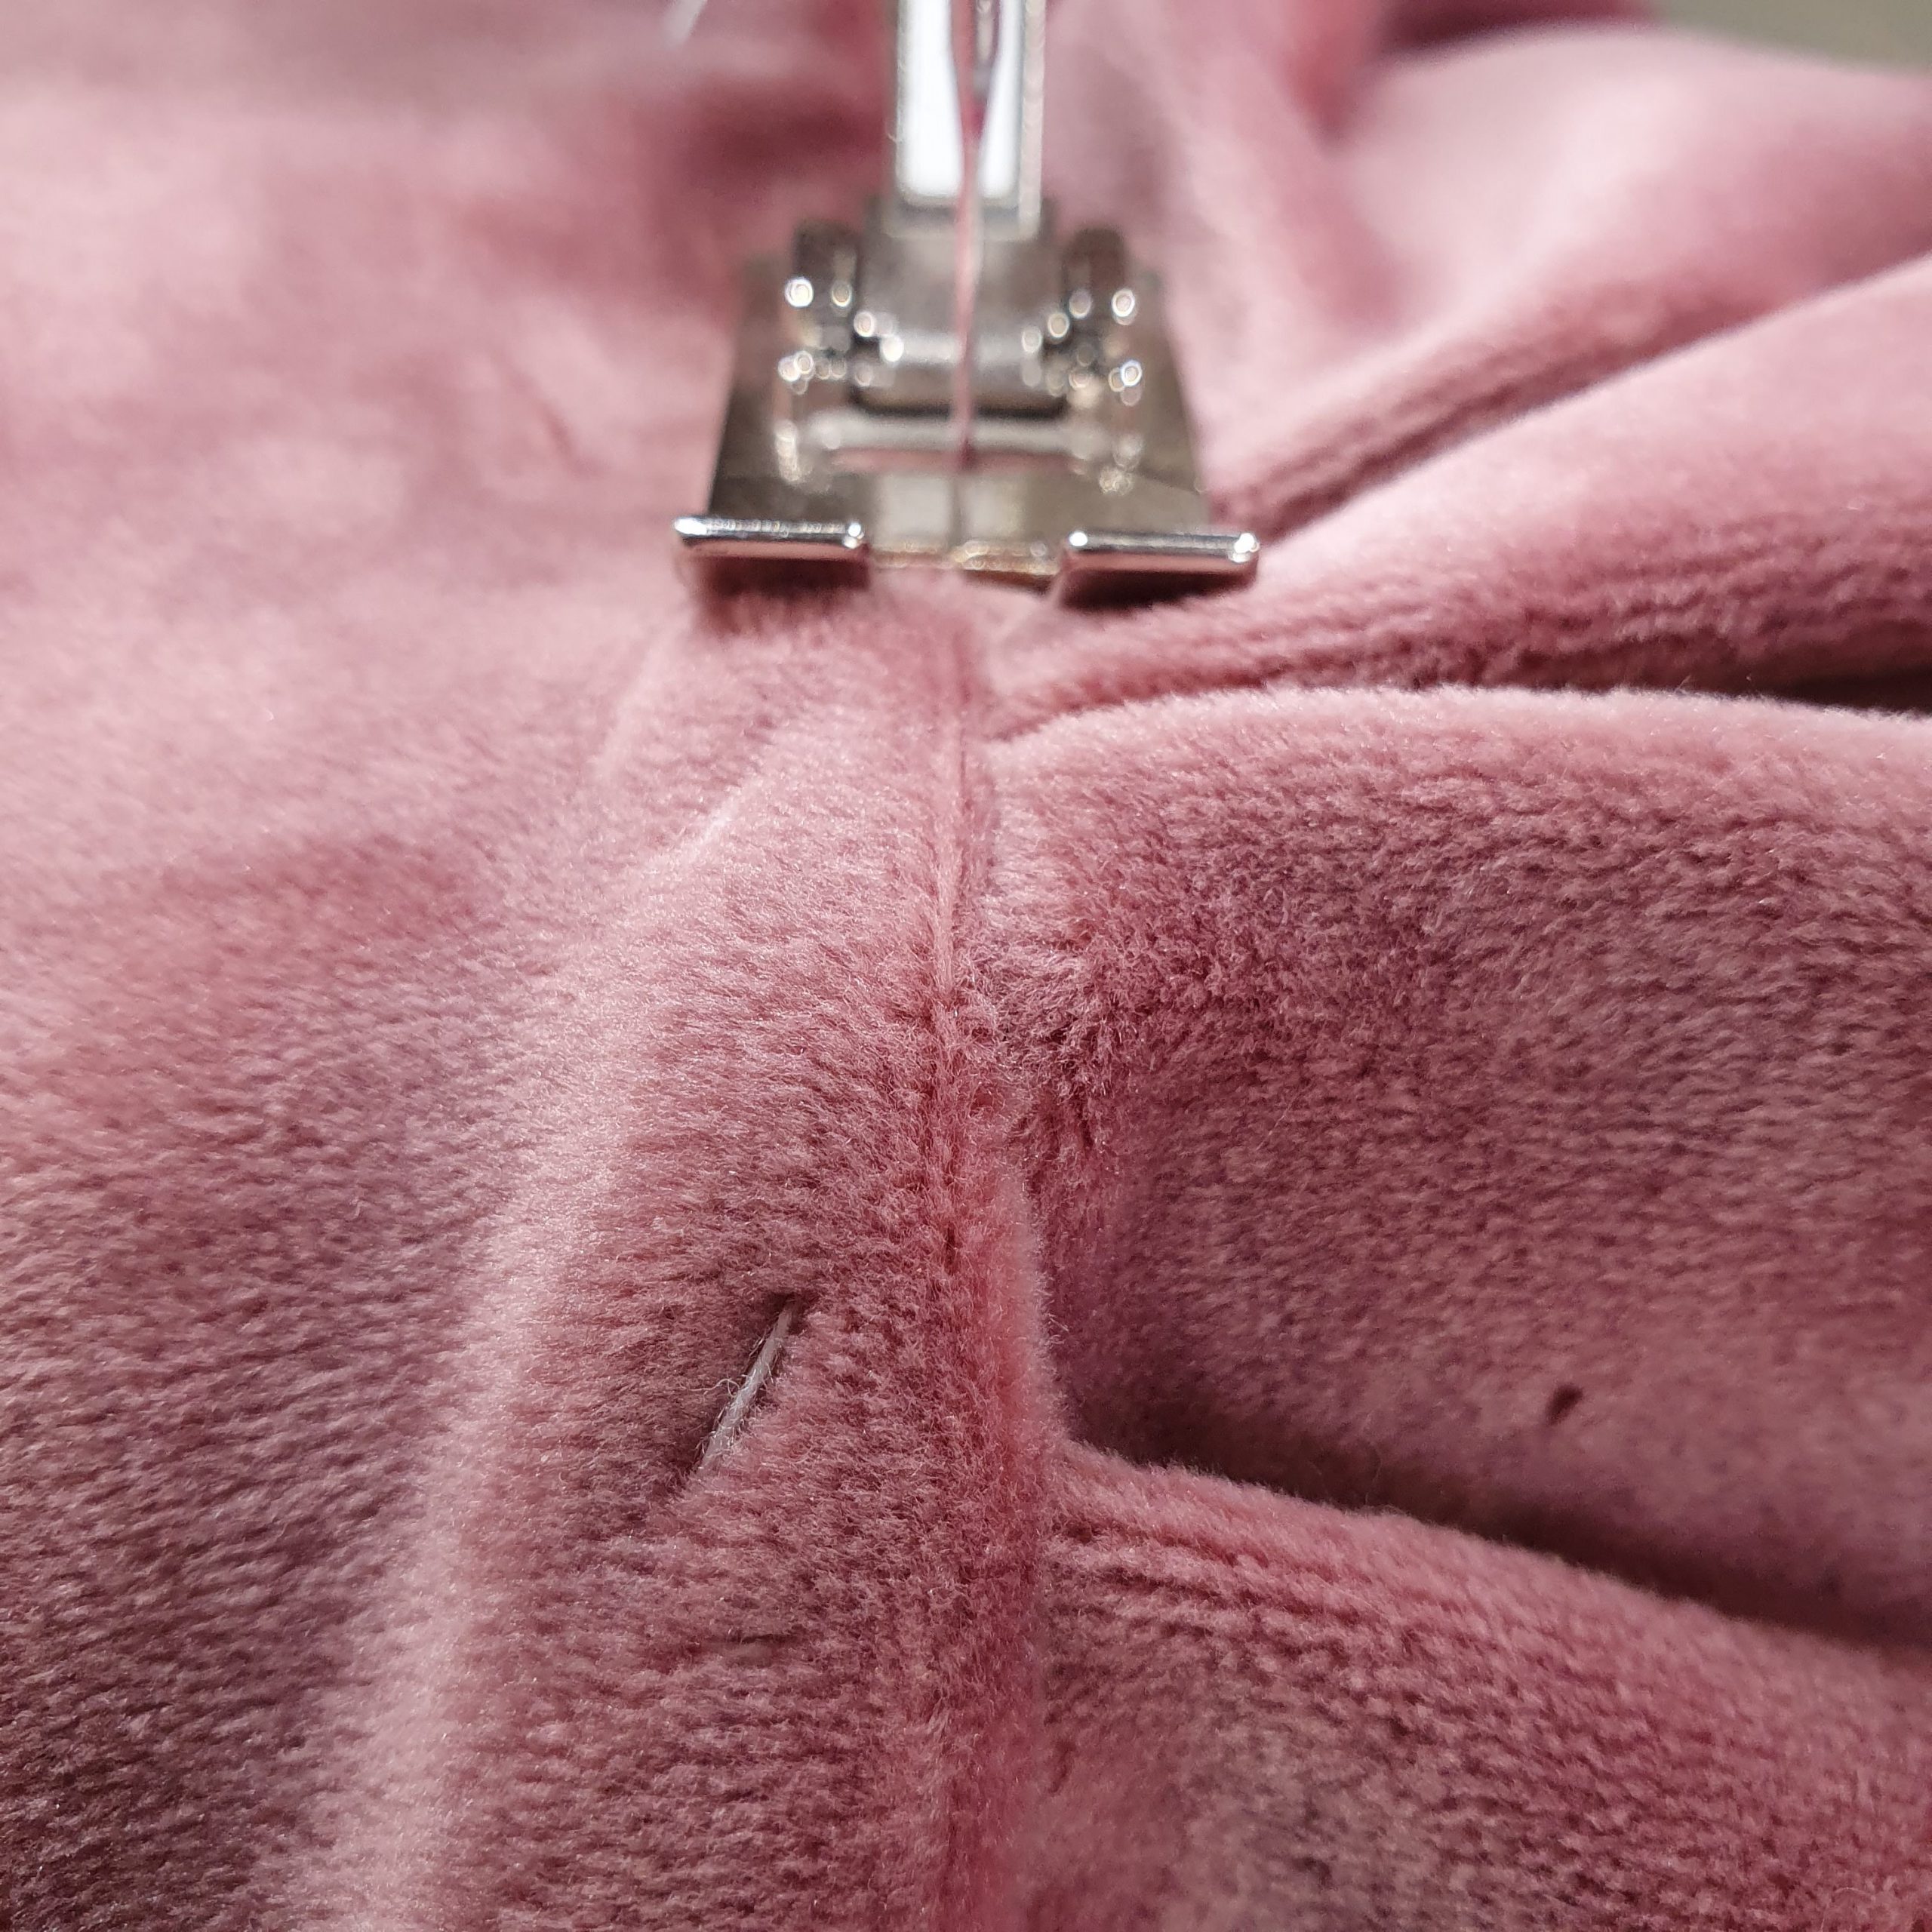
Stitch in the ditch
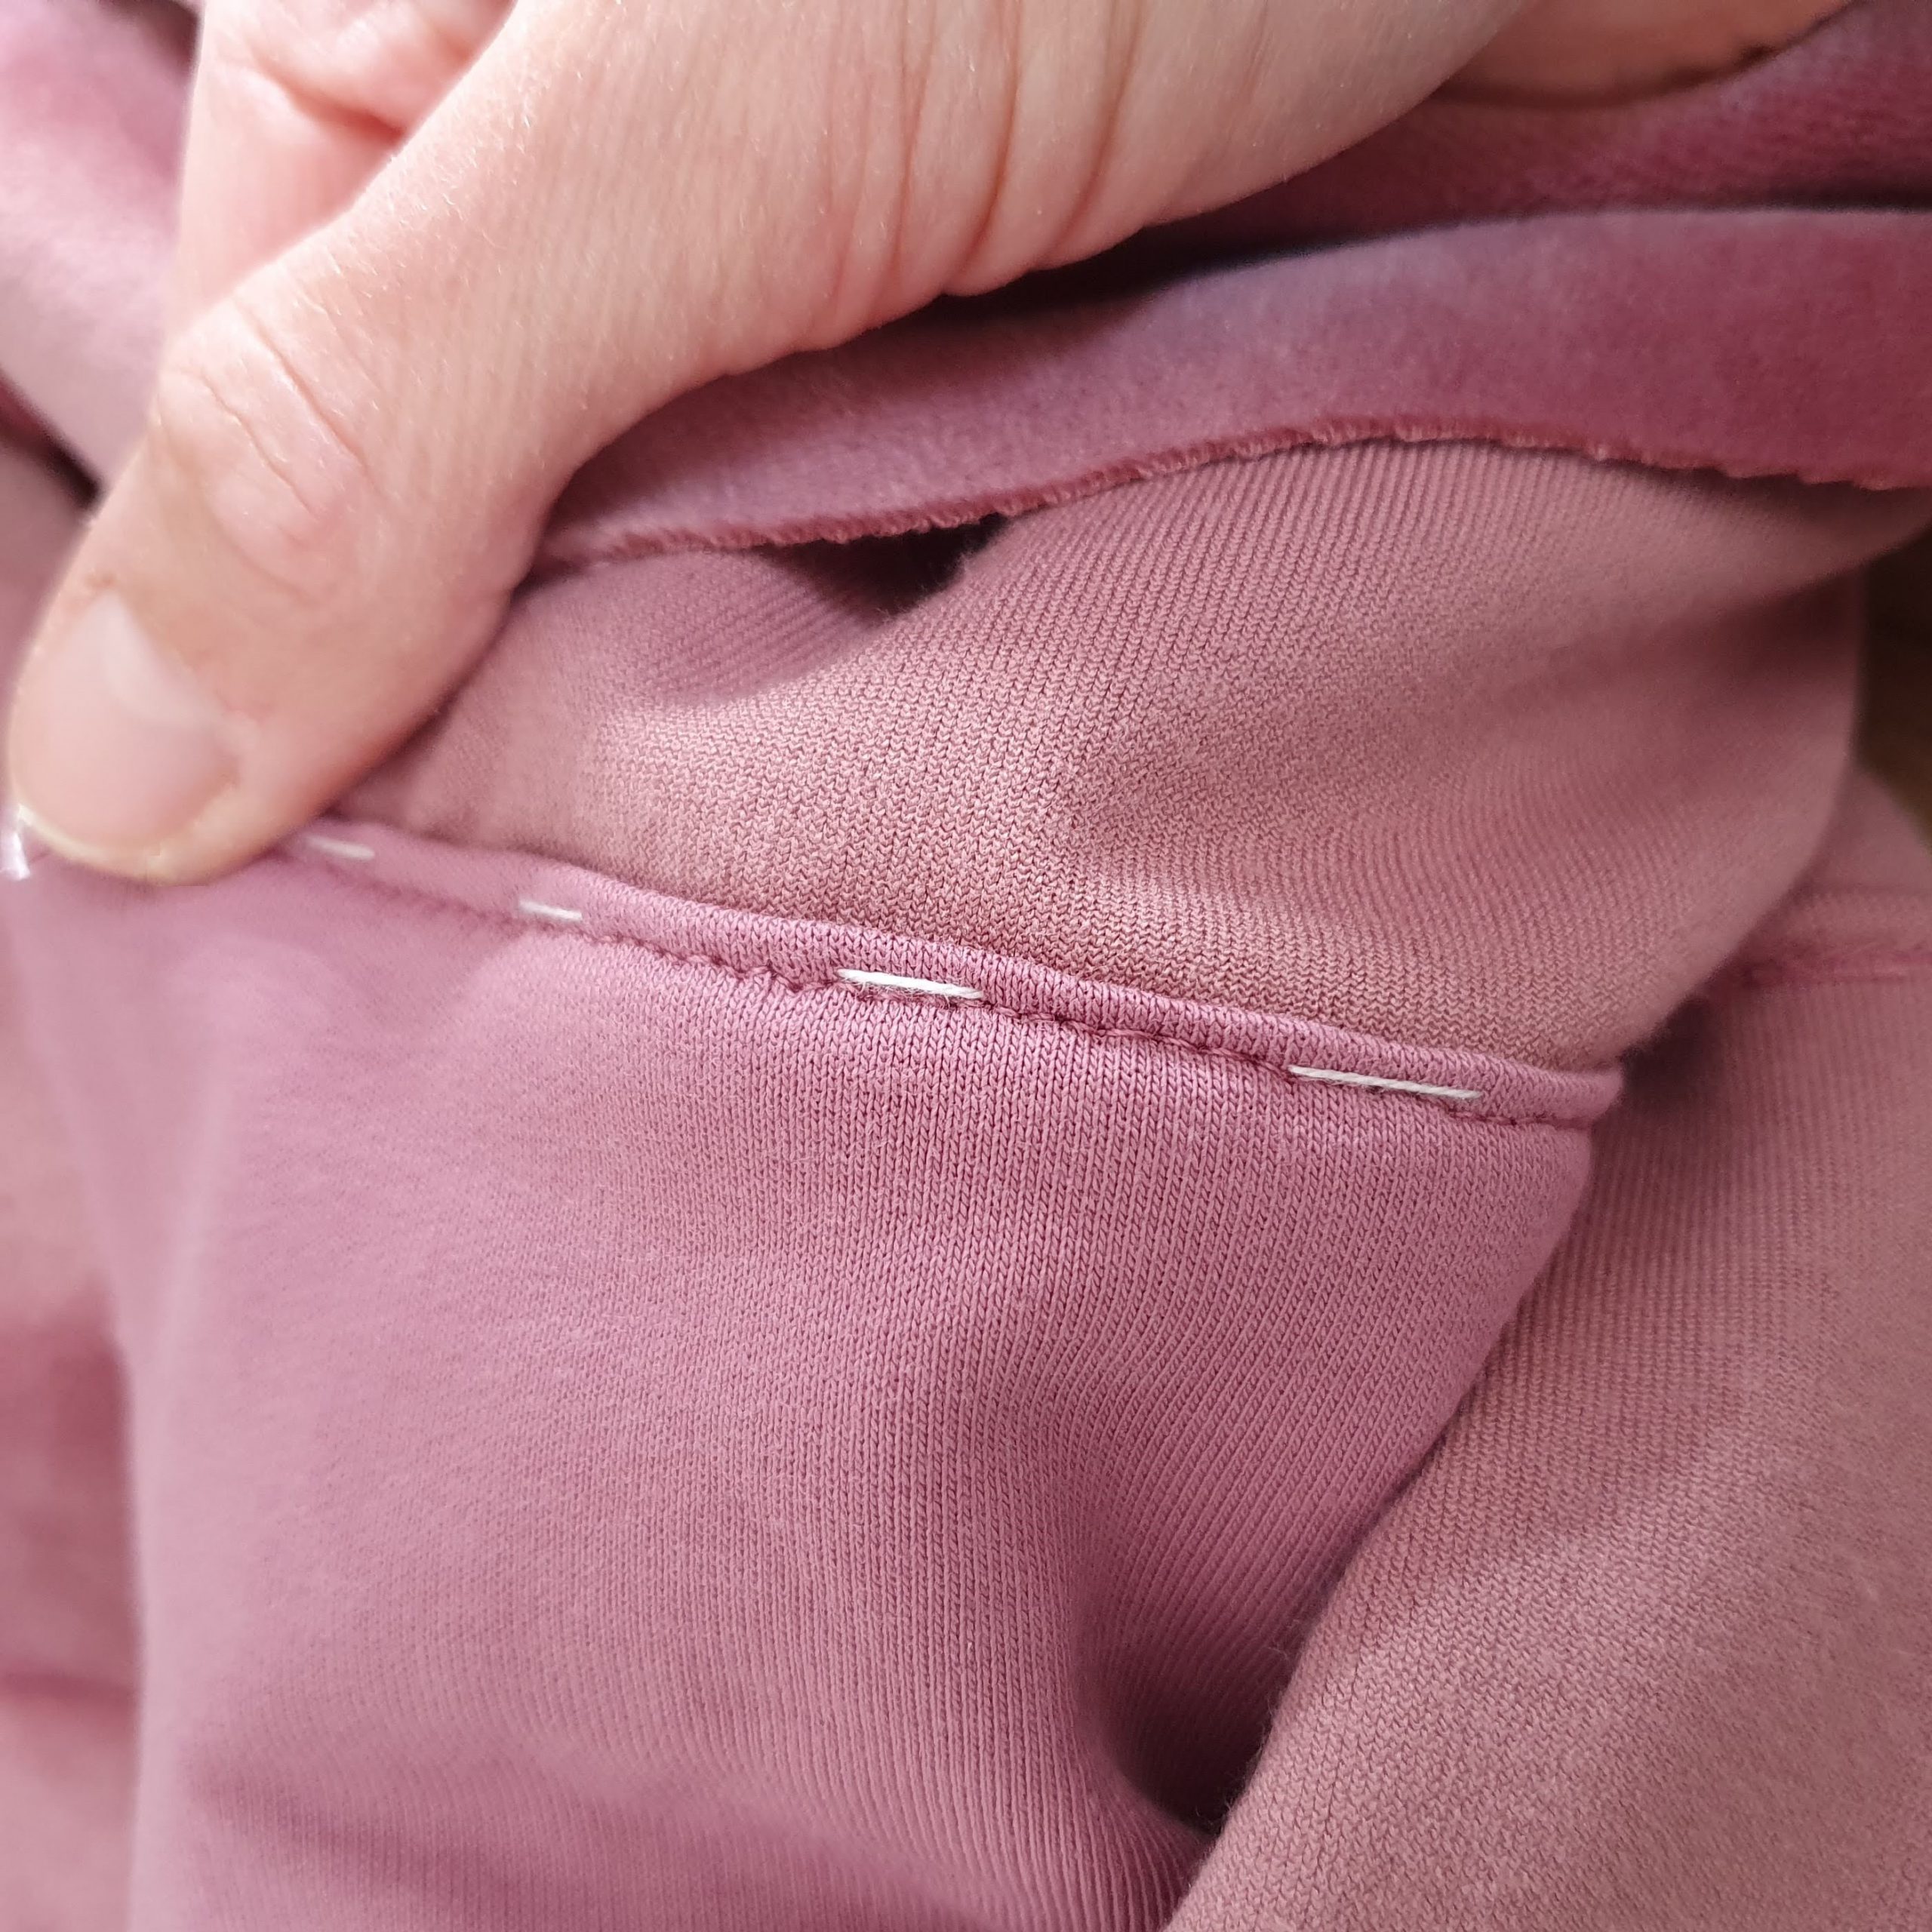
Finished waistband on the inside
Progress
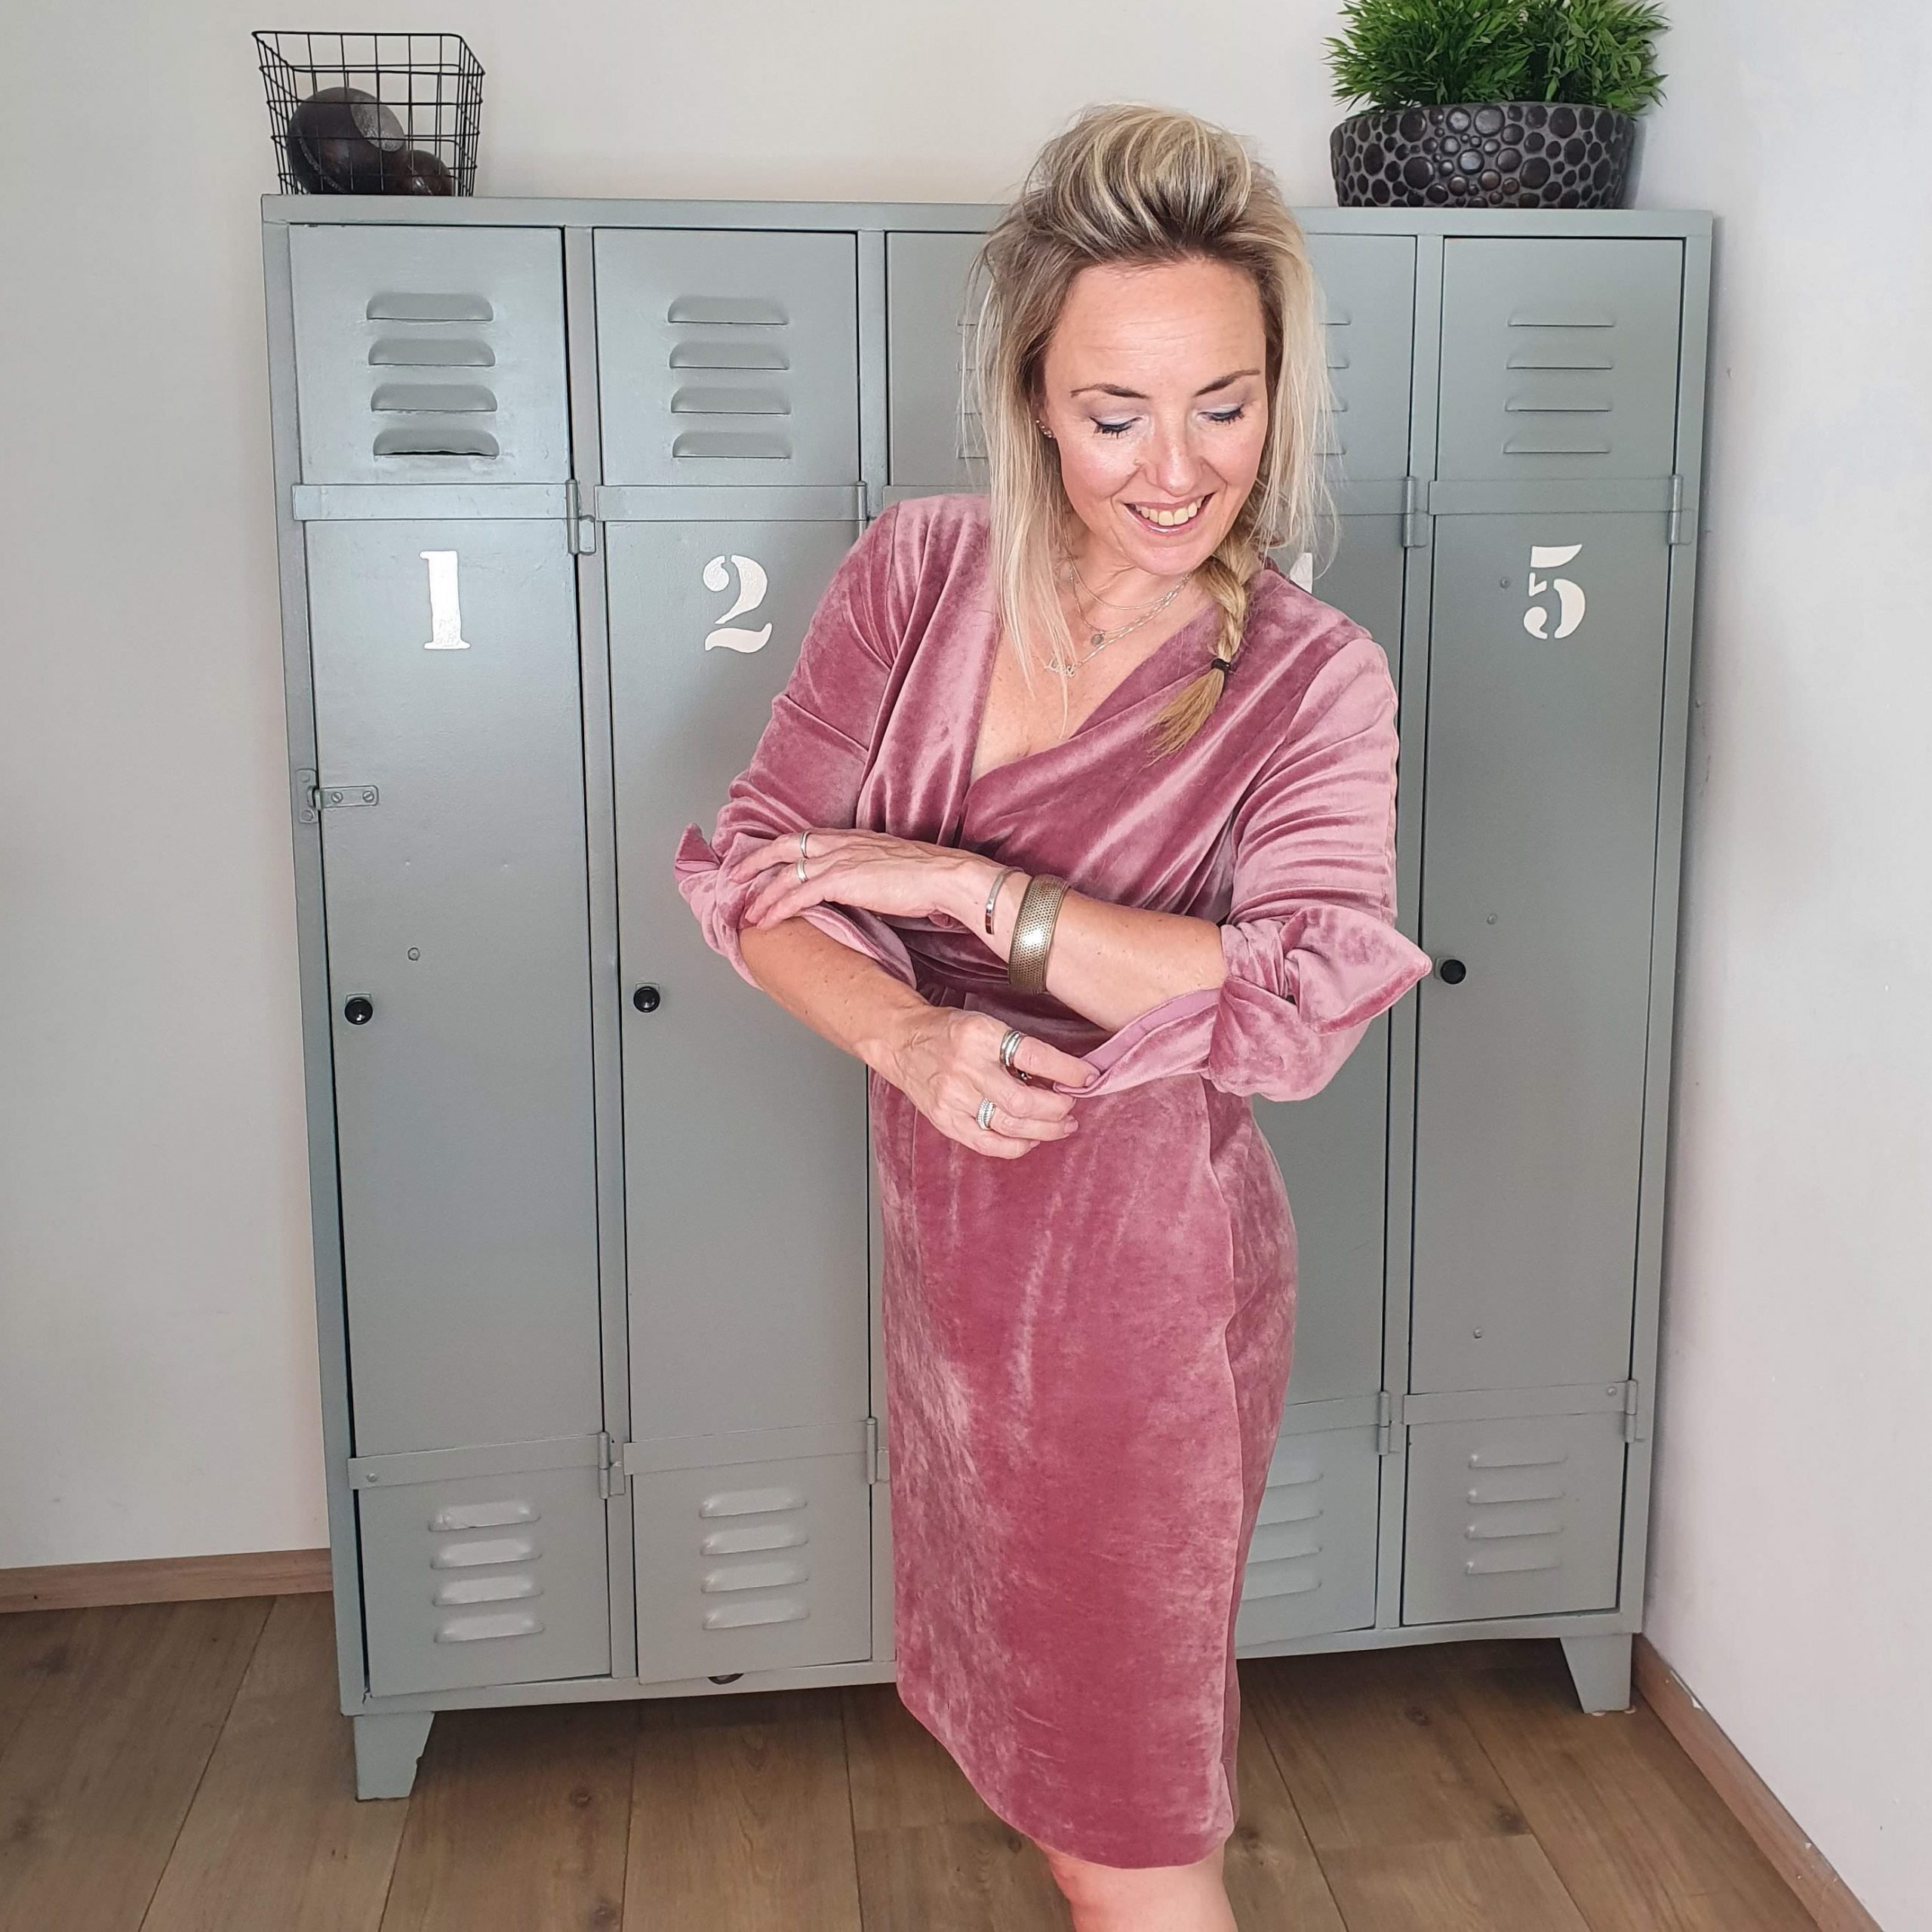
Sleeves
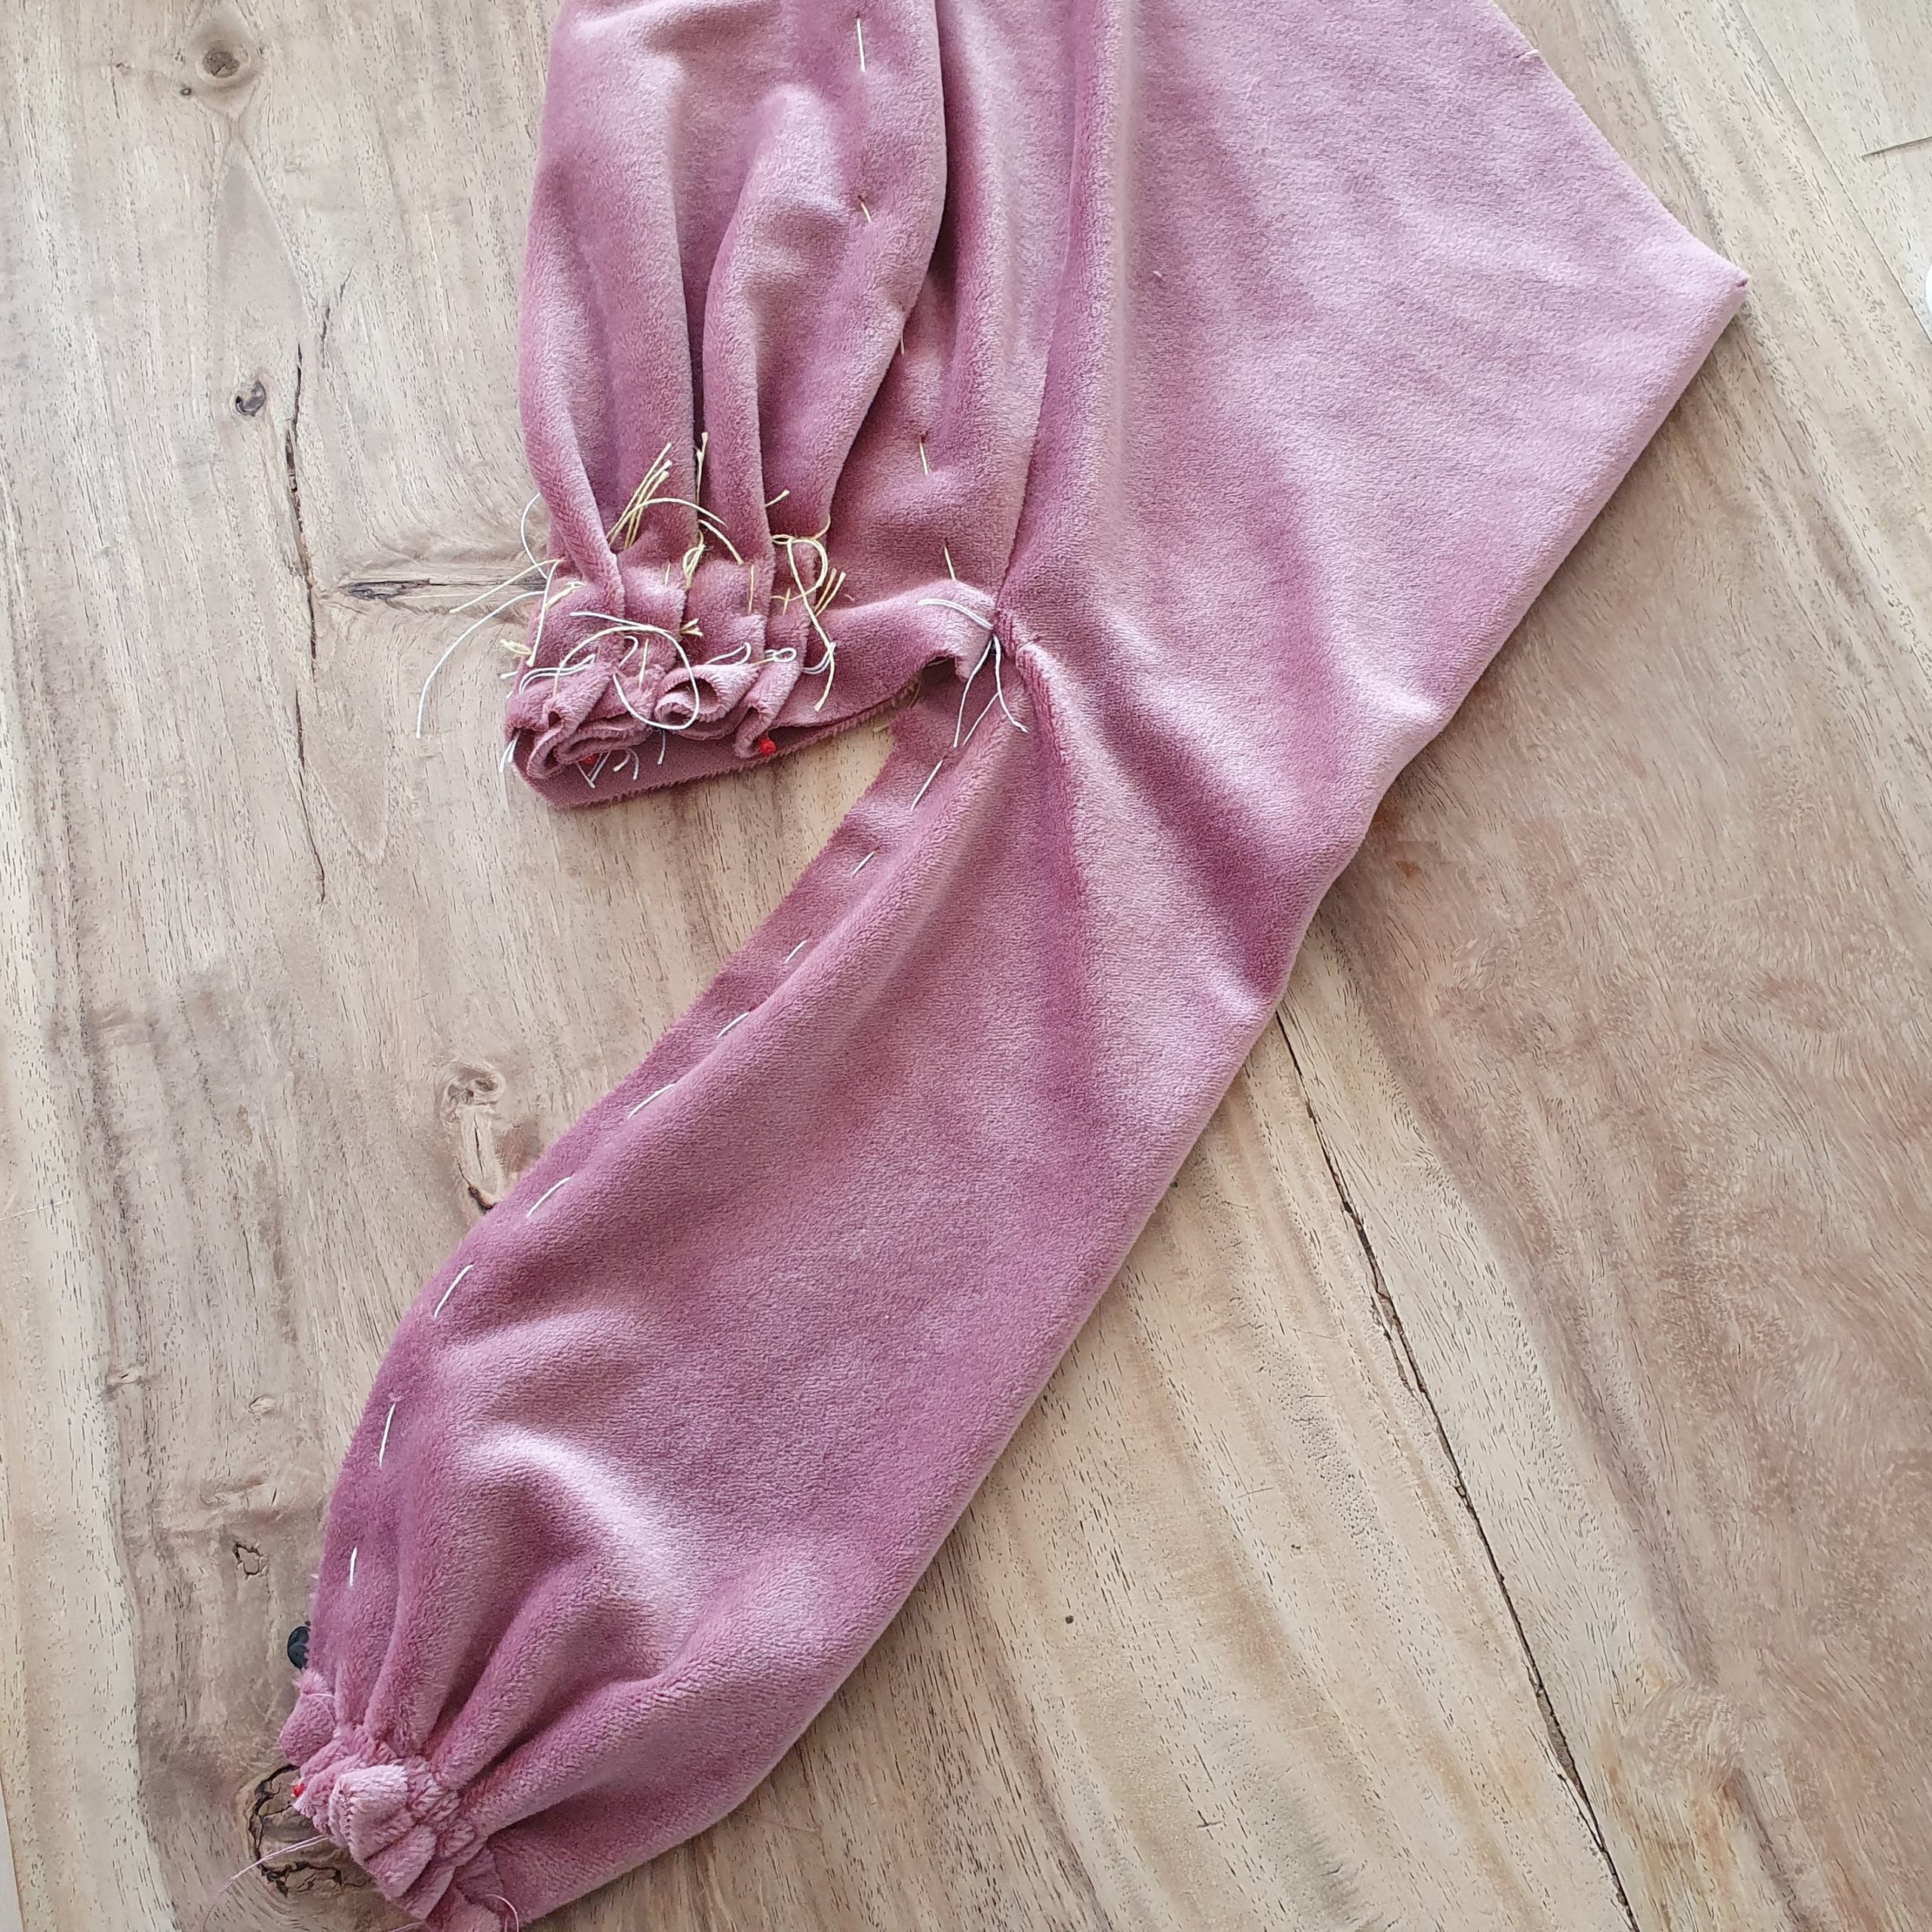
The sleeves have a nice bow detail at the bottom. There is a facing on the inside of the sleeve for the bow. Because of the thickness of the velvet, I also chose to make this facing with the jersey fabric. After attaching the facing right sides together you cut the seam allowance so the bow curves beautifully when turned inside out. Then close the sleeve seams and iron carefully. After inserting the sleeves into the dress, it is time for the last step.
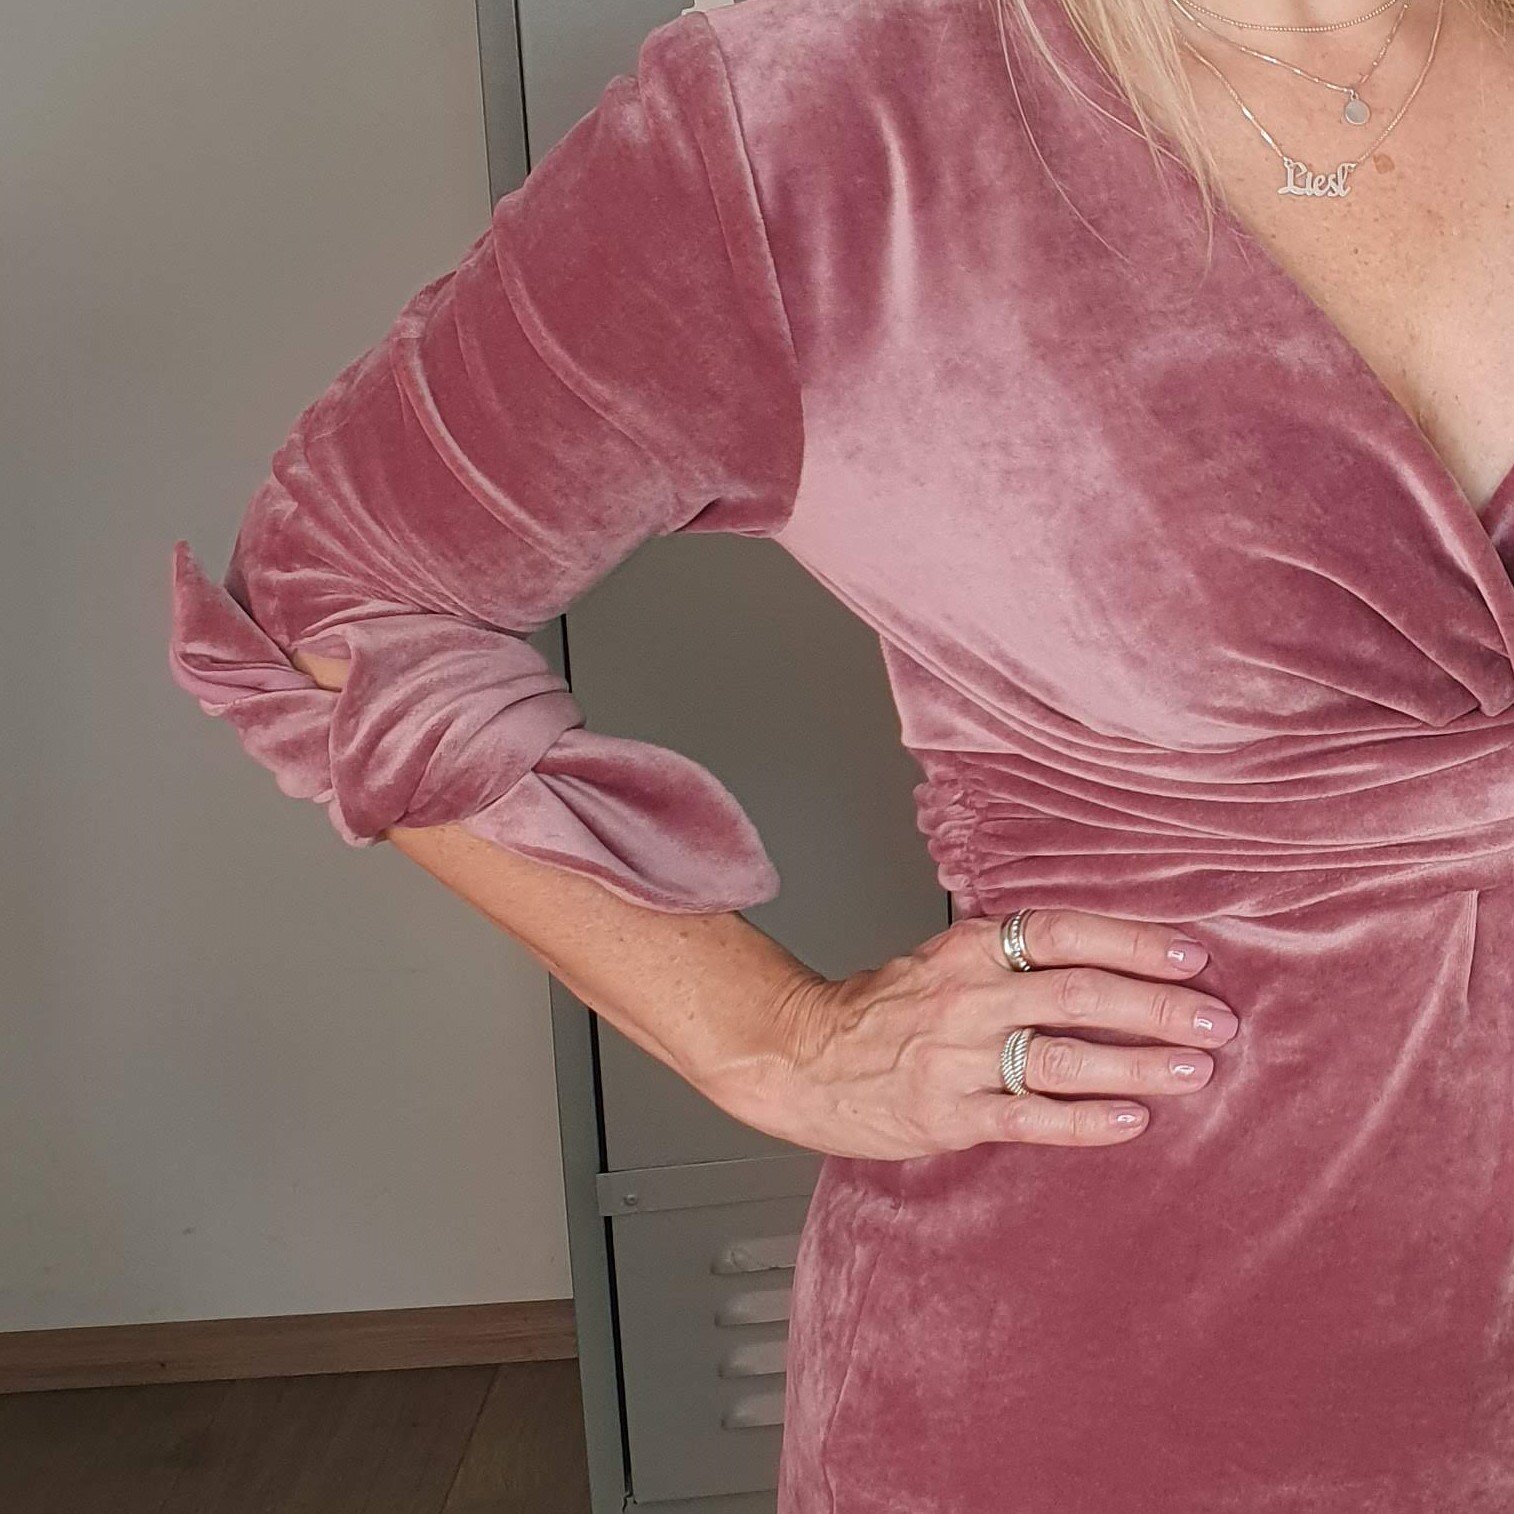
Bow sleeve
Facing

Cut for beautiful curves
Bow-part turned
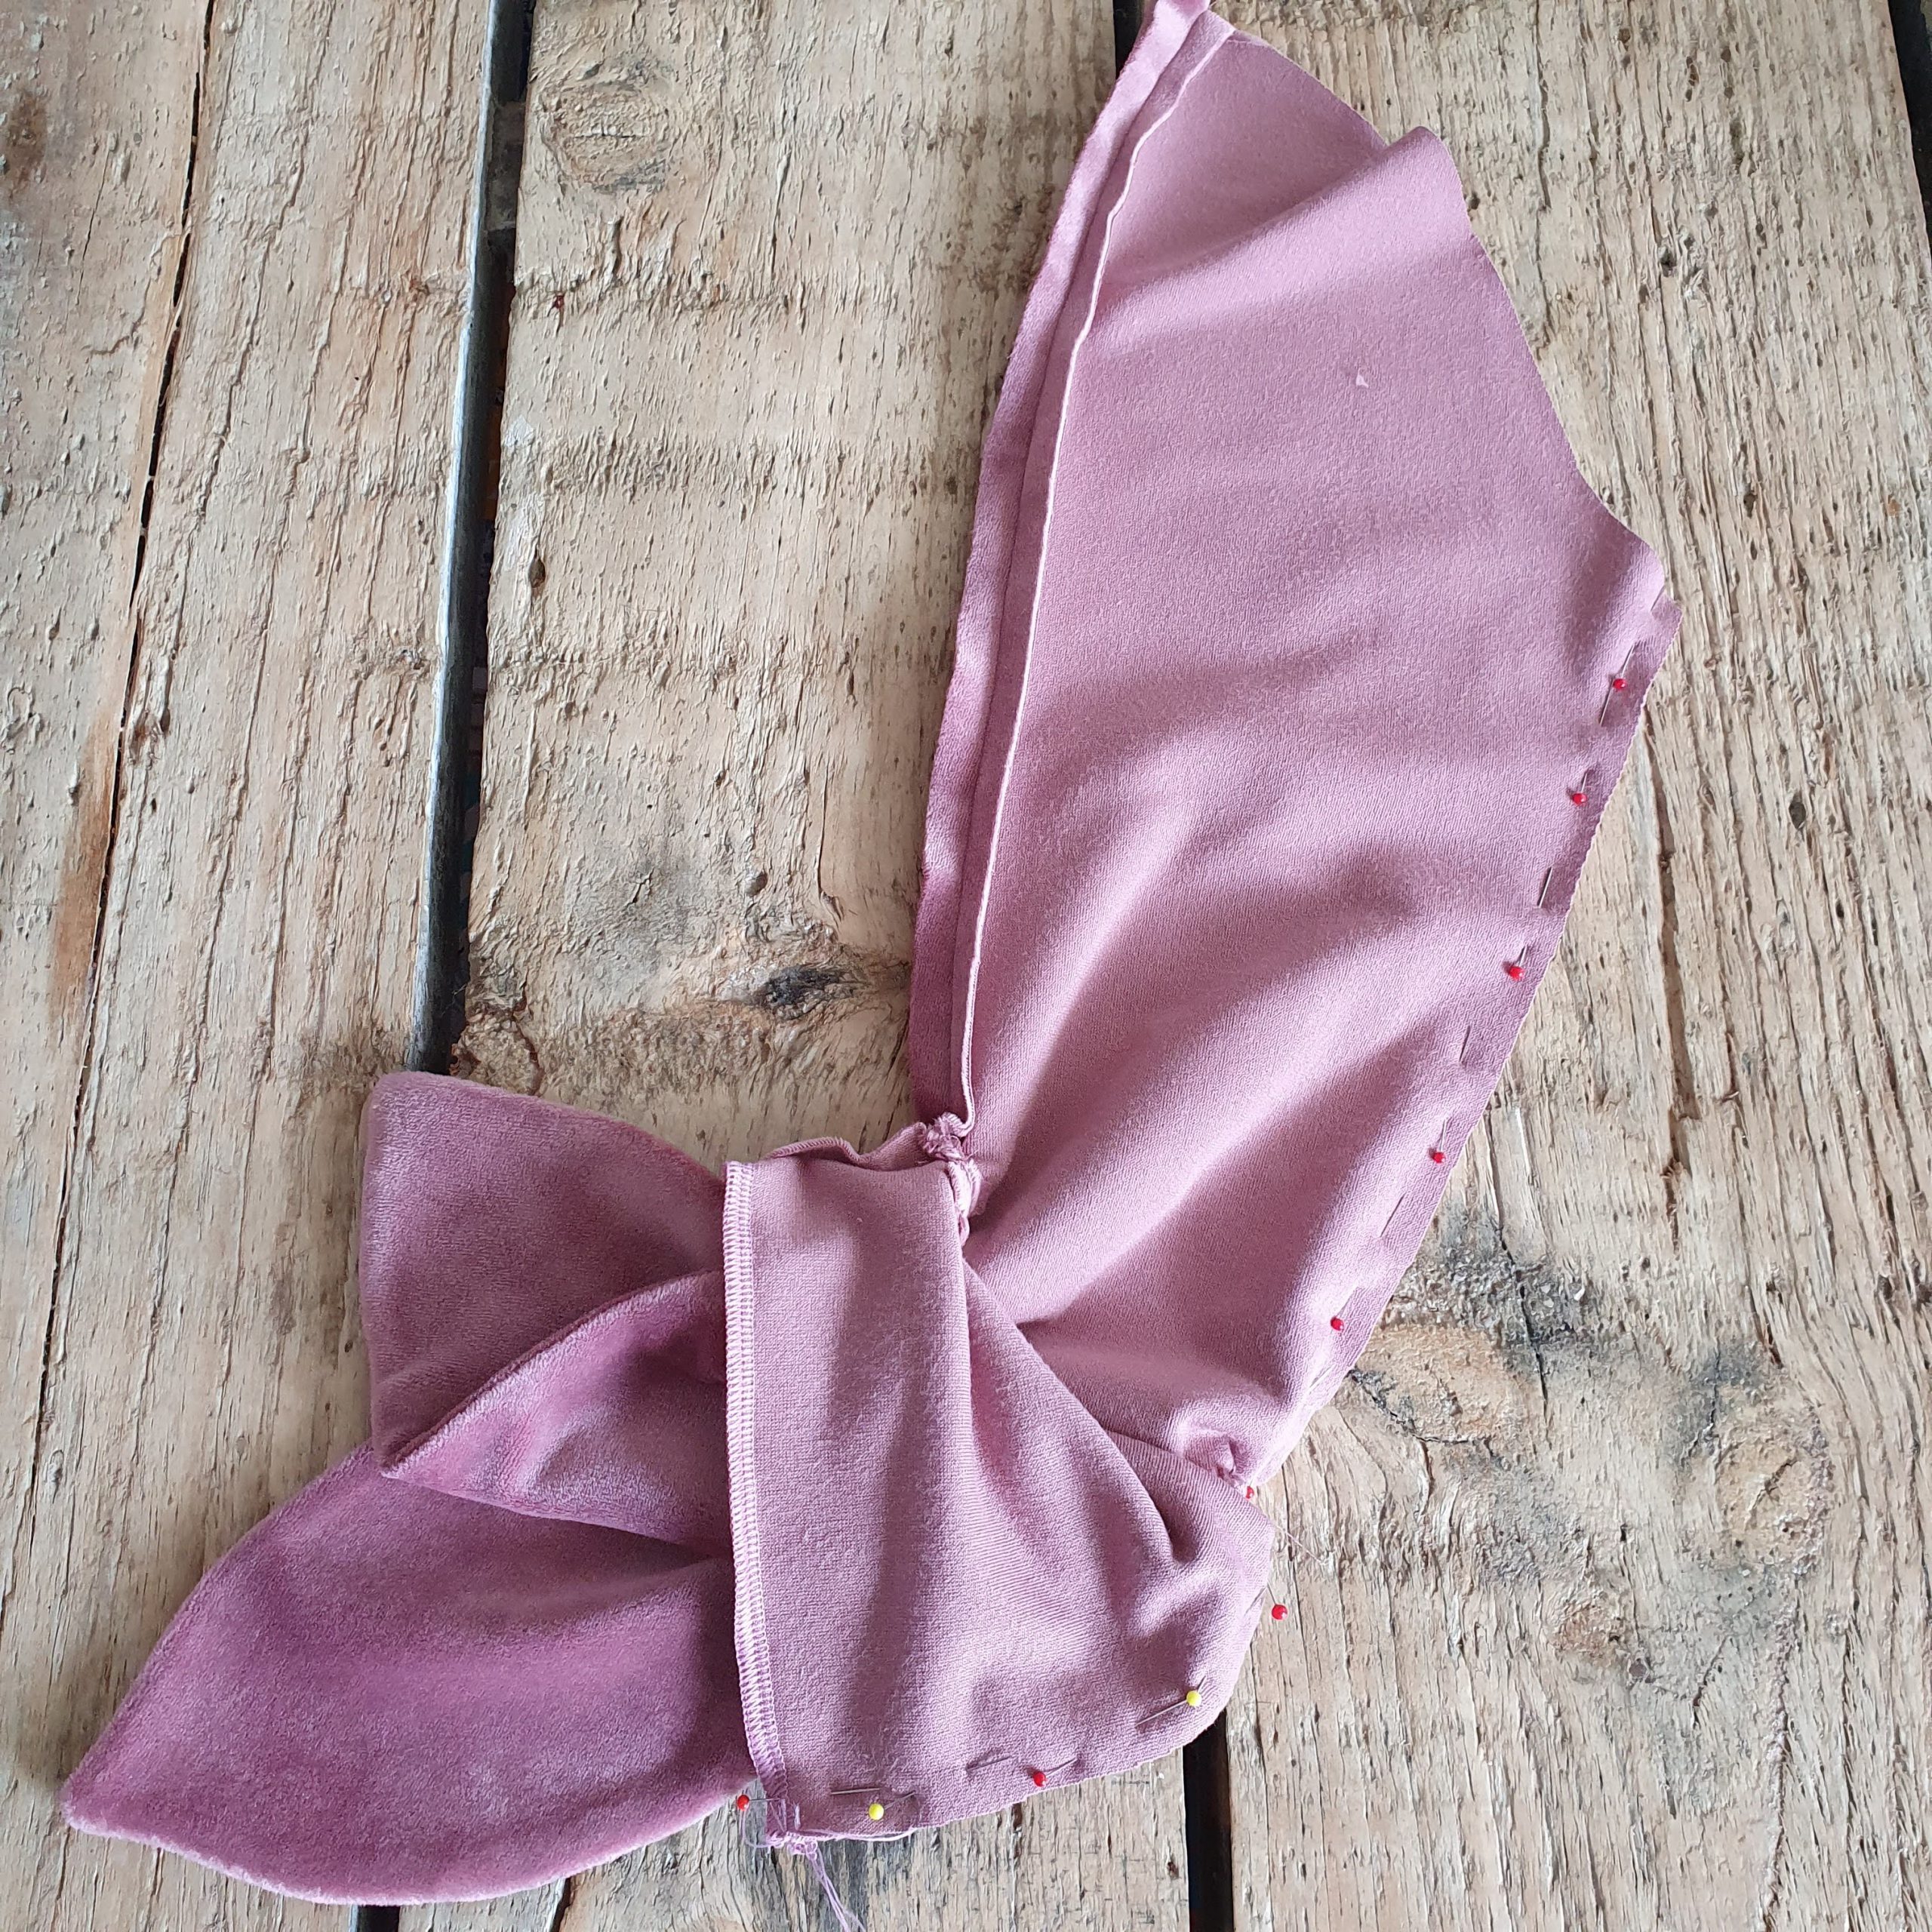
Close sleeve
Iron gently
Hem
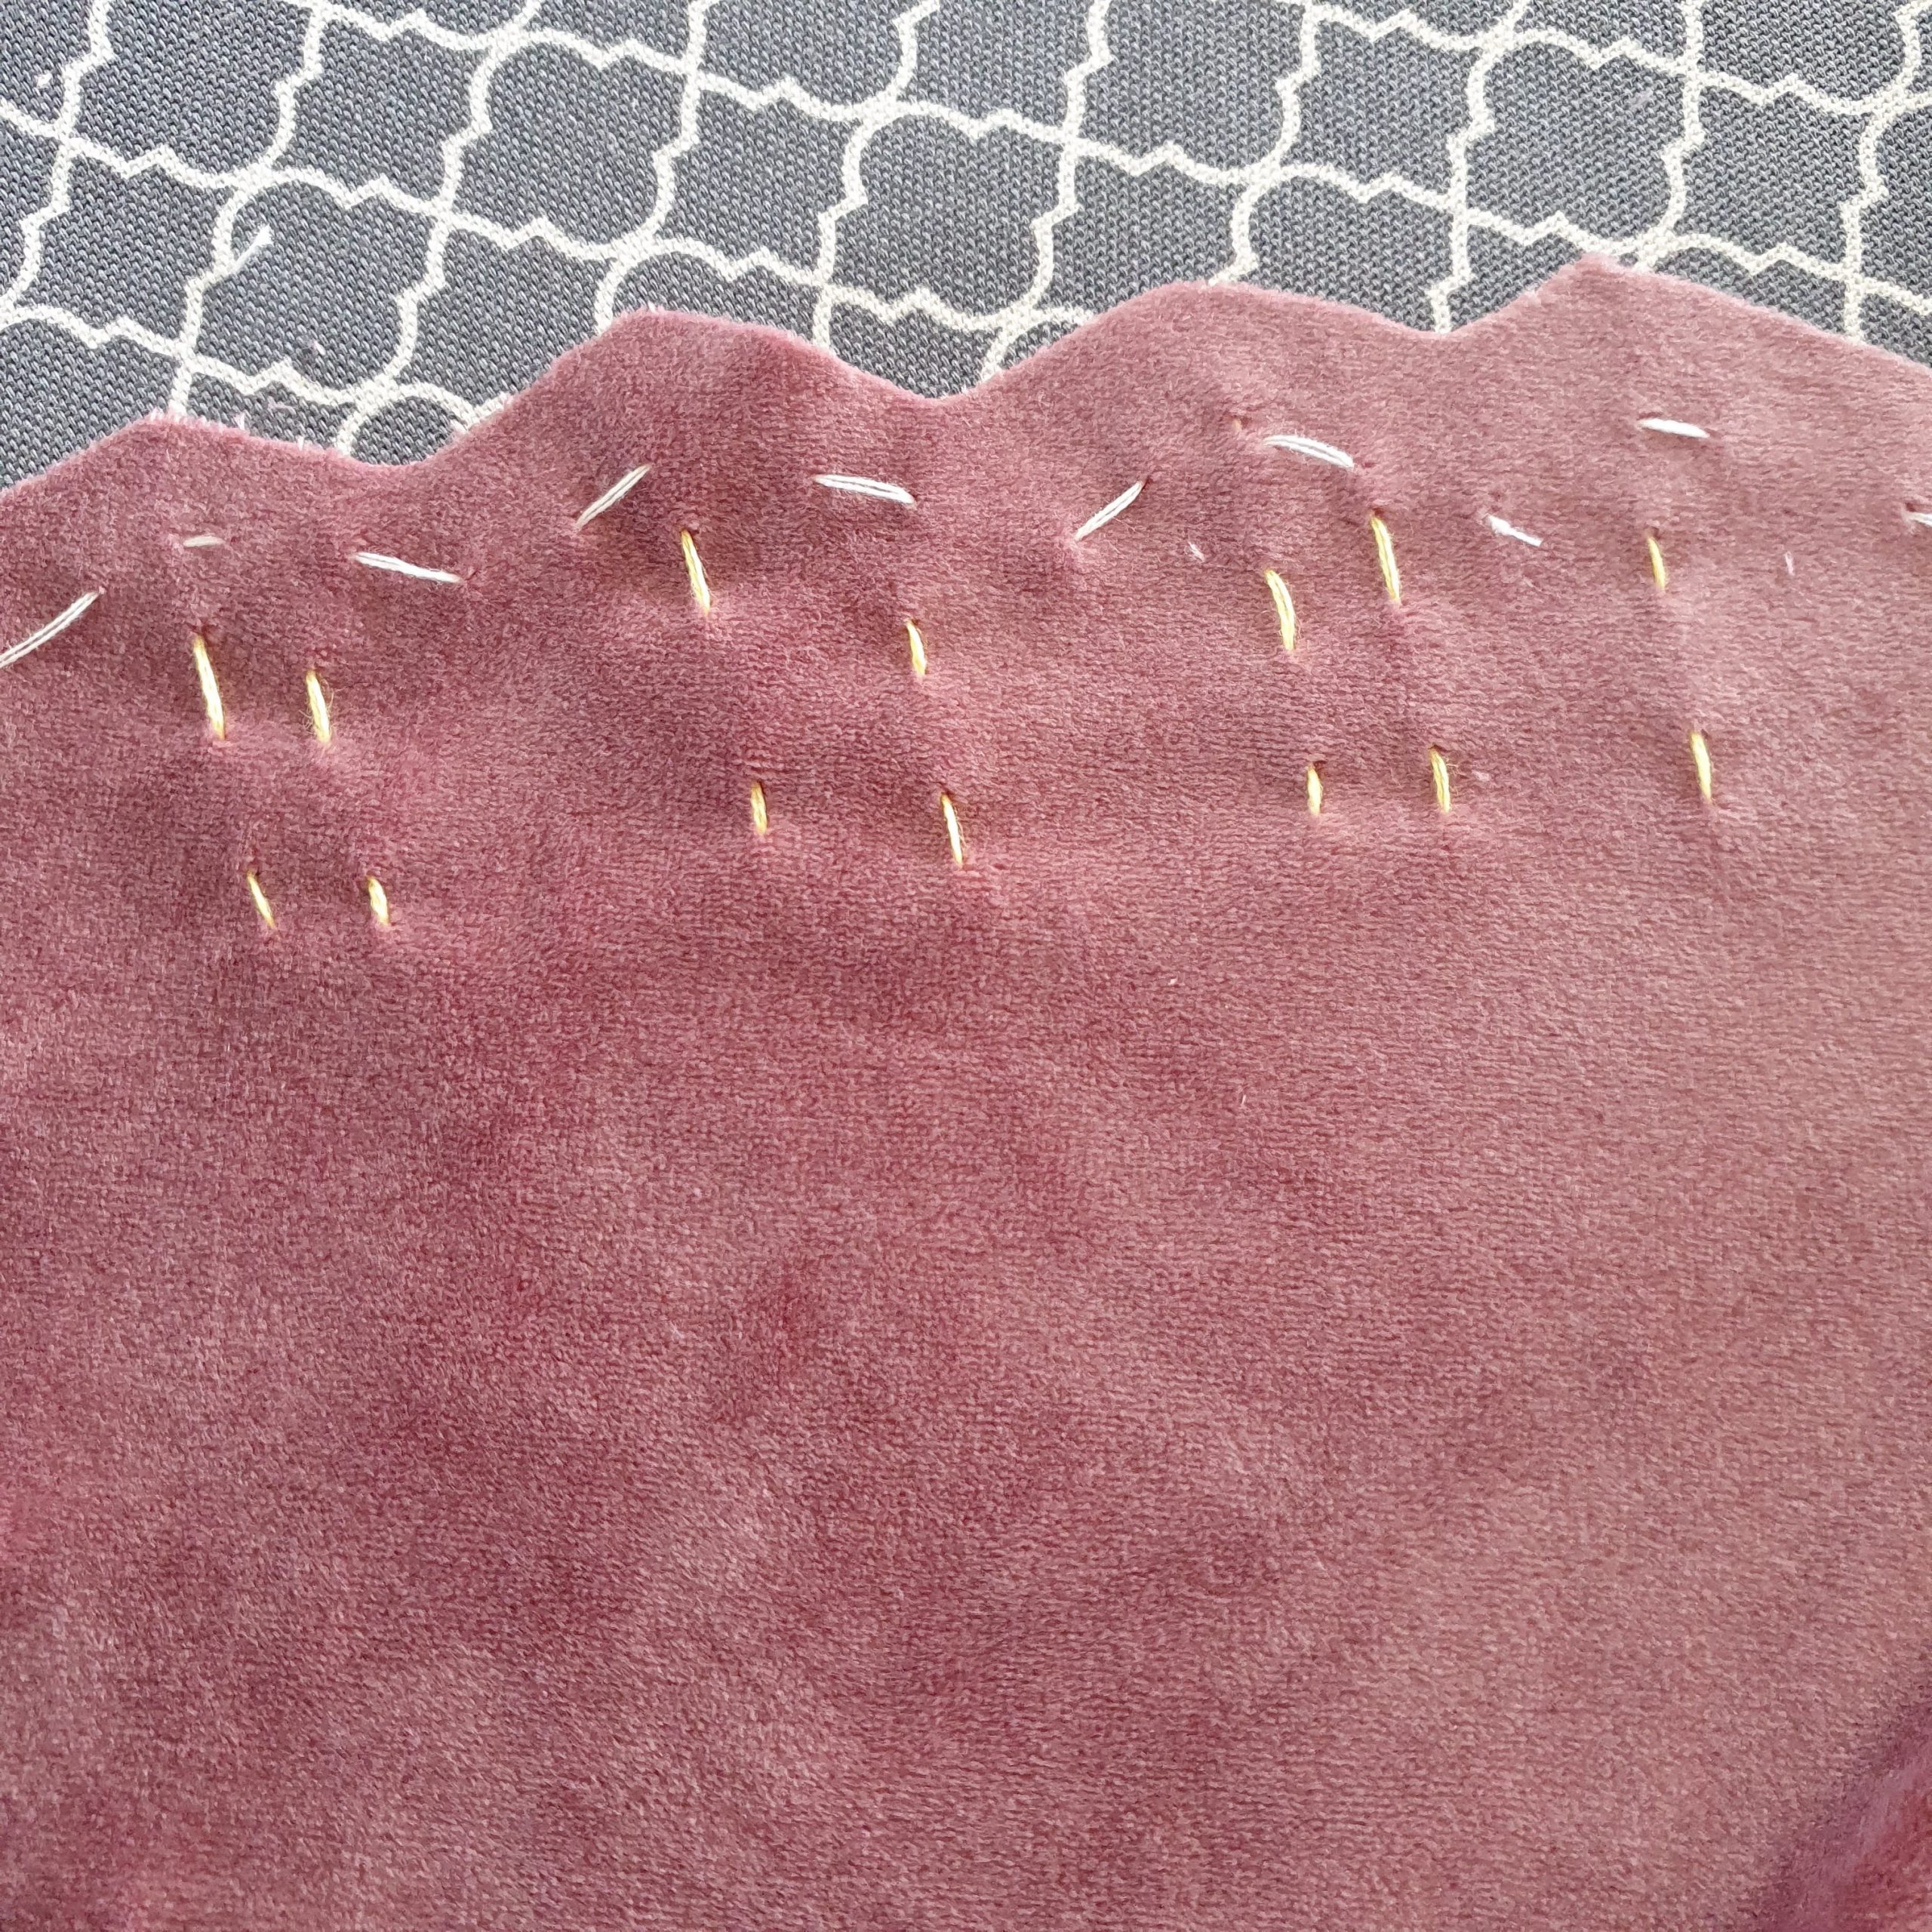
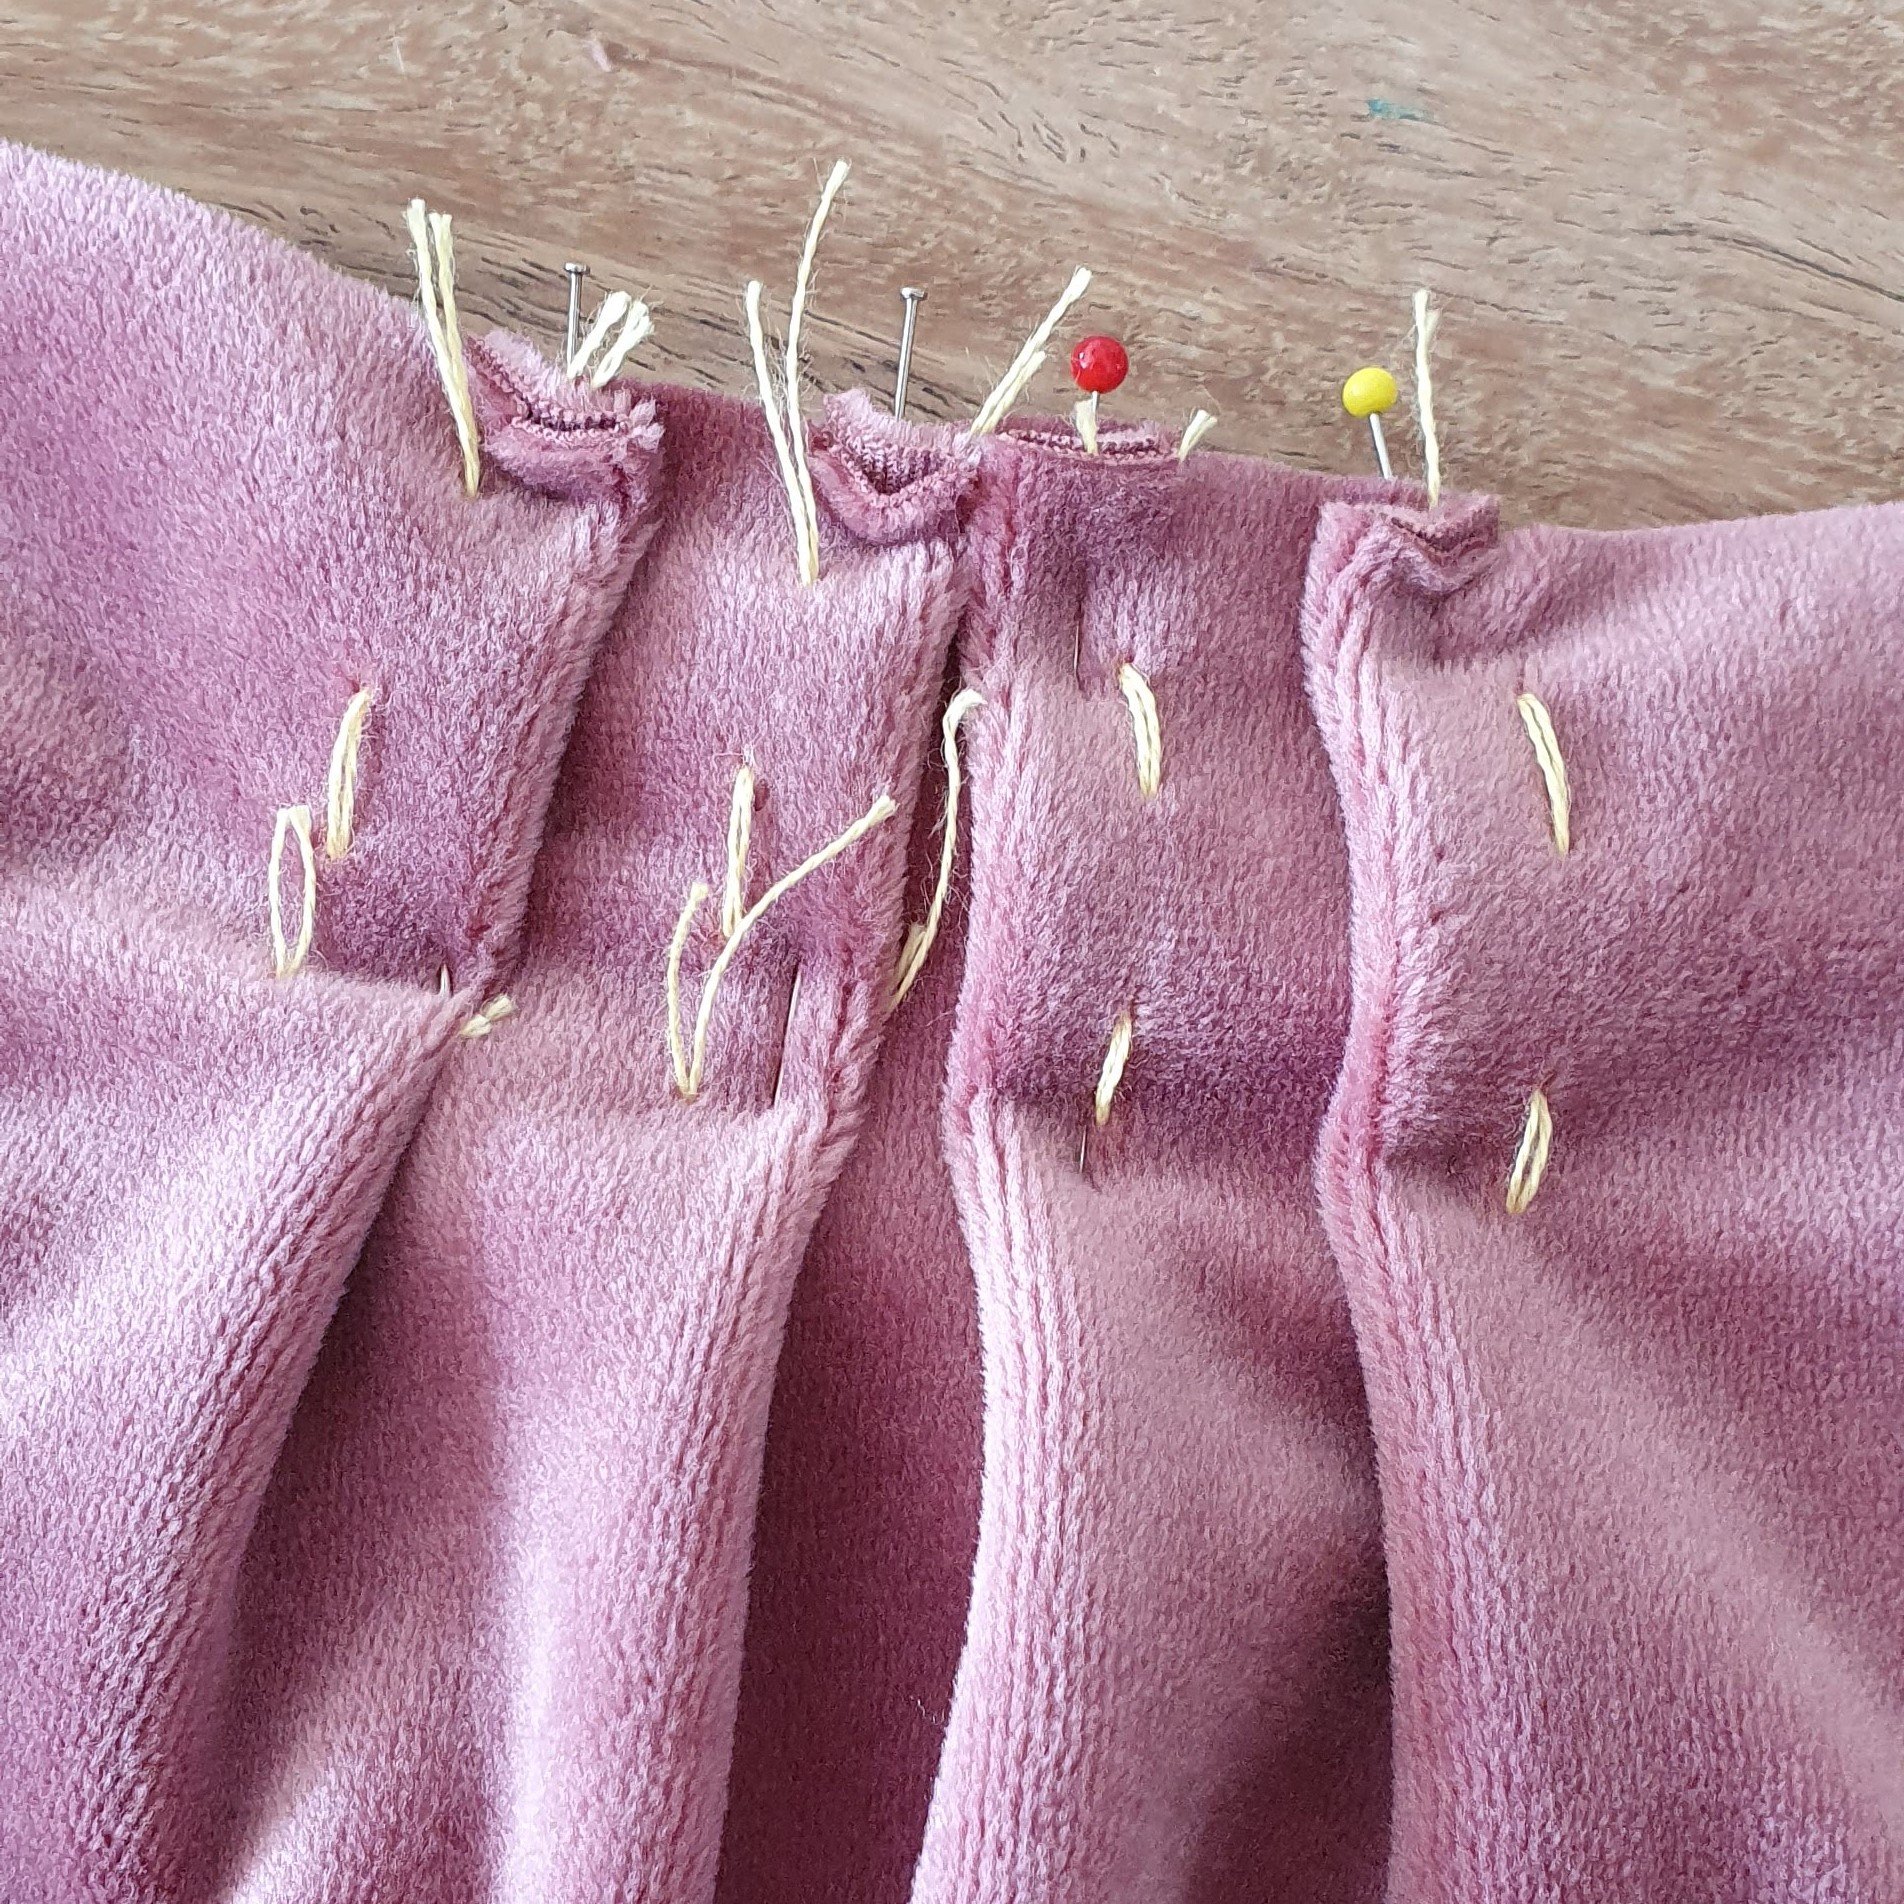
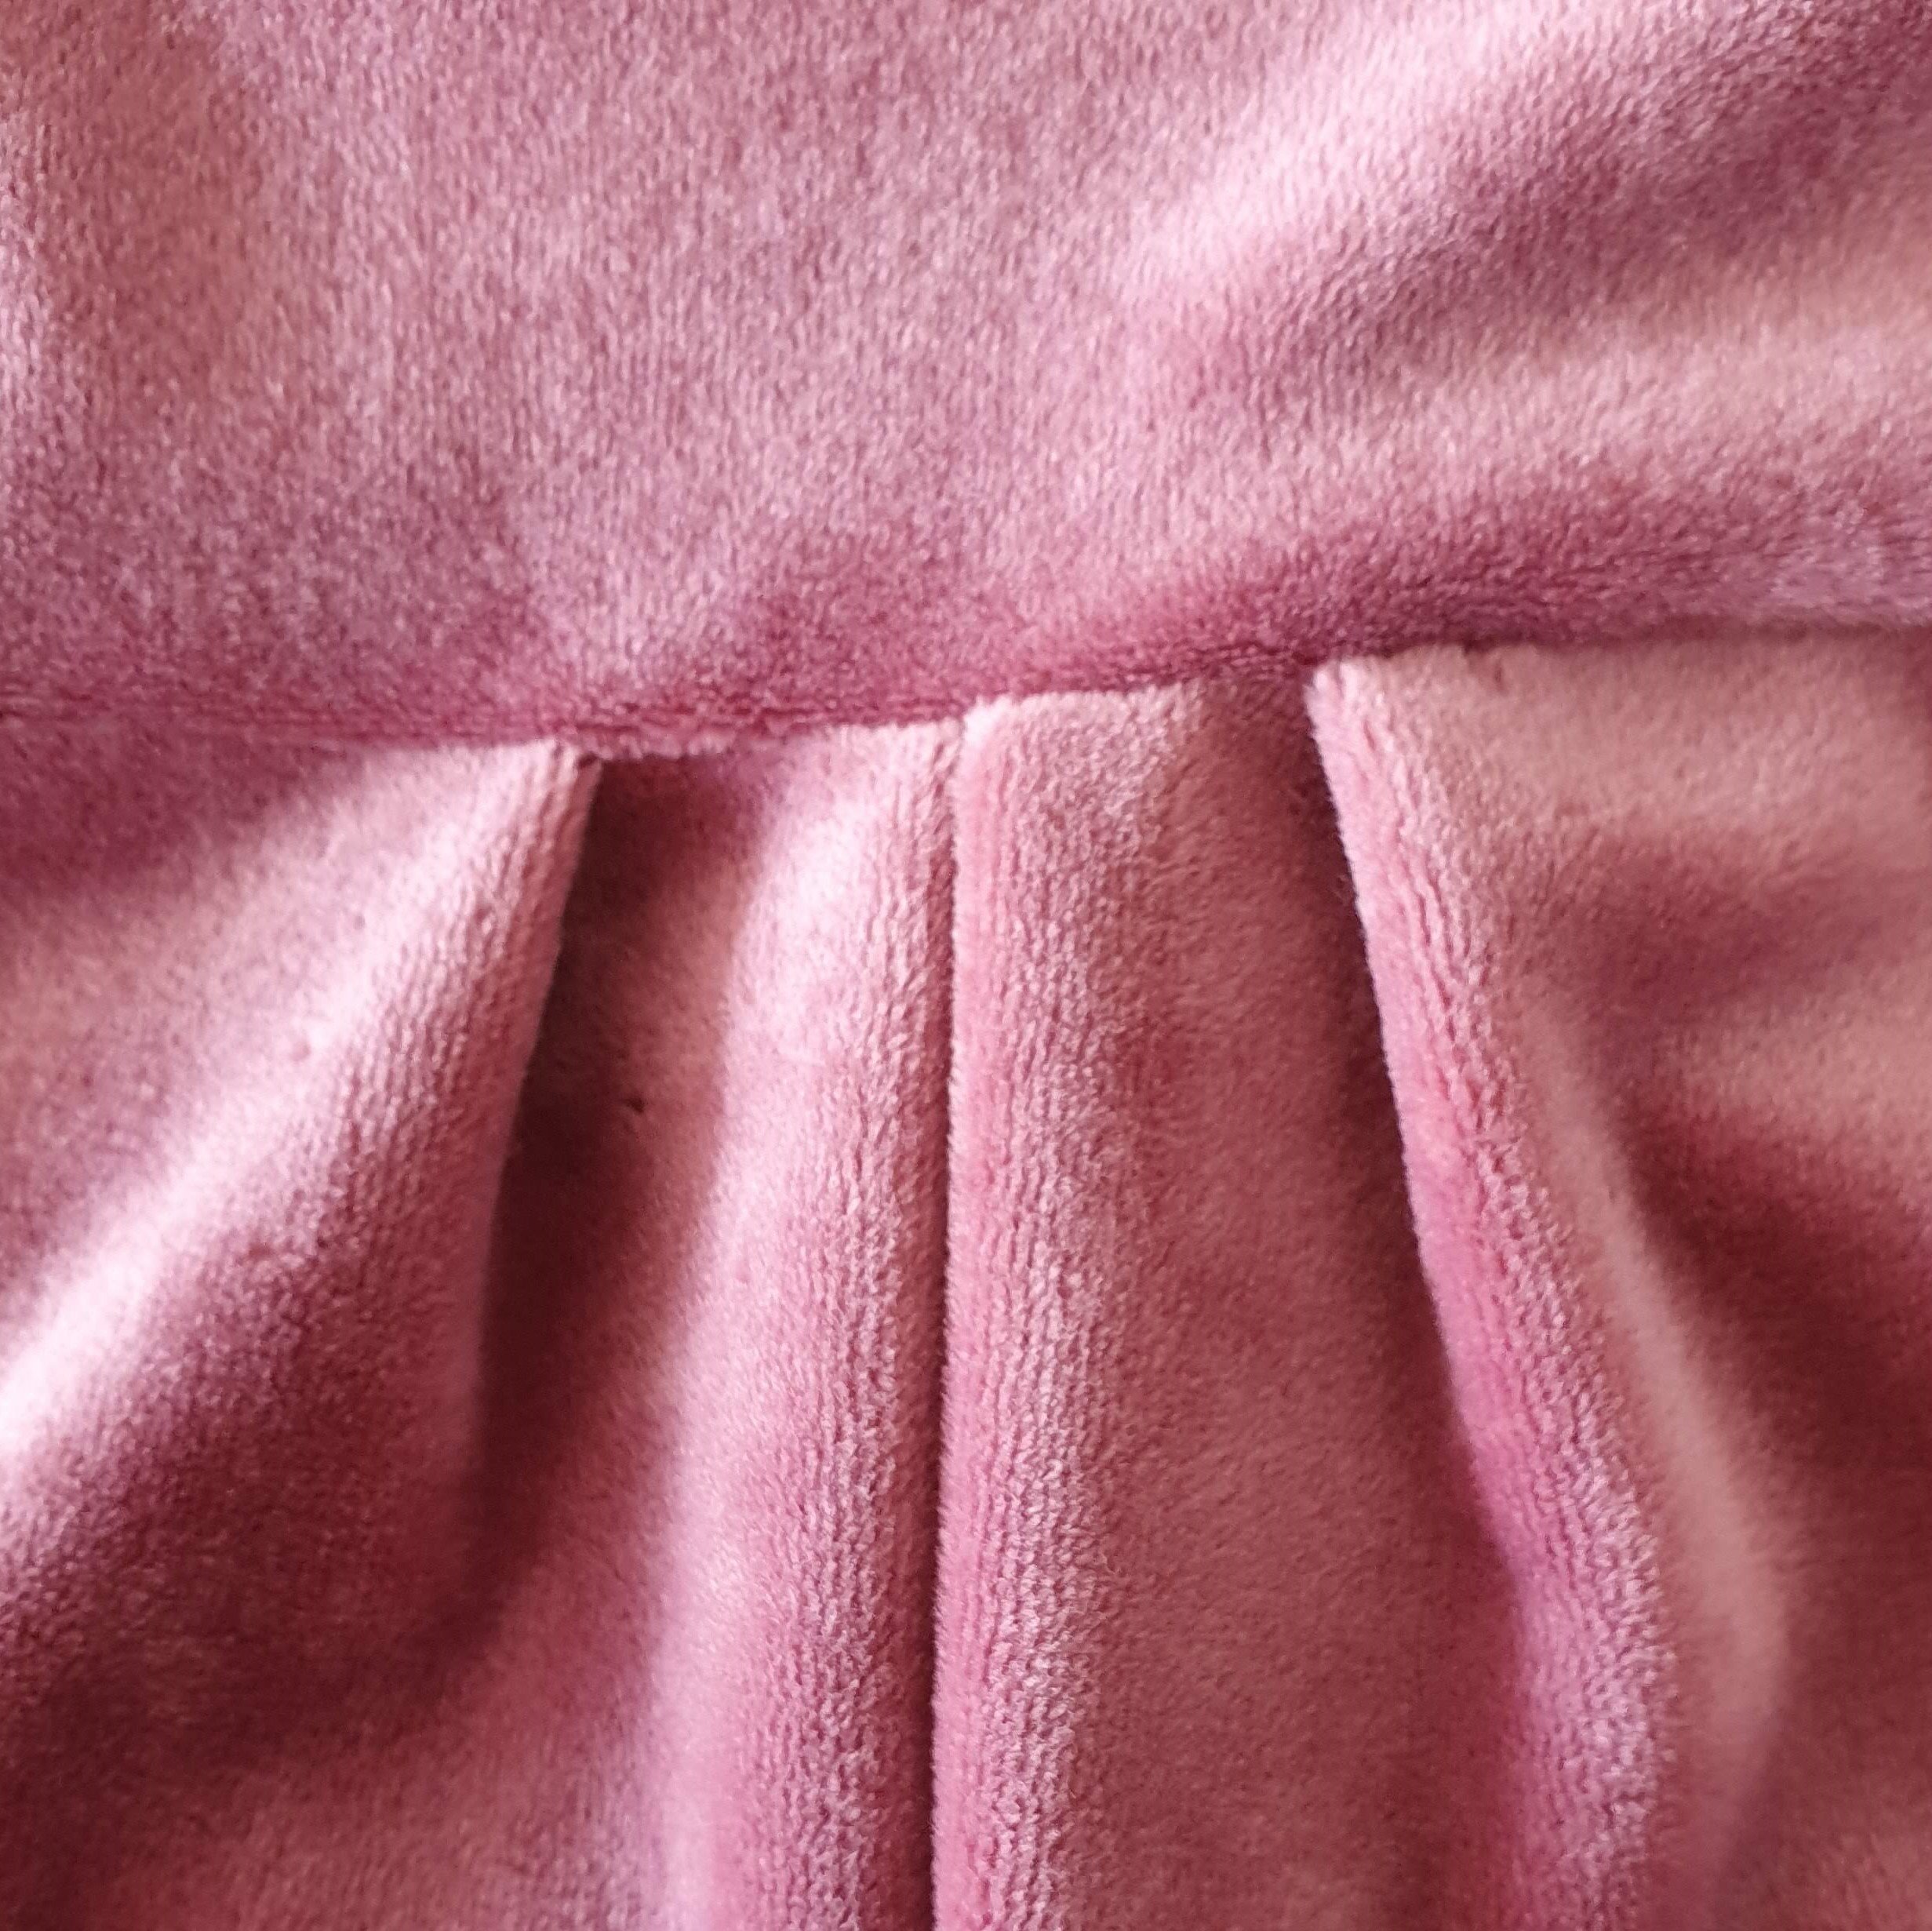
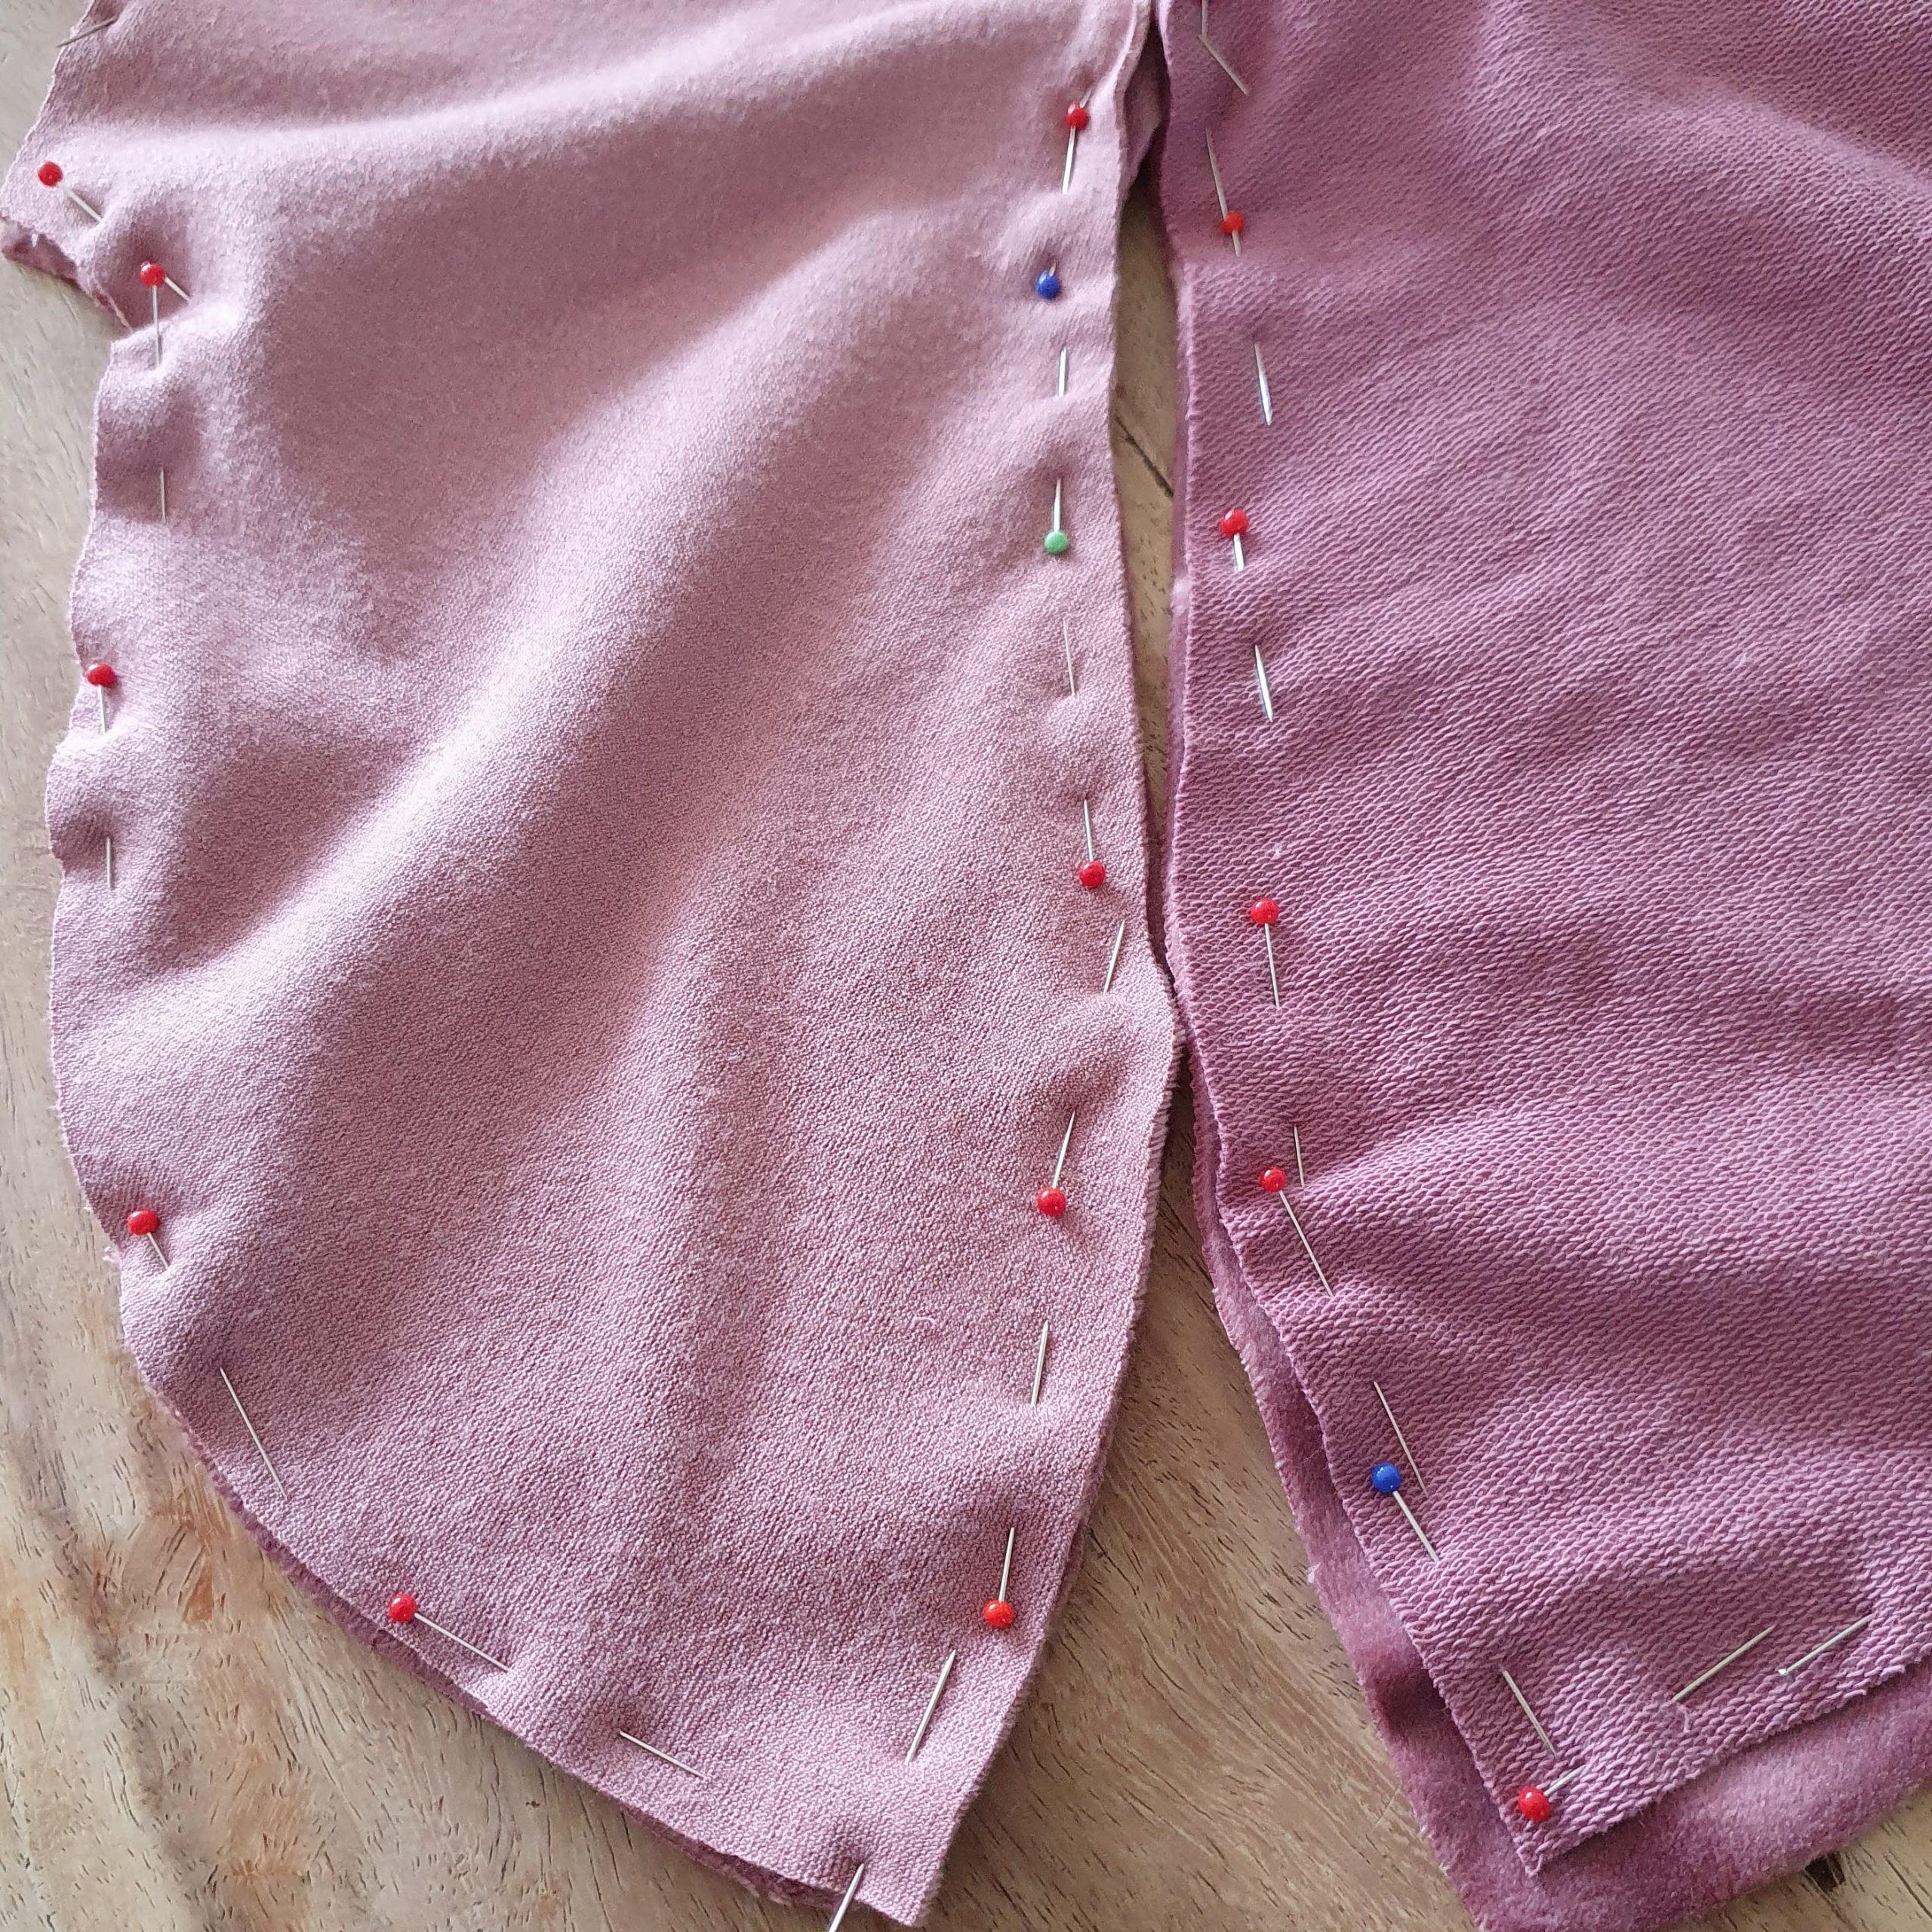
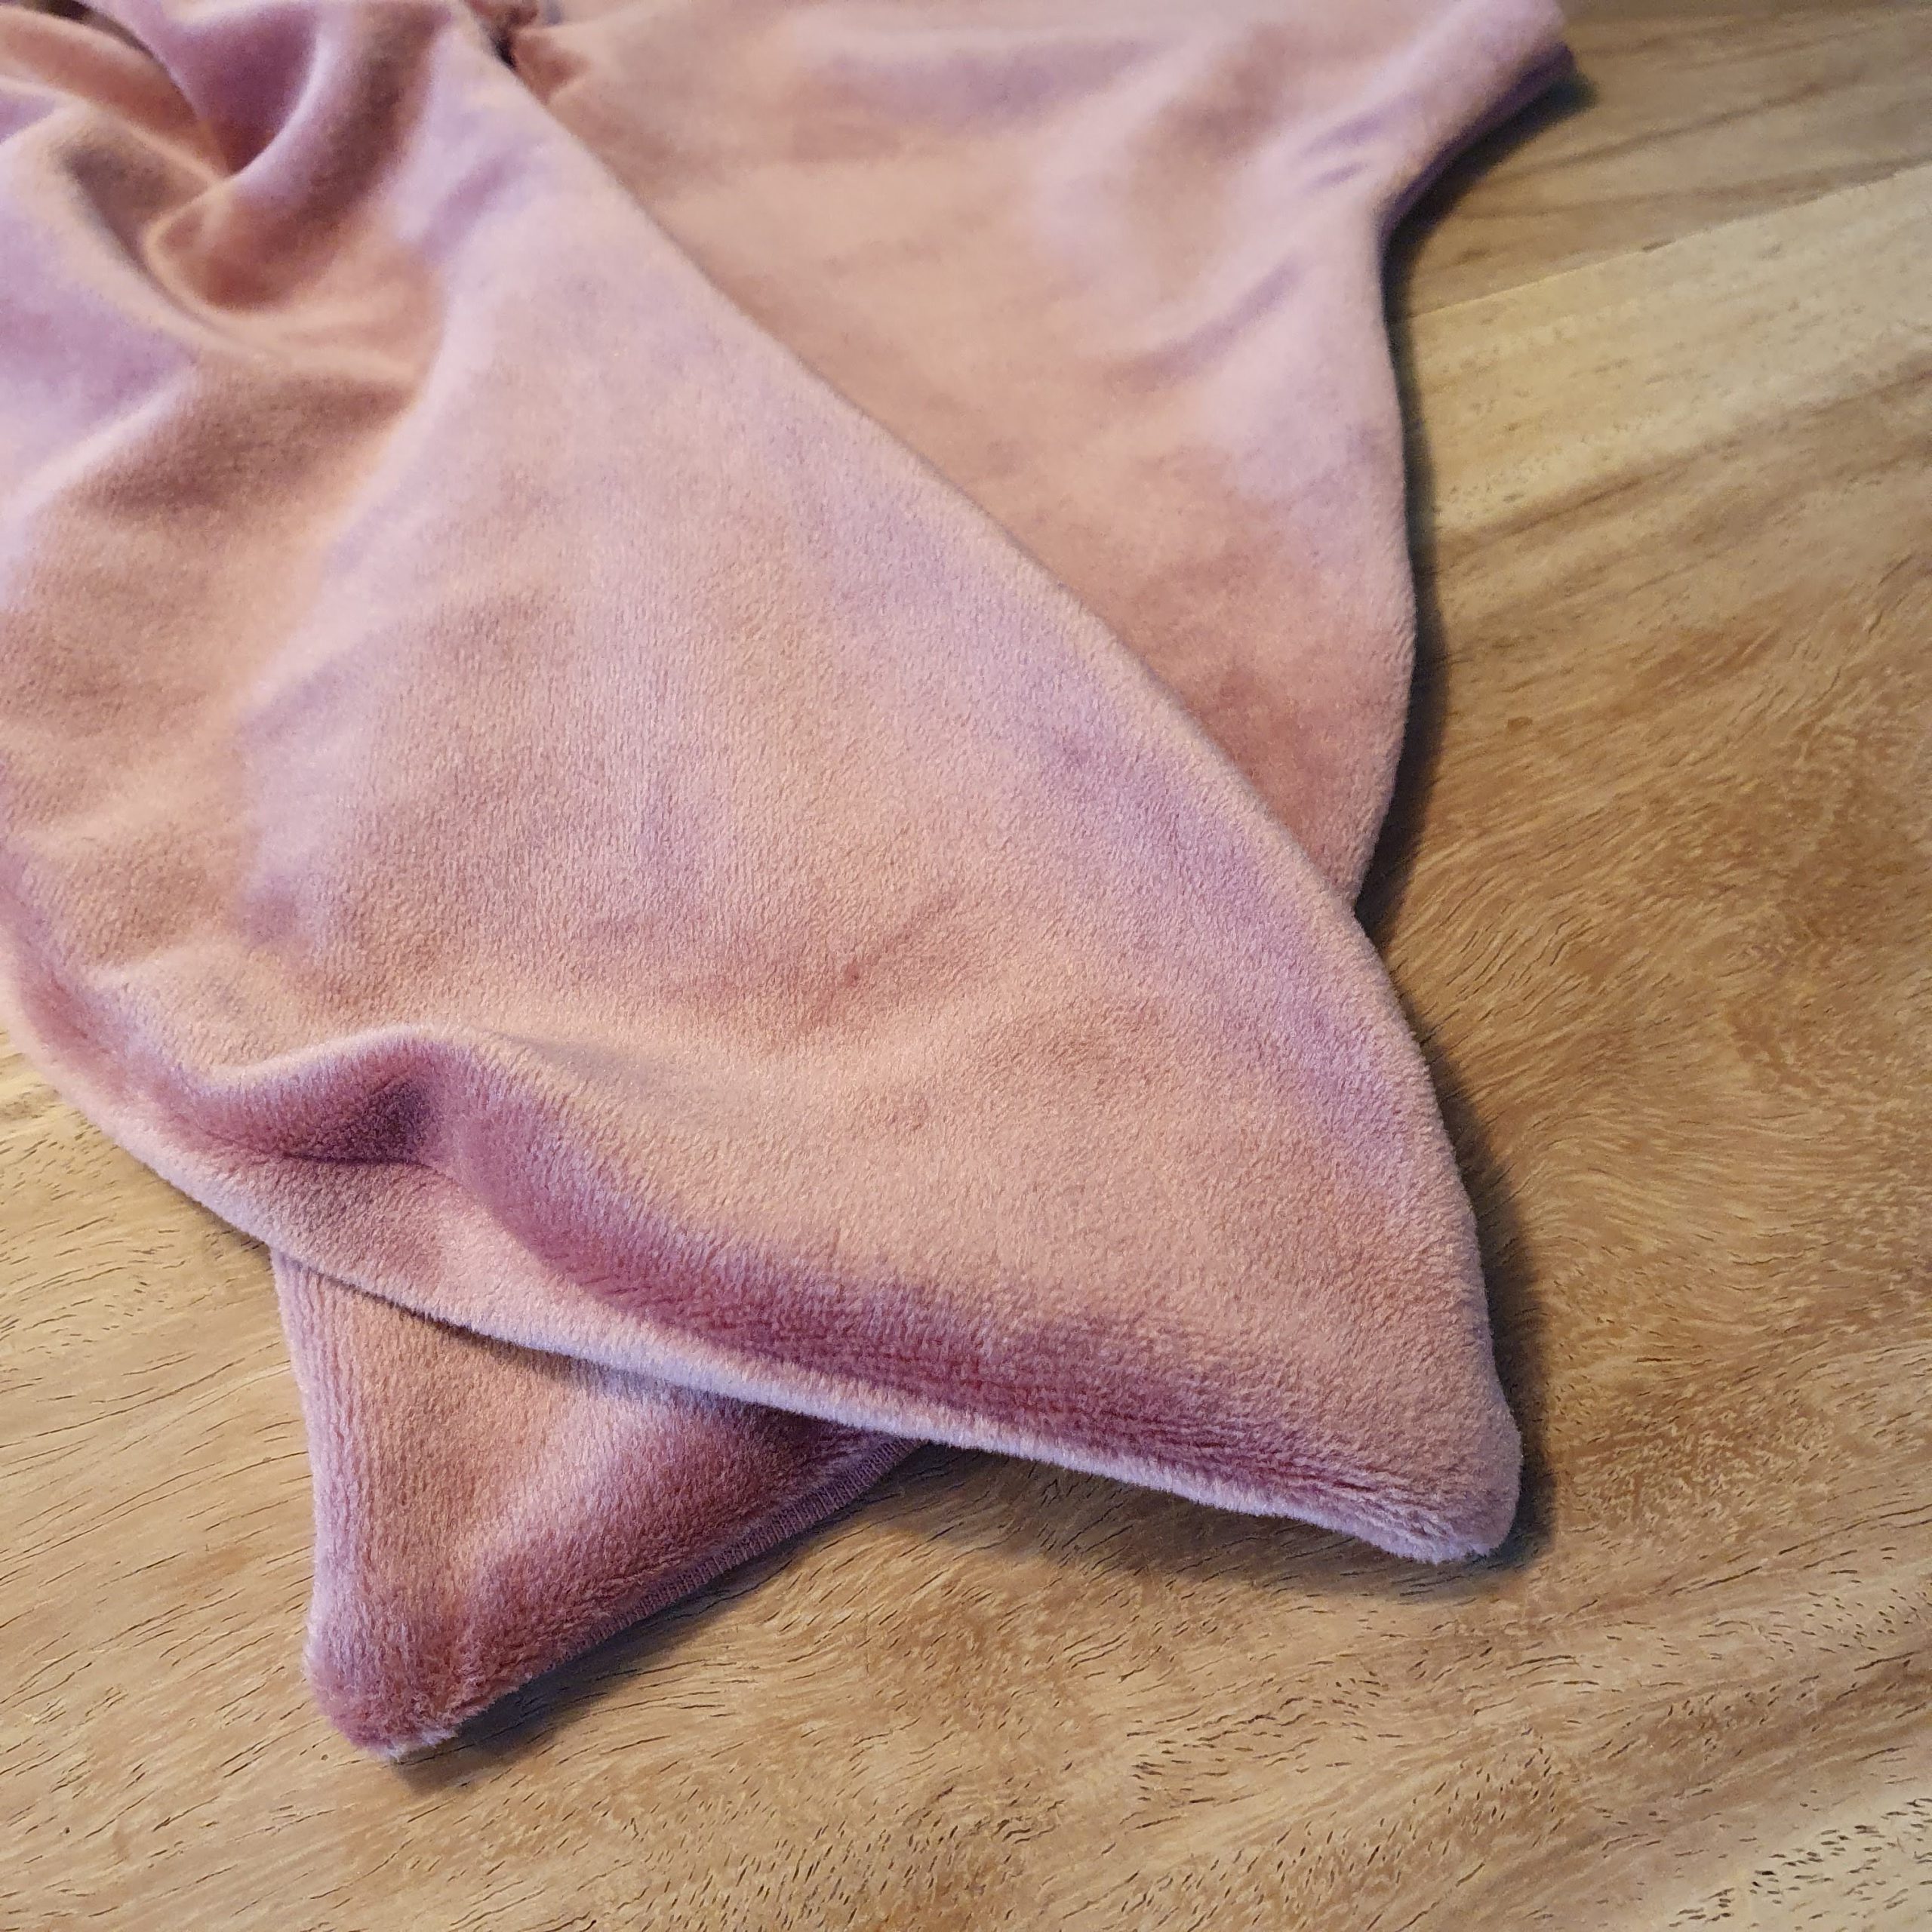
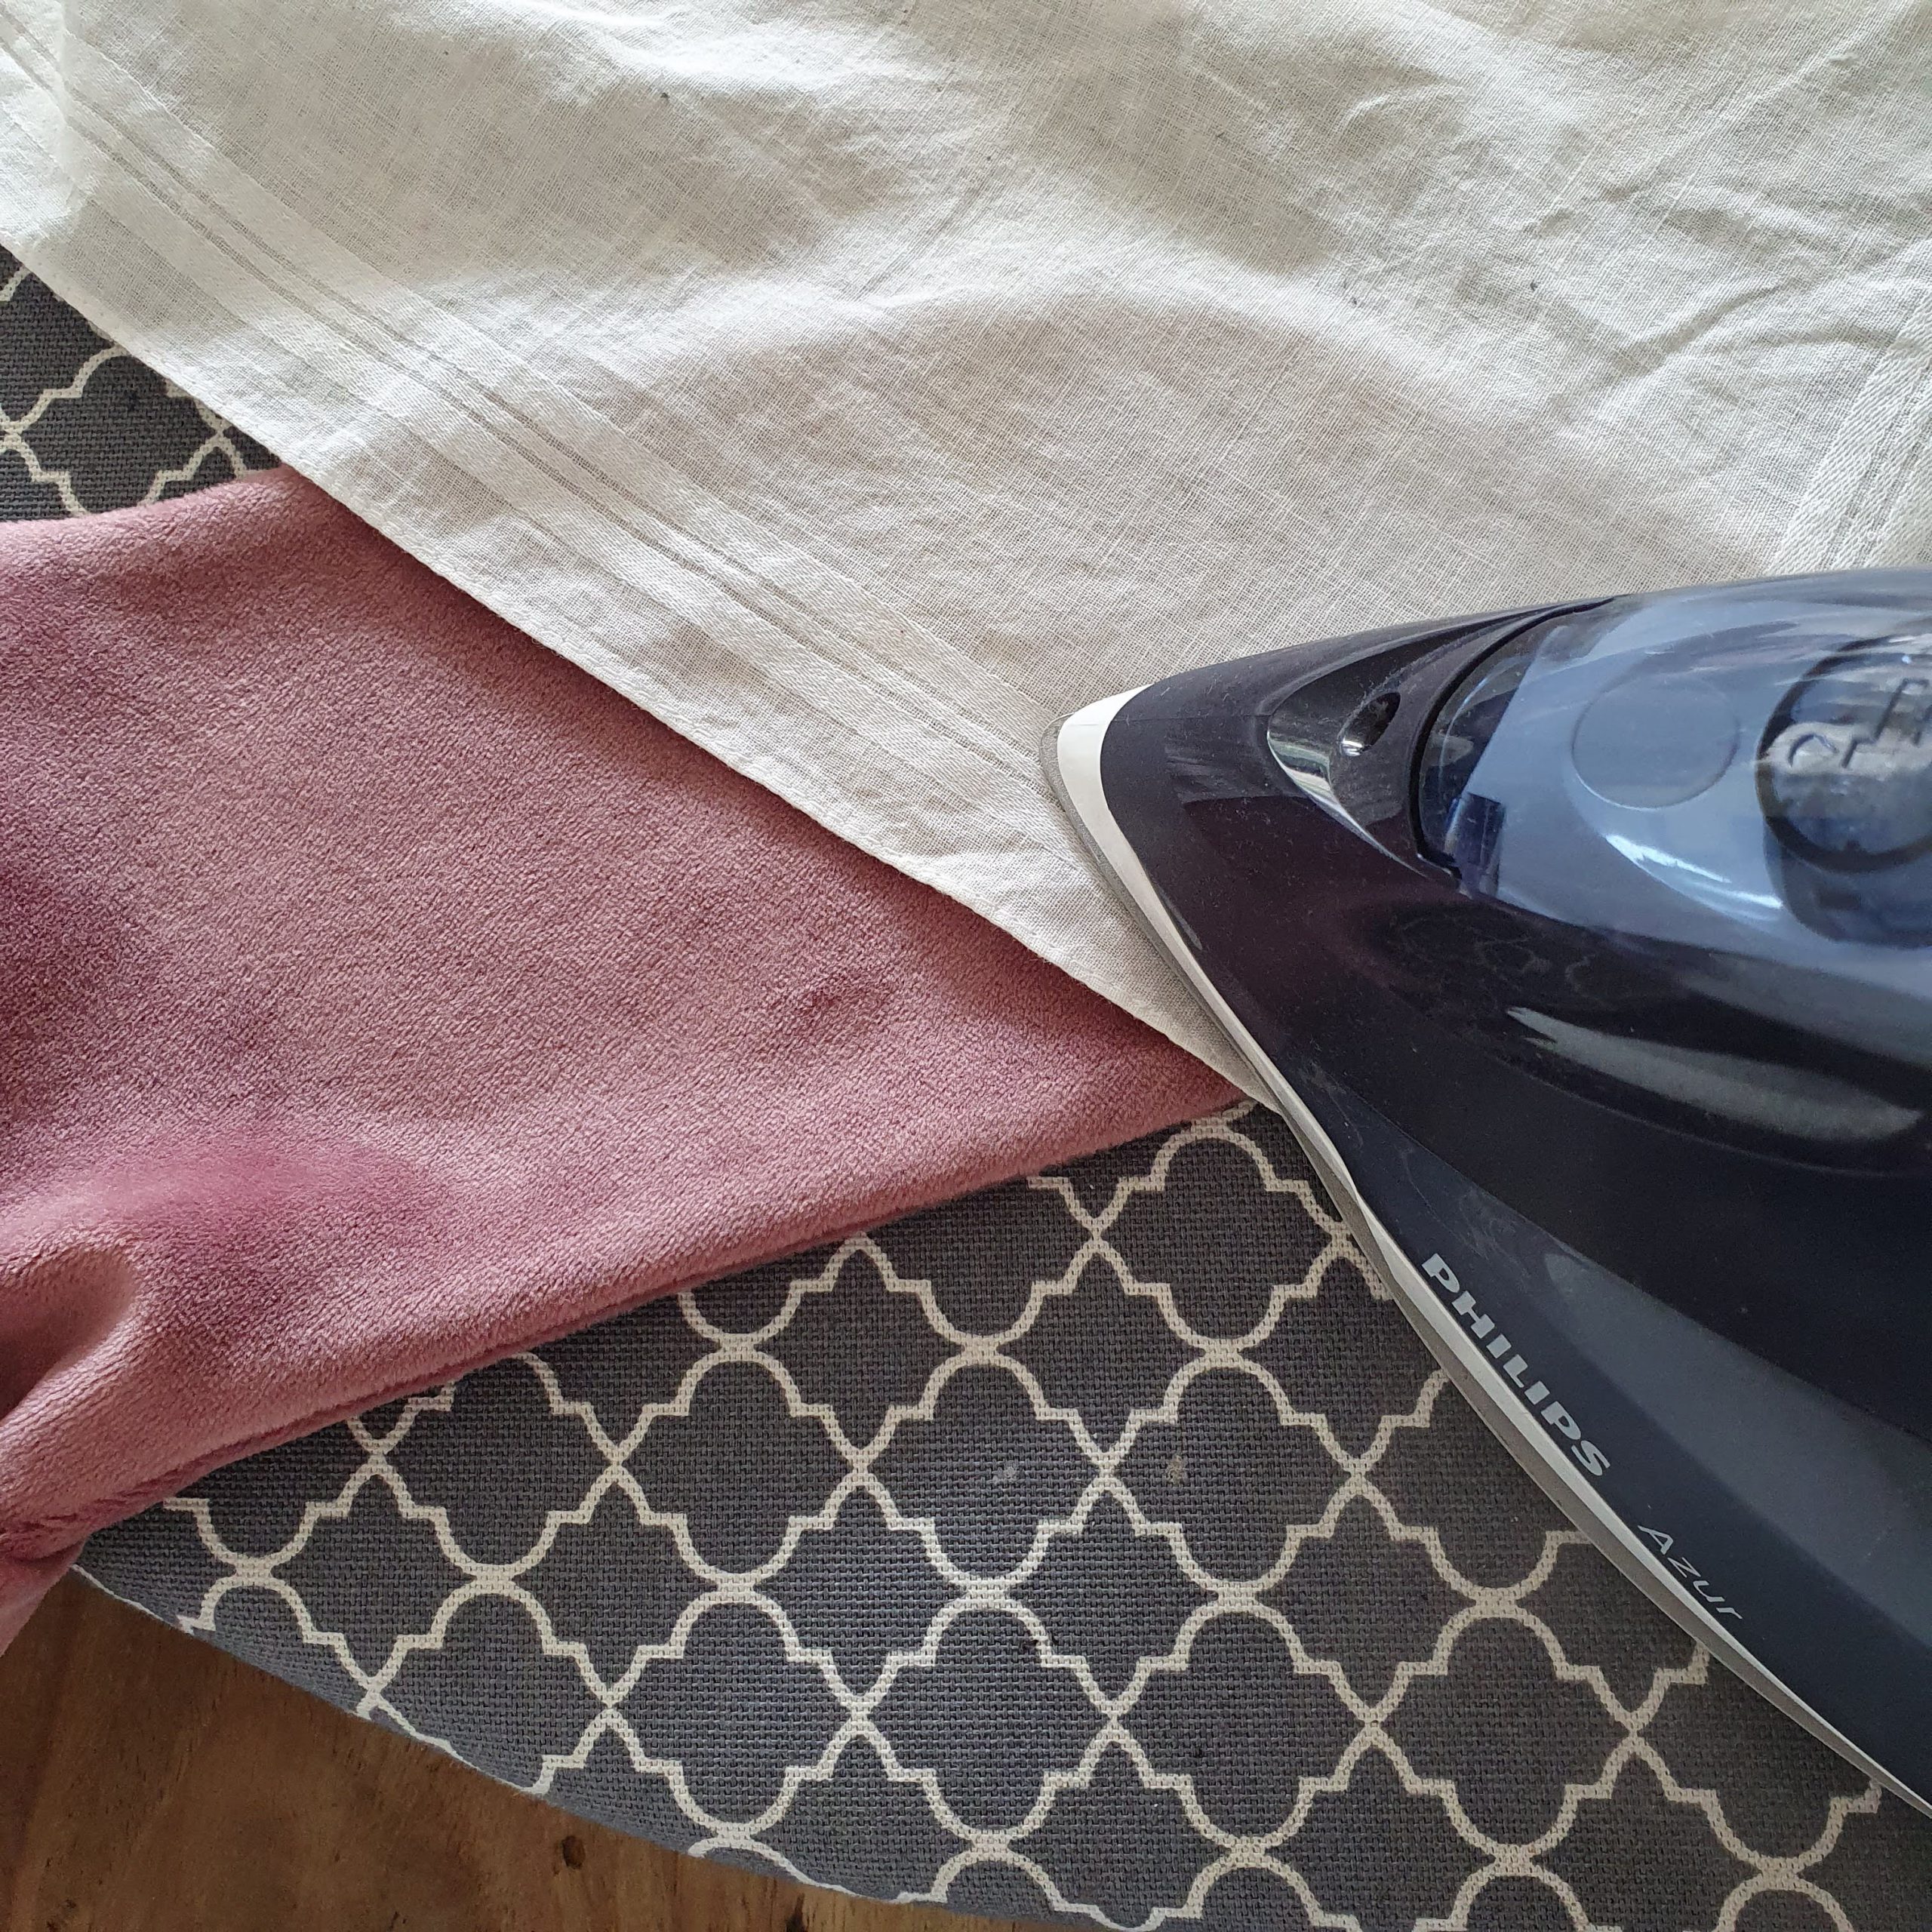
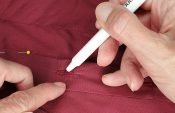
Finally the hem. Before hemming, I first finished the bottom edge of the dress with the overlock machine, the B64. Then the hem was folded and secured with many pins to prevent the stretch velvet from slipping. I stitched with a small zigzag stitch on the inside over the stitching of the overlock machine. To fade the hem stitching in the velvet, you can carefully scrape along the stitching line with a pin.
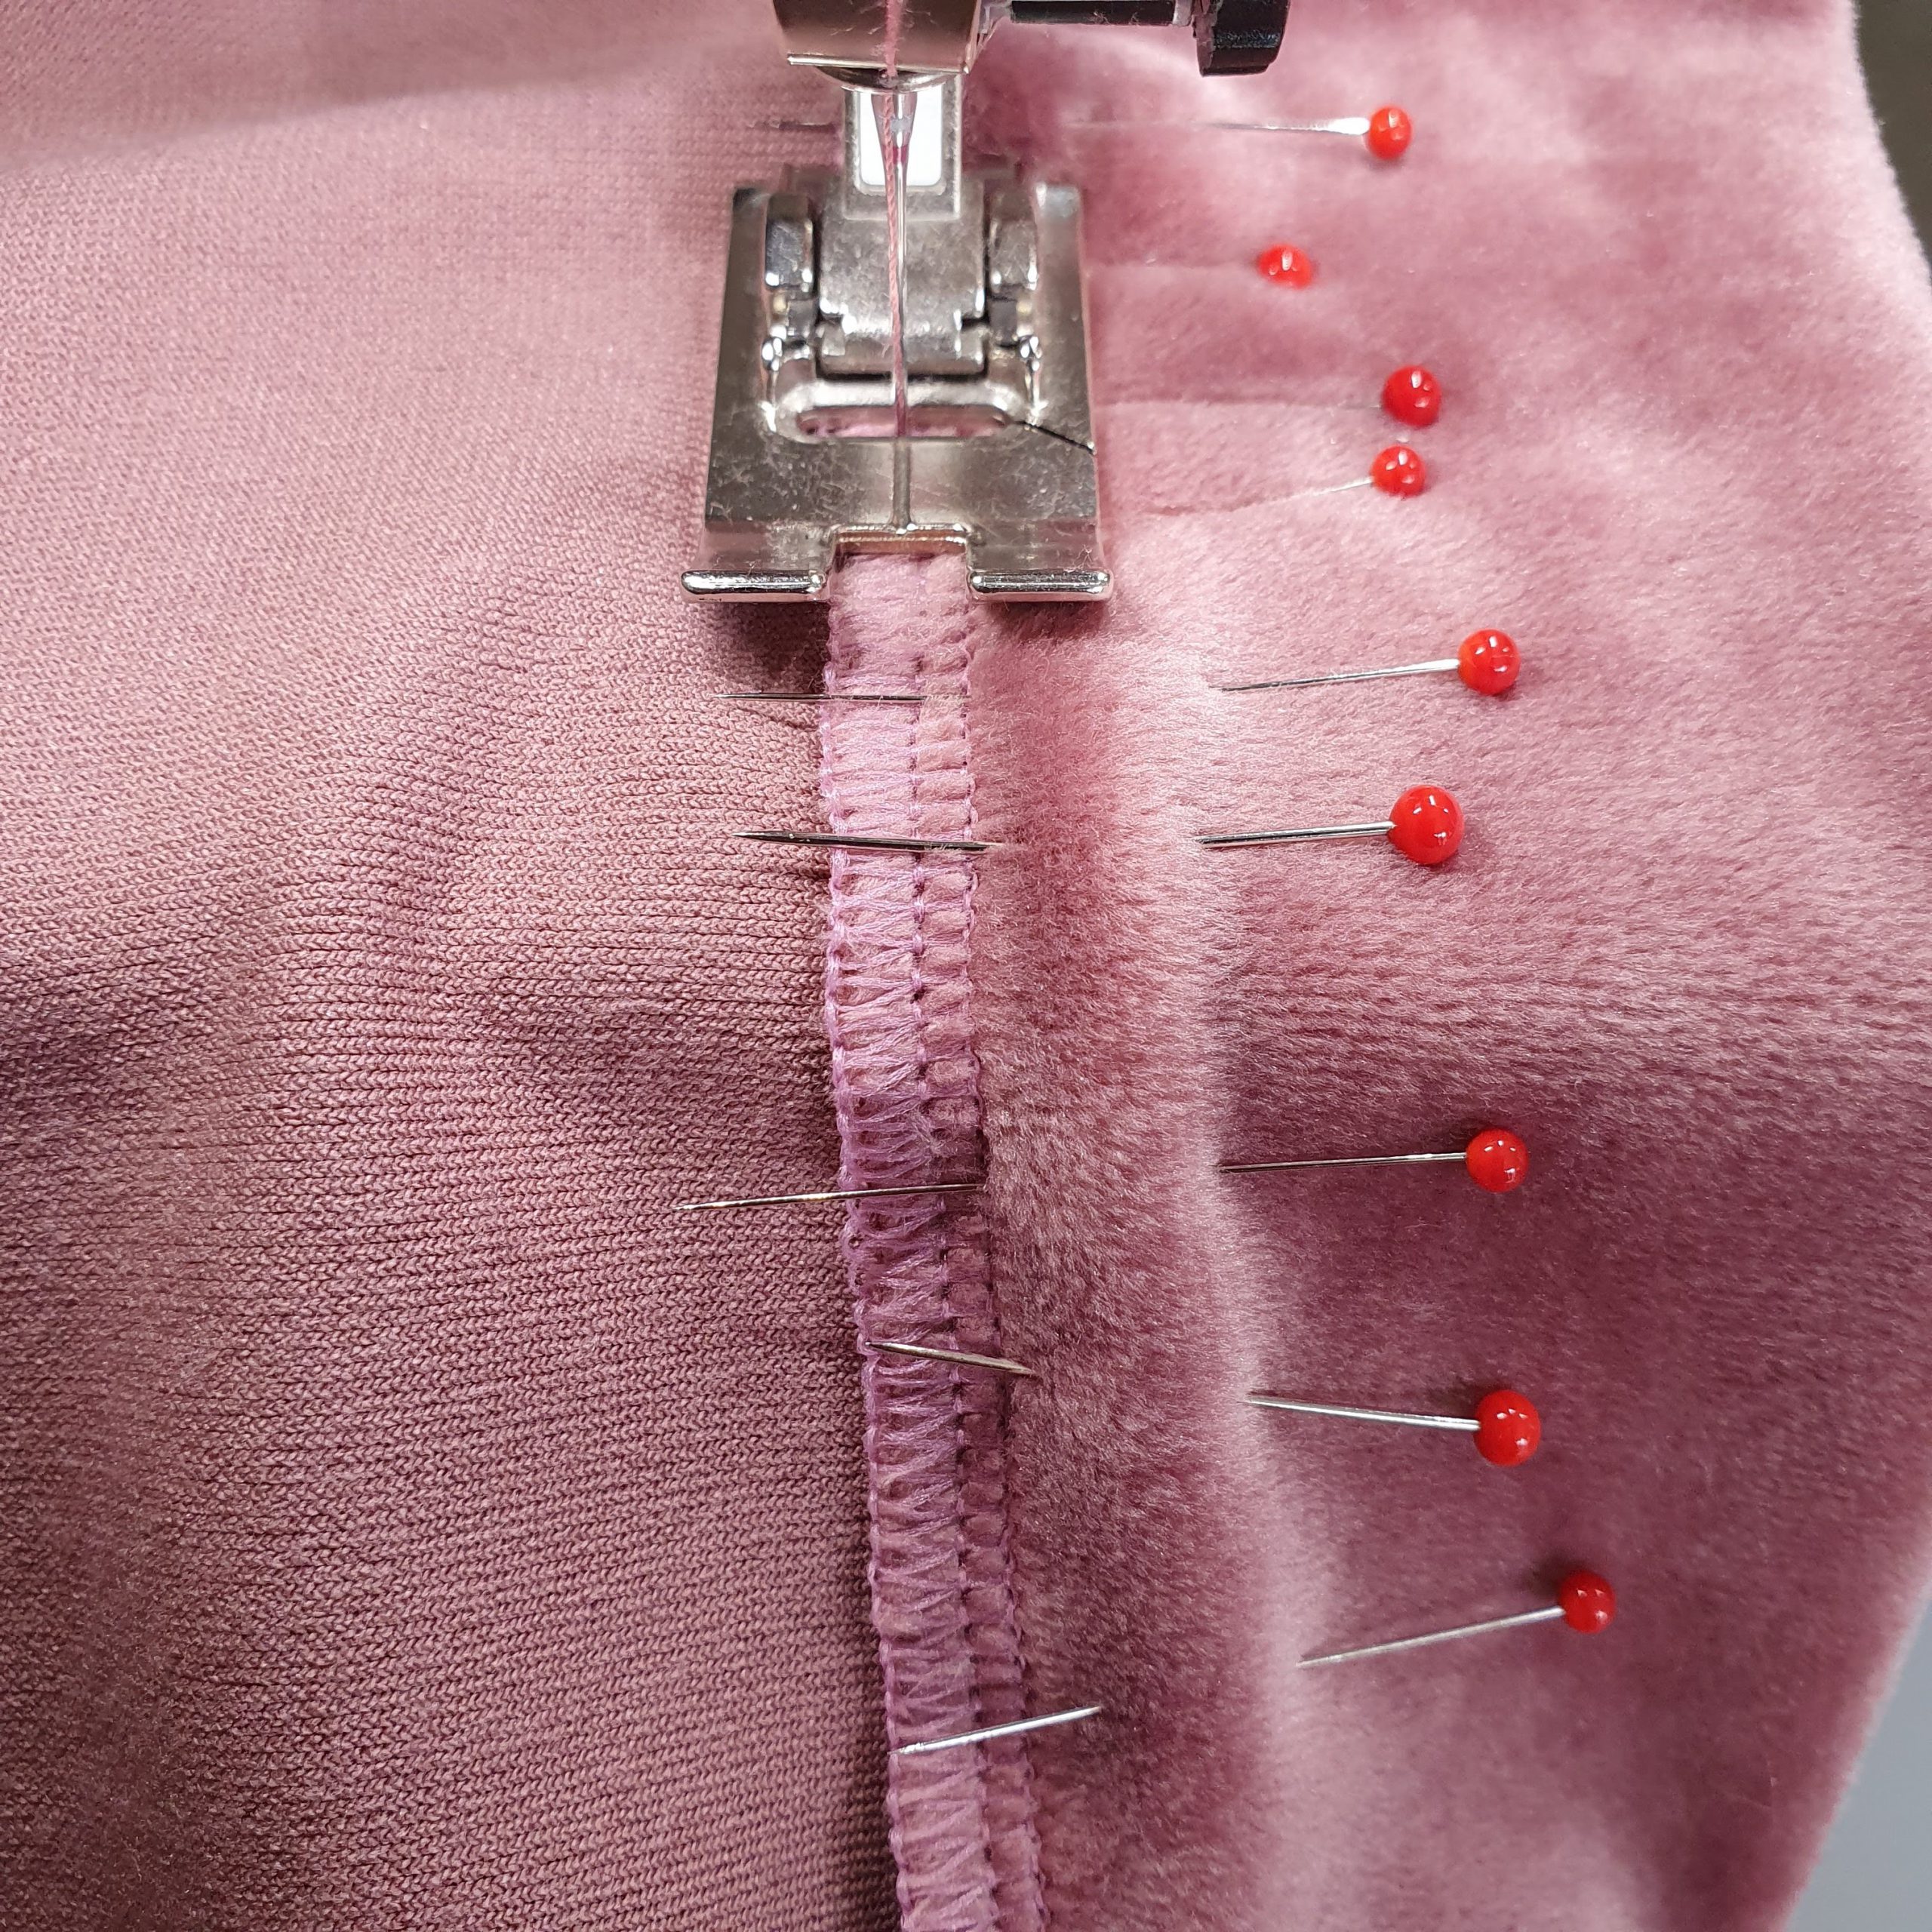
Lots of pins

Gently fade
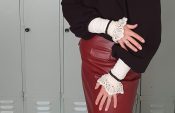
Ooooooh, this is one of those. A project that turns out even better than expected. Super happy with the result of this stretch velvet dress. Can’t wait until the entire wardrobe is ready and you can start mixing and matching.
Stay tuned!

Matching nails!
love,
Marlies


Really lovely dress, great tutorial. The dress really suits you.