 BERNINA Corporate Blog -
Description
Best little Binding Joiner Ever!
It really is … all in the ‘amazing’ details’ as I mentioned last post … and this little binding technique is actually a biggie!! Over the years I have been sewing, many different techniques have come my way – and I’ve probably tried them all … however, once you get this one sorted – it’s the ‘go-to binding joiner’ to use – and the more you do it – the easier it is to remember.
Step One – Leave about 6” of each end of the binding free from sewing – should now be a 12” space along the edge. (The longer this section, the easier it is to join) Refer to photo now … and lap left hand end, over the right hand end and pin onto raw edge about in the middle. Blue pin was my underneath section, (about where I wanted my join) and yellow pins were the upper section.
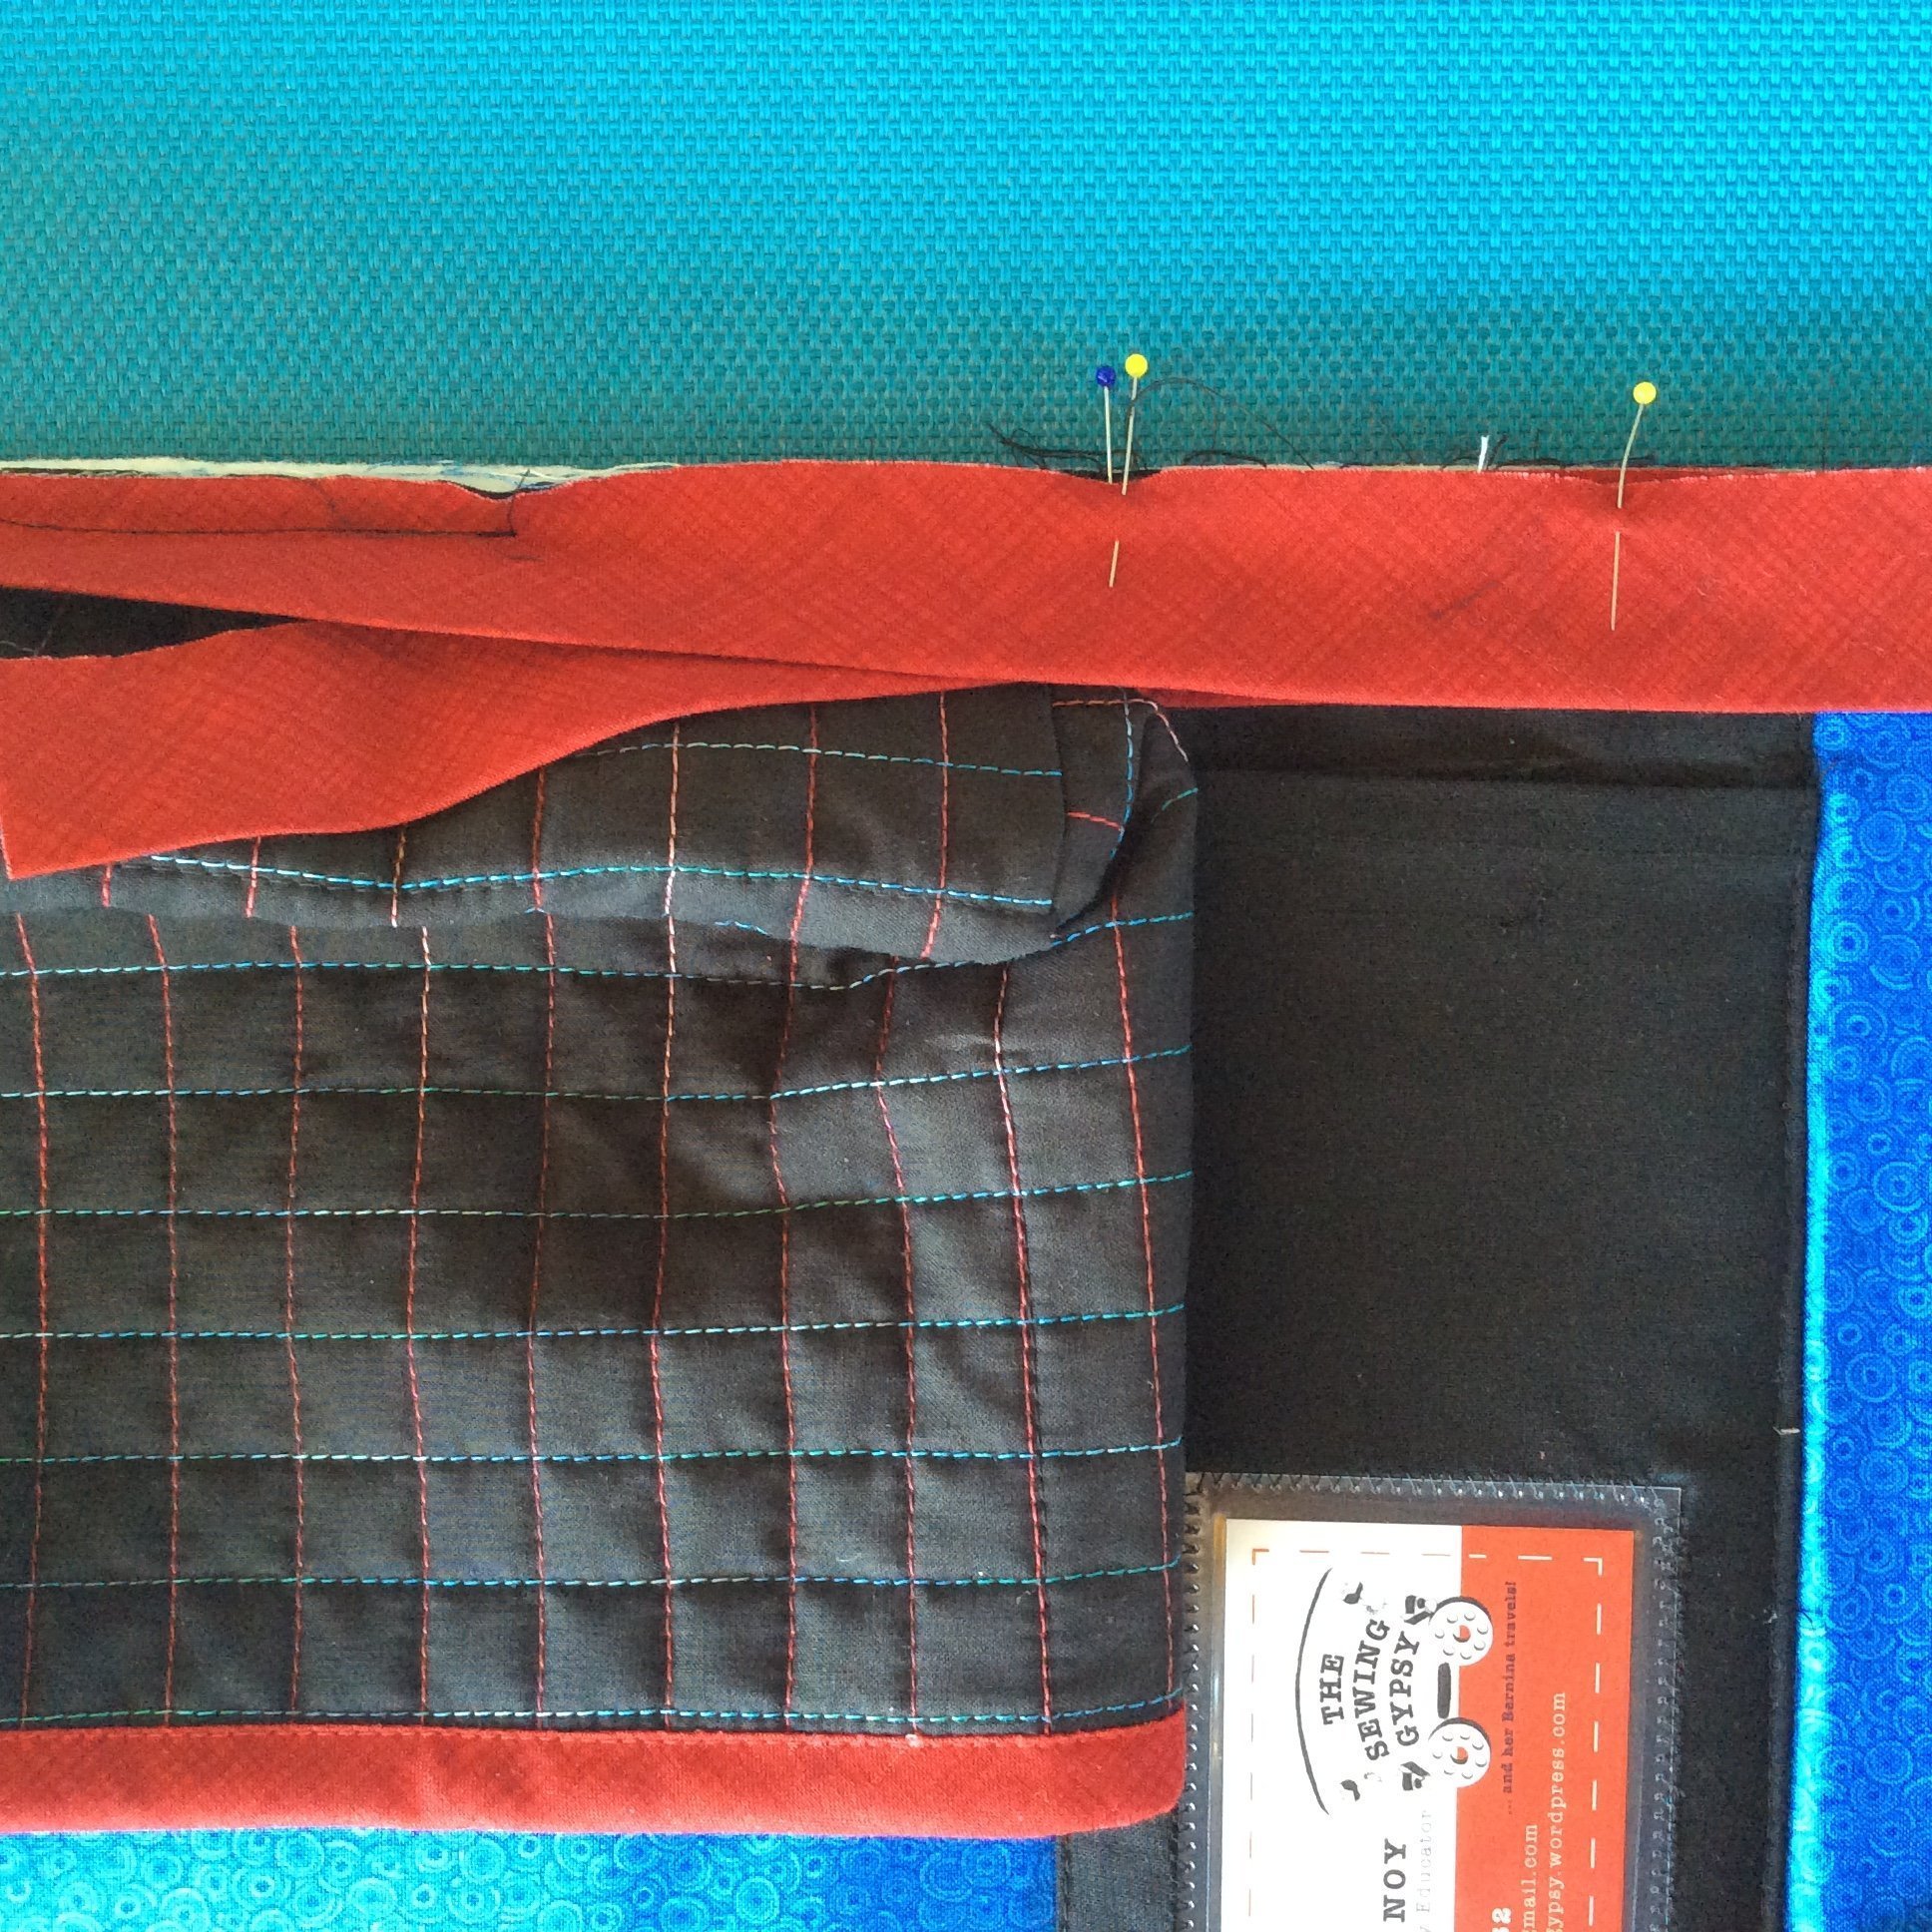
Step Two – Measure the width of your binding (or just use the end of the piece!), and trim the excess from each end, so that the overlap is now the same as the width of your binding strip. My overlap is now 2 ½” (same as my cut width of binding)
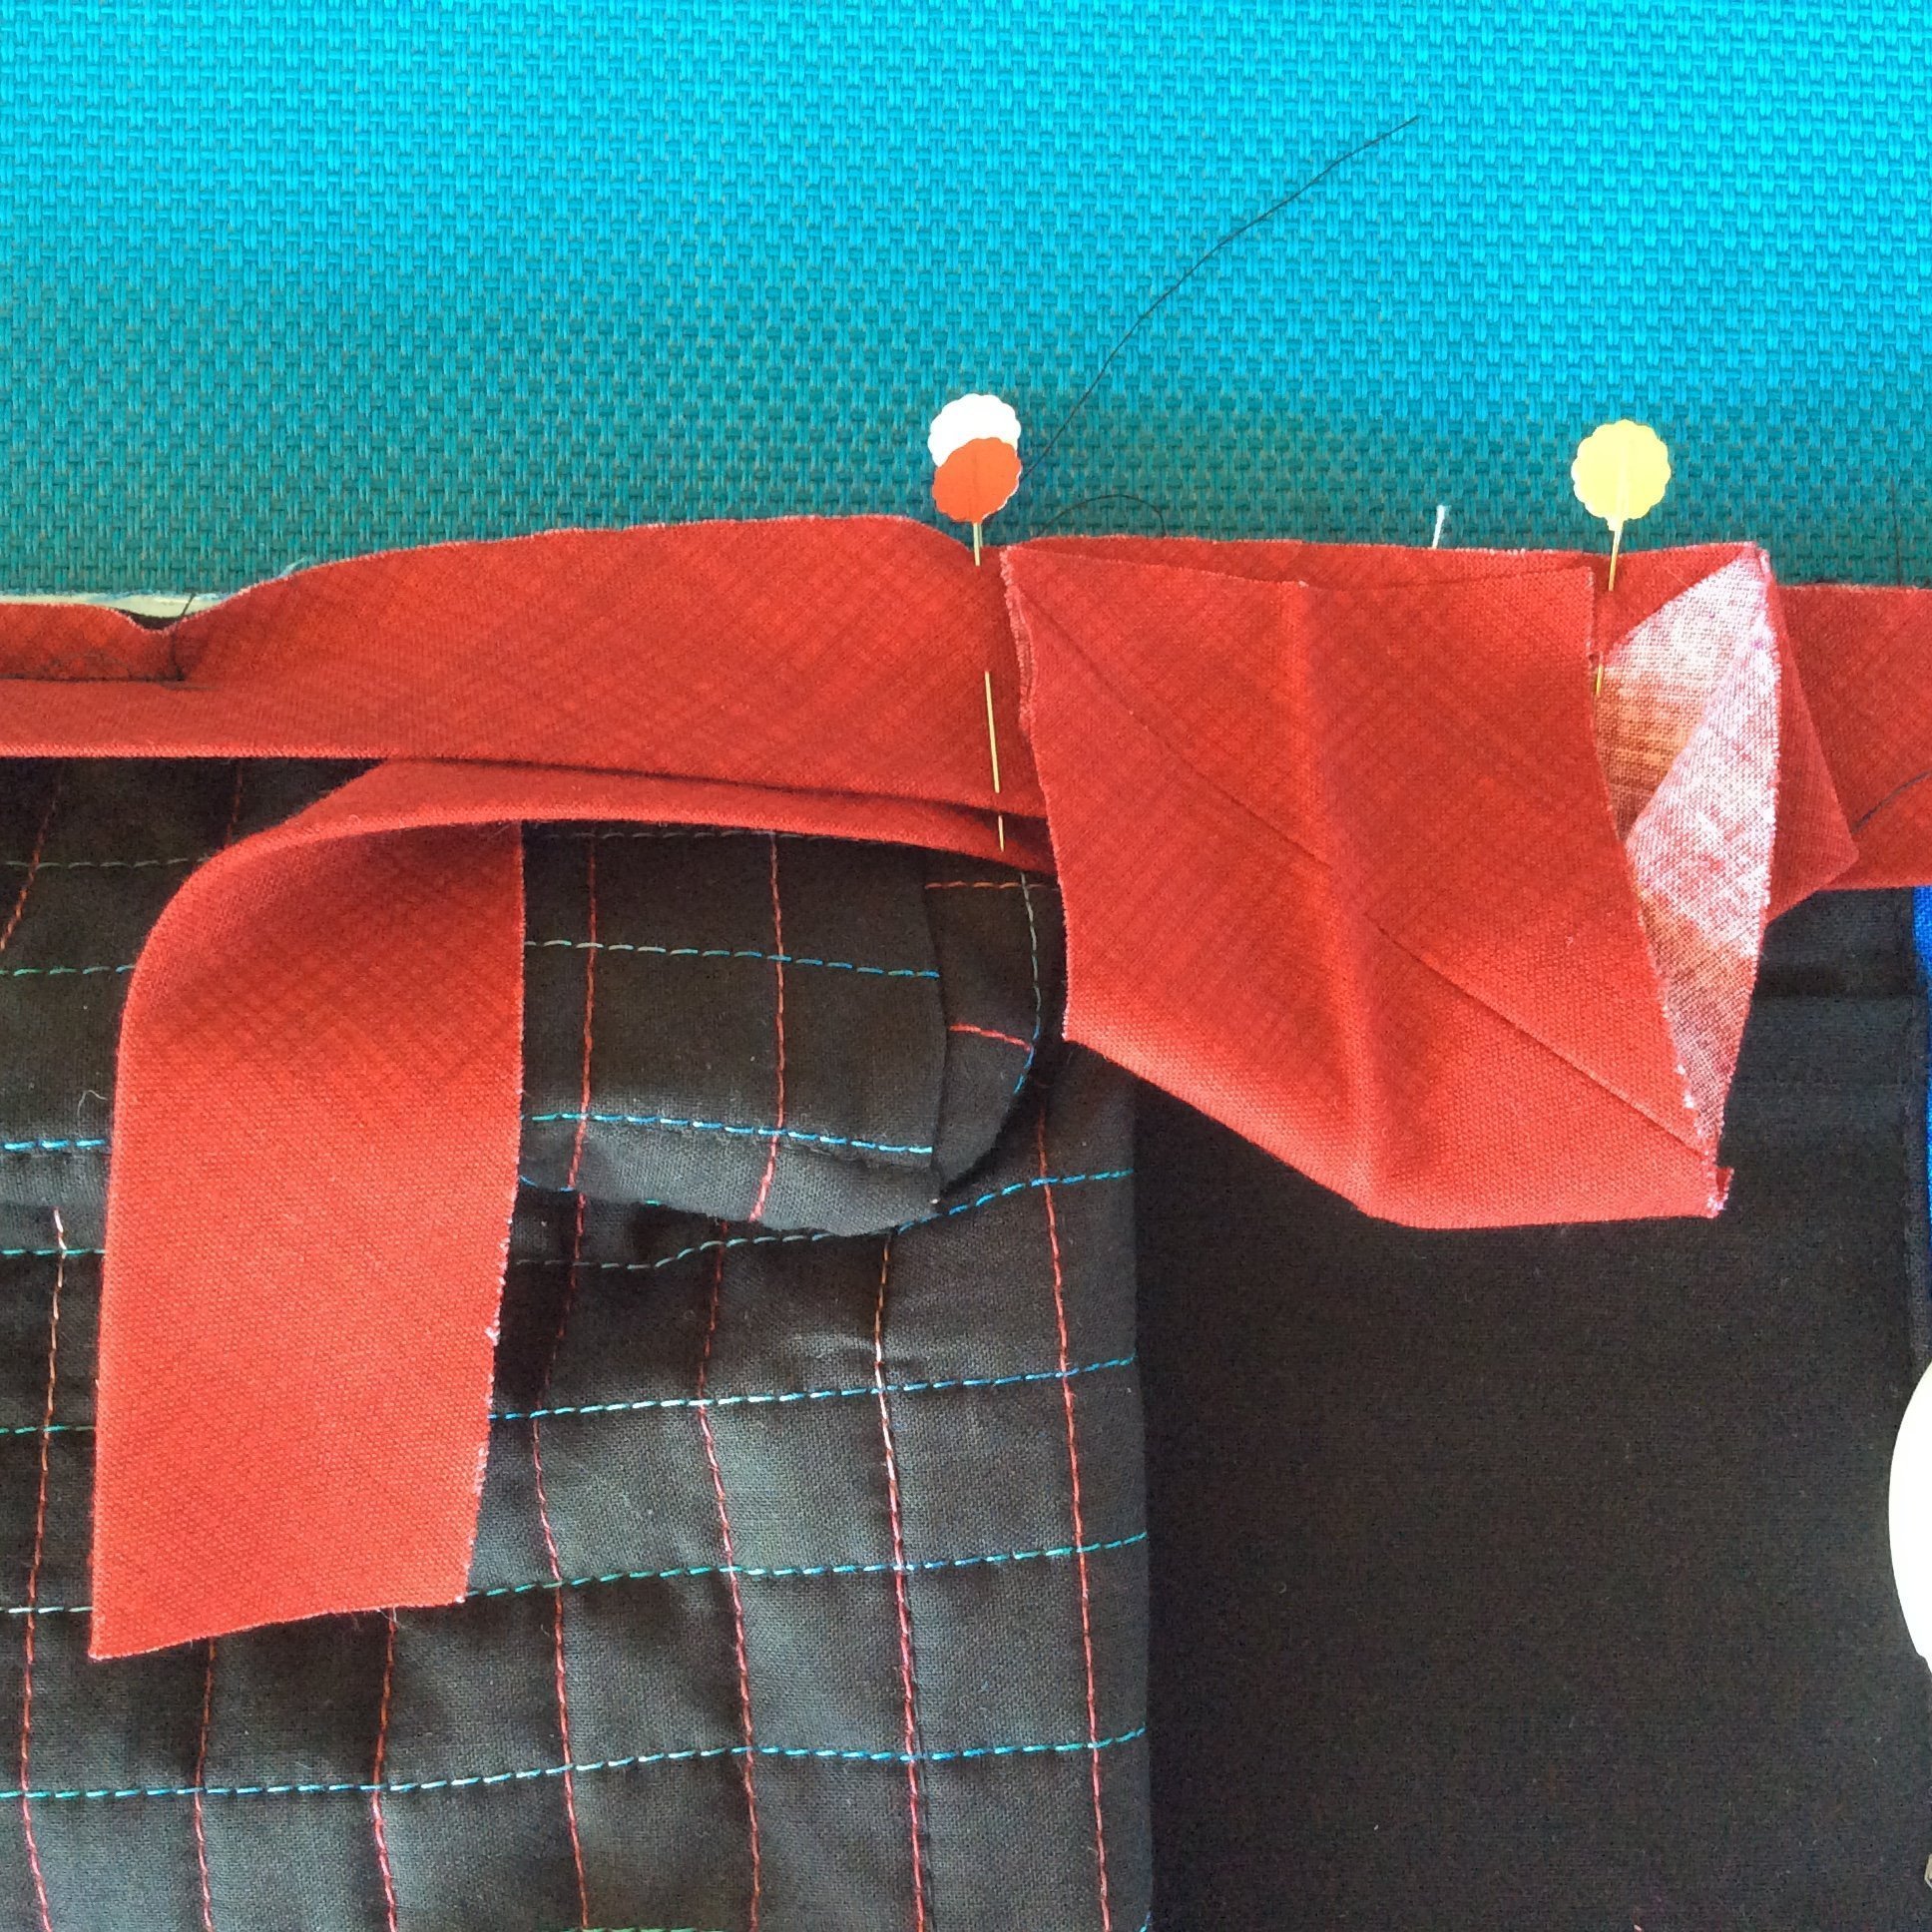
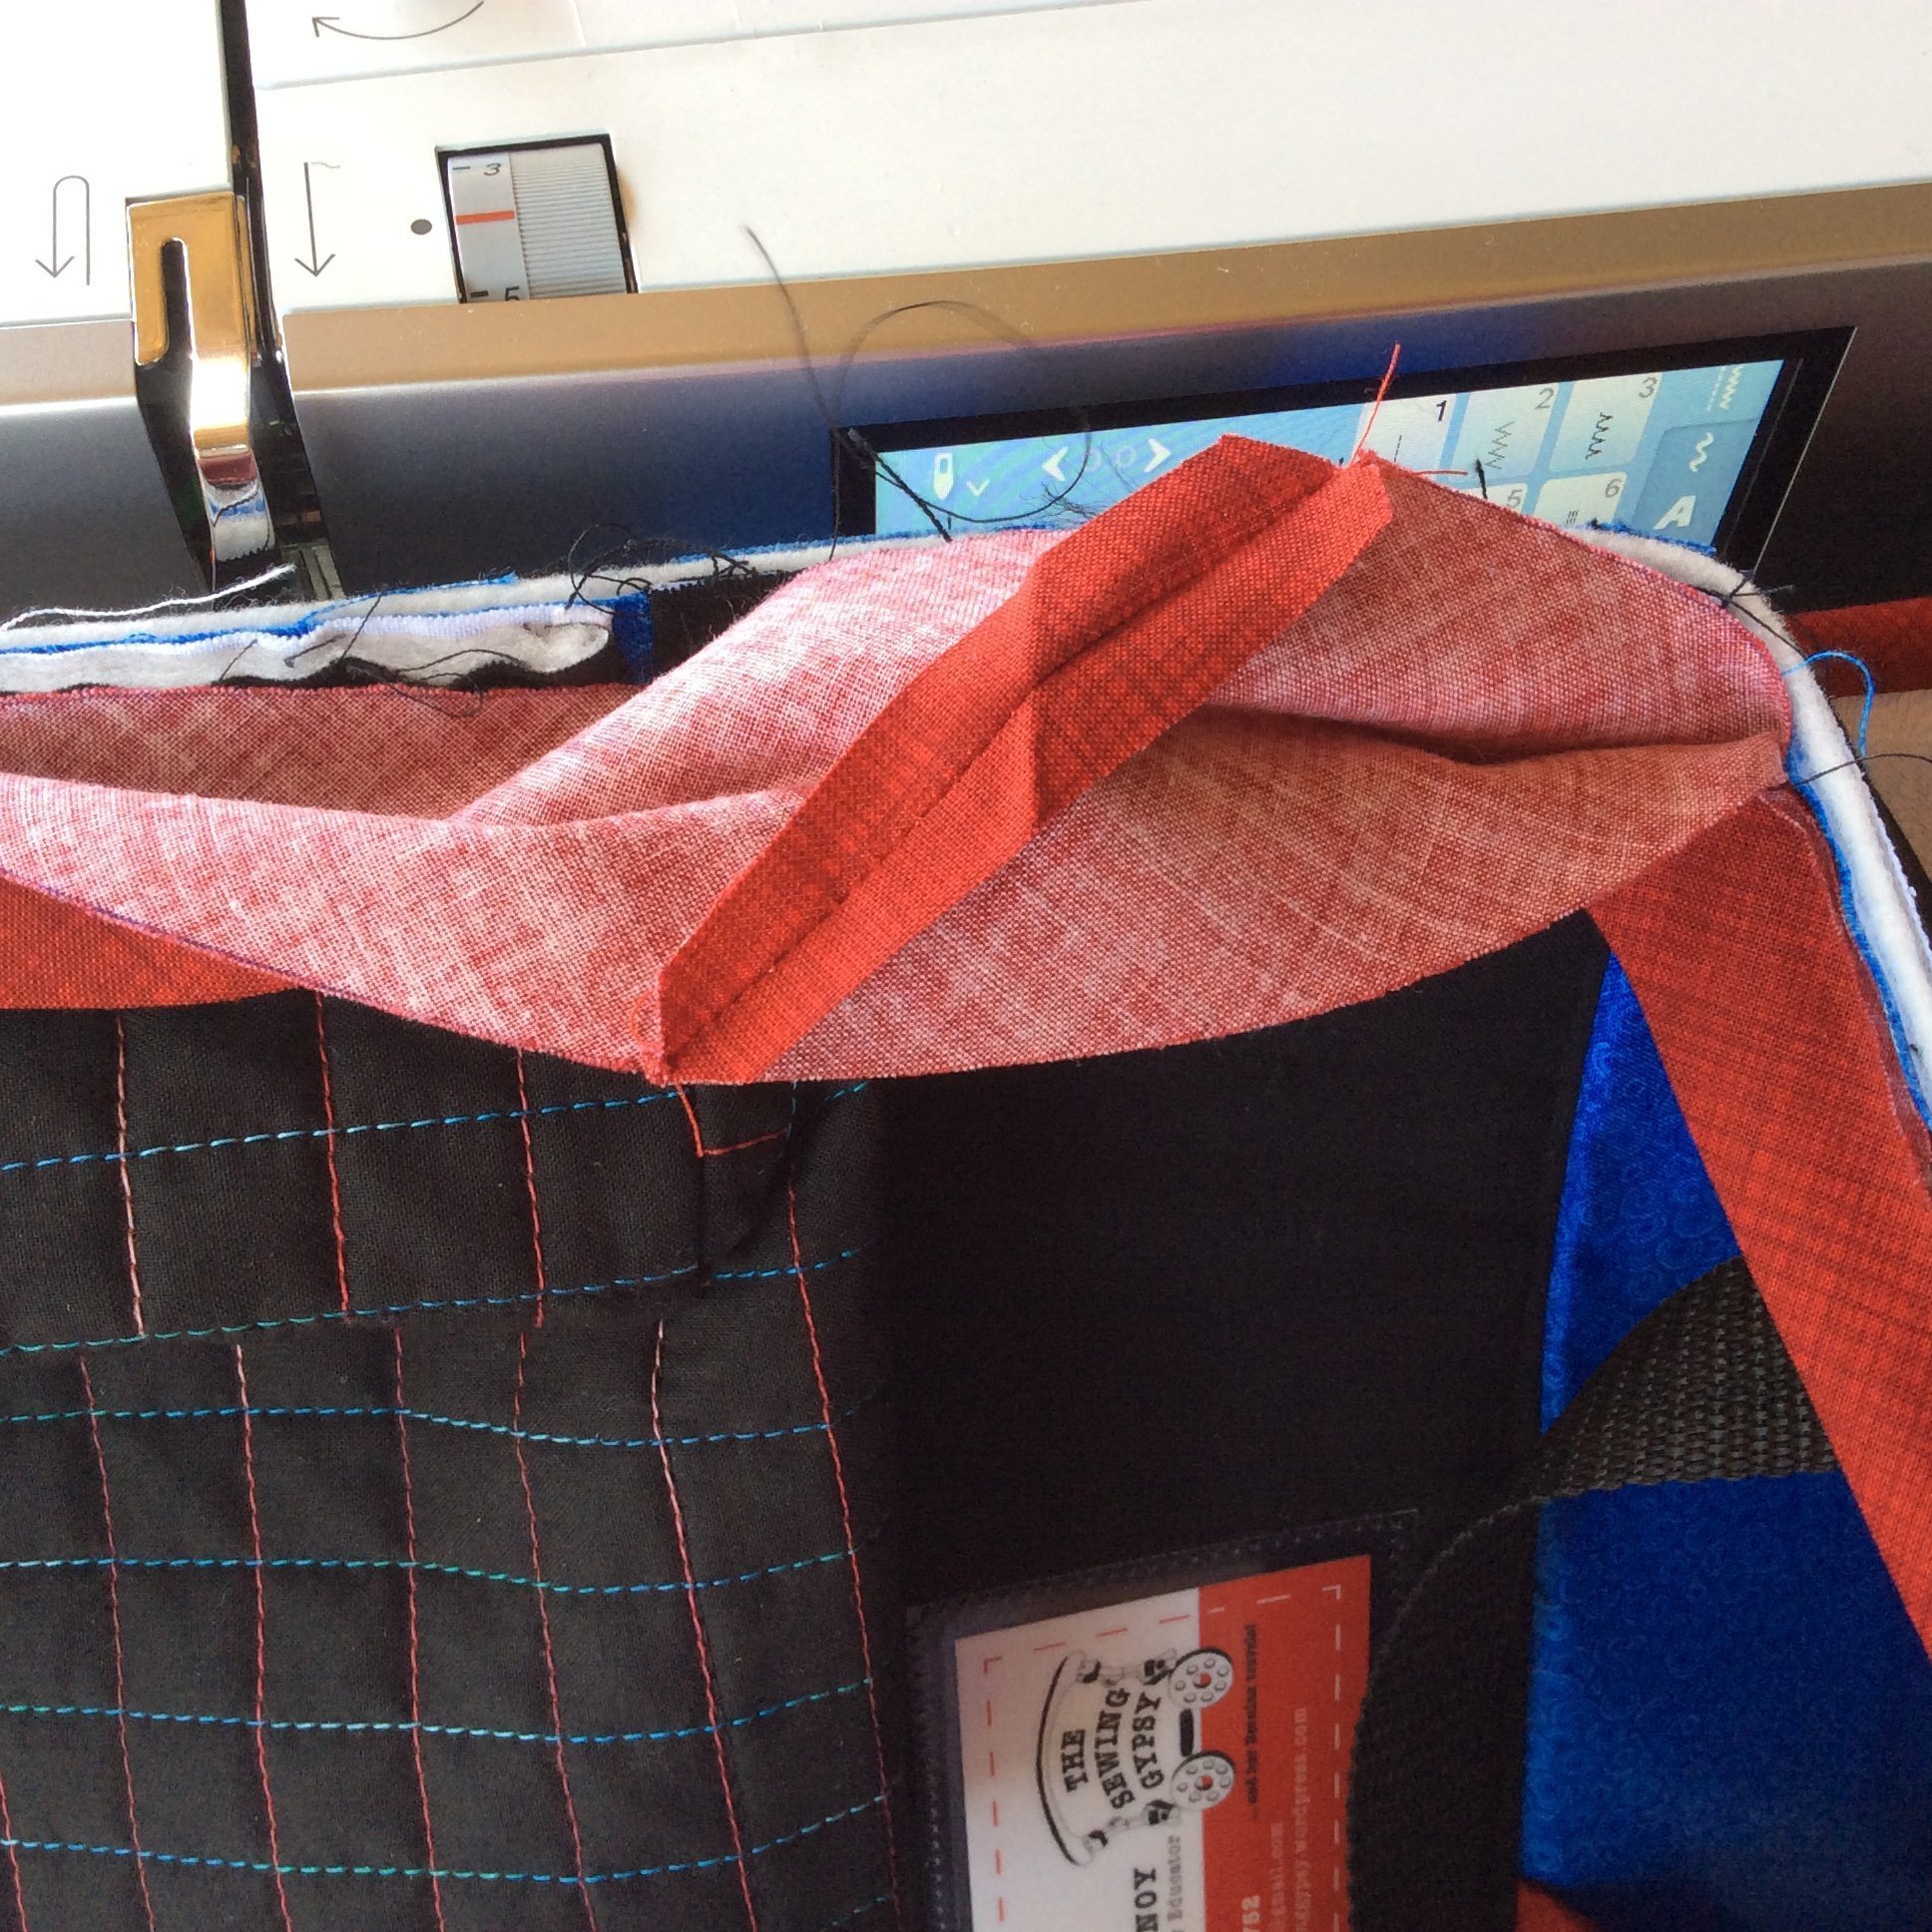
Step Three – Unfold both ends of binding, being careful not to twist them when you place them right sides together – (I place them right over left) – see photo below – mark a 45 degree line across the end. Place a pin on the line where you are going to sew, open it out to make sure the ends are aligned properly – and no twists!! … and stitch together on this line. Trim seam, press open, refold raw edges together …

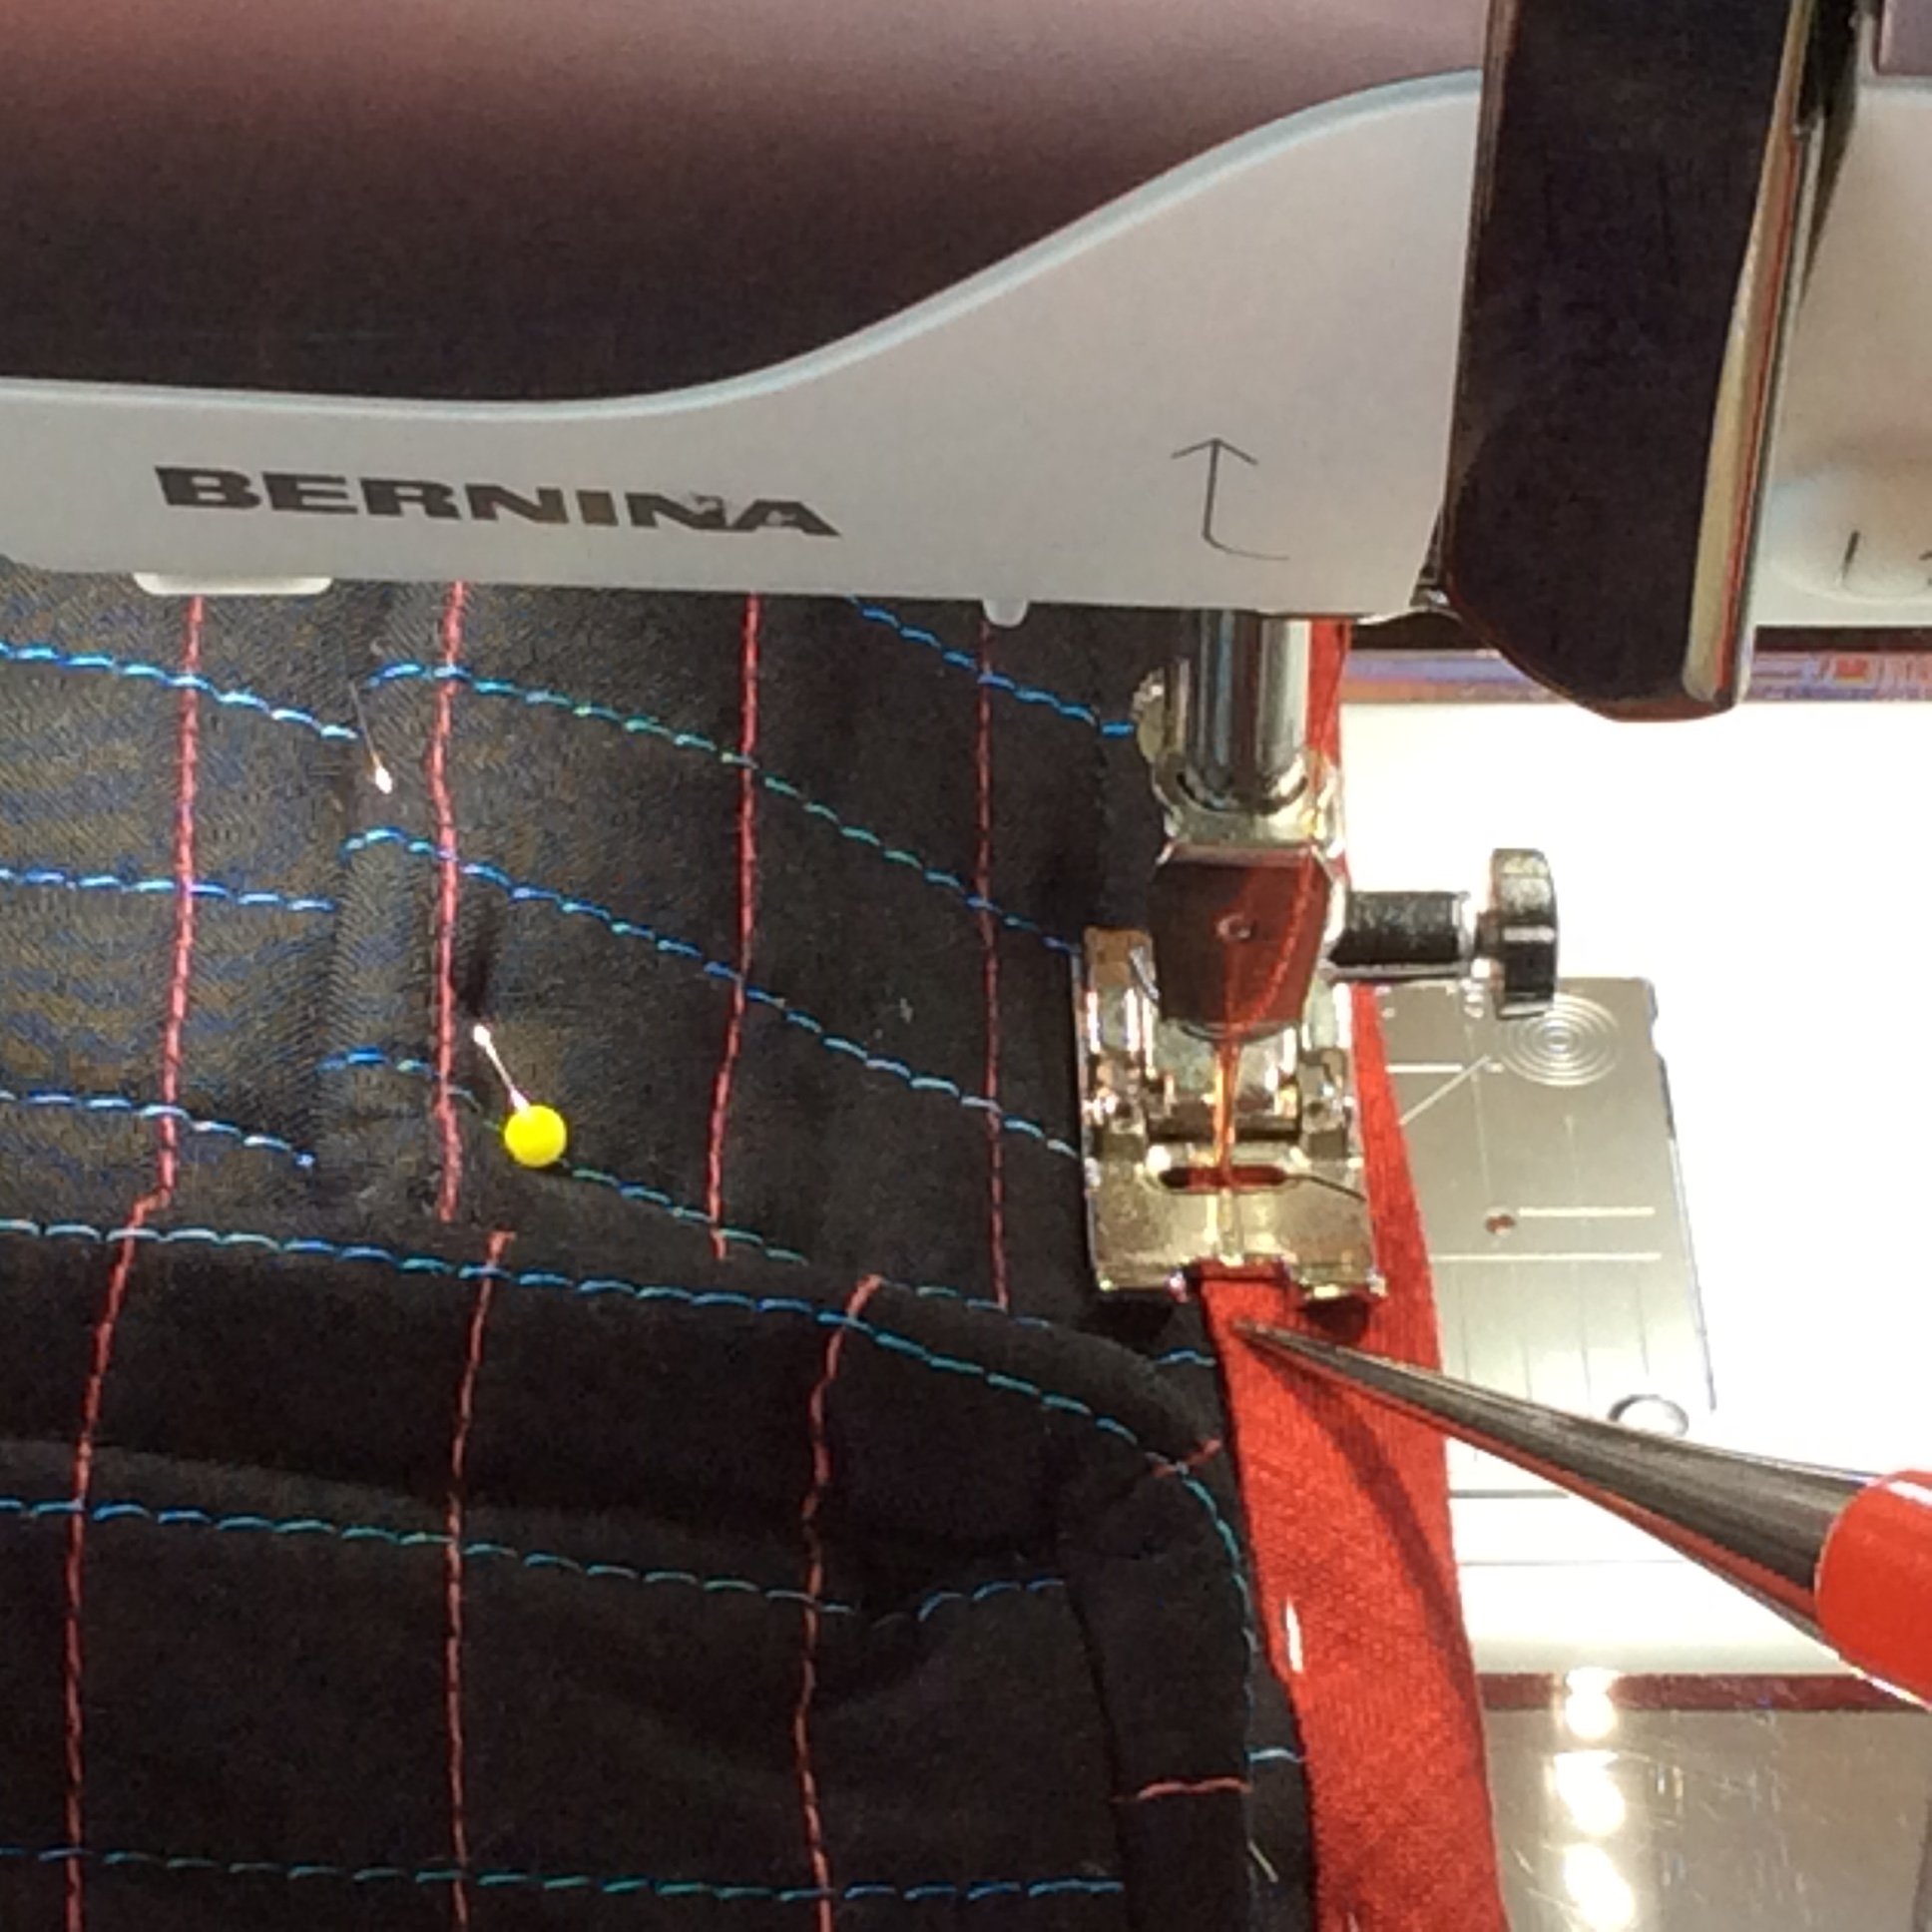
And stitch binding into place. (Love having my awl to hold it just where I want it!)
Now there’s the last post on this project – keep an eye out for the full set of Requirements and Instructions from Bernina Australia- to be posted shortly! I’d love to see your photos of any finished Accessory Cases. Enjoy … Until next time,
Happy sewing and travels,
The Sewing Gypsy
![IMG_7334[1]](https://blog.bernina.com/en/wp-content/uploads/sites/4/2016/06/IMG_73341.png)
0 Responses