Dear BERNINA community,
a big “Hello!” from Germany! My name is Jenny, and I’m new here on the BERNINA blog – although I have been publishing posts on the German BERNINA blog for a while now. I’m excited to be now able to share my tutorials with you in English, too.
I’m a trained bespoke tailor and have been sewing since elementary school. Although I don’t work in a crafty or creative field anymore, I love to spend every free minute at the sewing machine and blog about my makes on my personal sewing blog, exclamation-point.de.
I can’t really pinpoint my style, I love modern clothes and vintage inspired styles. You might have seen pictures of dresses from the 50’s with a belt and matching fabric covered belt buckle. Vintage reproduction patterns often have pattern pieces so you can make a matching belt, too.
For a recent dress I made, I thought such a belt with matching buckle would look really cute. I researched belt buckles that are made specifically so you can cover them at home, but I wasn’t really satisfied with the shapes and/or sizes. Plus, I like to work with what I have. And I did have some plastic belt buckles that I bought along with a bag of buttons at a flea market. That just calls for a DIY experiment, doesn’t it?
Fabric covered belt buckles – what you’ll need
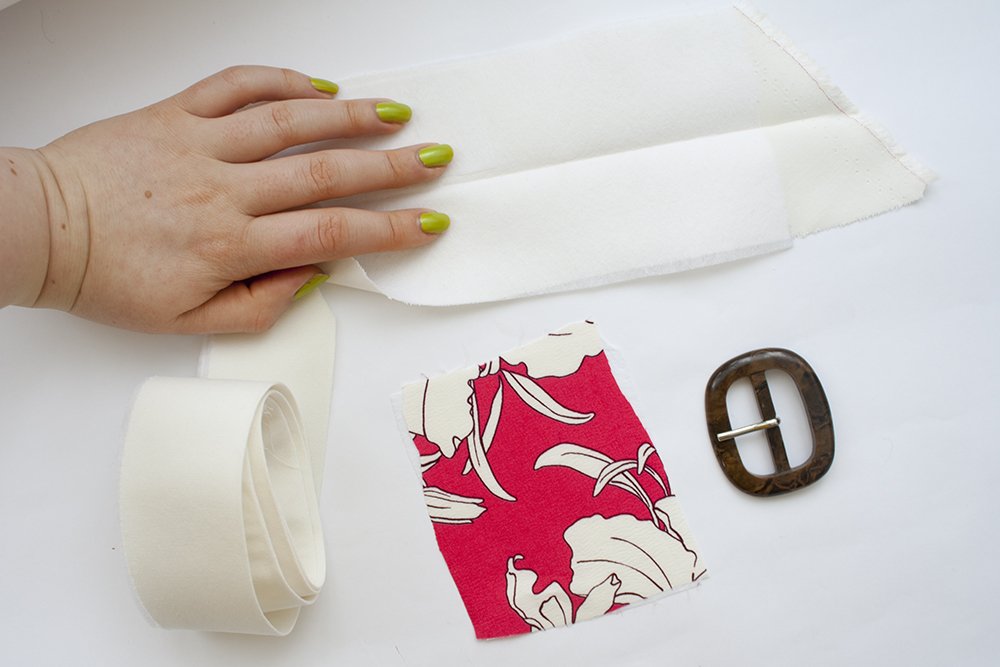
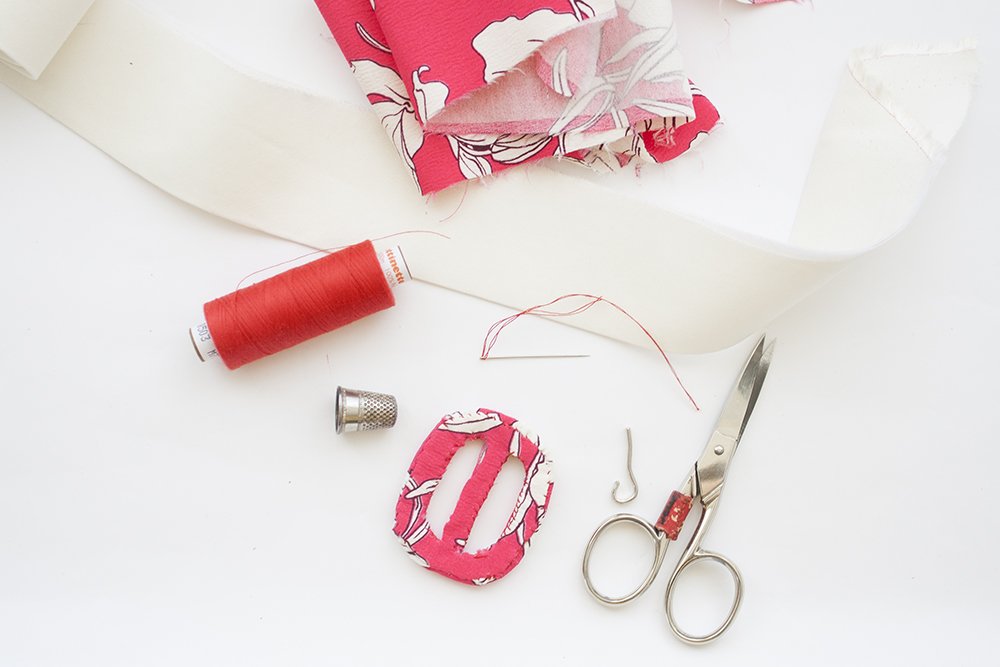
Here’s what you’ll need:
- A belt buckle – mine is made out of plastic, but metal will work too
- A fabric scrap* to cover the buckle with – has to be a good amount bigger than the buckle
- pliers
- double sided adhesive tape
- iron-on interfacing
I also made my belt out of fabric. I measured the separator piece in the middle of the buckle and subtracted 2 mm so the belt has some wiggle space. I multiplied this measurement by two and added 1 cm seam allowance at the top and bottom. I cut the belt longer than I needed, so I could decide on how long I wanted the finished belt to be later.
*Lightweight fabrics, like woven viscose, batiste and other lightweight cotton fabrics, chambray and lightweight denim will work best. Heavier fabrics, like the classic denim or thick wool fabrics, will be harder to work with. I’m not saying it’s impossible to cover a buckle with these fabrics, but I imagine it won’t work as smoothly.
Knits would work, theoretically. I wouldn’t necessarily recommend them, though, because there is the danger of a run in the fabric, or the fabric coming undone when it’s a loose knit.
Let’s get started: How to cover belt buckles with fabric
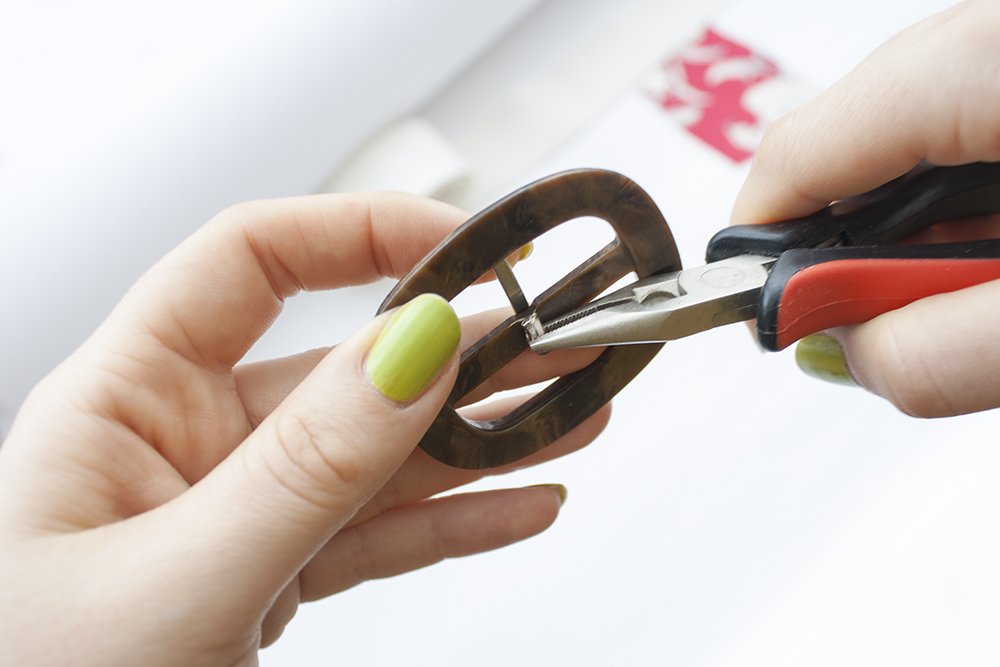
Before I could start, I used my pliers to remove the pin. I worked on the underside of the buckle that wouldn’t be seen when worn because I didn’t want visible scratches in the metal. I opened the pin wide enough so I could just about slide it over the separator. Be careful not to bend the metal too far, some materials tend to get brittle and break.
With the pin removed (keep it at a place where you’ll find it, we’ll need it again later!), I could start covering the buckle.
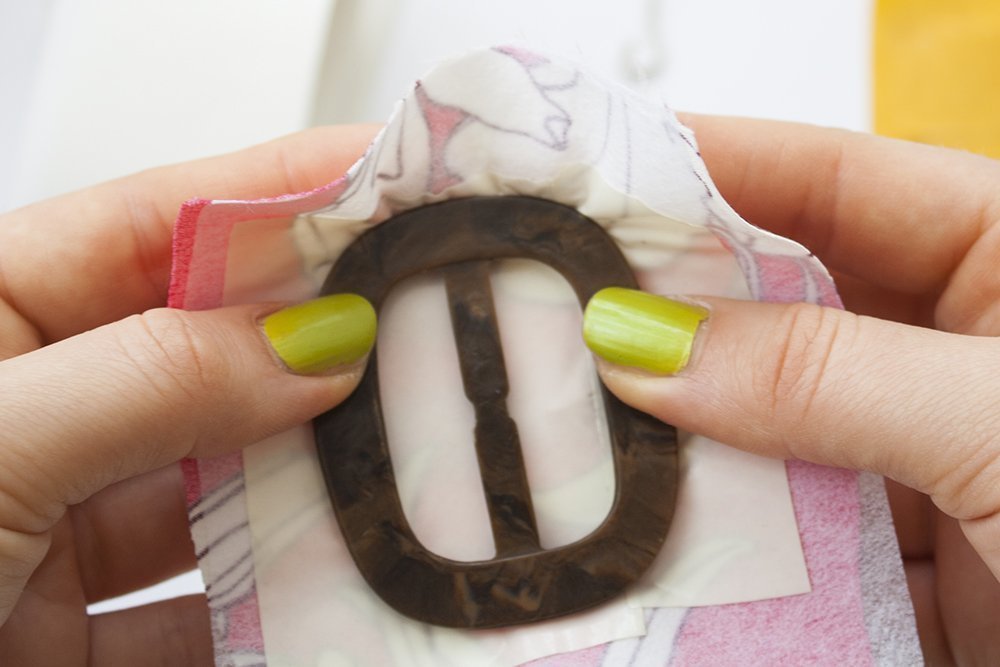
I ironed some interfacing on the fabric scrap to give it more firmness. Then, I stuck the adhesive tape onto the fabric.
I pressed the buckle onto the fabric-and-tape piece, making sure to get rid of all air between the tape and the buckle, so the fabric would lay smoothly on the buckle.
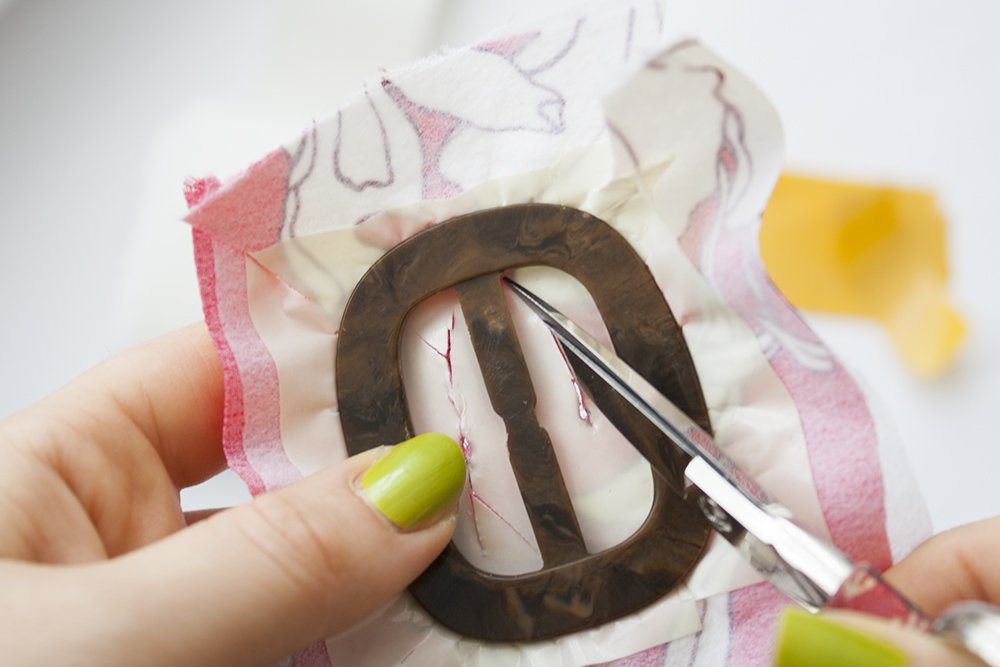
Because of the round shape, I cut into the fabric so it would lay more smoothly. I did the same for the corners at the separator.
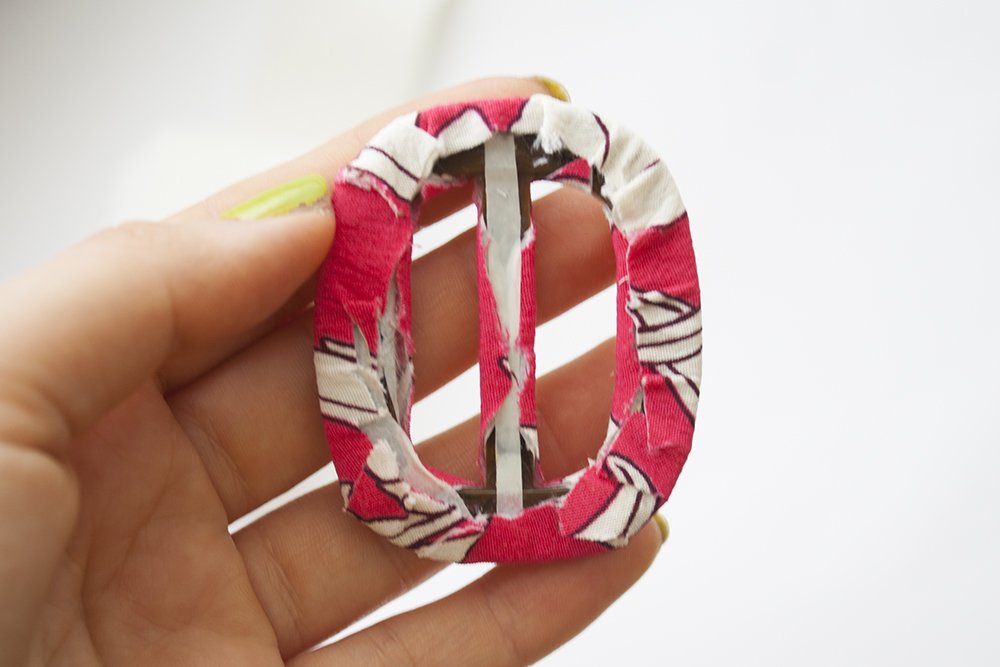
Where needed, I cut into the fabric some more. This way, the excess fabric could take on the shape of the buckle and stick to its underside. See my result below. I know, not really a great sight. But we’ll be covering that up subsequently.
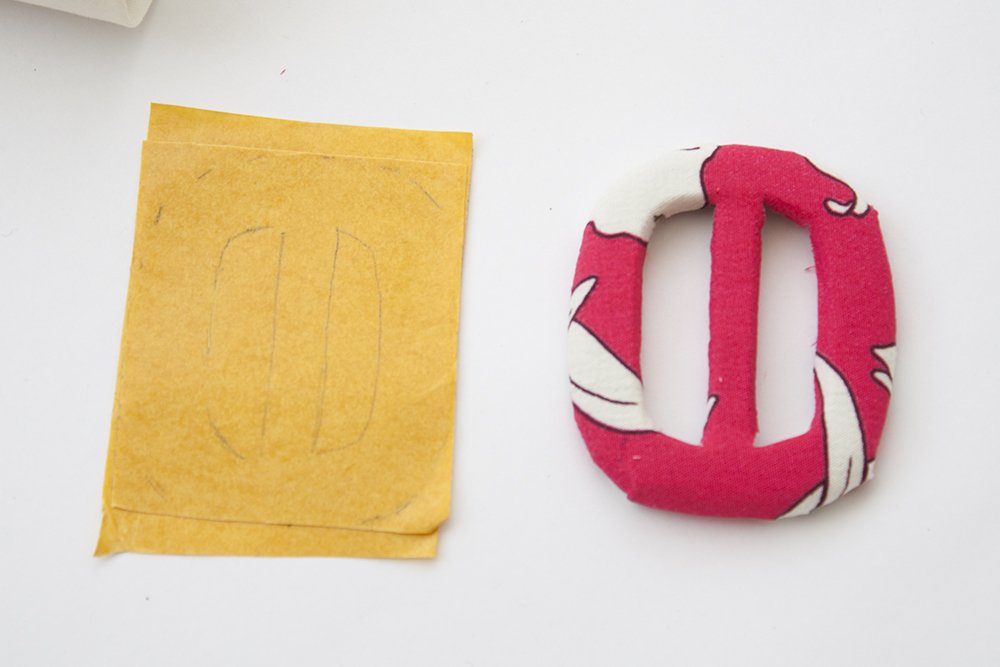
The front side, however, is looking quite nice!
Now comes the part that I would do differently the next time, but it still works, so I’ll share it with you. It was an experiment, after all, and it’s rare that you find the best solution the first time you do something.
I decided to make a cover for the underside. I traced the shape of my buckle onto the double sided adhesive tape using a permanent marker. I cut out the shape, subtracting about 2 mm all around while cutting. You’ll want the cover to be a smidge smaller than the buckle.
I stuck the tape onto another scrap of fabric. This time, I left about 2 mm of excess fabric while cutting the shape. I then folded this excess fabric over to the other sticky side, marking small clips where needed.
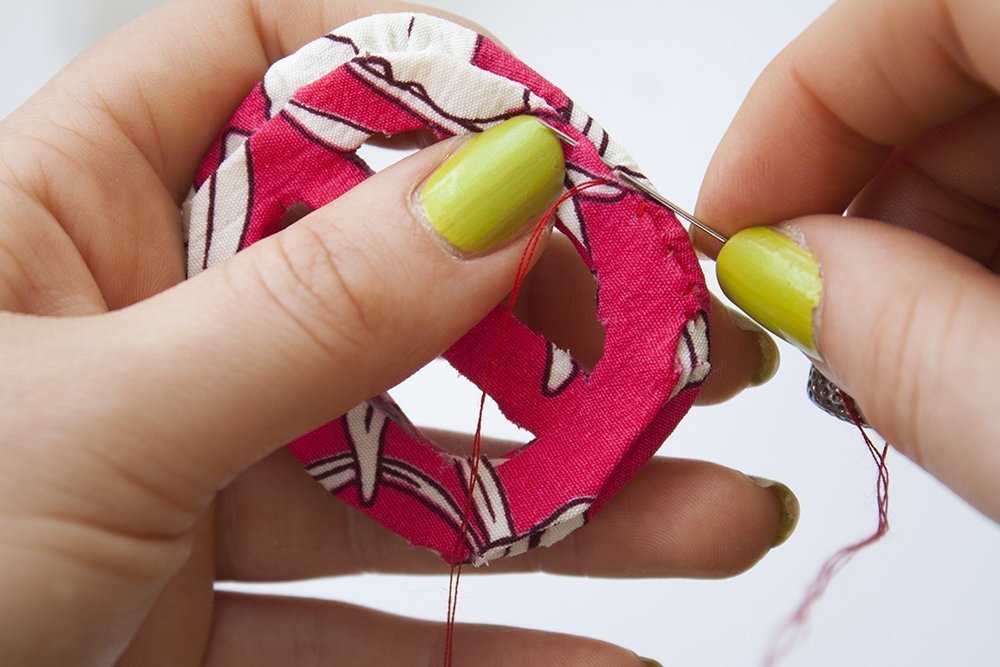
After sticking it onto the backside of the buckle, I stitched it in place, folding excess fabric under the cover where it didn’t stick to the tape.
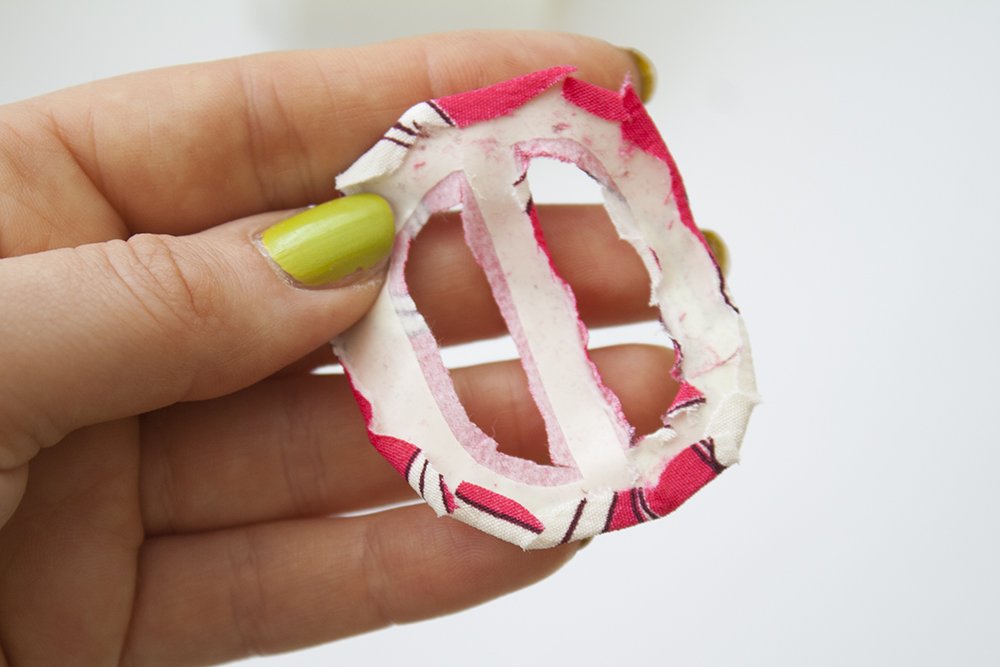
Below, you can see the finished backside. It looks okay, and all open edges are secure so nothing will fray.
The next time, I would use a non-fraying fabric like a thin felt or (synthetic) leather. This way, you don’t have to fold over the edges of the cover and can cut the shape and the adhesive tape the same size, they will be flush when stuck together.
I reapplied the metal pin with the pliers, using a scrap of fabric as a buffer so the metal wouldn’t be scratched by the pliers.
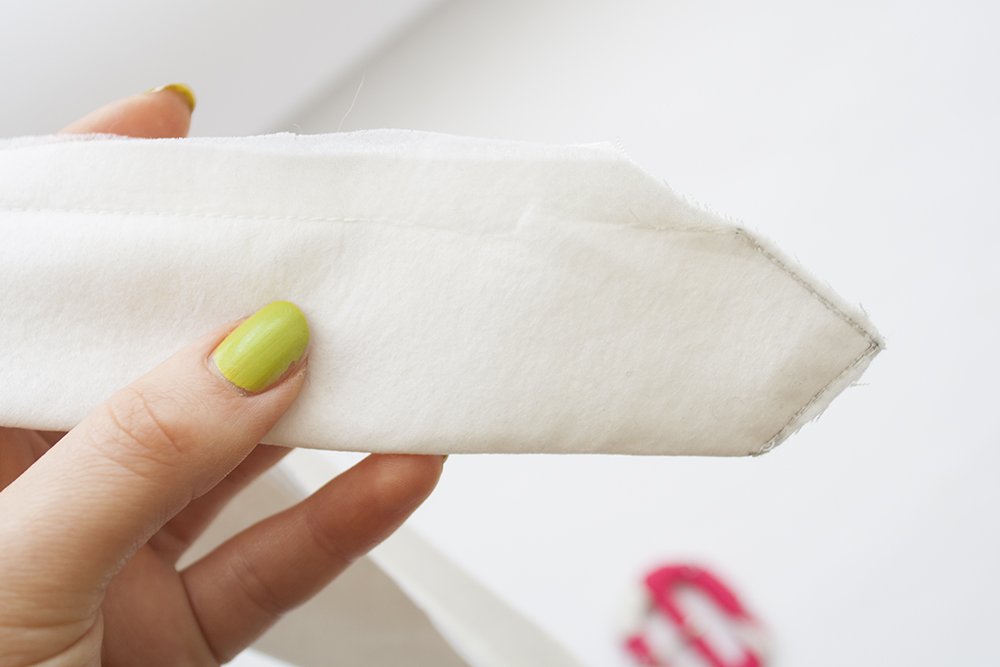
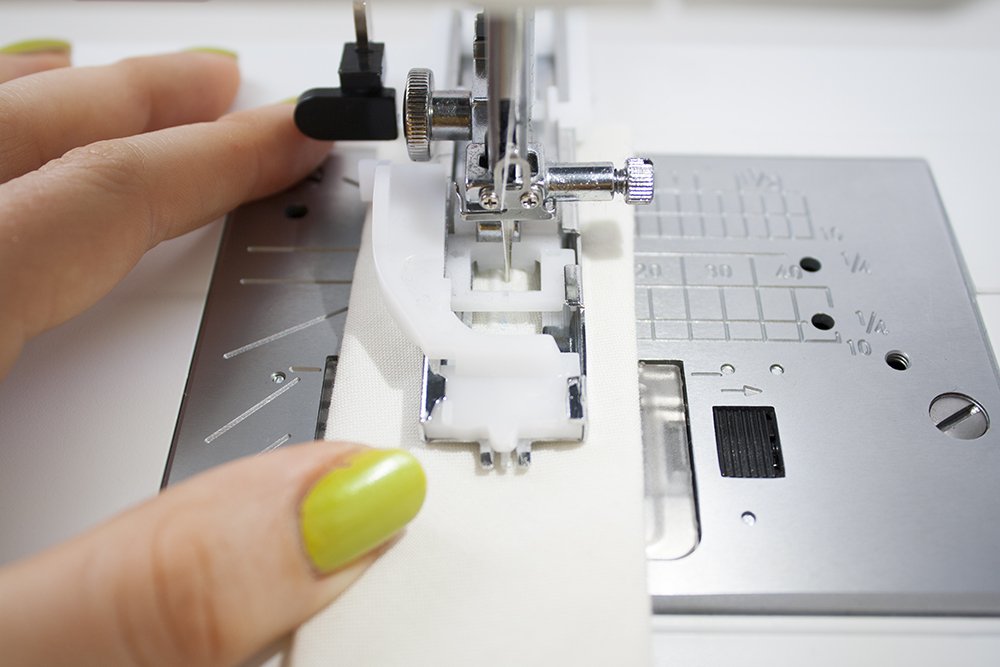
With the buckle finished, I sewed my fabric belt together. i decided I wanted to have a pointed end, so I sewed over this seam twice with a shorter stitch length and clipped the seam allowances.
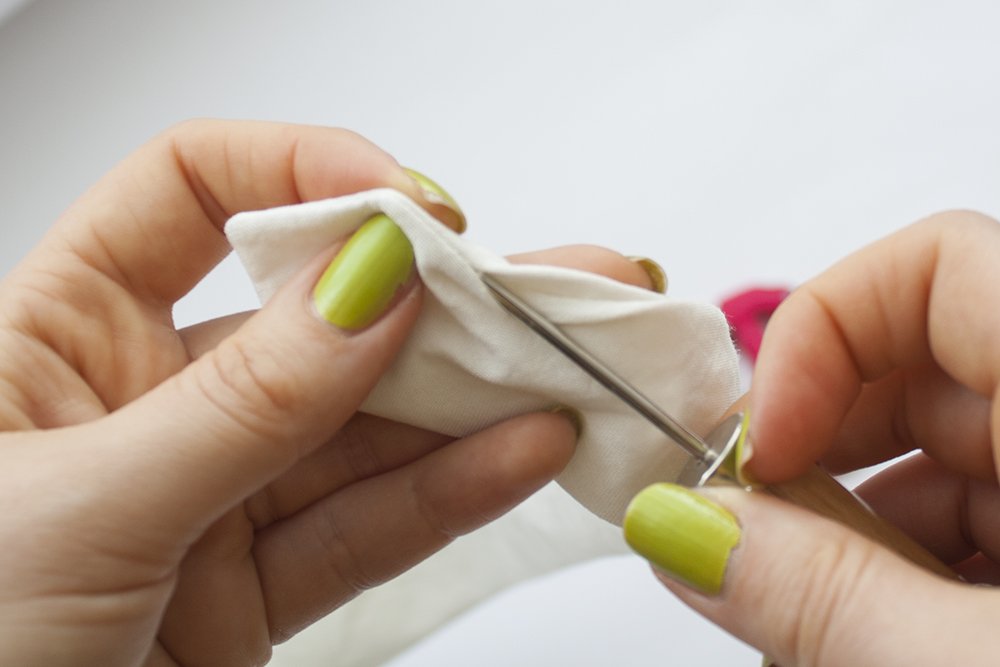
I also left a little gap in the seam about 3 cm from the end of the belt (see below), so I could turn the tips nicely. I sewed this gap closed by hand.
Next, we want to put belt and buckle together.
I tried the belt on and decided on the length. Keep in mind that the belt should be longer than your waist or hip measurements, depending on how you want to wear it.
I cut the belt to the length I wanted and used the overlock stitch on my bernette 38 to secure the edge. You could also use a zigzag stitch.
About 1.5 cm from the end of the belt, I sewed a button hole as an opening through which I could stick the pin.
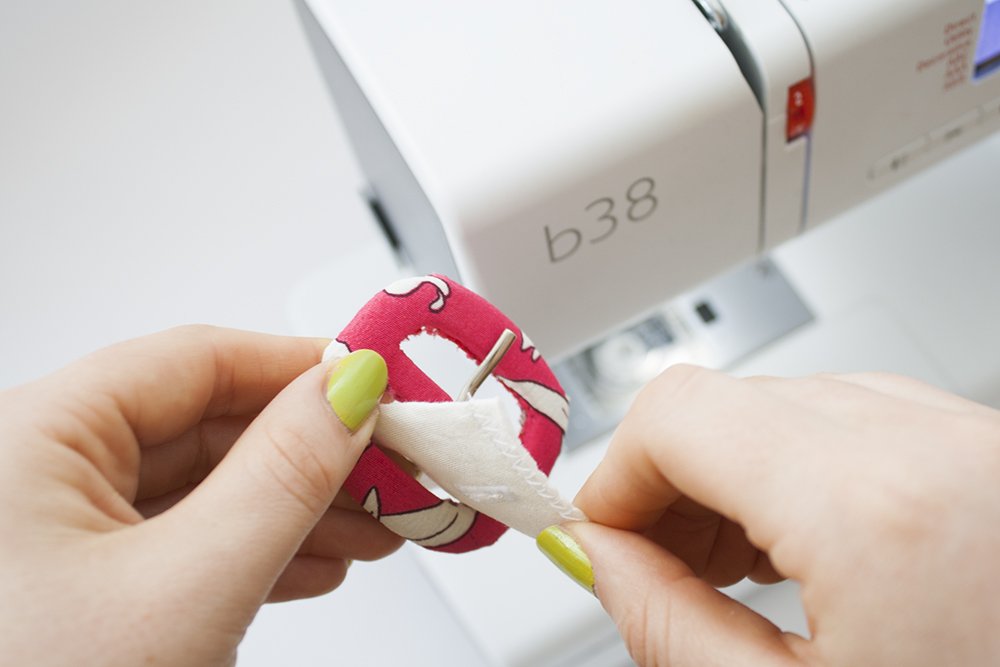
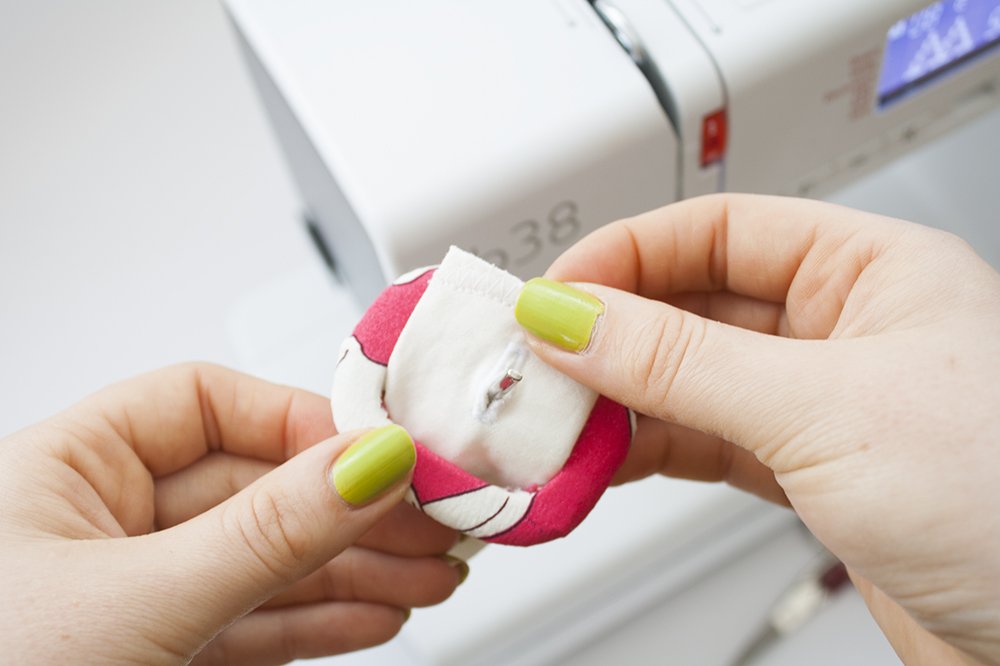
I then wrapped the end of the belt around the separator, sticking the pin through the button hole. I sewed the end of the belt to the belt by hand so it would lay snug around the separator.
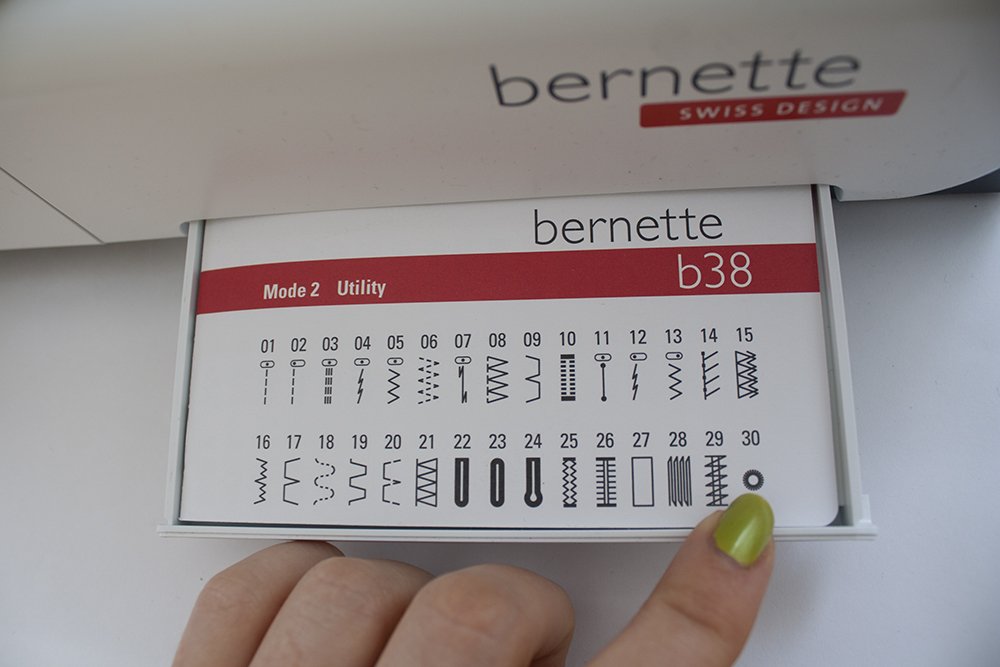
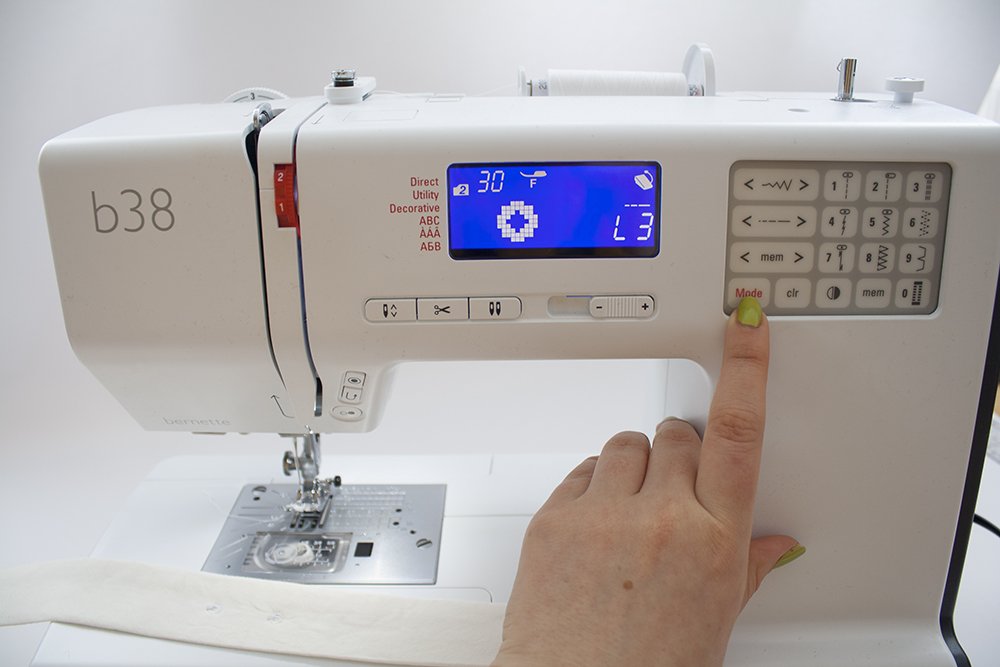
The last step is making holes for the pin to go through. I used the eyelet program of my bernette 38 (stitch pattern 30, mode 2). The space between eyelets is up to you and your preferences.
After finishing the eyelets, I used punch pliers to make neat holes in the middle of the eyelets.
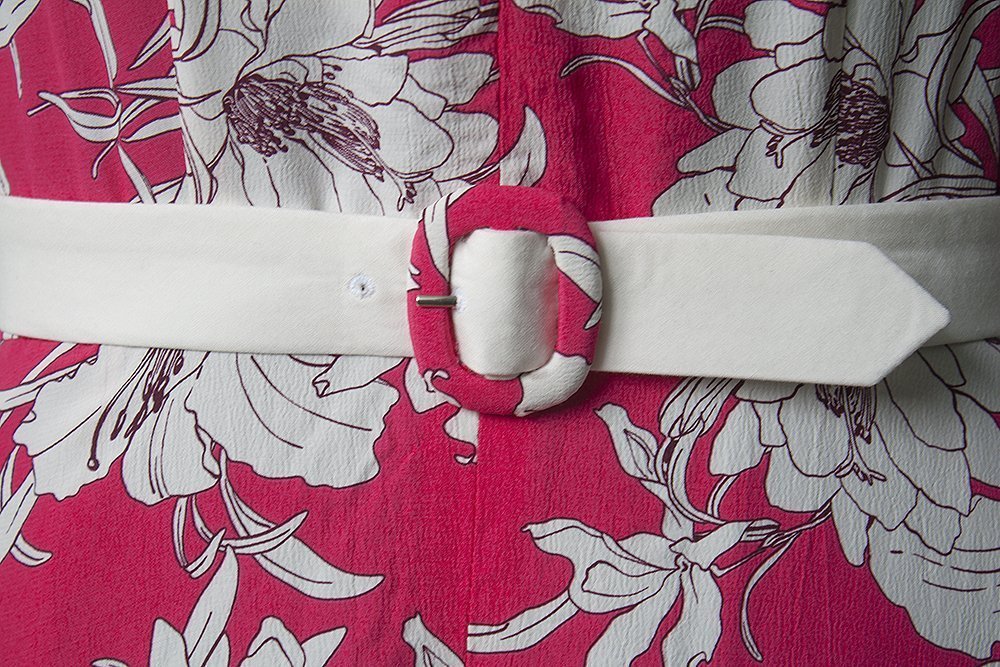
Not you’re done! Put on the belt and marvel at the cute look. Here’s my belt, worn over the matching dress:
As you can see, a good portion of the belt isn’t actually visible. It wouldn’t even have been necessary to cover the divider. But I thought it looks nice nonetheless!
I hope this tutorial is useful to some of you. Do you like this look? Have you used one of the kits for covering belt buckles before? Or have you tried your hand at covering “standard” buckles like I did?
P.S.: You can see the belt in action and worn with the dress <a href=”http://exclamation-point.de/butterick-6055-viskosekrepp/”>on my sewing blog</a>!
 BERNINA Corporate Blog -




Thanks so much for this! It appears that kits for this don’t exist in the uk and I have a sudden desire to make a matching belt for the first time next weekend. If it comes to it, I can now see how to get there using double sided tape if I need to so really appreciated!:)
Thanks for this easy tutorial. I am going to try it on Sunday.
Hello
Great tutorial. However I would like to find a covered belt buckle kit if possible. Do you know where i can source these in New Zealand or Australia please? I can buy online from america but the freight is $30 approx!! I am looking to make a belt of approx 4.5cm wide so buckle needs to be 6.5 – 7 cm wide. Many thanks!
I am SOOO glad I found this! I have been searching for a mod 60’s buckle that would match my Jean Patou design and this was the show stopper for finishing the dress. Thank you so much! Now I can order ANY buckle and make it match the dress!
Im looking for belt nd buttons cover please help
Looks great, thanks for this idea!
Hey Sylvia, thank you very much! 🙂