 BERNINA Corporate Blog -
Welcome back to the Swiss Star Quilt Along, where every stitch brings us closer to quilted Swiss Star perfection!
This week marks an exciting chapter as we dive into the creative process of crafting square-in-square units using the stitch and flip method.
Additionally, we’ll be assembling our center star which is the focal point for the quilt (and ohhhh so magical as you’ll see!).
Important Notes:
- Don’t forget to post progress pictures!
- To download the PDF of the following steps, click here: Swiss Star Quilt Along Part 3
Brewer Give Away
Before we continue, I have a special announcement to make. Certainly you want to know the winning comment or user gallery entry in the Community section for the signed Tula Pink scissors set, sponsored by Brewer. It is the following photo from…
…Saara! Congratulations! You will be contacted by BERNINA in the next few hours.
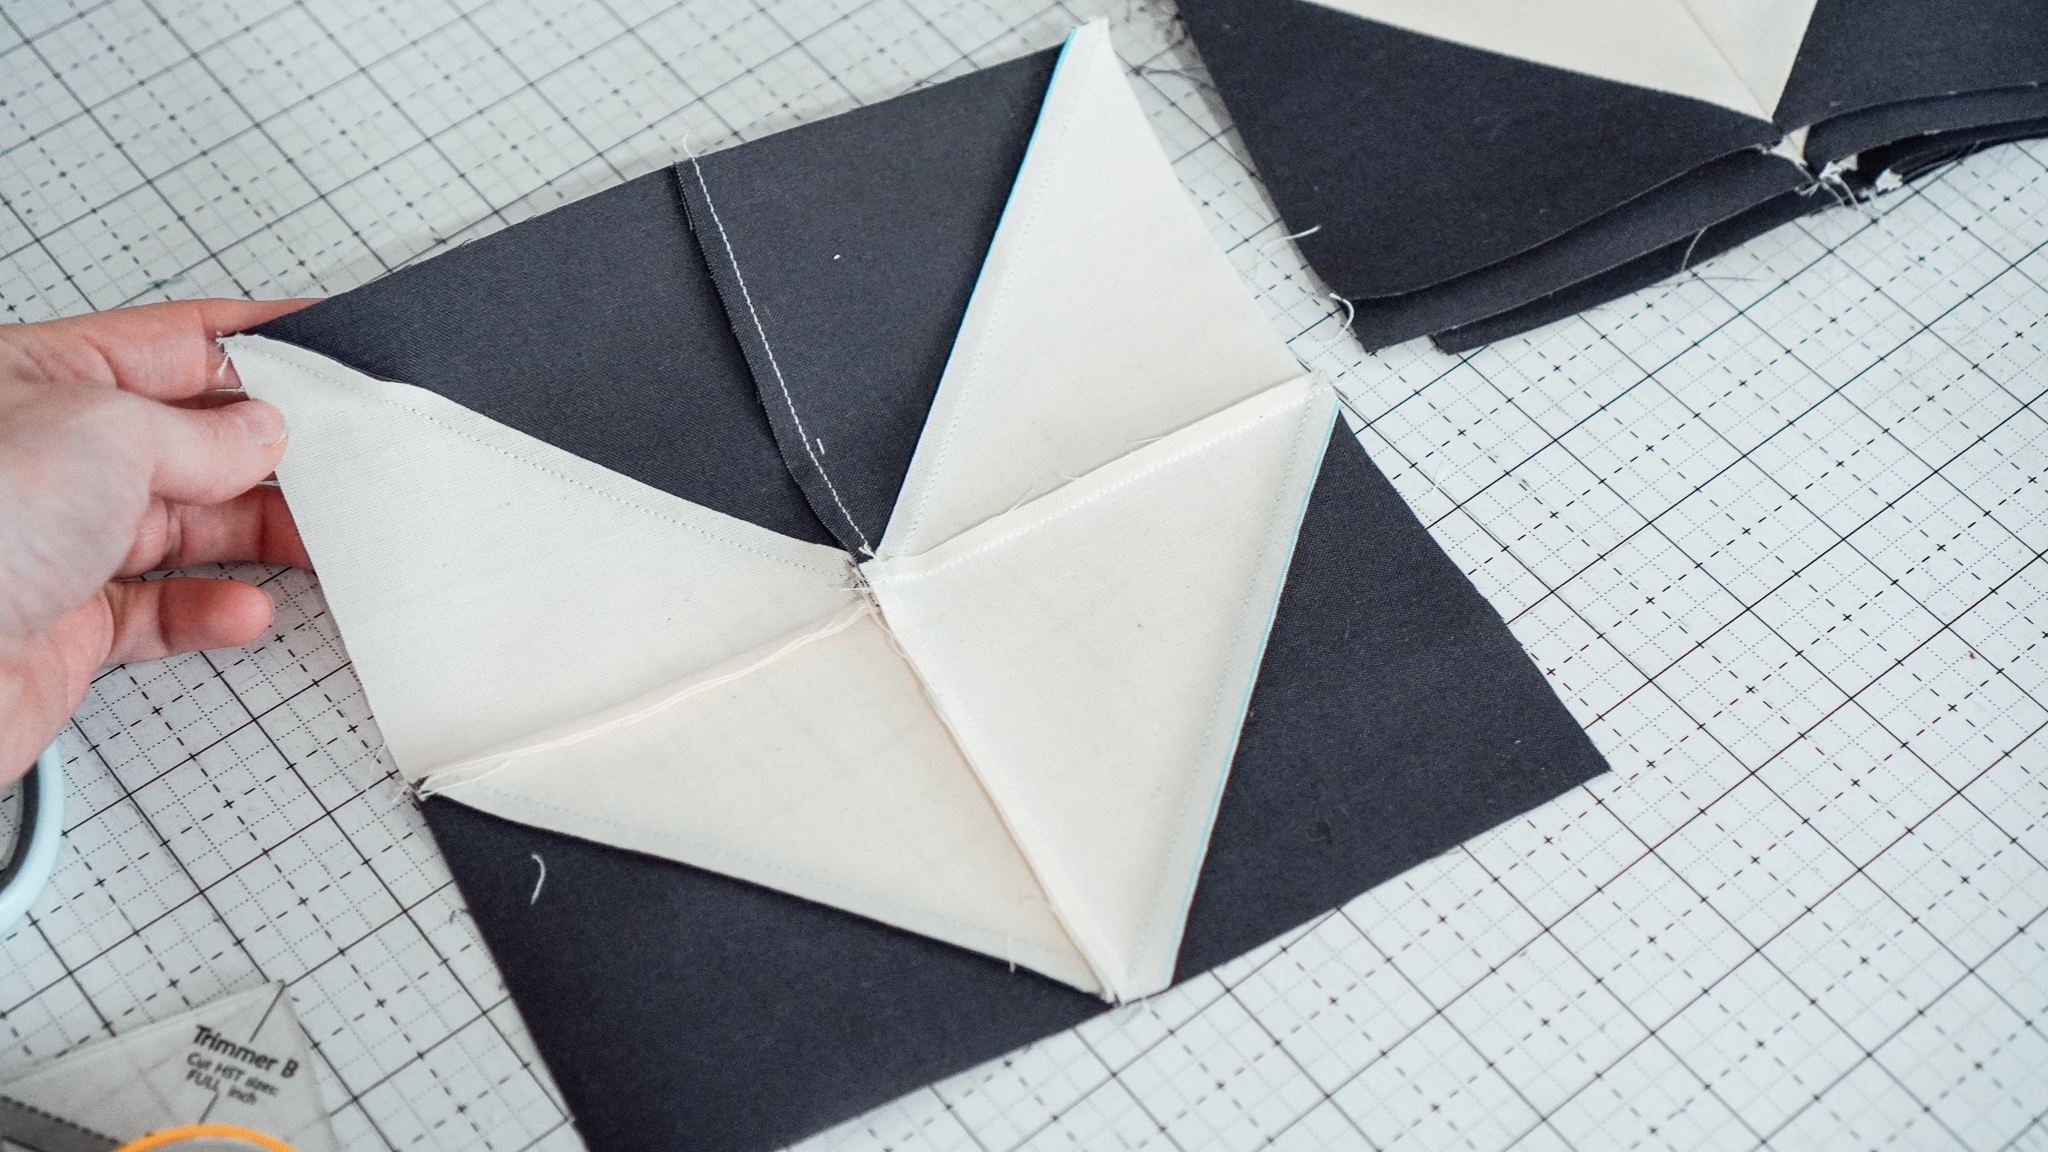
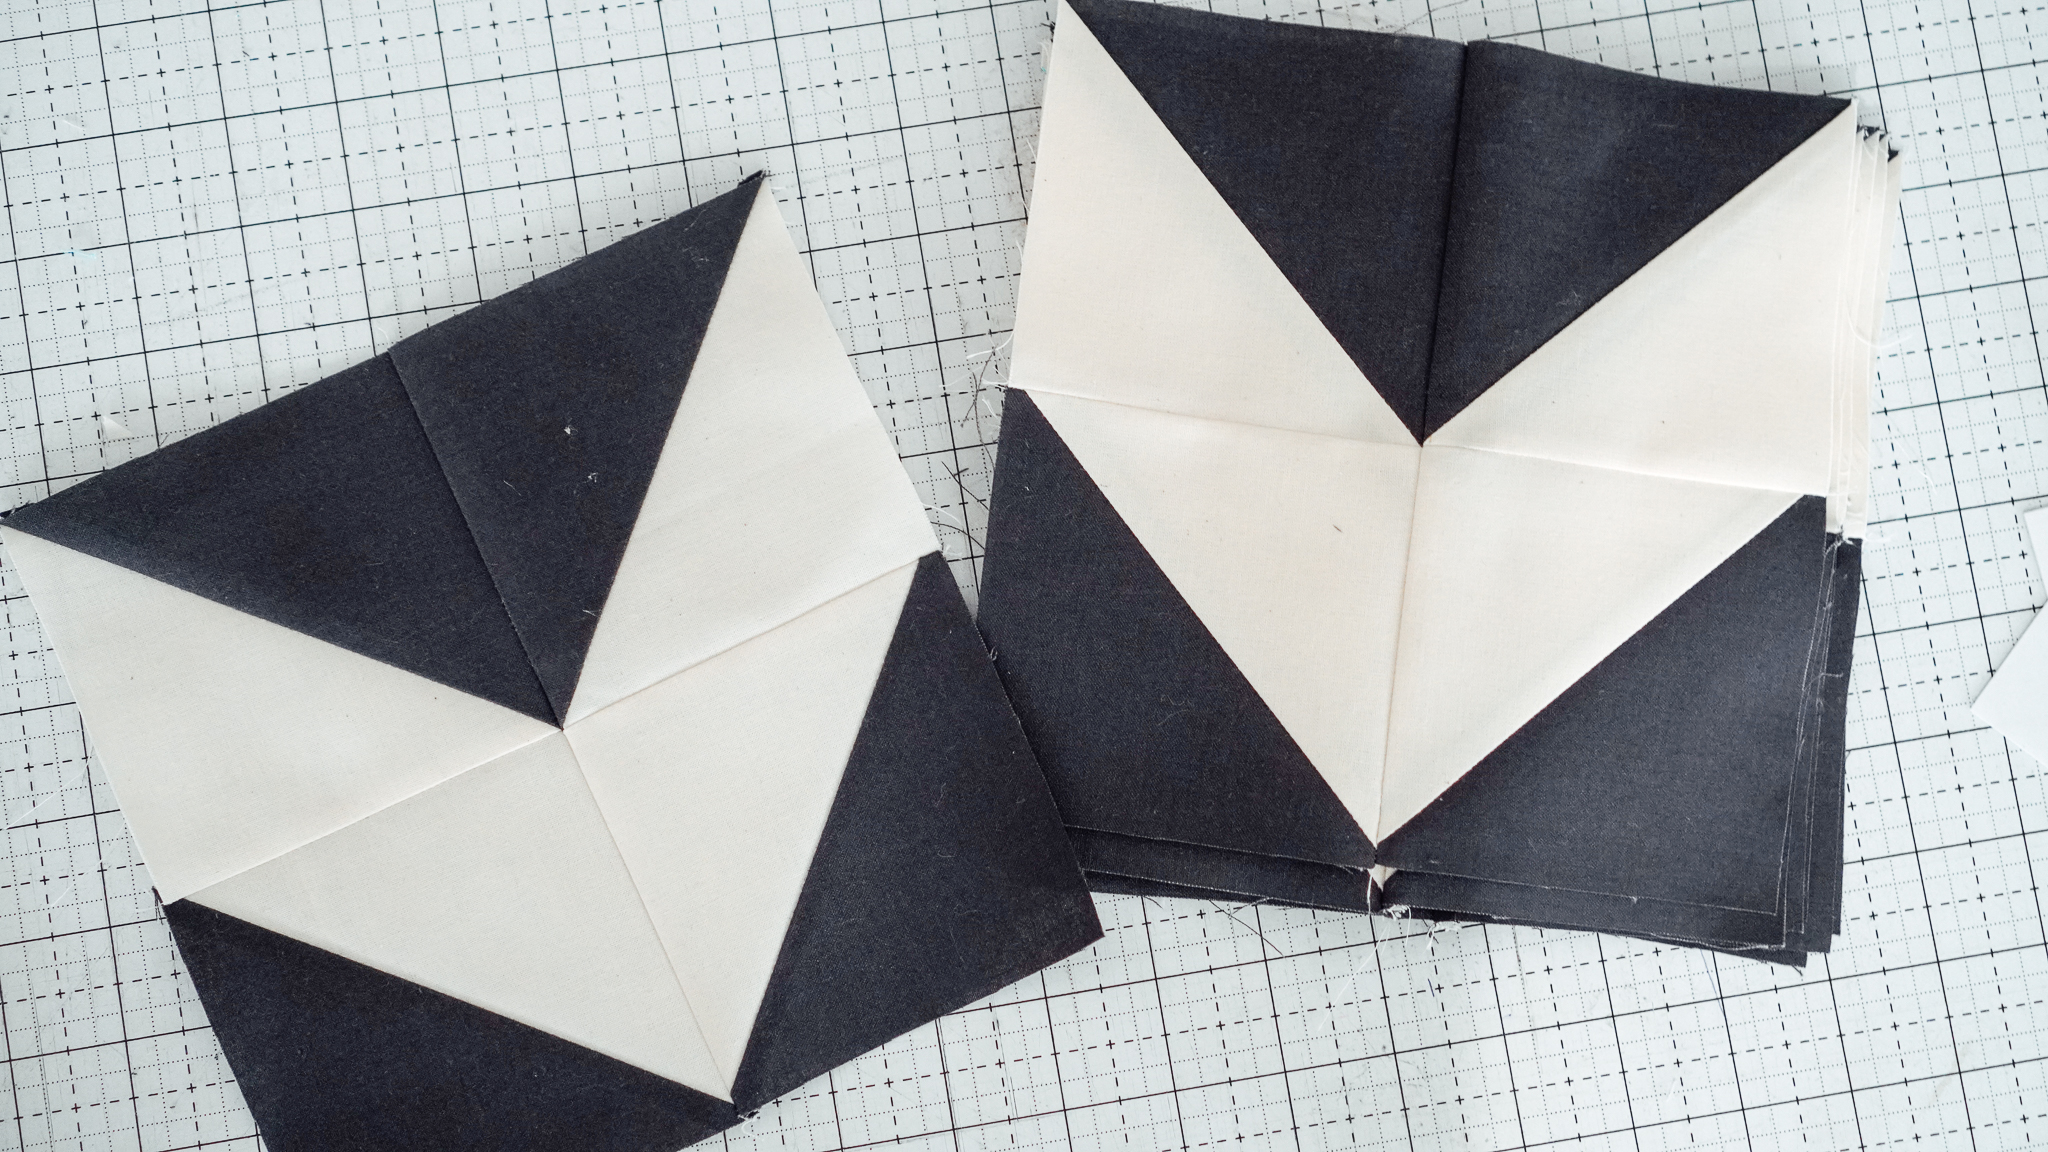
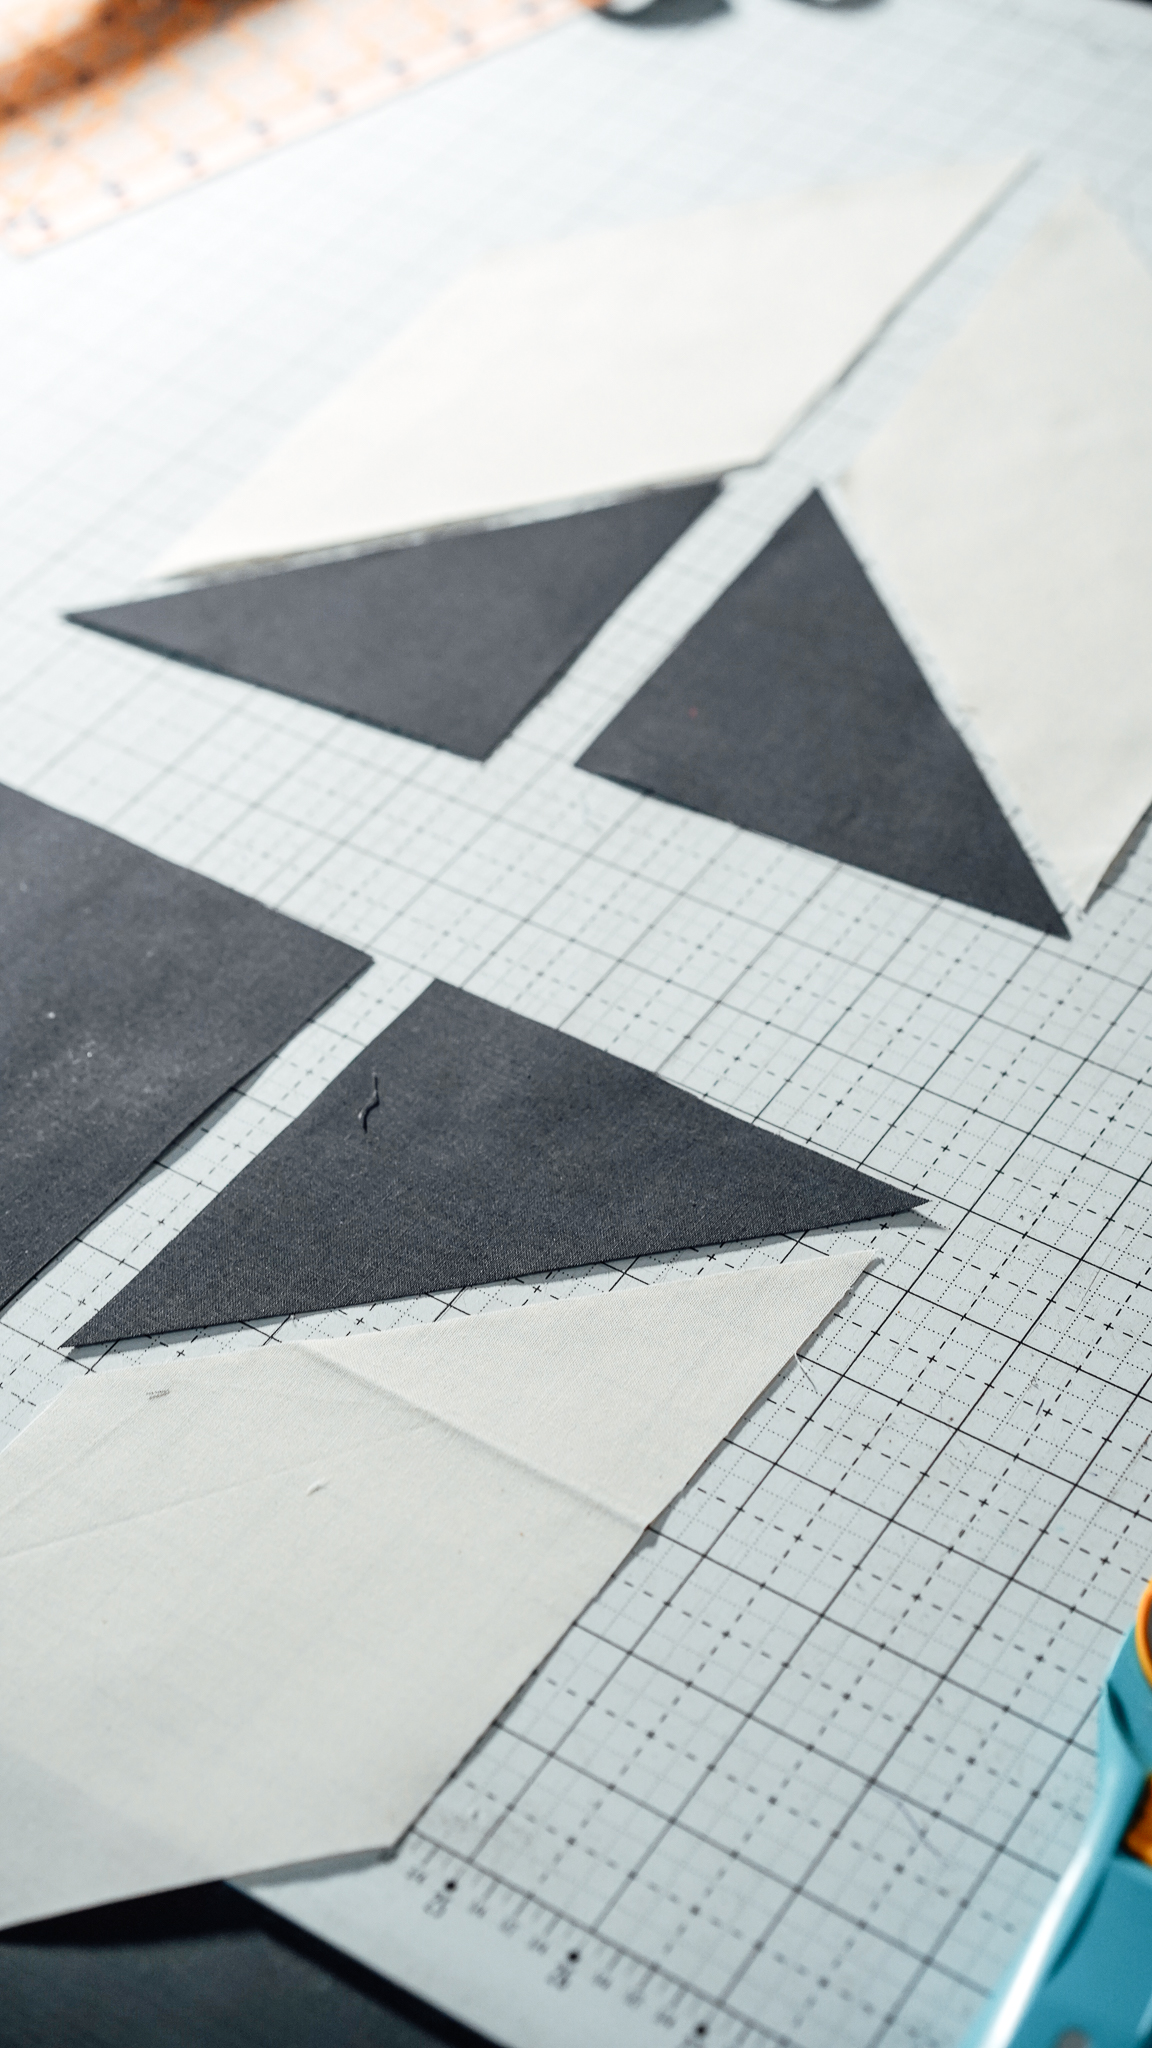
Making Chevron Blocks

These blocks are fast to whip up if you’ve already sewn you’re half square triangles from the last blog post!
Sew (2) HST’s right sides together as indicated, press seams flat (to the side or open).
Repeat to create another set, making sure the colors of the triangles are correct.

Sew RST, both sets, pinning from the center to make sure both sets are centered. Repeat to make 8 chevron blocks in total.
Square-in-Square Units: The Stitch and Flip Method
Using the stitch and flip method, we’ll transform our selected dark blue, gray, and off-white fabrics into dynamic geometric shapes that will enhance the visual impact of our Swiss Star quilt.
This technique adds a layer of complexity to our design, creating depth and interest within each block.
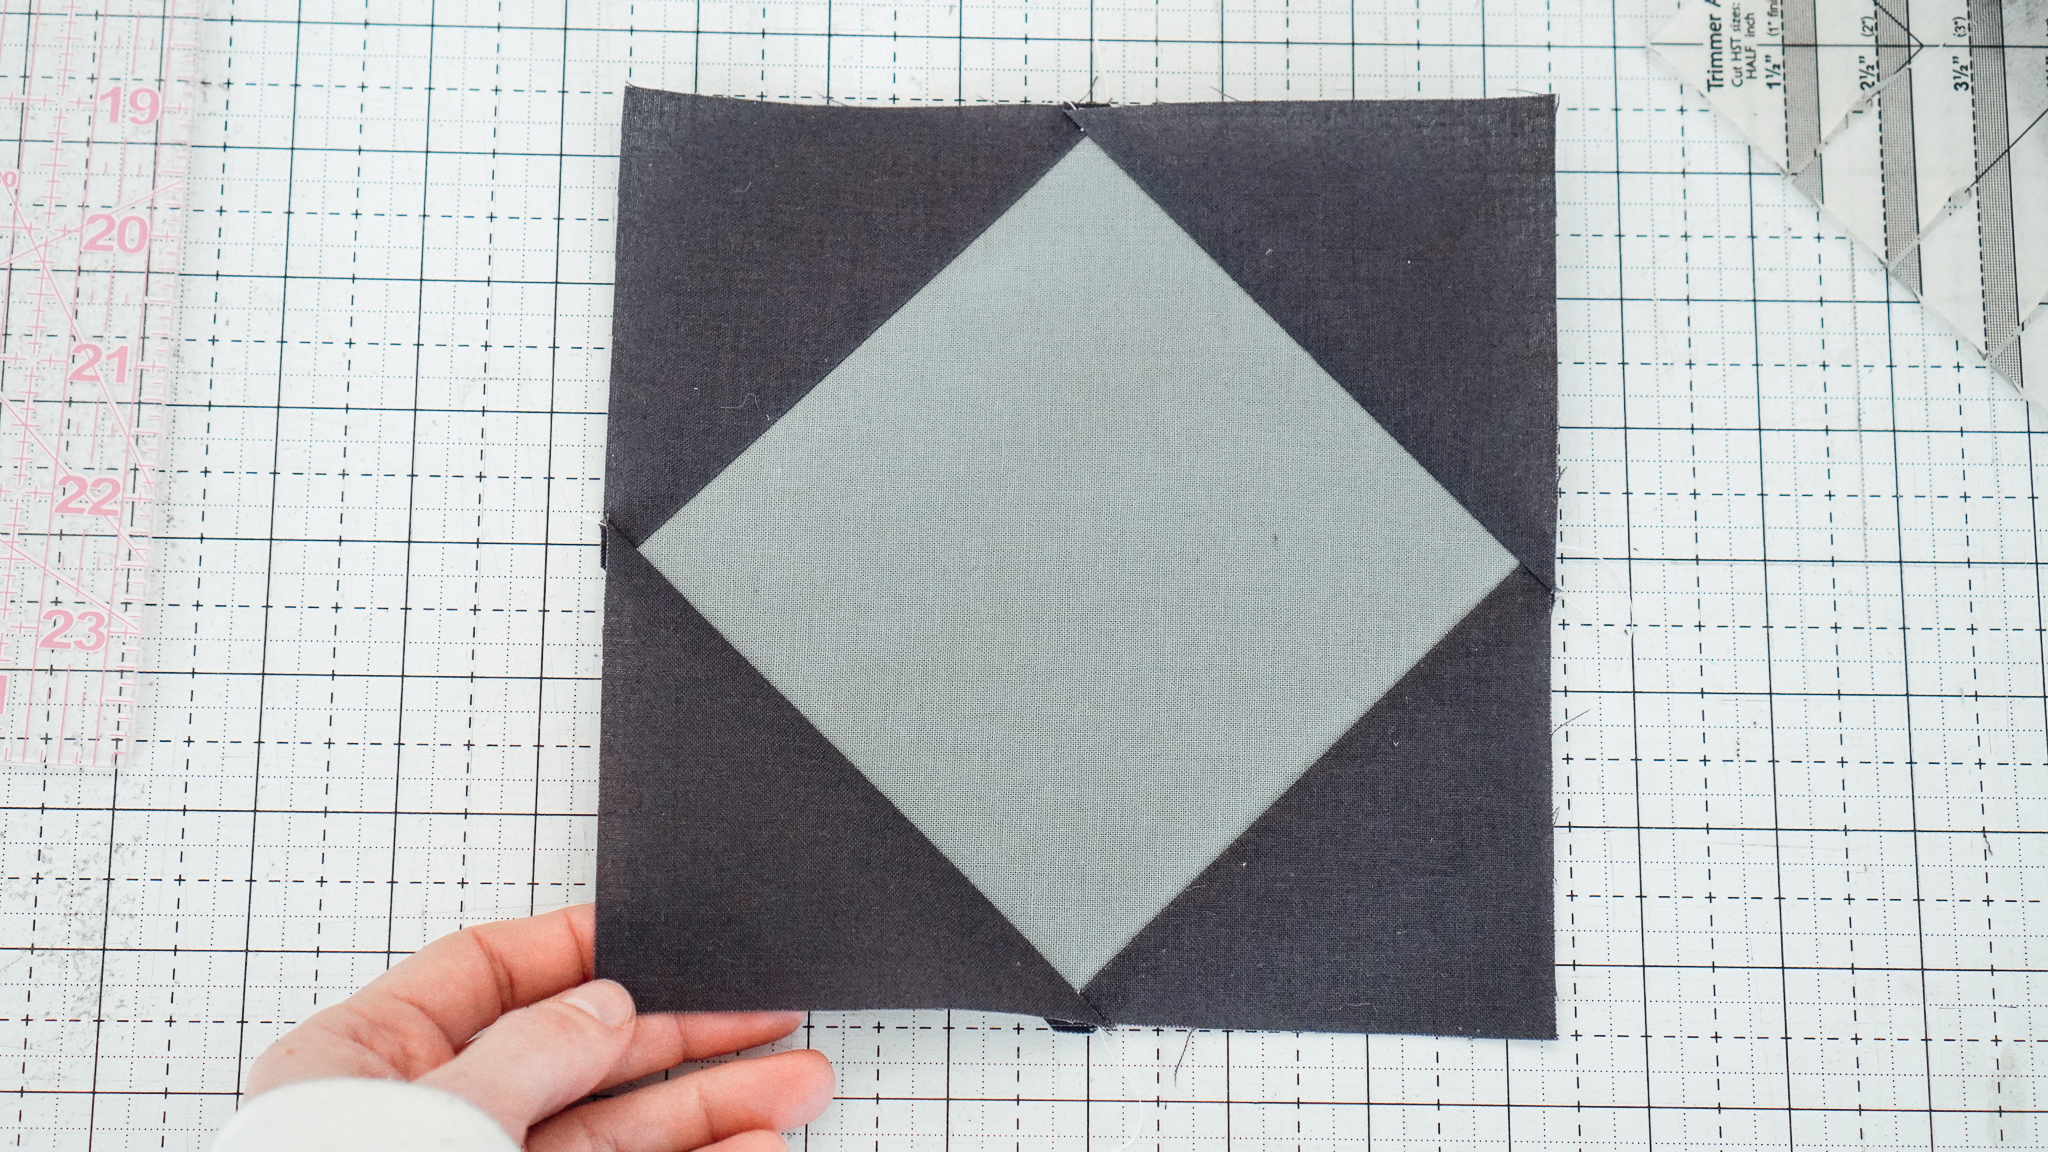
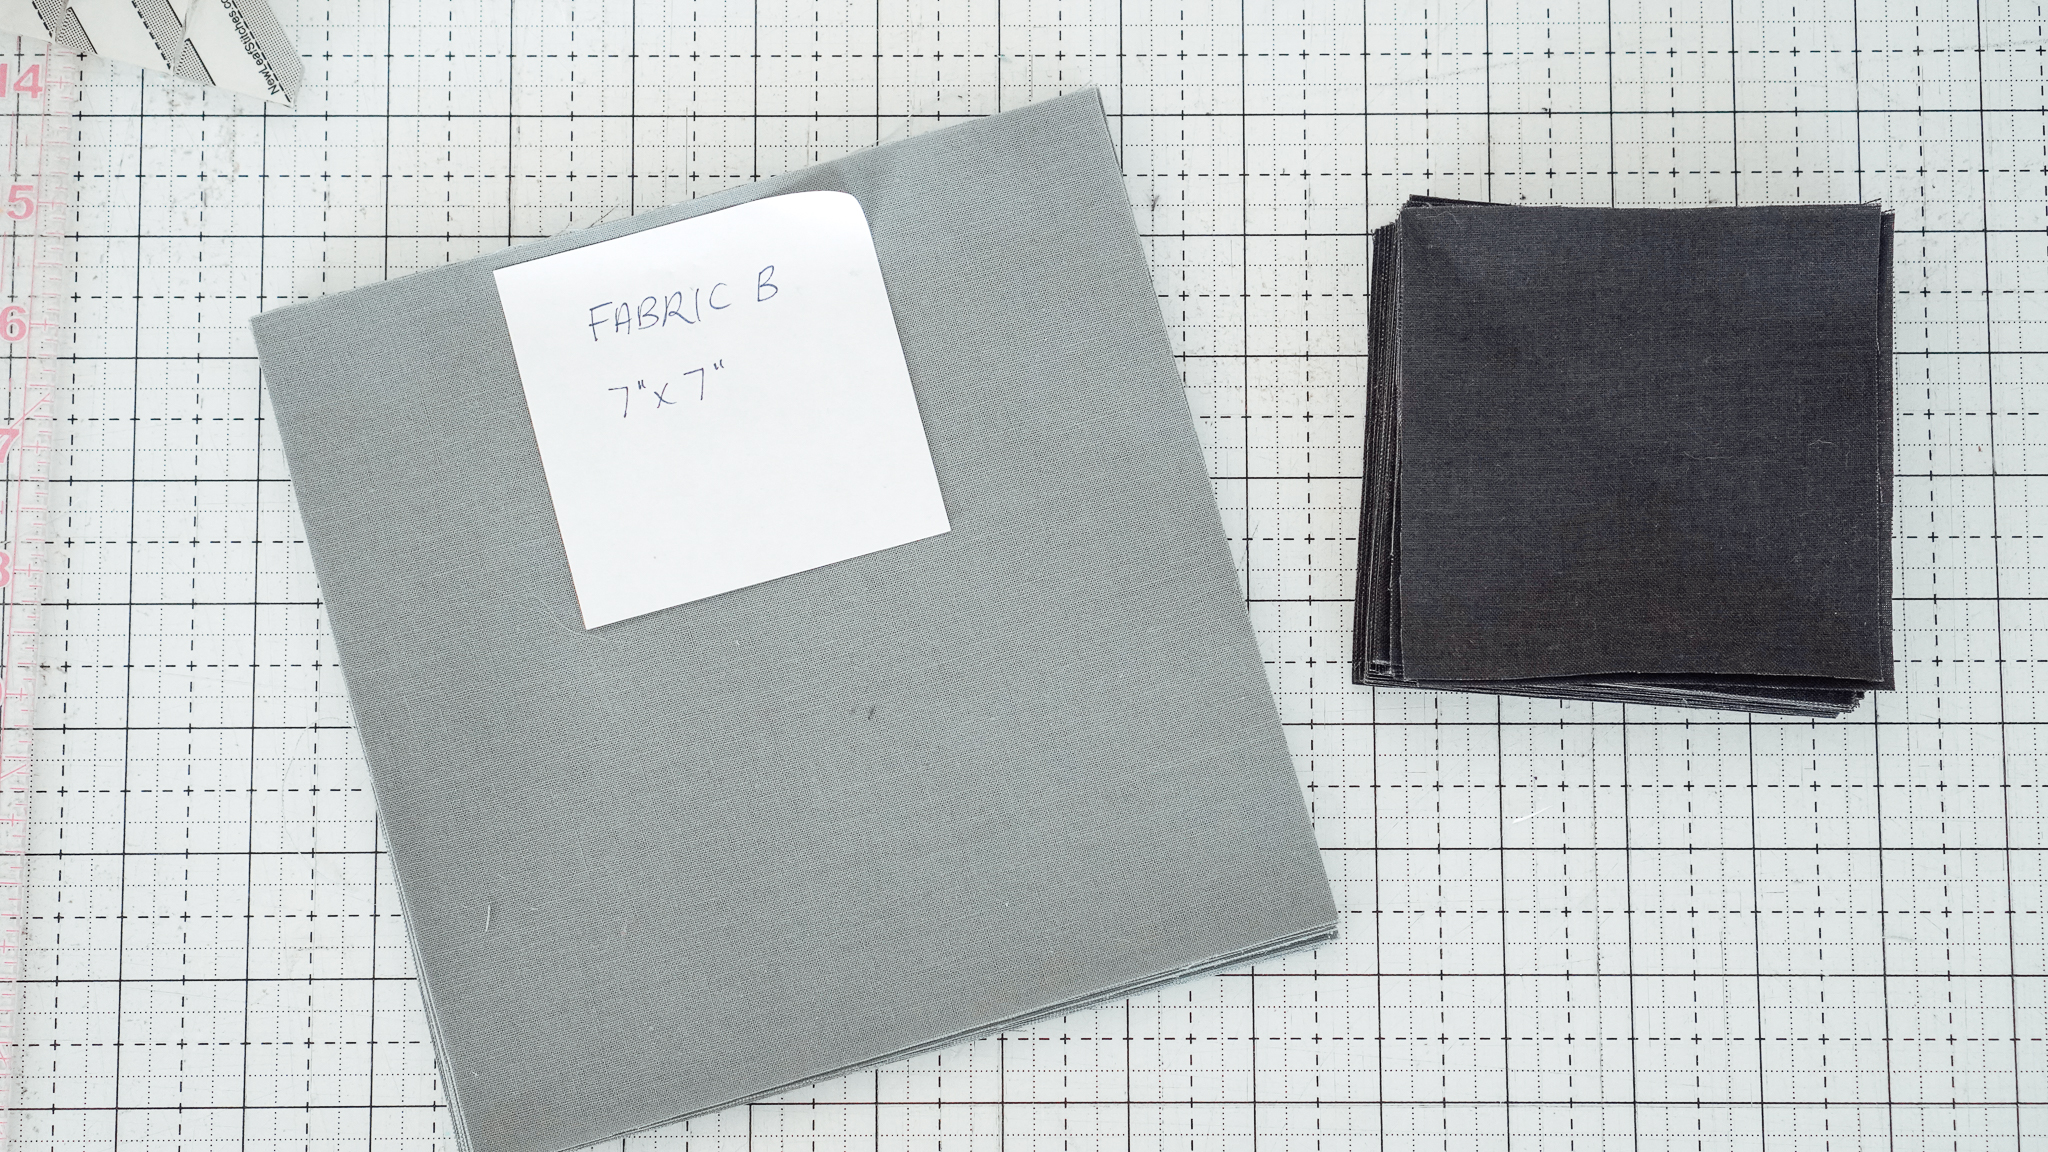 Creating Square-in-Square Units: A Step-by-Step Guide
Square in square blocks are so fun, especially when using the “stitch and flip” method which makes it nearly foolproof.
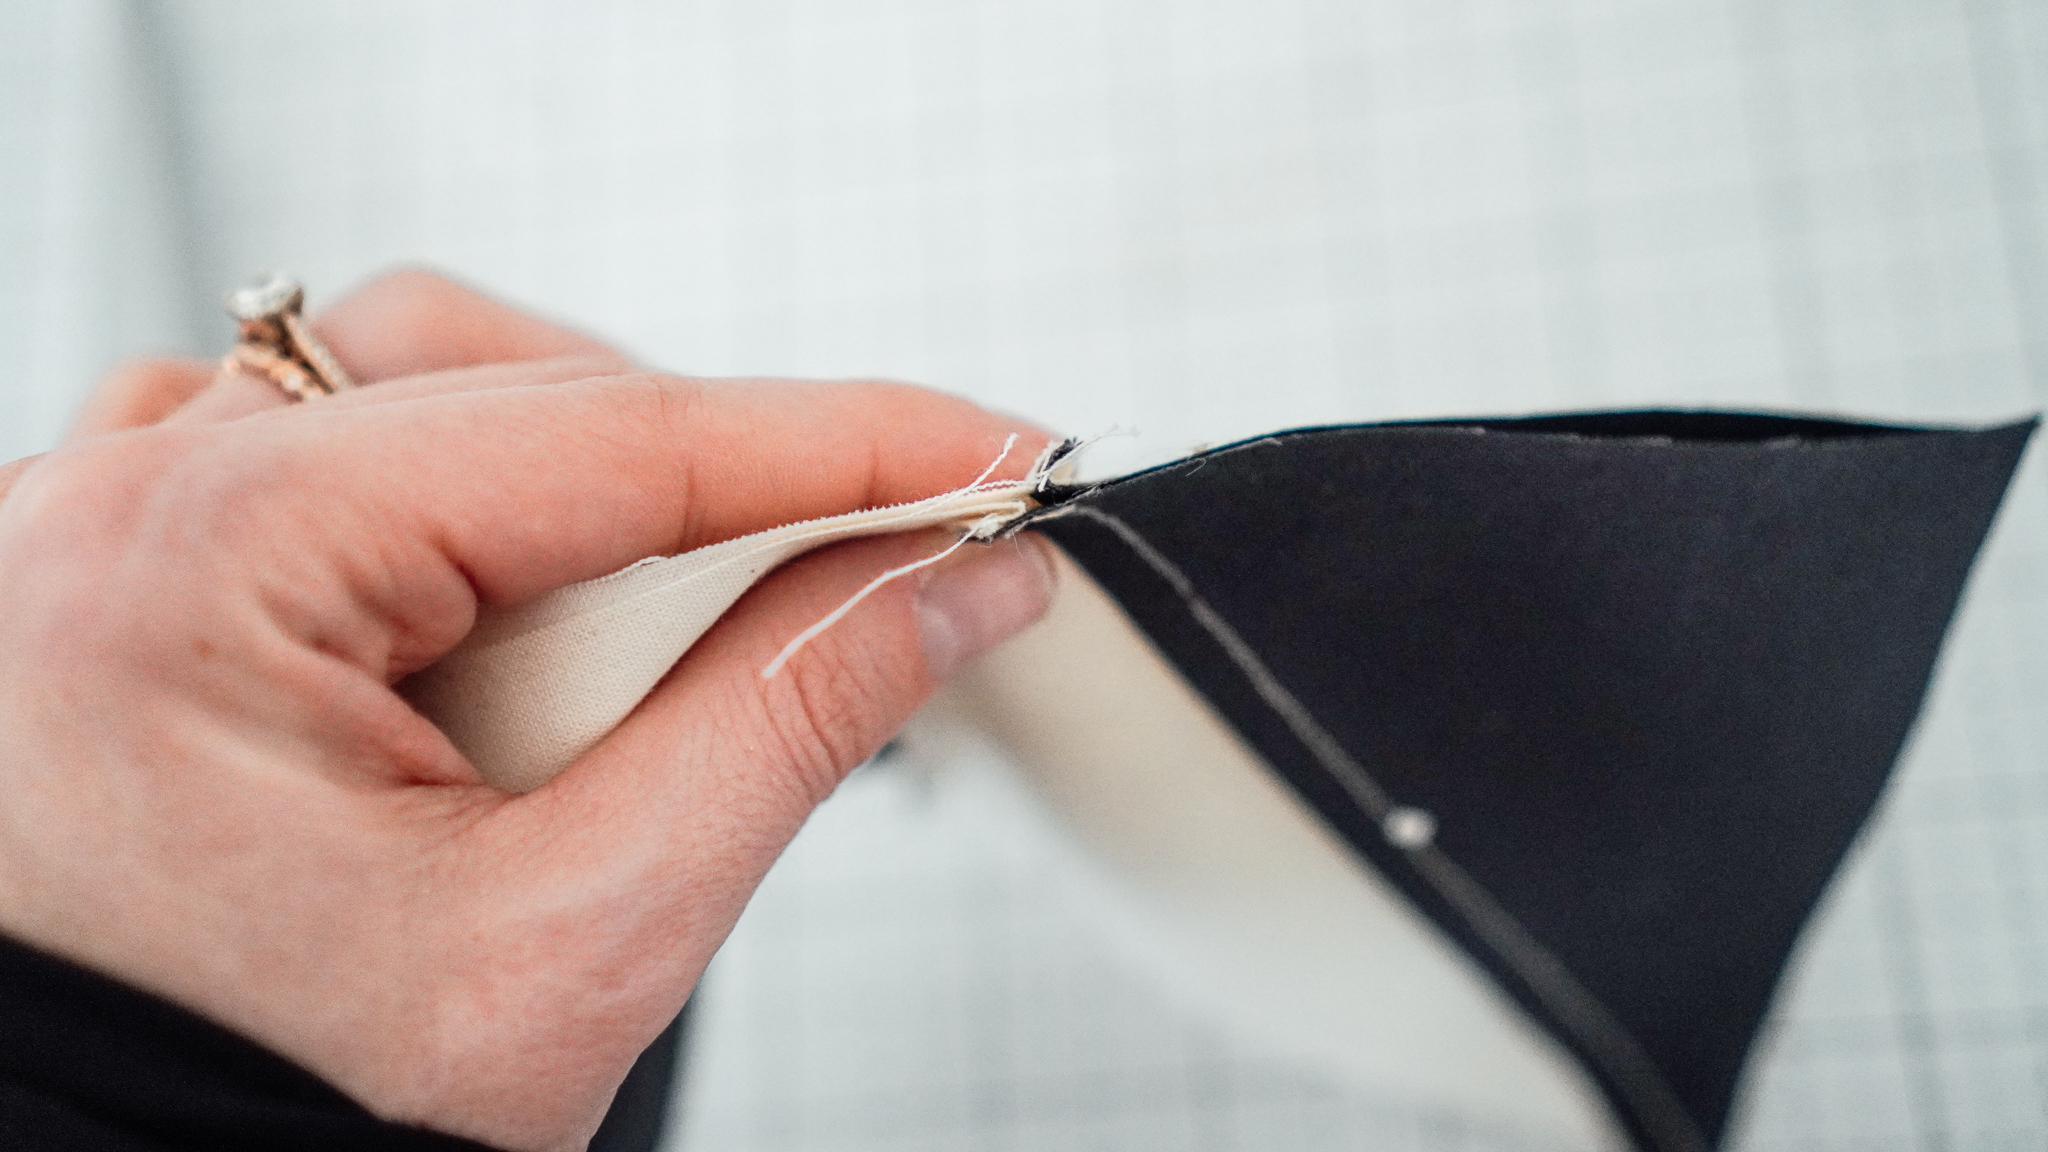
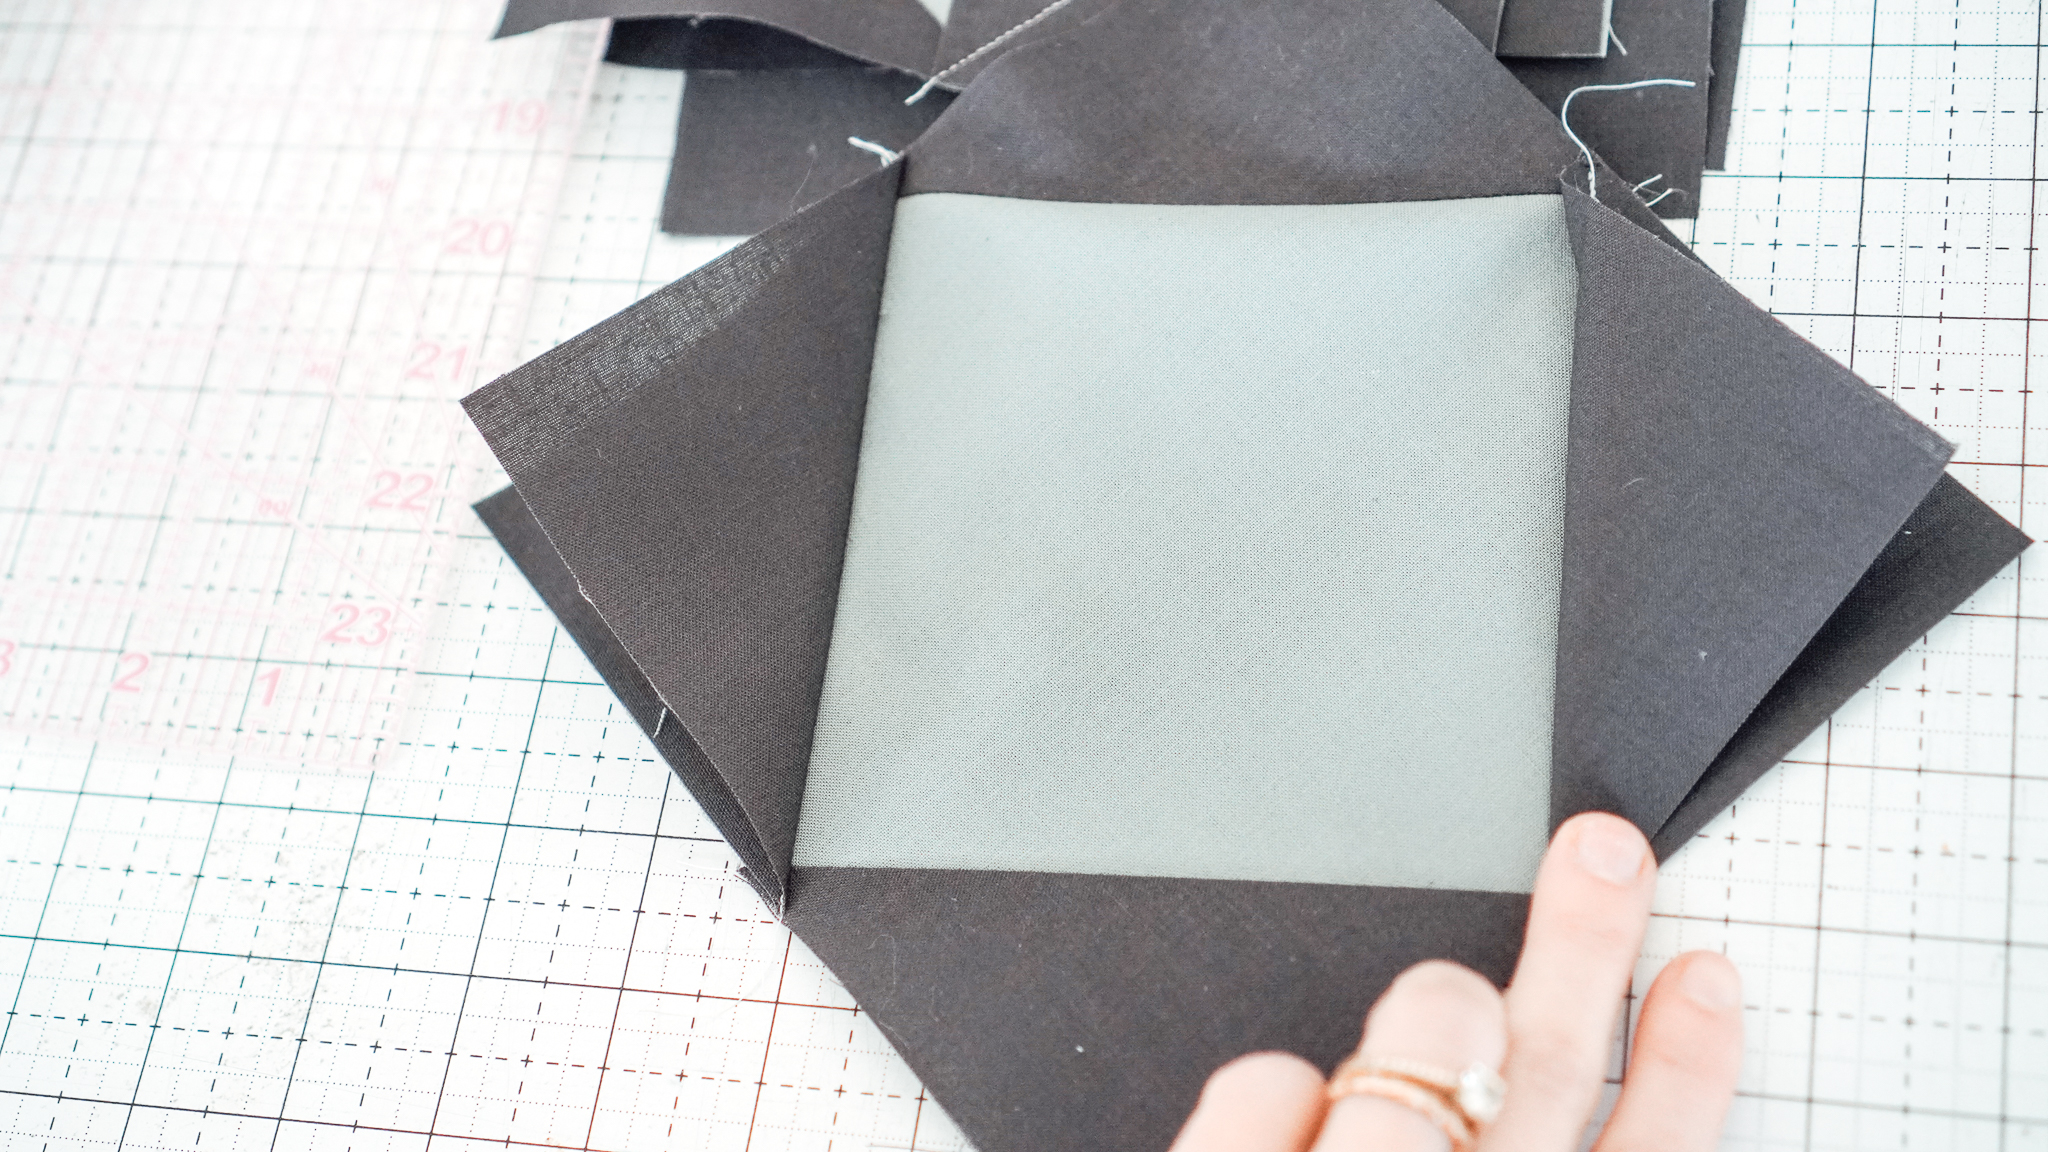
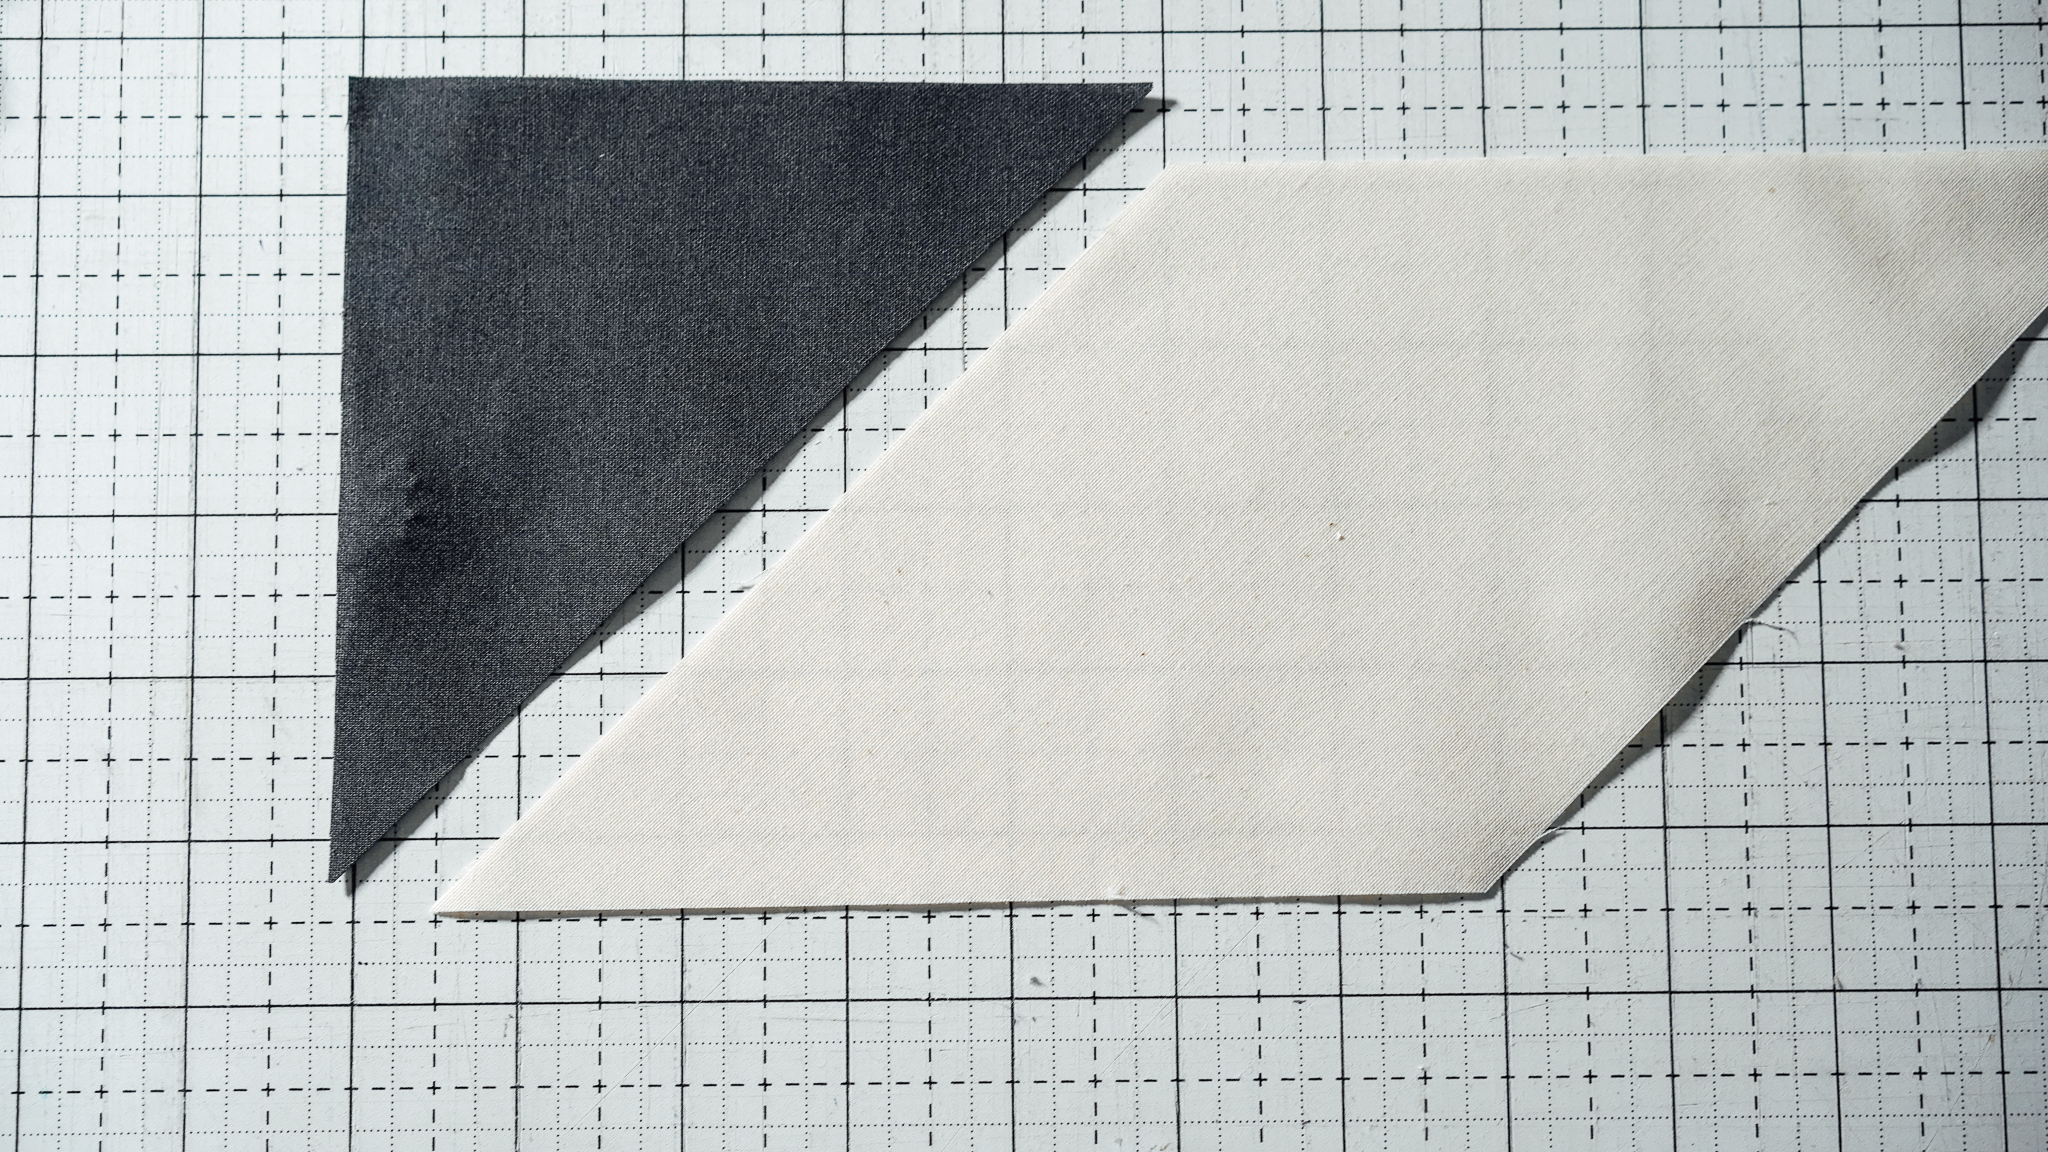
Lay (1) 7” Fabric B square (D) right side up. Align (1) BG 3.75” square (N) in the top and bottom corners right side down.
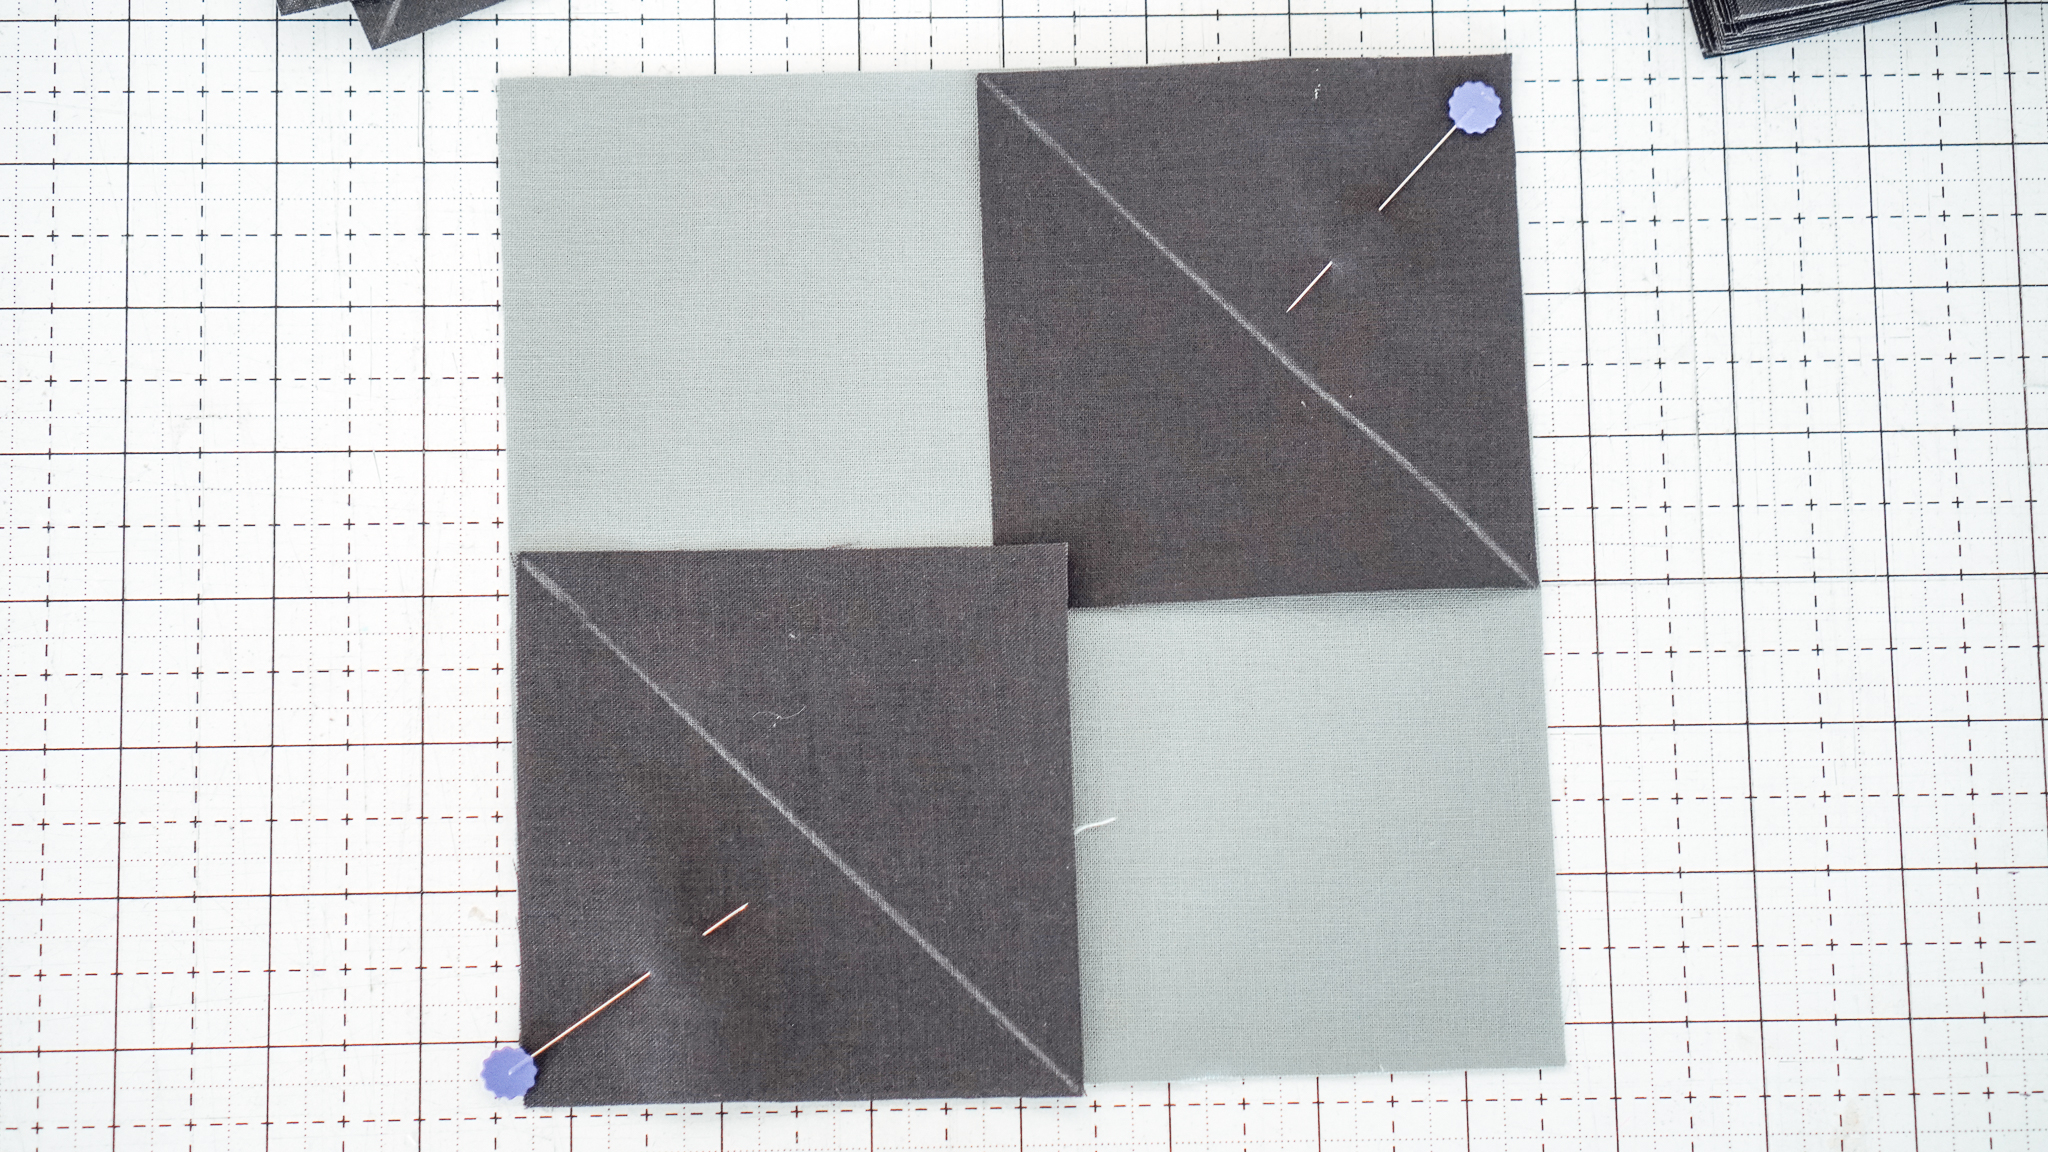
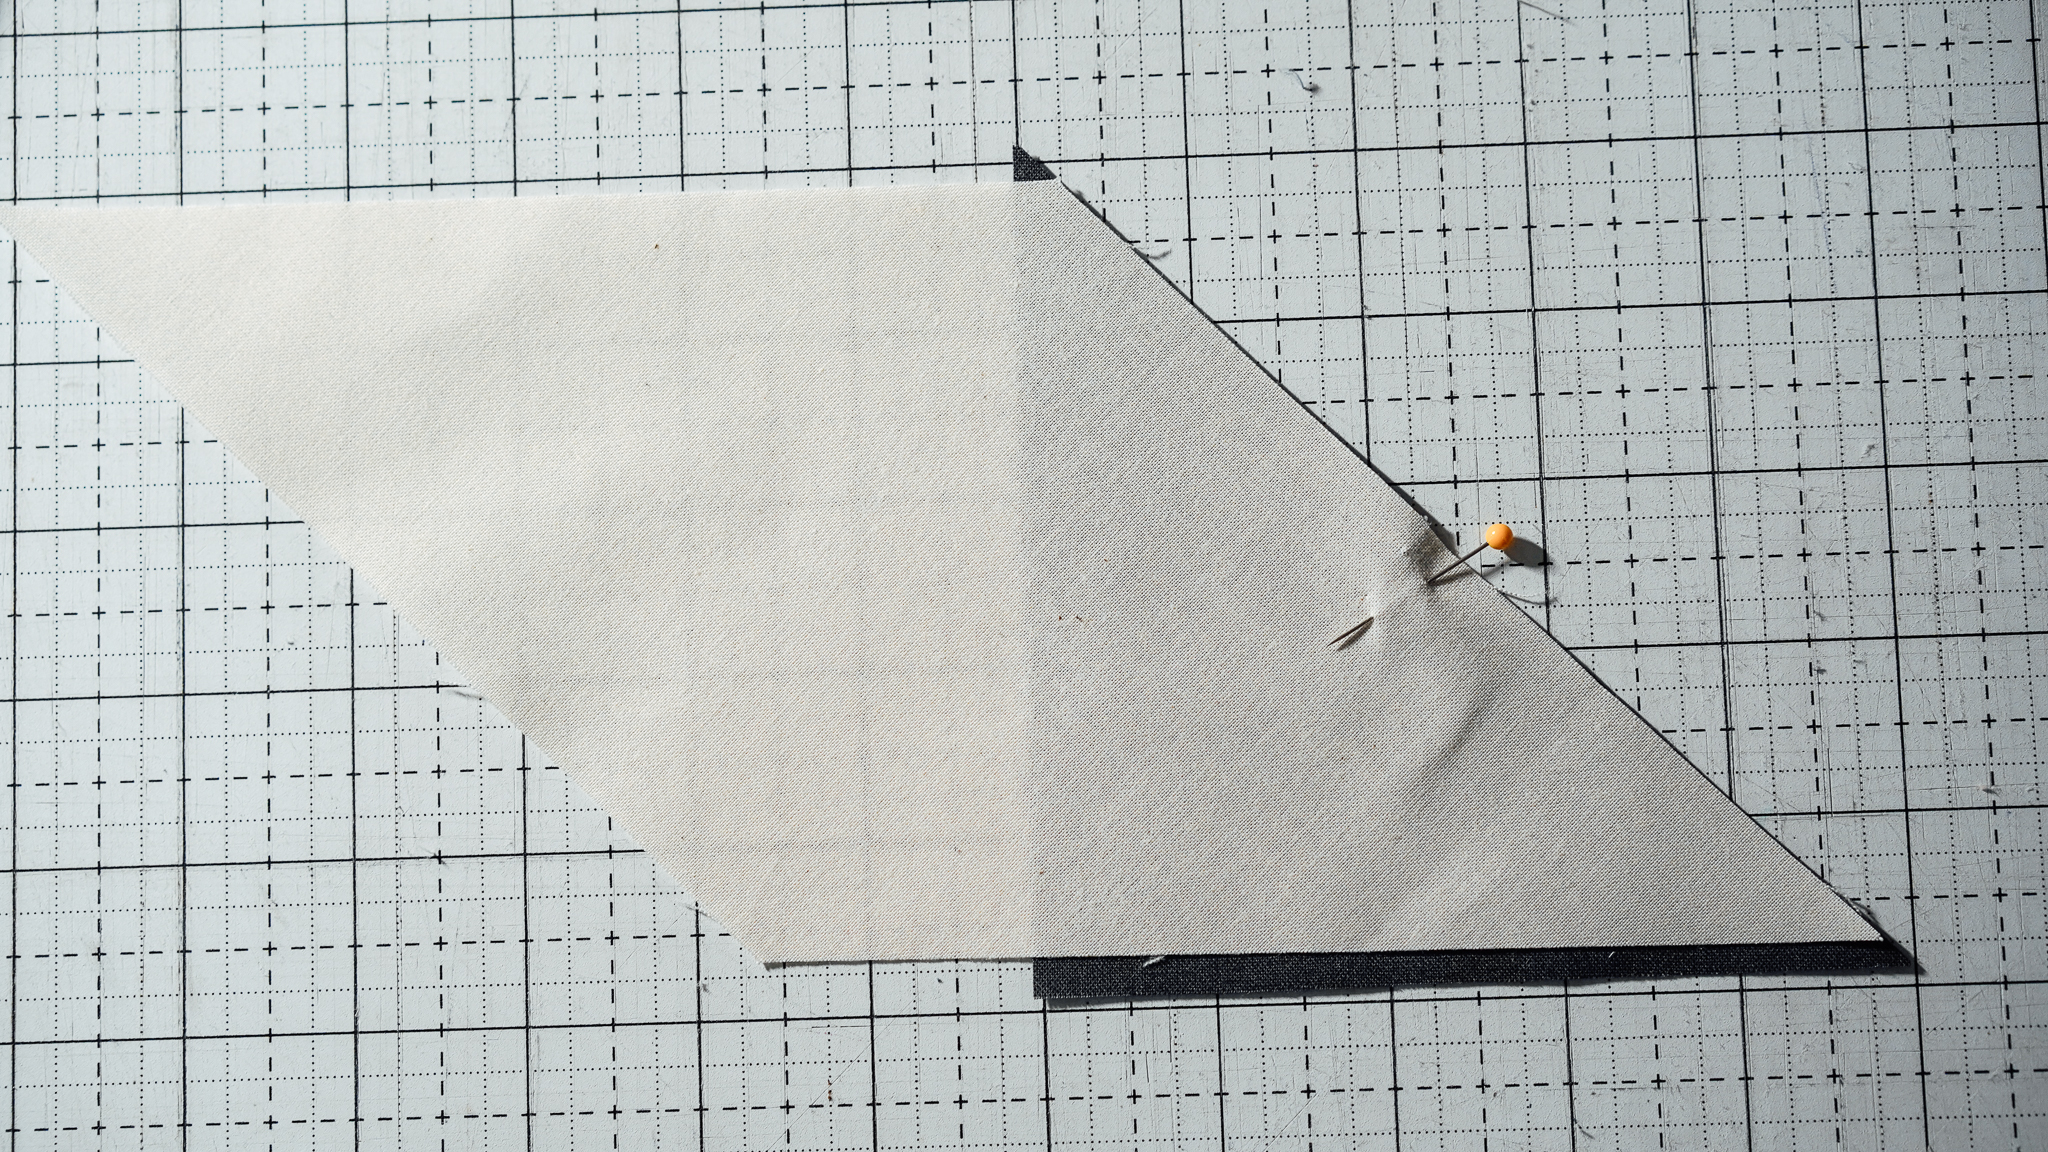
Mark a diagonal line corner to corner on the smaller square, pin and stitch just a hair on the outside of your marked line (this accounts for the seam allowance when it’s been flipped).
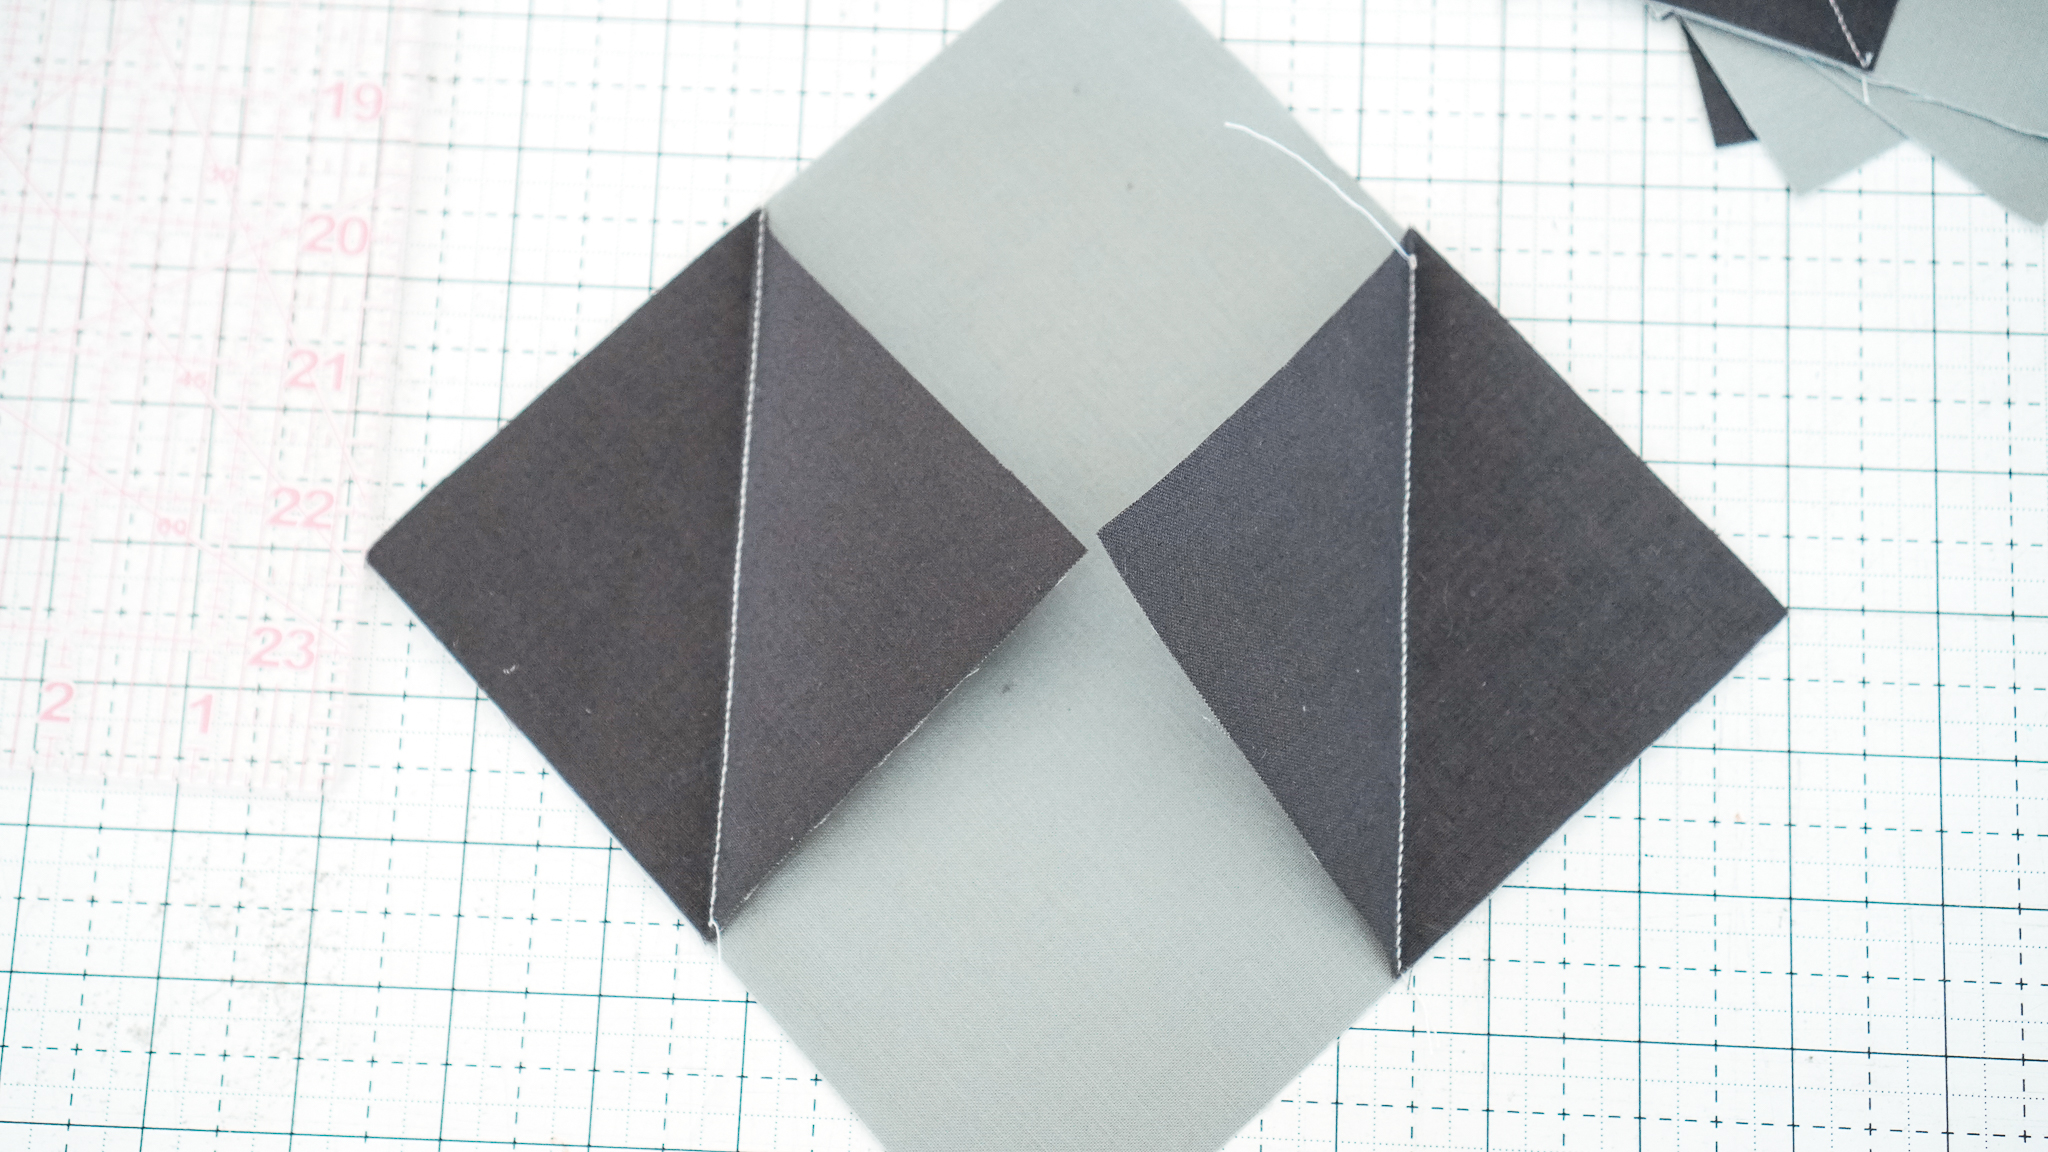
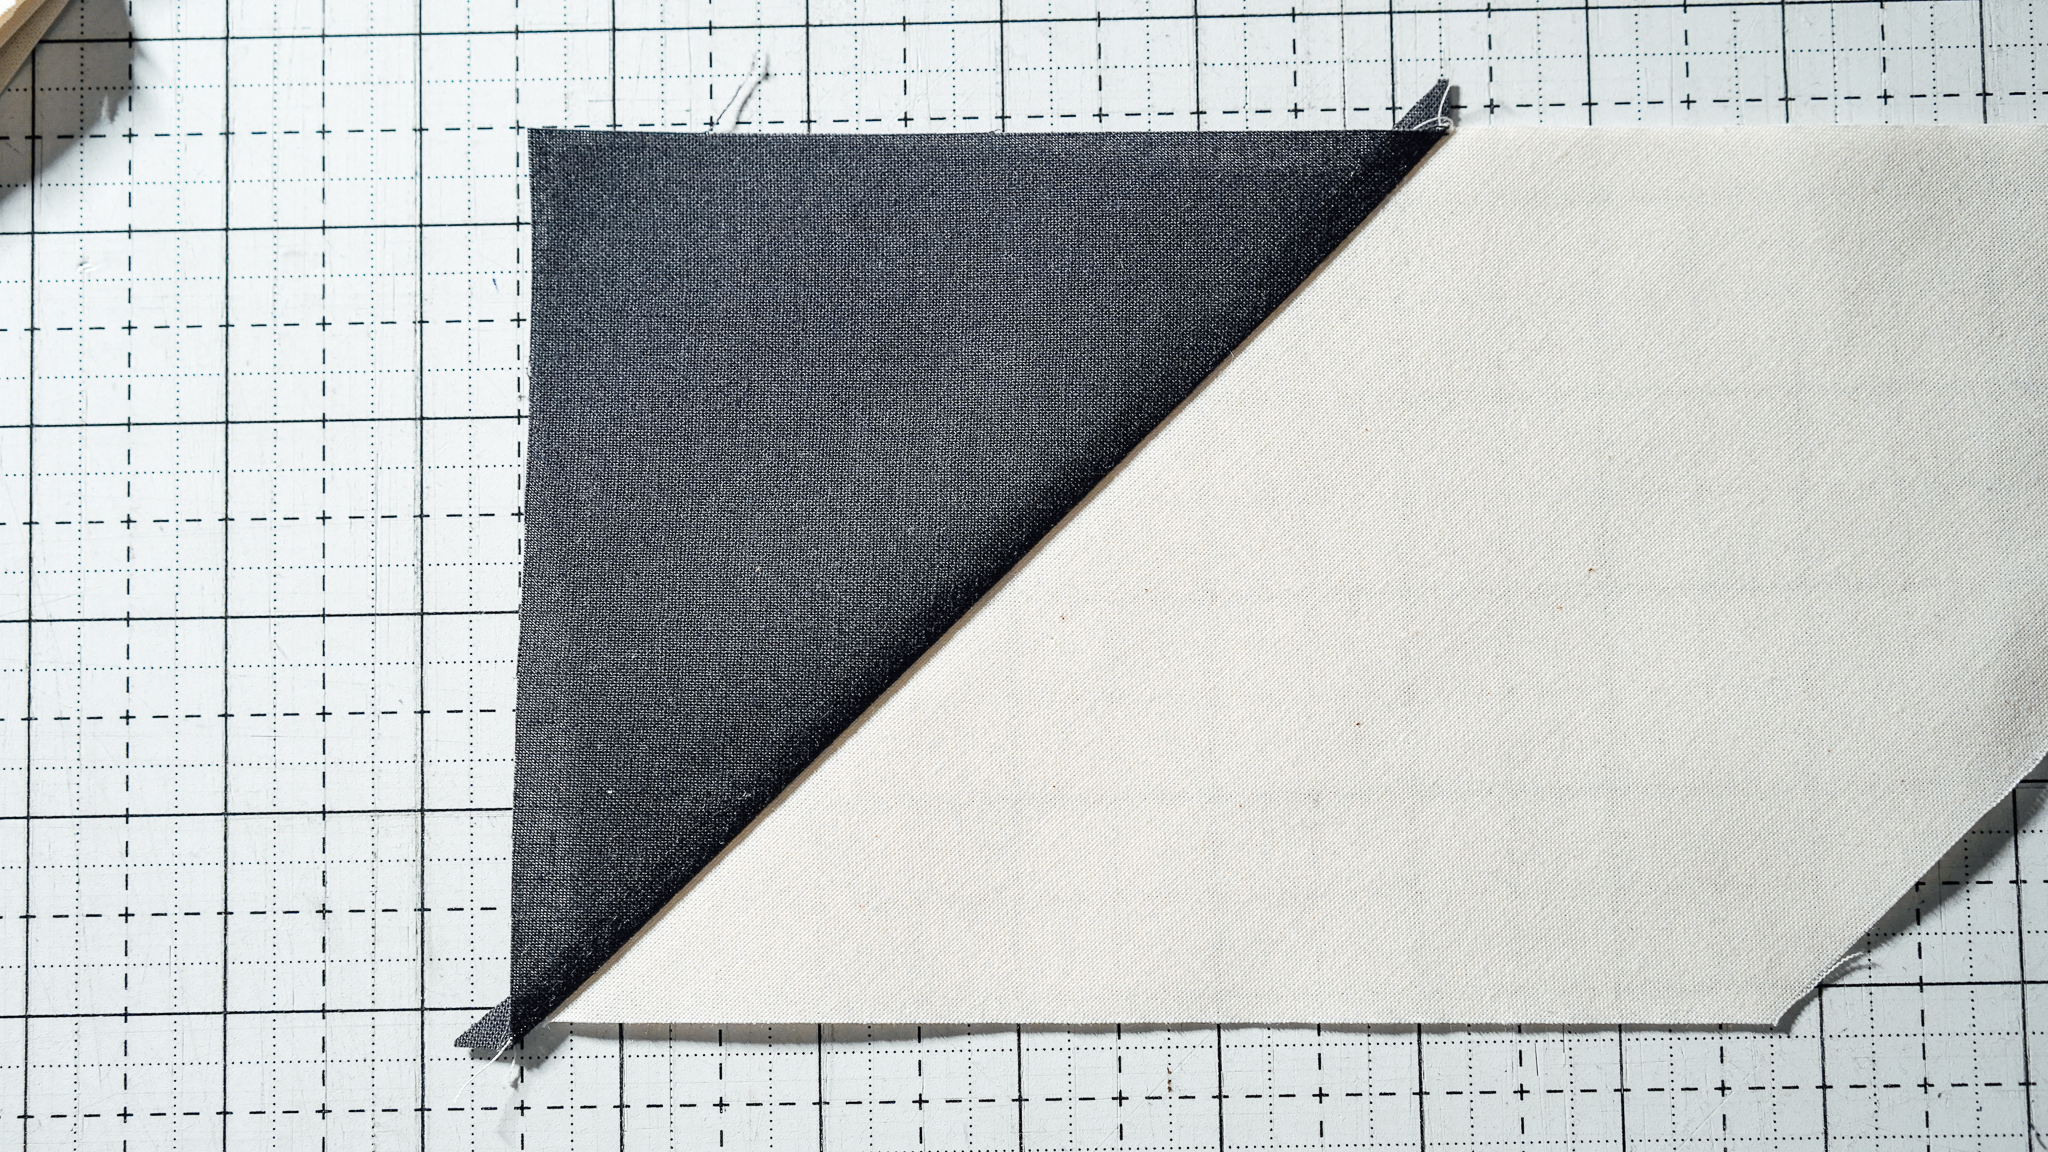
Iron flat first before flipping the triangle up, trim off the excess fabric and then iron the triangle up so that it fills out the top right and bottom left corners of the large square.
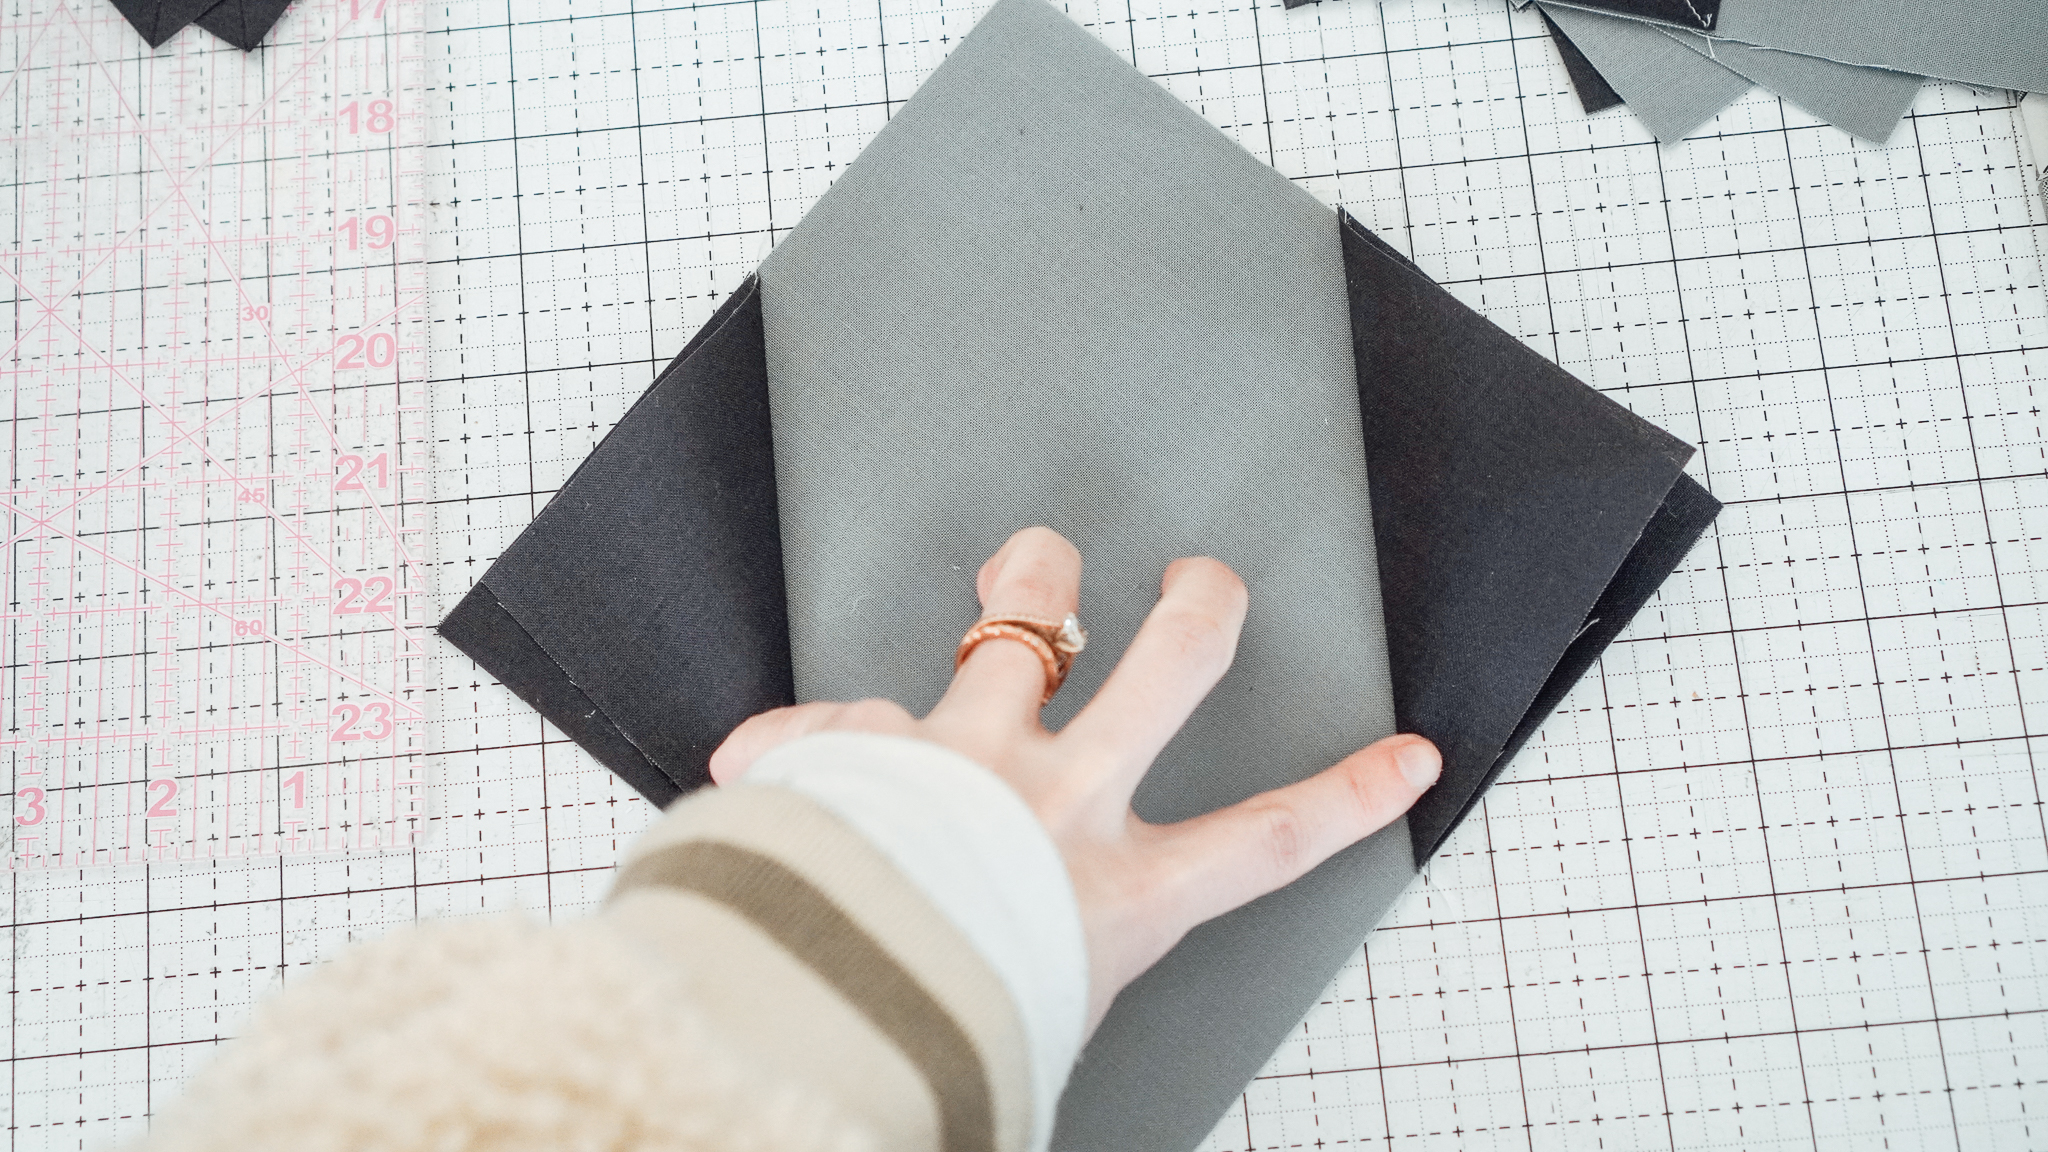
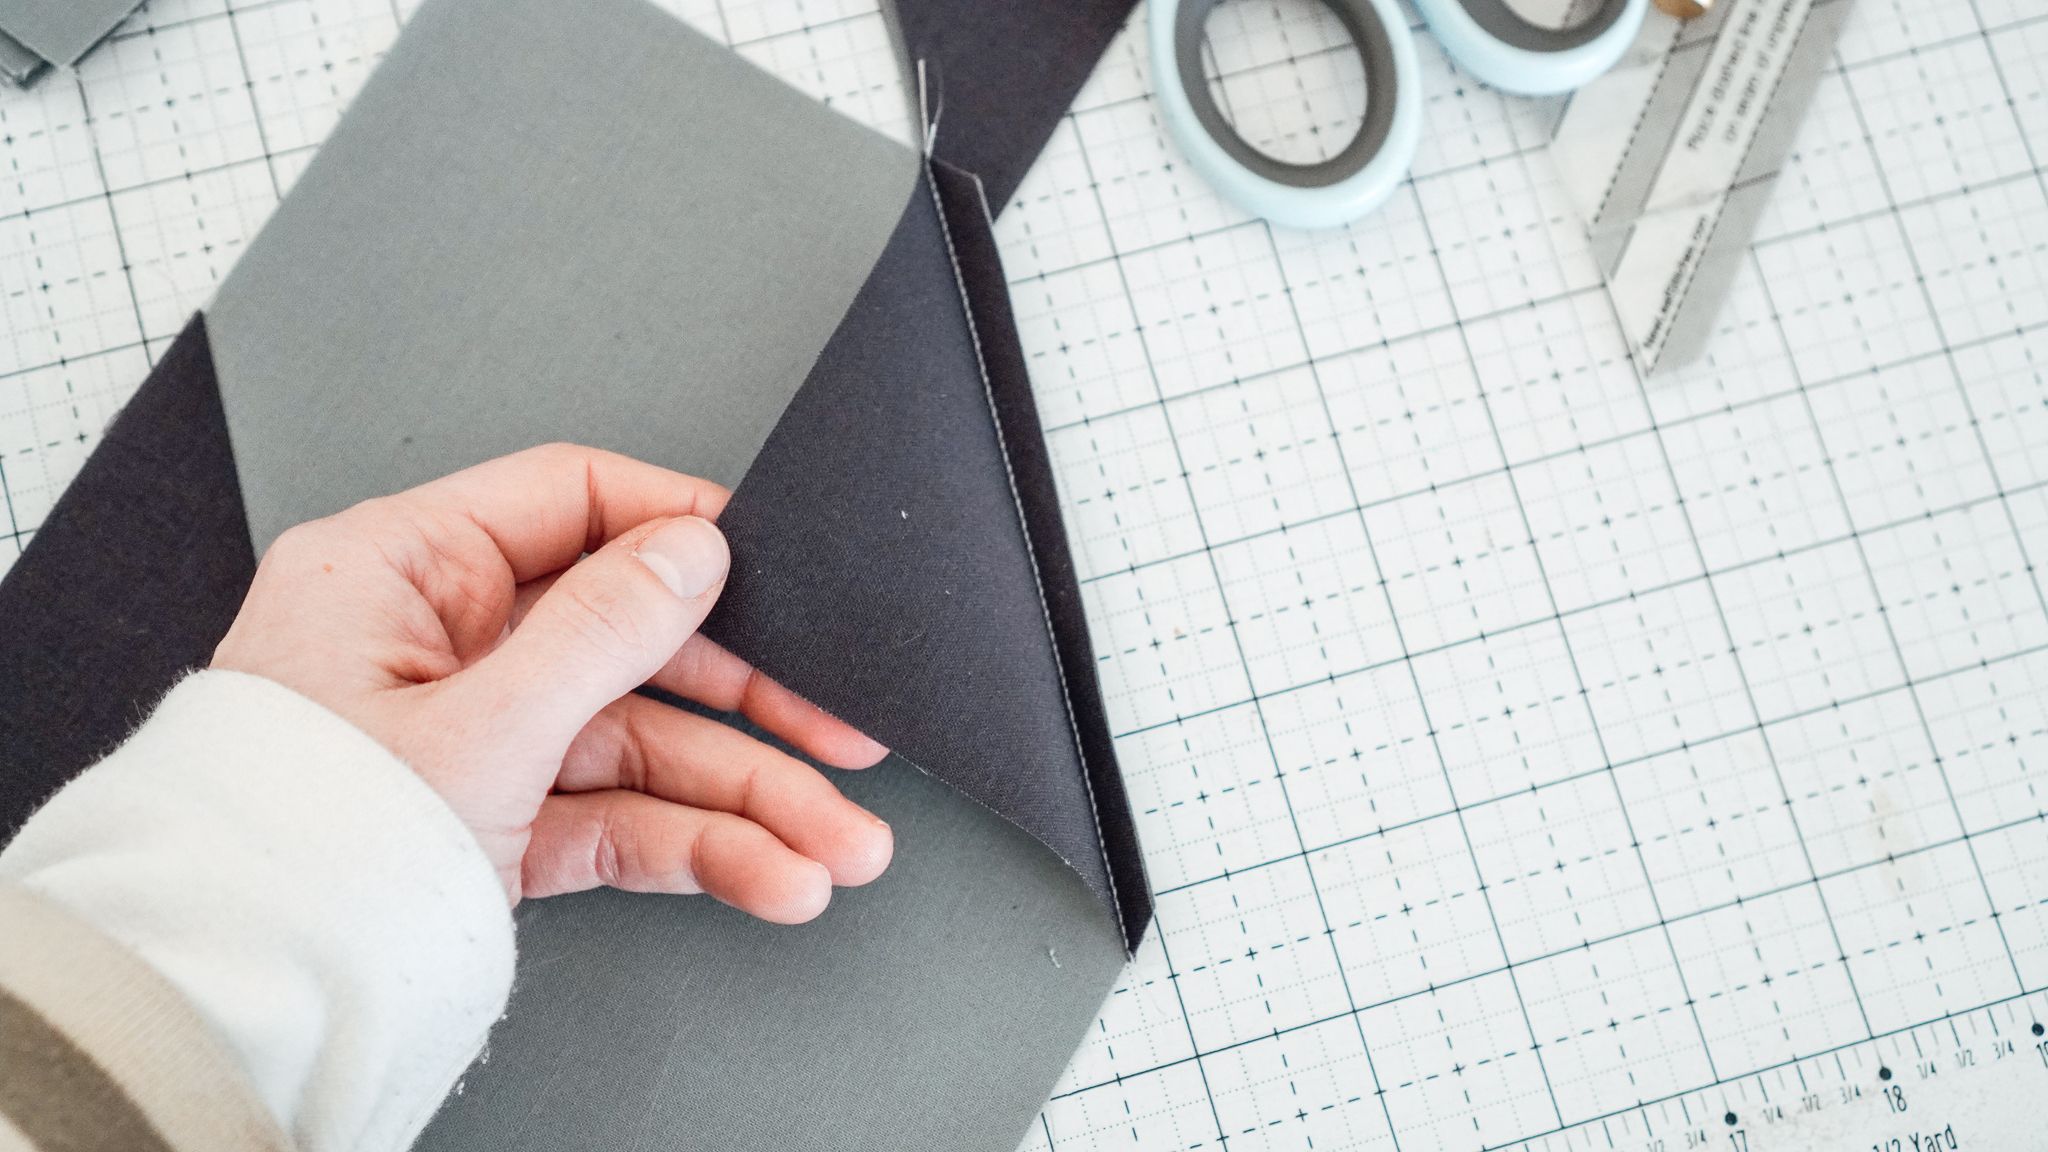
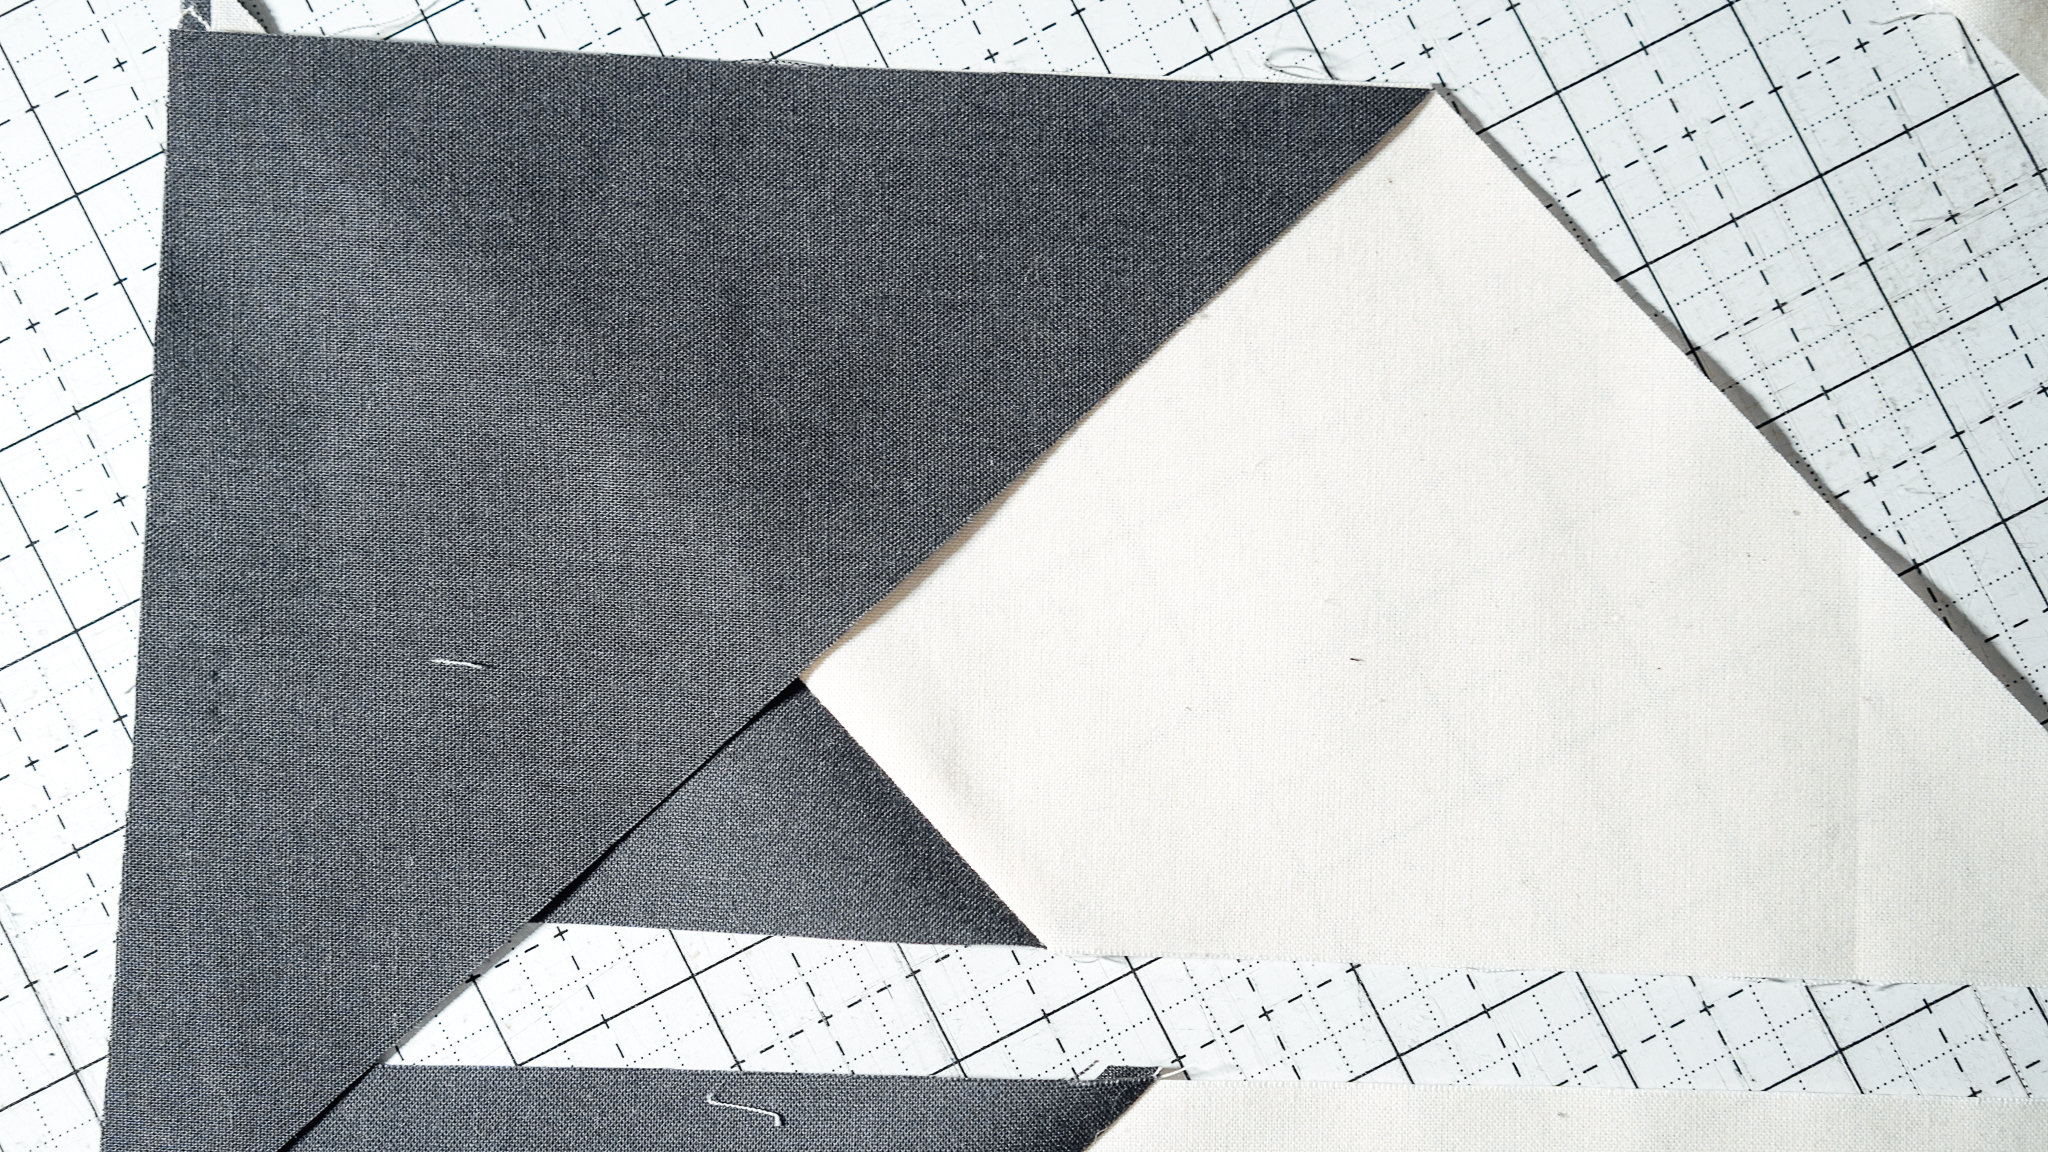
Repeat with the opposite corners, making sure to change the direction of the drawn line/sewing line to make a “diamond”.


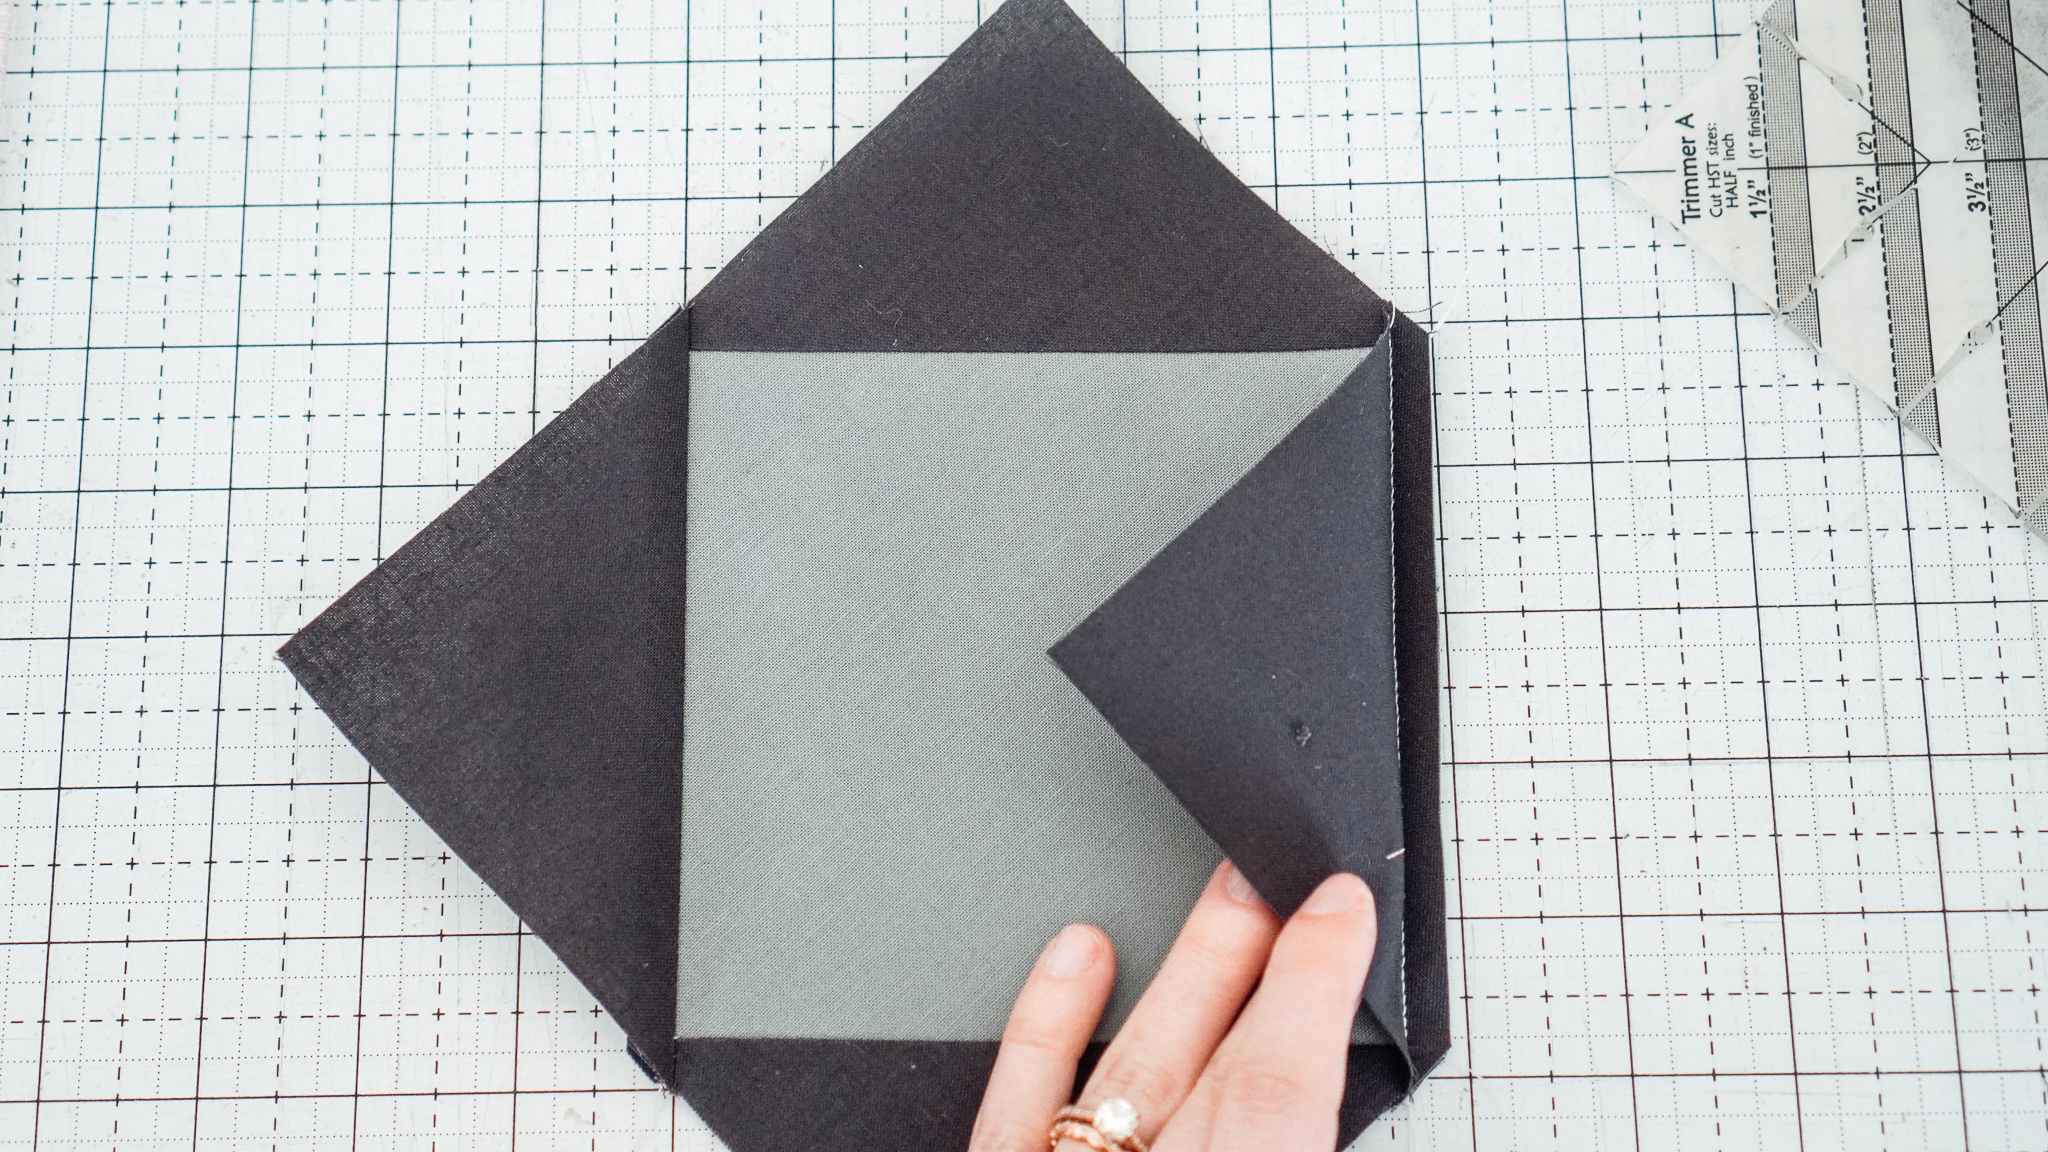
Repeat 7 more times to create 8 Diamond in Square blocks. They should measure 7” x 7”.
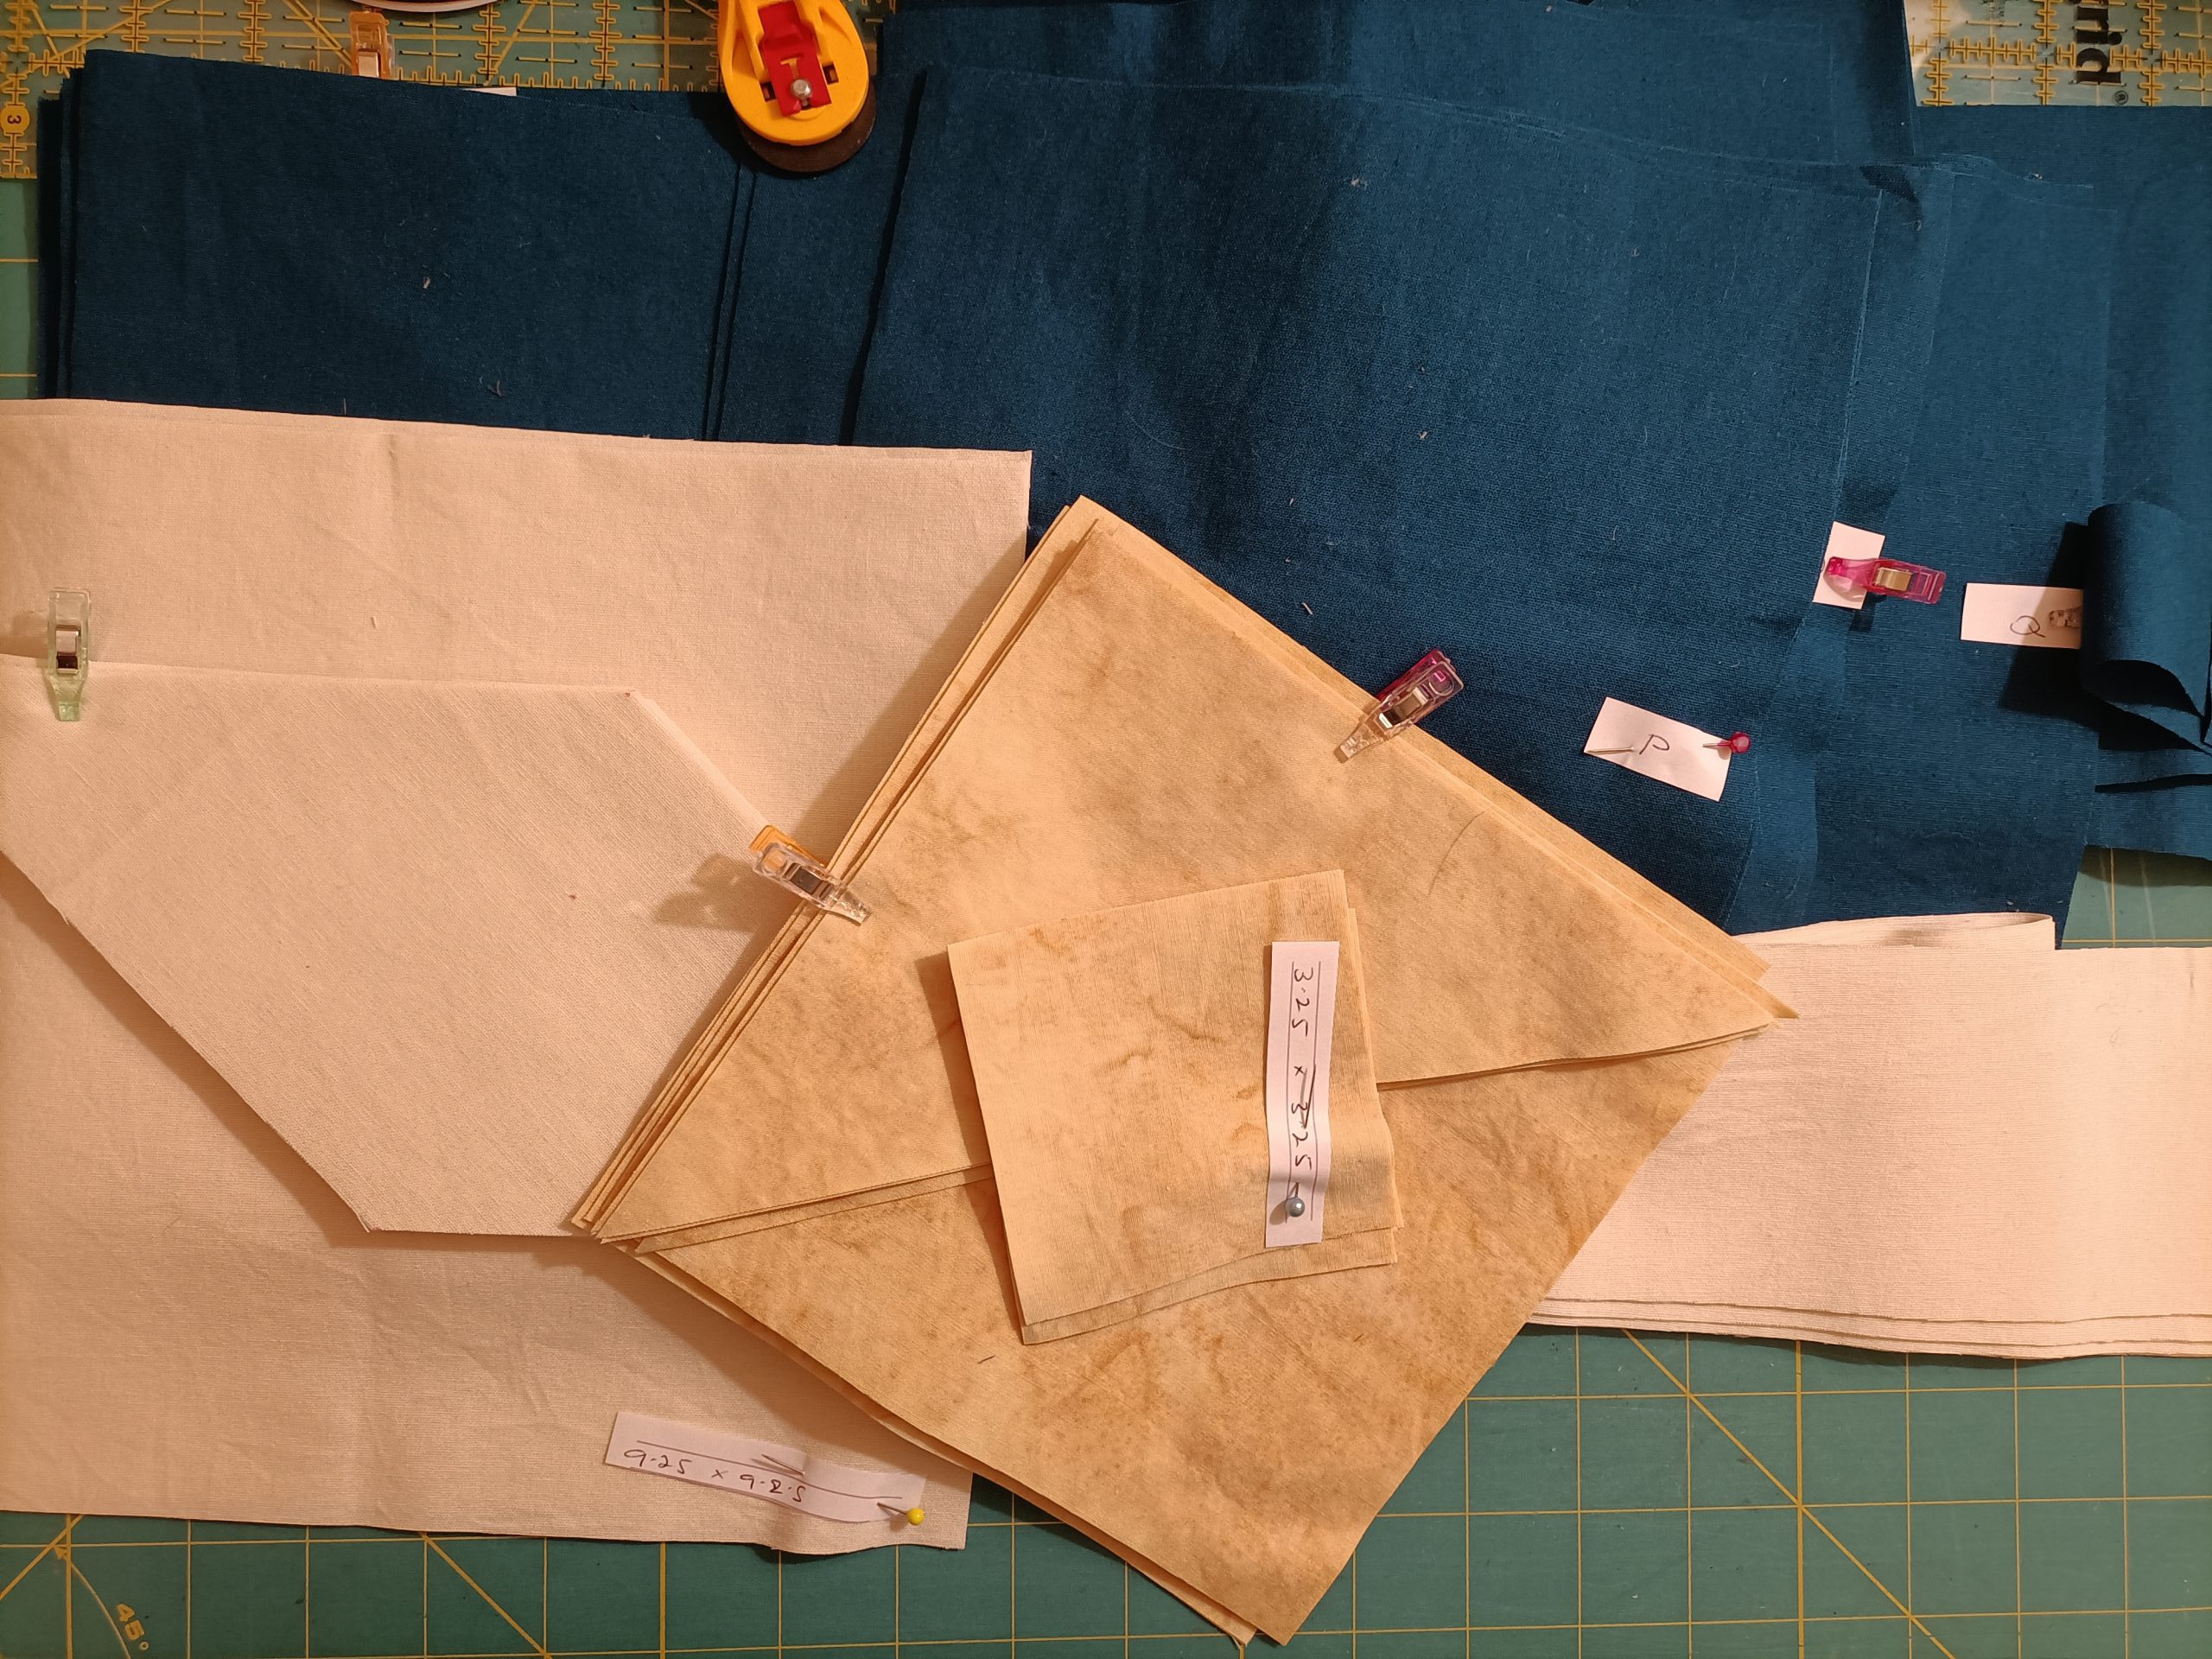
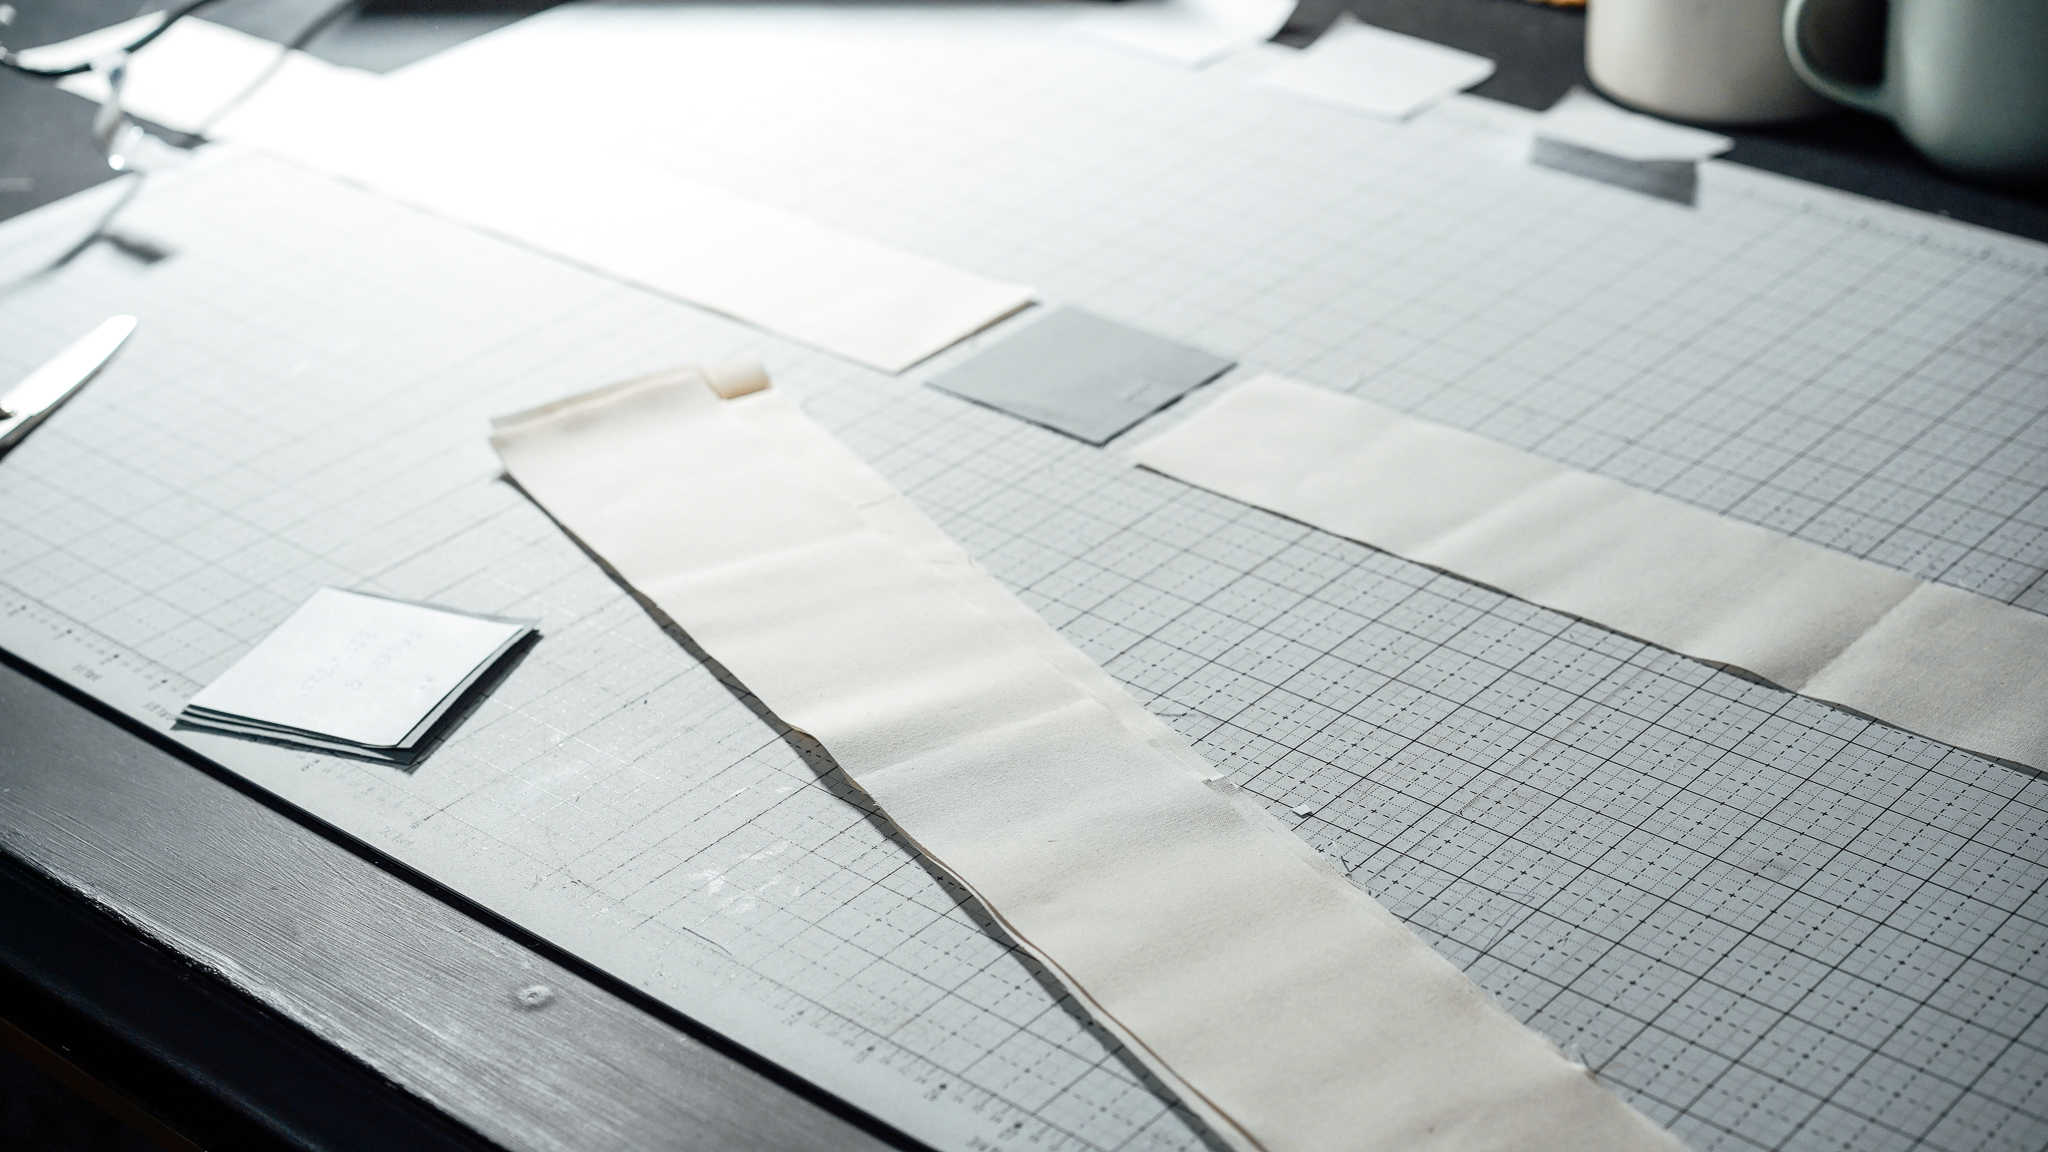
Making the Long Strip Units
The Swiss Star Pattern comes together in phases, I love making all of the necessary units before beginning the actual quilt, that way I have everything ready to go before we sit down to piece the quilt top.
Theses are the last units before we get started on the center star!
To create the long strip units, sew (2) 3.25” x 21.5” Fabric A rectangles (B) to opposite sides of (1) 3.25” Fabric B square (C).
Iron seams flat, repeat 3 more times to create 4 in total.
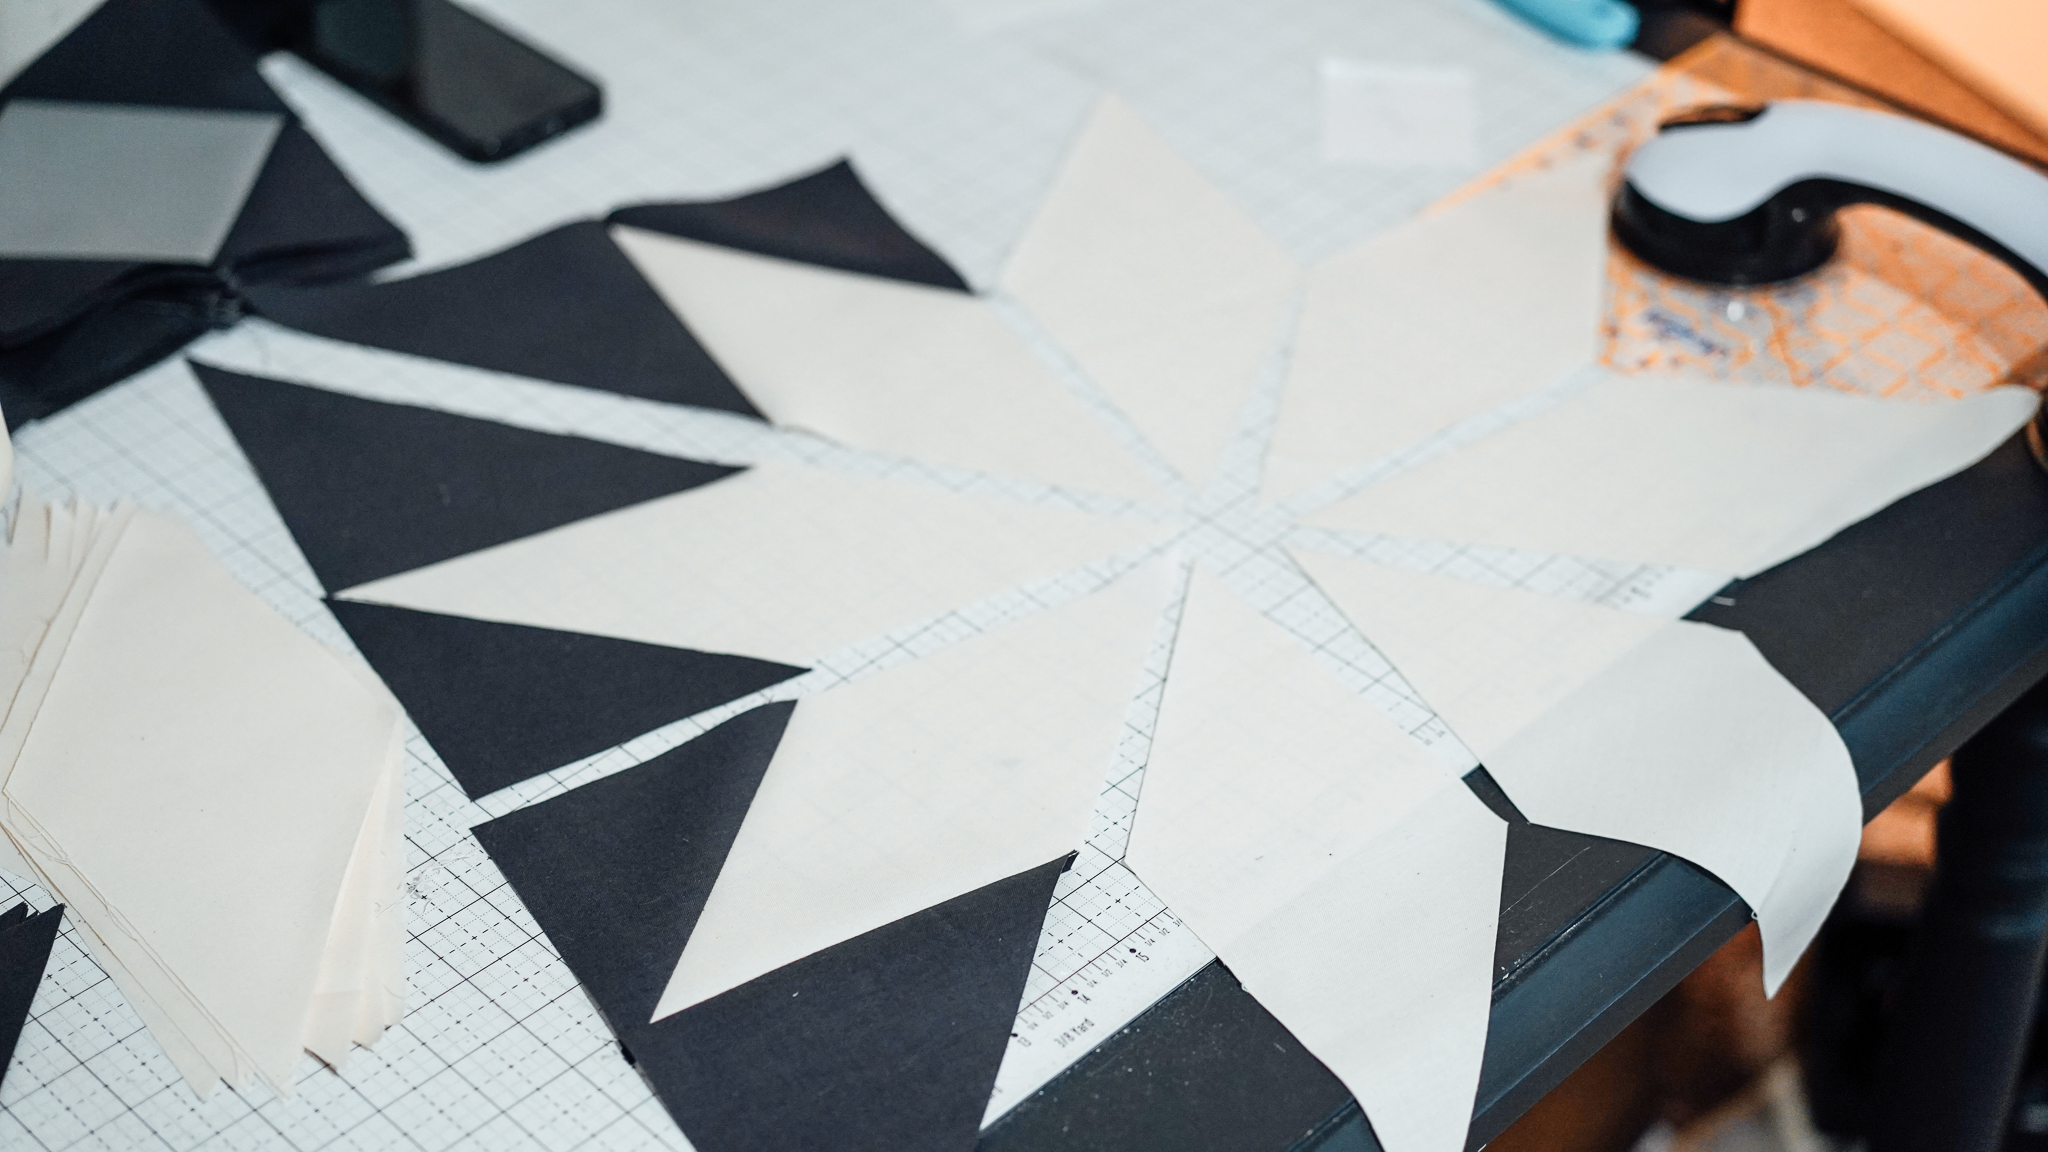
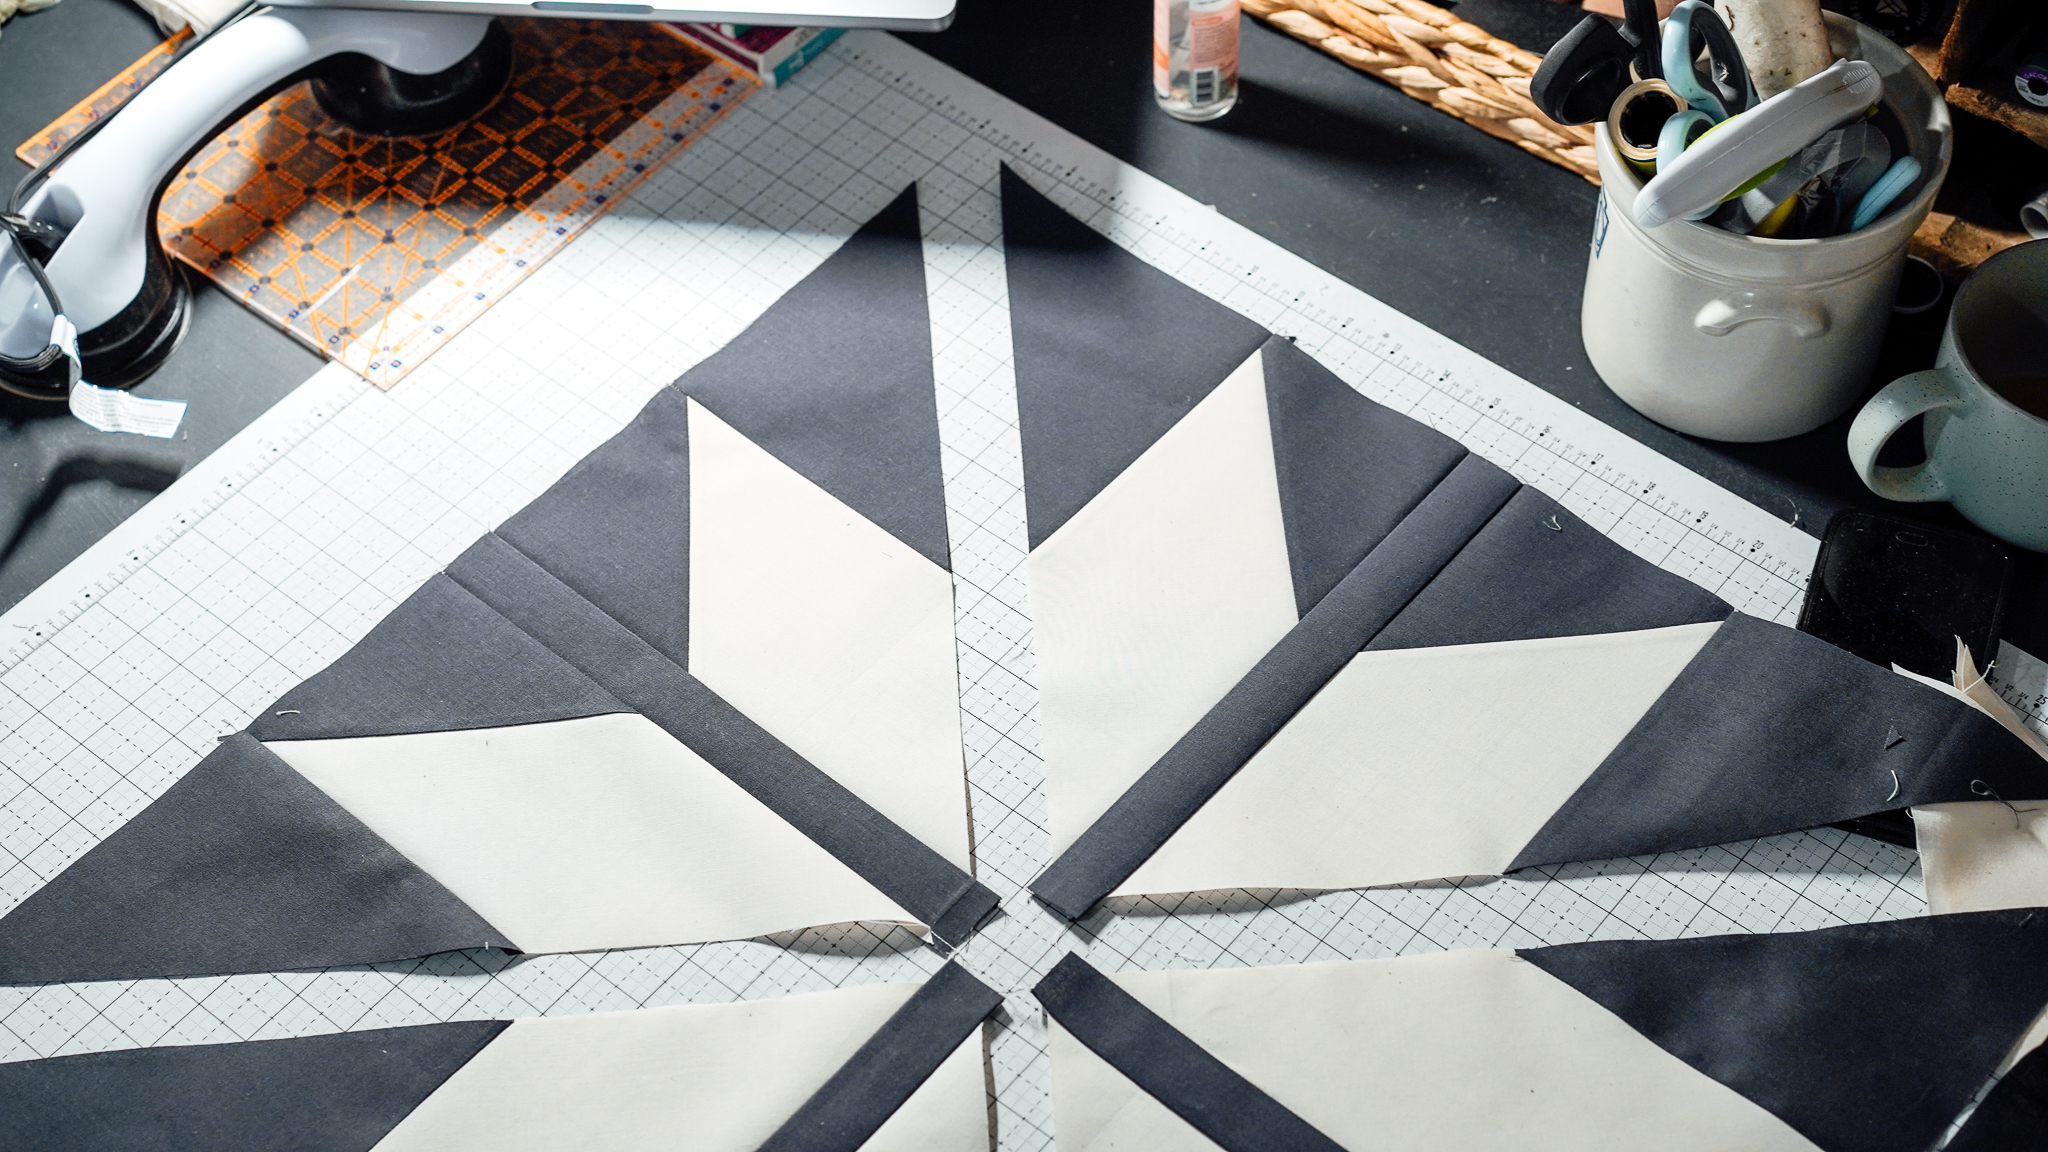
Assembling the Center Star
The center star is the most dramatic design element of the Swiss Star quilt, and comes together in a very straightforward way.
Pin and sew RST the long edge of (1) 5” BG half square (K) to the top left edge of a Fabric A diamond. There will be about .25” overhang on the corners of the half square.
 Pin, sew, open, and iron seams flat. Repeat, making sure to flip 4 of the diamonds (sew to the top right edge). There will be 8 total, 2 sets of mirrored diamonds.
Pin and sew RST the short edge edge of (1) 6.5” BG half square (L) to the right side of a Fabric A diamond, making sure to align the tops.
Press seams flat. Repeat 3 times to make 4 total.
Pin and sew RST the short edge edge of (1) 6.5” BG square half square (L) to the left side of a Fabric A diamond, making sure to align the tops. Press seams flat. Repeat 3 times to make 4 total.
There should be 8 diamonds, 4 right and 4 left.

Pin and sew RST 1 left and 1 right diamond unit to both sides of (1) 1.5” x 11” BG rectangle (G). Make sure all flat edges are aligned before sewing. Repeat 3 more times to create 4 units total.
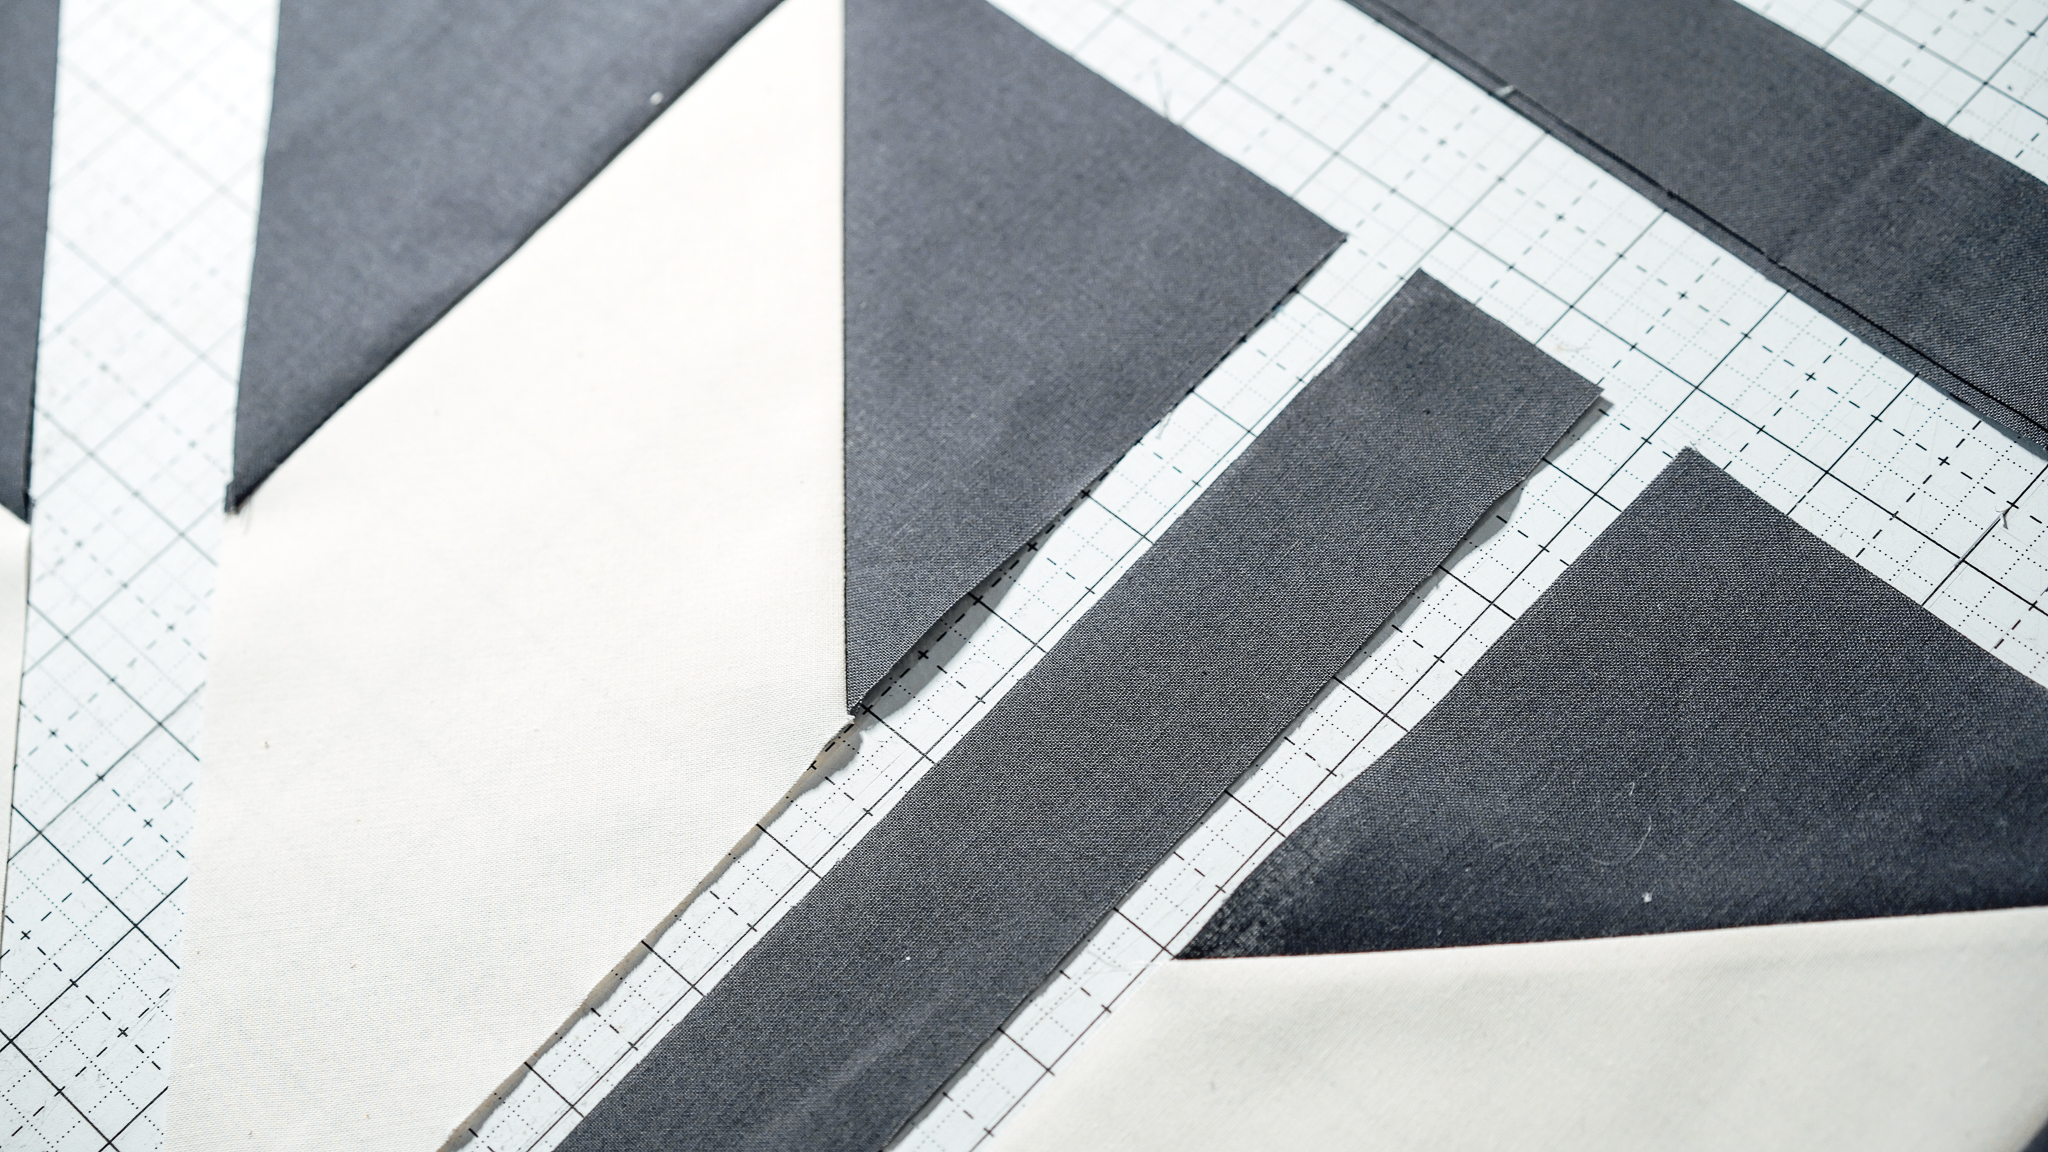
Before beginning, feel free to square off the G strip in the diamond unit. Then pin and sew RST 1 diamond unit to both sides of (1) 1.5” x 16” BG rectangle (F).
Make sure all top edges are aligned before sewing.
Repeat once, to create 2 side star units total. Before continuing, you can trim off any excess fabric to make the next steps easier.
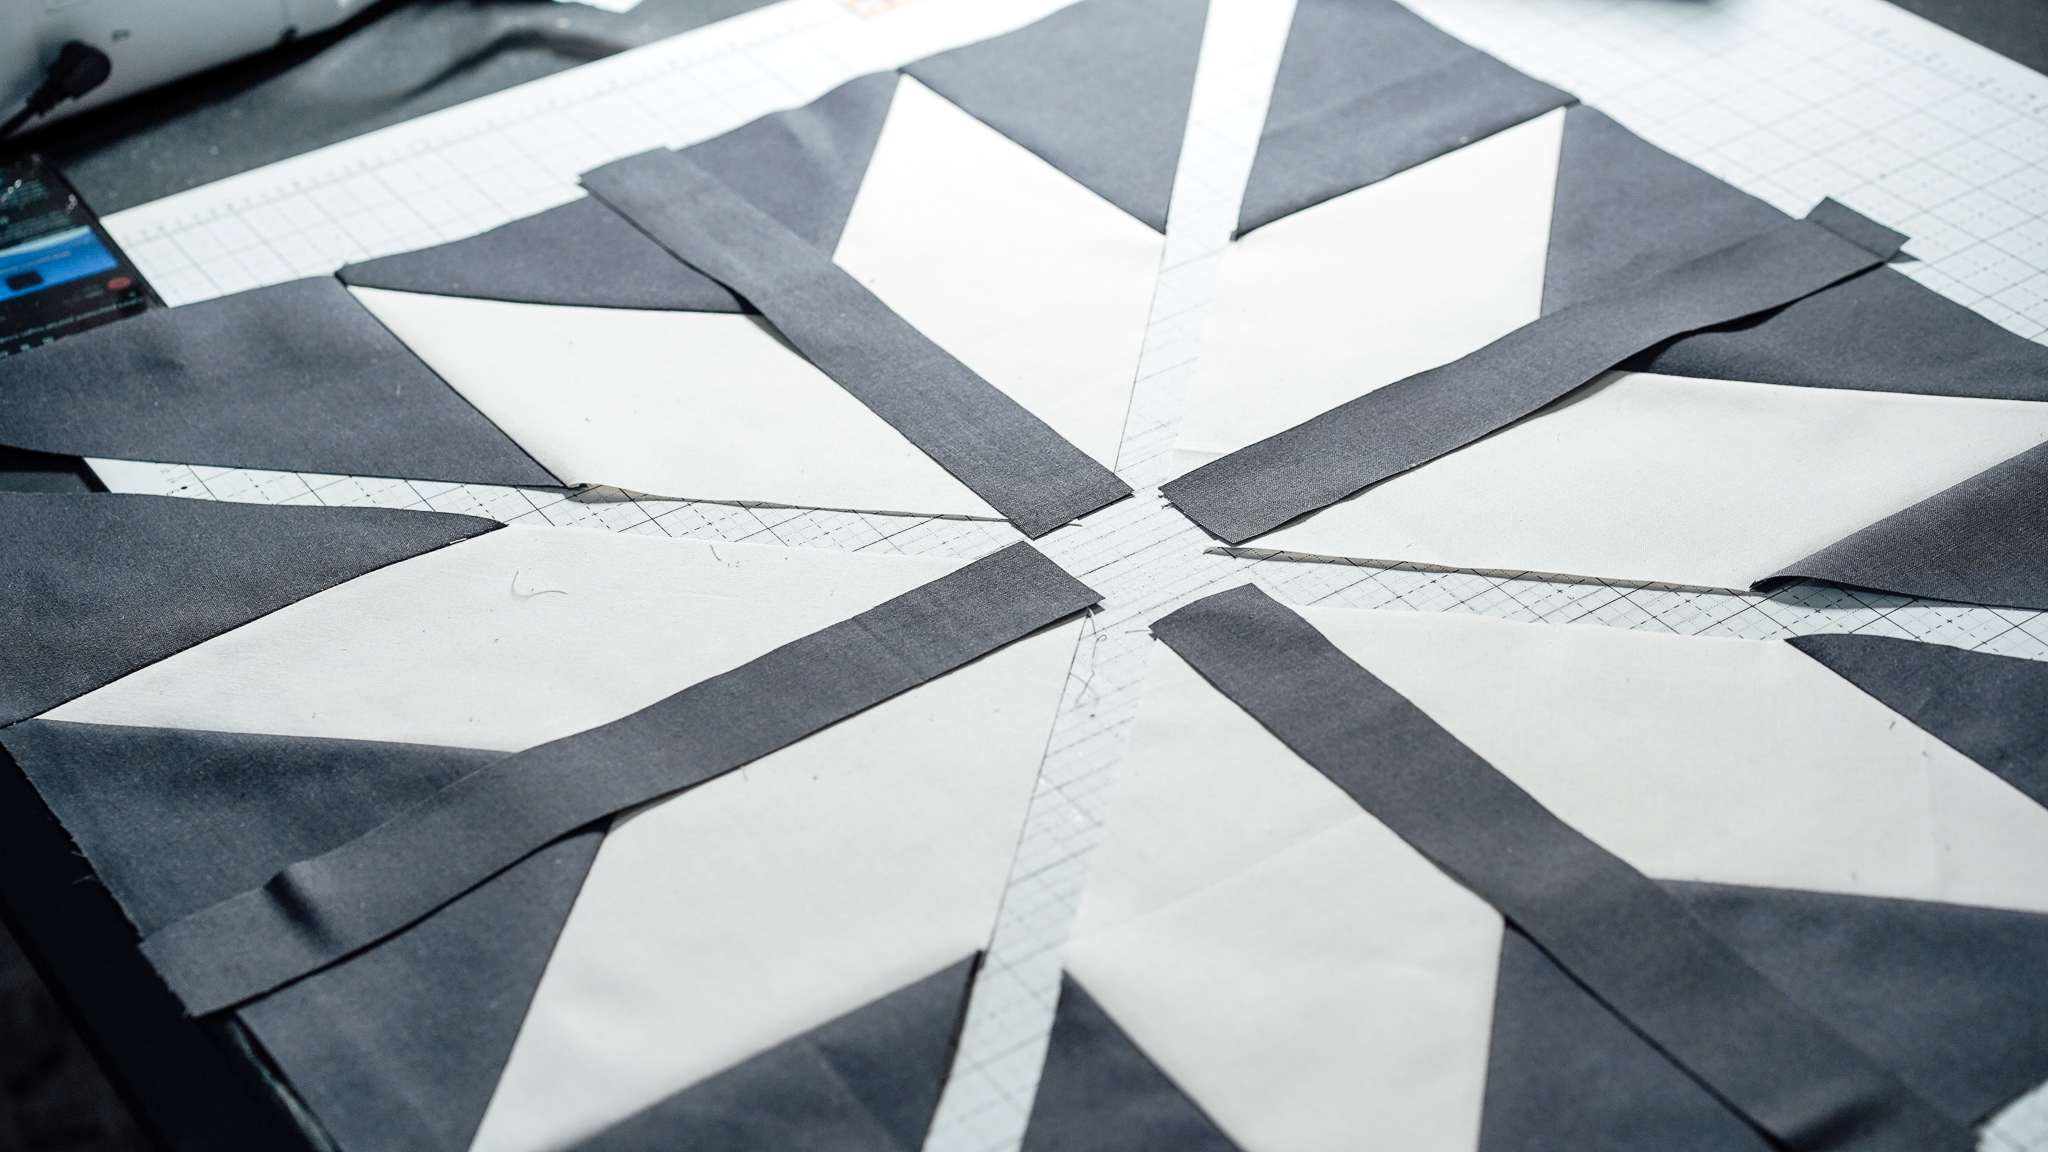
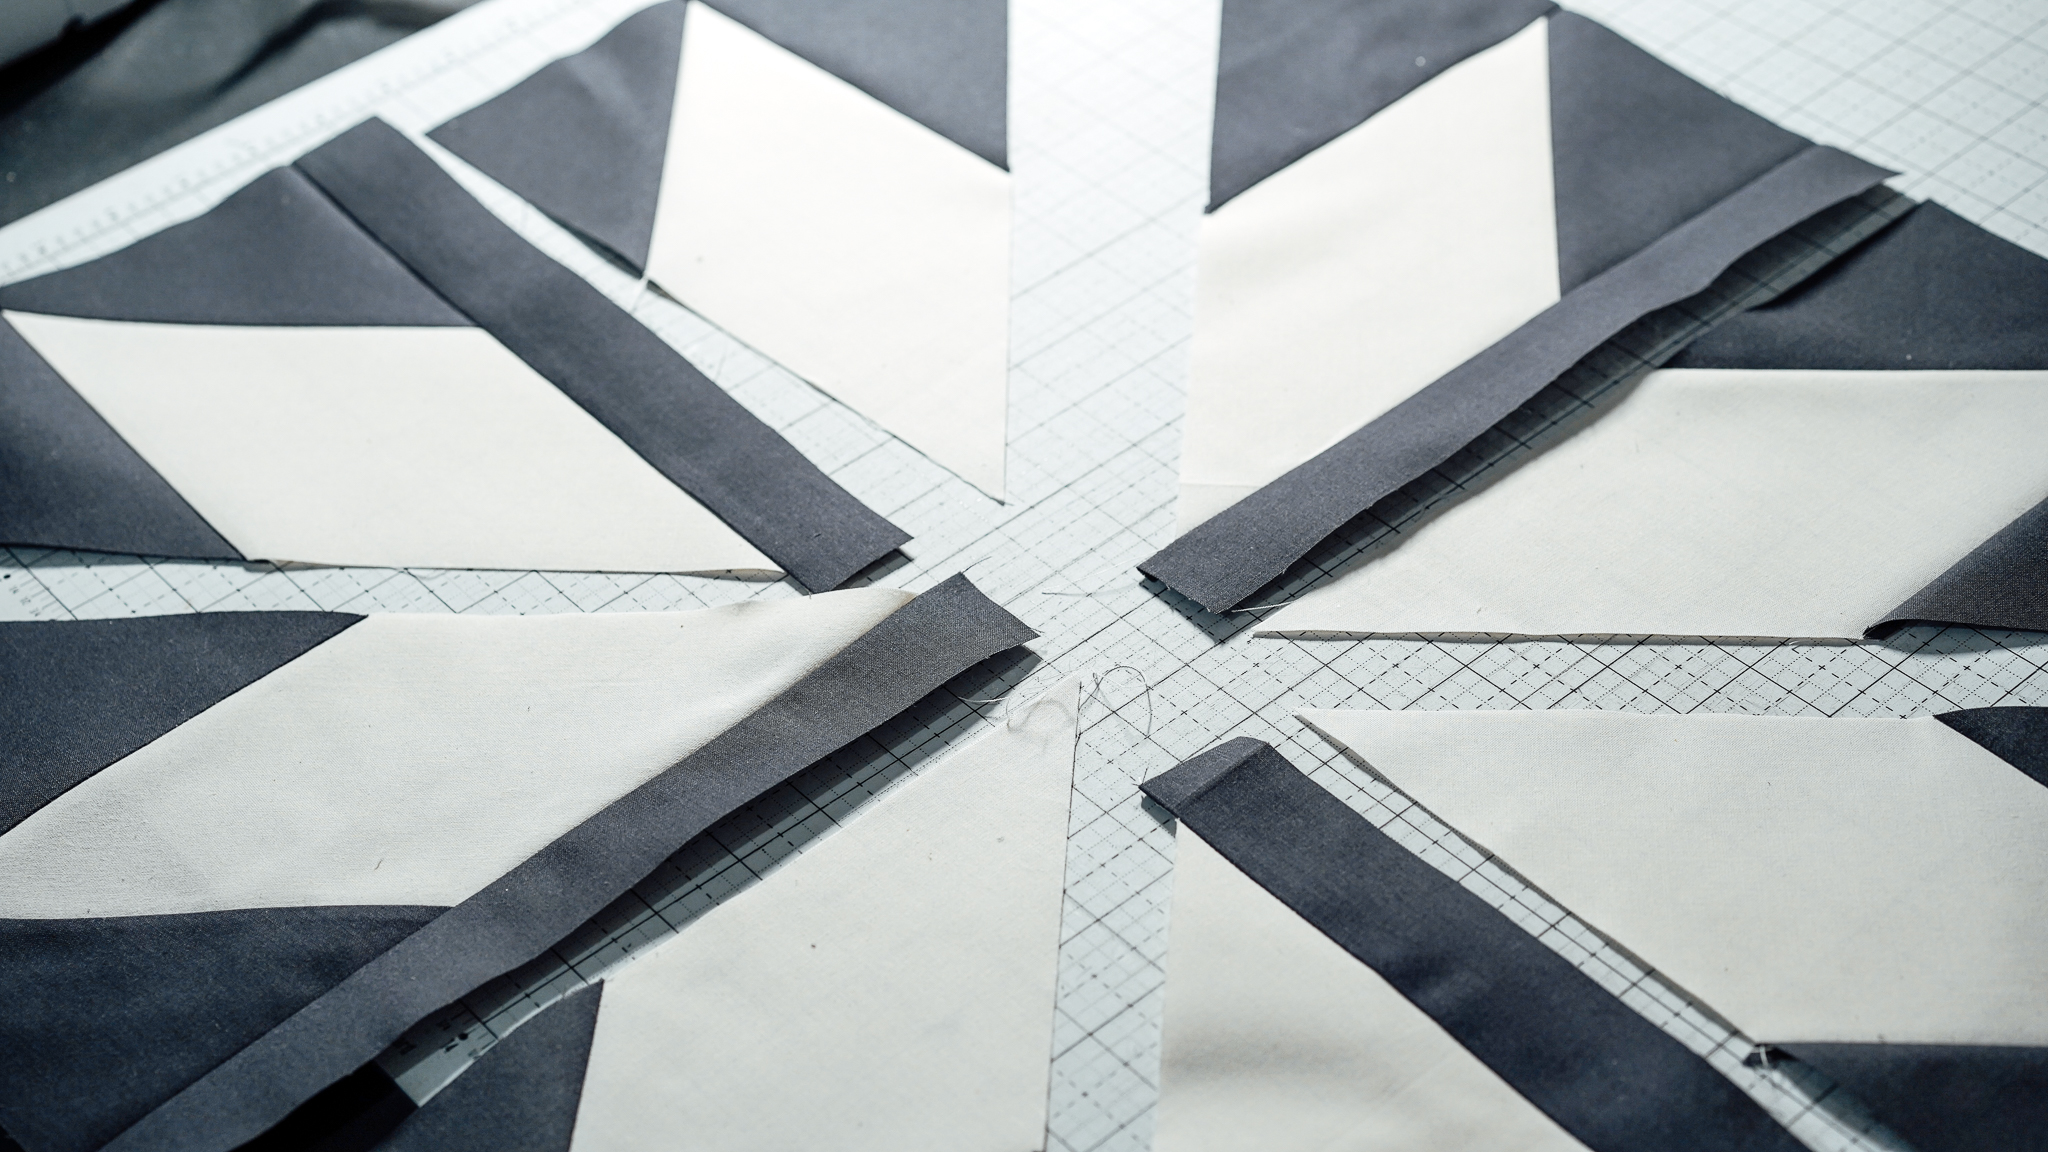
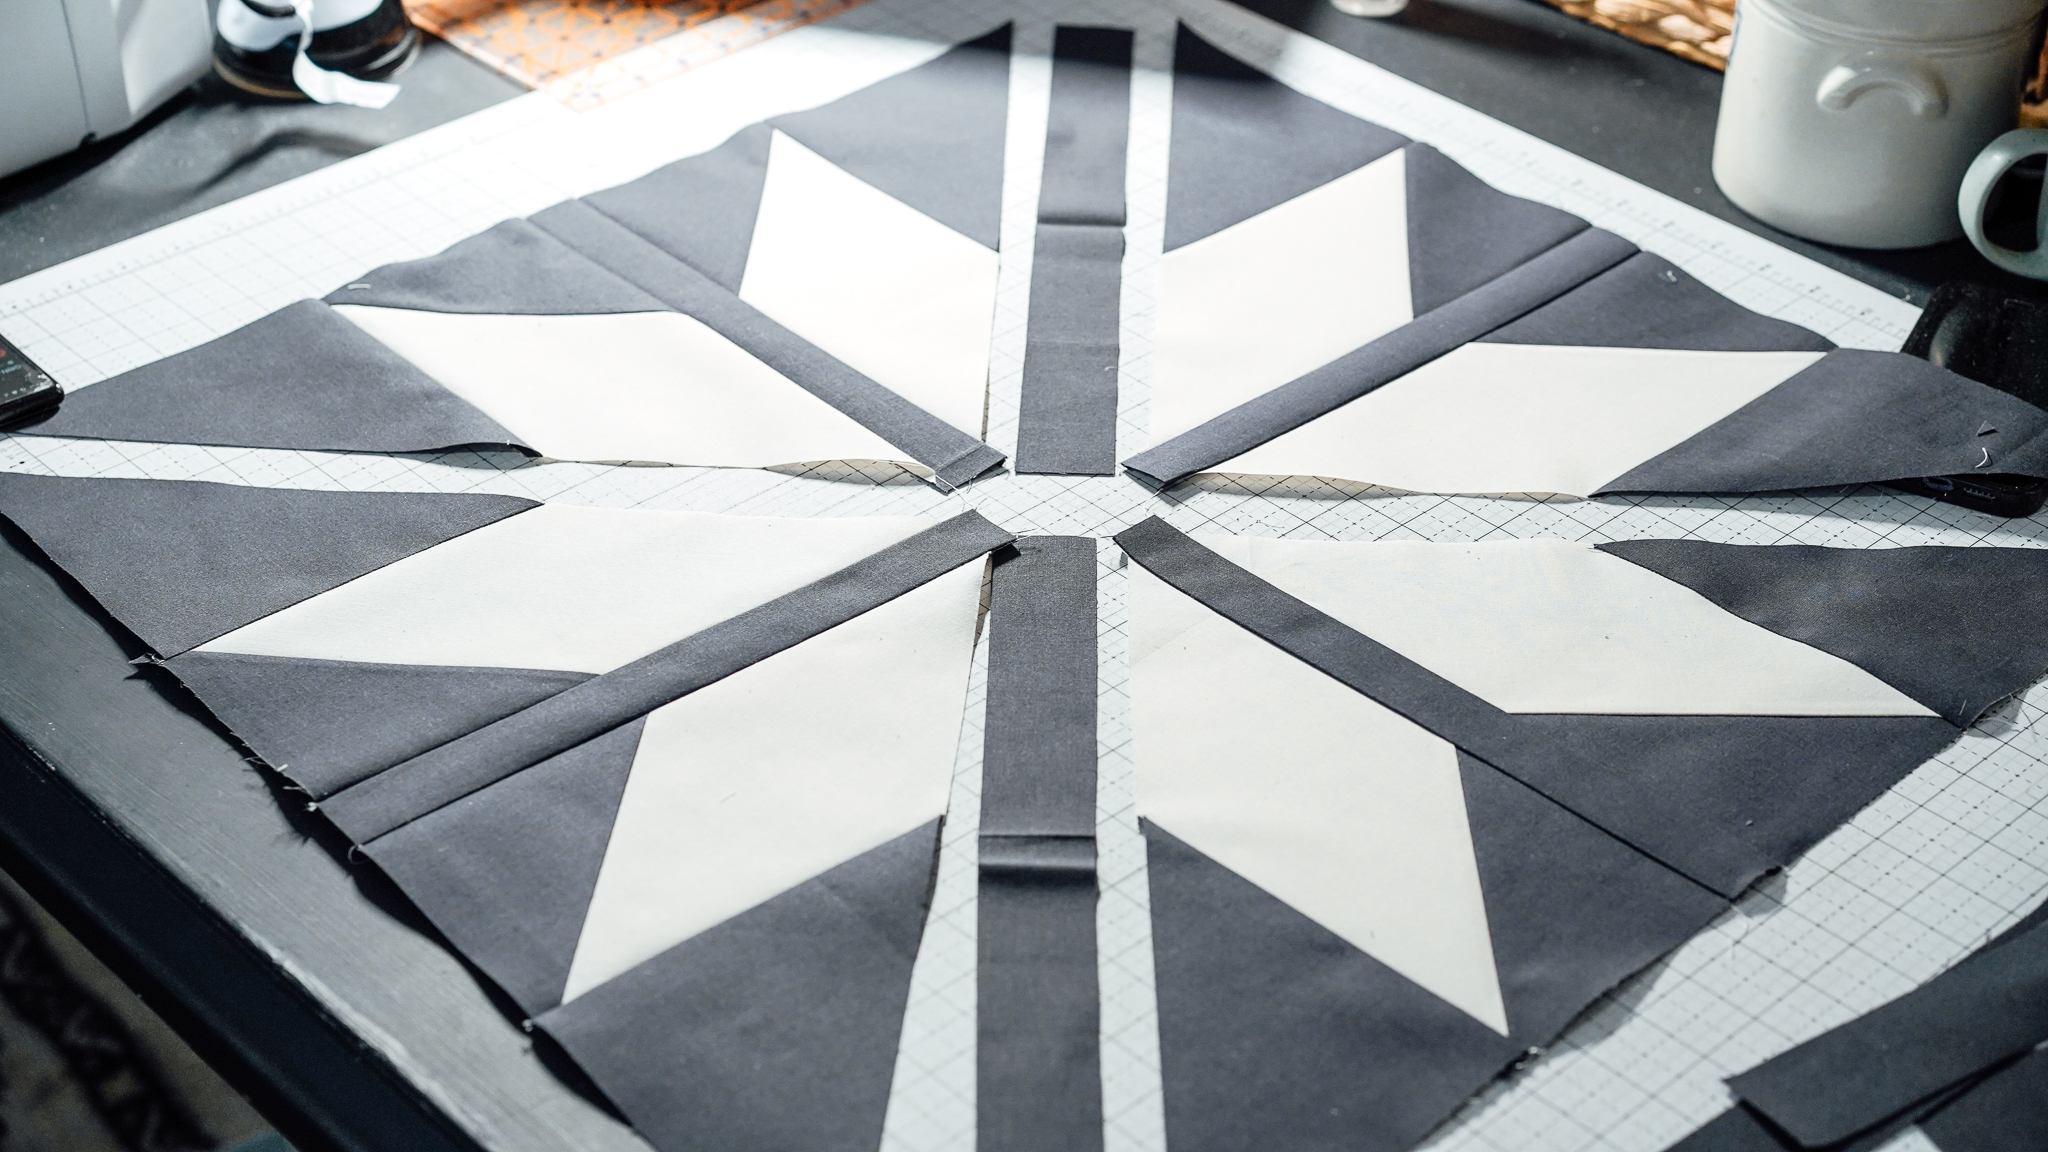
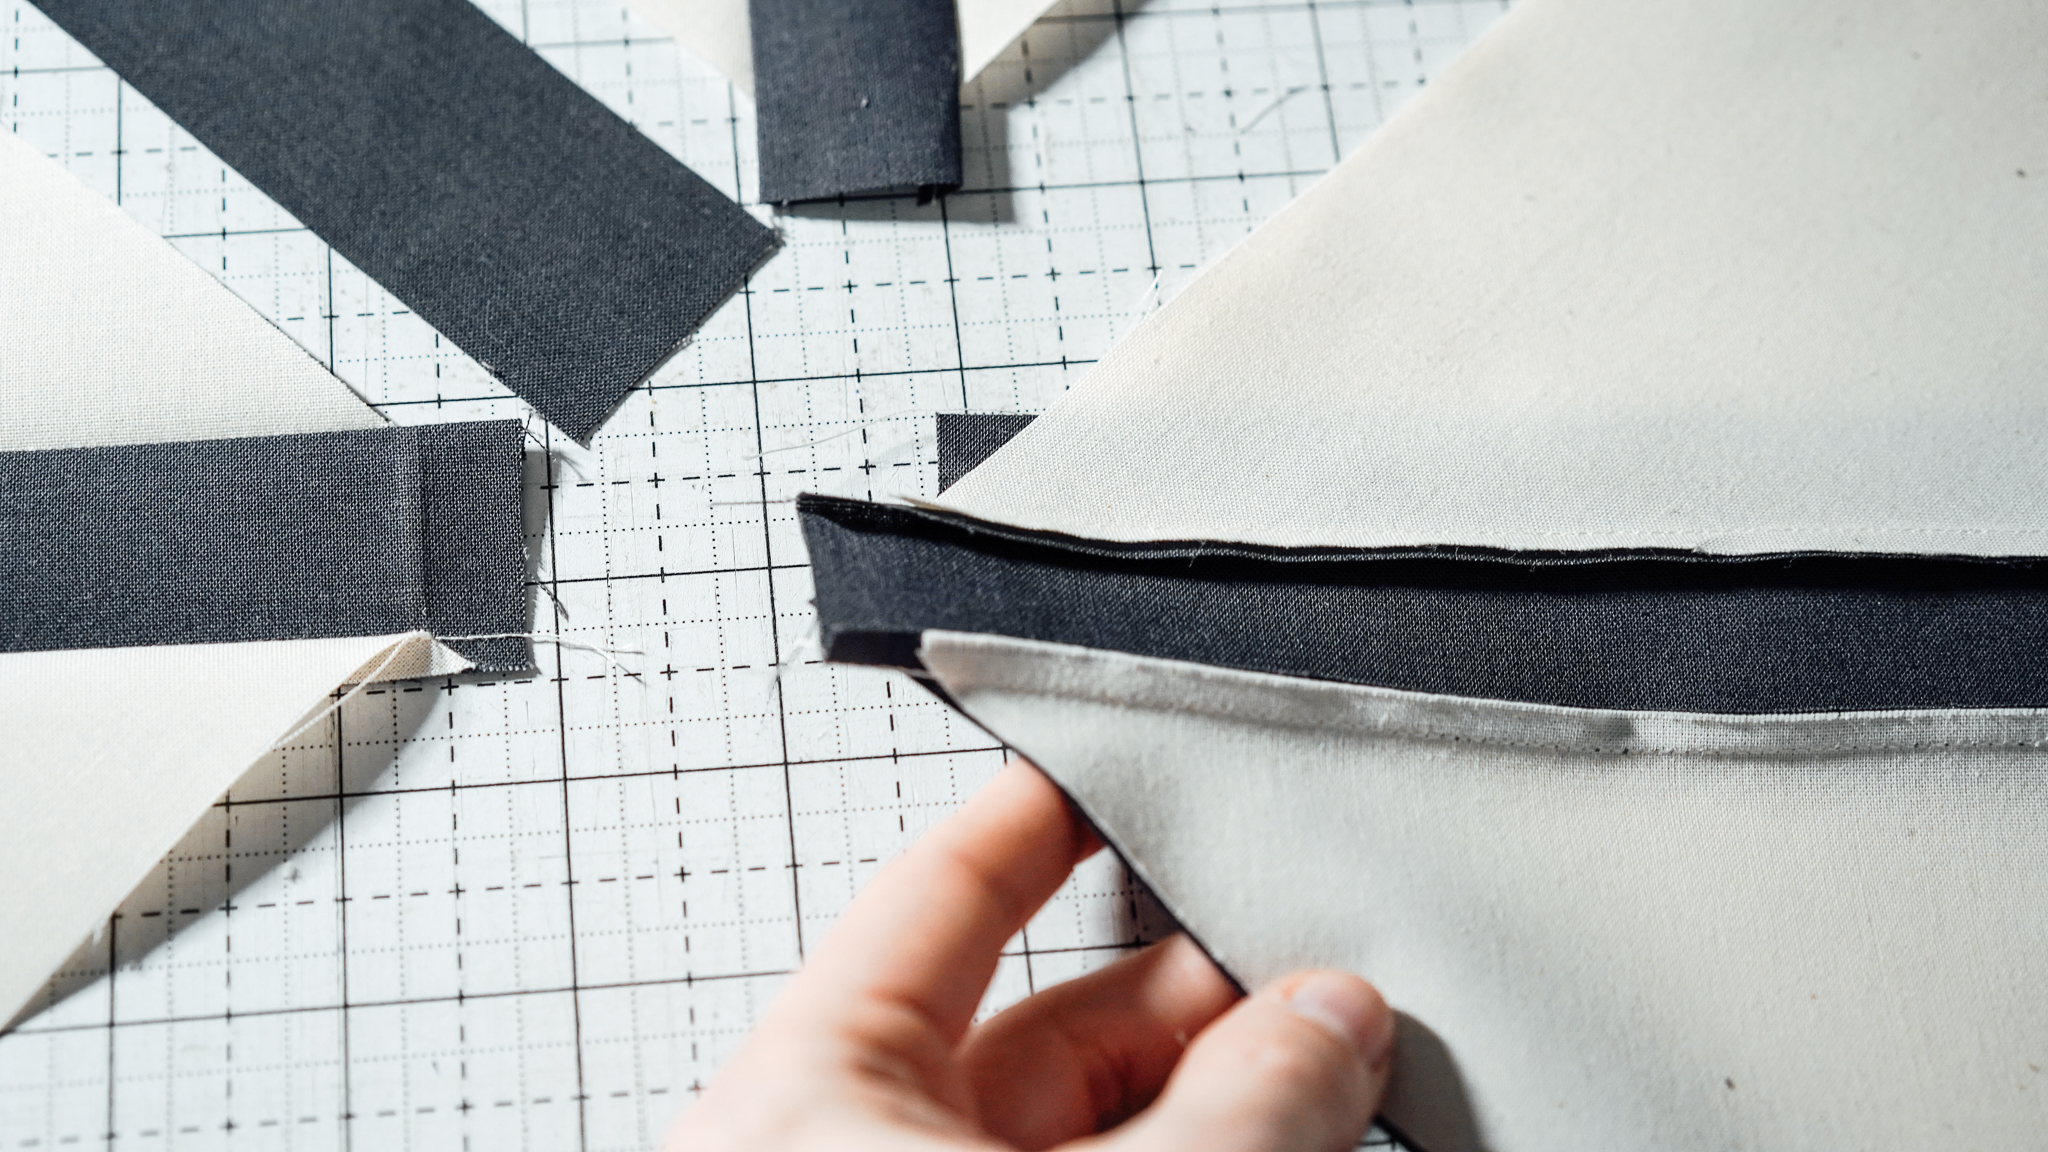
Fold both diamond units in half and make a mark on the long side (I usually pinch the fabric slightly to leave a small mark). Fold (1) 1.5” x 32” BG rectangle (E) in half lengthwise and make a mark.
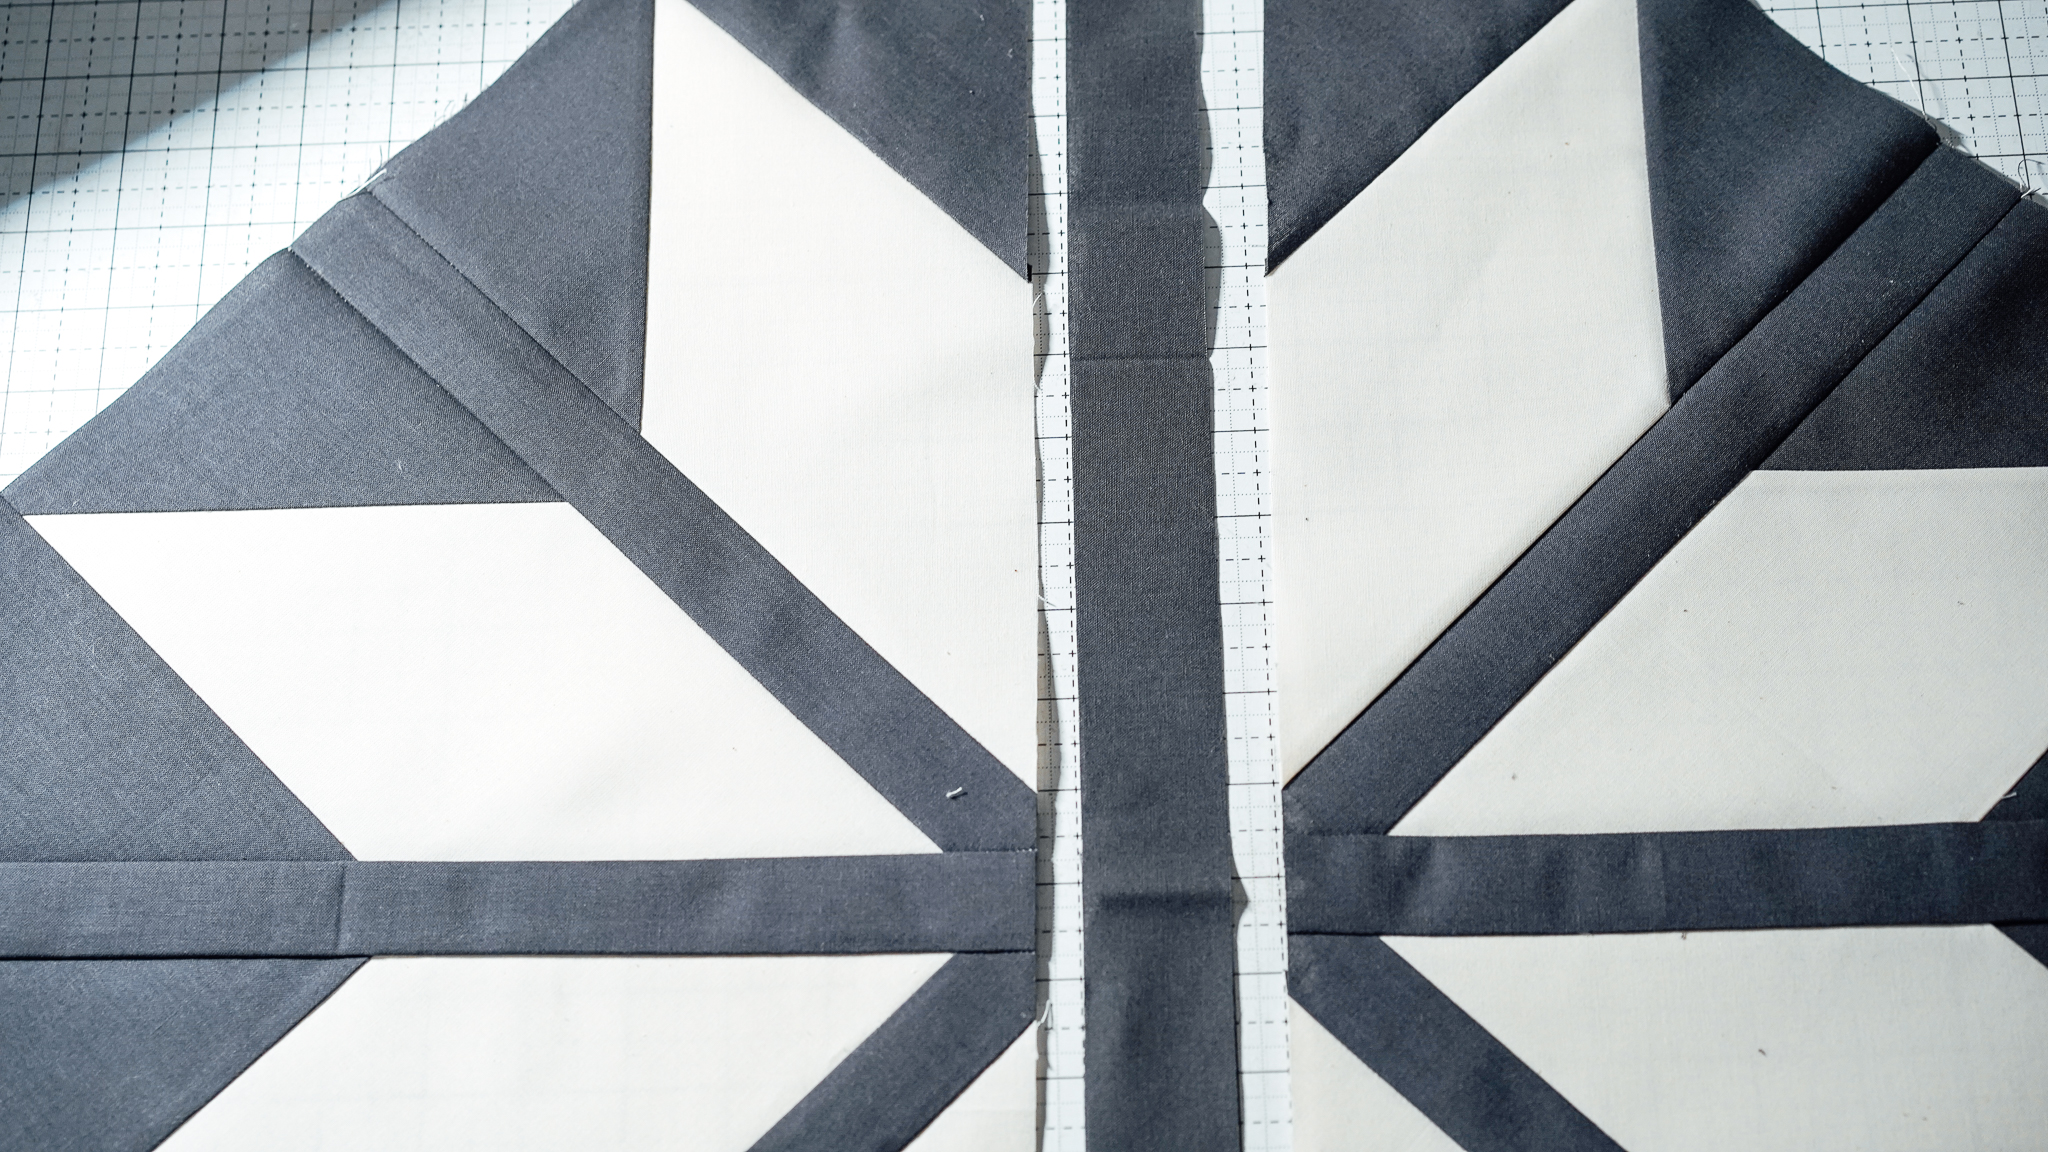
Pin and sew RST both halves of the diamond unit to opposite sides of the E strip, lining up all of the center marks. Iron seams flat.
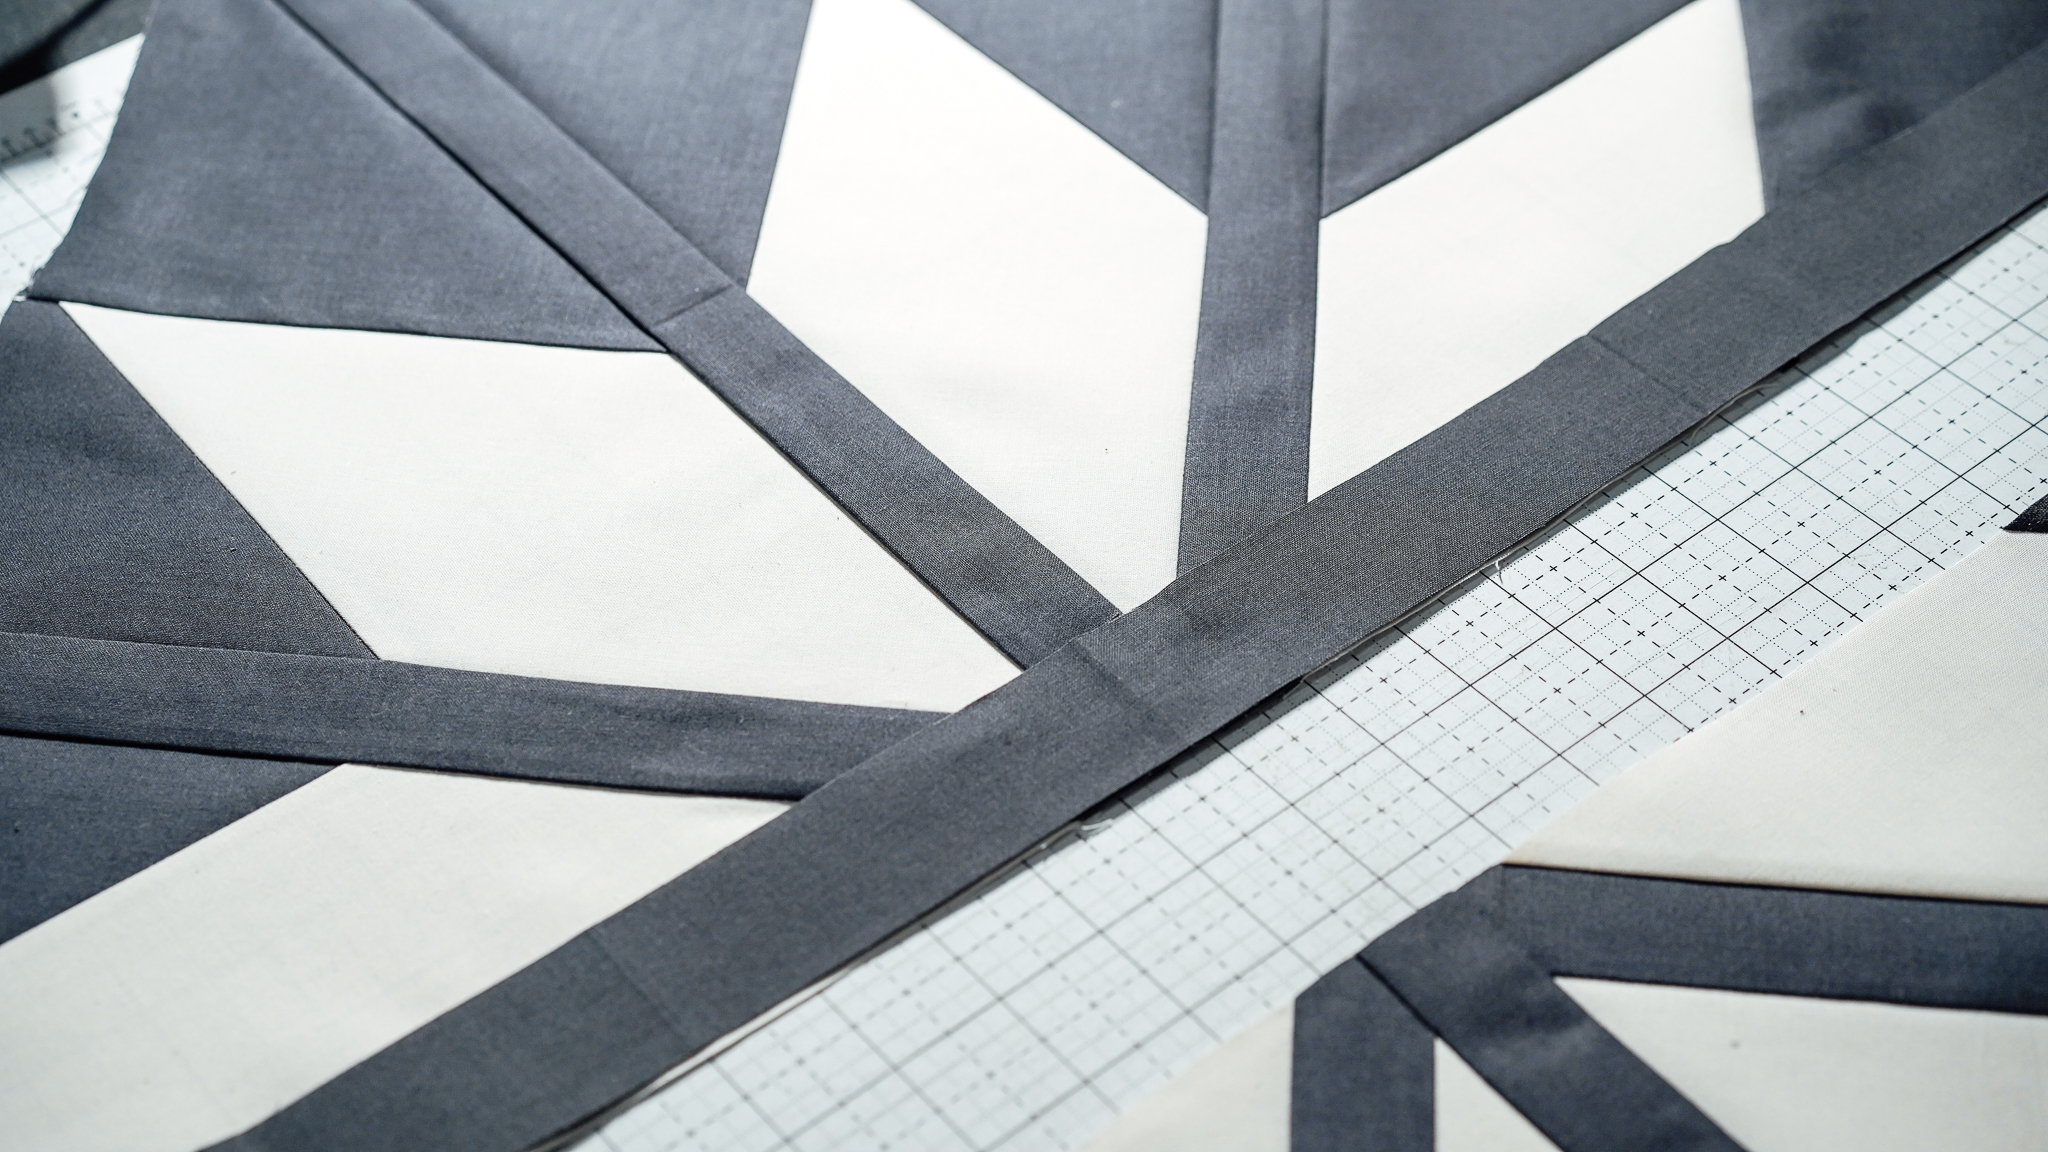
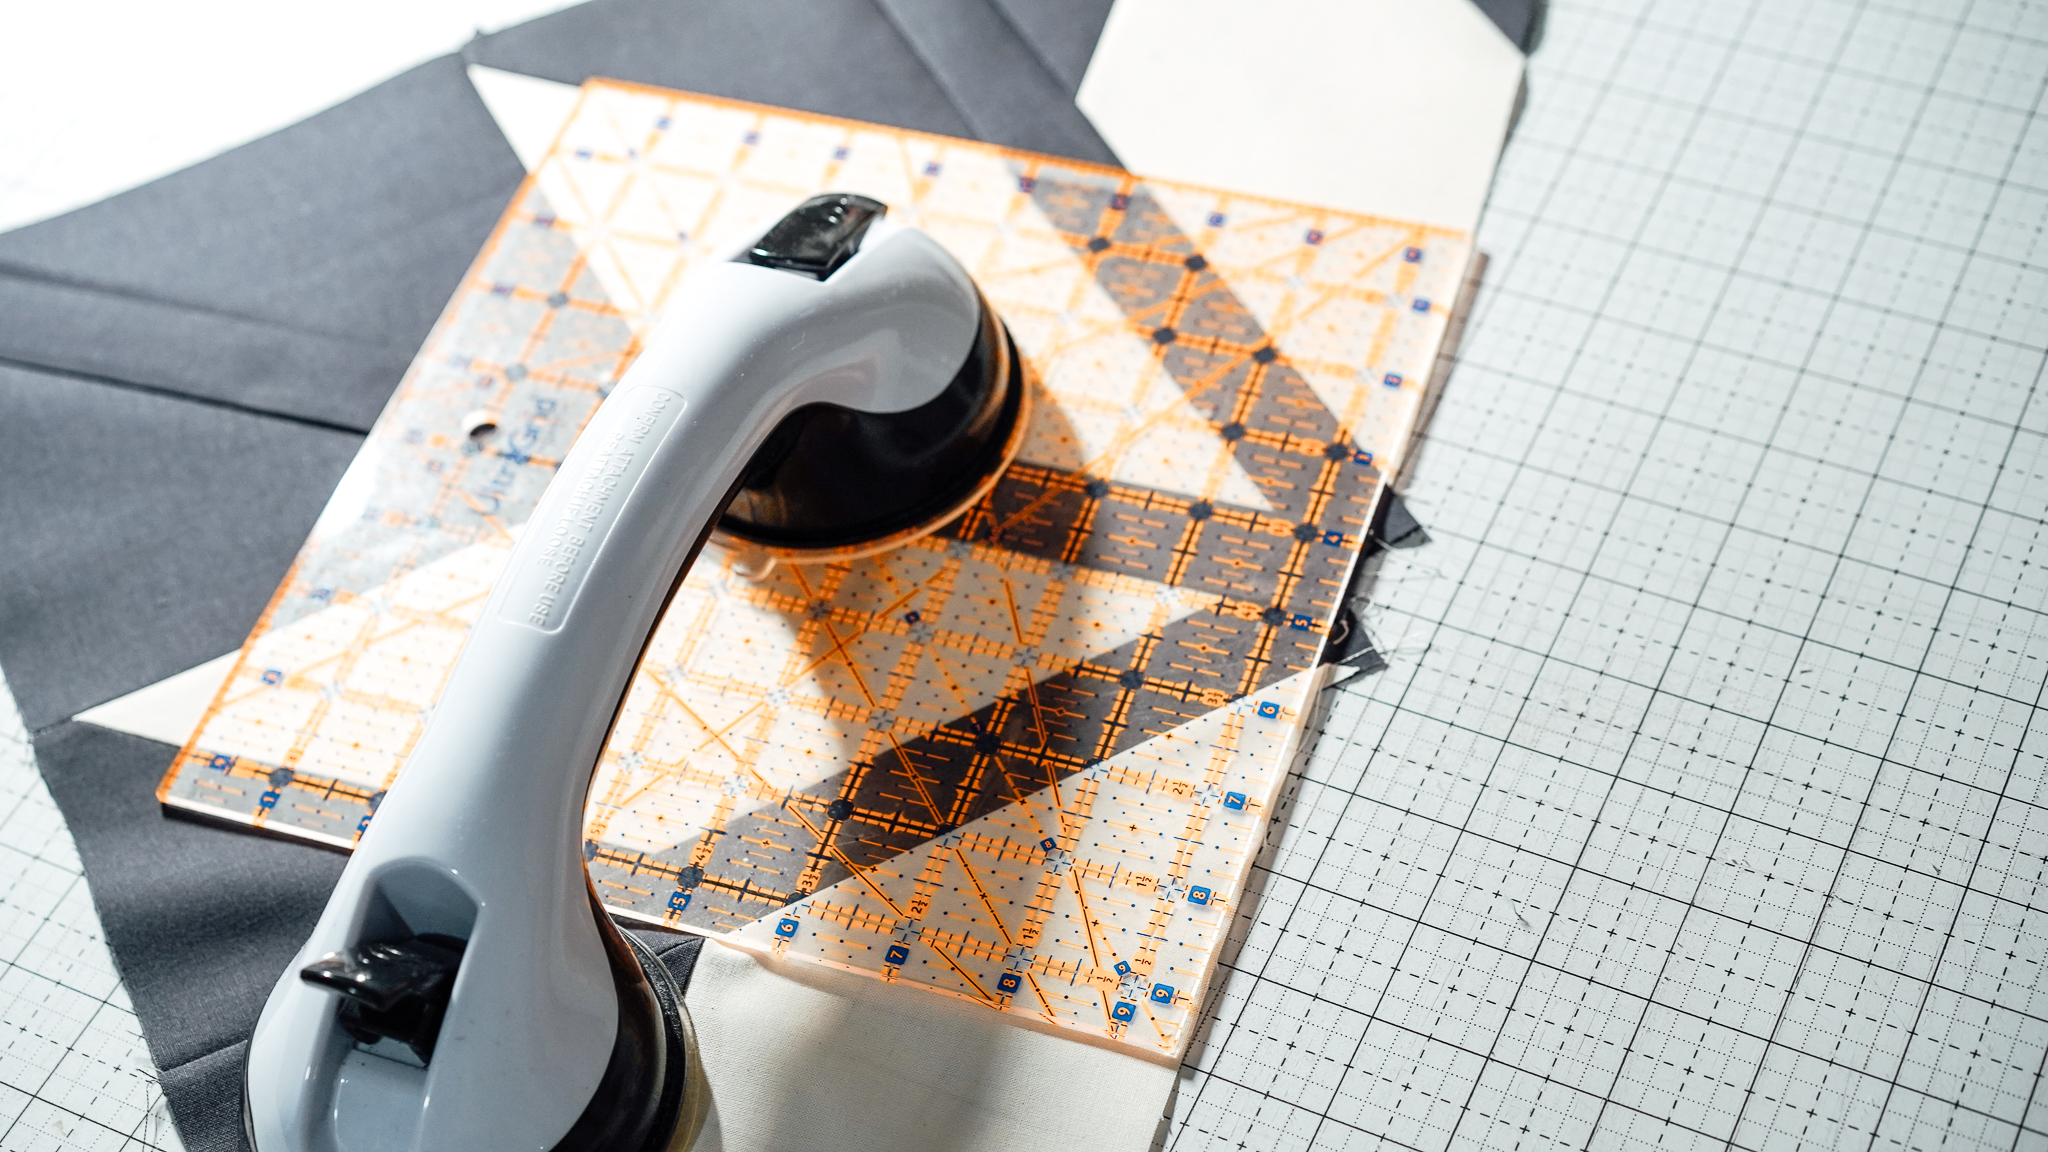
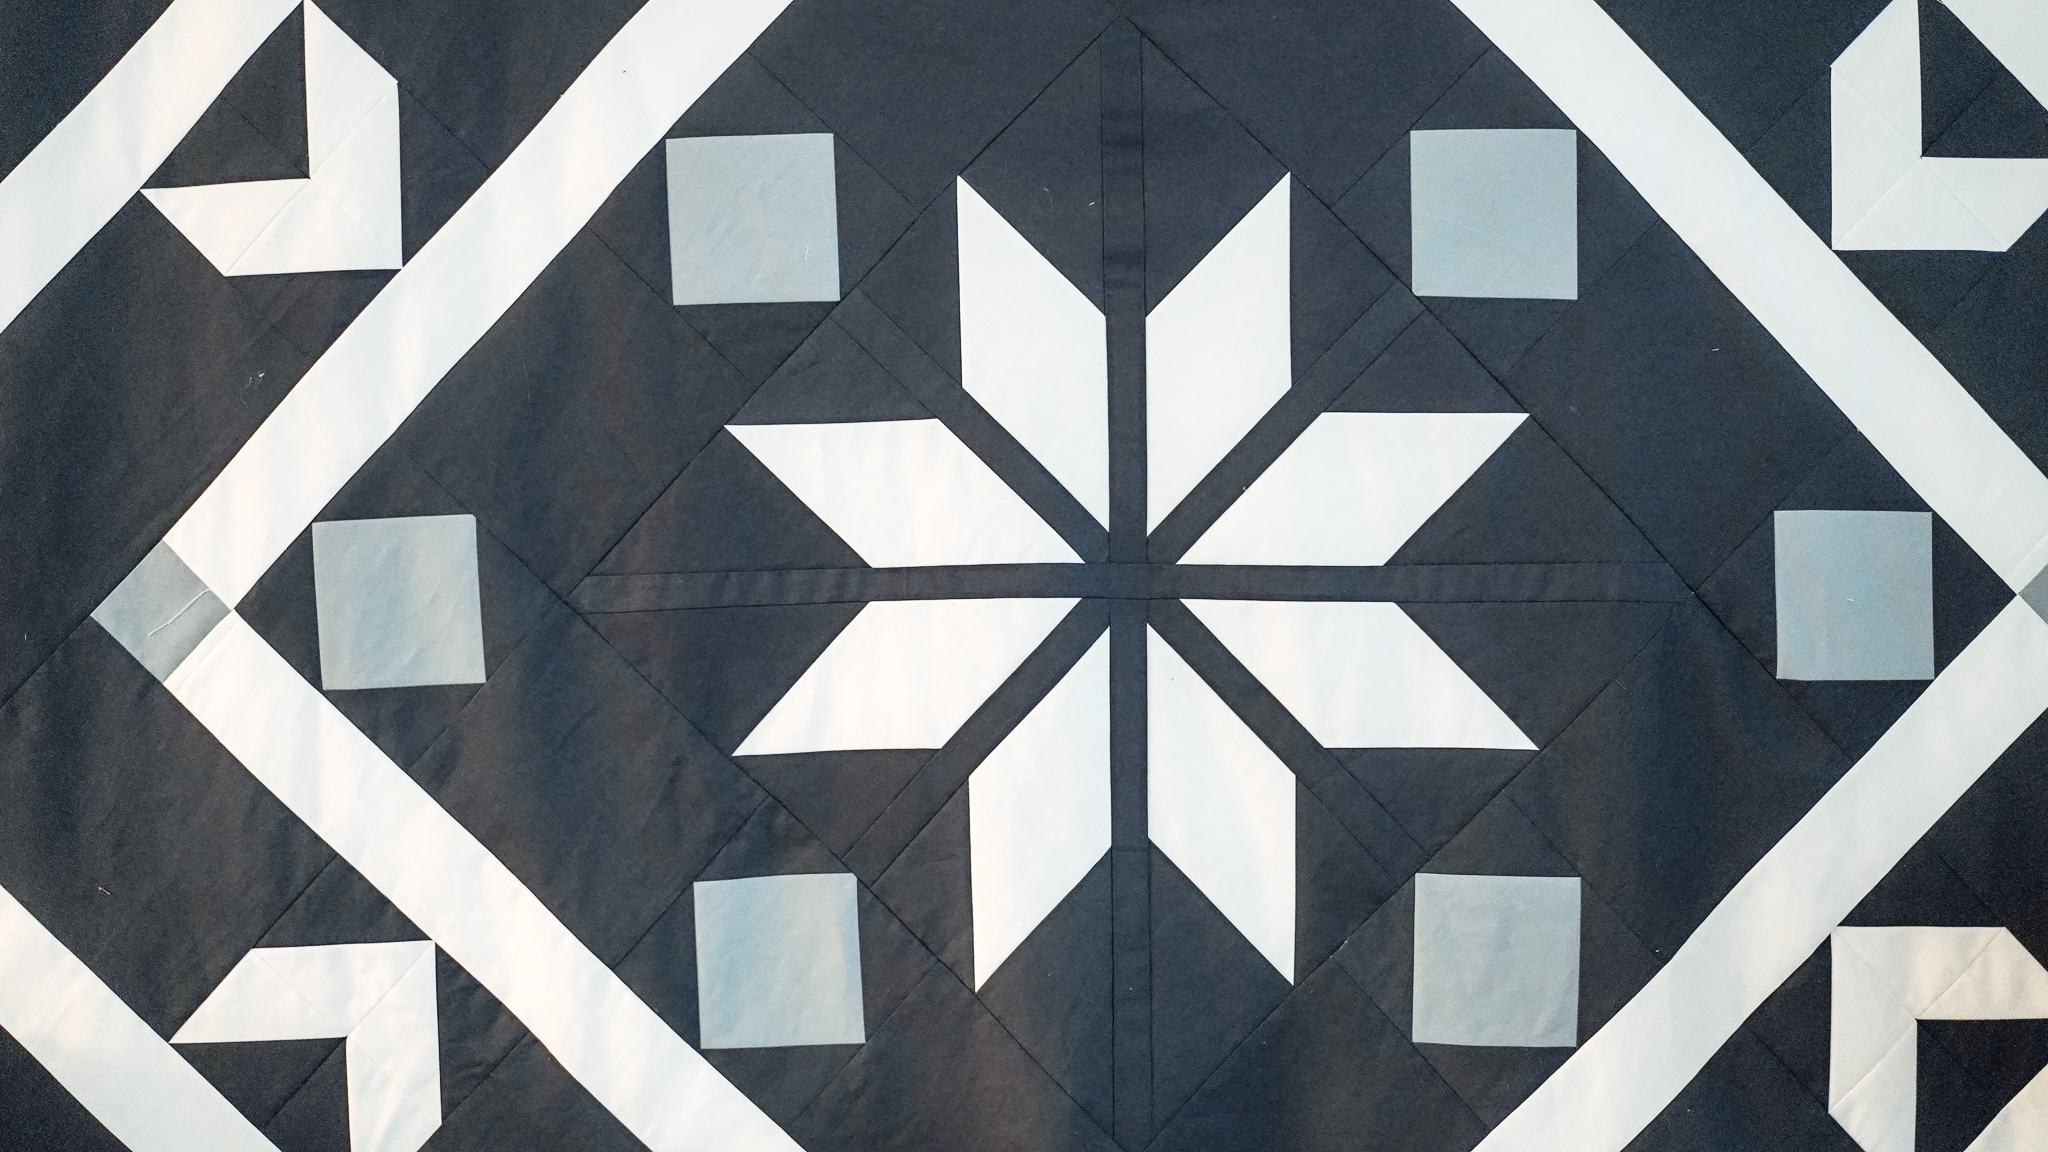
Square the corners of the center star unit using a clear acrylic ruler. The center is done!
This is what the center unit should look like when it’s sewn into the quilt, aren’t you so excited?!
As we conclude Part 3, take pride in the intricacies you’ve woven into your Swiss Star quilt.
The square-in-square units and diamond blocks bring a new dimension to our modern interpretation of this classic pattern.
Next time, we’ll work on the building out the center and finishing the corners, Happy Quilting!


omg I’ve only jus seen this awesome block <# 🙂
Join the fun! If you wish to participate and even join the raffle for the big Give Away, you have about 3 weeks left to make the top. Plenty of time 😉
better late than never. Here are my pieces. My center star does not lie very flat…
In the cutting directions, in the list of background fabric, it says: “Subcut (4) 1.5” x 13.5” rectangles – H”. I couldn’t see piece “H” in the diagram anywhere. Was it accidentally left out, or is it just my poor vision? I’ve been having a hard time distinguishing the pattern’s fonts from the dark background color. In future patterns, perhaps you might consider using a higher degree of contrast between the colours of your fonts, drawing lines and design backgrounds. This would make your instructions more accessible for people with less than perfect vision.
So what is the trick in getting that perfect crossing in the centre? I had an uphill struggle joining the 2 halves.
Me too. So disappointed with how mine has turned out. I had to trim it to be straight and the result is the points don’t meet in the middle and I will need to add a border around the central star to get the next pieces to fit. Sigh.
Yes, Jack and I were friends on this star but all things considered the star is pretty flat.
Phew, finally done. I keep wondering if those center diamonds should have been 60 degree instead of the slightly odd angle we got if we followed instructions. having larger triangles to attach to the diamonds would be helpful too, as my friend Jack got busy quite a few times.
#Swiss Star QALAll the stars are so beautiful!!! I had a bit of trouble putting my 2 pieces together, but I finally made it!!
I’m having trouble with adding my triangles to the diamond. When I’ve put the 2nd triangle on, the length is short. I will double check my measurements.
Not perfect, but I love it so far!!
I just love the Nordic flavour of this quilt so much! I am looking forward to making it! Thank you for this wonderful opportunity and free quilt pattern and tutorial!
Coming together well and starting to look like an Italian marble tile pattern. Looking forward to seeing the next set of instructions. I have used Giucy Giuce Pietra fabric and DecoBob thread for piecing in dove grey colour.
Ugh. My center star looked ok until I assembled it with last piece joining the two sides together. It’s too wonky to save, so I’ll just have to get more fabric to redo it. And I will be starching this time.
Week three done. Center isn’t exactly perfect but I’m okay with it. 🙂
As I was making mine, I thought it would be a great pattern for blue, white, and red. Looks great.
Thanks so much. I’m hoping it’ll work well with these colors. I just pulled from my stash and loved the red. Happy stitching!
I’ve finished my center star. What size should this be?
Absolutely love your fabrics!! I am also wondering what size the center should be. 🙂
Thank you. Mine measures 22.5 inches, so I hope that’s right.
Mine is also 22.5 so hopefully we are both correct. LOL🤞🏻😊