 BERNINA Corporate Blog -
Welcome back to the Swiss Star Quiltalong!
The last few weeks, we’ve spent constructing a lot of smaller units.. And now we’ll finally get to use them!
You can download the pattern for this week’s steps here: Swiss Star Week 4 Pattern
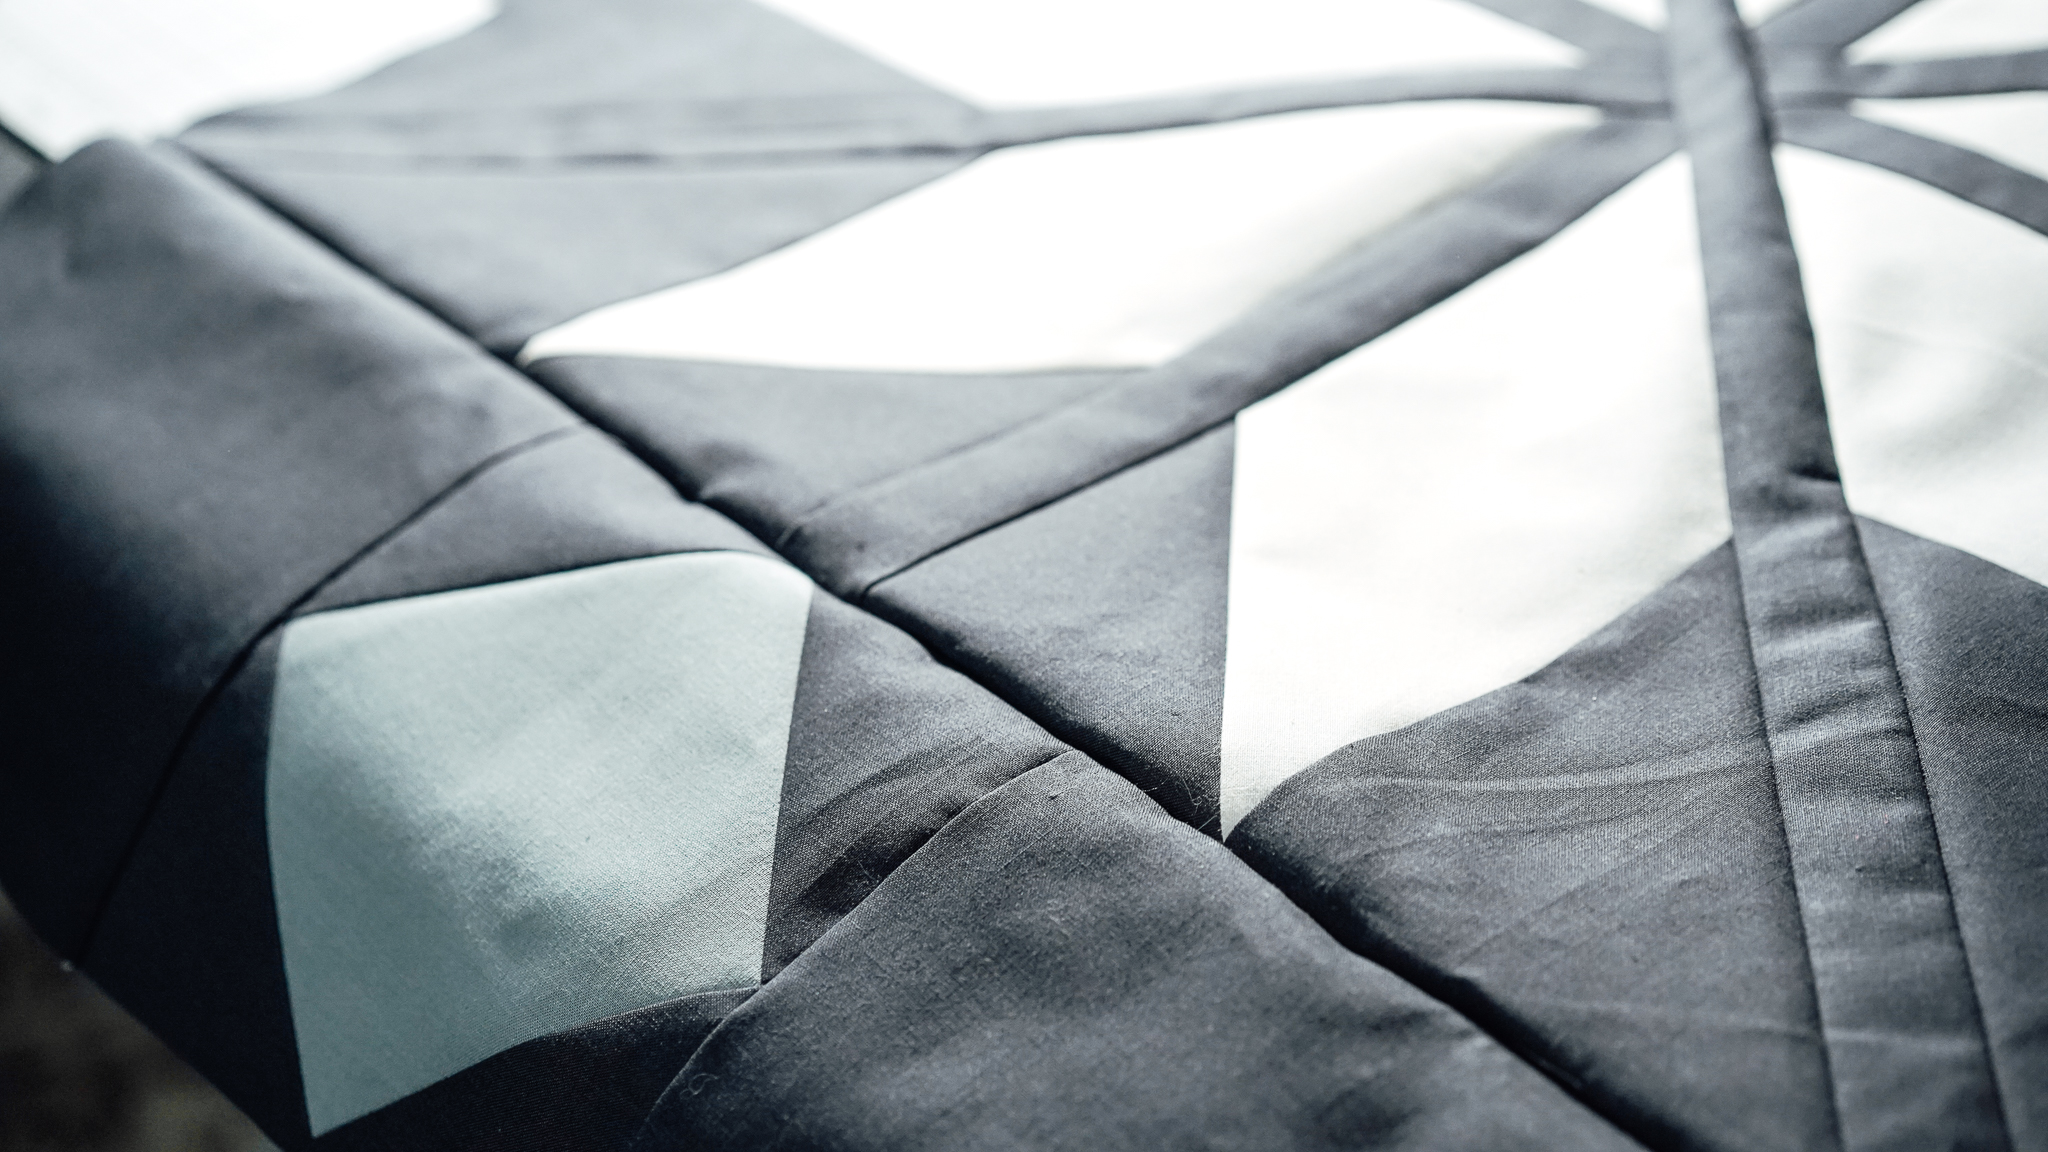
Center Star Assembly
We completed our center star last week, and by now I hope you’ve fallen in love! I know it did, there’s something so beautiful and visually striking about a giant star.
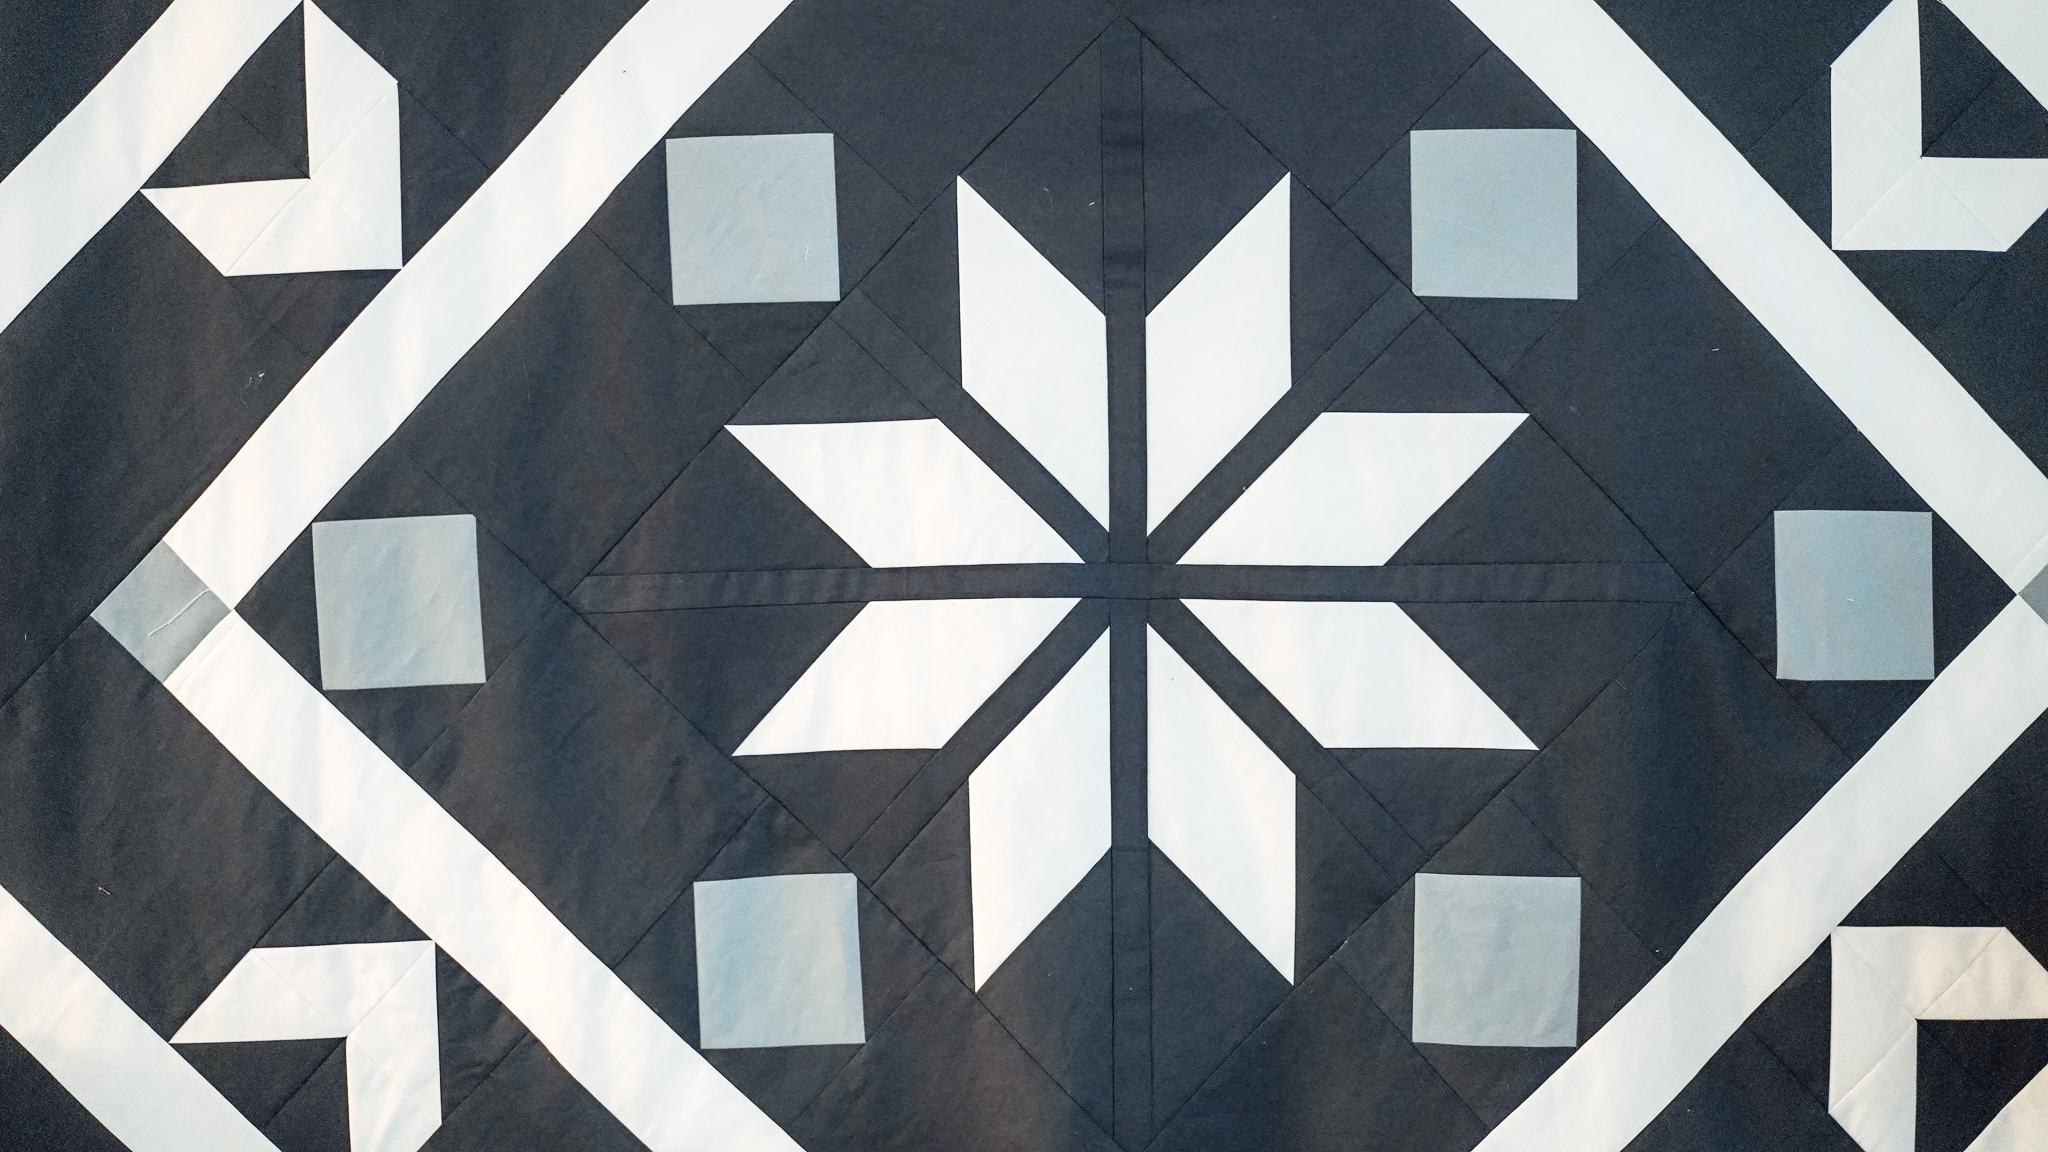
This week we’re going to keep building outward from our star, eventually finishing the center square unit. Next week we will build out the corner triangles and trim, but they may not look like triangles just yet..
Don’t worry, they will after we’re done!
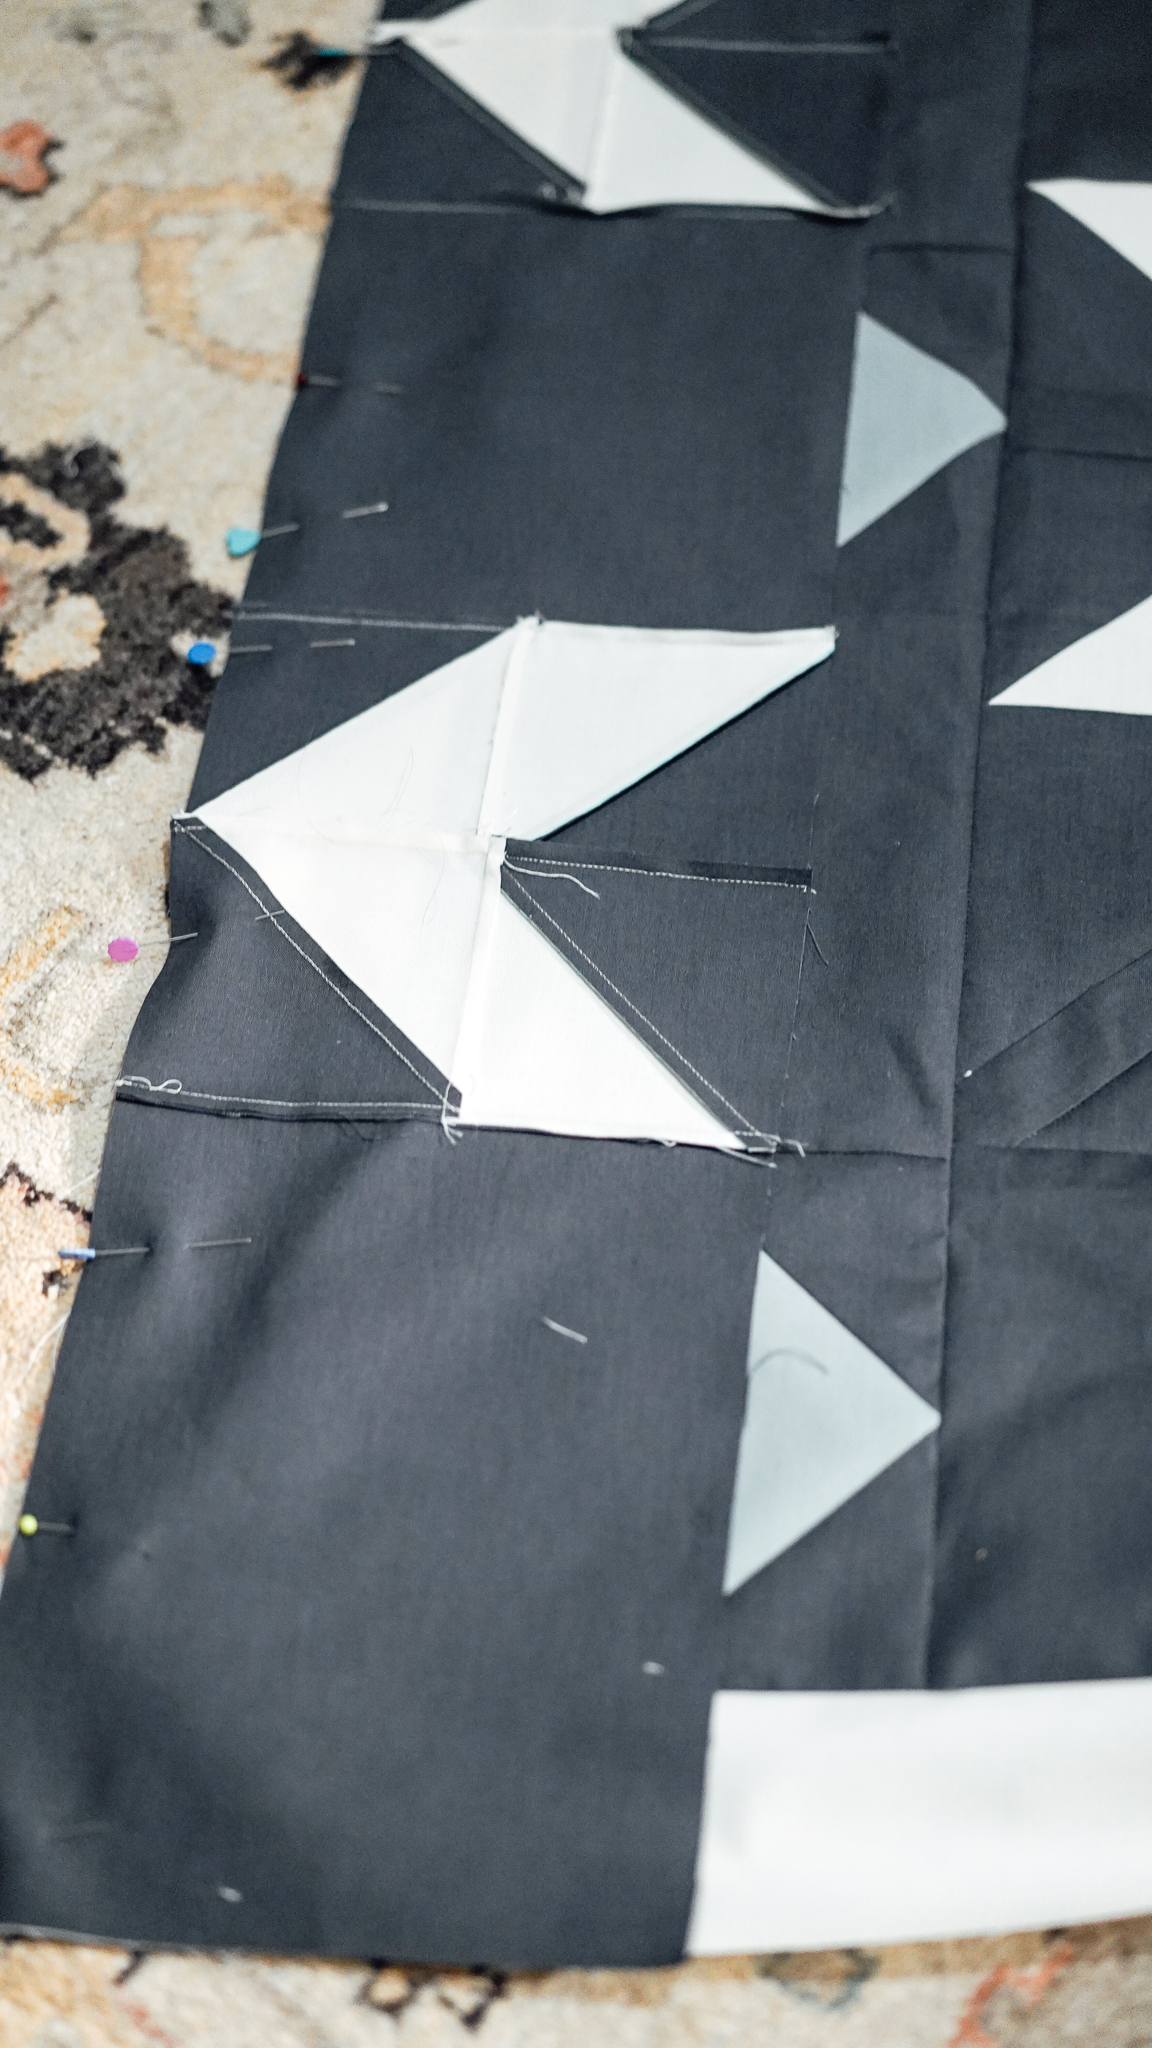
Quilt Center Assembly: Diamond Blocks
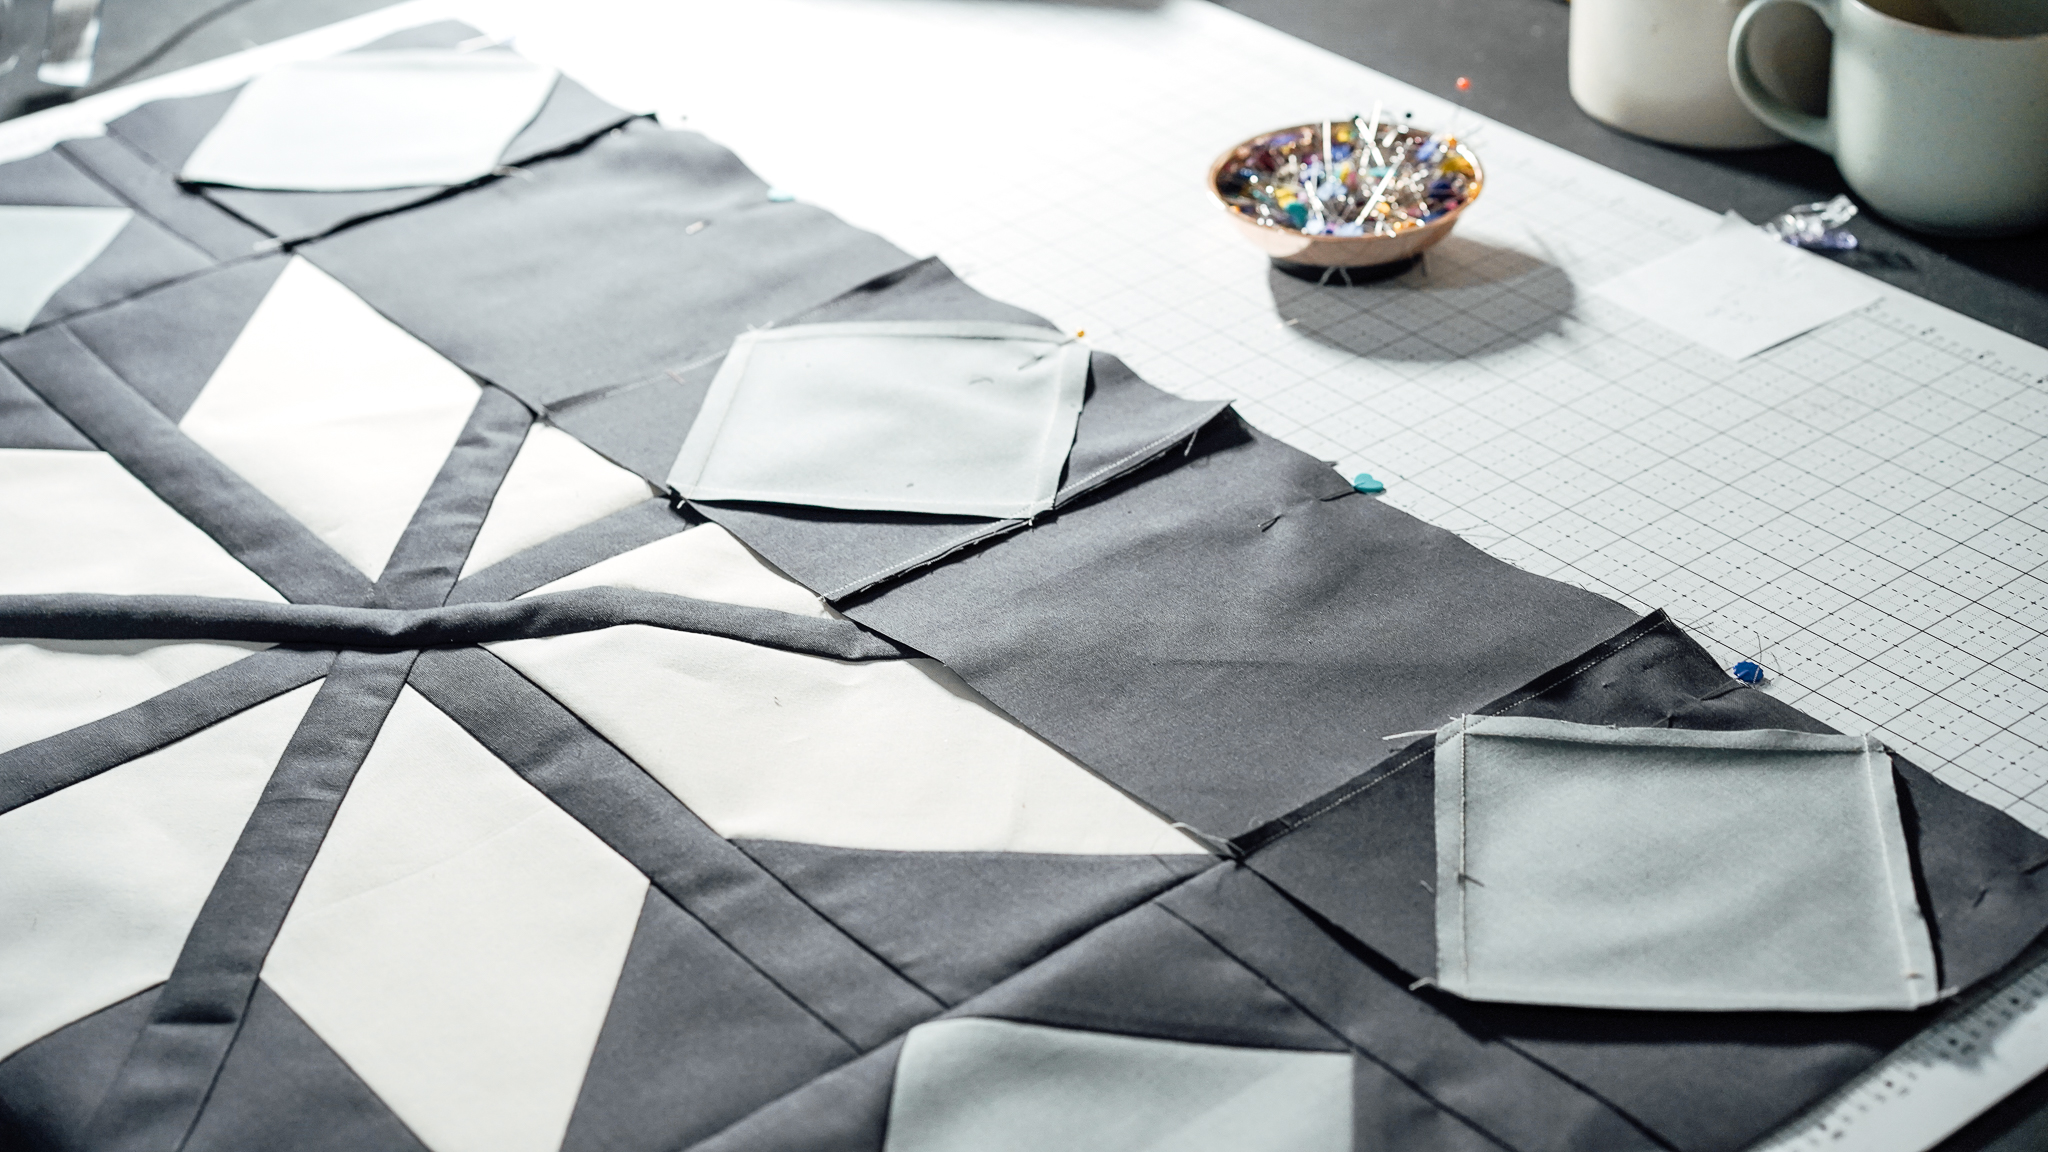
Begin by gathering all of your units and rectangles of fabric. Labeling my pieces (or stacks) always helps me stay organized.
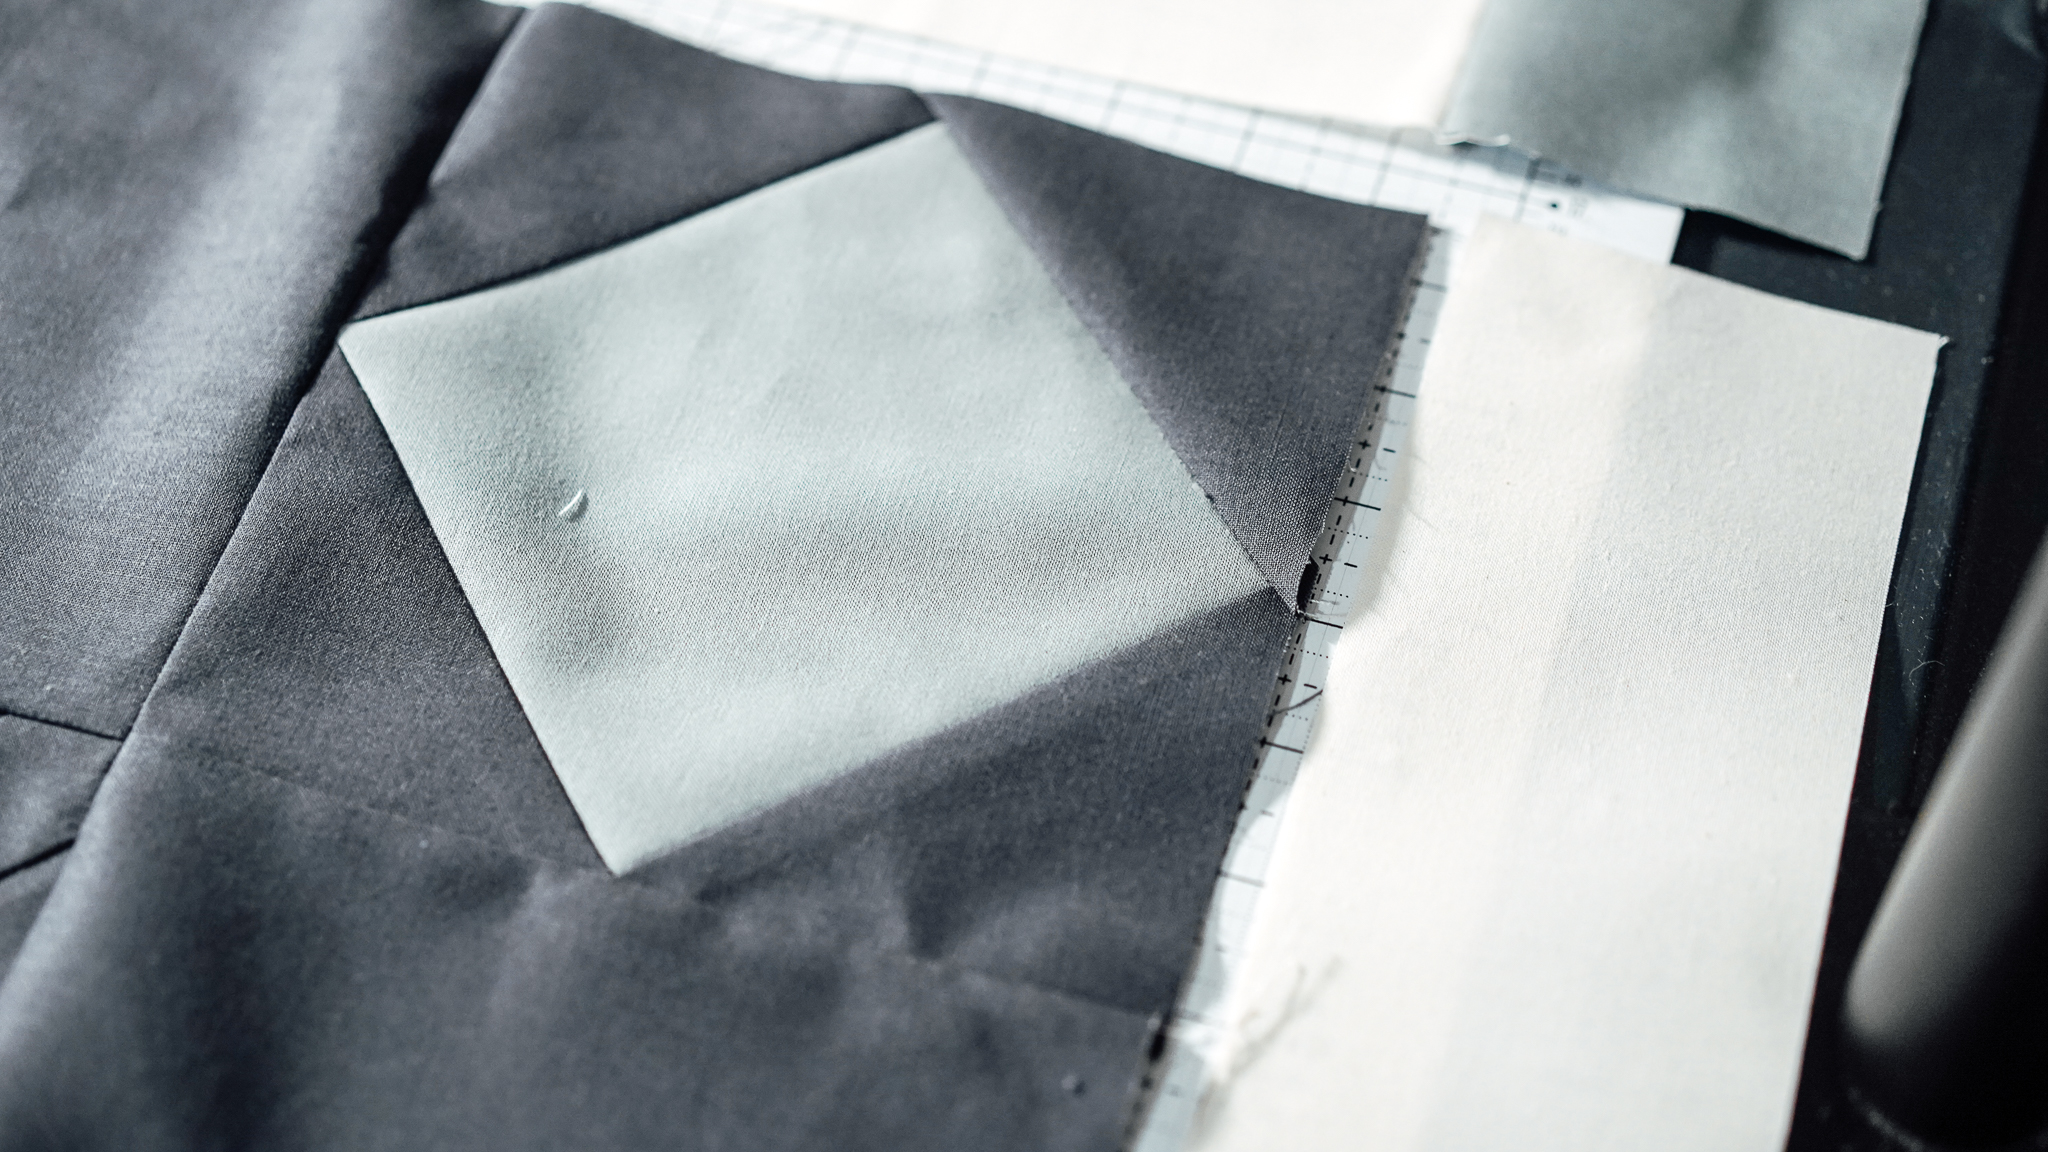
Pin and sewing (1) 7” x 8.25” BG rectangle (M) to (1) Diamond in Square Unit (7” x 7”).
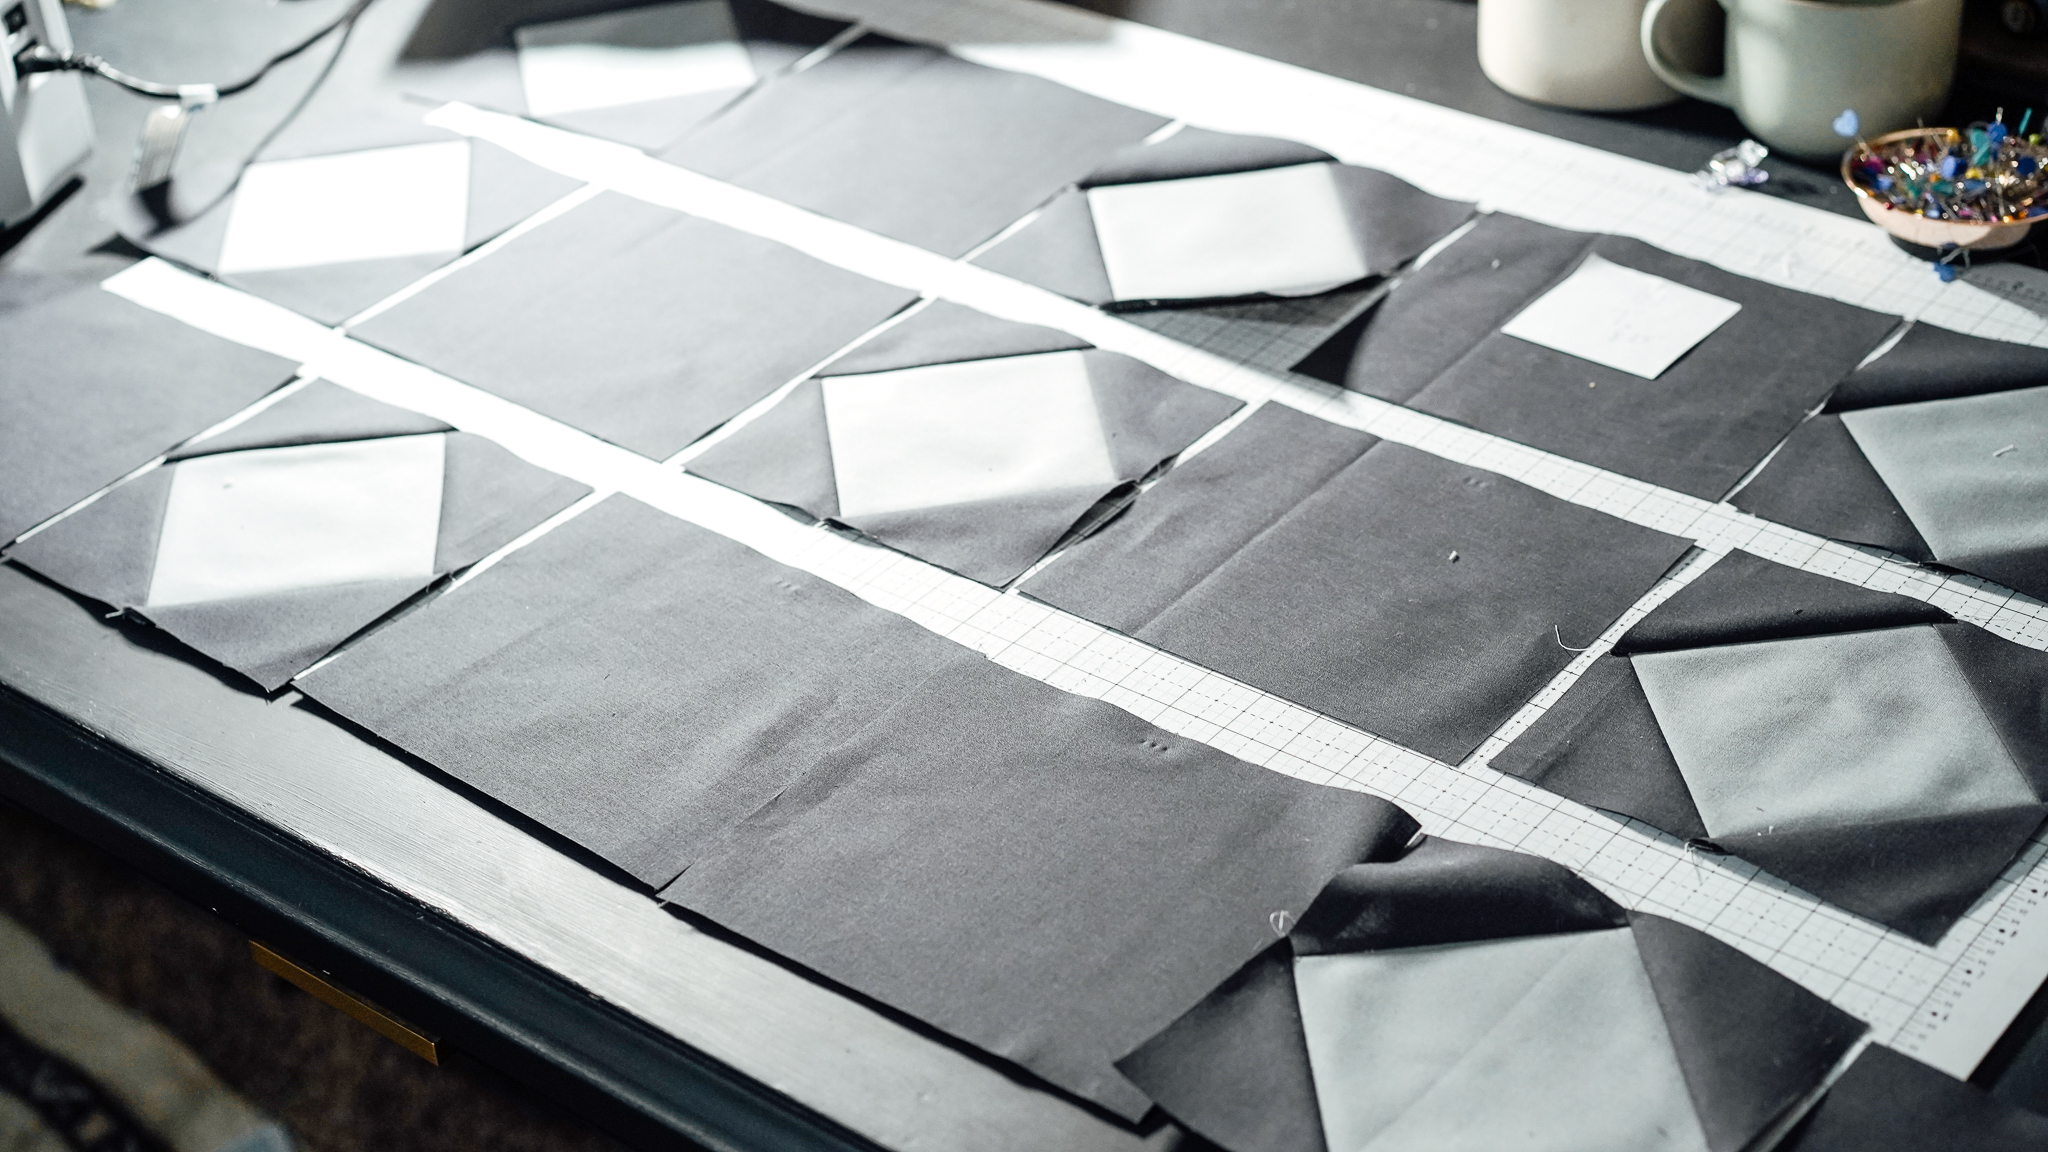
Repeat to create 2 rows that alternate between diamond units and rectangles (follow the pattern below).
Create 2 shorter rows by pinning and sewing (2) 7” x 8.25” BG rectangles (M) to opposite sides of (1) Diamond in Square Unit (7” x 7”).
- Two rows with: Diamond unit + M + Diamond unit + M + Diamond Unit
- Two rows with: M + Diamond unit + M
There will be 4 in total.
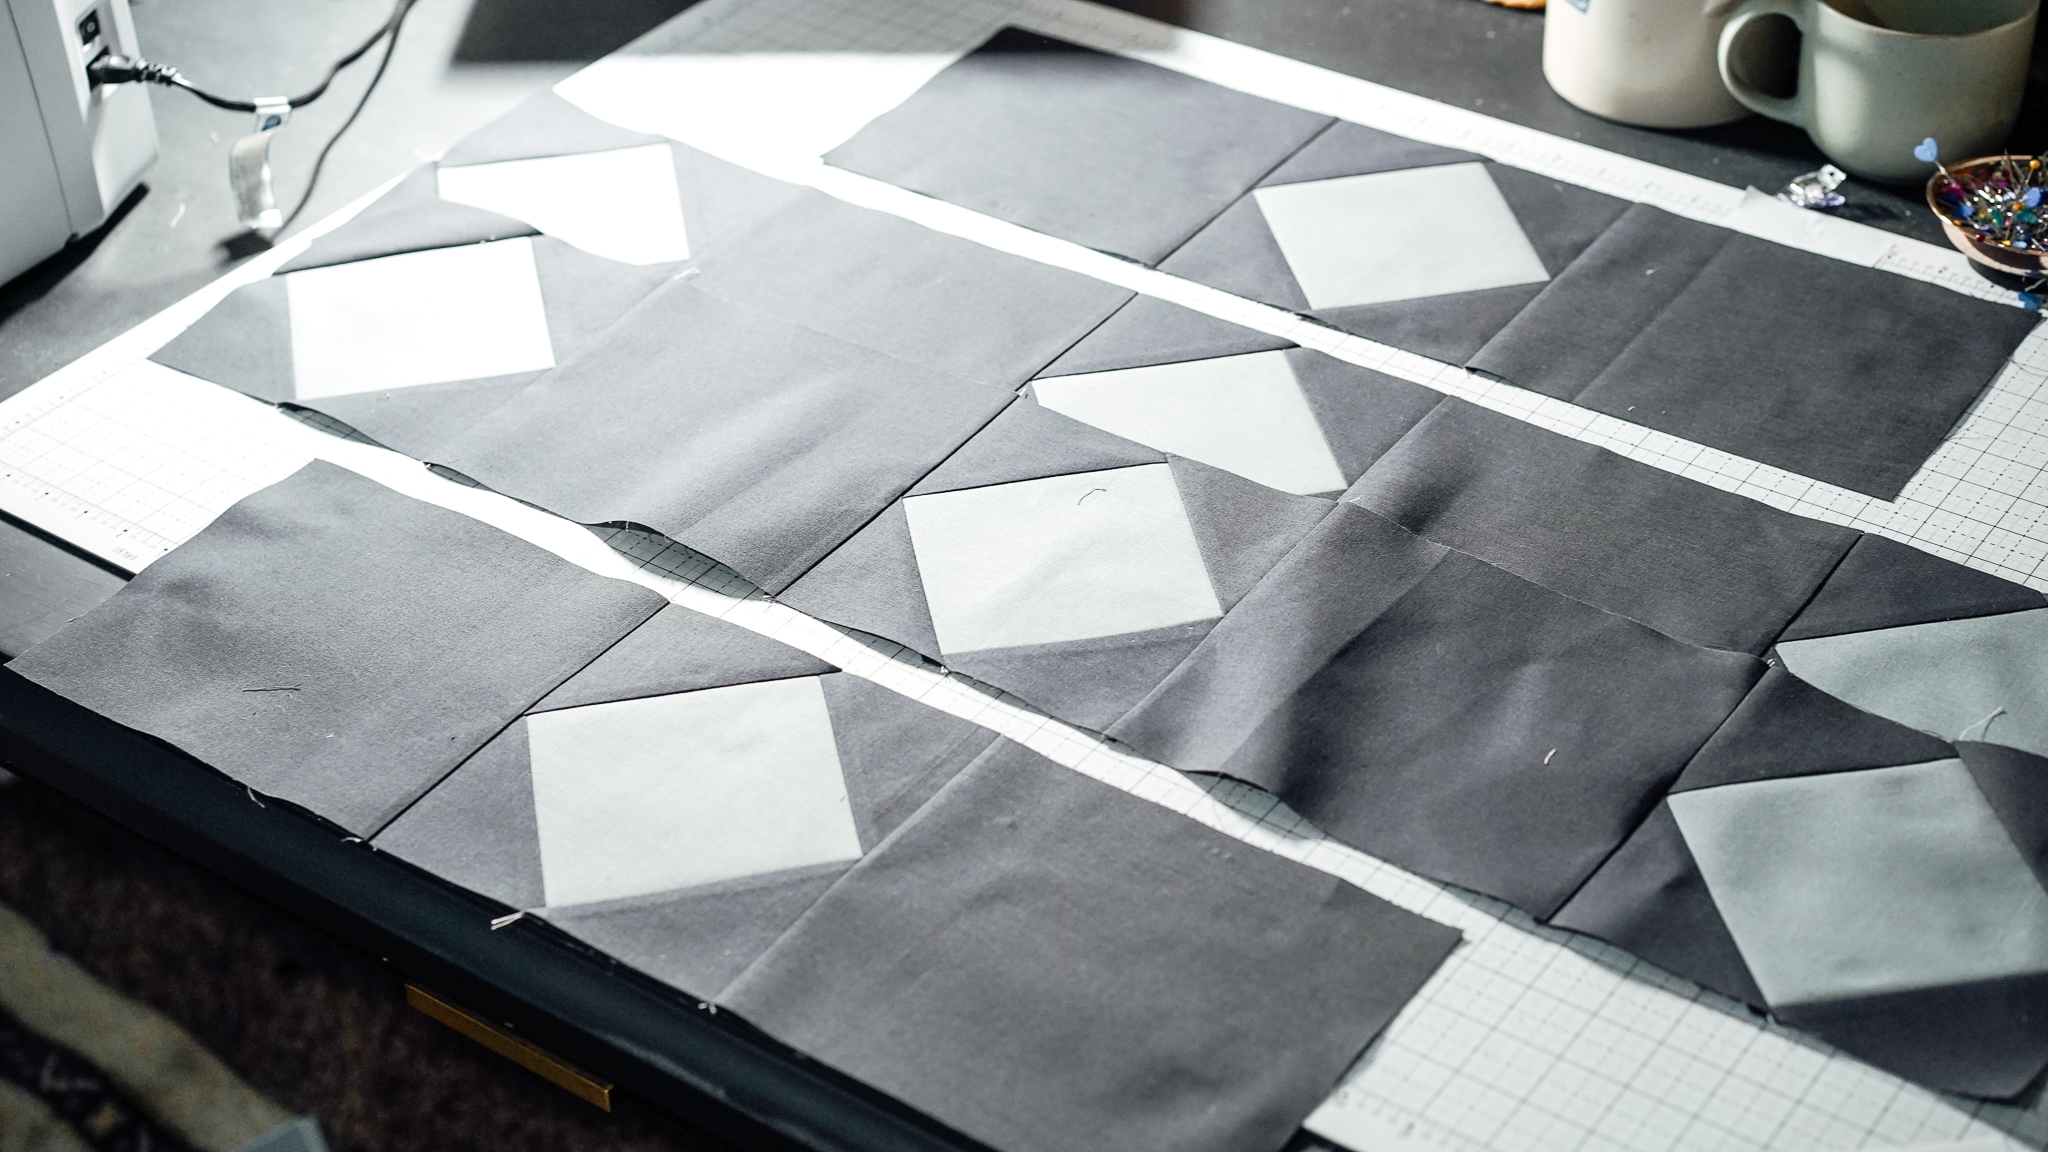
Align the centers of the 2 shorter Diamond in Square rows with opposite sides of the Center Star.
Square off the corners of the star if you haven’t already (use a square ruler to make each point perfectly 90 degrees), try not to trim any fabric except the little pieces on the corners.
I find the easiest way to do this is by folding the rows and the center star block in half and marking the center point on each edge, either by finger pressing or with a marker.
Pin starting from the center and sew, iron seams flat.
Now we’ll add the longer rows, align the centers (fold in half and mark) of the longer Diamond in Square rows with opposite sides of the Center Star.
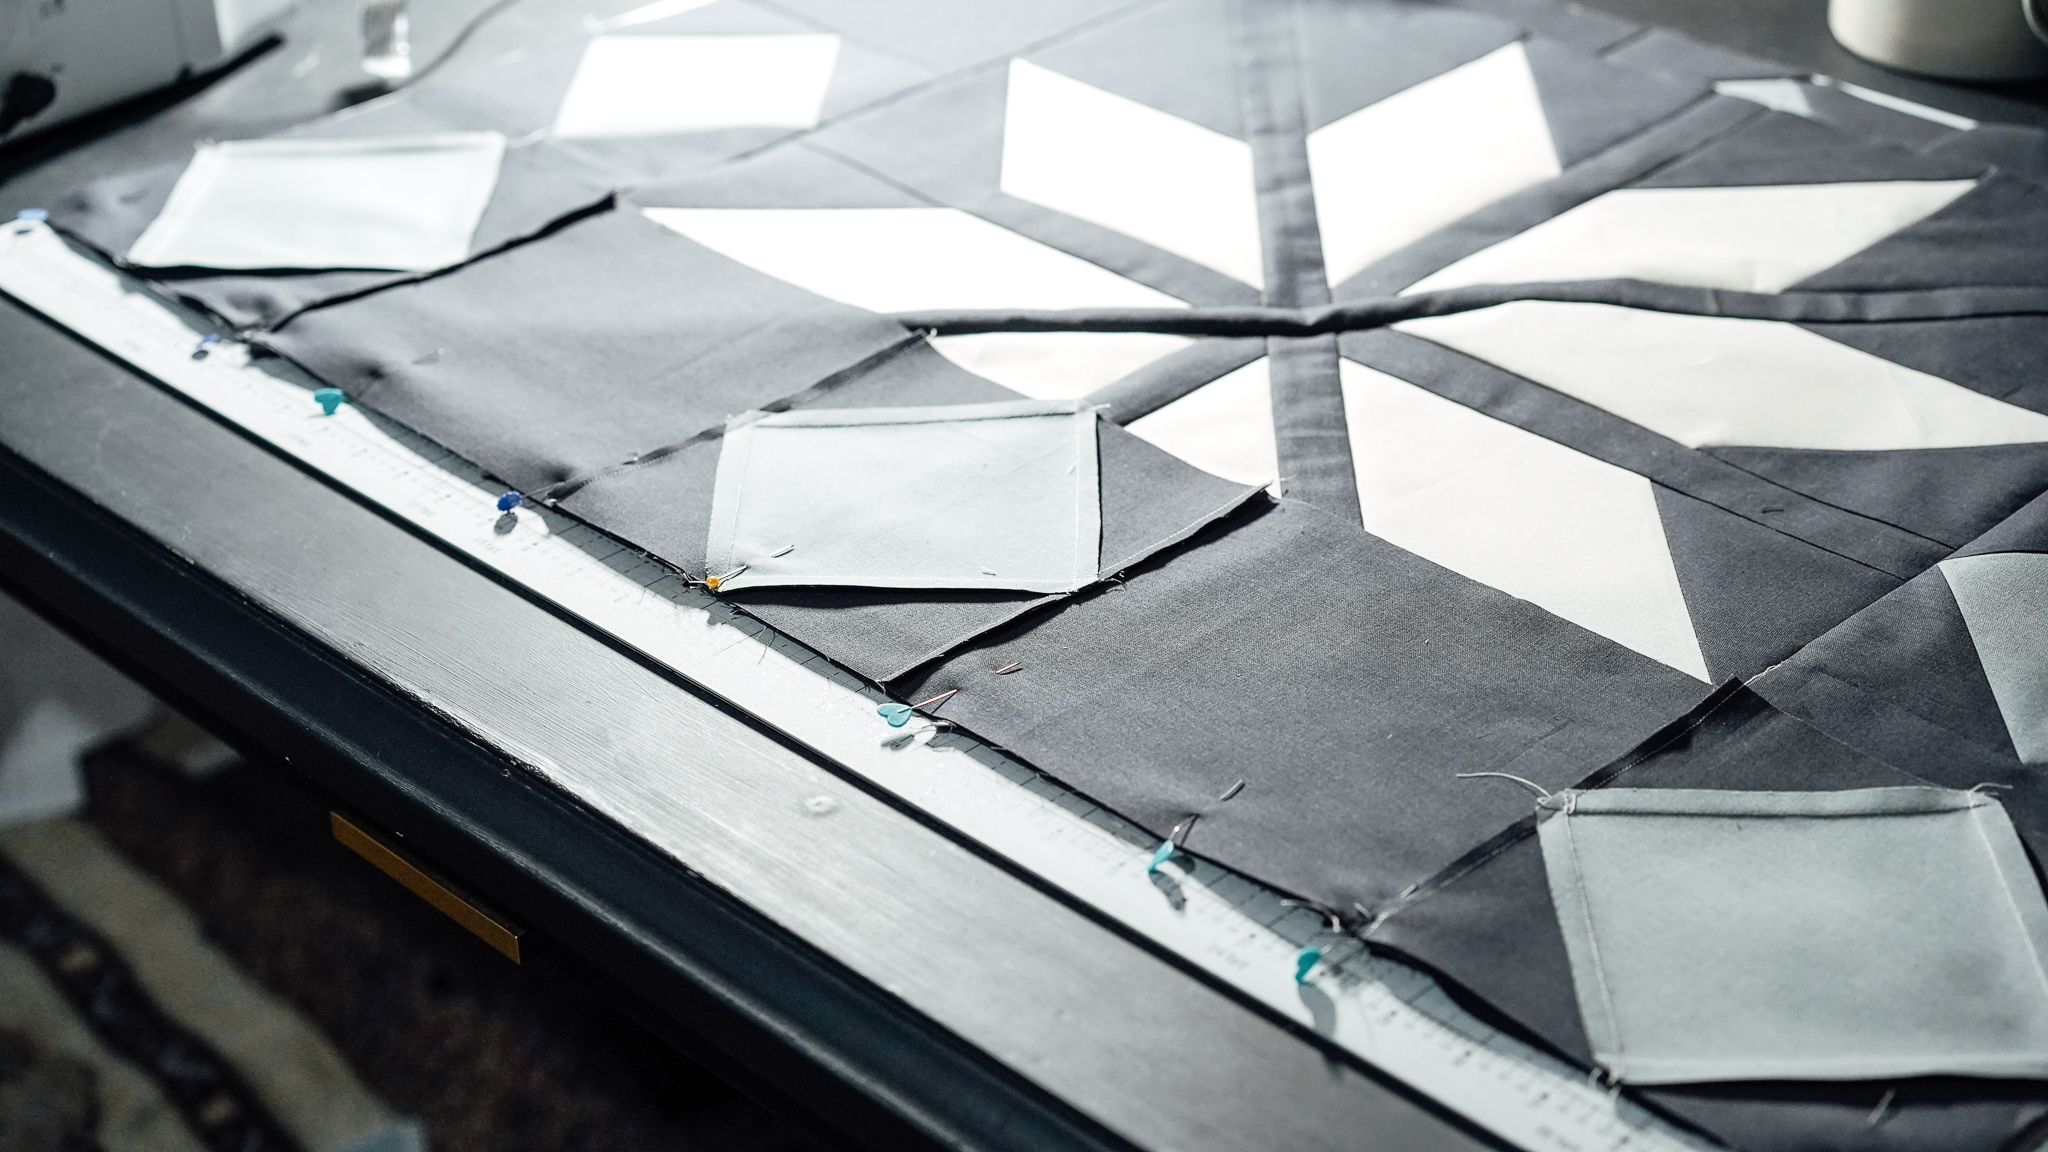
Start by matching up the seams in the middle, pin in place and sew, iron seams flat.
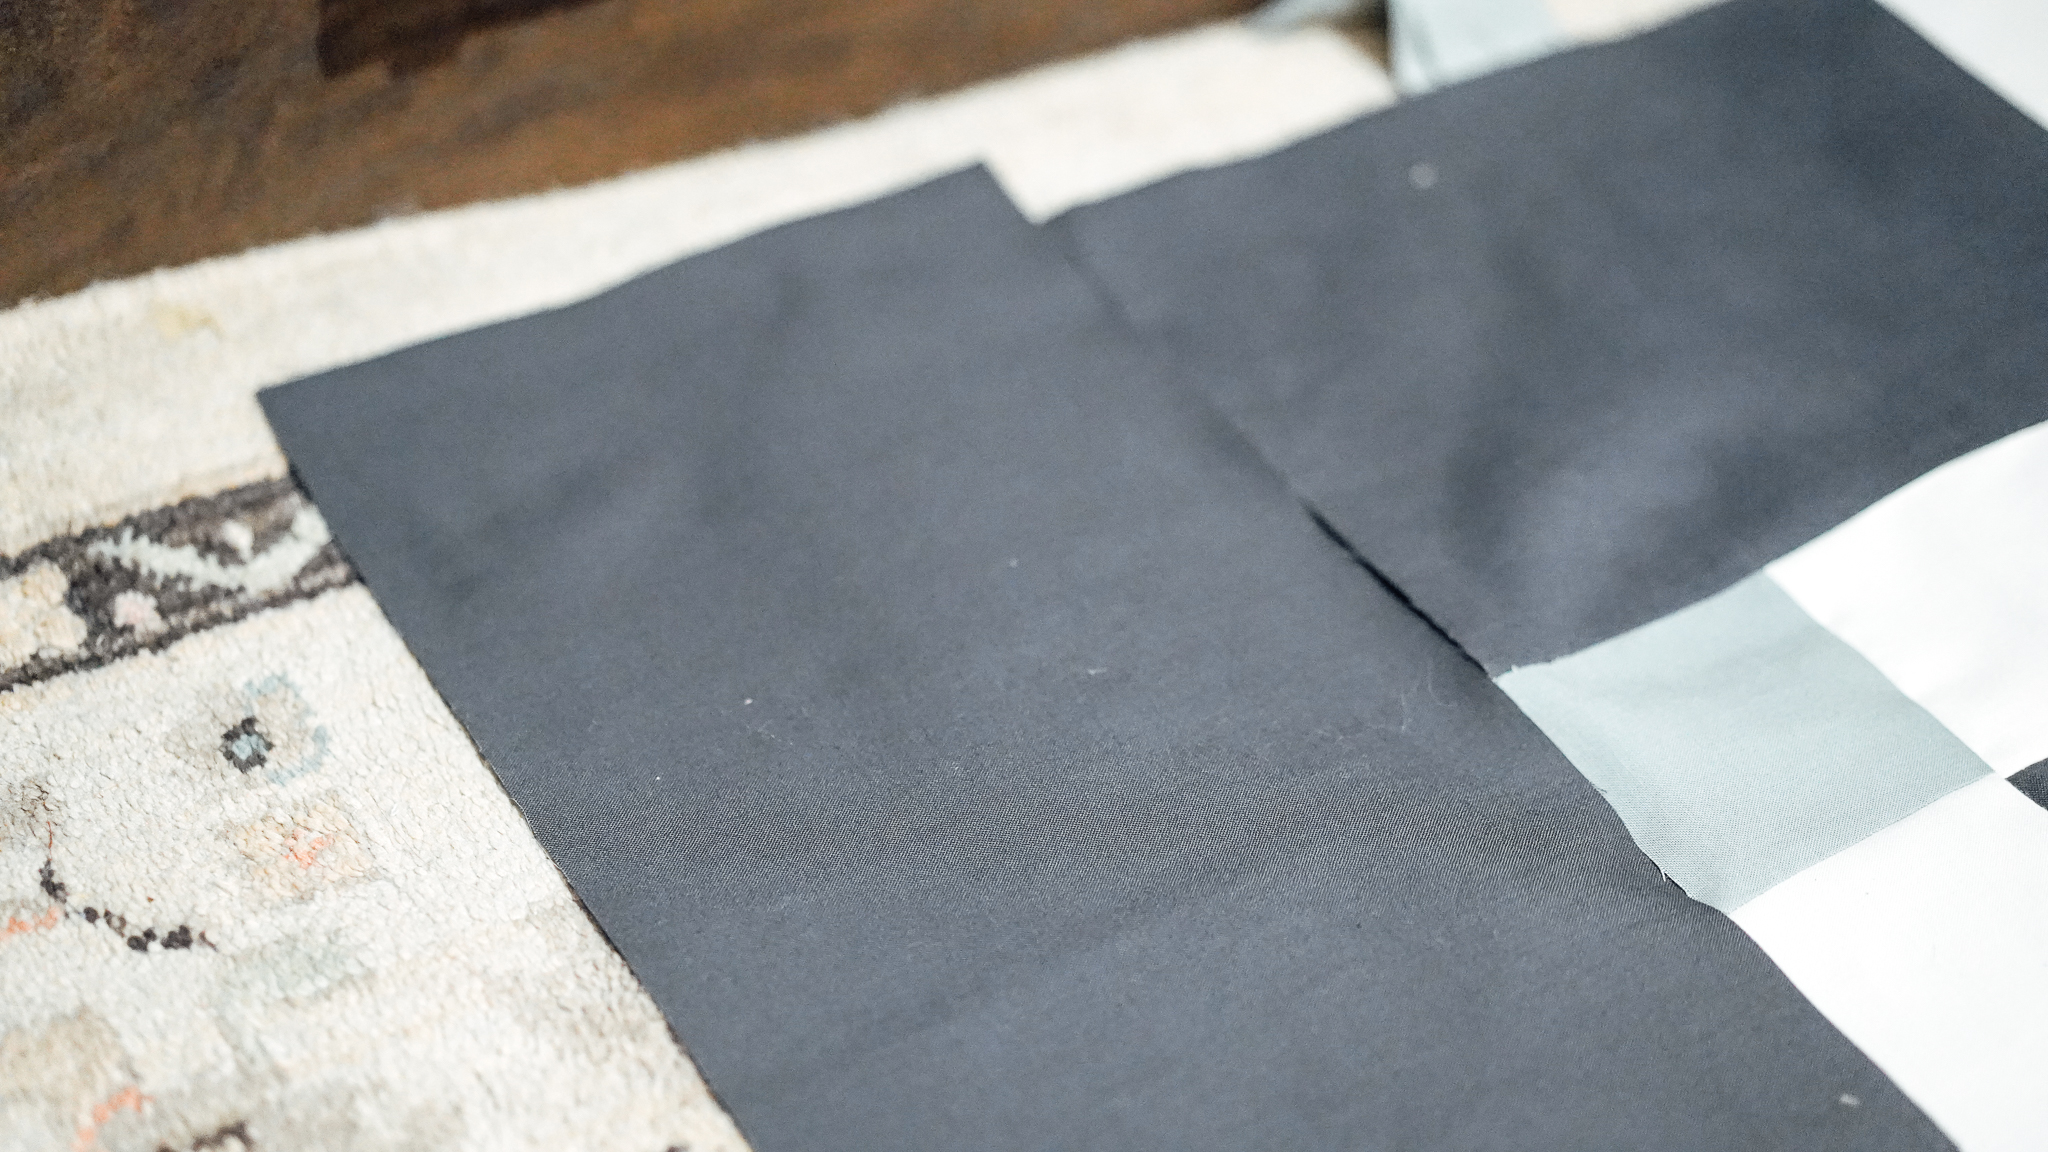
Quilt Center Assembly: Long Strips
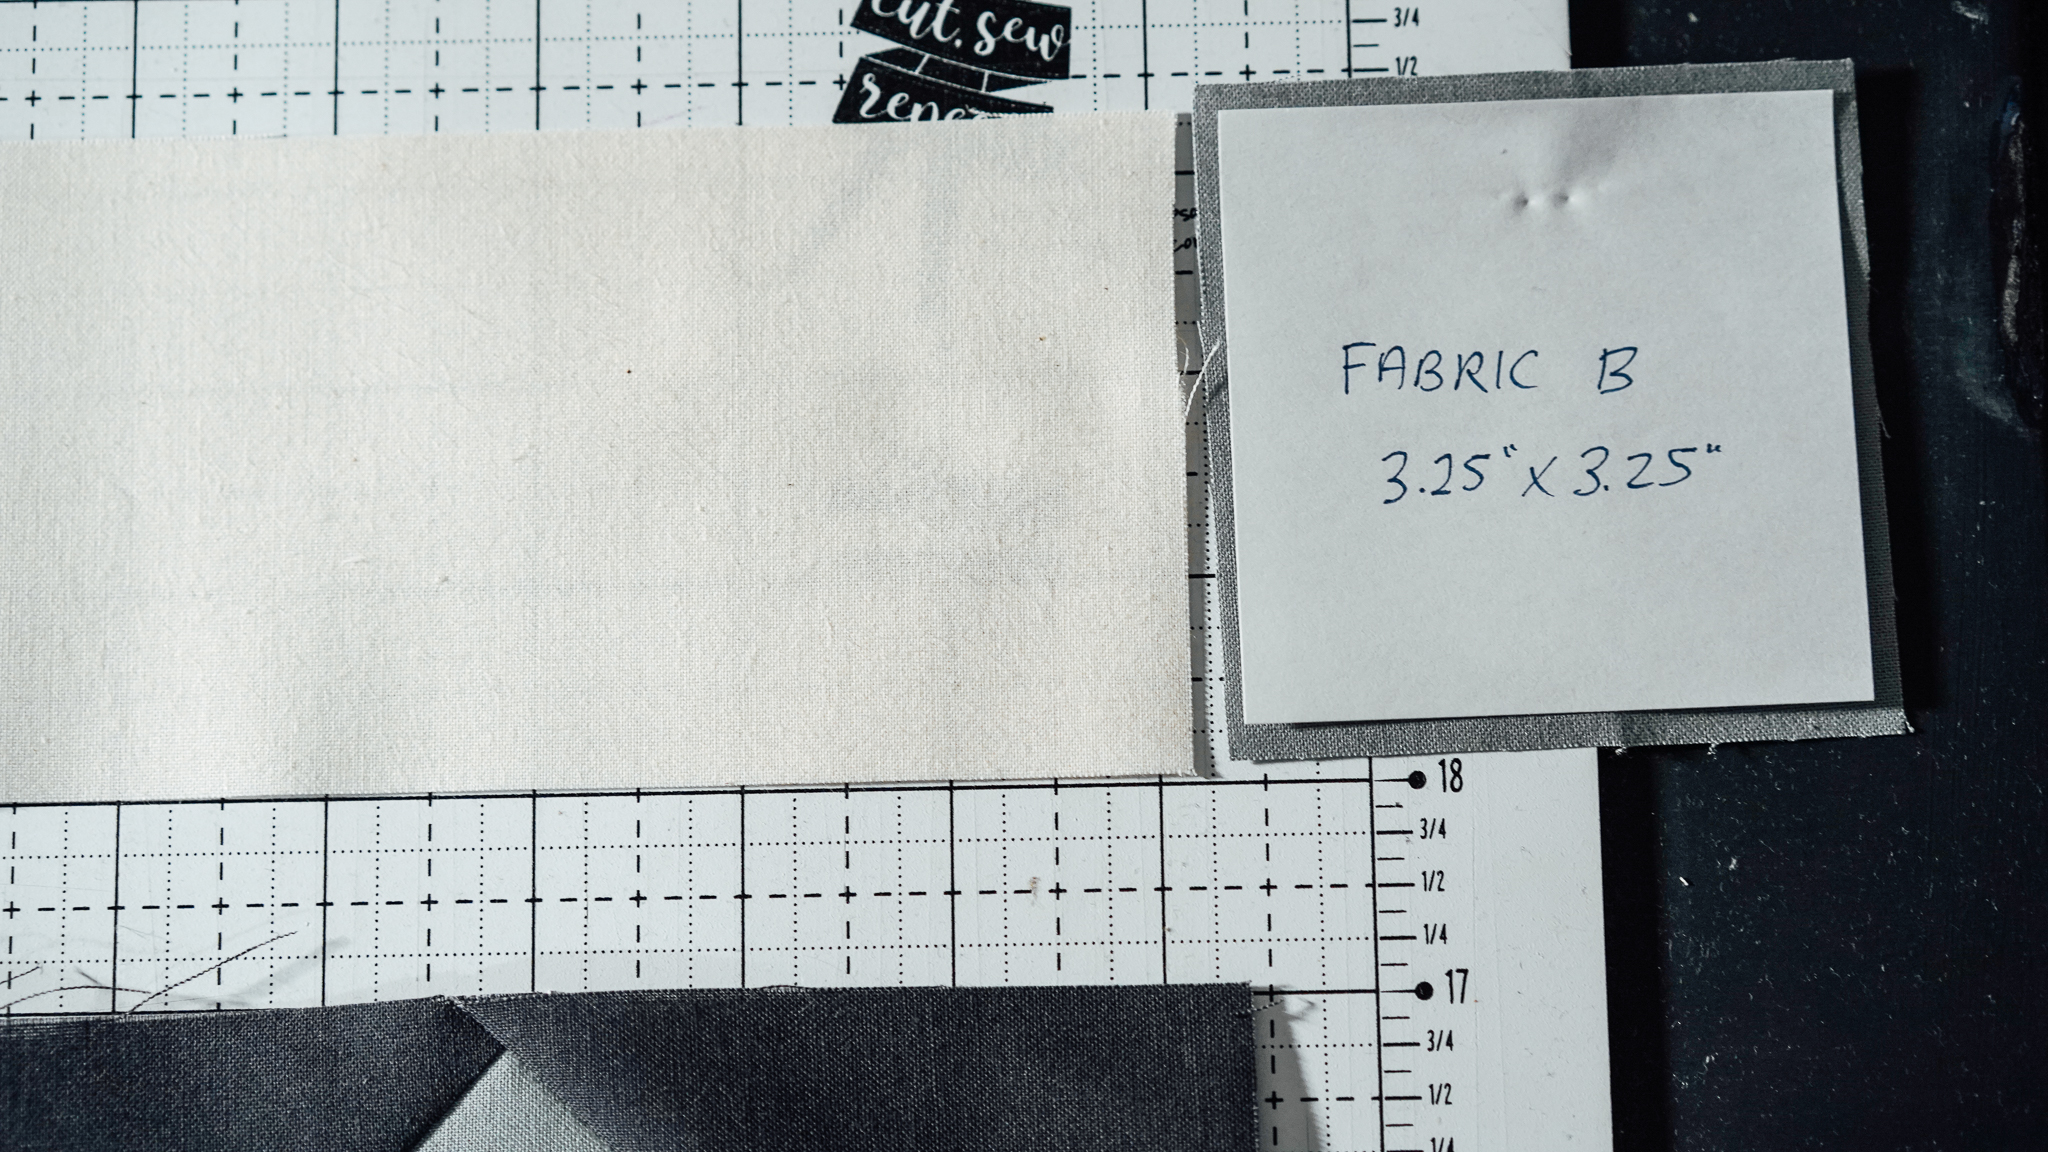
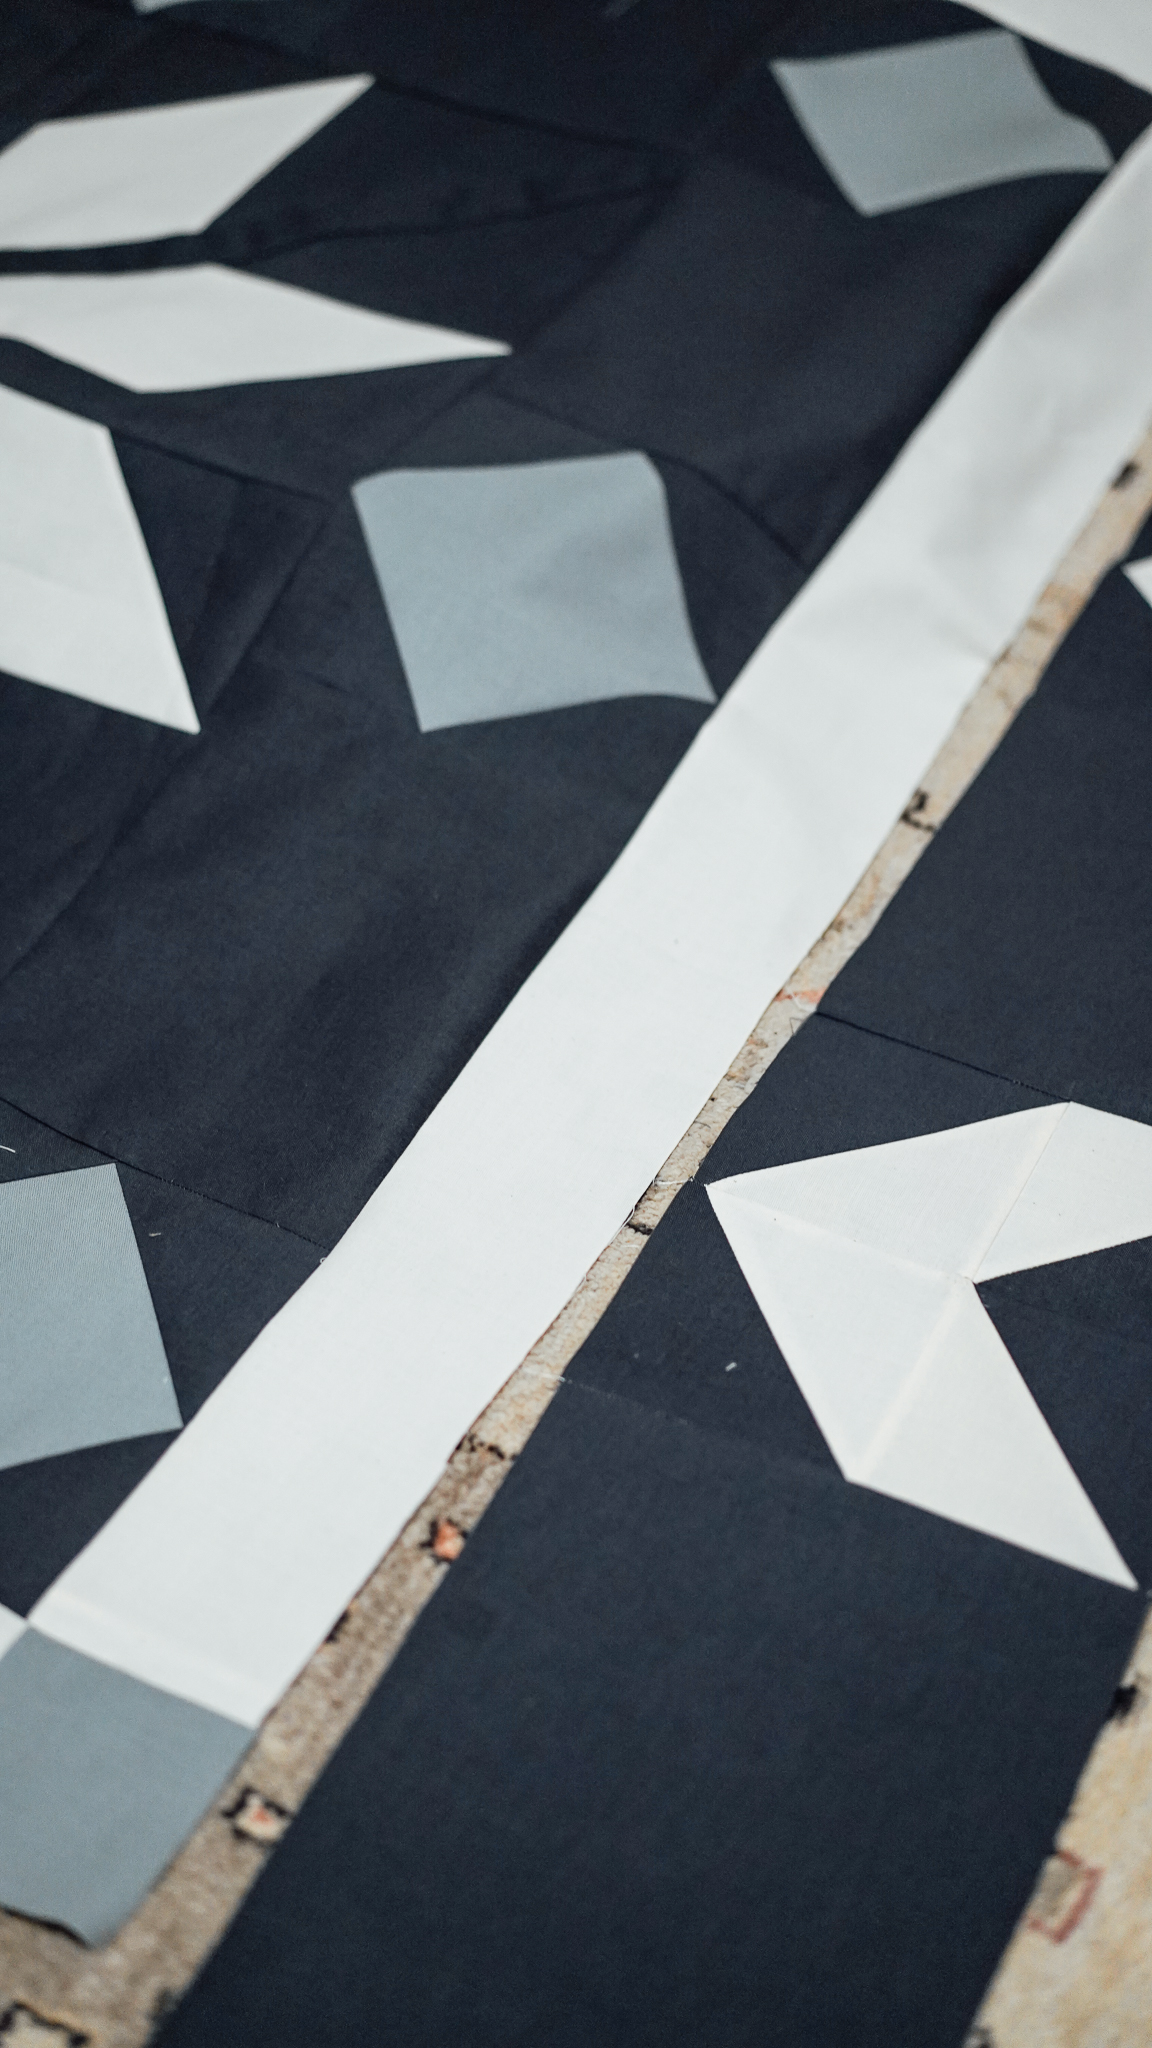
Start by sewing RST (2) 3.25” Fabric B squares (C) to the opposite ends of (2) 3.25” x 35.5” Fabric A strips (A), iron seams flat.
There should be 2 total. If you left your strips as WOF (width of fabric or 42”), trim them to 35.5” before sewing on the 3.25” squares.
Pin, and sew (2) Fabric A strips (A) to opposite sides of the Center Star unit (the 2 strips without squares). If you left the strips as WOF, trim the excess fabric.
Pin and sew the strips with the Fabric B squares on both ends to the opposite sides of the Center Star unit. matching up the seams of the blocks.

Pin, start by matching up the corners of the small squares, and sew RST (2) 3.25 x 35.5” Fabric A strips (A) to opposite sides of the Center Star unit. If you left the strips as WOF, trim the excess fabric.
Make sure that the seams are matched up.
Iron seams flat after sewing.
Note: the picture below has the chevron blocks already sewn, and that’s our next step!
A word of caution about ironing: be careful when ironing the long narrow strips, not to distort them while pressing, make sure they stay straight, this will help your corners to be more square and even.
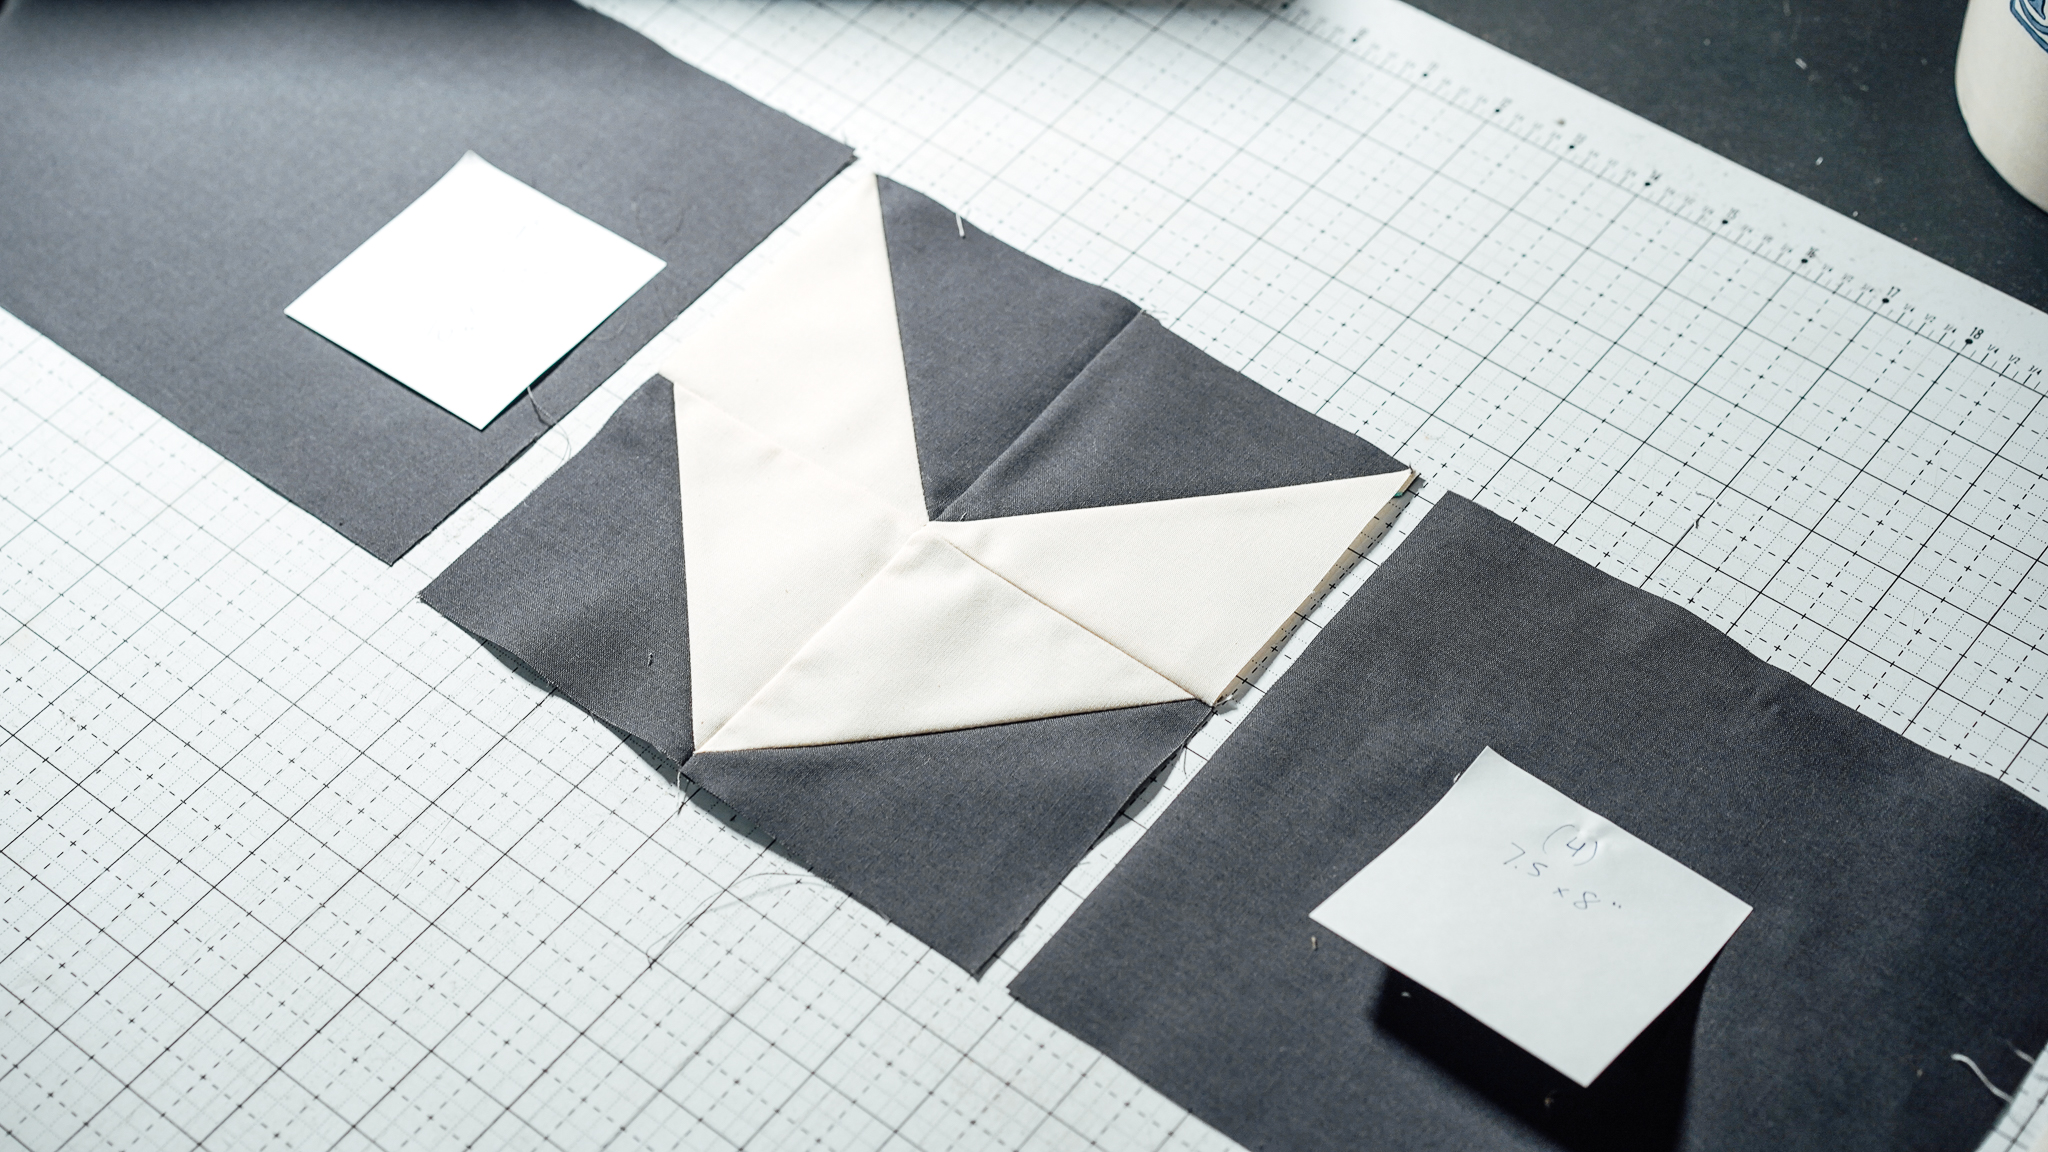
Quilt Center Assembly: Chevron Rows
Pin and sew RST 2 Chevron blocks to opposite sides of (1) 7.5” x 8” BG rectangle (P). Press seams flat, repeat 3 more times to create 4 total.
On 2 of the rows, sew RST (2) 7.5” x 10” BG rectangles (O) to the other sides of the Chevron Blocks.
On the last 2 rows, sew RST (2) 7.5” x 18” BG rectangles (Q) to the other sides of the Chevron Blocks. Press seams flat.
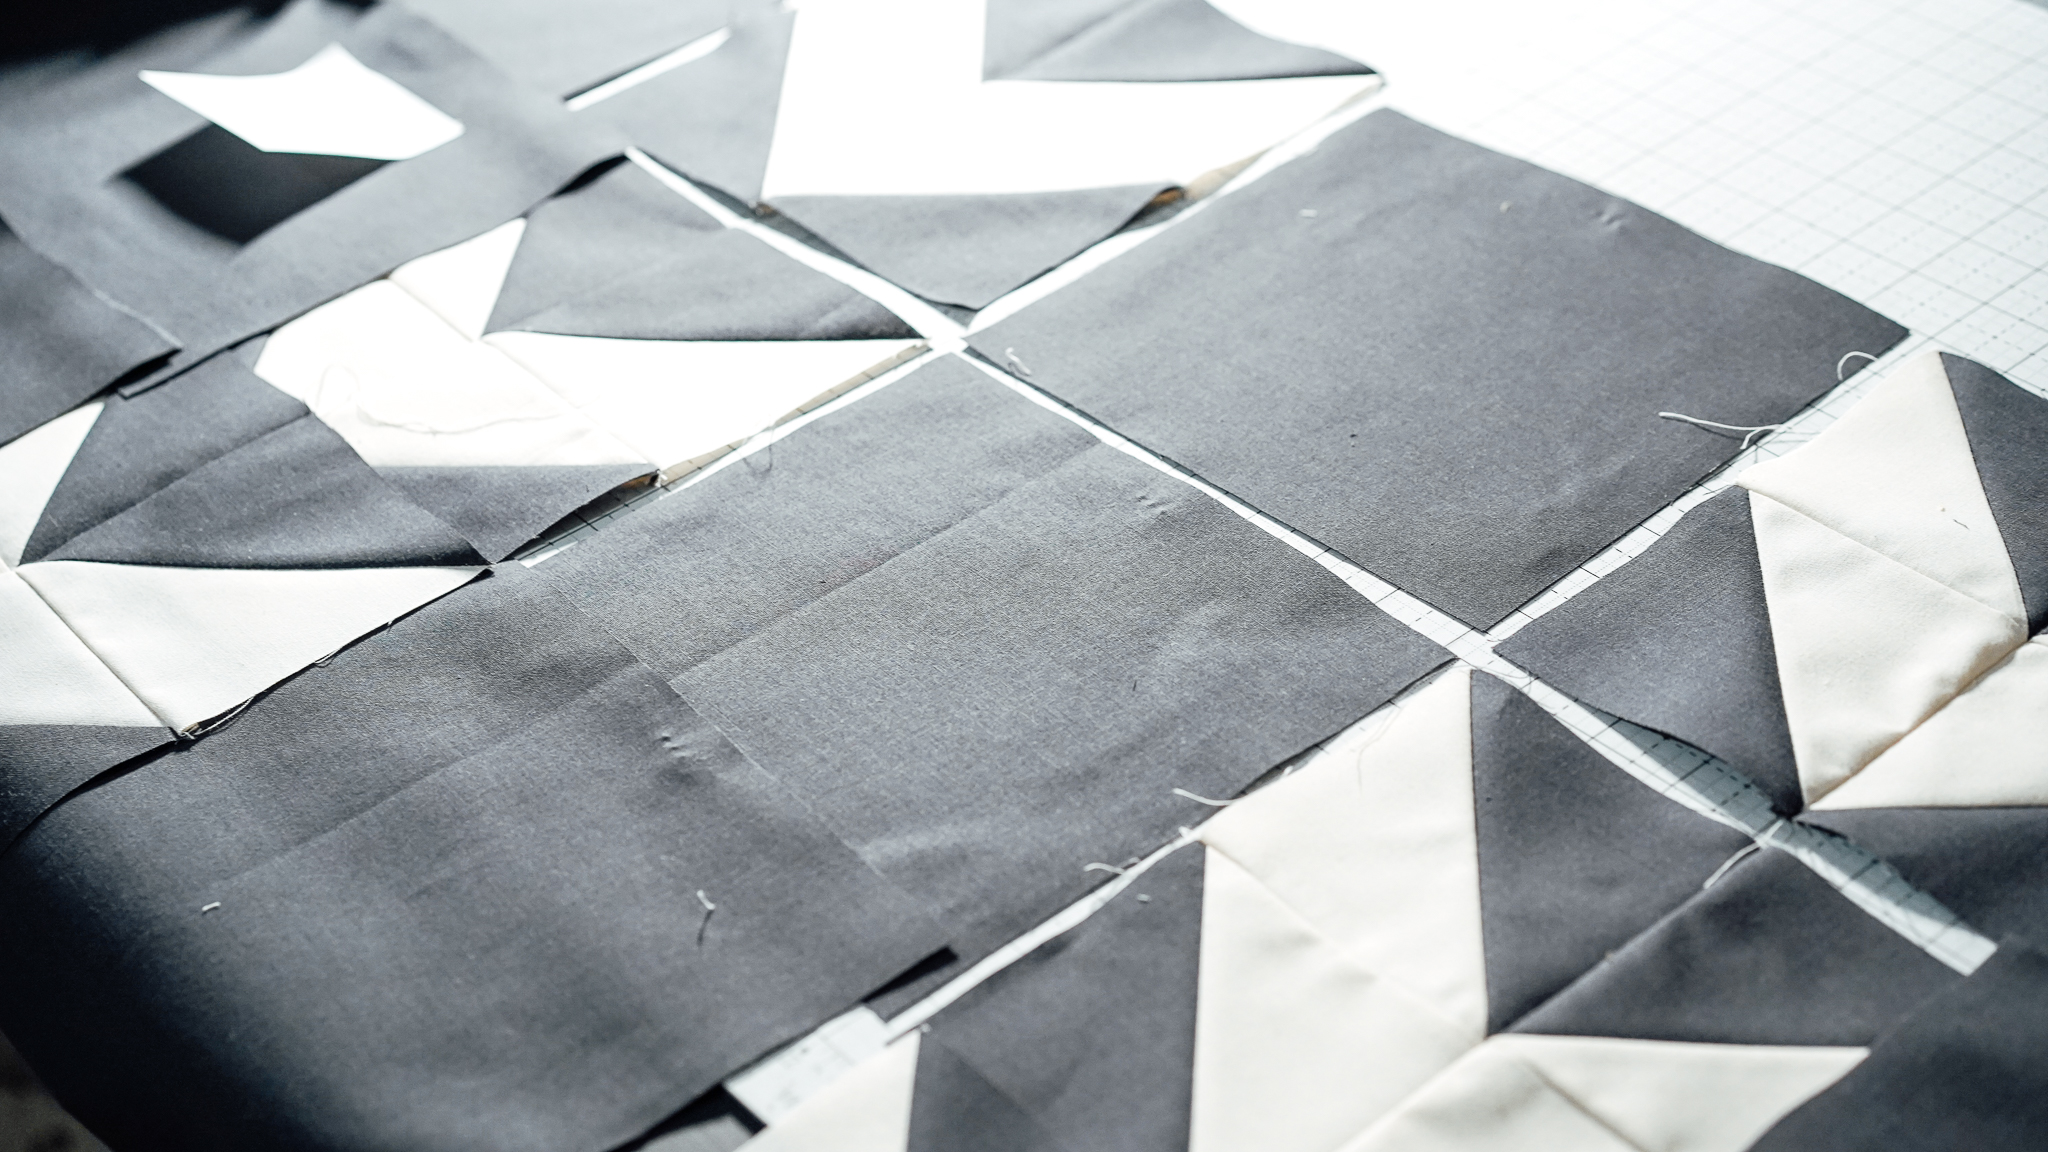
Find the centers (fold in half and mark) of the shorter Chevron rows, Pin and sew RST with the Center Star.
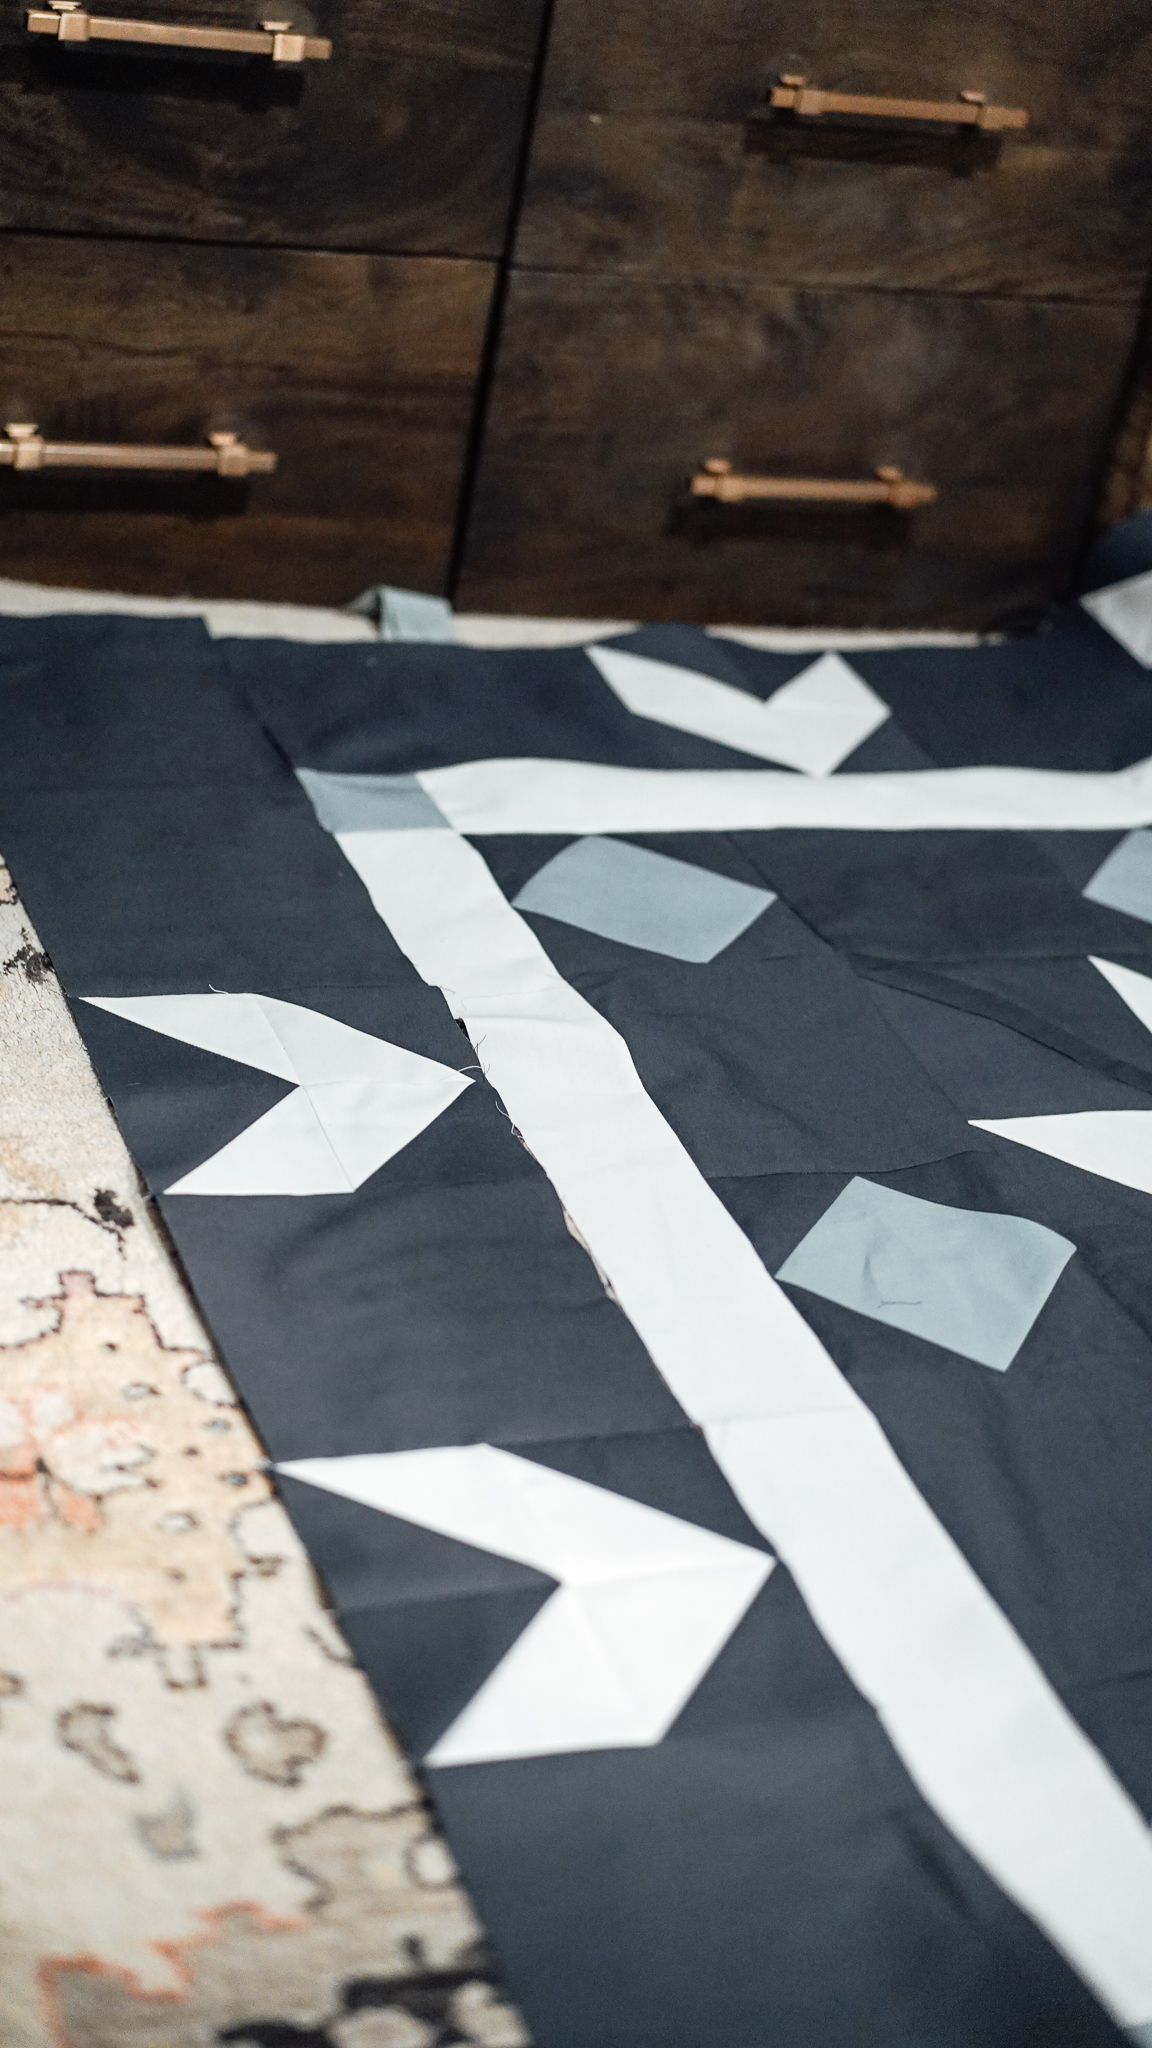
Repeat with the longer Chevron rows on the opposite sides of the Center.
Note: For more diagrams – download the pattern that goes with this weeks tutorial: Swiss Star Week 4 Pattern
As we wrap up Week 5, take a moment to admire the transformation unfolding before you. Your Swiss Star quilt is no longer a collection of individual units—it’s a cohesive work of art!
At the beginning of May, we’ll delve into the final steps of our quilt top, bringing us one step closer to wrapping ourselves in the warmth of our handmade masterpiece. This means you have 3 weeks to assemble all pieces. Take your time and Happy quilting!


Here is mine soo far. First time sewing with diamonds.
Did some more quilting today. Here is mine so far.
I could not find the directions on what to cut the chevron blocks down to. I realize by default that two sides are 7.5 inches – is it supposed to be 7.5 square?
I really enjoy seeing the progress as the Swiss star quilters create their prpjects
Here is my quilt top so far. My center star was really too wonky; I have redone it. Never have I spent so much quality time with my seam ripper!but I have now an acceptable result and I have learned so much
Wow that middle was tricky!
Finally got my borders made and attached! As I’ve looked through the posts, they are so beautiful! I love all the pretty colors! #Swiss Star QAL
I love this quilt!
Beautiful colors!
Thank you!
That’s really pretty, Chris!
Moving right along.
This quilt was fun to make. I couldn’t wait for the next instructions and finished early. Very happy how it turned out.
Oops. I went off reading and realized this morning I had done a boo-boo on my corners. Too late to change it. Just going to love my um individuality.
Loving this quilt along!
Gorgeous fabric choices.