 BERNINA Corporate Blog -
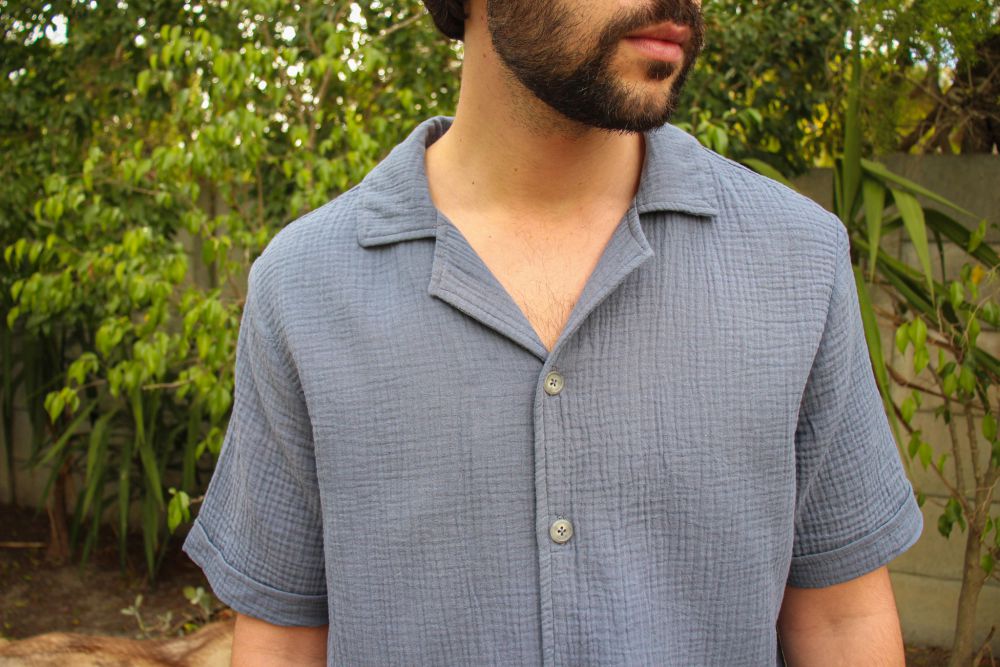 For the month of April 2024 you can download the “Yannik” Men’s Shirt Pattern from the Inspiration Magazine for free!
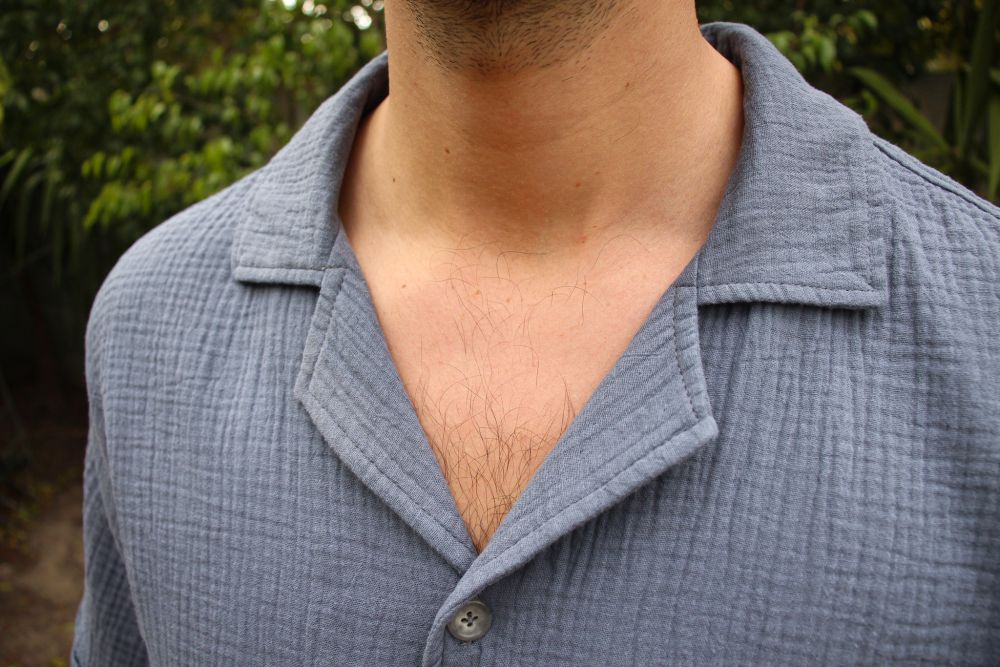
I made this shirt for my boyfriend as he felt the style fulfilled a gap in his wardrobe.
Despite the casual style with its loose shape, I feel that the shirt is still very versatile and that’s largely due to the choice of fabric.
We chose a Double Gauze fabric as it has a good weight without being heavy and the fine cotton weave is very cool for our hot Summers.
I love how the colour of the blue fabric varies in different lighting and sometimes looks more grey.
The Cuban (or sometimes called Camp) Collar immediately makes me think of warmer weather. Everything about this shirt makes it a great choice for Summer.
We’re already looking for other colour options to make more Yannik shirts! So its a bonus that this pattern is a quicker make than traditional button up shirts.
What will be needed:
- “Yannik” Men’s Shirt Pattern
- Sewing machine (Bernina 735)
- Button Sew-On Foot #18
- Buttonhole foot #3A
- 1.6 – 1.9 m light to mid weight Fabric (at least 140 cm wide)
- Fusible Woven Interlining
- Thread to match
- 5 buttons, 15 mm
Pattern
Download the free pattern: Inspiration Magazine Freebies
For help downloading refer to this blog post: Free sewing pattern for the Shirt “Yannik” (April only)
Keep in mind that the Inspiration Magazine patterns are always without seam allowances.
I added 1cm (green line) and 1.5cm (blue line) seam allowances as well as a 1.5cm hem allowance to my pattern.
The only part that does not receive a seam allowance is the Sleeve Hem and the inner edge of the Front Yoke
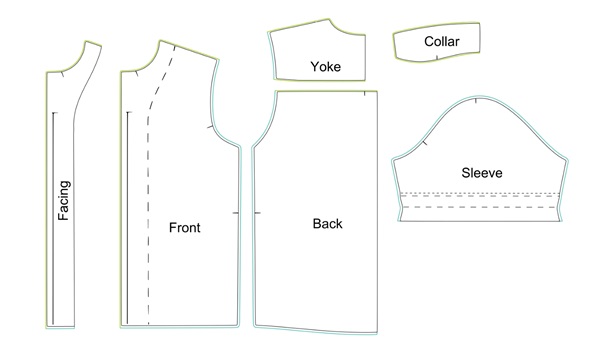 Please note that the drawings are not to scale. They are for descriptive purposes only.
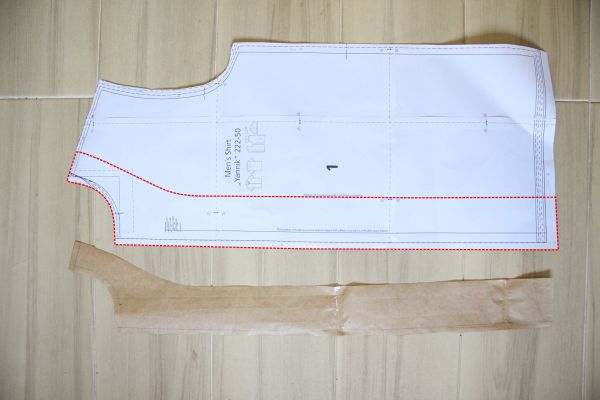 Trace the Facing off the Front pattern piece.
Cut
Out of the Fabric cut:
2 × Front
2 × Facing
2 × Yoke on the fold
1 × Back on the fold
2 × Collar on the fold
2 × Sleeve
Out of the Interfacing cut:
2 × Facing
1 × Collar on the fold
Sew
I veered slightly from the original instructions when attaching the Collar and Facings as well as the Yoke. I chose to sew it how I usually do as it provides a neater finish for myself.
Interface & Overlock
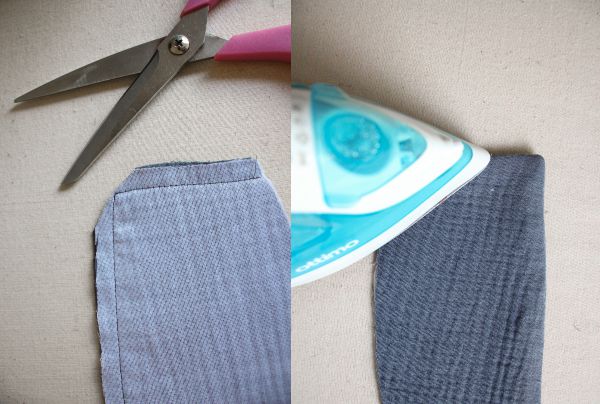
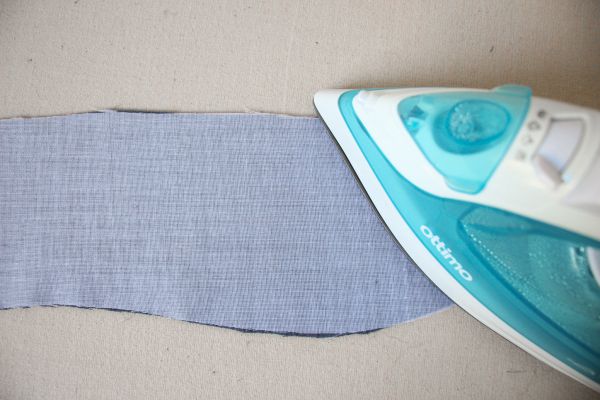 Iron the Woven Interlining on the wrong-side of one of the Collar pieces and the Facings.
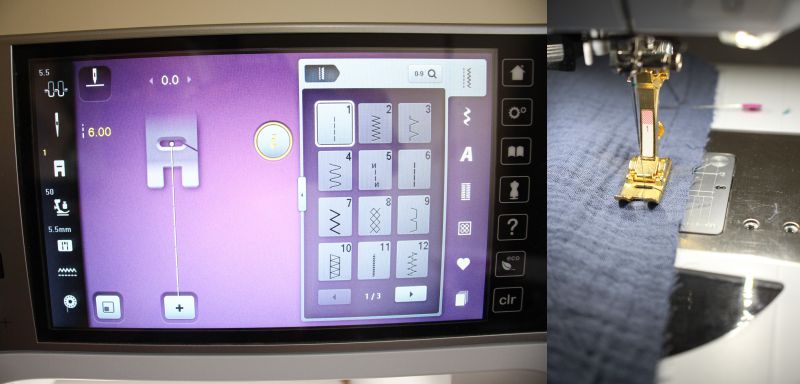
 Finish the raw edges of the Facing along the Shoulder and Inner Edge. You can use an Overlocker or a Sewing Machine with the Zig-Zag stitch or the Vari-Overlock Stitch with foot #2
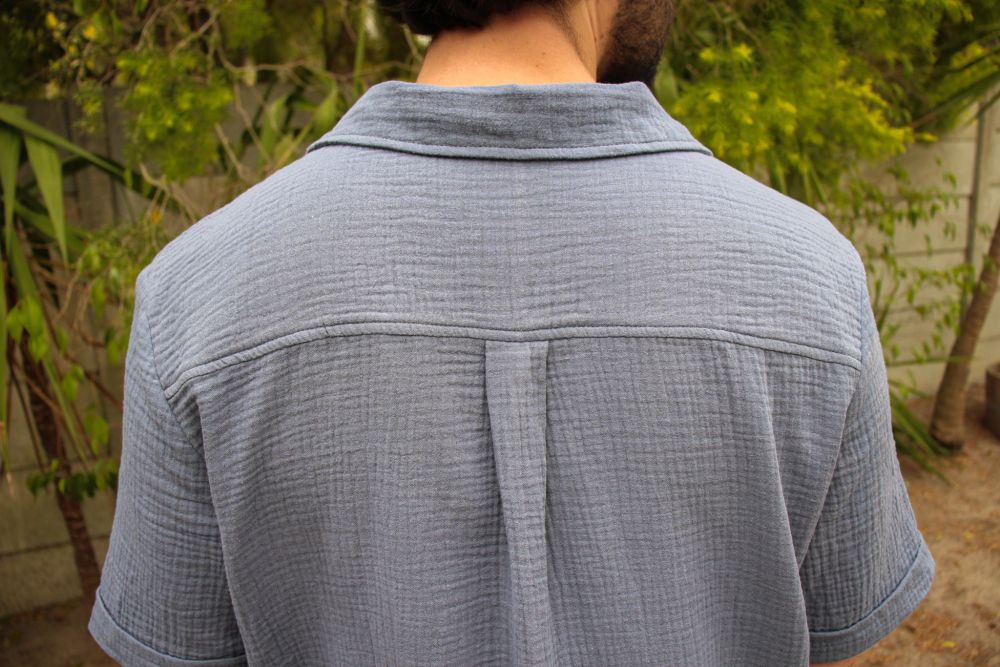
The Yoke
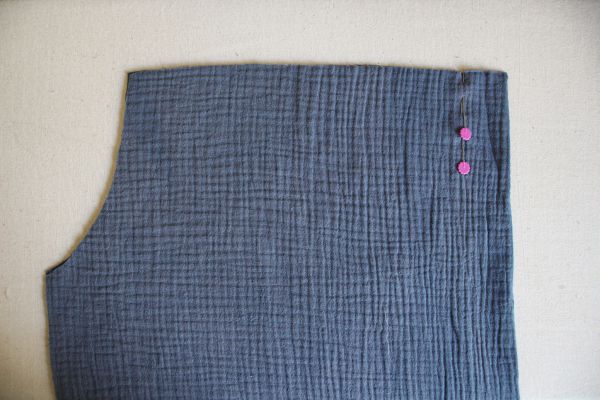 Fold the Back in half with wrong-sides together. Pin the pleat at the notch.
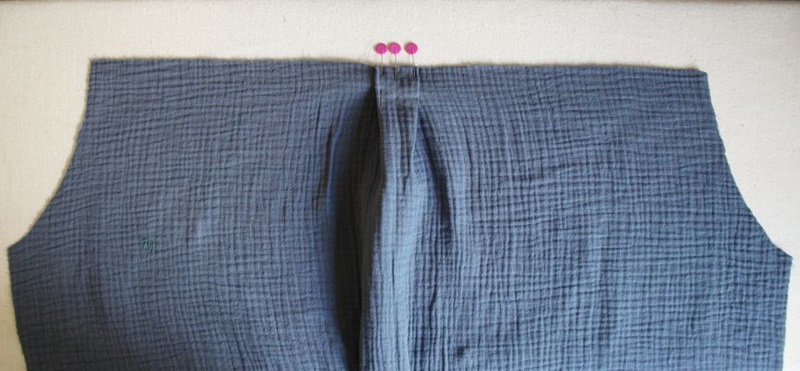 Open up the Back, with wrong-side down, and match up the fold with the pinned notch to create a Box Pleat.
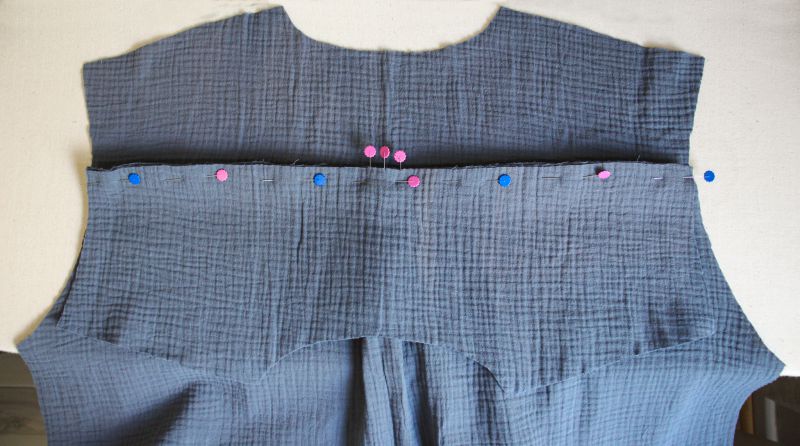 Place a Yoke on either side of the Back. The first Yoke will be right-sides together with the Back. But the second Yoke will be right-side on wrong-side of the Back.
Sew the seam (all 3 layers) with 1cm seam allowance.
 Place the Fronts with right-sides up.
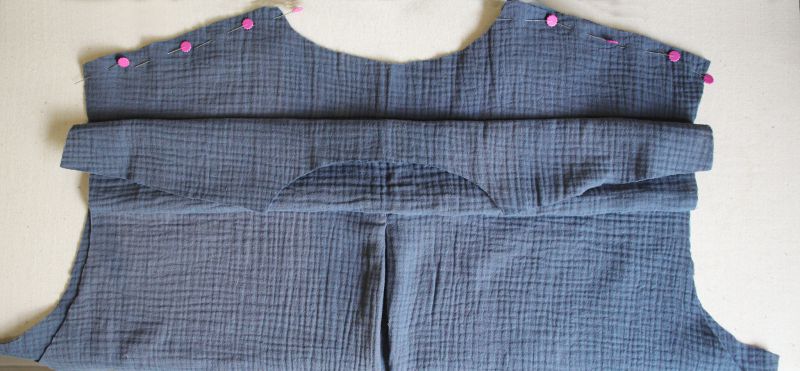 Place the Back on top with right-sides down. Pin the first Yoke to the Fronts at the Shoulders.
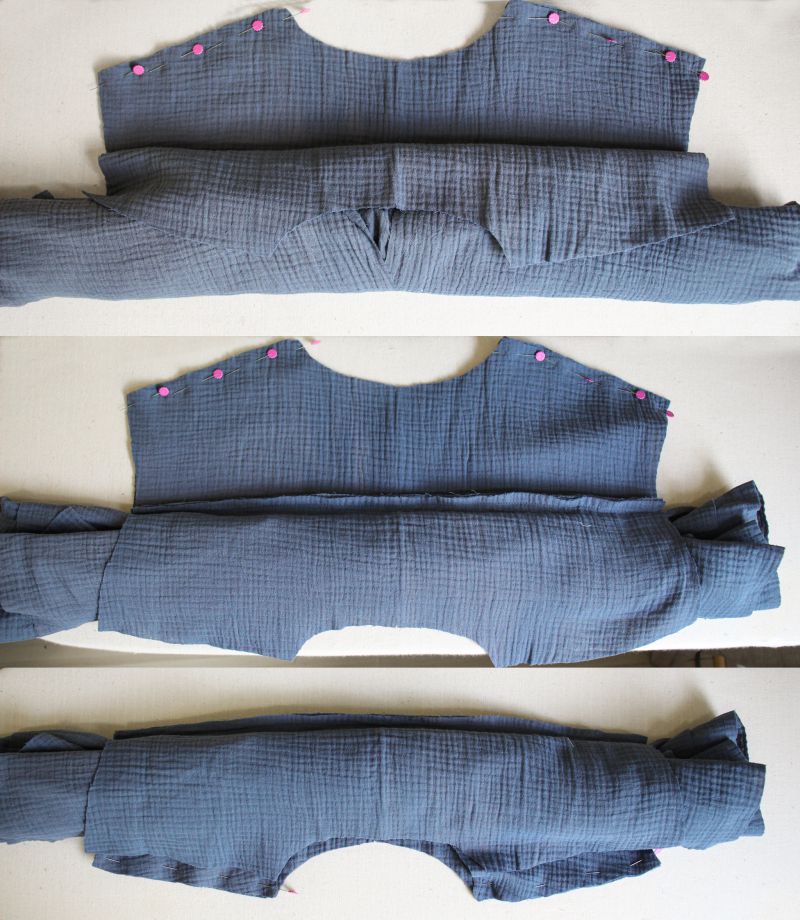 Roll the fabric together from the bottom towards the Yoke.
Bring the second Yoke over the roll to encase it
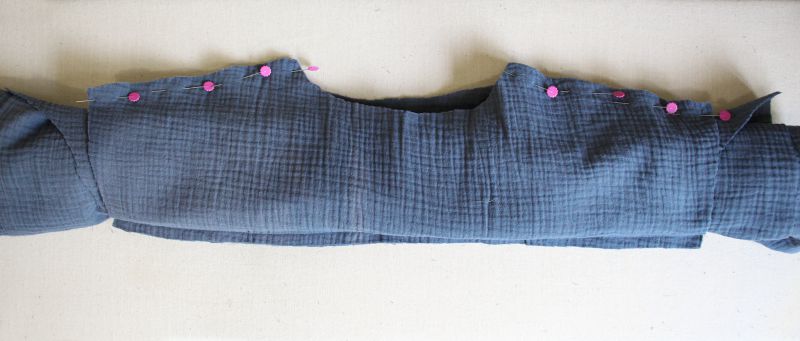 Match up the Shoulder seams.
Sew (all 3 layers) with 1cm seam allowance.
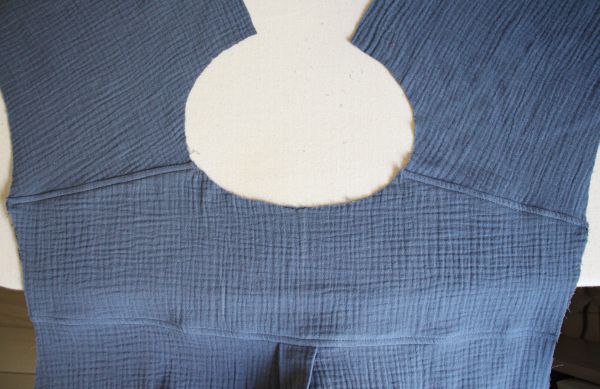
 Press the Shoulder and Yoke seams.
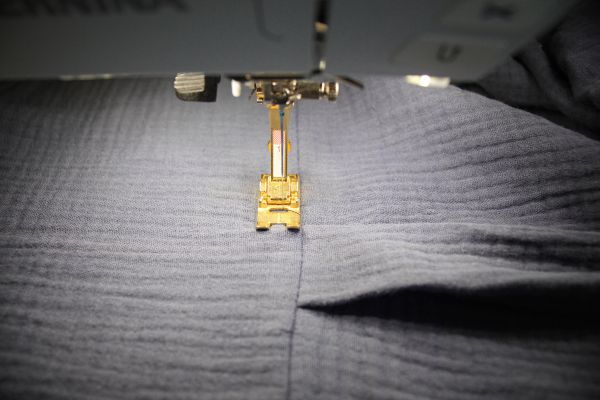 Topstitch the seams. Sew 4mm in from the seam line on the Yoke.
The Collar
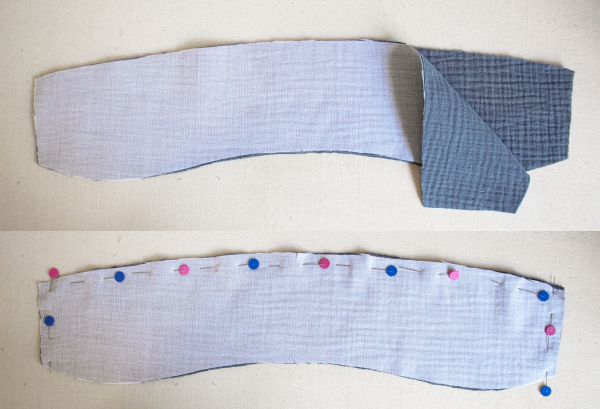 Place the Collars on top of each other with right-sides together
Pin the Collar along the narrow edges and outer edge.
Sew with 1cm seam allowance.
 Trim the seam allowances at the corners.
Turn the Collar right-side out and press.
 Lay the Bodice flat with right-sides up.
 Pin the Lower Collar (not interfaced) to the Back neckline between the Shoulder seams (right-sides together).
 Join the Lower Collar to the Back neckline between the Shoulder seams with 1cm seam allowance.
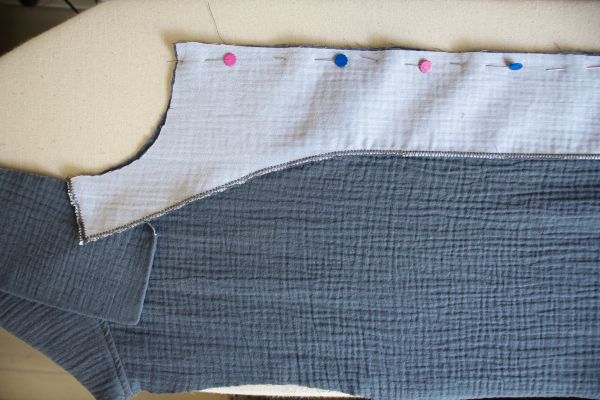 Pin the Facing along the Front edge with right-sides together and join with 1cm seam allowance.
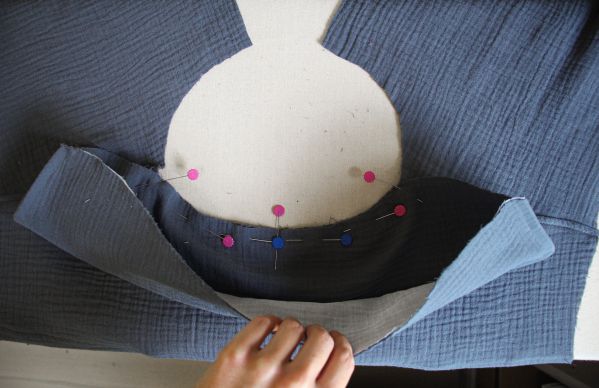
 Pin the Collar to the Front neckline between the Shoulder seam and Front notch.
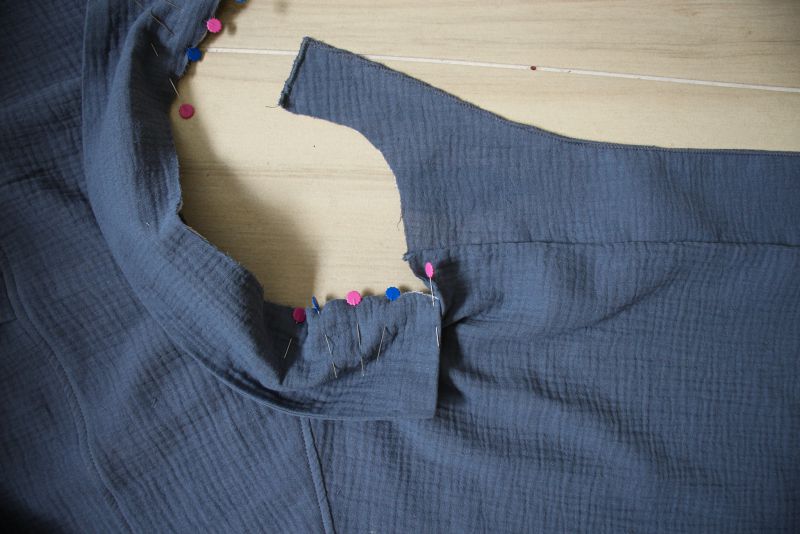
 Flip the Facing back and pin in the same way, sandwiching the Collar.
Sew with 1cm seam allowance from the Shoulder seam to the Front edge.
 Trim the seam allowances at the corners.
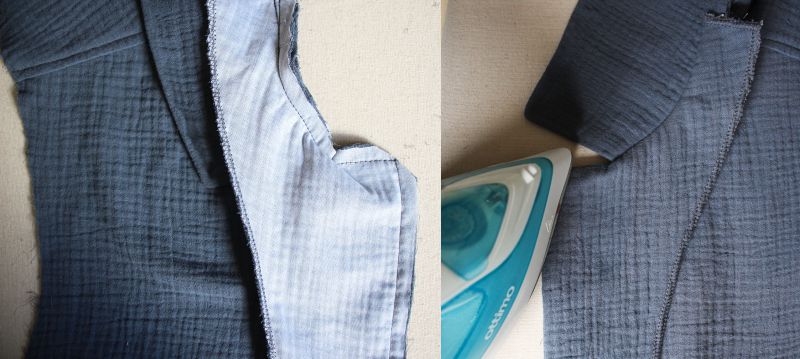
Turn the Collar right-side out and press.
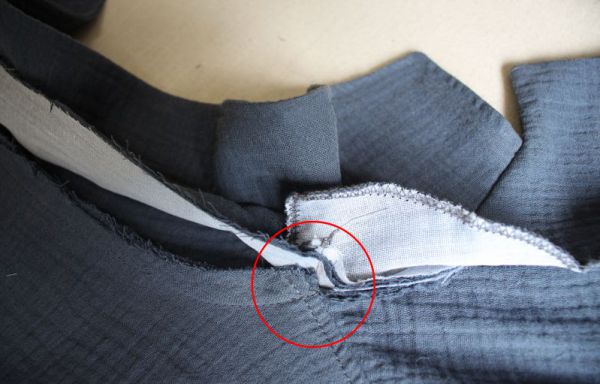 At the Shoulder seam, snip the seam allowance pf the Bodice (not the Upper Collar). Do not cut through the stitches.
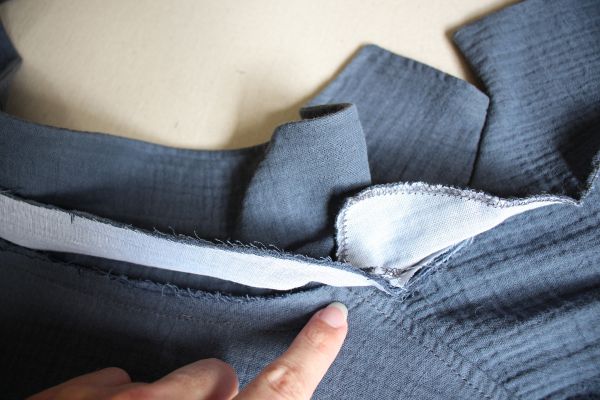 Push the stitched seam allowance towards the inside of the Collar.
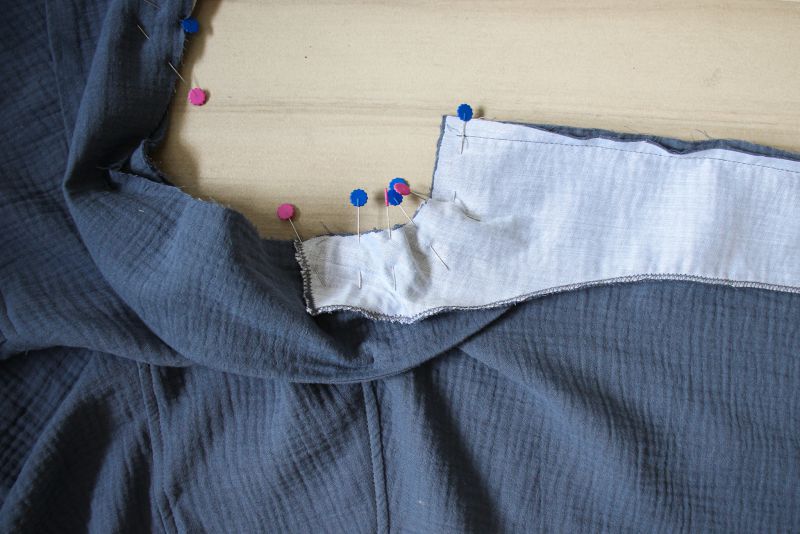
Fold in the allowance of the raw edge of the Upper Collar.
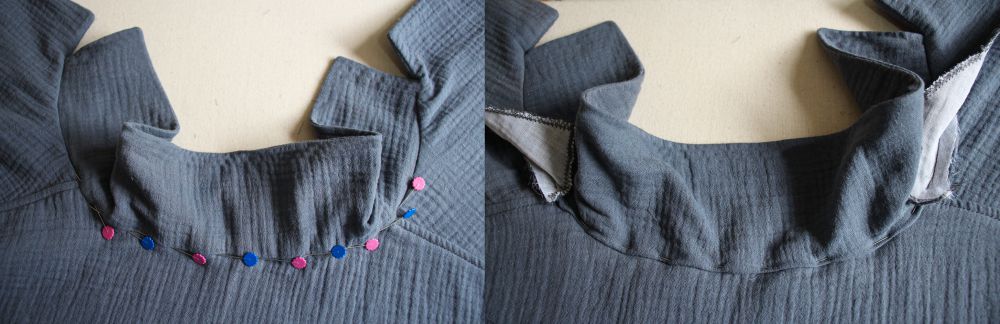 Secure with pins.
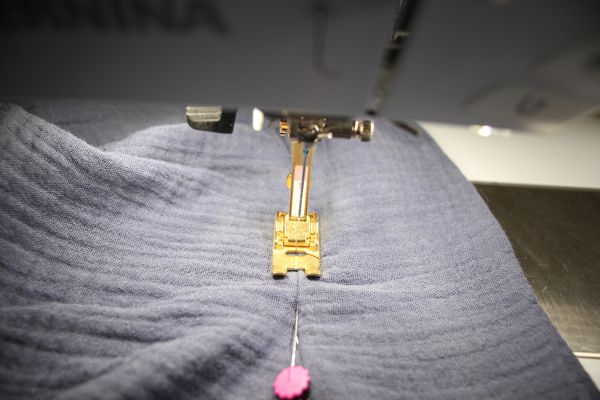 Stitch in the ditch.
 Pin the Facing along the Shoulder seam on the inside and stitch in the ditch to secure it.
The Sleeves
 How to sew the fake Cuff:
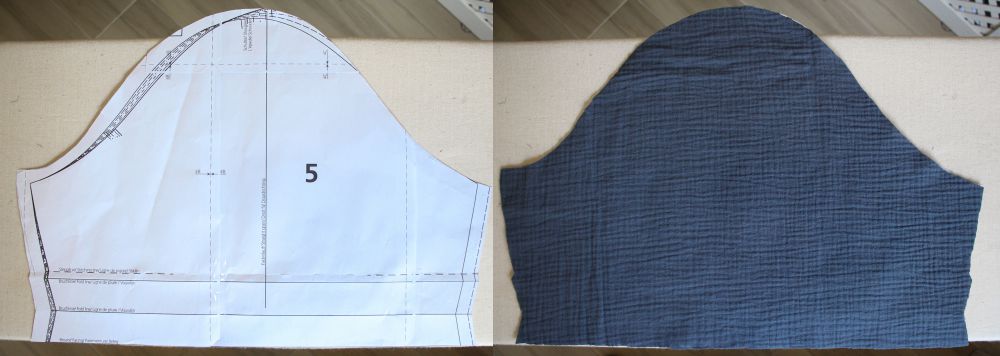
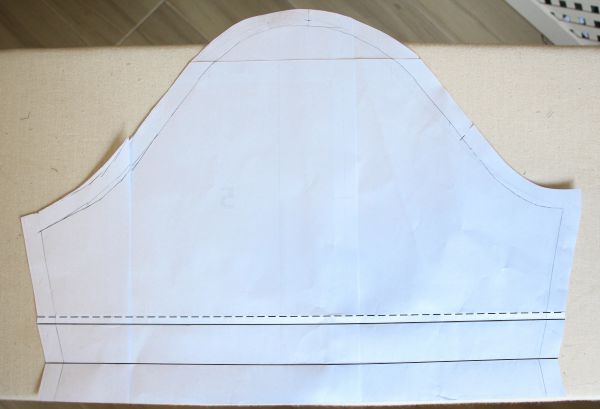
Place your pattern face up on a flat surface
Place the corresponding Sleeve right-side down on top.
Use the fold lines on the pattern as a guide:
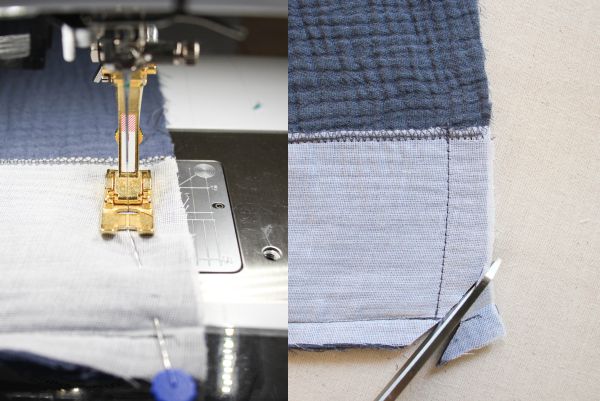
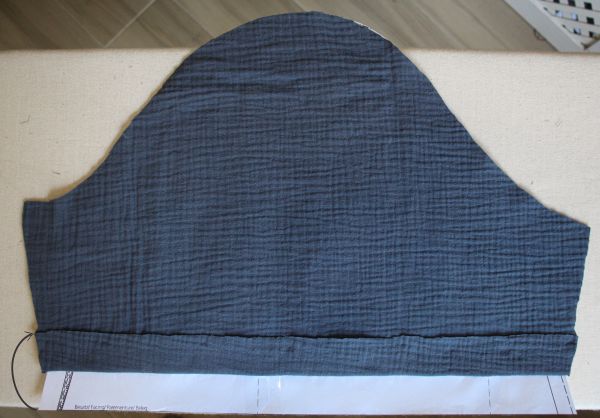 Fold up the raw edge on the Sleeve and press along the fold.
 Fold up again so that the raw edge is encased.
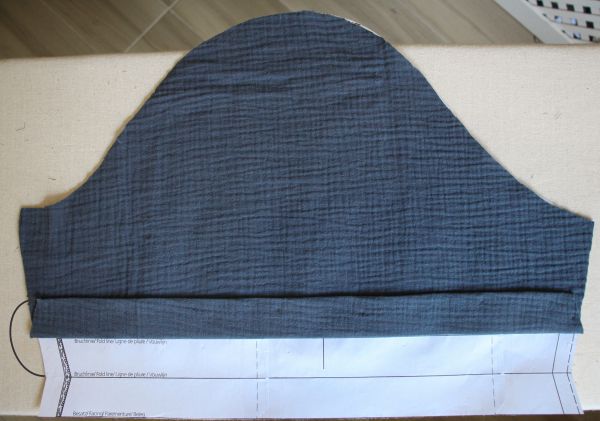
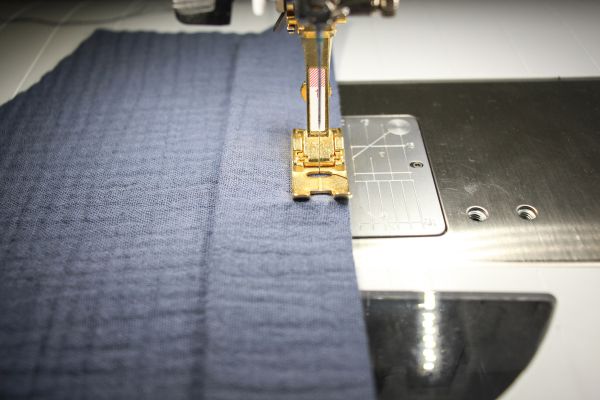 Topstitch 6mm in from the fold.
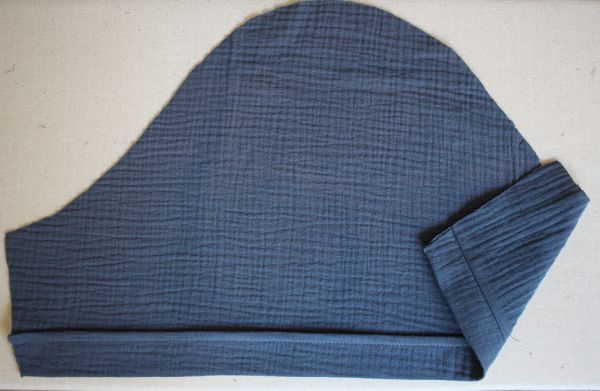 Place the Sleeve right-side up and press the stitched fold towards the Sleeve Head.
 Repeat for the other Sleeve. I recommend transferring the fold lines to the other side of the pattern to make it easier to repeat the above steps.
Attach the Sleeves to the Bodice:
I used French seams but Flat Felled seams would also make for a neat and strong finish.
Here’s a tutorial: How to sew Flat-Felled seams
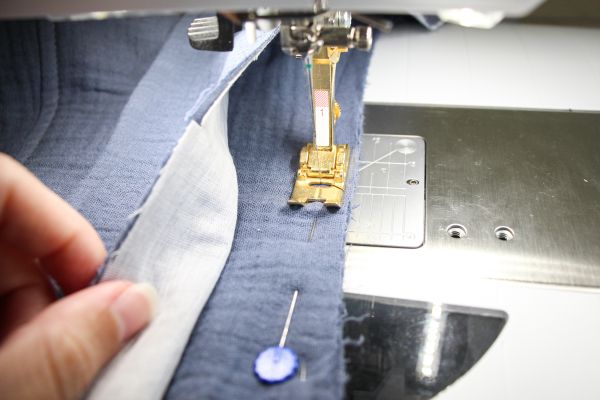
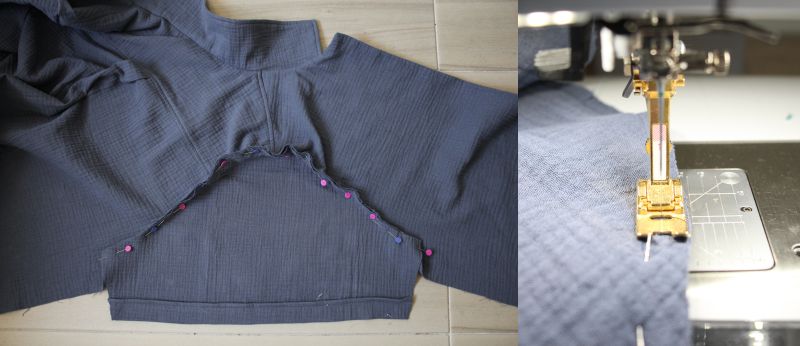 For the French seams pin the Sleeve to the Bodice with wrong-sides together.
Sew with 0.5cm seam allowance.
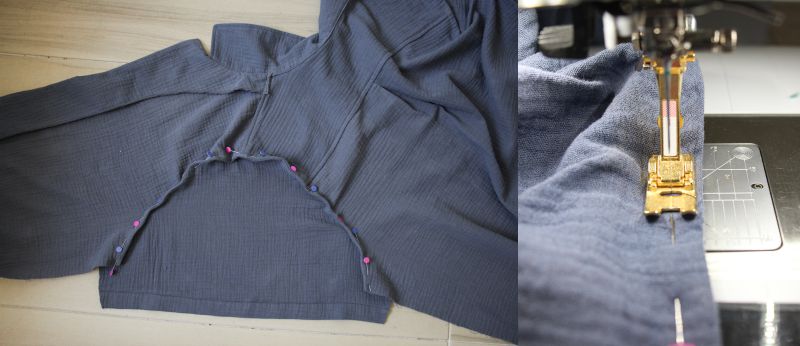 Turn the garment wrong-side out and fold along the seam you just sewed.
The fabric will encase the raw edges of the seam.
Sew with 1cm seam allowance and press.
Side Seams
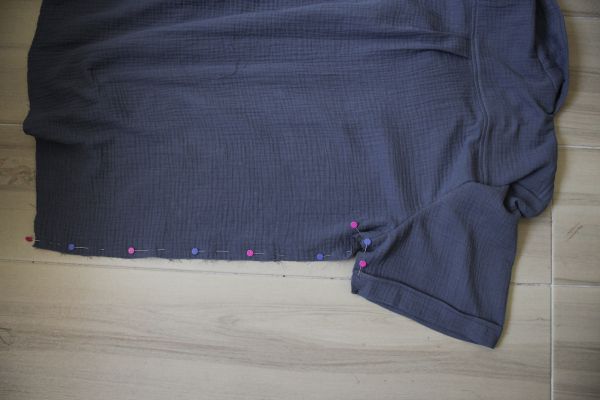 Close the Sleeve seams and the Side seams in one go using French seams or Flat Felled seams.
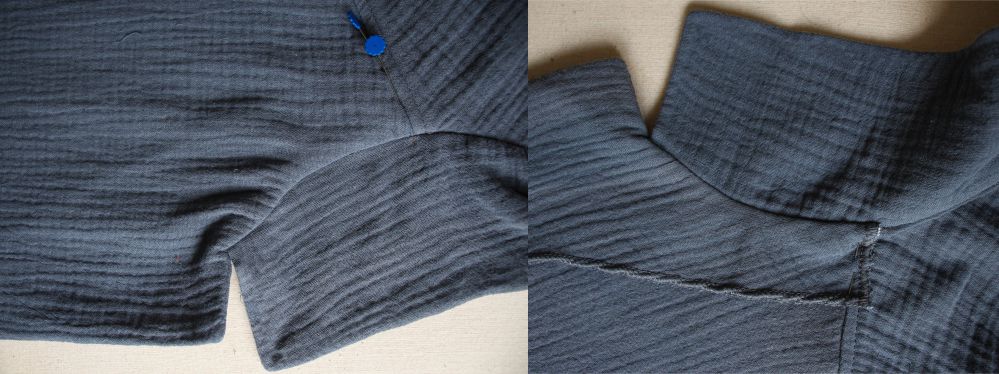
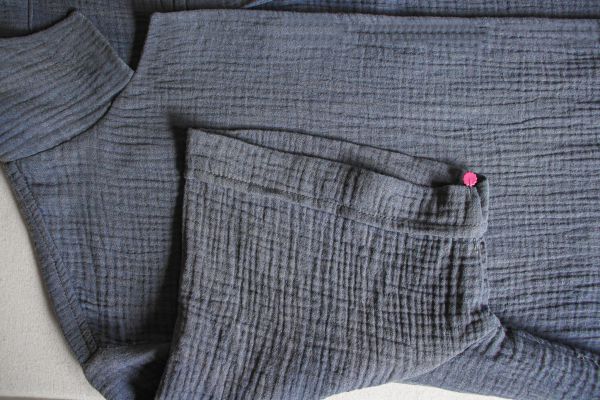 Press the seam towards the back and secure the seam at the Cuff with a short row of topstitching.
Finishing Touches
 Secure the lower edge of the Facings to the Shirt with right-sides together.
 Sew with 1.5cm seam allowance.
Trim the seam allowances at the corners.
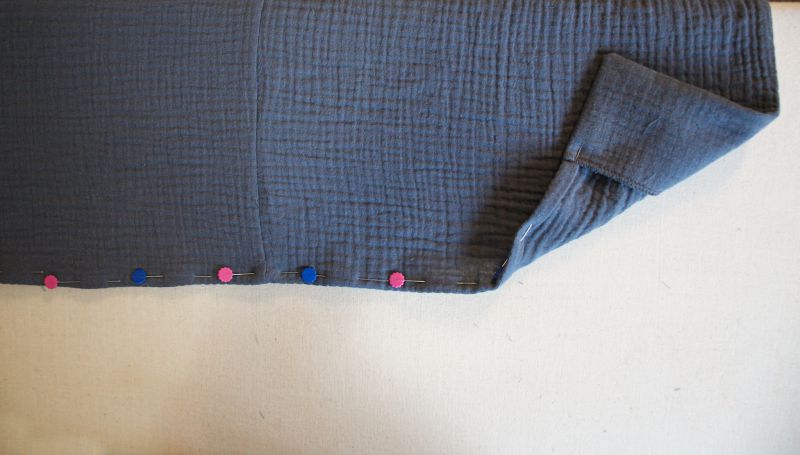
 Lengthen the stitches and sew the length of the Hem between the Facings with 1.5cm seam allowance.
Do not back stitch at the beginning or end and try not to let the fabric gather.
These are temporary stitches and can be removed once the Hem is complete.
 Fold the raw edge to the stitch line and press.
 Fold along the stitch line, encasing the raw edge and press.
 Turn the Facing right-side out and press.
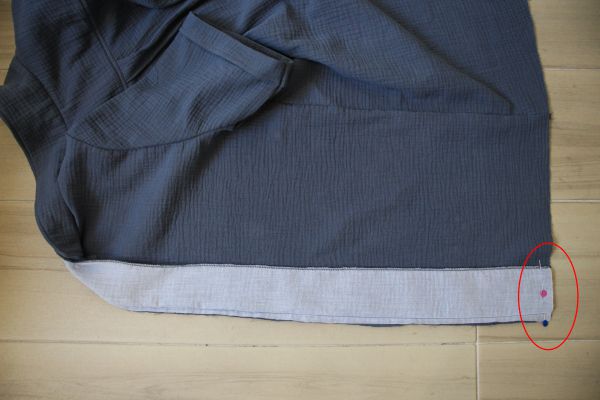
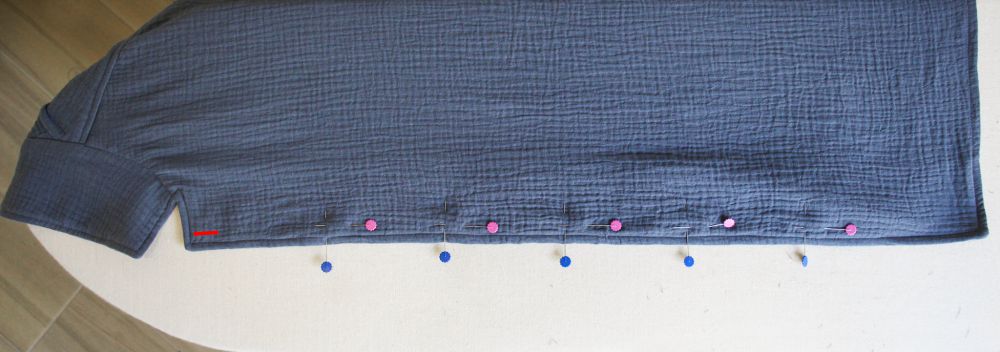
Secure the Hem (including the base of the Facing) with pins.
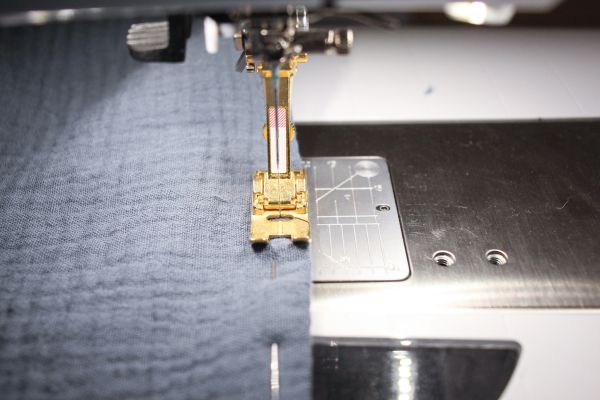
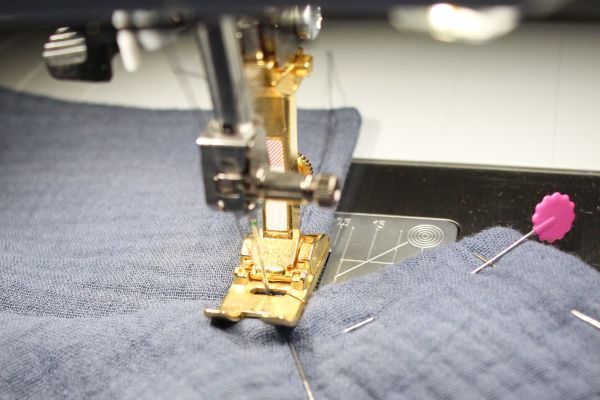
Return to your usual stitch length and topstitch 6mm in from the edge.
 Topstitch around the Front/Facing and the Collar, stitch 4mm in from the edge.
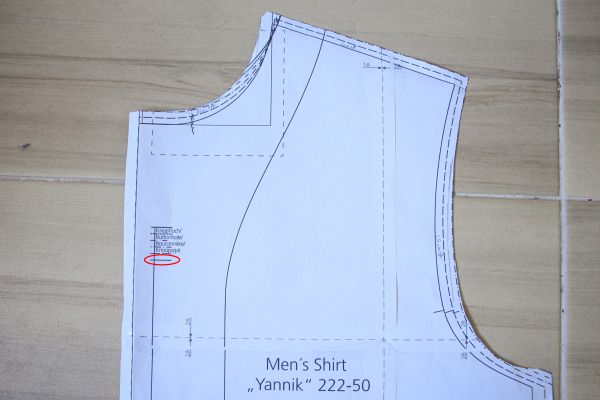 Sew the topmost Buttonhole where it is illustrated on the pattern (choose the marking that corresponds with your size.)
 Spread the following ones evenly at a distance of 10 – 11 cm and sew on the Buttons.
Keep in mind that for a men’s shirt, when you have it in front of you, the Buttonholes are on the right and the Buttons are on the left.
Here is a video sharing how to sew Buttonholes & attach Buttons.


Tips
Double Gauze fabric
 It is important to use thin and sharp needles as the weave is susceptible to pulls when the needle is blunt.
 - Pretreat the fabric as you are going to treat the finished garment.
Ie, if you usually wash your clothes at 30’C and line dry, do the same for the fabric before cutting it.
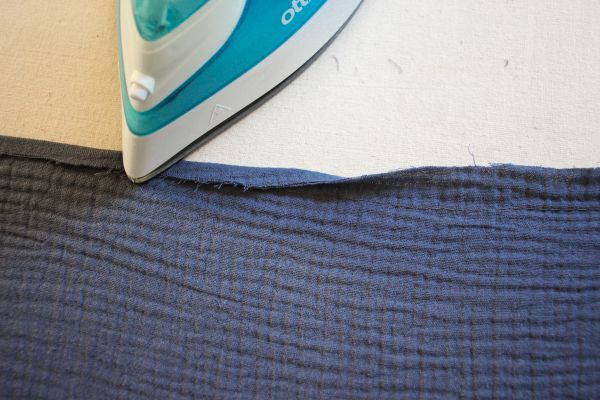
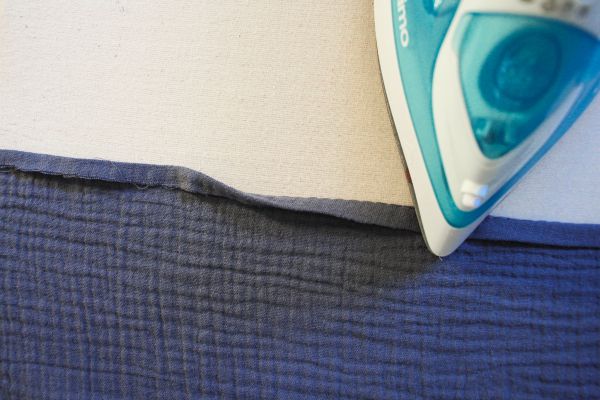
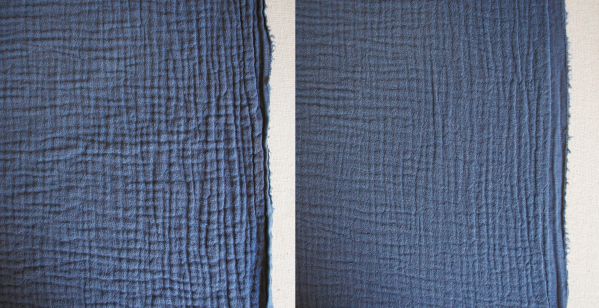 Ironing Double Gauze fabric is slightly tricky as the fabric naturally has a crinkled texture. Decide before you cut the fabric if you plan on ironing the finished garment.
I would recommend ironing the fabric when making clothing like the casual shirt above.
However, the aim is not to remove the crinkle texture but rather to create a neat and even texture. Use a lot of steam when ironing and barely touch the iron on the fabric (don’t press hard). The heat and seam will loosen and relax the weave, without losing the crinkle texture.
If you are concerned that you removed too much of the crinkle, dampen the fabric slightly, crinkle it with your hands and leave to dry. The fabric will return to its original crinkled texture when washed.
Collar
 You could add a Button and Buttonhole to the top of the Buttonstand/Facing part of the Collar to add another style option where the shirt can be fully buttoned up.
I would love to see what you make, please feel free to share with me!
Remember to also tag Inspiration Magazine
Instagram
Facebook
-Hannah-Rose
Missed the free download?
You can purchase the pattern from Inspiration Magazine’s online shop


0 Responses