 BERNINA Corporate Blog -
Welcome back to the Swiss Star Quilt Along! This week marks a pivotal moment in our quilting journey—cutting and assembling several of the building blocks of our modern masterpiece.
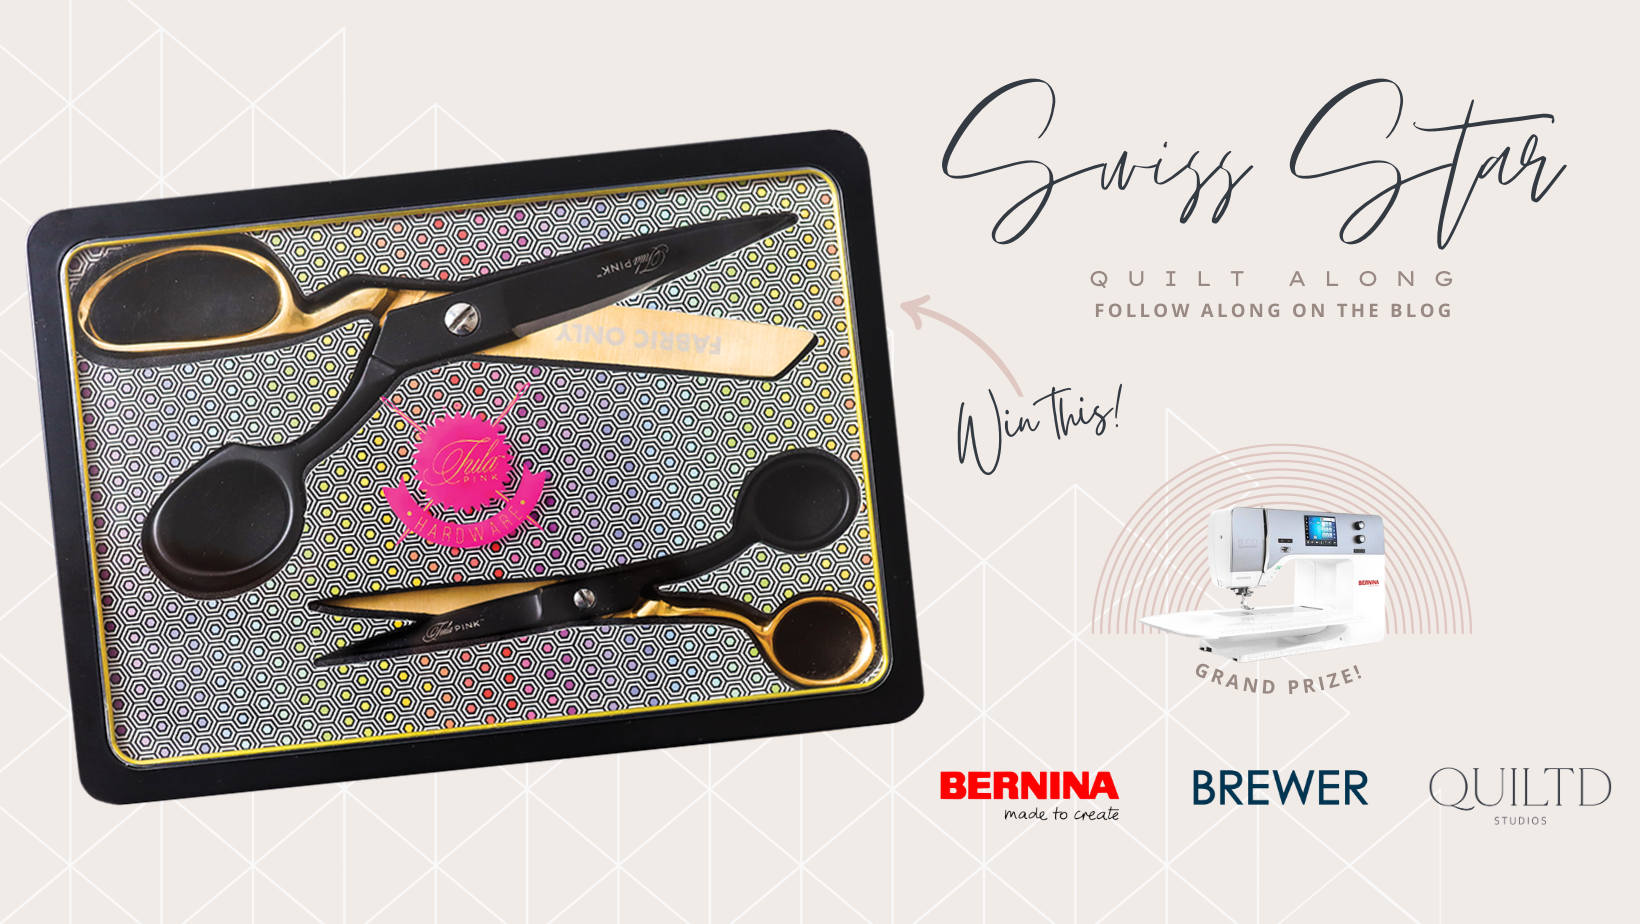
And even better? Those who finish cutting and post a picture in the comments or Community section before March 31, will be entered to win a giveaway generously sponsored by Brewer: a signed scissors set from Tula Pink!
How to Enter the Giveaway
Please be aware that only registered and logged in blog accounts are able to post a picture in the comments or Community section.
Post a comment in the comment section and upload a photo of your already cut pieces by clicking on the upload image symbol:

Or start a new project in the Community Section by clicking on the red button on the top left, choose the “Swiss Star Quilt-Along” in the Campaigns, enter your text and add your photo by clicking on “Upload your images to the gallery”.
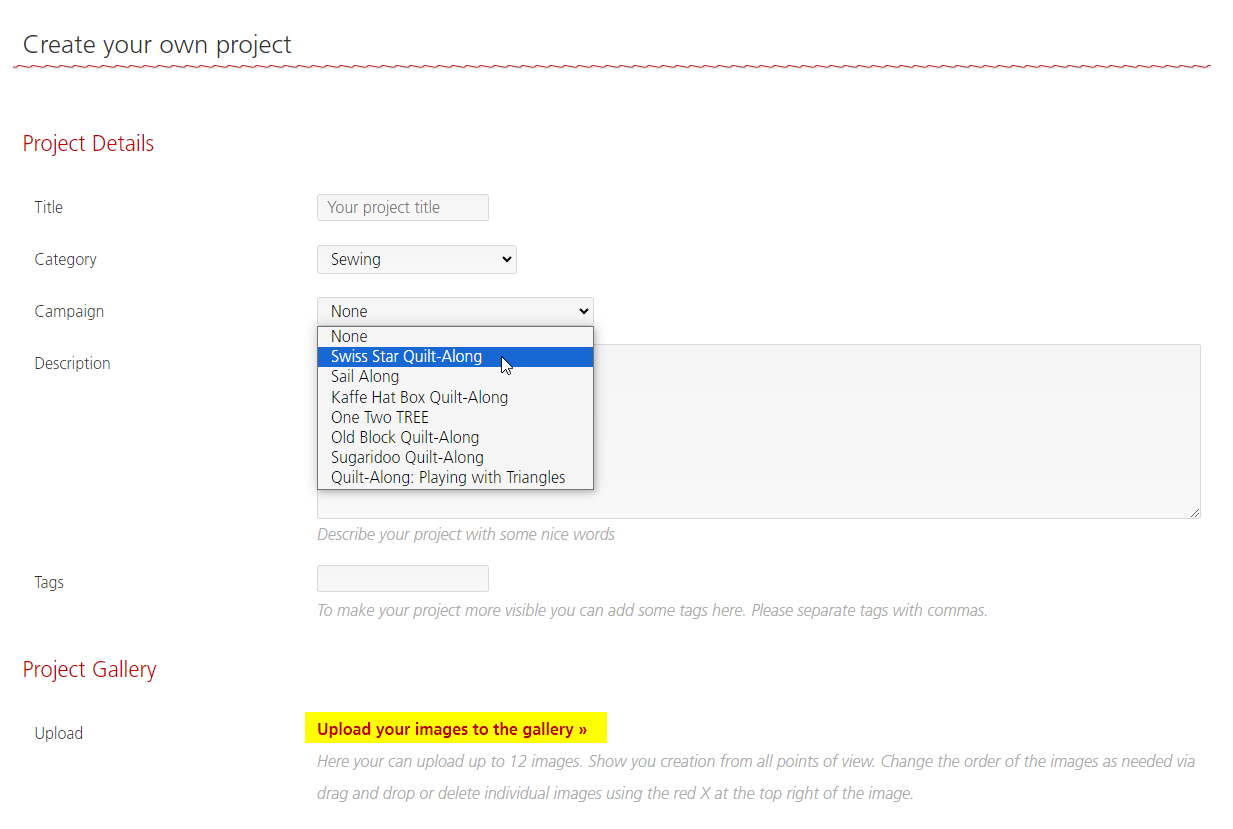
A new Pop Up will oben where you can either drag & drop or select your photo from your device.
Post your photo until March 31st to share your fabric selection and for a chance to win the scissors set by Brewer! All readers of the English BERNINA blog are eligible to participate.
If, for any reason, the winner is unable or otherwise not entitled to accept the prize, we do not guarantee that an alternative prize or replacement can be offered. The prize cannot be paid out in cash and the right to the prize cannot be transferred. The winner will be chosen at random. Good Luck!
The Power of Precision: Cutting Fabrics
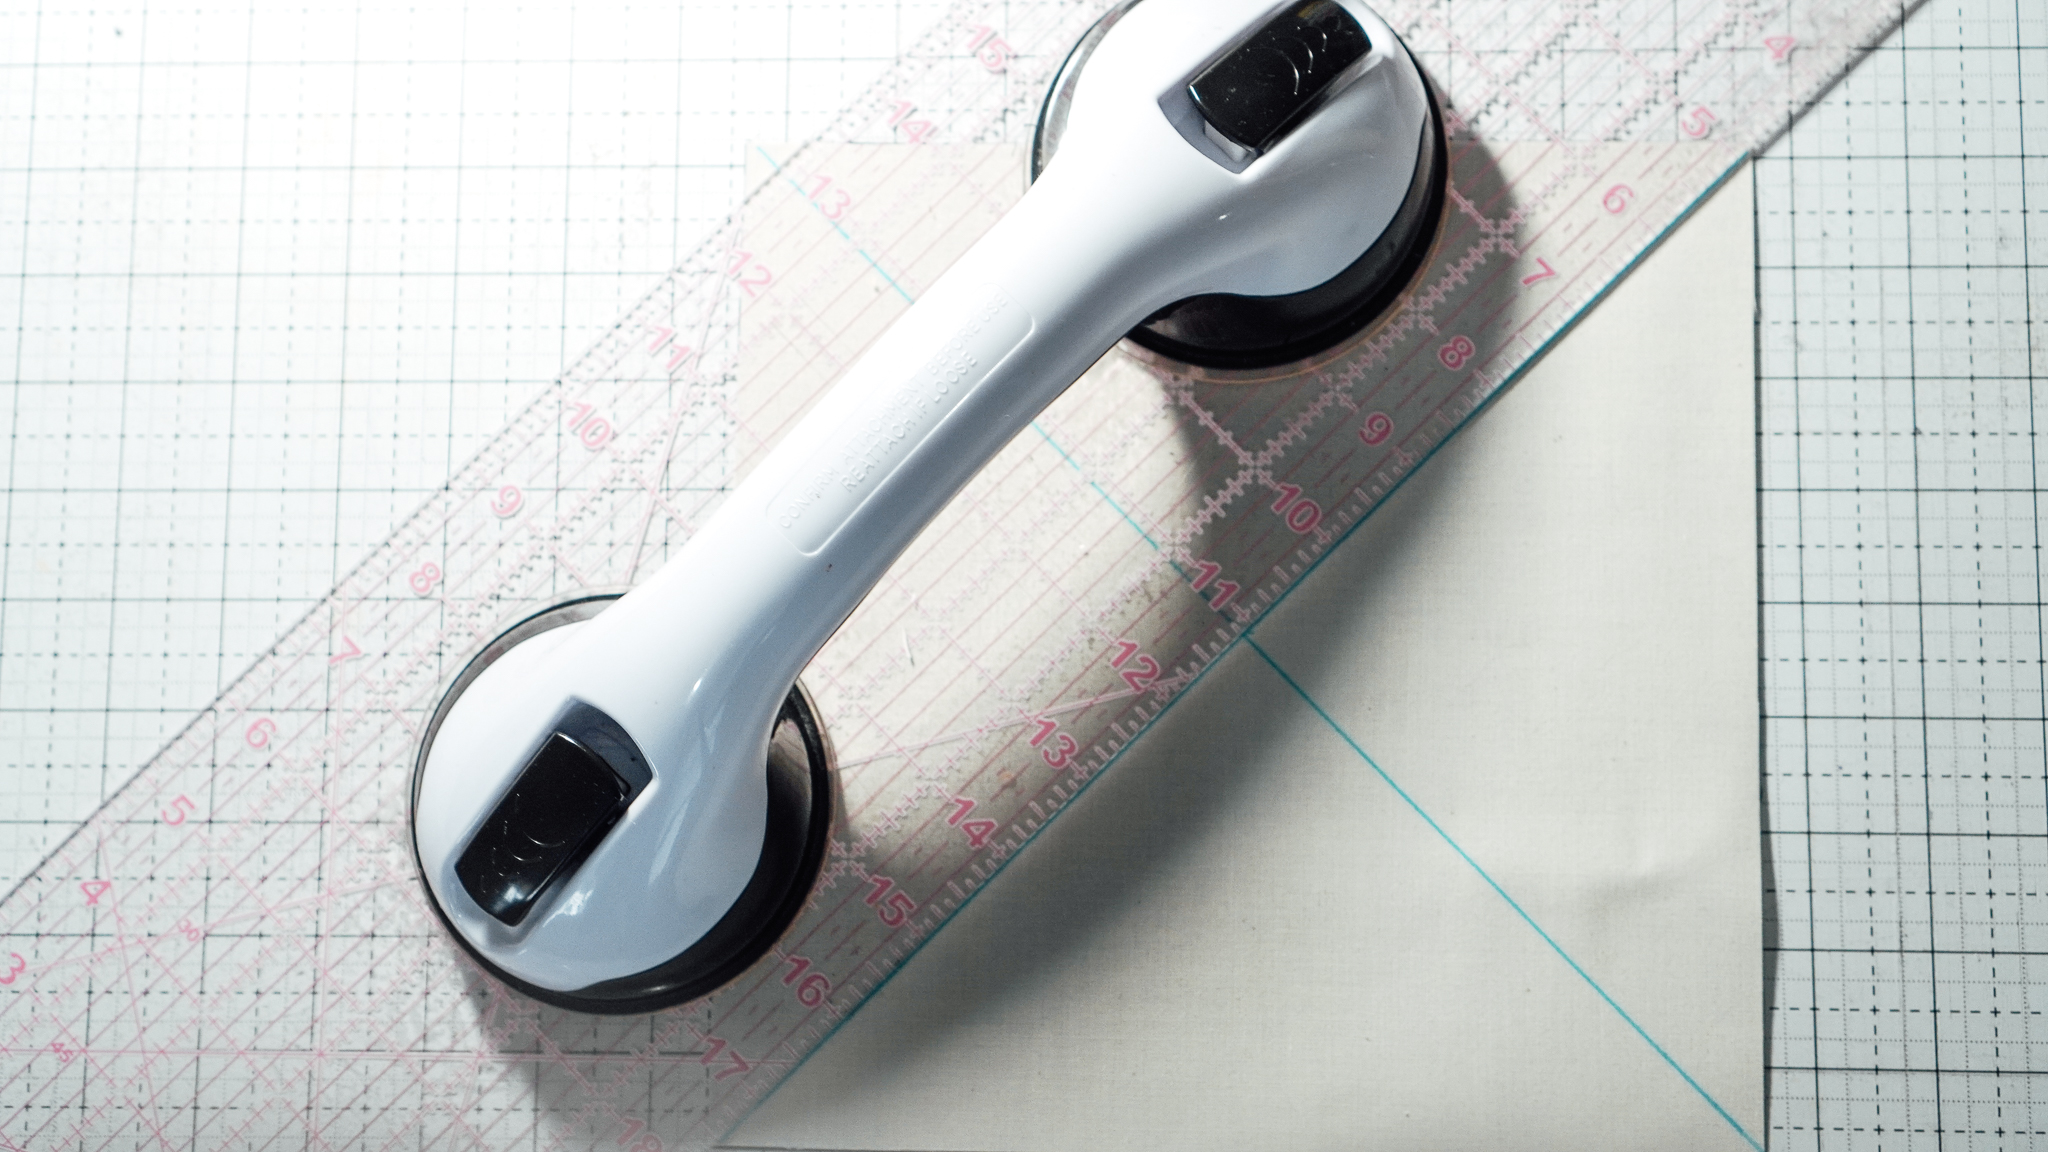
Before diving into the excitement of assembling HSTs, it’s crucial to master the art of precision cutting. Take your time, measure twice, and cut once.
Make sure to measure from either your ruler or your cutting mat, going back and forth between the two may cause small discrepancies.
Fabric Preparation: Iron and Starch
Ironing and starching fabrics prior to cutting is a great habit to get into and really does make a difference later on when piecing.
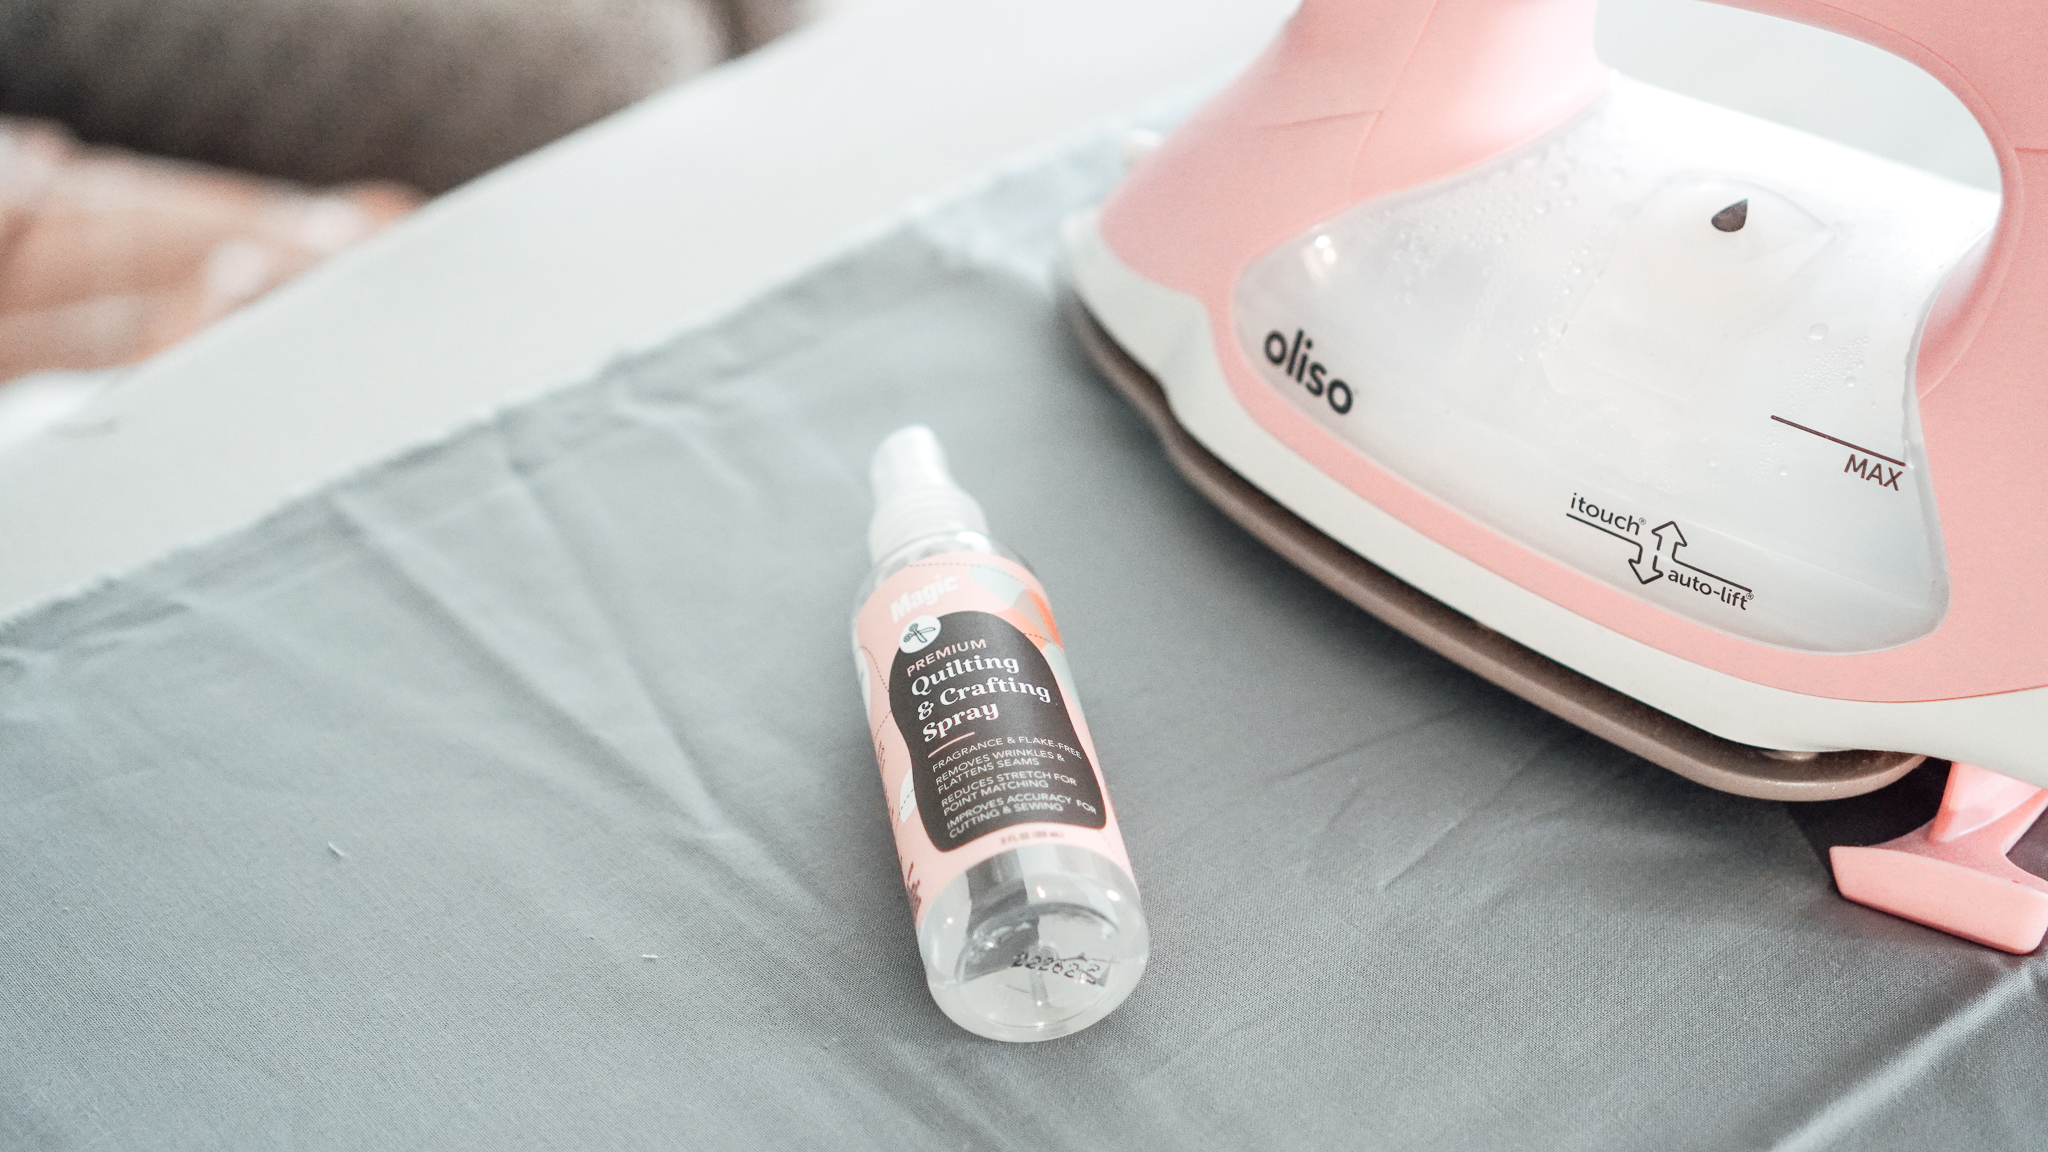 Starch helps reduce fraying and helps when cutting bias edges (like the diamonds we’ll be cutting!). I use a dry iron (no steam) and Magic Quilters Starch or Faultless Heavy Starch for a nice clean finish.
Some Fabric Prep Tips:
- Avoid saturating the fabric with the spray starch, light mists are best.
- Make sure your fabric is sitting straight on the grain when it’s being ironed, fabric fresh from the bolt often has wonky folds which you’ll need to iron out.
- I often iron the fabric in half (using the fold from the bolt) but make sure both ends are even and straight.
Swiss Star Cutting Requirements
You can download all of the cutting requirements from this PDF: Swiss Star Pattern and Cutting instructions
You’ll find a list of every cut that’s needed to make the Swiss Star Pattern, in a PDF that you can print off and use as a checklist.
To participate in the QAL – cut out all everything needed for Fabrics A, B and Background (BG).
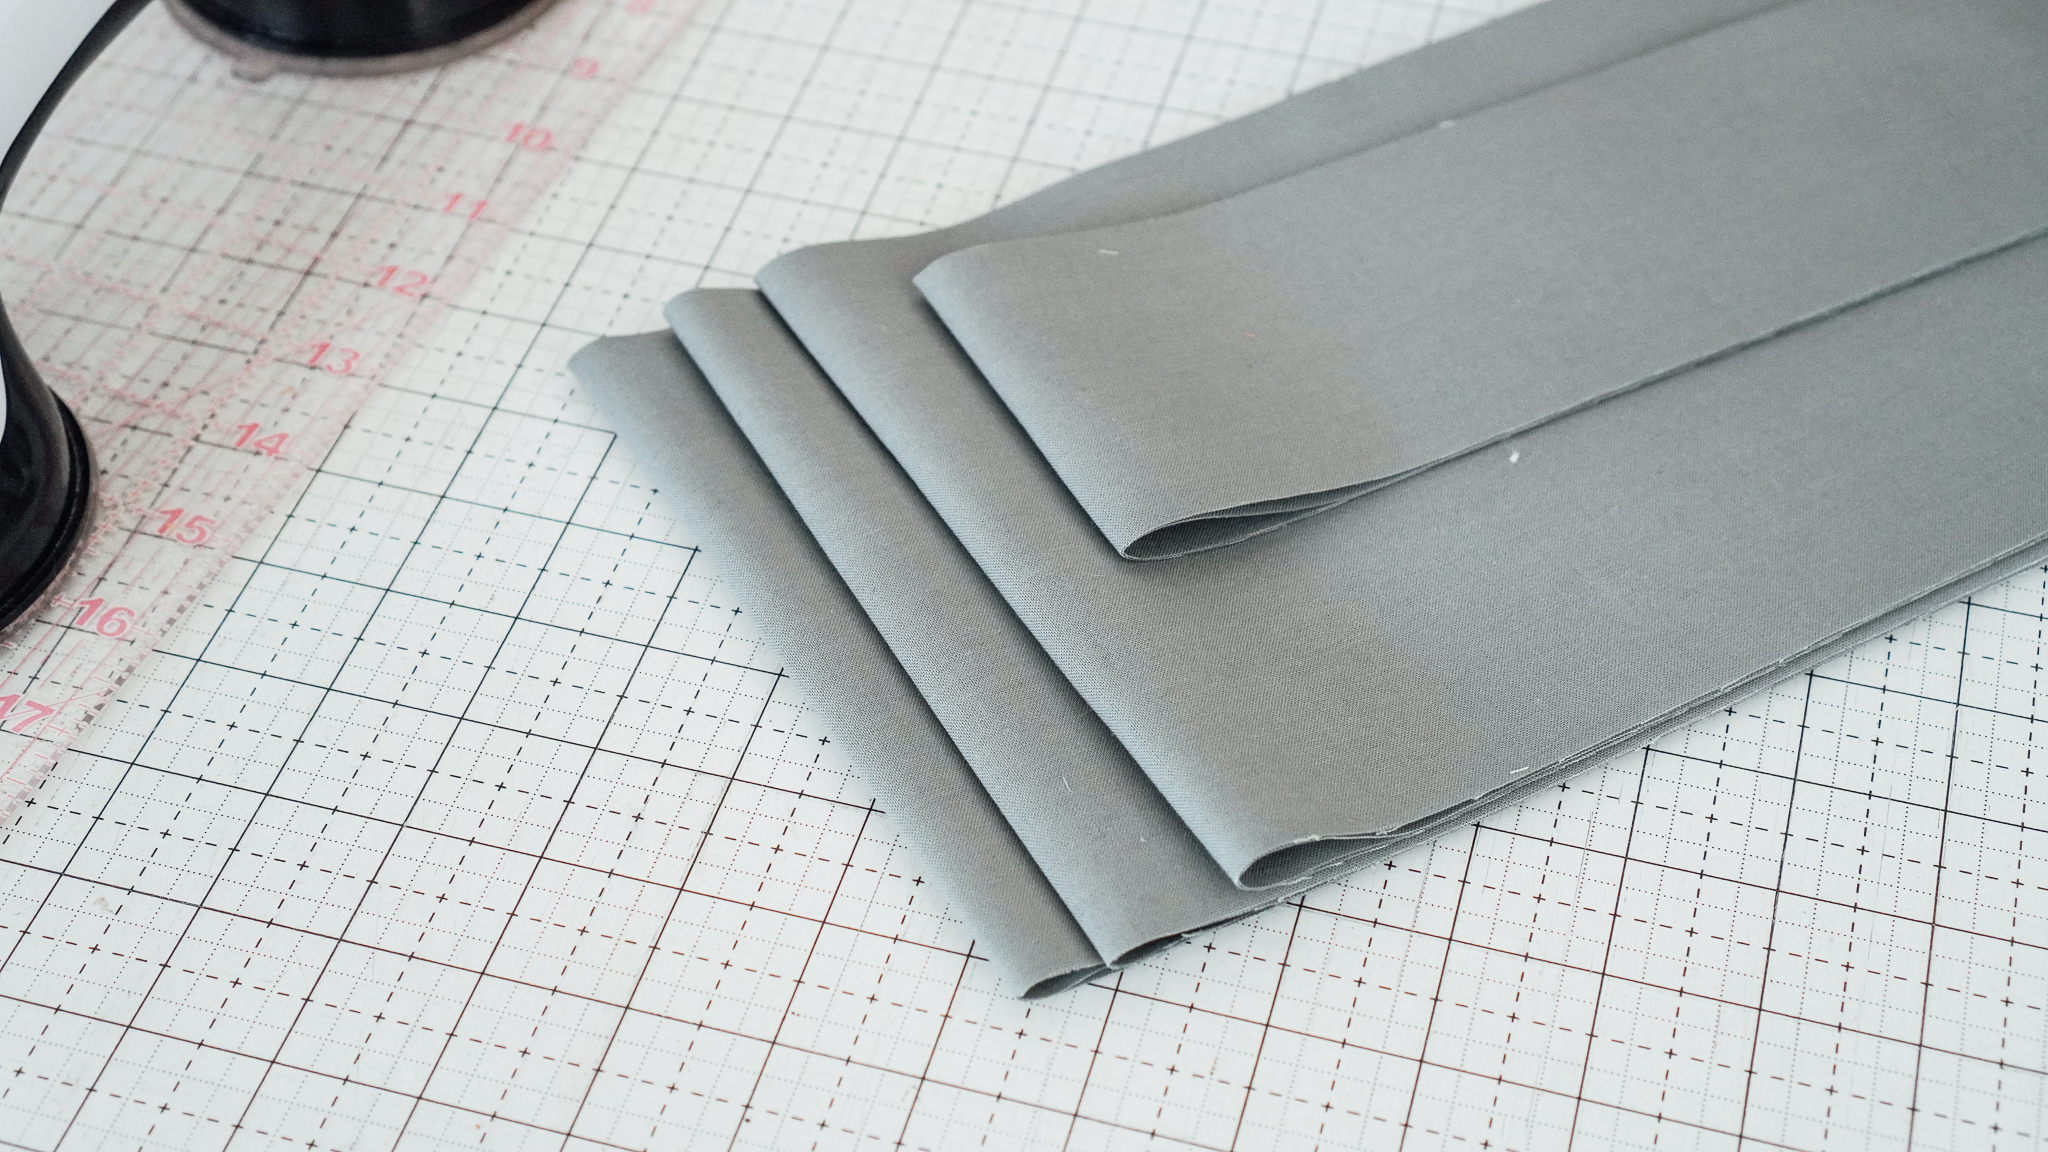
Keep Organized During Cutting
Staying on top of all the various cuts is imperative for the Swiss Star Pattern which has lots of rectangles in various sizes.
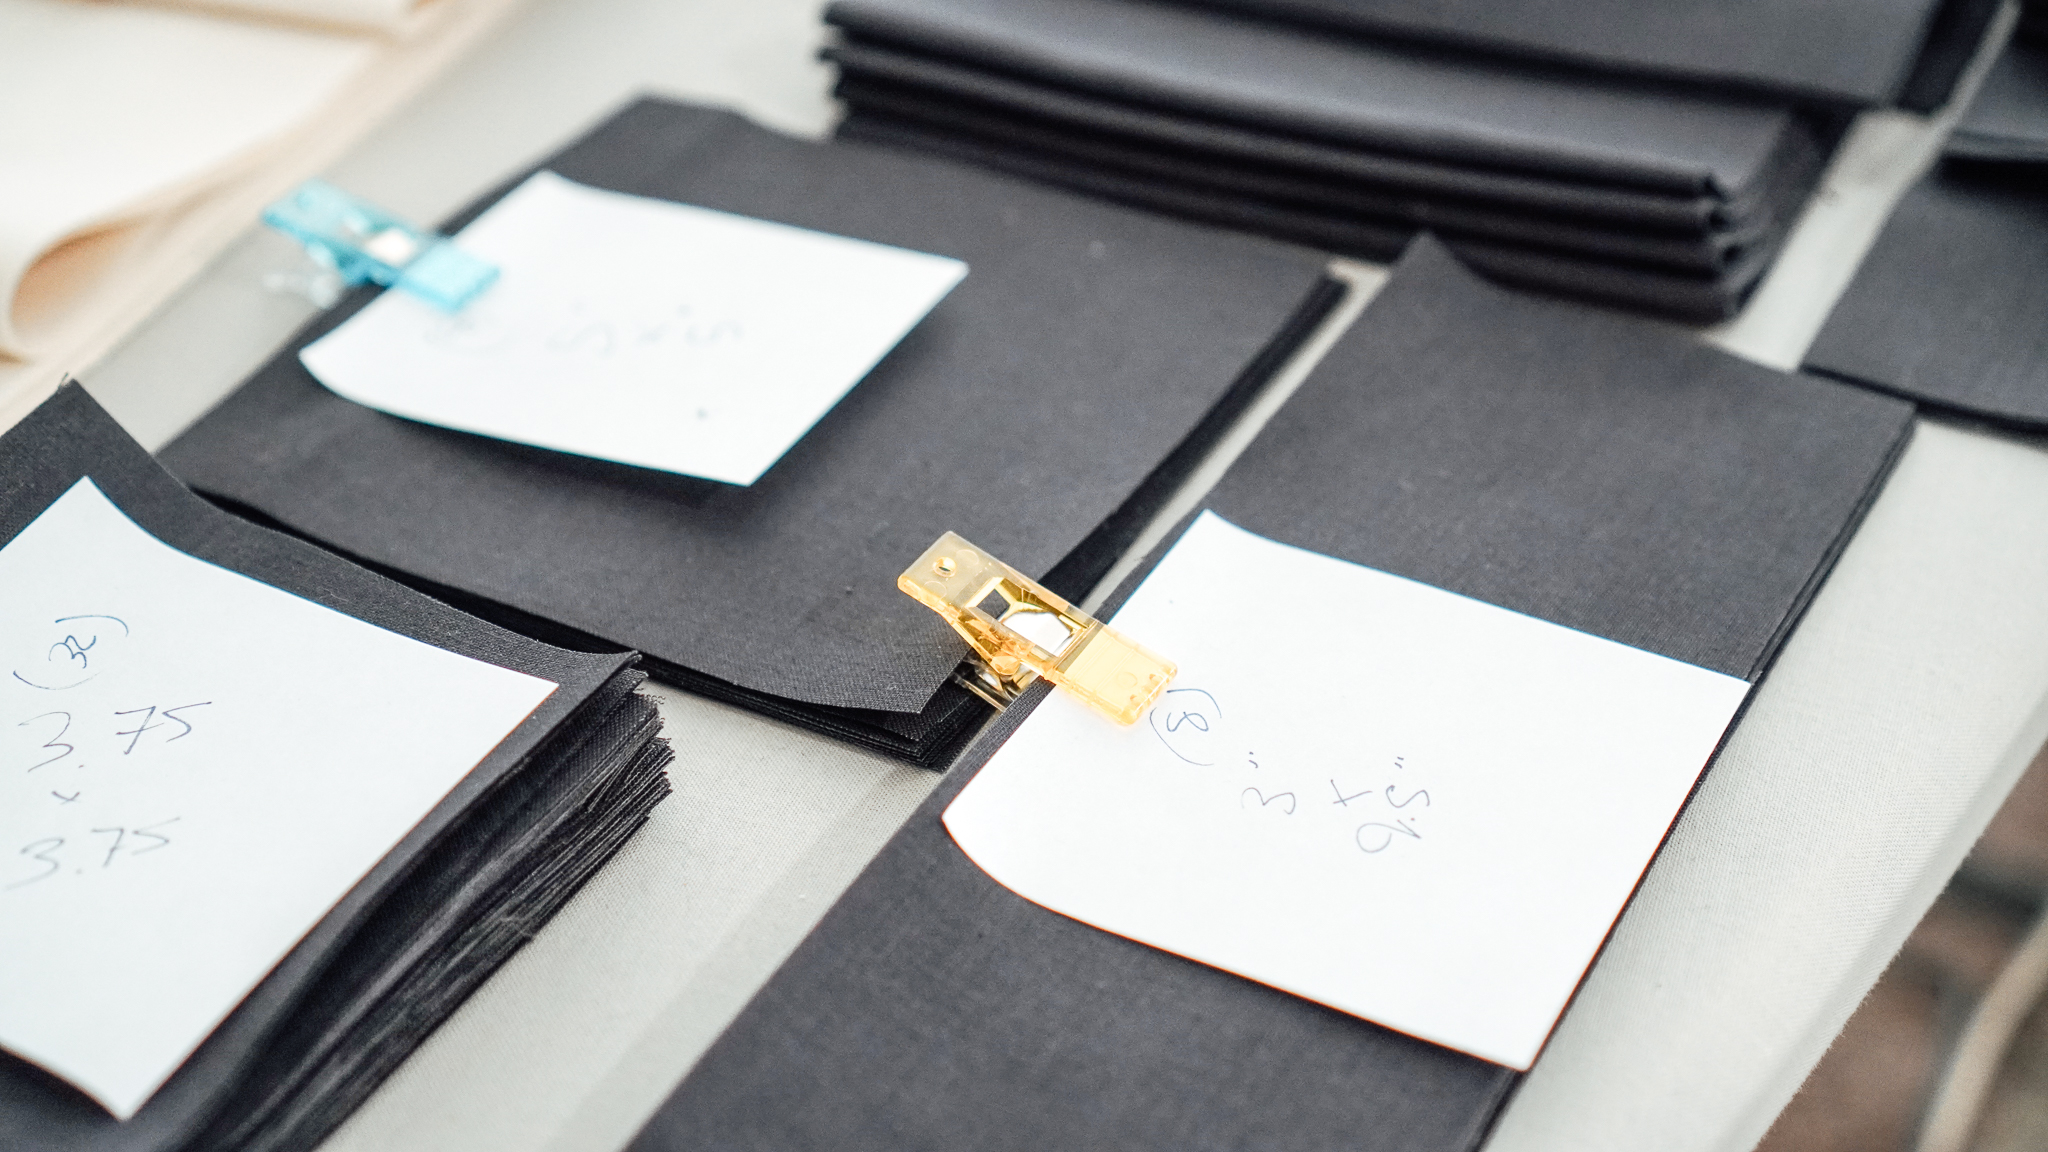
I use painters tape or sticky notes with clips and make sure to mark the sizes for each pile of cuts, that way it’s super easy to grab the ones you need later on.
As you cut, mark the sizes and check them off the cutting list.
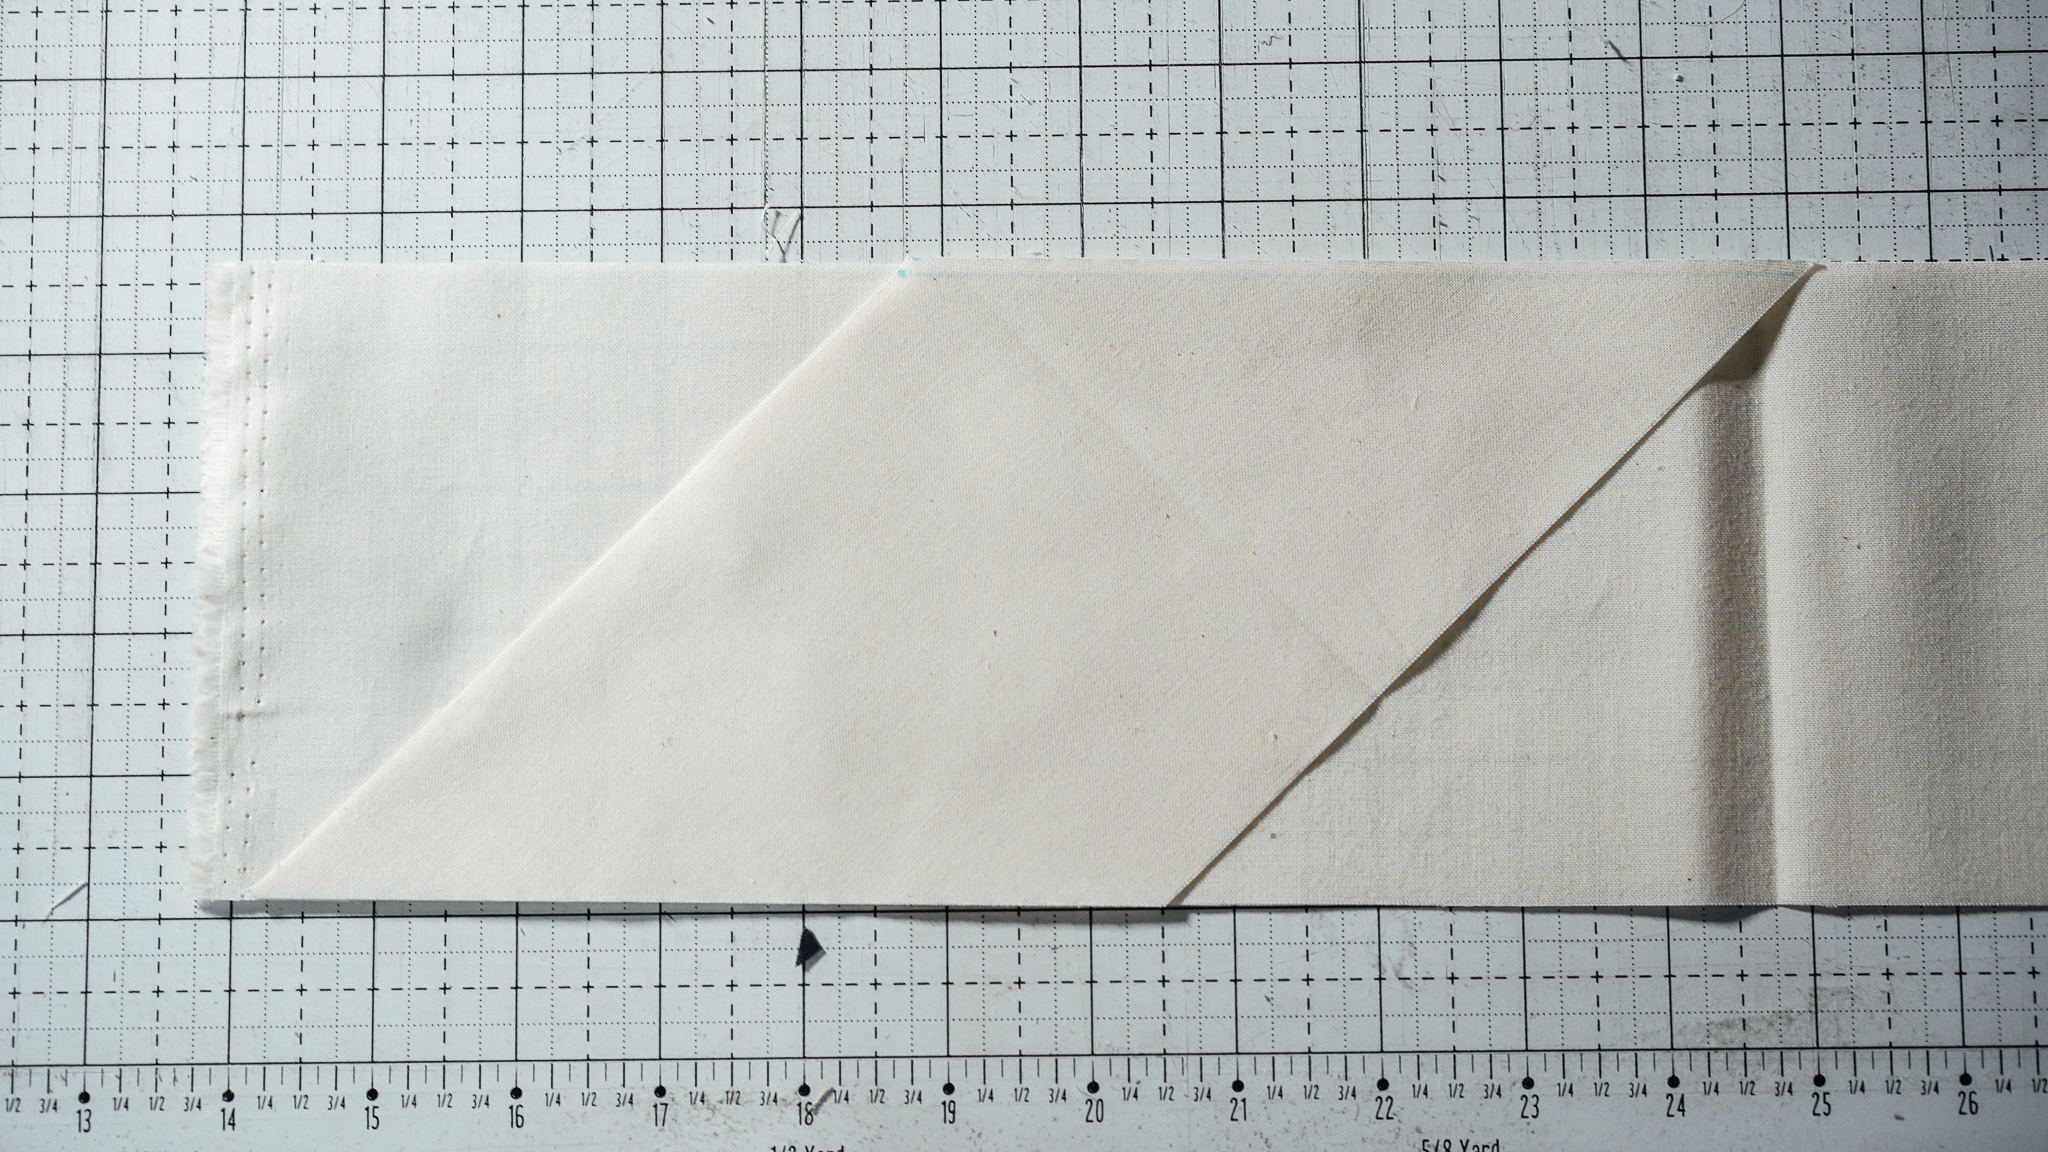
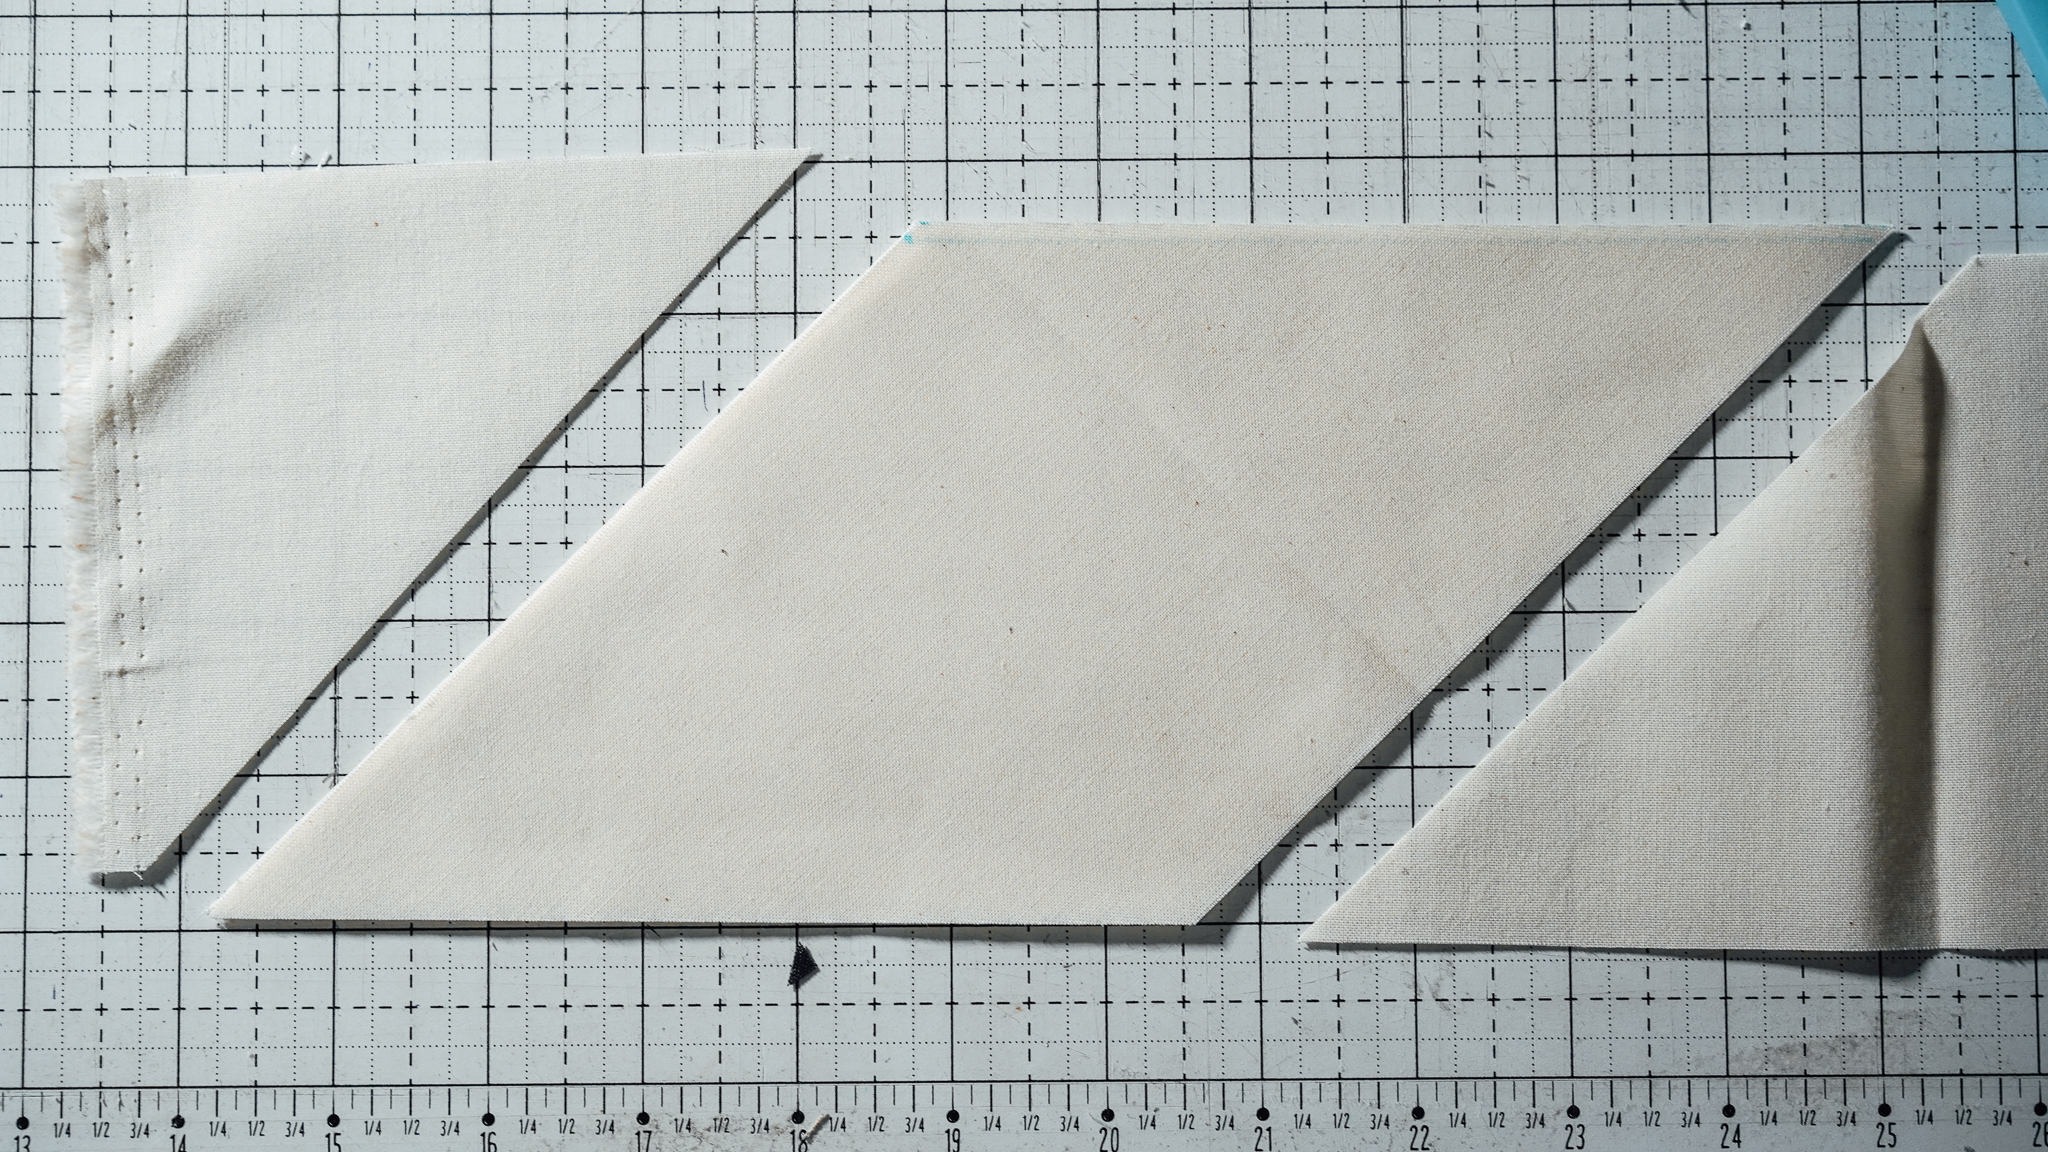
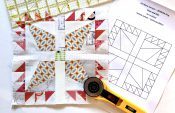
Cutting Diamonds
Cut the diamonds last, they’re much easier to cut from a long width of fabric (WOF) strip than cutting independently.
To cut the diamonds, follow the instructions on the PDF download.
Here are some pictures of my diamonds and how I measured and cut them.
Half-Square Triangles (HSTs)
Once you’ve completed cutting, it’s time to get started on making some of the building blocks of our Swiss Star quilt—the half-square triangles.
These versatile units are the building blocks of countless quilt patterns, and in our case, they’ll create the dynamic and visually striking star motif.

Creating HSTs: Step-by-Step Guide 8-at-a-Time
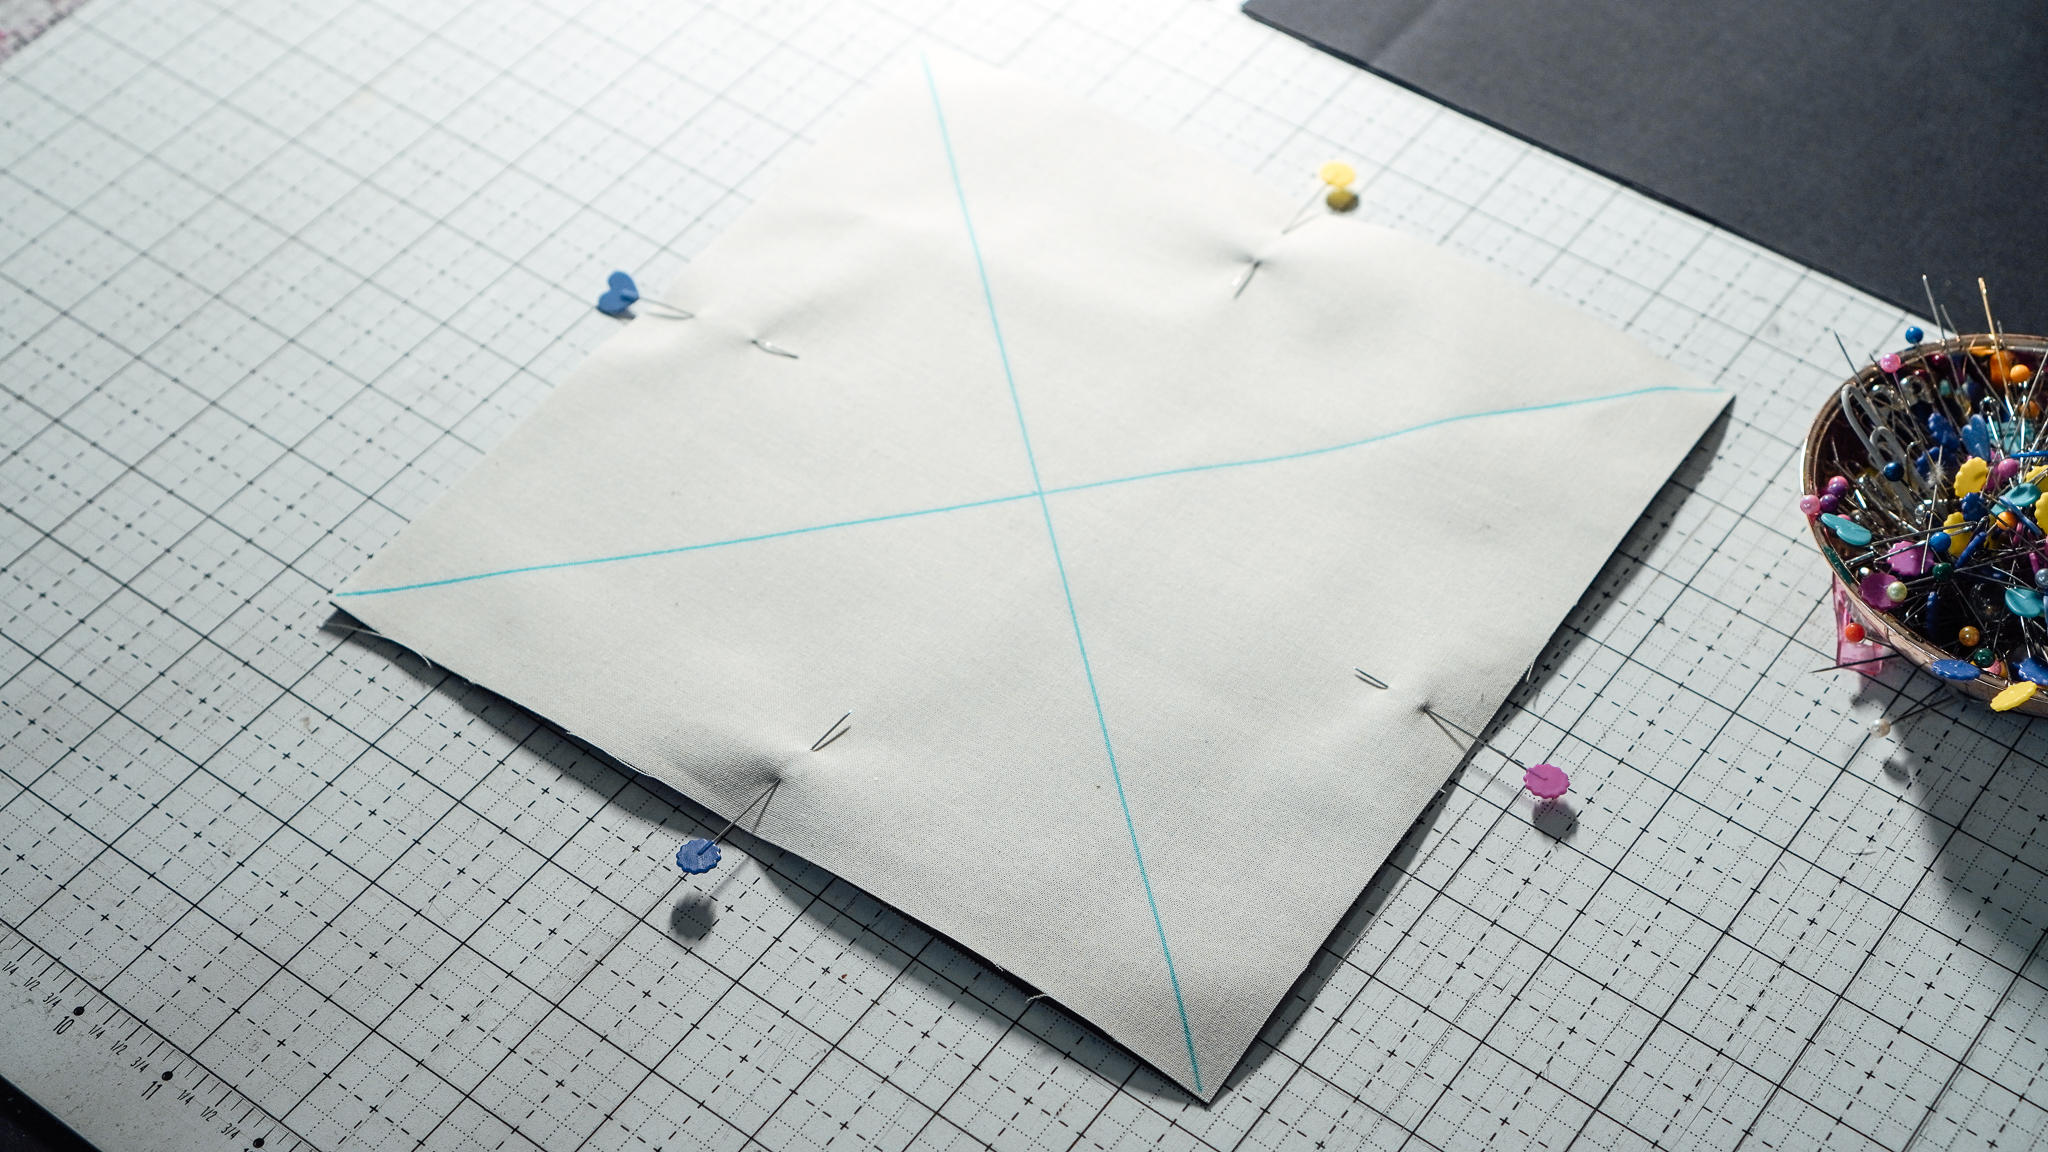
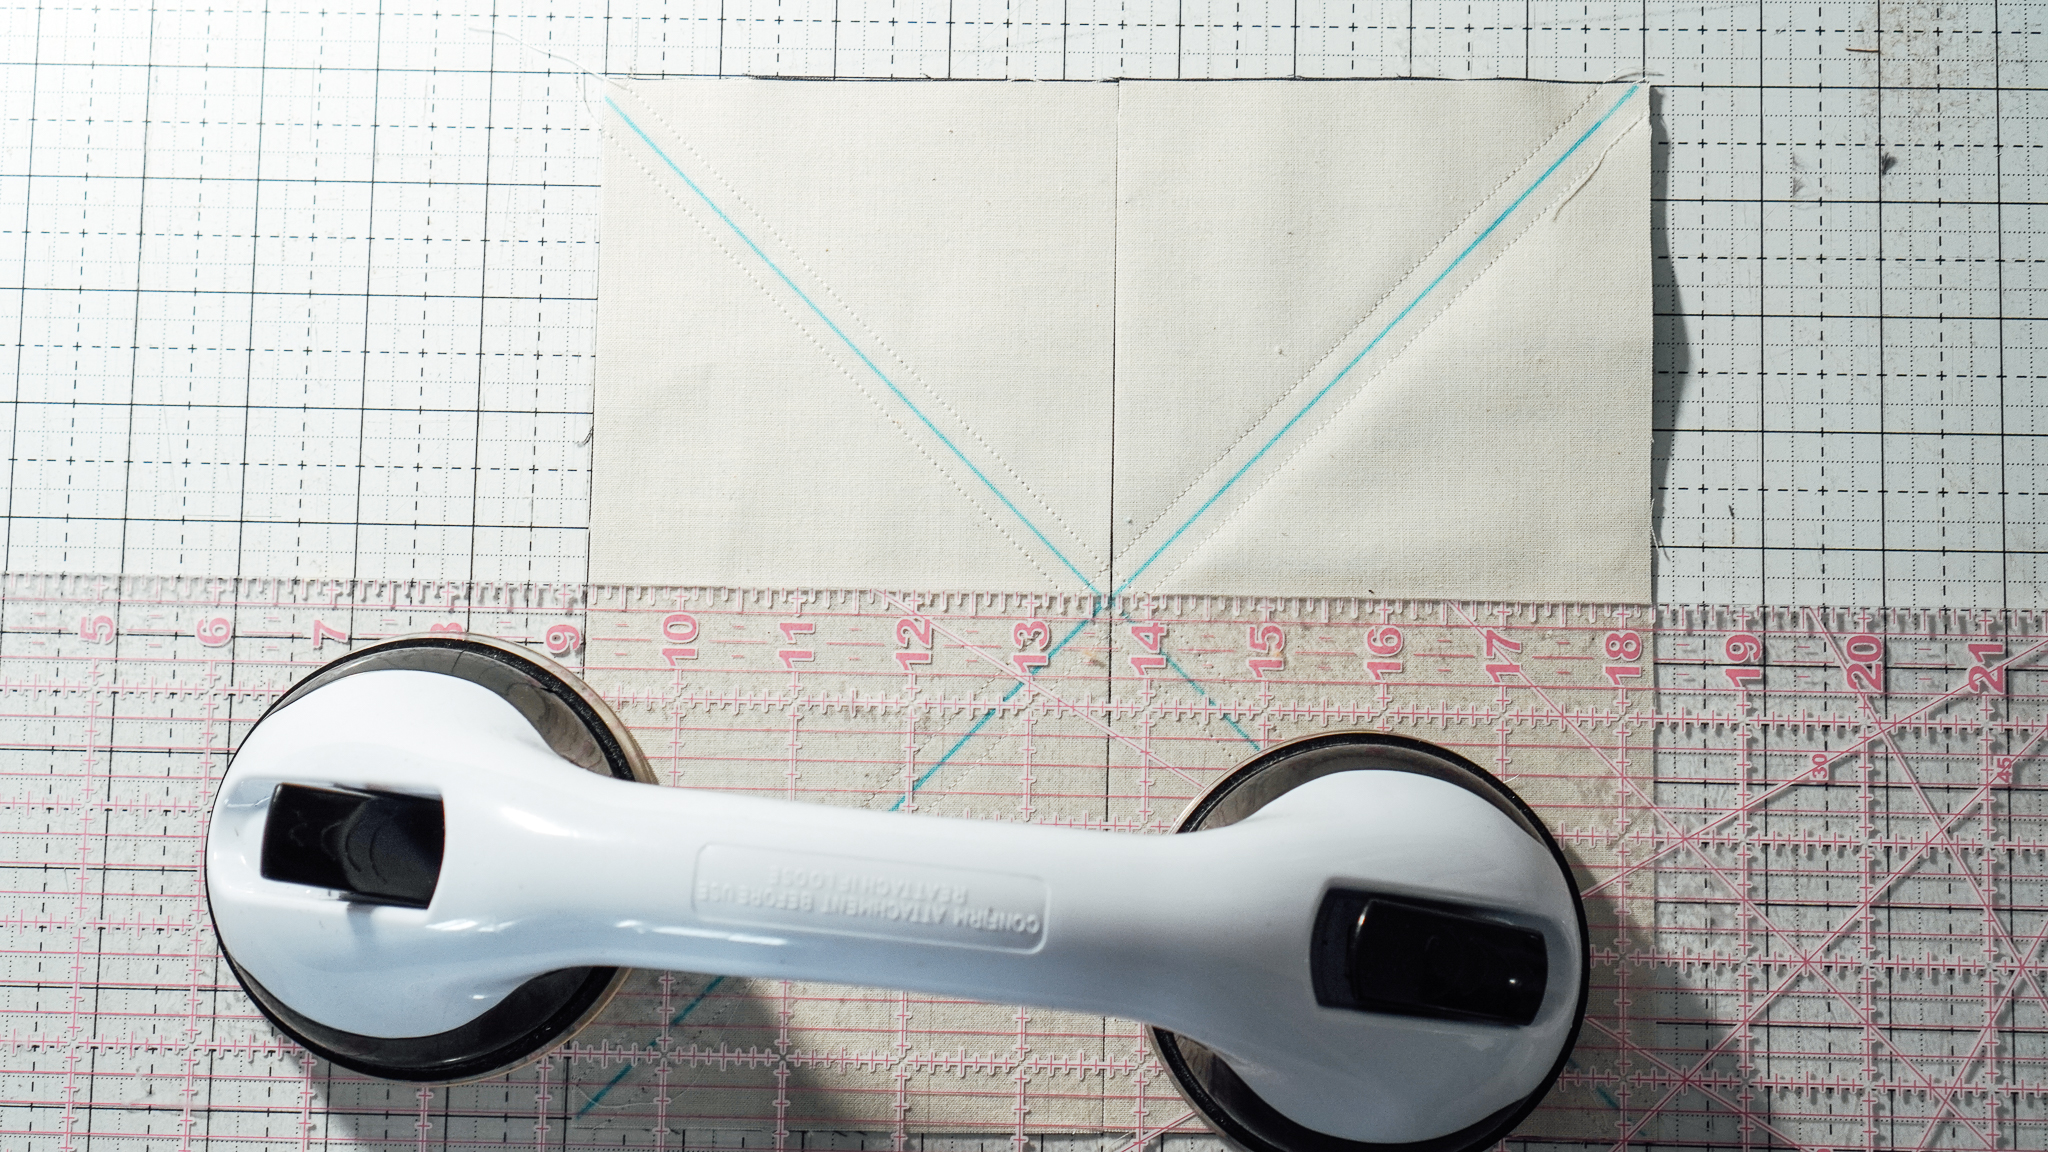
Lay (1) 9.25” BG square and (1) 9.25” Fabric A square RST.
Mark lines from the top right corner to the bottom left corner, and then two center lines, horizontal and vertically.

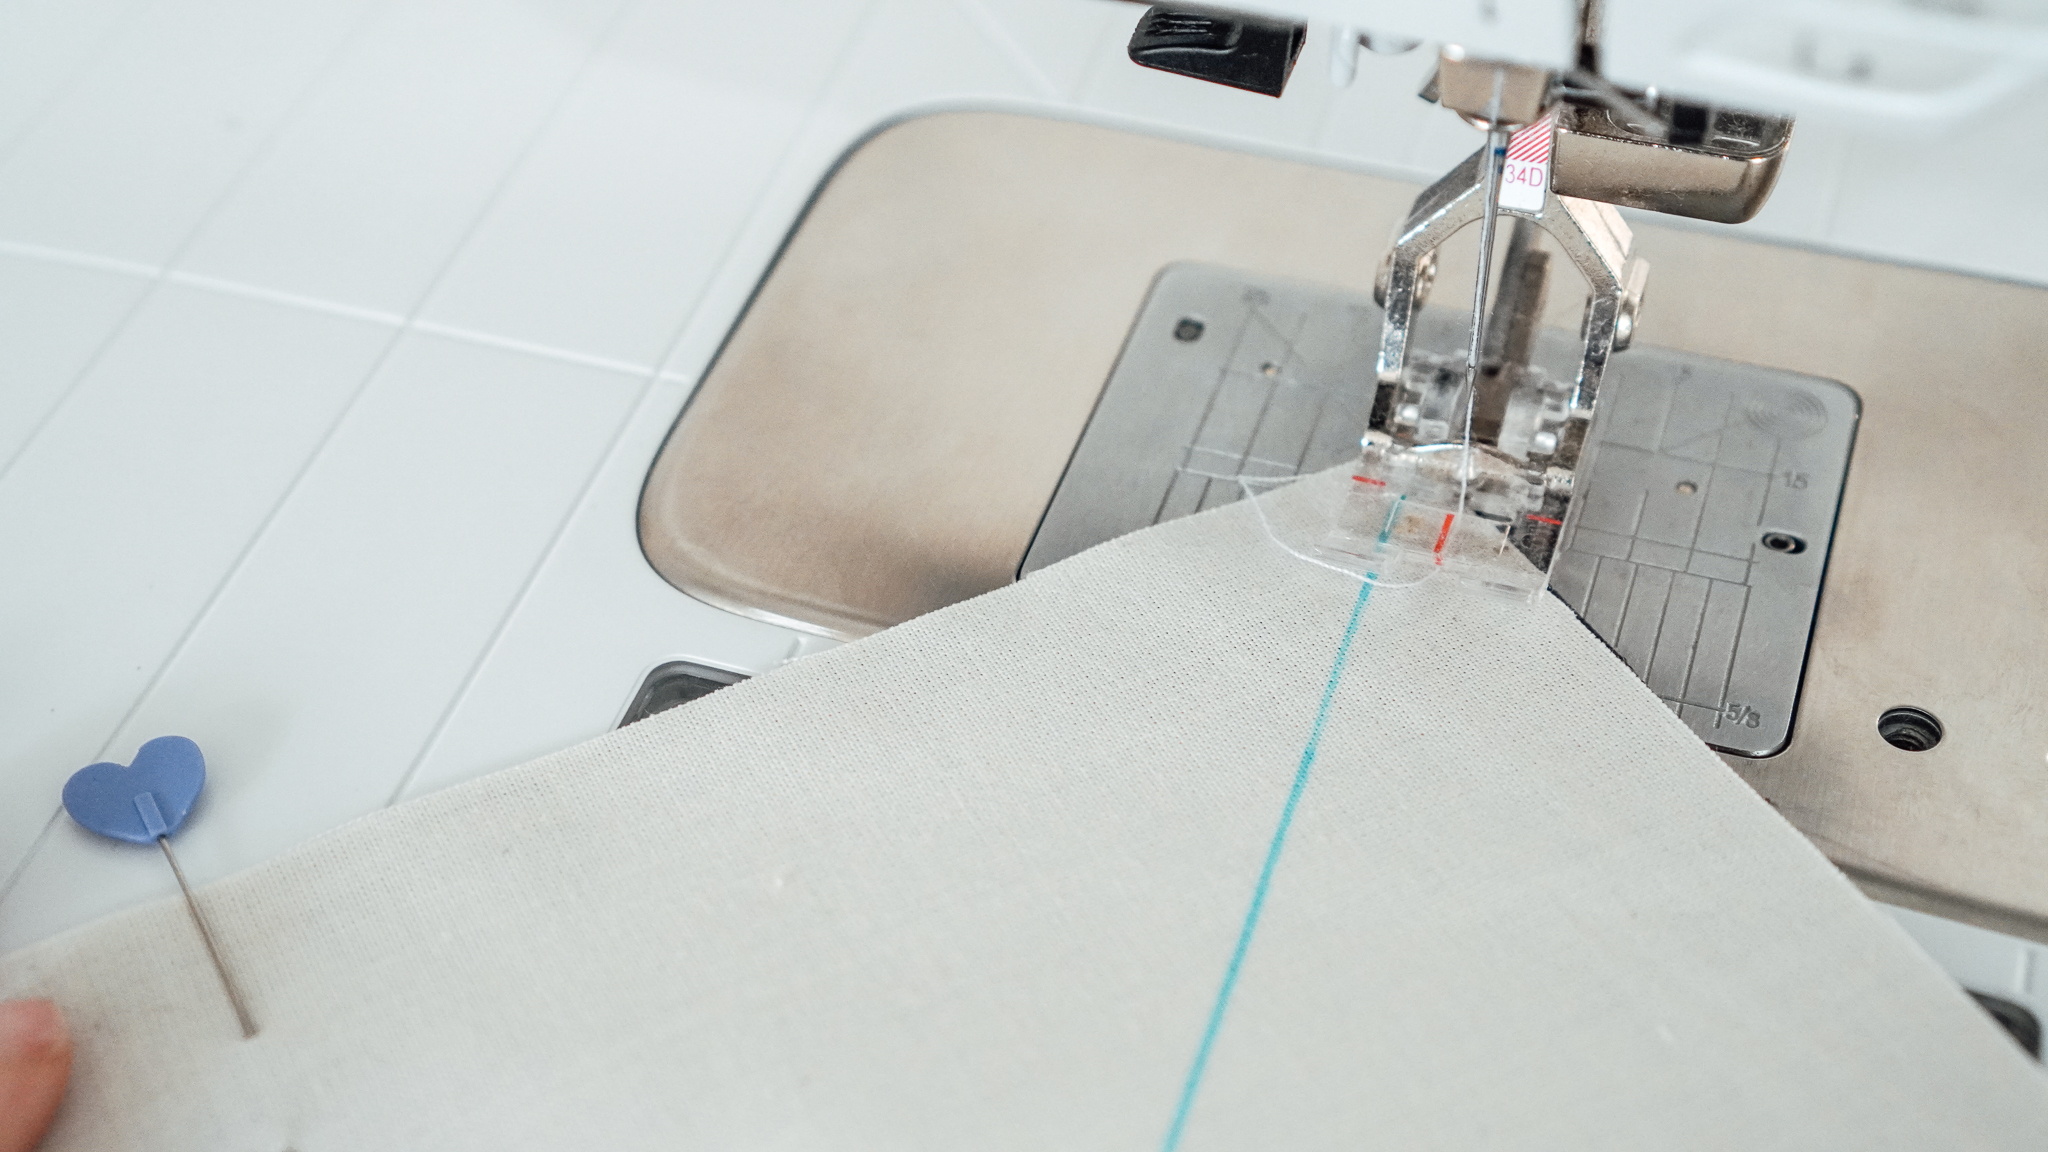
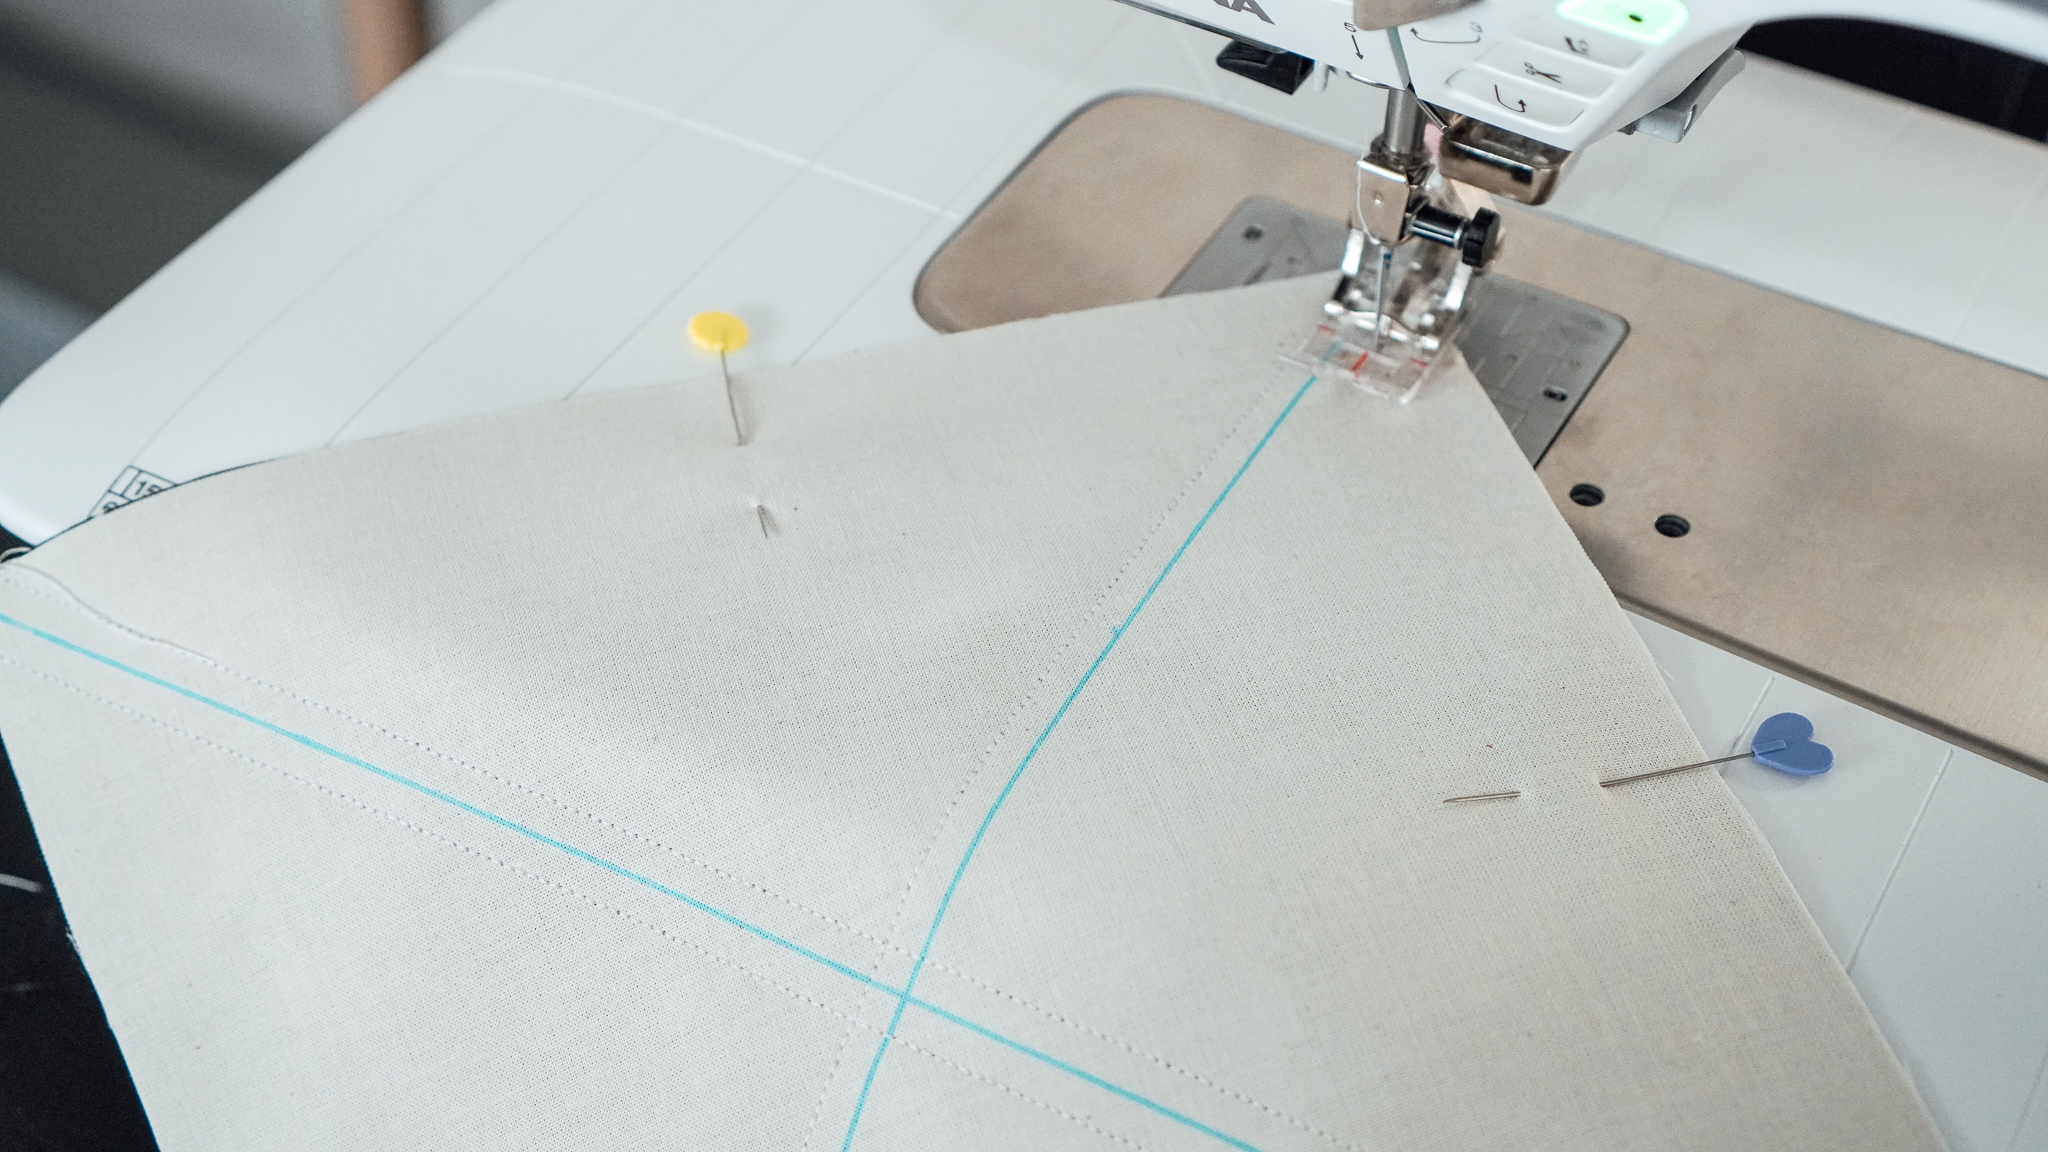
Stitch a quarter-inch seam on each side of the diagonal marked lines.
Carefully cut along the marked lines to create two triangles.
Press the seams with your iron to “set” them, before opening them up and pressing the HST’s open.
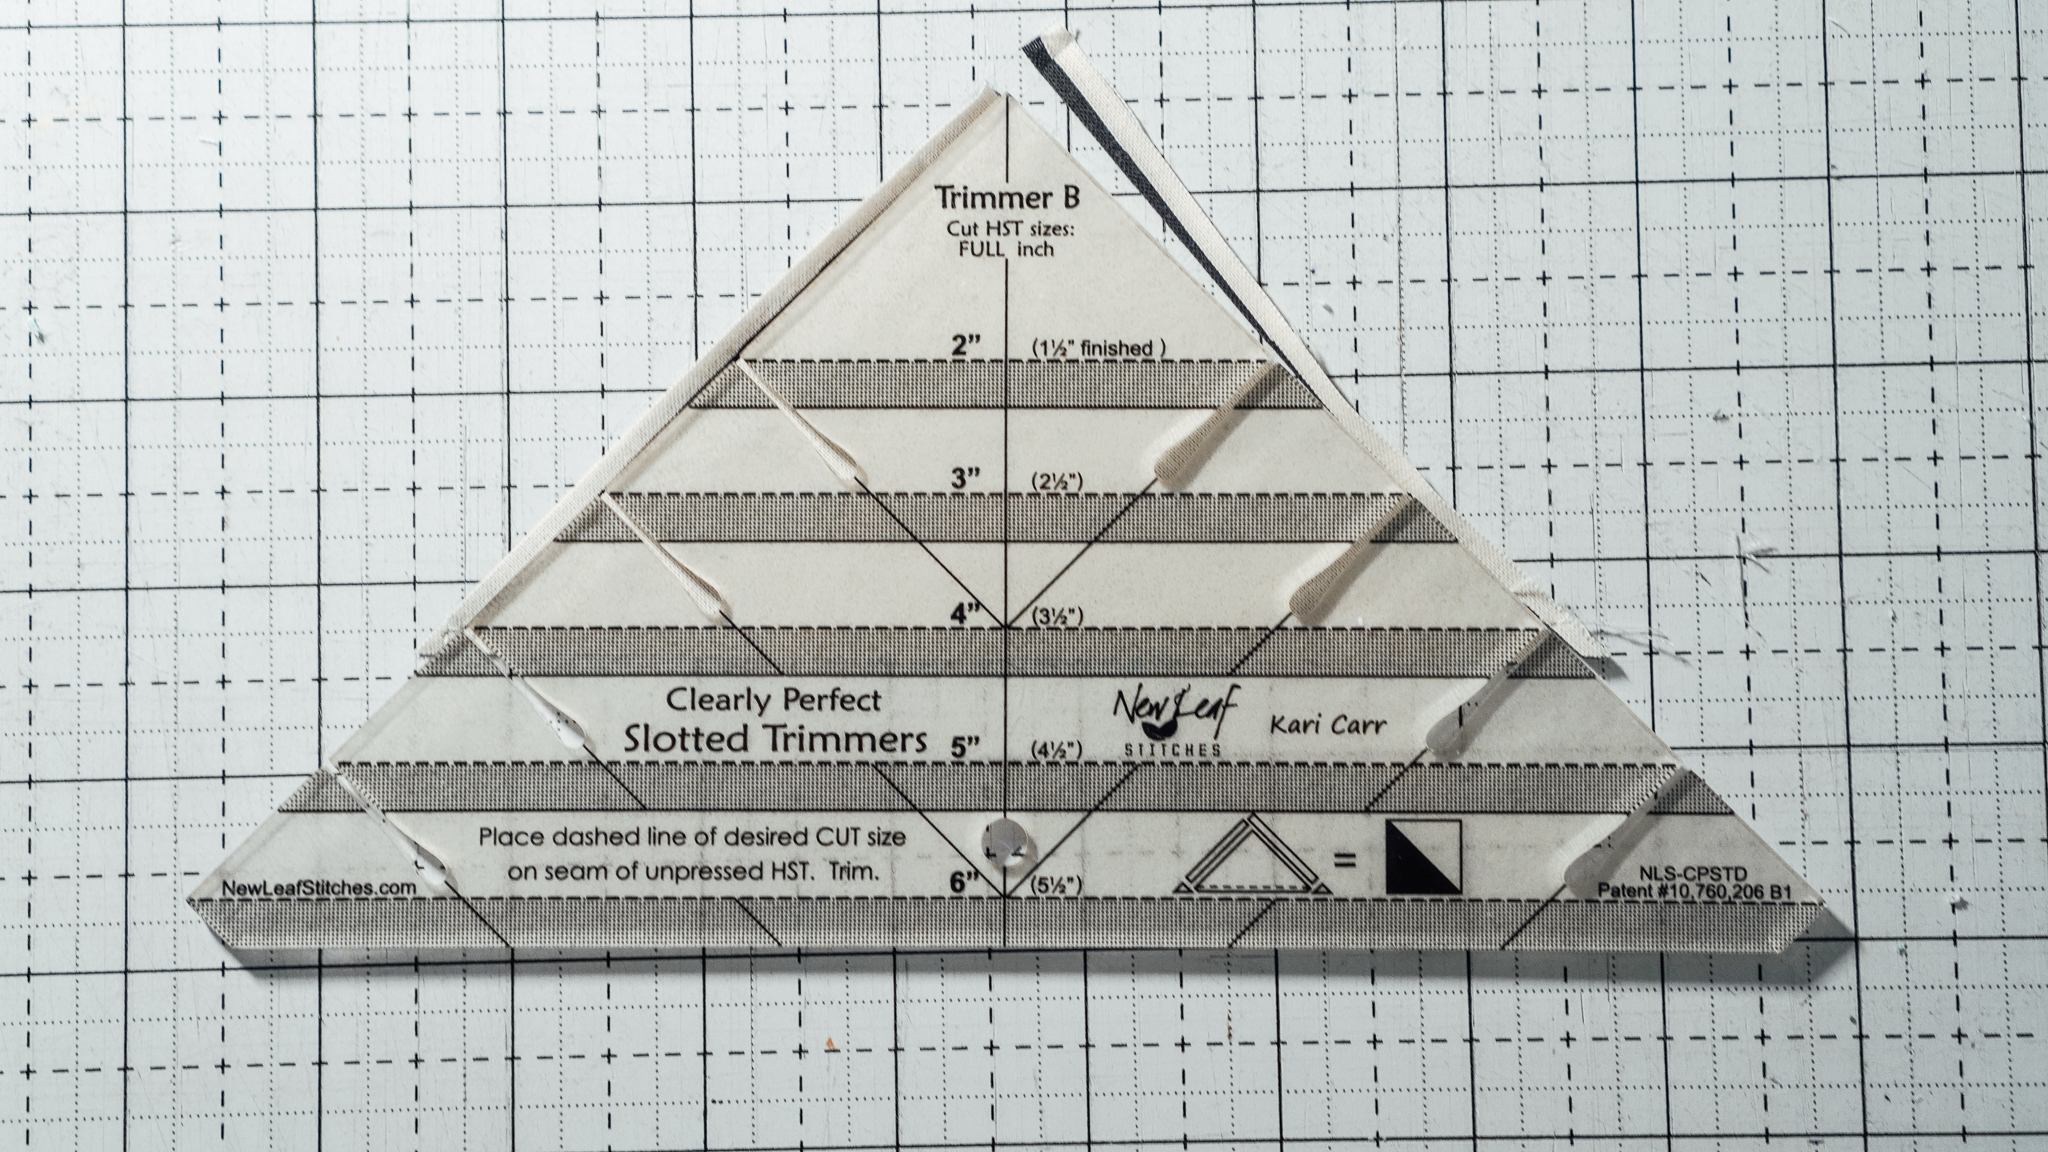
Square up your HSTs to your desired size using a ruler.
This step ensures uniformity and accuracy in your quilt blocks. There are two ways to do this, line up the seam with the 45 degree diagonal line on your quilting ruler and trim to be exactly 4″ x 4″.
As we wrap up Week 2, take pride in the progress you’ve made. On 03.04.2024, we’ll explore the intricate process of assembling quilt blocks, so you’ll have enough time to cut all your pieces and start building the first blocks until then. I can’t wait to see what you make!
Make sure to tag @quiltdstudios and to use #SwissstarQAL with your progress shots on social media!
I am trying to figure out the cutting instructions. Where does the background diamonds go? I don’t see them in the finished quilt?
Here are my cut fabrics for the Swiss Star QAL! I am so excited to see how this turns out! #swissstarqal
Here are my fabrics, mostly cut – I can’t wait until the next instructions!
All cut and ready to go. I’m excited to see this come together.
#SwissstarQAL
I can’t wait to get started!
[caption id="" align="alignnone" width="810"] #Swiss Star QAL[/caption]
#swissstarqal Purple for my #swissstarquilt
Absolutely loving the leaves!
Thanks for the clarification! I got all the cutting done, I just need to get my HSTs done! The color choices are beautiful and inspiring. I’ll upload a picture of my work once I get my HSTs done. I love the idea of making the star different colors!!!
My daughter helped me choose colours for this. I’m trying to use what I have on hand and luckily I had everything I needed.
I cut, stitched, and squared my 32 HSTs today! Onward, by all means!
Love seeing everyone’s beautiful colors. I’m ready to sew! 🙂
Our colours are very similar. Looking forward to seeing everyone’s quilts come together
After a round of recalculating the measurements, I Hope I have succeeded in making the quilt smaller. Excited to start sewing.
Ready to sew!
I don’t understand the instructions under Fabric A cutting – the 2nd one with the notes in parenthesis that refer to J note? Where is J? What are those 2 subcut statements telling me to do? I think it means to cut the WOF piece and then subcut that piece into rectangles, but then the note about J is confusing. So under the statement that says Cut (12) 3.25″ x WOF strips (which I understand) then subcut (4) 3.25″ x 35.5 rectangles ( I get – and this is “A” – right) but then the note about J I don’t get. and in the next line about those subcuts, (which is B, I’m assuming) then there is another J not and I’m totally confused about that. I didn’t find a J anywhere in the following instructions. Help, please! Thanks!
J note is a note from Jessie the designer.
Hi Cordelia – I apologize I should have been more specific in the cutting instructions, within the parentheses the J refers to Jessica (my name), these notes offer alternative cutting ideas, or even just off hand notes from me to help you during the cutting process. The J when not in parentheses are referring to the specific units. I hope that helps!
I’m loving these colors so much!!
You mentioned we would need a large ruler for squaring up later. What size is needed?
I have a 6″ x 24″ ruler, but I usually line up all of the rulers that I own when I’m squaring quilts.
Here is my cut fabric for the QAL. My daughter recolored it to suit her tastes, so mine looks a bit different than the instructions.
I can’t wait to see it put together. Just from looking at your fabrics I know it will be amazing!
Thanks!
Preview
I do not know why your picture does not show, but I think this one is yours:
Be aware, for the giveaway you need to show us a photo of your already cut pieces, not the chosen fabric 🙂