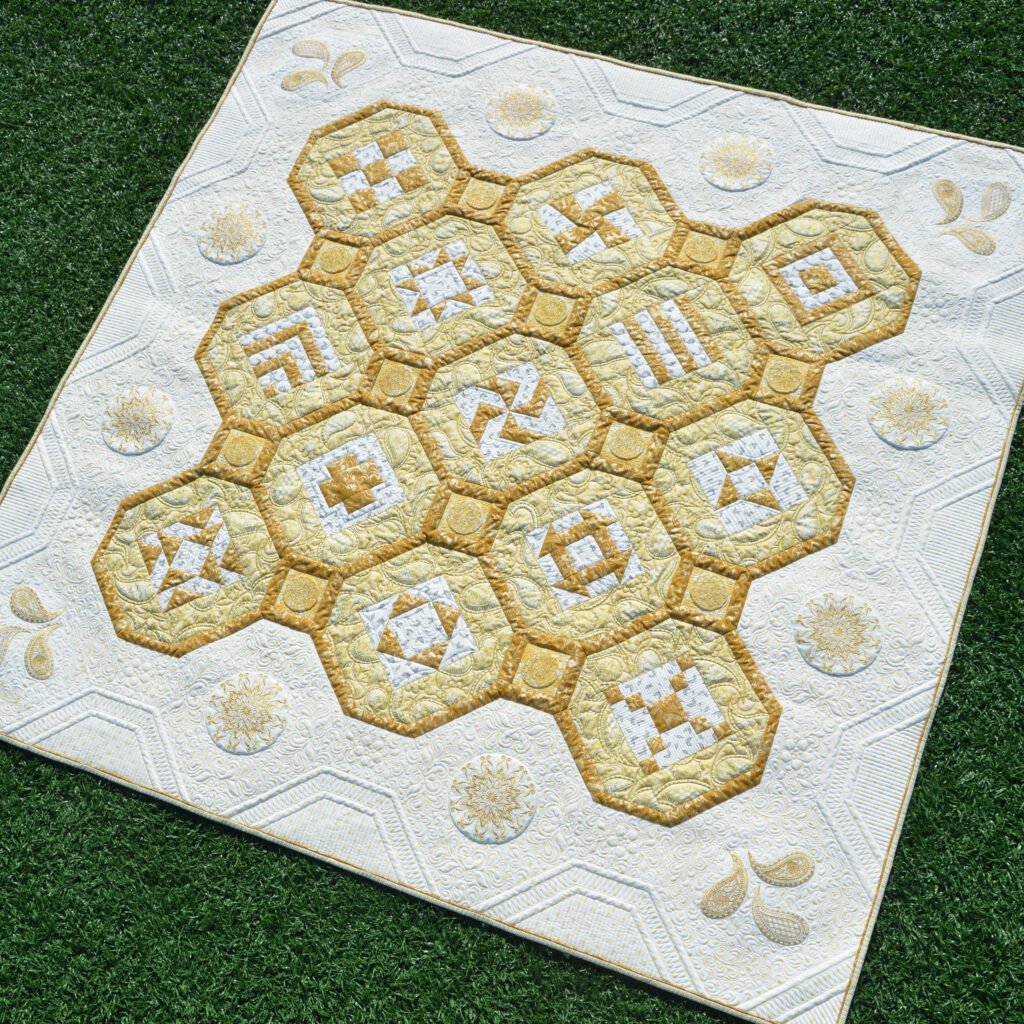
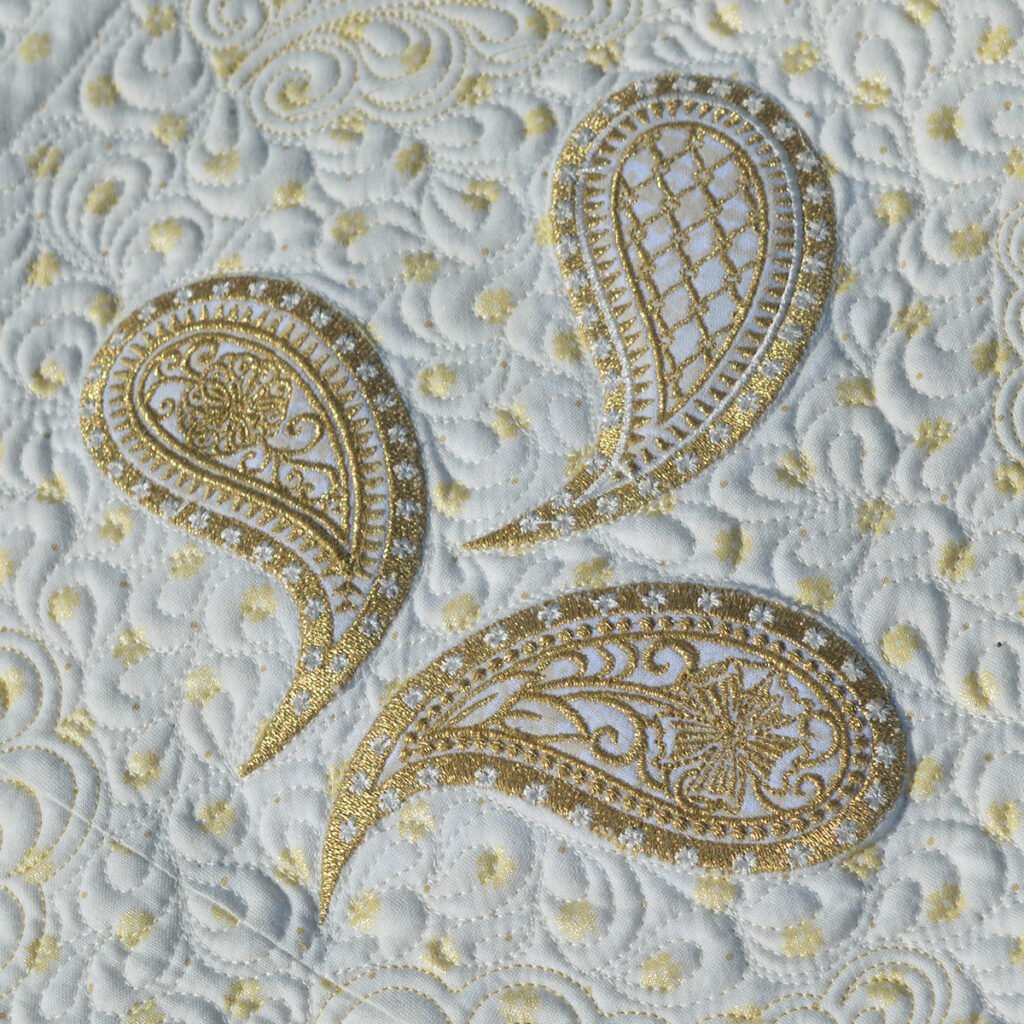
Welcome back to the BERNINA 125th Anniversary Quilt-Along! I’m BERNINA Expert and Amanda Murphy and in this post I’ll be covering the optional corner embroideries. There is a lot of information to get through so let’s get started!

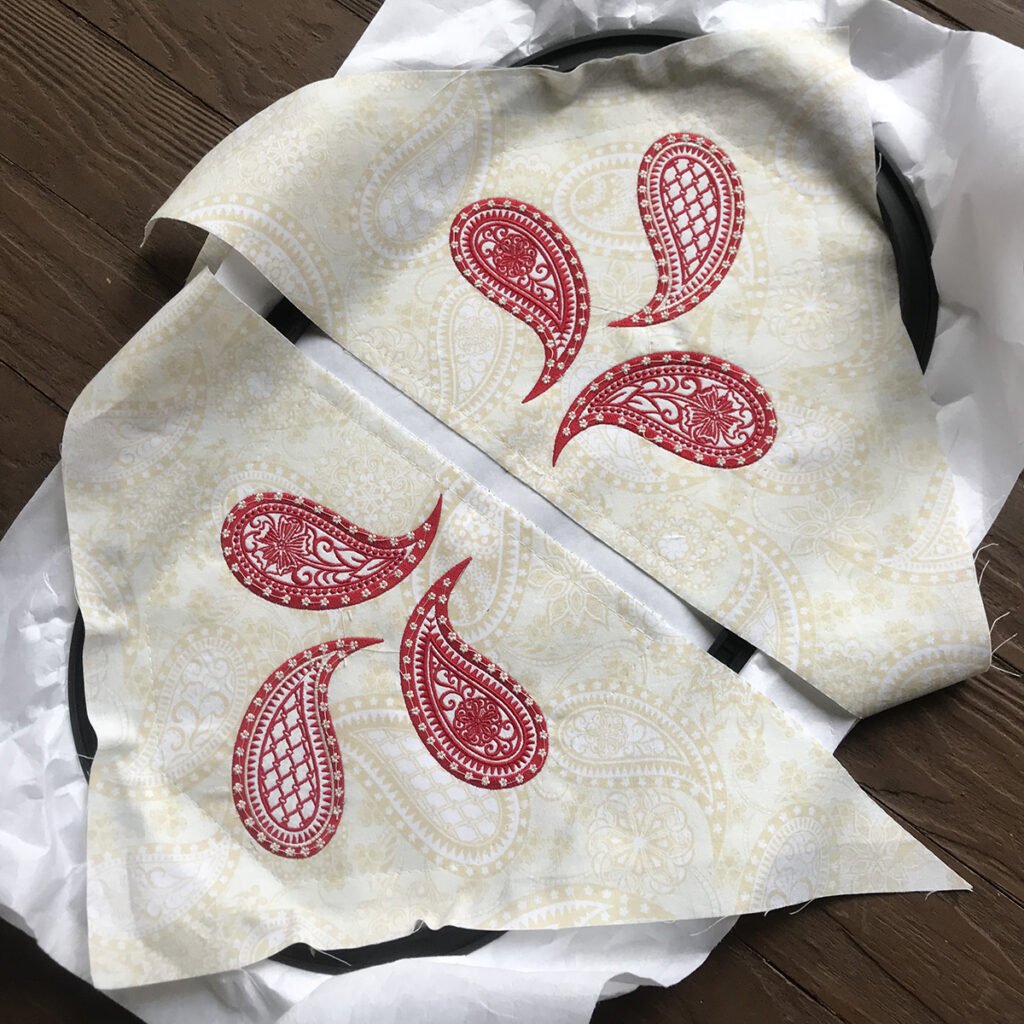
Two border corners embroidered in the BERNINA Maxi Hoop. (Don’t worry! We have information below on how to multi-hoop this design using the BERNINA Oval Hoop!)
You can download a PDF of the instructions that you will need to complete these optional embroideries here.
If you have a BERNINA Maxi or Jumbo Hoop you can download the embroidery file here.
Before you jump in, I’d recommend you watch the following video so that you are familiar with the process. You’ll note that in this video I embroidered two corners at a time using file 80190-20_Composite, but you can also use the file 80190-19 to embroider just one corner at a time. It is really up to you. (BERNINA is supplying both!)
The basic steps for completing this embroidery using a Maxi or Jumbo Hoop are:
- Apply Fusible Woven (or other woven stabilizer) to the back of the large triangles cut from the 14-3/4” squares.
- Mark each triangle’s vertical center.
- Hoop two layers of Ultra-Clean and Tear or other tear-away stabilizer in a BERNINA Maxi or Jumbo Hoop.
- Choose motif 80190-20_Composite to embroider two corners at a time or 80190-19 to embroidery just one. Starting with Isacord in the needle, embroider your placement lines through the stabilizer.
- Attach your two stabilized corner triangles along the placement lines using temporary spray adhesive.
- Embroider the basting lines.
- Embroider the placement lines for the applique.
- Attach your applique fabric using just a touch of temporary spray adhesive. Embroidery the tack-down lines and trim the applique fabric very close to the tack down lines, being careful not to clip your fabric.
- Embroider the rest of the design. (This is the point at which I’d change to metallic thread, if desired. I used Yennmet Mayan gold in the original quilt, but Isacord in a gold color looks lovely as well.
- Embroider the paisley details in cream colored Isacord when prompted.
- Remove the embroidery from the hoop and remove the tear away stabilizer.
- Trim the long edges of the triangles if needed so that those sides are 1/2” away from the design. You won’t need to trim much fabric in this step – it is just to get rid of the raggedy edges.
If you just have a BERNINA Oval Hoop you can download the embroidery file here.
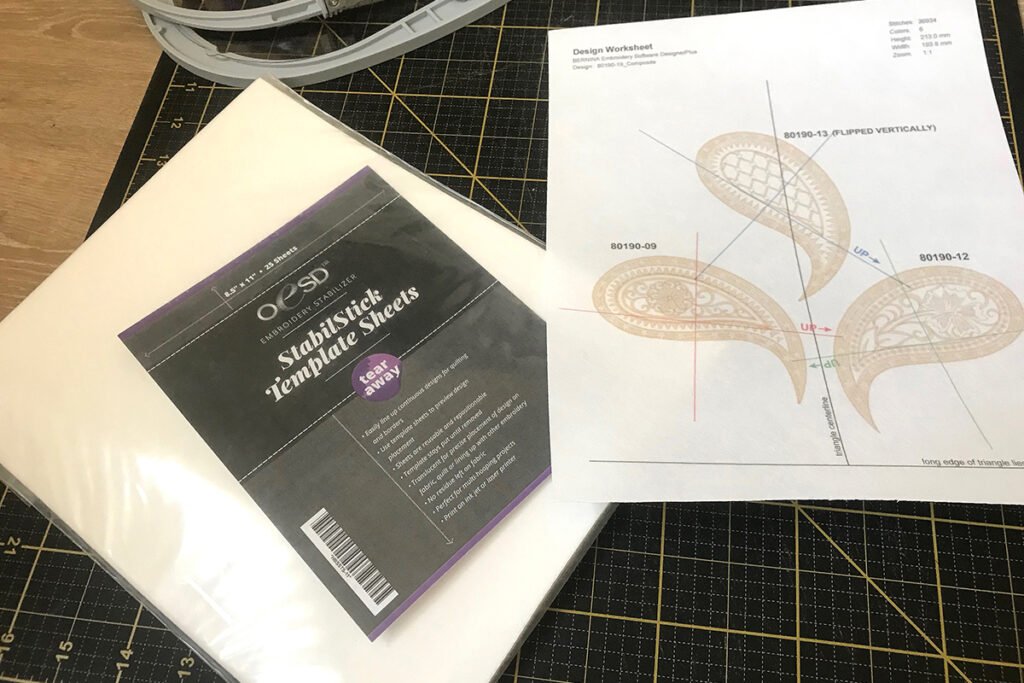
To complete each corner, you will need to hoop the fabric three times. An extra PDF is included with these files to help with placement. I printed it out on an OESD Stabil Stick Template Sheet which was super easy to press onto the fabric, but you can also print it on regular paper and attach the paper to the fabric using temporary spray adhesive.
Regardless of what product you use make sure to print the PDF Template at 100%! To help you out with multi-hooping this design, I prepared a video.
The basic steps for completing this embroidery using an Oval Hoop are:
- Apply Fusible Woven (or other woven stabilizer) to the back of the large triangles cut from the 14-3/4” squares.
- Mark each triangle’s vertical center.
- Print out the PDF on the Stabil Stick Template Sheet at 100%. Peel away the backing and press it onto the stabilized fabric triangle, aligning the vertical centers and long edge of the triangle as shown in the video.
- Spray the back of the triangle lightly with temporary spray adhesive in a BERNINA Oval Hoop.
- Hoop two layers of Ultra-Clean and Tear or other tear-away stabilizer.
- Use the grid that came with your Oval Hoop and position it so that it is centered over the center lines for motif 80190-13. Pay attention to the “UP” arrow! It is important! Also note that this motif is flipped, while the second and third are not. (You can use double-stick tape if needed.) Move the assembly into the hoop and then remove the grid. Tear the template sheet away JUST from the area where you will be embroidering your first motif.
- Choose motif 80190-13 and embroidery the placement lines for the applique. (Remember to flip it if needed.
- Attach your applique fabric using just a touch of temporary spray adhesive. Embroidery the tack-down line and trim the applique fabric very close to the tack down line, being careful not to clip your fabric.
- Embroider the rest of the gold portion of the design.
- Embroider the paisley details in cream colored Isacord as prompted.
- Remove the embroidery from the hoop and remove the tear away stabilizer.
- Repeat Steps 5-11 to embroider the next paisley design (80190-12), but do not flip it. Note that you might have to spray a little more temporary spray adhesive to on the back of the triangle if needed.
- Repeat Steps 5-11 to embroider the third paisley design (80190-09), but do not flip it.
- Trim the long edges of the triangles if needed so that those sides are 1/2” away from the design. You won’t need to trim much fabric in this step – it is just to get rid of the raggedy edges.
If you choose to opt out of the embroidery shown you have a few options:
- You can choose a different embroidered design. Make sure this design is smaller than the triangle because you will be trimming it down a bit during assembly. You can print out the PDF in the multi-hooping zipped file to compare size.
- You could appliqué similarly sized design in its place.
- You can purchase the Jubilee embroidery panel and back the motifs on it with paper-backed fusible web and appliqué them down to the block for a similar look to the original 125th Anniversary Quilt. The motifs on the panel are the same size as the embroidery motifs.
That is it! I’ll be back on January 2nd to walk you through assembling the 125th Anniversary Quilt.
If you have questions please comment below and I’ll try to help. You can also join me in my Facebook Group, Quilting with Amanda Murphy. (link is https://www.facebook.com/groups/free.motion.quilting.idea.book/)
Share how you are progressing on Facebook and Instagram using the hashtags #bernina125 and #weallsew and #amandamurphydesign.
Happy quilting, happy holidays, and HAPPY ANNIVERSARY, BERNINA!
Amanda Murphy
BERNINA Expert/Quilting and Longarm Spokesperson
 BERNINA Corporate Blog -

0 Responses