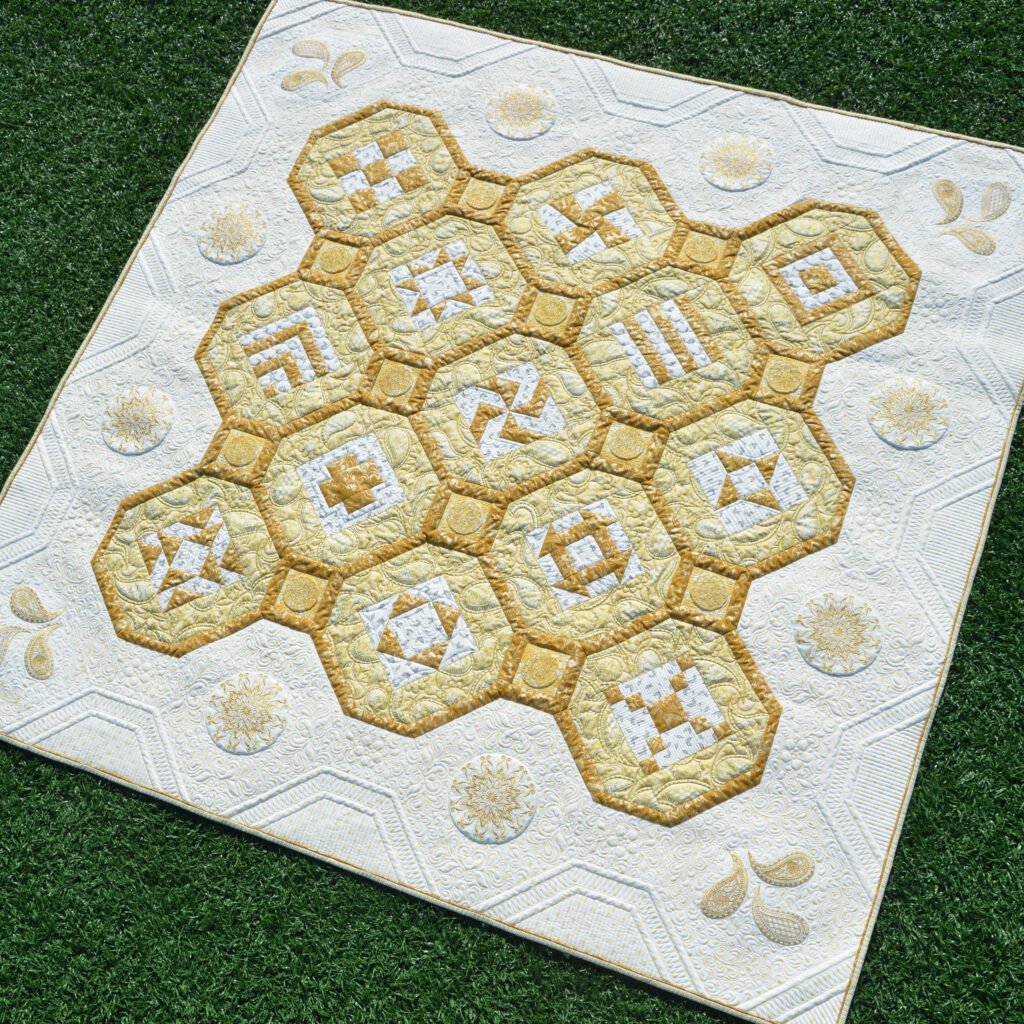
Happy New Year! I hope you enjoyed the holidays! Welcome back to the BERNINA 125th Anniversary Quilt-Along! I’m BERNINA Expert and Amanda Murphy and in this post we will assemble BERNINA’s 125th Anniversary Quilt. After this post there is just one more – on February 6th I’ll be back to cover the quilting of this piece!
I did all my piecing on my BERNINA 790 Anniversary edition with Aurifil 20 weight thread.
Here is a PDF of the instructions that you will need to assemble the quilt.
In the PDF there are diagrams to walk you through the process, but here are some tips to keep in mind.
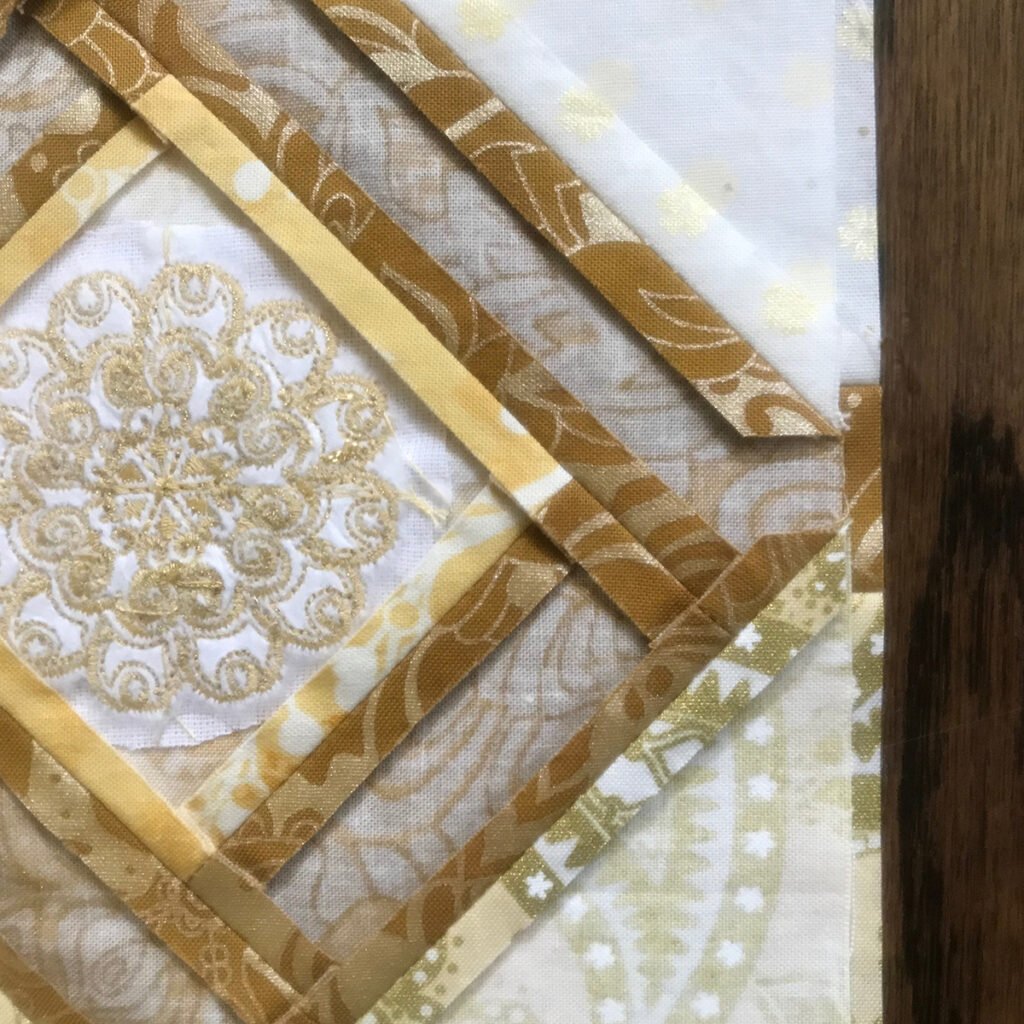
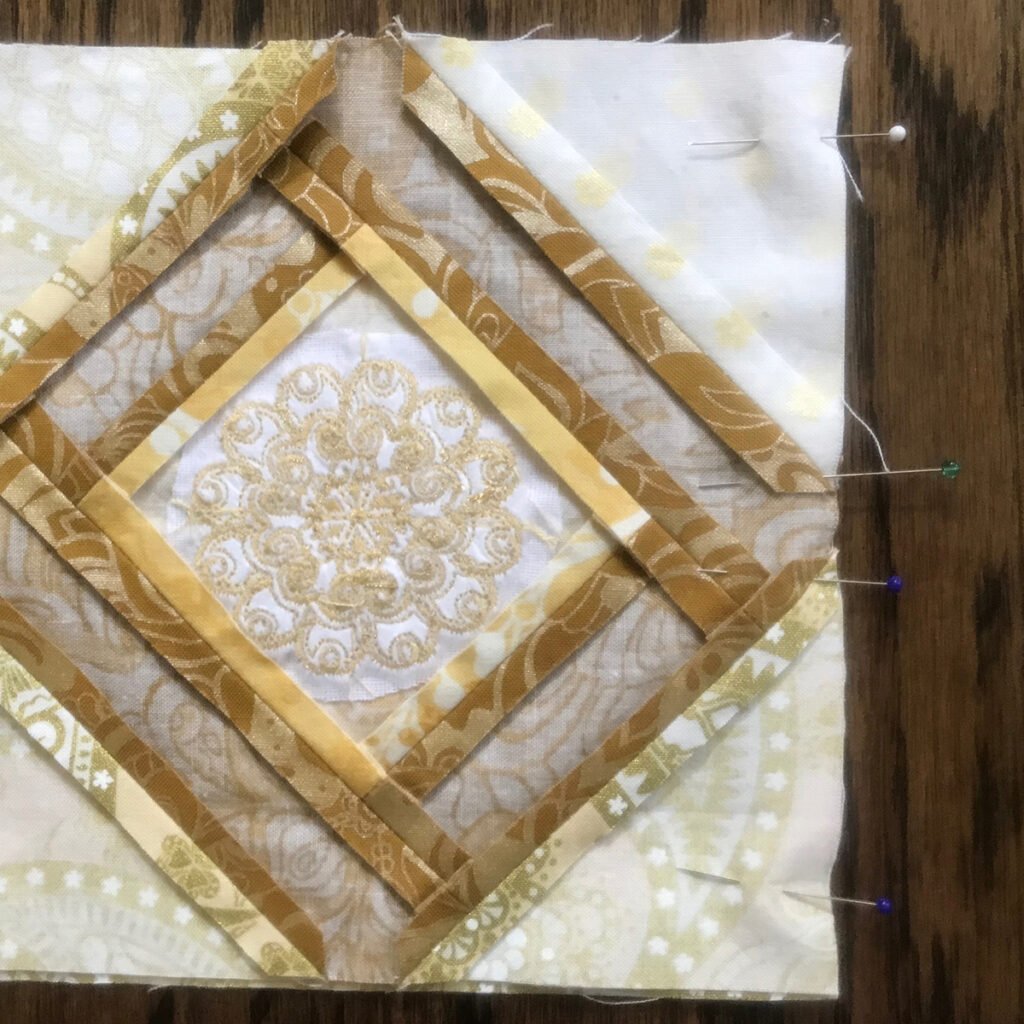
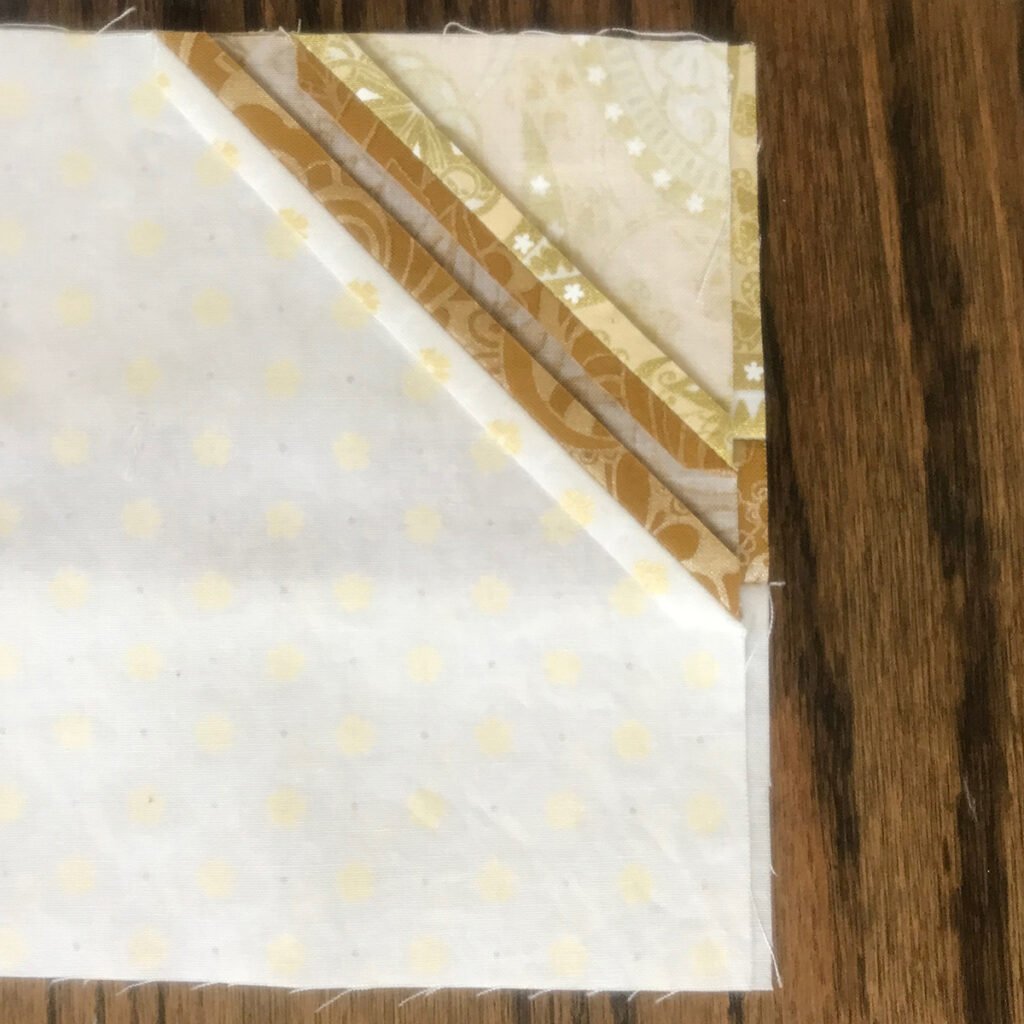
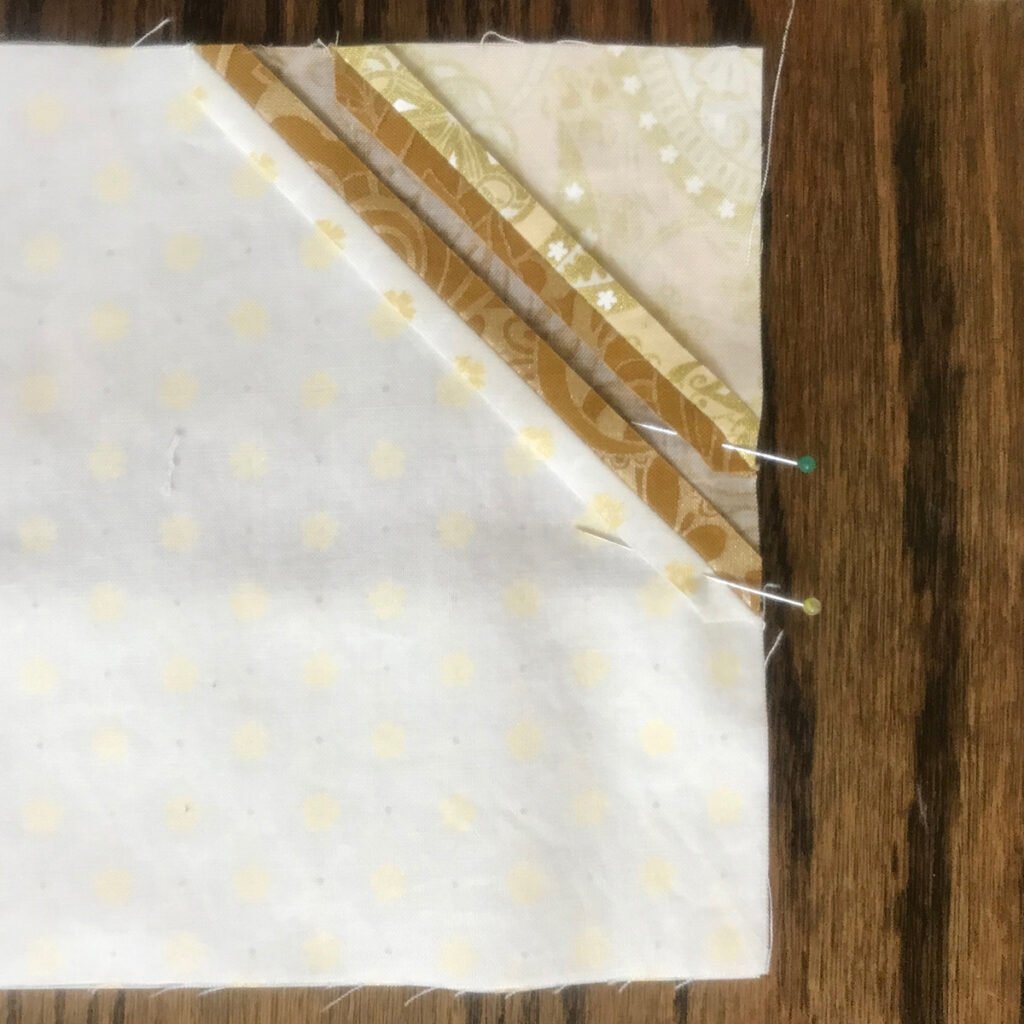
Pin the areas where the octagonal “framework” meets. These points are even more important than pinning the ends of the blocks! Notice in the pictures below that I’ve lined up the blocks just a little offset first, so I can see the alignment of the blocks will be correct when I join them with a 1/4” seam. Then I shift the top block over the bottom and PIN PIN PIN![Textflussumbruch][Textflussumbruch]I checked each of my seams before pressing them. If I had a problem I could often just let out or take in the seam just a stitch or two around the framework to get a perfect join. (But if you miss one you likely would not notice in the finished quilt because the paisley print that surrounds them is so busy! (Ask me how I know. I had one that was off, and I never even noticed it until I was quilting!)
Same thing goes for joining the blocks on the border.
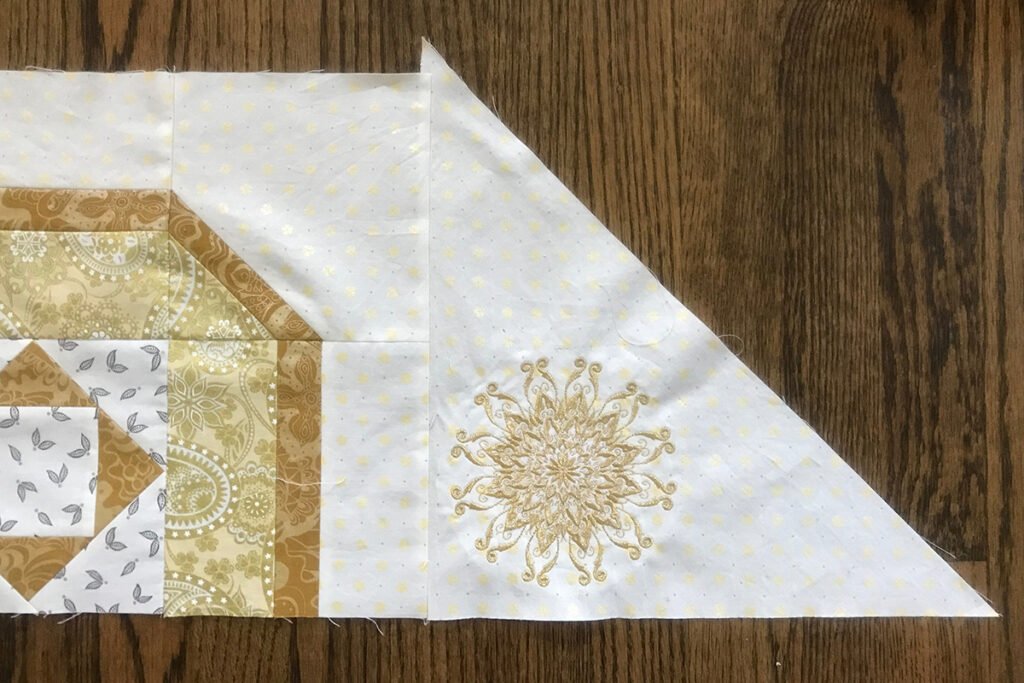
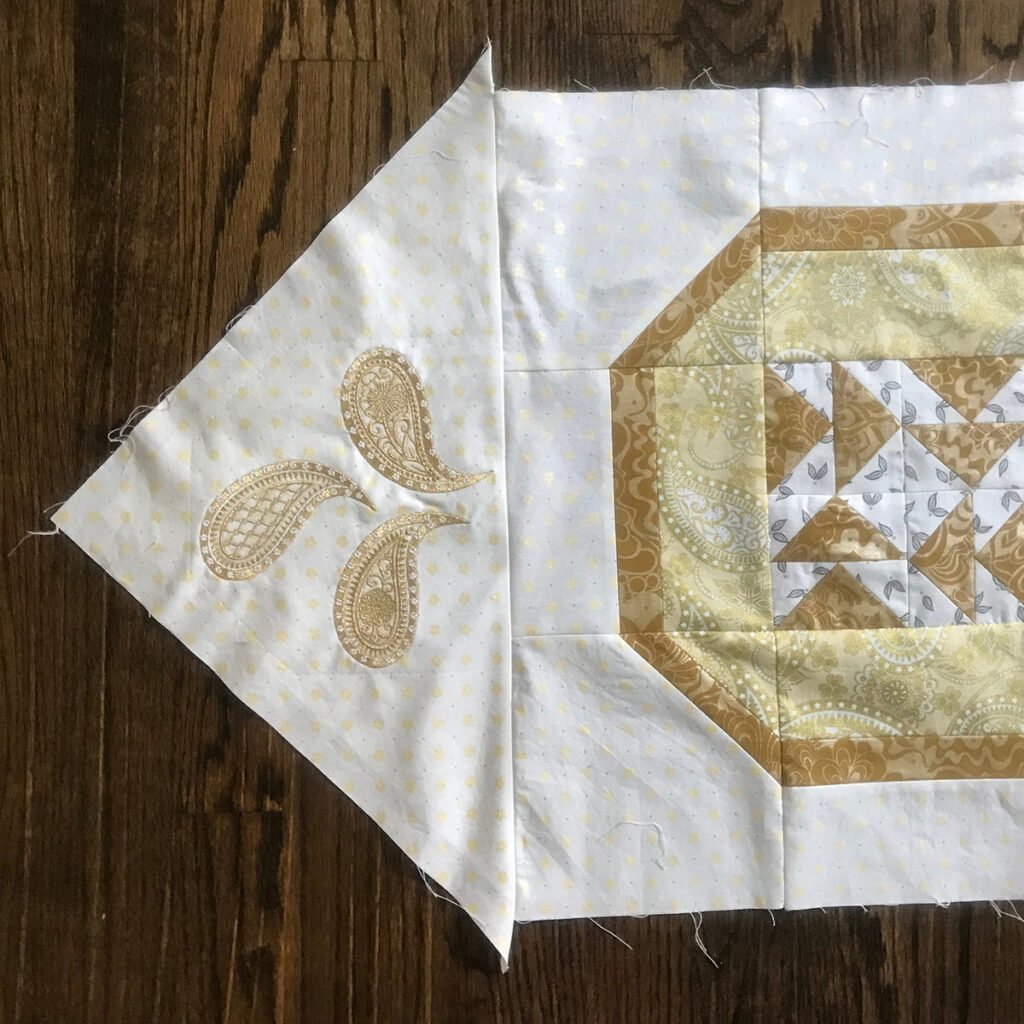
Ok, next up. When joining the border side triangles, make sure to align the base of the two blocks. One of the triangle points will extend off the edge of the unit and that is okay!
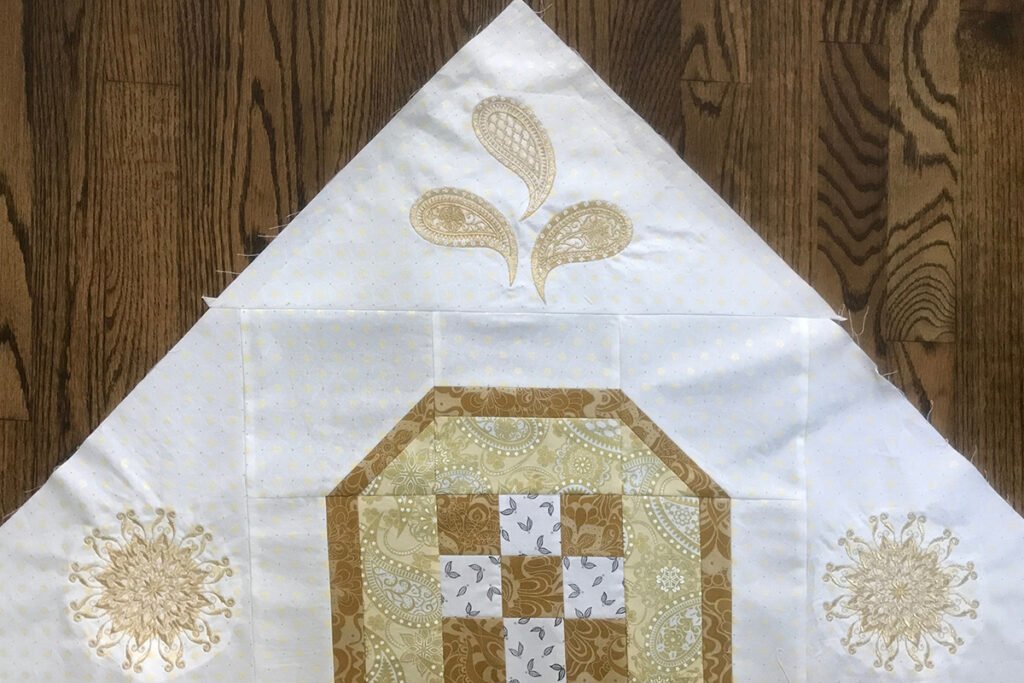
When joining the border corner triangles, visually center them on the unit to which you are joining them. (You’ll trim later, once every thing is joined together.)
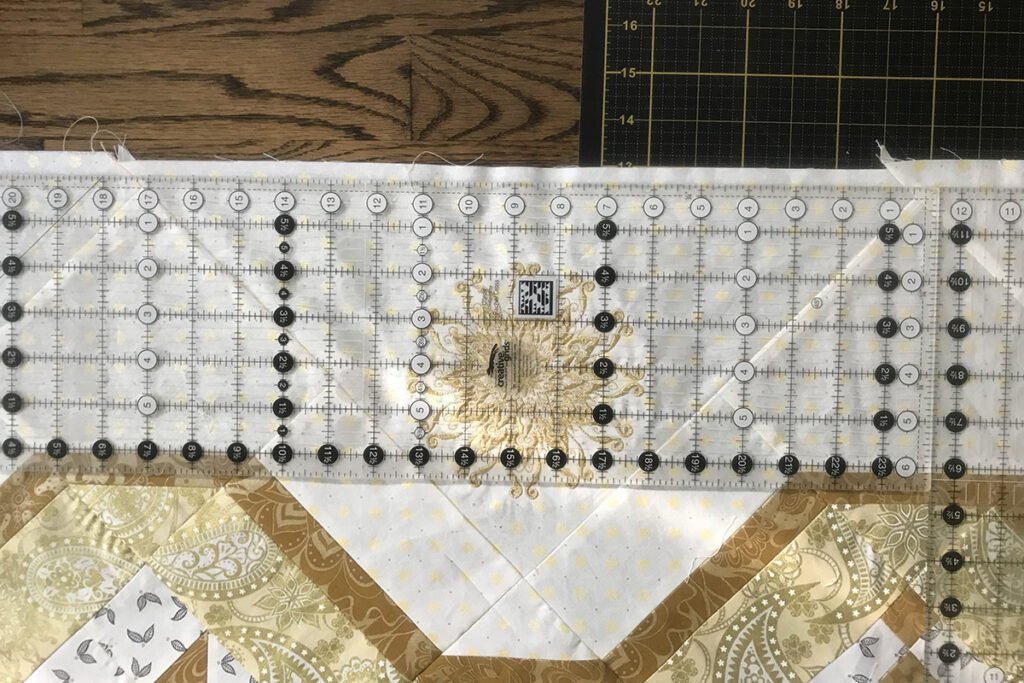
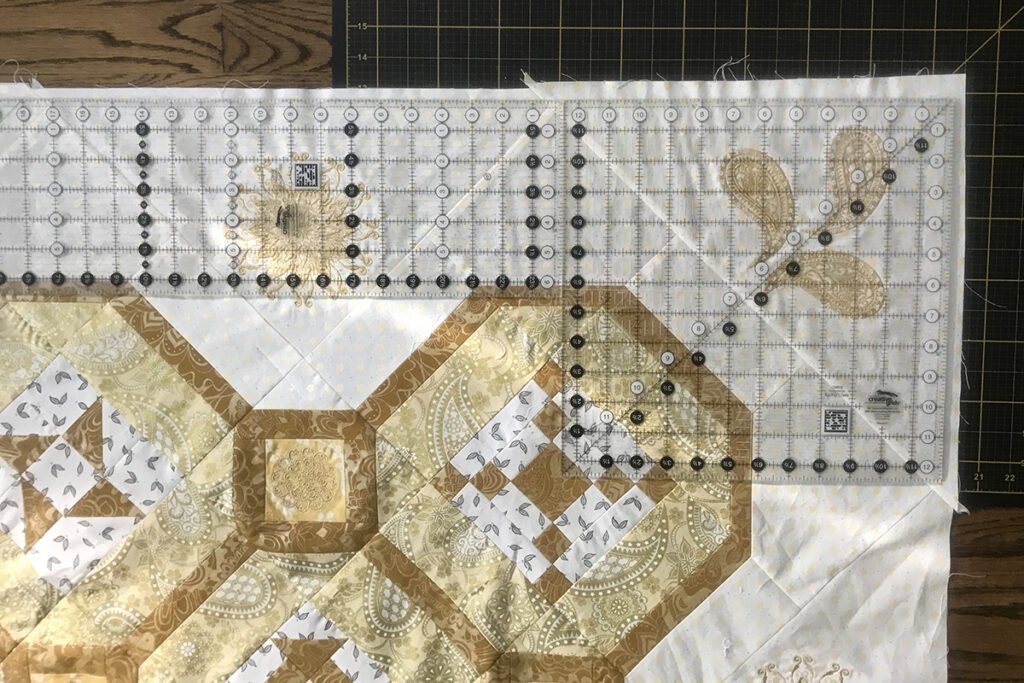
When you trim the quilt top center after joining all the rows, the intersections of the seams where blocks meet should be 1/4” away from the trim line. (I also like to use a big square ruler to trim the corners.)
And finally, if you choose not to incorporate embroidery you will likely want a narrower border. To achieve this, omit the border strips and trim the quilt top center further as shown, lining the ruler up parallel to the outer edges of the octagonal framework to trim. (The border triangles wouldn’t have to be as large because of this, but be careful not to stretch the little bit of exposed bias edge when quilting. You can always add strips of fusible interfacing on the wrong side of the edge of these areas to help with this.)
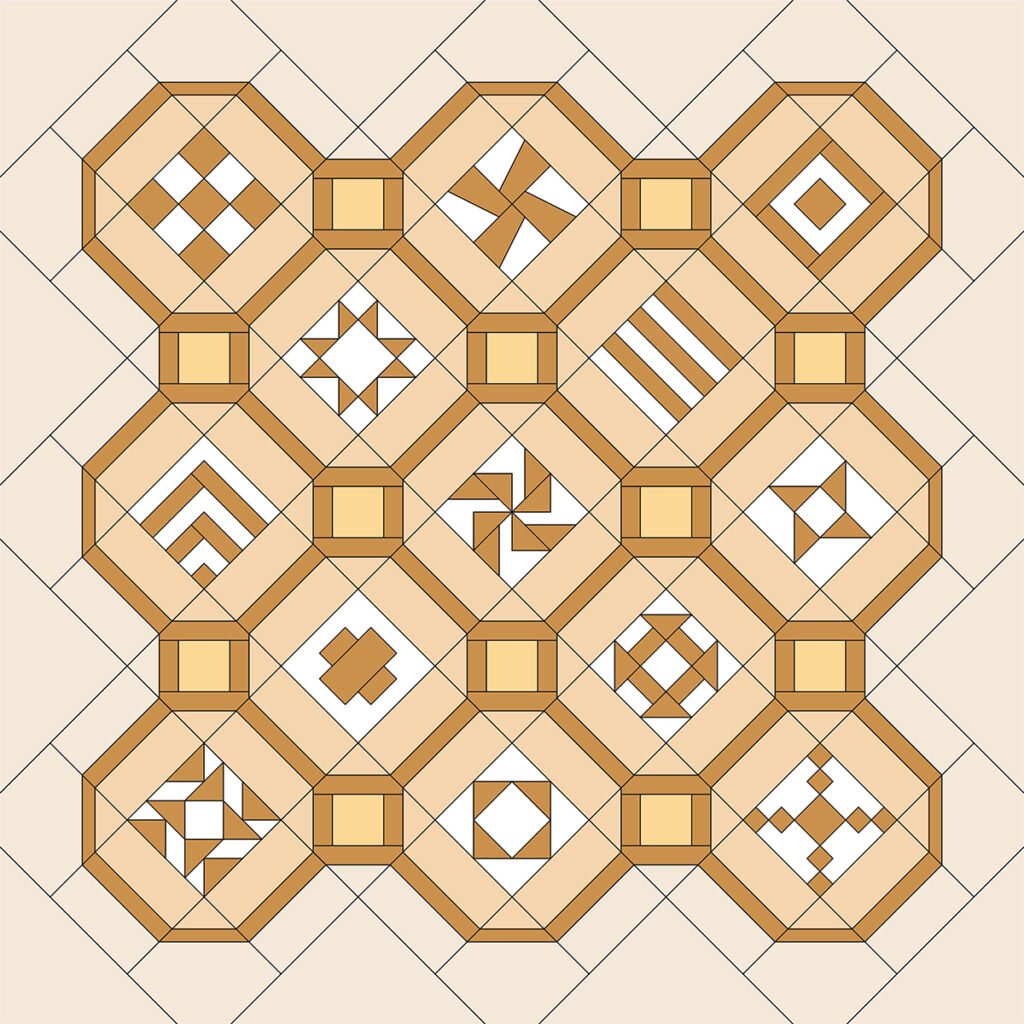
Decreasing the side of the border by trimming the quilt top center further and omitting the border strips.
If you are incorporating embroidery with the full size border it is always a good idea to measure your quilt top across the center of the quilt and adjust the border strip measurements as needed before pinning them on!
As usual, I’ve put together a video to walk you through the steps.
See you back here on February 6th! Happy quilting!
Amanda Murphy
BERNINA Expert/Quilting and Longarm Spokesperson
 BERNINA Corporate Blog -
0 Responses