Hey There
It is already february that means is time to release the second block of ‘The mystery embroidery quilt along’. (Did you mis the first block? (you can find it here).
It took al little longer than planned to upload the second block because my husband and I bought a new house. What is very exciting and a lot of fun! but olso means that i’m very busy 🙂 But the next block will be announced by the 14th of february, so that means that there will be 2 blocks this month because we have a little catch up to do.
Last couple of days it was very cold in the Netherlands and it even snowed for a few days. Everting was looking very beutiful and it was really nice to be outside.
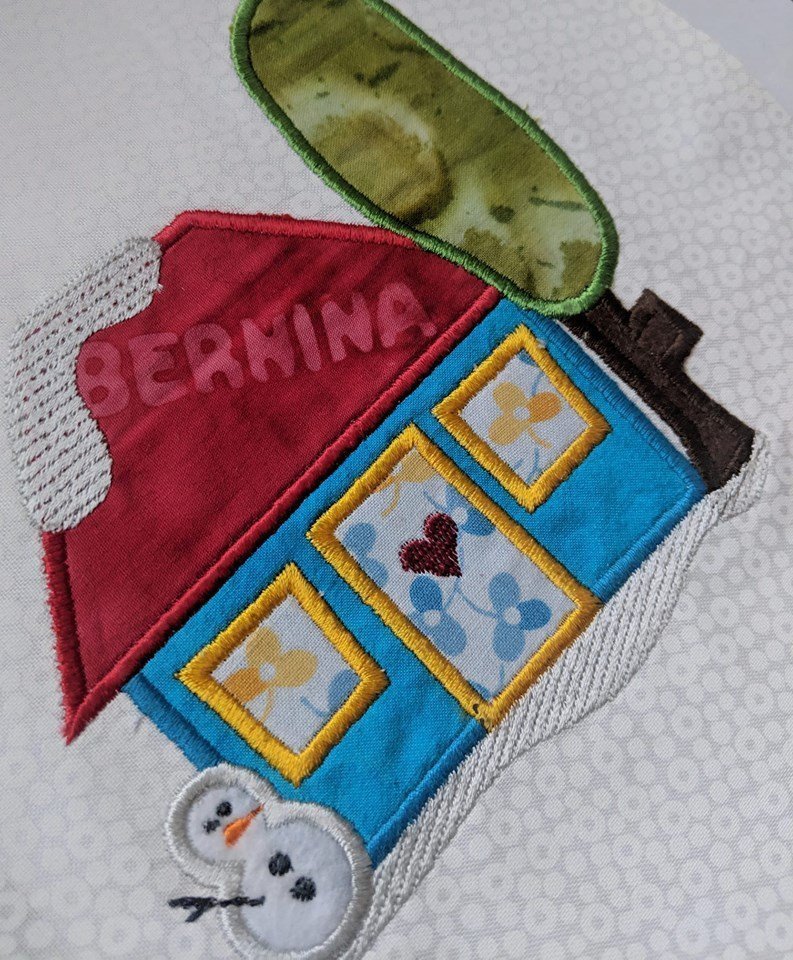
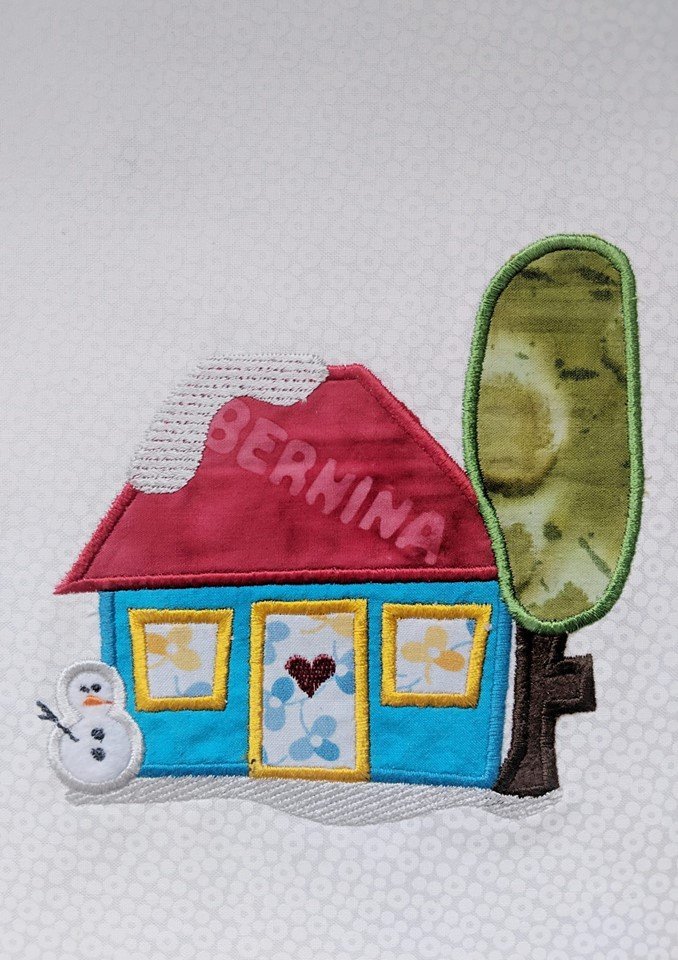
For this second block I design a nice winter landscape, with a cute little snow man. After the information about the block sizes you find the embroidery file and the instructions
Block size
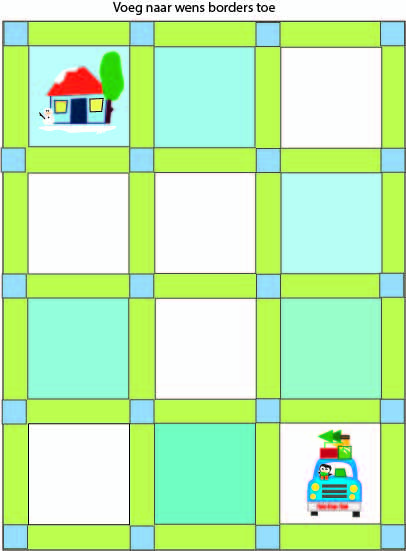
The fun part of ‘the mystery quilt along’ is that you can adjust the block sizes to you wishes. You can add borders or maybe you want to combin the blocks with other quilting bloks, the decision is yours. I’ll show you a couple of options but feel free to adjust them.
If you figured out which size you want to make your blocks you calucolator how much fabric you need,
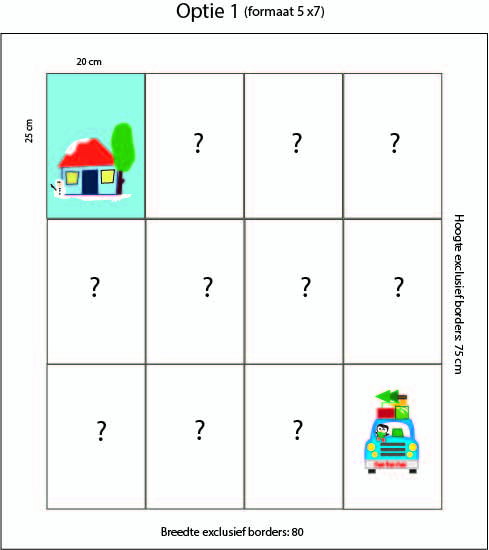
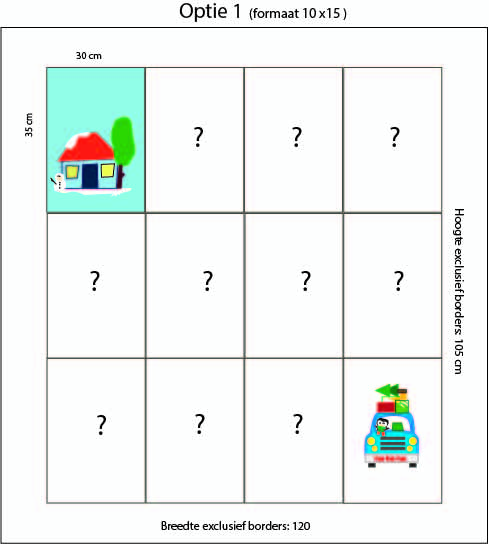
Optie 1. rectangles. (without seam allowens)
For example, you can choose to process the blocks as rectangles. In the examples below I have not (yet) added any borders
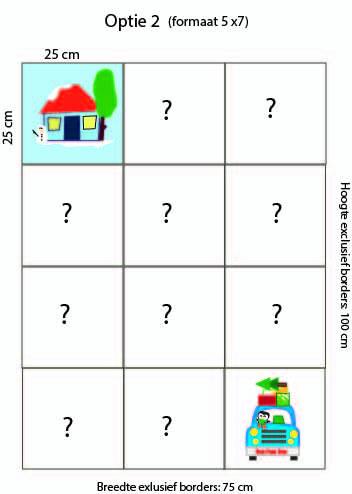
Option 2.
A second option is to process the blocks as sesquare.
Klaar voor het tweede blok?
What you’ll need
- Fabric for the background
- Different colours of embroidery thread
- Pieces of fabric for the appliqués
- Scissors to cut away the fabric
- Interfacing, such as Stitch-n-Tear
- Embroidery machine with a minimum range of 5 x 7 inches
- This design fits into a large oval embroidery frame (14.5 x 25.5 cm)
- Embroidery design
Before you begin:
Make sure the embroidery pattern is on your embroidery machine, for example via a USB stick.
Cover your embroidery frame with interfacing, such as Stitch-n-Tear or mesh, and the fabric you want to make the appliqué on.
ken.
A. Embroider the placement line for the house
B. Place the fabric for the ouse , with the right side up, over the house
C. Embroider the attachment line for the house. Cut away the remaining fabric against the stitching
Embroider the second attachement line.
D. Select the desired colour of thread for the house and embroider the satin stitchoutline
A. Embroider the placement line for the door
B. Place the fabric for the door, withthe right side up, over the door.
C. Embroider the attachment line for the door . Cut away the remaining fabric against the stitching.
Embroider the second attachement line.
D. Select the desired colour of thread for the door and embroider the satin stitchoutline
E. Embroider the heart on the door.
A. Embroider the placement line for the roof
B. Place the fabric for the door, withthe right side up, over the roof
C. Embroider the attachment line for the roof. Cut away the remaining fabric against the stitching.
Embroider the second attachement line.
D. Select the desired colour of thread for the roof and embroider the satin stitchoutline
A. Embroider the placement line for the tree trunk
B. Place the fabric for the door, withthe right side up, over the tree trunk.
C. Embroider the attachment line for the tree trunk. Cut away the remaining fabric against the stitching.
Embroider the second attachement line.
D. Select the desired colour of thread for the thee trunk and embroider the satin stitchoutline
A. Embroider the placement line for the tree
B. Place the fabric for the door, withthe right side up, over the tree.
C. Embroider the attachment line for the tree. Cut away the remaining fabric against the stitching.
Embroider the second attachement line.
D. Select the desired colour of thread for the tree and embroider the satin stitchoutline
A. Embroider the snow
B. Embroider the placement line for the snowman
B. Place the fabric for the door, withthe right side up, over the snowman.
C. Embroider the attachment line for the snowman. Cut away the remaining fabric against the stitching.
Embroider the second attachement line.
D. Select the desired colour of thread for the snowman and embroider the satin stitchoutline
E. Embroider the buttons, eys and arm of the snowman and as last the noise.
The second block is ready!A lot of success and fun with the design and until the next time.I would love it if you follow me on:
 BERNINA Corporate Blog -



Thank you for the two Blocks, but would like to know if there is going to be more.
Happy Stitching:-)
Is this project going to continue? I have seen nothing after the two posted squares.
The embroidery file is not linked in this exercise. Thank you for all of the information and designs.
Dear Paula
Thank you very much for being interested in the mystery embroidery quilt along. I’m so sorry that the embroidery designs weren’t linked.
I linked the ZIP file for downloading, so you would find it above ?
I wish you a lot of fun while sewing, quilting and embroidering !
Best regards
Tamara
Did anyone figure out how to get the file? Cannot find an embedded link.
Dear Carol
Thank you very much for being interested in the mystery embroidery quilt along. I’m so sorry that the embroidery designs weren’t linked.
I linked the ZIP file for downloading, so you would find it above ?
I wish you a lot of fun while sewing, quilting and embroidering !
Best regards
Tamara
Would like to know how to get this embroidery file. This quilt looks very cute. Thank you & Happy Stitching 🙂
Dear Brenda
Thank you very much for being interested in the mystery embroidery quilt along. Sure, you could get them.. I’m so sorry that the embroidery designs weren’t linked.
I linked the ZIP file for downloading, so you would find it above 🙂
I wish you a lot of fun while sewing, quilting and embroidering !
Best regards
Tamara
Thank you so much. Happy Stitching 🙂
Where is the emb. design. for this block?
Would love to make this quilt! Where is the link for this block?
Dear Ann
Thank you very much for being interested in the mystery embroidery quilt along. I’m so sorry that the embroidery designs weren’t linked.
I linked the ZIP file for downloading, so you would find it above ?
I wish you a lot of fun while sewing, quilting and embroidering !
Best regards
Tamara
The embroidery file was not linked to this posting.
Dear Louise
Thank you very much for being interested in the mystery embroidery quilt along. I’m sorry that the embroidery design were not linked.
I linked the ZIP file for downloading, so you would find it above 🙂
I wish you a lot of fun while sewing, quilting and embroidering !
Best regards
Tamara