 BERNINA Corporate Blog -
Sewalong: Closet Core Kalle Shirt Dress Part 2
Welcome to part 2! If you missed the first part then you can find it here: Sewalong: Kalle Shirt Dress by Closet Core Patterns Part 1
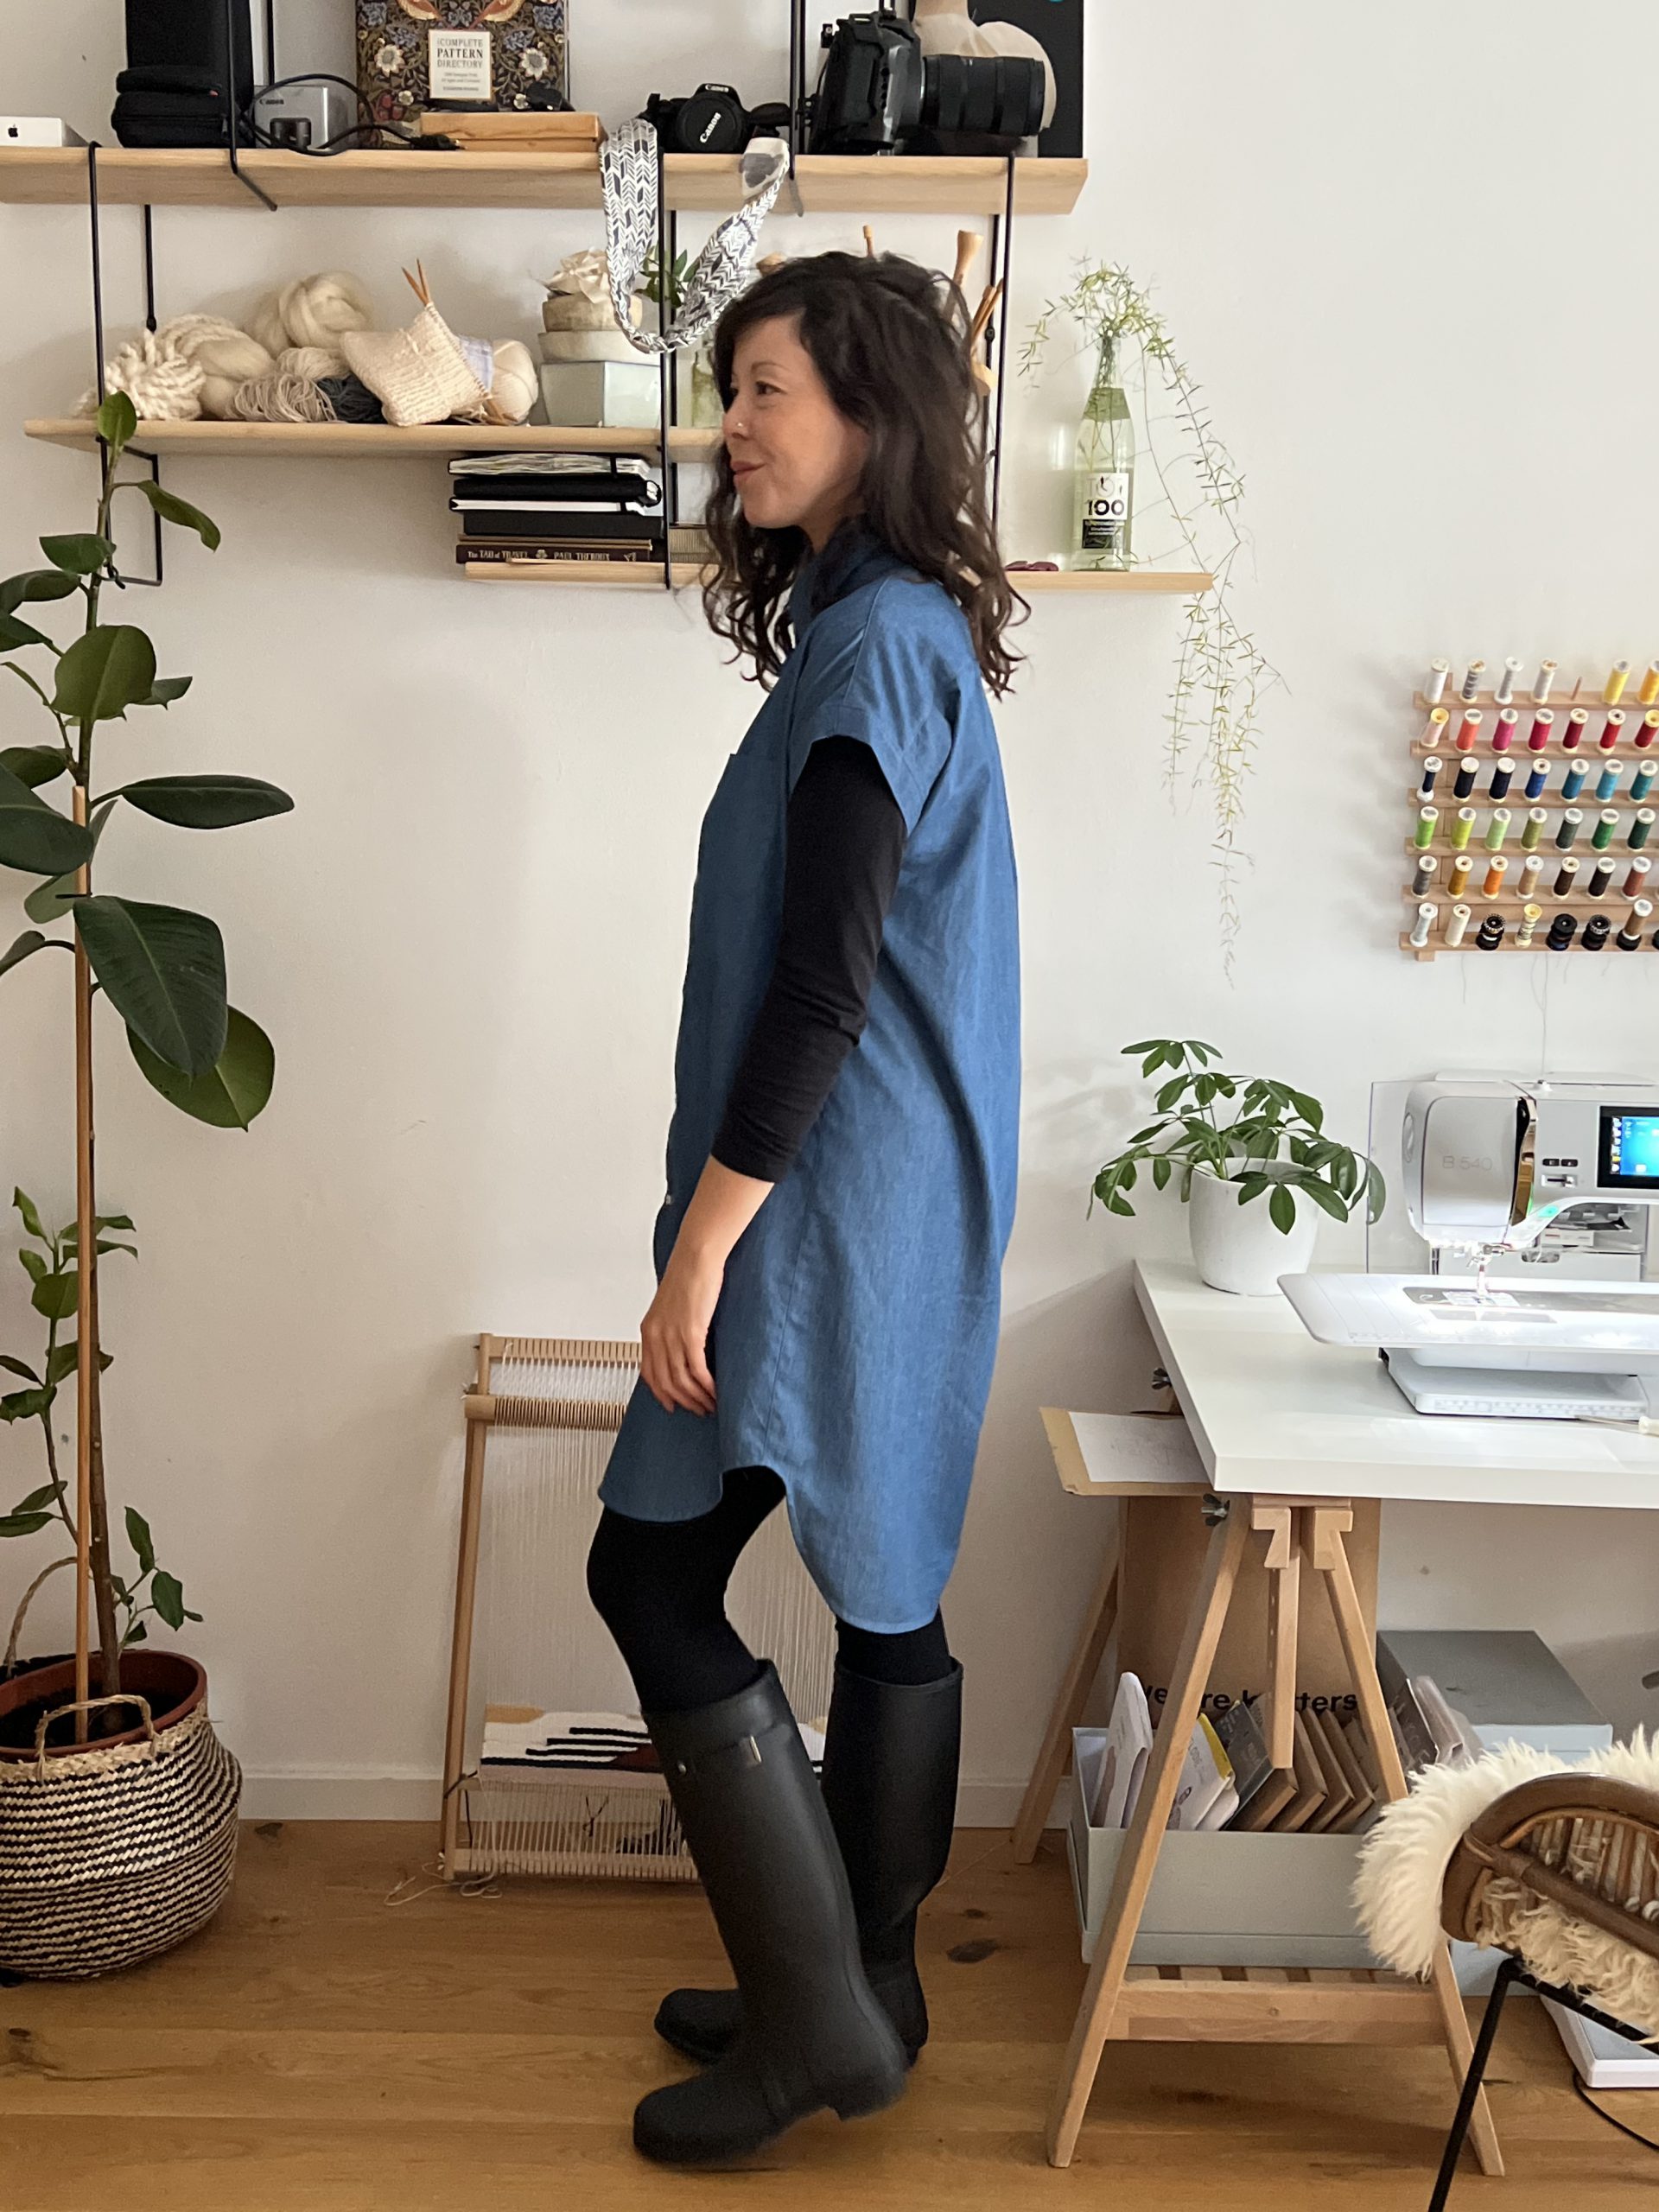
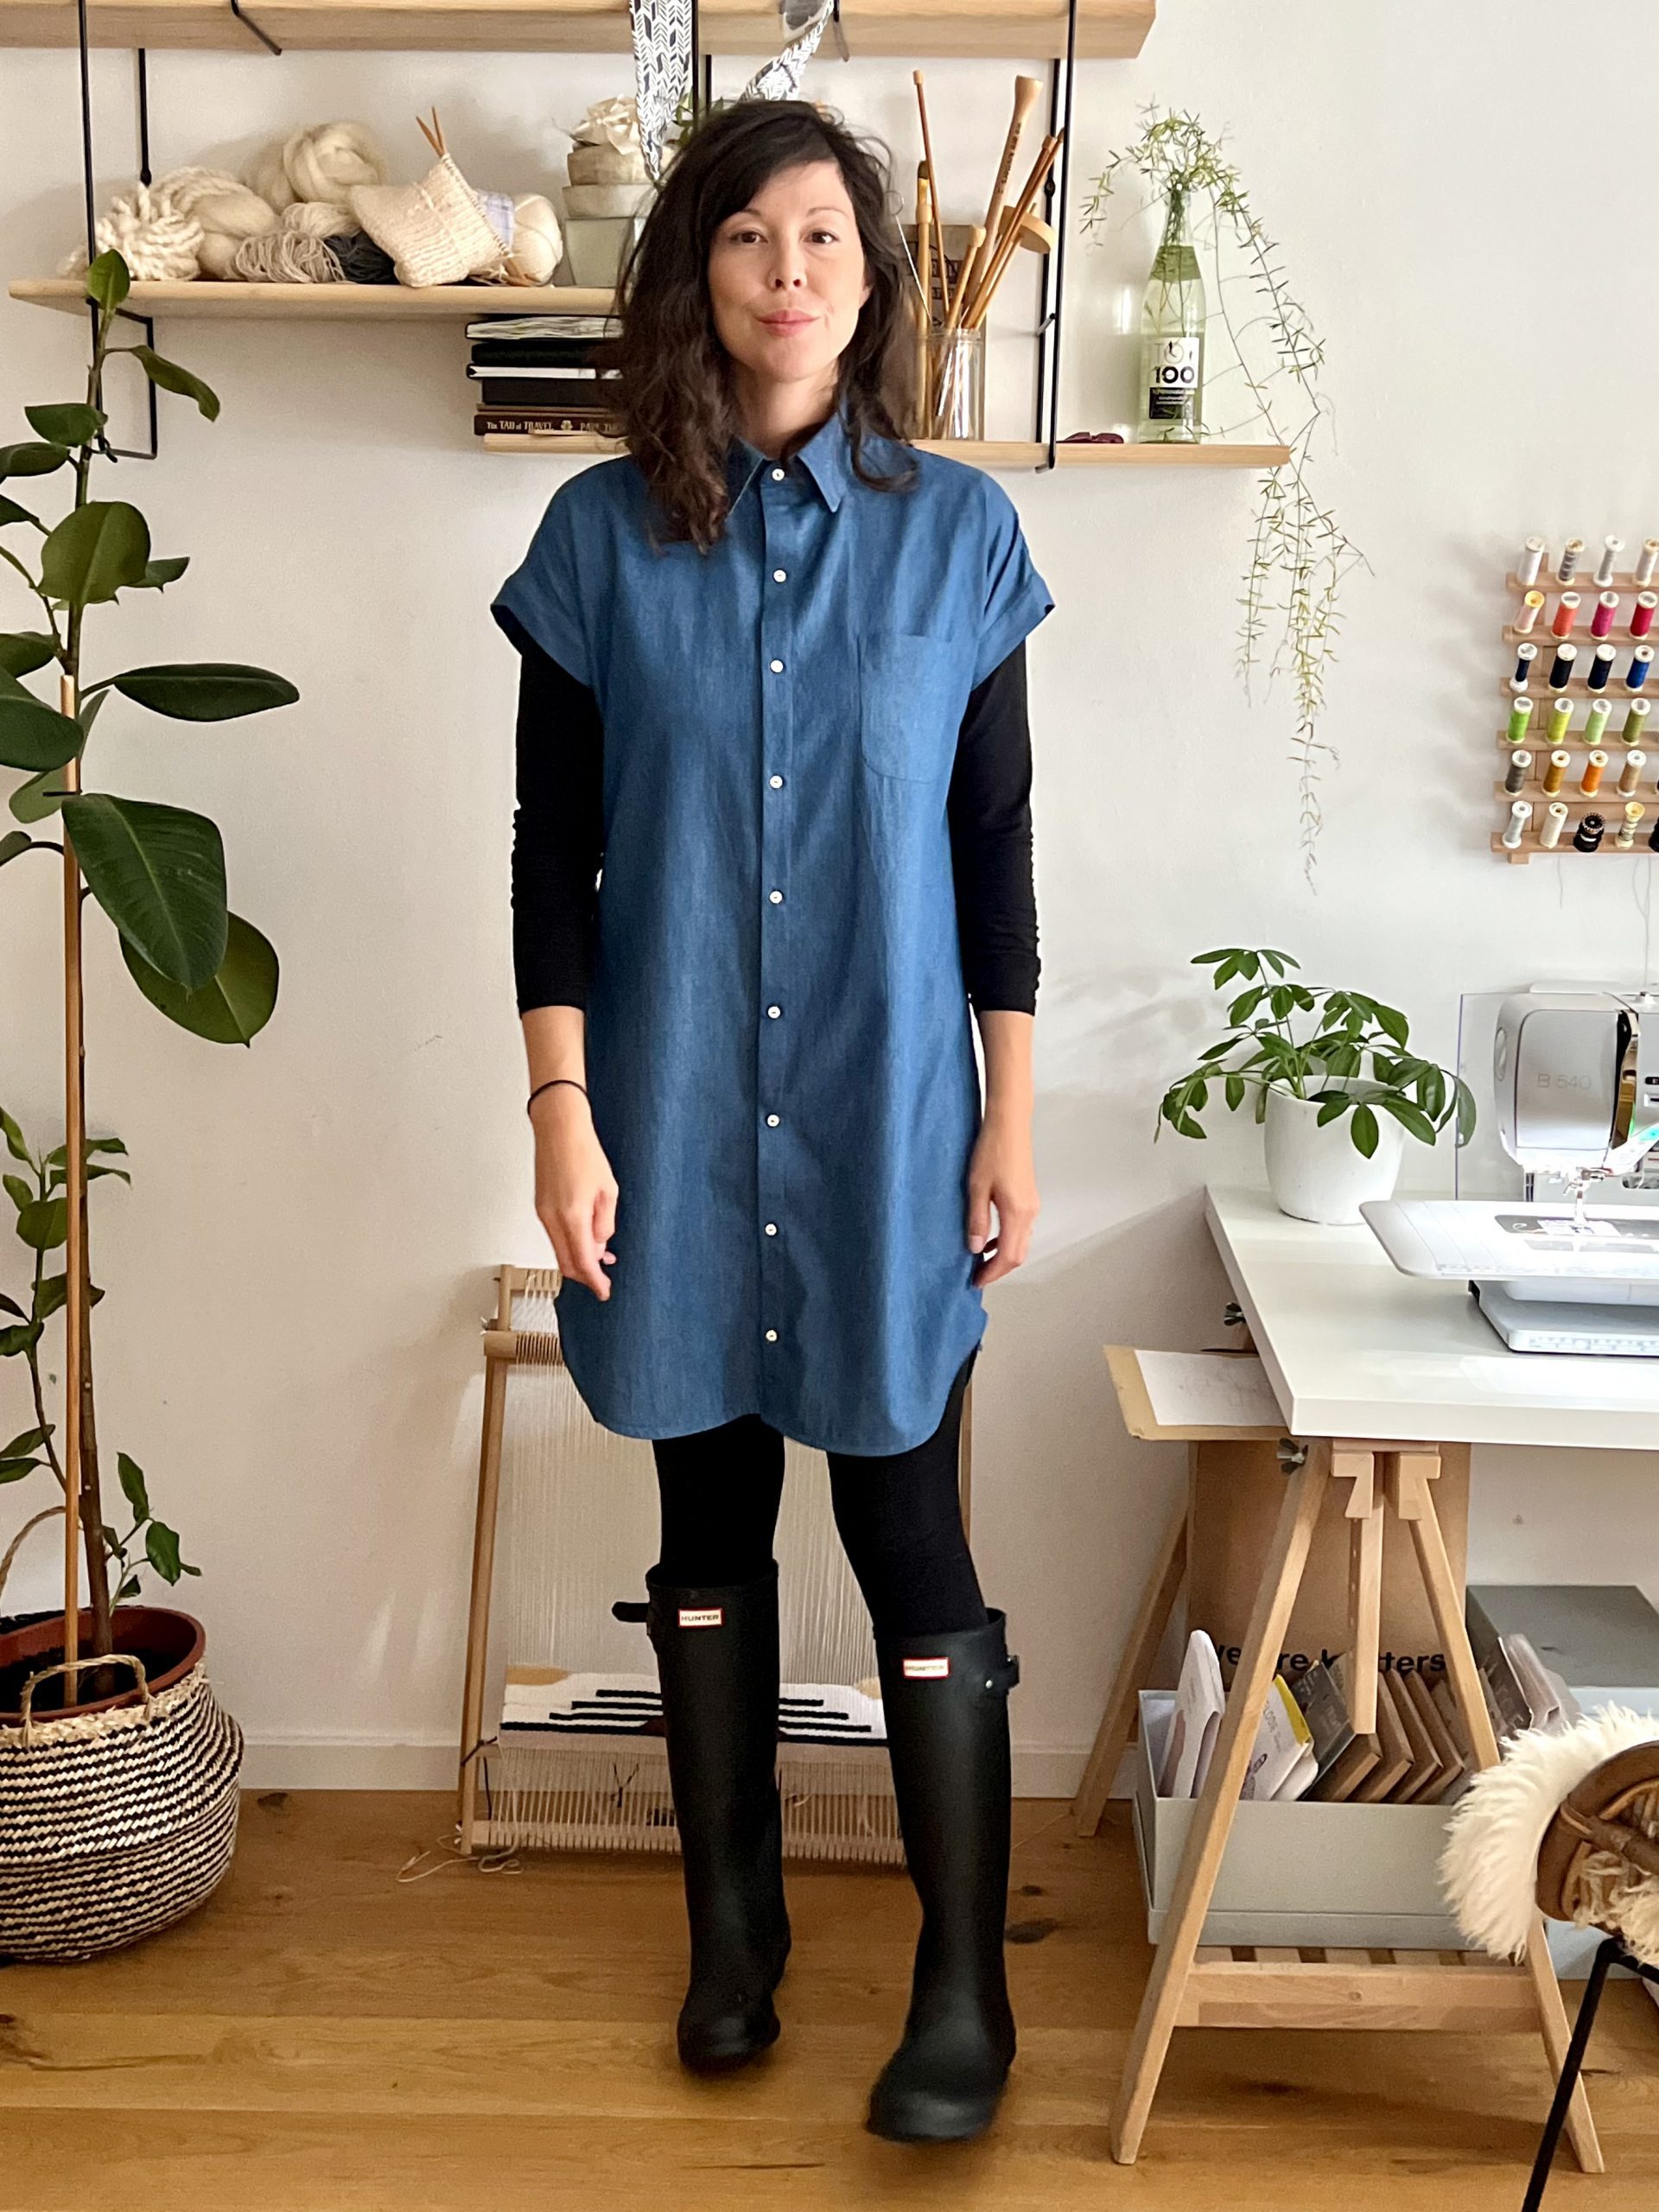
I don’t know about you but I still find choosing the right size in garment sewing to be a somewhat challenging aspect, especially when making a pattern from a new-to-me designer for the first time. I dithered between sizes 10 and 12 and ended up deciding to make the 10 even though my breastfeeding boobs are constantly fluctuating and my waist and hip measurements are 1-2 cm larger than those listed for the size 10. Despite falling between 2 sizes, my measurements were closer to the size 10 and looking at the finished garment measurements I figured there was enough ease drafted into the pattern to allow for an extra cm here and there.
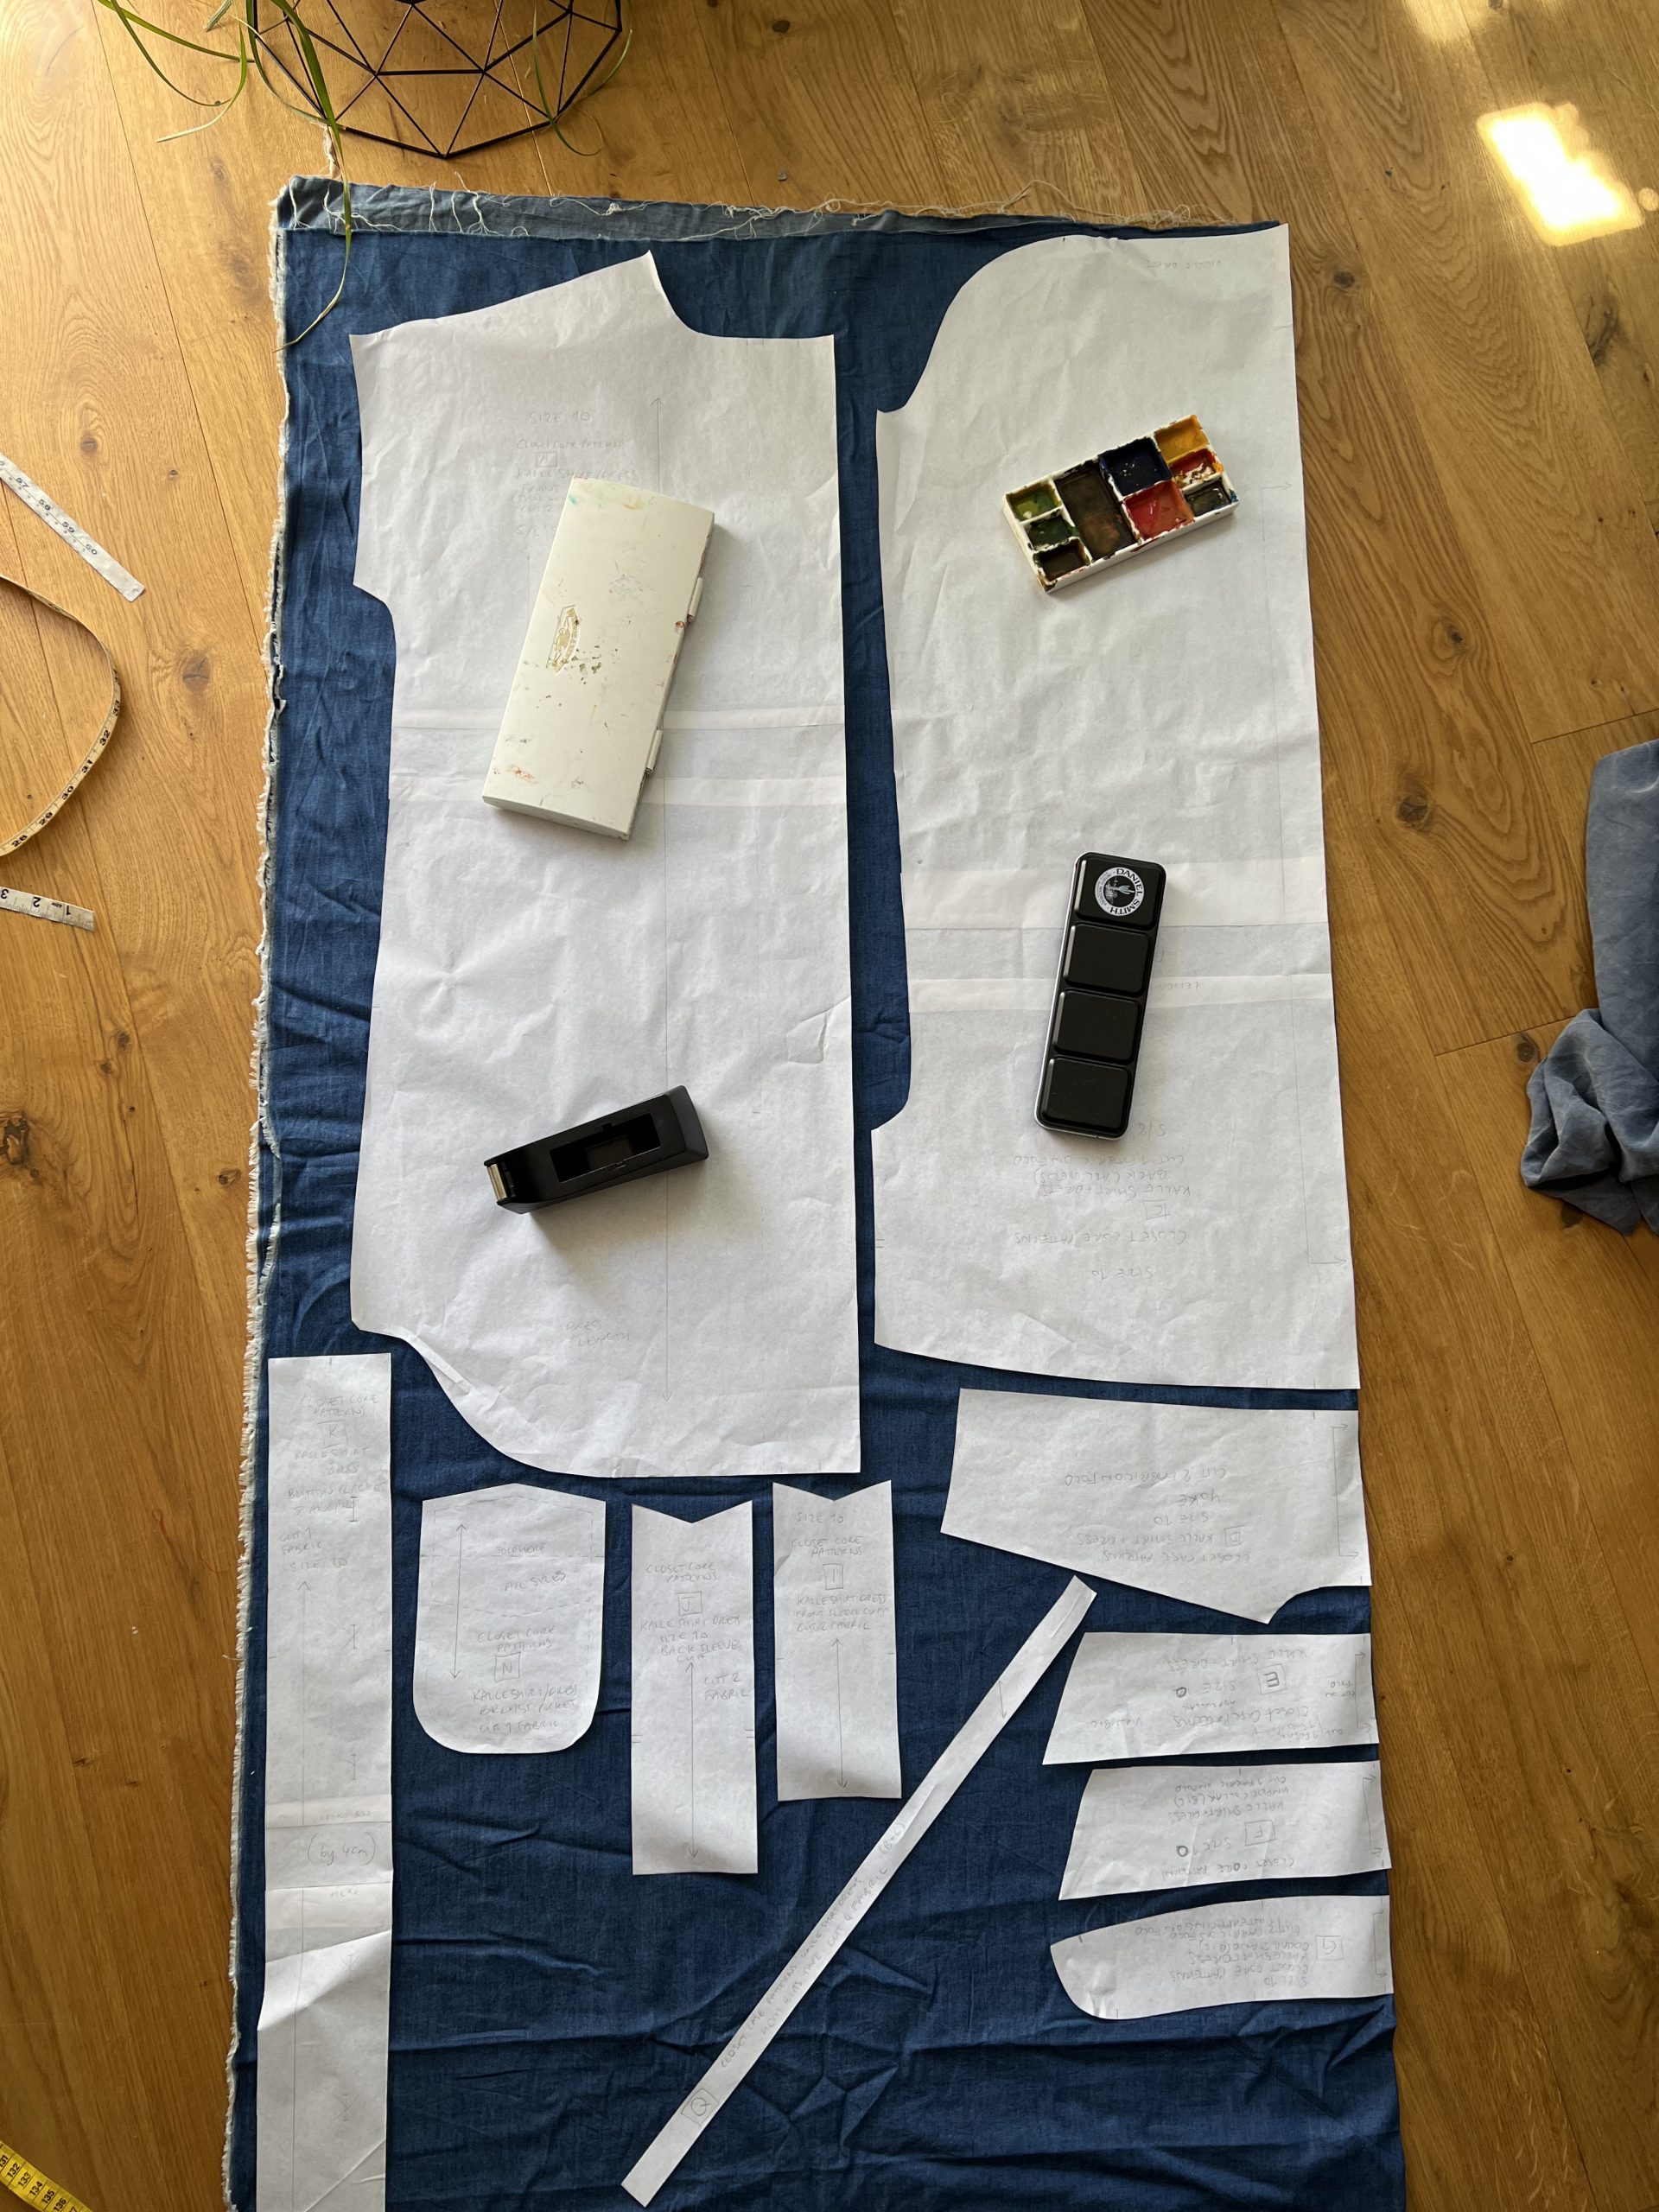
I had 3 meters of approximately 150cm wide fabric but only needed 2 meters for this project, even though I lengthened the dress by 4cm using the lengthen/shorten lines provided on the pattern (I am 178cm/5,10” tall). This meant having to also lengthen the placket pattern piece by the same amount, which in turn resulted in having to re-jig the button spacing too.
I normally like to play pattern piece Tetris with my fabric, finding a clever way to make everything fit and use up every last scrap. It is immensely satisfying. I felt guilty leaving a lone meter unused, but I went for it anyway because I know I will either squeeze a top out of the leftovers in the future or I will put it to use in a patchwork project, possibly with Sashiko accents? Love a white contrast thread on an indigo background. But I digress…
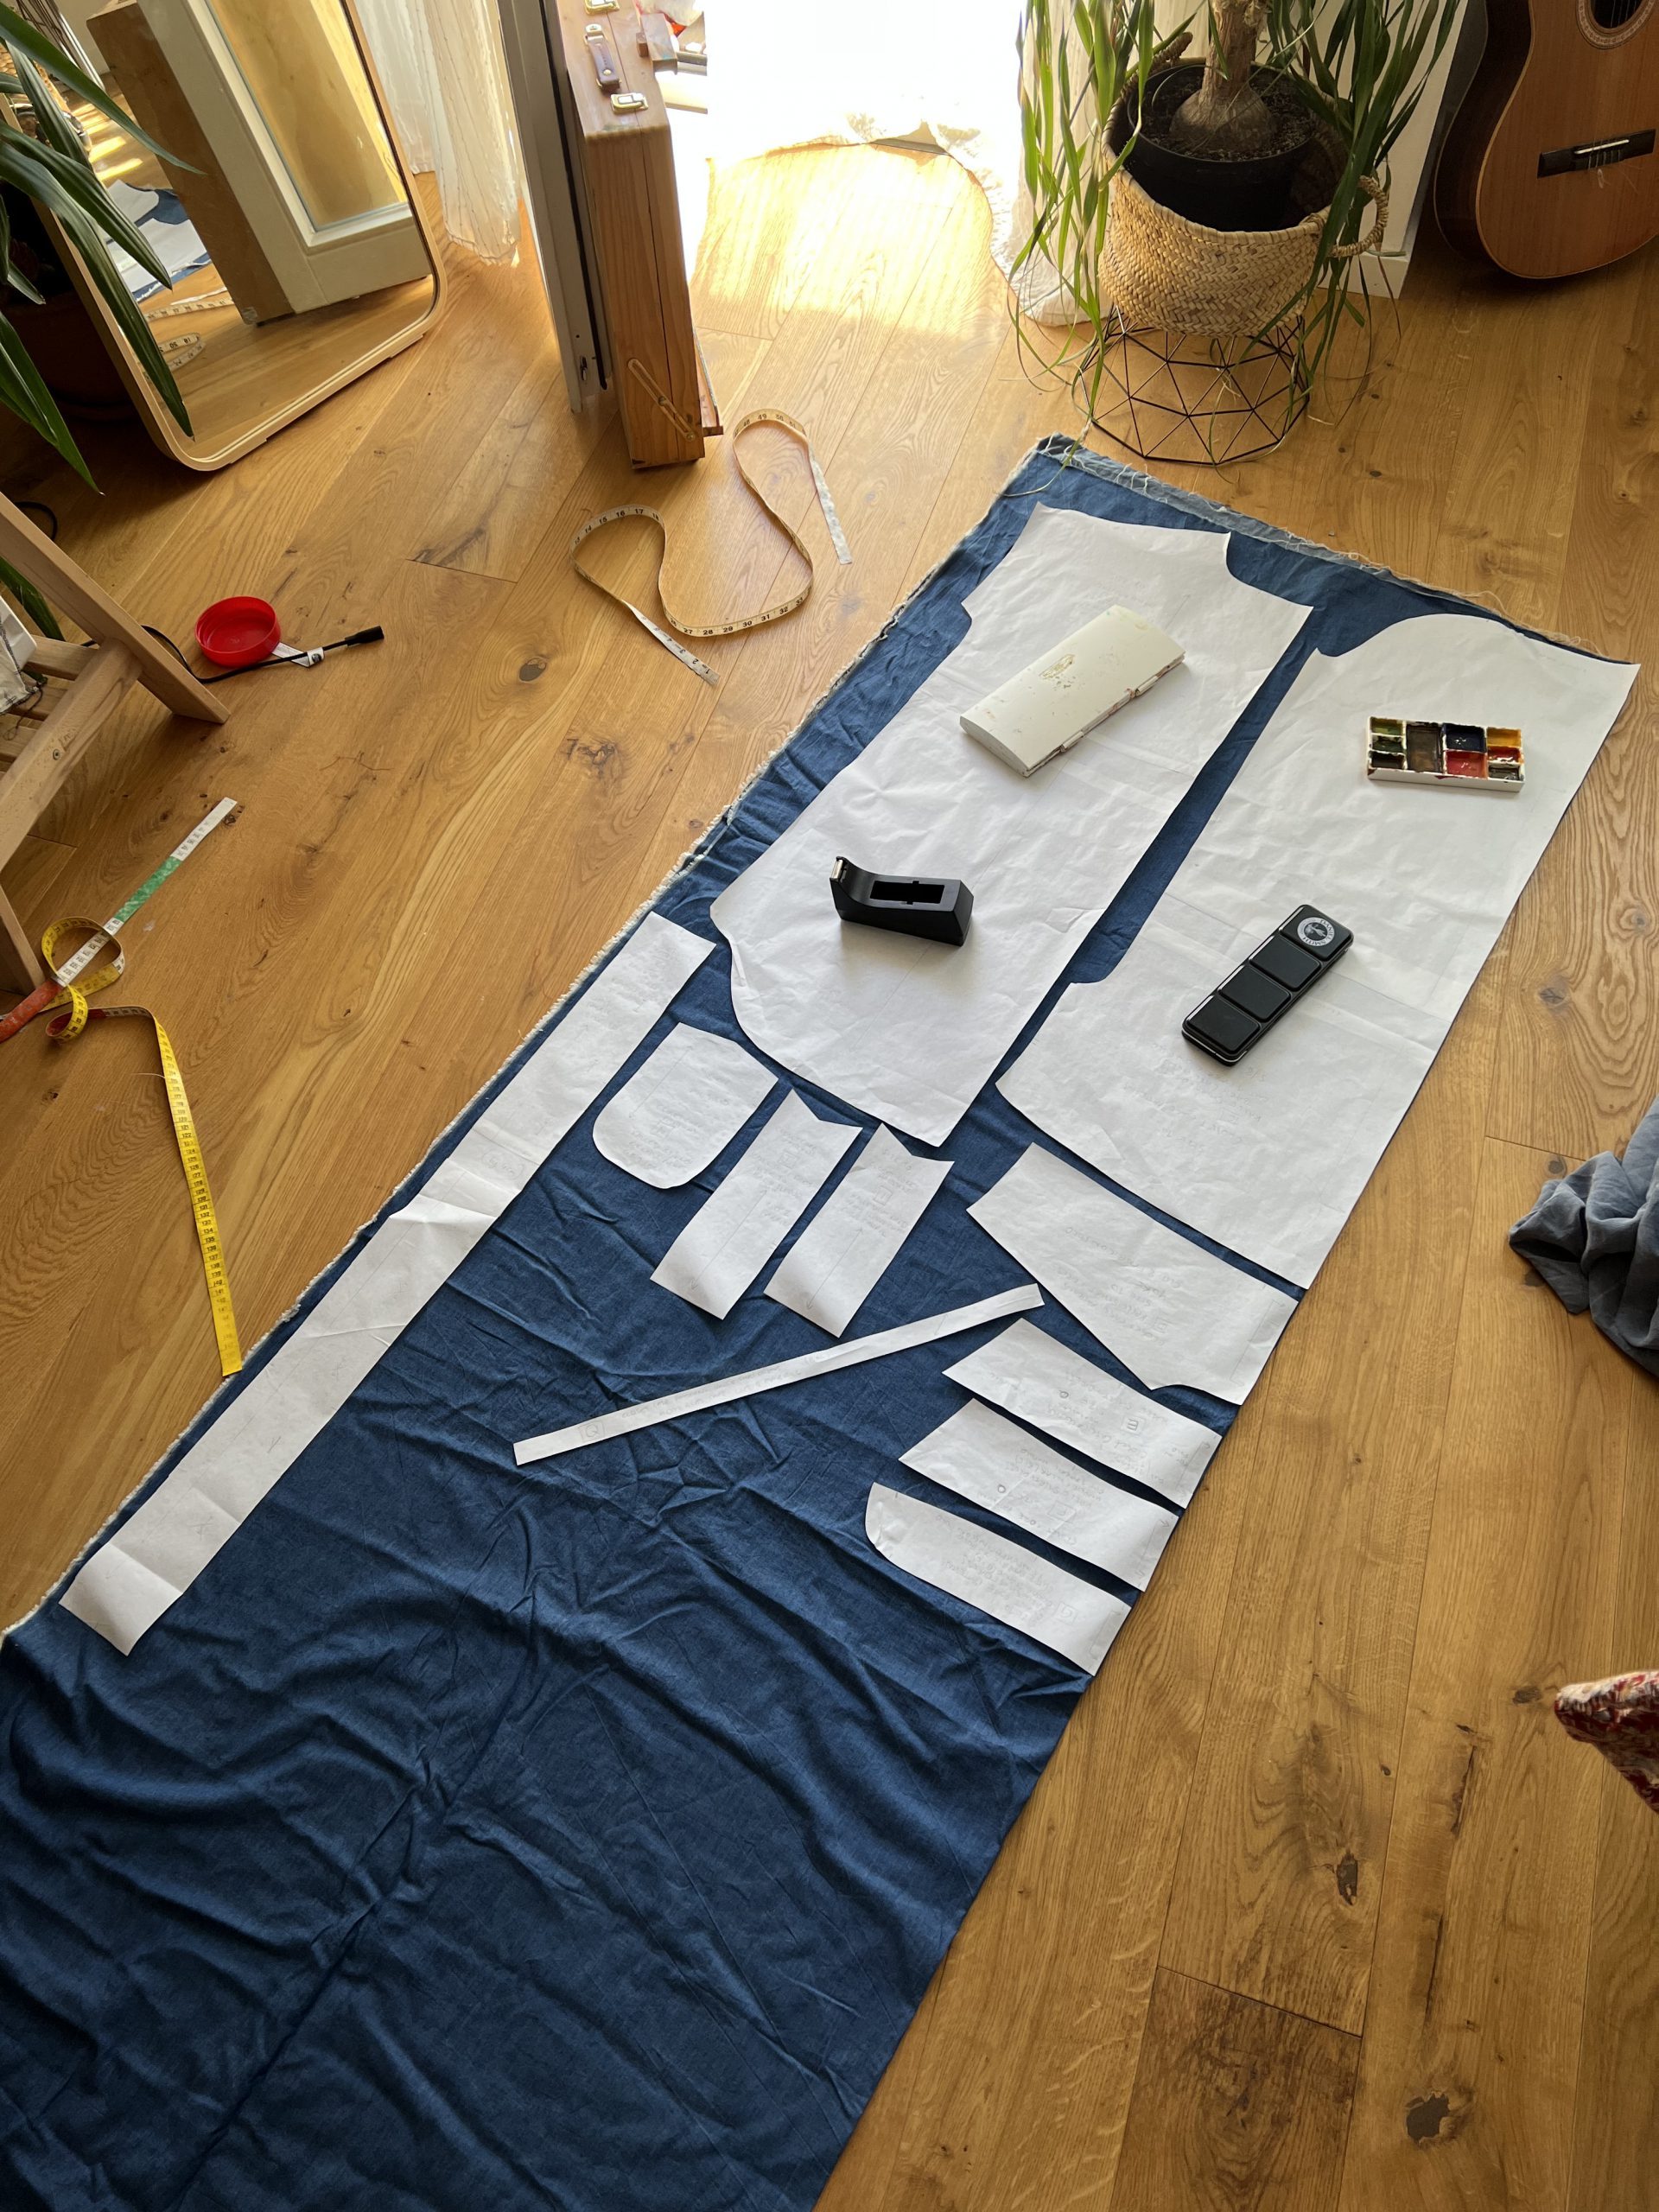
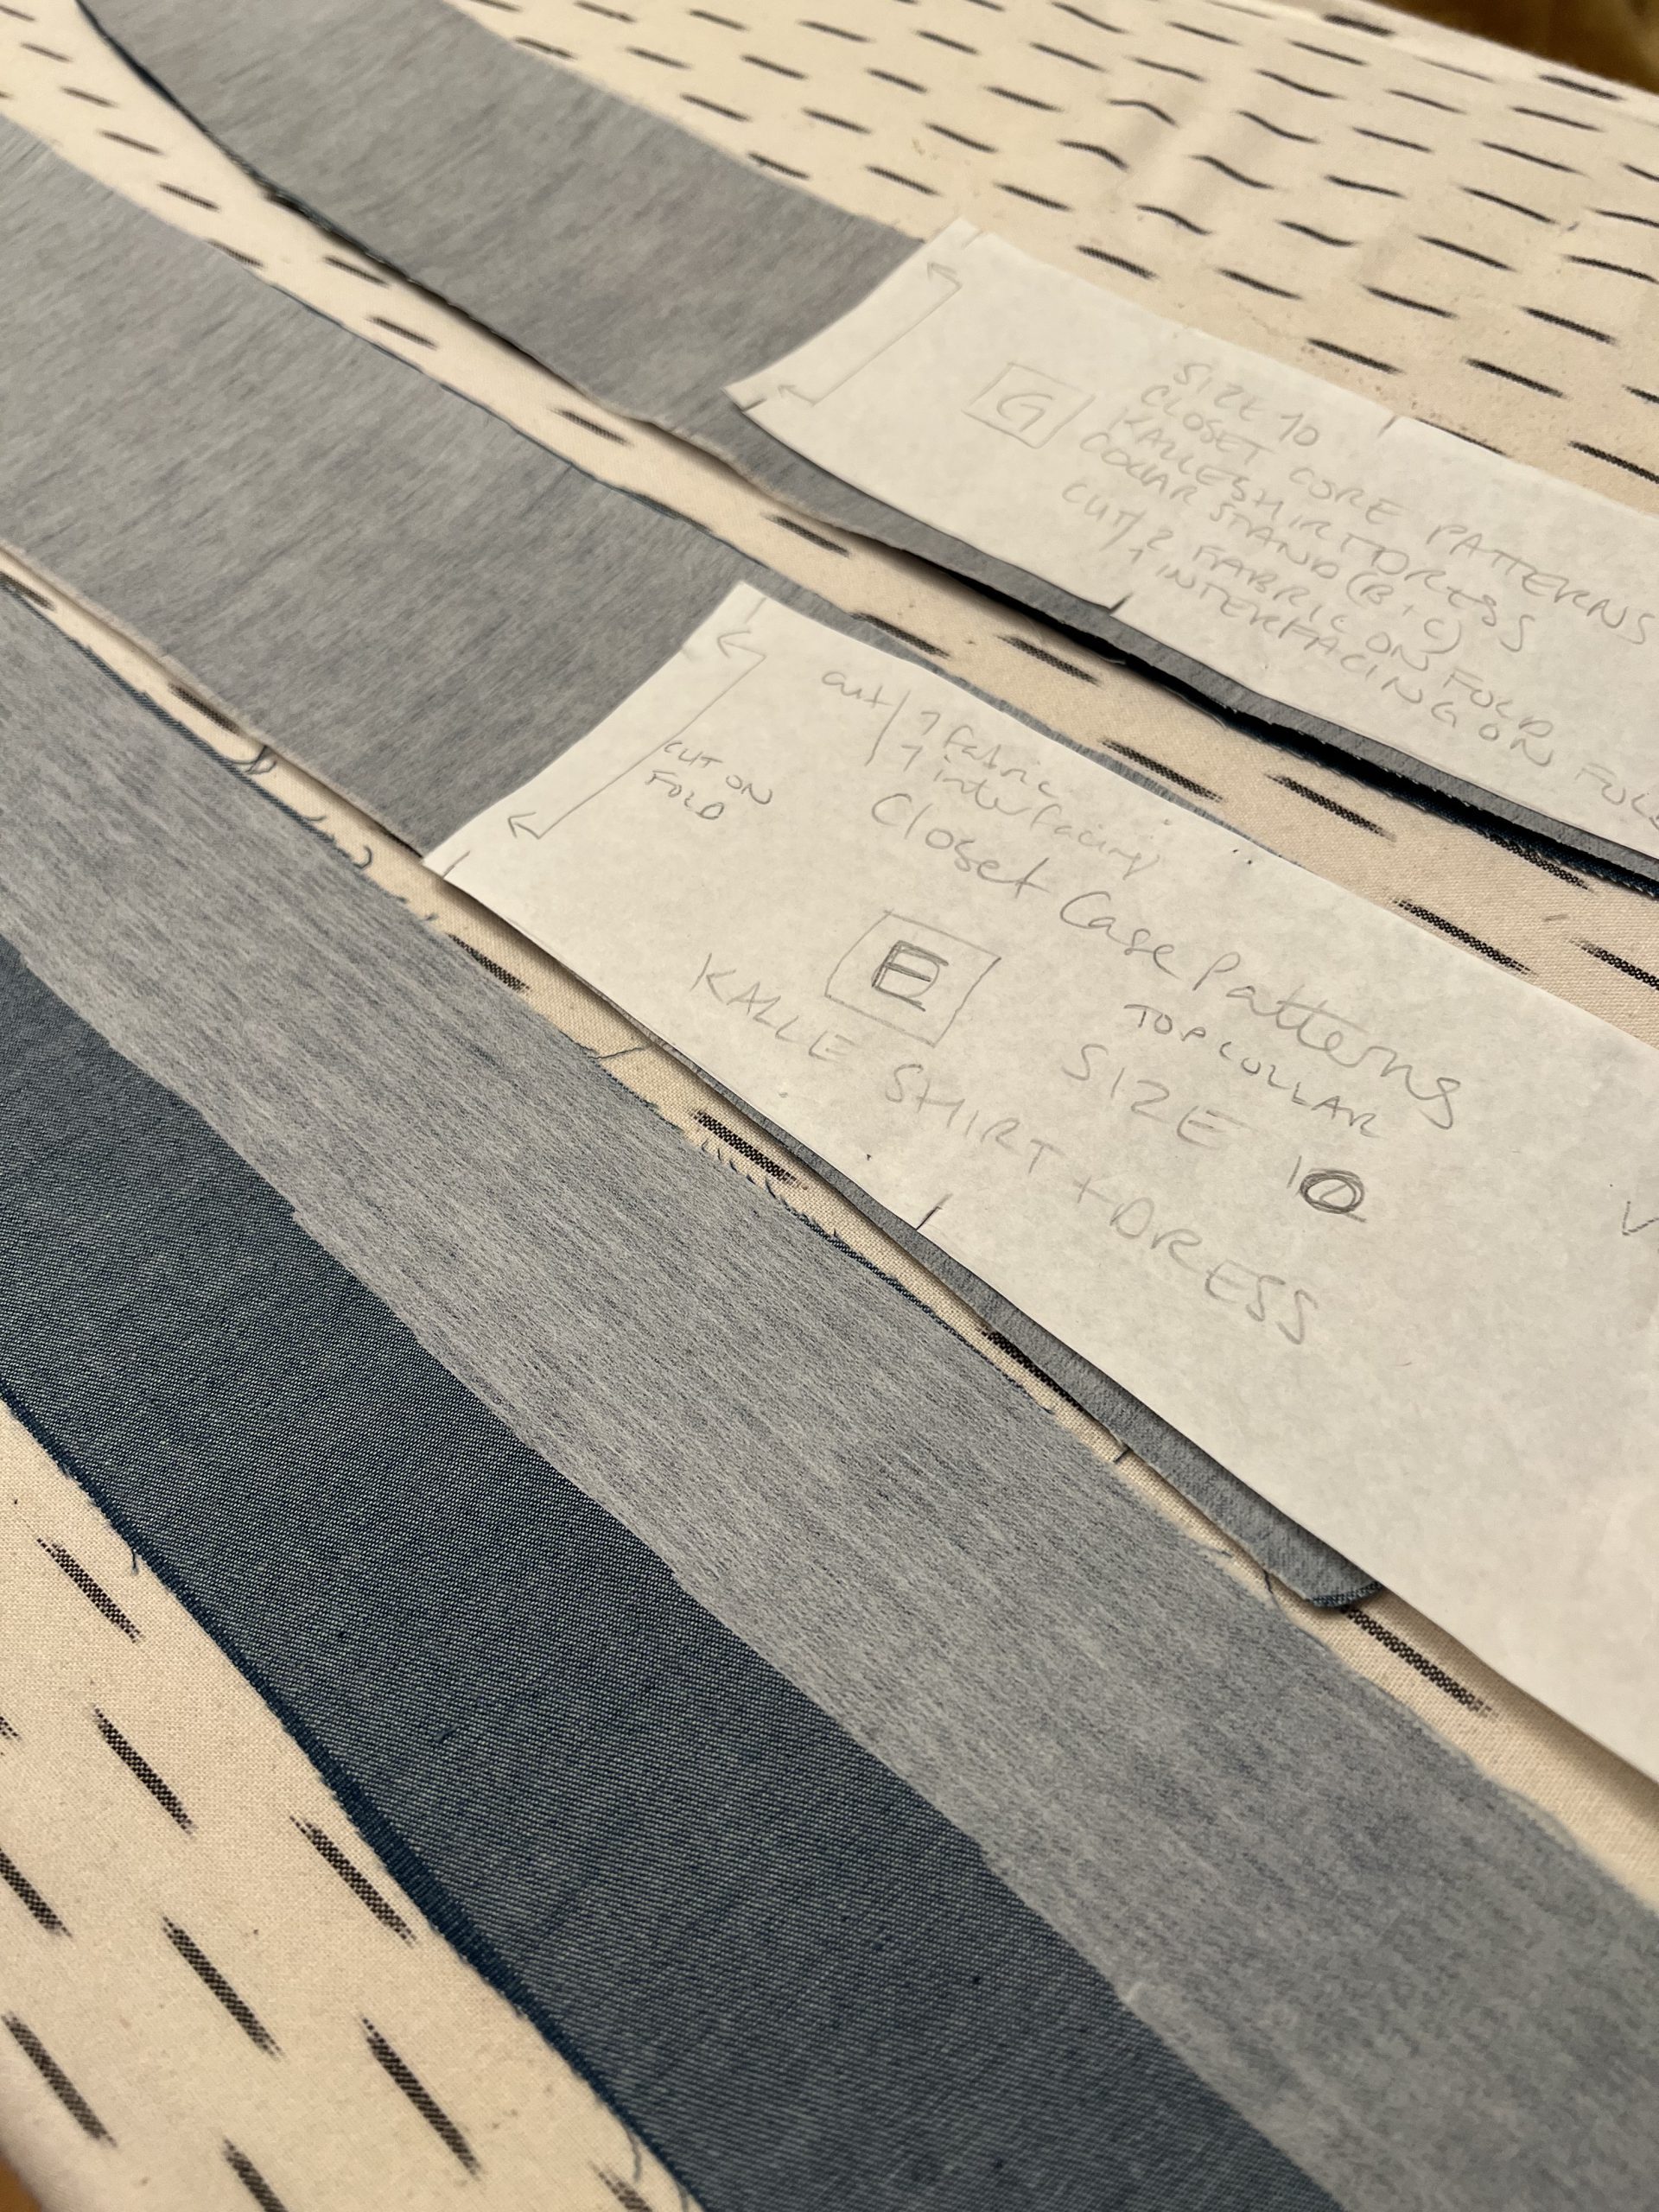
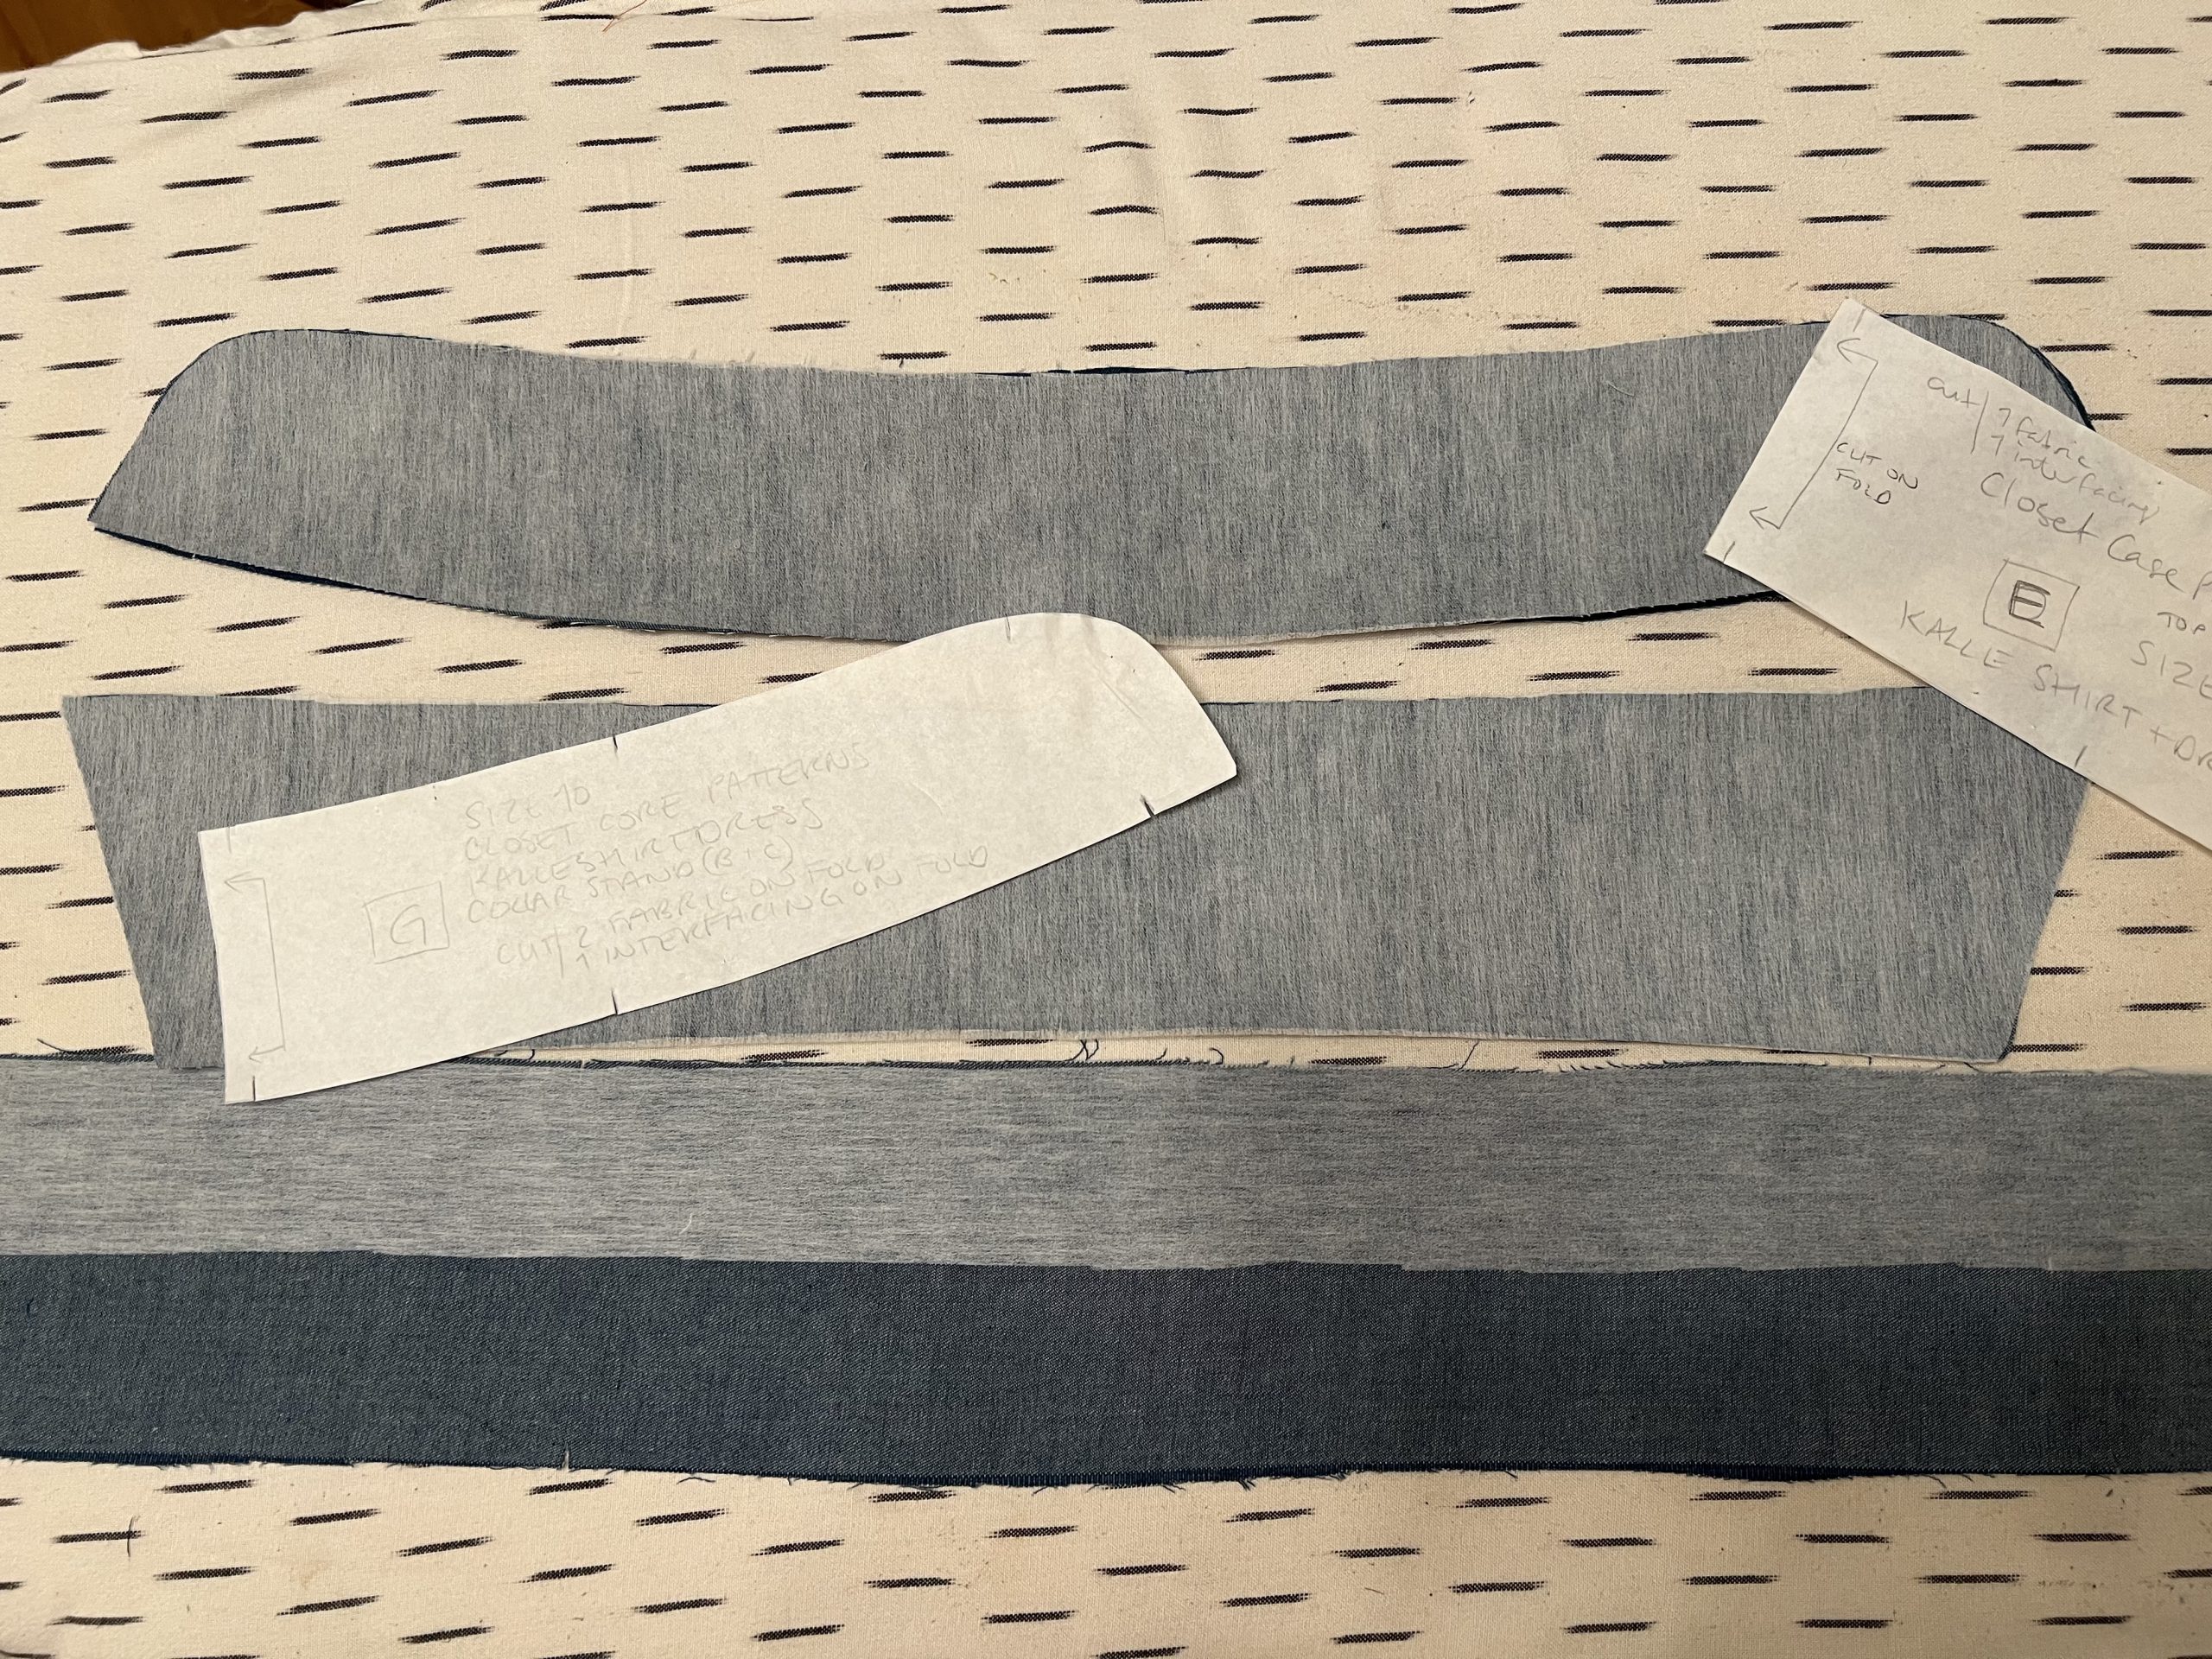
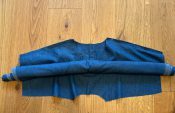
I don’t have an ergonomic cutting table regrettably (sponsorship deal anyone?) so I spread my fabric, as I do, out on the floor and my toddler helped me with the pattern lay plan (by walking all over everything and very concentratedly removing the pins that were holding everything in place).
Then I got to interfacing all the usual bits: in this case it was one side of the button placket, a strip down the left shirt front, one of the collar stand pieces and the top collar piece.
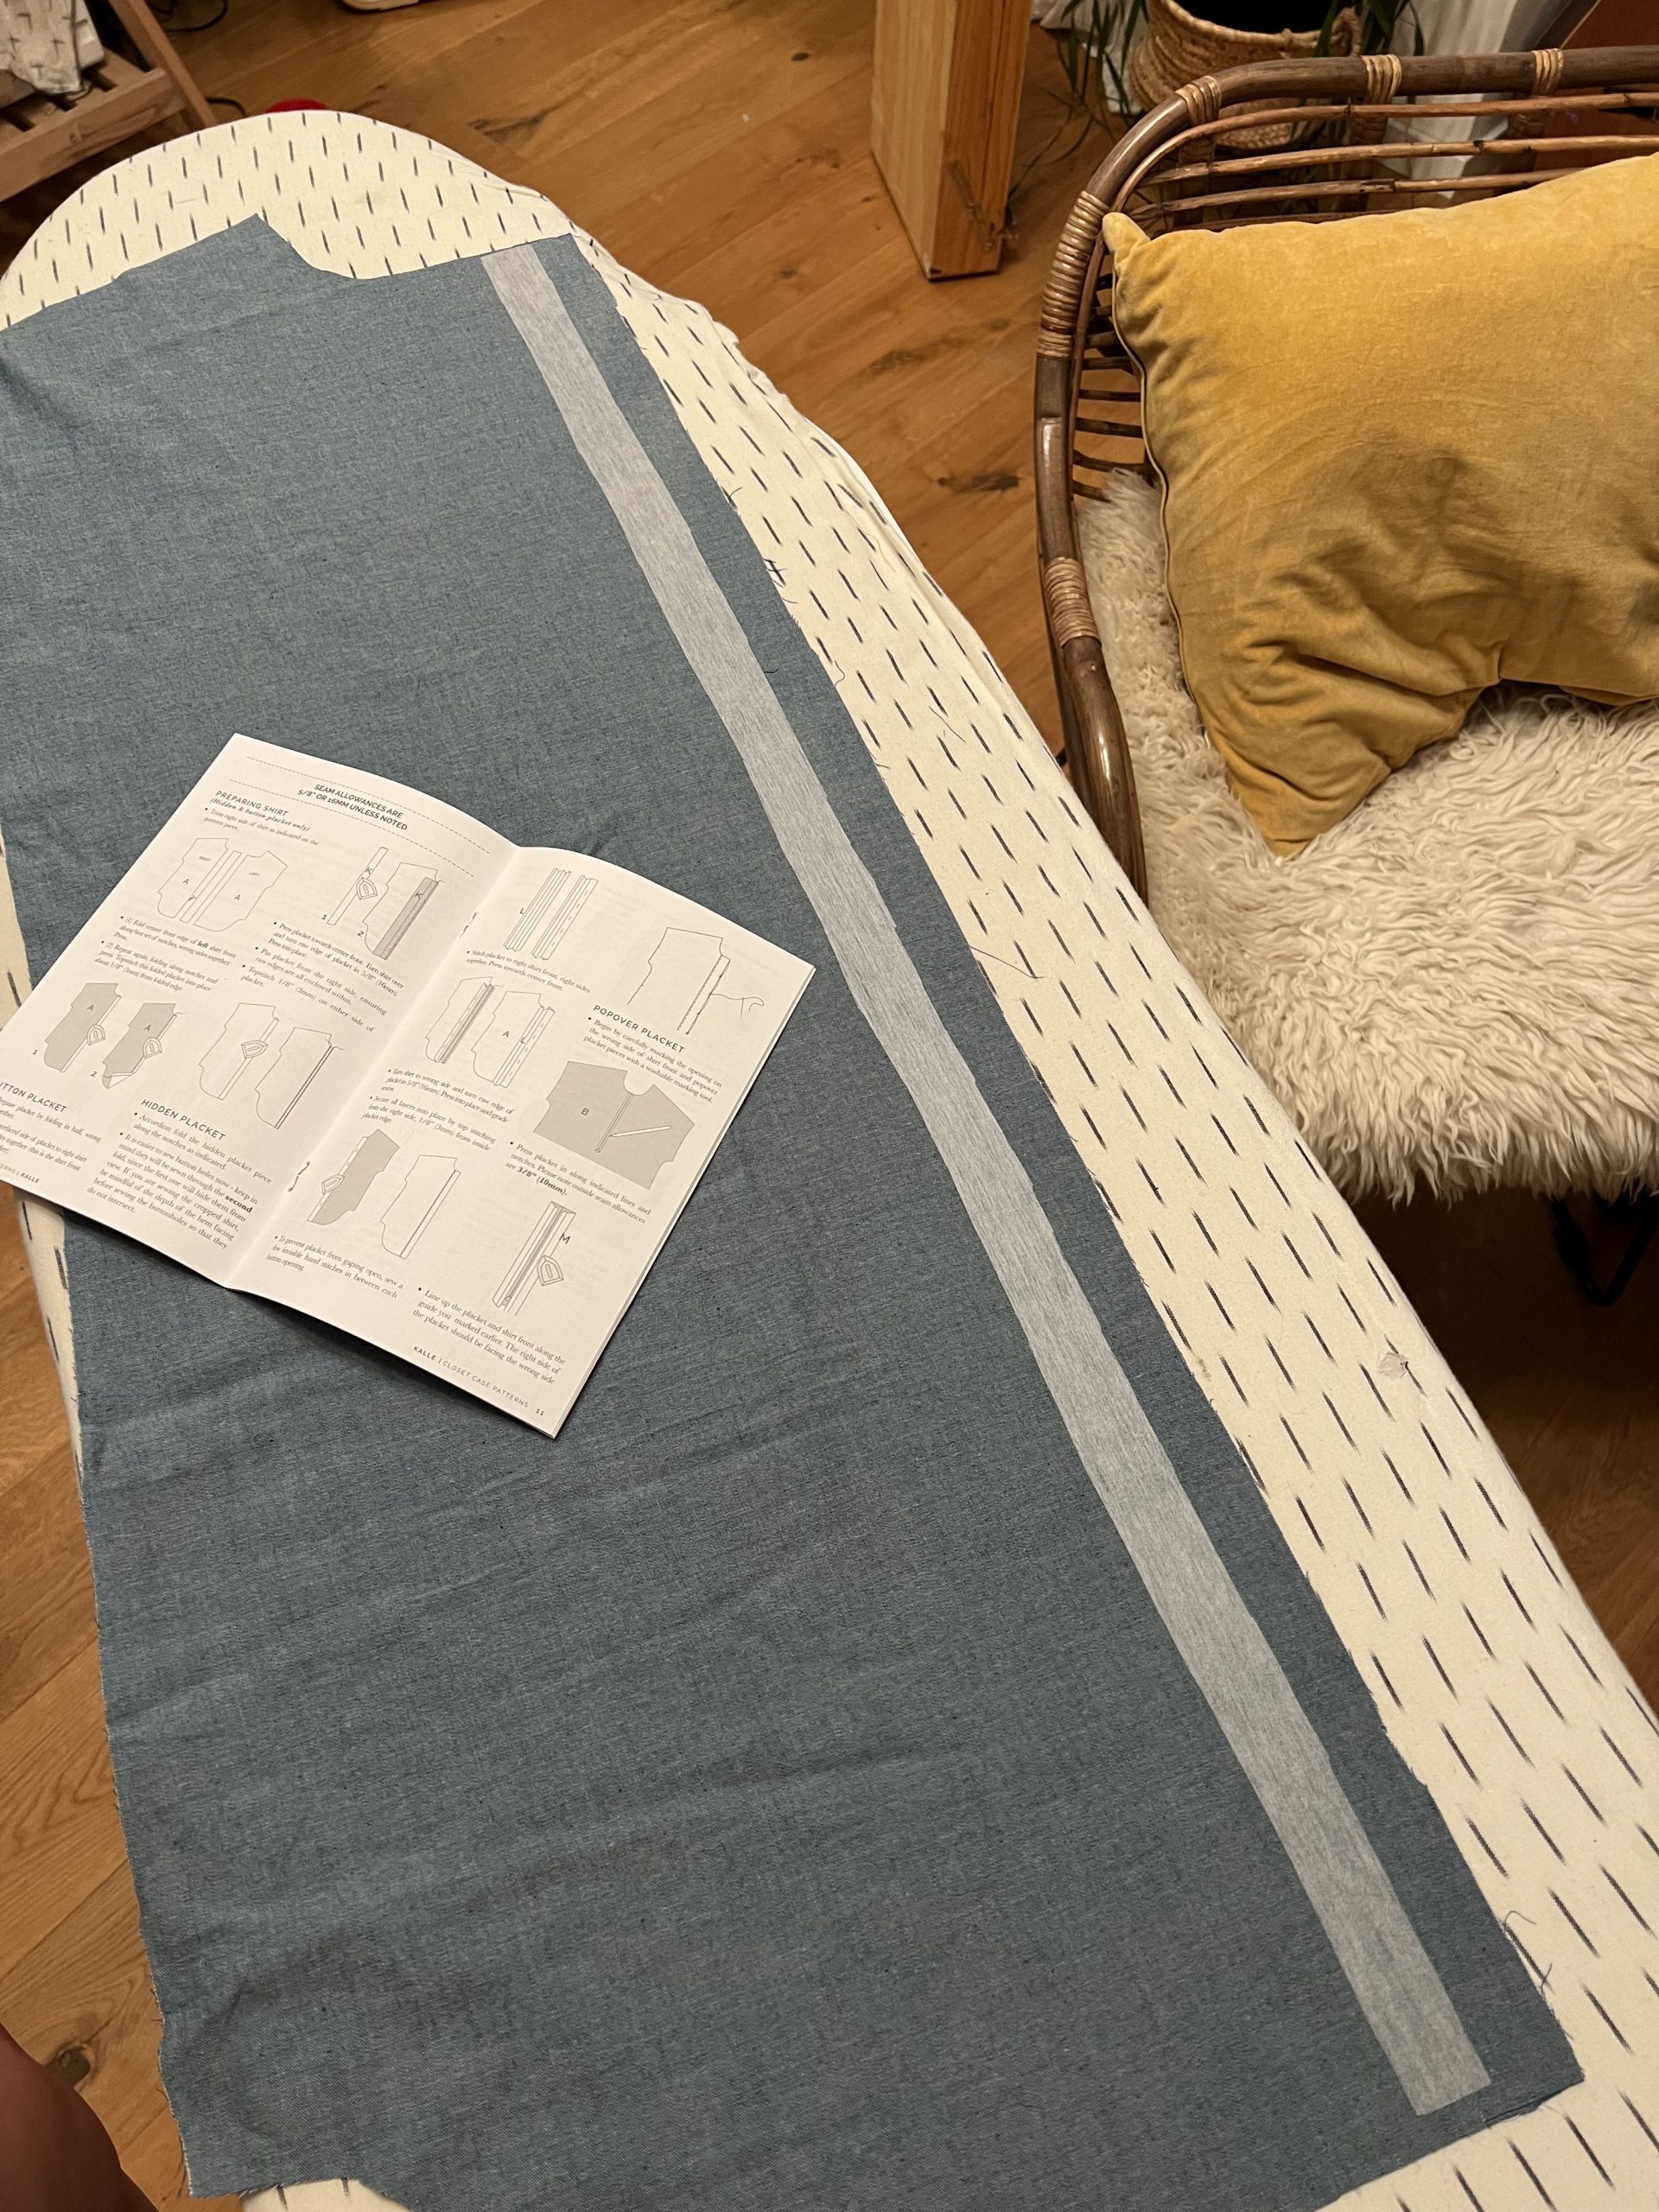
Once you have all your pieces cut and interfaced you are required to trim the edge off your right shirt front. It’s a bit nerve-wracking and I don’t know how I feel about it, but let’s be daring and learn new things! This right side placket ends ups being way more involved than the left side and I’ll be honest, I had to read the instructions several times to make sure I was doing things correctly. After some head-scratching and second-guessing it worked out in the end.
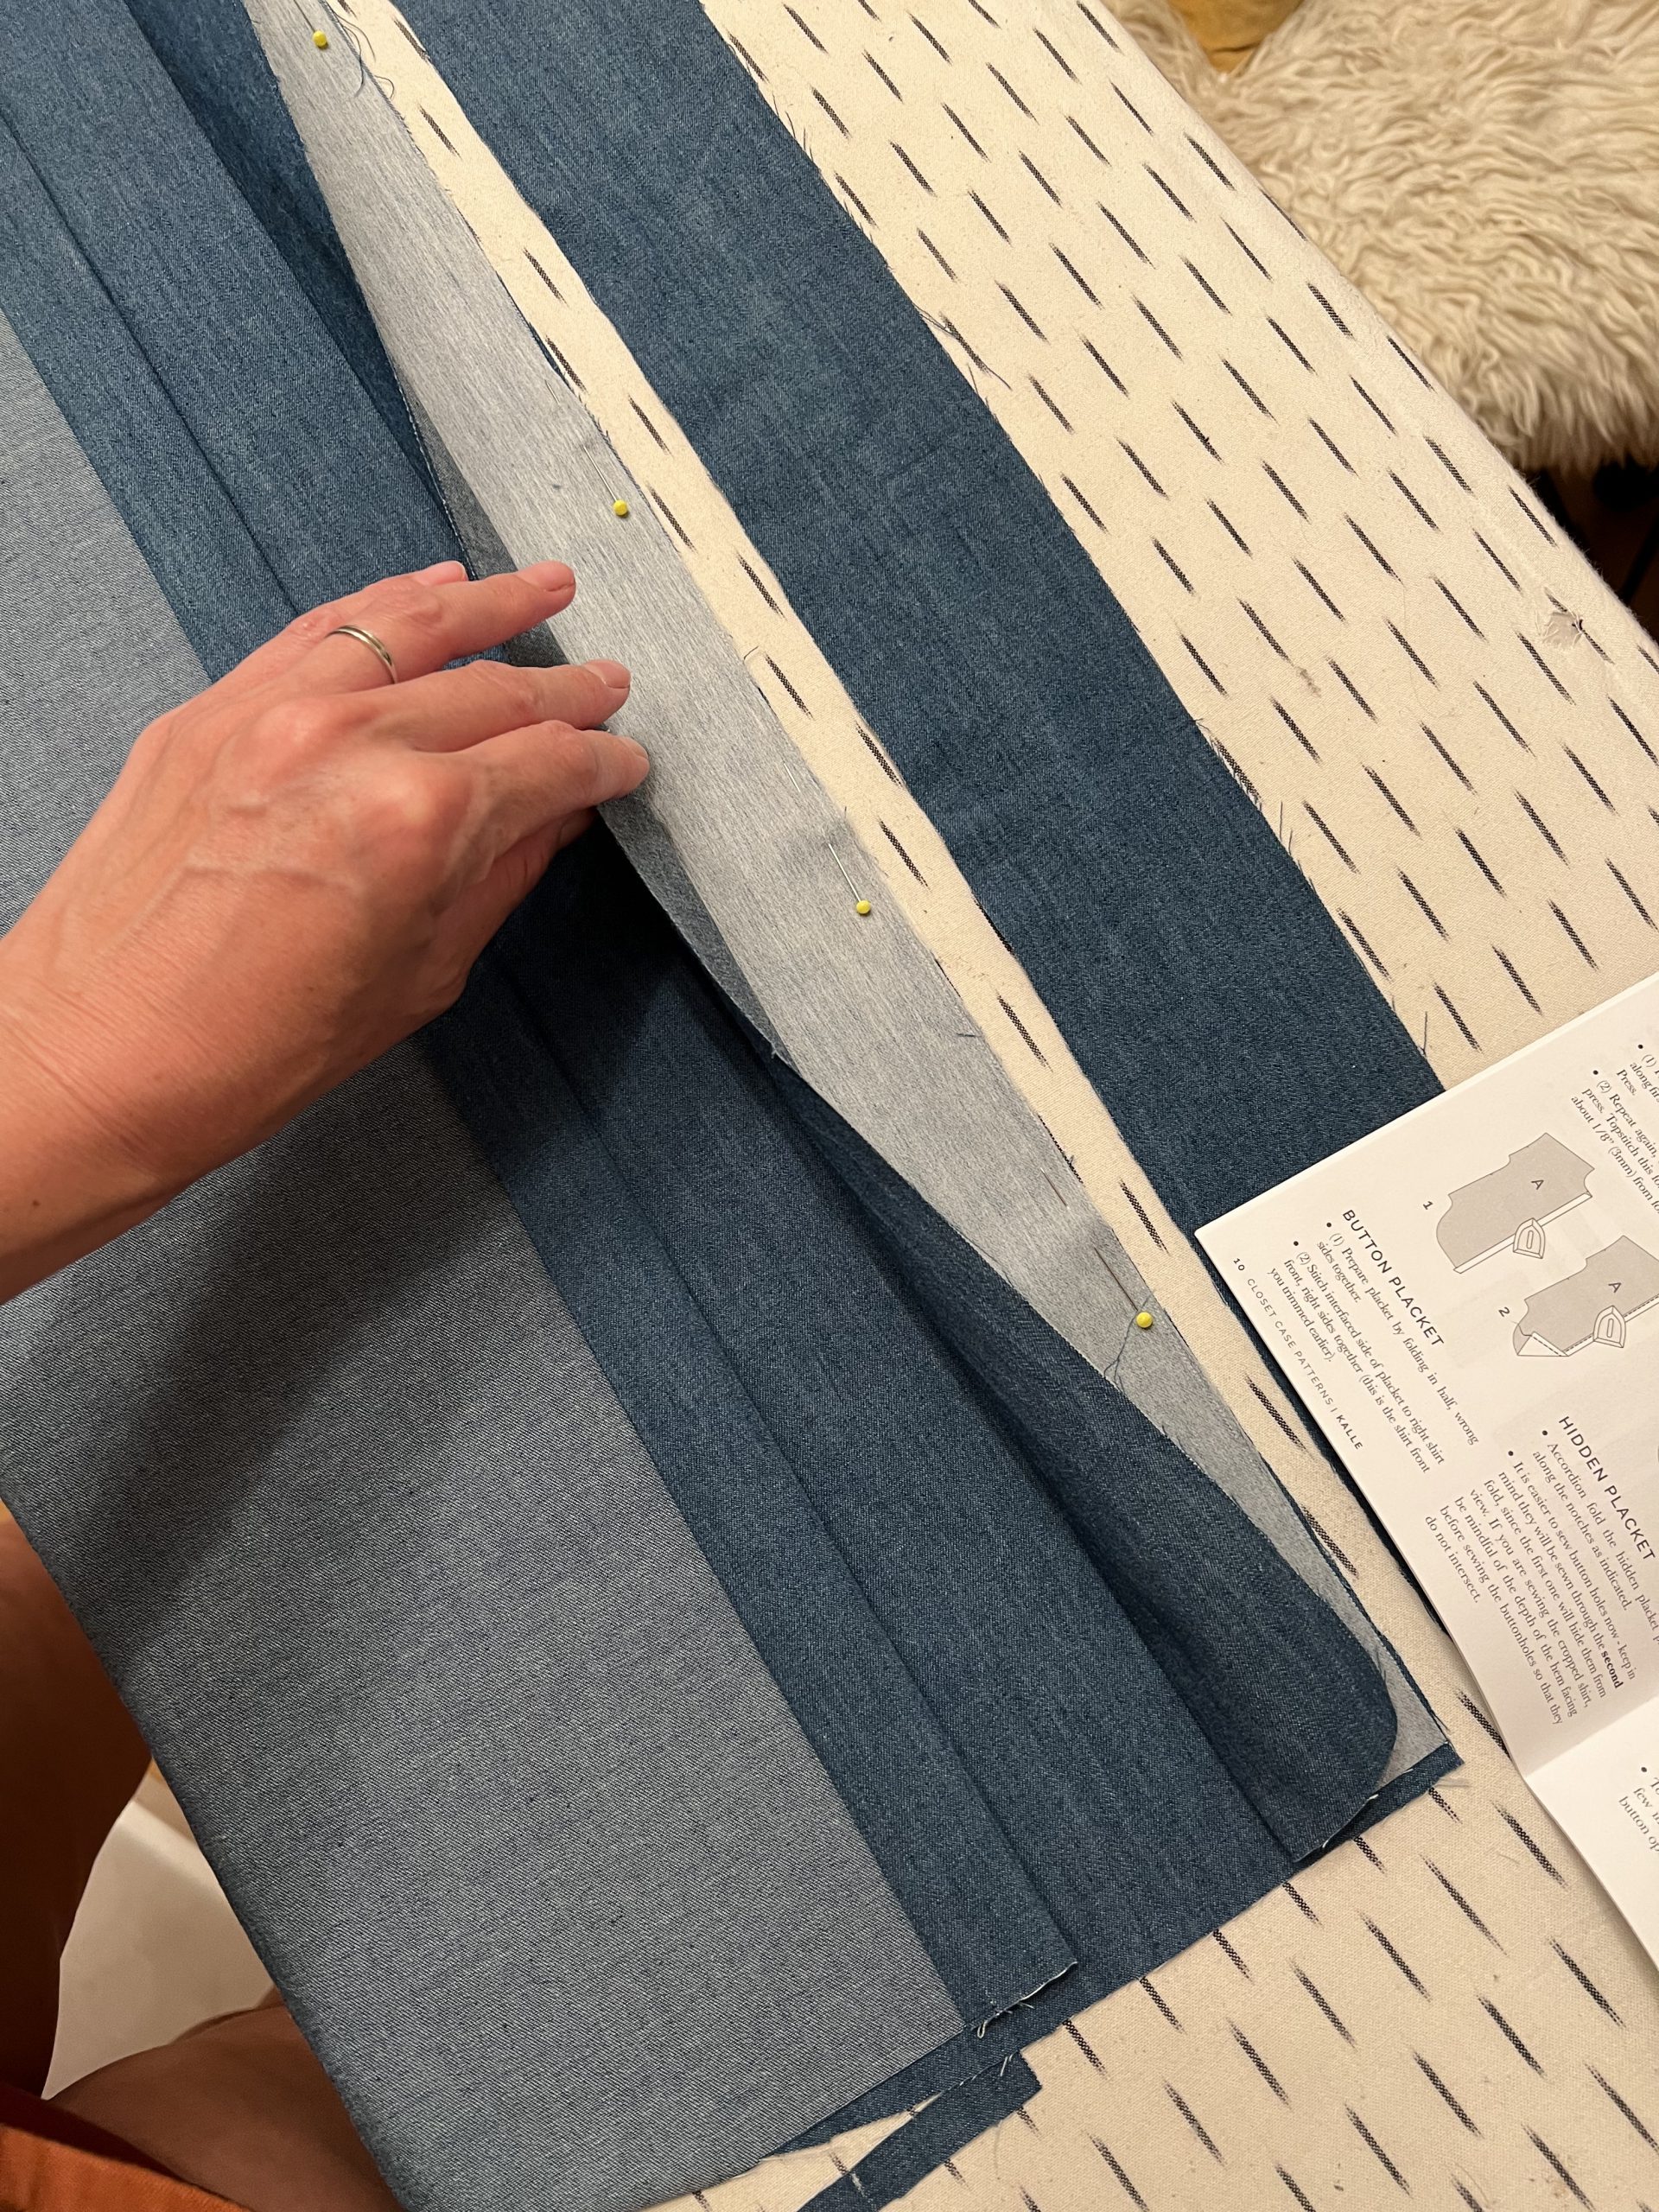

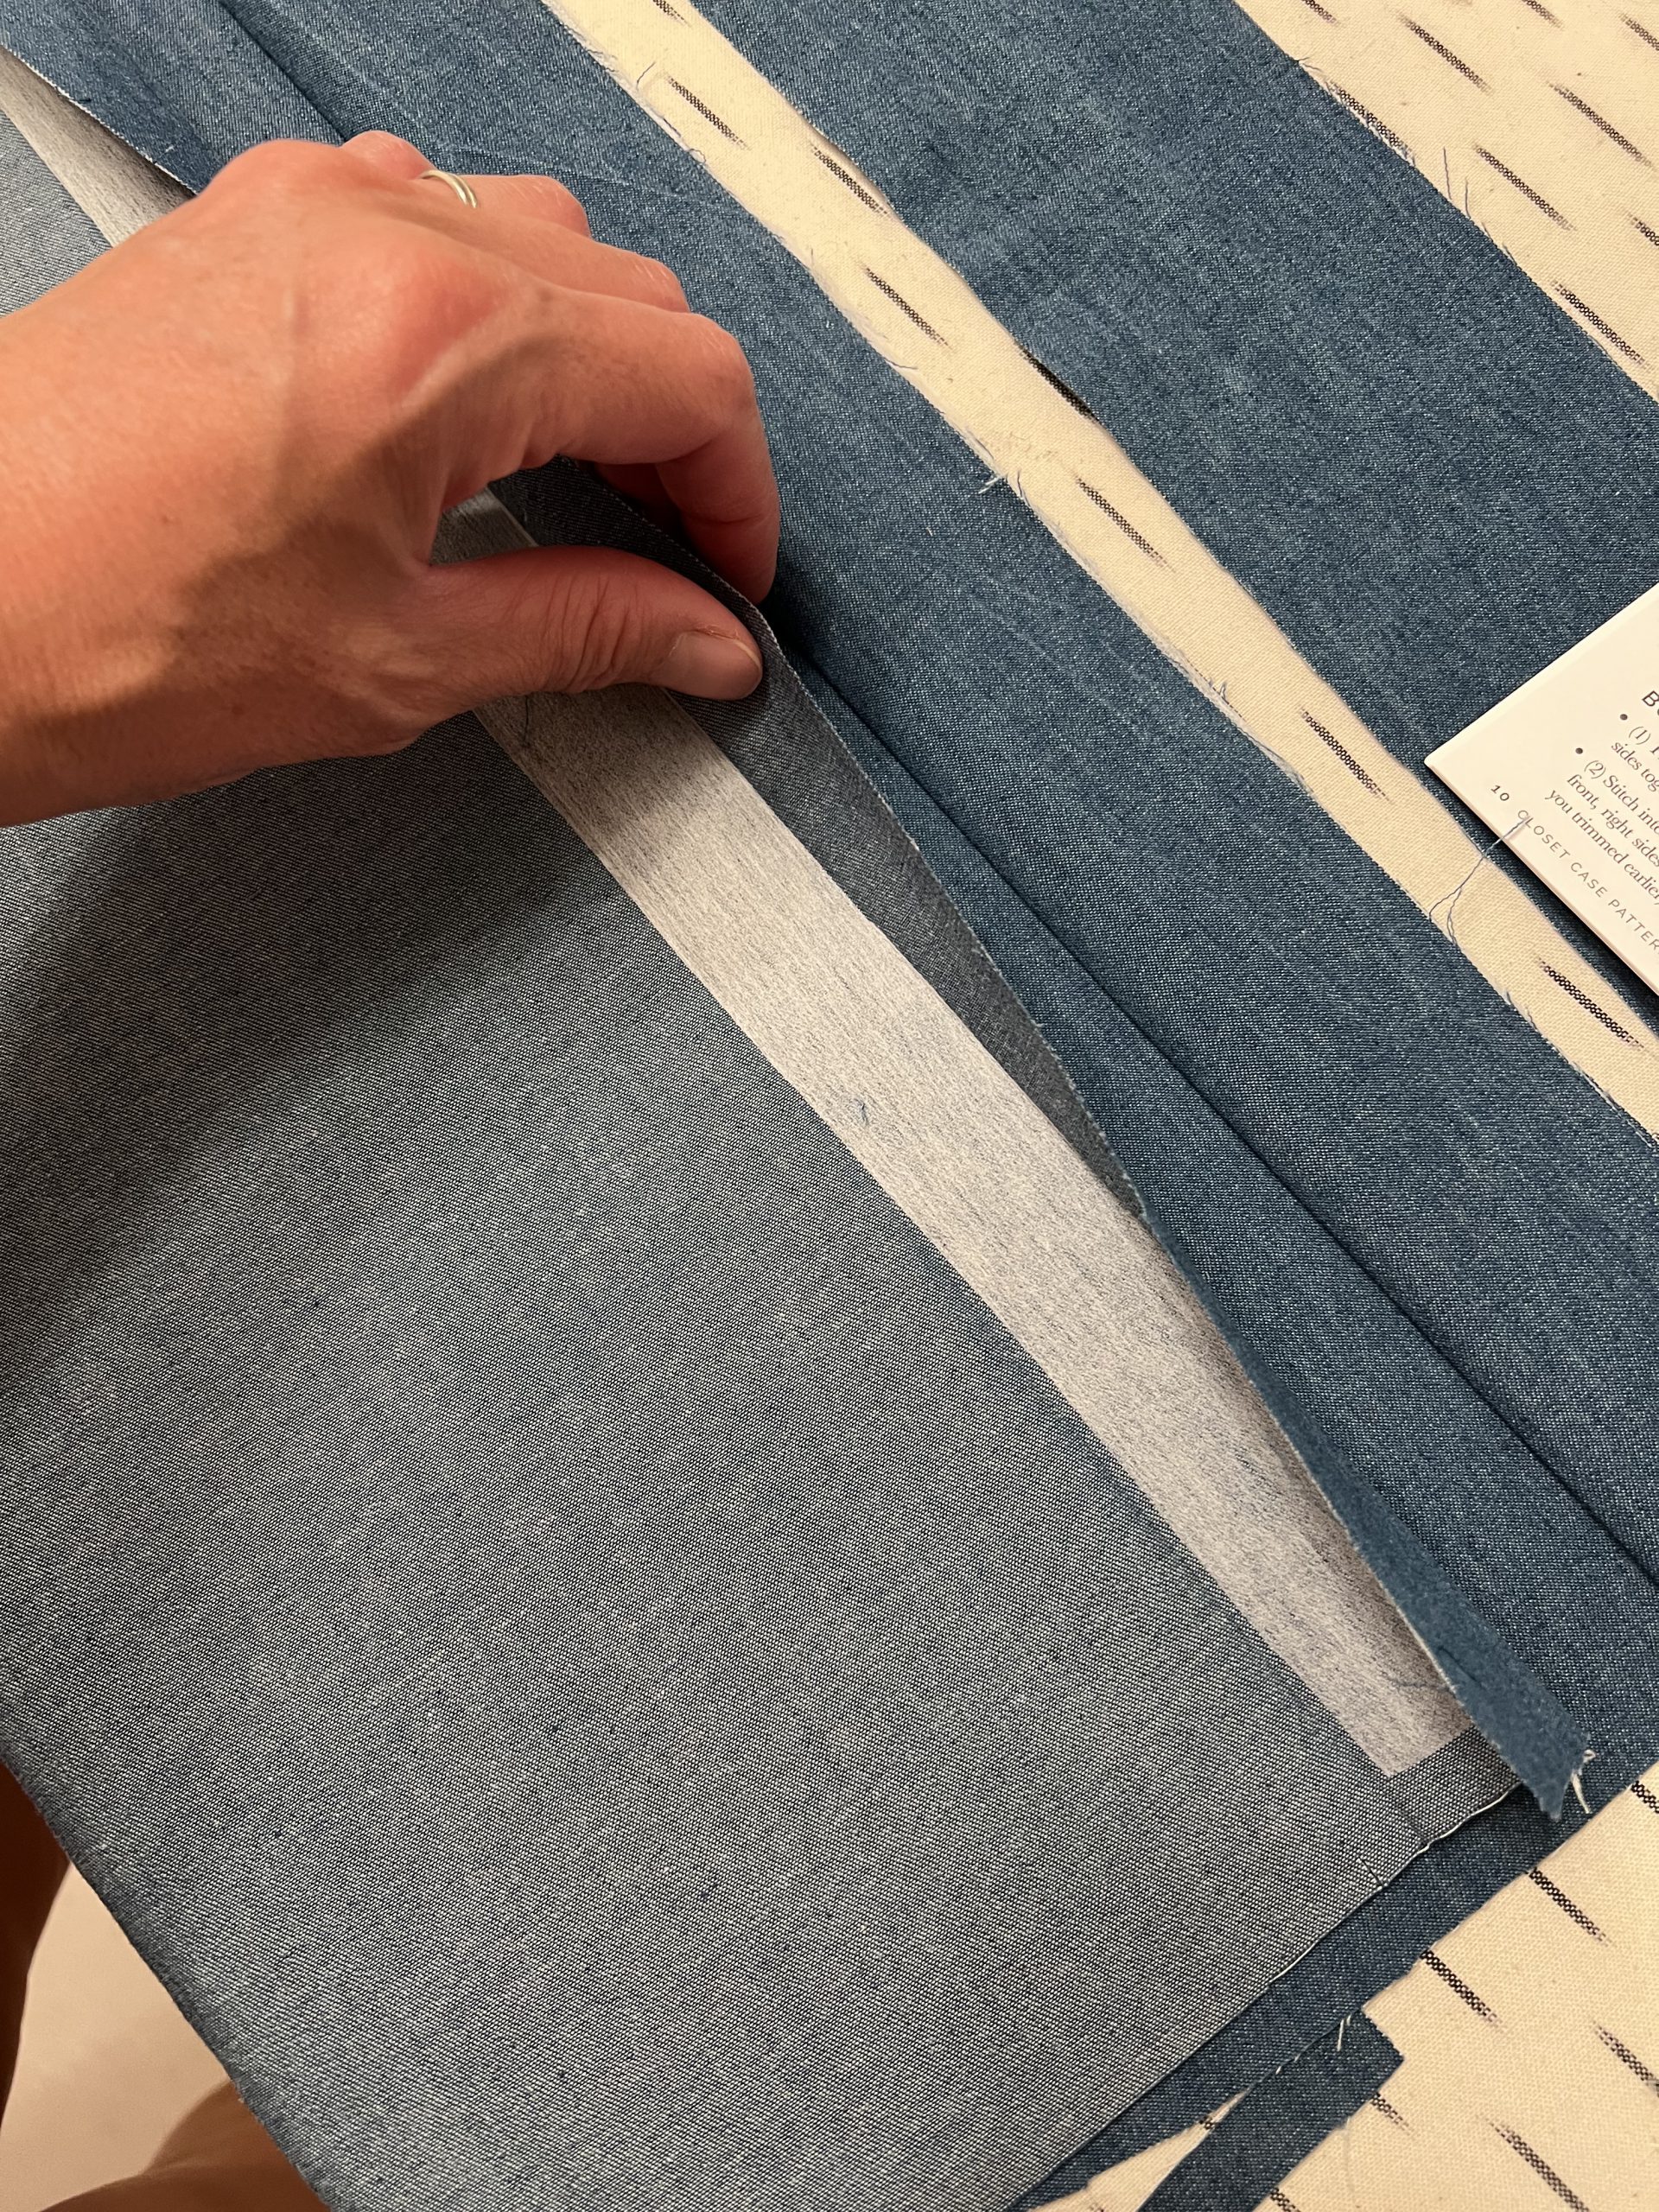
If you find you are having issues with your standard button placket then Closet Core Patterns has this great tutorial for you! The right placket gets top-stitched twice, which looks nice and pretty and will be the side that is supposed to end up going on the outside, meaning it is the side which gets sewn with button holes. The left shirt front just gets a double fold and a topstitch. I used my trusty BERNINA Top Stitch Presser Foot #10 to get a beautifully precise result.
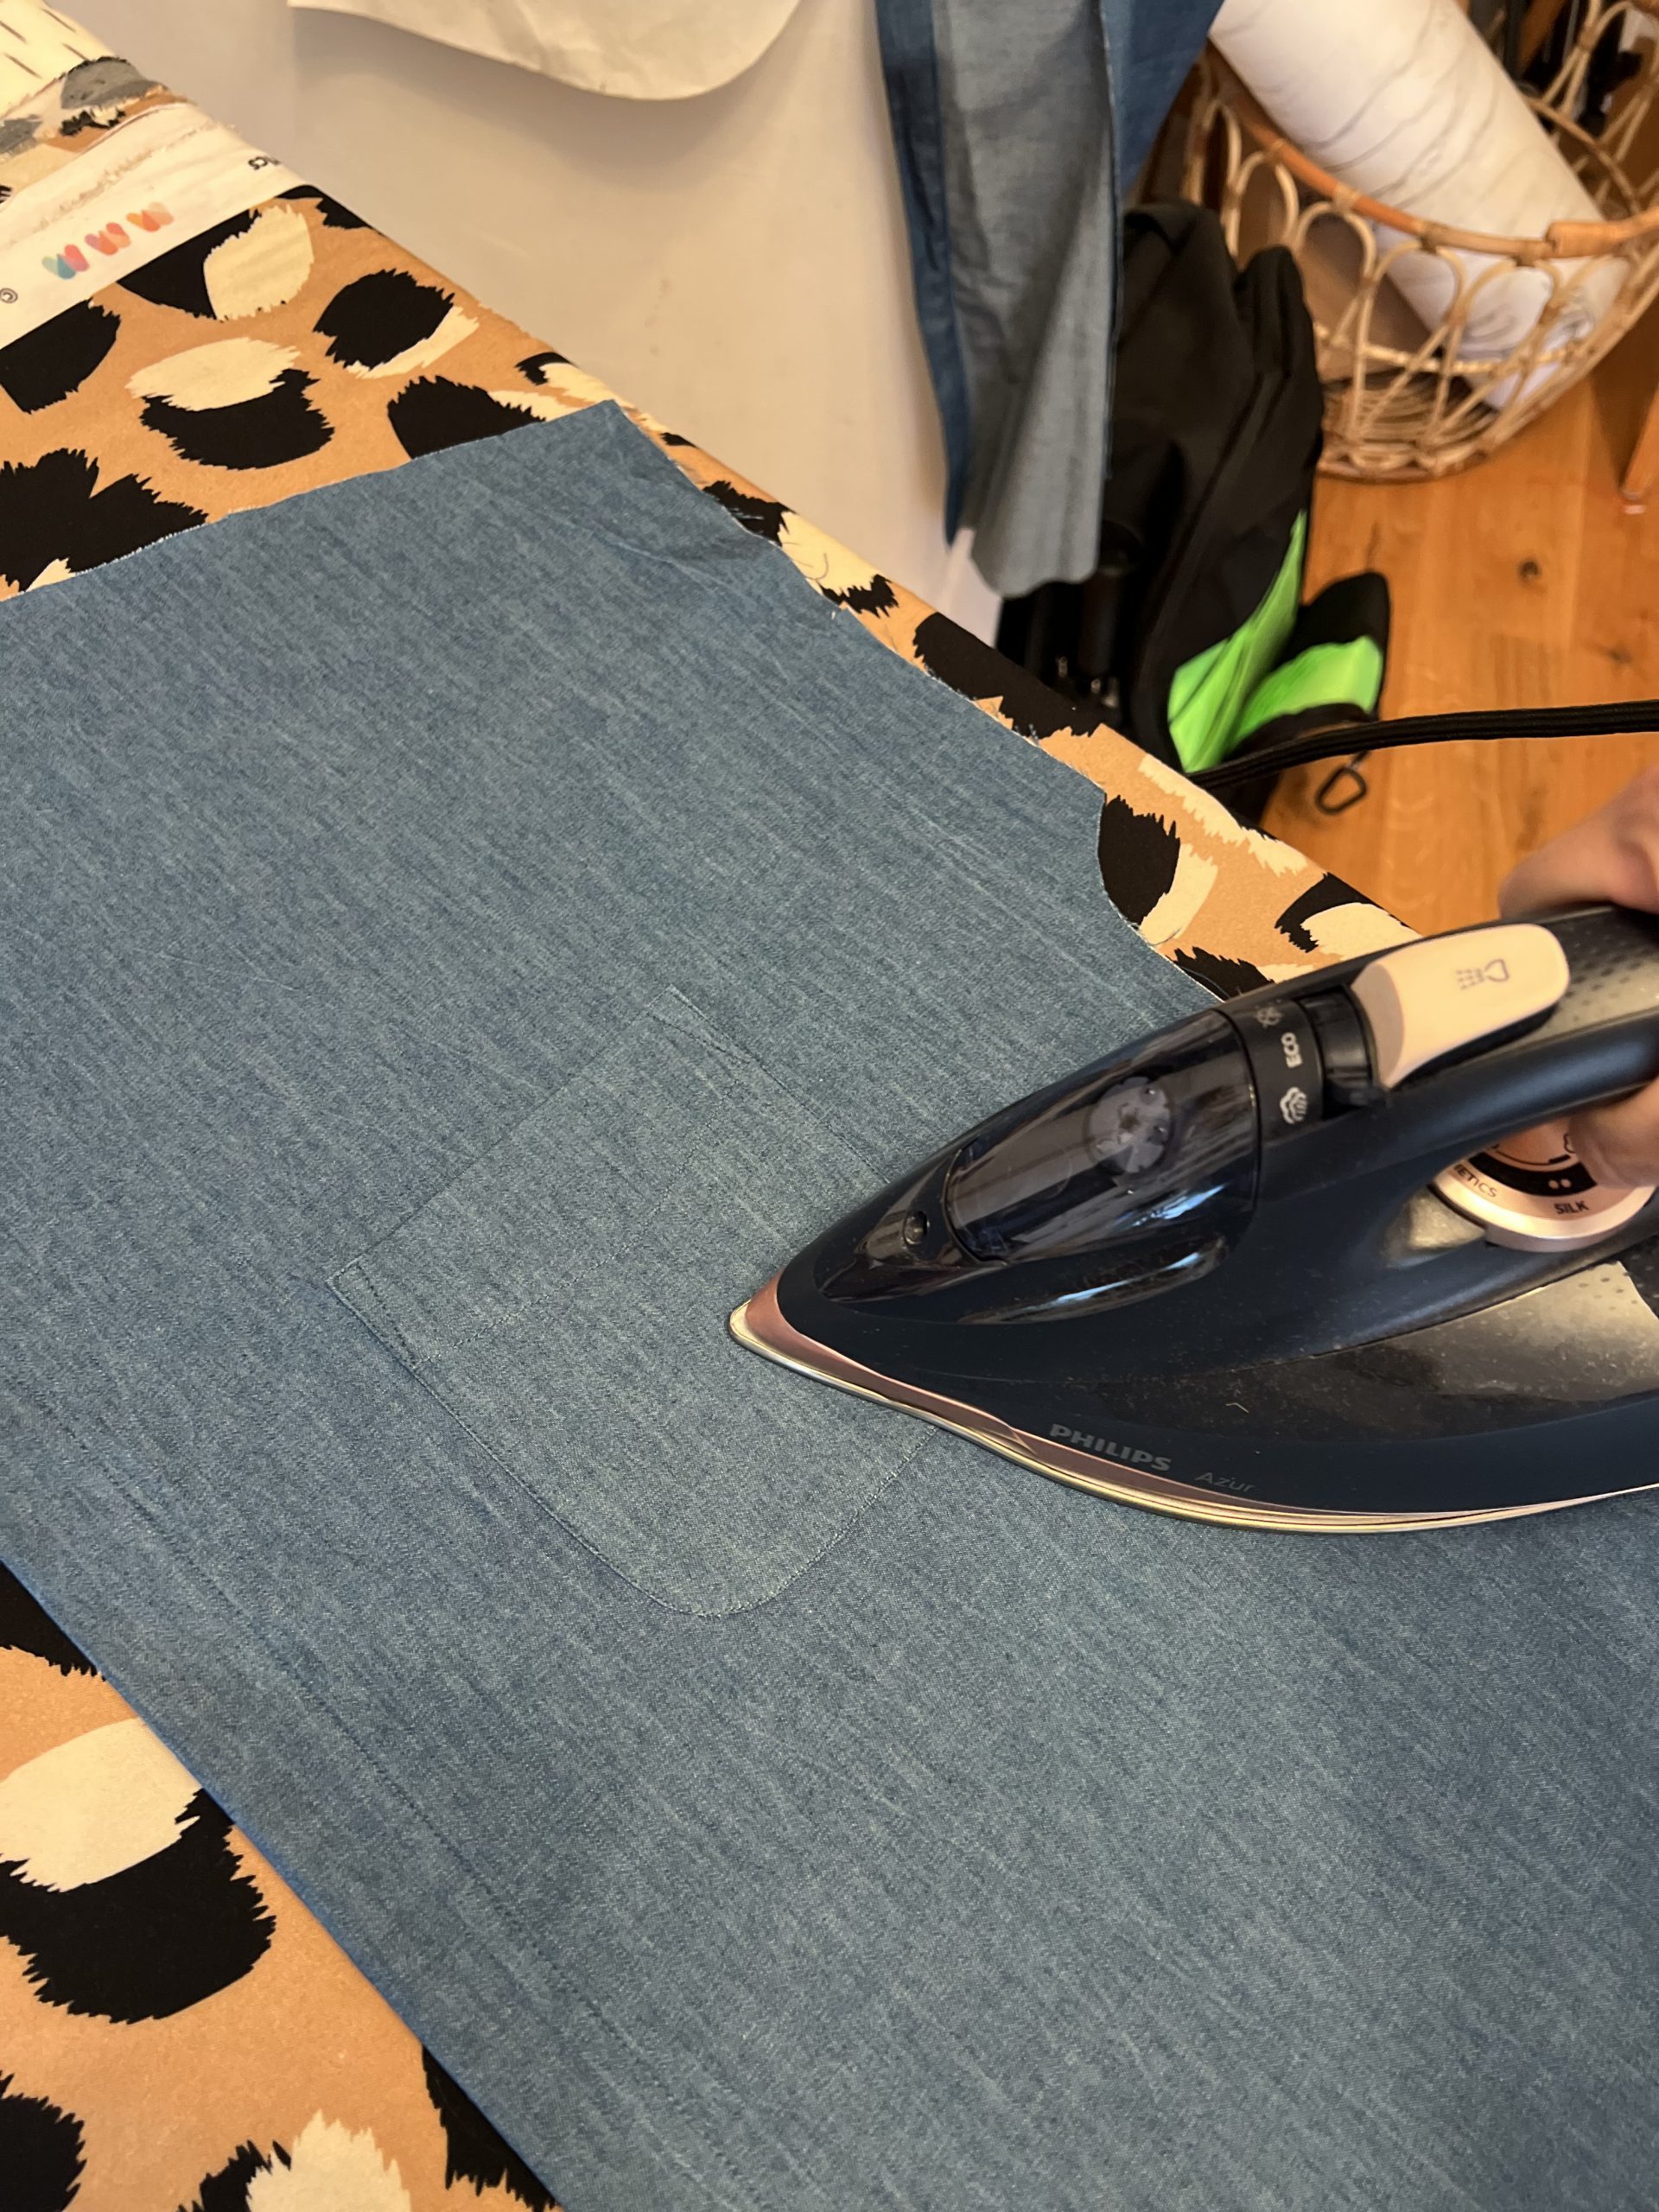
Next you’ll make your pocket. The pattern has an interesting detail which gets you to display the wrong side of the fabric on the pocket flap, but I opted against this as the reverse of my fabric is much lighter than the front and I decided not to make this into a feature.
If you are having trouble getting the bottom corners to curve smoothly here’s a few tips for you: Make a cardboard template of your pocket minus the seam allowance to tuck your edges under and act as a guide for pressing. Alternatively you can sew a line of stitching to act as a folding line to assist in pressing and/or notch your curves.
Don’t forget to double check the pocket placement before attaching to your shirt front to achieve the right proportion for your body shape. In the past I have had to lower pockets (thanks gravity/breast-feeding 3 babies/approaching Middle Age). In this case though, happily the pocket placement was spot on for me.
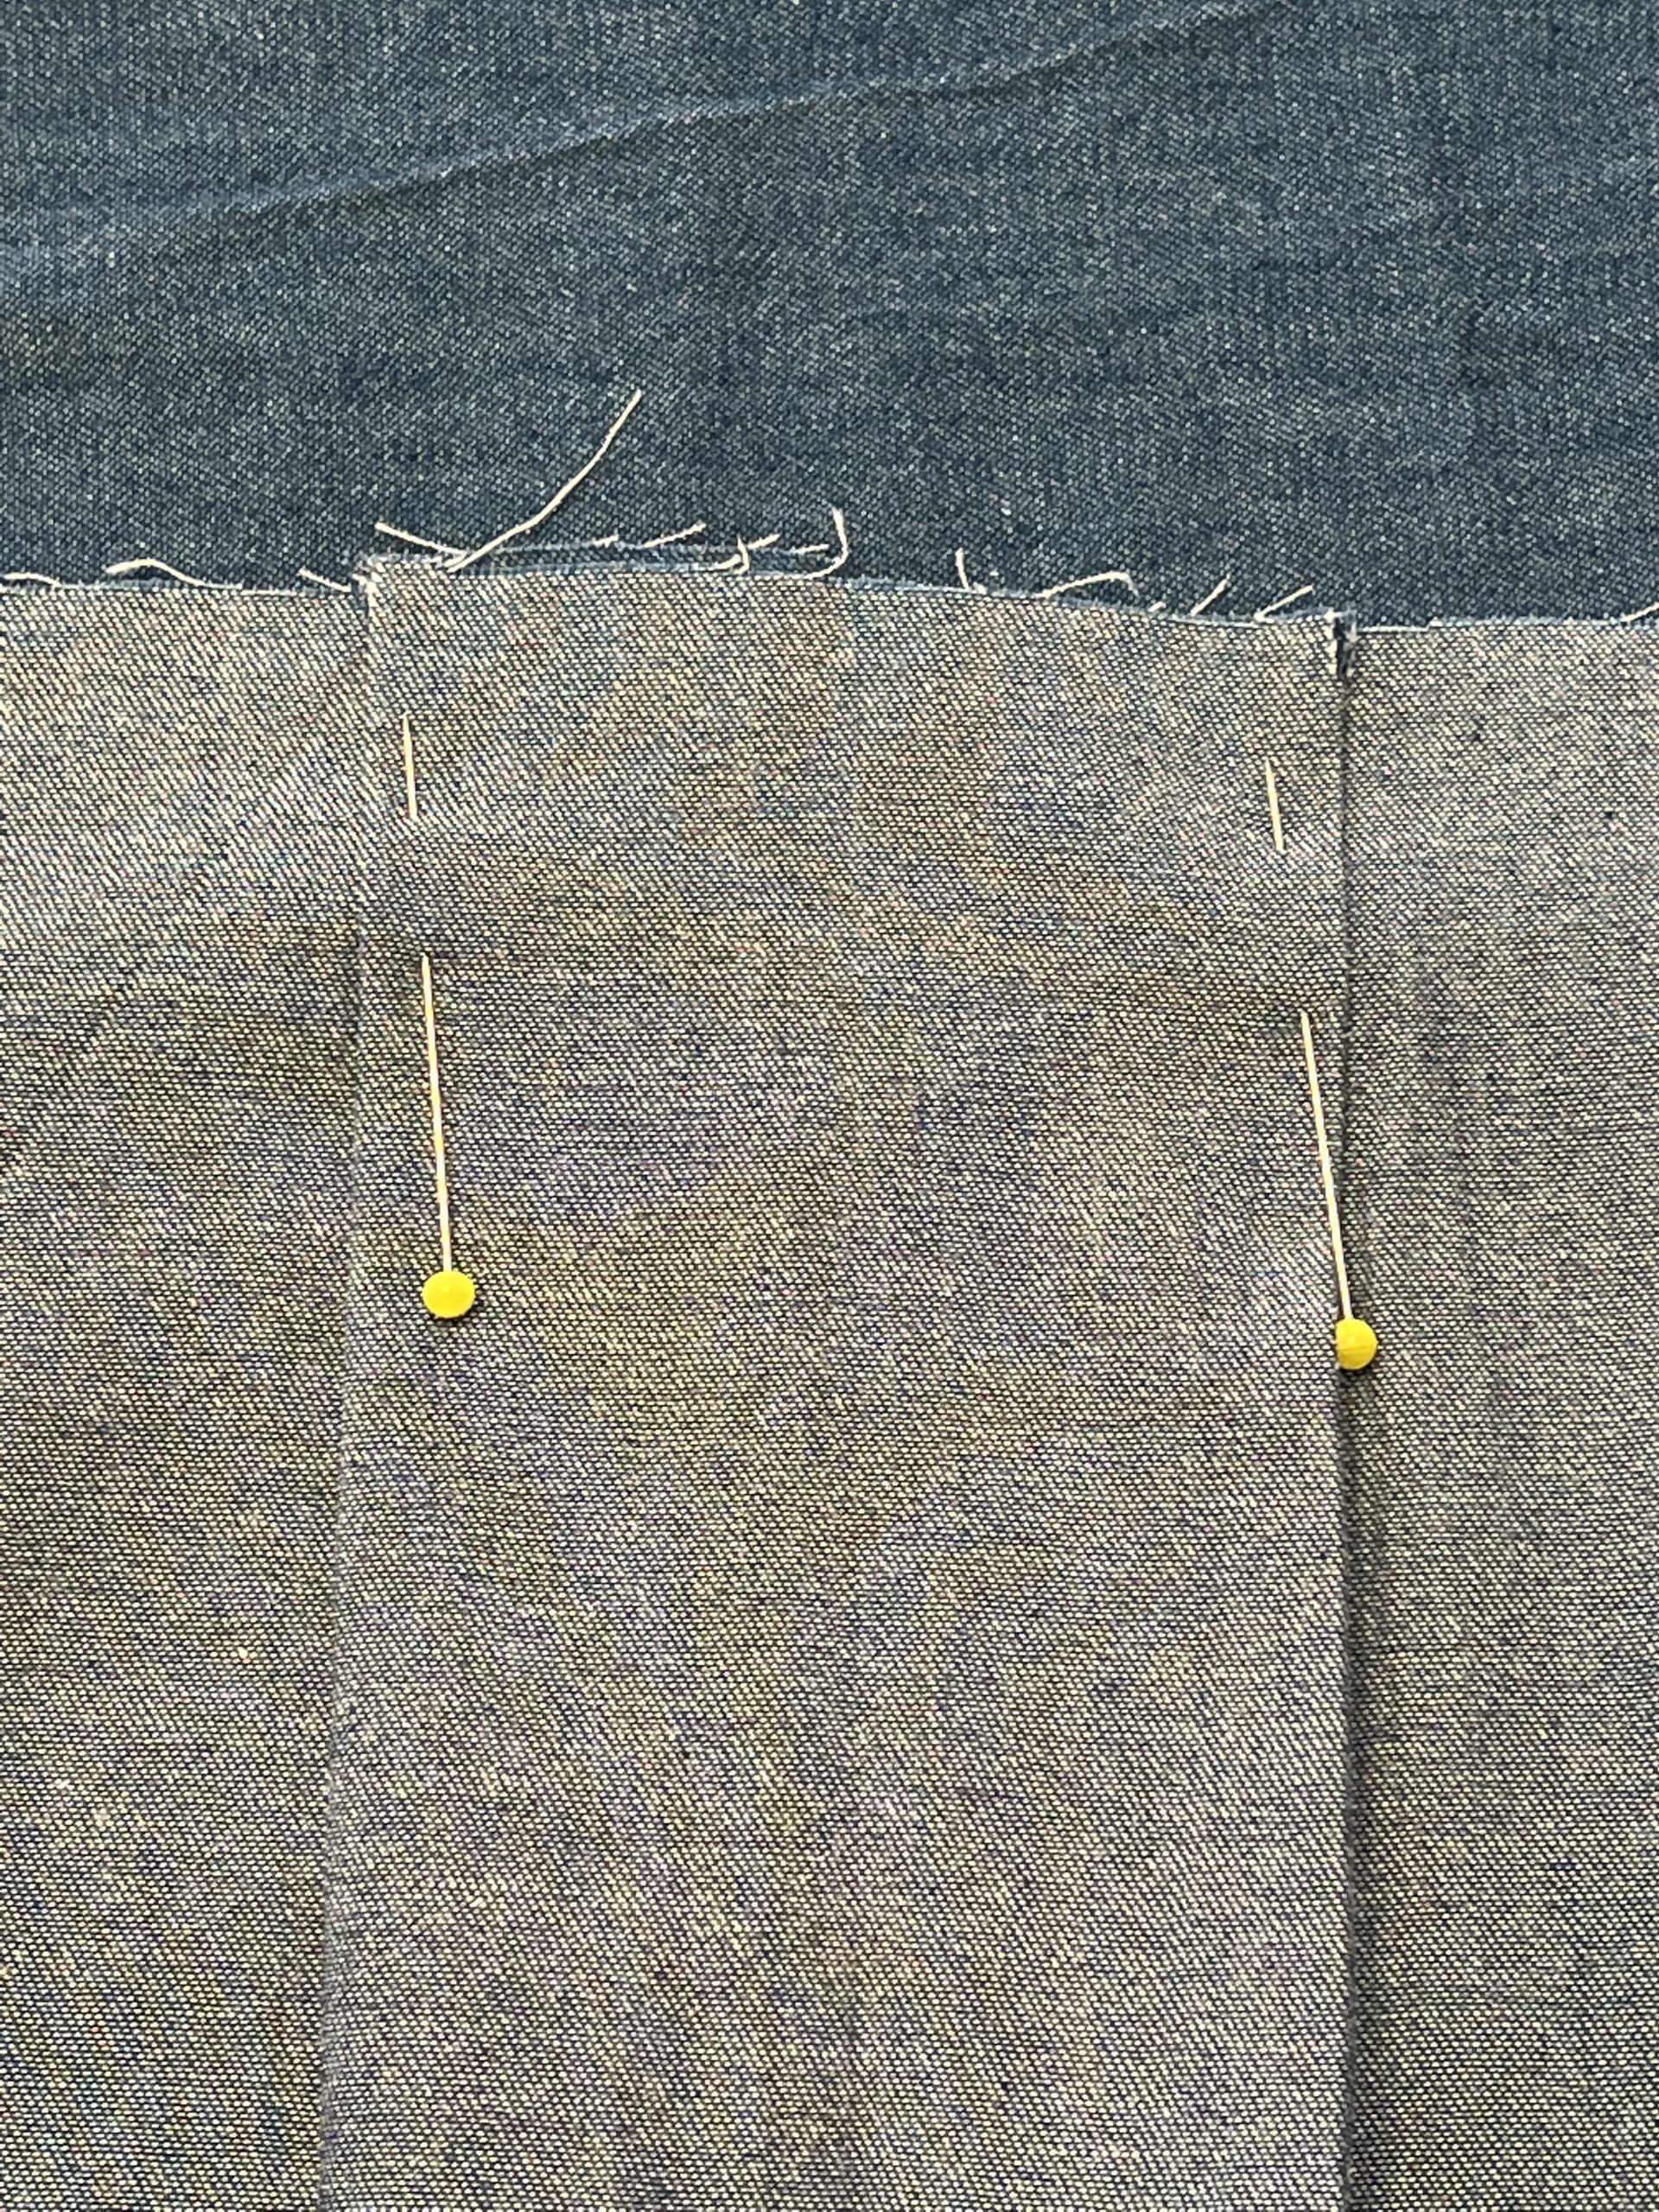
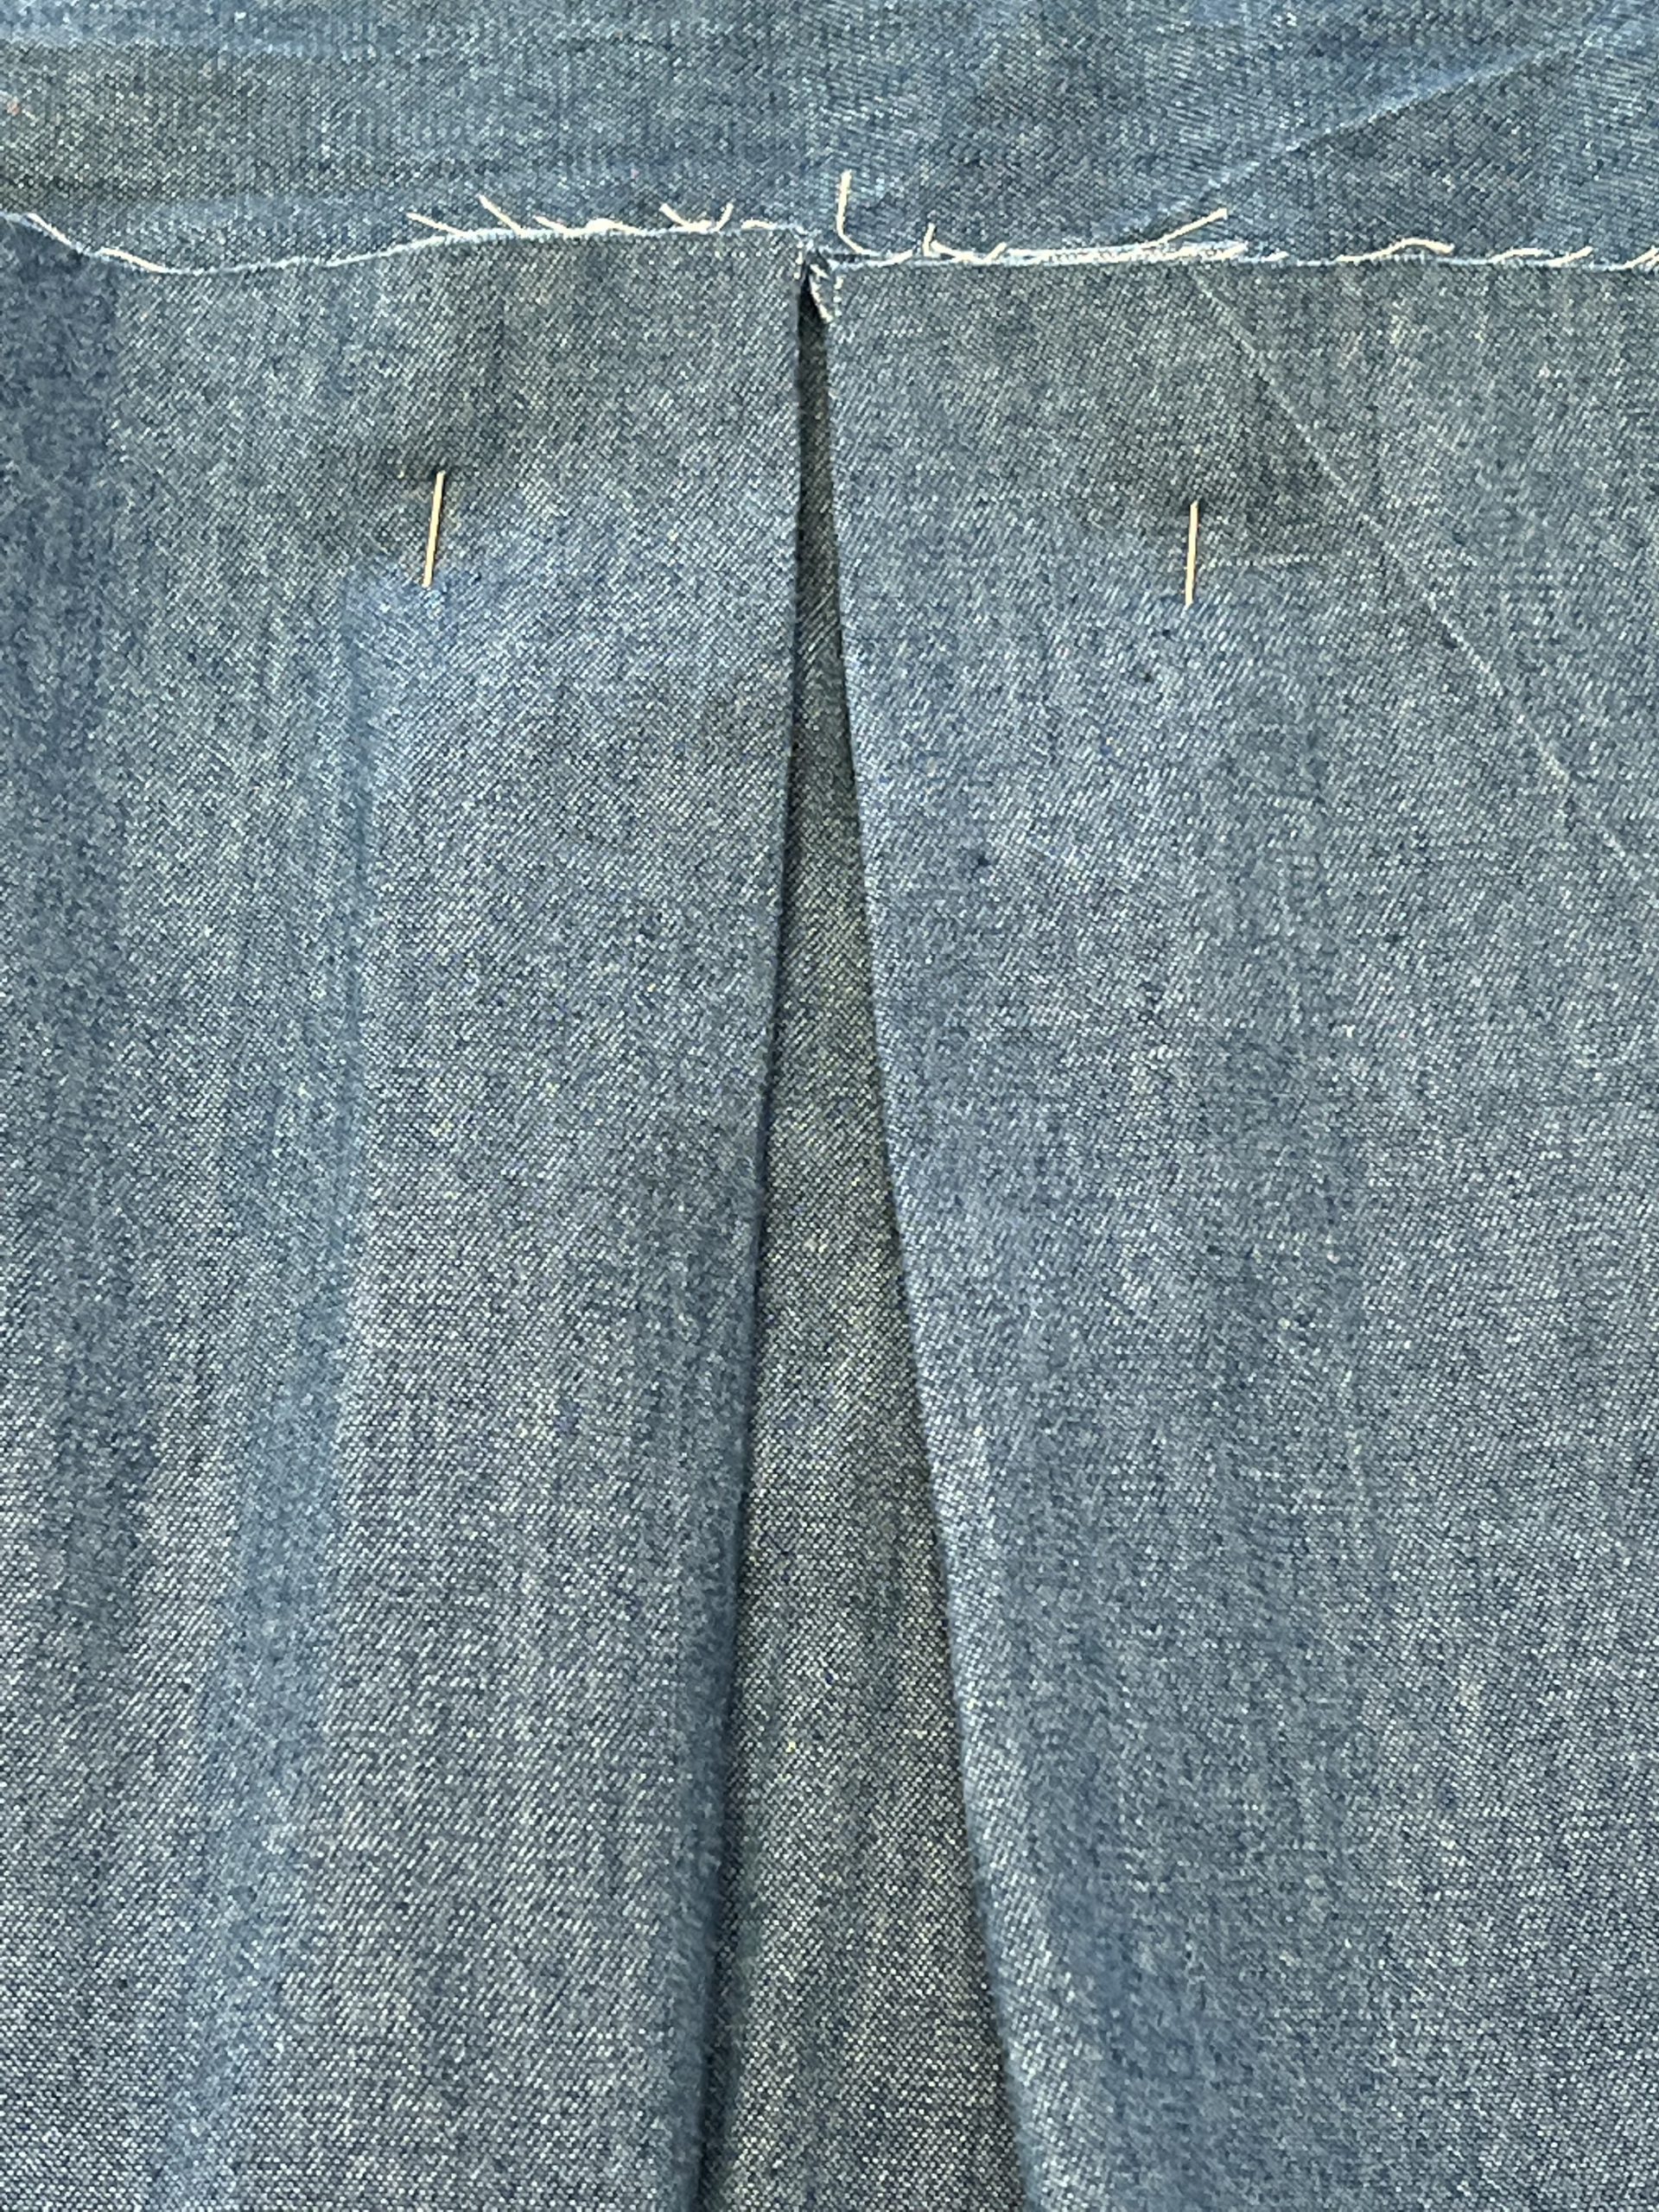
Right, now onto basting your pleat, box or inverted, either way is fine. I’m demonstrating an inverted pleat here.
Next it’s Burrito time! Come join me in the following segment: Sewalong: Kalle Shirt Dress by Closet Core Patterns Part 3.
See you there! Leanne xx
Stay up to date with all my latest makes over on my website: www.leannelekai.com
Come follow me over on Instagram: @leanne_lekai


0 Responses