 BERNINA Corporate Blog -
Hey and hello everyone!
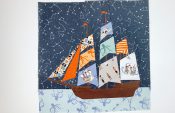
Now all of you should have the quilt top pretty much sewn alltogether, right? If not, don’t worry, you still have enough time until the final draw. Further down in the post you’ll find all the information about the raffle. Today I’ll show you how to sew the quilt borders with mitered corners.
You’ll see: There is no reason to be afraid of mitered corners at all!
A quilt border with mitered corners gives your quilt top a professional touch.
If you don’t like it or don’t want to sew this variation for other reasons, it makes absolutely no difference. It’s just one of many ways to finish the quilt top.

You read about the Sail Along for the first time today? No problem, here are all the articles Sail-Along on the BERNINA blog about our wonderful patchwork sailing trip.
And here you can find the complete pattern.
Sewing quilt borders with mitered corners
Let’s get started with our mitered corners.
1. Cut your border strips. I want my border to be 2″ wide. That means I will be cutting my strips 2.5″ wide. For the mitered corners, the border needs to be as much longer as it is wide. So in my case, 2.5″. I like to cut a little off rather than not have enough fabric. Therefore, just to be safe, I make the strips 3″ longer on both ends than the sides of the quilt top.
That means 4 strips total:
- two strips 48″ quilt top length plus 2 x 3″ that’s 54″.
- two strips 72″ quilt top length plus 2 x 3″ that’s 78″.

2. Of course, the fabric strips are not in one piece, but joined together from shorter strips of fabric. You will now sew these shorter strips of fabric together, with a 1/4″ seam allowance to get long ‘strips’. As mentioned before, the Patchwork Foot # 97 is excellent for this.

Here are my fabric strips for the border.

- 3. We are working with 1/4″ seam allowance. This means the border will be sewn to the quilt with a 1/4″ seam allowance.
This means that we are now marking the corners of the quilt top with 1/4″ from each corner. One mark on the quilt top and one on the border strip.
We sew up to this point, or from this point we then begin to sew the border strips to the quilt top.

- 4. Now sew the strips to the quilt top. You can see here, I marked the border 1/4″ from the edge so I know exactly where to start sewing and how far to sew.
Sewing with a super neat 1/4″ seam allowance works best with a 1/4″ patchwork foot!

Here the strips of fabric are attached to the quilt top, each to 1/4″ from the corner.
5. Now fold the quilt top diagonally to the corner, right sides together. This means, the border strips are right sides together. You will now extend the fold diagonally with the ruler and mark it on the border. This is your sewing line.


- 6. The seam starts right where the previous seams met and you sew all the way through the border. Now trim the seam allowance down to 1/4″ .

- 7. Press the seam allowance open.

And here it is…. the perfect mitered corner.

Here you will find a short you tube video:
Of course you can sew any other border or non at all, this is entirely up to you. This is just one method that I wanted to show you, and I personally find it very pretty with this quilt top, what do you think?

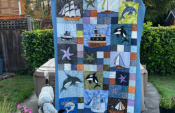
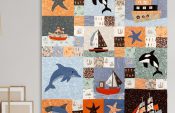
You did it! All the Foundation Paper Piecing blocks are sewn together and you made a super pretty quilt top. YAYYY…that’s a reason to celebrate! Or do you guys disagree?
I’m sure you’ll be making lots of other Foundation Paper Piecing patterns, and lots of other projects. Now that you’re in love with FPP, right?
Of course I want to see your quilt tops!
I’m sure your quilt tops turned out fantastic. I am so excited to see your pictures. Show them to me on social media or in the community section of the blog! On Instagram and Facebook always use the hashtag #sailawaywithmequilt. In the community section of the blog, don’t forget to select the “Sail-Along” giveaway.
Anyone who would like me to share the photos on social media (with or without attribution) is super welcome to email me the photos at [email protected].
I am a bit sad that this Sail-Along is now coming to an end. It has been a great pleasure for me to accompany you on this journey.
I hope that you had as much fun as I did and that you achieved what you set out to do.
But after one project is always before the next project, right? So stay tuned for new colorful projects here on the BERNINA blog….
Enter the raffle now!
Now you are ready to enter the giveaway. As I mentioned at the beginning, this series was about making a great nautical quilt top using the Foundation Paper Piecing method. You did a fantastic job with that.
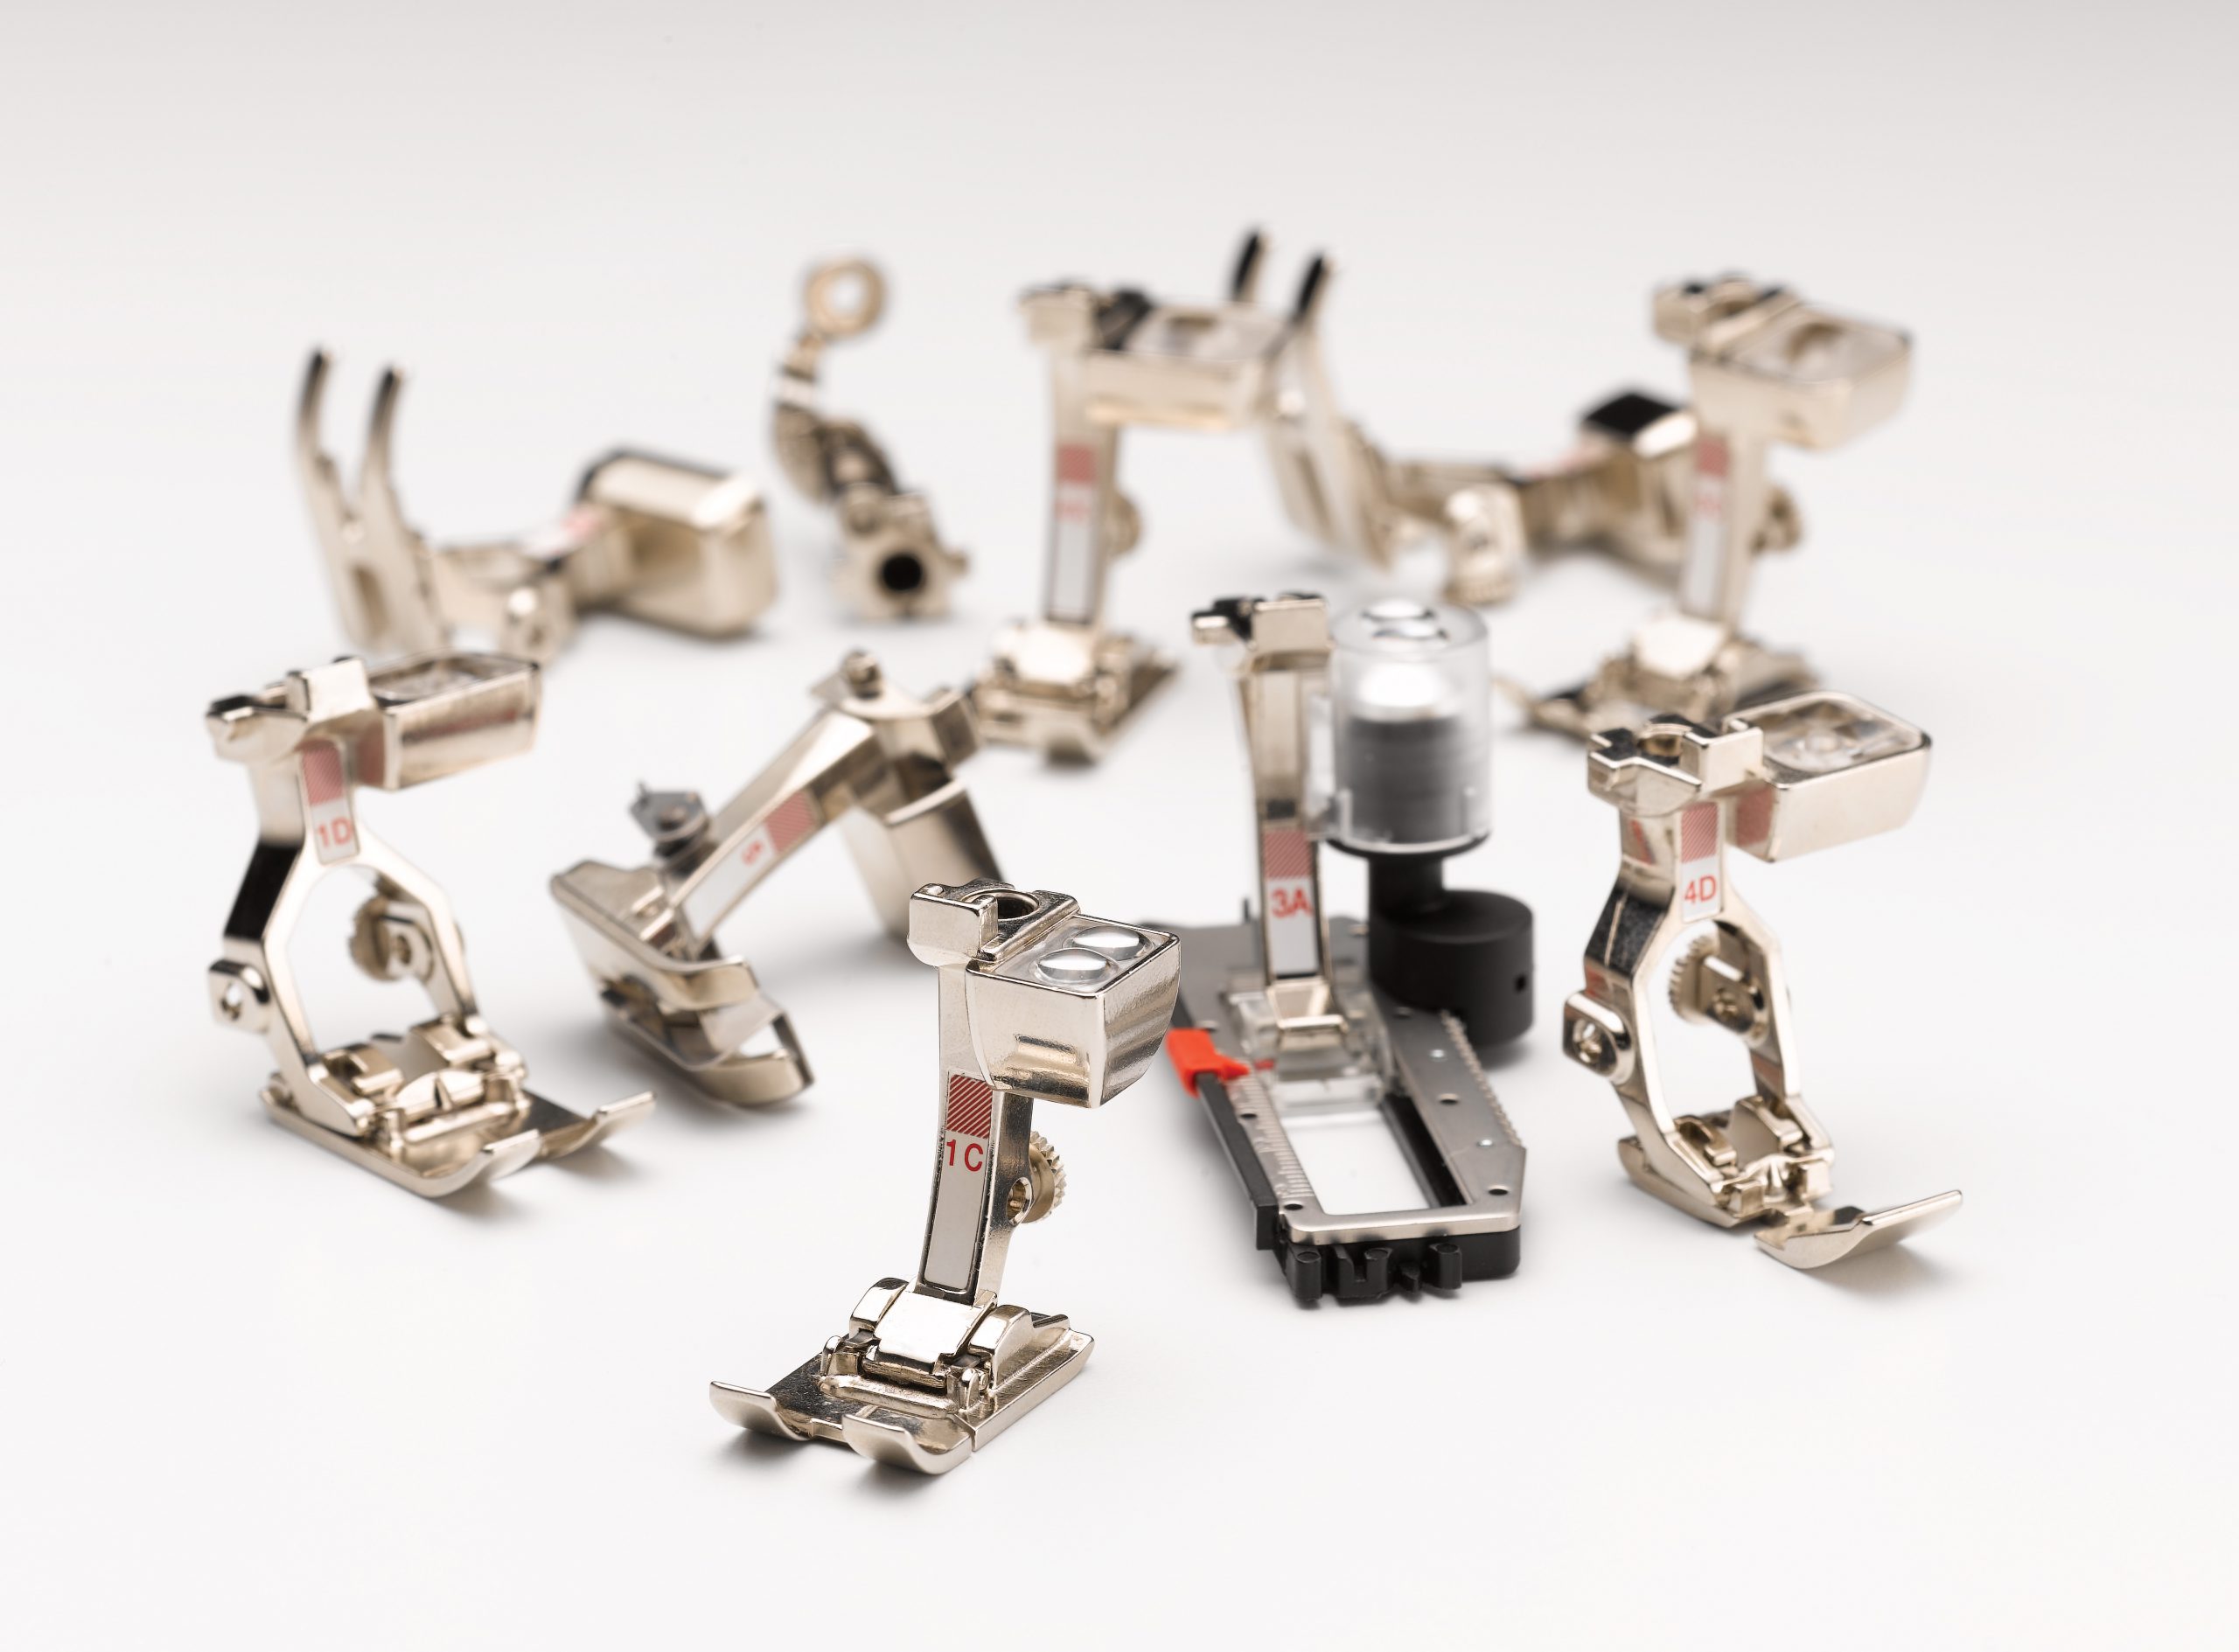
BERNINA is providing grand prizes. The winner has the choice between:
- A package of ten (!) BERNINA sewing feet of your choice. This prize is of course particularly interesting for those who sew with BERNINA.
Other prizes to be won are:
- Fabric bundle: Fat quarter bundle of “Hoist the Sails” by Riley Blake Design.
- Three patterns from Joe, June and Mae worth EUR 7.90 each.
- 2 18-piece kits Silk-Finish Cotton by Mettler (one each for the readers of the German and the English blog).

… and this is how you participate:
To enter the giveaway, post a picture showing your finished quilt top by 07/14/2023. If you haven’t quite finished yet, you still have almost a month from today.
Important: We are not looking for the “best” quilt. I just want you to have finished a beautiful “Sail-away-with-me” quilt top. I want you to have learned a lot, and most importantly I want you to have had lots of fun.
These are the requirements to enter the raffle:
- Anyone who shares a photo of their quilt top with hashtag #sailawaywithmequilt on Instagram and Facebook or uploads it to the community section of the BERNINA blog will be entered into the draw.
- Your quilt top should have been sewn in its original size following the instructions in the Sail-Along.
- You are free to choose fabrics, colors and materials.
- Binding is not necessary, nor does quilting have to be completed.
Winners will be chosen at random. You can participate on Facebook, Instagram and in the community section of the blog at the same time. This will increase your chances of winning.
Don’t forget to select the line “Sail-Along” in the drop-down list under “Participation actions” when uploading to the community area:

Conditions of participation for the draw:
Acceptance of these terms and conditions is required to enter on the BERNINA blog.
All persons who have shown a picture of their quilt top with hashtag #sailawaywithmequilt on Instagram and Facebook or uploaded it to the community area of the BERNINA blog by 11:59 p.m. on July 14, 2023, will be entered into the prize draw.
Employees of BERNINA are excluded from participation.
The drawing of the winners will take place by lot after 07/14/2023.
The winners will then be notified within seven days. Notification will be made via social media profile (if participating via Instagram) or by email (if email address is known). We are not liable for non-receipt or late delivery of the notification.
If for any reason the winner is unable or otherwise ineligible to accept the prize, we do not guarantee that an alternative prize or substitute can be offered. The prize cannot be paid in cash and the right to the prize cannot be assigned.
If no response is received to the prize notification within 7 days, the prize will be forfeited. If no response is received within 7 days, a new winner will be drawn immediately.
We reserve the right to interrupt or terminate this competition at any time or to vary the procedure and rules. The legal process is excluded.
Need more heirloom designs
Always learning more on my Bernini 770