 BERNINA Corporate Blog -
A tutorial share from BERNINA USA’s WeAllSew blog.
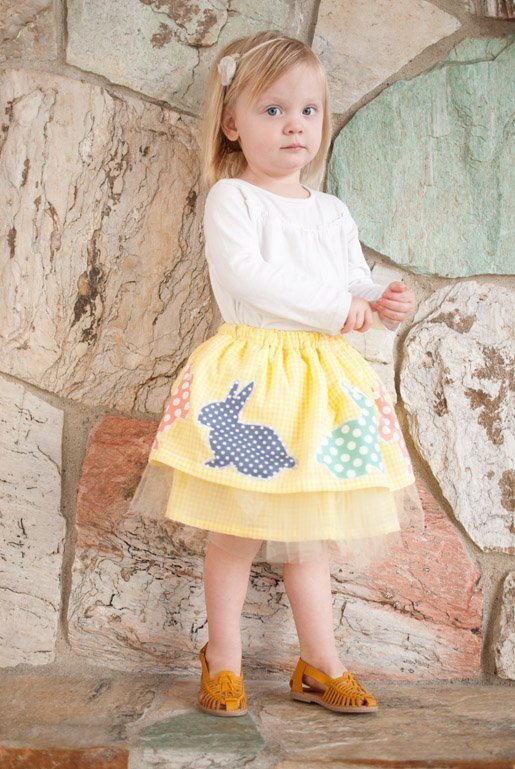
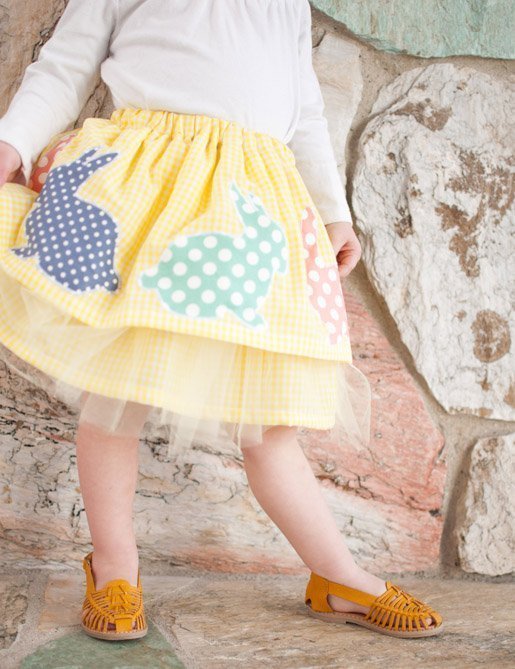
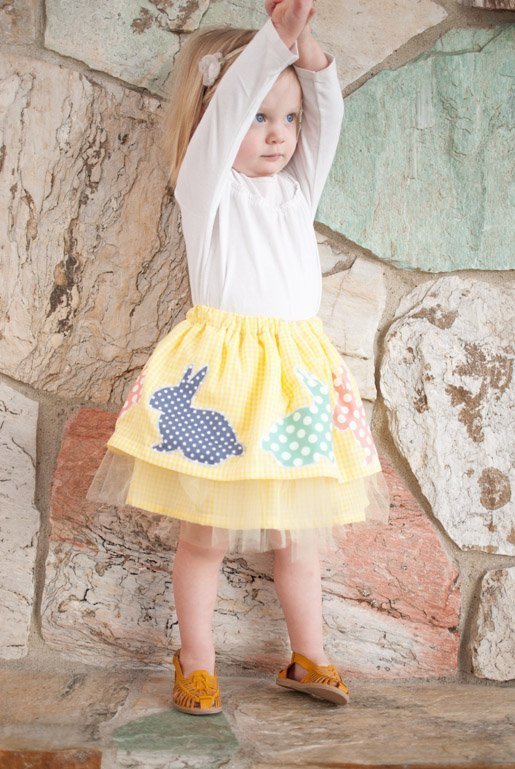
My girls LOVE to wear fluffy skirts that they can twirl around in. I decided to mix a regular skirt with some tulle, but since my girls find tulle to be itchy I made it a fully lined tiered skirt that is so perfectly twirly. With Easter right around the corner I made my girls Easter skirts with a bunny and chick appliqué added.
You will be making the pattern pieces for the skirt directly from the measurements of your little one. Grab a tape measure and make note of these measurements in inches; the waist (measure around the natural waistline), and the finished length (measure from the natural waistline down to how long you’d like the finished skirt to be). Use these two measurements in the instructions below to make your pattern
Materials
- Light weight fabric for the skirt. (I used a thin gingham, a rayon challis would be lovely as well).
- Scraps of fabric for appliqué
- Freezer paper
- Wonder Under
- Open Embroidery Foot, BERNINA open embroidery foot #20
- 1″ Elastic
- TemplateBunny and Chick Applique Template
To find the measurement for the skirt pattern, first multiply the waist measurement by two (waist x 2), then add two inches to the finished length (length + 2″).
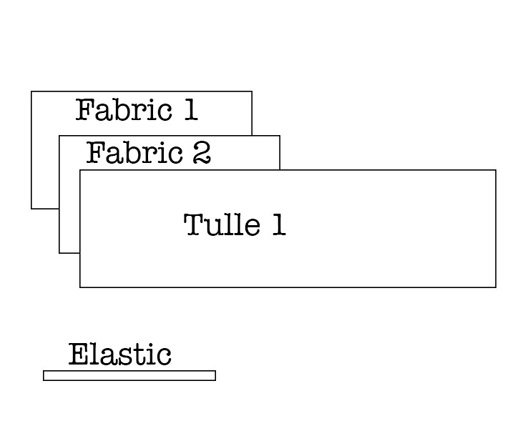
Cut two rectangular skirt pieces from your pattern measurements; one lining layer and one outer layer. To cut the tulle pattern, use the same length but double the width of the skirt pattern for adding extra fullness.
To find the measurement for the elastic, use the waist measurement minus 2 inches (waist – 2″).
Press wonder under (fusible fabric adhesive) to the wrong side of the fabric. Then trace the template pieces on to freezer paper. Then press the freezer paper on to the front of the fabric. This makes cutting the applique pieces a lot easier.
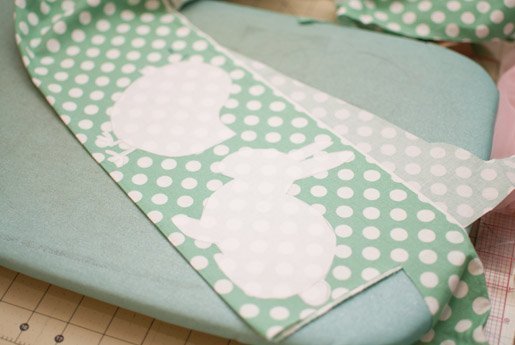
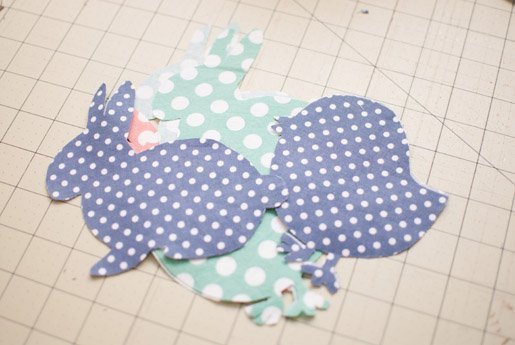
You can peel off the freezer paper and re-use it for each piece you cut out. Cut out as many as you like. (I used 6 for my skirts for a 12m and 5 yards)
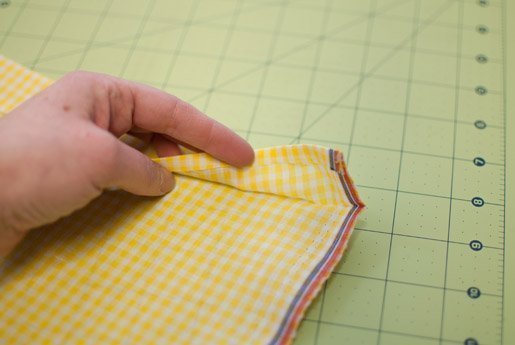
Take the outer layer skirt piece. Fold the top edge under by ¼” and then again by 1¼” Press well.
Fold the bottom layer up by ½” and then ½” again to hem. Sew along the folded edge to secure.
Gather the top edge of the tulle piece. Then place the tulle so the gather is evenly spaced along the top edge of the skirt. Place the tulle right under the folded edge.
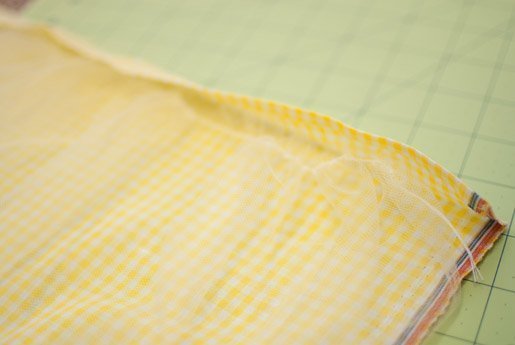
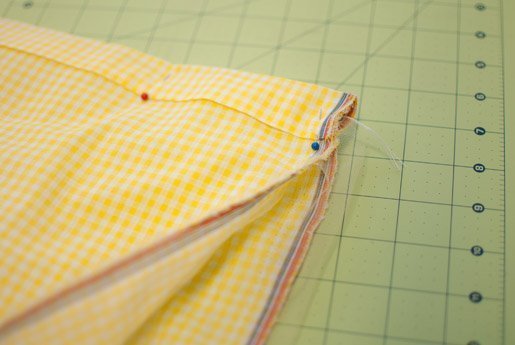
Then add the lining right side facing toward the tulle. Place the top edge so it’s even with the tulle and so both layers are just under the fold. Then refold the top fold of the outer skirt and sew along the folded edge. This will create a casing at the top of the skirt for the elastic as well as securing all of the layers in place.
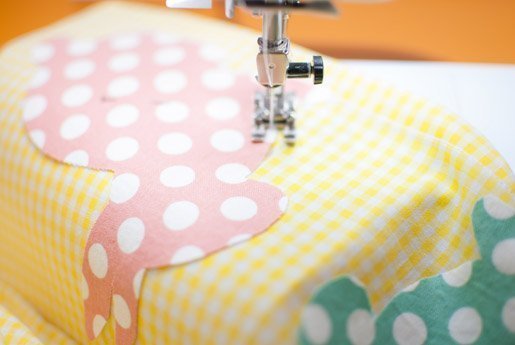
Then working with just the outer layer. Place the bunnies, or chicks, along the edge of the skirt. Space them evenly along the whole width of the skirt. Press them in place. (the wonder under will work as a stabilizer and glue of sorts to hold everything in place. If you skip the wonder under use a stabilizer)
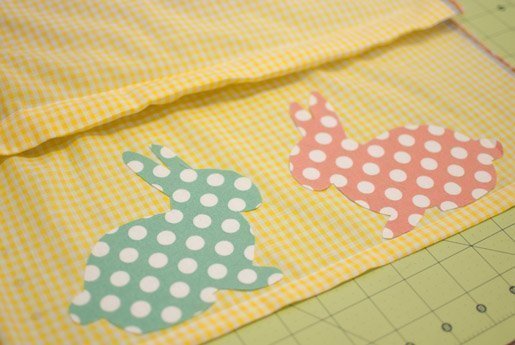
Then using the open embroidery foot and a satin stitch. (wide zig zag, short stitch length) sew all along the border of the animals to secure them in place.
Now Measure your child’s waist. Subtract 2″ and that will be your elastic length. Slip the elastic into the casing at the top of the skirt. Secure the elastic on either end. The skirt will be quite gathered at this point.
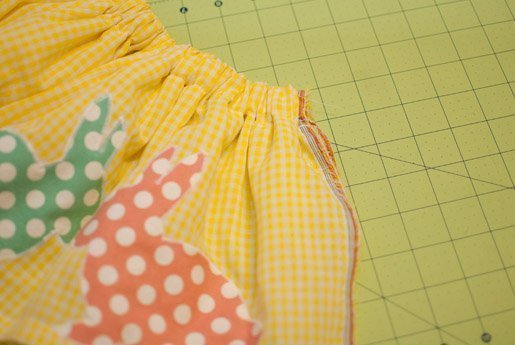
With right sides together fold the skirt in half. Match up the layers so they match and sew along the raw edges. (finish seam as desired)
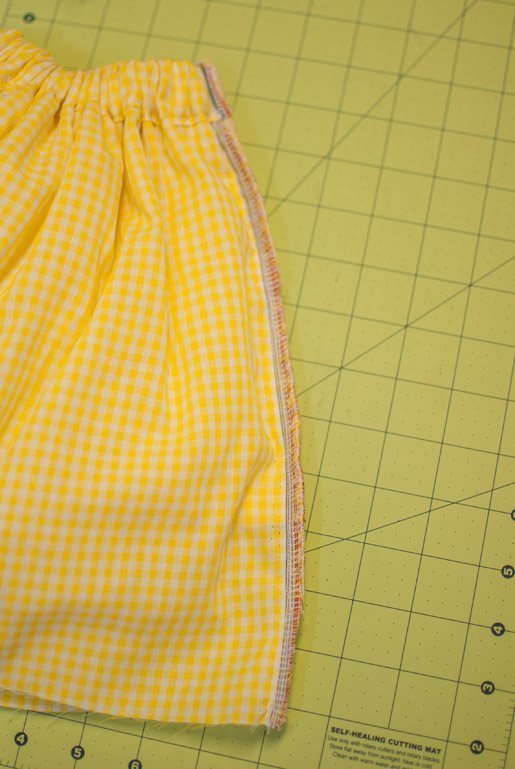
Lastly hem the bottom layer of the skirt. By folding it under by ½” and then ½” again, and sew along the folded edge.
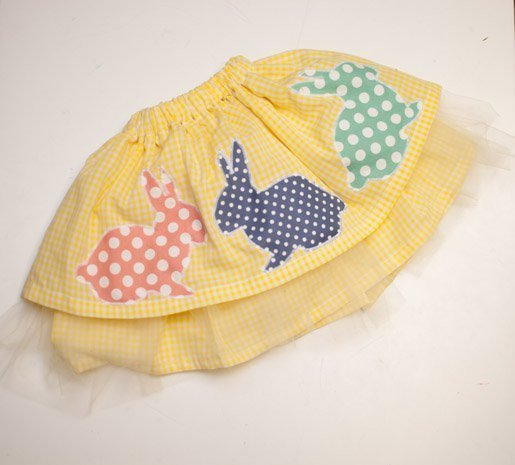
There you have it a quick, and full Easter Skirt.


0 Responses