 BERNINA Corporate Blog -
The hemmer foot is the tool for even, narrow rolled hems. I can recommend the hemmer foot – sometimes called rolled hem presser foot – especially for seams on lightweight fabrics.
I used the hemmer foot a lot during my apprenticeship: yards and yards of bridal gown seams were done with this foot. It was indispensable for all the chiffon layers that needed to be hemmed. The foot provided a fast and neat way to hem a lot of material without much fuss. It’s not only for garment sewing, though. This foot works well for home decor projects, too.
Today, I’m sharing all the tips for the hemmer foot I gathered during my apprentice years.
Hemming with the hemmer foot
The hemmer foot is easy to recognize: It has a spiral in the middle, through which the fabric gets fed.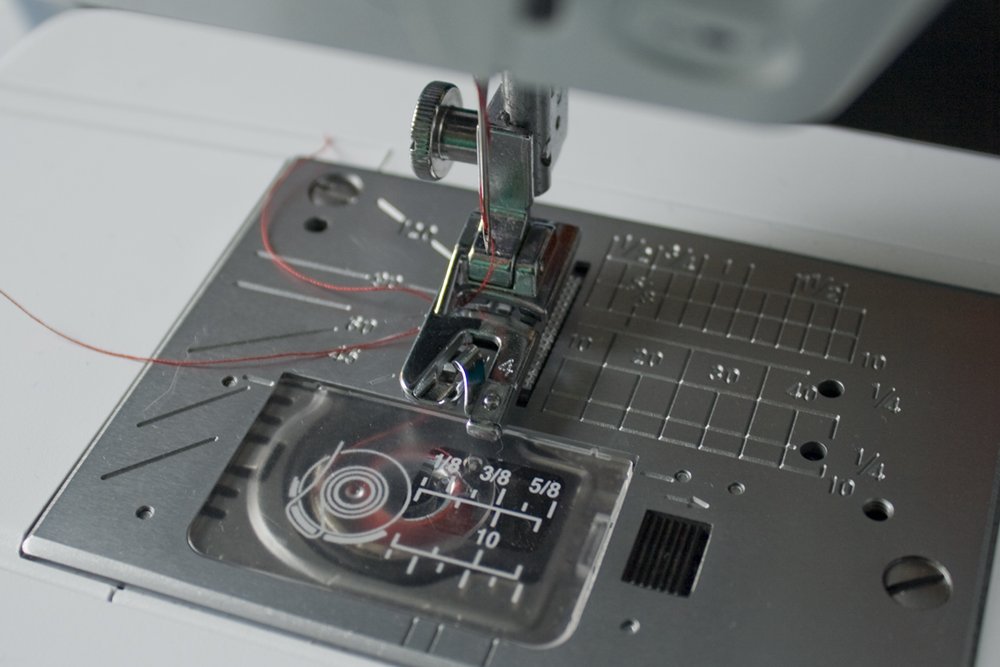
The foot will produce a rolled hem on the side of the fabric that’s facing upwards – so you’ll need to lay your fabric wrong side up so the hem won’t be visible on the right side.
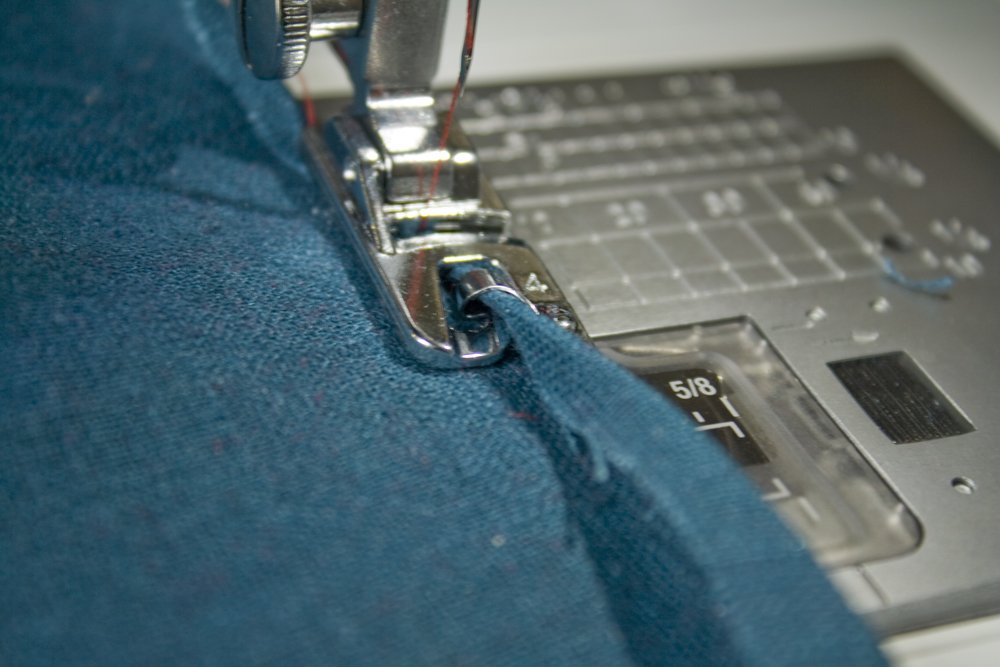
When the edge of the fabric gets fed through the spiral part of the hemmer foot, it will be folded over twice. The open edge of the fabric won’t be visible because of this, and your fabric has no chance of fraying. The folded hem will then be secured by a seam.
You don’t have to do much besides working the pedal and having a watchful eye that everything goes smoothly.
I recommend practicing using the hemmer foot before jumping right with the hem you want to do. Raise the foot and feed the edge of your fabric through the spiral by hand, wrong side up. This way, you’ll understand how the components of the foot works and how it produces the folded/rolled hem.

Hemmer Foot: Start To Sew
In my experience, the hemmer foot works best on continuous seams where you don’t have a start and finishing point, like a dress where you can sew all the way around and come right back to where you started.
Be careful with corners: They are especially tricky with this foot; avoid them, if possible.
If you want to sew a length of hem that isn’t continuous, make your life easier by having a long thread at the end of the hem that will help you feed the fabric through the spiral of the foot. You can do this by sewing a few stitches with the machine and leaving the threads long (don’t trim them close to the fabric); or, you can use a hand sewing needle and place the thread manually.
Sometimes, the fabric doesn’t get folded over twice at the very start of the hem. In my experience, the hemmer foot needs a little help in the beginning, otherwise your fabric might get folded over just once – not what we’re after, because the raw edge will be visible this way and the fabric can still fray.

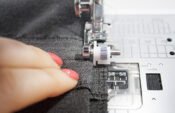
At the position where I want to start hemming, I manually fold over the edge once, about 0.5 cm. I found it sufficient to finger-press this fold. Feed this folded edge through the hemmer foot and you will see that the start will be perfect. In the picture below you can see my finger-pressed hem and that the hem comes out neatly folded over after feeding it through the foot.
After the first few centimeters, the fabric will get fed through the hemmer foot correctly all by itself.
I like to give the fabric a little “guidance” so it gets fed through the foot correctly. I like to hold the edge of the fabric that I’m hemming slightly to the left; This way, it is directed towards the first “arm” of the spiral and will get pulled right in.
If you are hemming a continuous hem, you’ll want your start- and end point to connect. When you’re a few centimeters away from the starting point, stop sewing, with the needle still placed inside the fabric. This is important; you want the fabric to stay in place.
Lift the presser foot up and remove the fabric from the spiral so it lays under the foot. The remaining few centimeters of hem should be folded twice already, if not, tuck them in using a pin. Then, lower the foot, and secure the last centimeters by sewing over them, like you would with a normal presser foot. Secure the seams when you reached the starting point.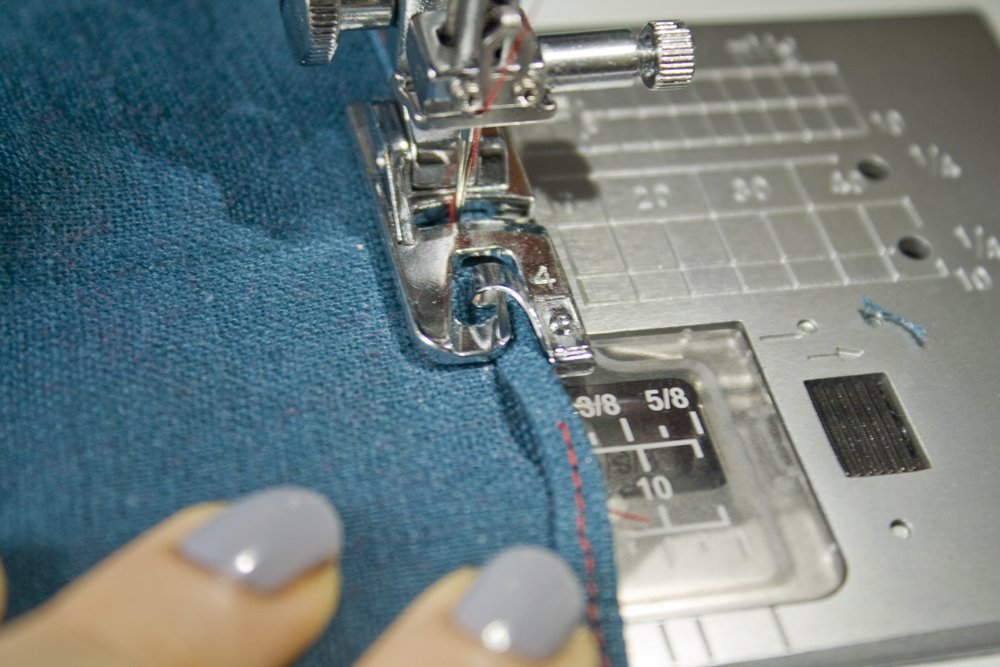


wow ! amazingly procedure ! i recently bought 570QE will this hemming foot work on my machine ? hmm just spotted Beth comment, has it been advised how to work it ? thanking you all in advance best wishes all
Thank you for the tips on starting and finishing the seam. I’m having a hard time with the side seams. Threading them through the rolling presser foot. Any tips?